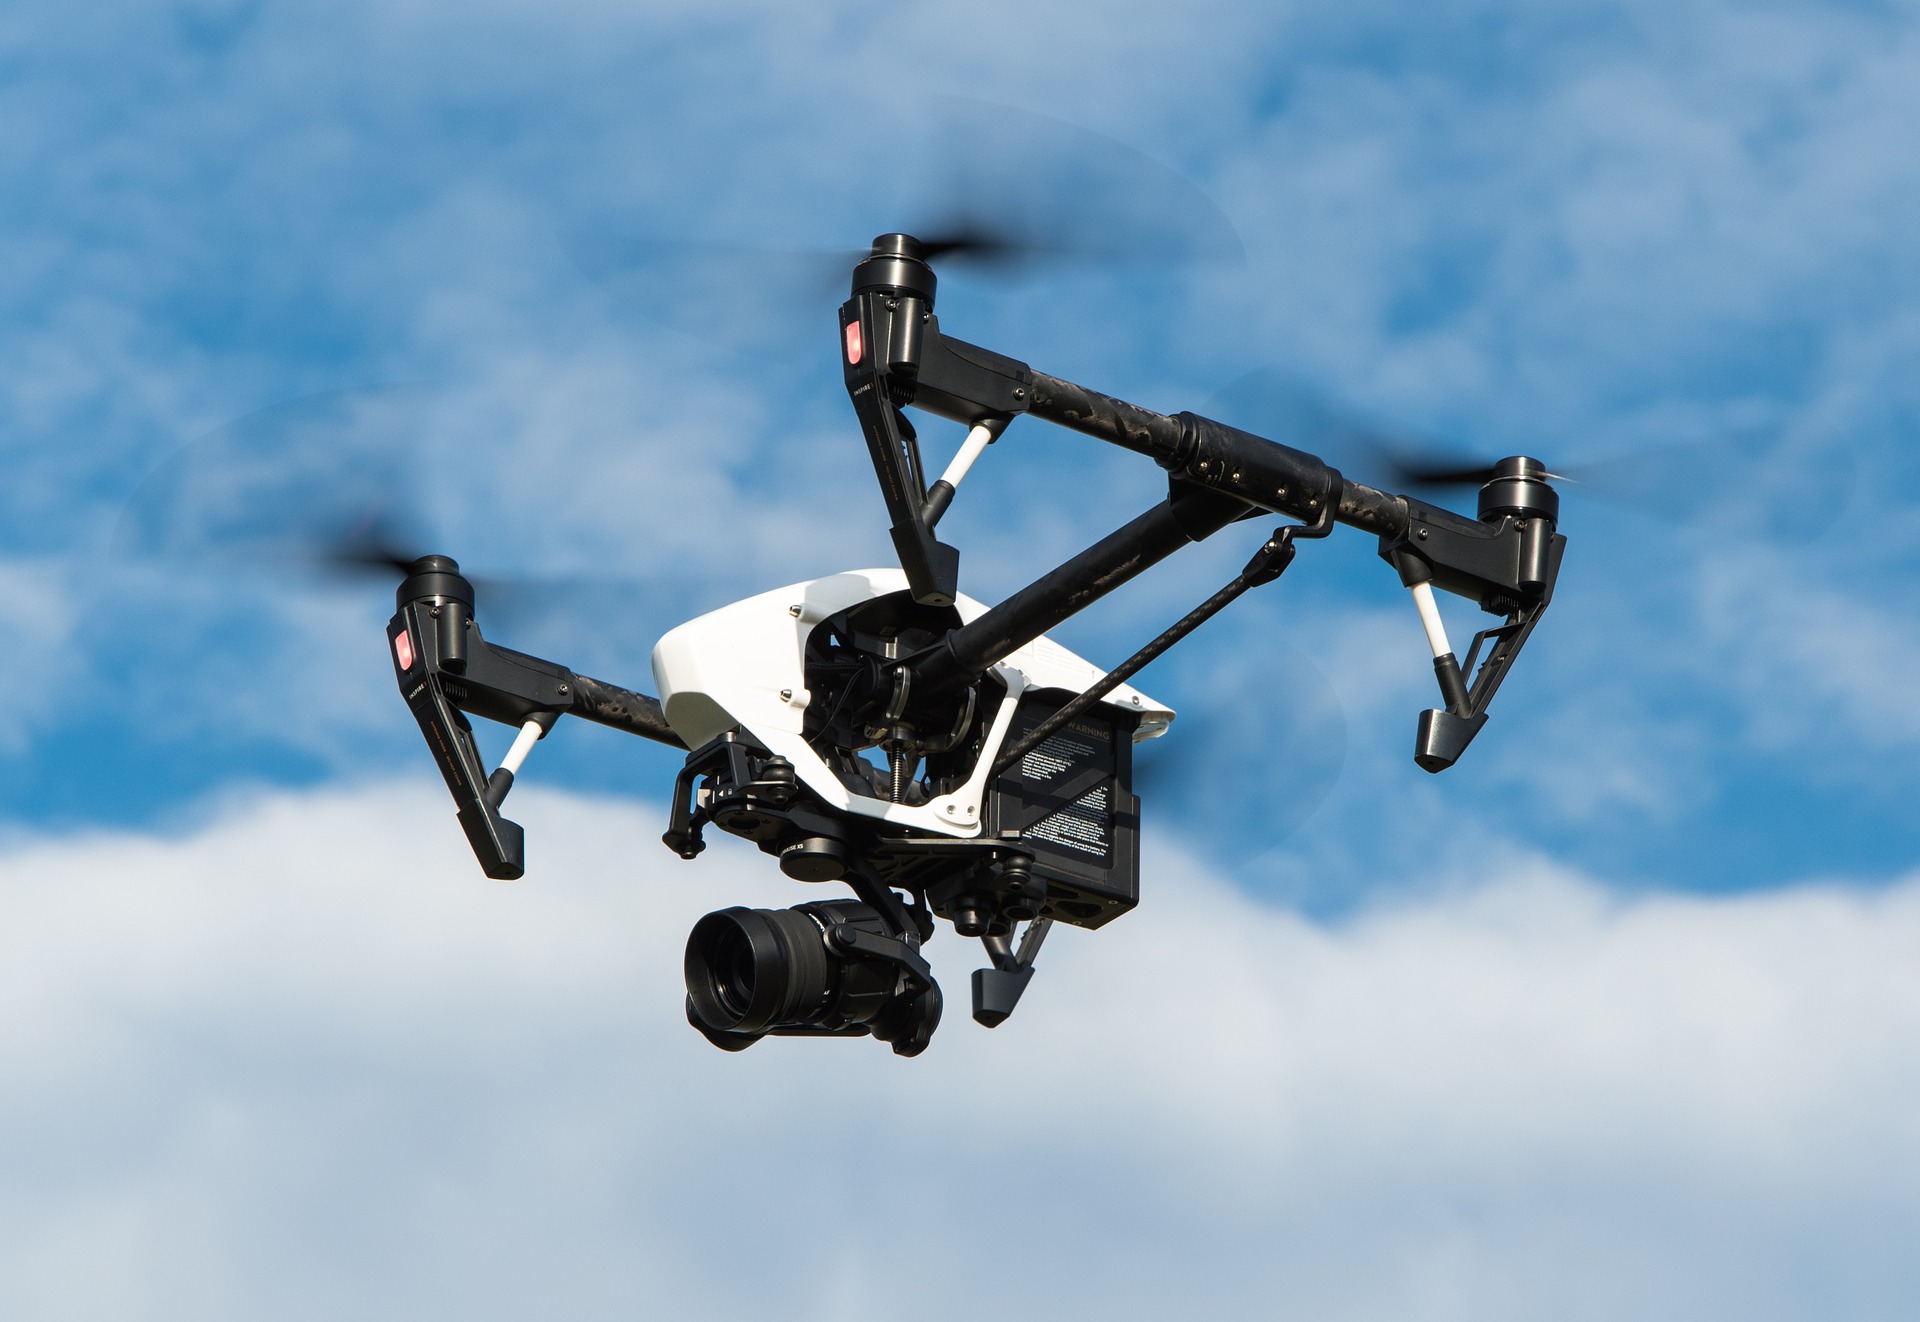
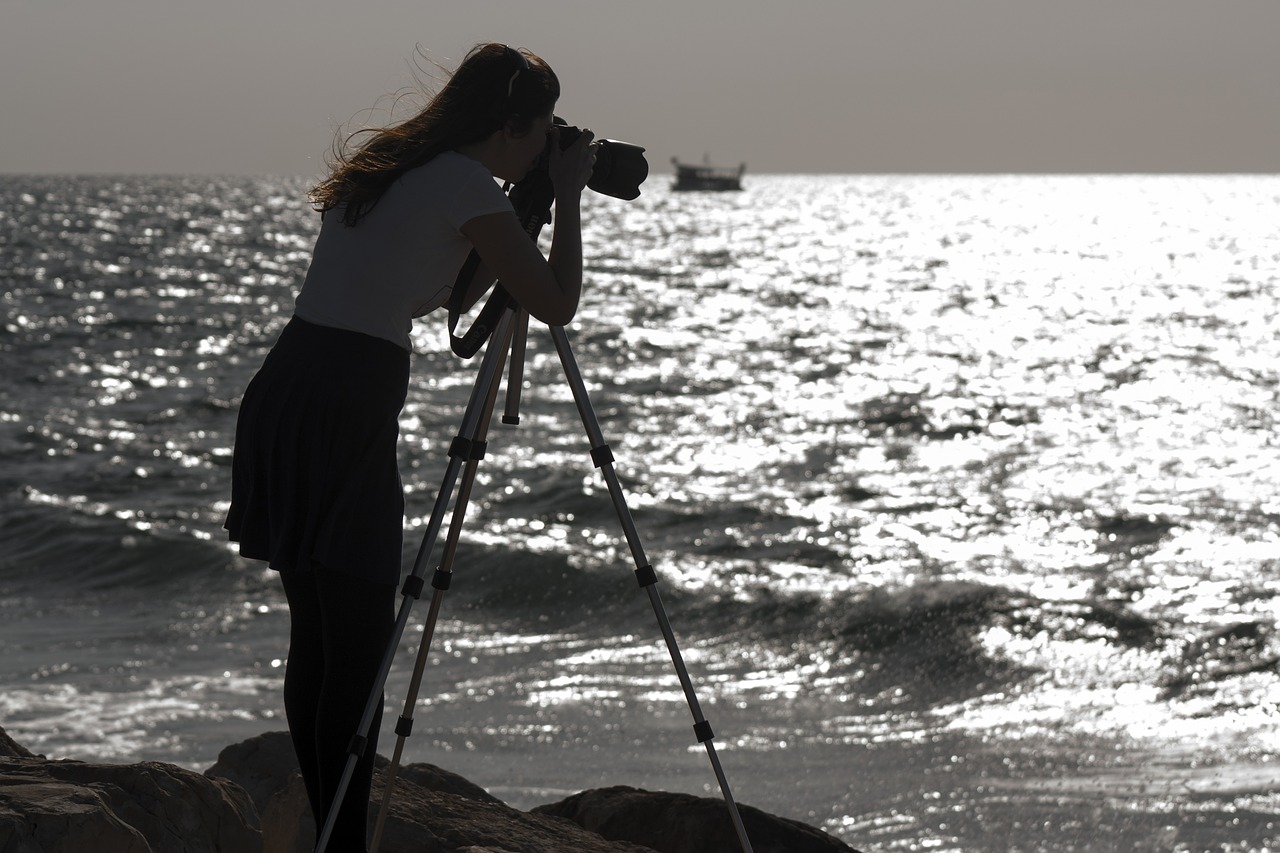
Investing in the best drone is a great way to stay in loop with modern photography technology. Many say that with modern advancements in technology, anybody can become a photographer very quickly. While we have to agree that this is partially true, we also need to carefully consider what it means to be a photographer. It is not just a matter of pointing and shooting whatever that strikes your fancy, but learning about the techniques, art, telling a story, and sharing a bit of your soul in every single picture you take.
To that point—how can technology make someone a better photographer if machines can’t express feelings like we do? Technology on its own can’t replace what many years of experience and proper training actually gives a user, but it can become a really good companion for boosting our hidden potential and encouraging users to go further with their work.
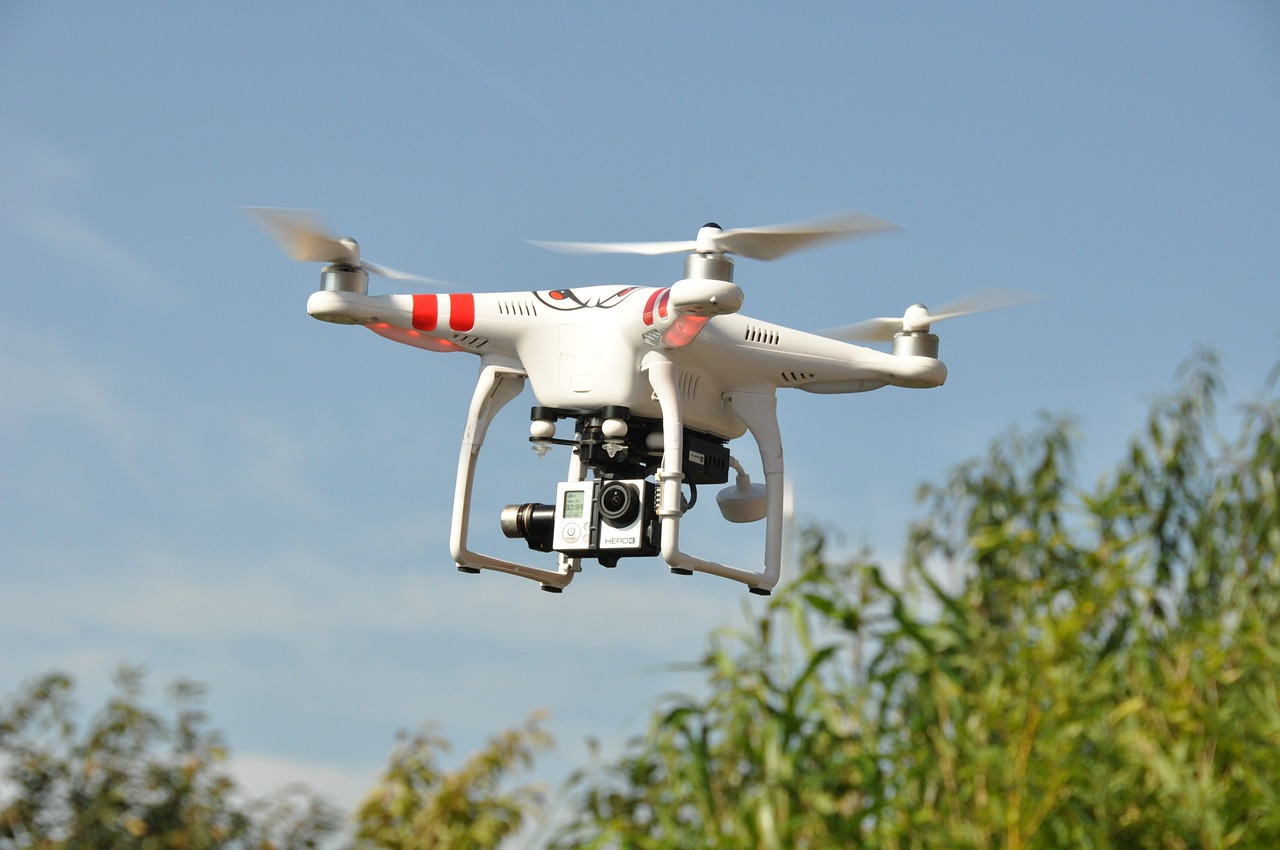
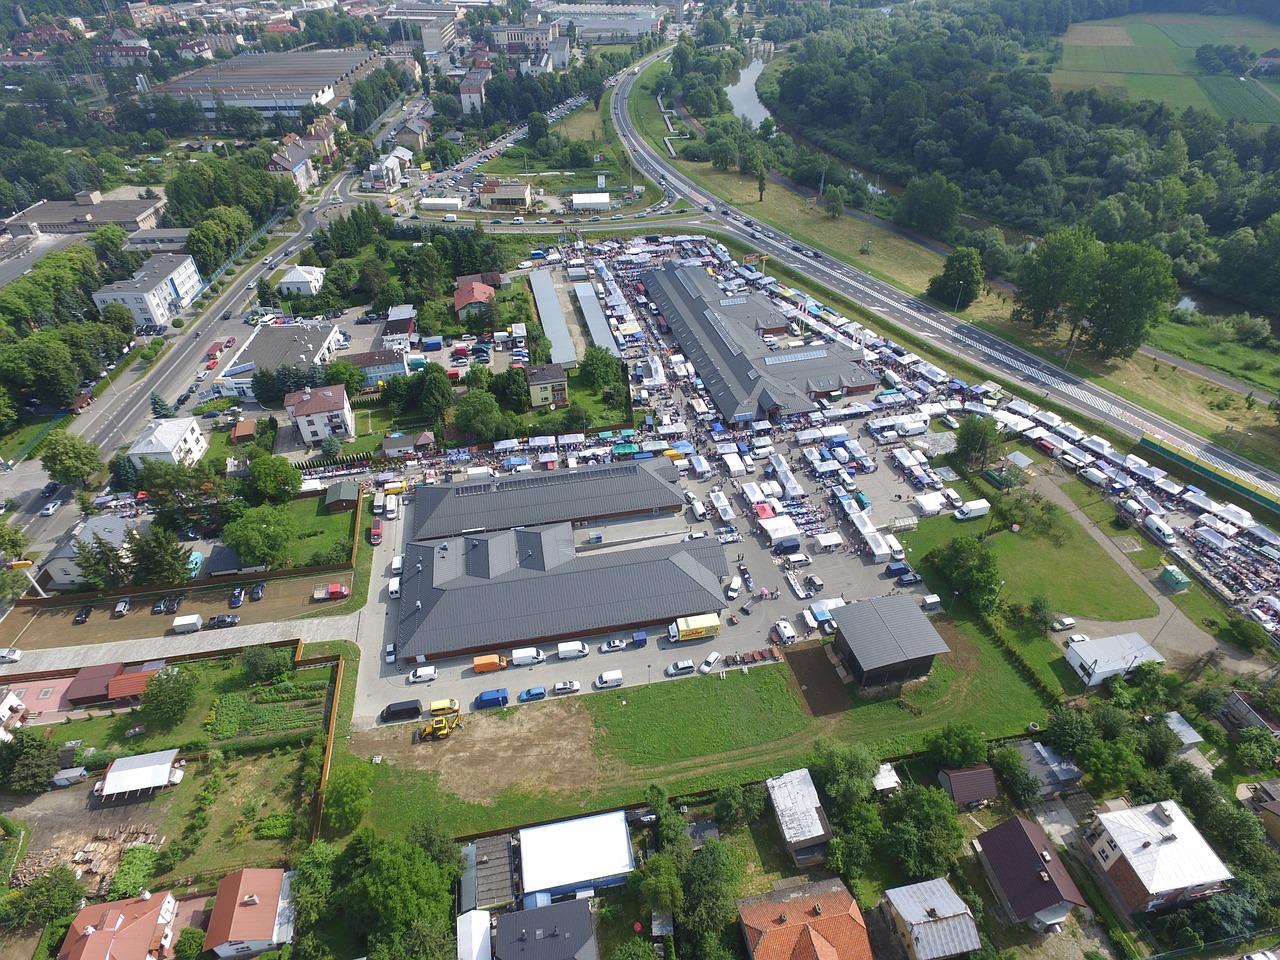
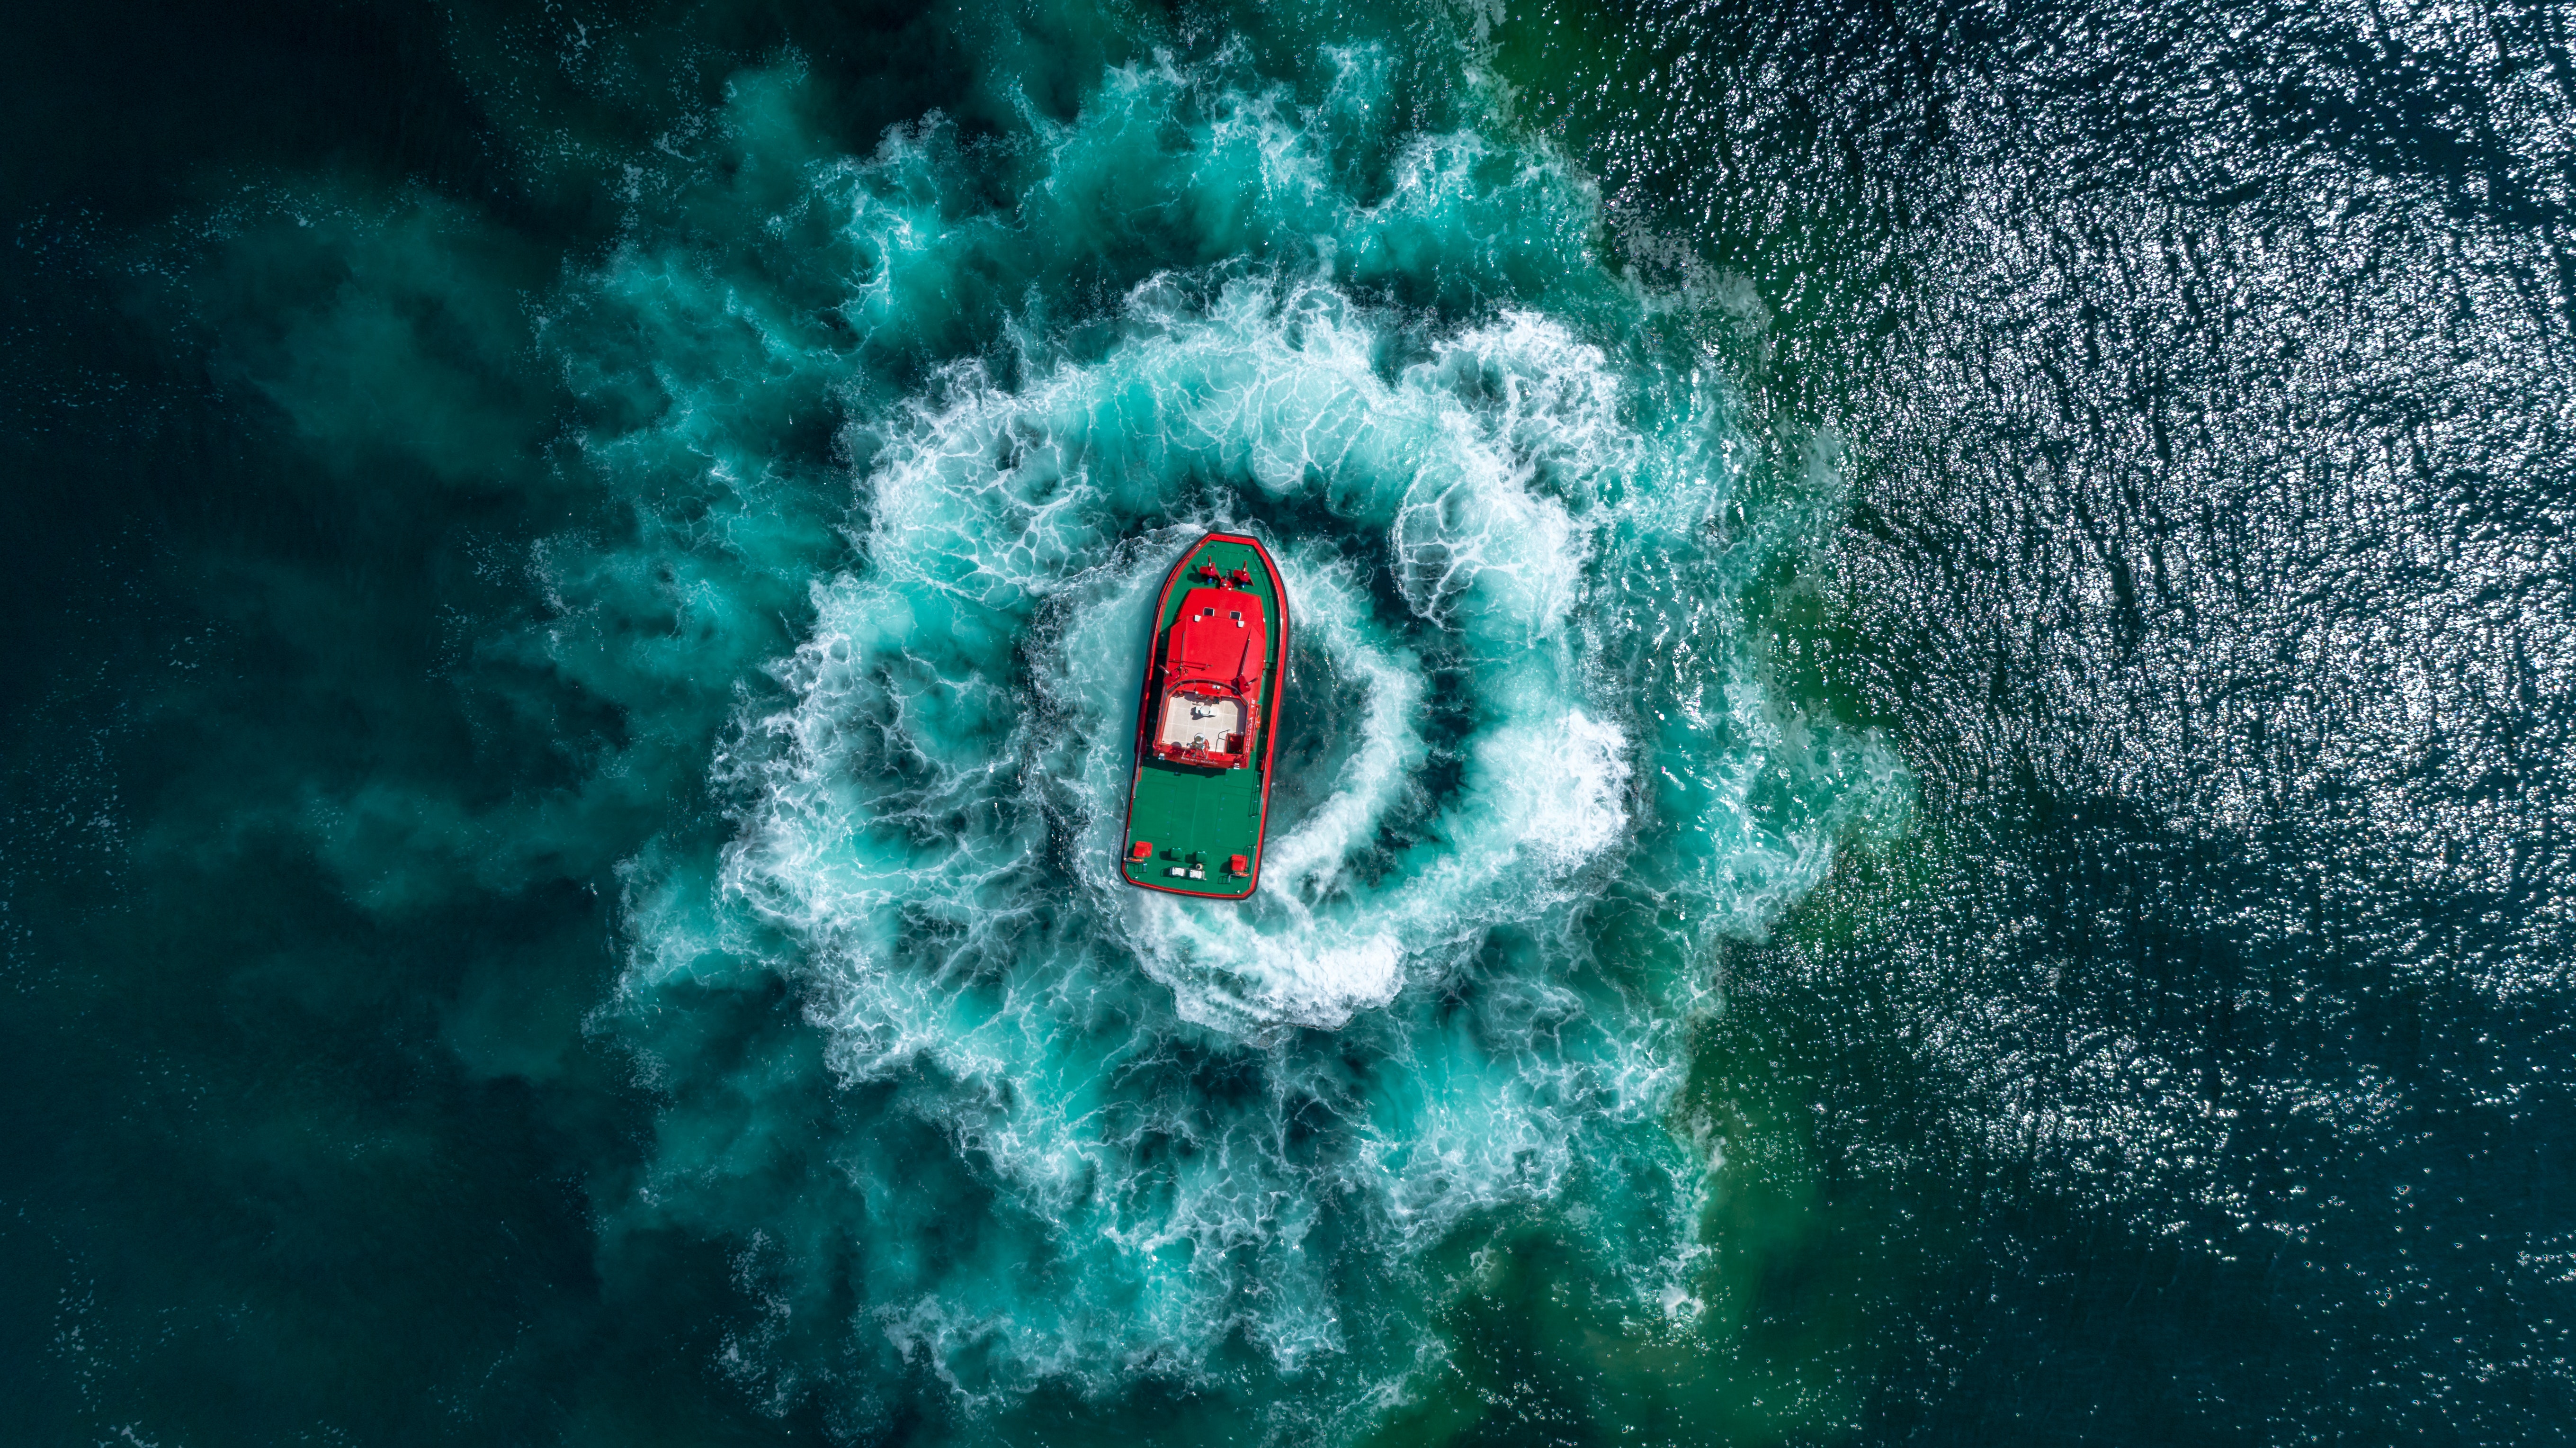
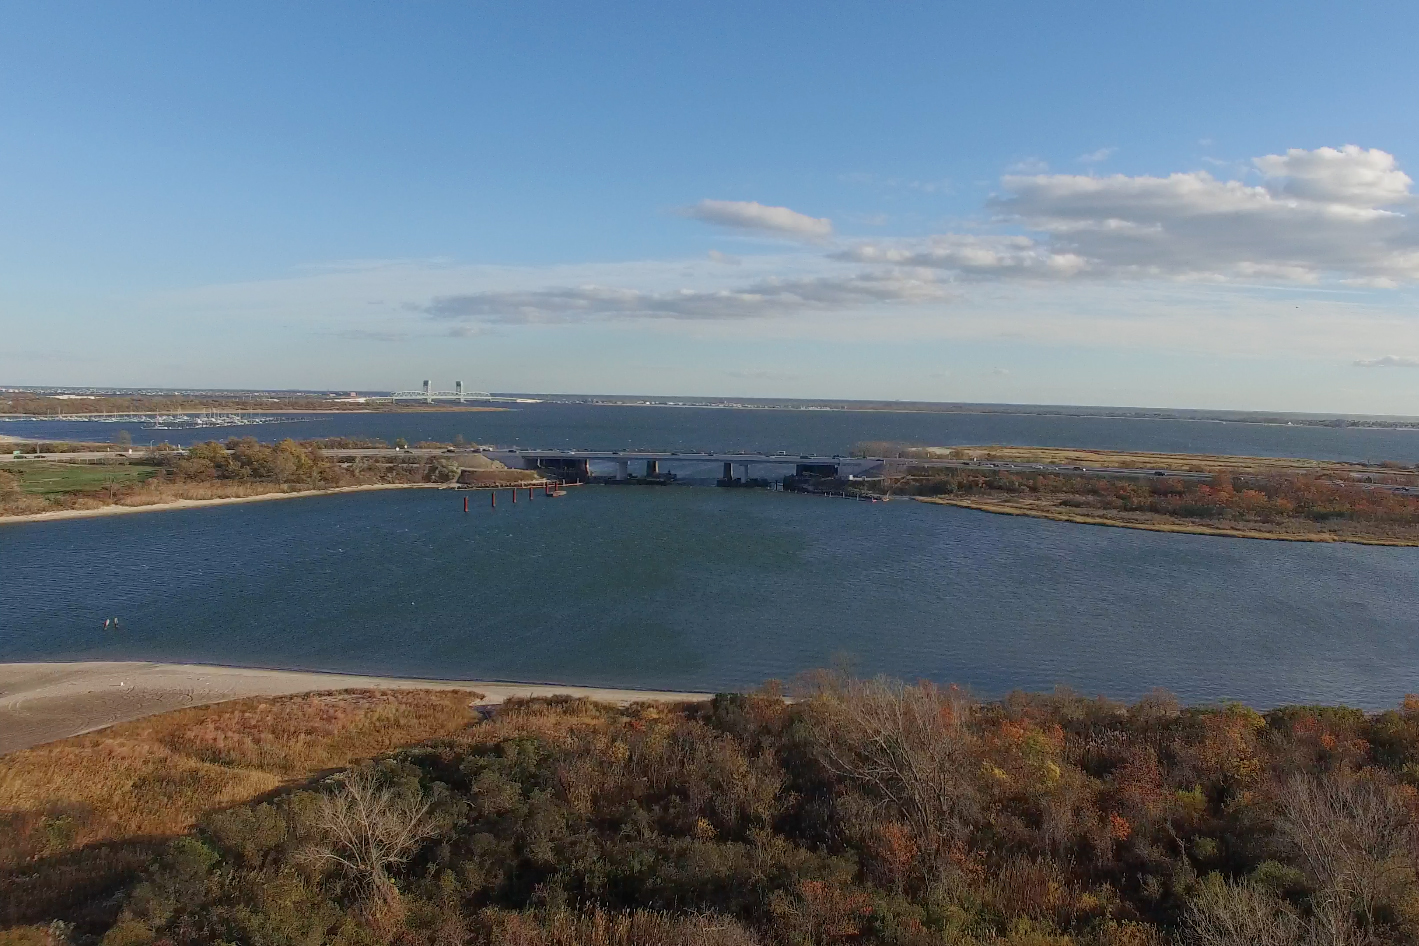
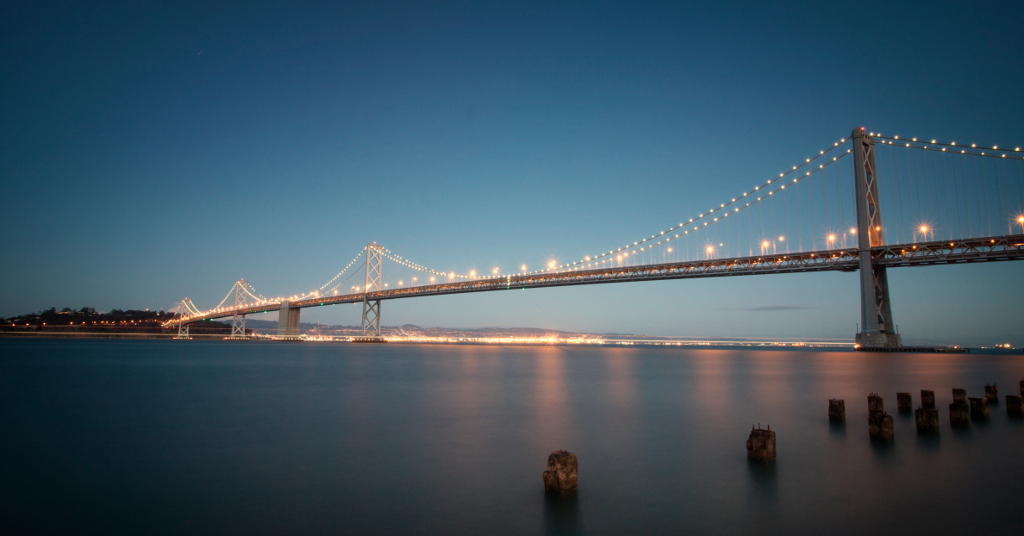
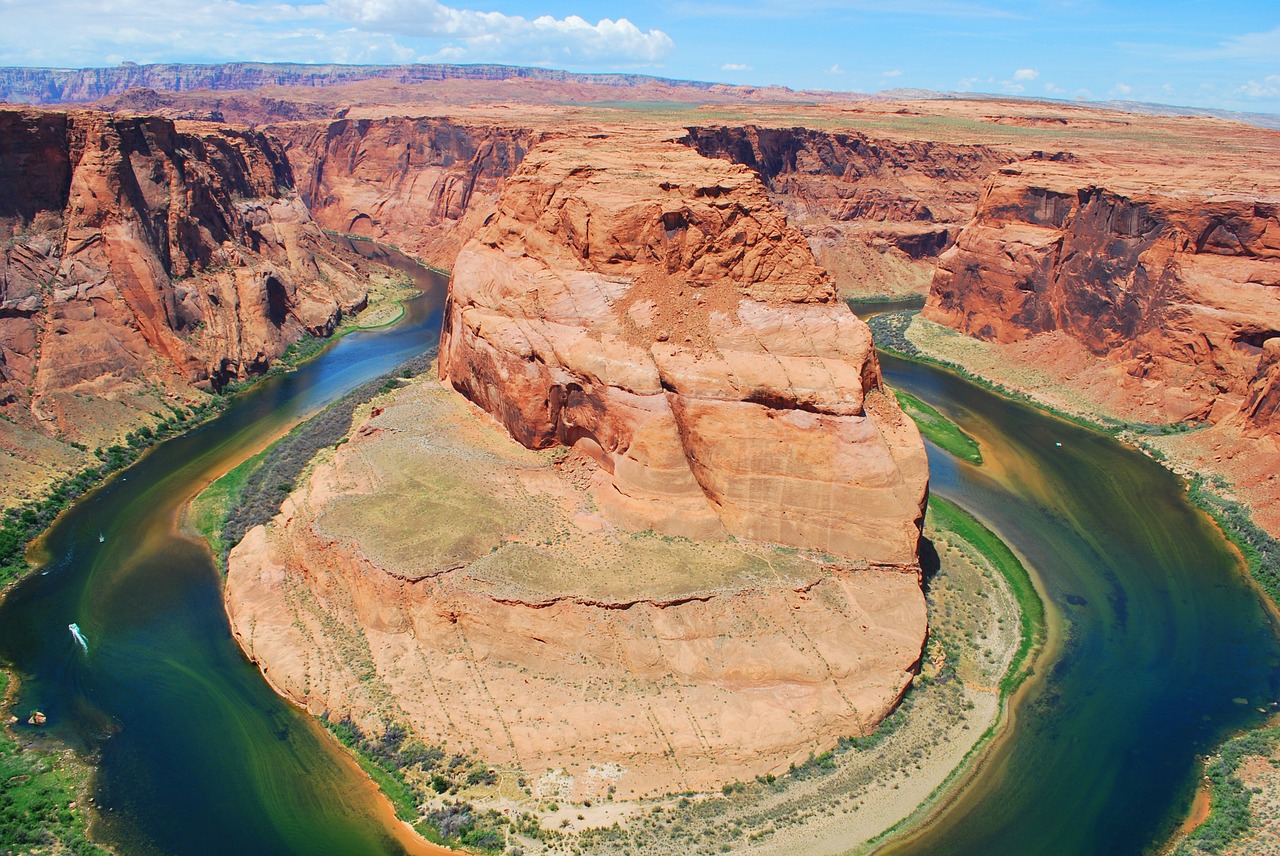
Not so long ago, thinking about aerial photography was quite the challenge. You couldn’t just say, “Okay, I am going to take a picture of my city from above” without considering the complications. You would need to have access to at least a really tall building in order to catch most of your city, or—if you are wealthy enough—be able to pay for a photography trip via helicopter with good camera equipment. These days, with the technological advancement in the photography field, drones can completely replace the old-school experience, making aerial photography look like child’s play.
Advantages of Buying a Drone Camera
Drone Photography Business Opportunities
Not only are you making an investment with respect to your photography equipment: if you plan to start a drone photography business, you are then taking the first step toward becoming a professional drone photographer. That’s why you need to make sure you possess the best camera drone for photography and video services. Advances made in technology will end up replacing traditional methods and criteria for taking pictures, forcing users to adapt to new times.
Real estate photography takes advantage of these new advancements, as real estate drone photography creates a new way of advertising buildings for sale. Future owners can get a very realistic view of how the neighborhood will look, the amenities in the building itself, the size of the lot, etc. For these reasons, a drone photographer will find themselves more and more in demand by the real estate industry, as it takes a good knowledge of drone photography techniques in order to make a short movie interesting enough for future potential buyers.
Safe and Affordable Way to Capture an Aerial Shot
By using the best drone for taking aerial photos, not only are you saving money as far as not having the need to take a trip by helicopter to take pictures, but it also is no longer necessary to take such risks as climbing on dangerous areas in order to catch a good glimpse of the city from above. Instead, you can take pictures or film the process with your drone and having fun while doing it!.

Disadvantages of Buying a Drone Camera
Battery Life
As with any electronic device, battery life is a major issue. Although the batteries for most DSLR cameras last three hours under heavy use, the battery life can be as short as 10-15 minutes of drone flight. This fact can be incredibly annoying, considering how much of an investment you are making with your new device. High-end models typically have a longer battery life.
Price
Price is also something to be concerned about, as getting a good drone costs as much as buying a mid-range DSLR camera for something that can be lost or damaged much more easily than normal cameras. Perhaps as time goes by, the amortization of a drone will happen much faster, but right now, you should have a lot of experience with drone photography if you plan on purchasing one of the high-end models.

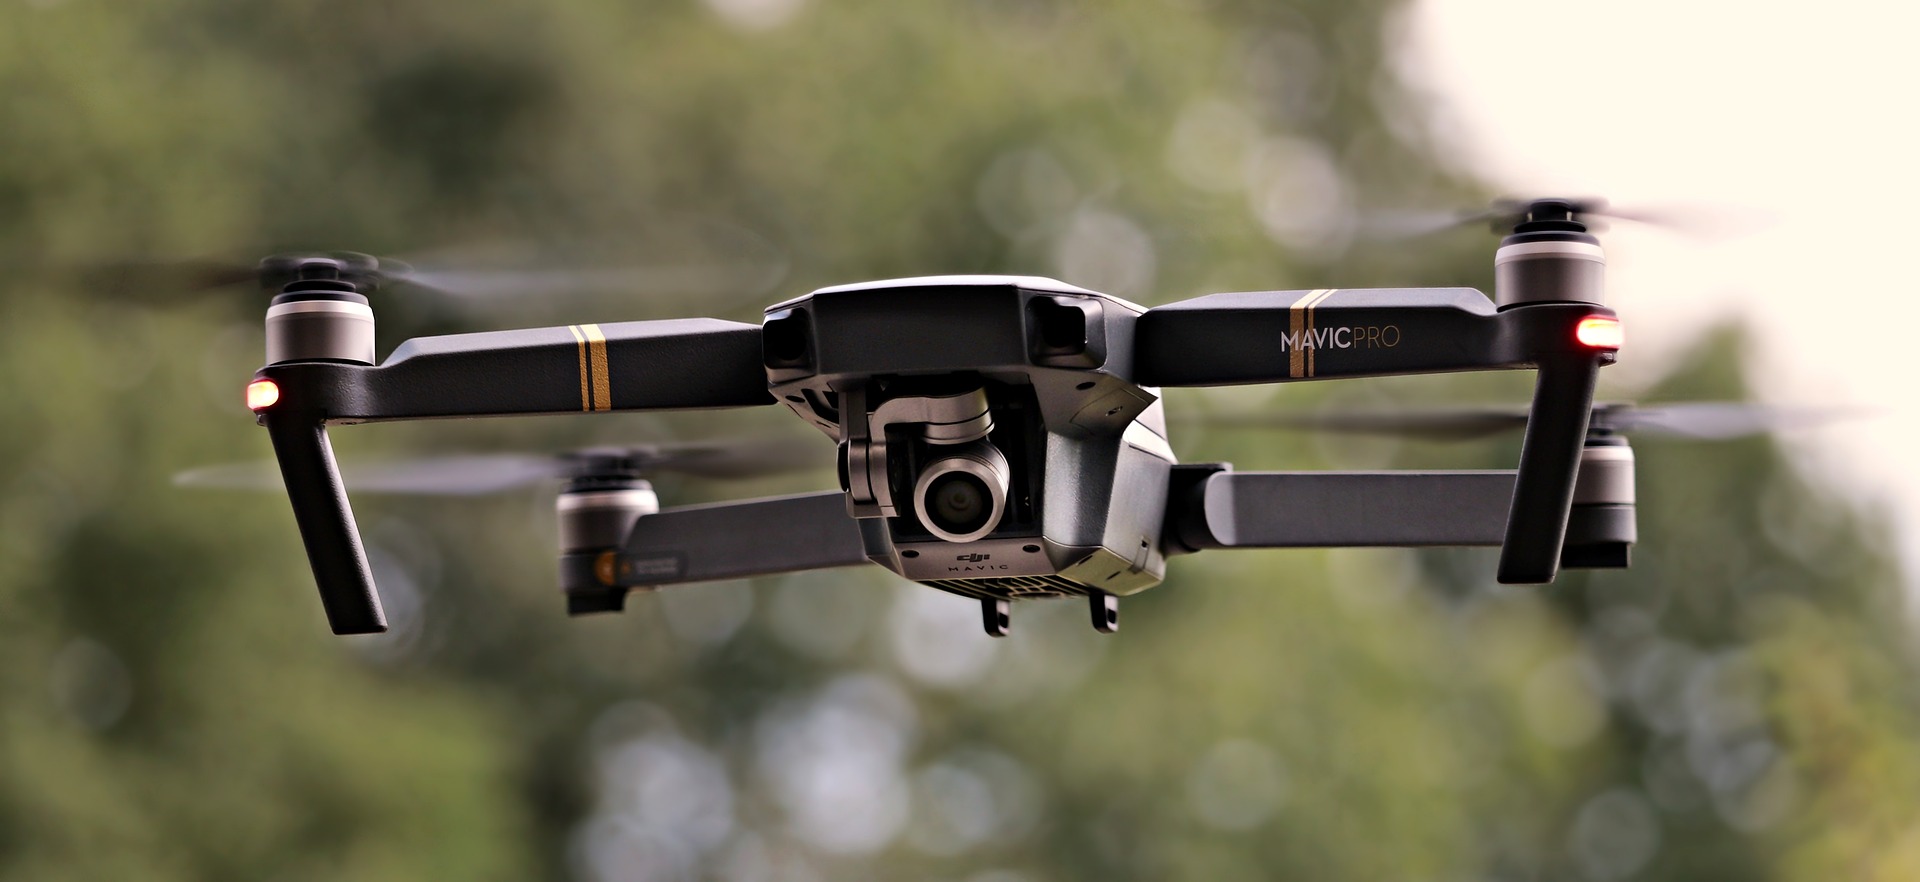
Camera definition on most drones for photography is Full HD. Some models even provide 4K cameras on their units (such as DJI Mavic Air and newer models), but then again the price is an issue, as drones with acceptable camera quality are normally more than $400.
It is also necessary to have a live preview of the flight made by the drone, especially if you are using it in urban areas where the unit could be easily damaged by impact with buildings and infrastructure. Flying a drone in an urban area without knowing the route it is taking could be labeled as neglectful, as it carries a potential risk of hurting somebody if the drone flies near people walking in the streets.
Learning Curve
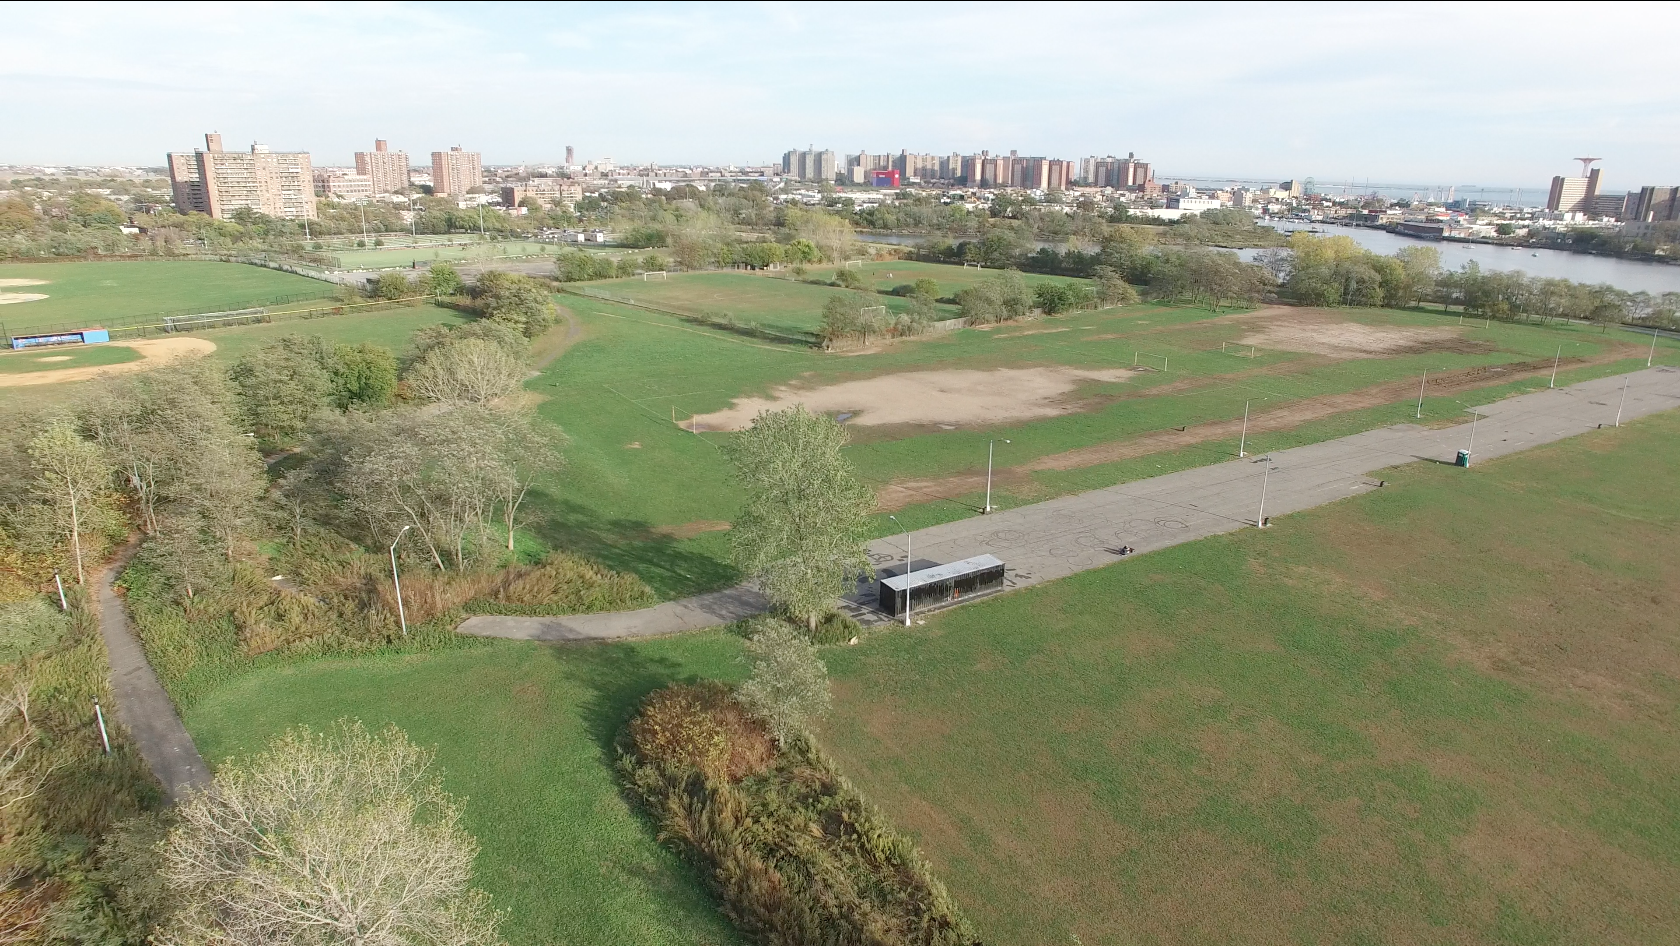
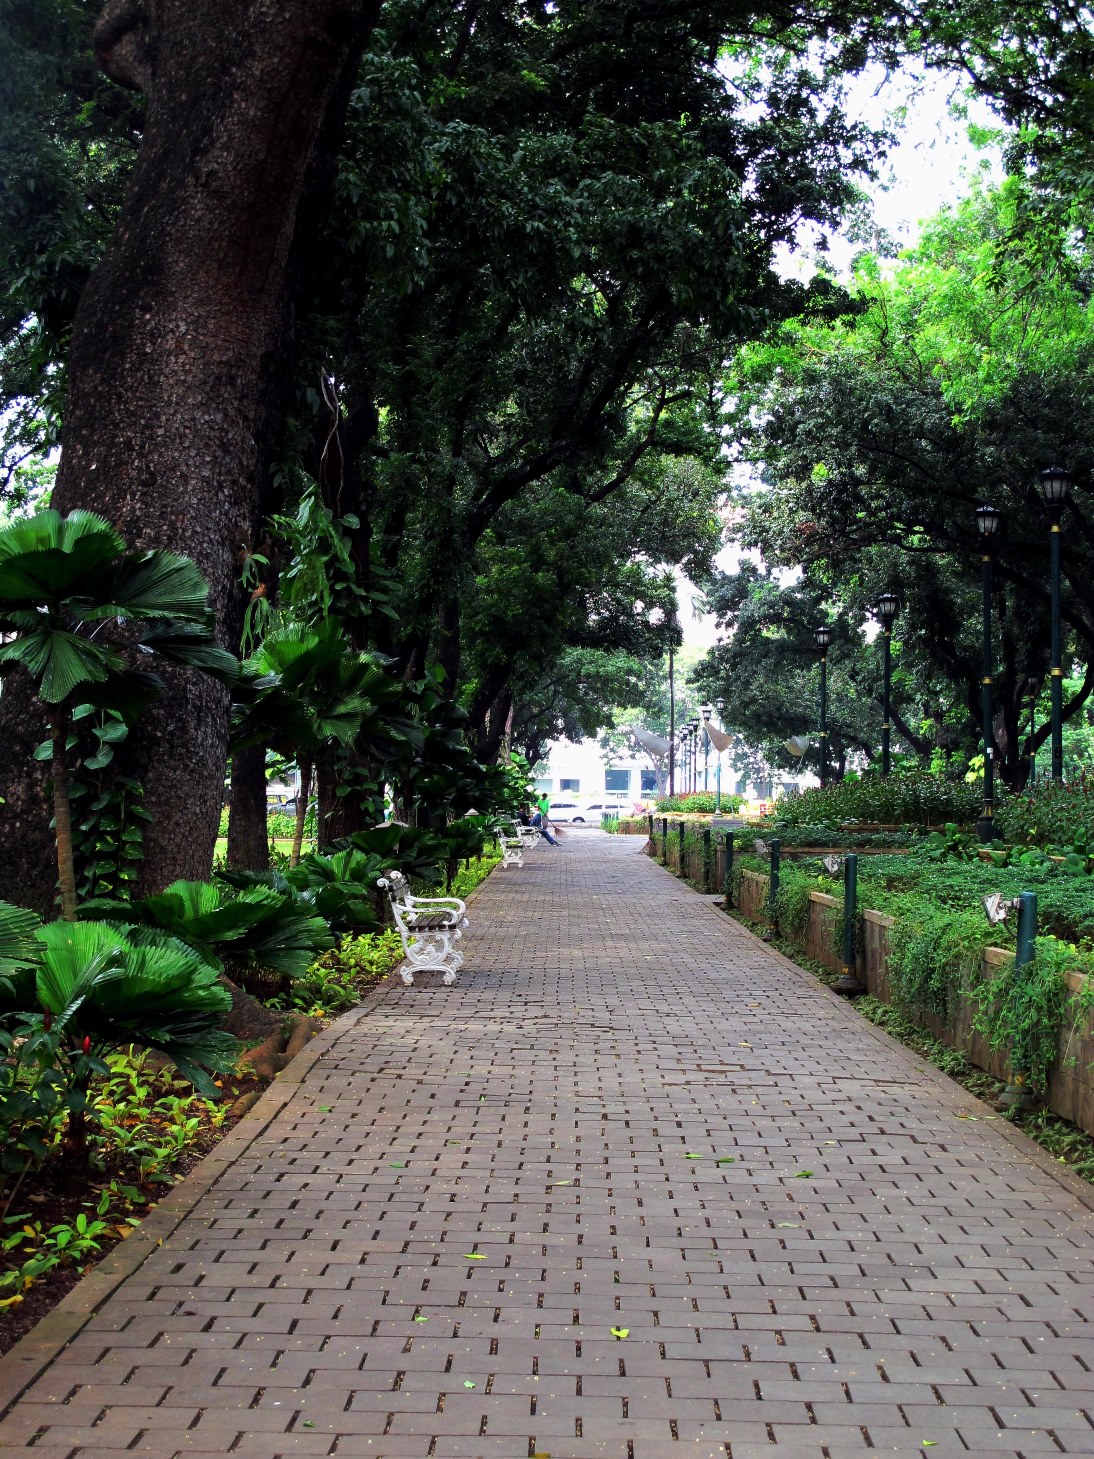
The learning curve of using a drone is quite high. Most people think it is just a matter of turning on a device and using the controls as though it were a common RC car—it is quite the opposite. Learning how to fly a drone takes time and practice, and it is advisable to practice in large areas, such as parks, in order to minimize the risk of losing your drone camera or hurting somebody in the process. Climate factors, such as strong wind and rain, significantly affect the performance of the drone during flight, even compromising the lifespan of the drone, if it is forced to endure conditions for which it is not suited.
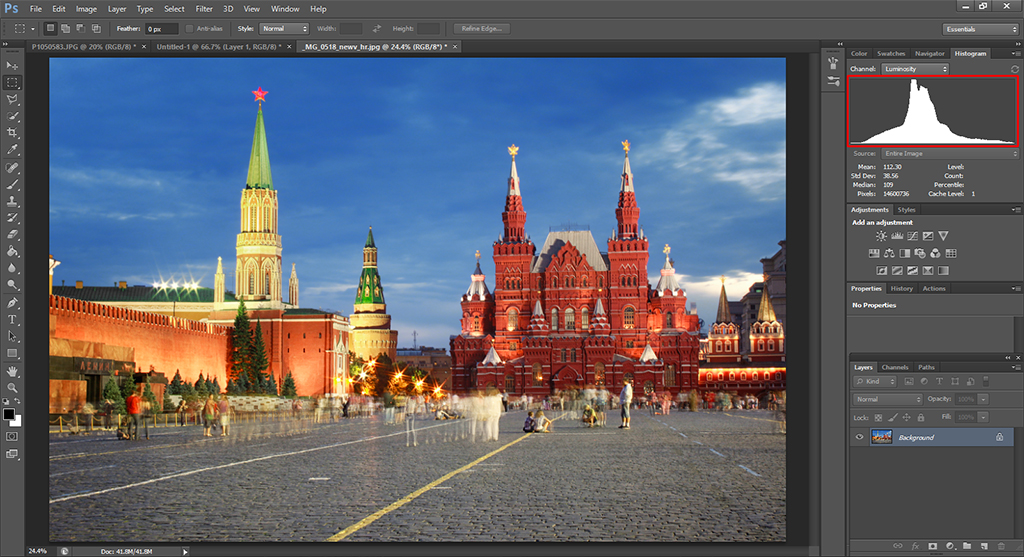
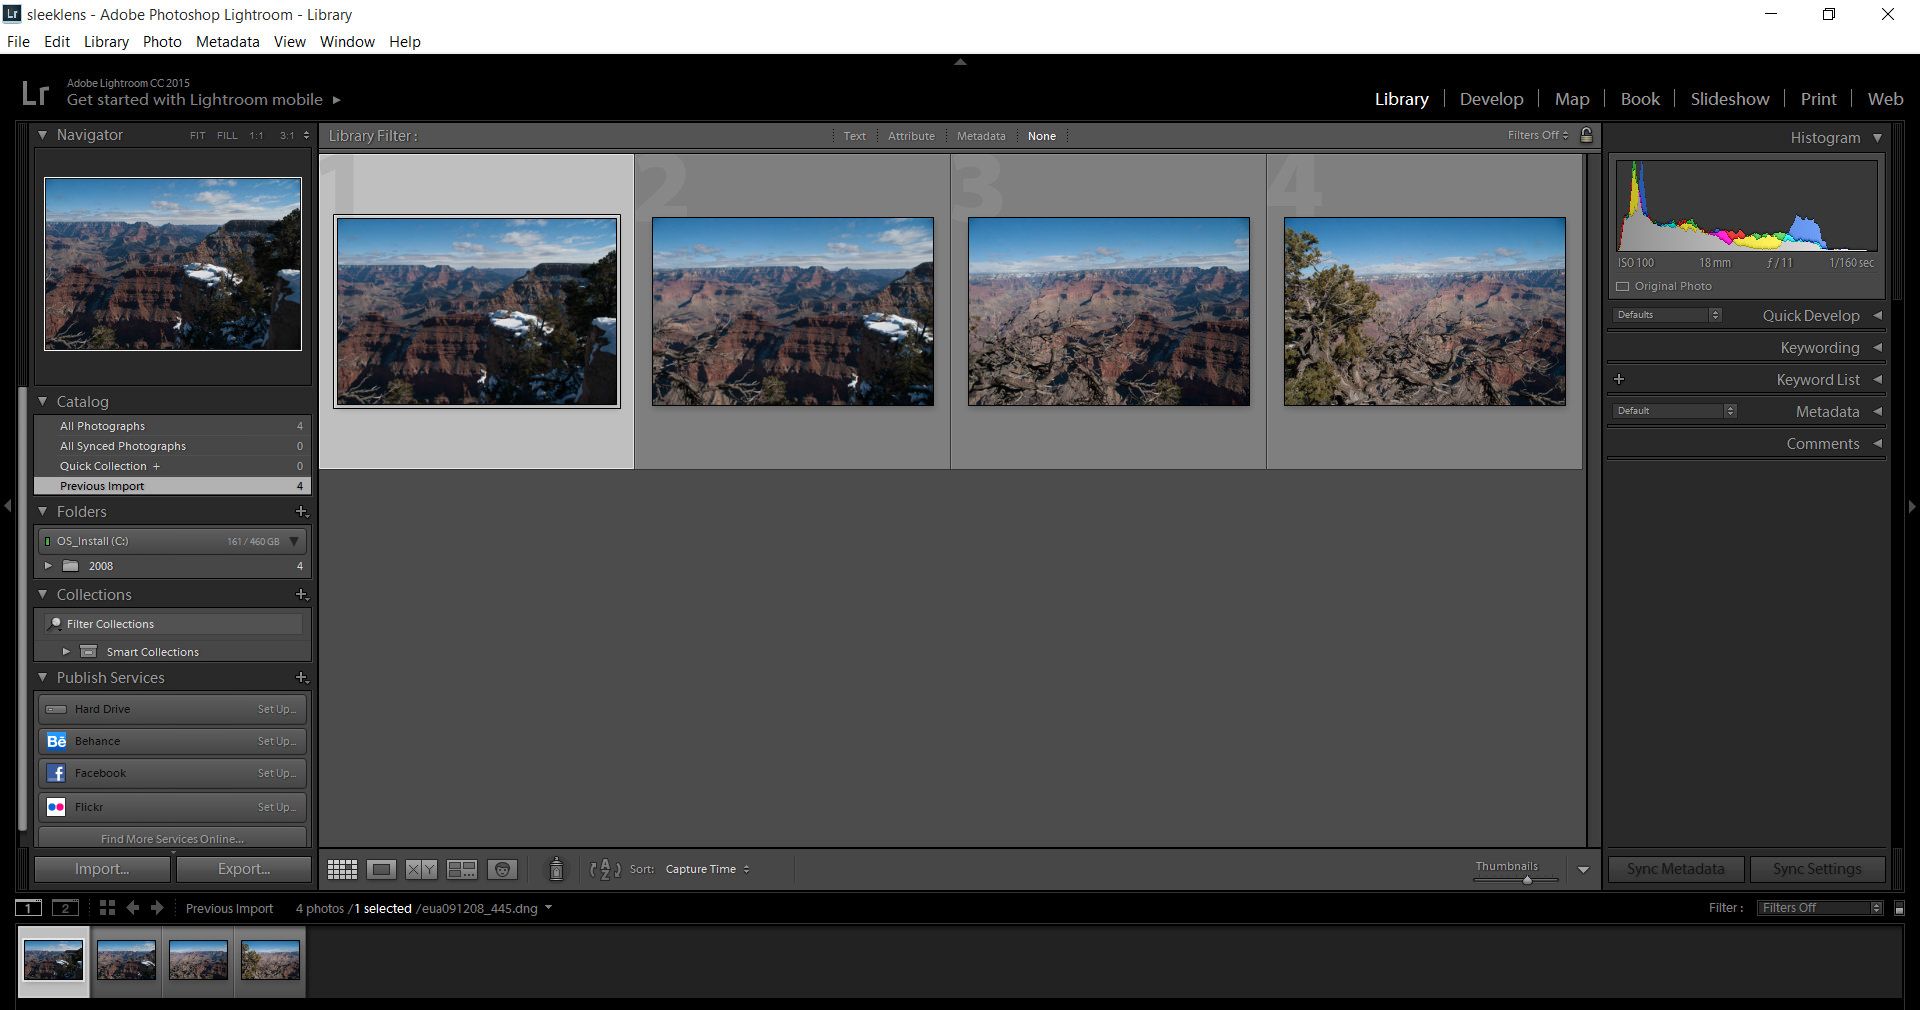
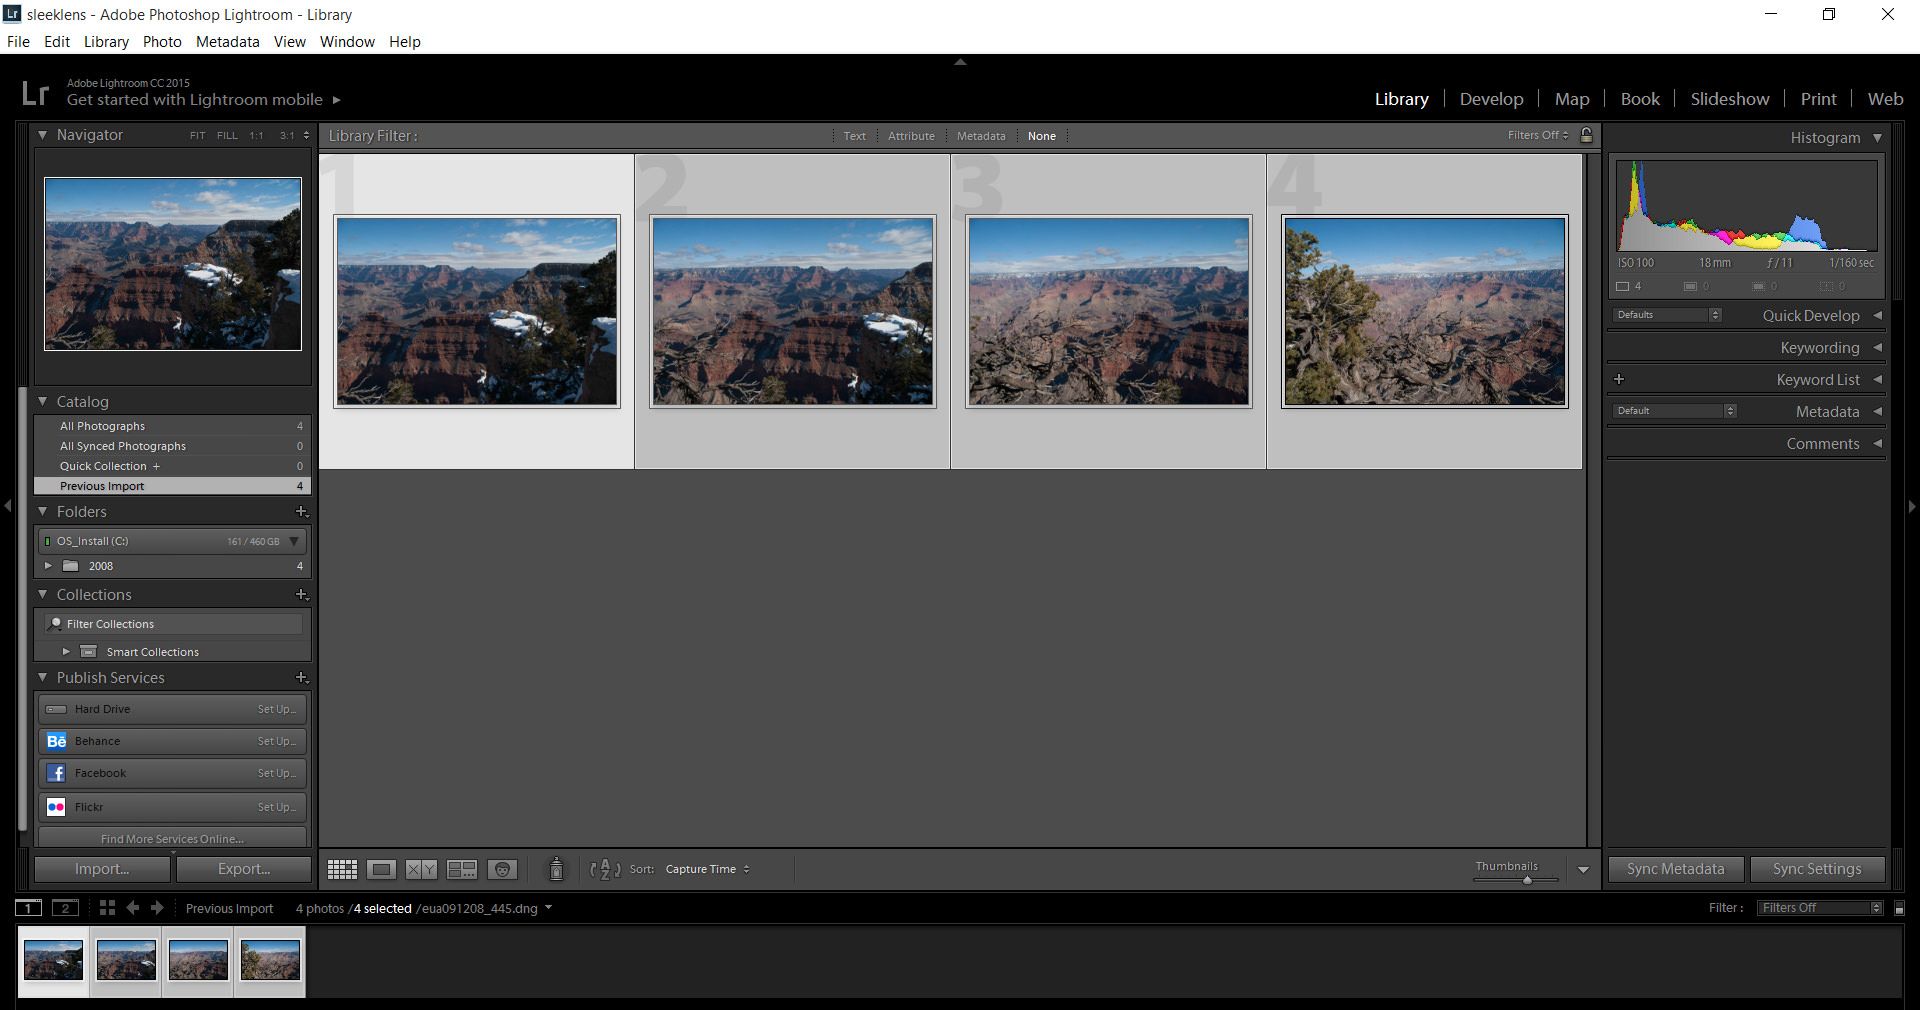
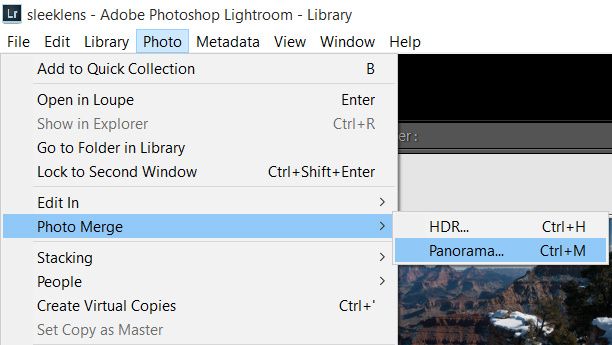
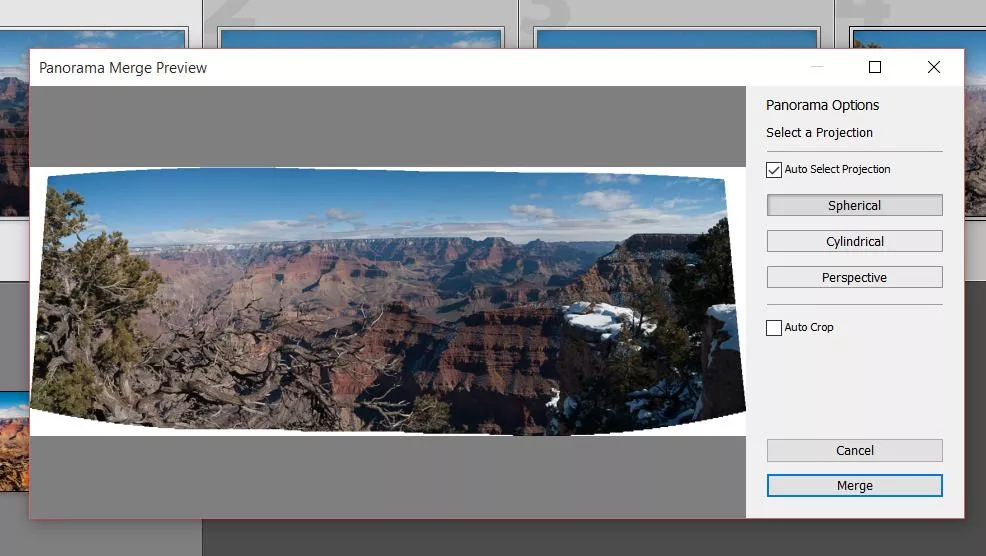
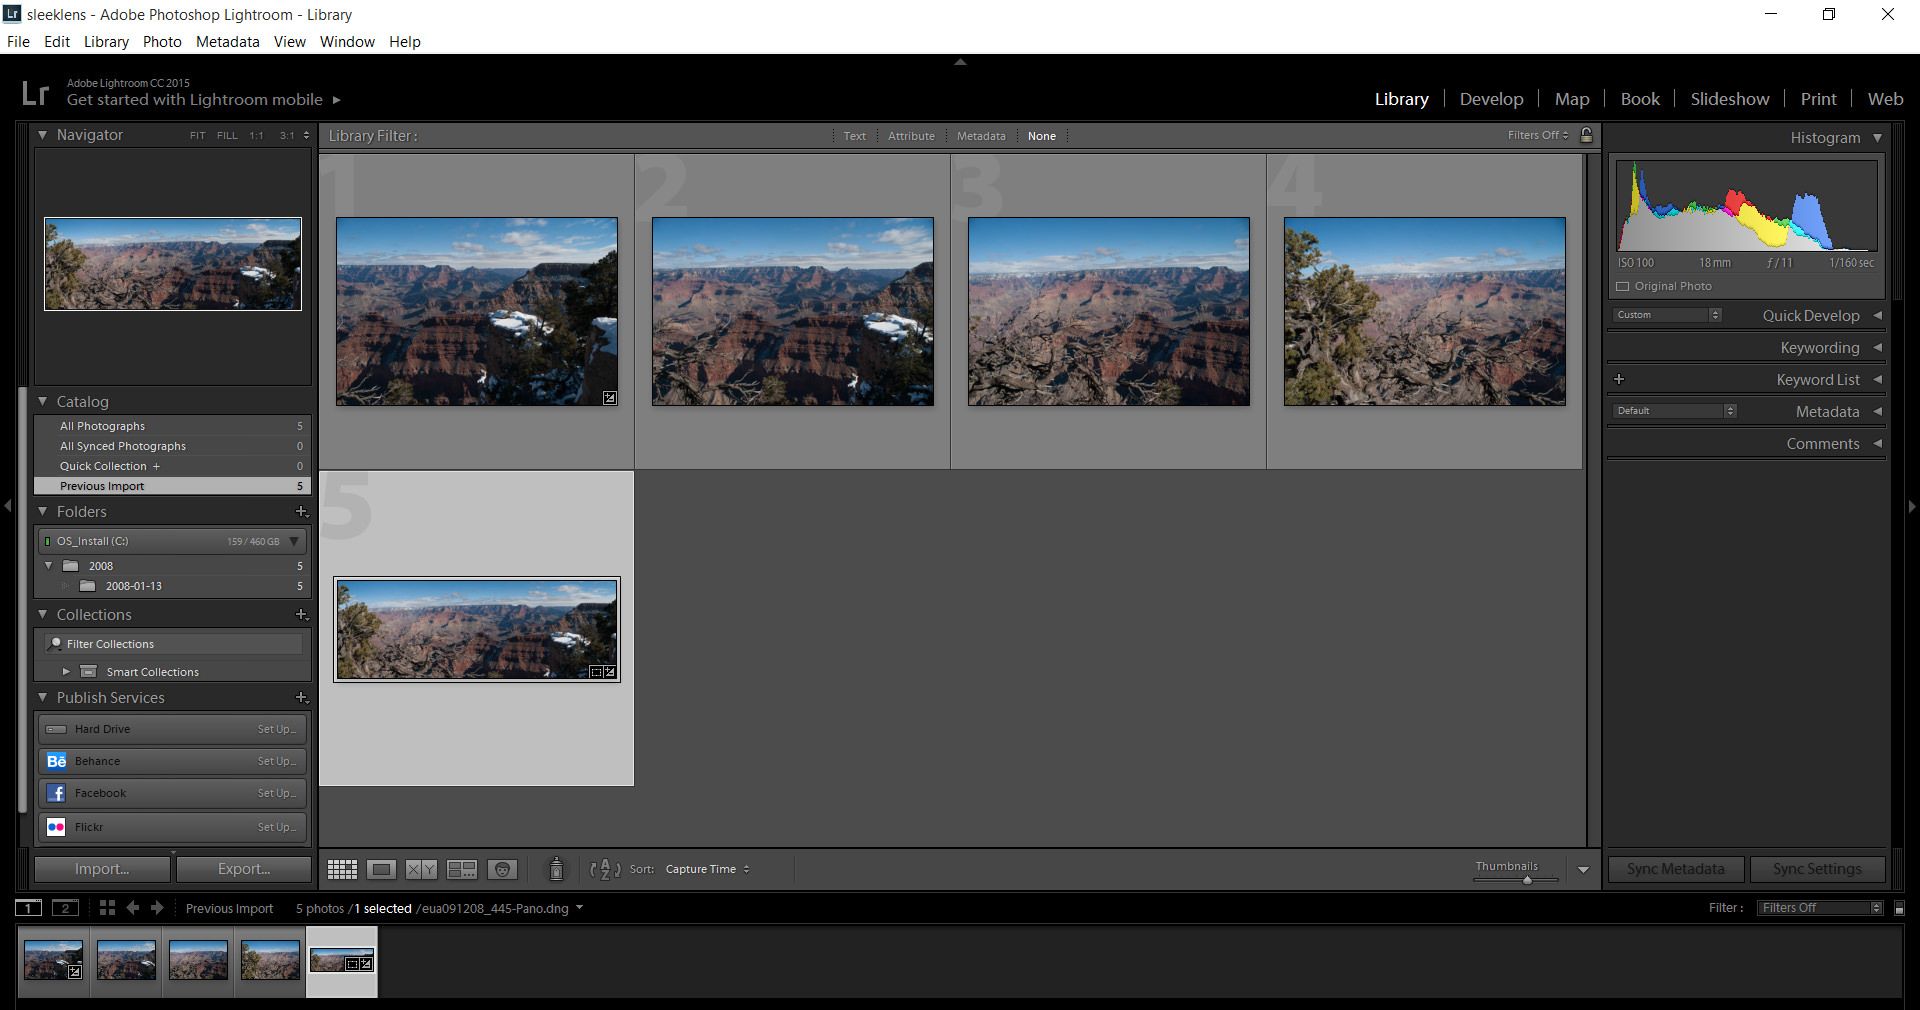
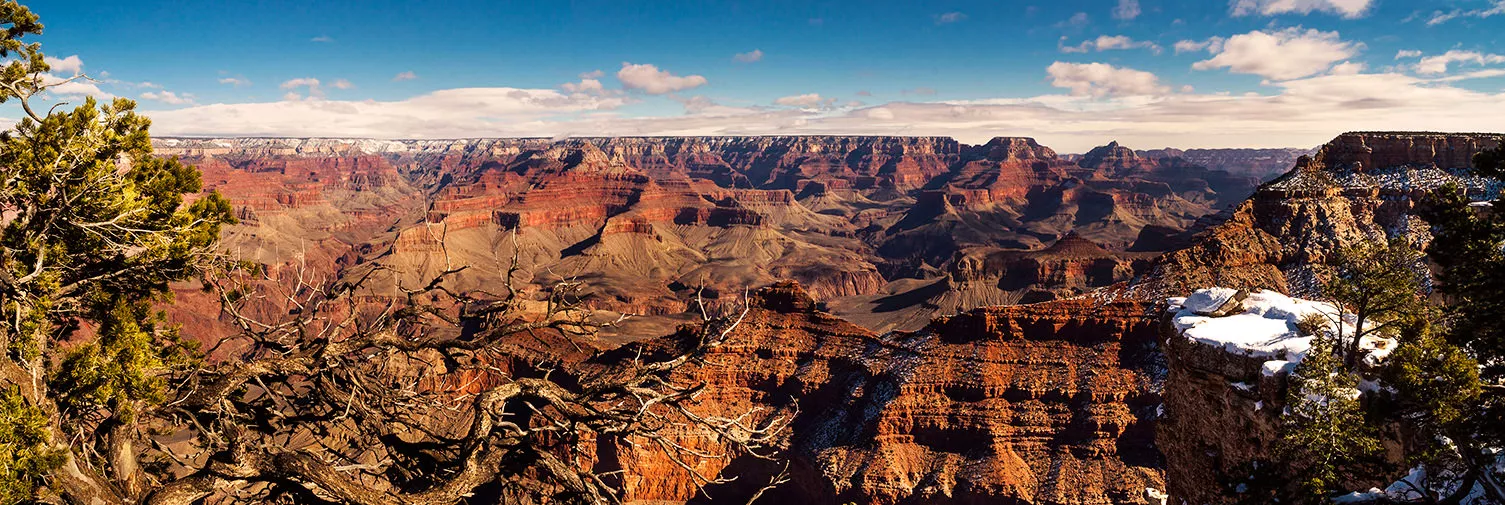
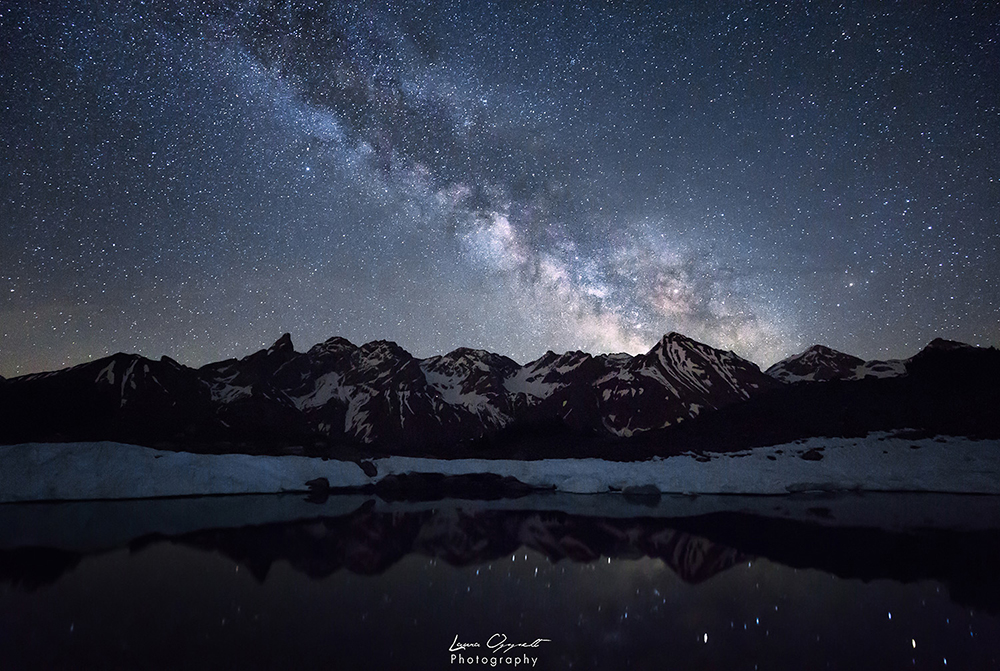
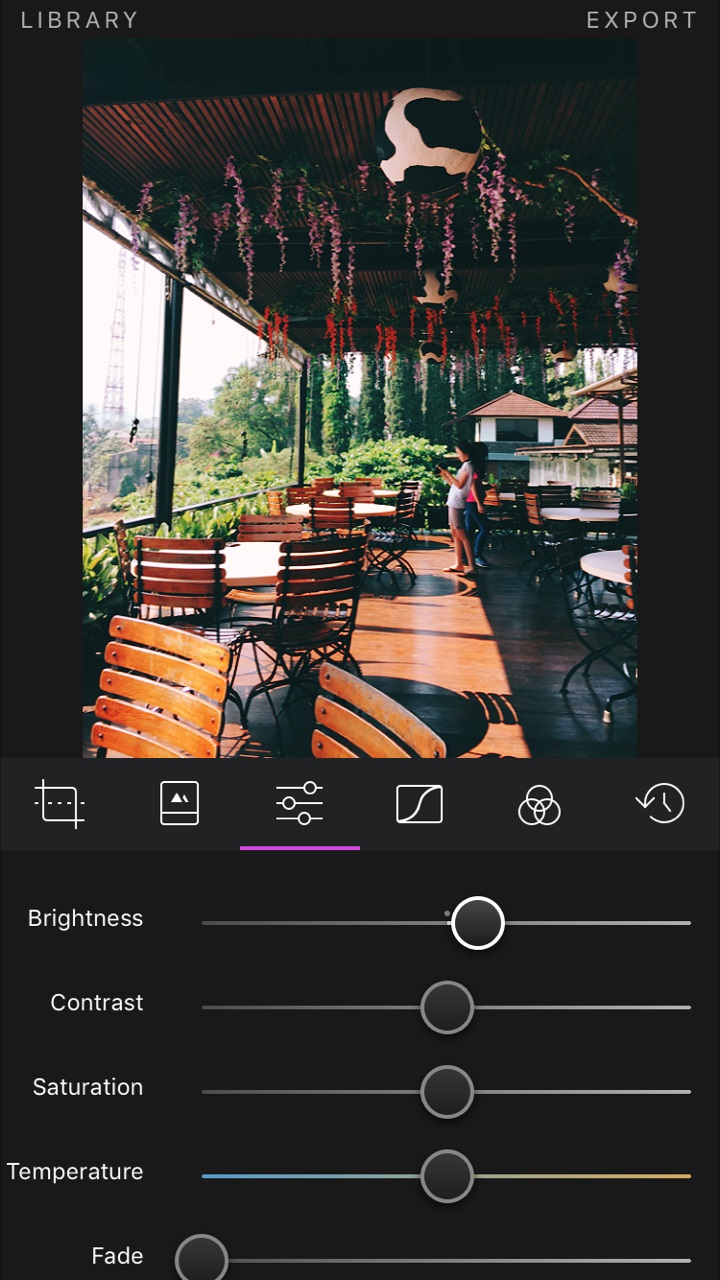
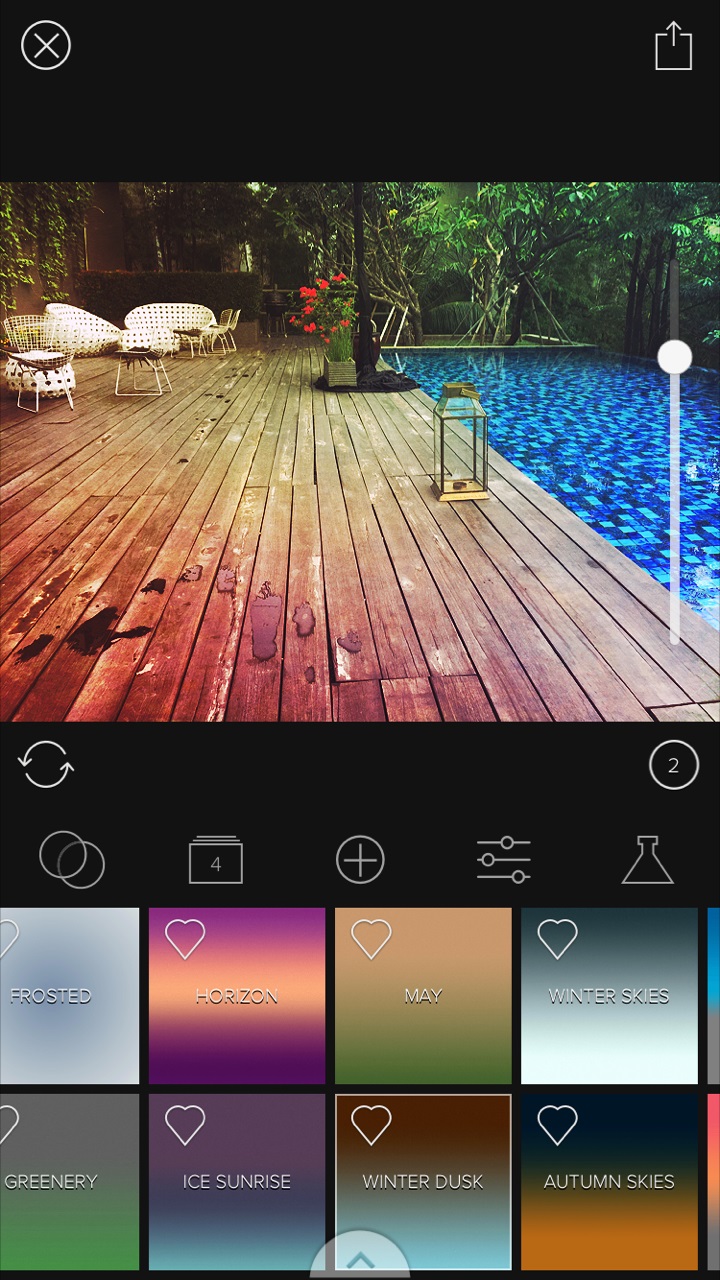
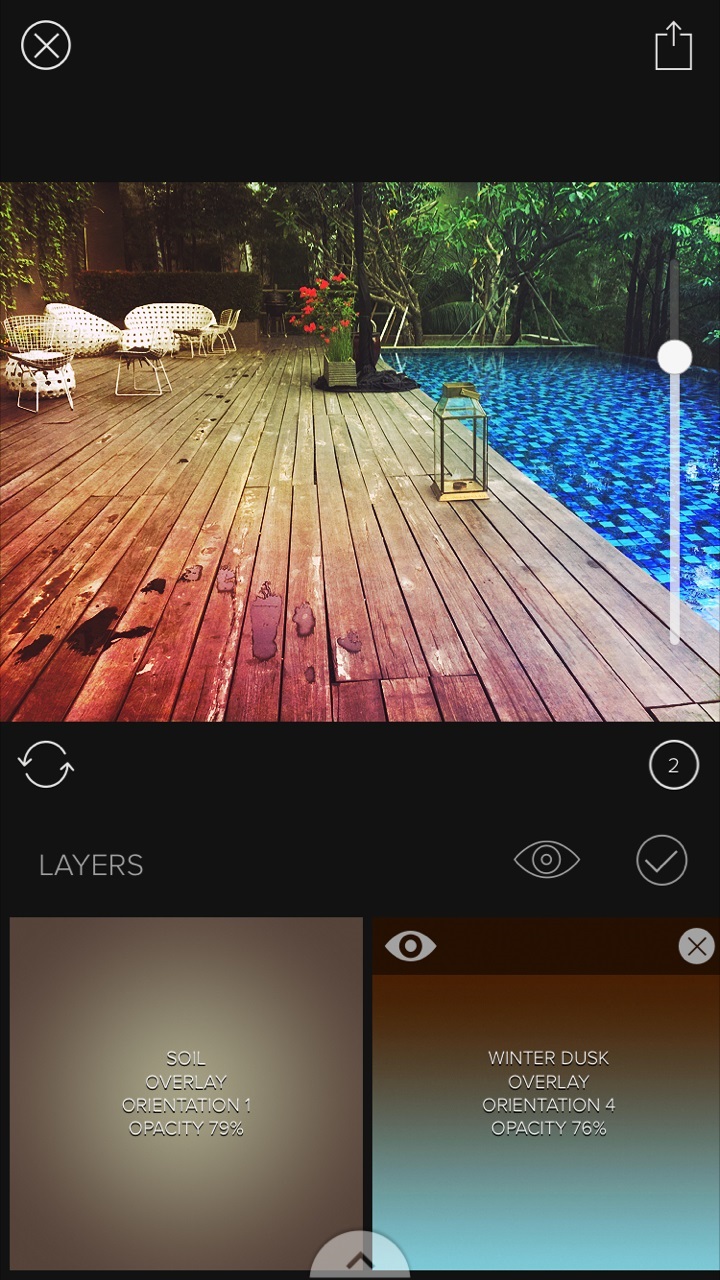
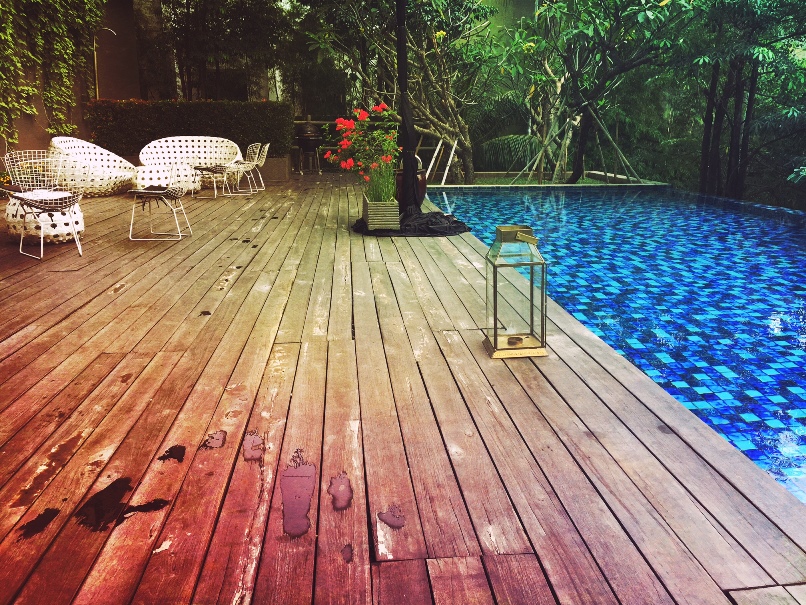
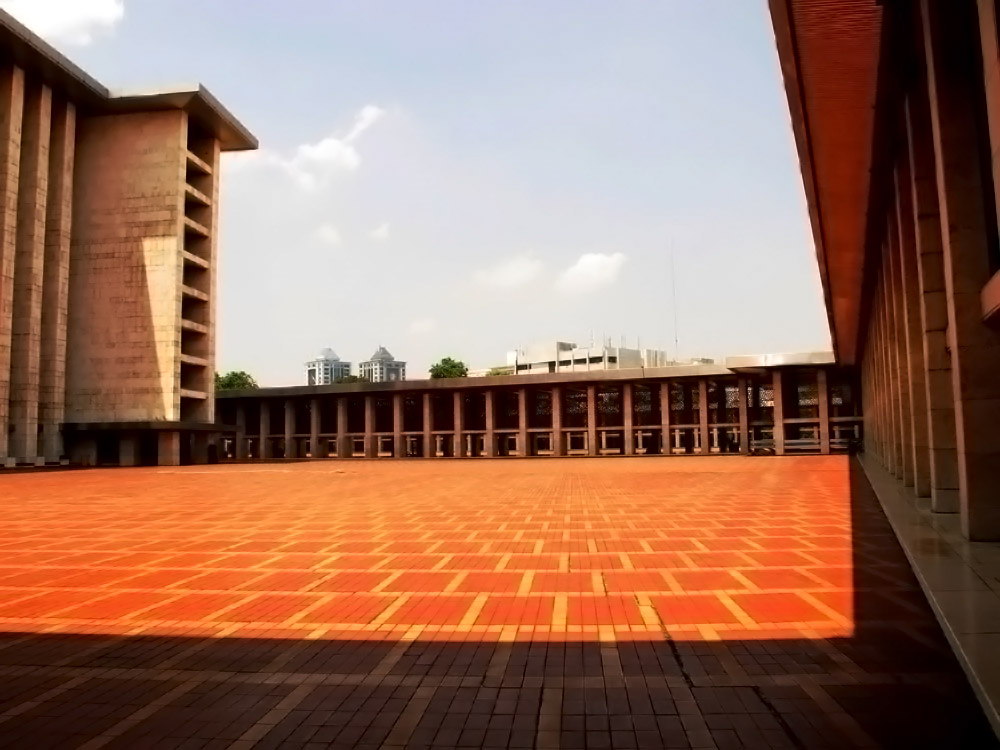
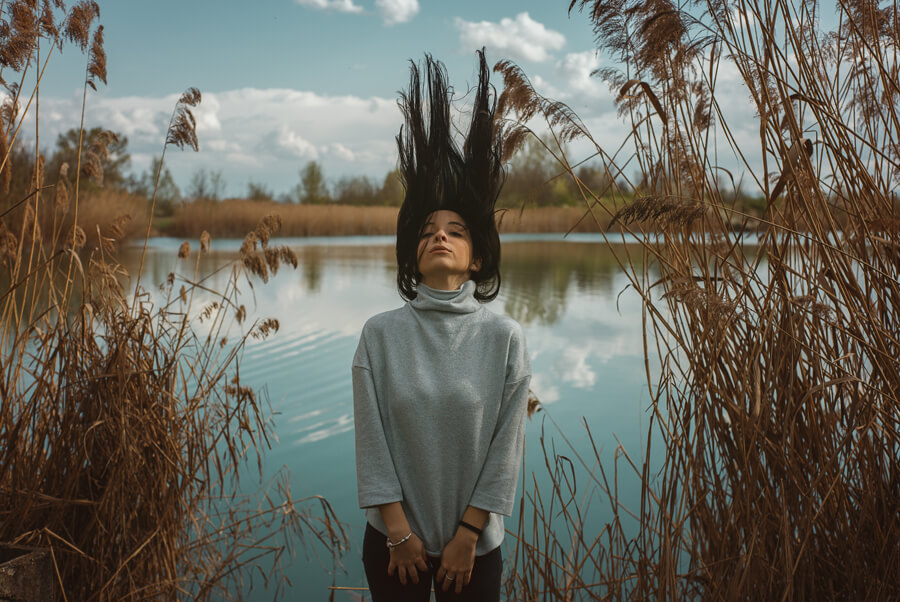
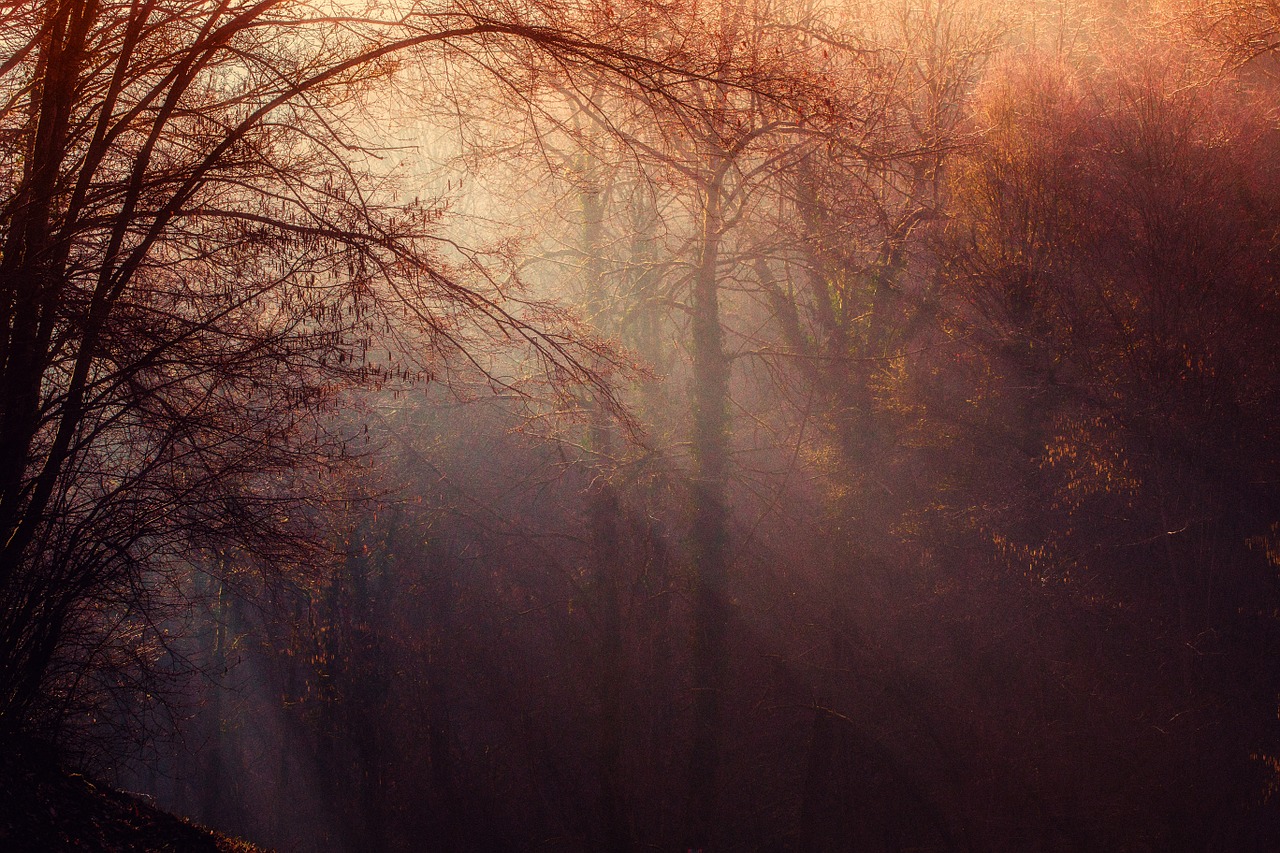
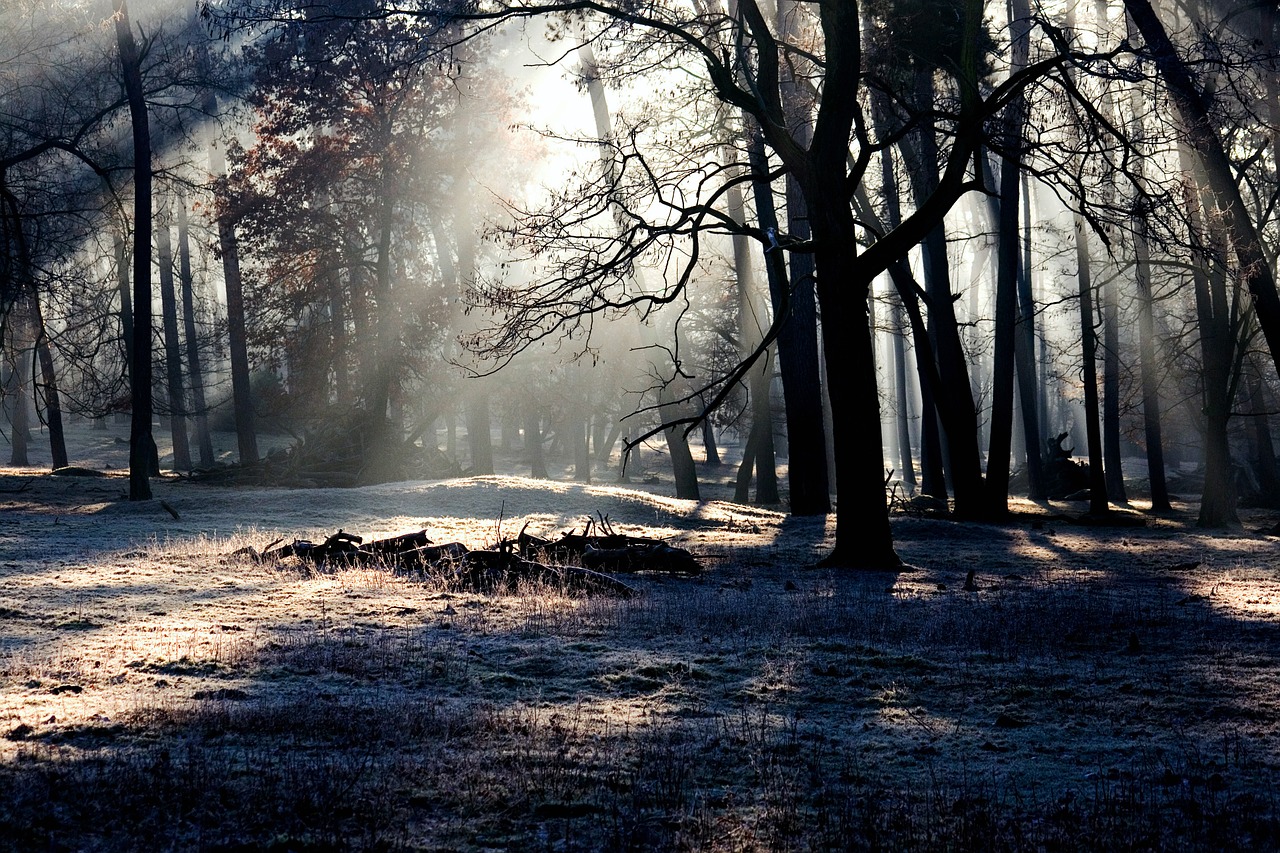
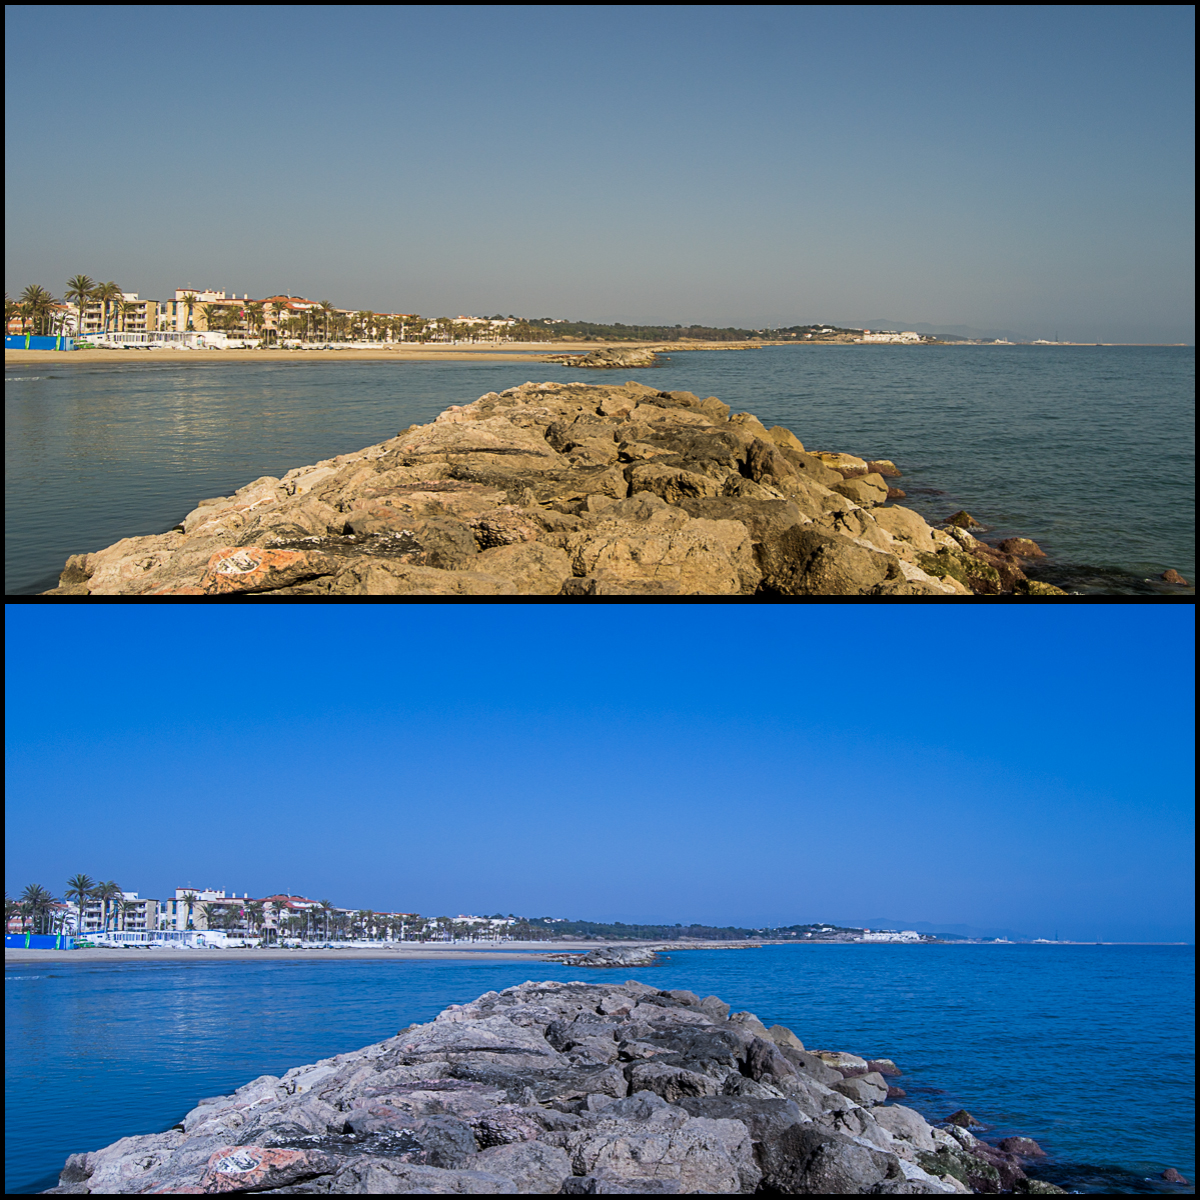
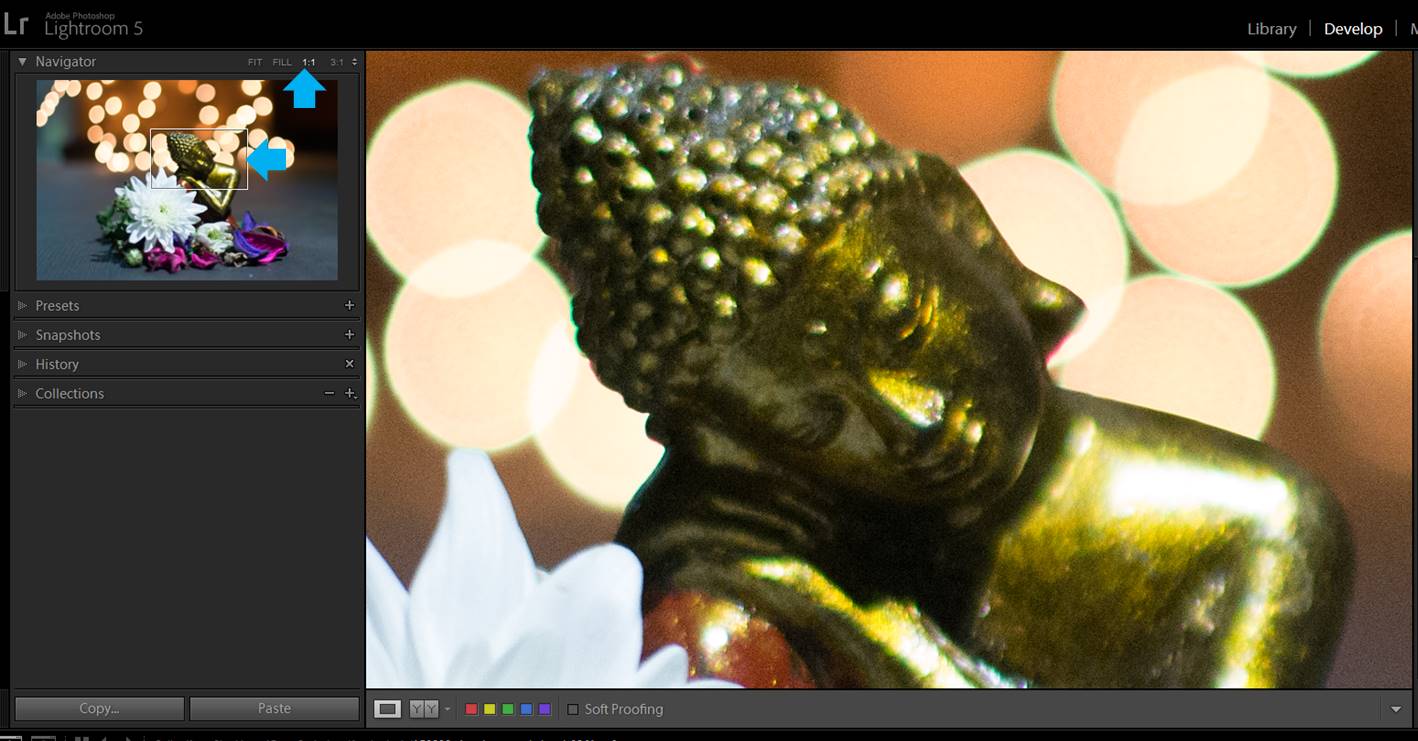
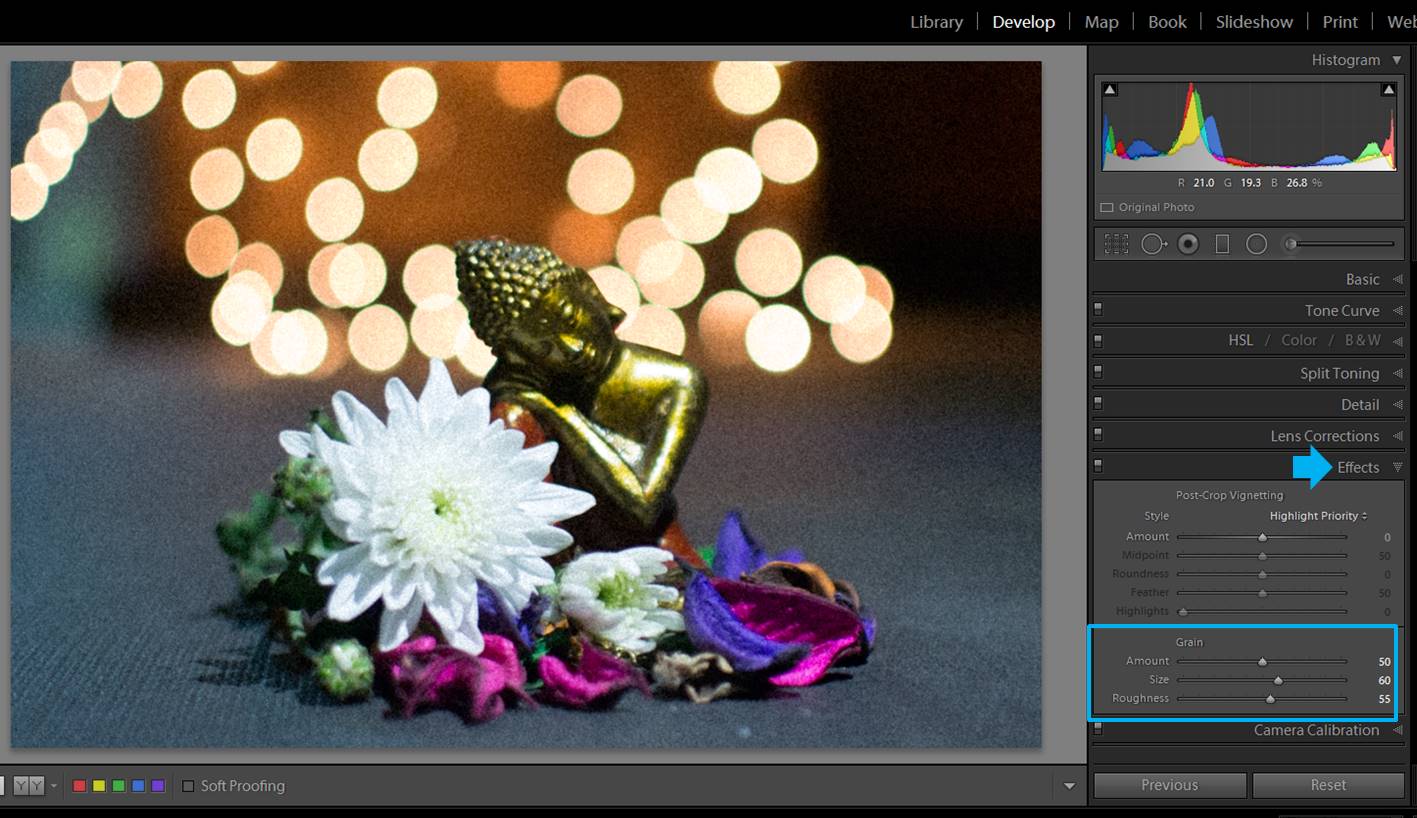
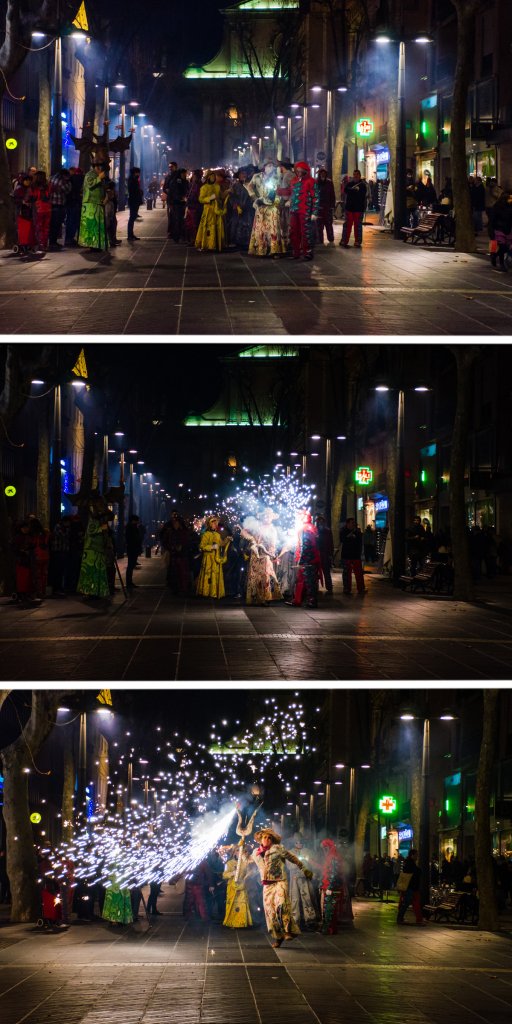
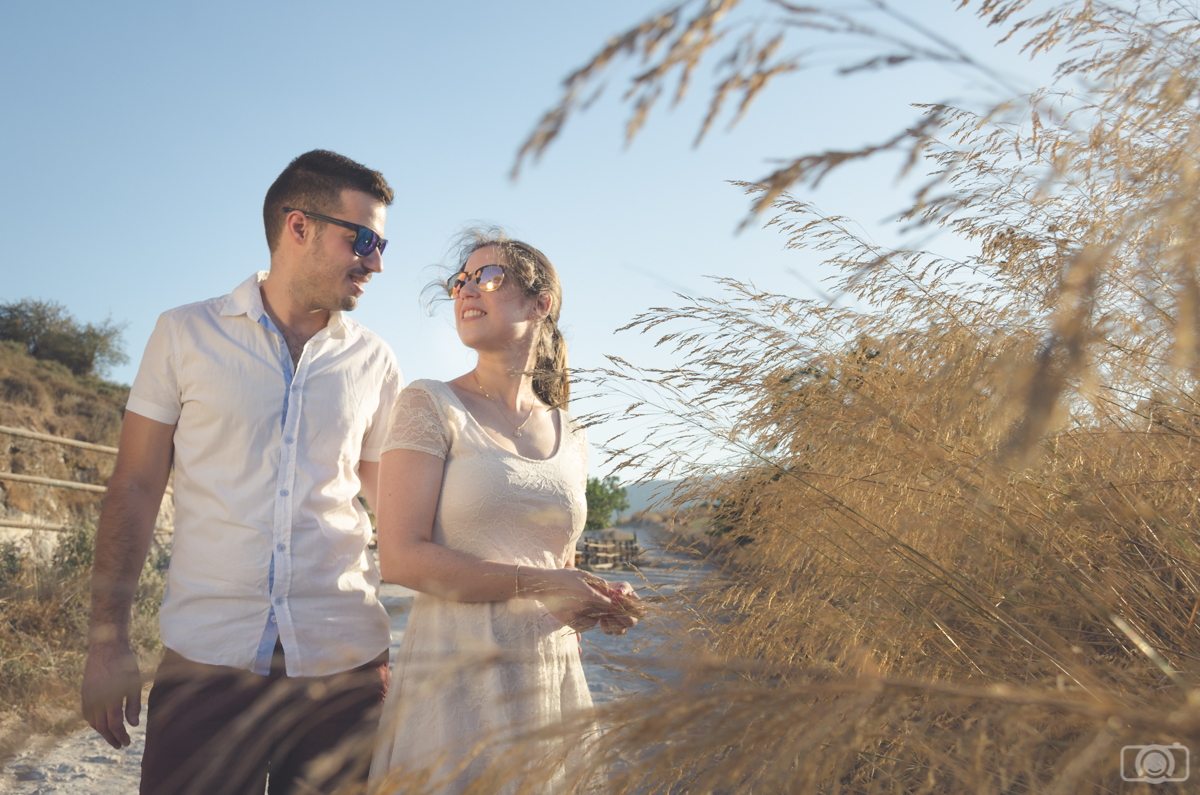
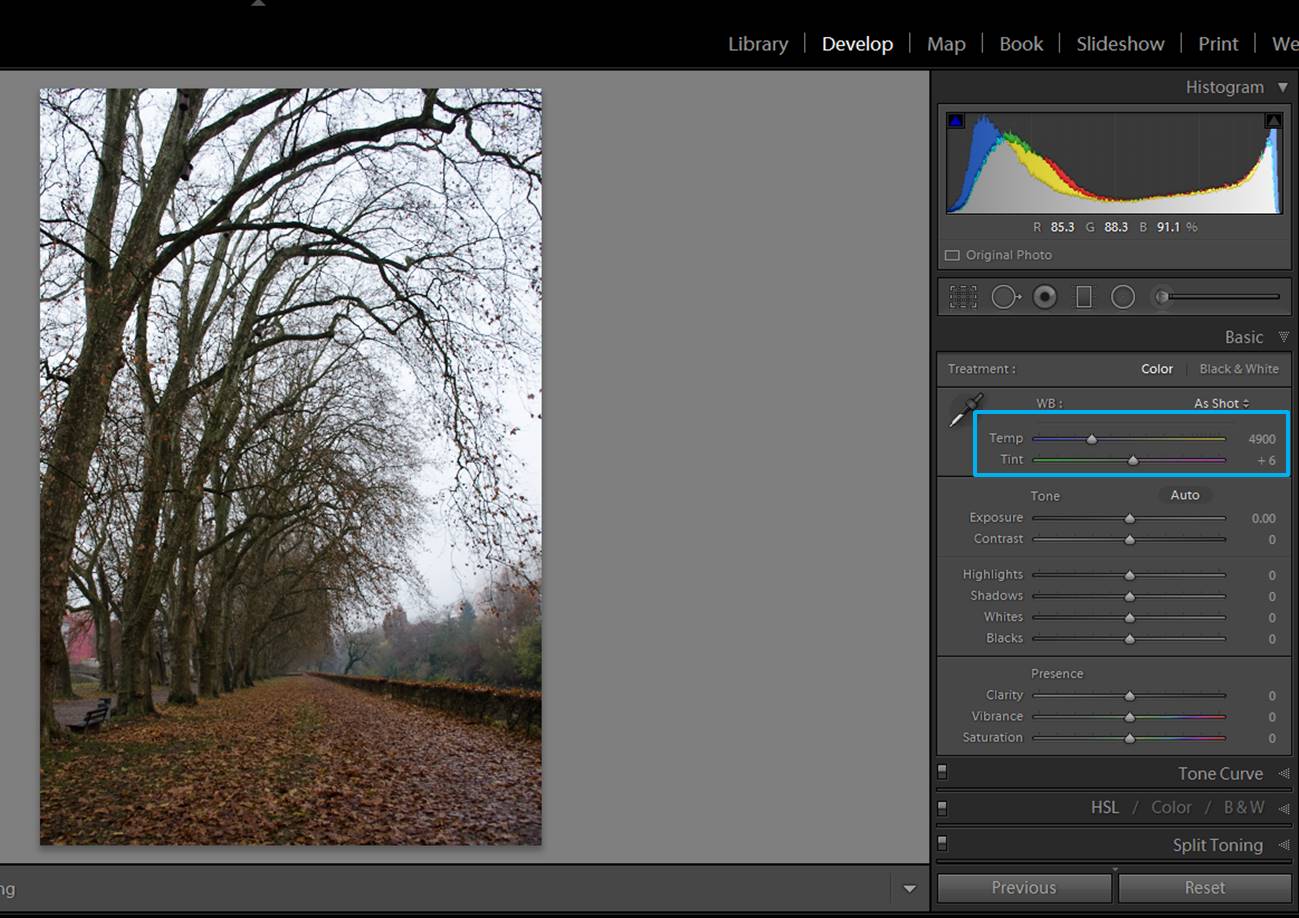
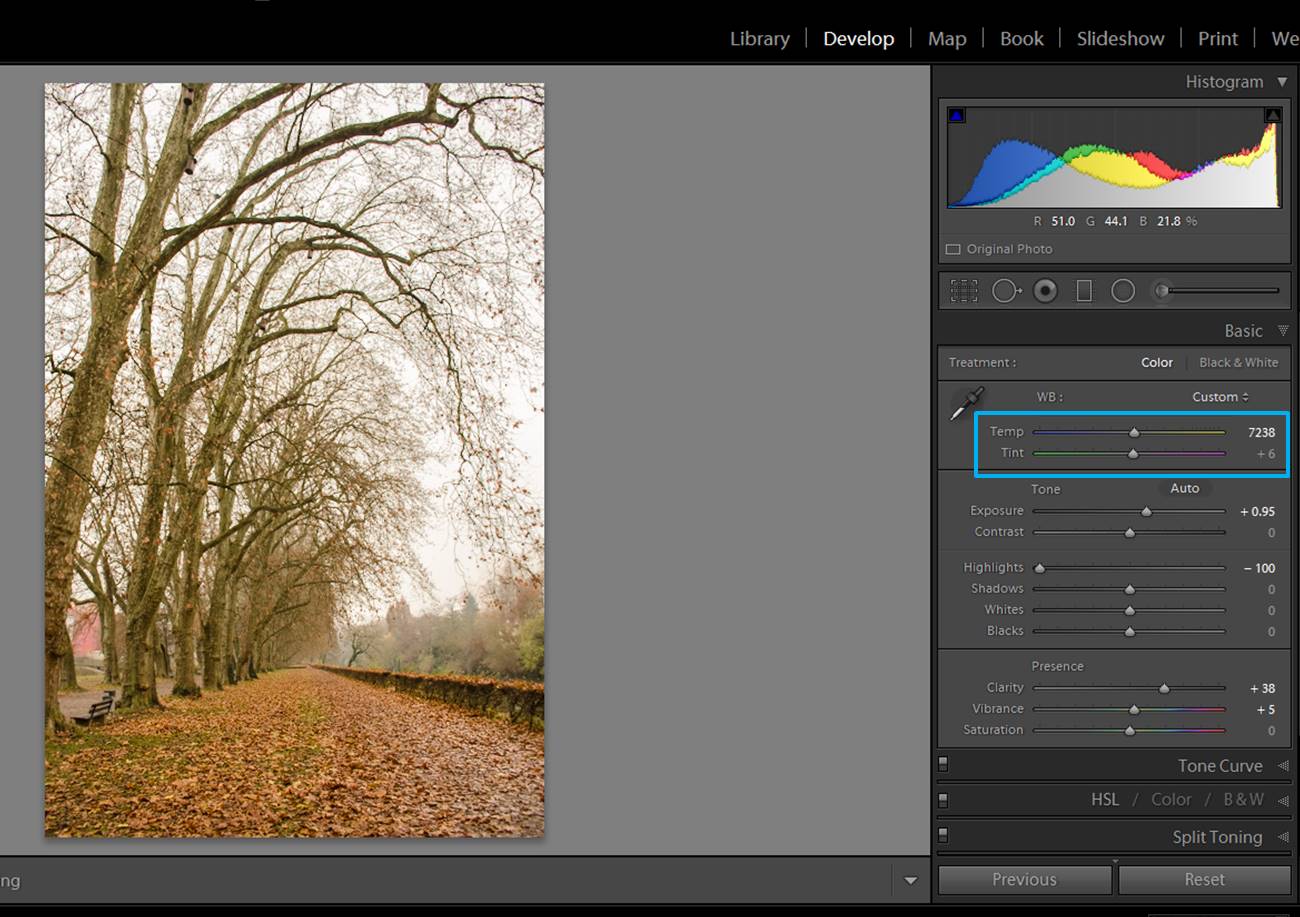
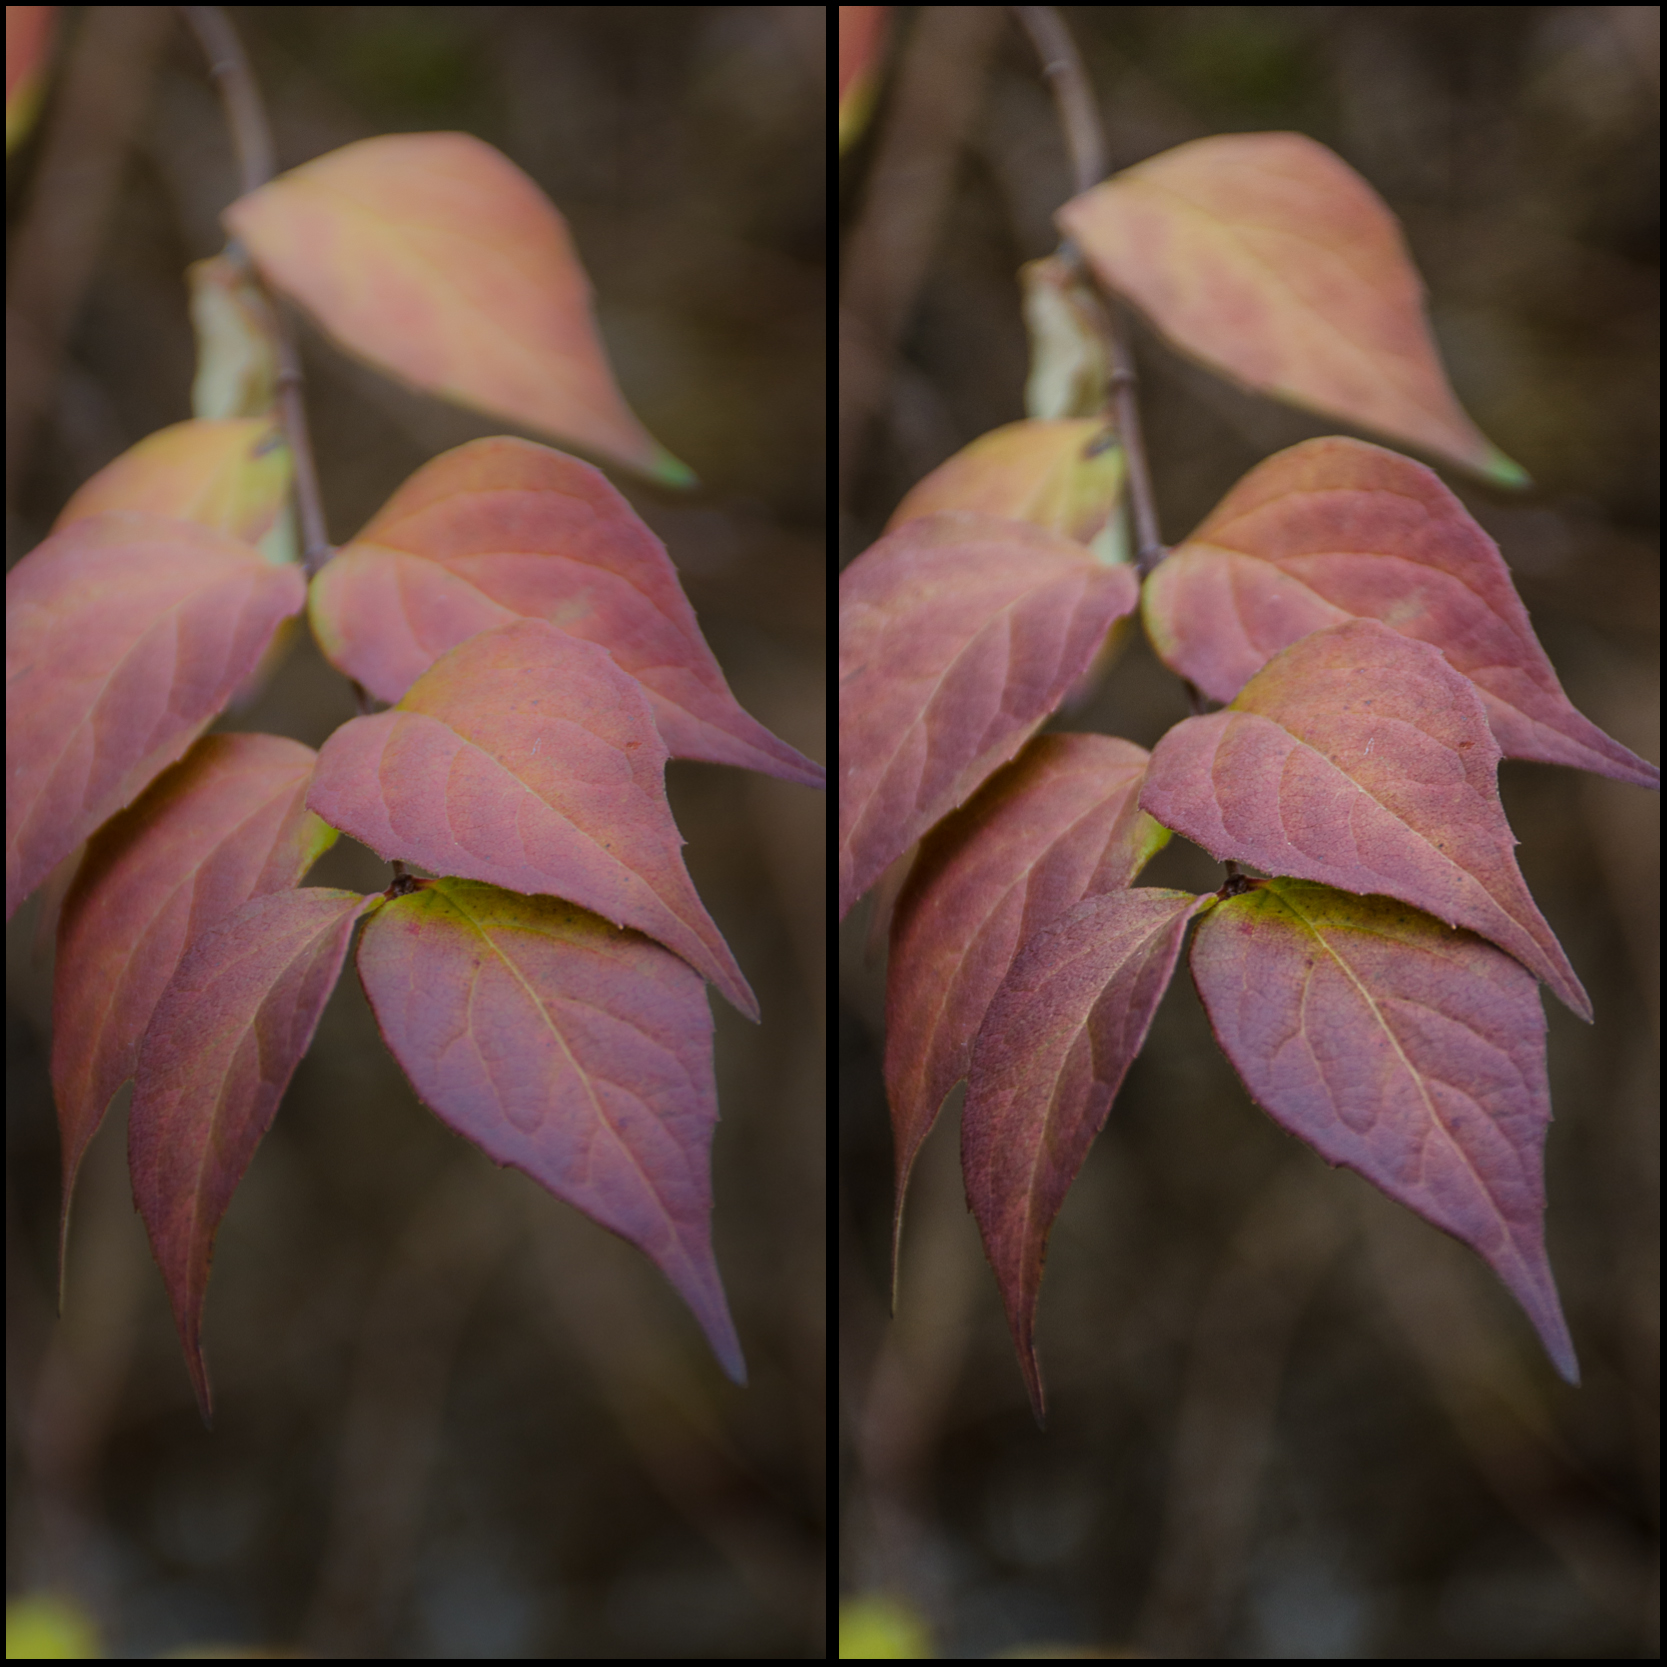
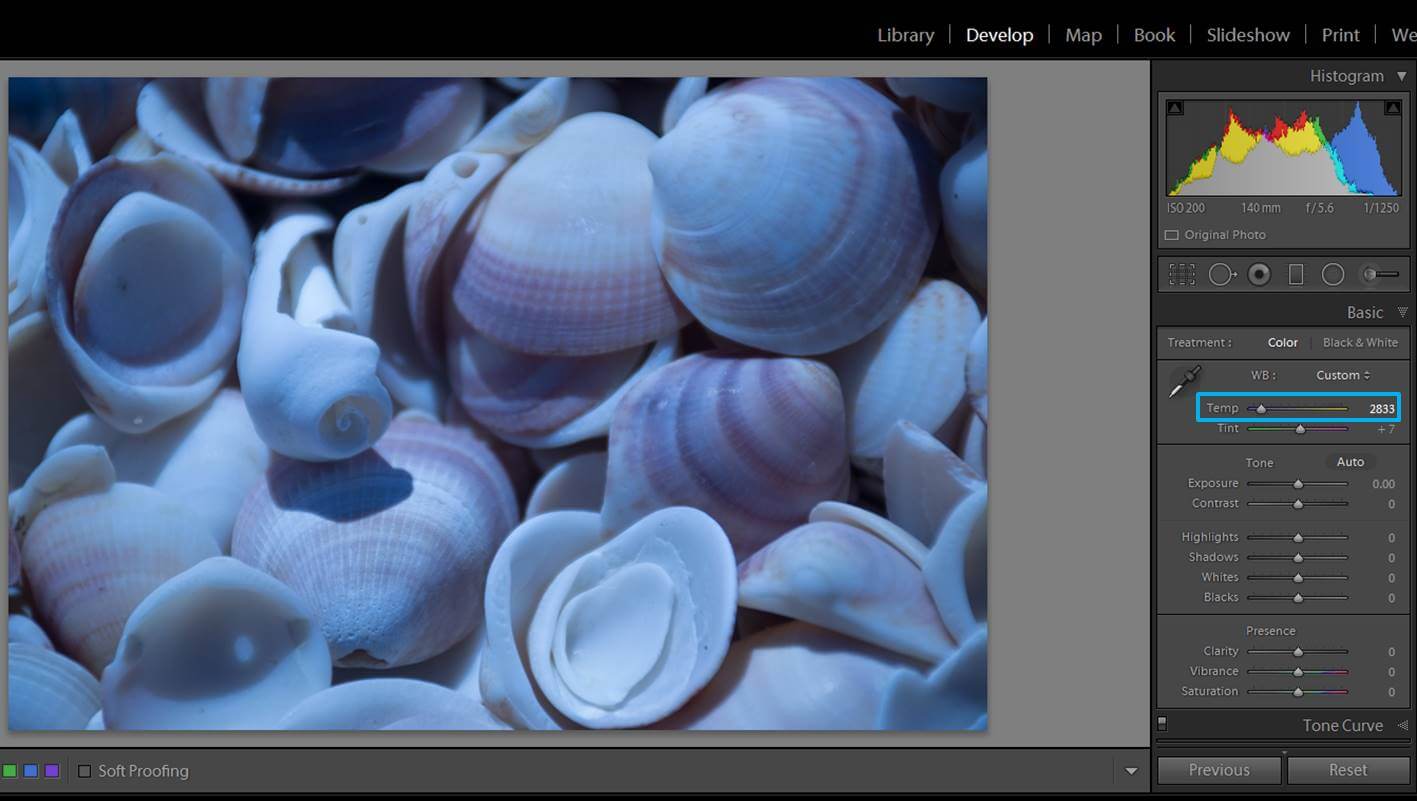
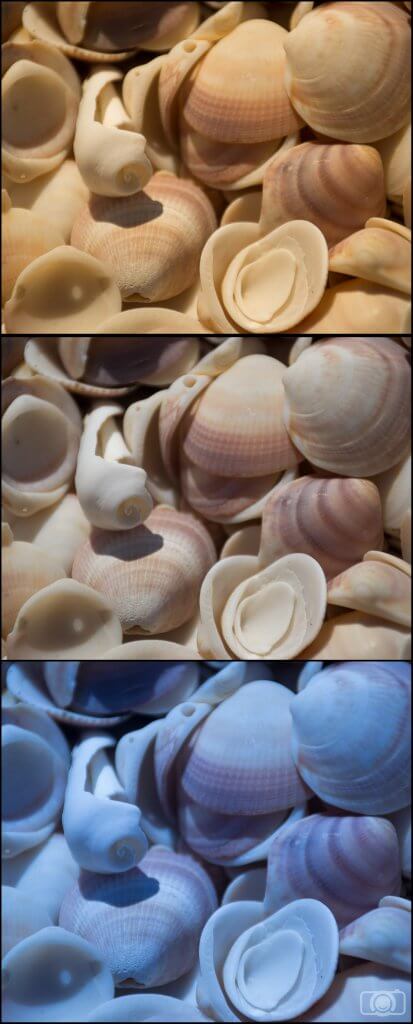
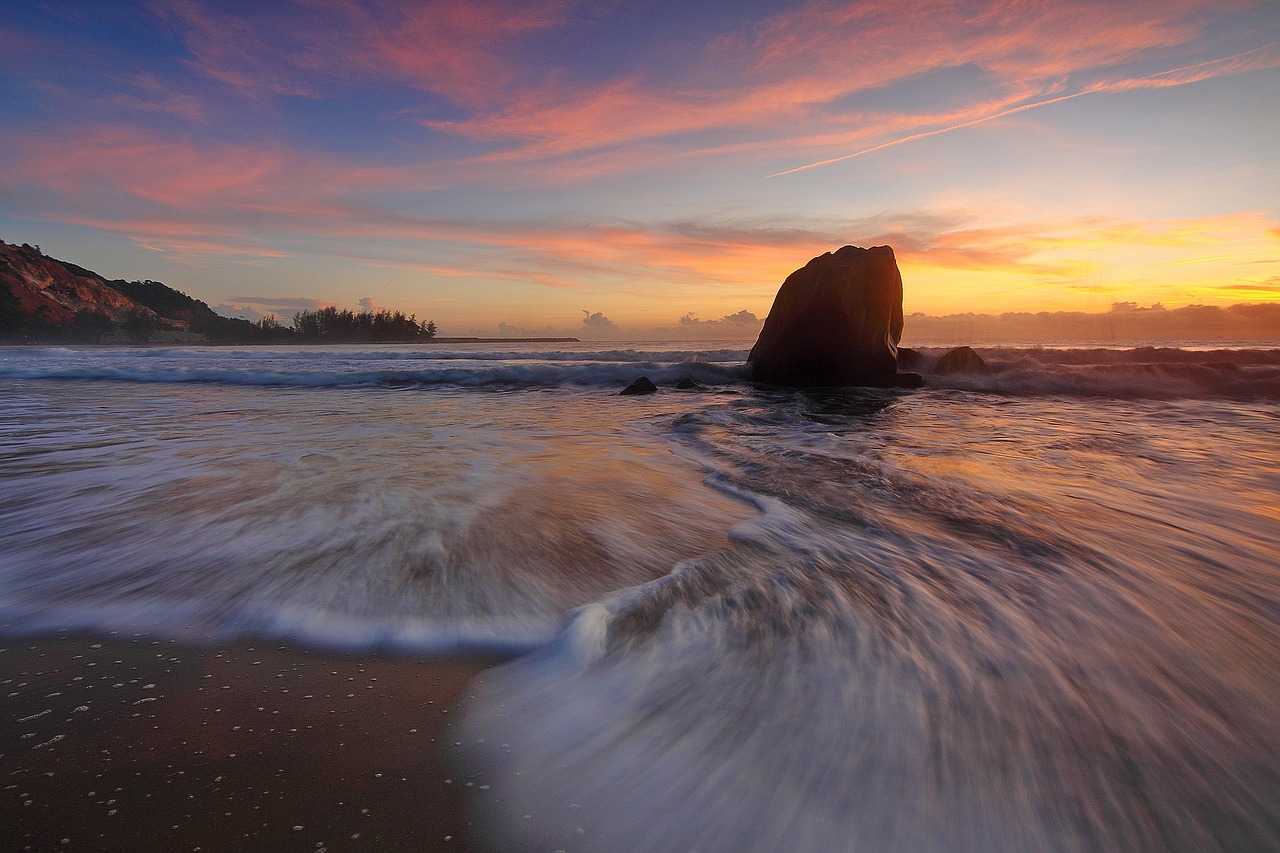
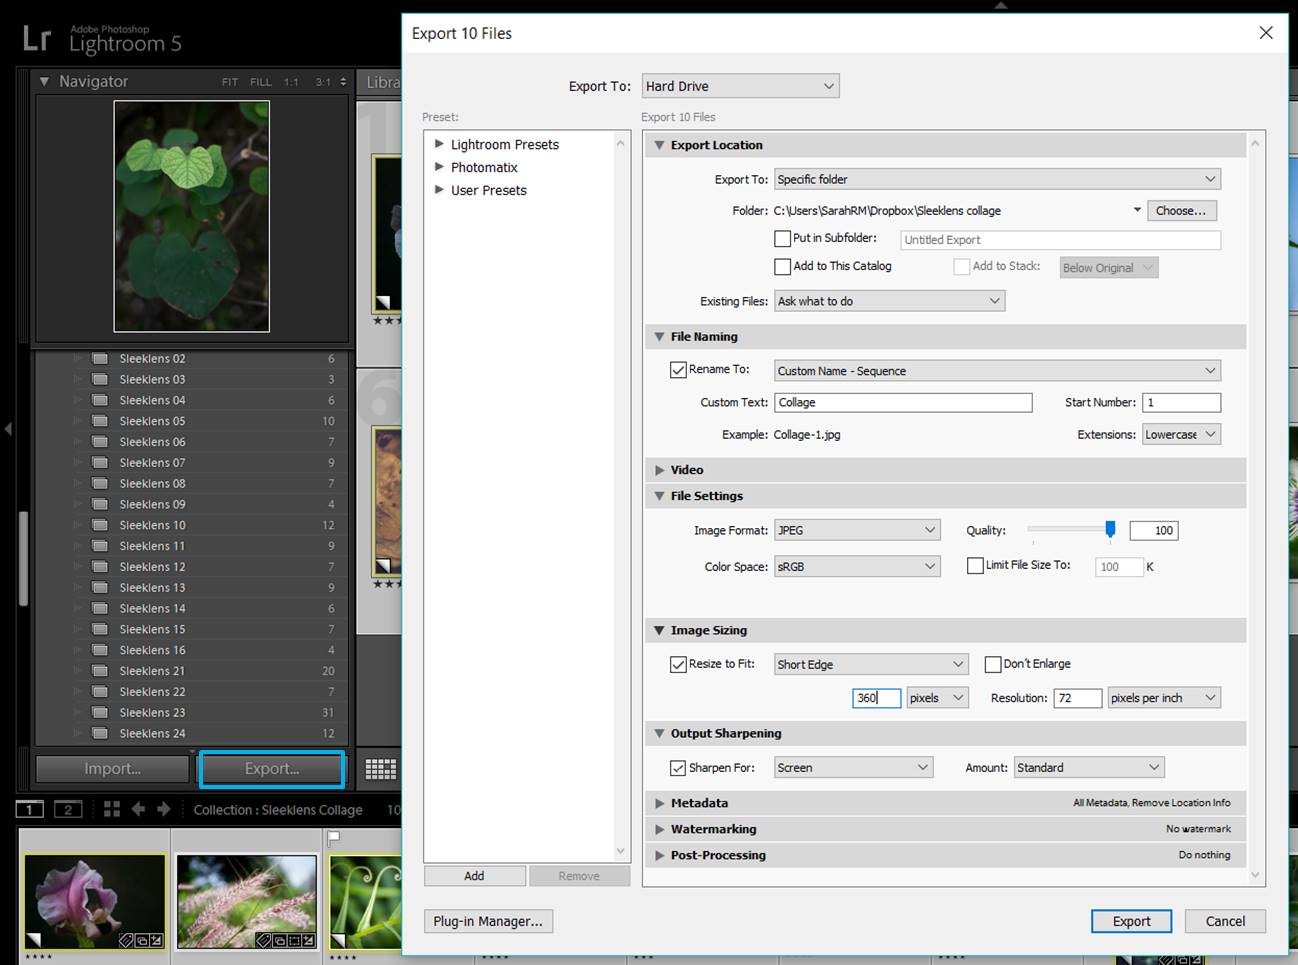
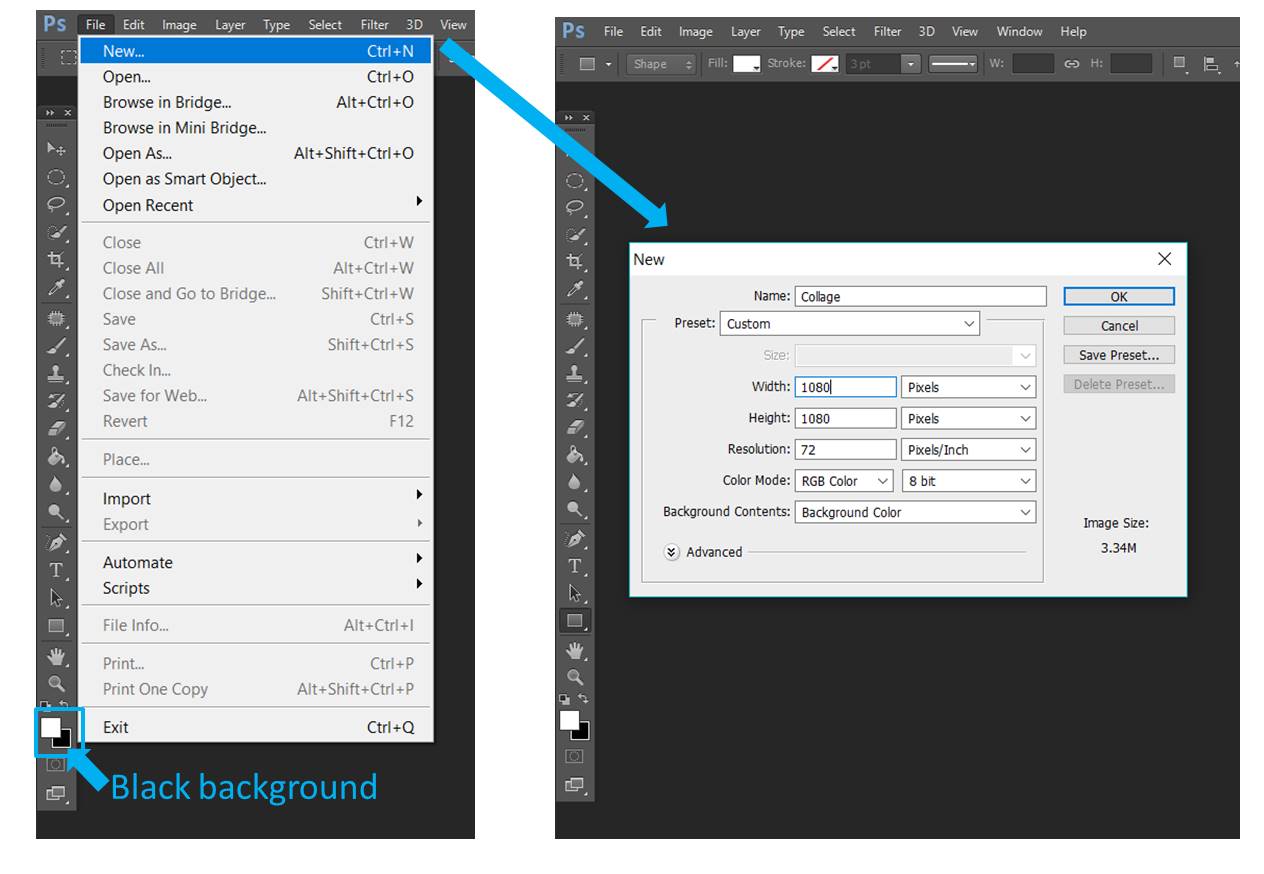
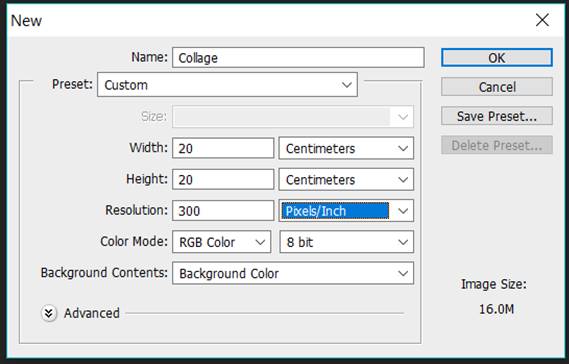
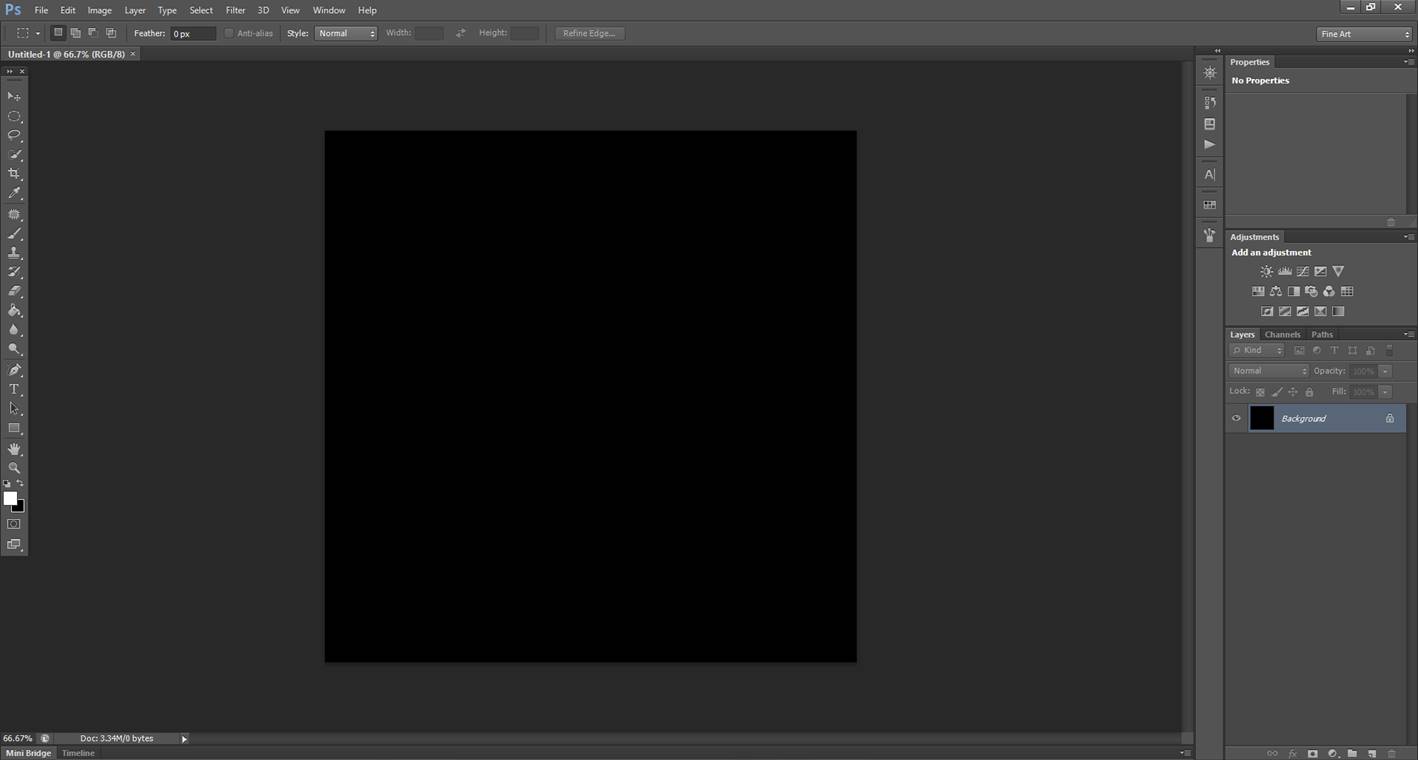
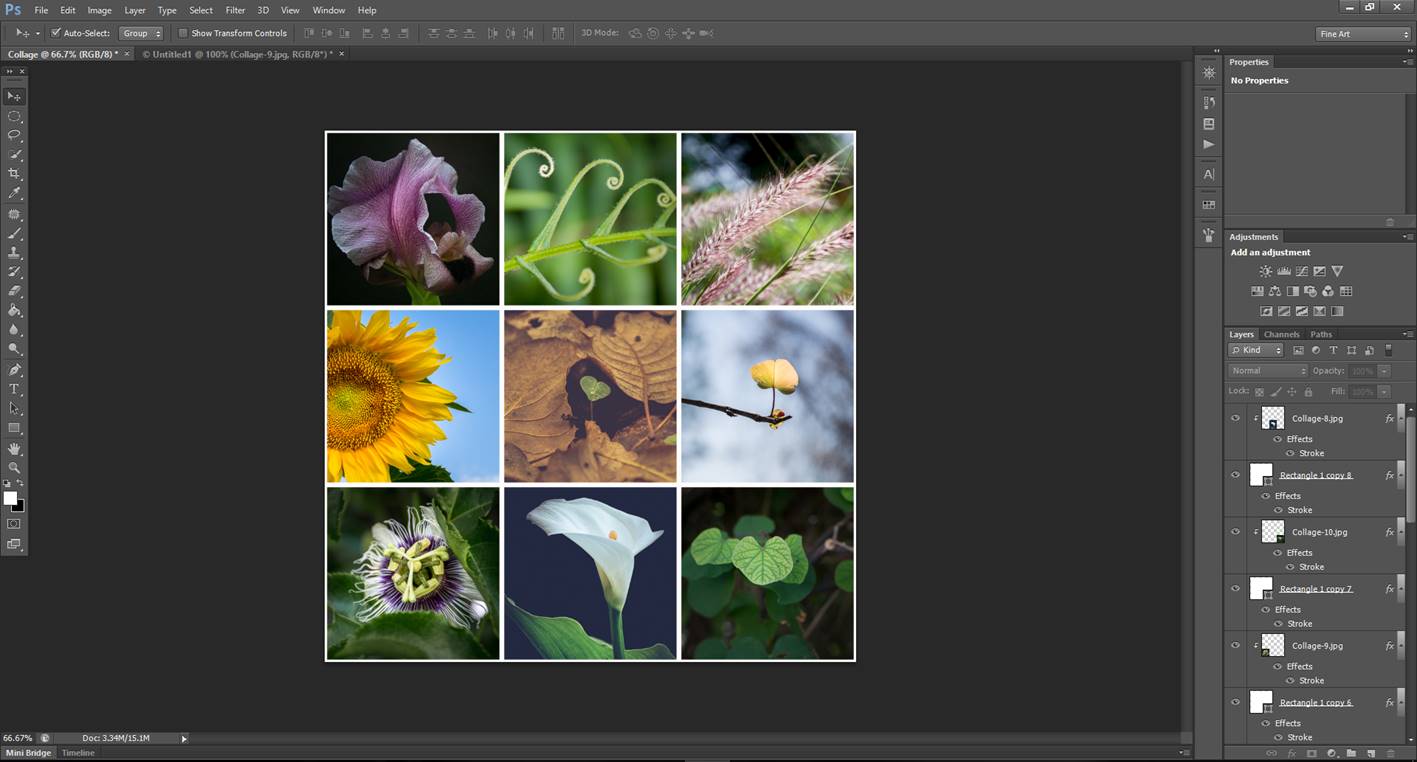
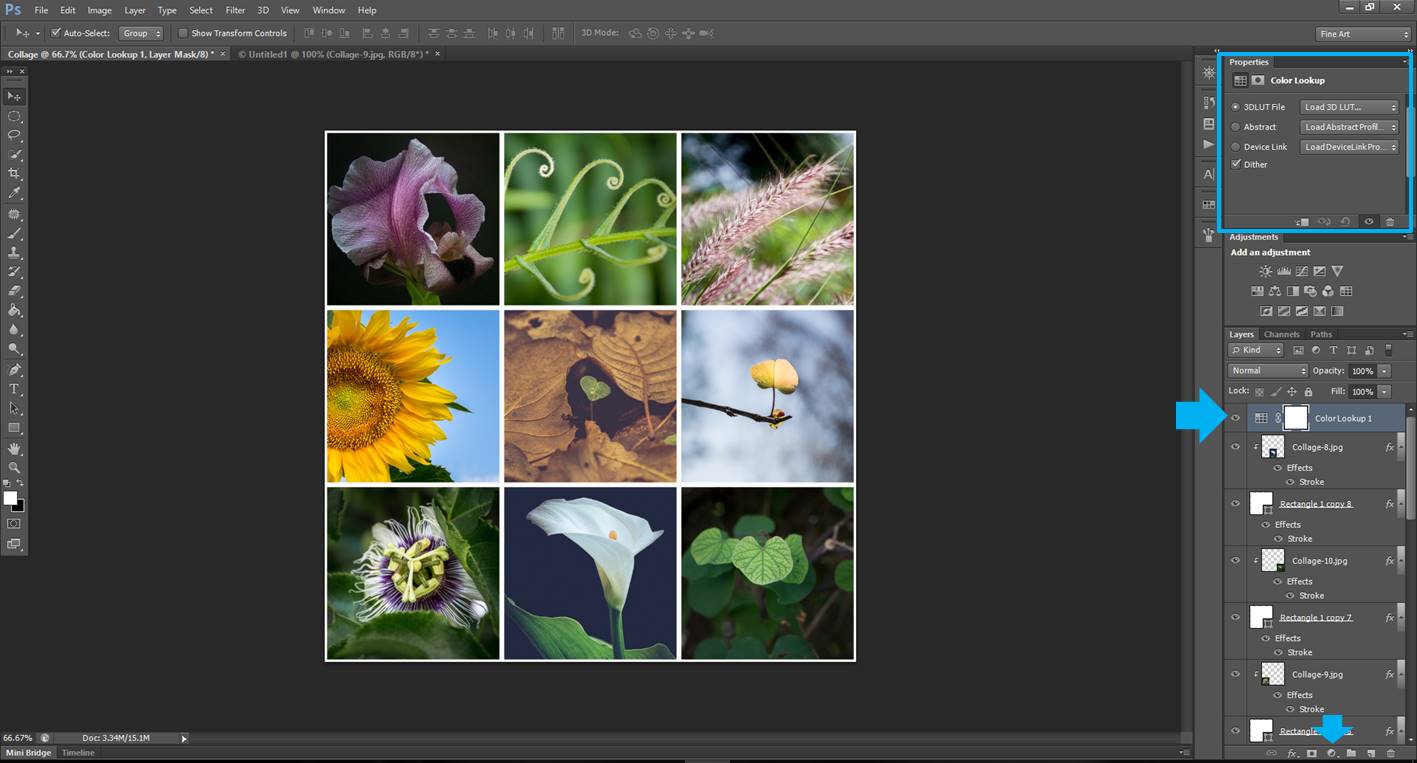
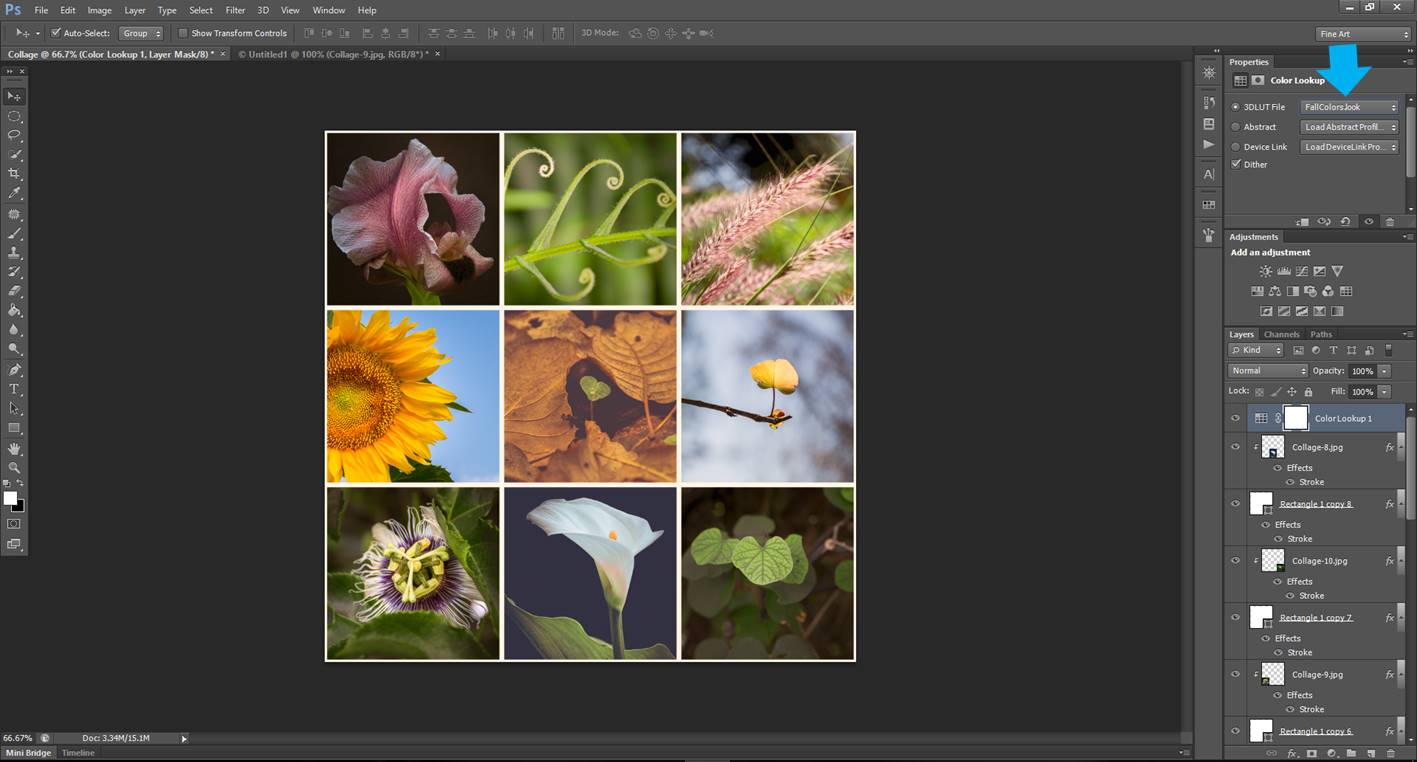
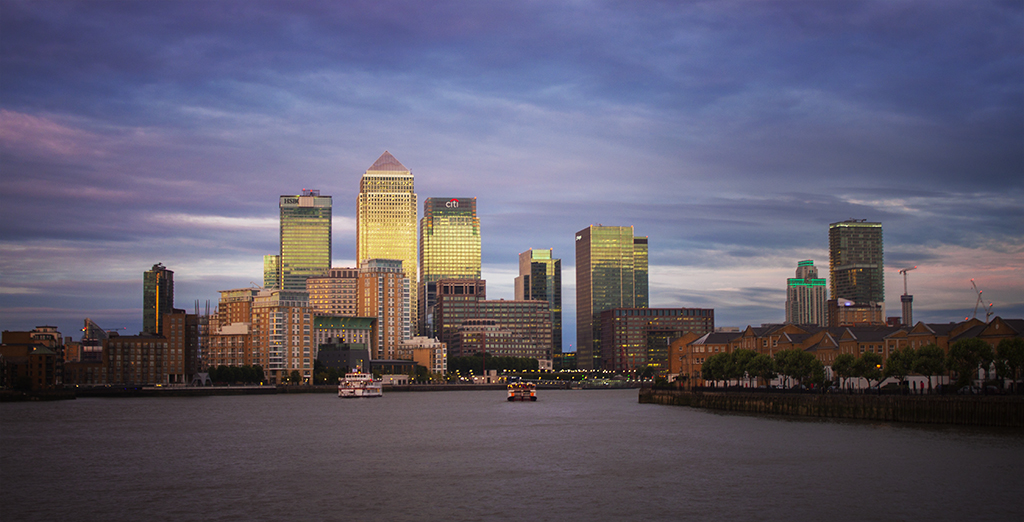
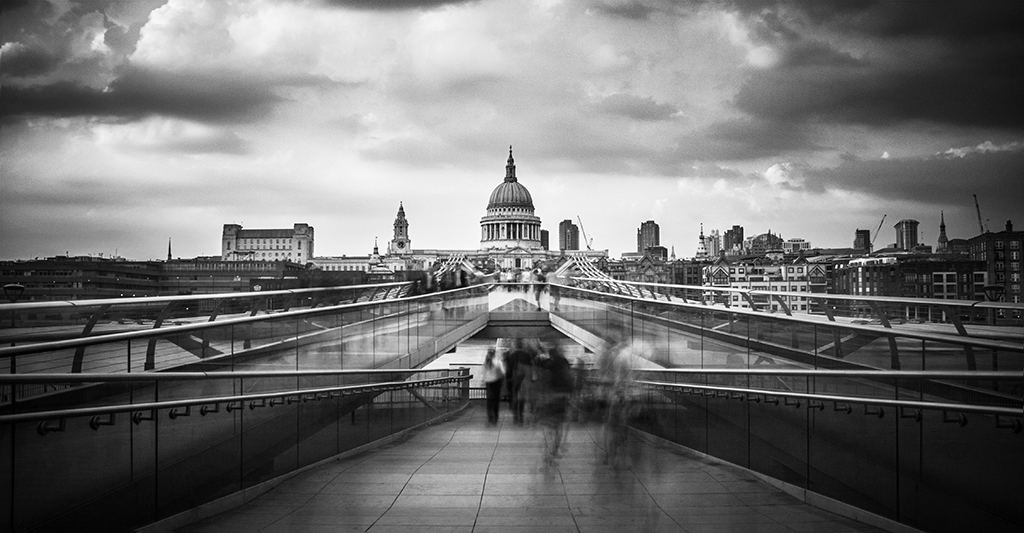
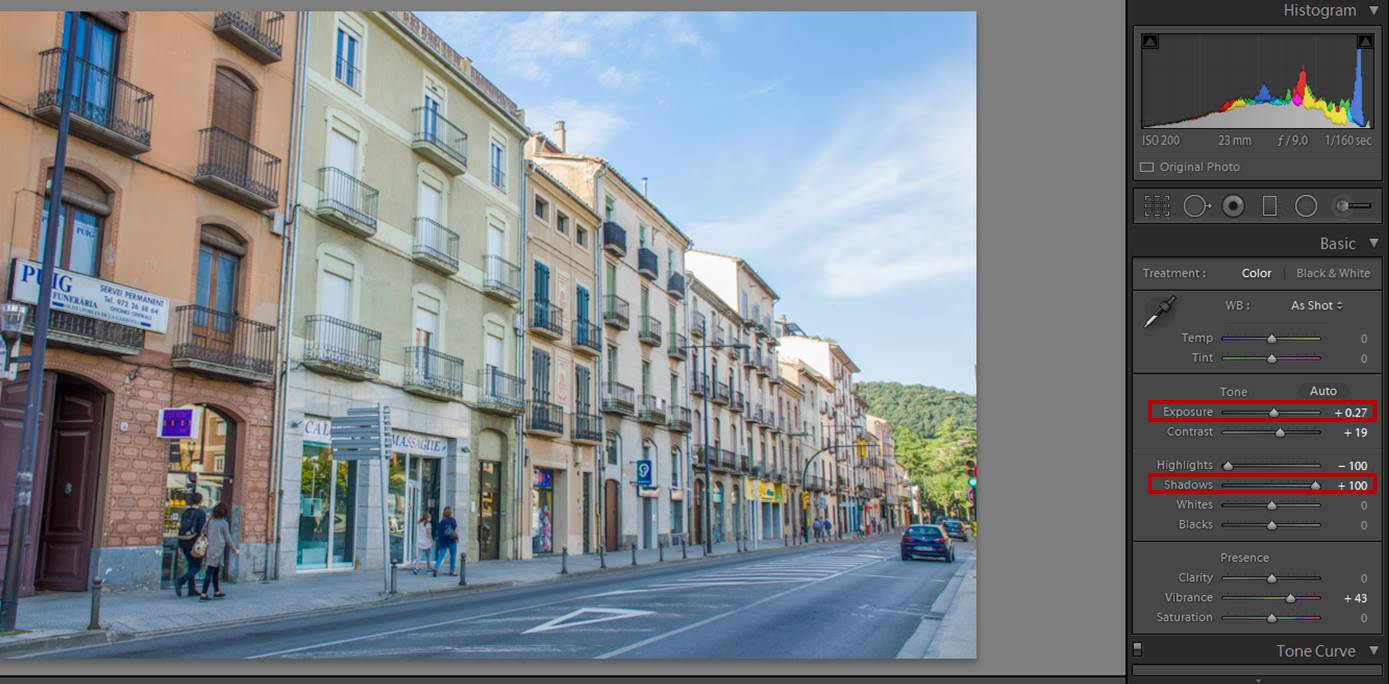
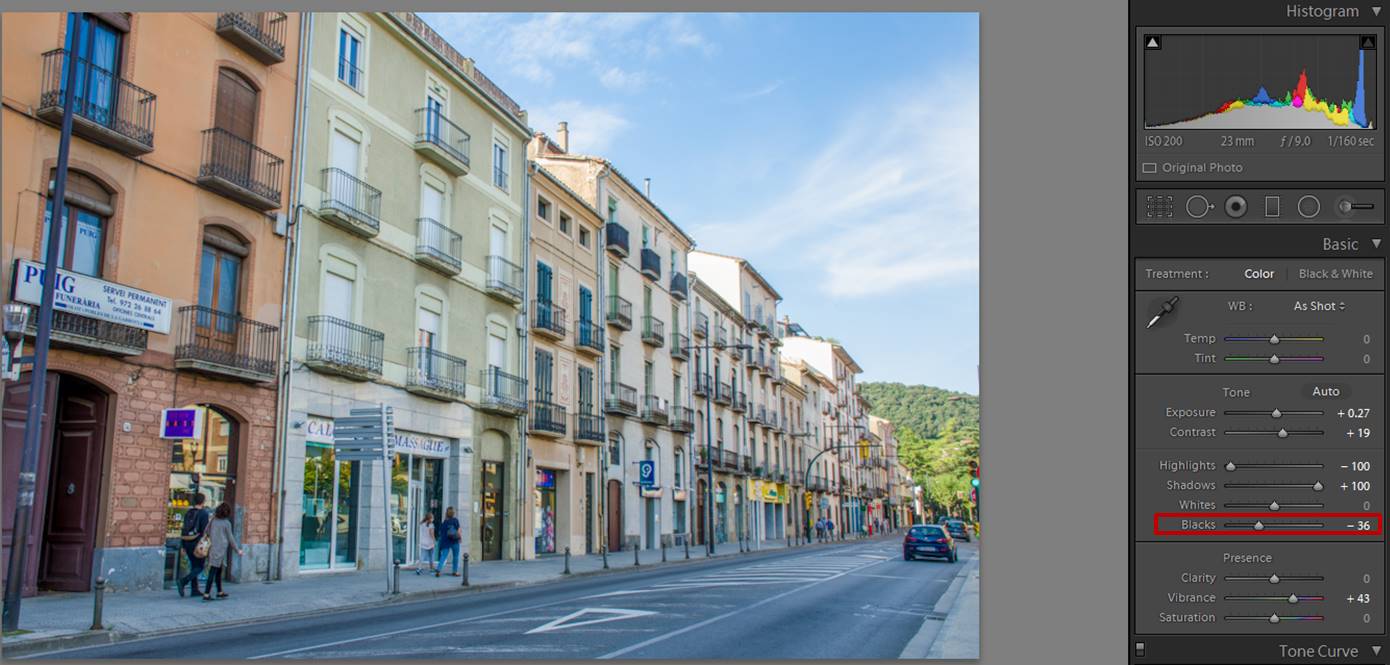
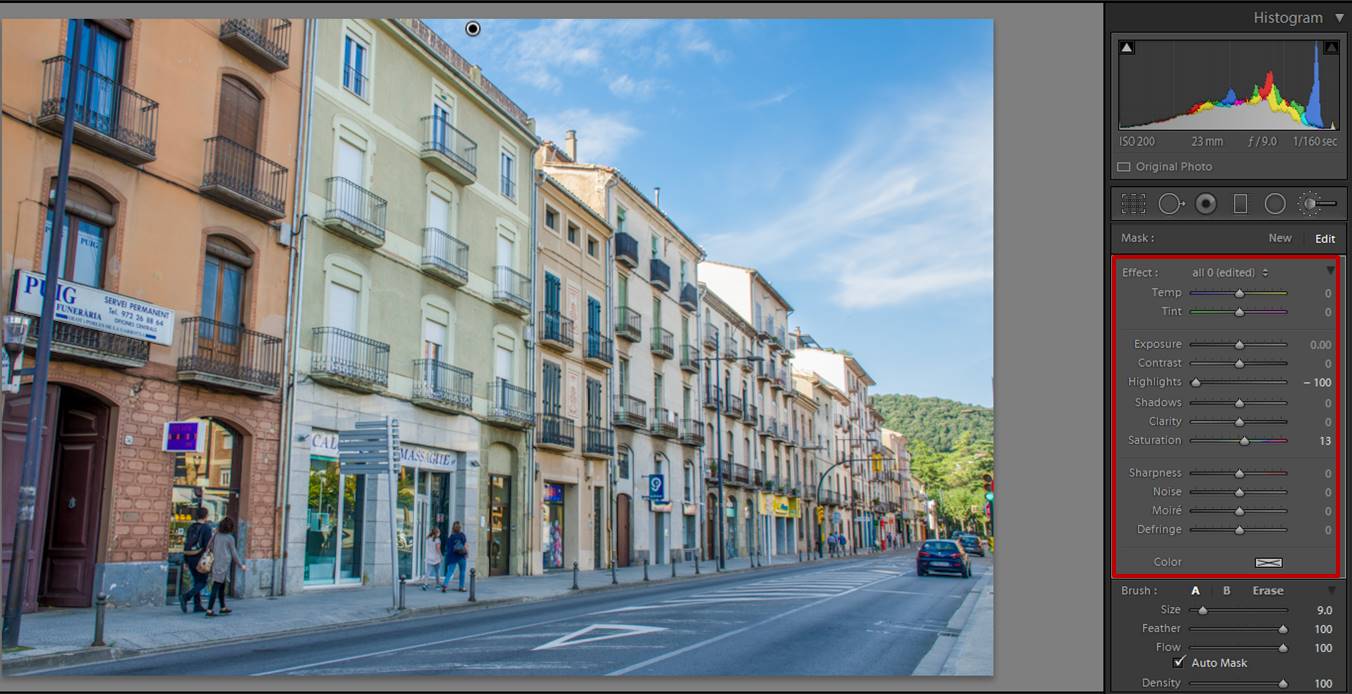
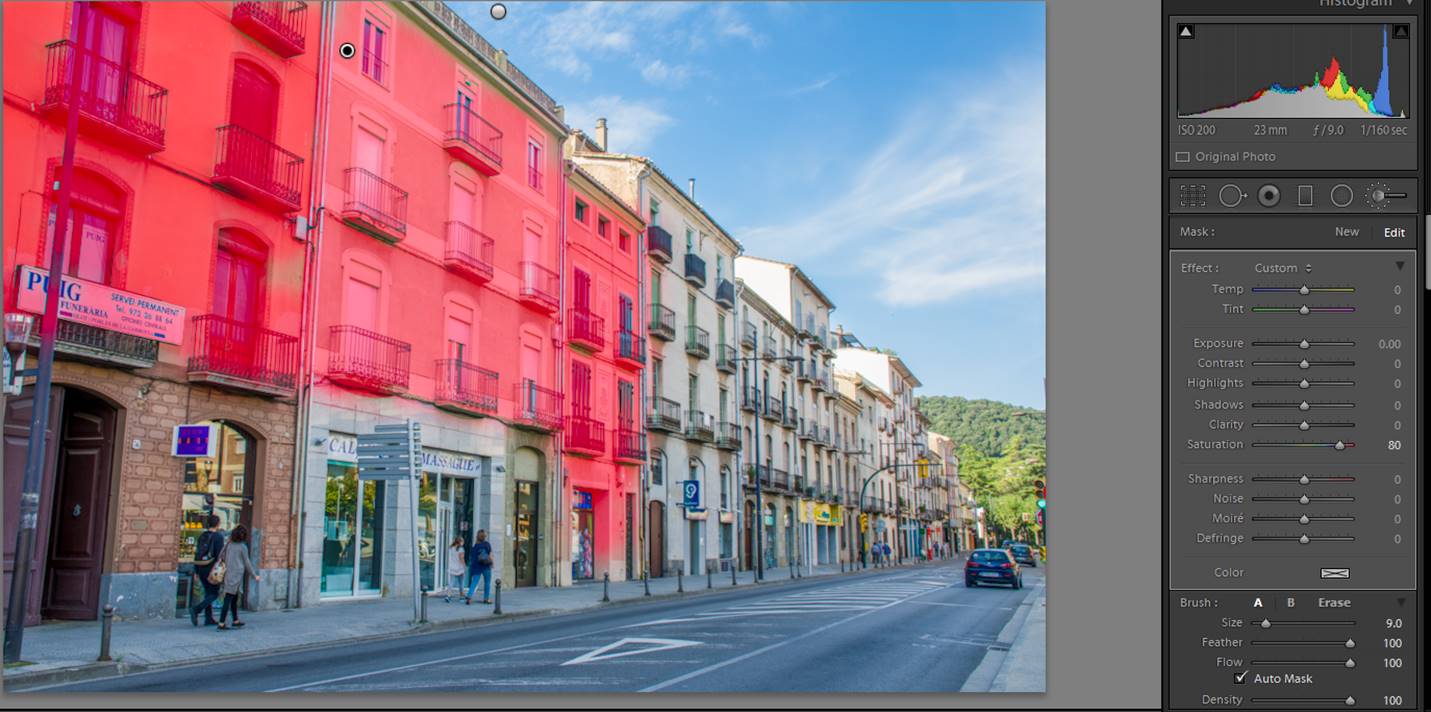
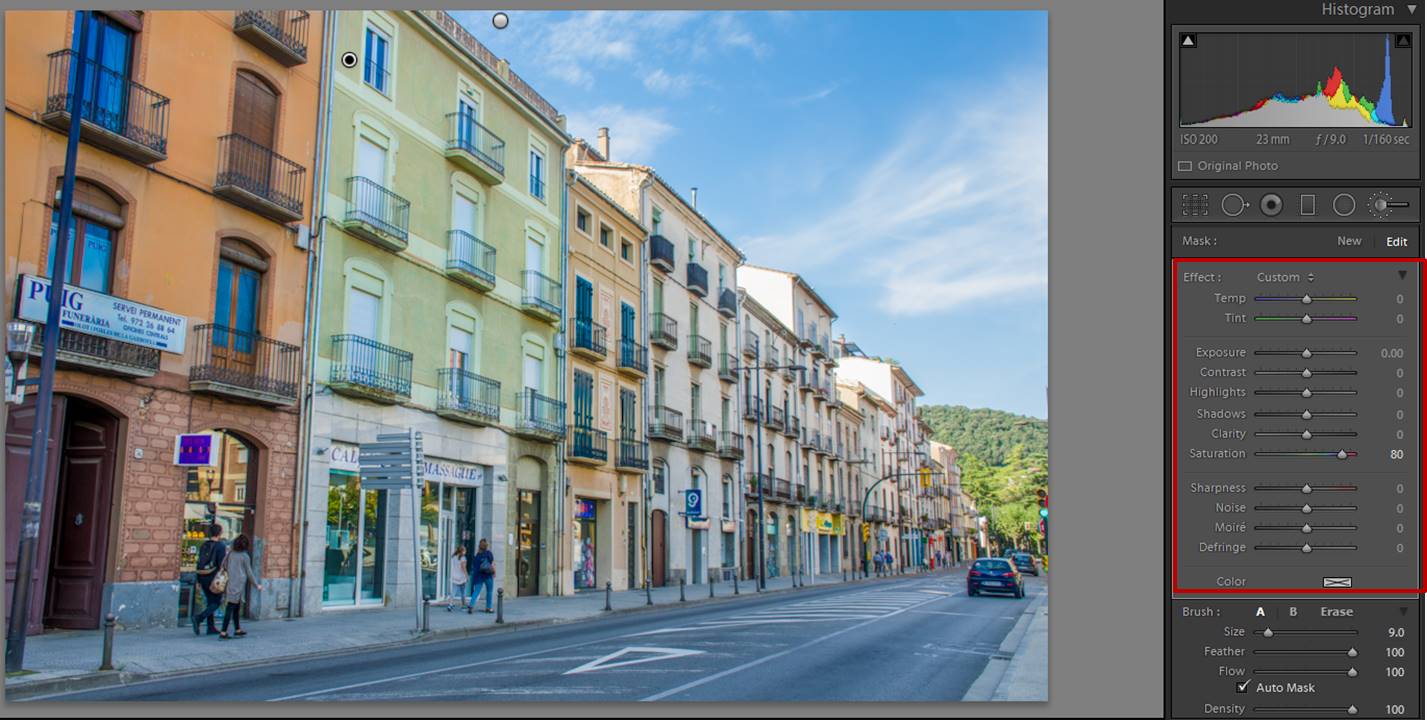
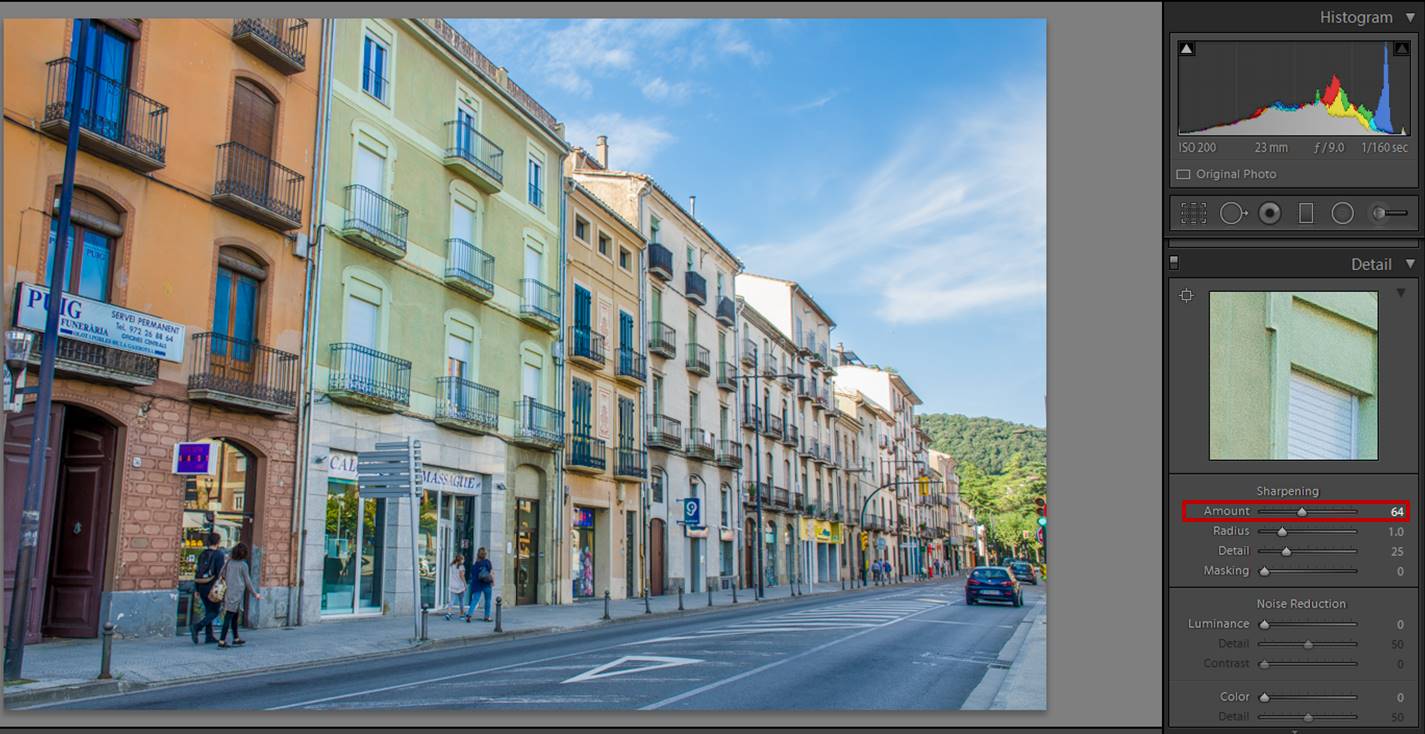
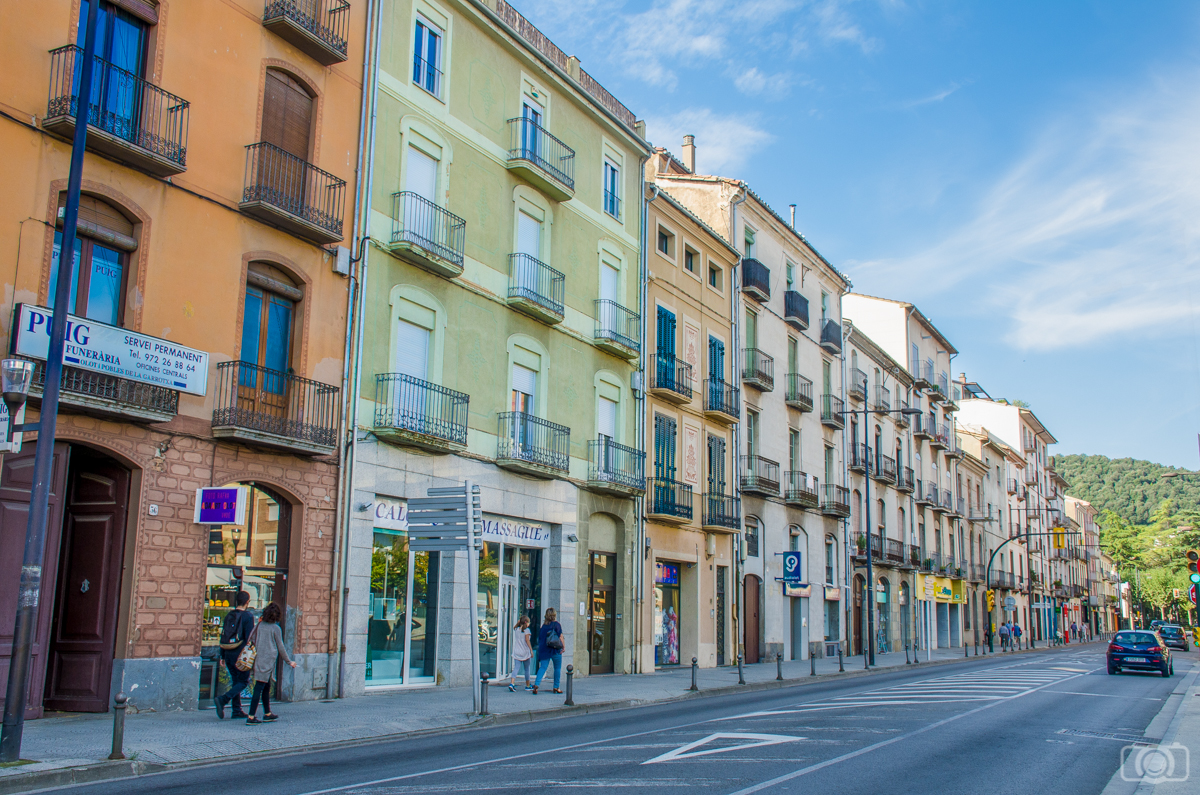
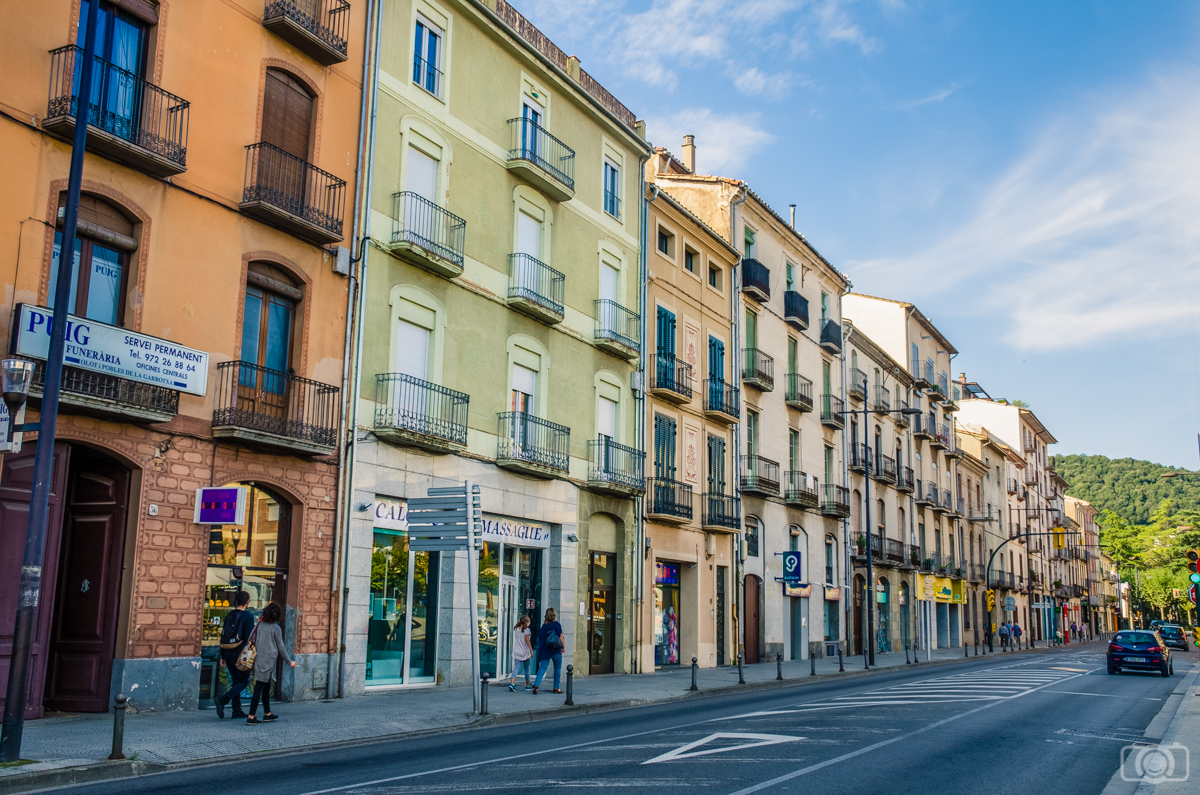
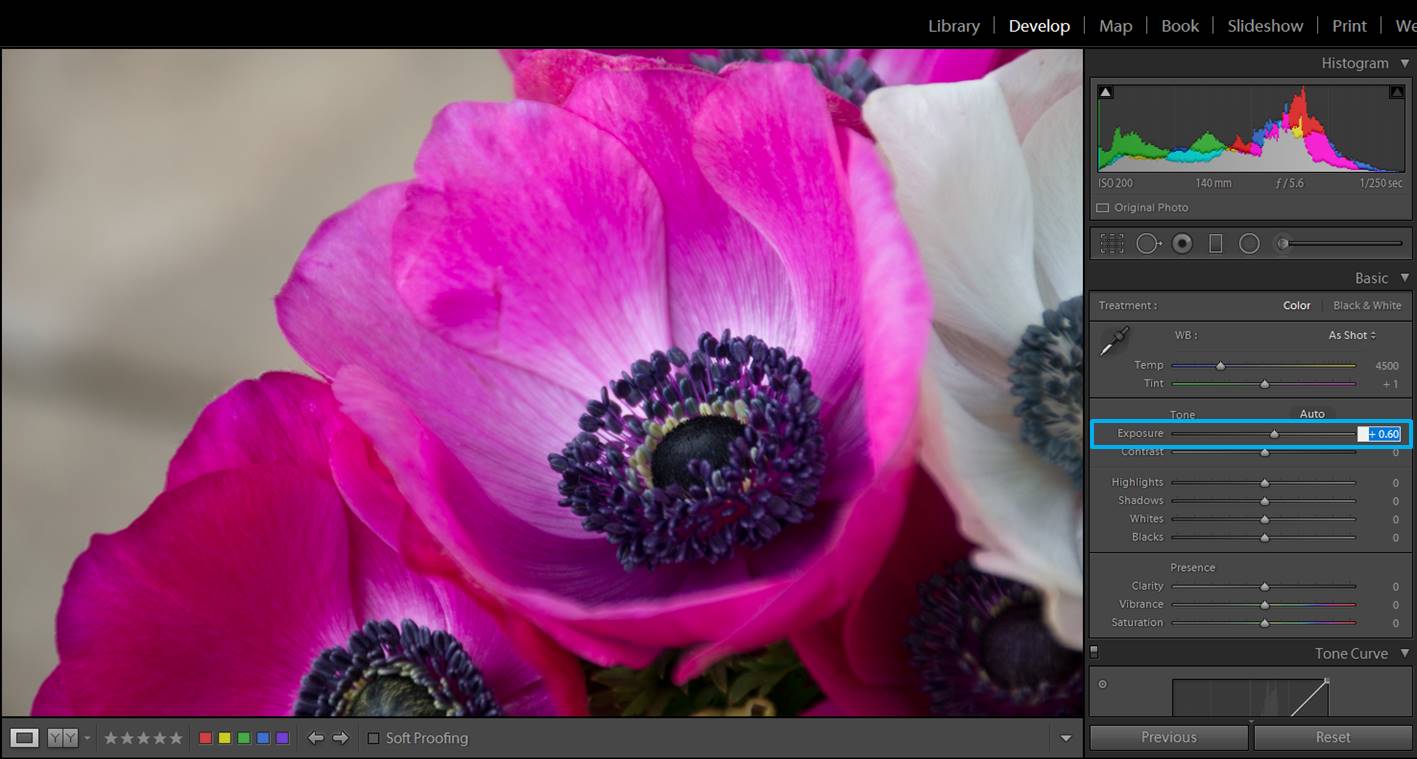
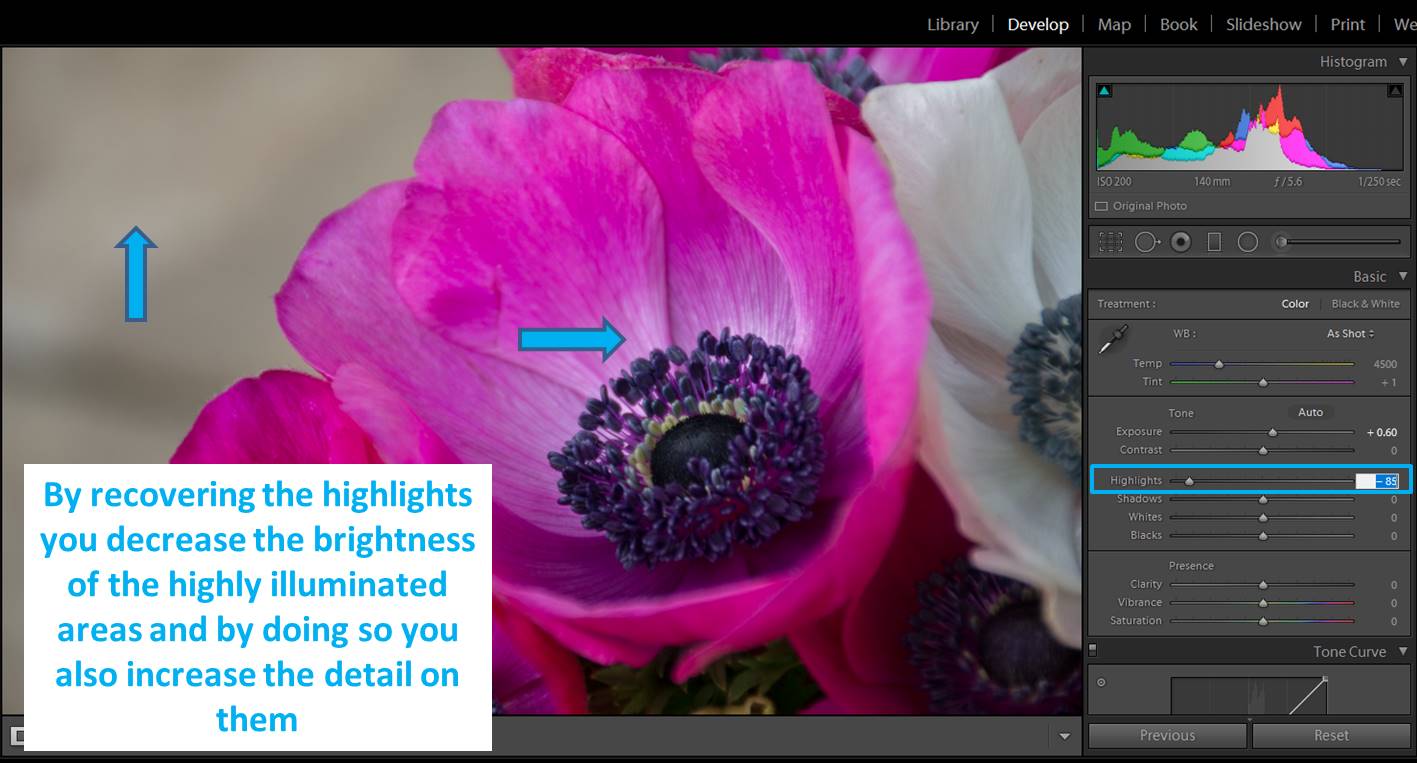
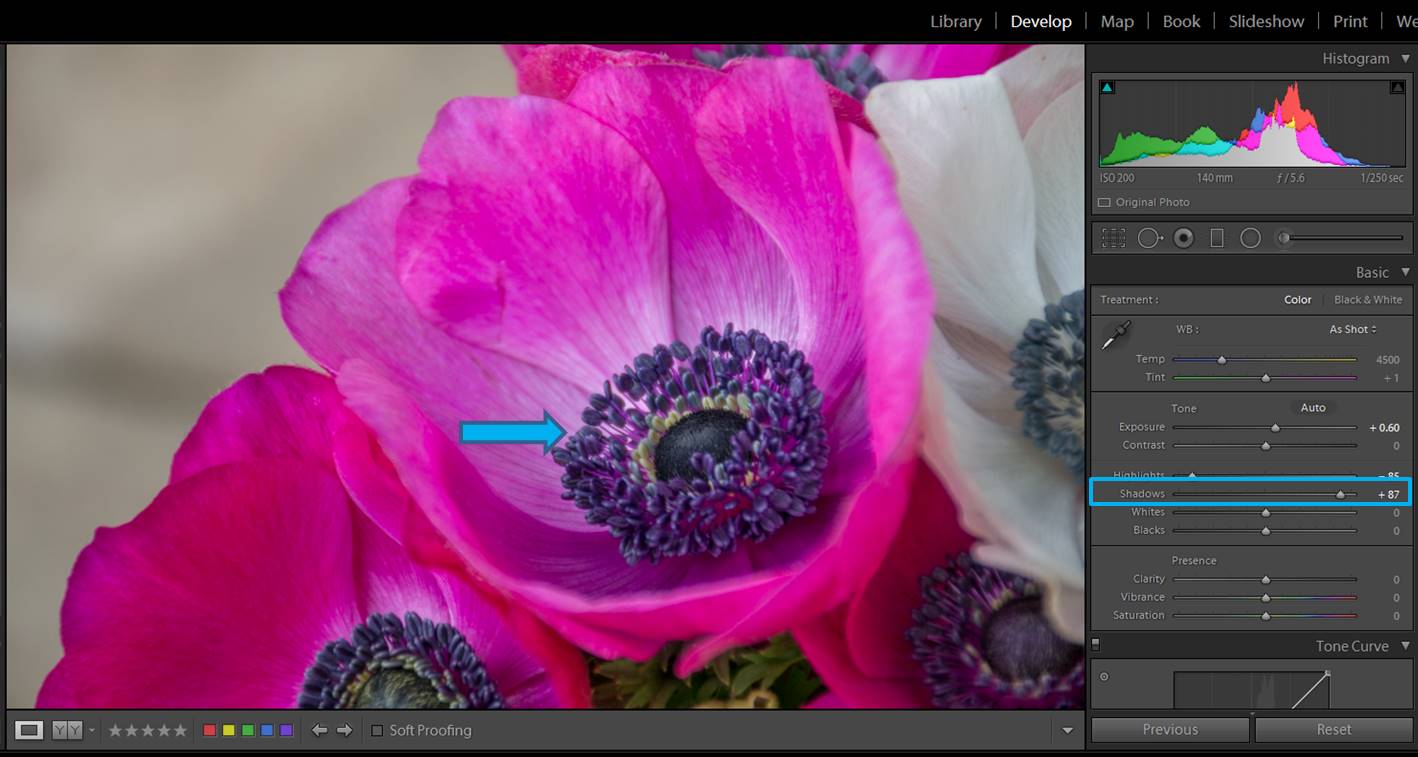
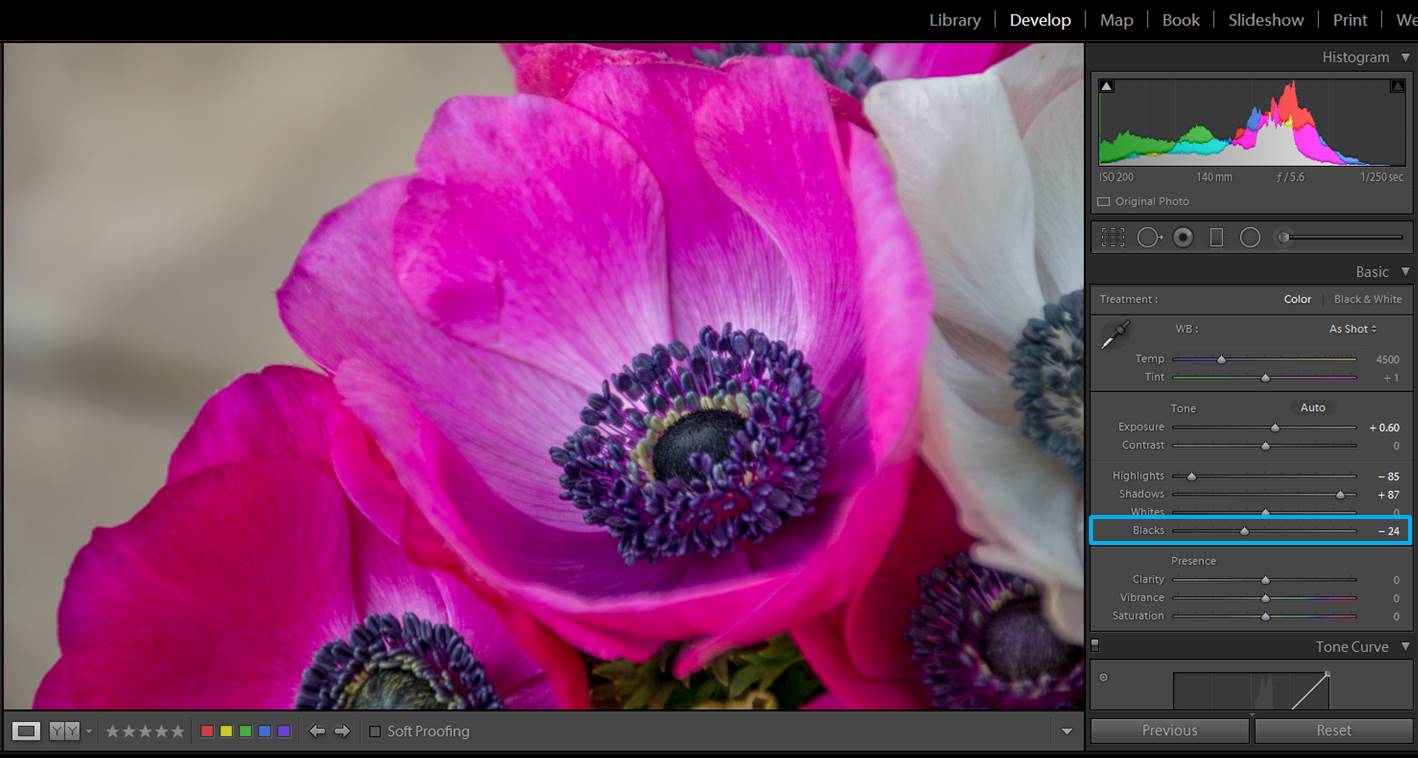
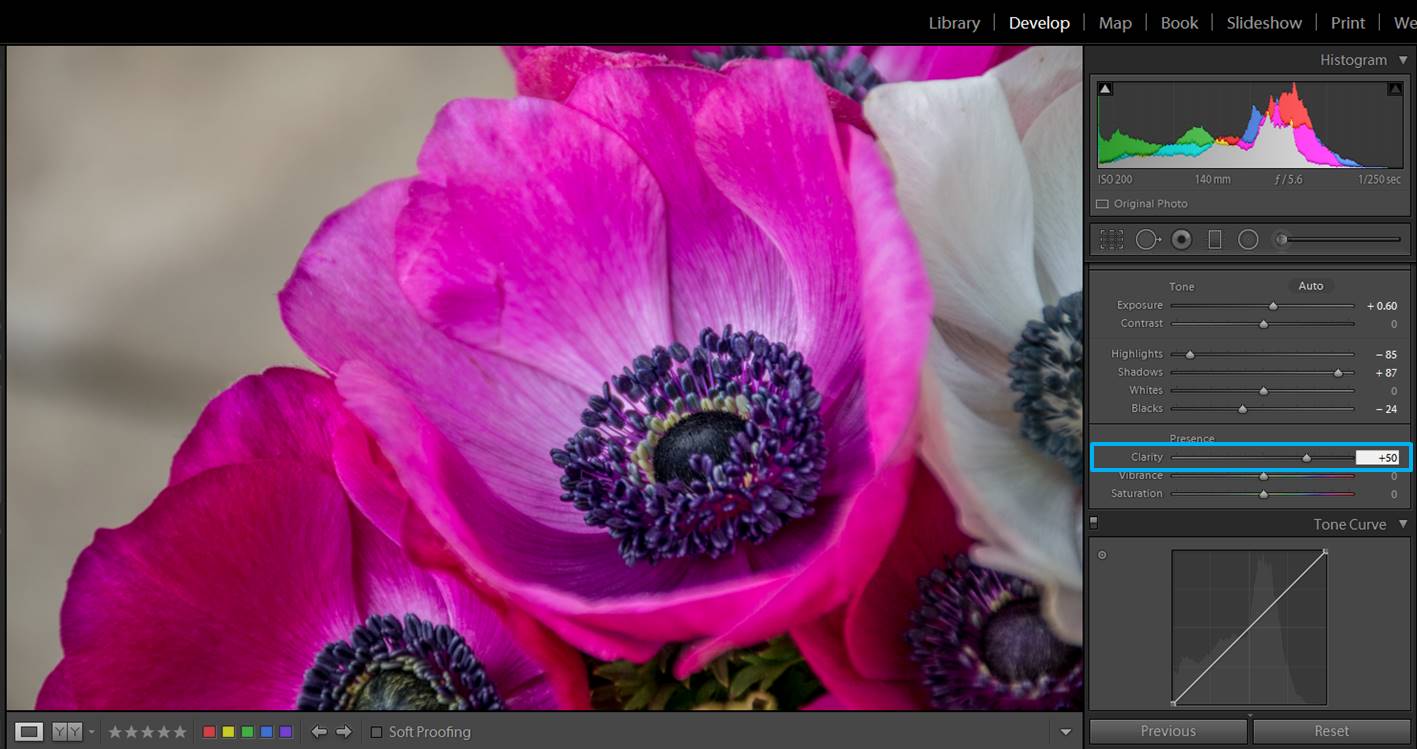
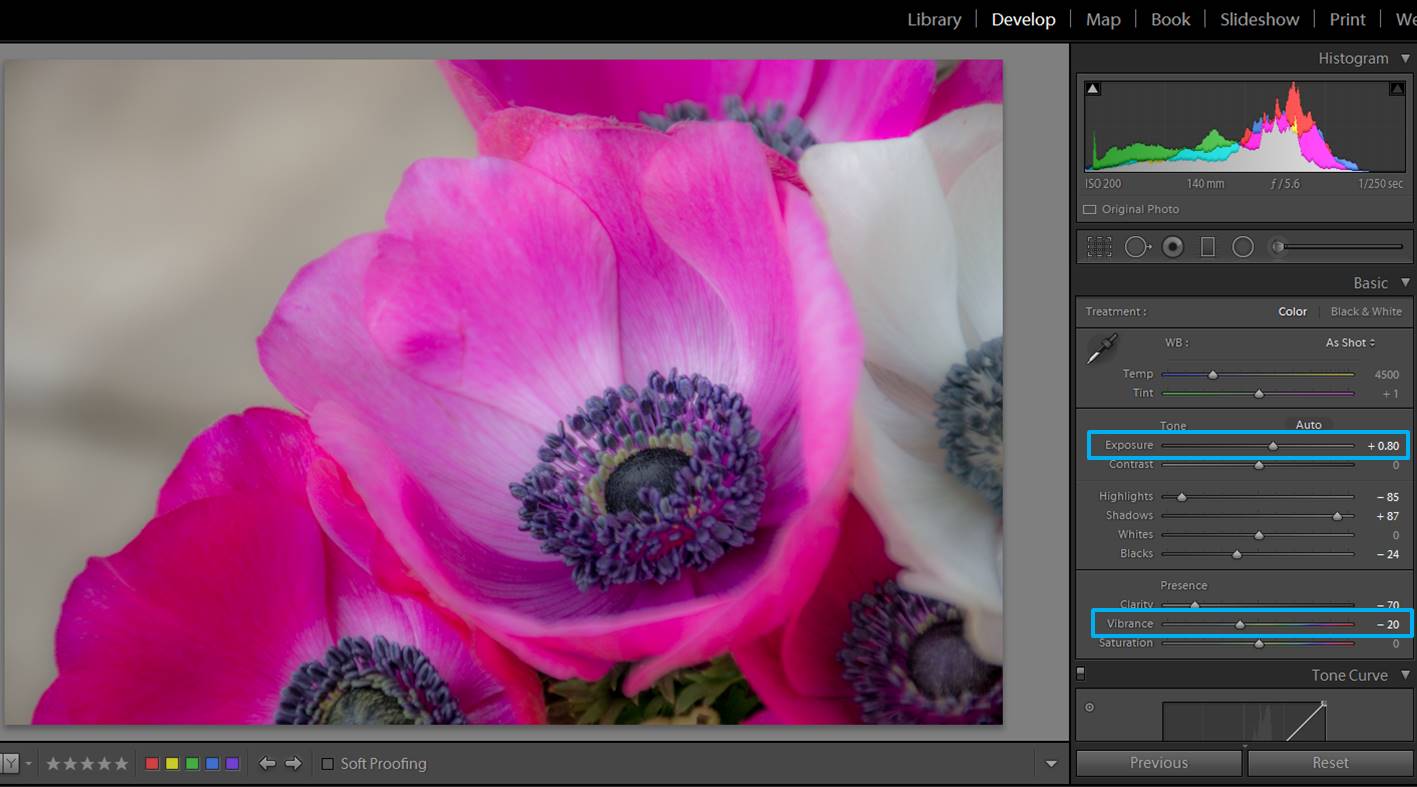
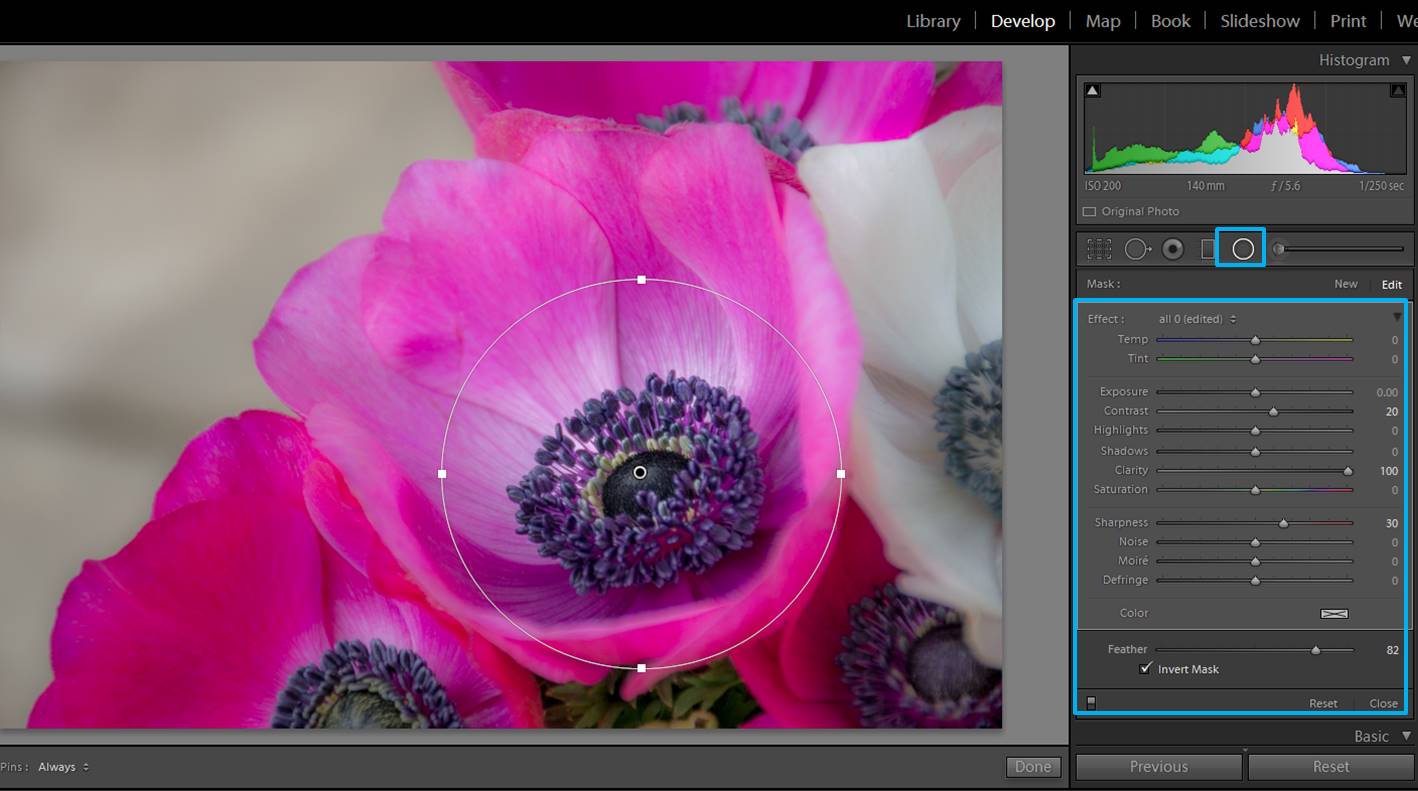
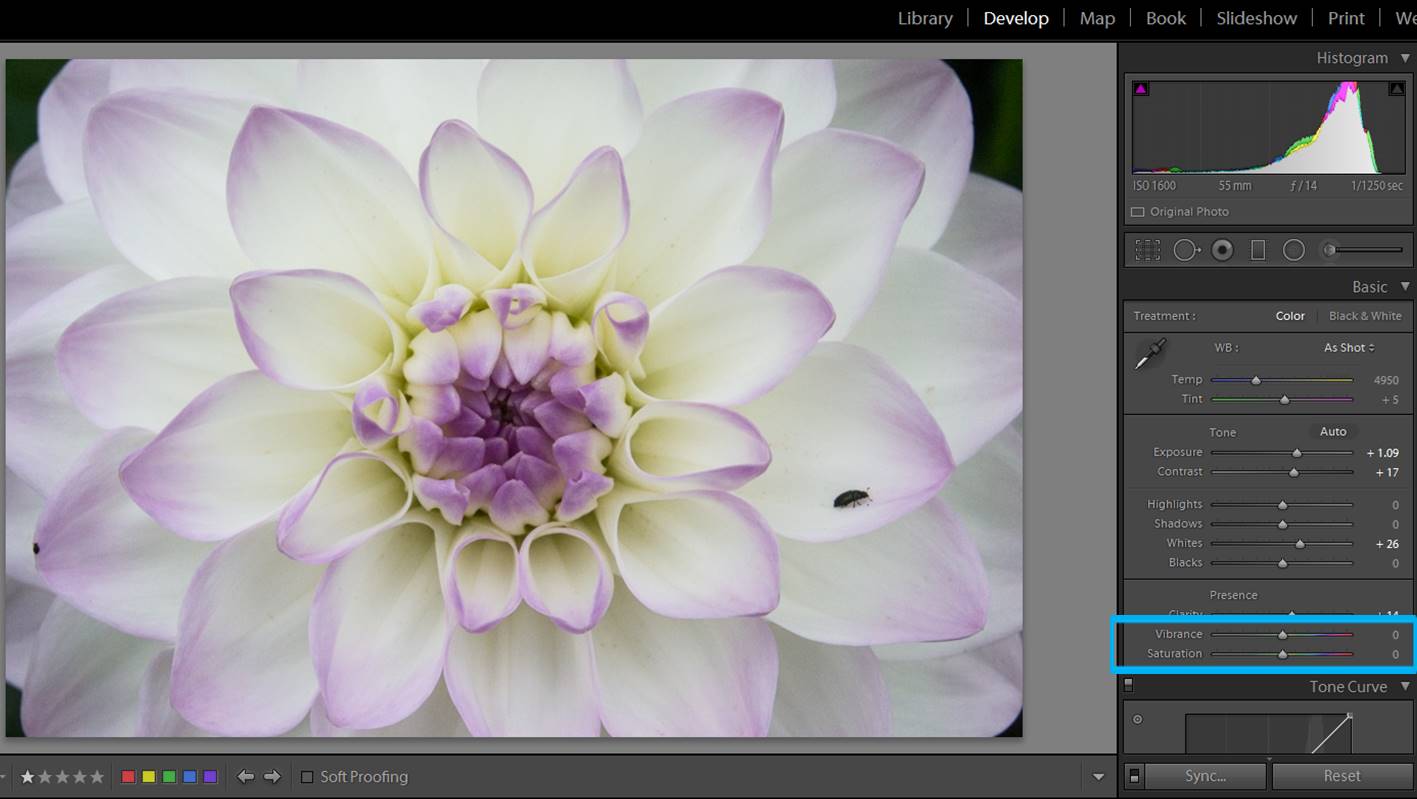
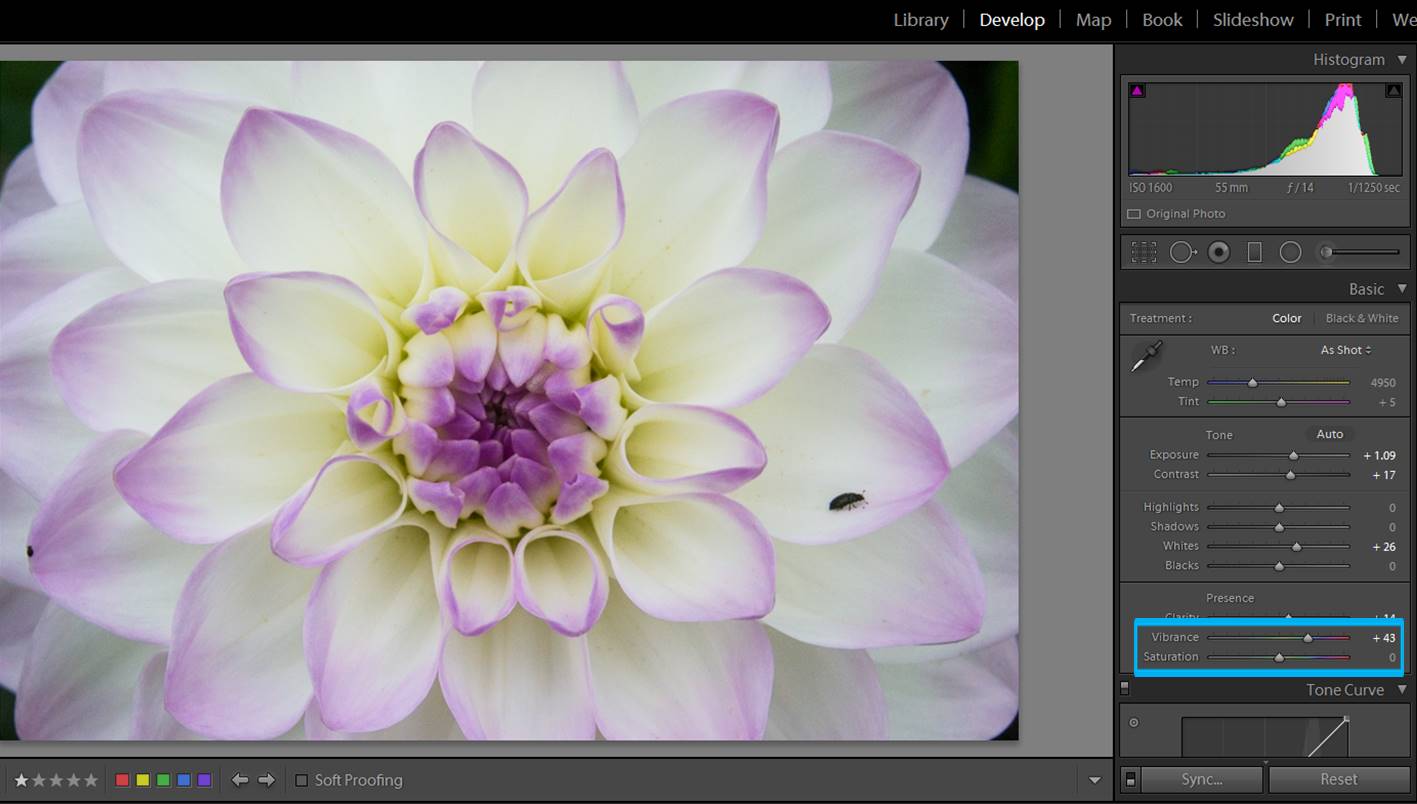
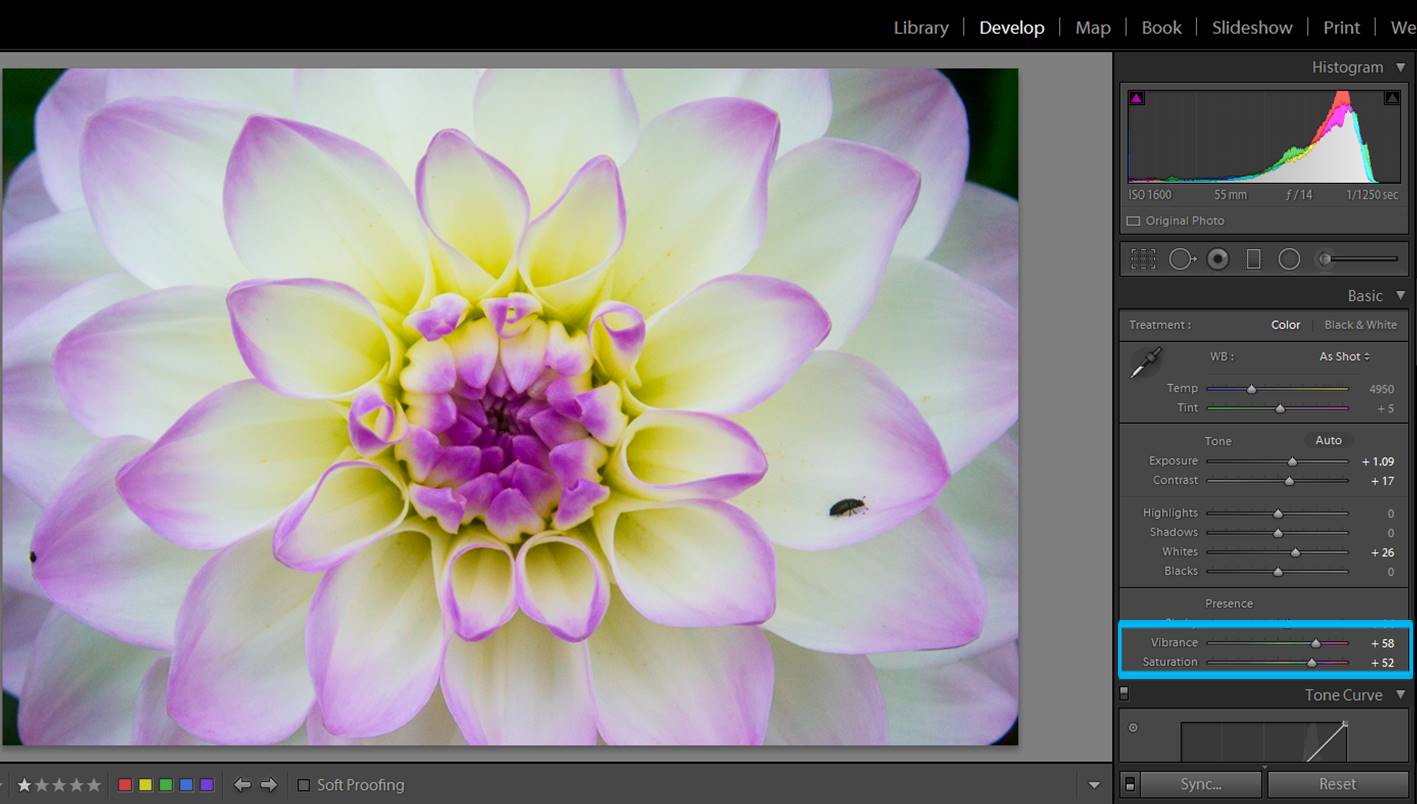
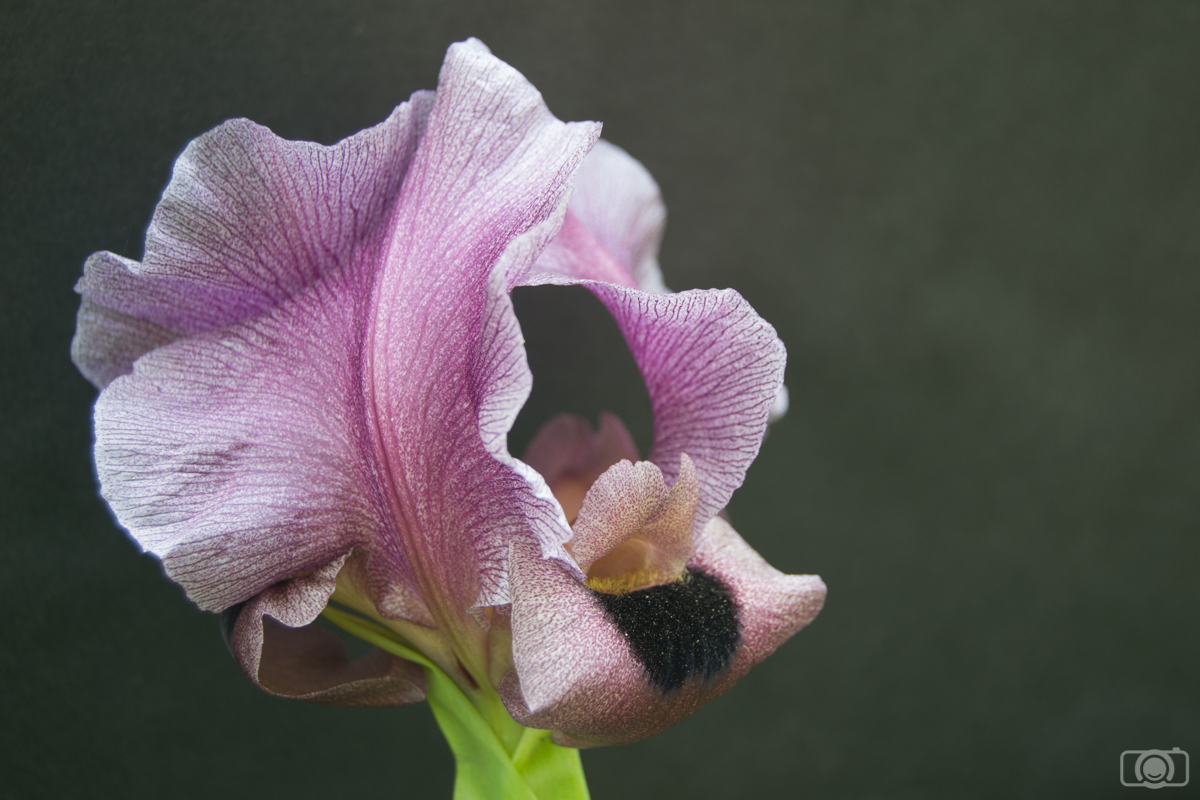
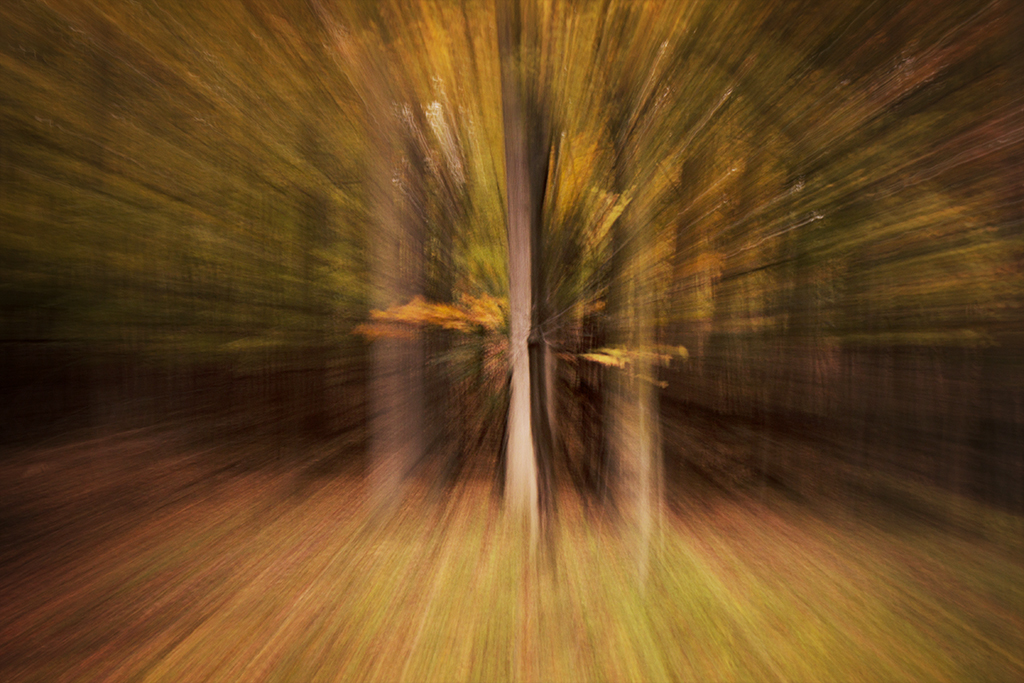
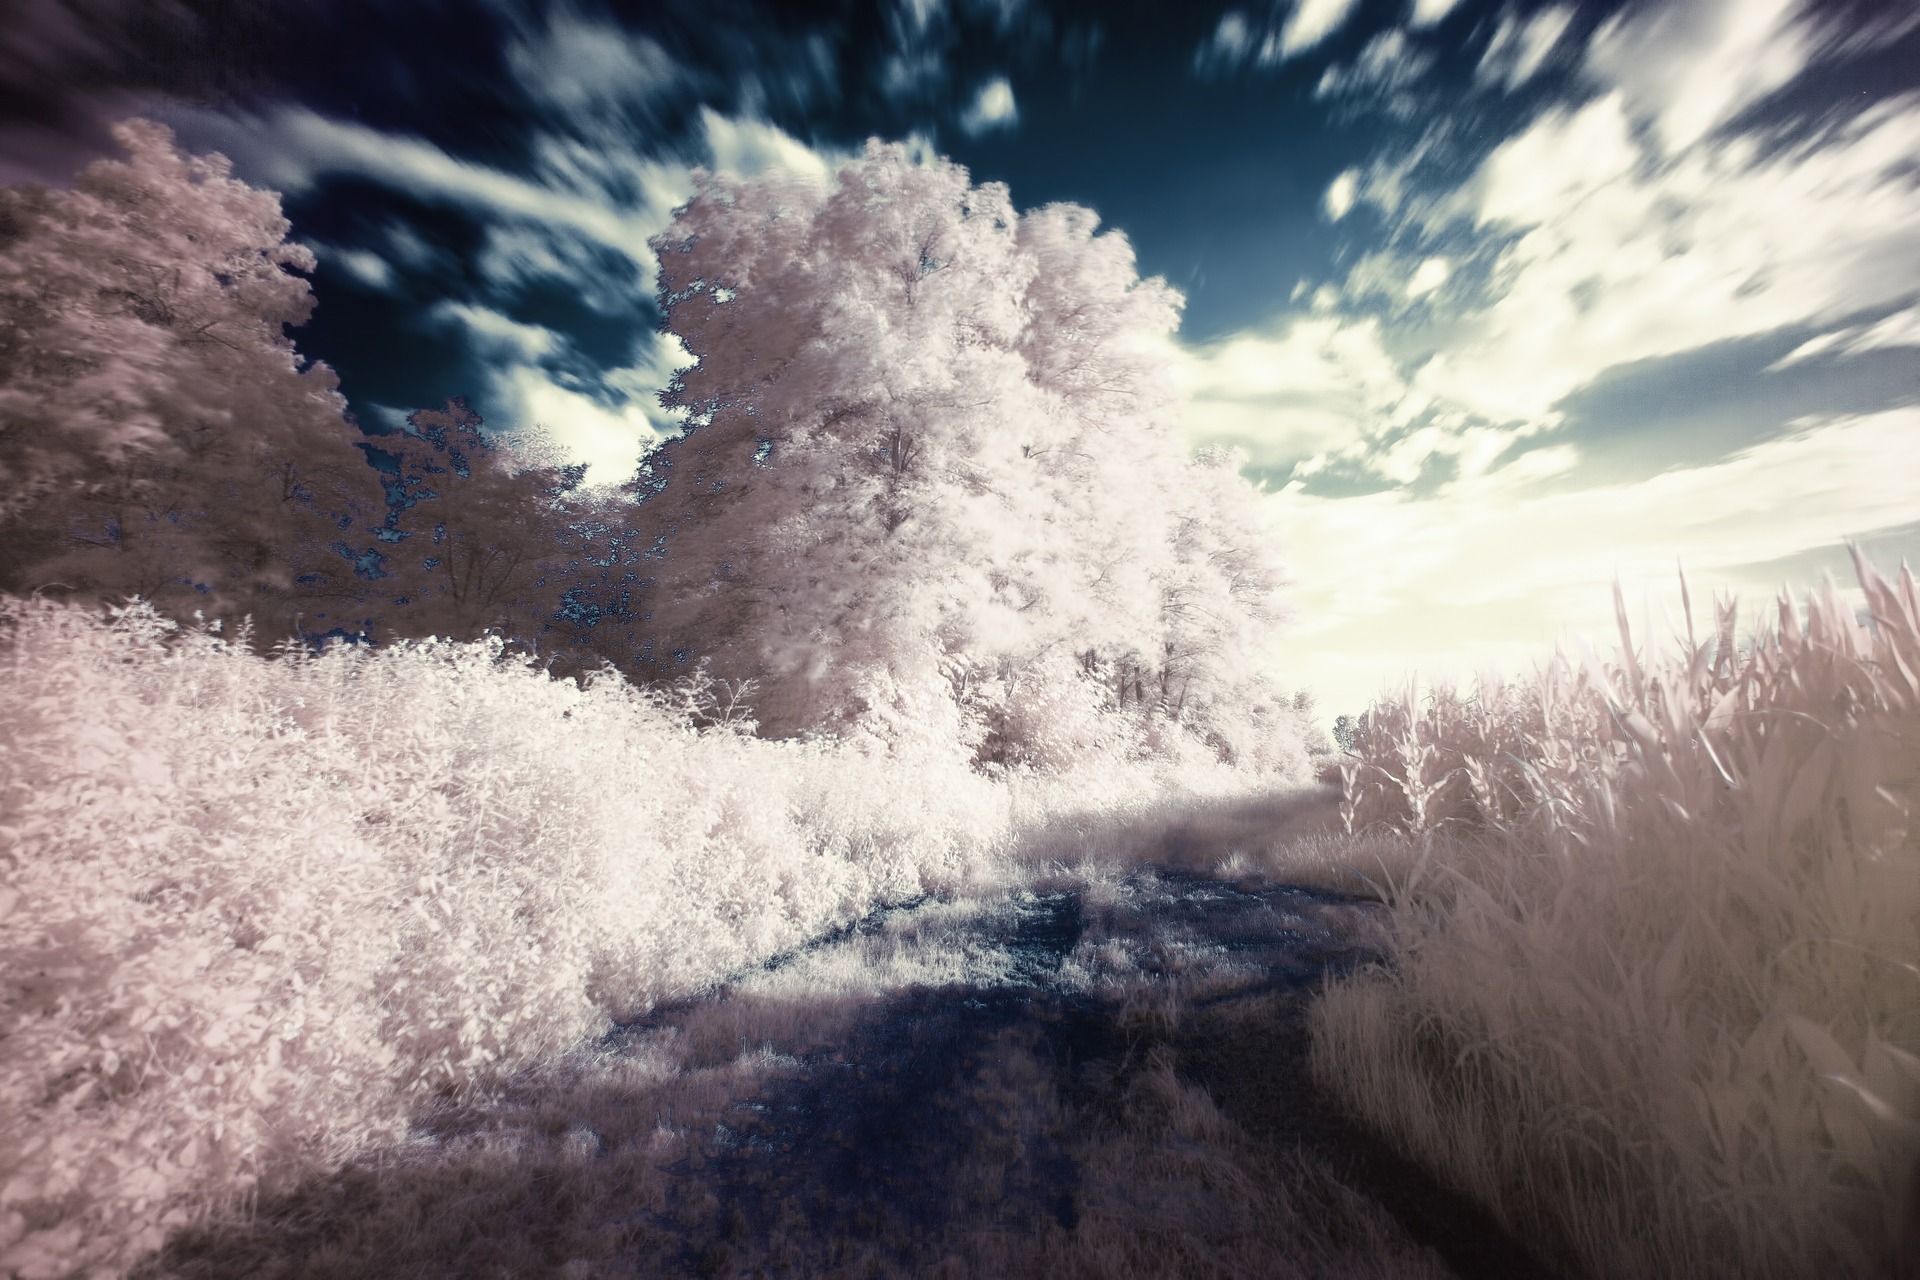
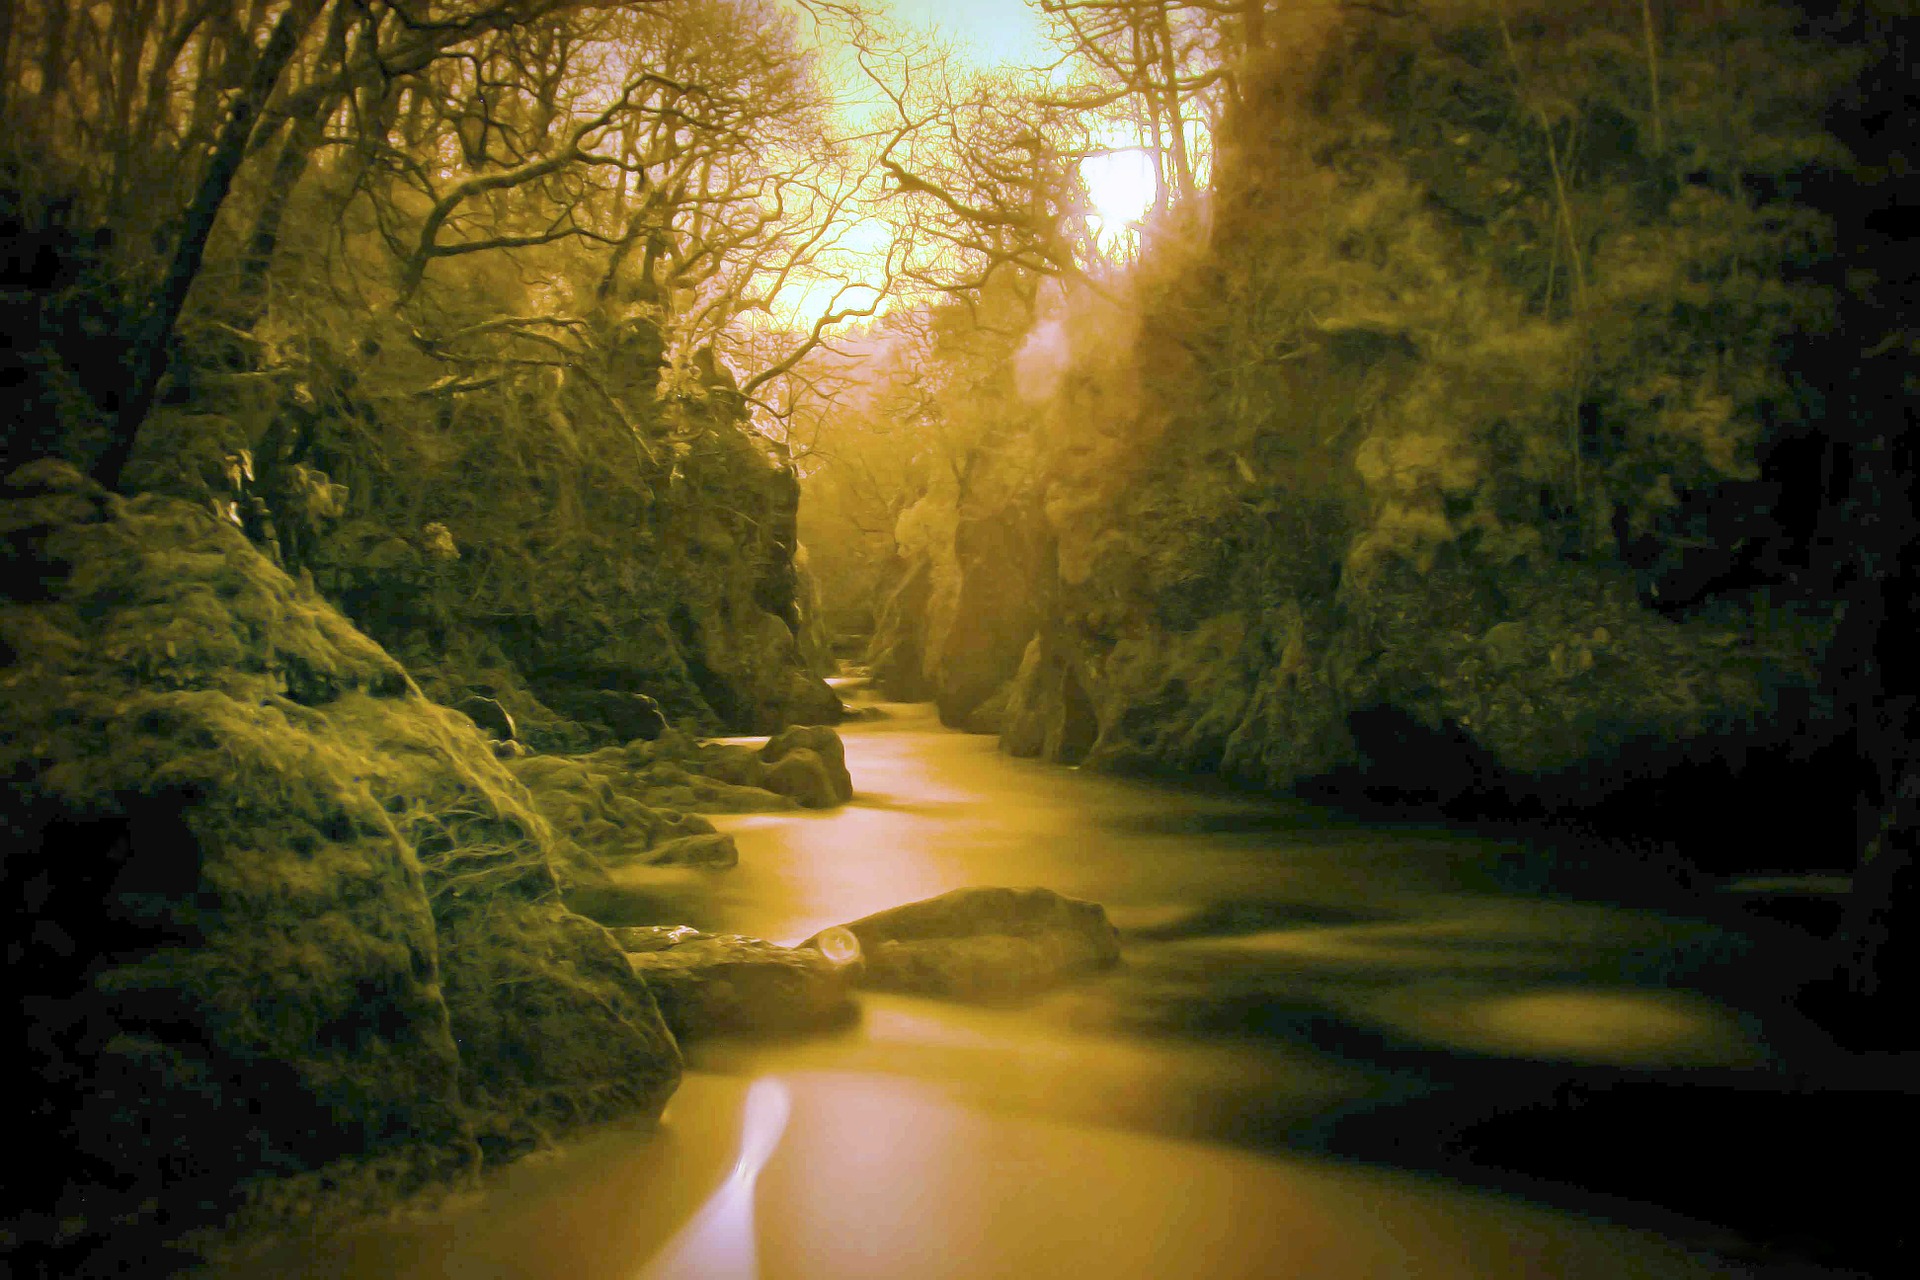
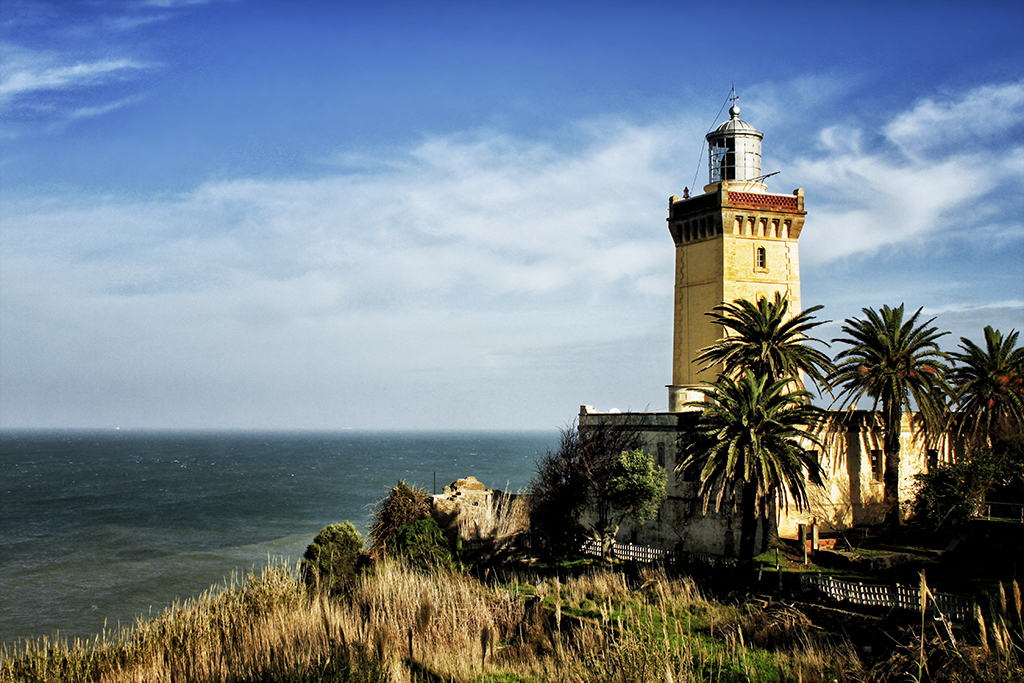
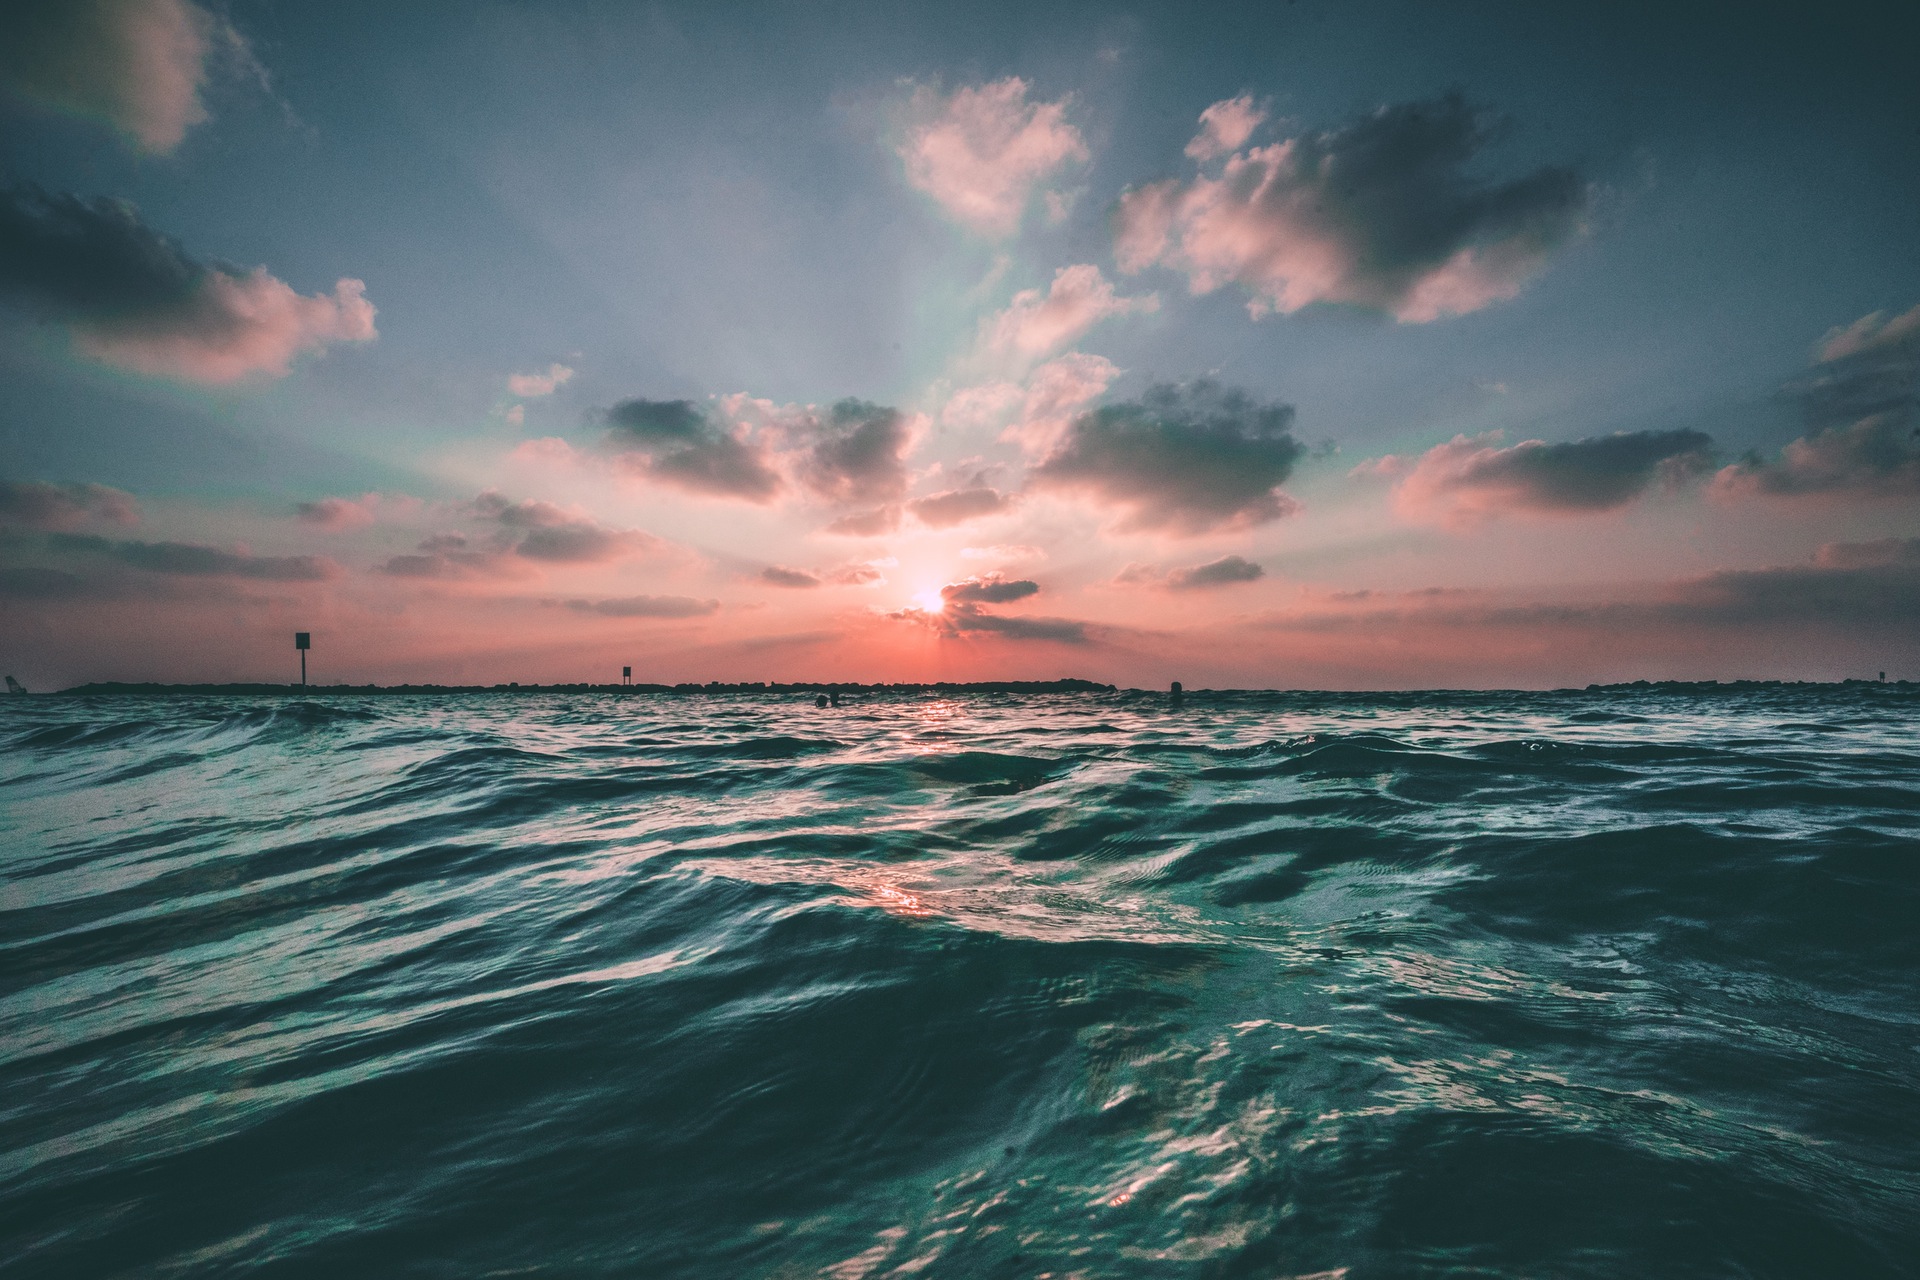
Films/Pictures produced by drones are saved in the most common formats available nowadays, and the good thing is, you can post-produce it with software such as Adobe Lightroom, enhancing your pictures with only a few clicks. Then again, we are showing how useful technology can be for a professional photographer: you can crop areas of the video that don’t suit your purpose, post-produce it with Lightroom Presets, and share it worldwide to make your work tell a story.
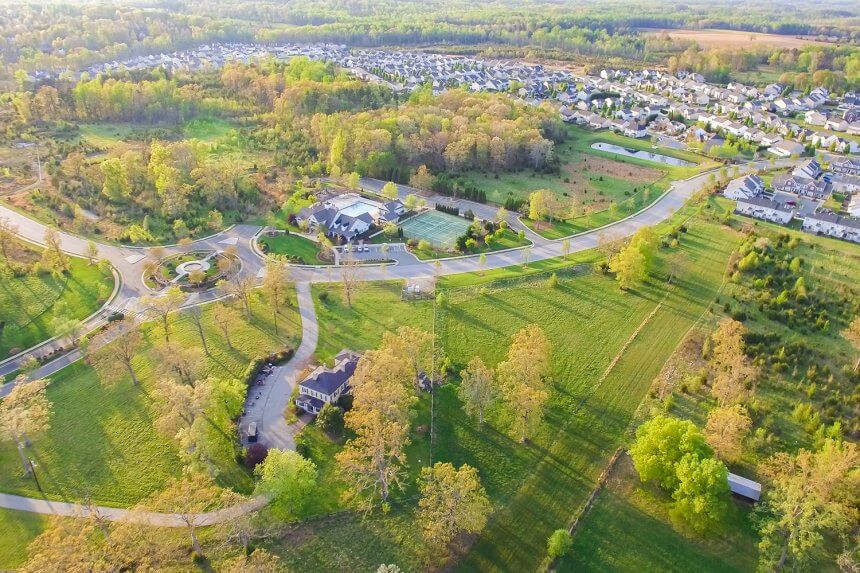
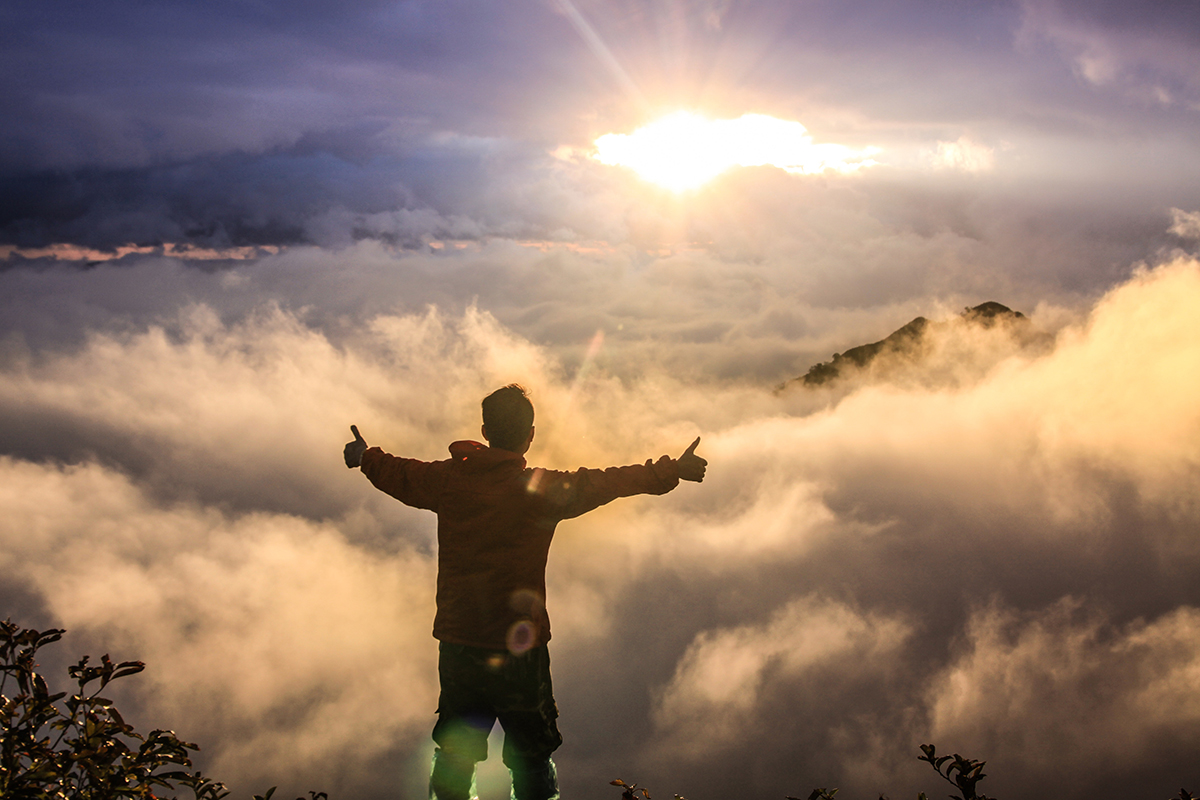
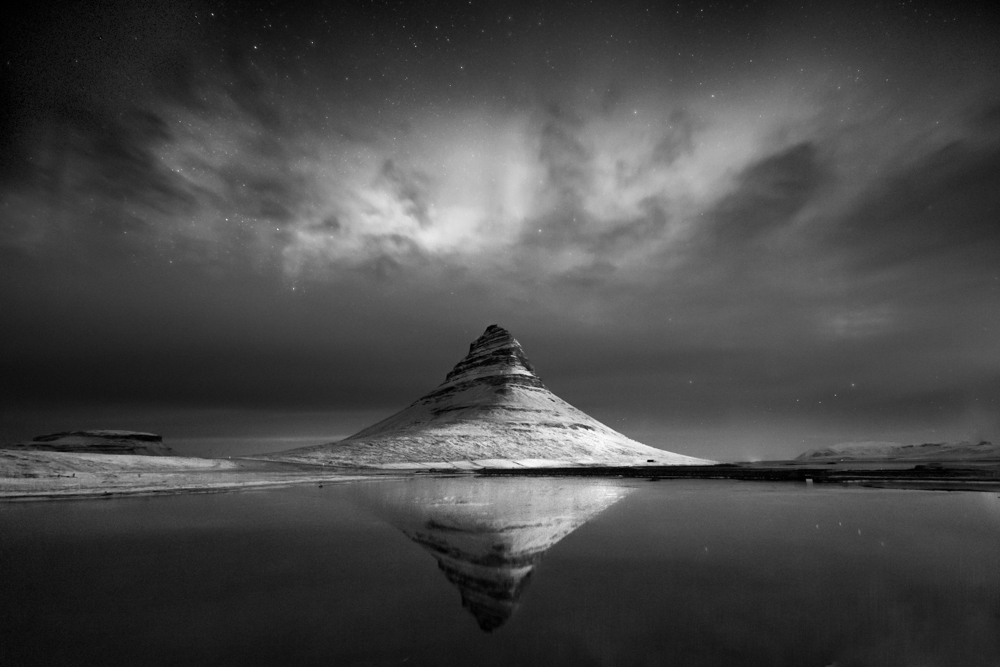
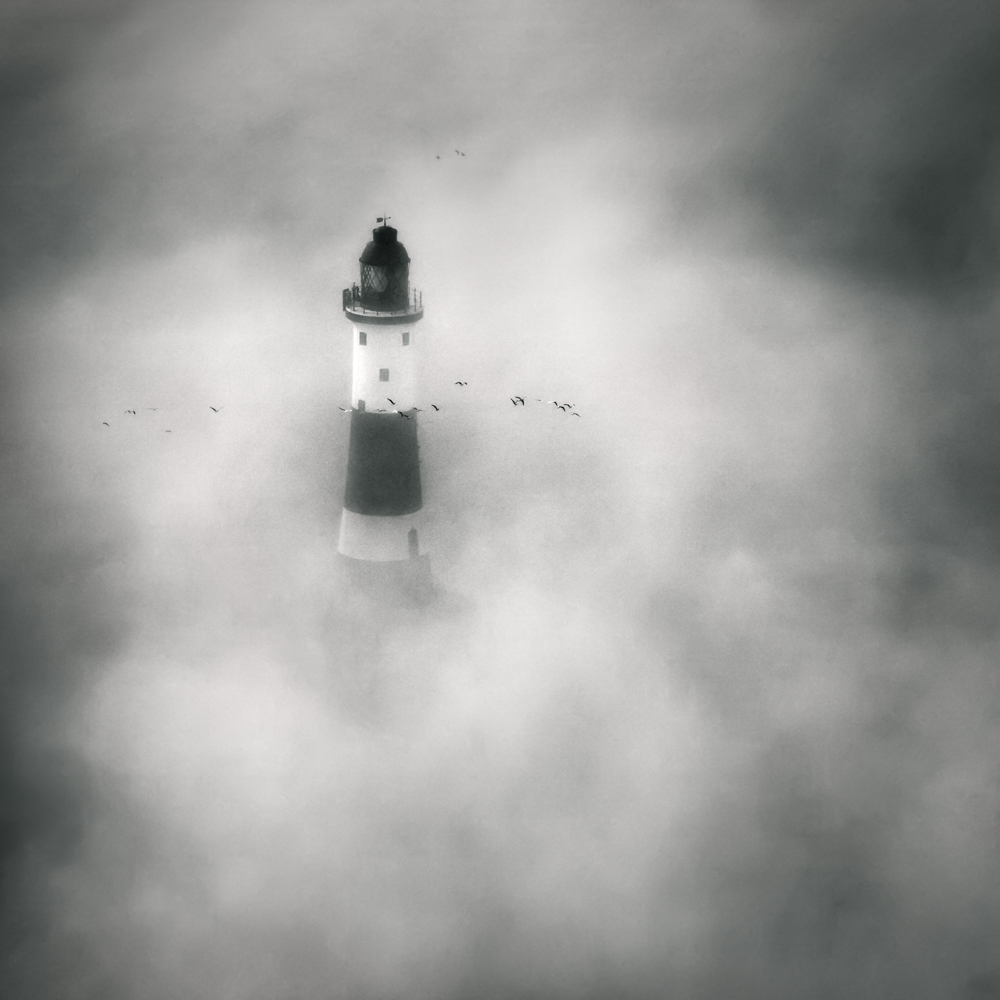
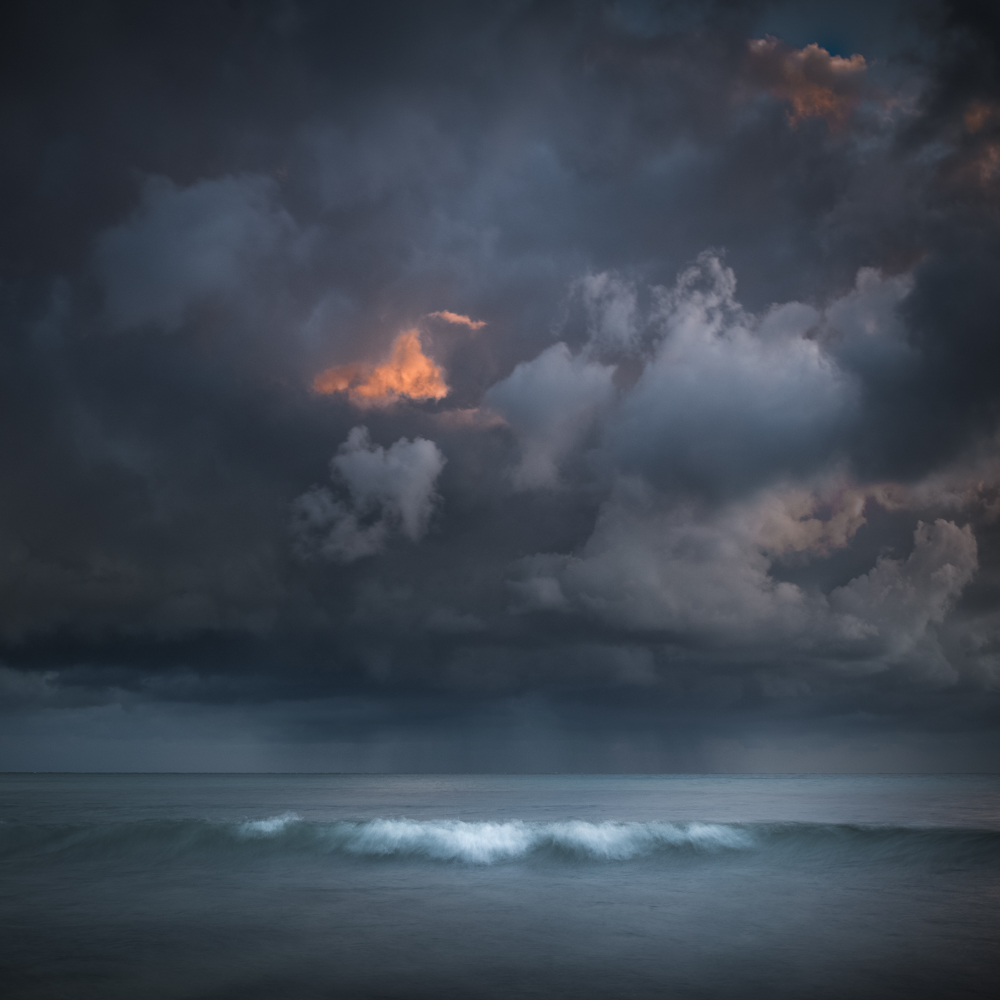
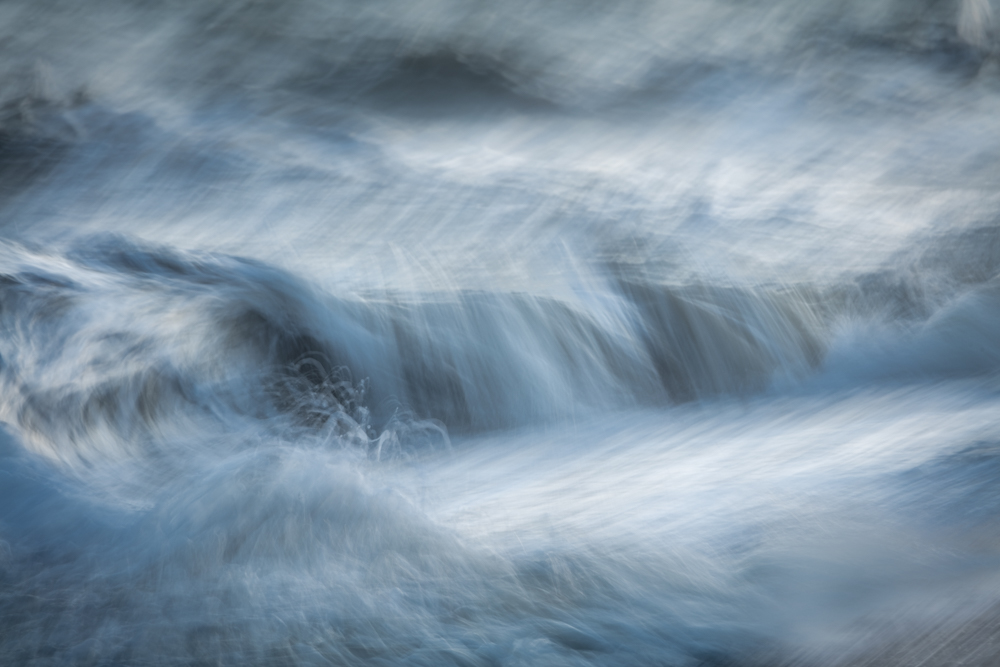
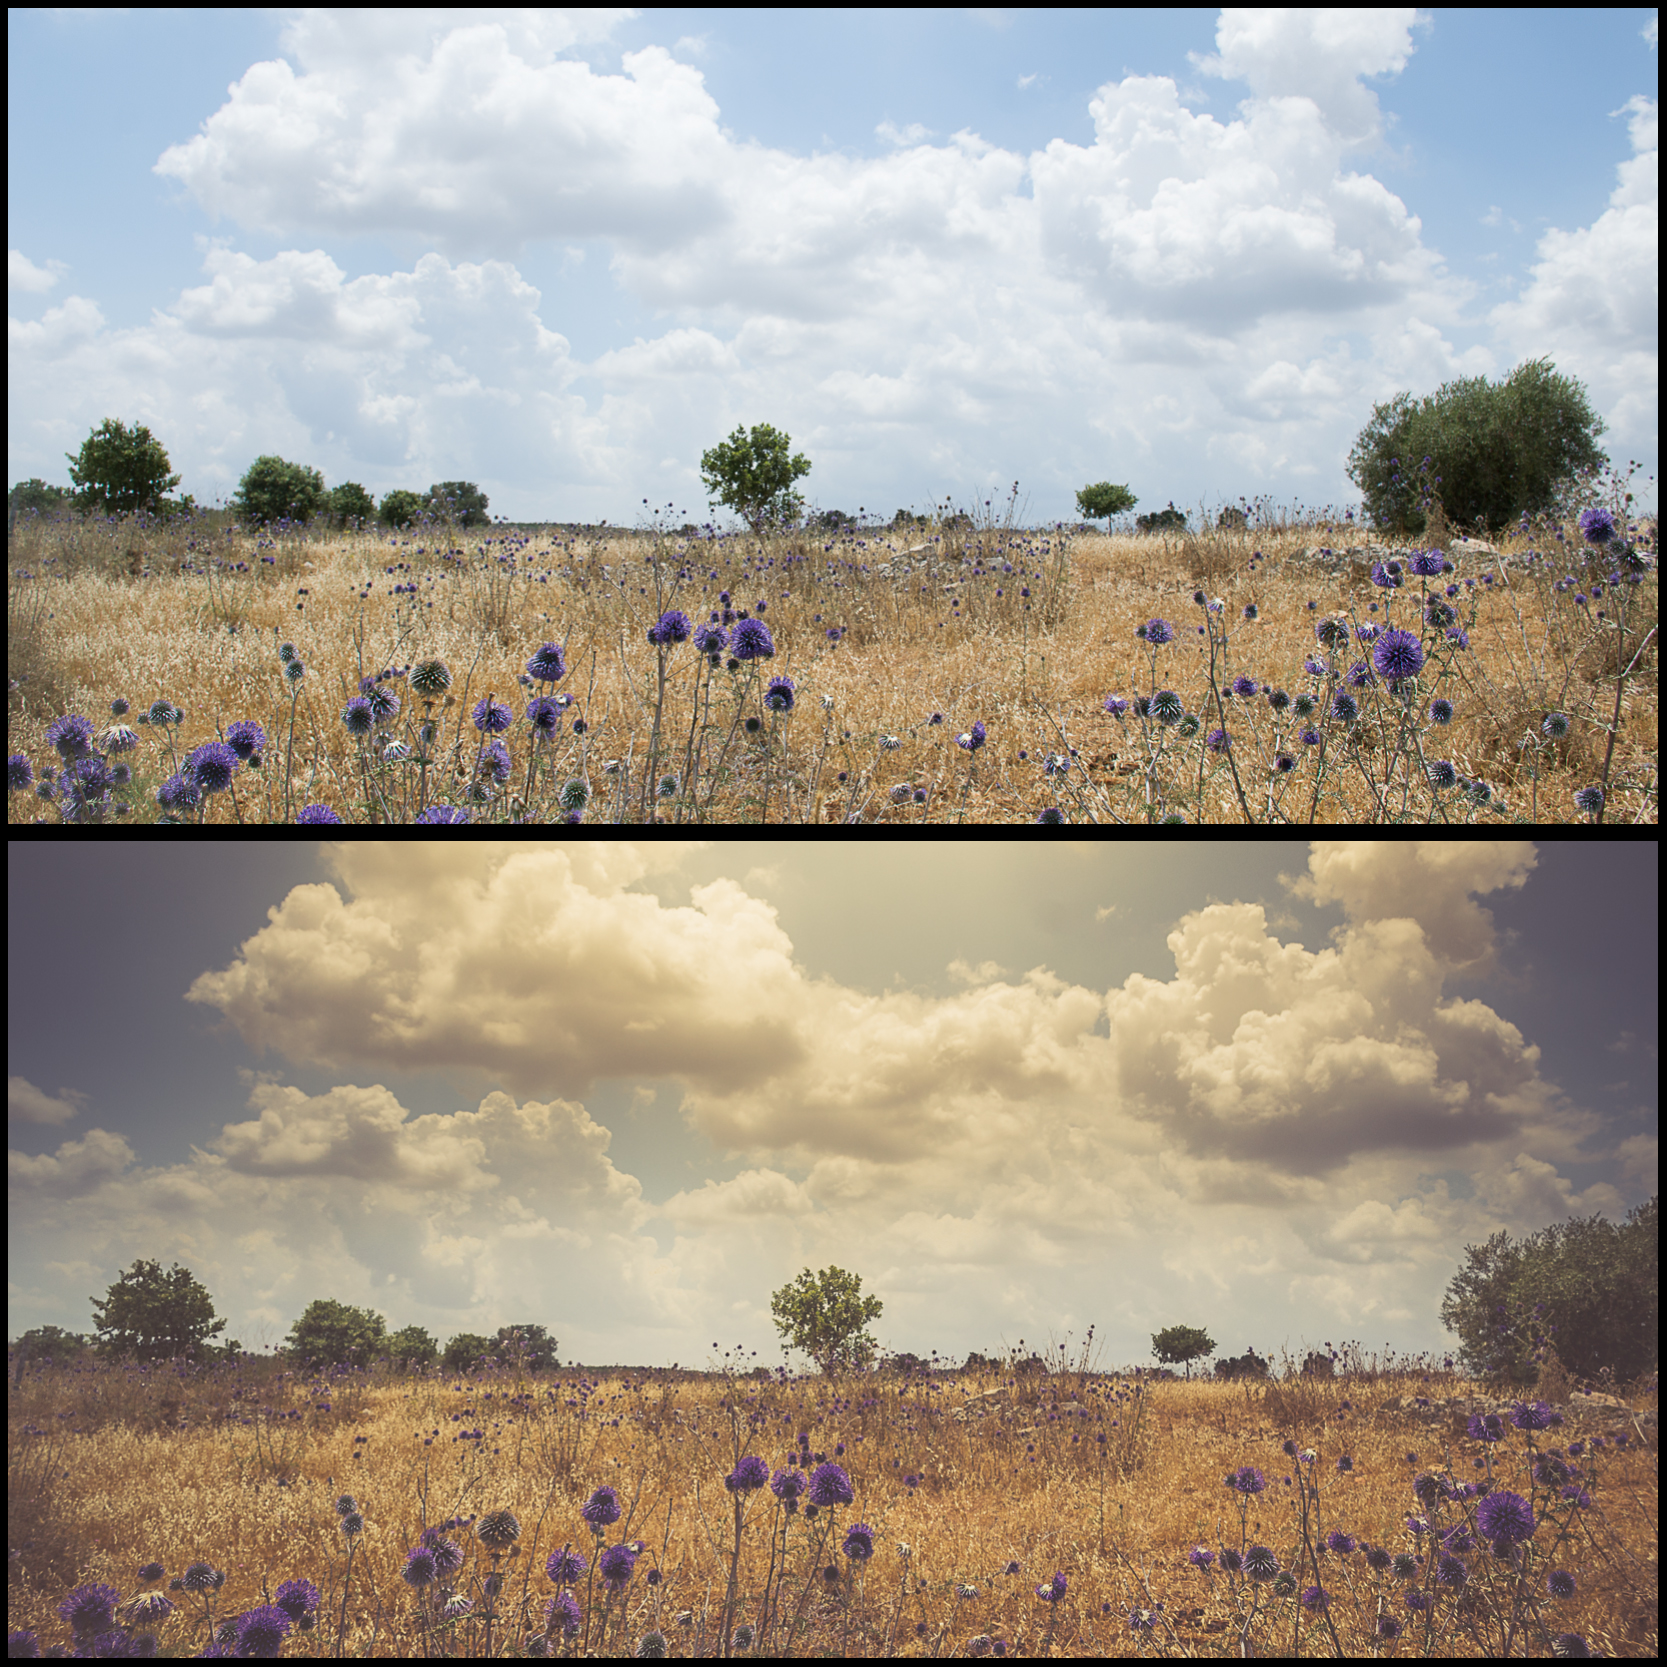
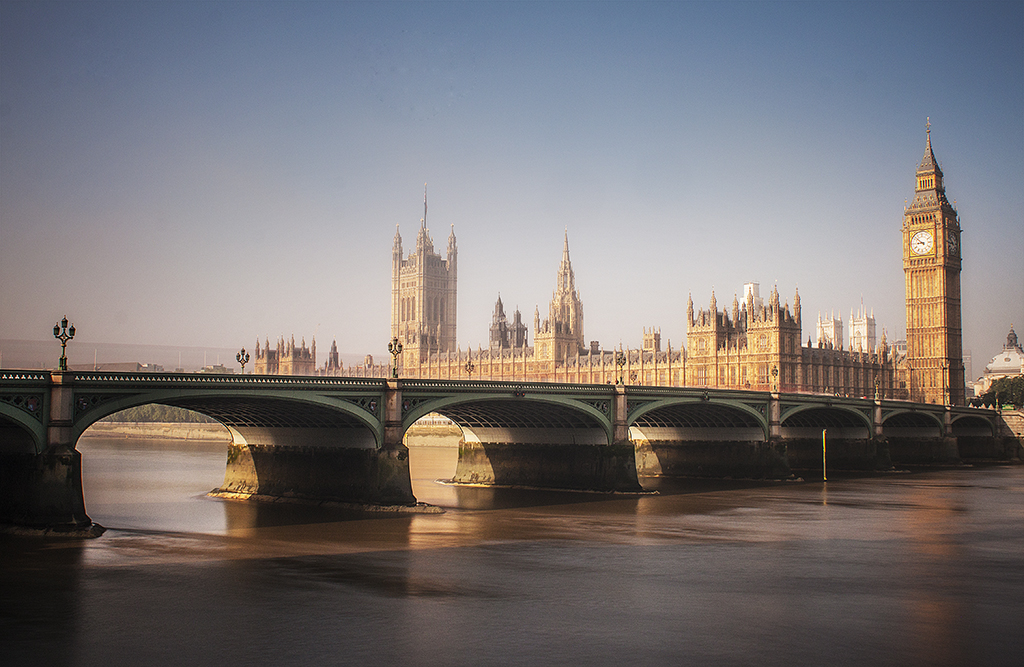
Image edited with our bundle Above the Clouds Workflow for Adobe Lightroom
Drone Camera Buyer’s Guide
As usual, we would like to state the parameters we used to narrow the search for the best drone for photography. There are many aspects to consider when picking the best camera drone for photography, but overall are the factors you need to consider for your photography needs:
Flight Time
This is a crucial aspect for any camera drone these days. Models are constantly being upgraded through both hardware and firmware, yet the flight time is something to consider in regards to battery management. At least 20 minutes of flight time is what users expect from the best camera drones on the market.
Flight Speed
What’s the point on piloting an aircraft if it moves as slow as a tortoise? With a limited time to fly, speed is important to reach new horizons quicker. For most units, the average flight speed ranges from 25-35 mph in cruise mode. Some of them peaking up to 65 mph in their faster flight modes. Battery management for faster flying speeds must also be noted, as in some cases it really becomes a battery life killer.
Operative Range
This, in short words, means how far our unit can take both horizontally and vertically for the signal it gets. For units that work with both smartphone and controllers, there are significant differences in this regard as controllers act as signal boosters. On average, consider the current optimal range for a drone operated with a smartphone between 100-150 meters (328-492 foot), and distances over 1.2 miles for remote-controlled aircraft. Altitude to reach ought to be above 100 meters, reaching up to 1km as a desirable value, though most units hover the 500m range.
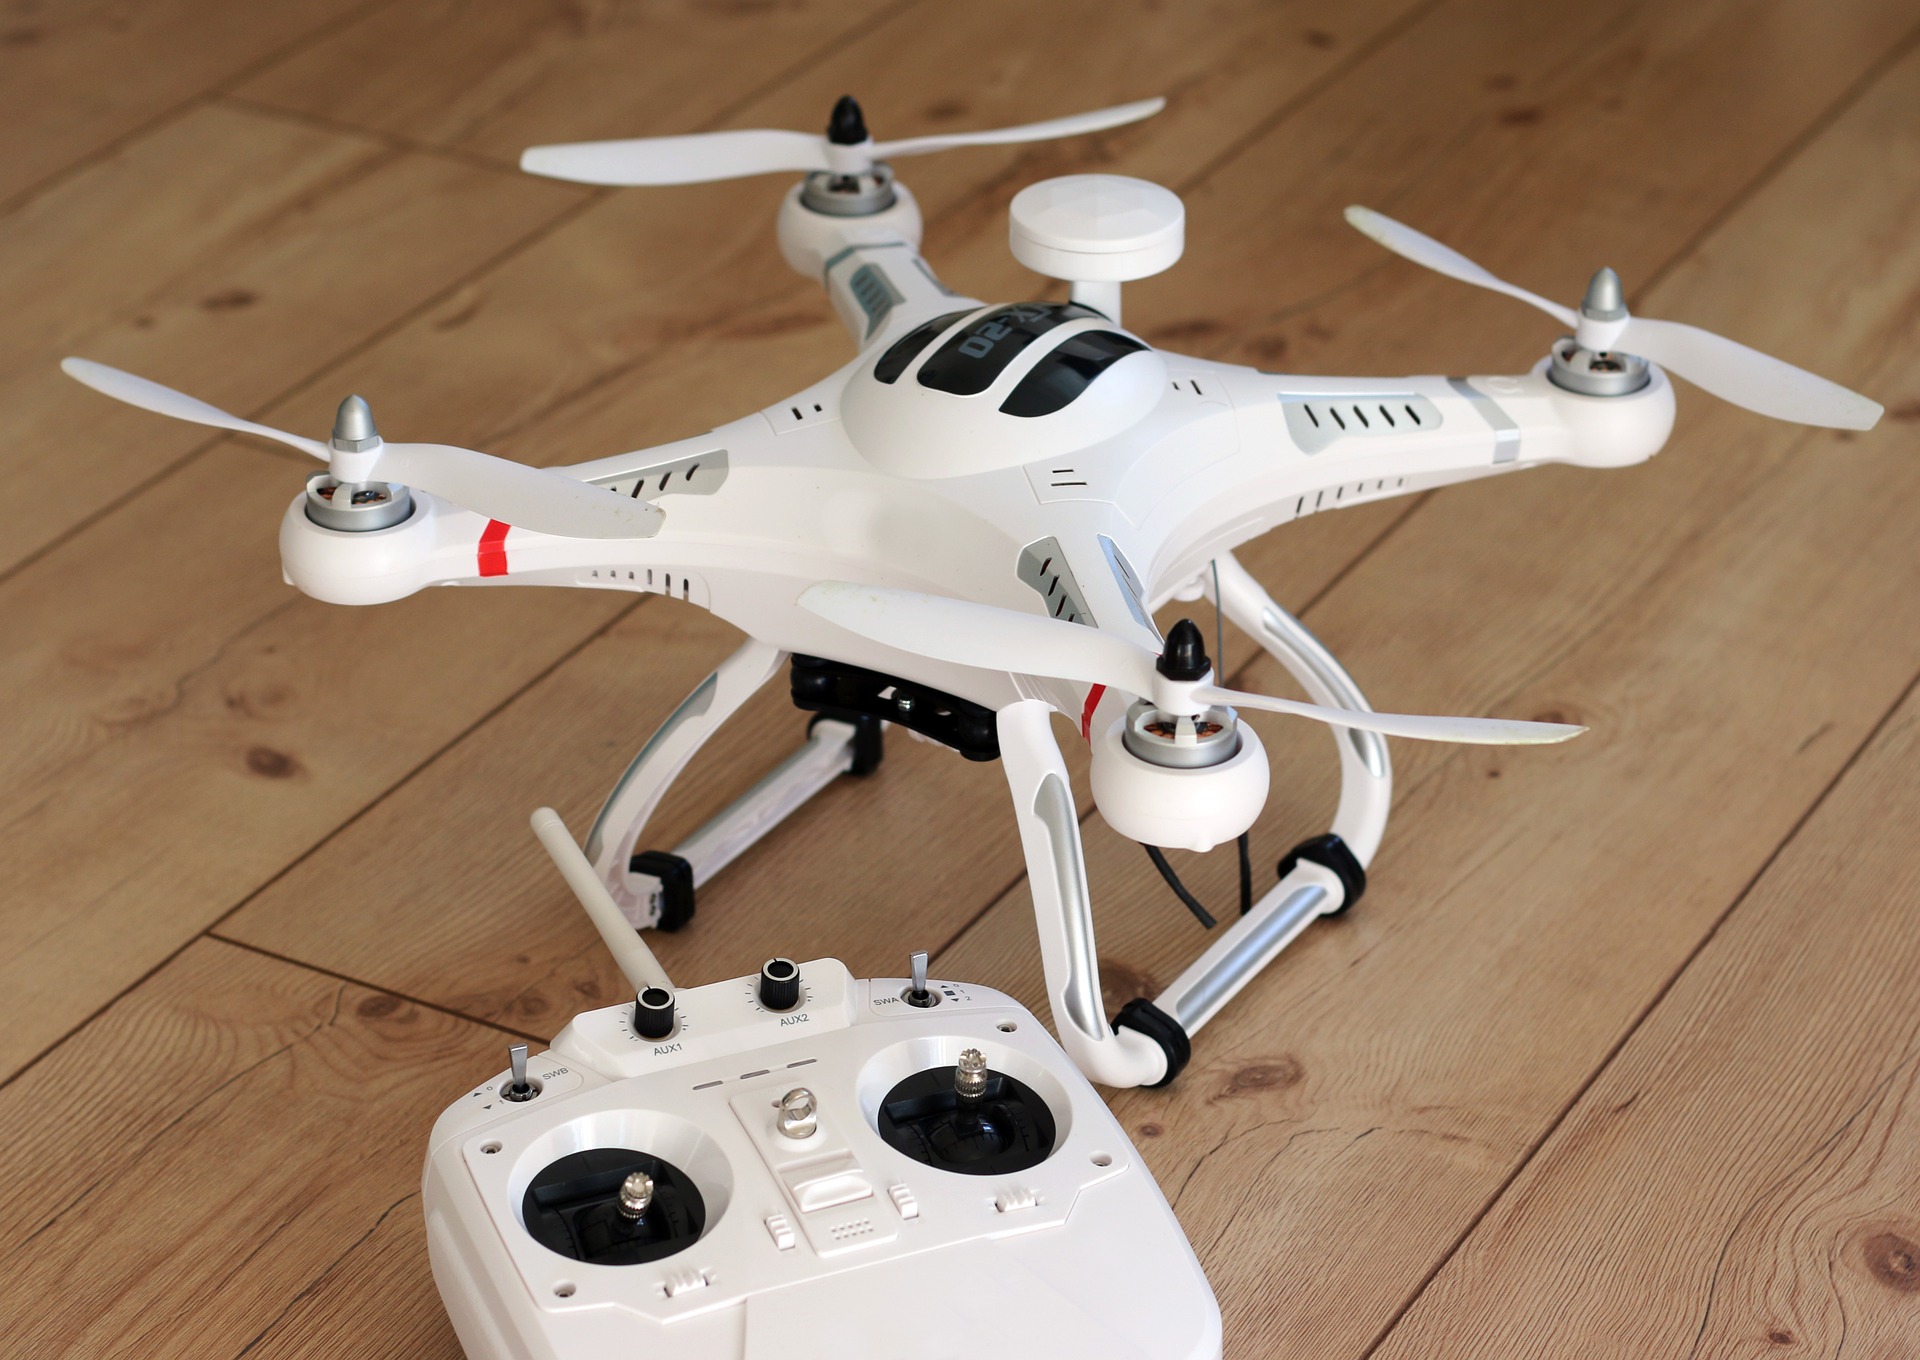
Design
Putting aside ugly-beautiful discussions on this topic, what we mean with design covers not just the material finish for the units (being magnesium alloy as the industry high-end standard), but also if the camera drone sports an aerodynamic design, if it’s easy to operate under common scenarios due its size, if design decisions can chop its recording capabilities, etc.
Image Quality
Most camera drones for photography come equipped with their own fixed cameras, as is the case of most DJI drones, Parrot models, and several other brands. For acceptable image quality we must consider the max video resolution—either 5.2K, 4K, 2.7K or FullHD as acceptable choices for professional work, the still-image shooting capabilities, and manual controls for the camera itself to adjust parameters such as Exposure and ISO.
FAQs about Drone Photography
Is a necessity to register my drone with the FAA?
For a long time it was required to register any drone over the one-pound weight range to the Federal Aviation Administration in the U.S.. However, recent news tells us that the FAA’s drone regulation rules of 2015 were violating a law passed by the Congress in 2012. Hence, after the resolution of a lawsuit won against the FAA, drones whose purpose does not fall under commercial categories do not need to be registered with the FAA for flying. However, regulations still apply for flying areas, especially in suburban scenarios. Our personal recommendation? Do register with the FAA, especially if you buy a professional drone. Better safe than sorry, and later on you can make a business out of your hobby.
What would happen if my drone falls into the water or faces rainy scenarios?
For most drones, the water question is handled in two different ways. Drones, like any other electronic appliance, are not waterproof. They can resist a mild exposure to rain conditions (like in the case of professional DJI drones), but in the case where the unit runs out of battery and falls into a water area, or if that happens due a hit-and-fall casualty, don’t expect your drone to tell the story.
What does the wind do to my drone?
Like any RC aircraft, the wind can be labeled as an enemy if wind patterns are moving towards our drone direction. Depending on the intensity, it can make the drone overheat due to propellers fighting to keep their flying course, or it can tear pieces of the drone’s body if we talk about plastic-made units. Battery life is also compromised, as the drone must do an extra effort to keep flying. But in general, if we use wind patterns to our advantage, we can gain some flying speed if we fly towards the proper wind direction.
Is it essential to buy spare batteries?
In short, yes. Consider the overall flying time of your drone prior to making that decision. For most units, batteries range from $50-100, and battery chargers allow multiple batteries. Even if you consider you are making a big investment over here, it will pay off in flight autonomy.
Which would be the ideal microSD Card size to buy?
As memory cards keep getting cheaper and cheaper, high-end units require SSD drives to store such bulky footage. Go directly for a set of 64GB memory cards if both your drone and your budget allow. Any video footage over FullHD quality directly translates into GBs of file size, so don’t miss your chance of creating amazing footages due to lack of storage capacity.
Where can you learn how to operate a drone?
Fortunately, there are many ways to learn how to be a professional drone operator. From attending local courses at photography schools to online courses on drone photography, the options are as broad as you would have imagined. We at Sleeklens decided to take things to the next level and offer an Aerial Photography bundle for Adobe Lightroom, as well as a full course that covers every single aspect of Mastering Drones.
Where should I avoid flying a drone?
How to Plan a Drone Photo Shoot: 4 Things to Know Before You Fly
Drone Laws
The first thing we should discuss before we go any further is the importance of following the laws put in place for UAVs (Unmanned Aerial Vehicles). After doing initial research into purchasing a drone, I was quickly alerted to the ever-changing laws. The fact that many people have made poor decisions which have endangered others, it has led to an increase in restrictions. The FAA (Federal Aviation Administration) therefore has a list of requirements even if we are flying as a hobbyist.
If we plan to make any sort of money through the use of our drone, legally we are required to get a remote pilot certificate. You can get this by passing the FAA’s Part 107 test. It’s 60 multiple choice questions with a 2-hour time limit that takes place at an airport. It requires a good amount of study and knowledge of air traffic. Many people say you need to pay to take a class in order to pass. This is not the case. If you know how to study you can find all the needed information online.
If you plan to take your drone out of the country it’s wise to read up on the foreign laws as well. Some countries have unique laws while some even restrict anyone from entering their country with a drone. One of the worst situations is being stuck in an airport dealing with customs. Due to lack of prior research, sadly many drones have been confiscated at airports.
Not all sites will be suitable for taking drone photos. Here are some places to avoid flying:
Places with Municipal Restrictions
Certain cities have strong regulations concerning the use of the radio control devices because of the possibility of interference with medical, aviation, and police equipment; as well as to prevent an overpopulation of devices over tourist areas. If you are not sure about a spot, please check this resourceful app.
Places with Physical Restrictions
Somewhat related to the previous point, places with narrow passages that prevent operating the device with such ease could lead to situations that are risky for both the device (from severe damage), as well as for people in the immediate area (remember, the drones have propellers that can be very sharp when operating).
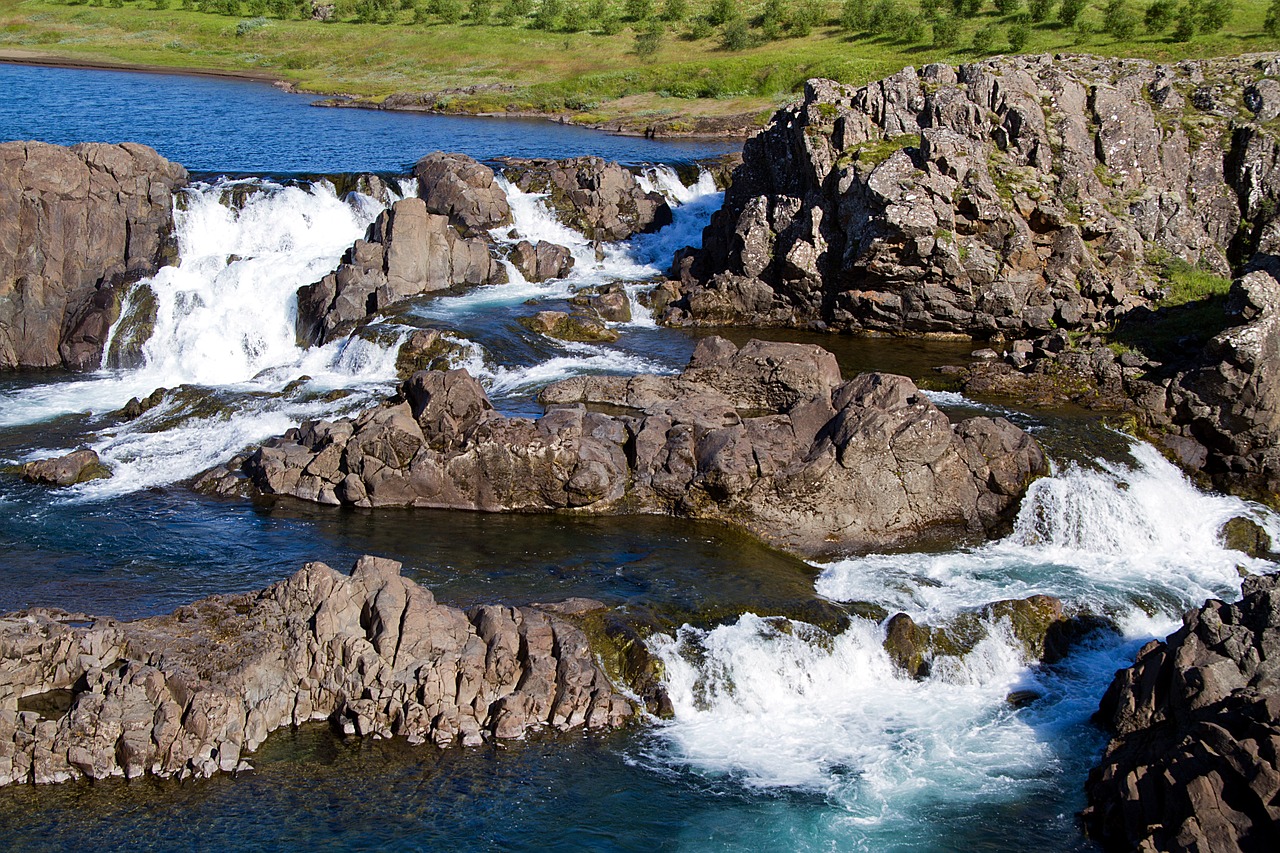
Places with Environmental Constraints
Not all drones are capable of withstanding the same forces of the wind or extreme climate conditions, such as heavy rain, snow/hail or even high temperatures.Therefore, and as a way of preventing future inconveniences, it is best to sit down and plan your future shooting session. In this beginners guide you will find several tips that will help you to locate the best and most suitable places to experience drone photography, within the limits of your equipment and skills.
Location Scouting
Once you’ve established how to properly fly your new drone, it’s now time to find awesome locations. This can be a little tricky at first because everything can look really different from above. I’ve found that using Google Maps and/or Google Earth can be an excellent way to see patterns, shapes, and color from above. You can save the screenshots and locations and then use those as a shortlist for when you head out.
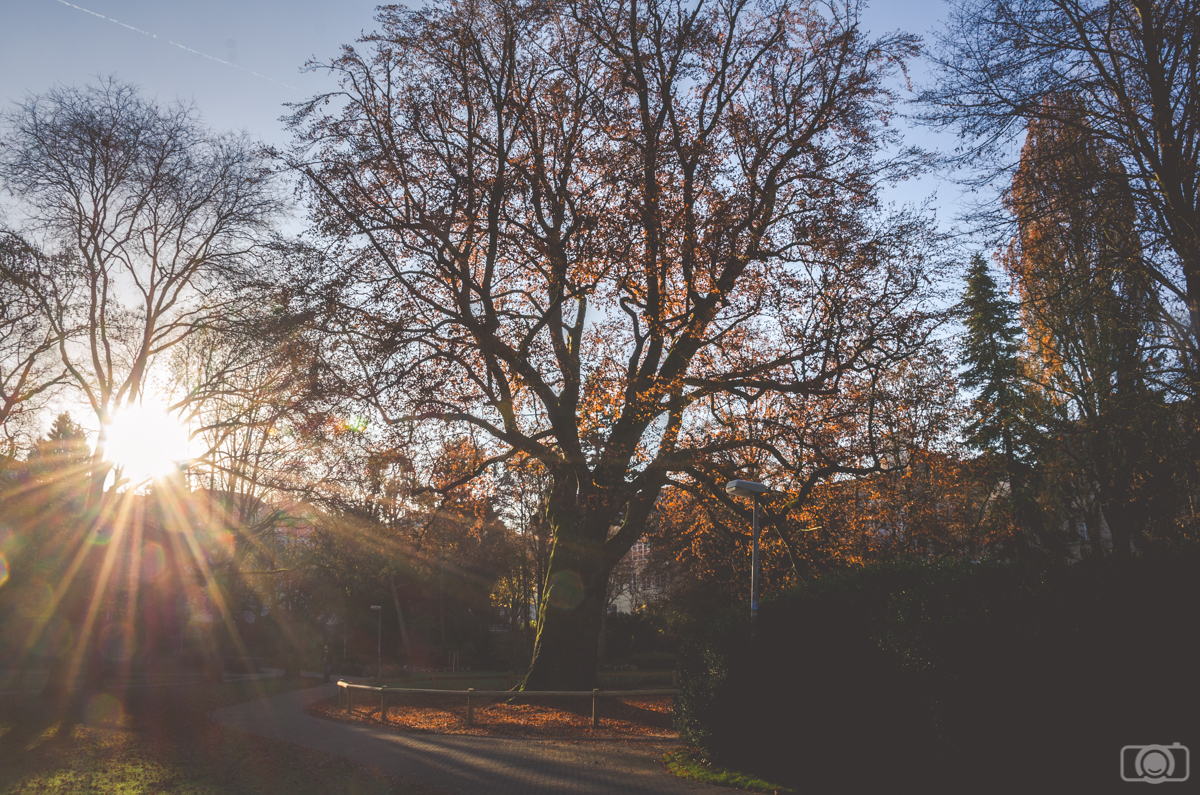
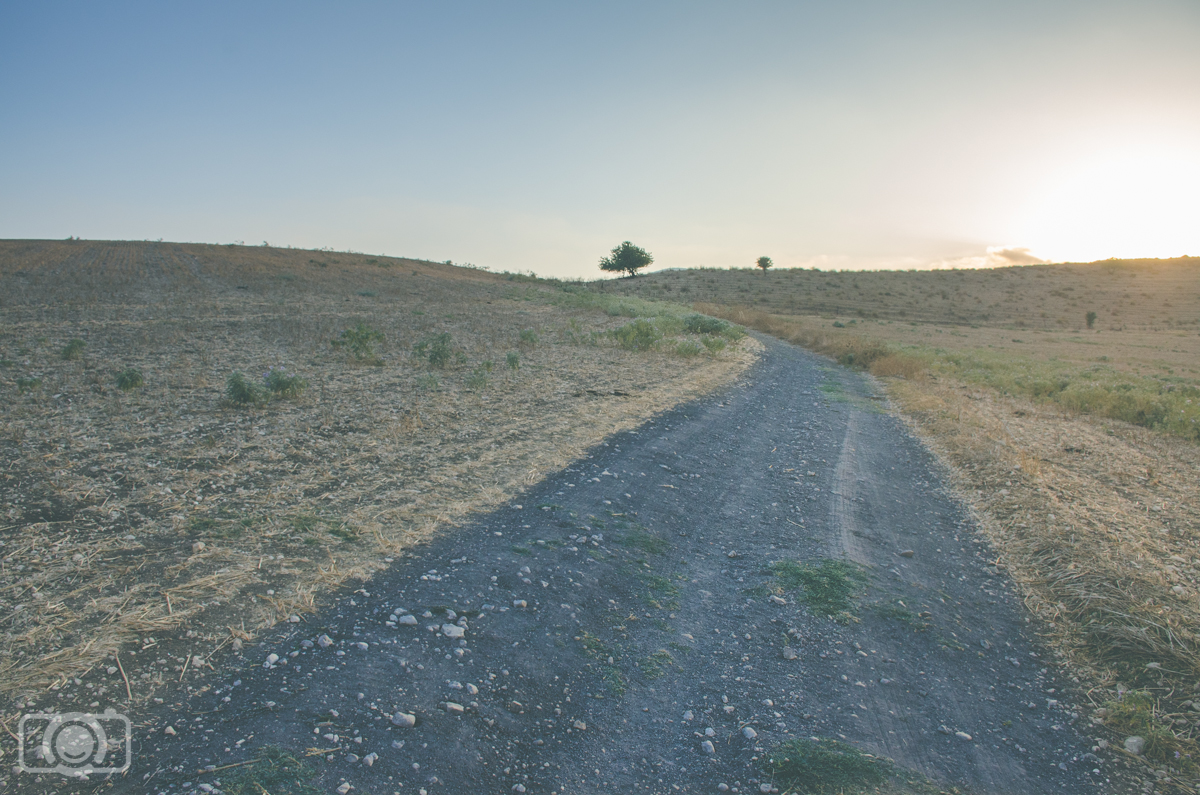
Just like with normal photography, the time you photograph can drastically shape your final image. Most find that shooting early in the morning or in the evening (golden hour) will produce the best images.
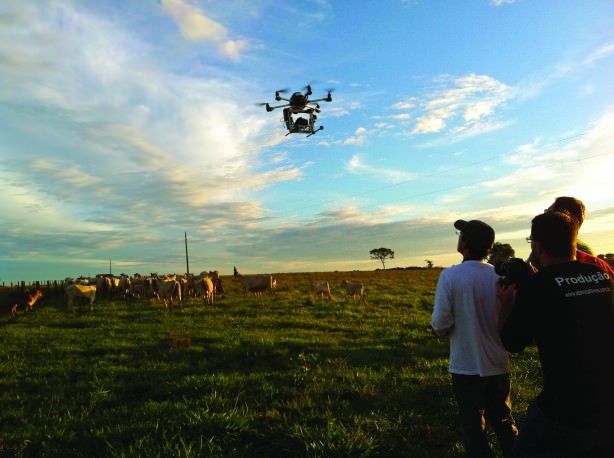
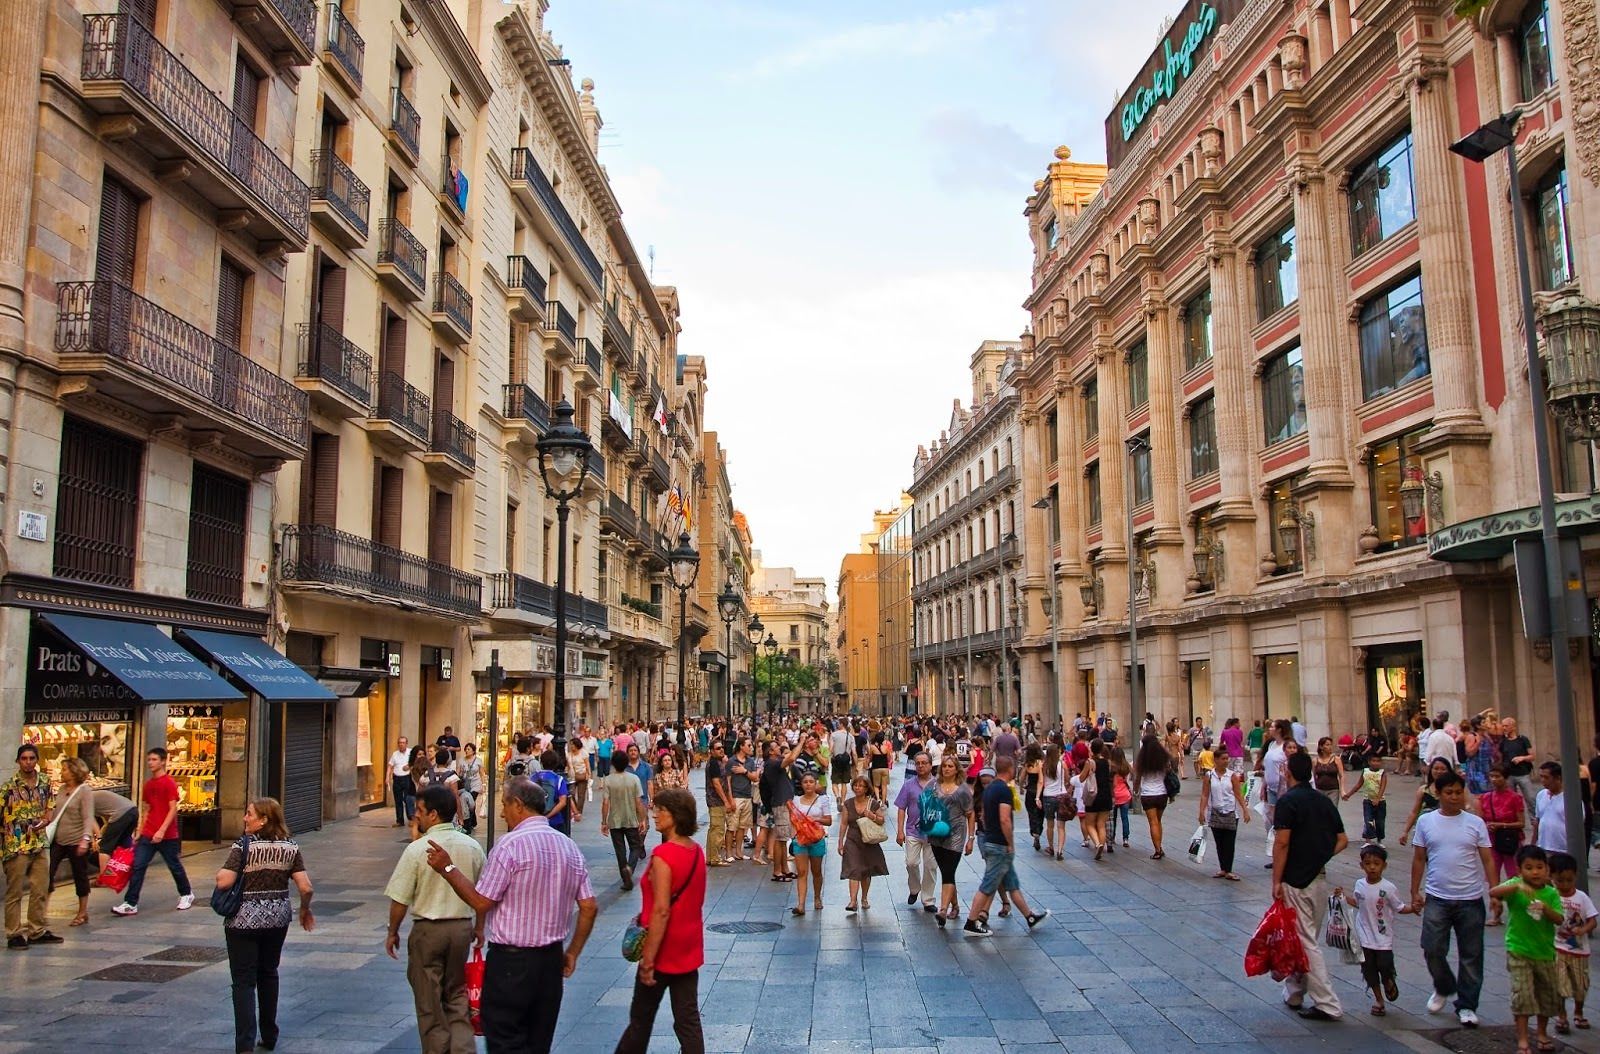
Flying a drone requires a lot of focus. I’ve found that picking a location with a lot of people is extremely distracting and results in disappointing results. People tend to always want to know what’s going on and will start asking you tons of questions while you’re mid-flight. In order to avoid this, find a quiet place near your location and launch it remotely. This way, even if people notice the drone they won’t be able to bother you.
Google Earth
Many already know this, but for beginners out there, Google Earth can be a great for when you need to study the locations you plan to photograph.
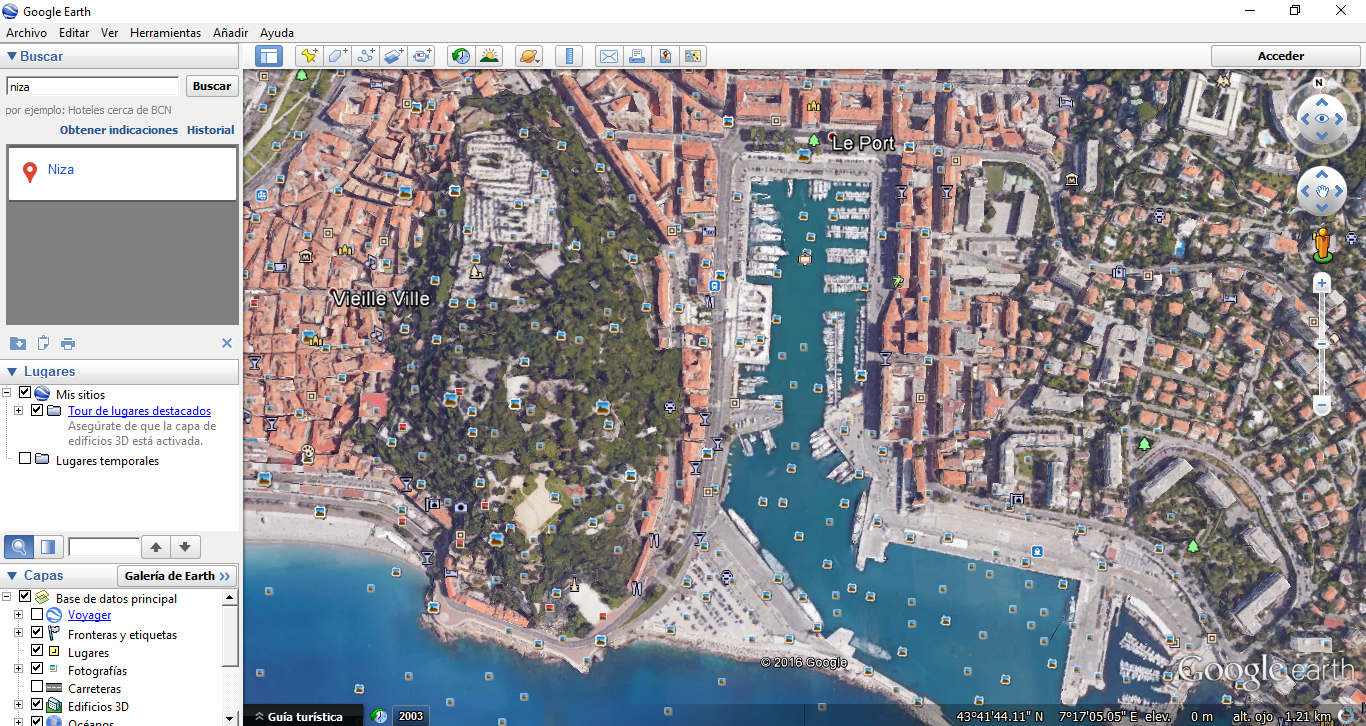
To get started, first access and explore in Satellite Mode to learn about the conditions of the site you plan to visit. Google will display the location using photos from Panoramio, indicating routes or trails that cross the site, or even with an advanced feature called Elevation Profile.
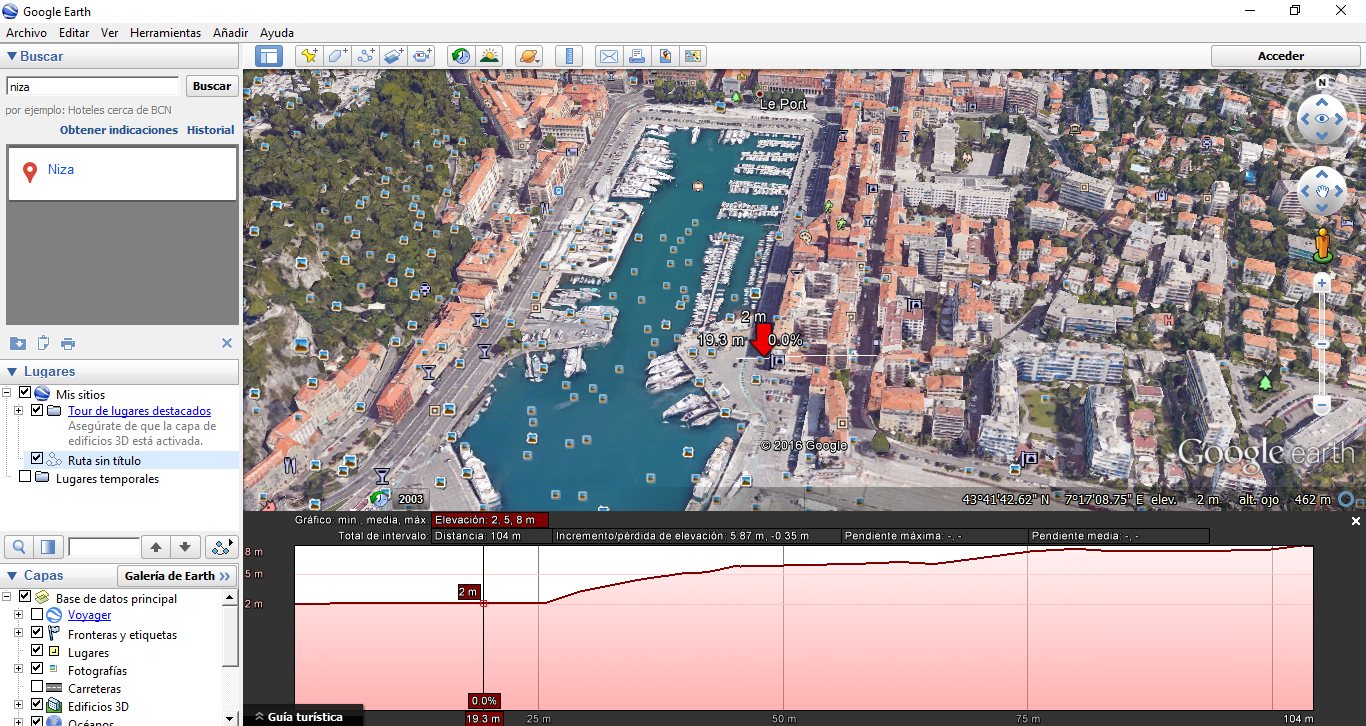
To do this, it is necessary to select the Path tool, draw two arbitrary points, then save the defined route. When you select the created route, right-click on it and select the option “Show Elevation Profile”. It won’t be like using a complex GPS device, but it is worth a look to get a clear image on how rough the terrain is where you will be constantly walking to follow your drone.
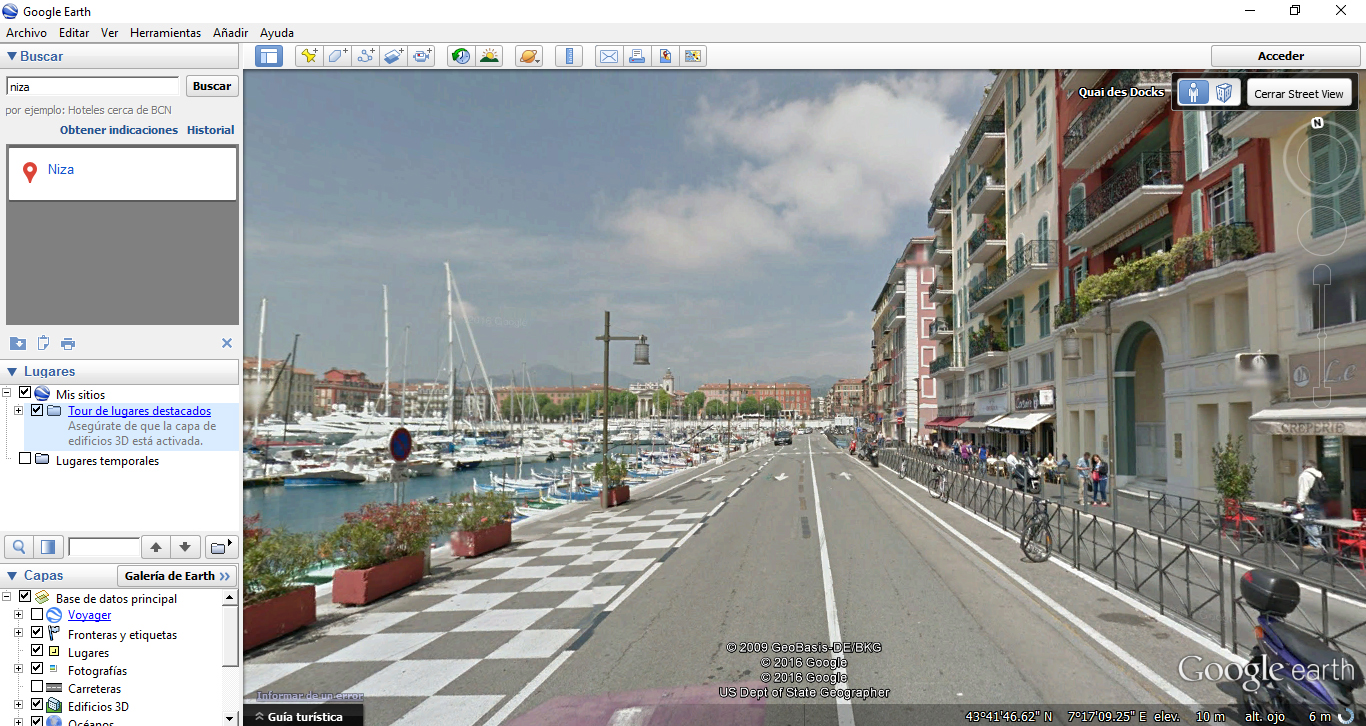
Another excellent resource is to take a look at your desired location in Street View Mode. To do this, just zoom in on the area that you wish to explore and Google Earth will adjust to the Street View Mode, where you can look at photos of the site to get a better idea of how this selected location is going to look like.
Climate Information
After getting a good amount of data on the location that you want to visit, be sure you know the climate conditions before you set off. There’s nothing worse than ruining your equipment because you neglected to think about how the climate is going to be on the day of your shoot. Drone equipment can be quite pricey, and there’s no way to retrieve your data after losing the device.
Use either the Accuweather smartphone app (Apple’s Climate app works better for iOS users unless you have an iPad), or check your local weather station to get an accurate update prior to visiting the site.
Dronestagram
Check out Dronestagram, an amazing website that is like Instagram for aerial images. With the very same idea in mind, you may find this not-so-well-known social media network to be the go to the site to check if your chosen location is actually worth the visit. There are tons of drone pics and videos from users worldwide. You certainly can’t go wrong knowing the sweet spots of your desired shot location beforehand.
Unlike Instagram, you can also access their forum, where you can interact with other drone photographers, or even take part in some of the contests this website hosts from time to time. Looking for new challenges? Then take a look at the portfolio of this network’s top users and compare them with your own work.
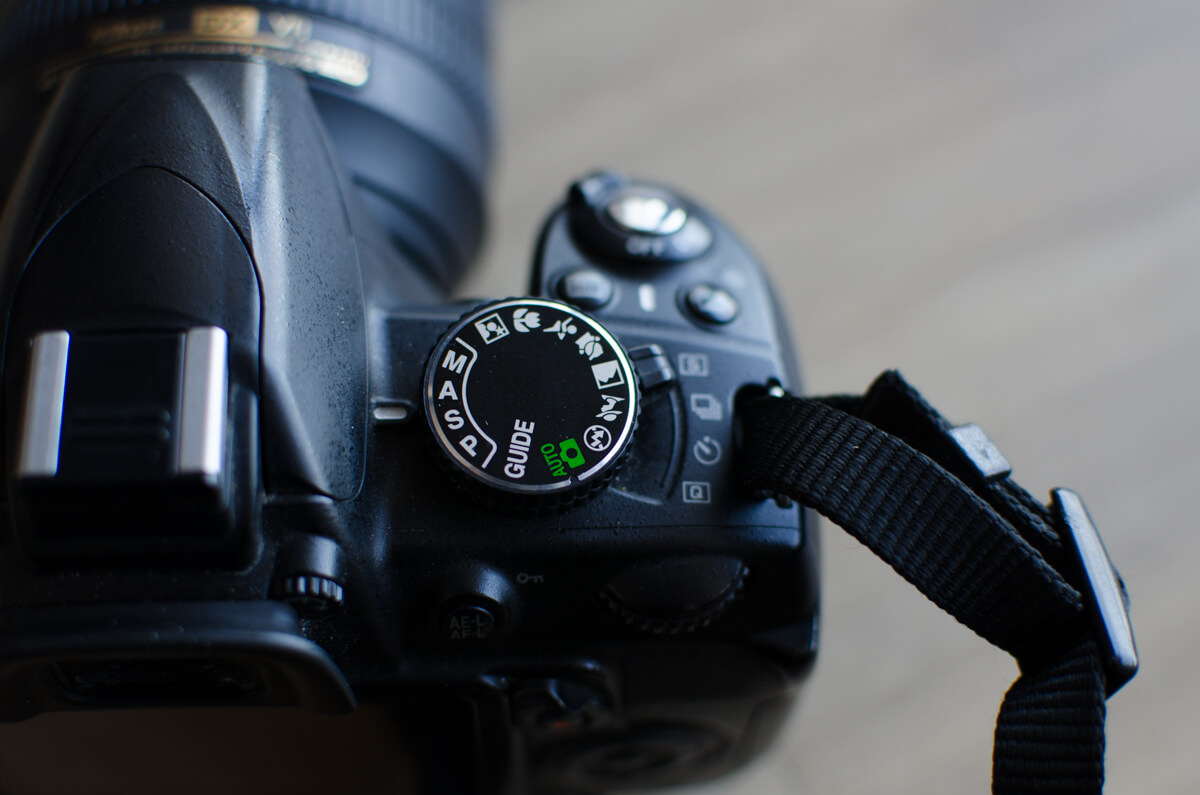
Settings
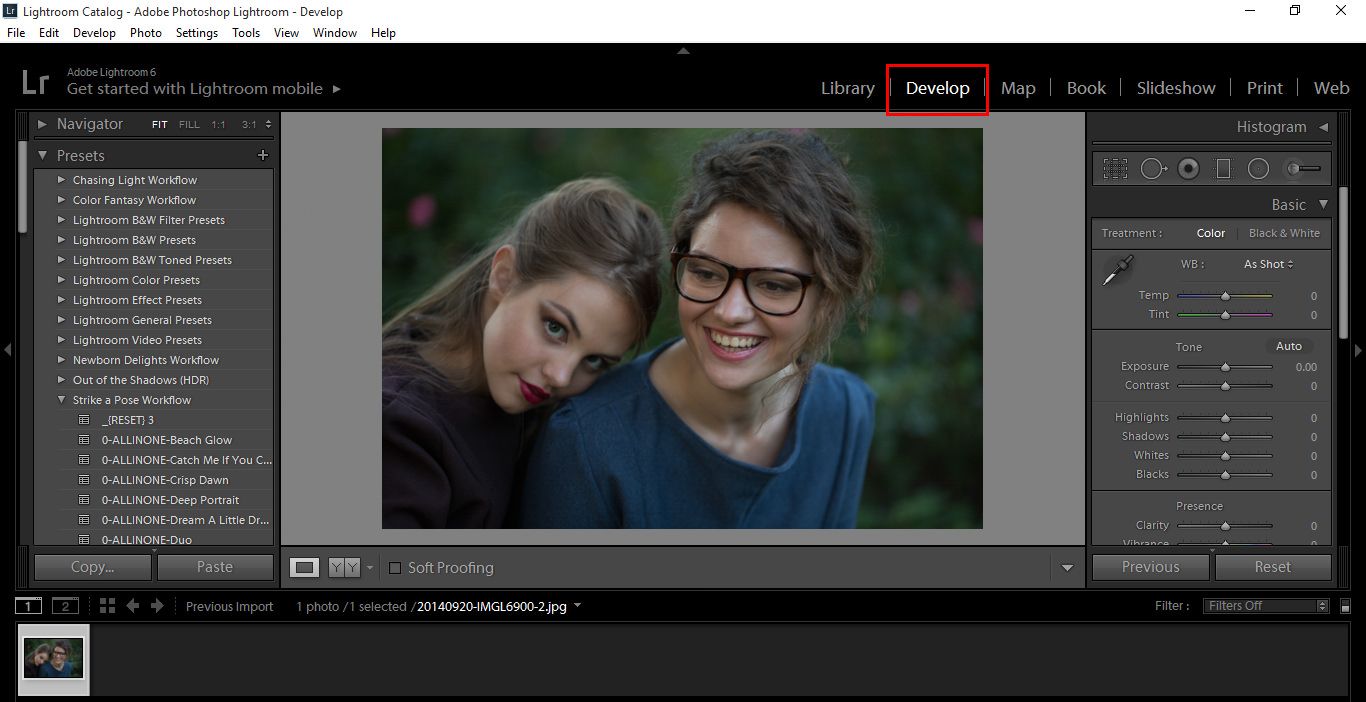
 Once you’ve arrived at your location, you want to make sure your settings will give you the best results. It is always recommended to shoot in RAW in order to get the most detail. This will give you more to work on the editing process later on. Many drones, especially all the popular drones like the DJI Mavic, have a portrait mode. Many people overlook this setting and end up shooting everything horizontally. For those who post regularly on Instagram, this mode can be incredibly useful in making your images stand out on your followers feed since you can maximize more space vertically.
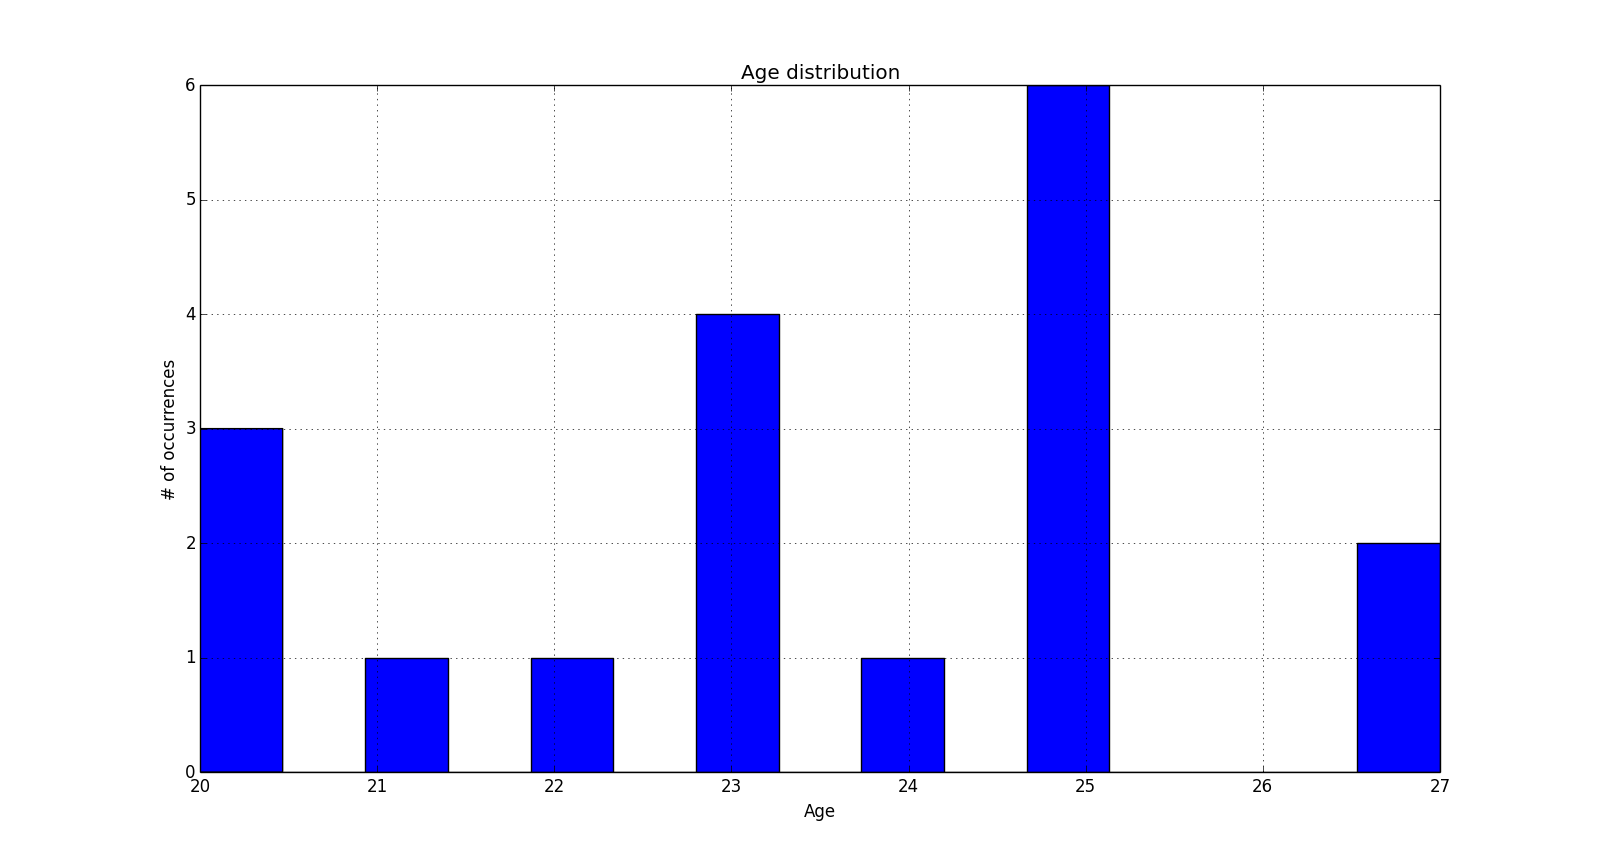
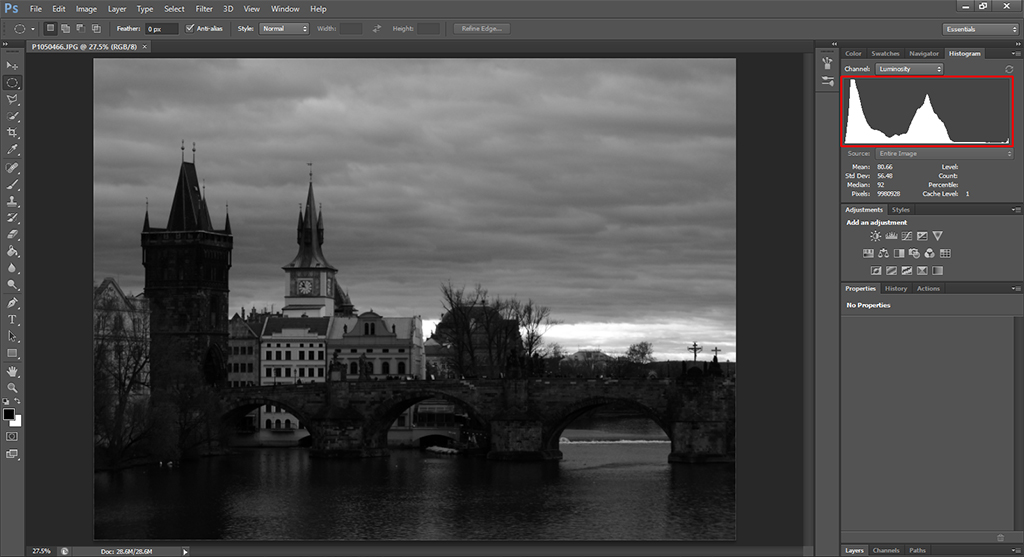
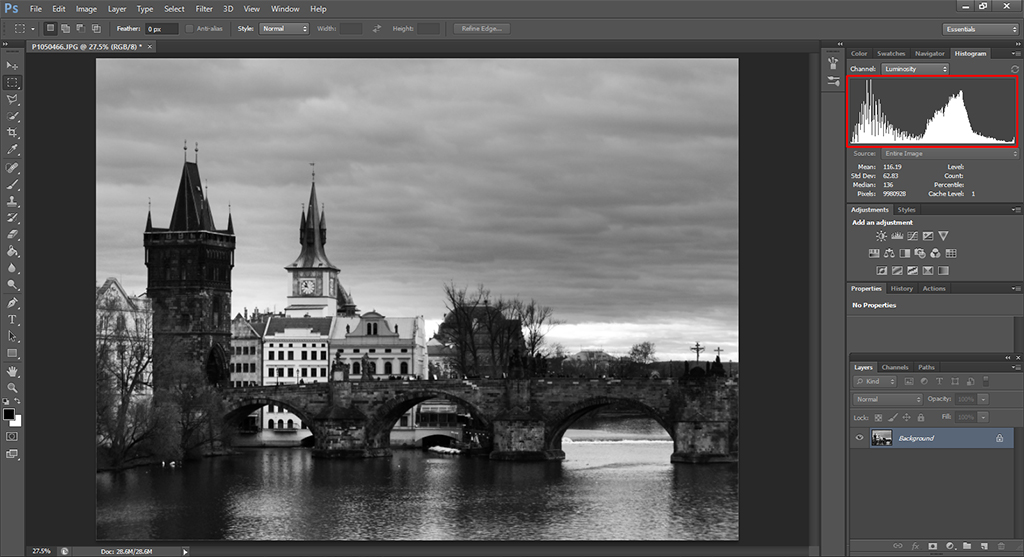
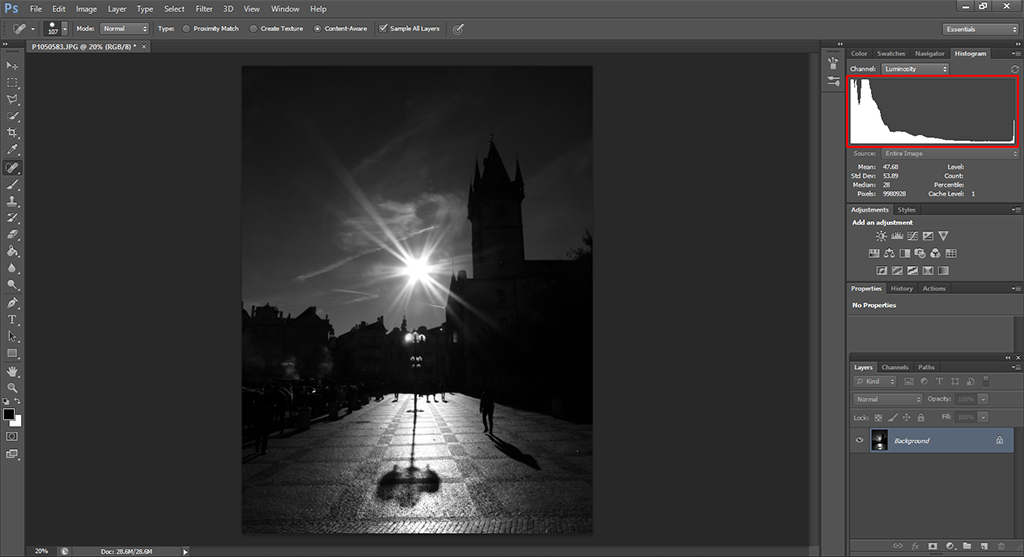
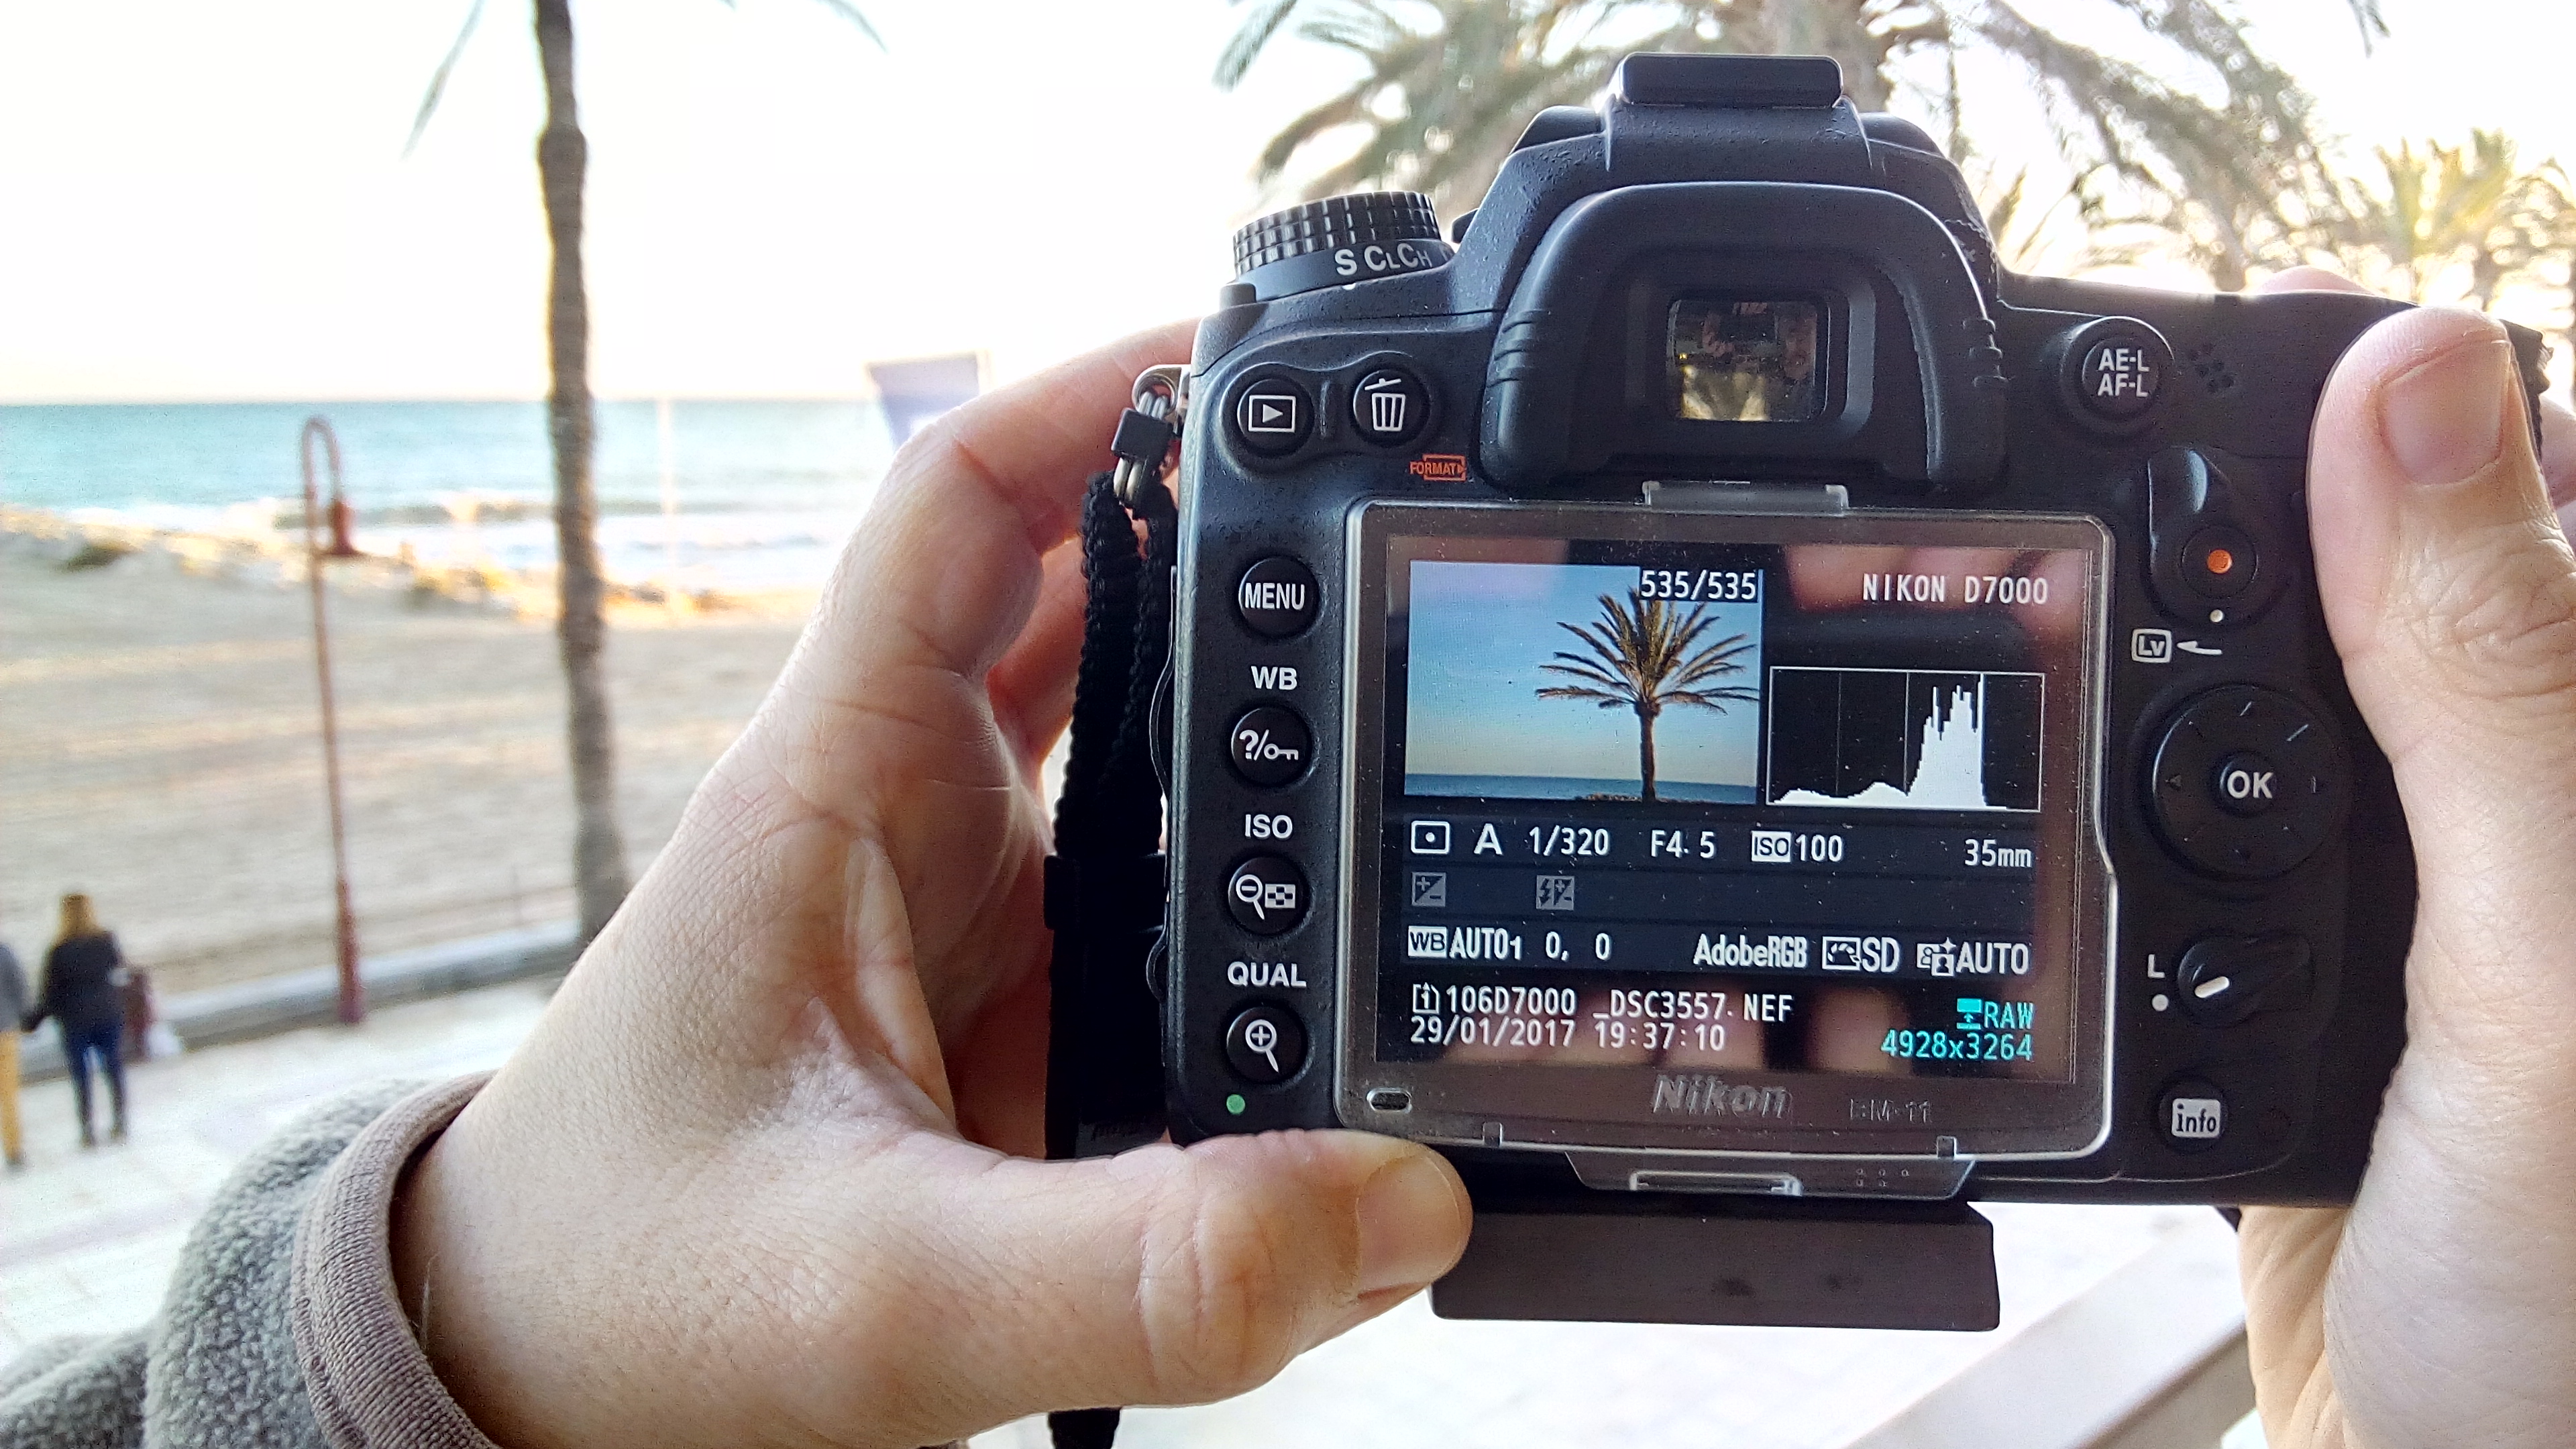
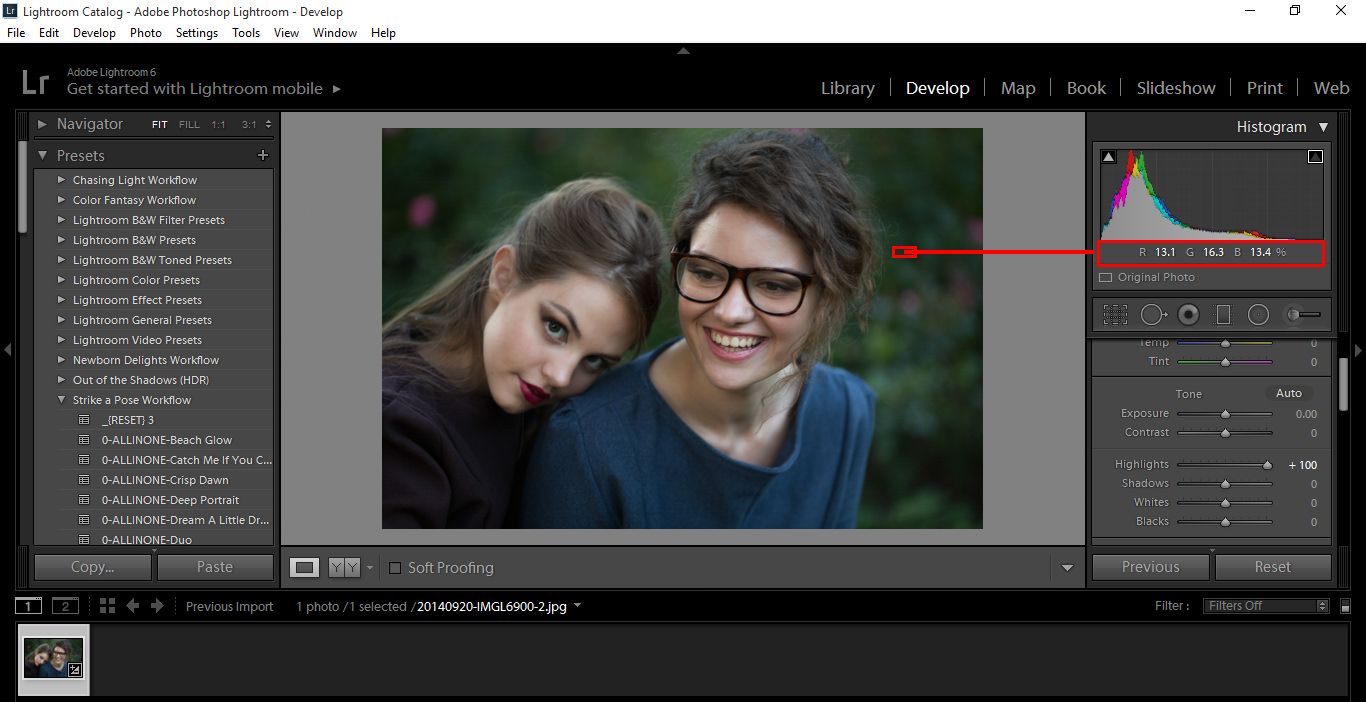
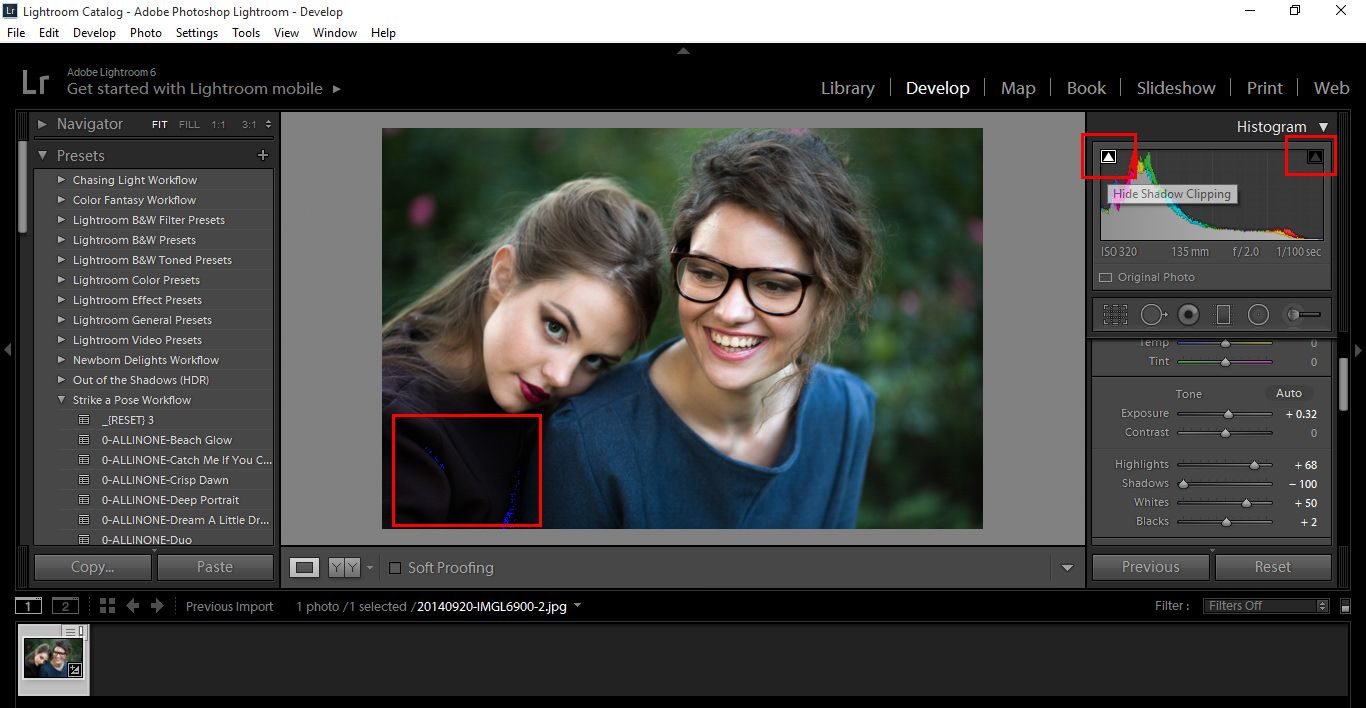
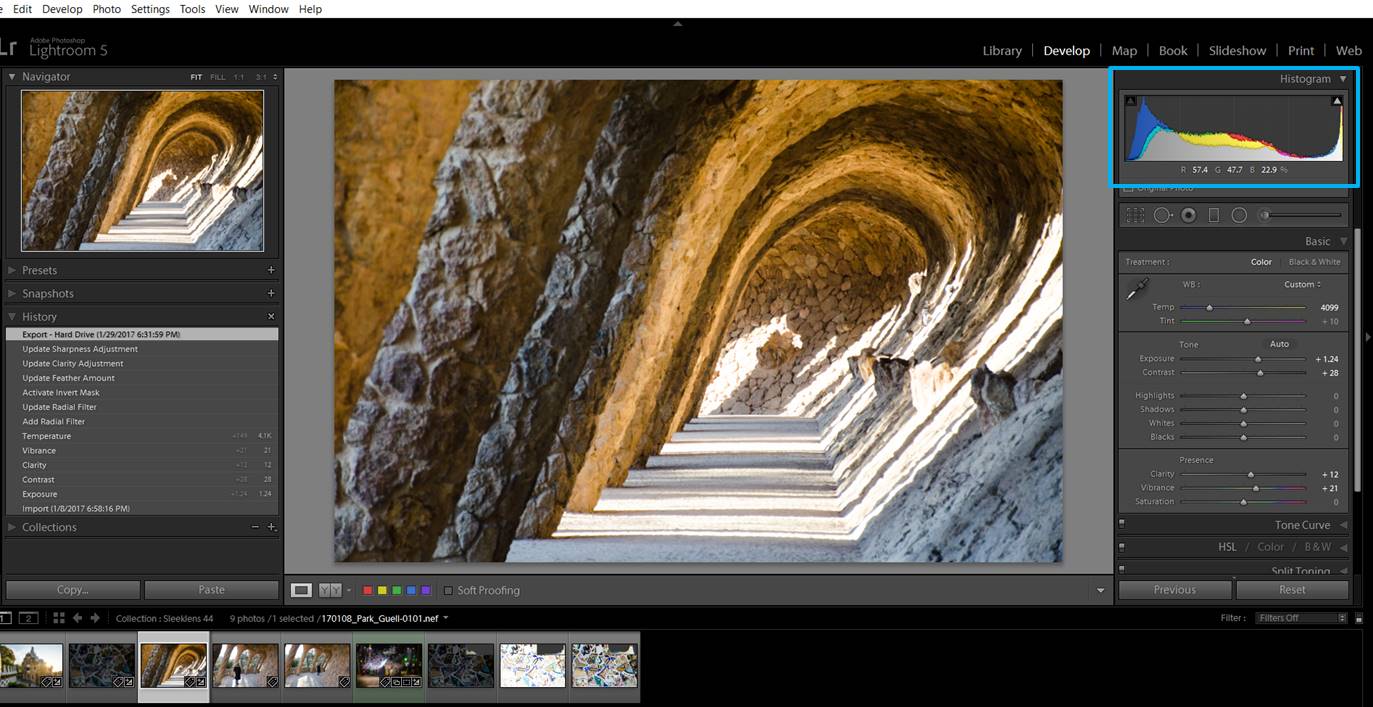
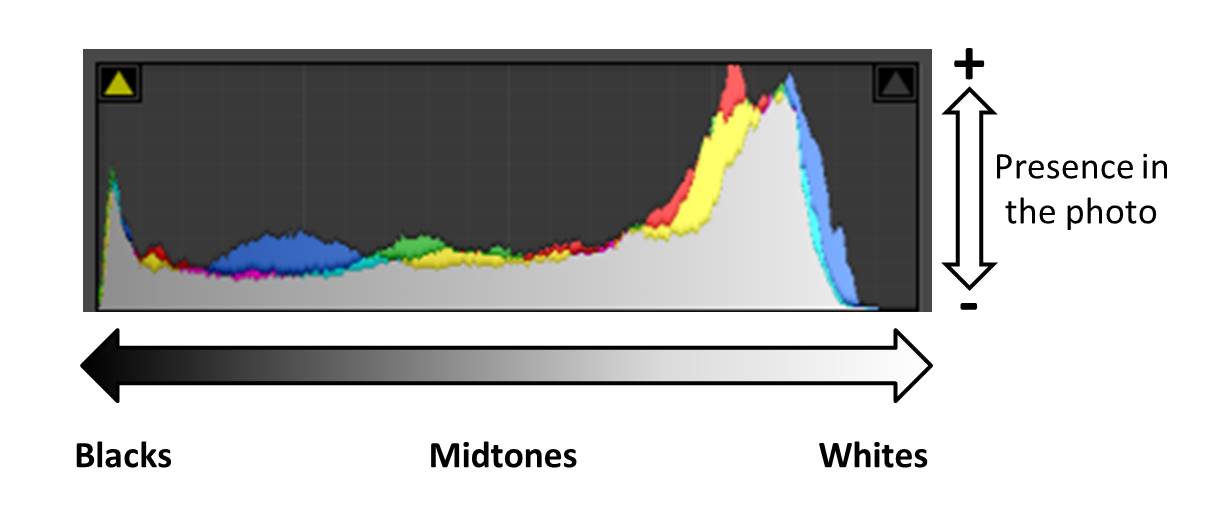
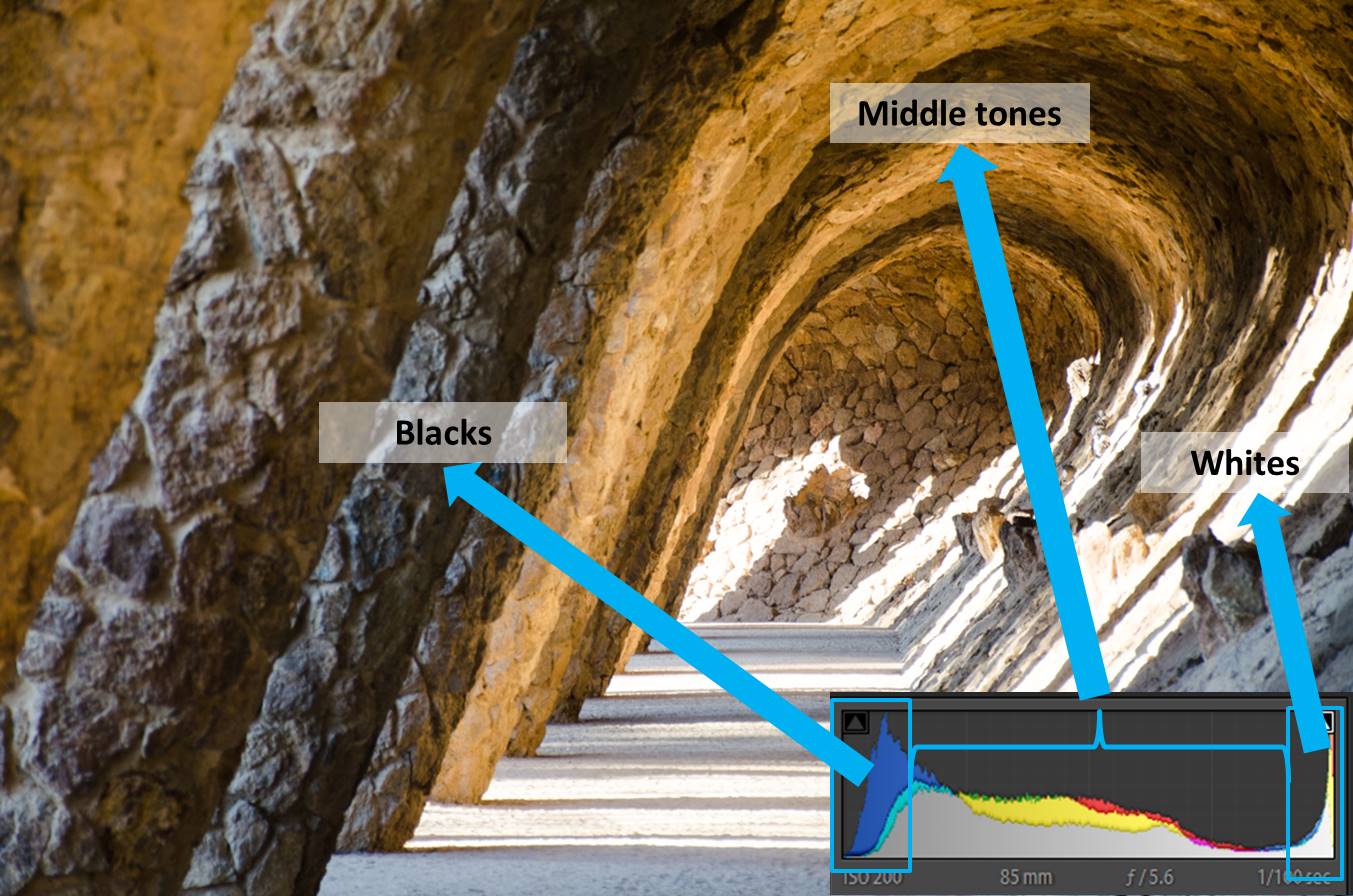
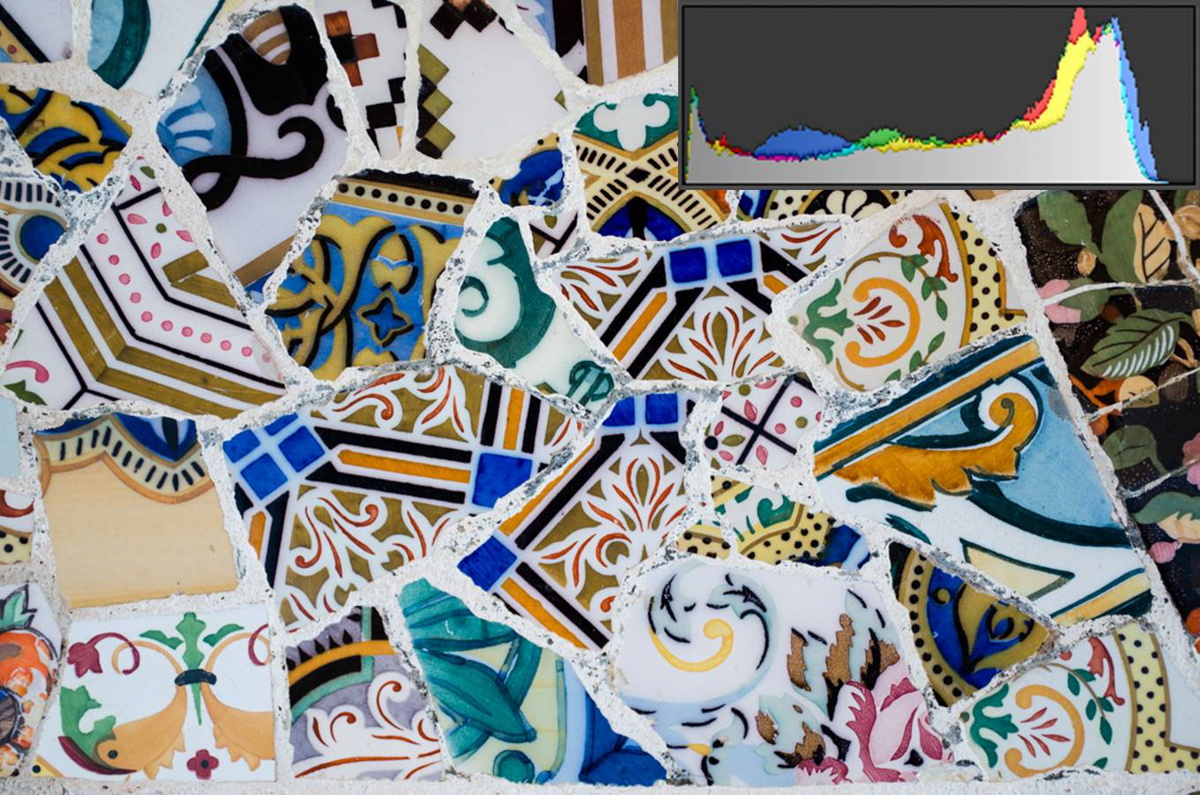
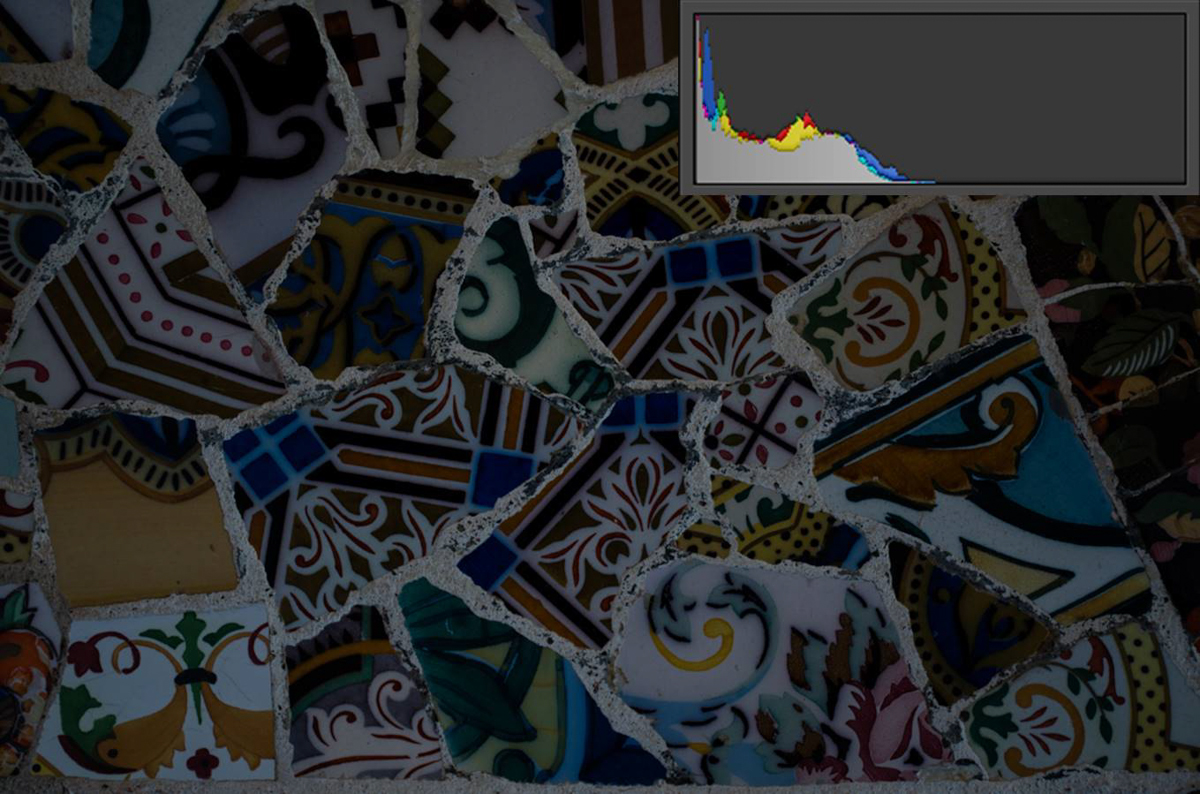
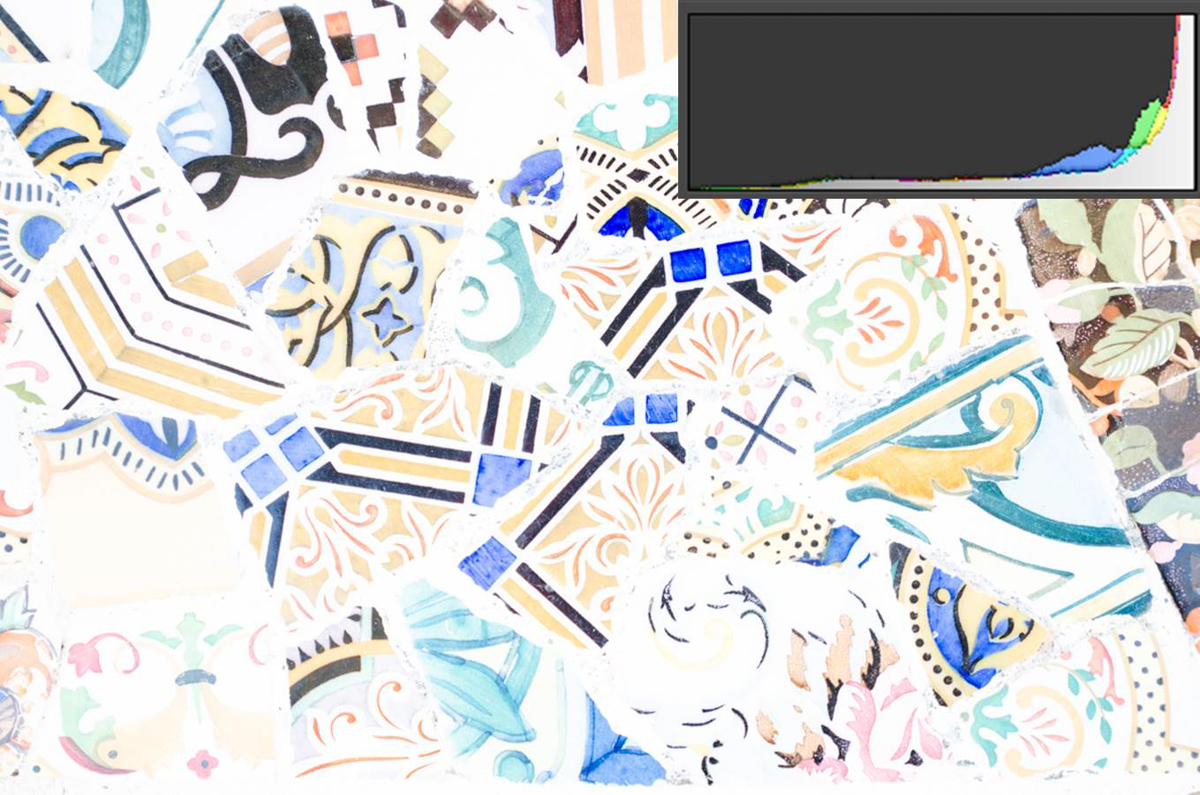
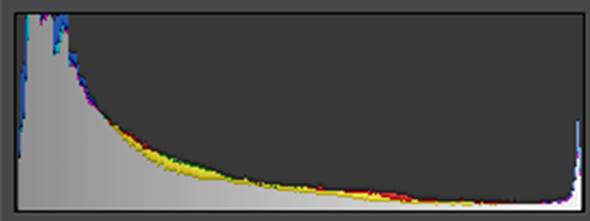
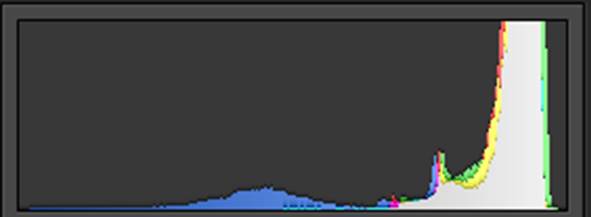
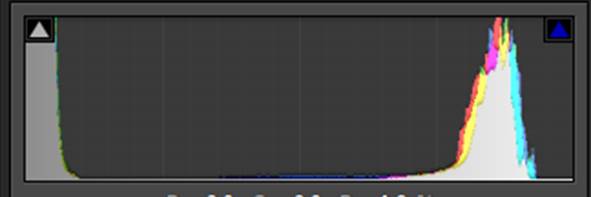
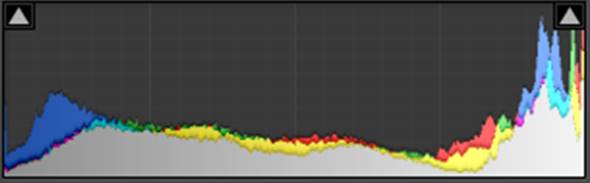
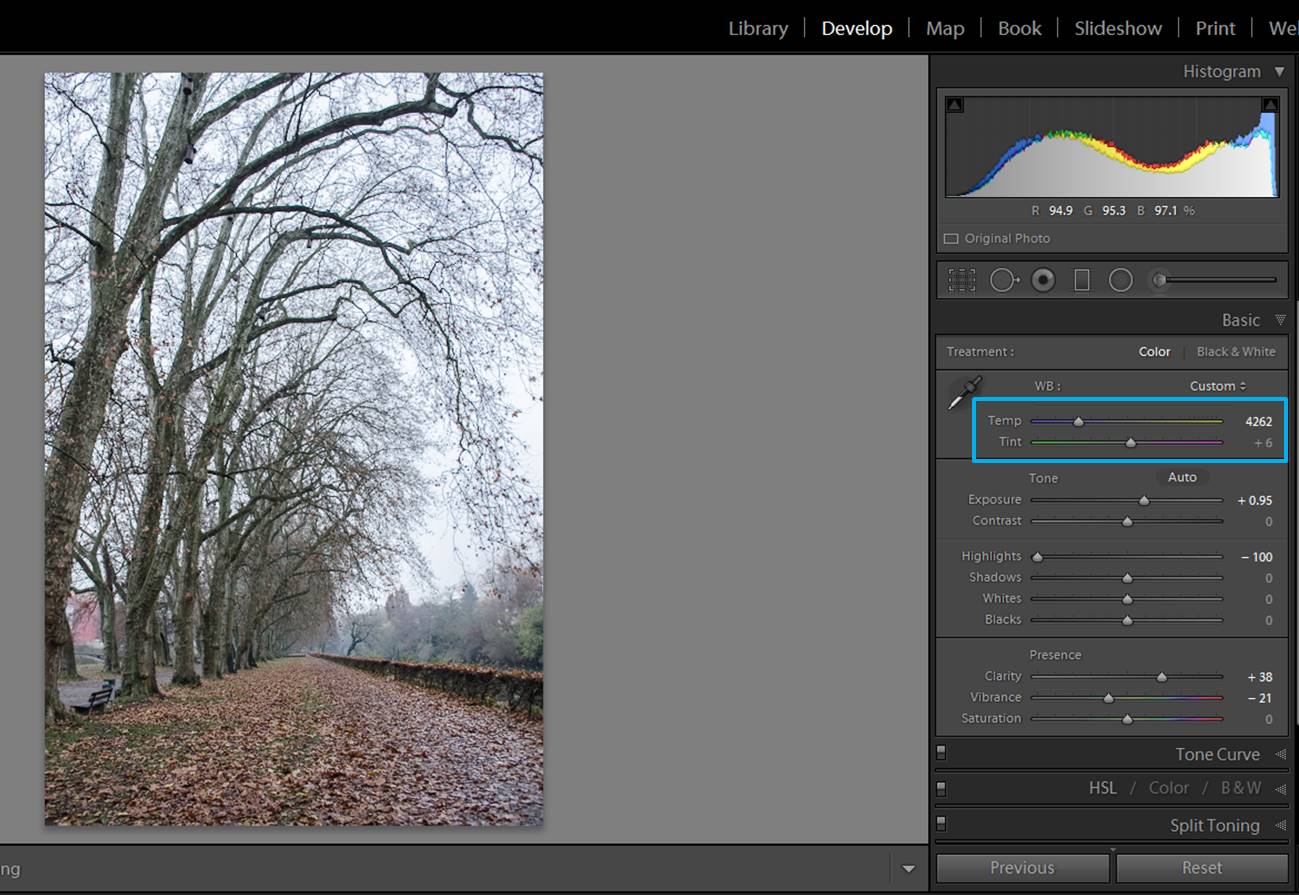
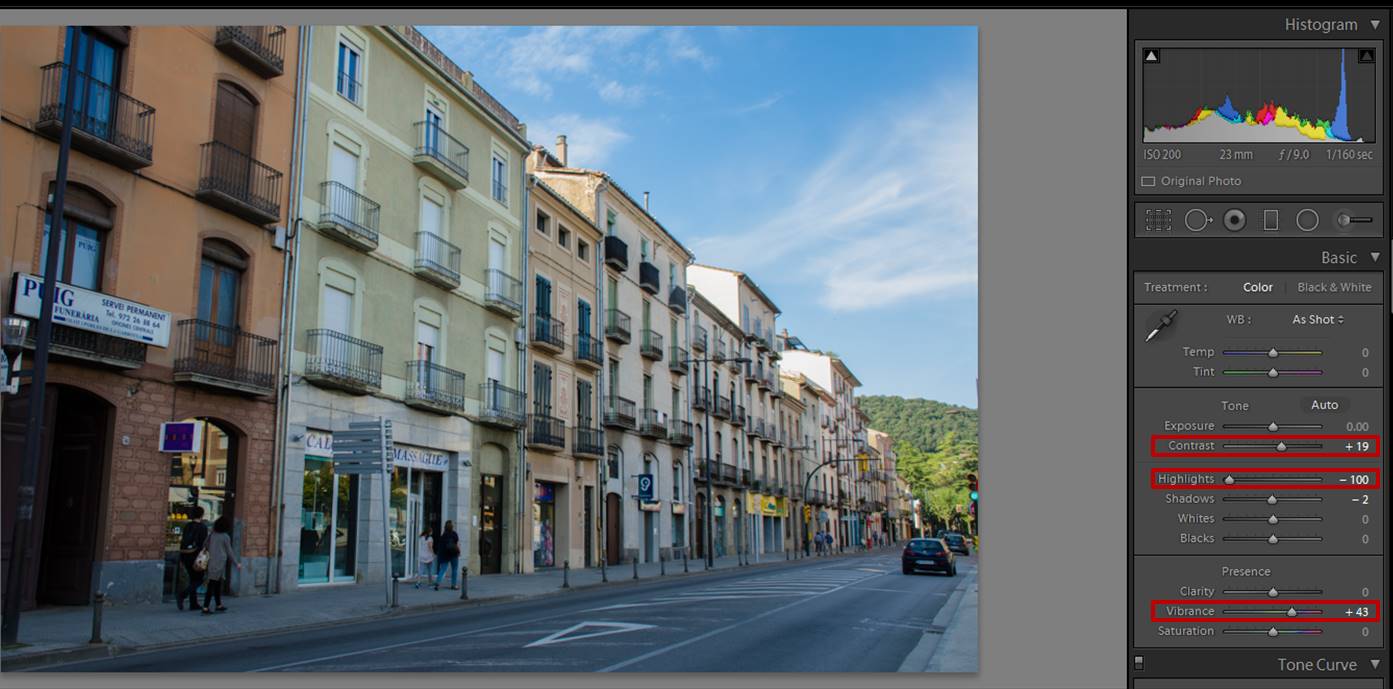
Using your histogram can also be extremely useful in properly exposing your images, especially when you’re dealing with a horizon line that has a lot of contrast. Many people will tend to rely on the image being sent to their phone. This can be deceiving especially if you are also having to deal with harsh sunlight. A histogram never lies and it will give you the best neutral exposure.
Your Own Skills and Mindset
If patience isn’t your thing, then don’t force yourself to visit areas where concentration is a must if you’re still not completely familiarized with how to fly a drone. Things can go horribly wrong, and you will turn a joyful experience into a sour one. Like anything else, you have to take baby steps, one at a time.

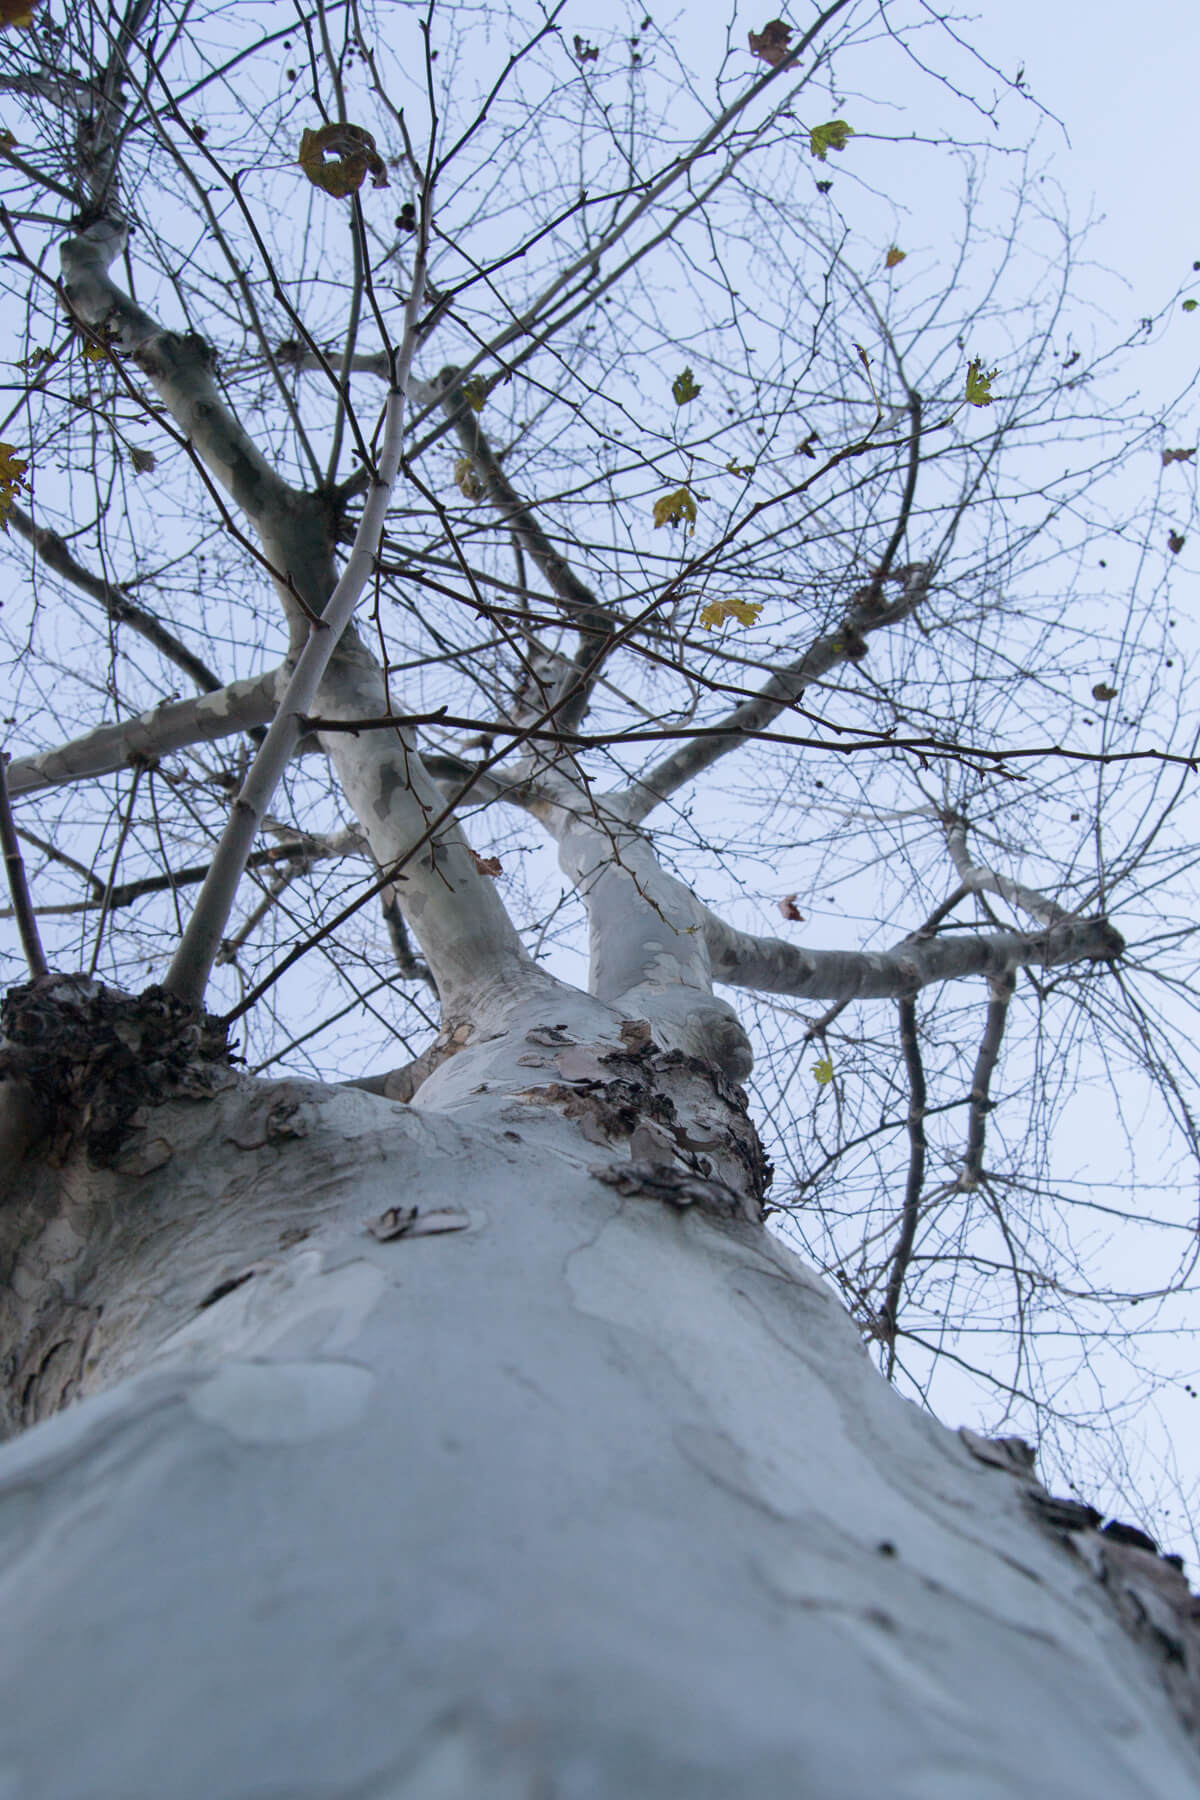
My personal advice: avoid areas with a large tree population or over water unless you feel pretty confident in your drone piloting skills—and even so, ask a friend to give an honest opinion on how good you are at flying your drone. Better to be safe rather than sorry, right?
Remember to always calibrate your drone’s compass prior to flying over a new location. Some devices tend to show weird malfunction issues due to GPS confusion, therefore keep this as a “pre-flight check.” Hover for a few seconds prior to setting off once the propellers are running—this is the best way to ensure your device is working as it should, as it is easier to land if the drone isn’t high up if problems occur.

Drone Photography Mistakes to Avoid
Drone photography has somewhat become an epidemic amongst creatives as it becomes more affordable and lucrative in today’s industry. The popularity with drones grew more and more as manufacturers started to improve their line of products by making an adjustment to distance, video quality and also image quality. However, with all these improvements we sometimes still end up making a few simple mistakes. Thankfully, most, if not all of these mistakes can be easily corrected.
Composition
One of the first mistakes commonly made in drone photography that I also once did was having very poor or boring composition. As photographers who use hand-held cameras, it is kinda easy to be a bit thrown off or out of your element when composing a shot on a drone. There is often added pressure, as your flight time may be very limited, as well as the paranoia of crashing into anything and losing or end up damaging your drone. However, this is no excuse for a boring composition.
I know many of us, upon getting a new drone, become very excited and want to just about capture anything from in the air, but I urge you to put more thought into what you’re capturing. Take a look at your frame and consider if the elements within it are worth capturing or if they add no a unique perspective to the shot itself.
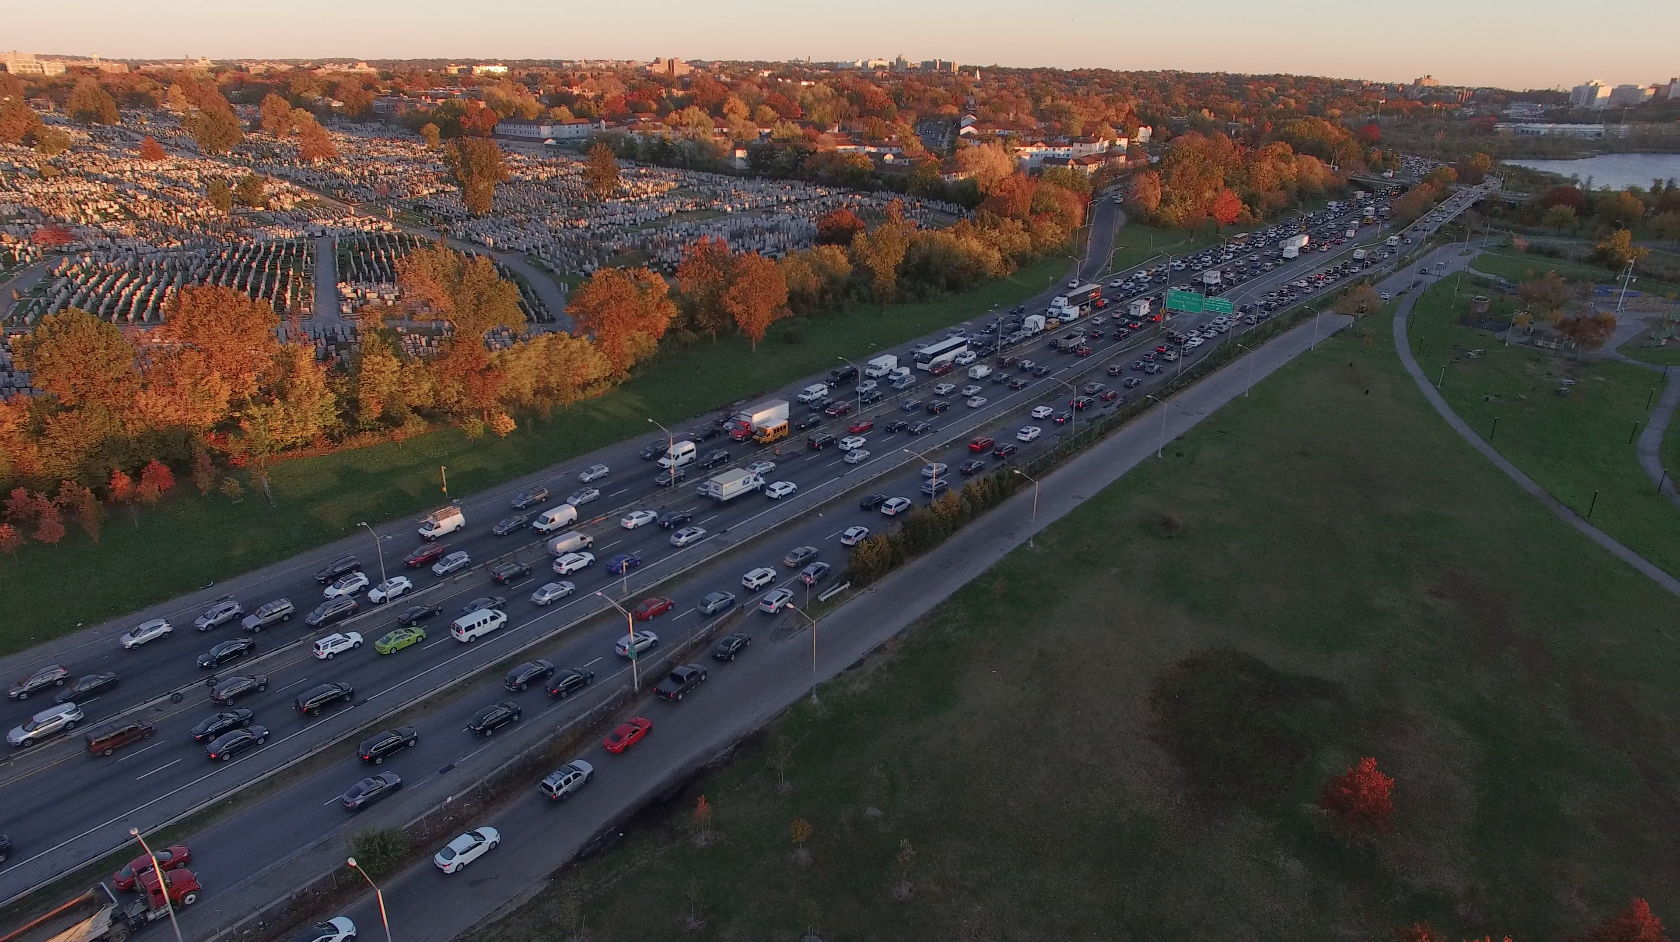
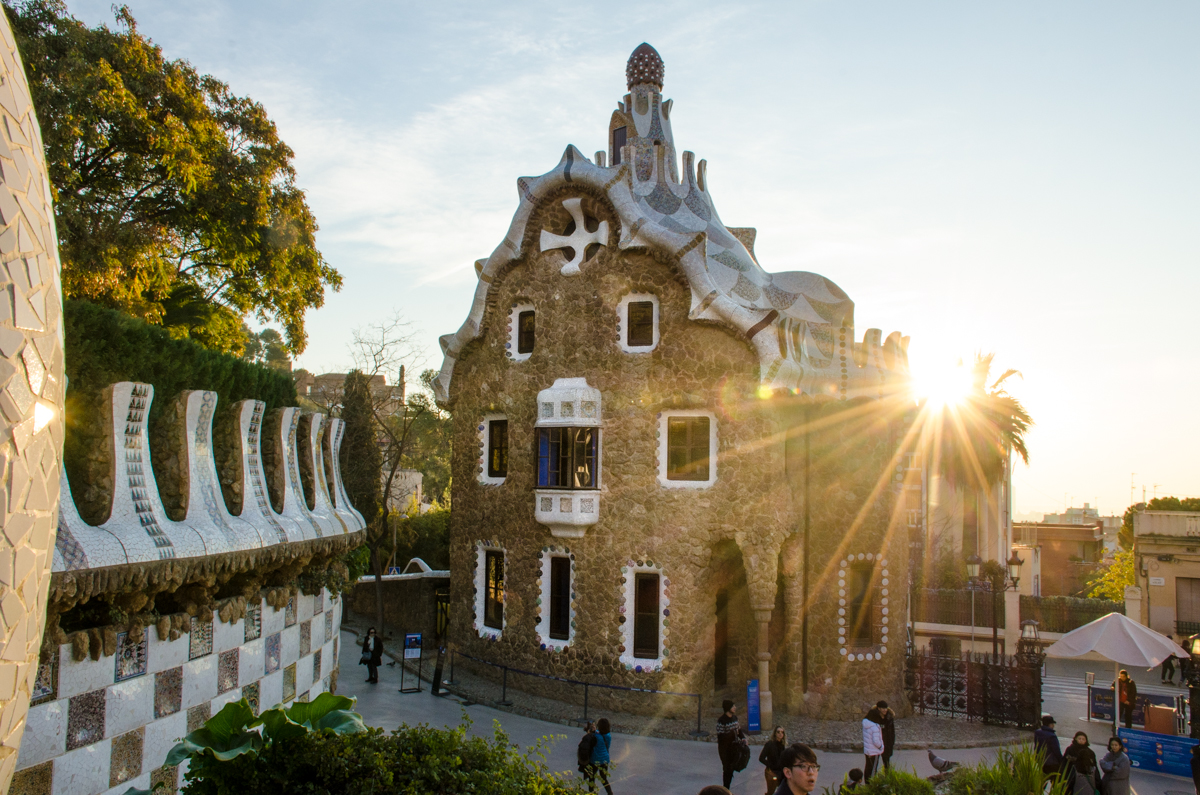
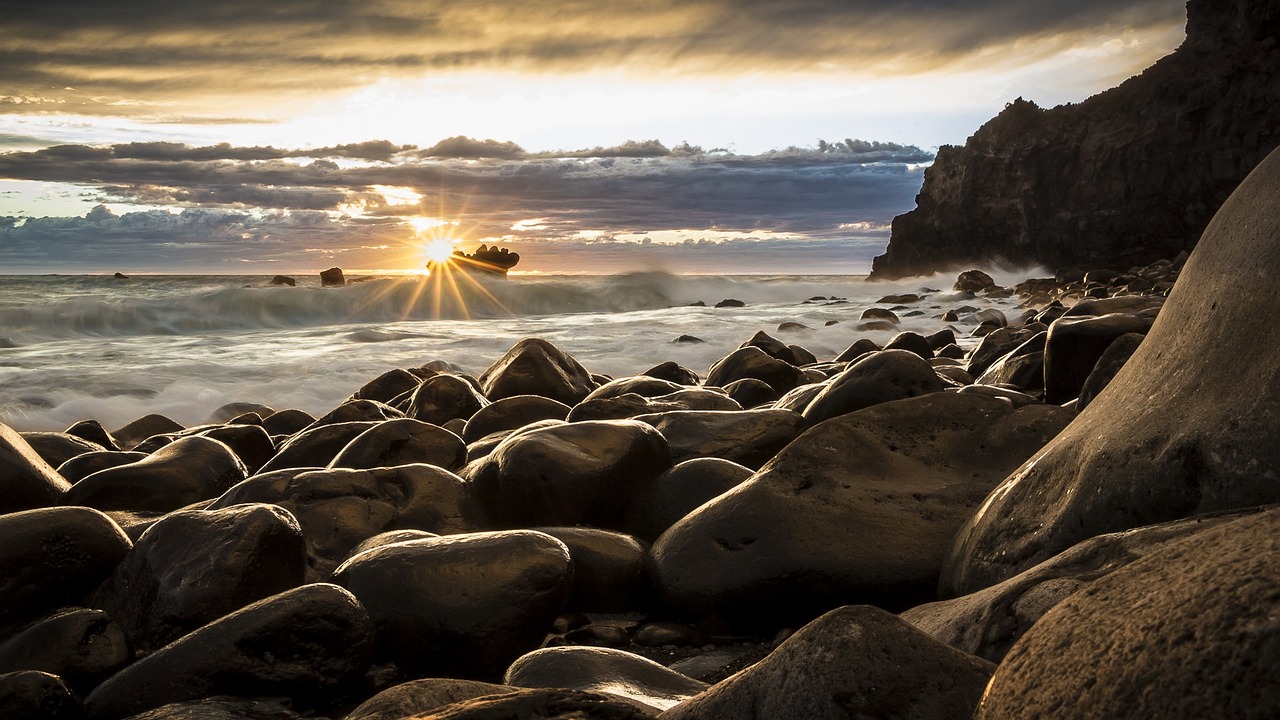
Bad Timing
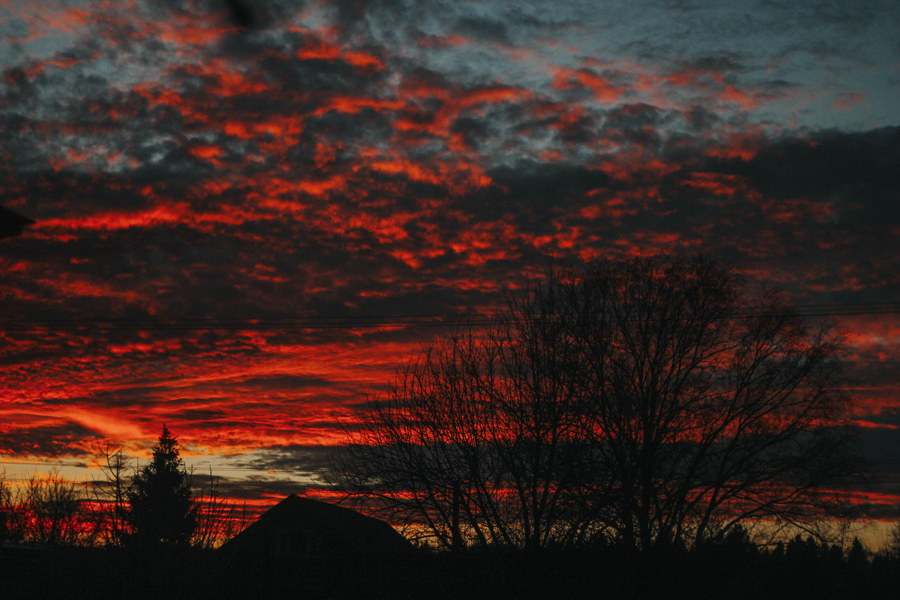
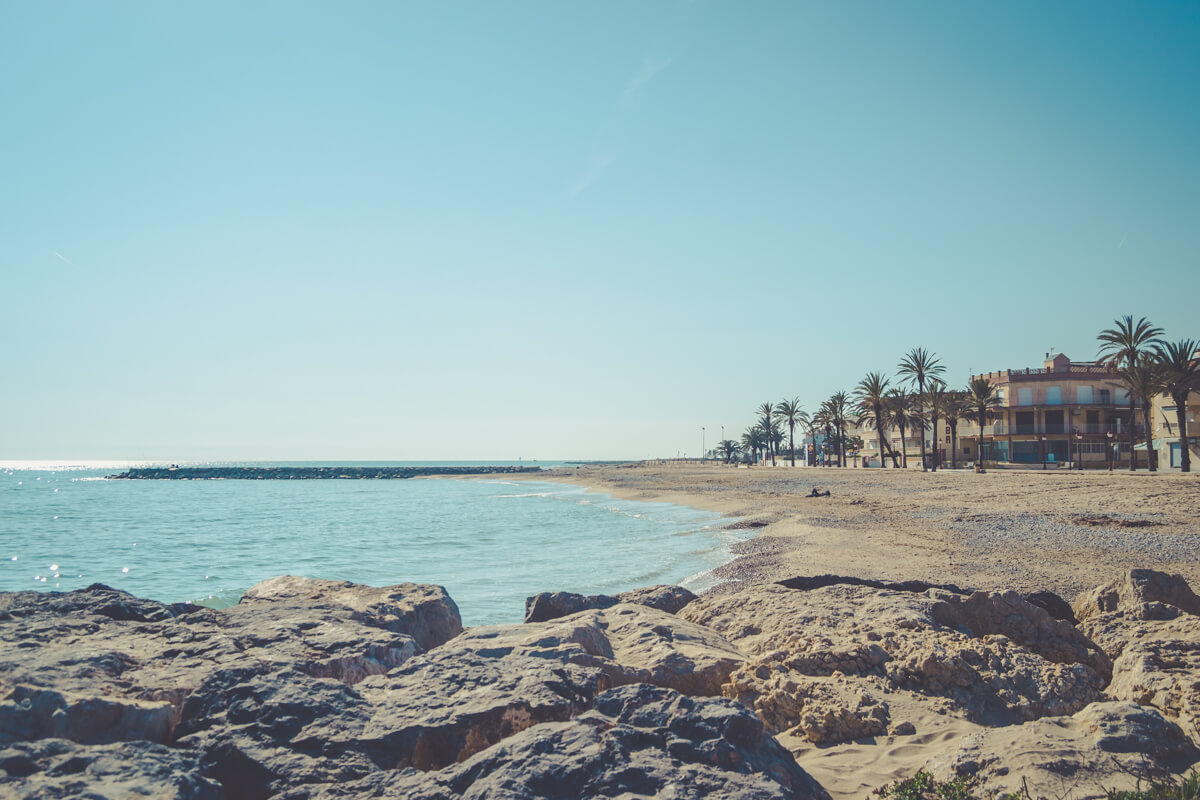
Timing is very important when it comes to drone photography, and can often dictate whether or not you will be wasting your time putting your drone in the air. Take into consideration the position of the sun as it relates to the time of day. Shooting in the harsh sun can often create harsh shadows, which often result in drone shots that are not very appealing or might be a headache to correct during post-production. I often recommend capturing drone images during two times of the day. These two periods of the day are sunrise and sunset. Flying your drone to capture images during this time of the day will yield rewarding results with even and soft light that is pleasing to the eye. Of course, this might not be the case for everyone depending on where you are trying to fly your drone, as the lighting situations might be a bit different, but nonetheless, try to avoid shooting in harsh lighting situations.
Horrible Weather
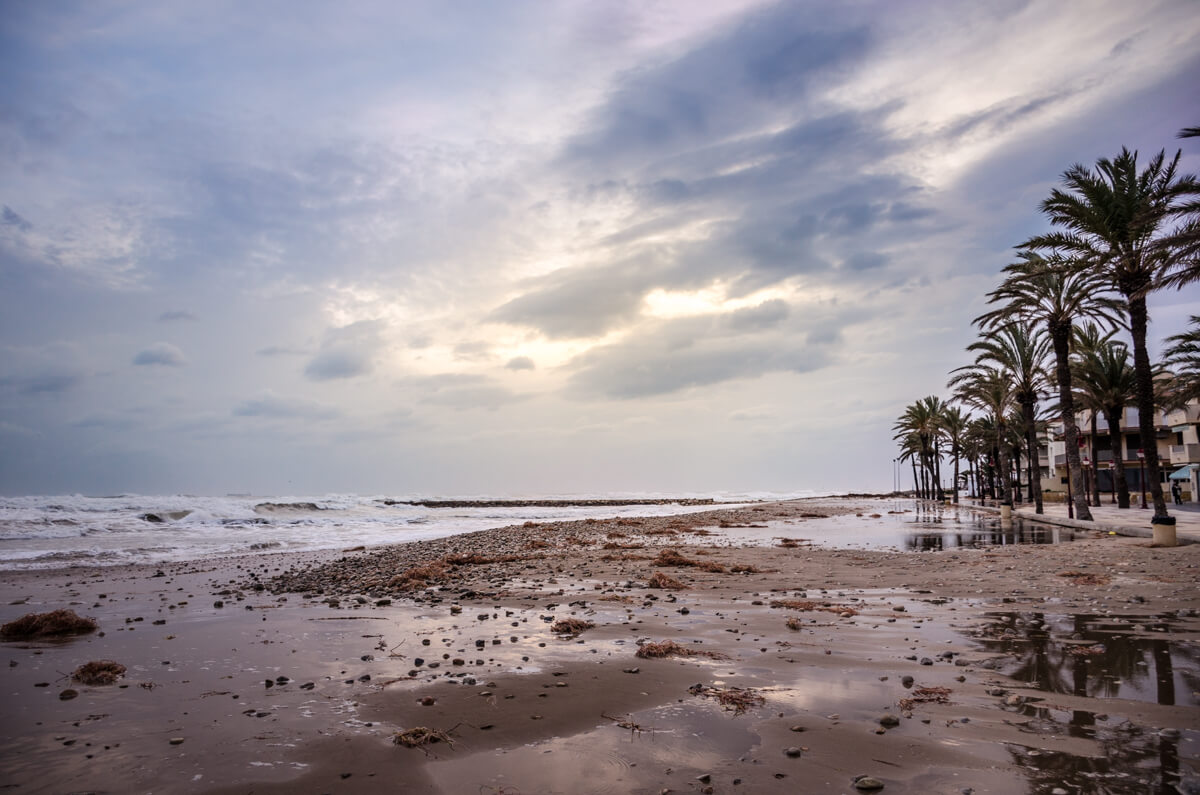
Speaking of bad timing, that brings us to our next point of shooting in bad weather. While it is obviously not recommended that you fly your drone to capture shots while it’s raining, it is also pointless to capture shots during dull weather. Dull weather will yield dull results, even in the best landscape photography locations.

If you want to create amazing drone images at amazing locations, then invest a little more time into planning, and take a look at your weather app or research the forecast to assure you will get the type of whether you need to truly capture your location to the best of your potential.
Skewed Horizon
This is probably one of the most common mistakes made by pretty much every drone photographer from time to time. We end up with a horizon that is not particularly straight, and it kinda throws off your whole image. By extension, this mistake can also make your shot look pretty amateur. However, there is a simple fix to this, such as checking the horizon before taking the shot or simply correcting it during post-production.
Research
It’s easy to not use your drone equipment to its full potential when you are not aware of what it’s potential actually is. Most of us get caught up in the moment of actually owning a drone and being able to do simple functions to get good aerial shots, but that’s it. We don’t invest enough time into learning more about the features and tricks all piled up into this machine. Not being aware of these things can easily lead to lost opportunities.
This is where we have a variety of features at our disposal to use in different scenarios, but we simply did not take the time to learn about them. To solve this, I recommend reading a blog post here and there to educate yourself on the things you are not exactly sure about. You could also use YouTube to your advantage and get some insight into how other well-known photographers or videographers use their drone to achieve different styles or images in drone photography.
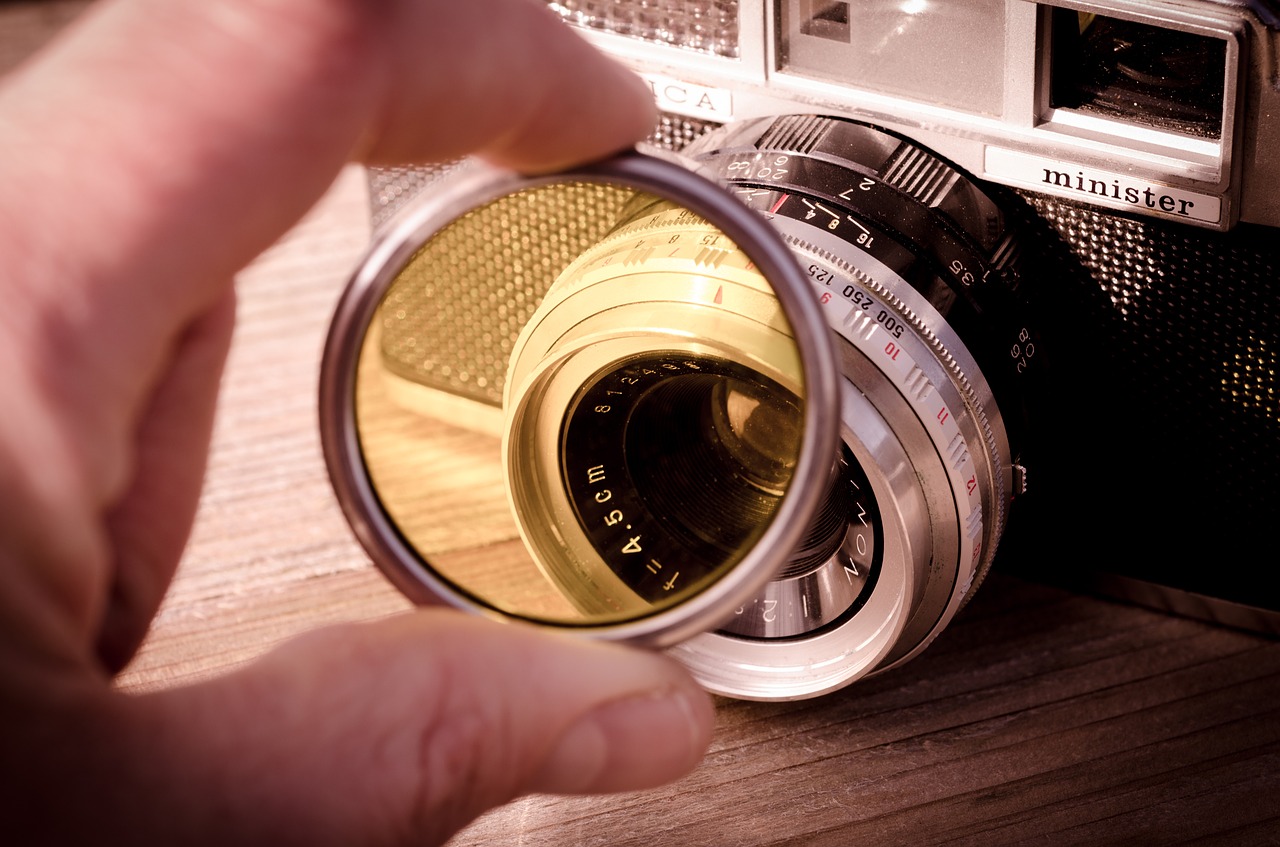
Drone Photography Filters
When I became interested in drones and began researching the cluttered market, I was overwhelmed with the various features and options every brand had to offer. The camera specifications are what I was most interested in when purchasing my first drone, DJI Phantom 3 4K. I went with this model DJI because, while it lacked the capabilities to travel miles away from me (like other higher-end models could), I loved that it had a high-quality 4K camera built in.
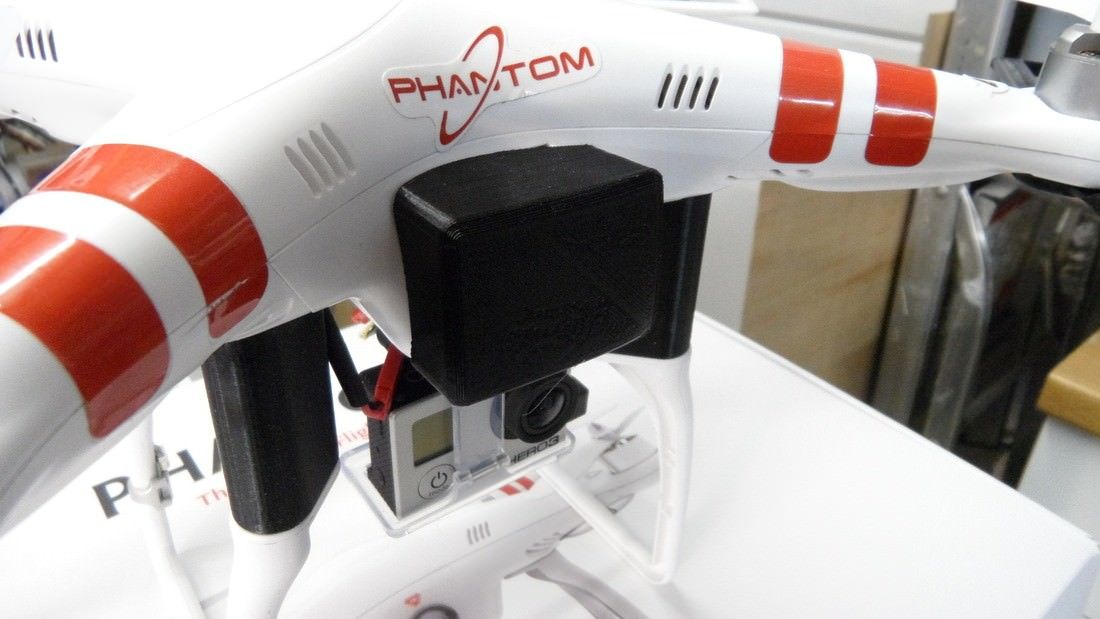
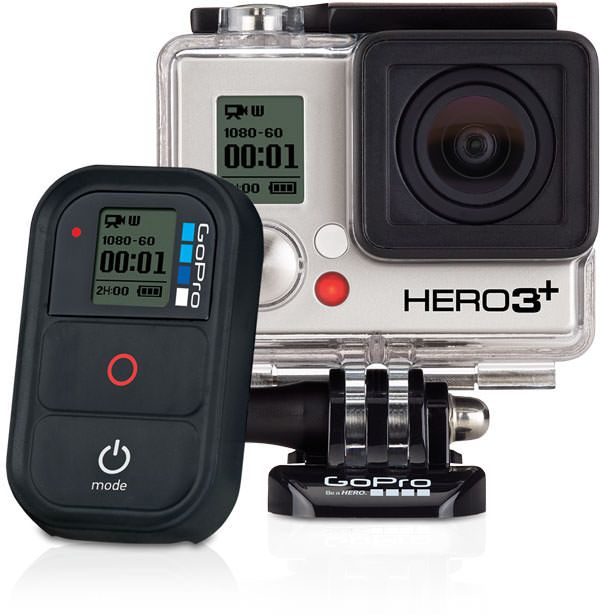
Drones haven’t always had cameras built into them. Pilots used to have to purchase a GoPro separately and attach it to the device. The luxury of having a built-in camera on your drone also comes with regret, though, because now you can’t swap out the lens for a better option—until DJI came out with the Inspire 2, which allows cinematographers to attach and detach their preferred camera lens.
While having the ability to swap out a lens on a drone is a wonderful thing, pilots have also longed for the ability to defeat their biggest enemy while flying high in the sky: the sun. With drone imaging comes new obstacles while taking photos and/or video. Lighting is an entirely different ball game compared to shooting while on the ground because the light isn’t interfered by trees, buildings, or any other structures—though there are those lovely, fluffy things called clouds.
With too much sunlight, your photos will look washed out and shadows of your subject(s), which will engulf the entire frame.

With too much cloud cover, your image will look grainy, as not enough light is able to enter the camera sensor.
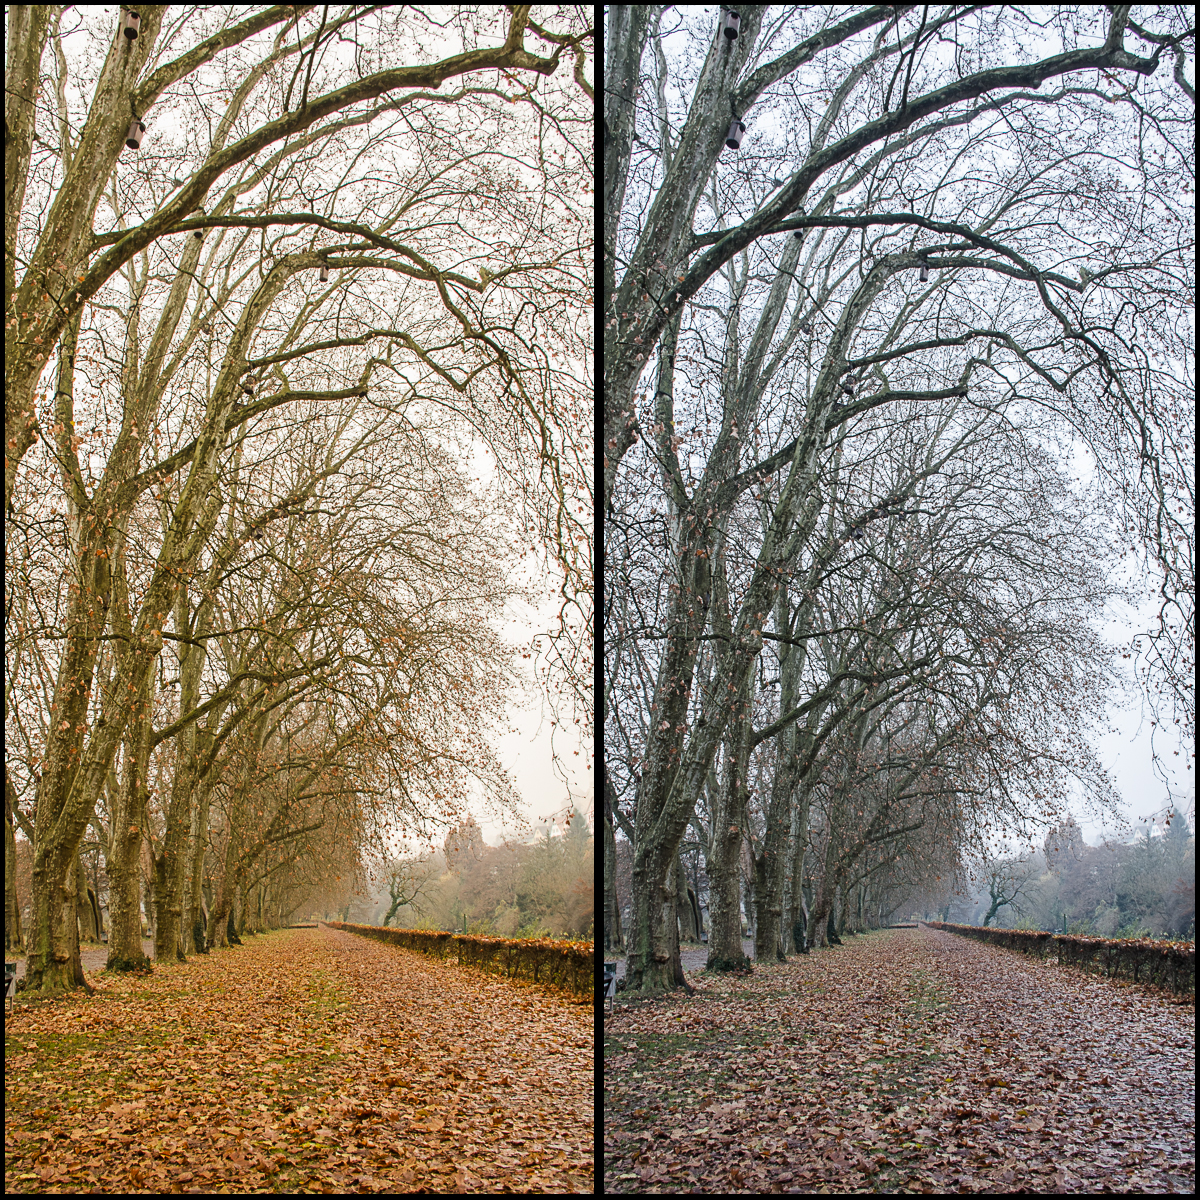
During the golden hour, the prime time to take photographs, your image could look too warm.
In order to combat all of these uncanny scenarios, tech companies, and drone companies themselves, have created innovative camera filters fit for drones. These filters have existed in the past, but on a much larger scale. Because drones have such a small lens and only so much battery life, the accessory had to be small, lightweight, and feasible. Most filter kits, like my newly-purchased Neewer Filter Kit, are made of a lightweight plastic material. Every brand is different, but you simply need to slide the desired filter onto the lens until it is snug and secure. Note: I have not used my filter kit yet, however, I will follow-up with a review of my experience using the Neewer Filter Kit for DJI Phantom 3.
Types of Drone Filters
The Neewer Filter Kit set consists of four filters: the ND4, ND8, Ultraviolet (UV), and circular polarizer (CPL). Using each of these filters will result in a different outcome. The ND4 and ND8 filters vary in that the ND4 equals 2f-stops, and the ND8 equals 3f-stops. These filters, known as neutral density filters, help with normalizing exposure. On a sunny day, the sky’s exposure will be darkened slightly, so the foreground or main subject’s exposure is normal and clear. On a cloudy or hazy day, a neutral density filter will help sift through the haziness and bring out the saturation in your photos.
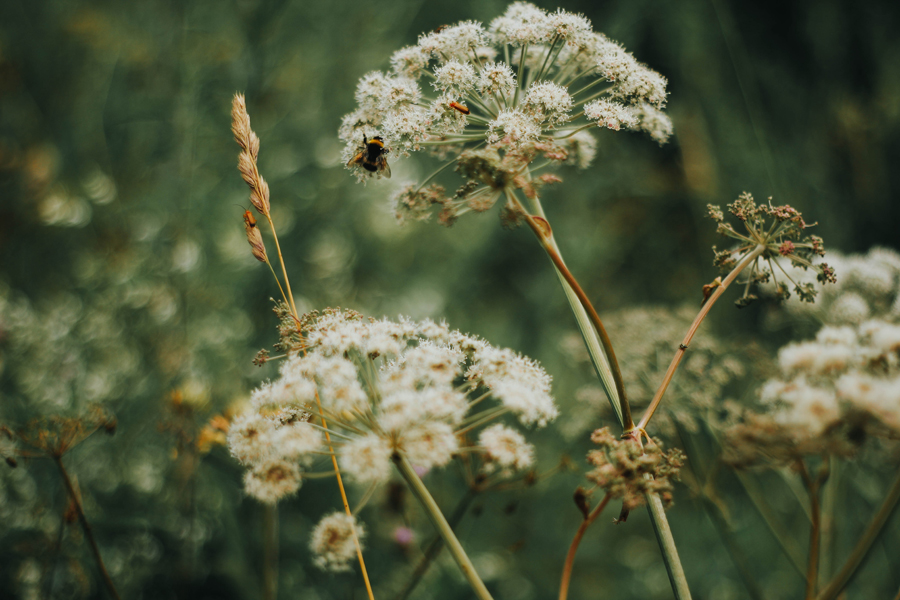
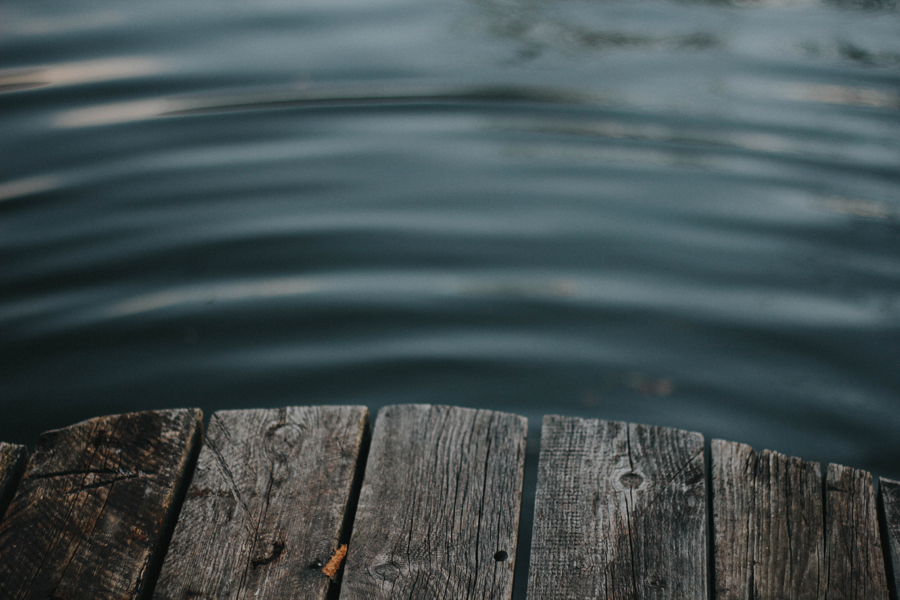
Potentially better than using an ND filter on a sunny day is an Ultraviolet(uv) filter. This filter absorbs the ultraviolet rays, eliminating haze. Plus, it protects the life of your lens! The most basic of filters in my pack of four is the circular polarizer filter. This filter doesn’t have a film that covers the front of the lens, instead, it simply surrounds the lens and removes unwanted reflections from surfaces like water, and enhances saturation and color in photographs. If you’re flying over a lake on a sunny day, this filter is for you!
All in all, camera lens filters are crucial to have when regularly shooting with a DSLR, let alone a drone. In order to maximize on the already-exemplary fact that a drone can capture stunning, high-quality images from above, it only makes sense to add a filter kit to your set of accessories.
Drones Will Bring Your Photography to New Heights
We hope this article has been helpful when it comes to getting into drone photography. As creatives, we are not perfect, and can always improve our work in different ways. In the end though, drone photography is all about having fun. So, grab your device and set your route. Don’t be discouraged if your first drone pilot attempts end up in failure—you are learning a great new skill that will elevate your photography business.


 By Anne Closuit Eisenhart
 By Anne Closuit Eisenhart
 By Anne Closuit Eisenhart
 By Anam Lone
 By Anam Lone
 By Rebecca Capurso
 By Rebecca Capurso
 By Rebecca Capurso
  By Rebecca Capurso
 By Rebecca Capurso
 By Rebecca Capurso
 By Aki Sato
 By Aki Sato
  By Aki Sato
 By Jay McCullough
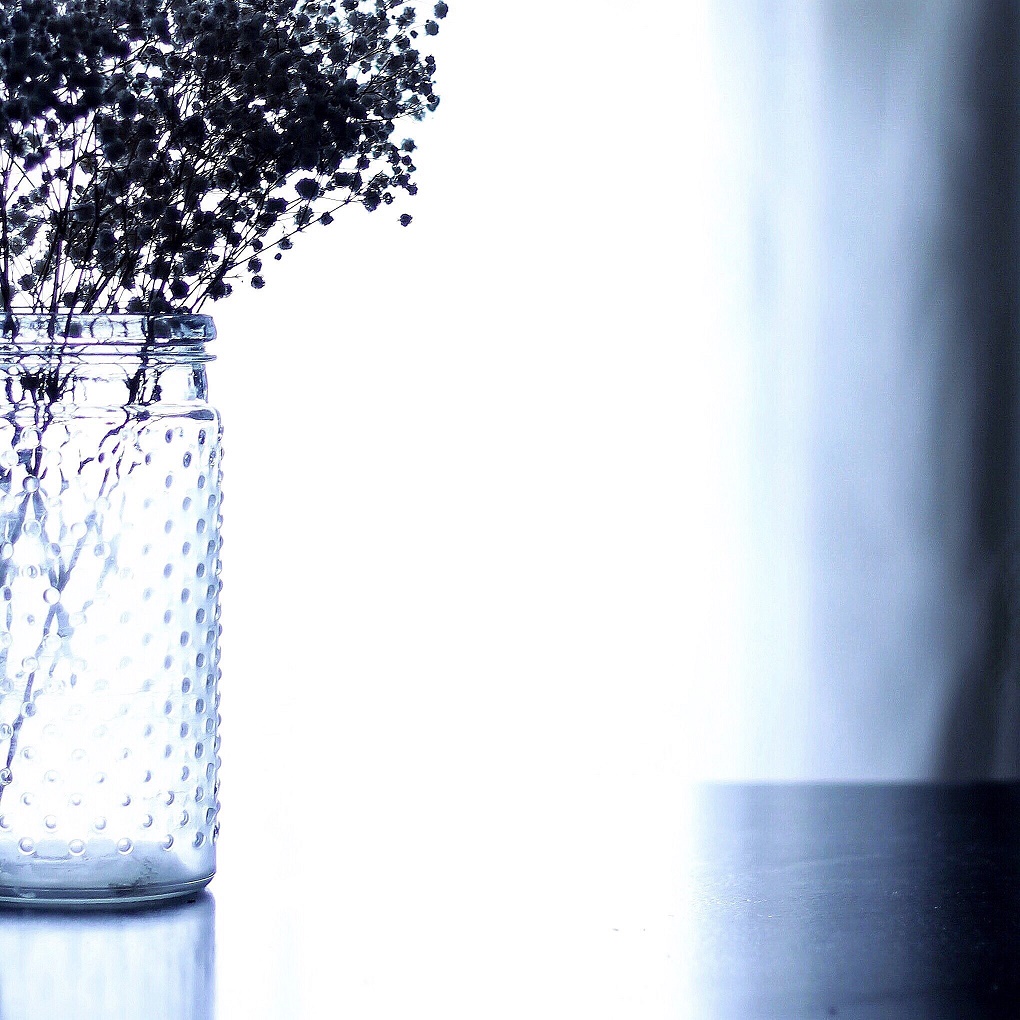 By Jay McCullough
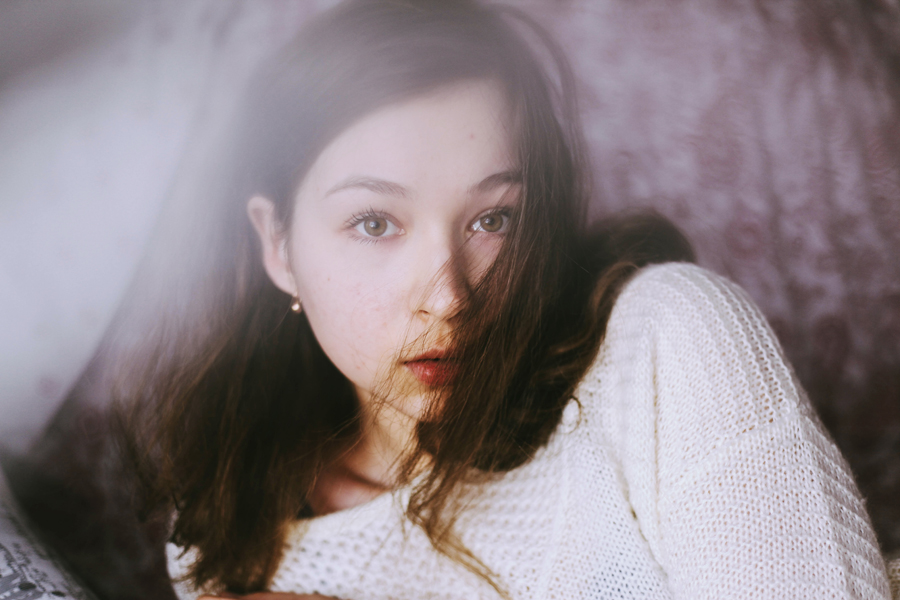

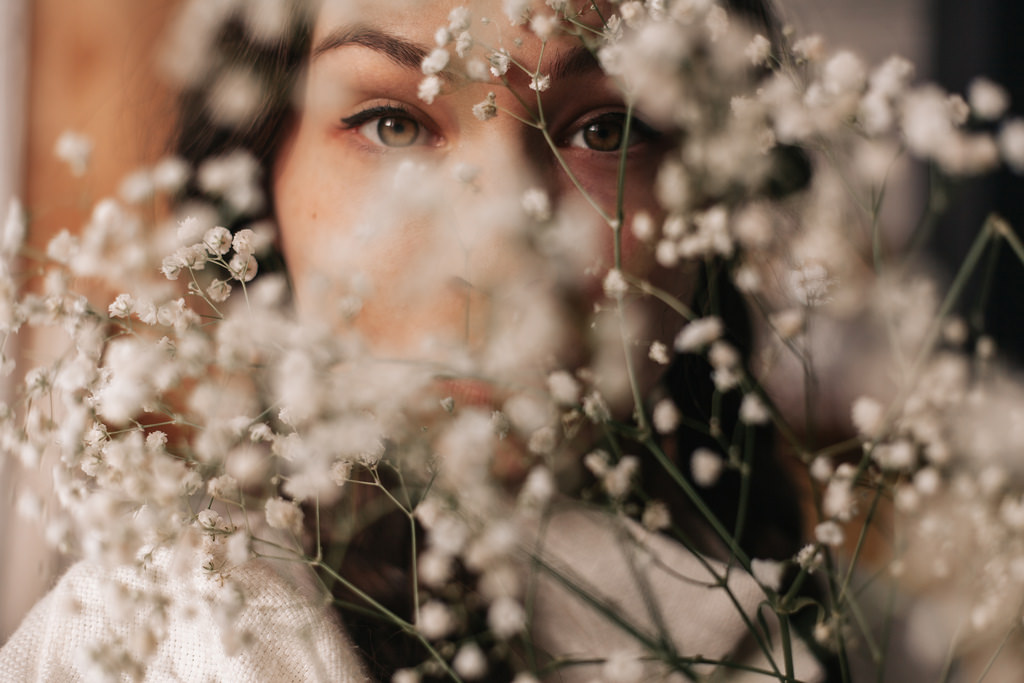
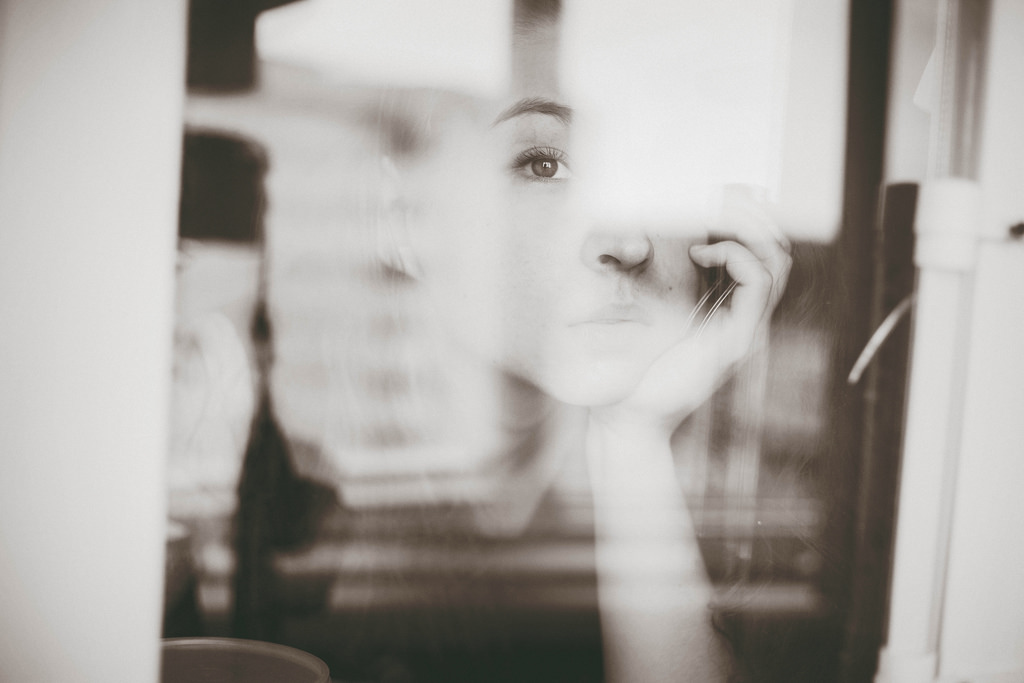
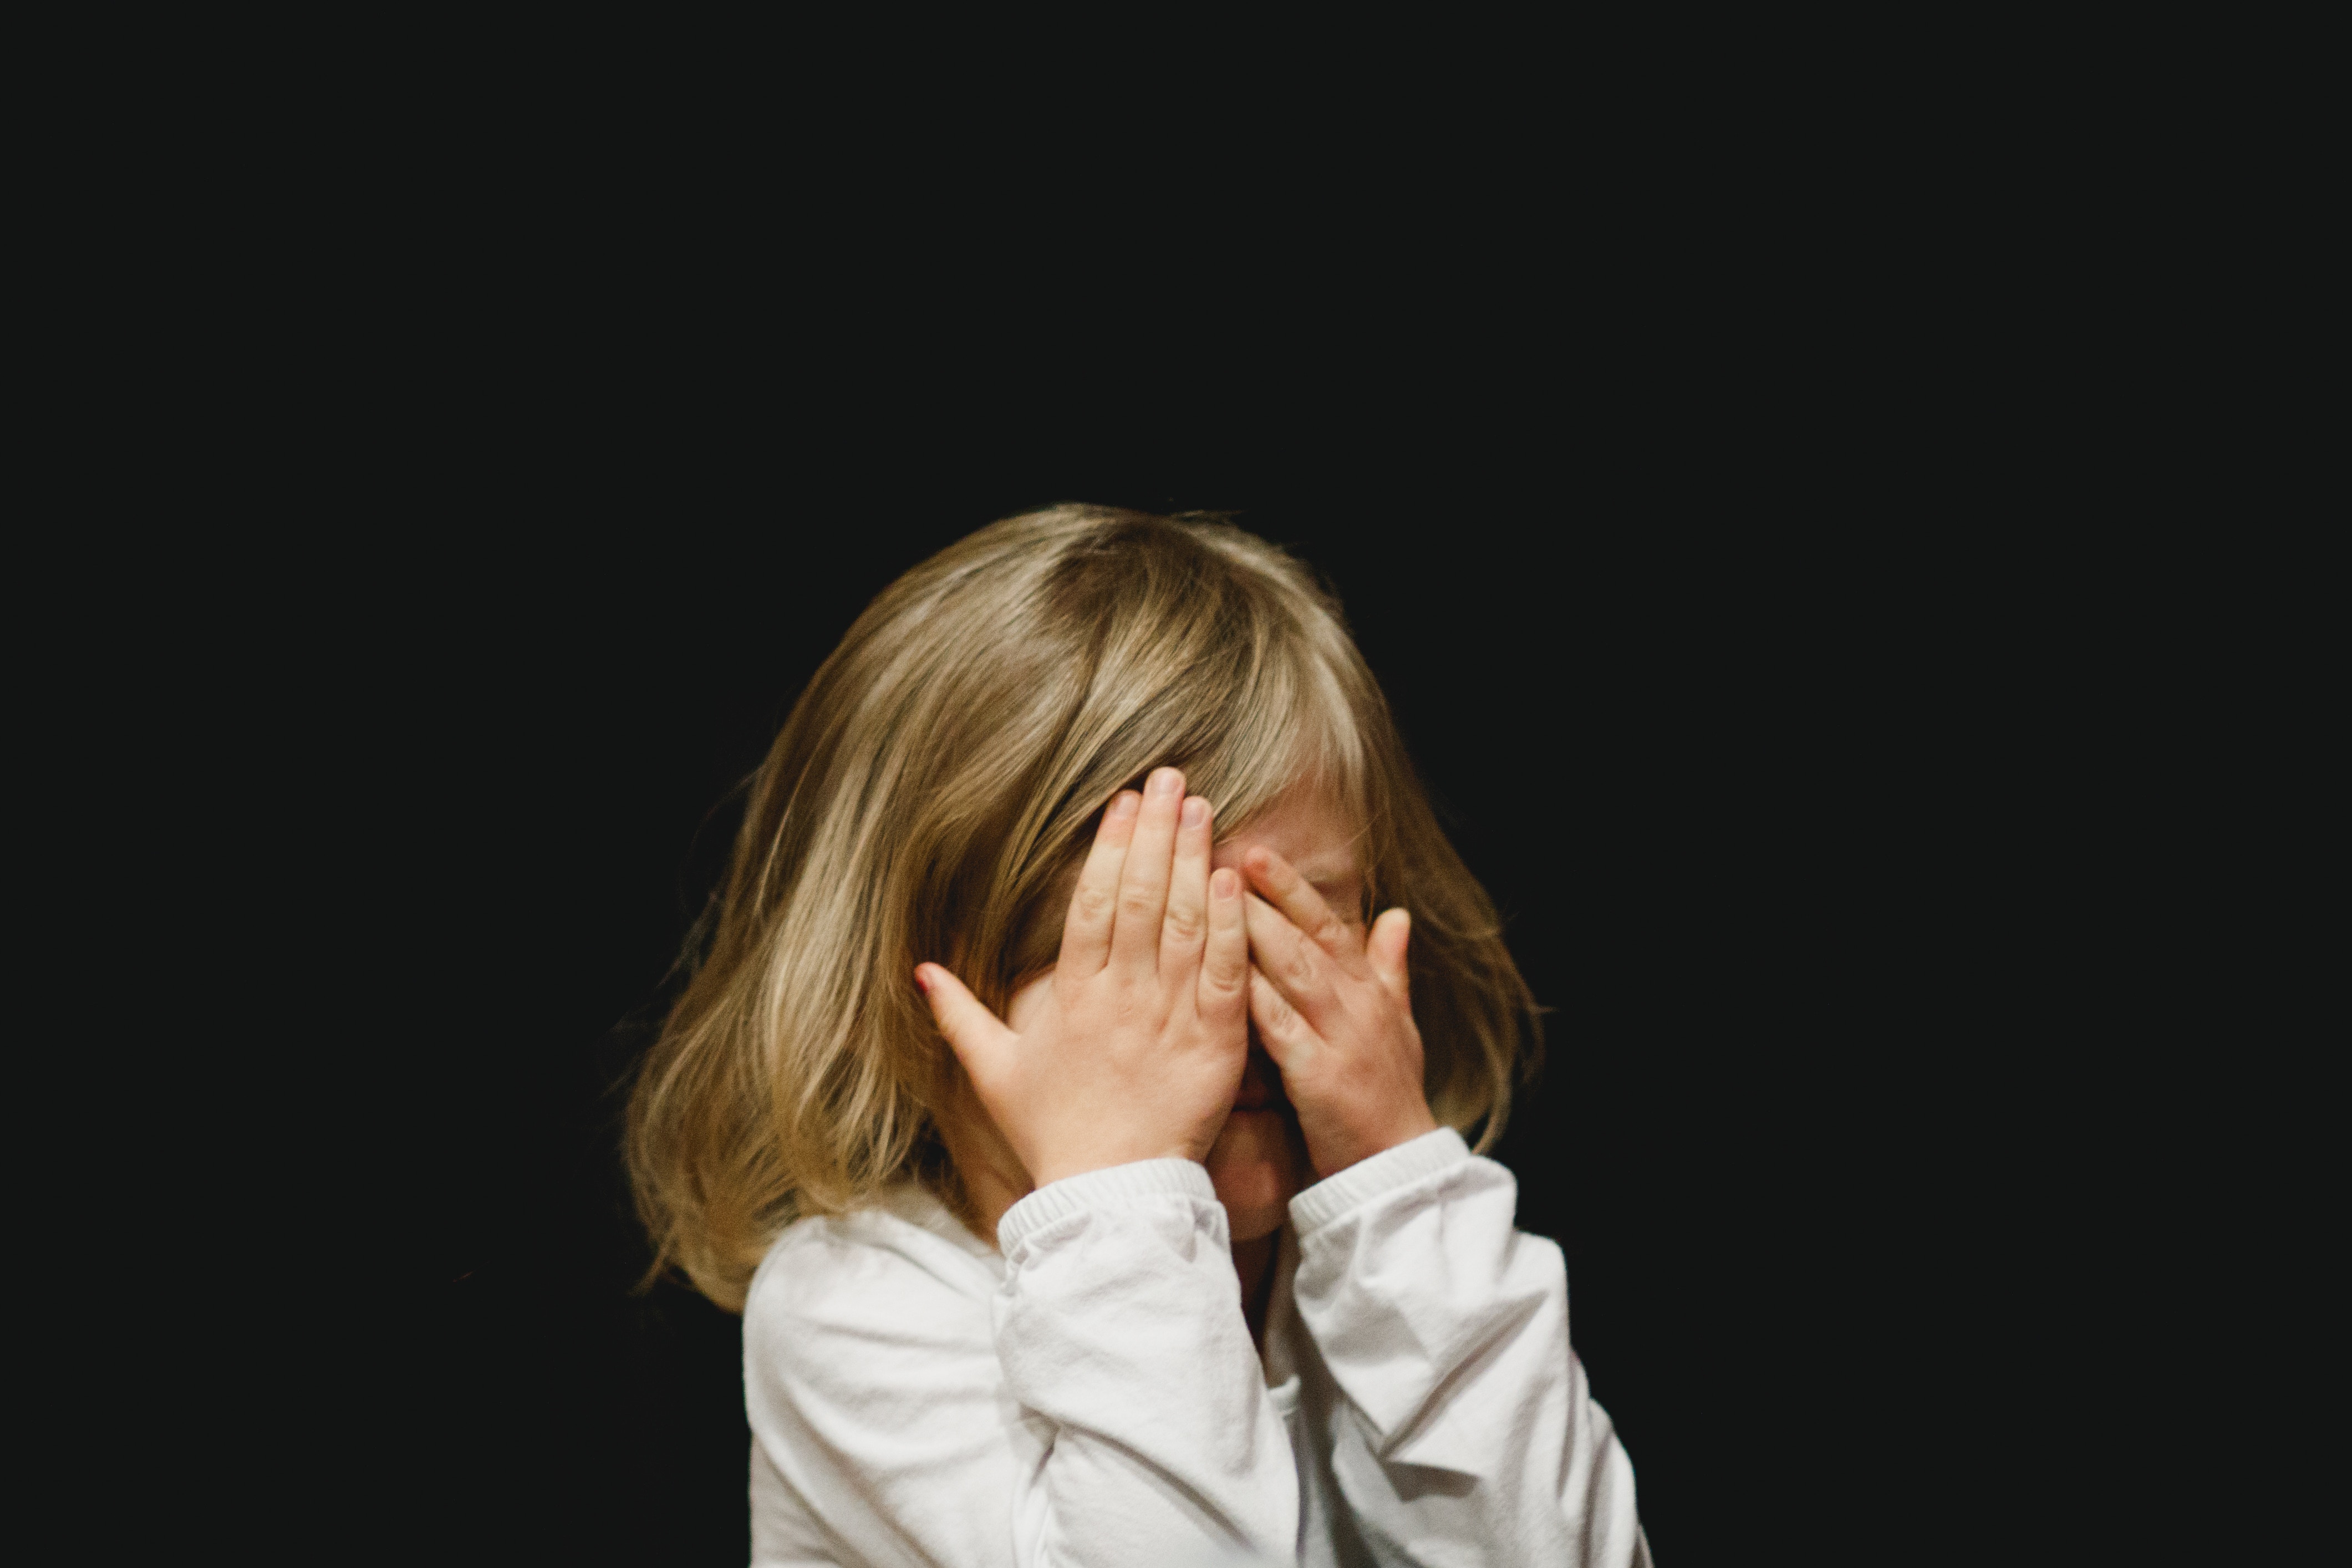
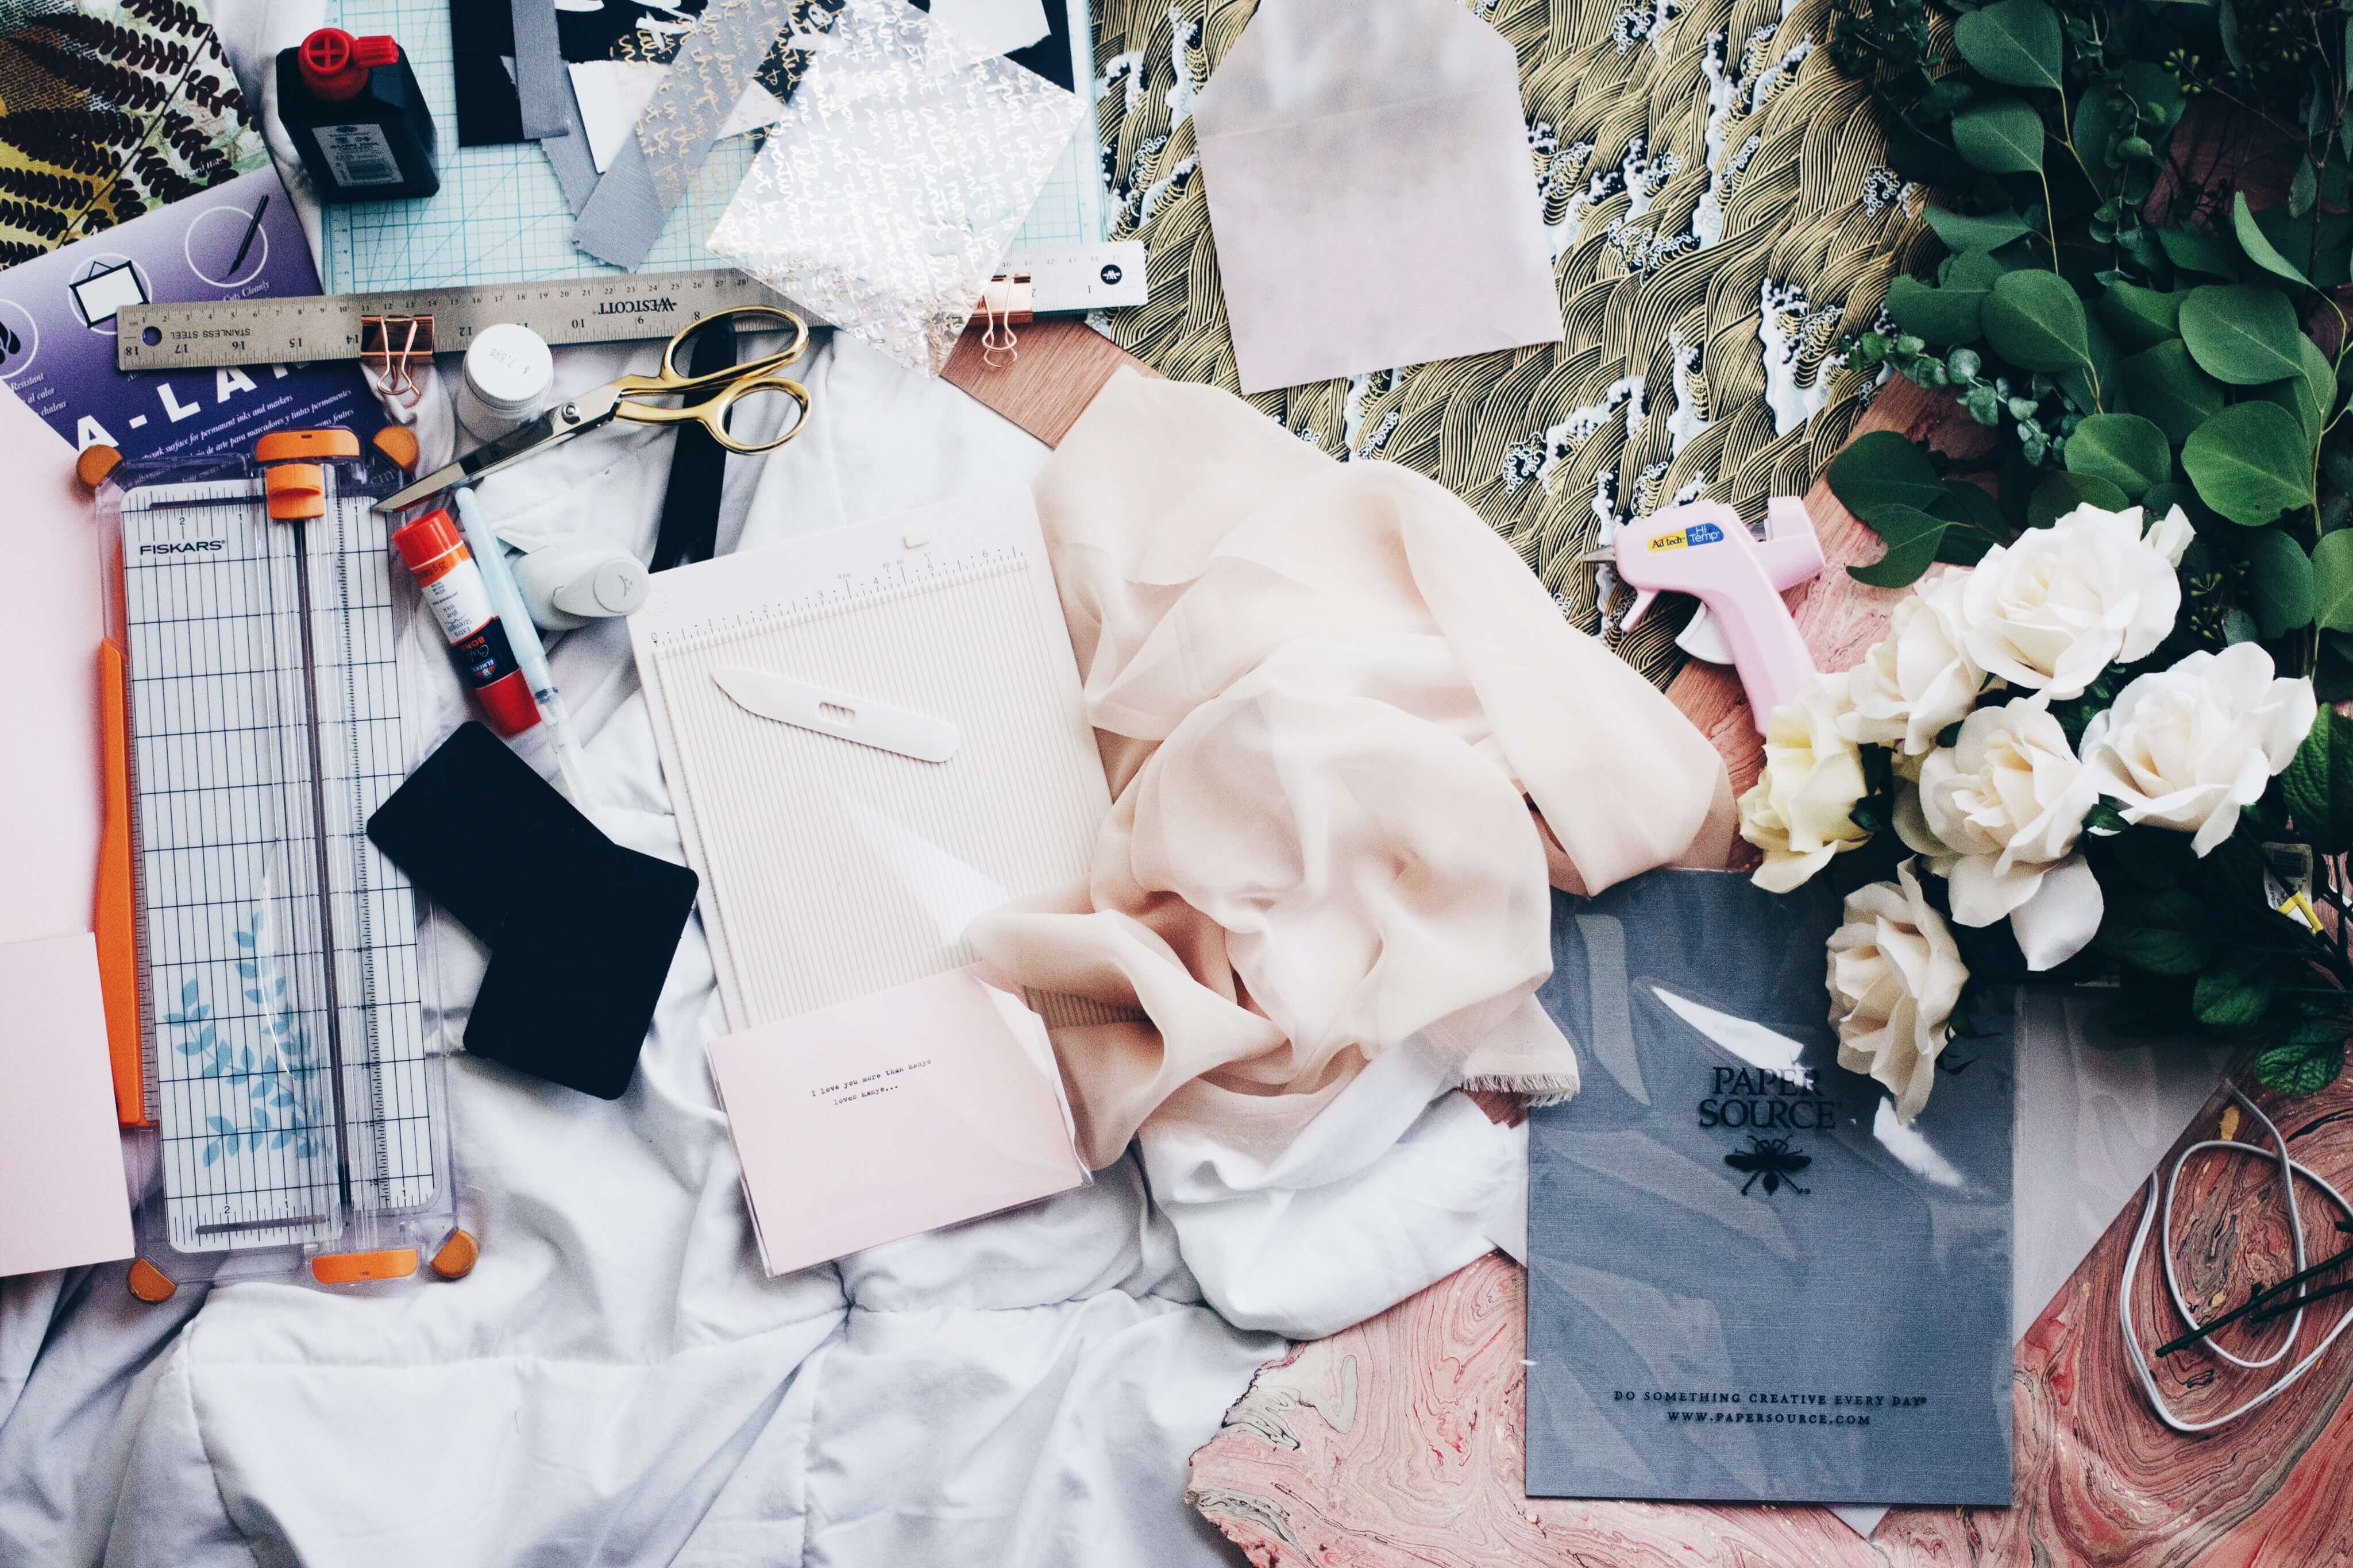
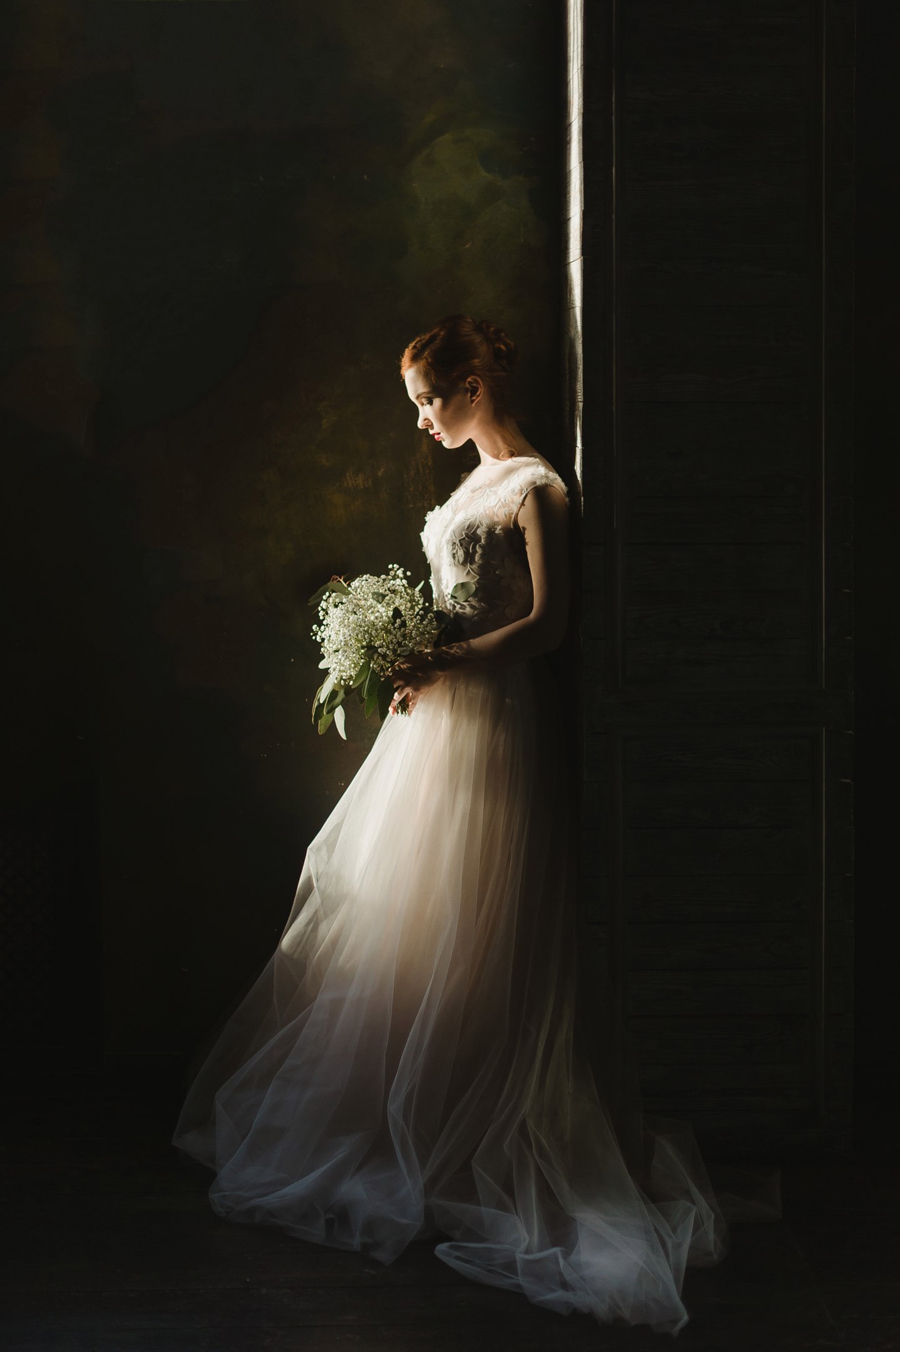
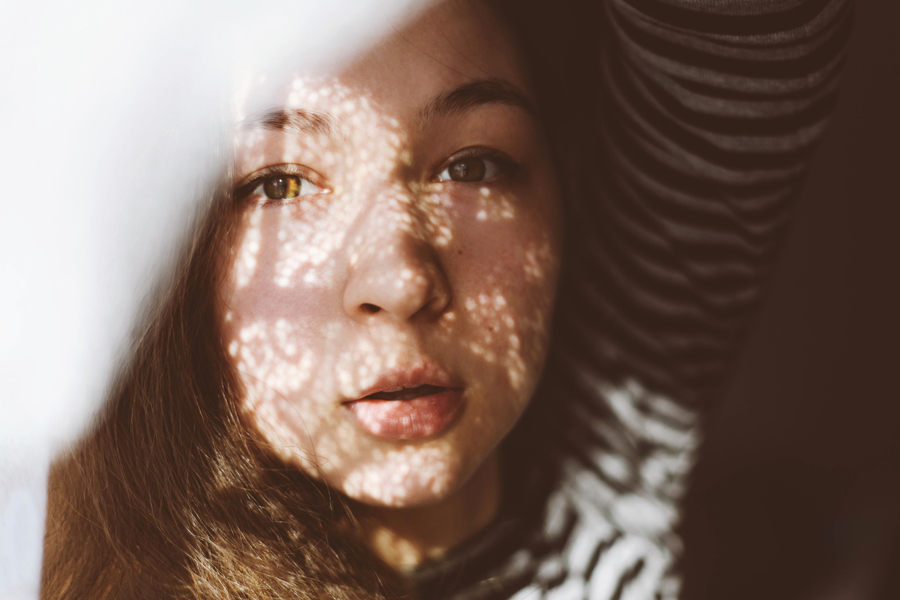
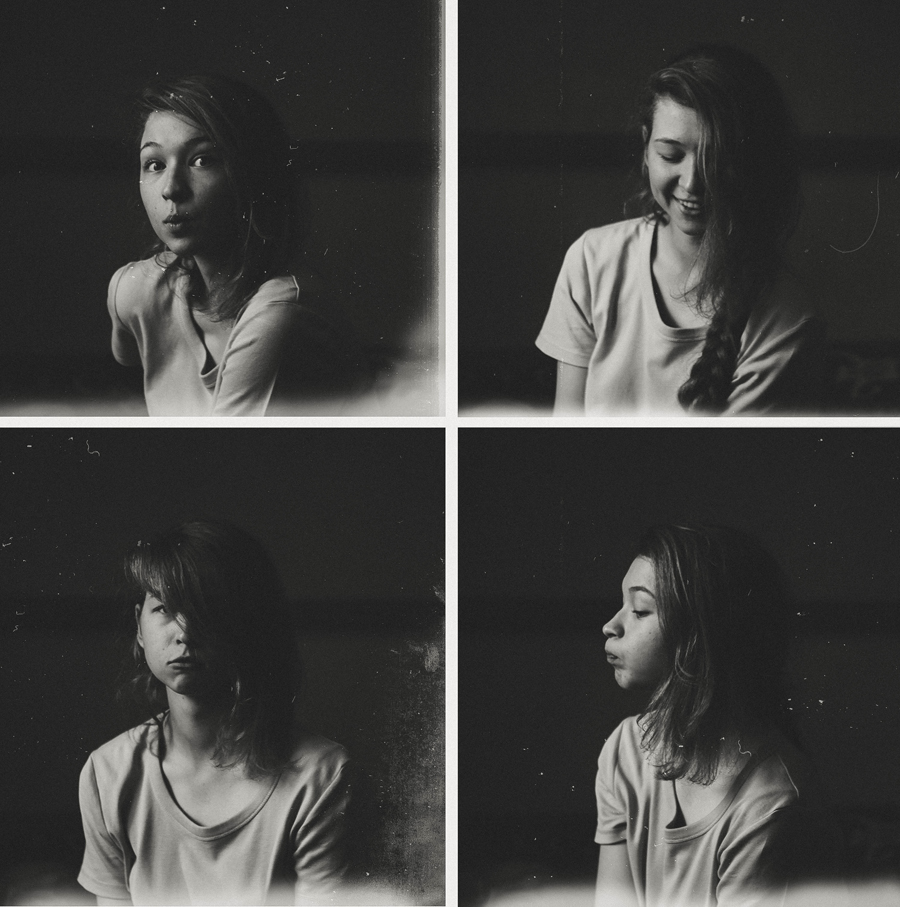
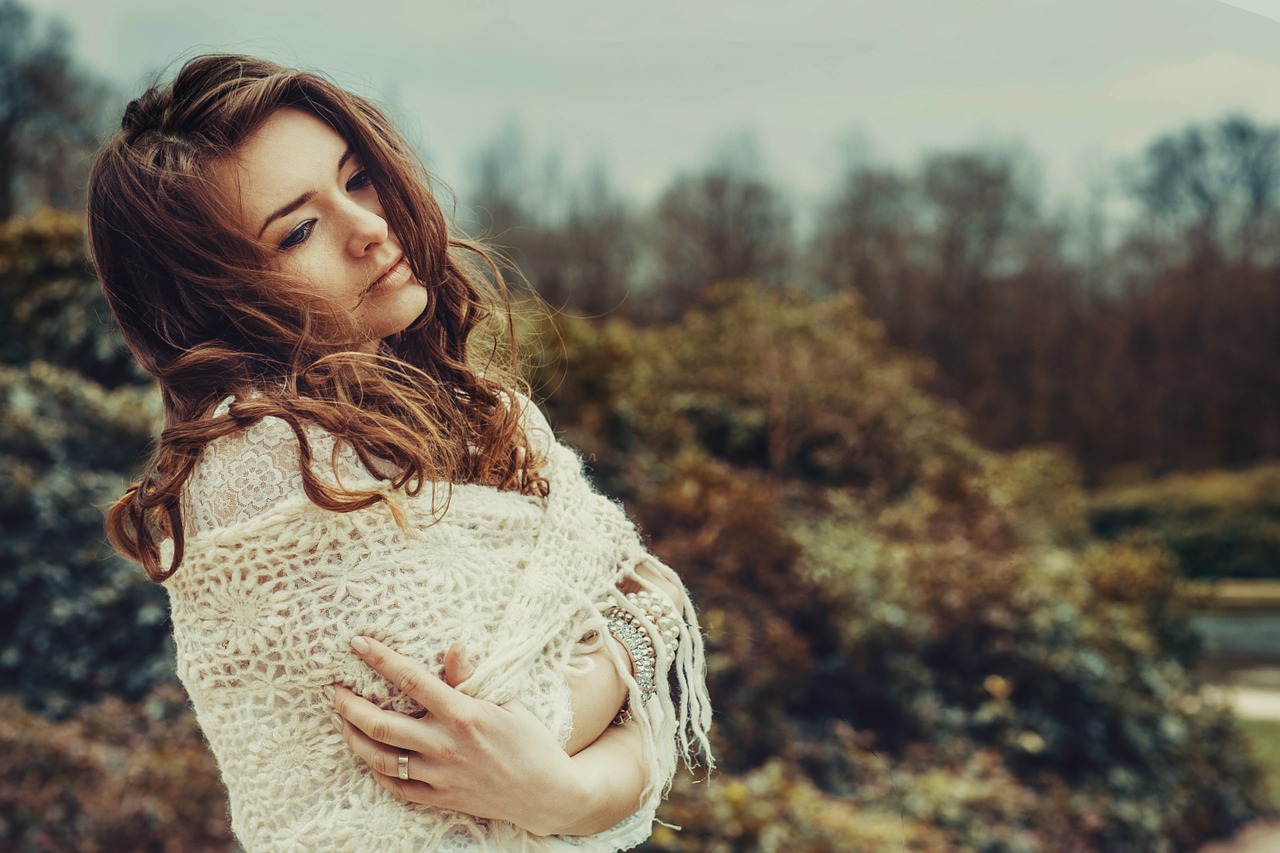
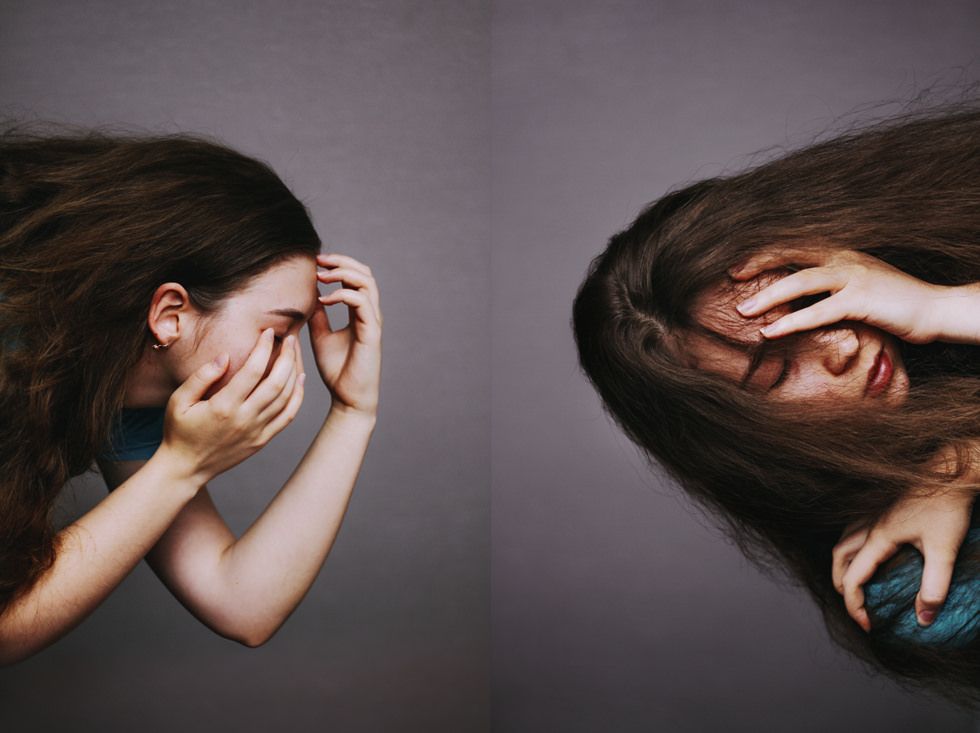
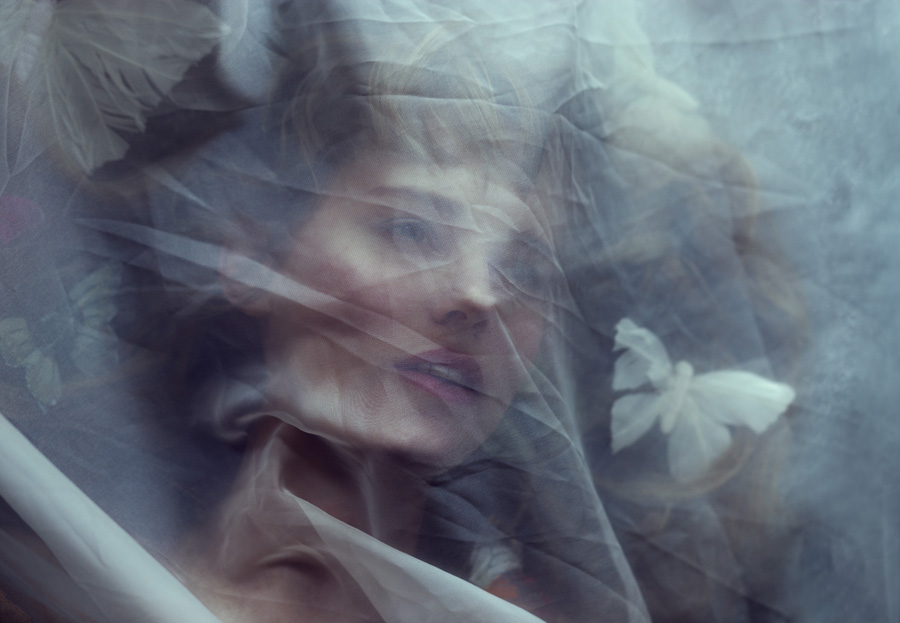
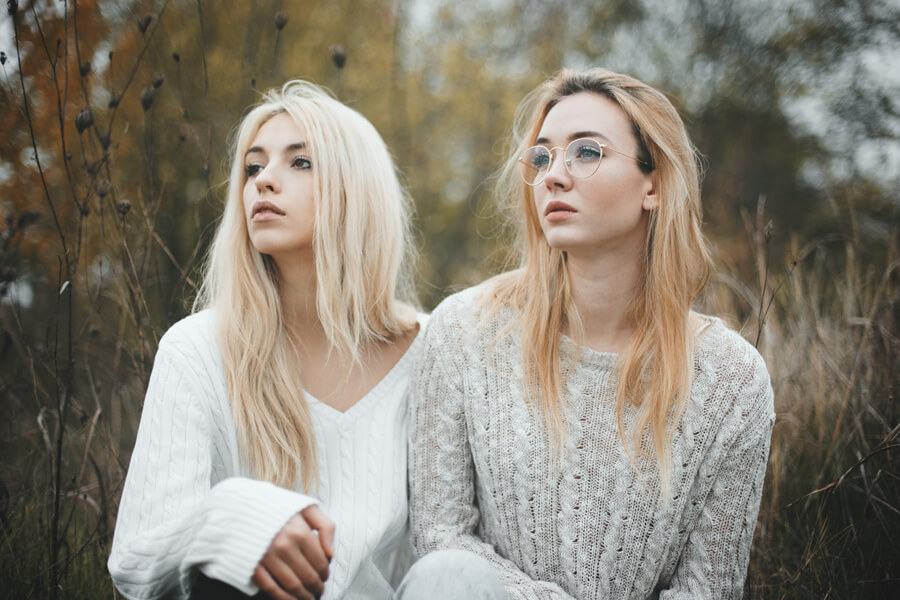
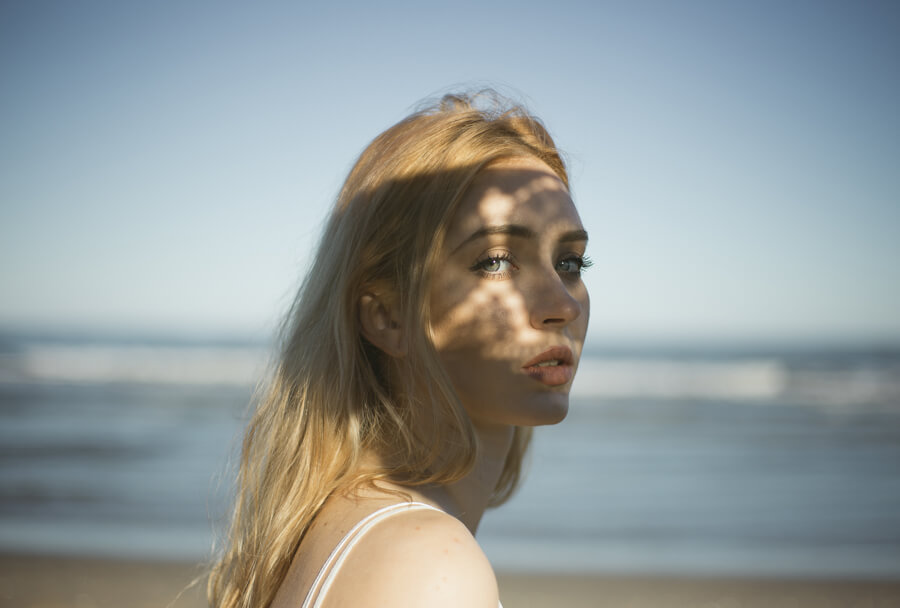
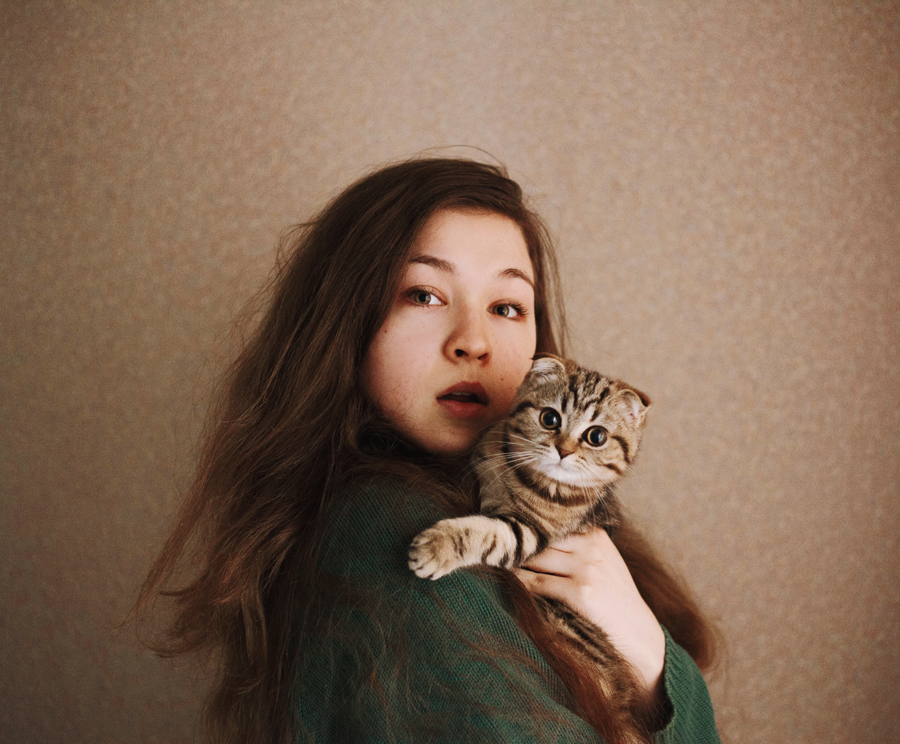
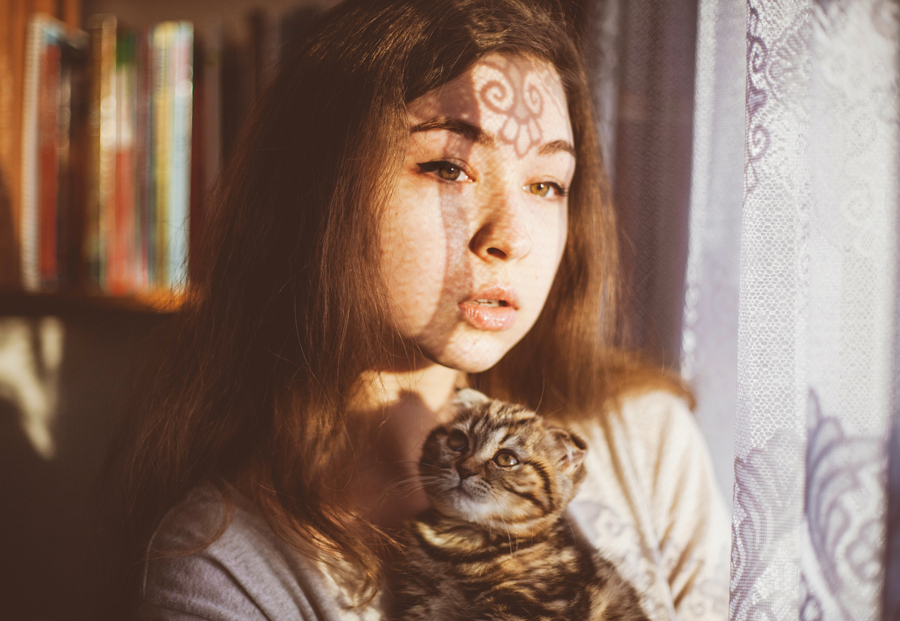
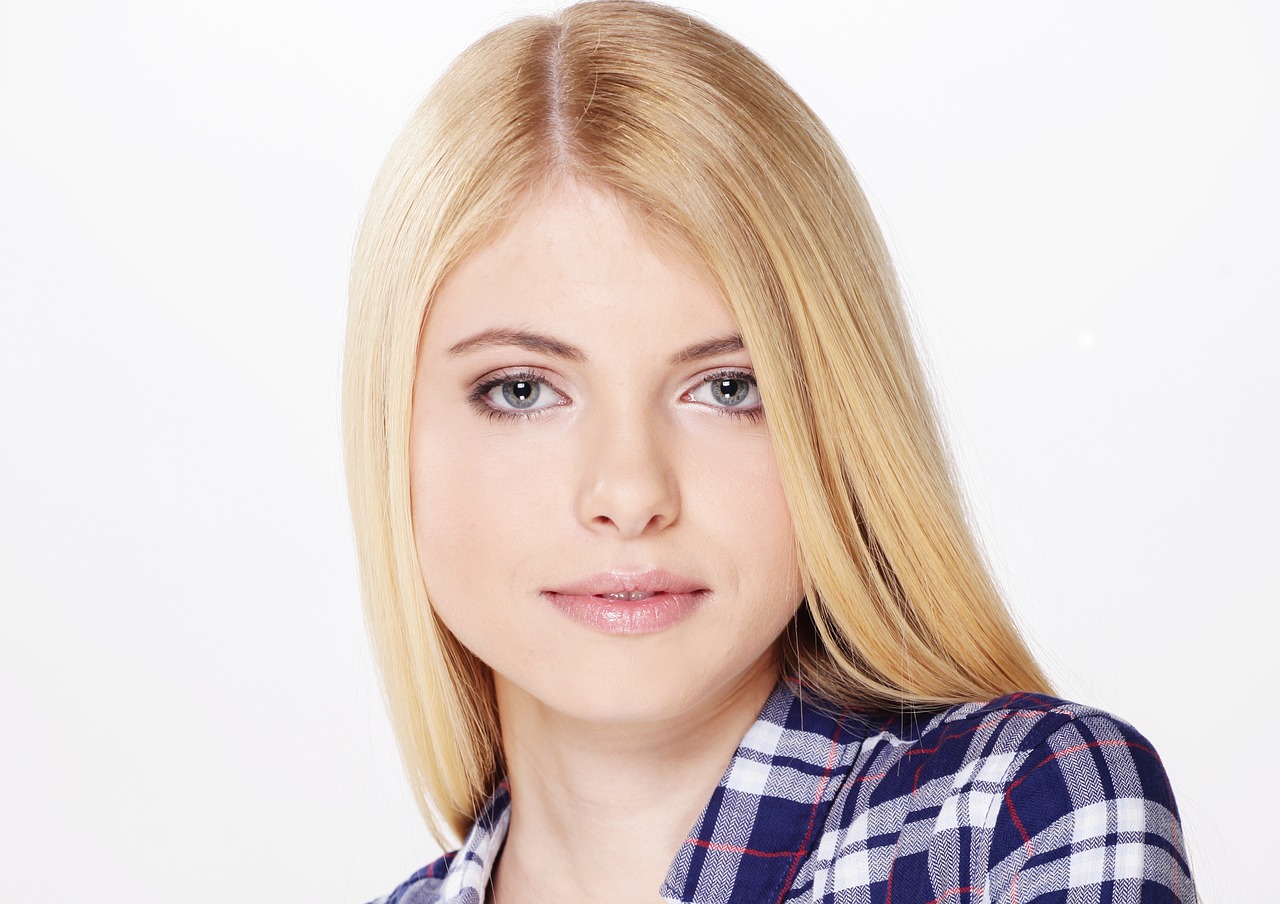
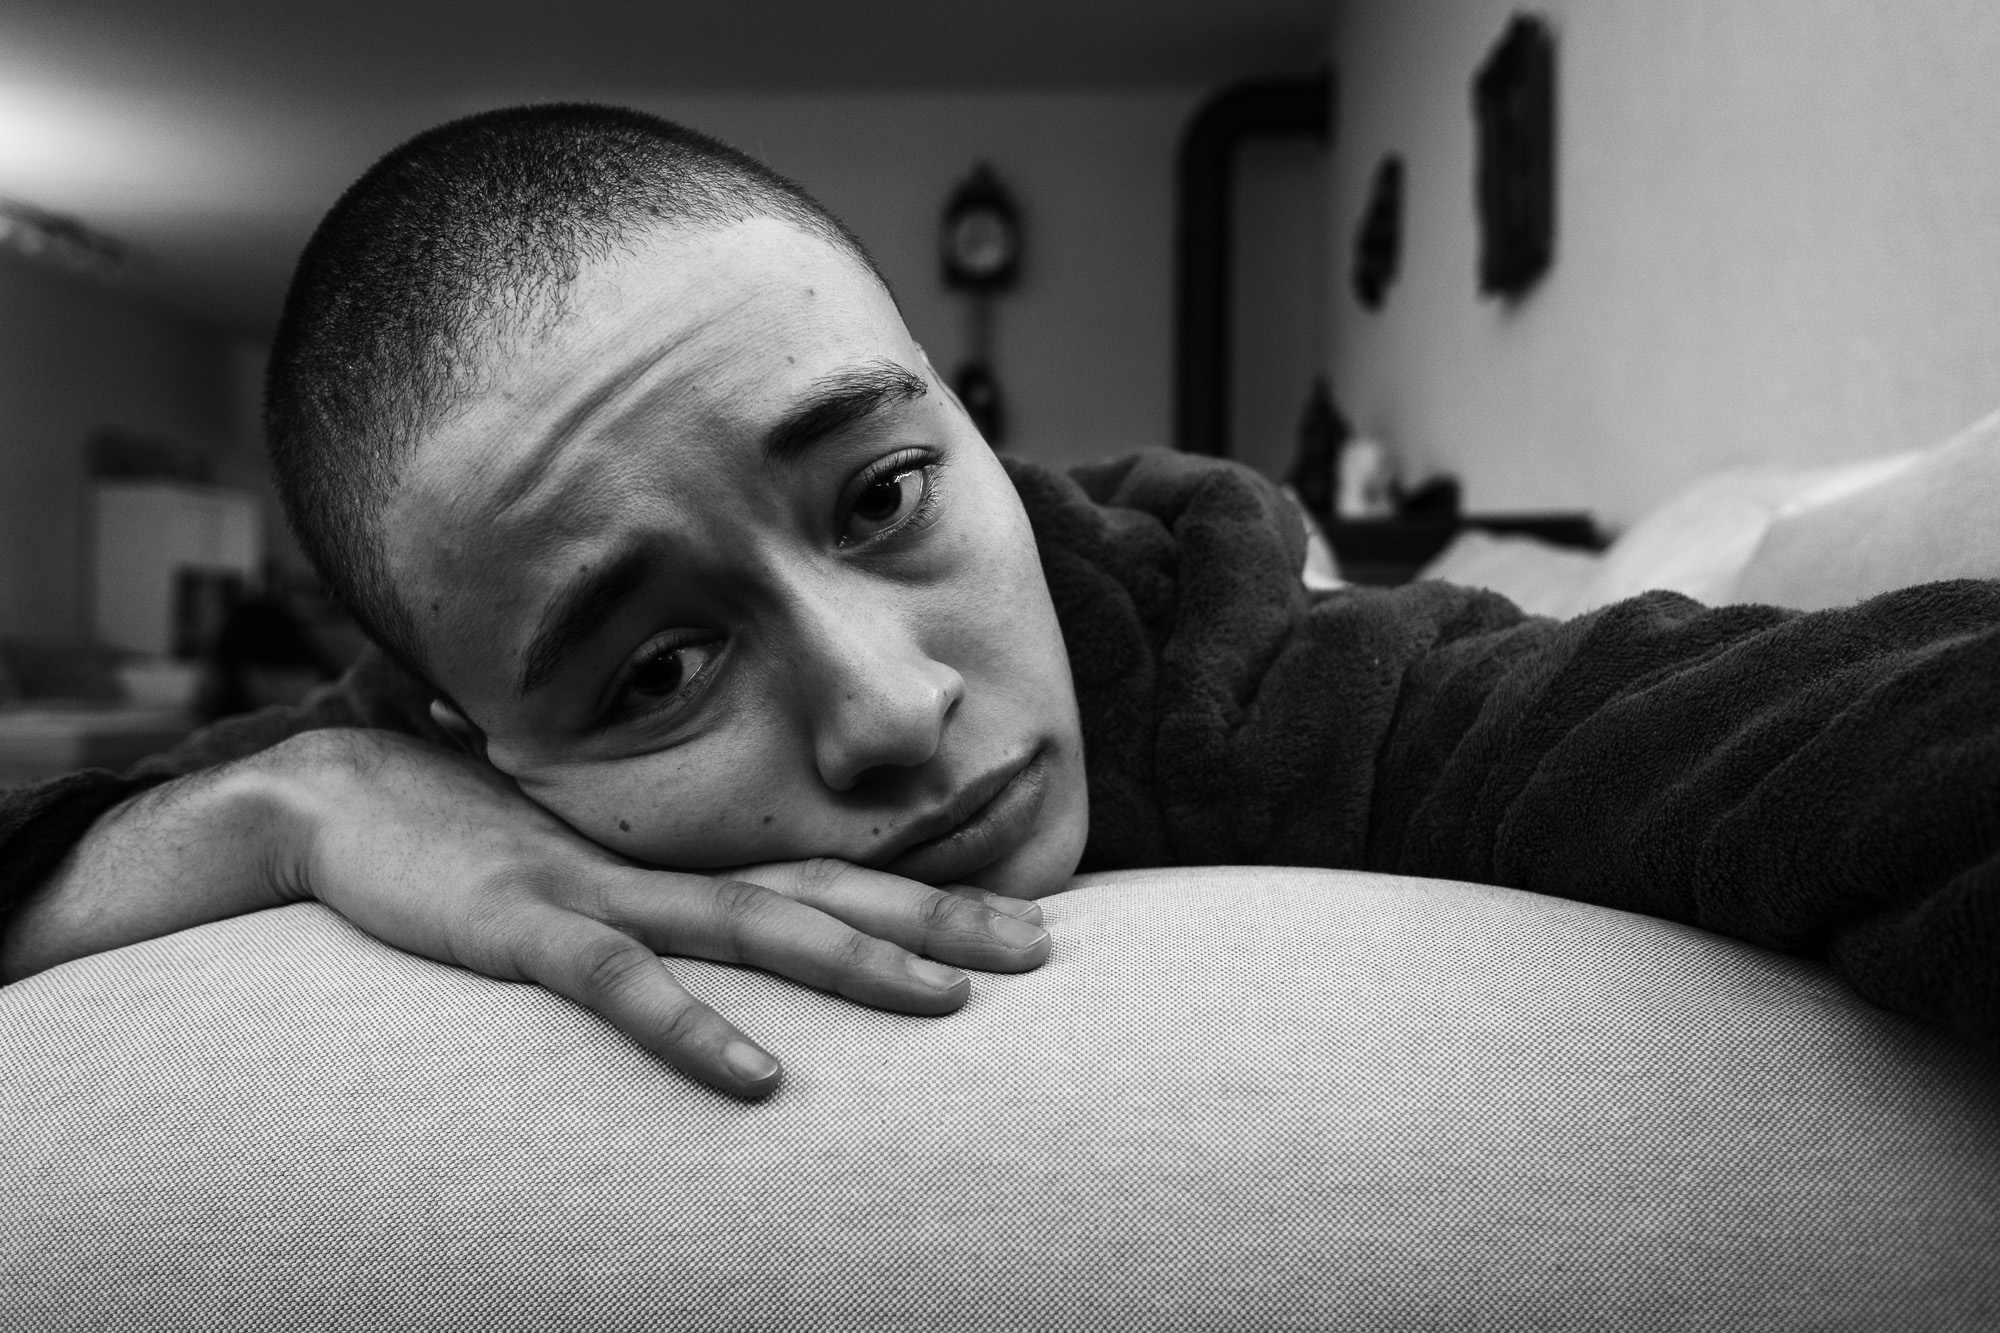
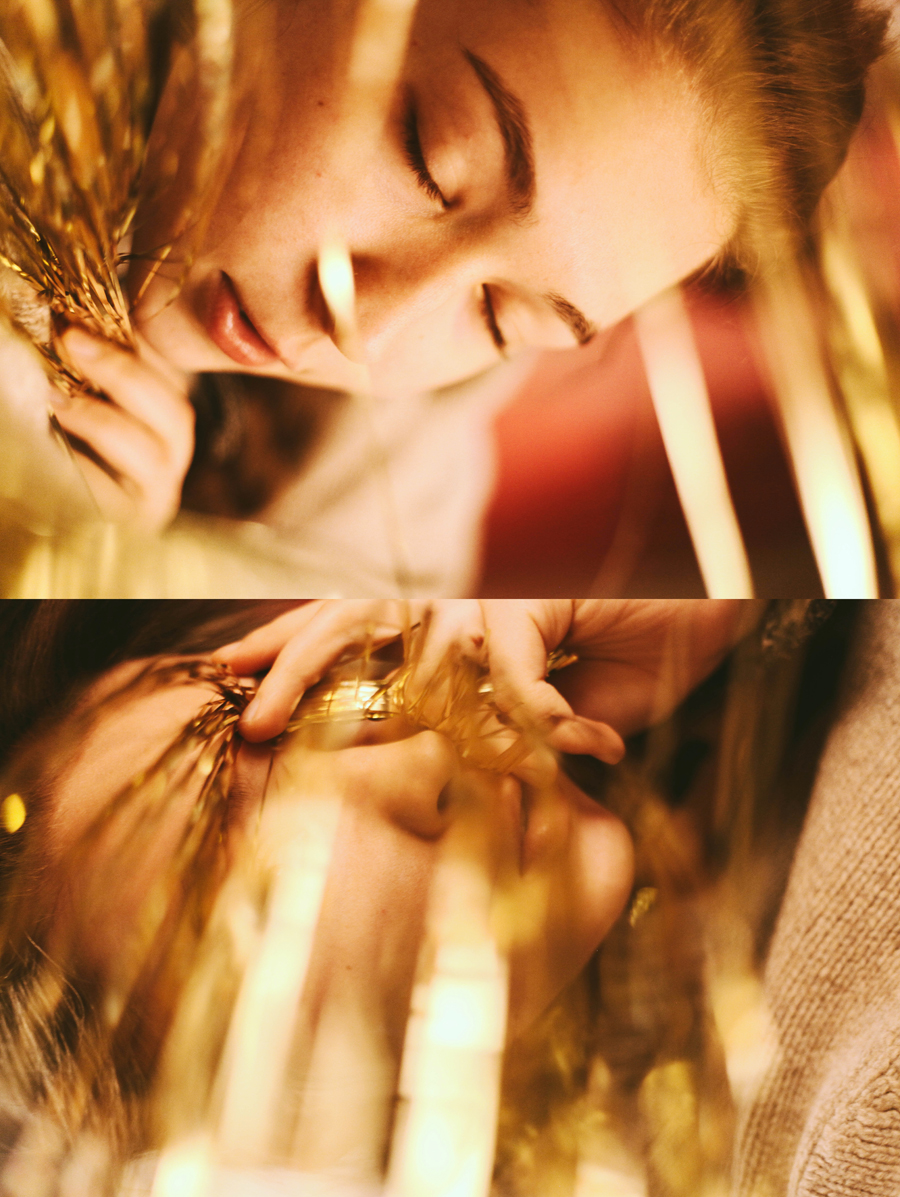
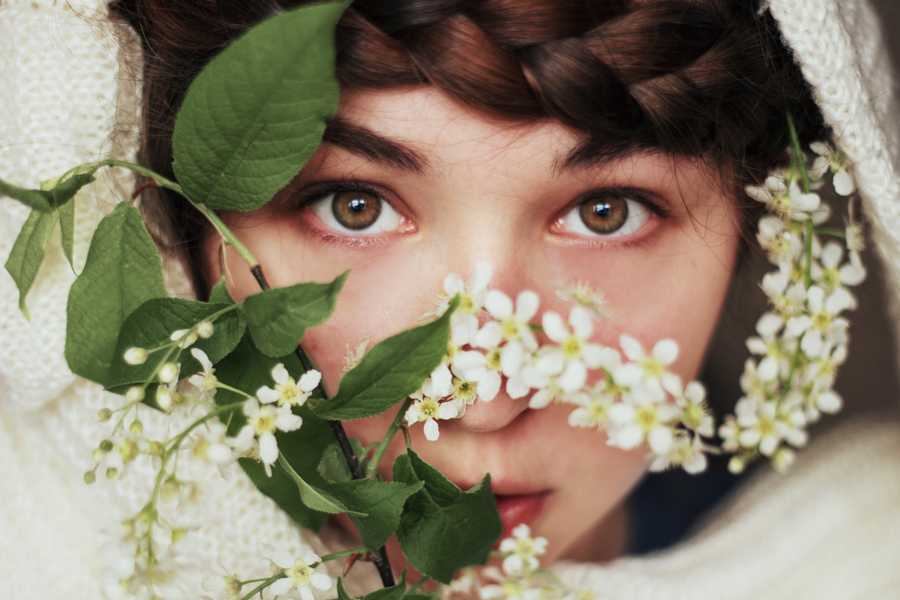
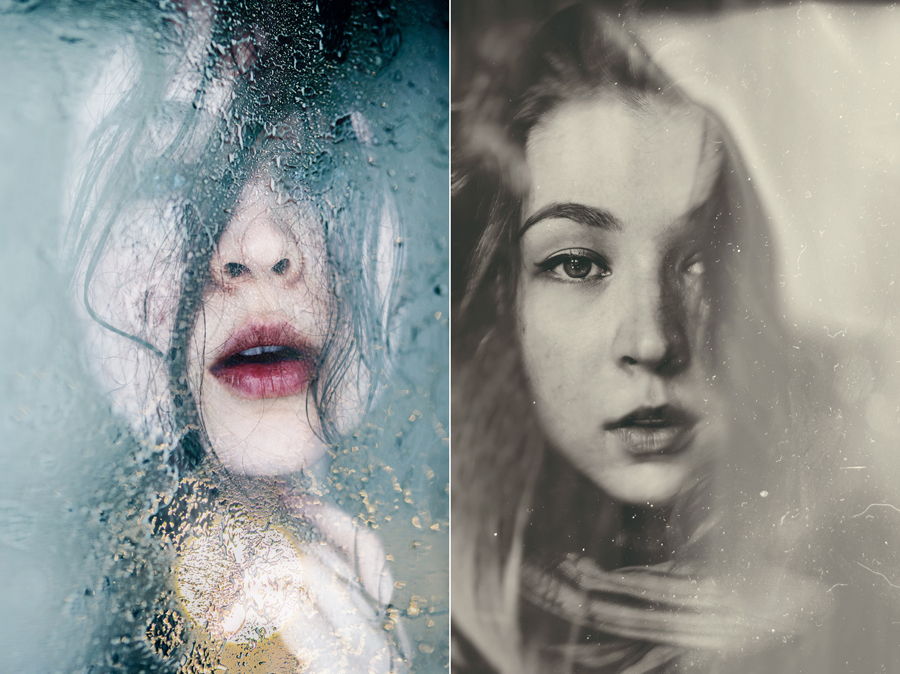
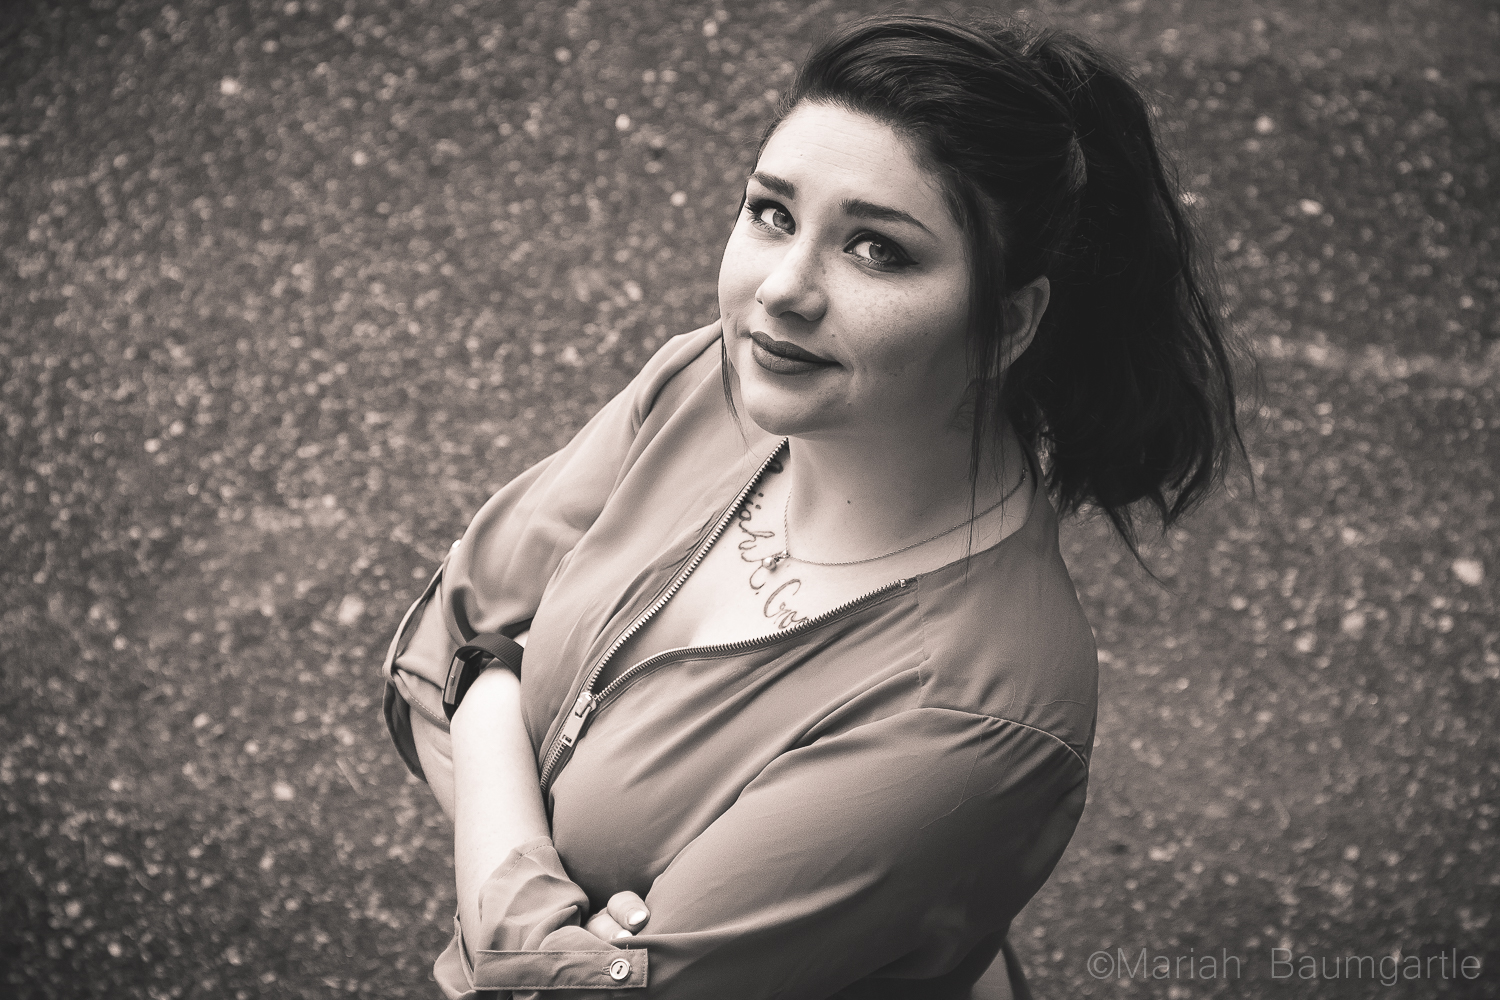
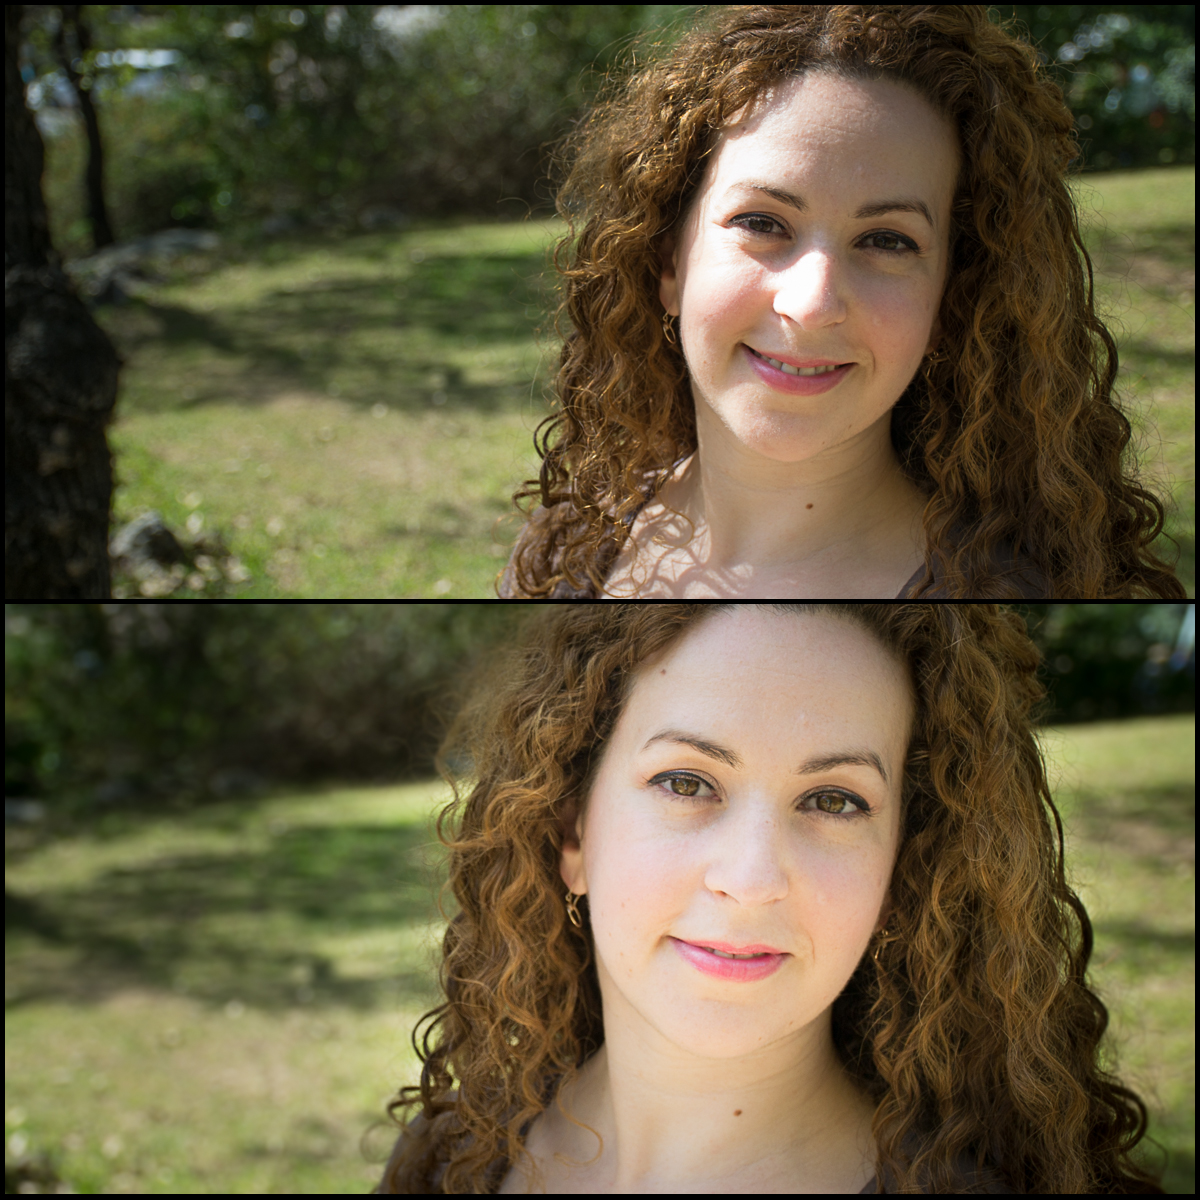
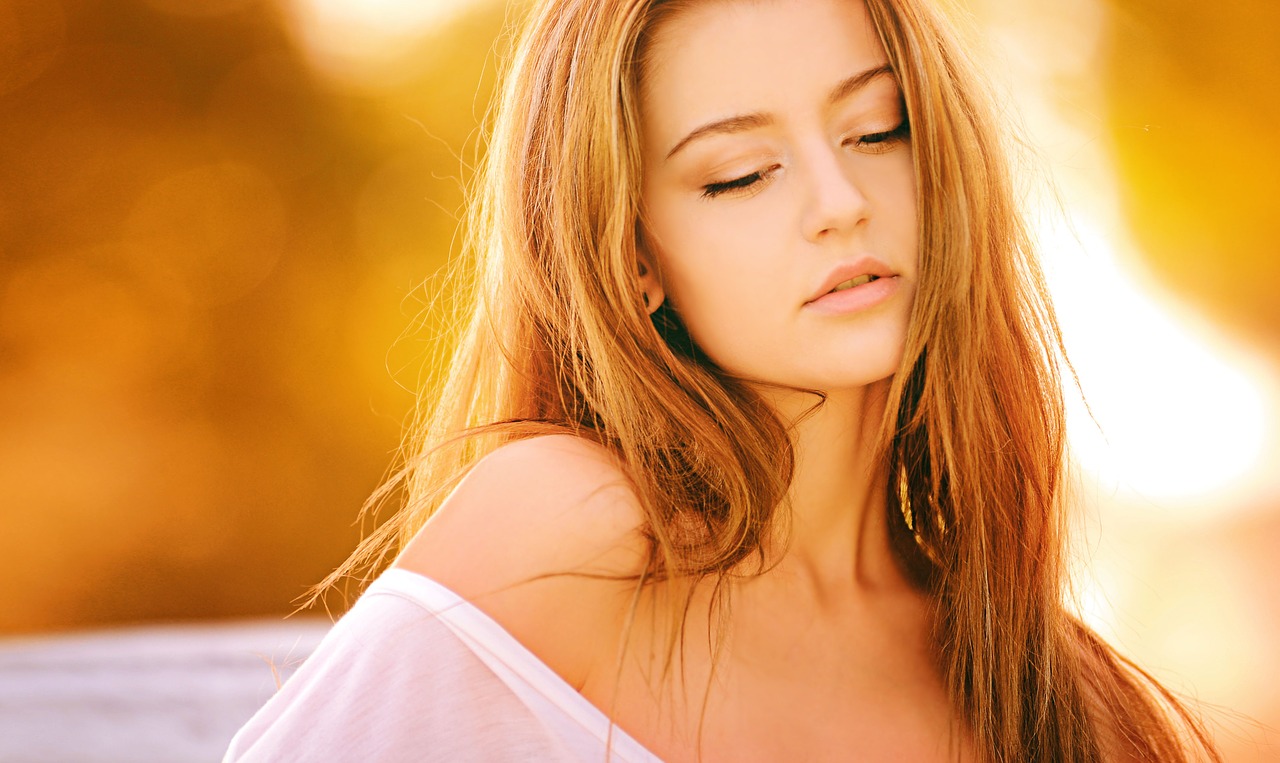
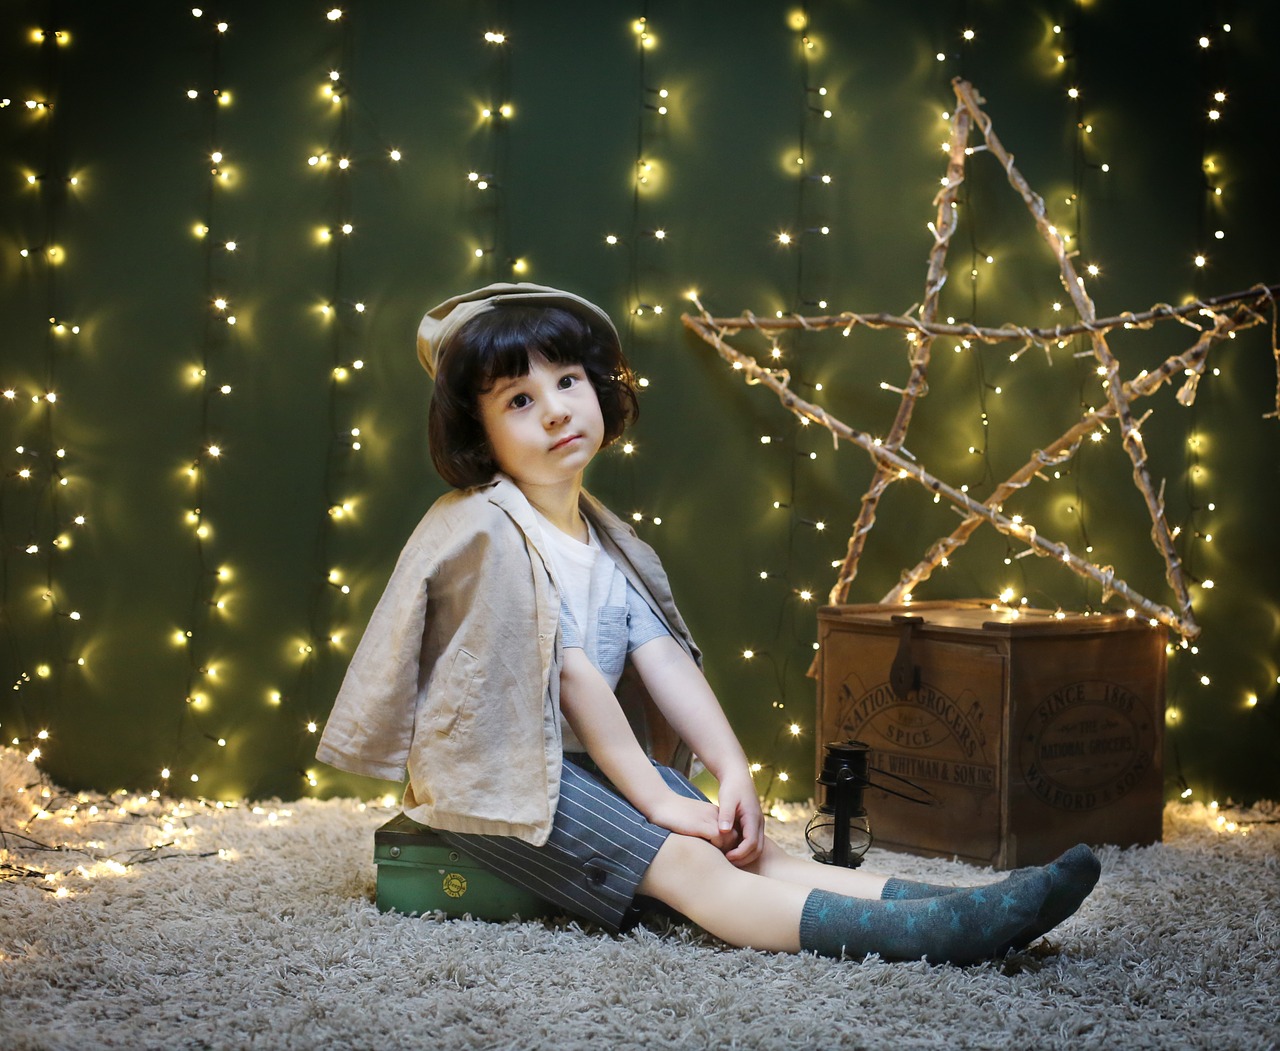
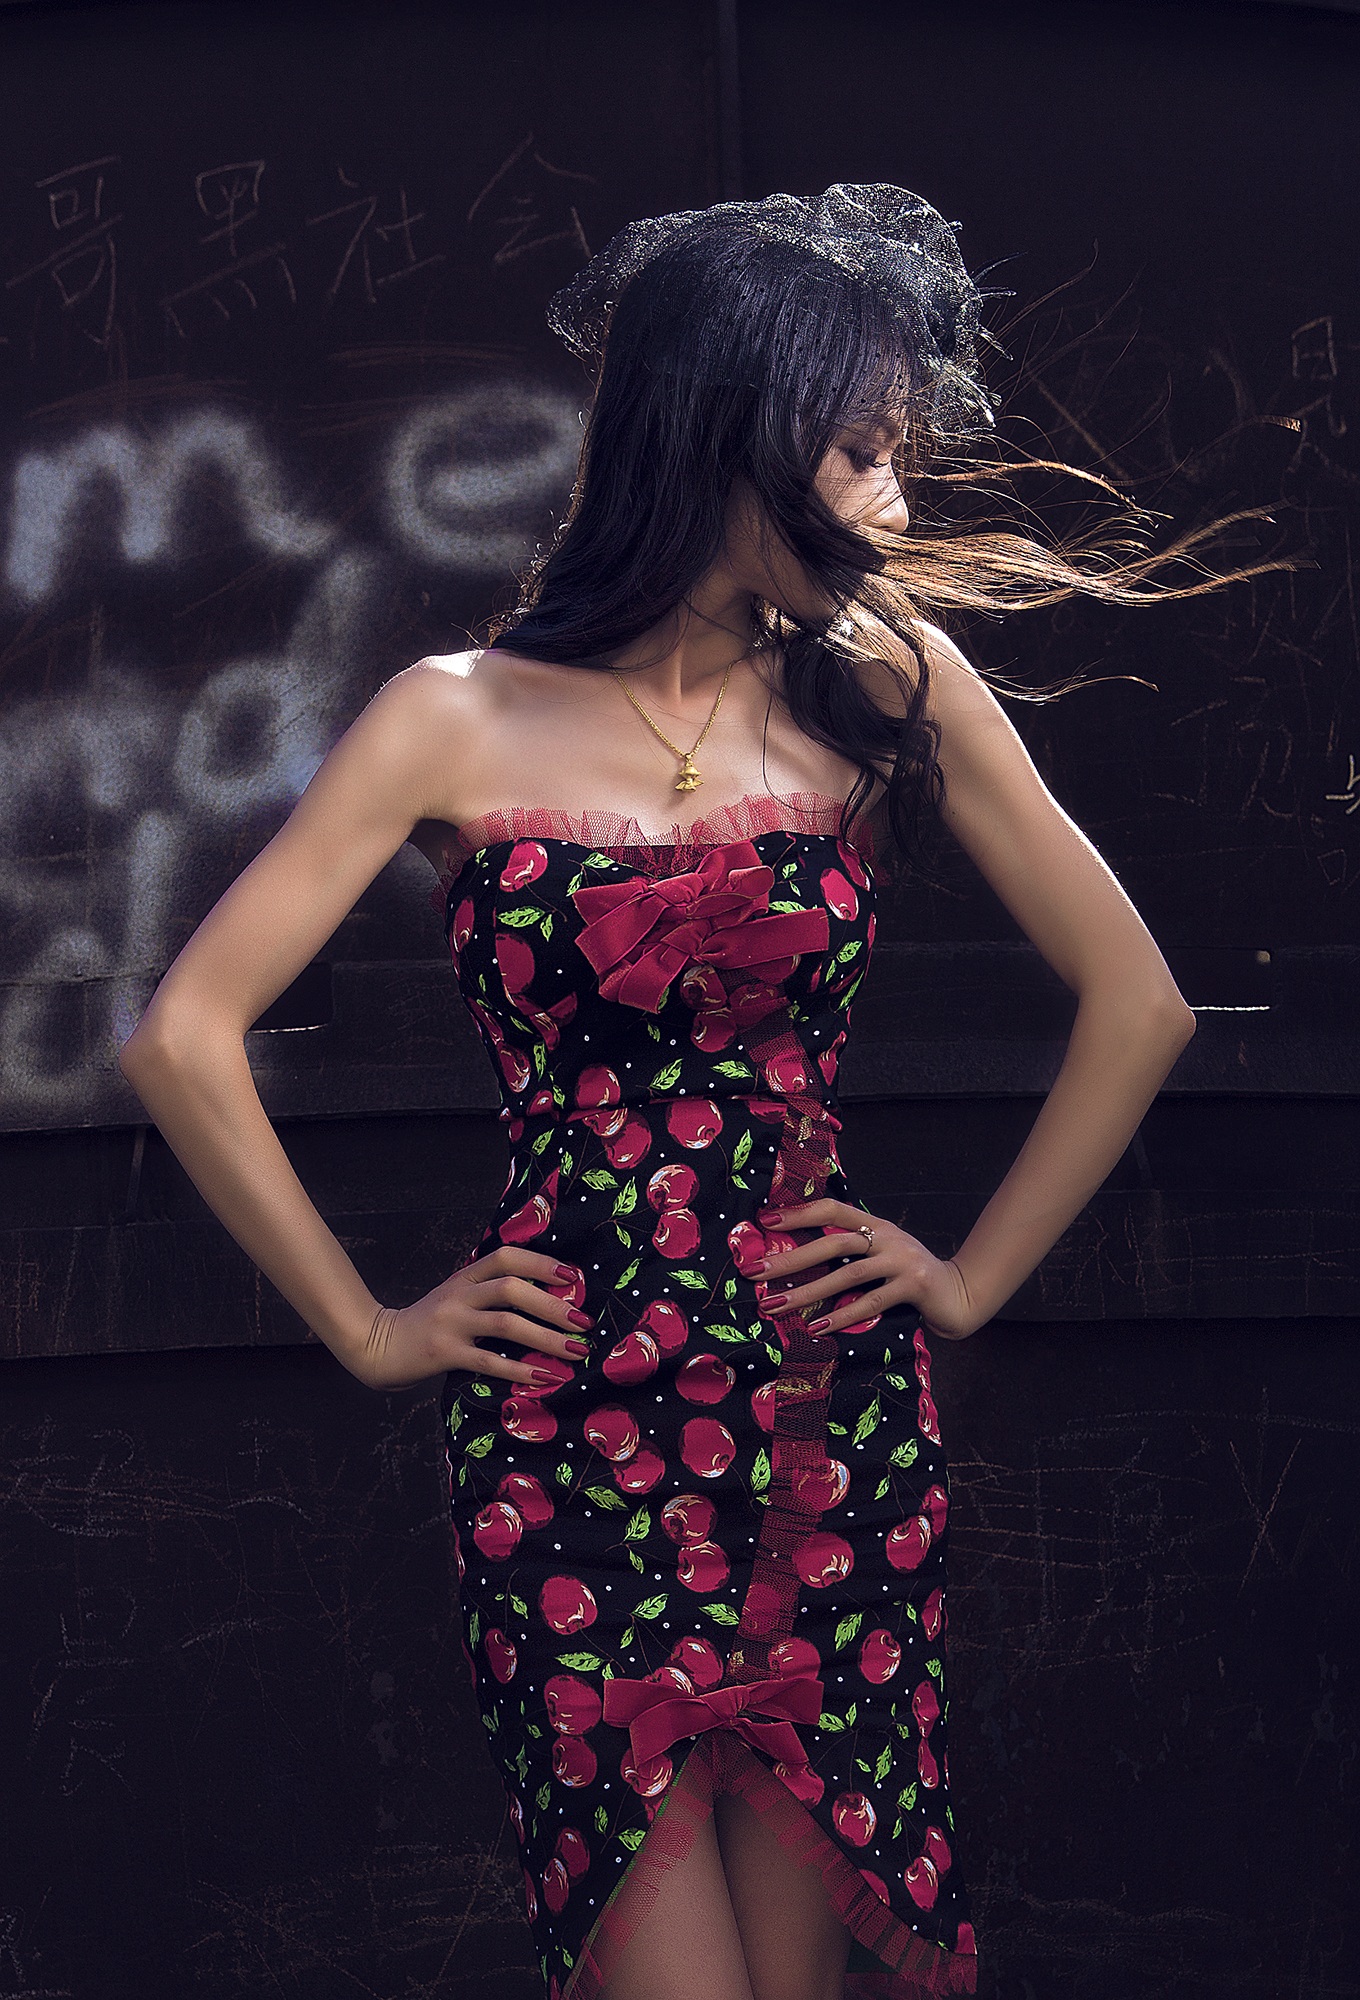
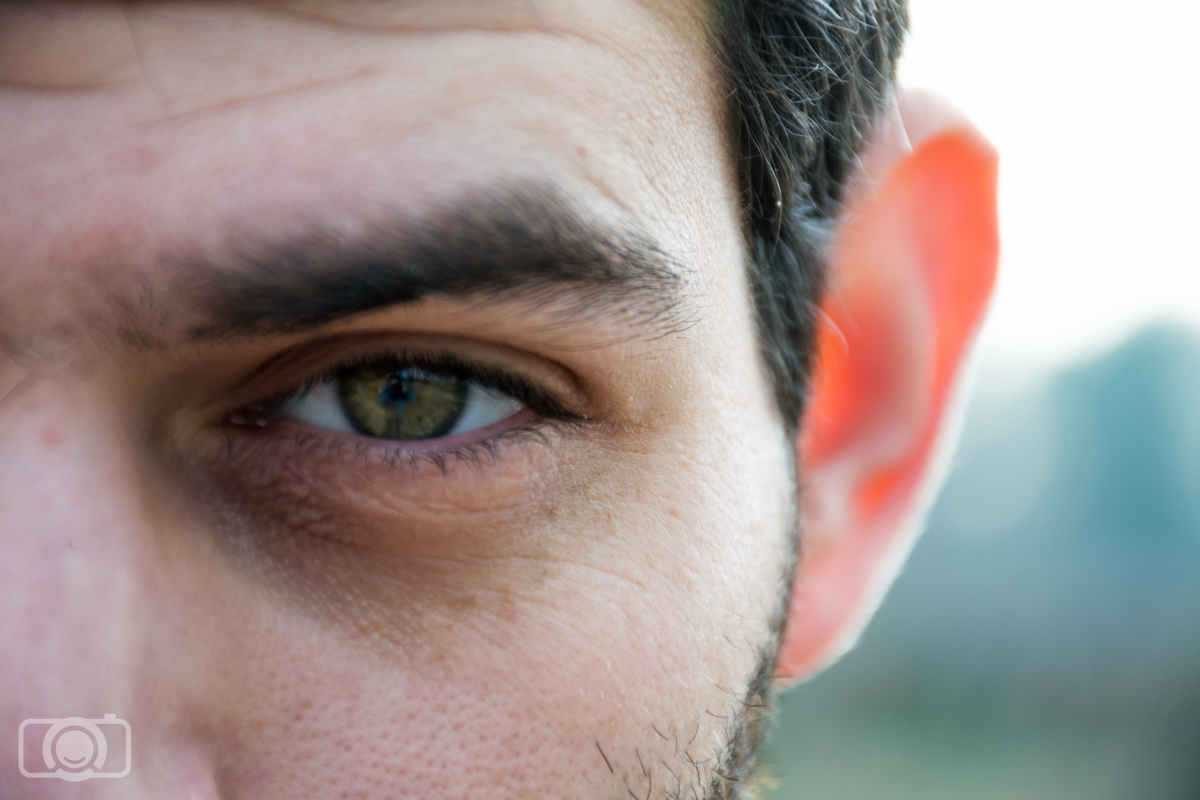
 This portrait is a combination of cellophane, free textures, and a Lightroom preset.
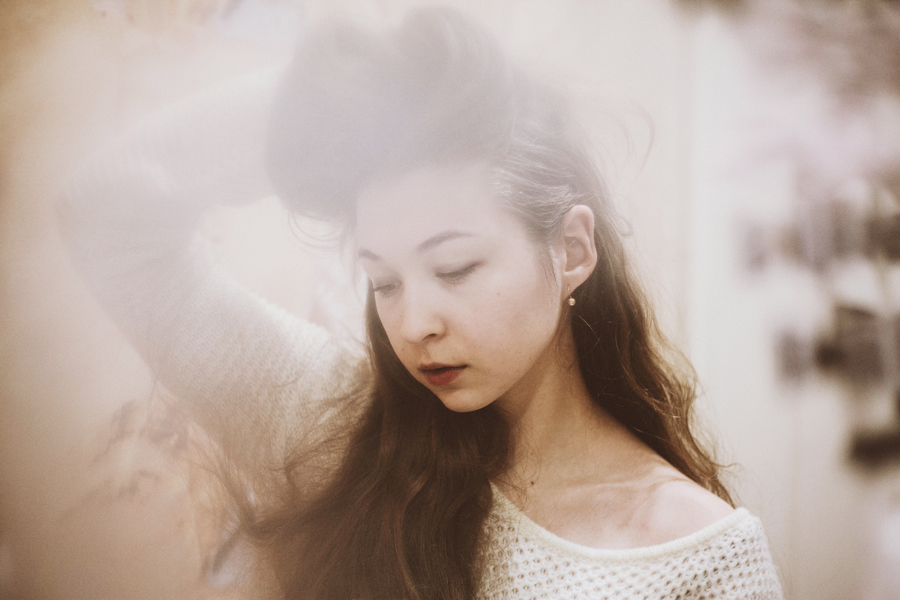


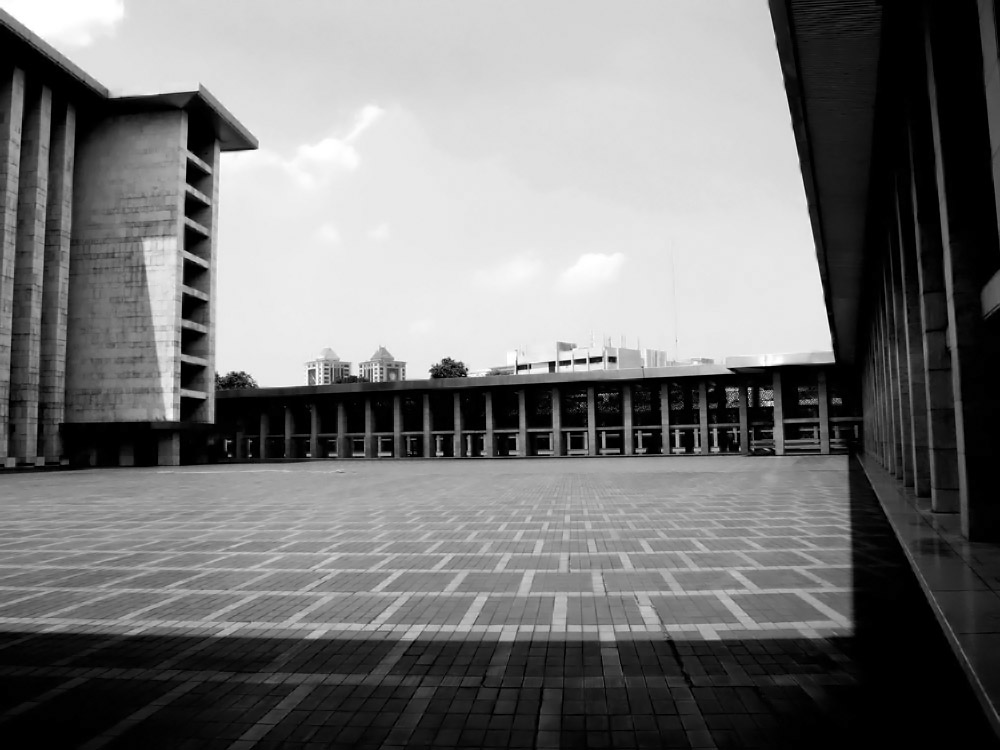


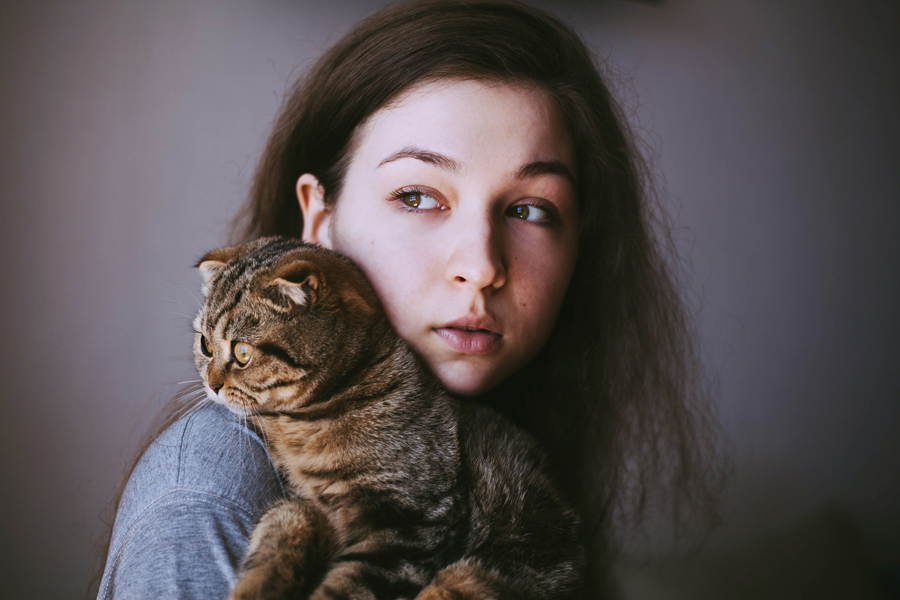


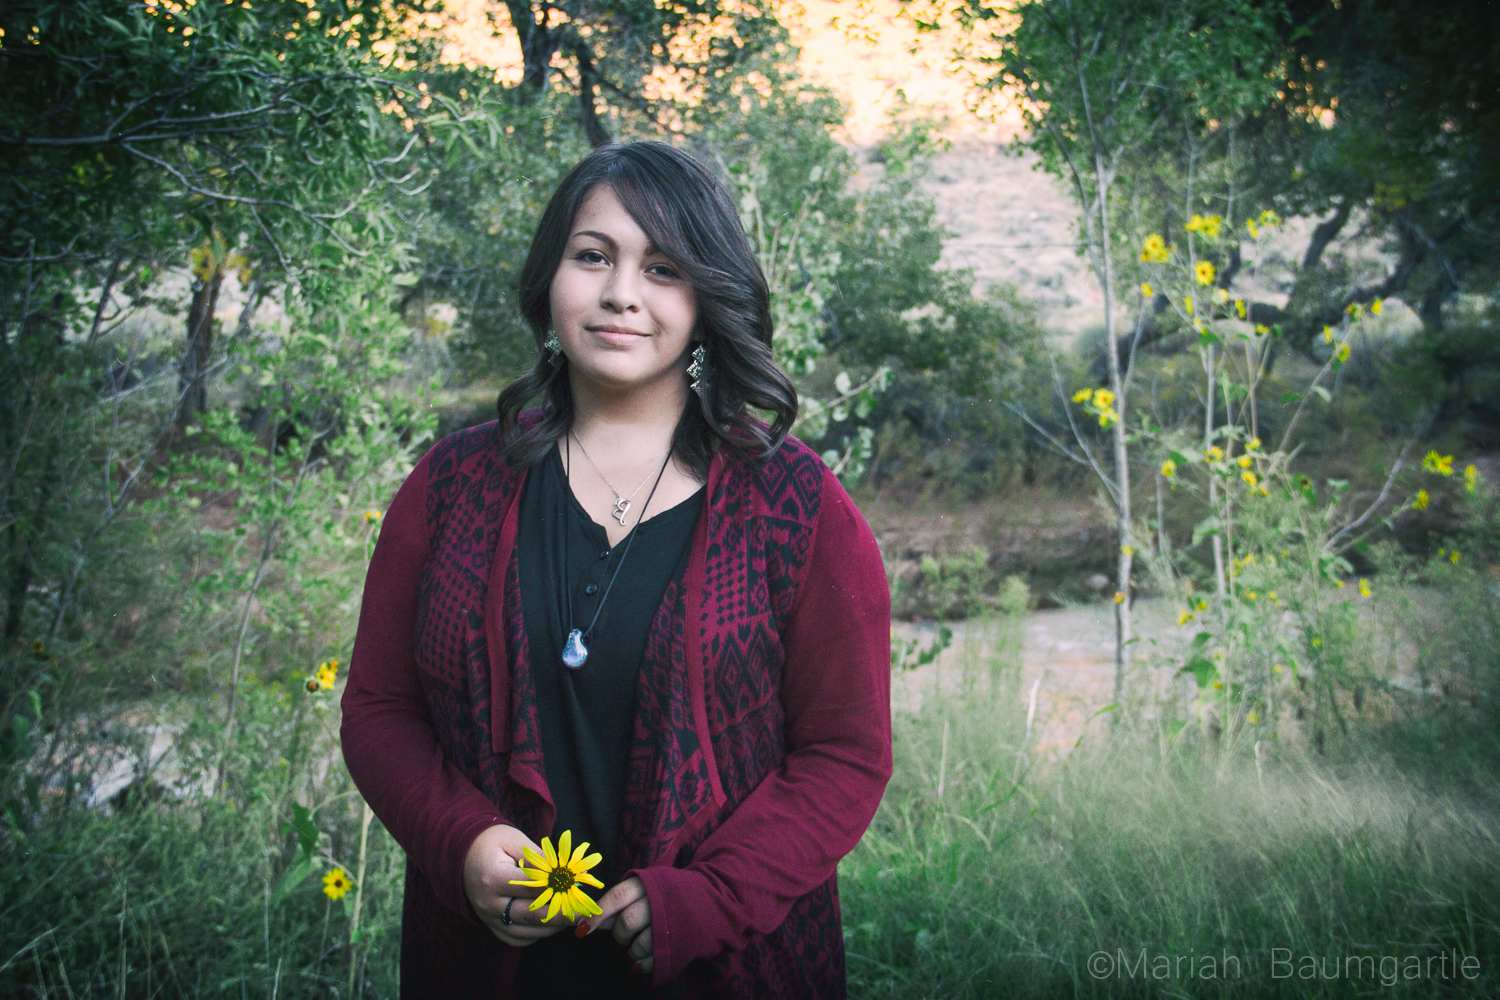


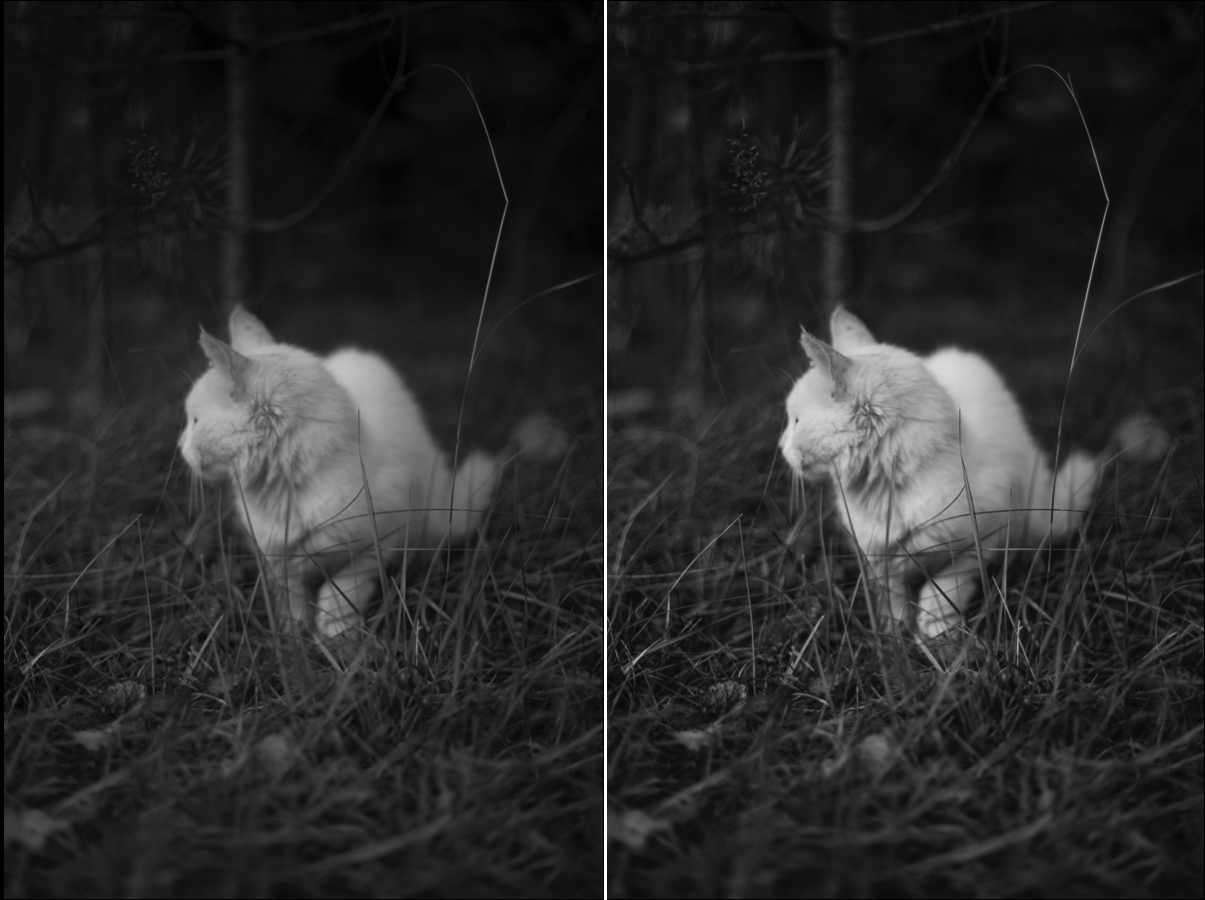
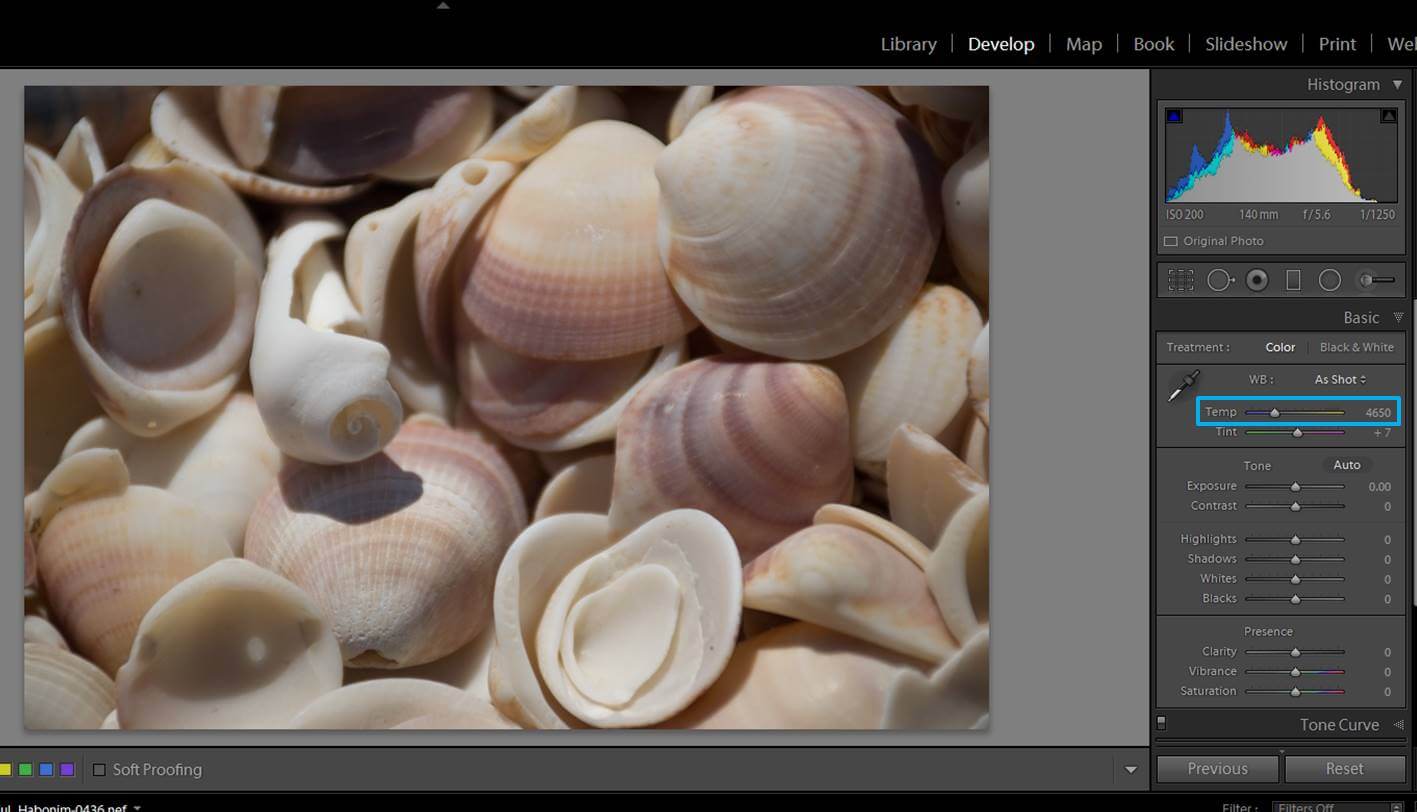
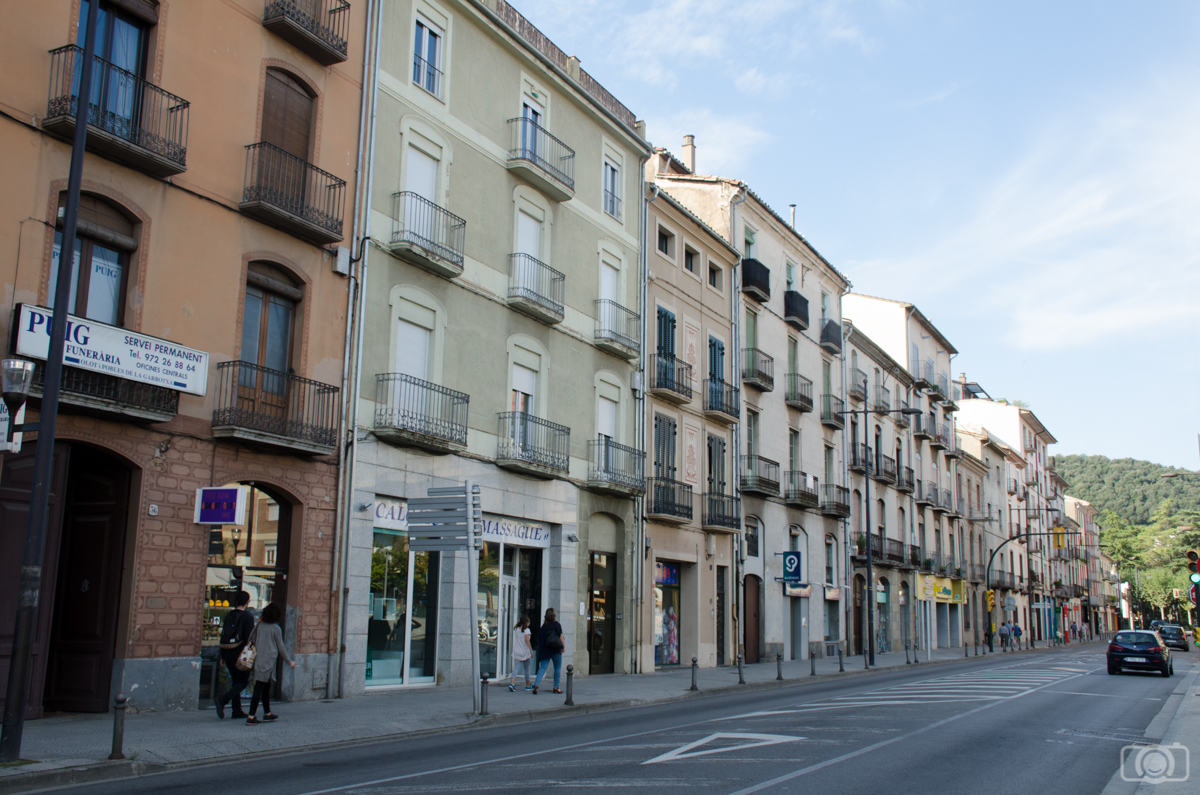
 Before Edit
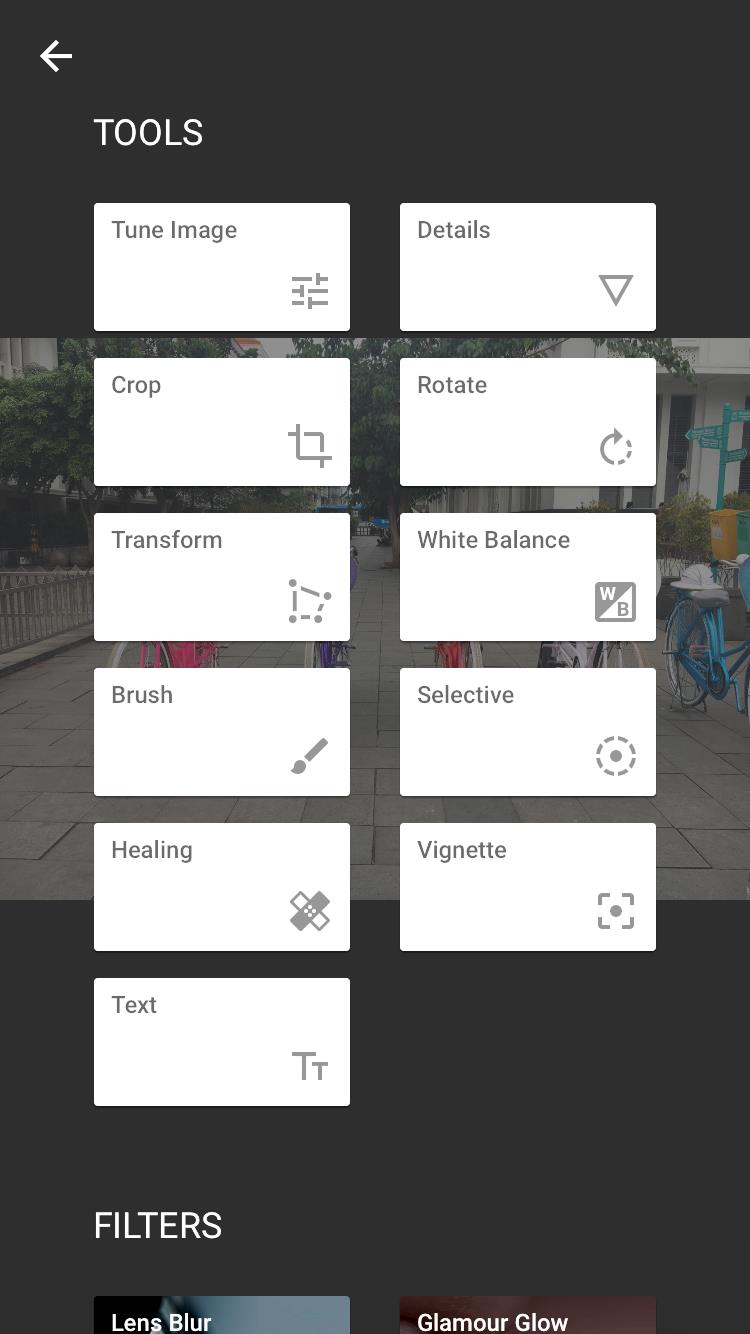
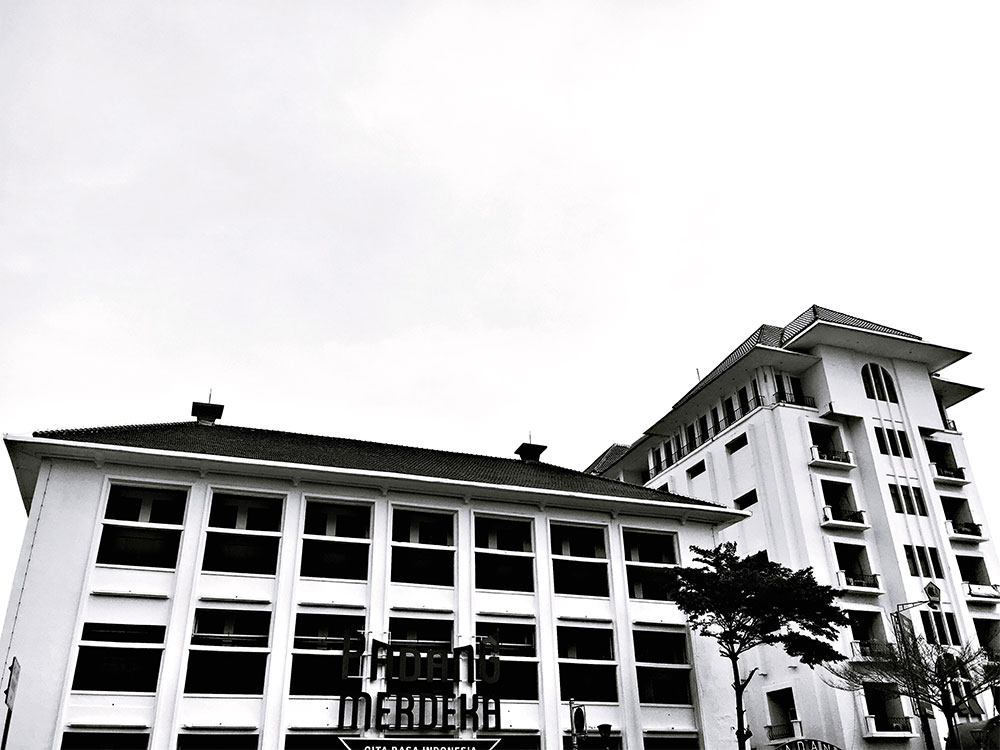
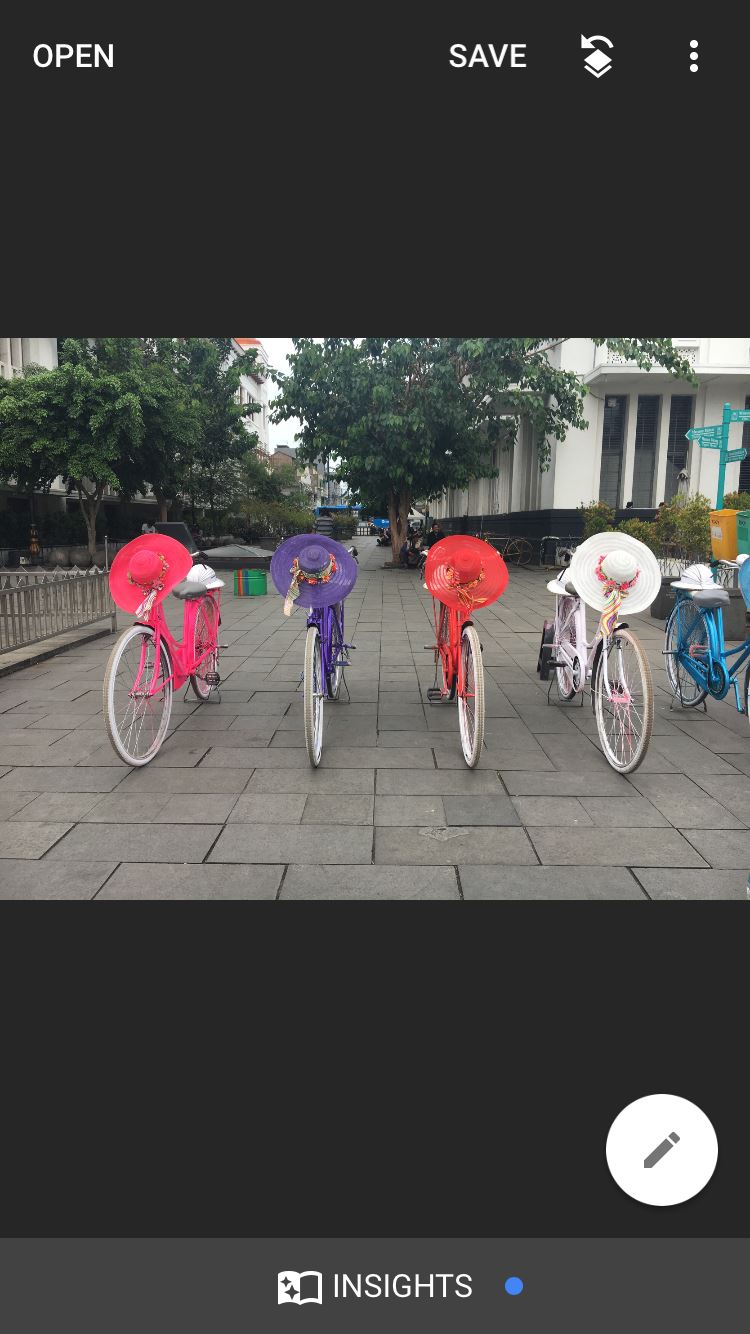
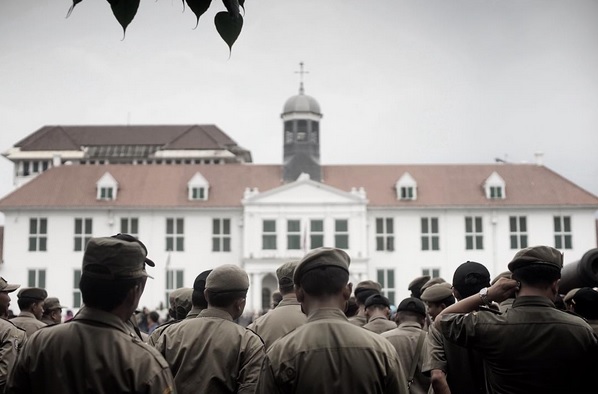
 Standby Bikes at Old Town, Jakarta
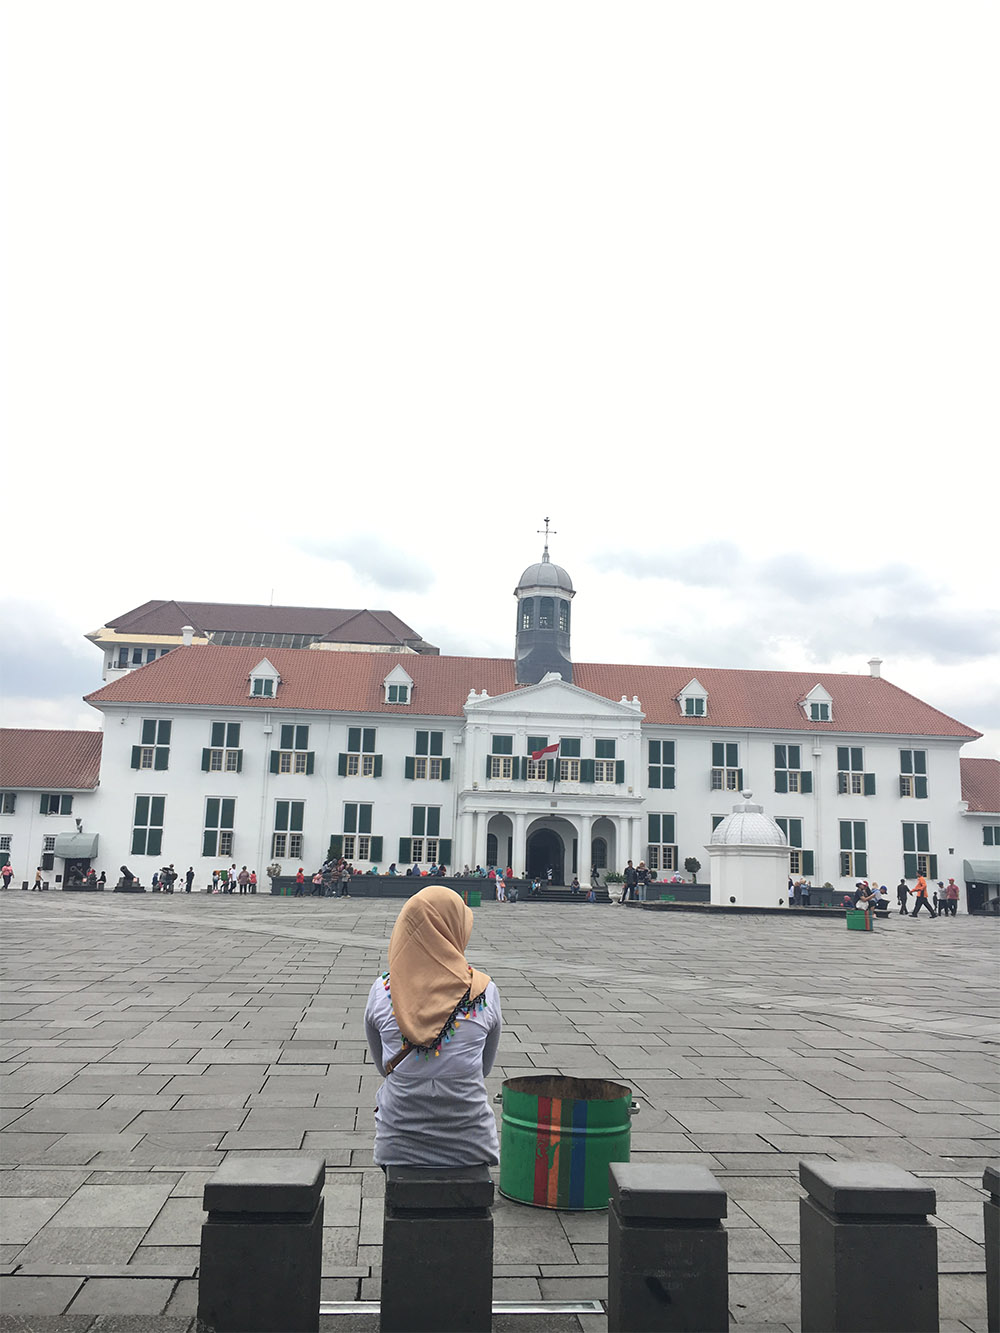 Before Edit
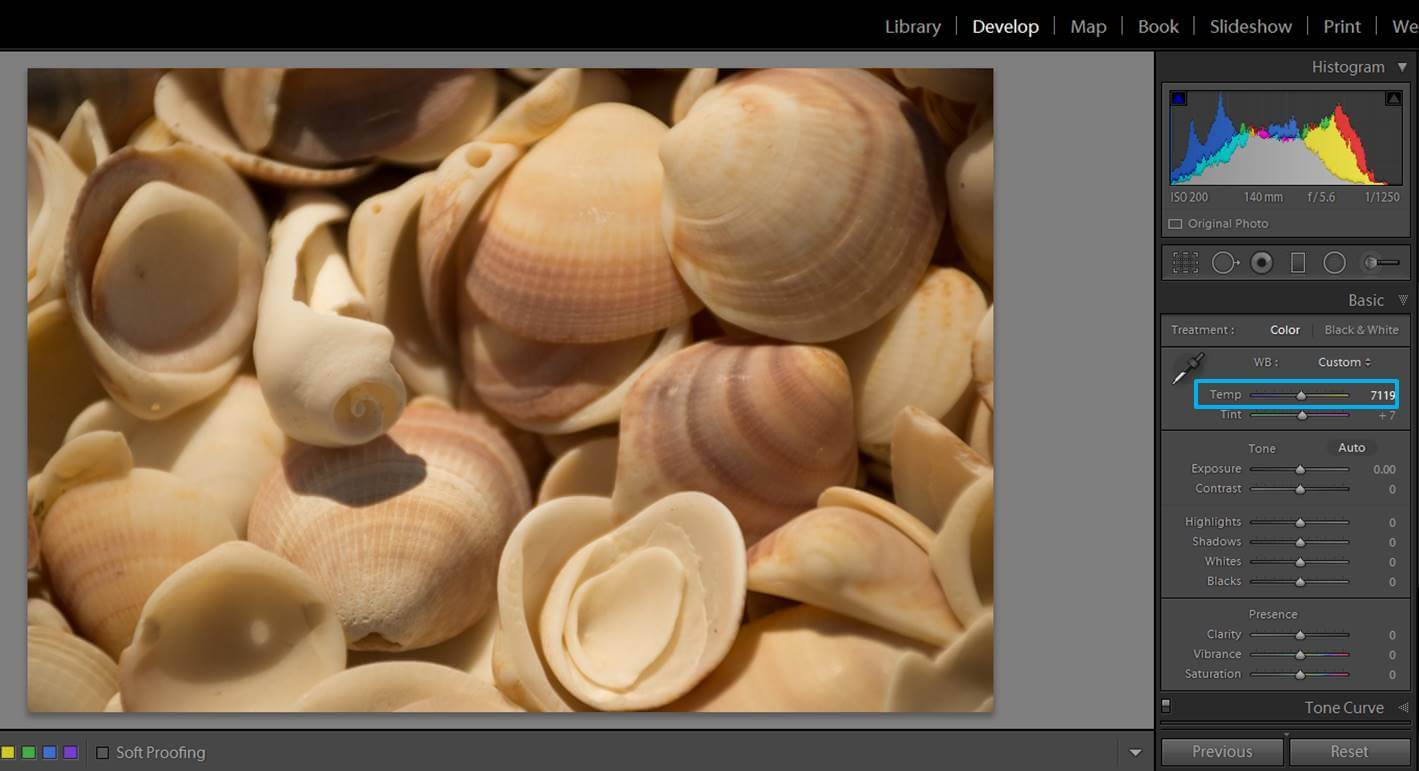
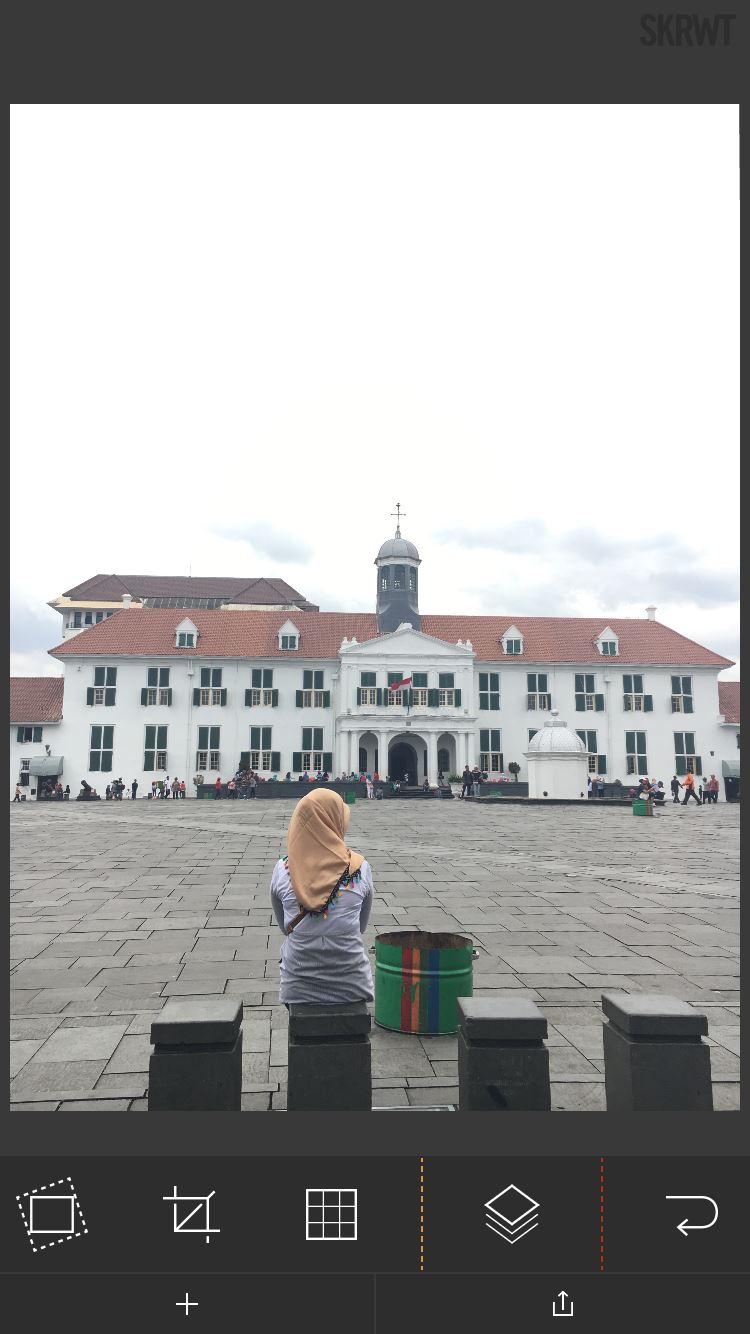 After Edit
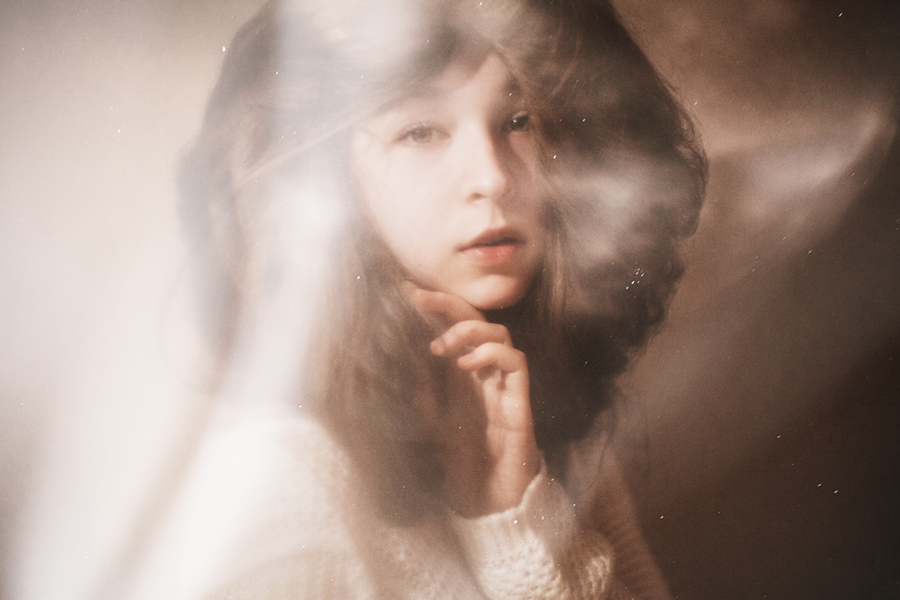
 After choosing preset
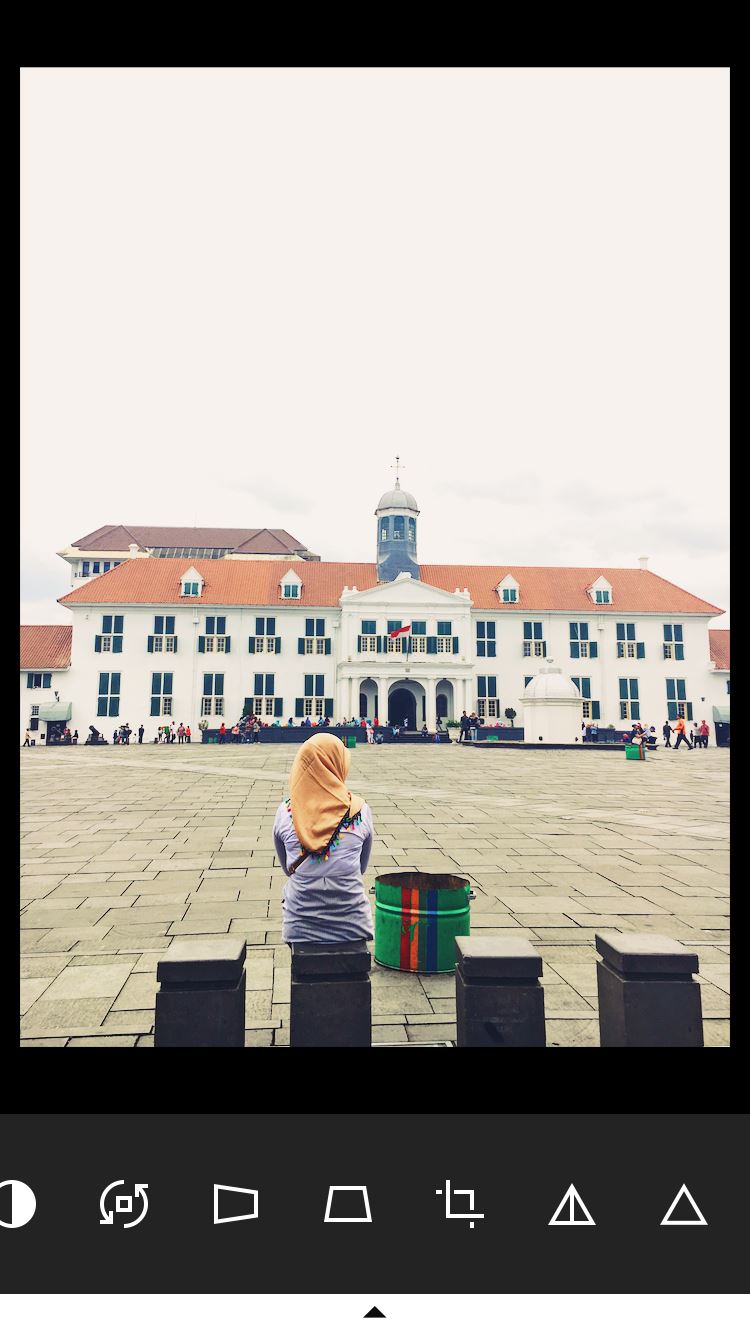
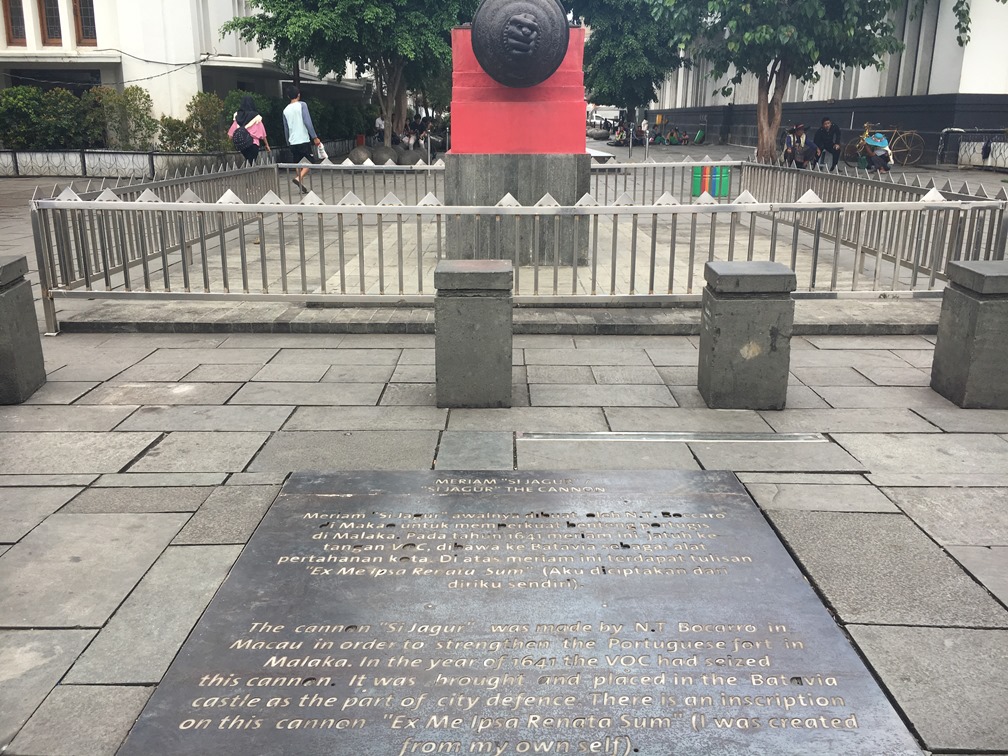 Before Edit
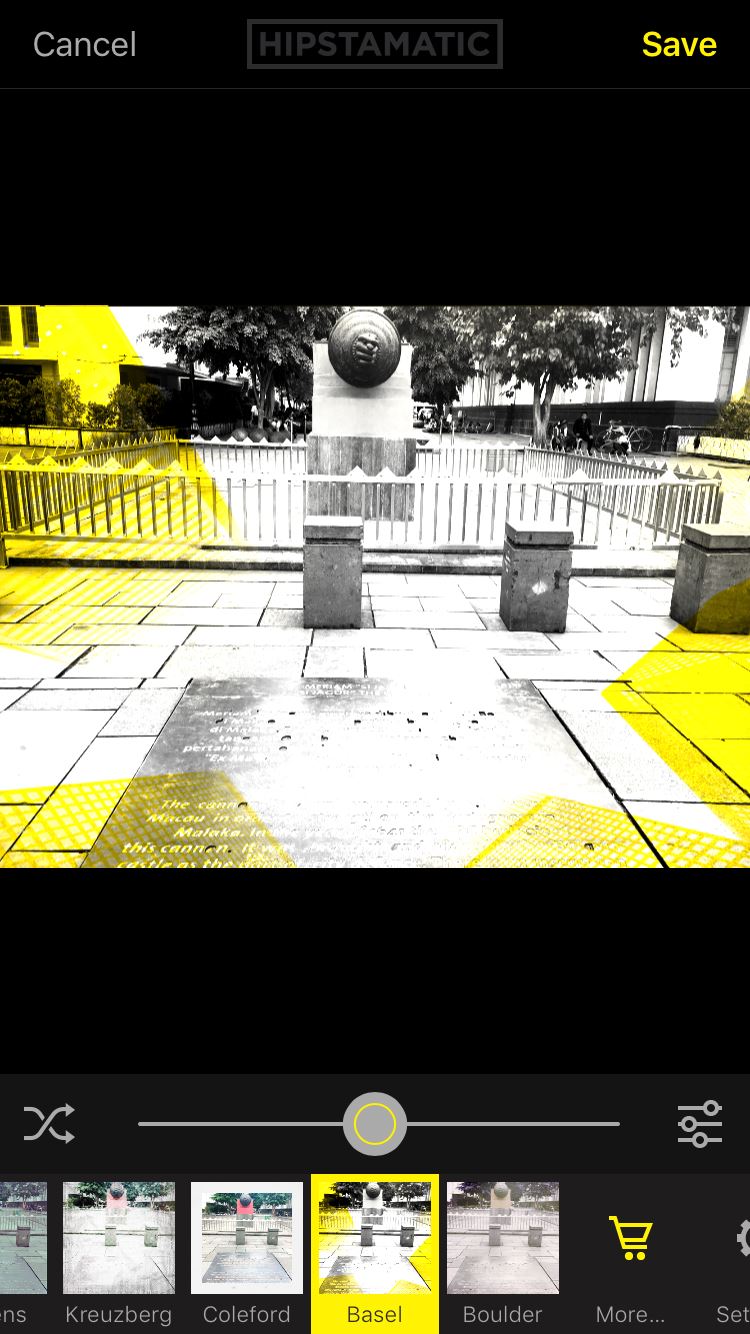 Basel combo
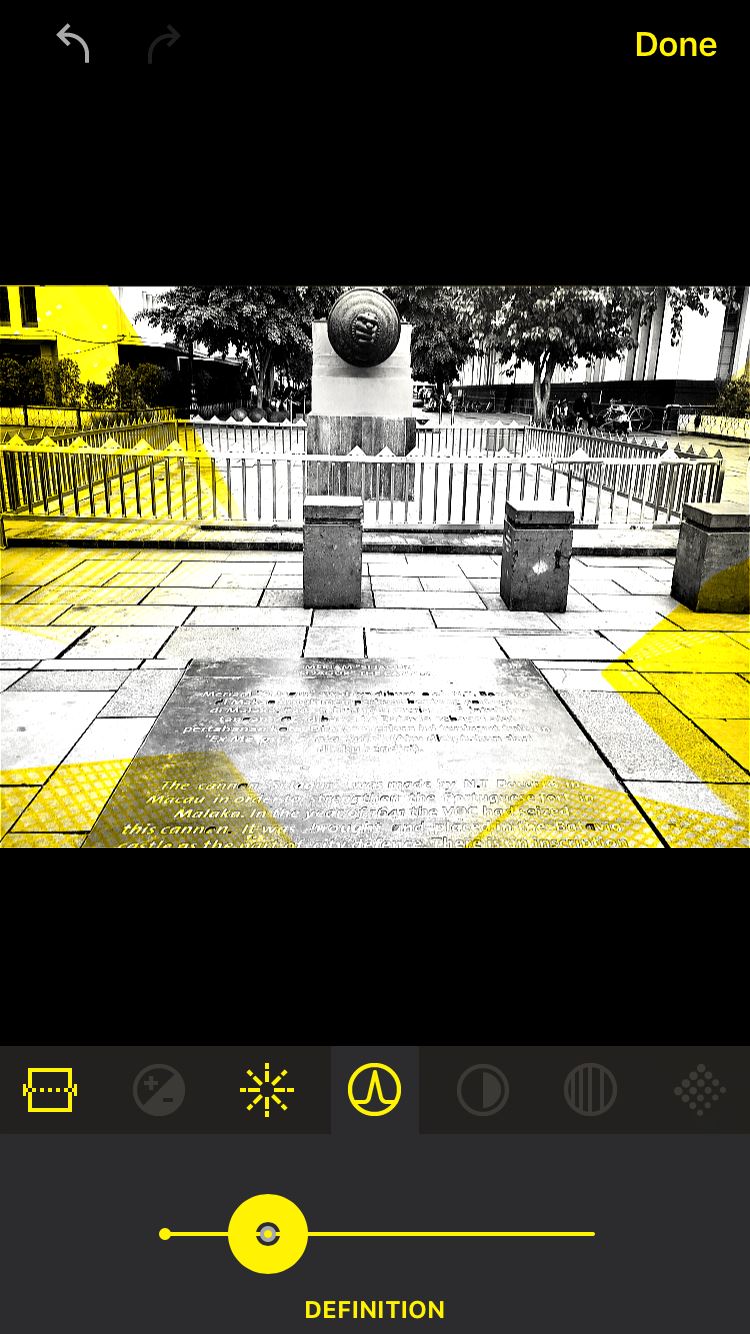
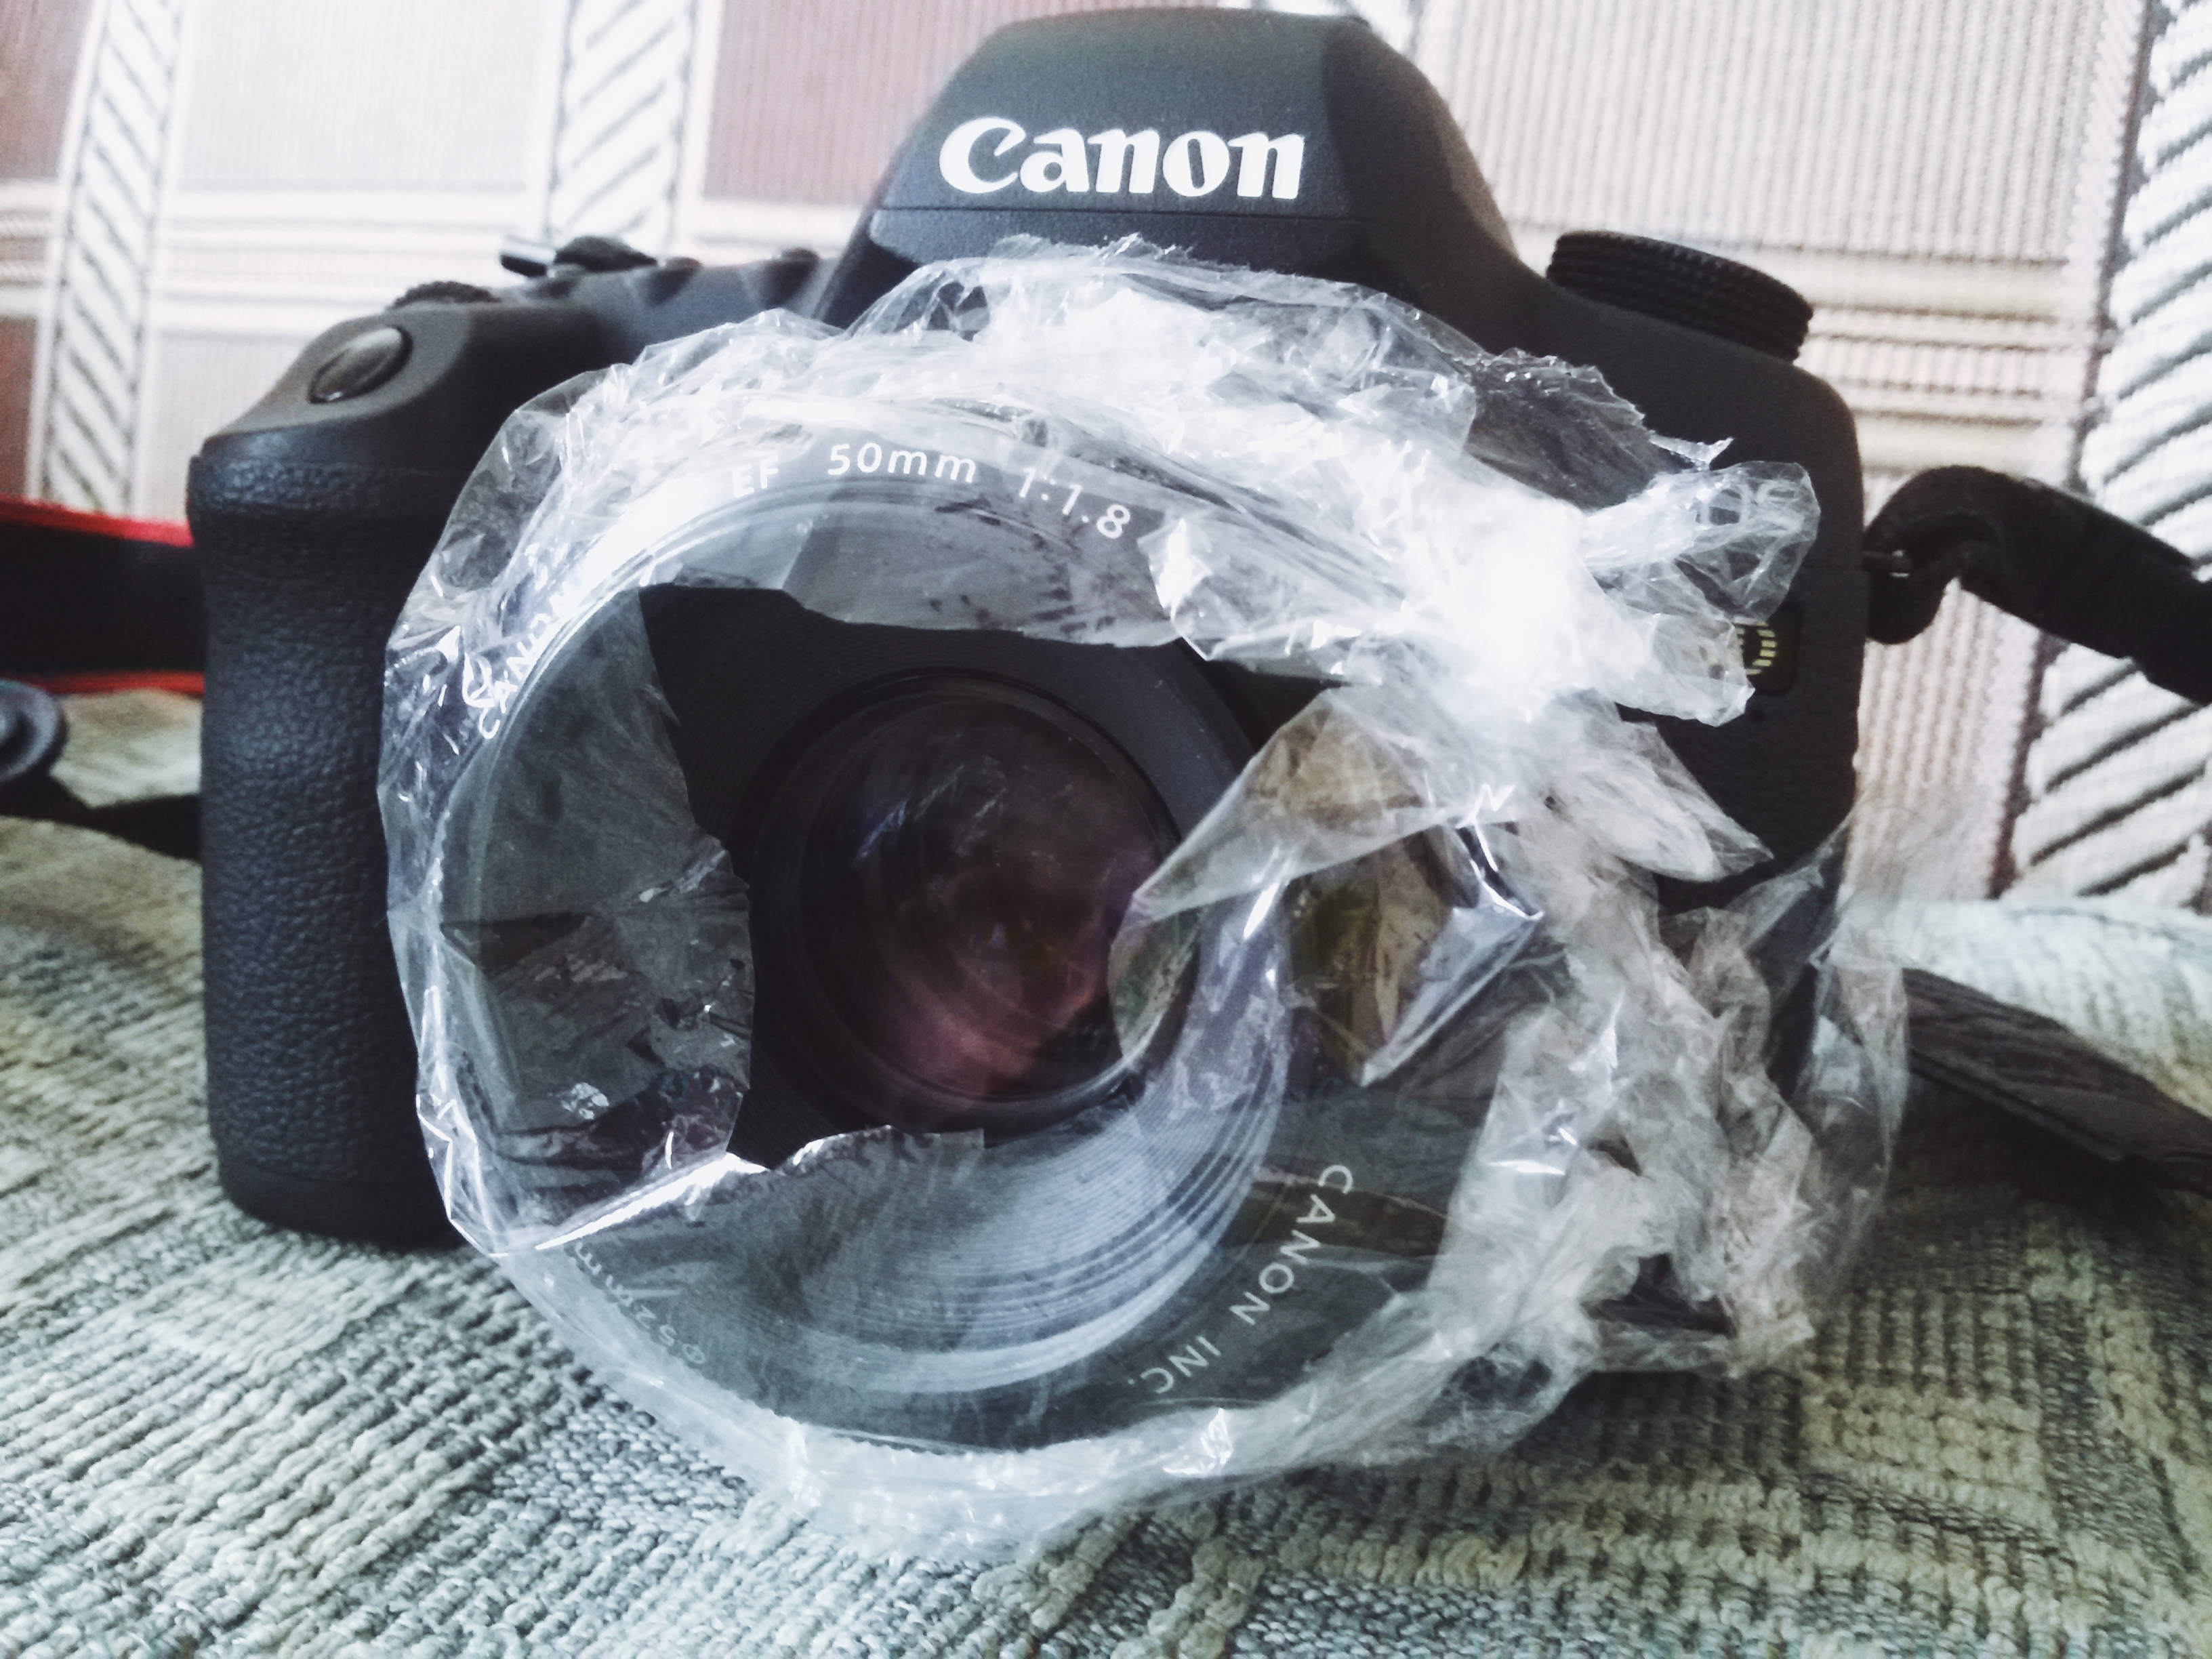
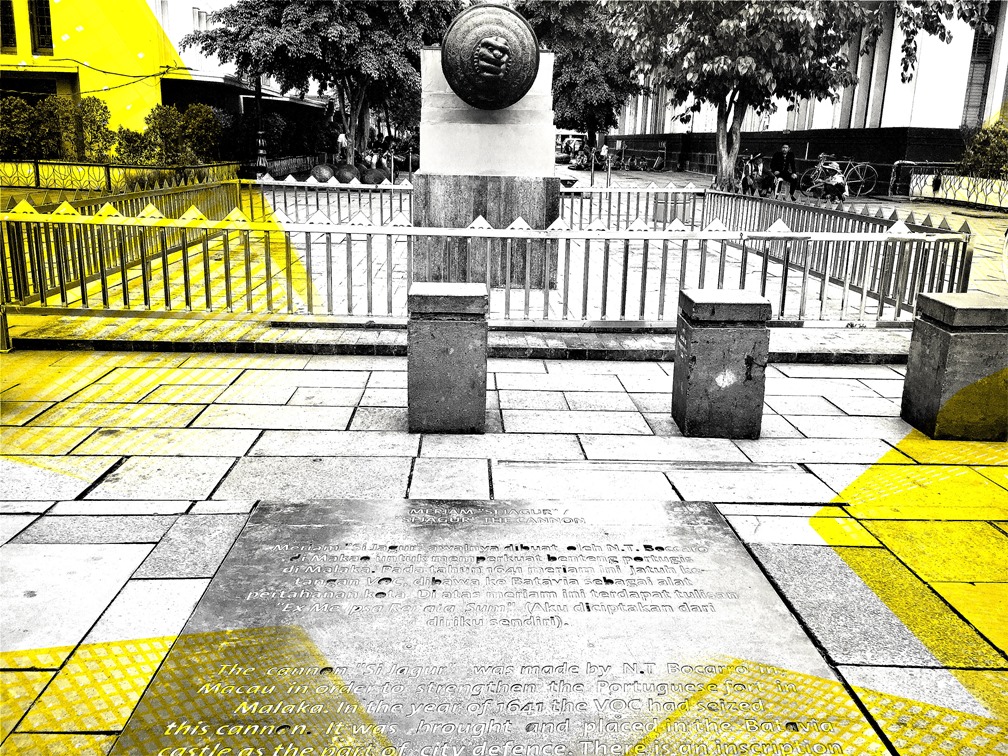 ‘Si Jagur’ the Canon at Old City, Jakarta


 Facebook
 Google +