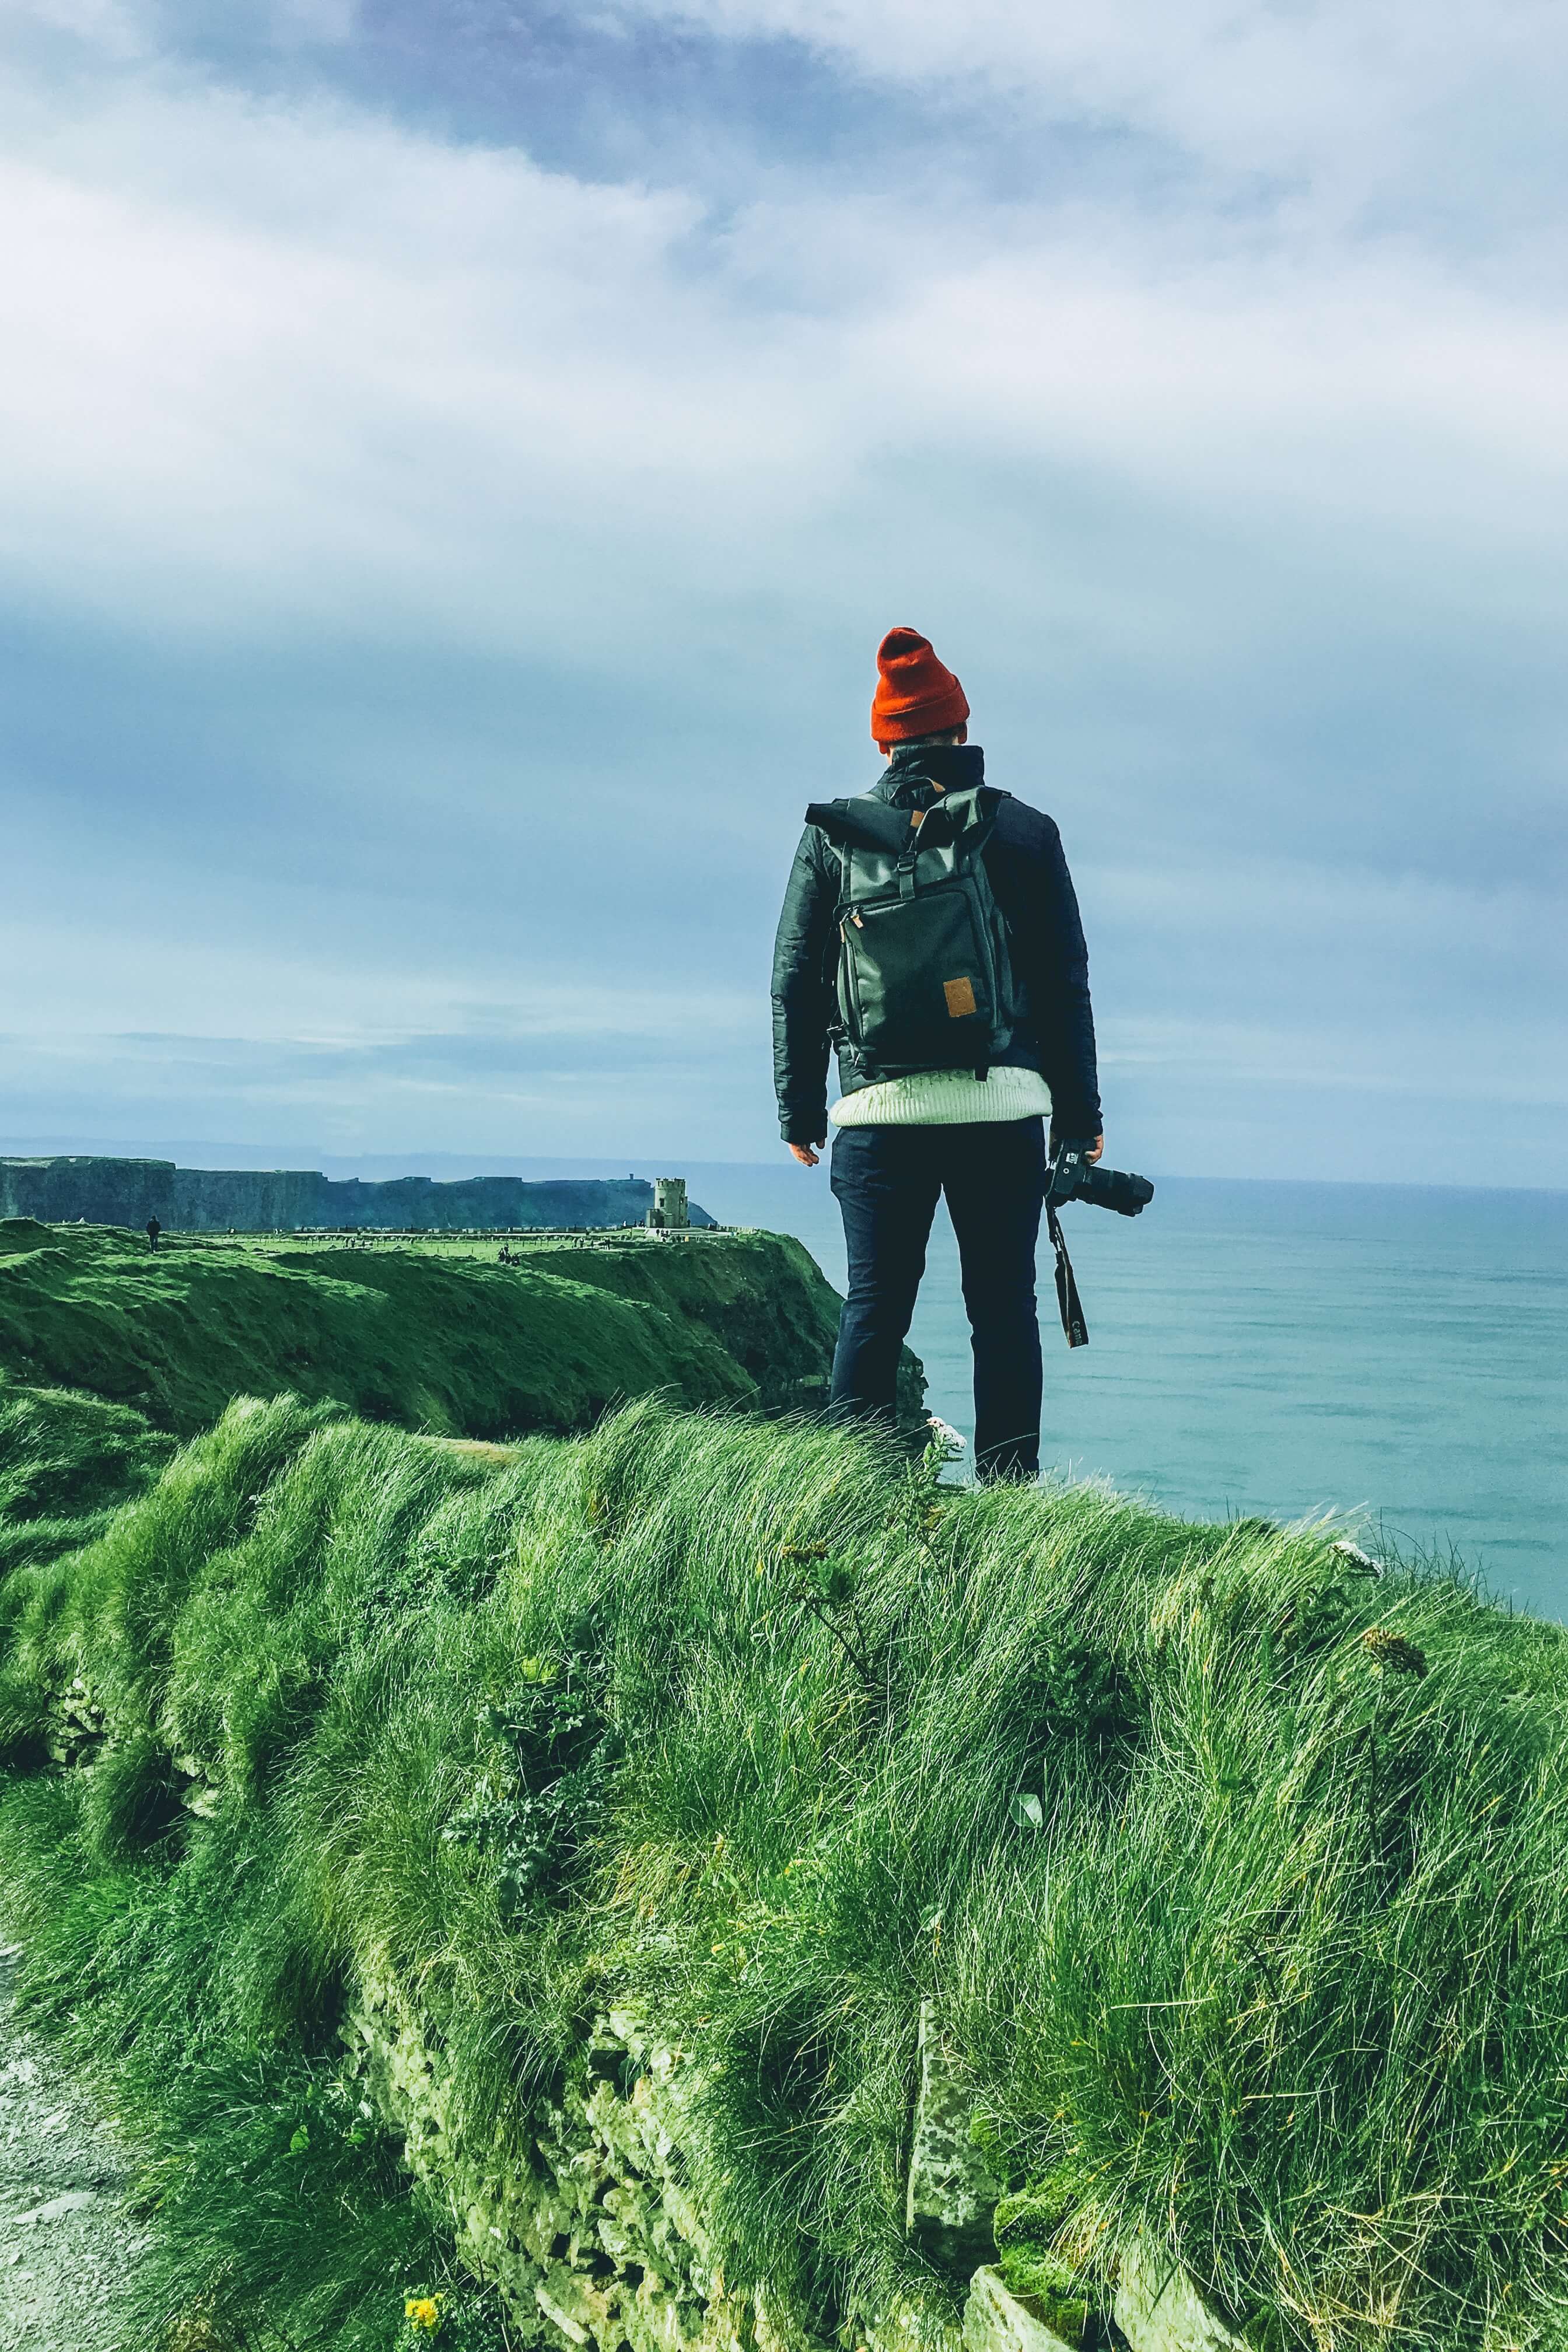
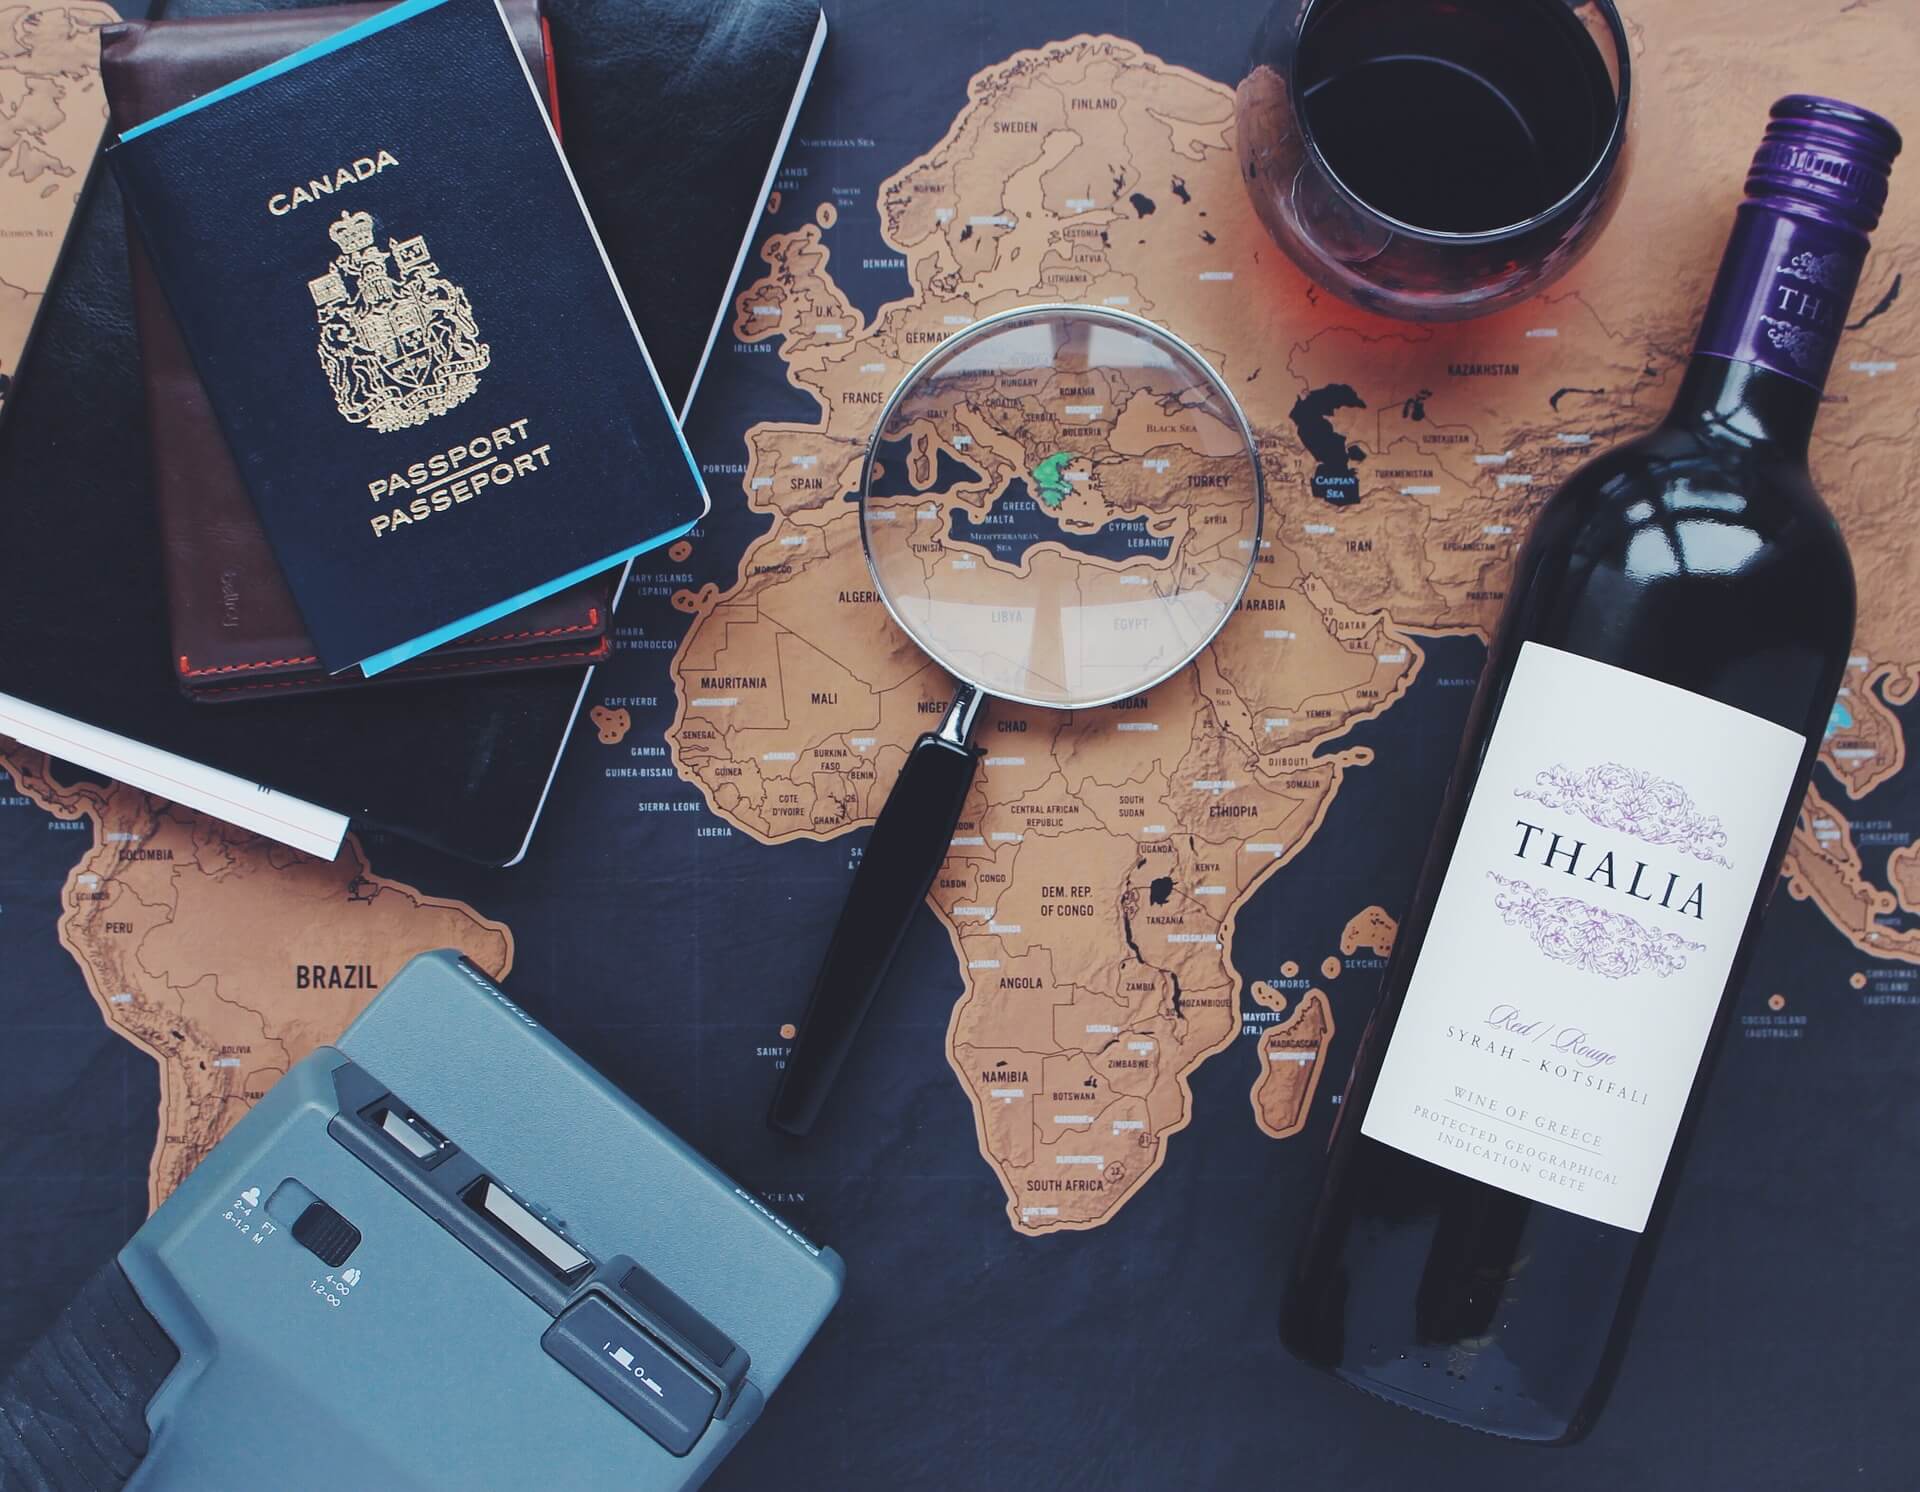
The thought of grabbing our camera and landing in a foreign country probably sounds very appealing to us as lovers of photography. New faces, places, images, and experiences are all waiting for us if only we could just figure out a way to make it a reality. Let’s consider some ways that some, including myself, have been able to break free of the typical 9 to 5 job and pursue our passions; travel and photography.
Travel photography to me is one of the most exciting fields to jump into. It is filled with excitement and adventure that will let you even forget that you’re working. As someone who has ventured just a bit into the world of travel photography, I must say it is a great experience. This article is the ultimate guide for beginners who would like to know as to what equipment you will need to get started on your travel photography. Travel photography doesn’t really require a lot of tools but the tools mentioned here are some essentials you will need to get the job done.
Beginner Gear Needed for Travel Photography
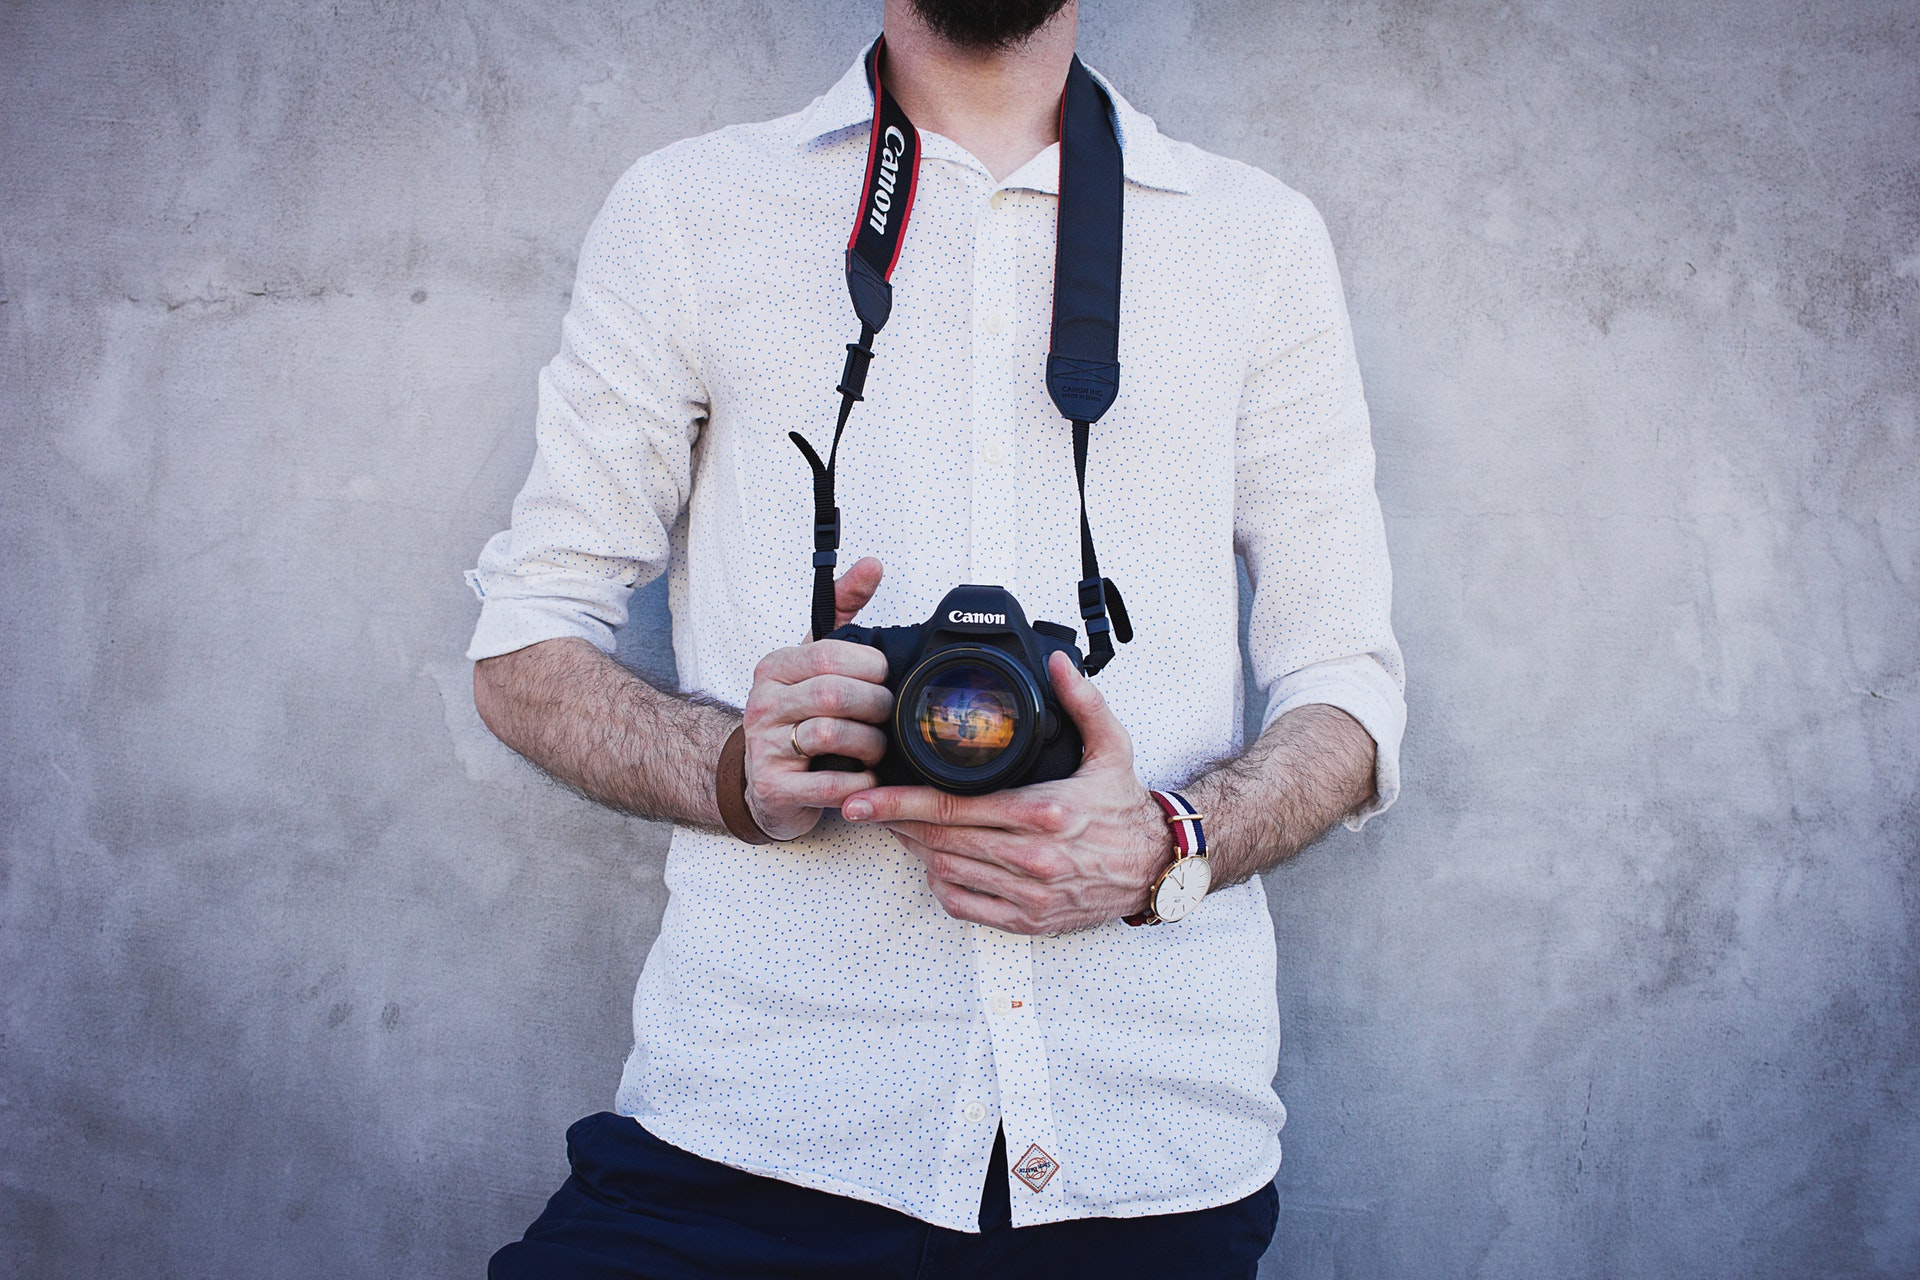
1. A Camera
Of course, you can’t be a travel photographer without a camera right? A lot of people make the mistake of believing that you need a $2000 dollar camera to take a great photo as a professional travel photographer. This is completely false as a great camera in the hands of someone who doesn’t know how to use only leaves you with a great camera. Nothing is wrong with getting one of the best cameras within your budget and slowly building your tools from there. Cameras capable of getting the job done are available for prices way under $1000 USD. Take some time out and research a few DSLR’s on Amazon and B&H to see where you can find the best deals. If you find yourself interested in one specific camera, try and rent it from your nearest camera depot before buying it. Take it for a spin and do a few test shots to see how it handles and then from there you can make your decision. If you don’t have the convenience of renting from a camera depot then I would best advise to do some research and watch a few youtube videos or look at some of our camera reviews to see if any match your needs and budget.
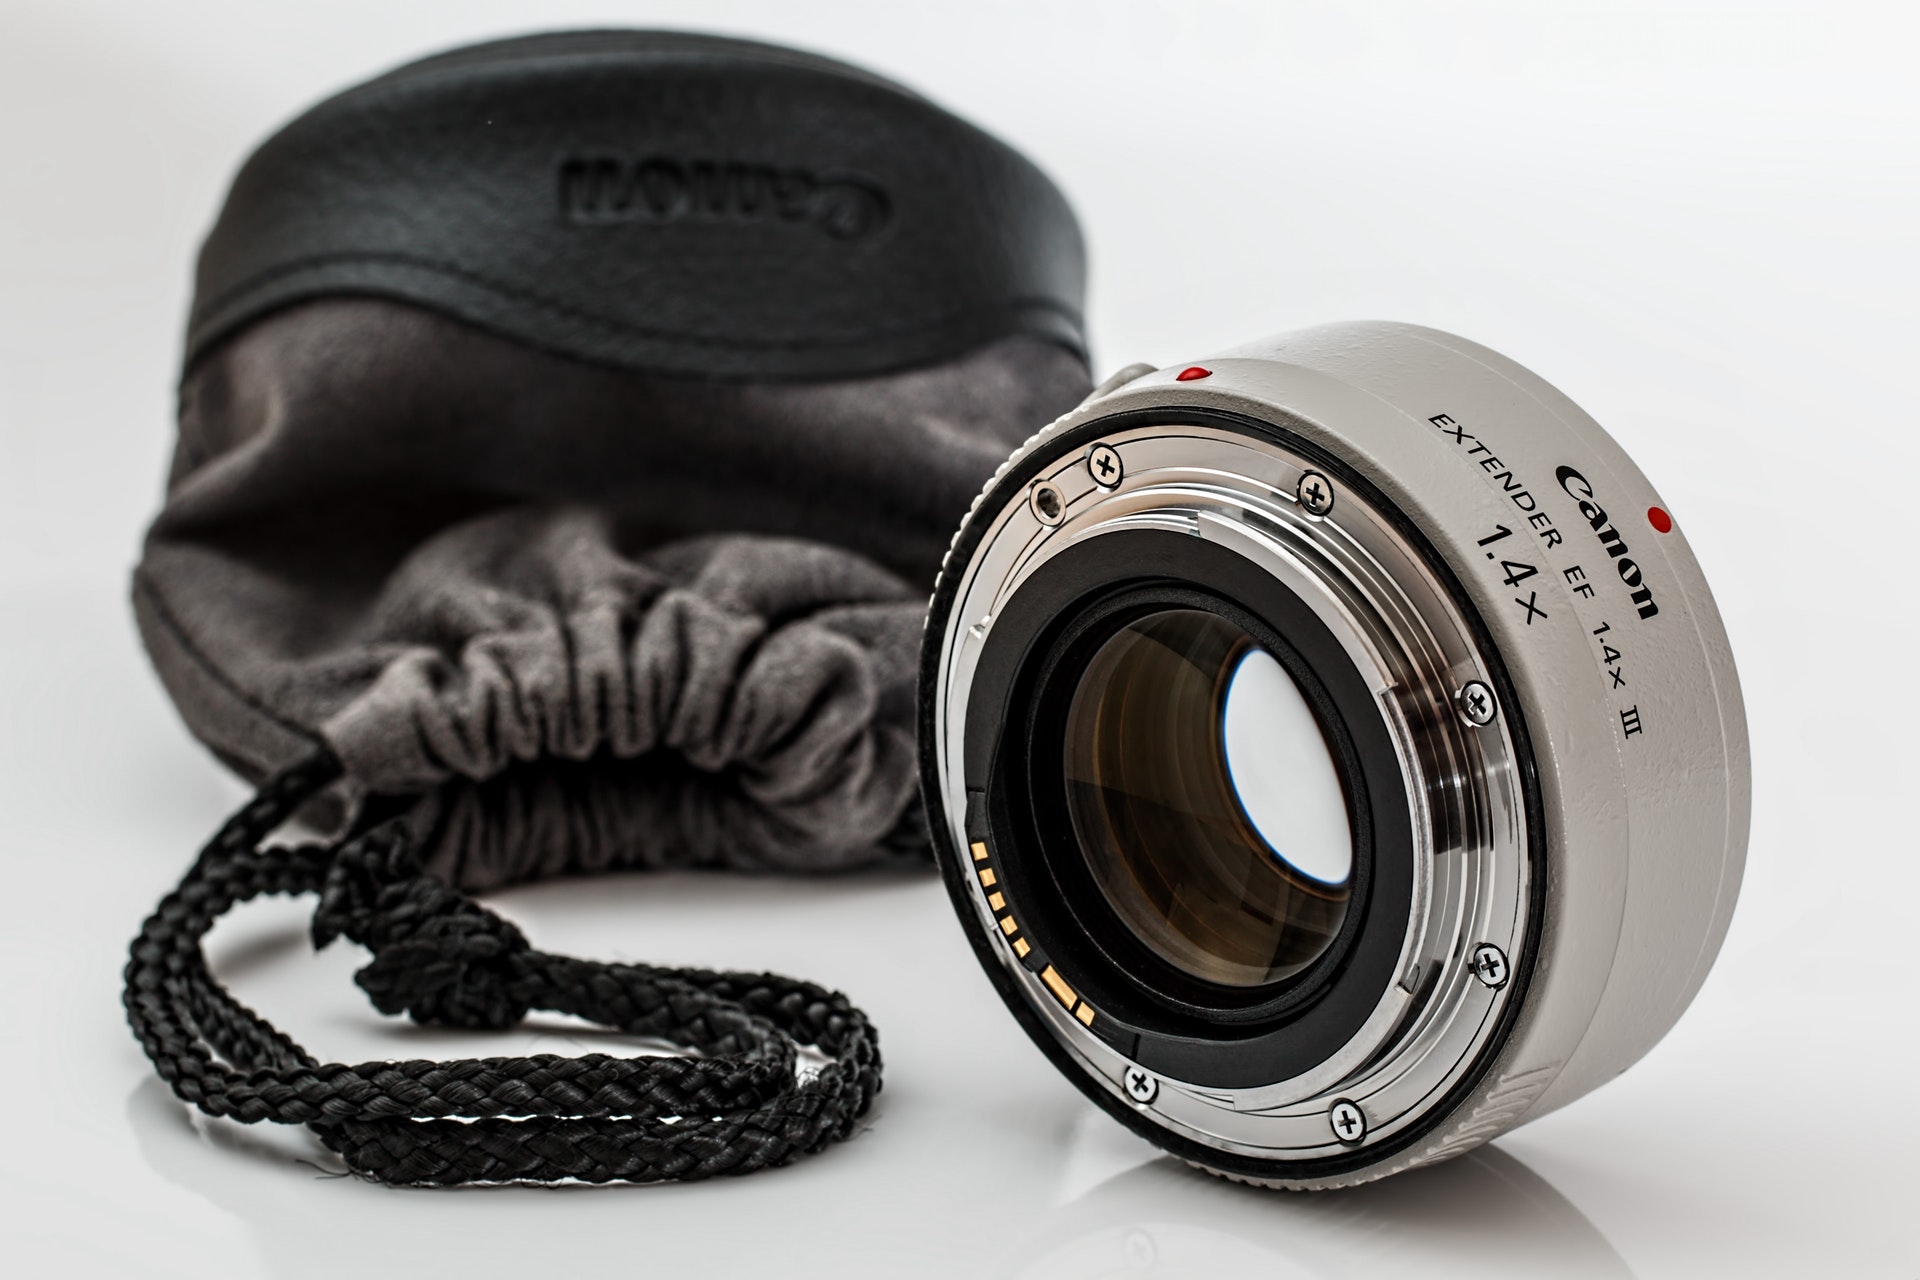
2. Lenses
If your camera purchase doesn’t already come with some a set of kit lenses, then you should look into a couple lenses that will work perfectly for travel shooting. However, most camera purchases will come as a bundle with two kits lenses and other accessories. It is then up to you or your budget to determine if you are pleased with the shots produced by these lenses or you would like to invest into some others. If you are interested in buying a lens for your day to day travel shooting then I would suggest looking into a 24-70mm. This lens will allow you easily capture anything from portrait to landscape shots with ease. You may even find where this lens is on your camera body for the majority of your journey if not all of it. Another I would suggest looking into for your subjects at a distance would be the 70-200mm. With both of these lenses in your camera bag, you should be ready to capture just about anything.
3. Camera Bag
Speaking of a camera bag, it is important to have one perfect for day to day traveling. This is also one of the essential tools you need to protect your expensive equipment and hold your accessories, like a travel tripod. Luckily these aren’t hard to get a hold of with all camera bags on the market today you’re bound to find one that matches your budget and style. However, don’t get blinded by the price and forget the safety of your equipment from the elements. It is important to have a comfortable but water resistant camera bag or at least one that comes with a rain cover.

4. Memory Cards
Of course, other essentials will come into play such as having extra memory cards of 32GB or more. After a while, it gets pretty easy to fill a 16 or 32GB with raw files and you don’t want to run out of storage on your trips.
Travel Photography – Why Packing Less Means Achieving More
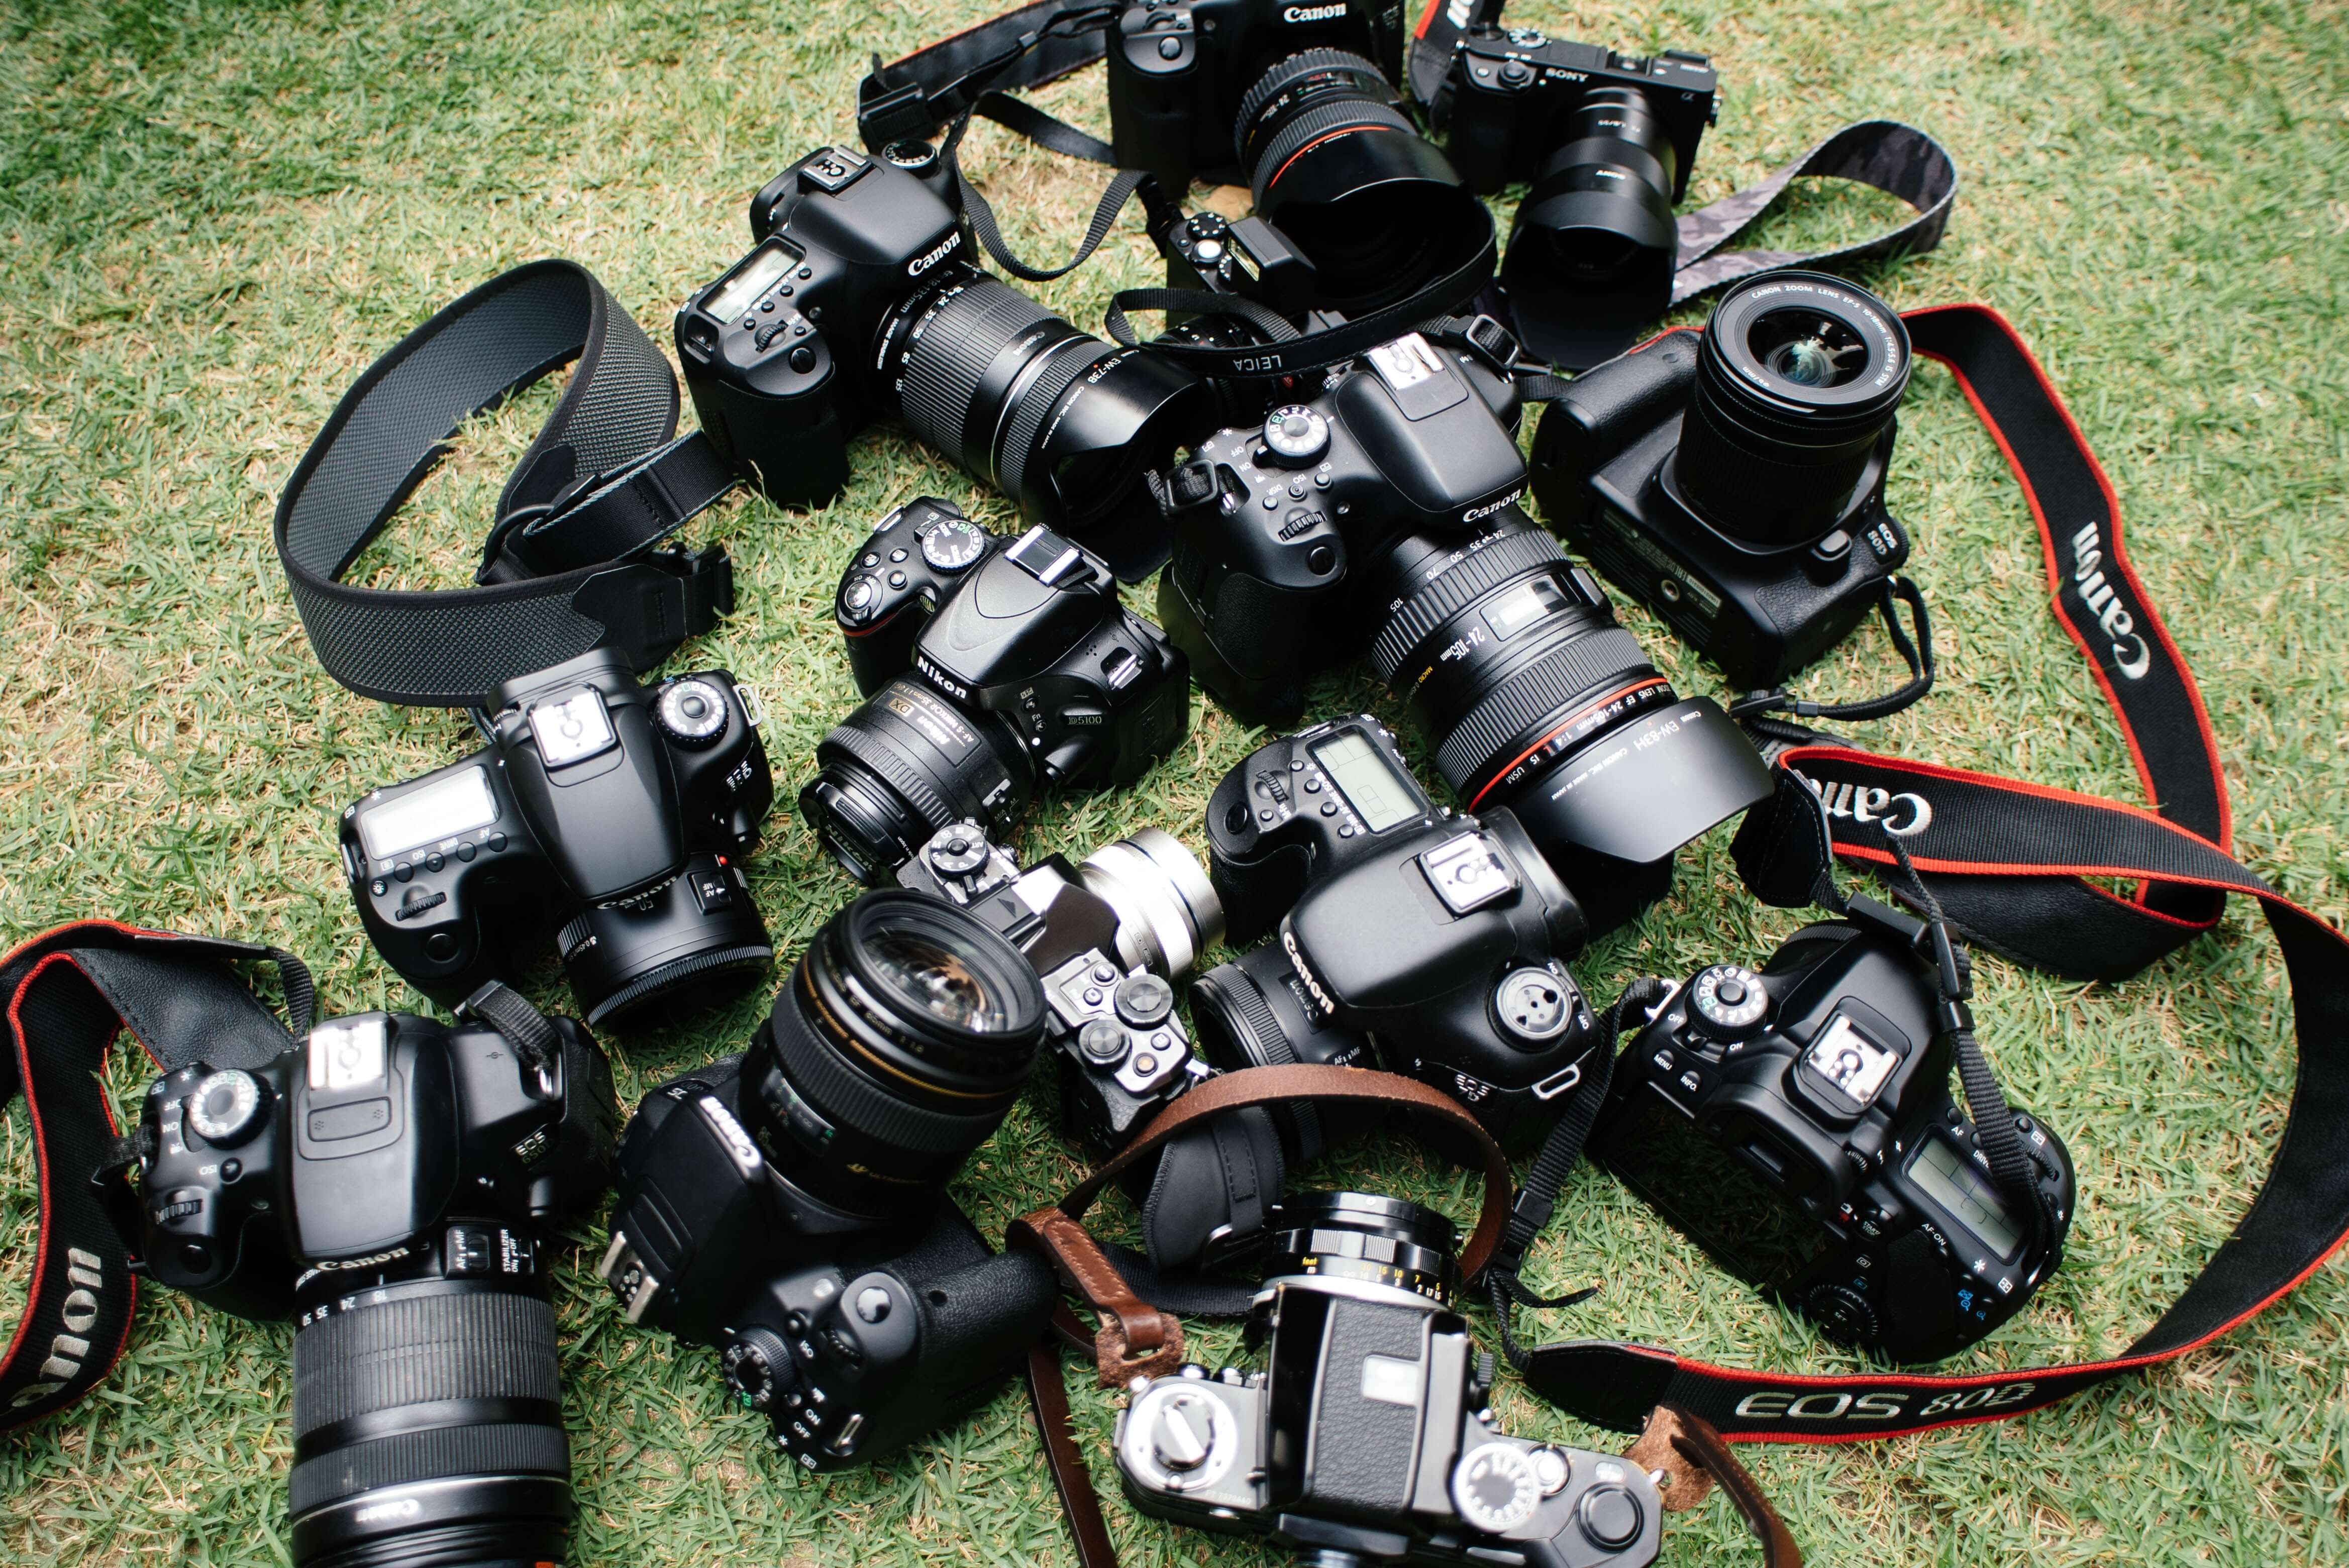
Travel photographers always have tough decisions to make regarding how much to bring on a trip. Because photography equipment can both take an up a lot of physical space and weigh a substantial amount, bringing too much equipment can actually hinder a photographer from being able to pack other essentials. In this article, we will discuss why the principle of packing as light as possible in order to achieve your purpose is better than over-packing when it comes to travel photography equipment.
Let’s be honest – how many of you have brought a DSLR plus multiple heavy lenses on a hiking trip before and regretted it? Maybe you didn’t even end up using the DSLR or swapping out the lenses because of how bulky and cumbersome it was. Or maybe you were traveling through a new town with a DSLR and wanted to do some street photography, but ended up not taking any photos because the large DSLR would have attracted too much attention. These are common scenarios which illustrate that it is possible that having too much equipment can limit your opportunities for photography – especially when you are on travel.
Thinking Ahead and Planning Ahead
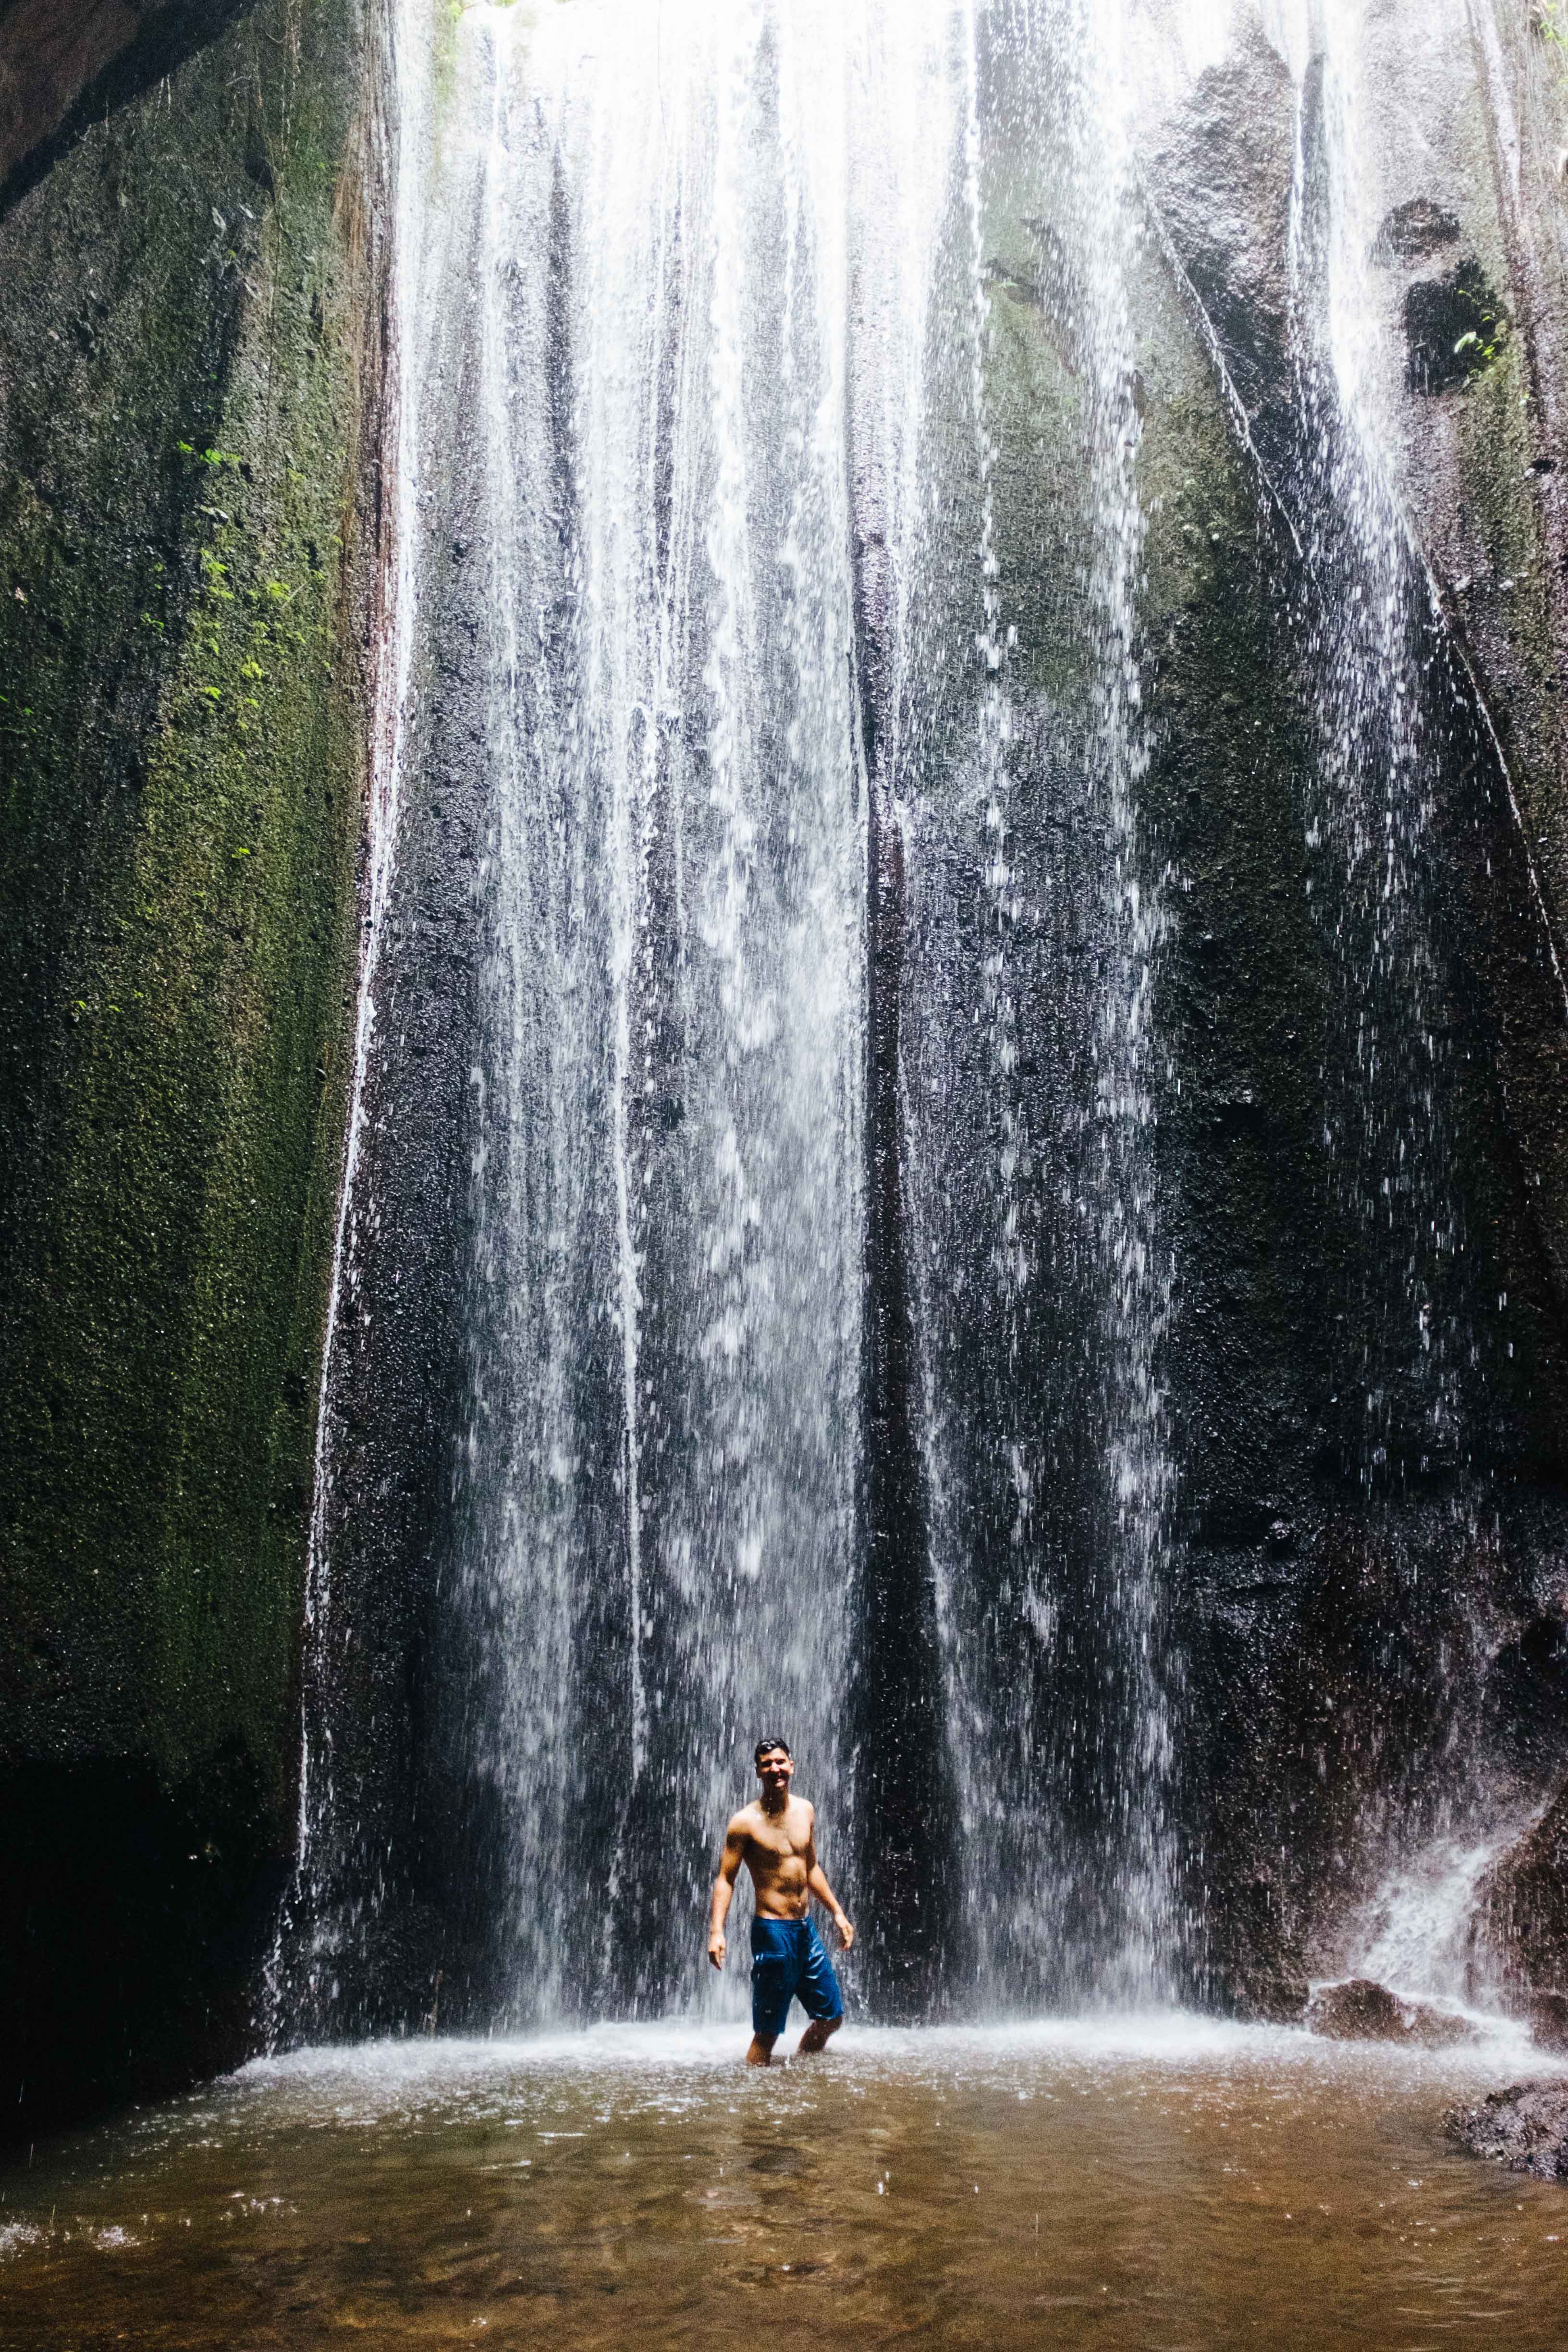
To be able to figure out what equipment you should pack for an upcoming trip, you will need to anticipate the type of shots that you want to be able to take. For example, will you be visiting an area with lots of beautiful landscapes such as waterfalls, mountains, and beaches? If so, a wide-angle lens would be necessary to capture those scenes. Are you looking to do some street photography, maybe even close-ups of street vendors without attracting too much attention? In that case, a long telephoto lens would be able to do the job. Do you anticipate a lot of hiking or walking on foot? If you do, it is probably best to go as light as possible in order to prevent fatigue.
Thinking ahead also means thinking about how safe the areas that you will be traveling in will be. In some areas of the world, walking around with a large DSLR or even a camera bag means you are walking bait, just waiting for a theft or mugging to happen. When traveling to such countries, it is best to carry as small of a camera as possible and to strap your camera bag securely to your body.
Travel Photography in Action
When considering the principles and questions listed above, you may find that a small point-and-shoot will cover all of your bases when traveling. This is okay! As photographers, we sometimes develop a strong attachment to our DSLRs. But it doesn’t mean that it is wise or even practical to lug our heavy DSLRs everywhere. And even if you still want some manual controls on your camera, some point-and-shoot cameras come with manual controls. For example, the Canon S120 has a control ring around the lens to let you adjust the settings while shooting. It even has Av (Aperture Priority) and Tv (Shutter Speed Priority) shooting modes for those of us who are used to DSLR shooting modes. At the lens’ widest setting of 24mm (35mm equivalent), the aperture can open up all the way to f/1.8. This enables the camera to take in quite a bit of light, which makes it possible to even do some night photography with this small point-and-shoot camera.
As you travel around with a small point-and-shoot or other small cameras, you’ll find that the size of the camera can make a big difference in deciding whether or not you decide to bring it along for the day. Ultimately, you can’t take photos with a camera that you don’t bring! This means that it is better to bring along the smallest size camera that will get the job done when you are traveling because that increases the chances that you will actually bring the camera along as you take on the world. Even if it means bringing along just one less lens, packing light will mean you have more energy and opportunities to take photos instead of wasting time and energy on unnecessary equipment. Next time you pack for a trip, ask yourself if you really need that piece of equipment!
How to Plan a Travel Photography Trip
1. Budget
Our first travel tip is to make sure you have some sort of safety net in terms of finances. You never know what’s going to happen or what random expenses will present themselves when moving to a foreign area. This is especially true if you don’t have any experience living in a foreign country or with traveling in general. Therefore, having some decent savings is pretty important.
You will want to do research on the cost of living and factor this into your move. For most, they think that living abroad is not plausible because of the expense. Surprisingly though, depending on where you go it can be very affordable. Figure out what typical monthly expenses will be and make sure that with your current savings, even if you don’t have work for some time, will be easily sustainable. For me personally, I am currently living in Thailand and the cost of living, along with what I view as necessary, are really on the low end of things. This enables me to spend less time and money on things that don’t have a big importance in my life. Instead, your money can go towards things that you truly enjoy such as traveling, experiences and digital camera gear.
2. Consider Working Abroad
If you want to do more than just visit places for vacation, the next step would be to find suitable work. There are many ways that can enable you to live in a foreign country for the majority of the year if not the entire year. One way is to work around 3 months back in your home country and then keep your expenses low while living abroad; typically Asian countries are really quite low.
Many have found that working online is another sustainable option. A few people that I know are teaching English online and it’s enough for them. If your English is decent, especially if you’re from America, you can almost always find a job immediately. There are a ton of Asian companies ready to hire, especially if you have some sort of English teaching certificate such as a TEFOL certificate. If you have a bachelors degree you can expect to be making more right off the bat as well.
Working in a foreign country is also a possibility but most of the time you should expect to make less than you would in your home country. It also usually requires a sponsorship from a local business in that country and a special type of visa. This is not the most hassle-free option, especially if you plan to be constantly traveling, but it has worked for many people as a sustainable option if they plan to stay put for a while.
3. Make The Most Of Your Vacation Travels
As a creative individual, you will find so many new/fresh opportunities to expand your portfolio. Don’t get caught up in the vacation mindset so much that you don’t take these opportunities seriously. Use the time you are away to make the most of your new surroundings and experiences. Take your camera with you everywhere and make the effort to create daily. In this way, you will make your portfolio that much more diverse while at the same time saving those precious memories.
How To Pack Your Photography Gear For All Means Of Transportation When Traveling
The most important thing before traveling abroad for a photographer is the packing. And the packing, though it might seem simple, largely depends on the means of transportation you are going to use. If you want to take proper care of your gear, you must be aware of things that you should and shouldn’t do when packing for your trip.
The way different means of transportation affect your packing is basically determined by regulations, convenience, and safety.
Traveling By Plane
We will start off with the most complicated means of transport for a photographer. This is due to the fact that traveling by plane means loads of regulations for your baggage and loads of risks for it too. Not to be ranting, but airlines basically don’t care about convenience when it comes to baggage. Nor do they care about photographers in general. There are cases where a rocket blower (that rubber thingy you use for blowing off the dust from the lens and sensor) can be confiscated because supposedly you can turn that into a real rocket.
Anyhow, one thing that I strongly advise against is packing your gear for off-cabin baggage. Airlines don’t handle those carefully – the bags are tossed from and to the plane, basically risking loads of damage if there is anything fragile inside, like camera gear for example.

Next thing to have in mind is that you should pack your gear in the cabin bag (whether you choose small or large is up to you). However, the cabin bags are limited by dimensions, so make sure your camera bag fits ALL of them, or else they will force you to repack, or pay the premium for a larger cabin bag (if you have chosen to use the smaller one).
Traveling By Bus Or Train
Unlike air transport, bus or train usually don’t have luggage limits. The only limit is your capability of carrying the baggage since you’ll have to do it manually. The things you should consider in these scenarios, however, are gear damage and gear theft. Buses tend to have a rough ride, therefore having your gear in a suitcase and tossed in the trunk of the bus kind of comes out of the question, since it is not really safe. Then again you can pack it in a carry-on bag and have it on you at all times. This works for trains as well, with the difference being that the suitcase will be with you as well.
In the training scenario, you’ll have two bags to worry about, which makes you distracted. This helps thieves rip you off more easily, so in this scenario, you’ll have to make sure that the bag with the camera gear is secured well enough that it can’t be accessed without your knowing. My camera bag, for example, opens from the inside, meaning that as long it is on my back, it can’t be opened.
An additional note: make sure that you aren’t obvious about the value of the gear you are hauling. In fact, if possible get a bag that doesn’t say it is a camera bag by the looks of it. There are camera bags with camera prints on the design, and they are too obvious for their value. Subtle, efficient, and functional is what you are after.
Traveling By Car
This one is basically the simplest one of them all. Pack as much gear as you want. Better said, pack as much gear as your car can handle. However, bear the following things in mind. Cars are easy to break into, therefore if the gear is still in your car – don’t leave it unattended. Cars get hot quite fast if left in the sun, your gear will probably be fine if it’s turned off, but the batteries don’t handle the heat that well. An overheated lithium battery can set your whole car on fire. Not to raise any panic here: lithium ion batteries are quite stable, and it takes a lot to set one on fire. Car temperature probably won’t cook a battery past the critical point (if the battery is healthy), however, it can be a risk with third party batteries, or a battery that has already been damaged (and you can’t always notice the damage). So, take heed.
Additionally, when traveling by car, make sure your gear has some damping material around each piece. Camera bags usually have enough of it, but it doesn’t hurt to add some more if you have space. I usually tend to use old t-shirts for this purpose, as I can wrap them around a lens and pack it inside the bag. Make sure the bag is secured enough in the trunk so it doesn’t move around, or bounce and collide with other things. Keep the car servicing tools on the opposite side of the trunk. You don’t want a crowbar hitting the camera bag now, do you?
Your gear will last as long as you take care of it. Traveling can be pretty harsh on your gear, therefore being smart about packing can make a huge impact on the life of your gear, and thus your pocket. You should be the most careful in planes and trains, since they are hardest to manage when it comes to packing and traveling.
31 Travel Photography Tips for Taking the Best Pictures
1. The Importance of Good Composition
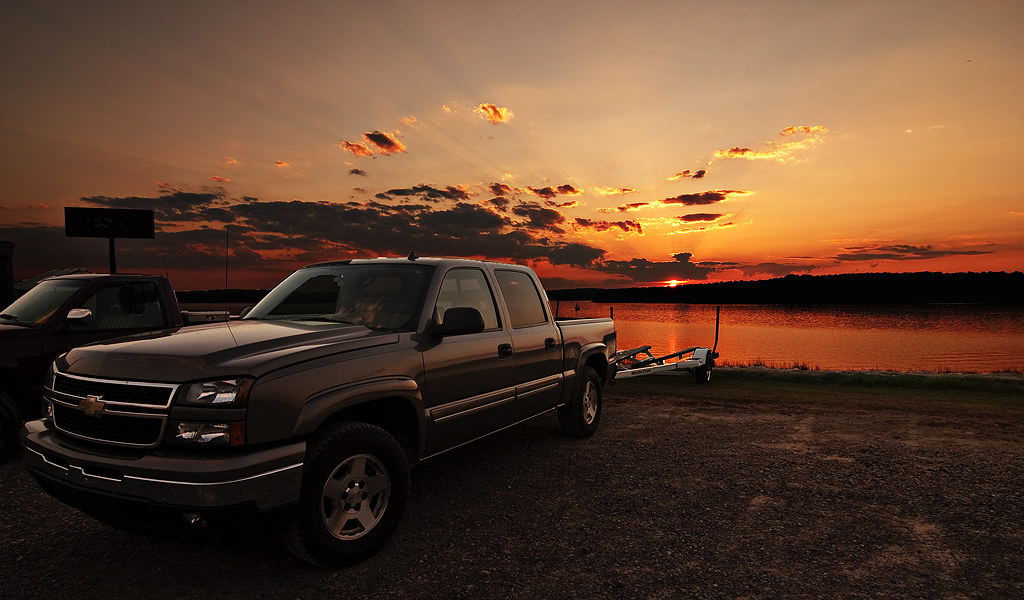
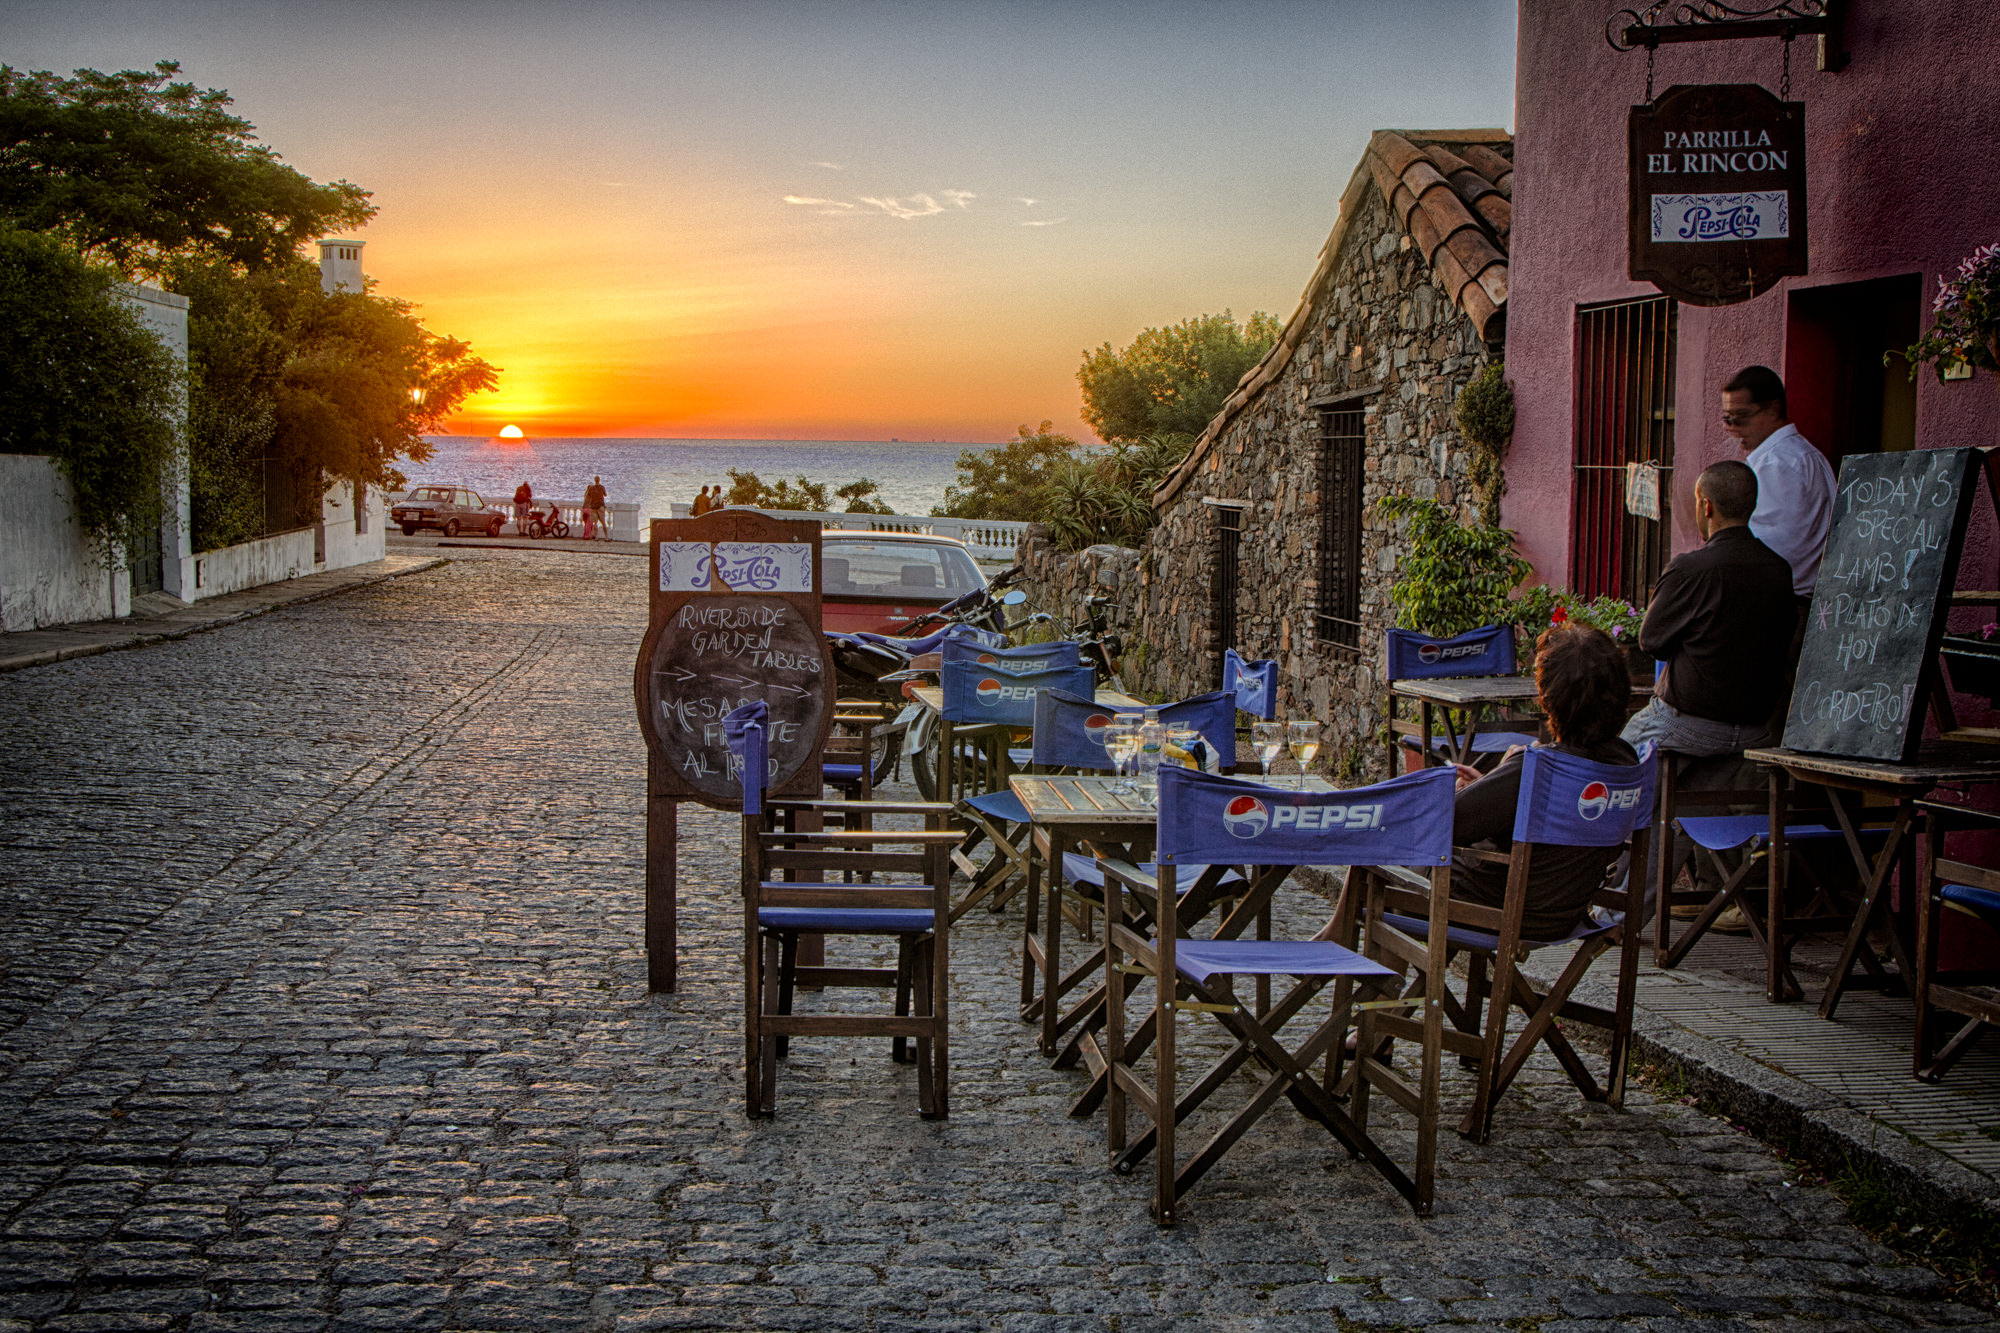
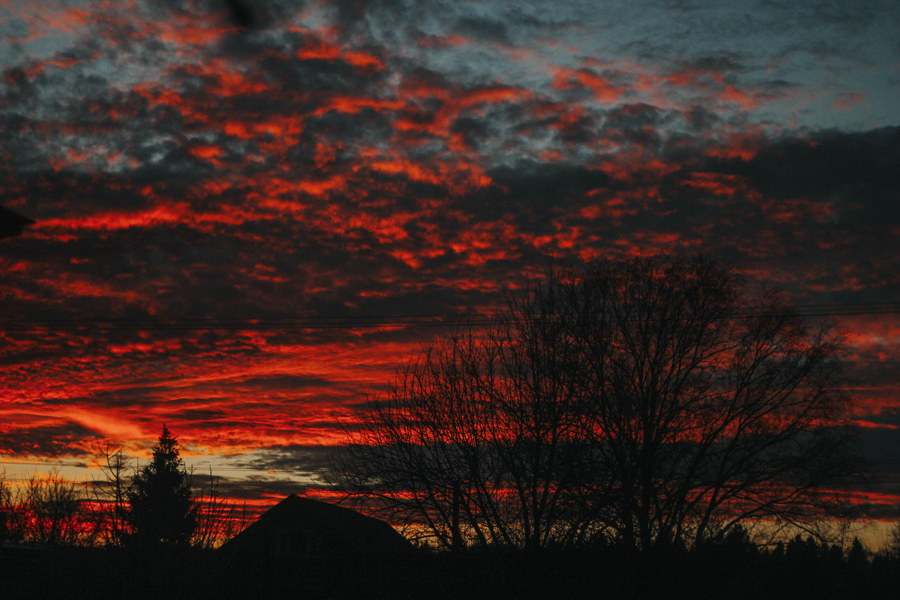
Creating a travel photo with a sense of place means choosing the feeling you want to suggest and then paring down the elements to just that. With this sunset shot from Colonia de la Sacramento, Uruguay, I could have taken it from the harbor highlighting the sun over the river, but instead chose to put the small café in the foreground not only for the human element but to suggest what a peaceful moment it was. Here were people just appreciating the scene. I look at this image and get a sense of what it was like to sit there at a table sipping a drink.
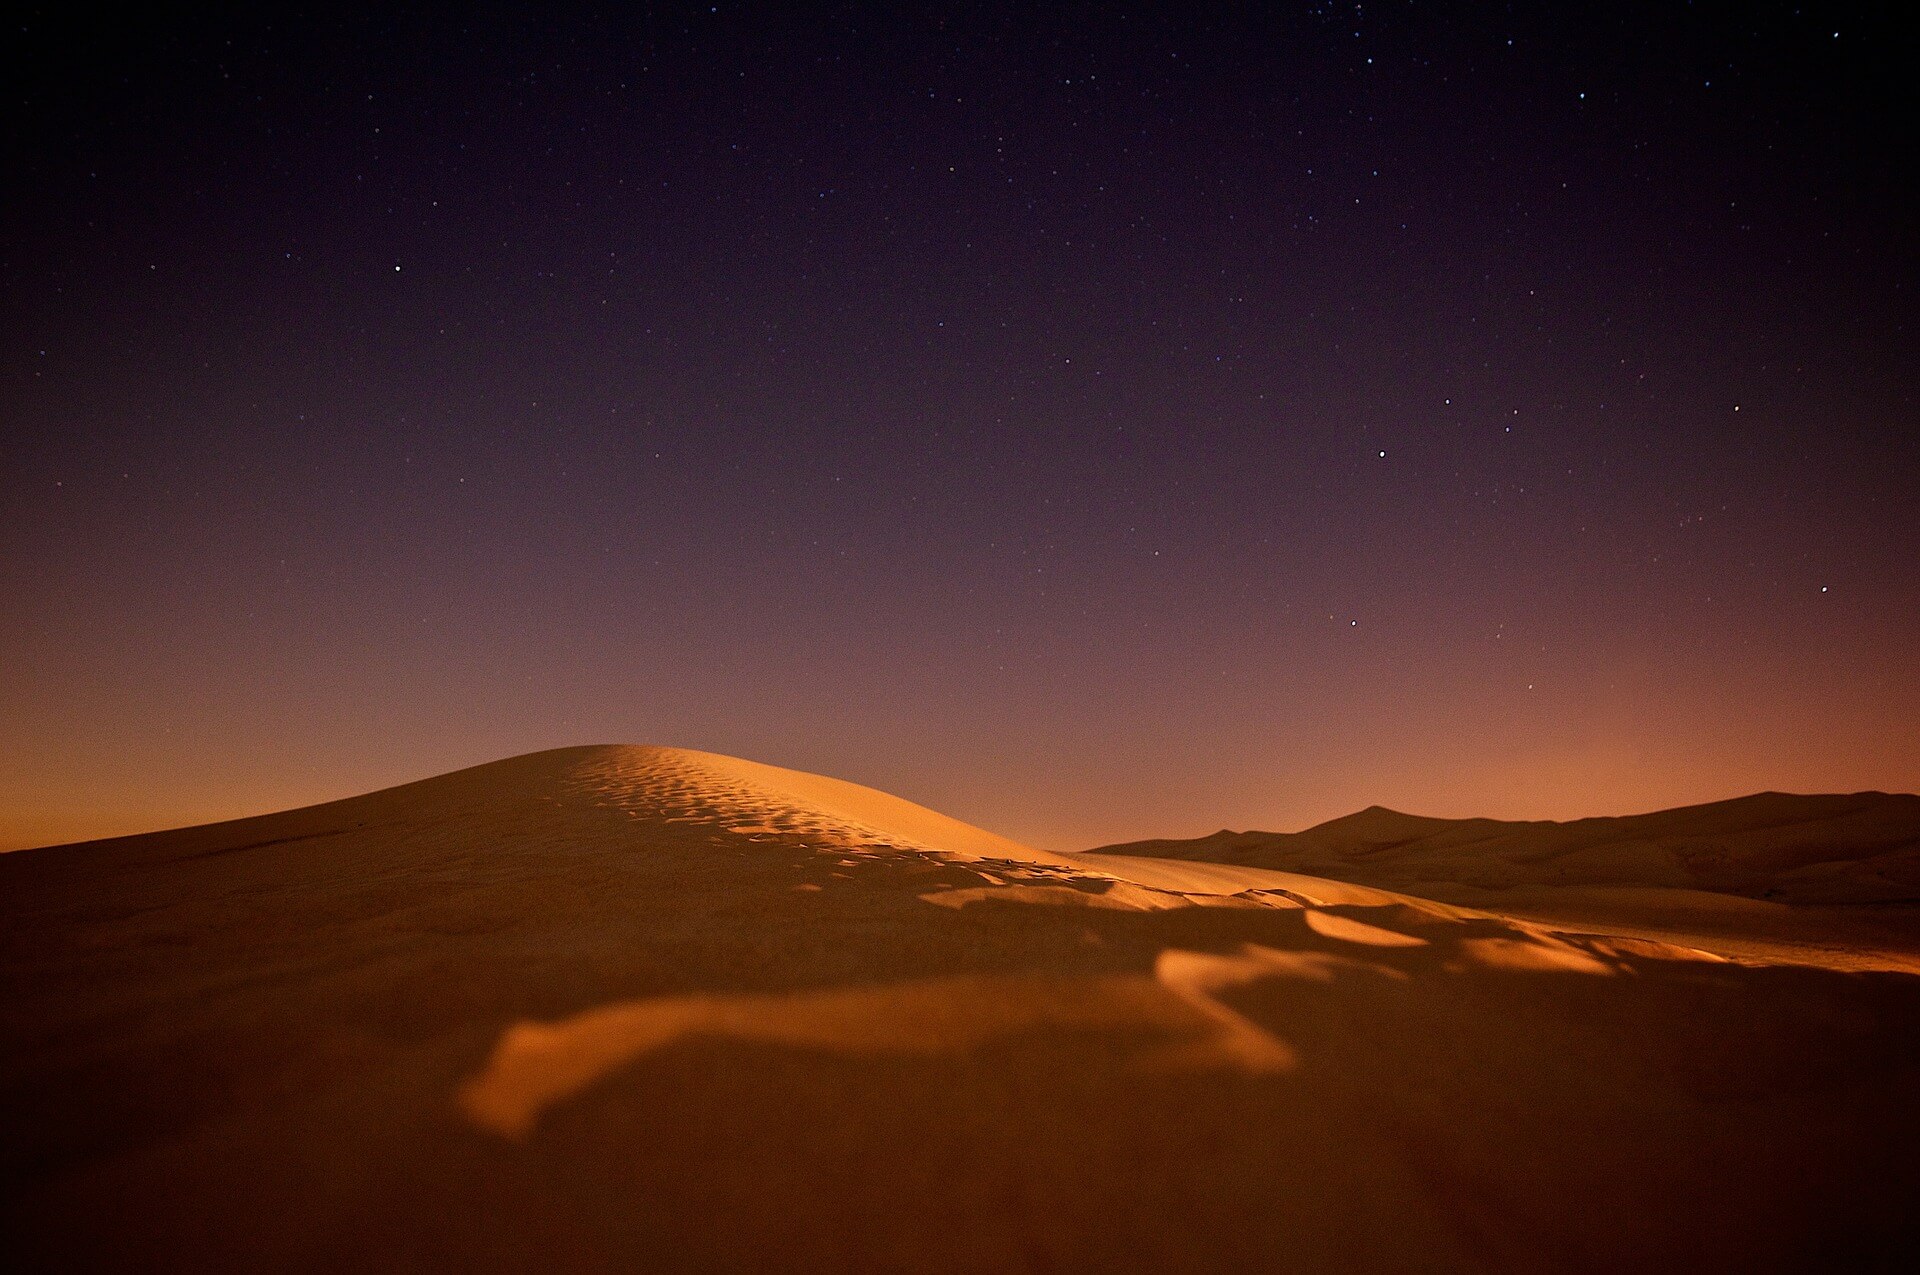
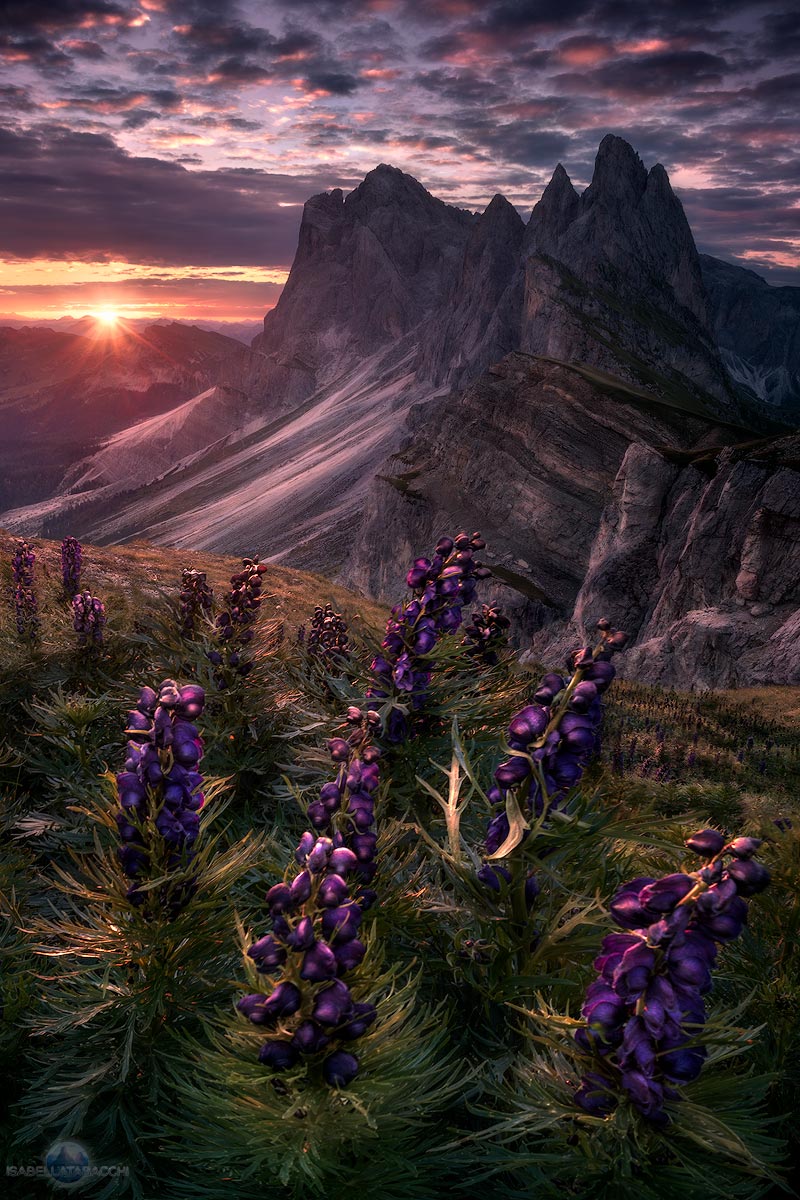
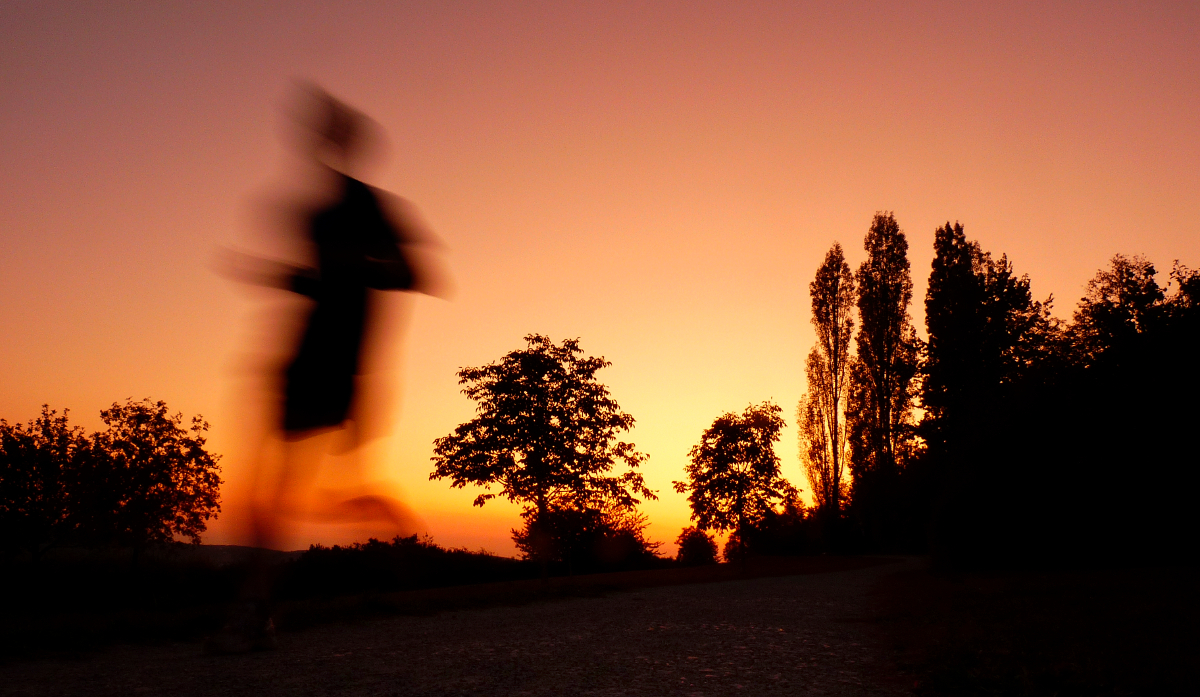
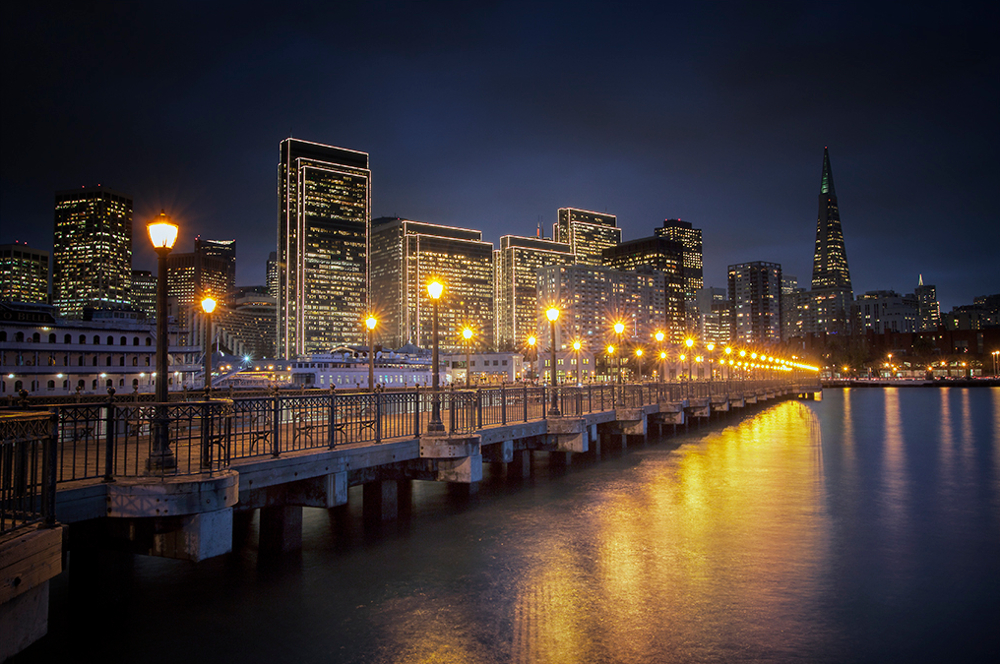
2. Good Light Sets the Mood
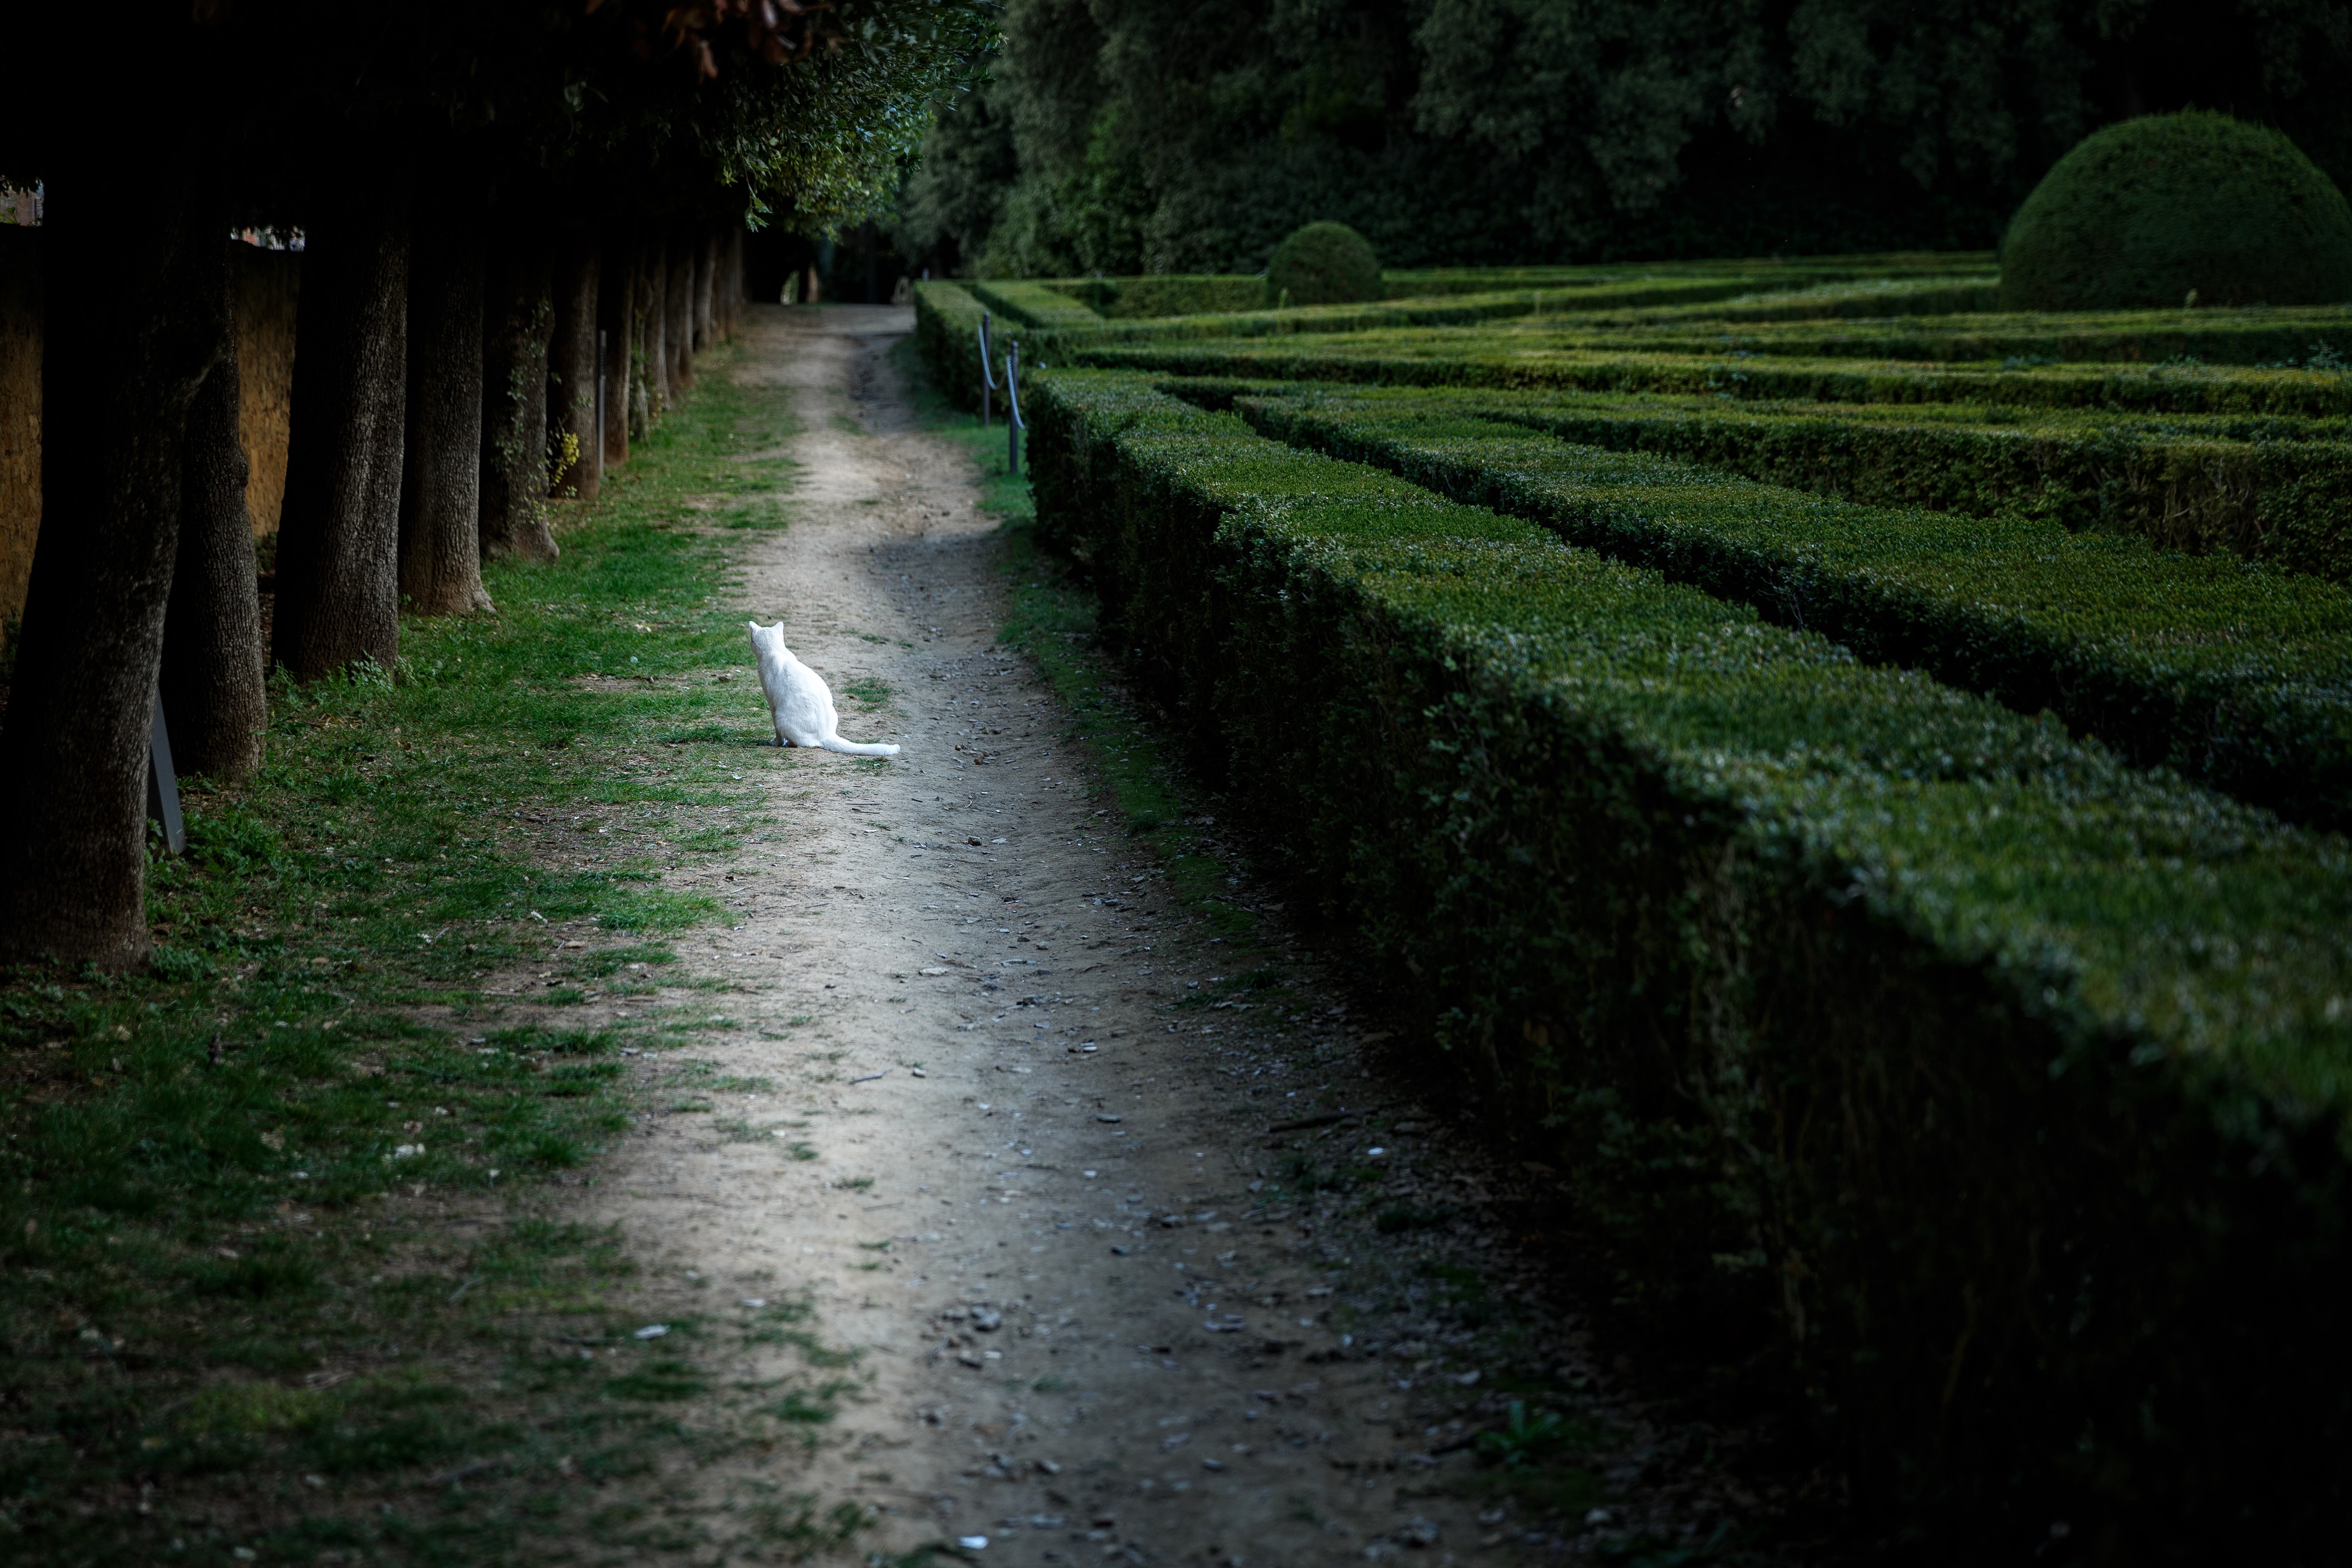
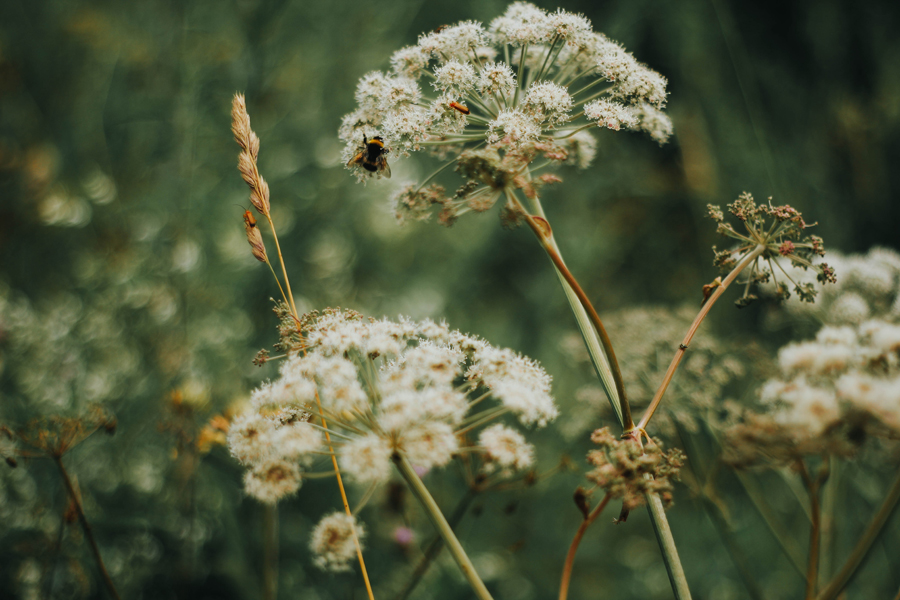
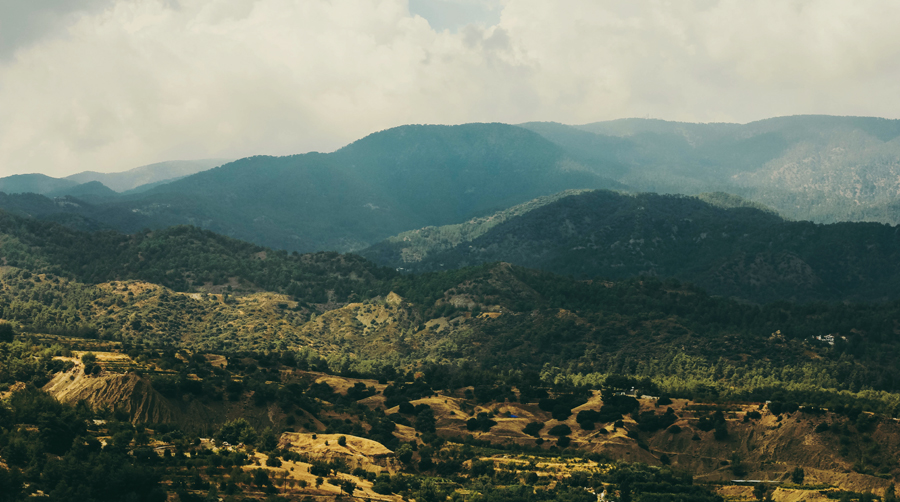
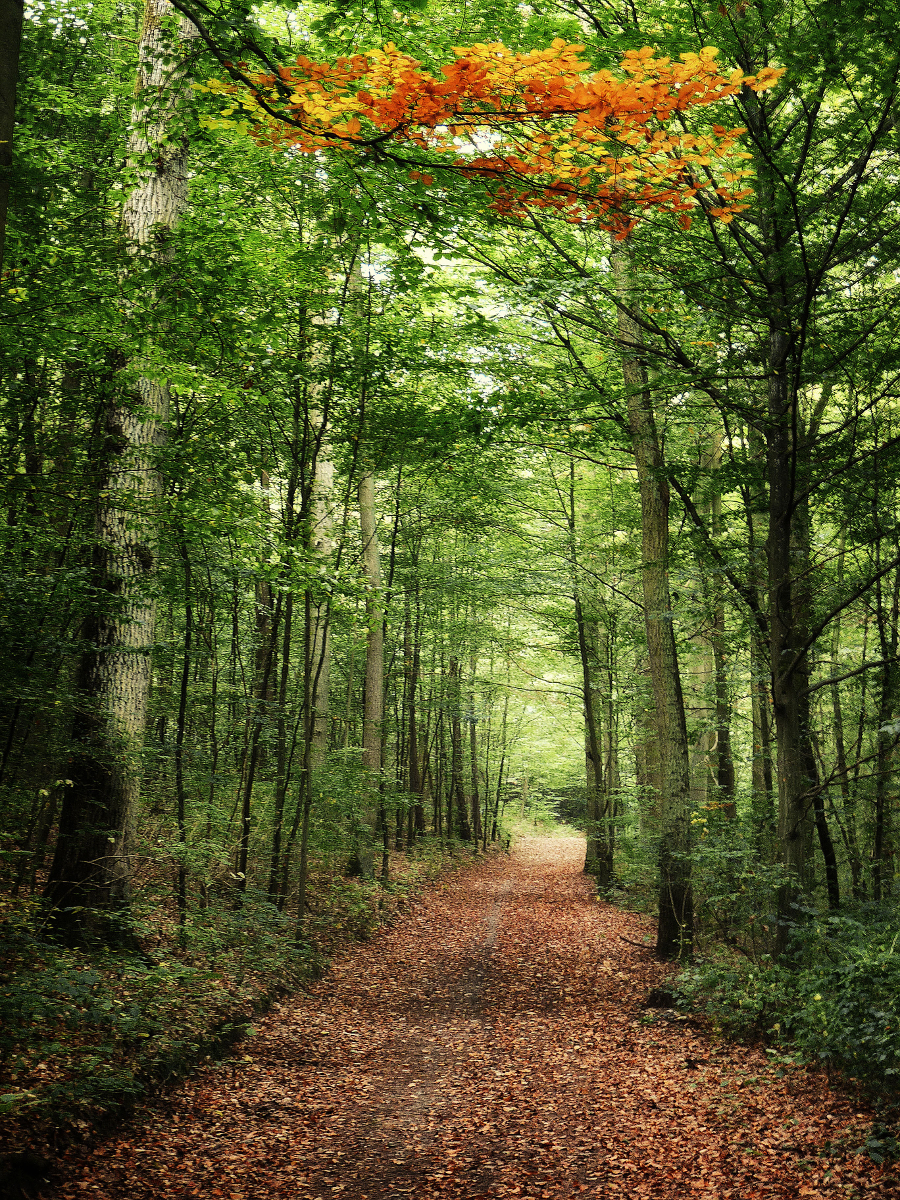
Good light can be anything if it serves the intent of showing a sense of place. It need not be early or late in the day for that golden hour. If you want to suggest desert heat, maybe the glare at midday will do it better than the warm light at dawn. Creating the feel of a deep, lush forest is usually accomplished best on an overcast day when there aren’t distracting harsh globs of sunlight hitting the leaves.

The rugged, almost primal quality of the California coast near Carmel in the shot above comes across more clearly with the cold, stormy weather I experienced there. On other days, I’ve photographed the same area to show a different sense of place, one where the ocean is a calming, renewing force. In either case, I tried to communicate how it felt to me at the time.
3. Use Contrast to Your Advantage
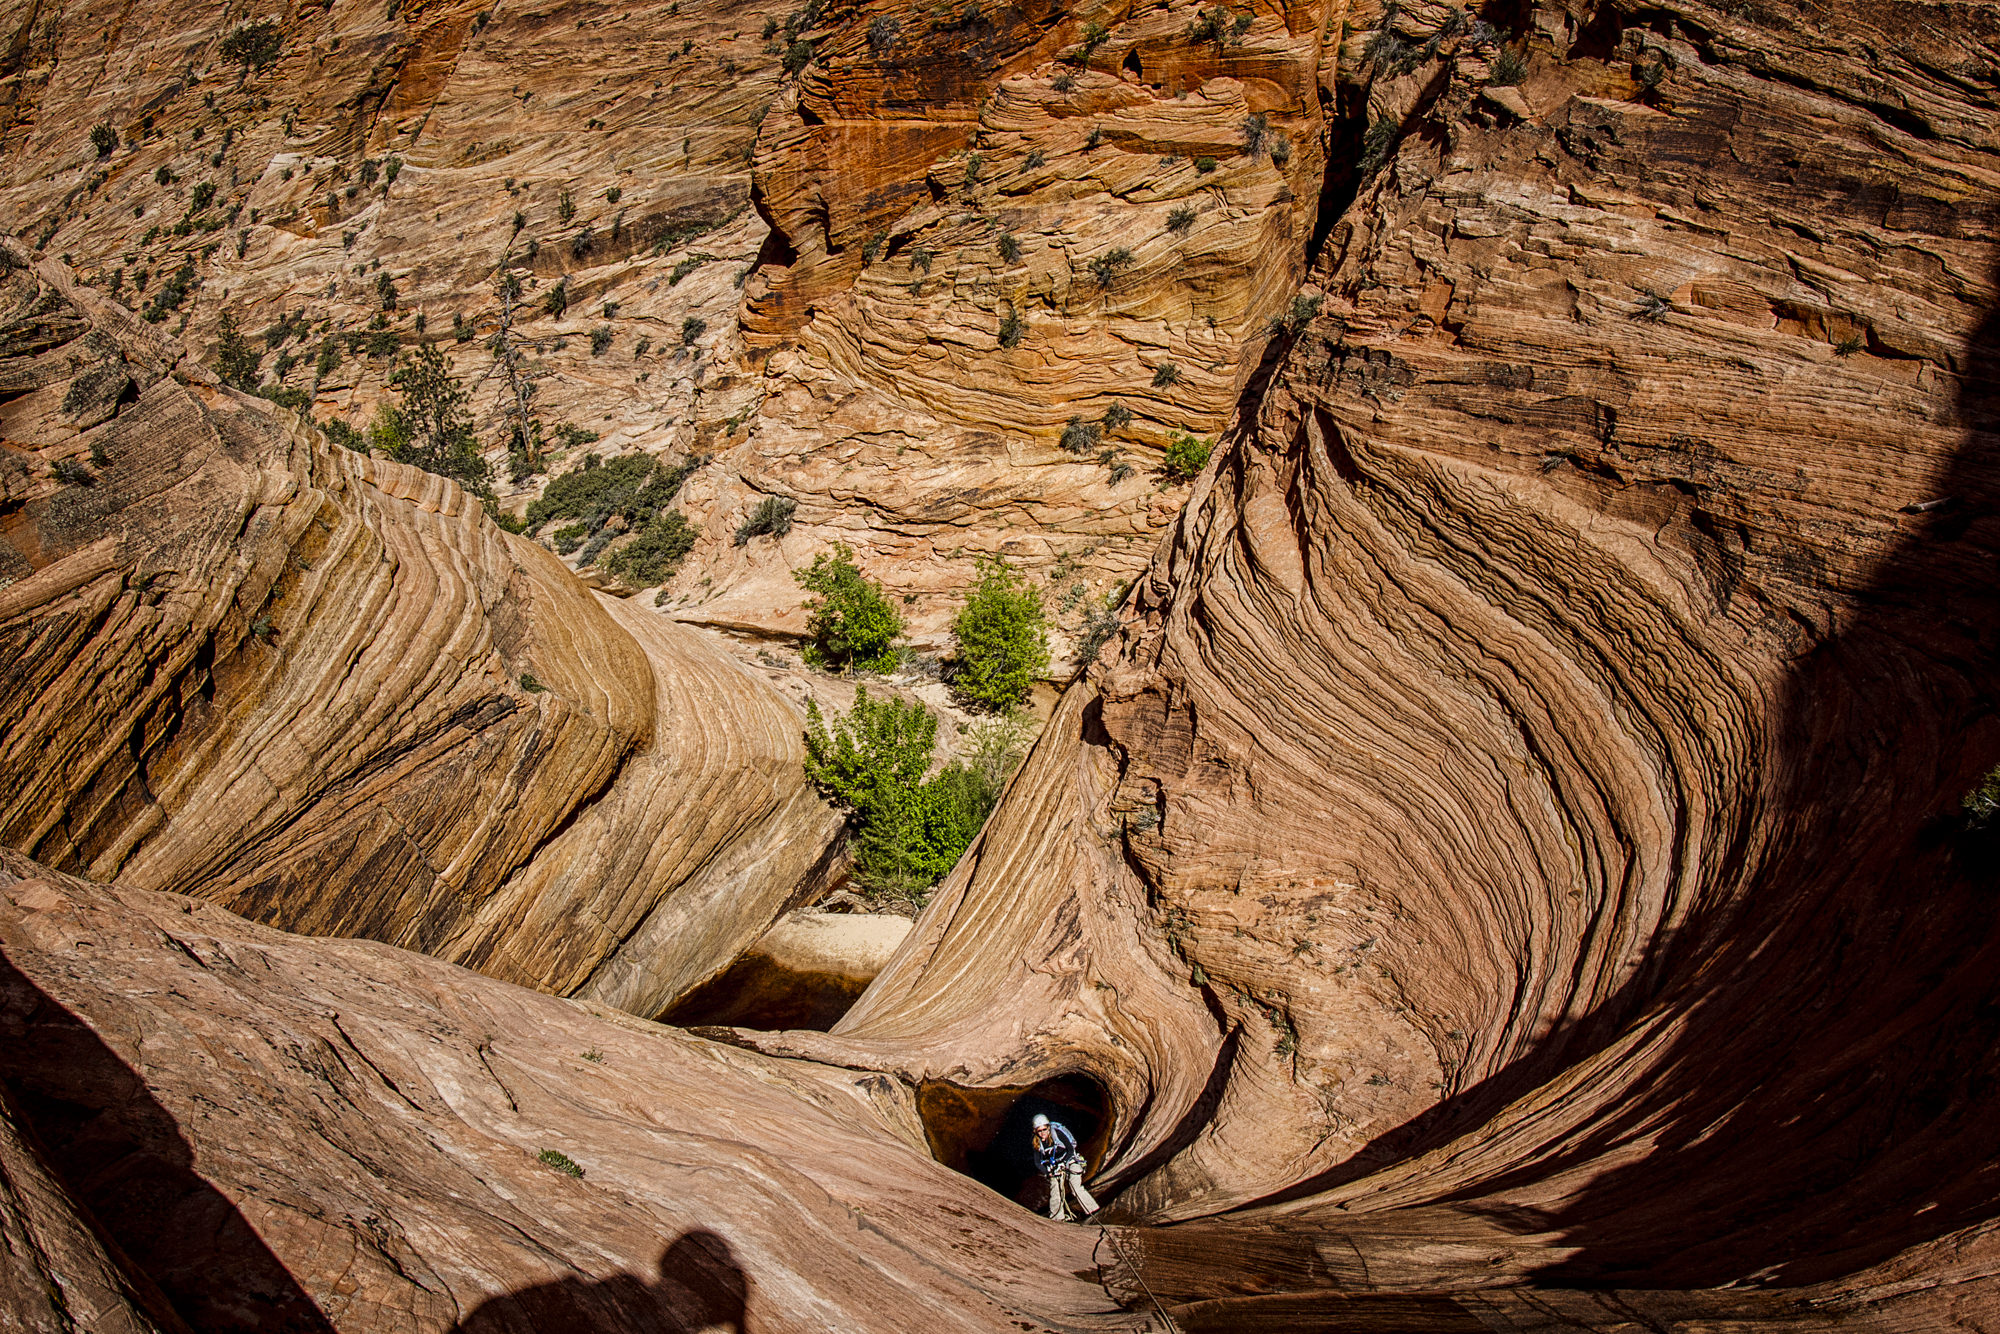
If I want a calm, tranquil feeling, I keep the contrast relatively soft. In the shot of the impala in Kruger National Park, South Africa, I resisted the urge to make the scene really crispy, thus making it even more dramatic. I wanted the tranquility of the moment to come through instead. However, with the shot below of the canyoners headed into Spry Canyon, Zion National Park, crisp is exactly what I wanted. It brings out the texture and contours of the slick rock and suggests the danger of rappelling down into the canyon. I also showed the enormity of the place by waiting until she was far enough away to be a tiny figure in an overwhelming landscape.
4. Don’t be Afraid to Crop
Yeah, you want to get the cropping right in the camera, but who said you have to be a prisoner of the sensor’s aspect ratio? By cropping to a square, for example, you can eliminate extraneous space on the sides of the composition and better draw the eye to the subject. With that comes a certain calmness because the image is well-balanced. On the other hand, you can create more tension with a rectangular frame by placing your subject off-center.
5. Use a Vignette
Darkening the edges of an image not only directs the eye toward the subject, but can also add a specific mood. I usually try to keep the vignette from drawing attention to itself by not making it too dark, but if I want to suggest a feeling of intimacy, I’ll make it a little heavier than normal. In the picture of the canyoneering rappelling into Vinegaroon Canyon, Death Valley National Park, I darkened the sides with a curves adjustment in Adobe Lightroom to give the feel of dropping into a deep, enclosed space (I masked out the canyoners to maintain the light pouring in from above).

If a moment is overwhelming you, go ahead and first get the record shot or go for the beauty shot. But then pause to think about what is making this place special to you and how it feels to be there. That is, discover the sense of place, and I think the resulting photograph can be the true winner because it will connect with the viewer on a deeper, more emotional level and therefore be a lot more powerful.
6. Make a Shot List at Home (and Then Tear It Up)
It’s not a bad idea to get a feel for your destination. For example, I eyeballed enough pictures of Tuscany to learn it had rolling hills and medieval towns. That at least primed me for what kind of situations I might find interesting to shoot. But then I started to make lists of specific scenes others had photographed so I could bag them, too, and realized that wouldn’t work. I needed to discover my own landscapes and narrow streets.
So I forgot all I had seen in favor of simply stumbling about the farmlands and villages in search of images. I know, I know. That doesn’t sound like a formula for a good travel photo, but it forced me to be open to everything, every possibility, and my camera cards filled with successful images. I admit this requires a little self-confidence to be so laidback but it also takes an attitude of losing yourself in the simple, fulfilling pleasure of travel and the adventures it brings.
7. Don’t Pressure Yourself
I think one of the best travel photography tips is by not comparing what you see in the viewfinder to others’ past photos. This can only create feelings of despair and the illusion you’ll never equal those supposed masterpieces. Forget about winning likes on Facebook or Instagram. Look for subjects that dovetail with your interests. Maybe you have a thing for doors, which in many places are unique from home to home. So blast away. Maybe you like street photography. Have fun with that. You are unique and you’ll see all this in ways no one else can.
8. Concentrate on Recording Your Experiences
This gives you a start, a doorway through which other images can emerge. Look for the stories inside your trip. Take pictures of your travel companions doing whatever it is you did (selfies and mug shots in front of famous landmarks don’t count). If you stay at a B&B, for example, ask the proprietor to pose for a portrait. Take a picture from your hotel window. Record the meals you ate. For our major excursions, I like to put together a photo book afterward of our adventures, and so I use that as a reminder to look for storytelling photos.
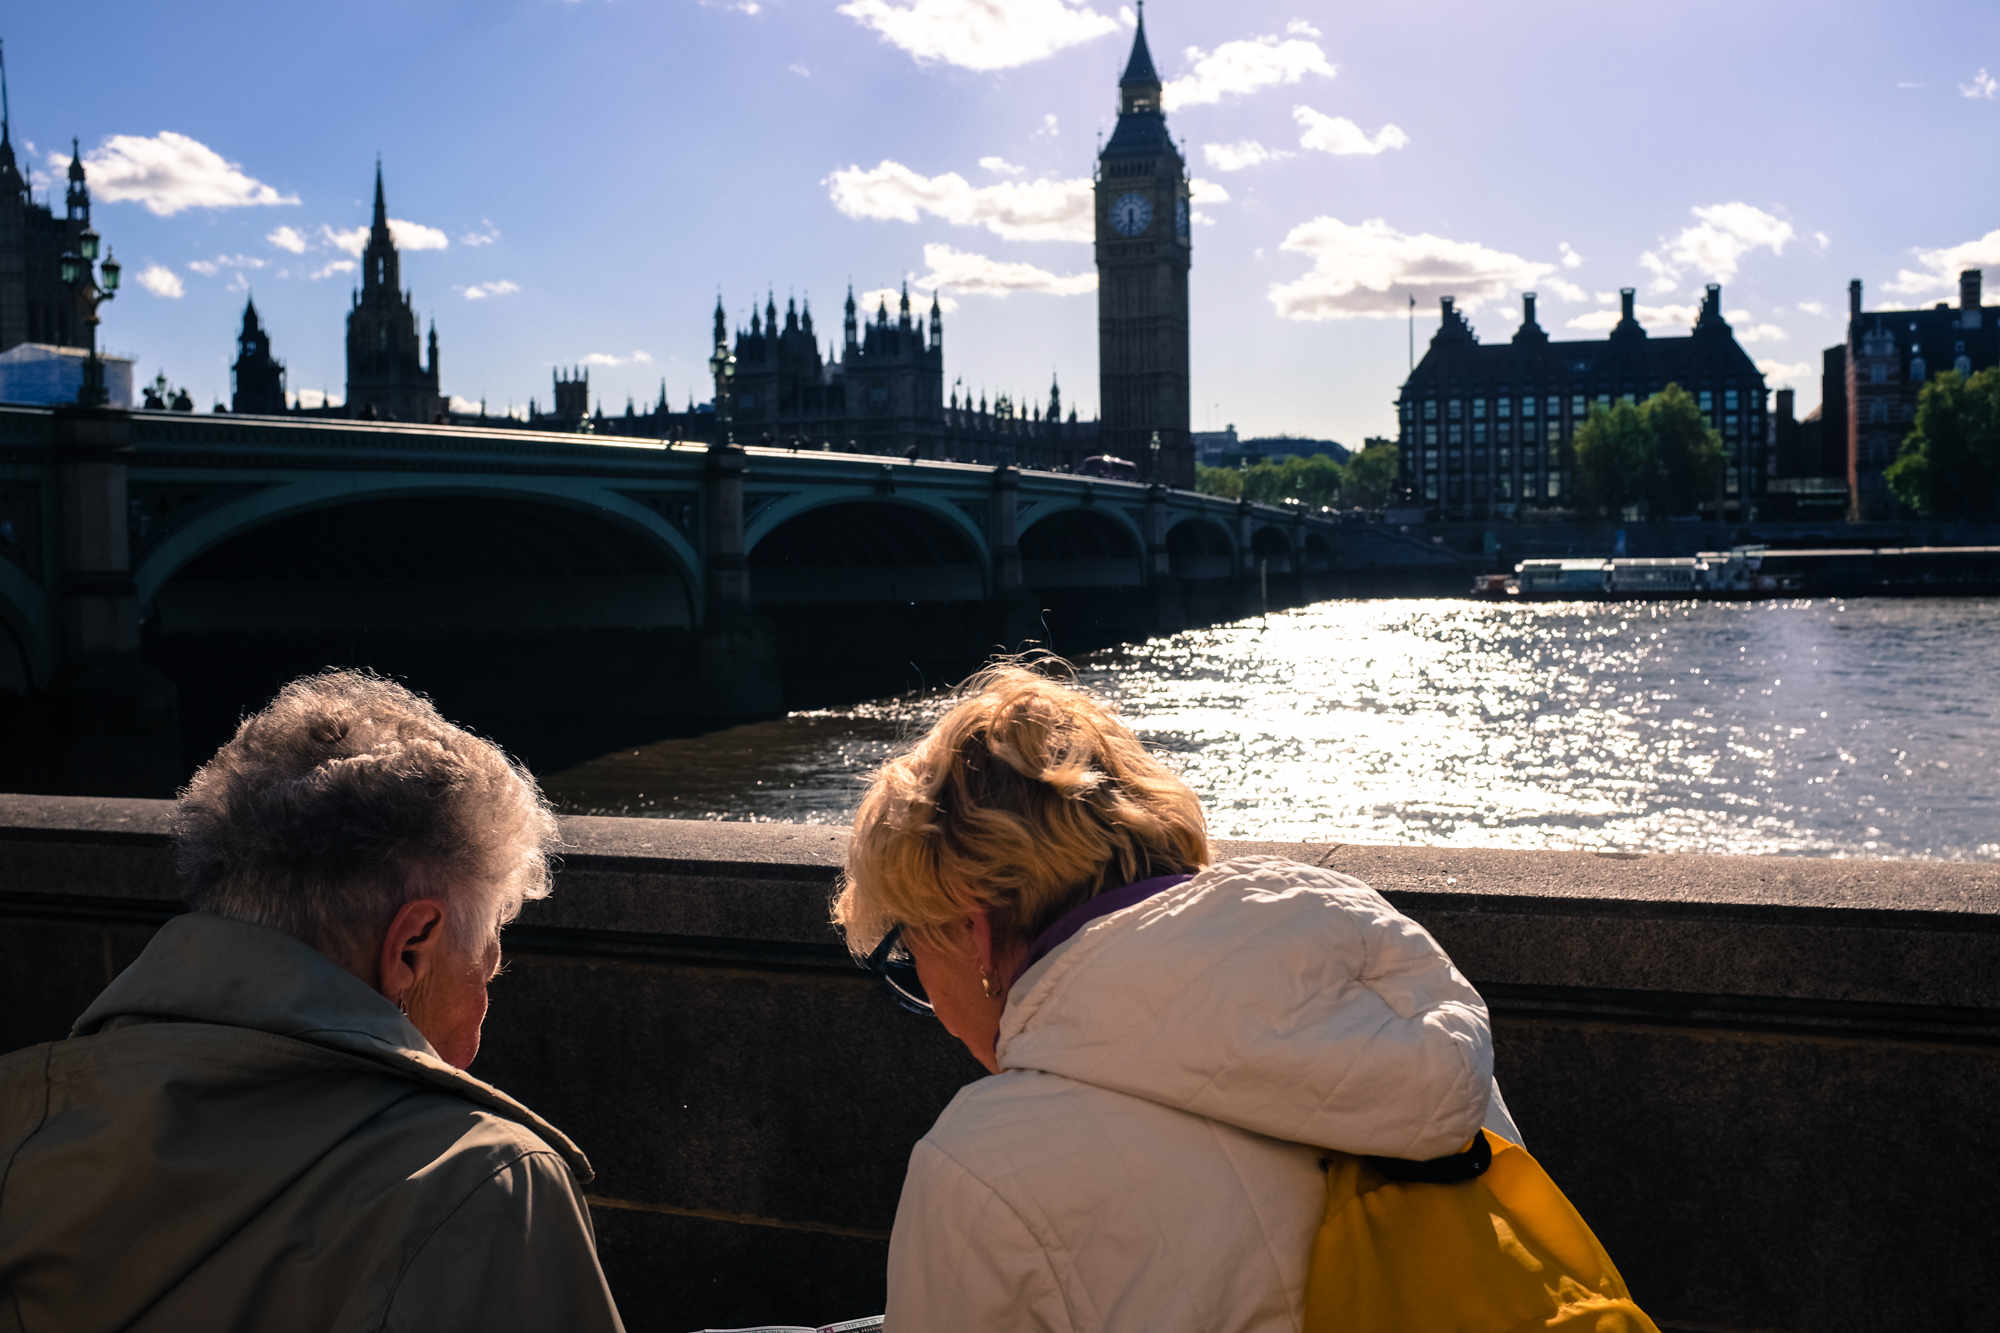
9. Walk to Your Destination
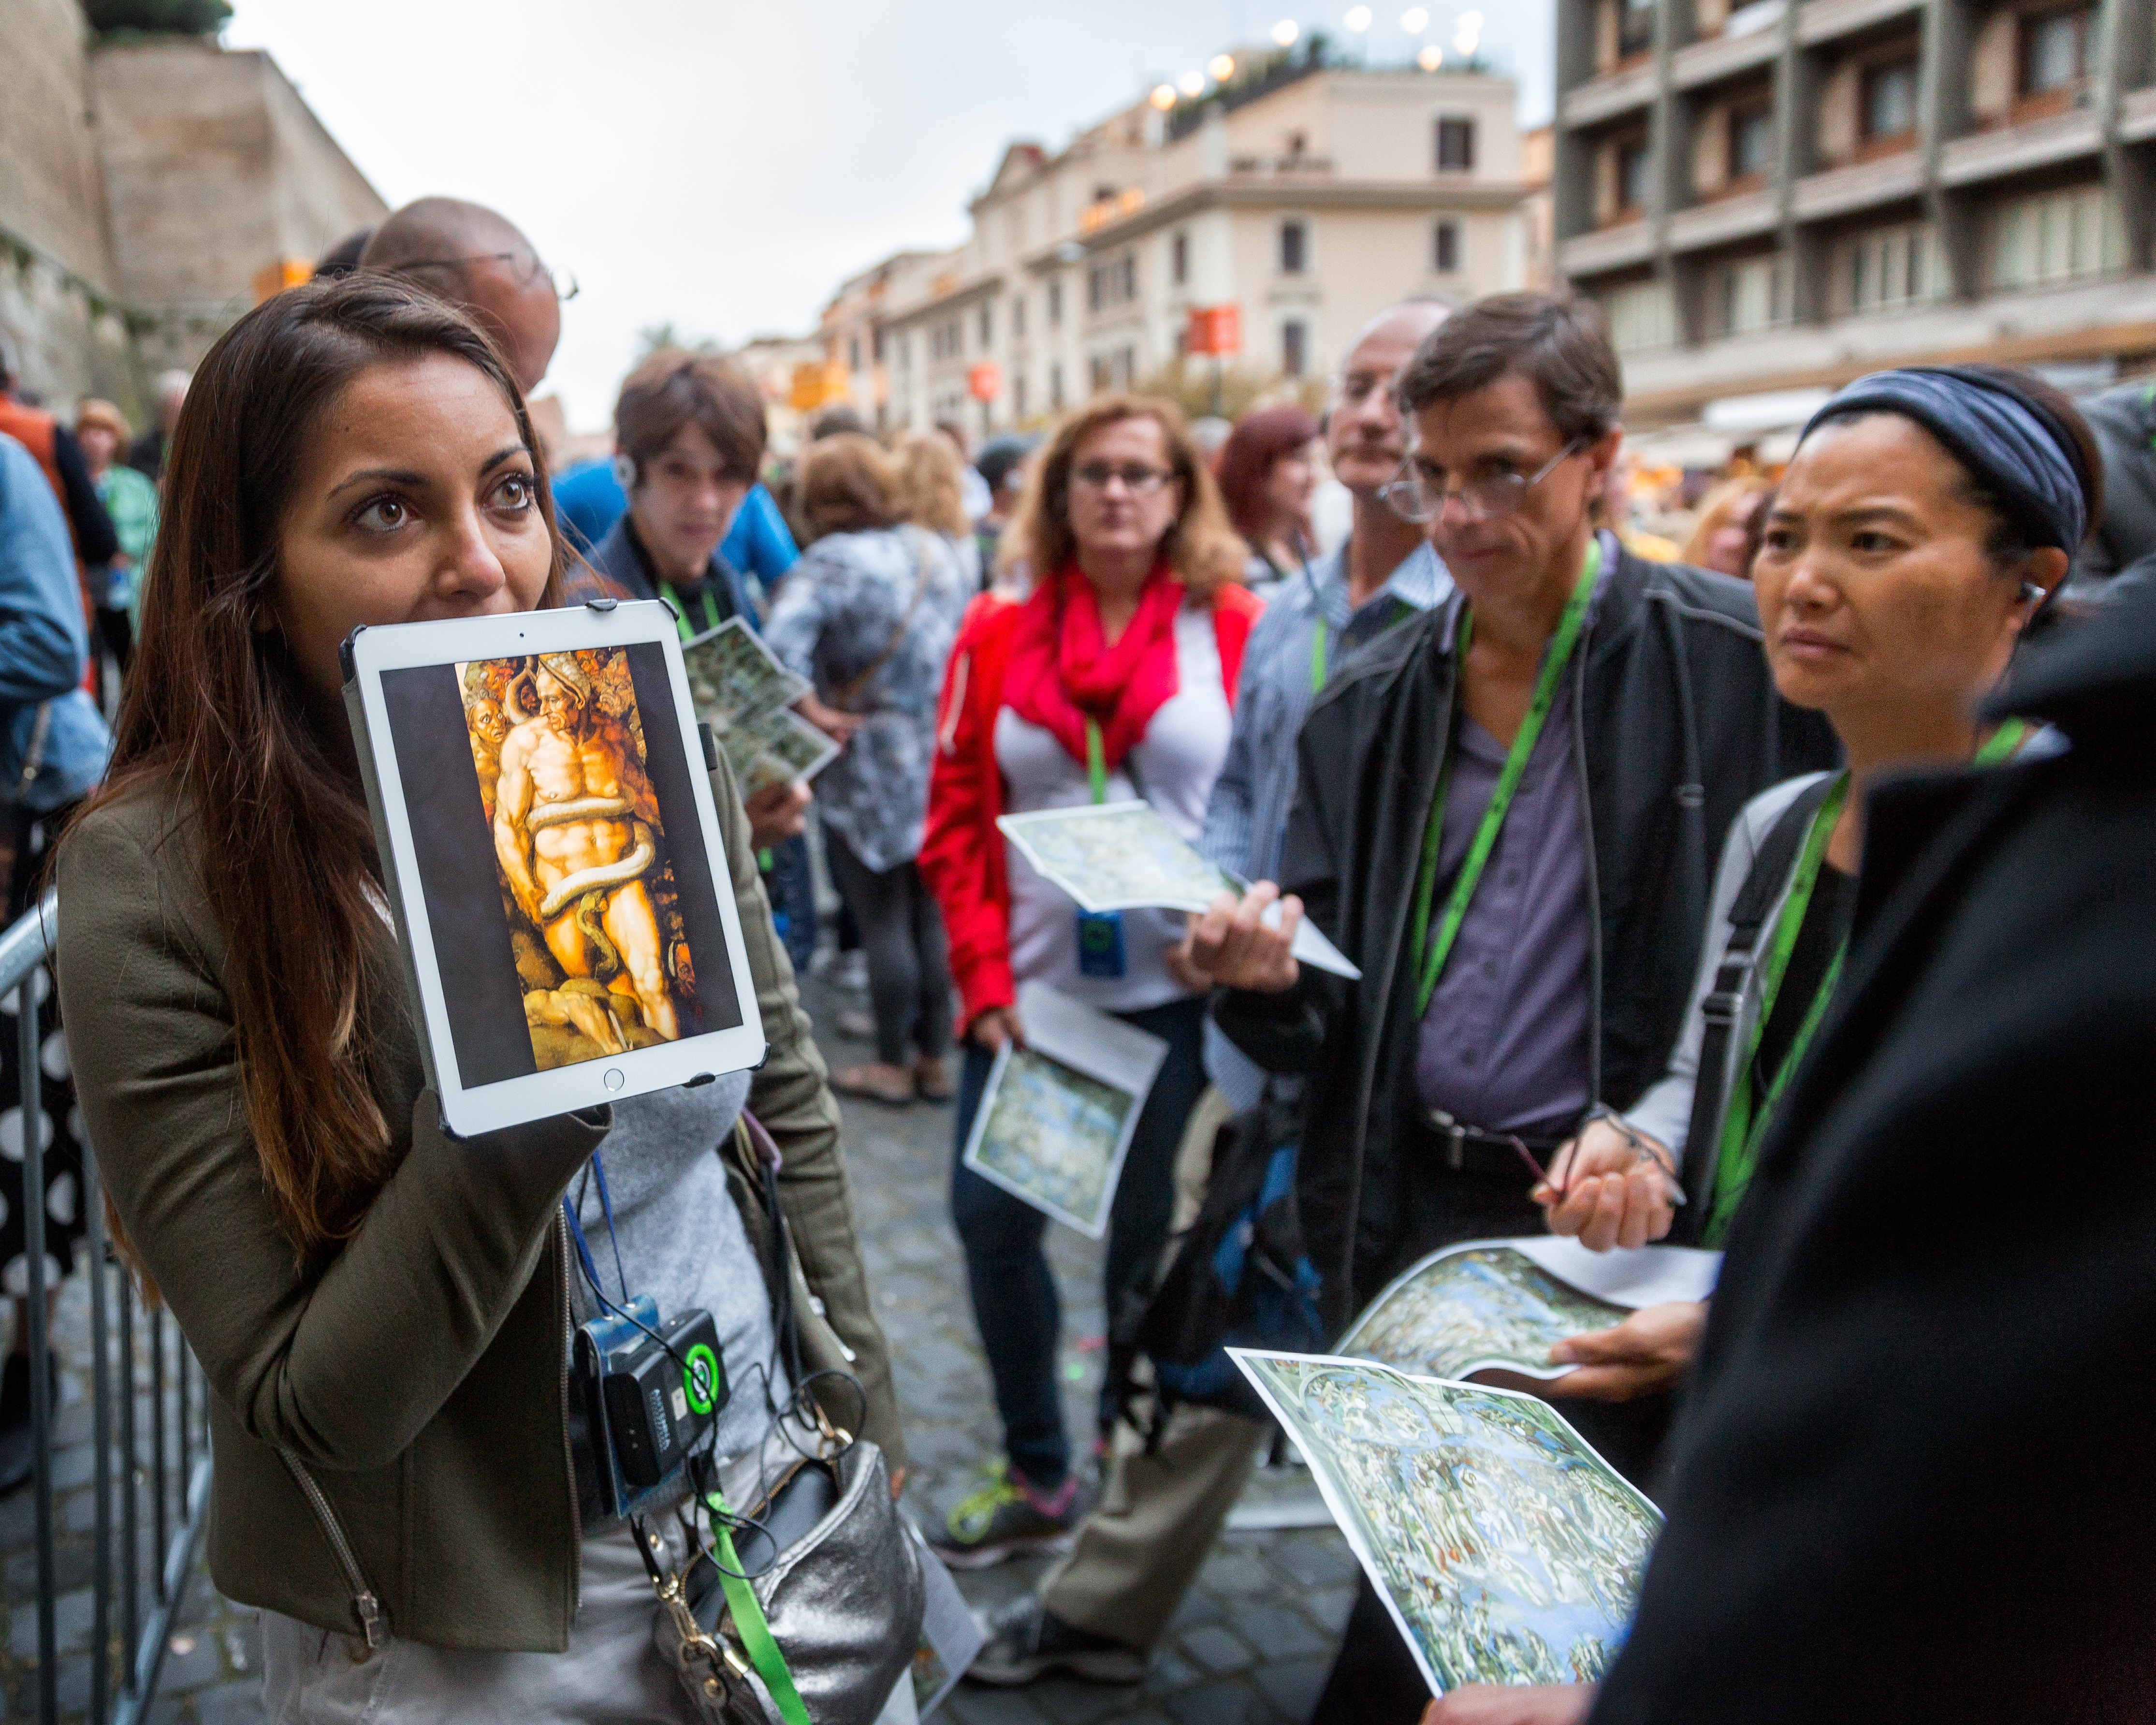
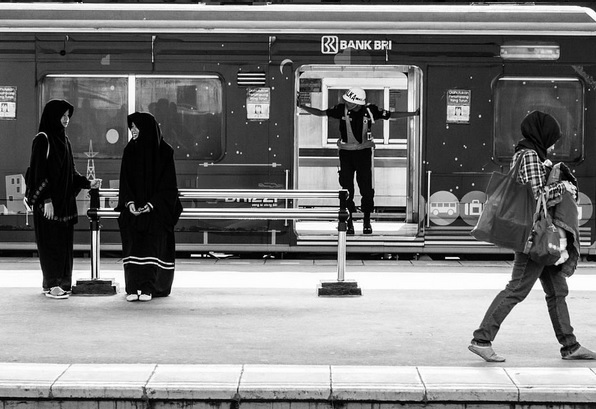
This may not always be possible, but there’s so much to see and photograph when you use a bit of shoe leather as opposed to a bus, subway or taxi. I carry a small daypack for a couple of lenses, camera battery and cards. I look for details, some of which speak of the culture and some don’t. I like to take pictures of people and during a walking excursion to the Spanish Steps, I snagged one of my favorite shots of two women in conversation. Couldn’t have gotten that from a speeding taxi. At one point, we have turned around—my wife called it “lost”—and because of that, I stumbled on a great travel photo of the Pantheon.

10. Allow Yourself Time to Wander
As a corollary to the above, if you have a rental car, take a back road instead of the main highway, or just randomly drive down different roads. These days with GPS, it’s tough to get permanently lost, so explore! You won’t find the country’s iconic landmarks, but you’ll likely see and photograph places few people do.
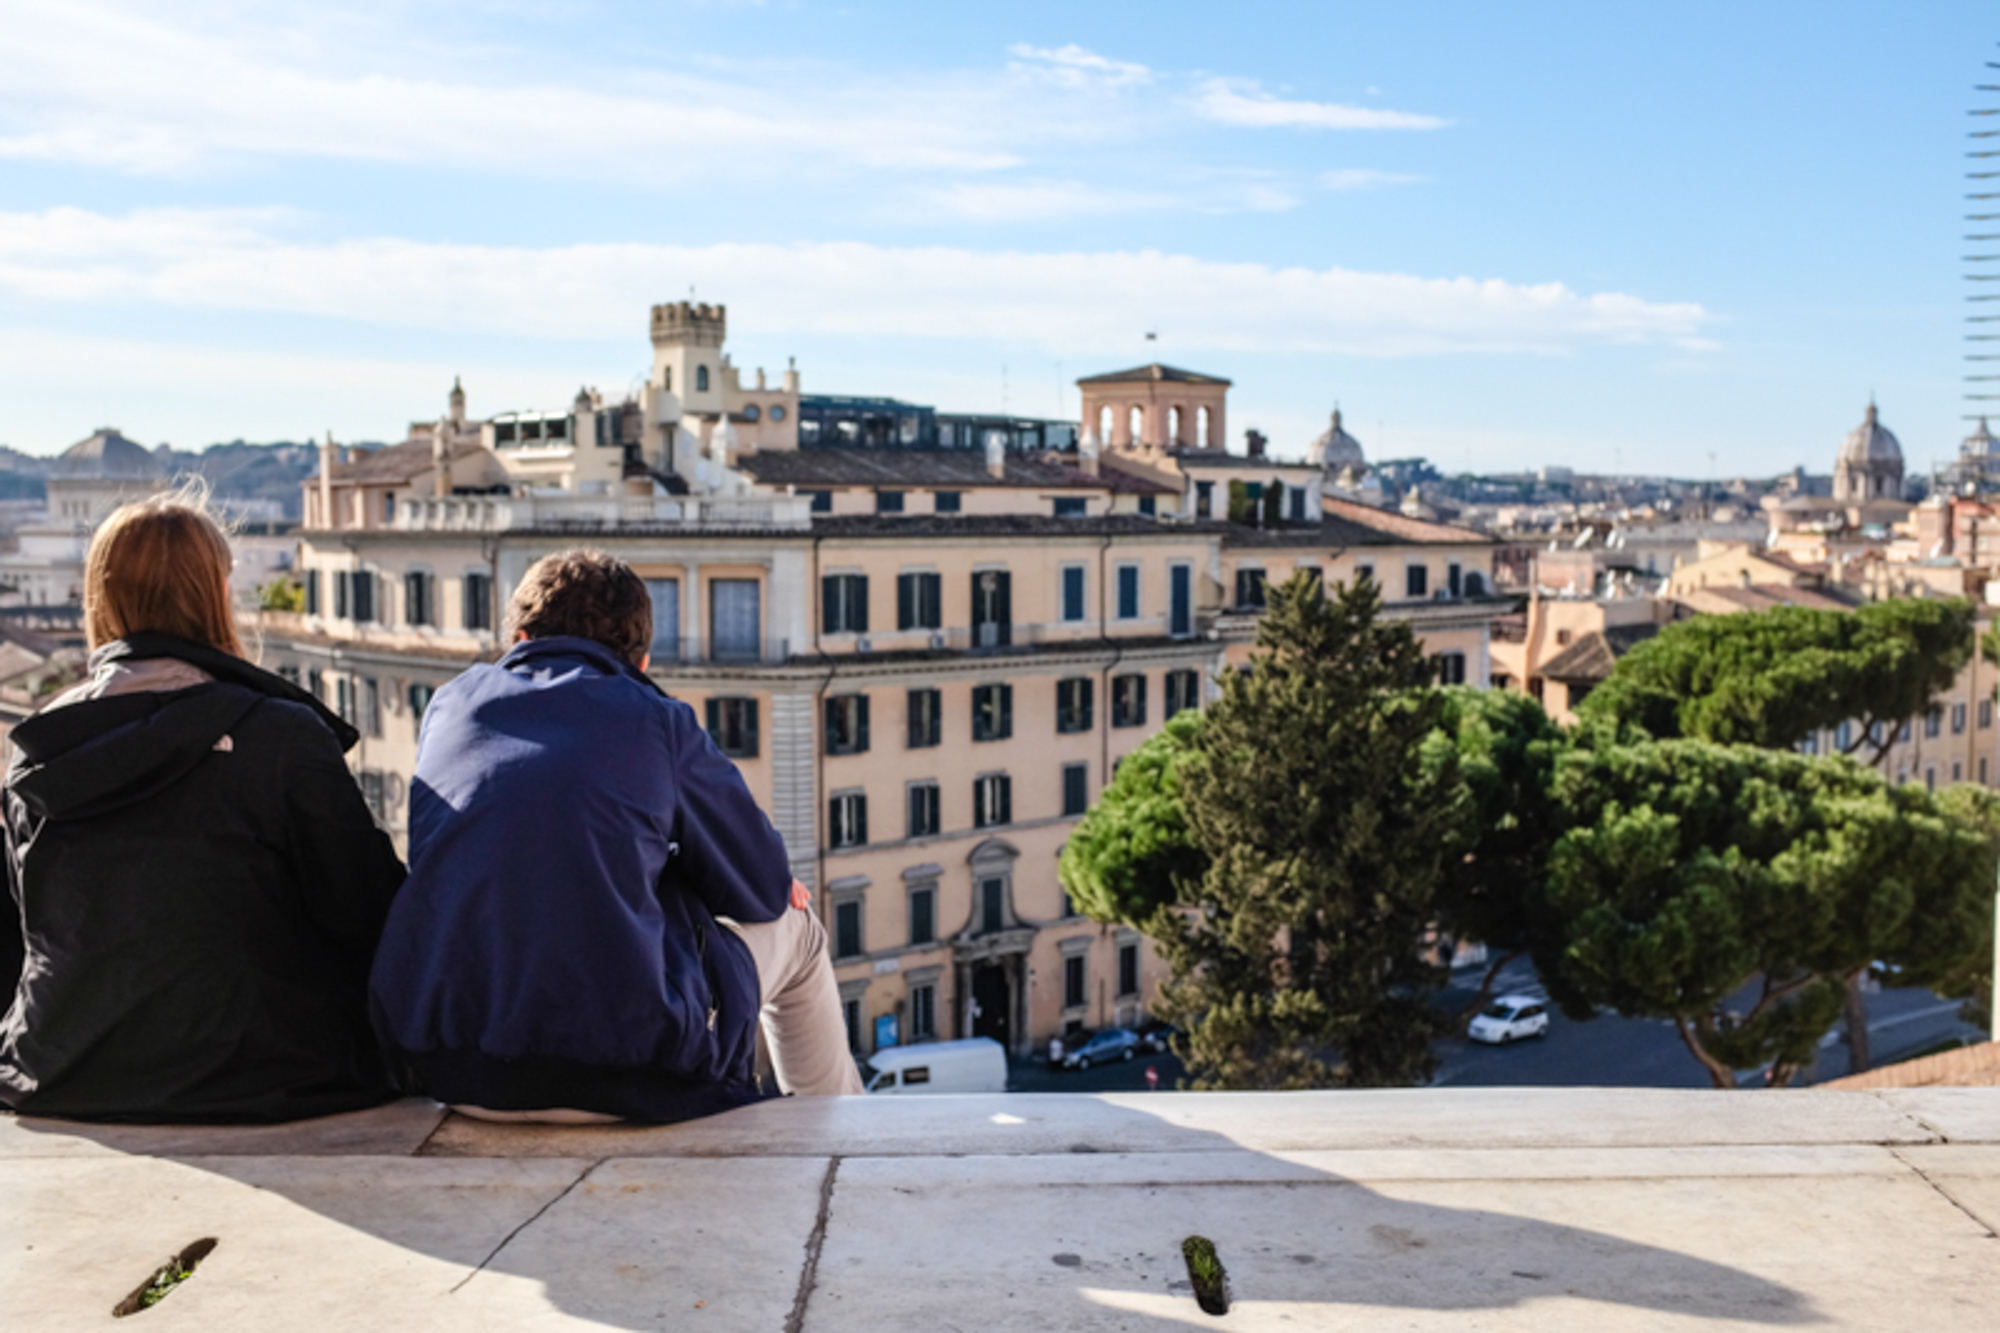
11. Relax, You Don’t Have to See Everything
I’m forever amazed at how some people feel the need to rush from place to place, measuring the success of their trip in how much they saw. Mixing photography with travel is a lot easier if you plunk down for a few days in one location and wander out from there. You’ll still see a lot, get a great feel for the culture and ultimately come back with far better images because you had the extra time to look around.
12. Be Curious
If something looks intriguing, don’t just pass by because you’ve got a specific place you’re going to—check it out. Or, if the tour guide has you pointed in one direction, sneak a peek at you. There are unexpected images almost everywhere you turn if you just look.
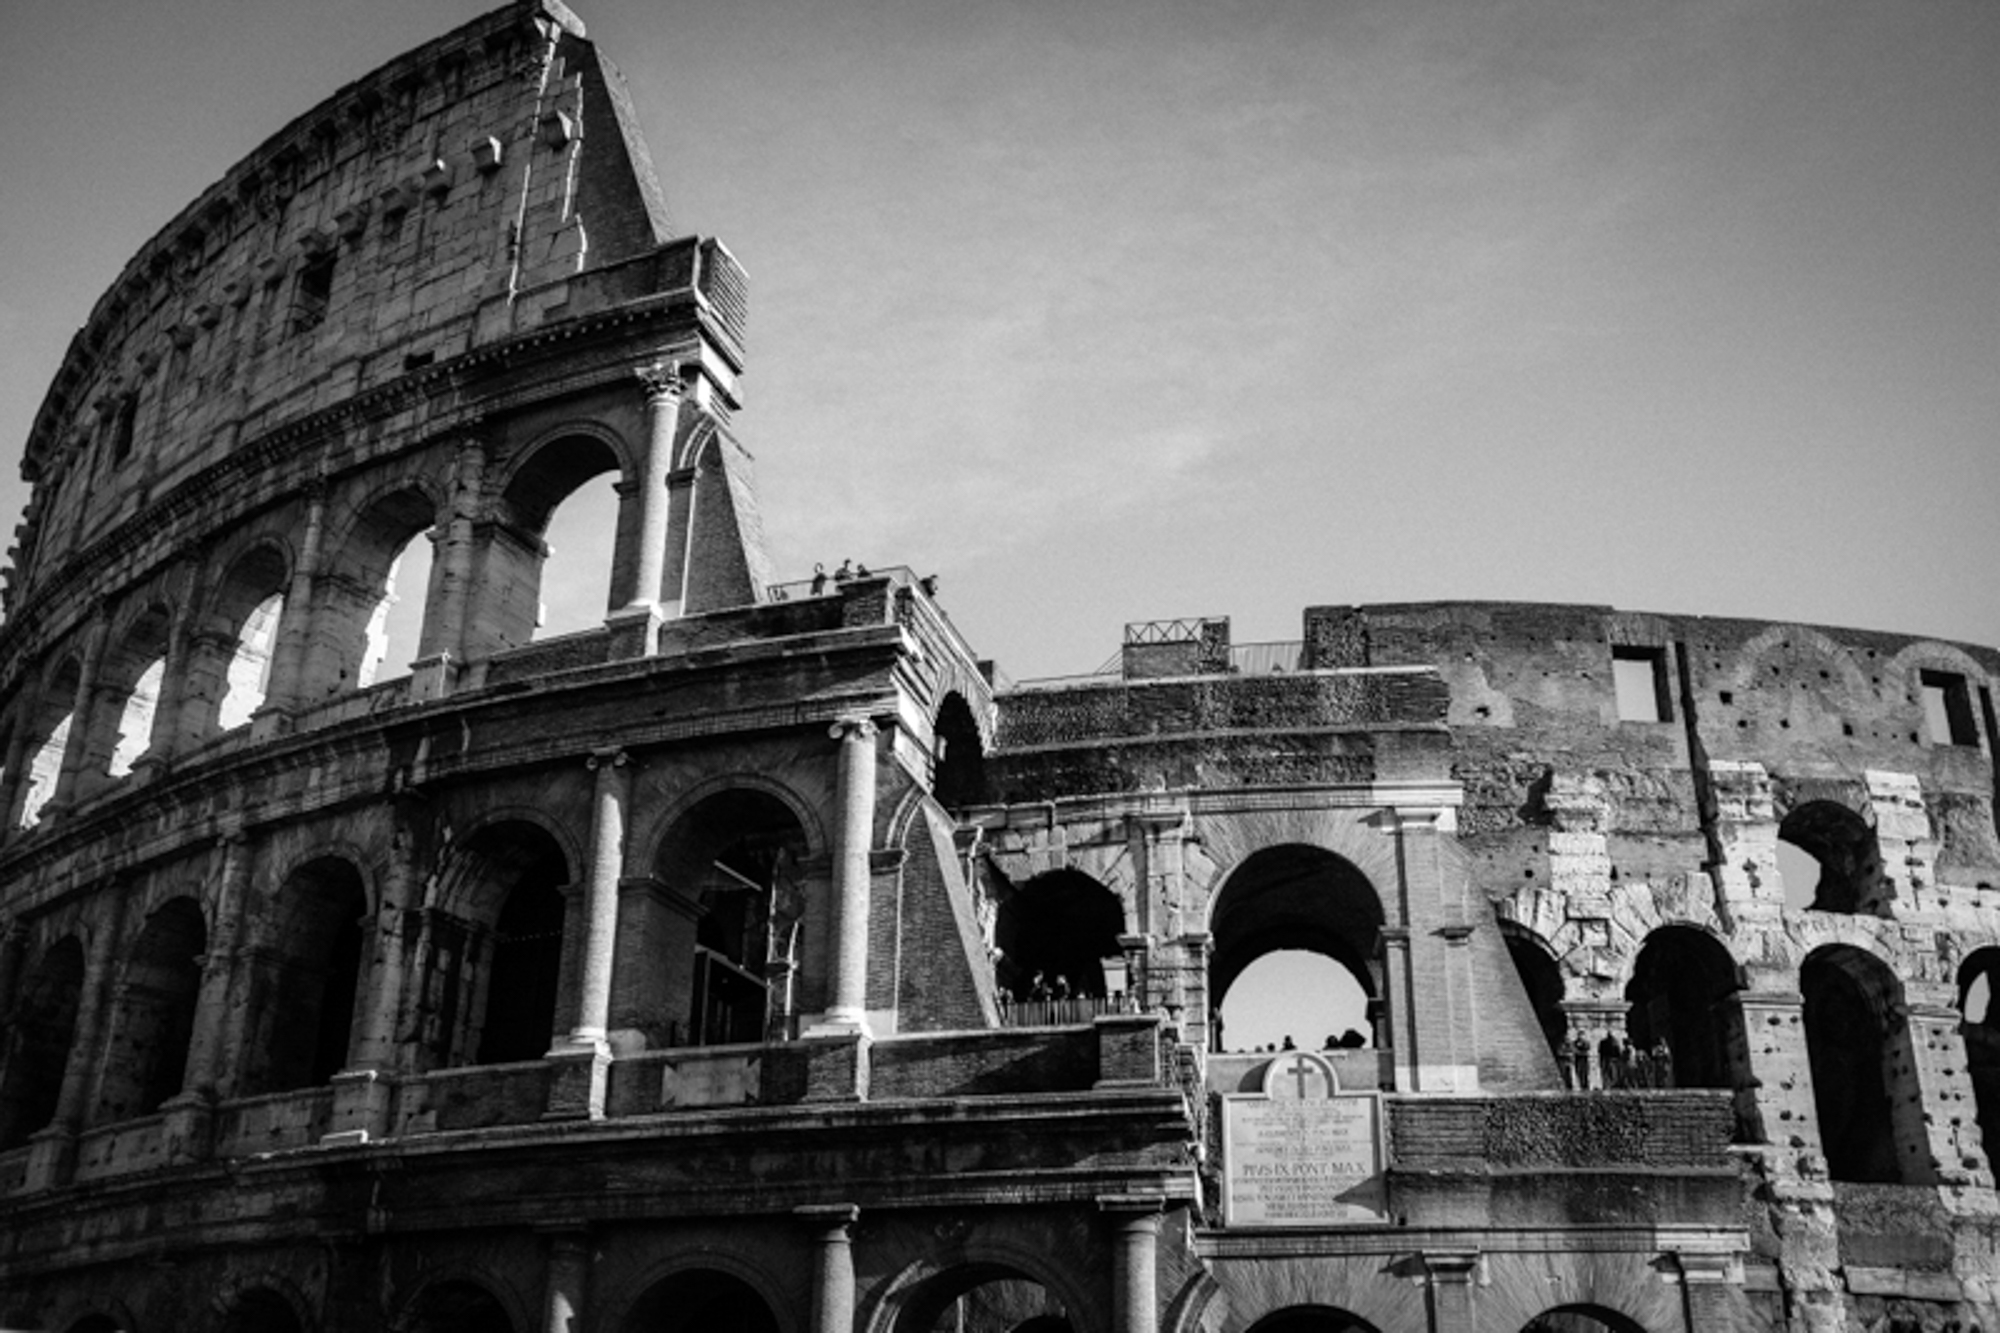
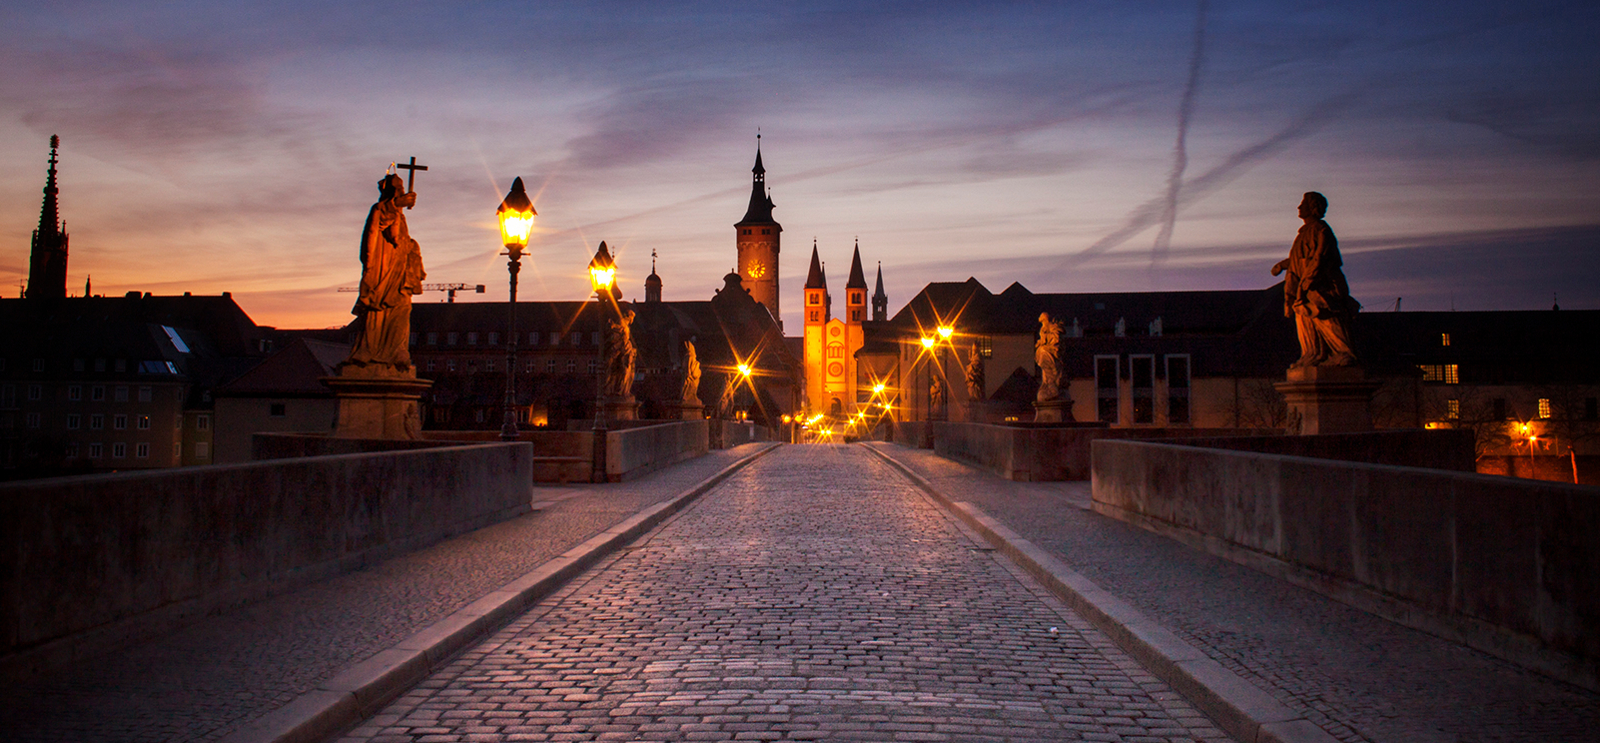
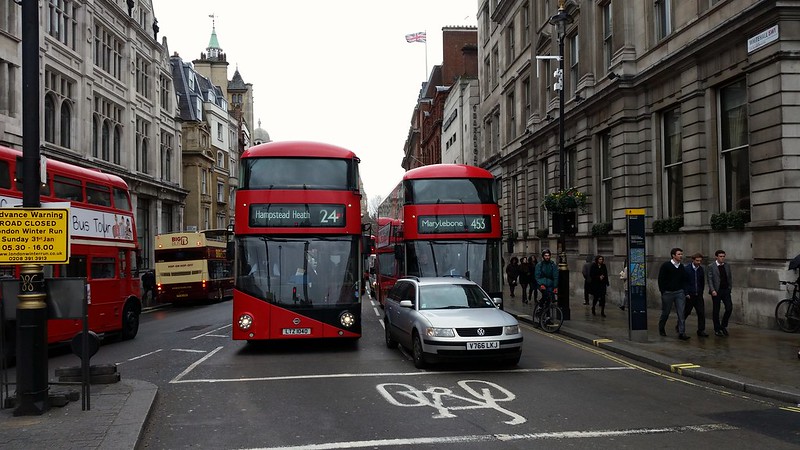
13. Be Flexible
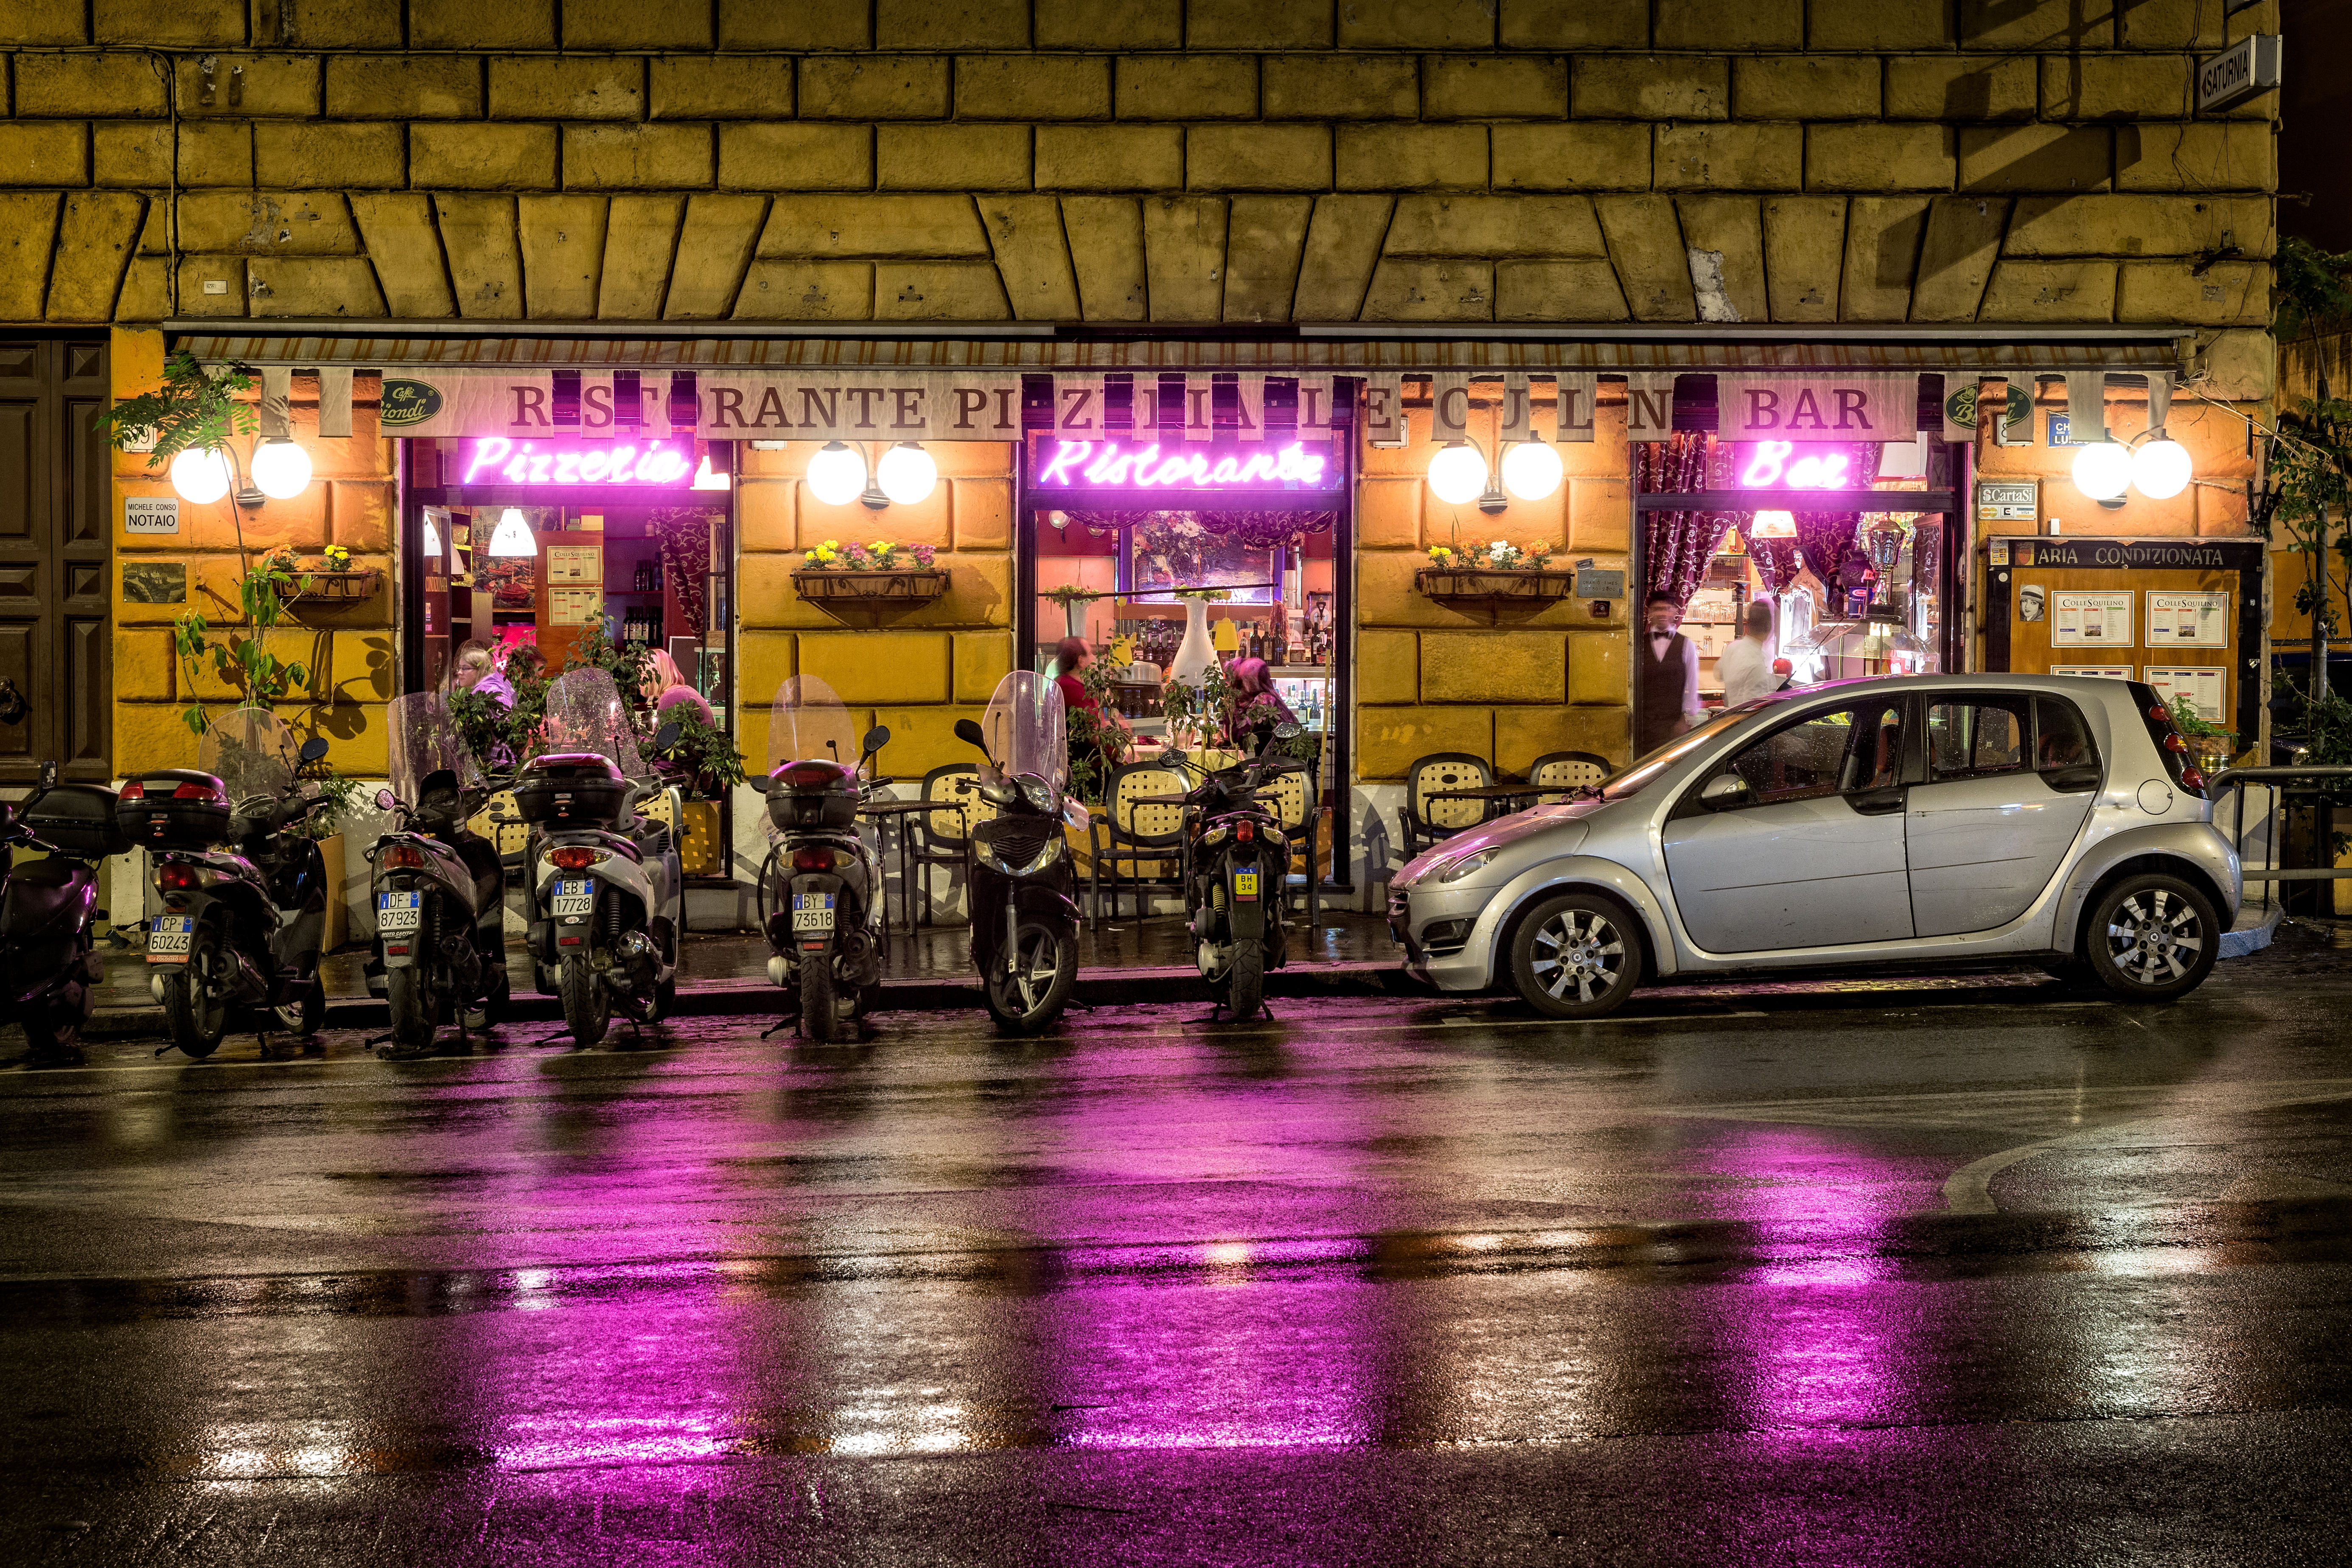
It rained while we were in Rome. Oh, dear. No photo ops, right? Nope. We walked to the Coliseum at night with umbrellas and were rewarded by images filled with shiny streets. Plus, only a few, brave tourists were milling around so we nearly had the place to ourselves.
14. Get a Record Shot for Your Personal Pleasure
One of the great things about photography is it reinforces your memories. So instead of berating yourself for being an uncreative hack, go ahead and get a standard issue shot of the Eiffel Tower. Twenty years from now, you’ll be glad you did. Also, by letting go of your aversion to the cliché picture, you might start to see unique angles for more personal takes on the subject.
Lastly, sometimes you just get lucky. You can’t predict at home what the light is going to be like or what rare convergence of elements is coming your way. But by keeping your mind—and eyes—open, you can create photographs that are meaningful to you both from an artistic standpoint and as a document of your experiences. And, by the way, I never got to San Giovanni. Oh, well. I hear it’s great.
Many people that I know have taken the images that they were able to capture and sold them as both stock video and photography. If you are in hard to reach locations or really foreign looking areas, take advantage of it! Capture as much footage of the area as if you were covering it professionally. You can then upload these clips online and people can pay you to use the photos or the footage. This can be another form of income.
15. Avoid Crowded Locations
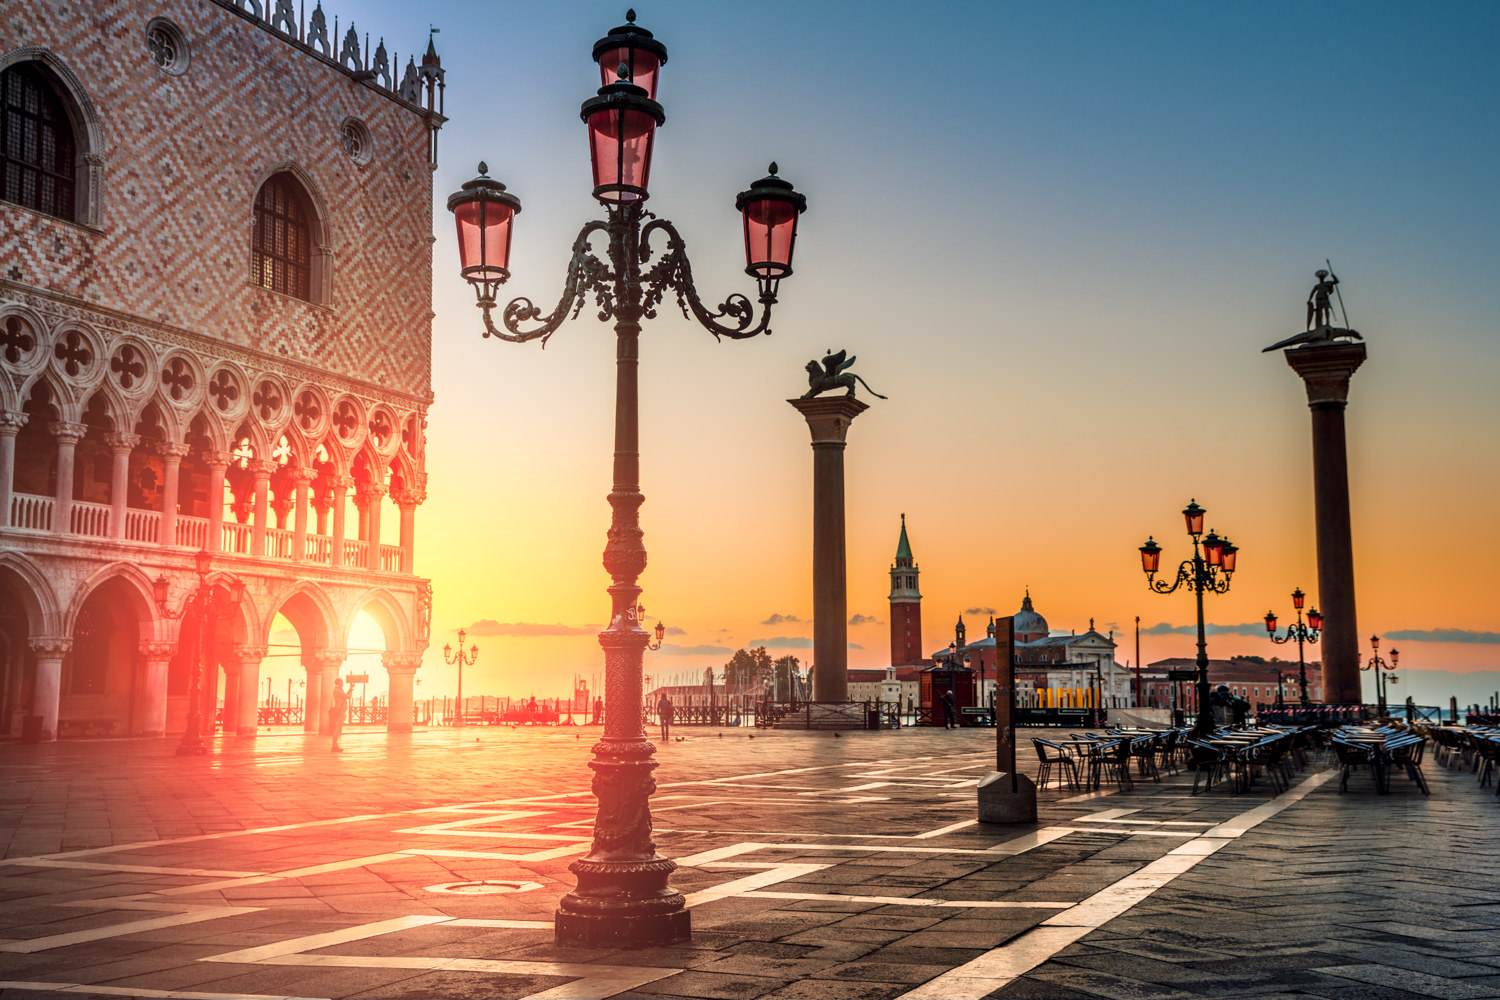
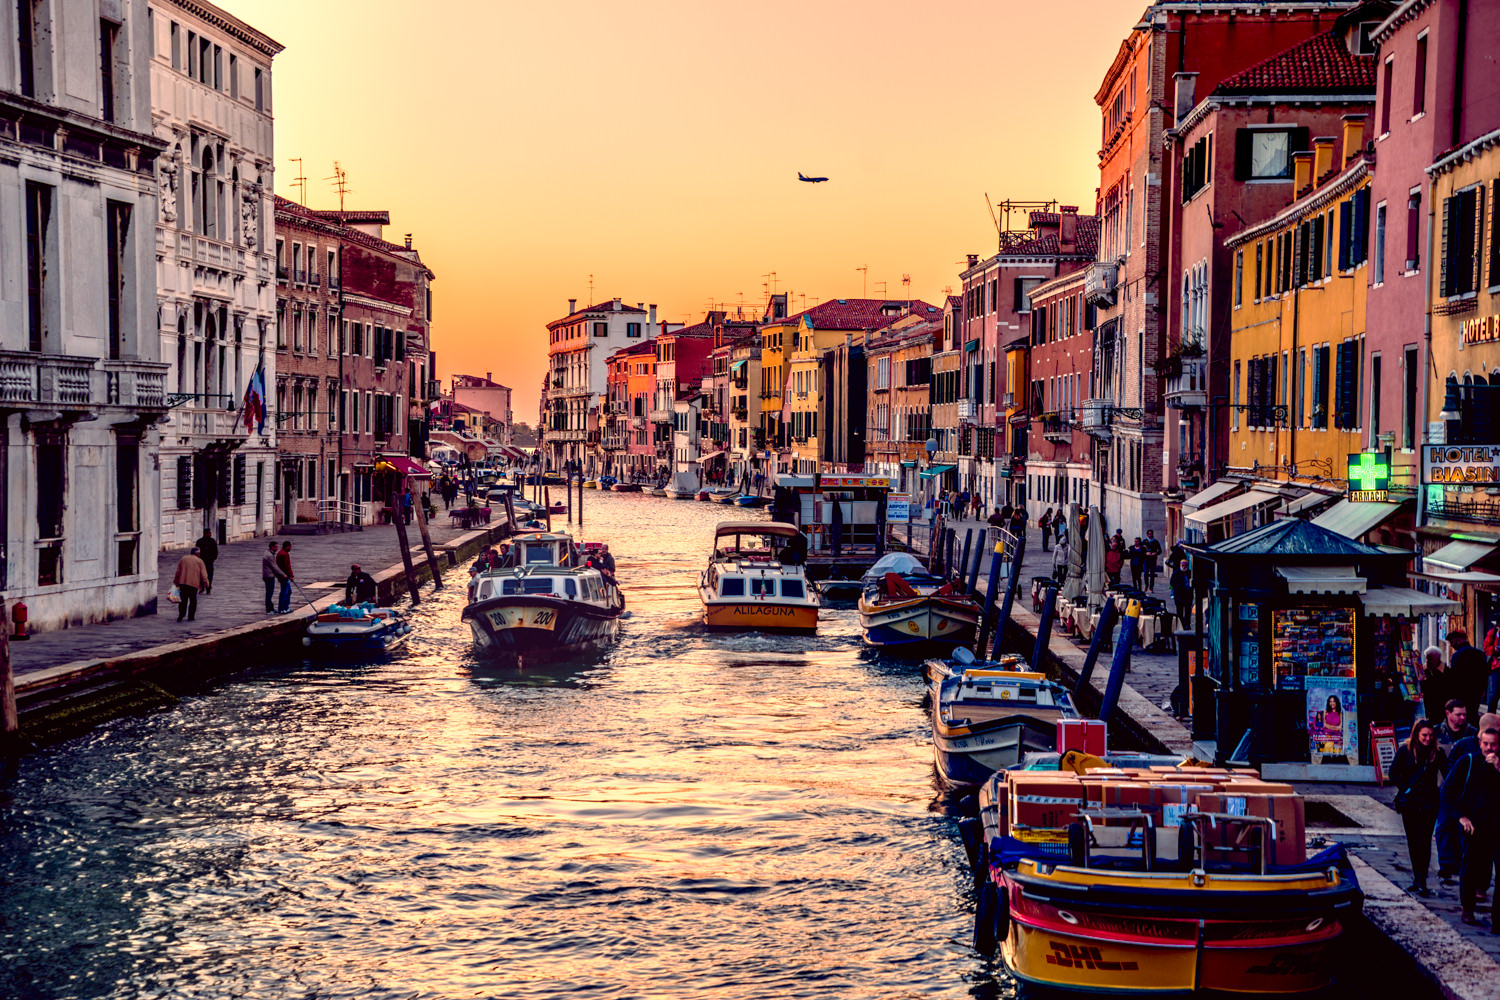
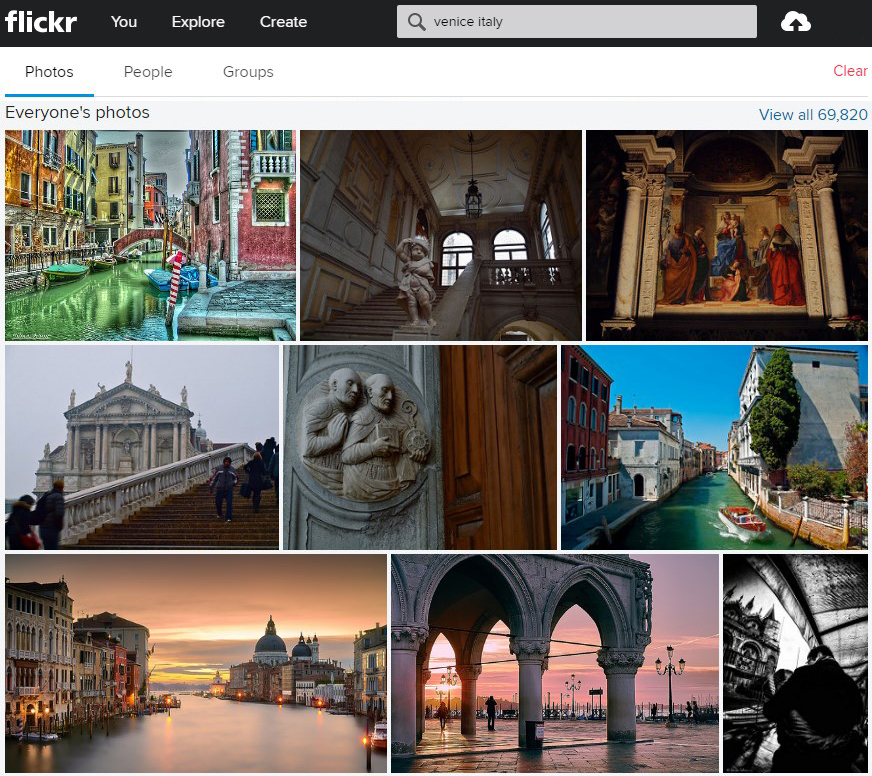
In travel photography, it can be difficult to photograph locations filled with tourists, but nevertheless, we want to get amazing photos of the great places on this earth, which often happens to be filled with tourists.In this article, I will give you some tips on how you can photograph places with a lot of tourists and get incredible results. I will be using my trip to Venice as an example throughout the article.
Before You Go
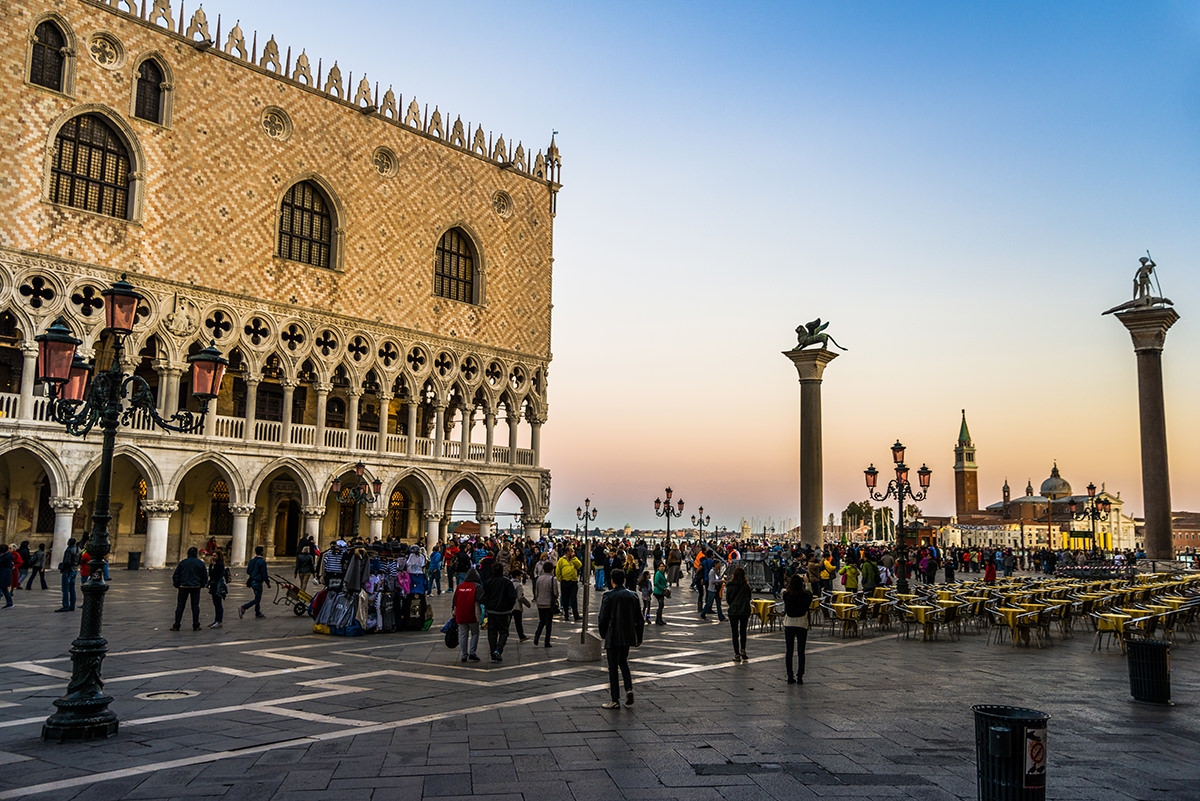
If you plan to visit popular tourist destinations and look to do a lot of photography I highly recommend that you go off-season, when there are fewer tourists. In Europe, the high season will be during the summer months for most places, and therefore it is preferable to visit sometime else during the year. Depending on the location the months just before or after summer can be great to visit but also during the colder months. By choosing seasons with low numbers of tourists you will find it much easier to photograph places without getting tourists in the frame anywhere you point your camera. I went to Venice in October which turned out to be a great decision, the weather was nice with temperatures reaching twenty degrees celsius (still needed warm clothes for sunrises and sunsets) and primarily there were considerably fewer tourists compared to the summer months.

You also need to bring a suitable camera equipment depending on what you will be photographing, Besides from your camera I recommend that you at least bring a normal zoom lens and if you have, a wide angle and telephoto lens. If the normal zoom lens doesn’t have an aperture of f/2,8 you could consider bringing a normal prime lens as well. For my style of photography a tripod is invaluable, so I recommend bringing that as well if you are going to do anything else than shooting in daylight, which I strongly encourage for many reasons (more on that later). In Venice, I almost exclusively used my 24-70mm f/2,8 on my Nikon D800 which was a great setup that worked for street photography, cityscapes, and various other shots.
If you haven’t already been to the location you are going to you should also research what places are good for photography. Sites like 500px.com are great to get inspiration from. Knowing what places to visit before you go can save you a lot of time and effort when you arrive and will, of course, help you find good places to photograph.

Shooting beautiful places and avoiding tourists
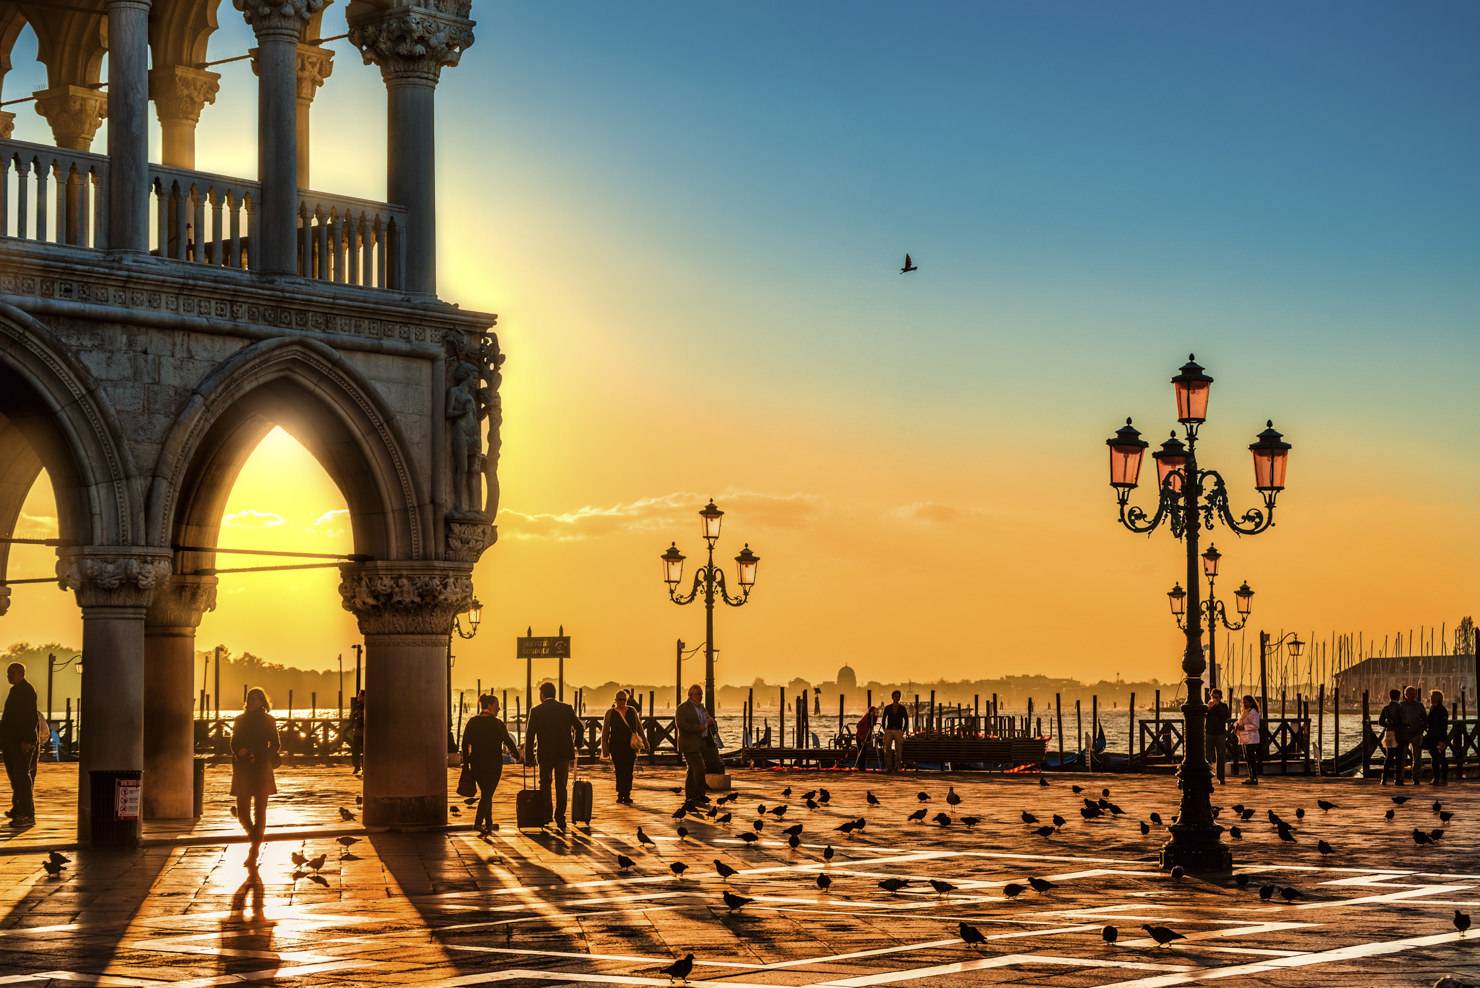
If you want to get fantastic photos of usually crowded places a quite obvious solution is to go when the place is empty, luckily this is usually the same time that the light is the most beautiful, only drawback being that your sleep might suffer. Sunrise is a great time to capture places that are usually packed full of tourists since most of them still will be sleeping and the light usually is perfect. I recommend that you wake up with enough time to arrive at the place you plan to photograph (know where you are going in advance and stick to one place per sunrise) and still have some time to set up before the sun actually rises, and sometimes you can find some great photos just before sunrise. This might mean that you have to wake up as early as 05.00 in some cases, but trust me, it’s worth it.
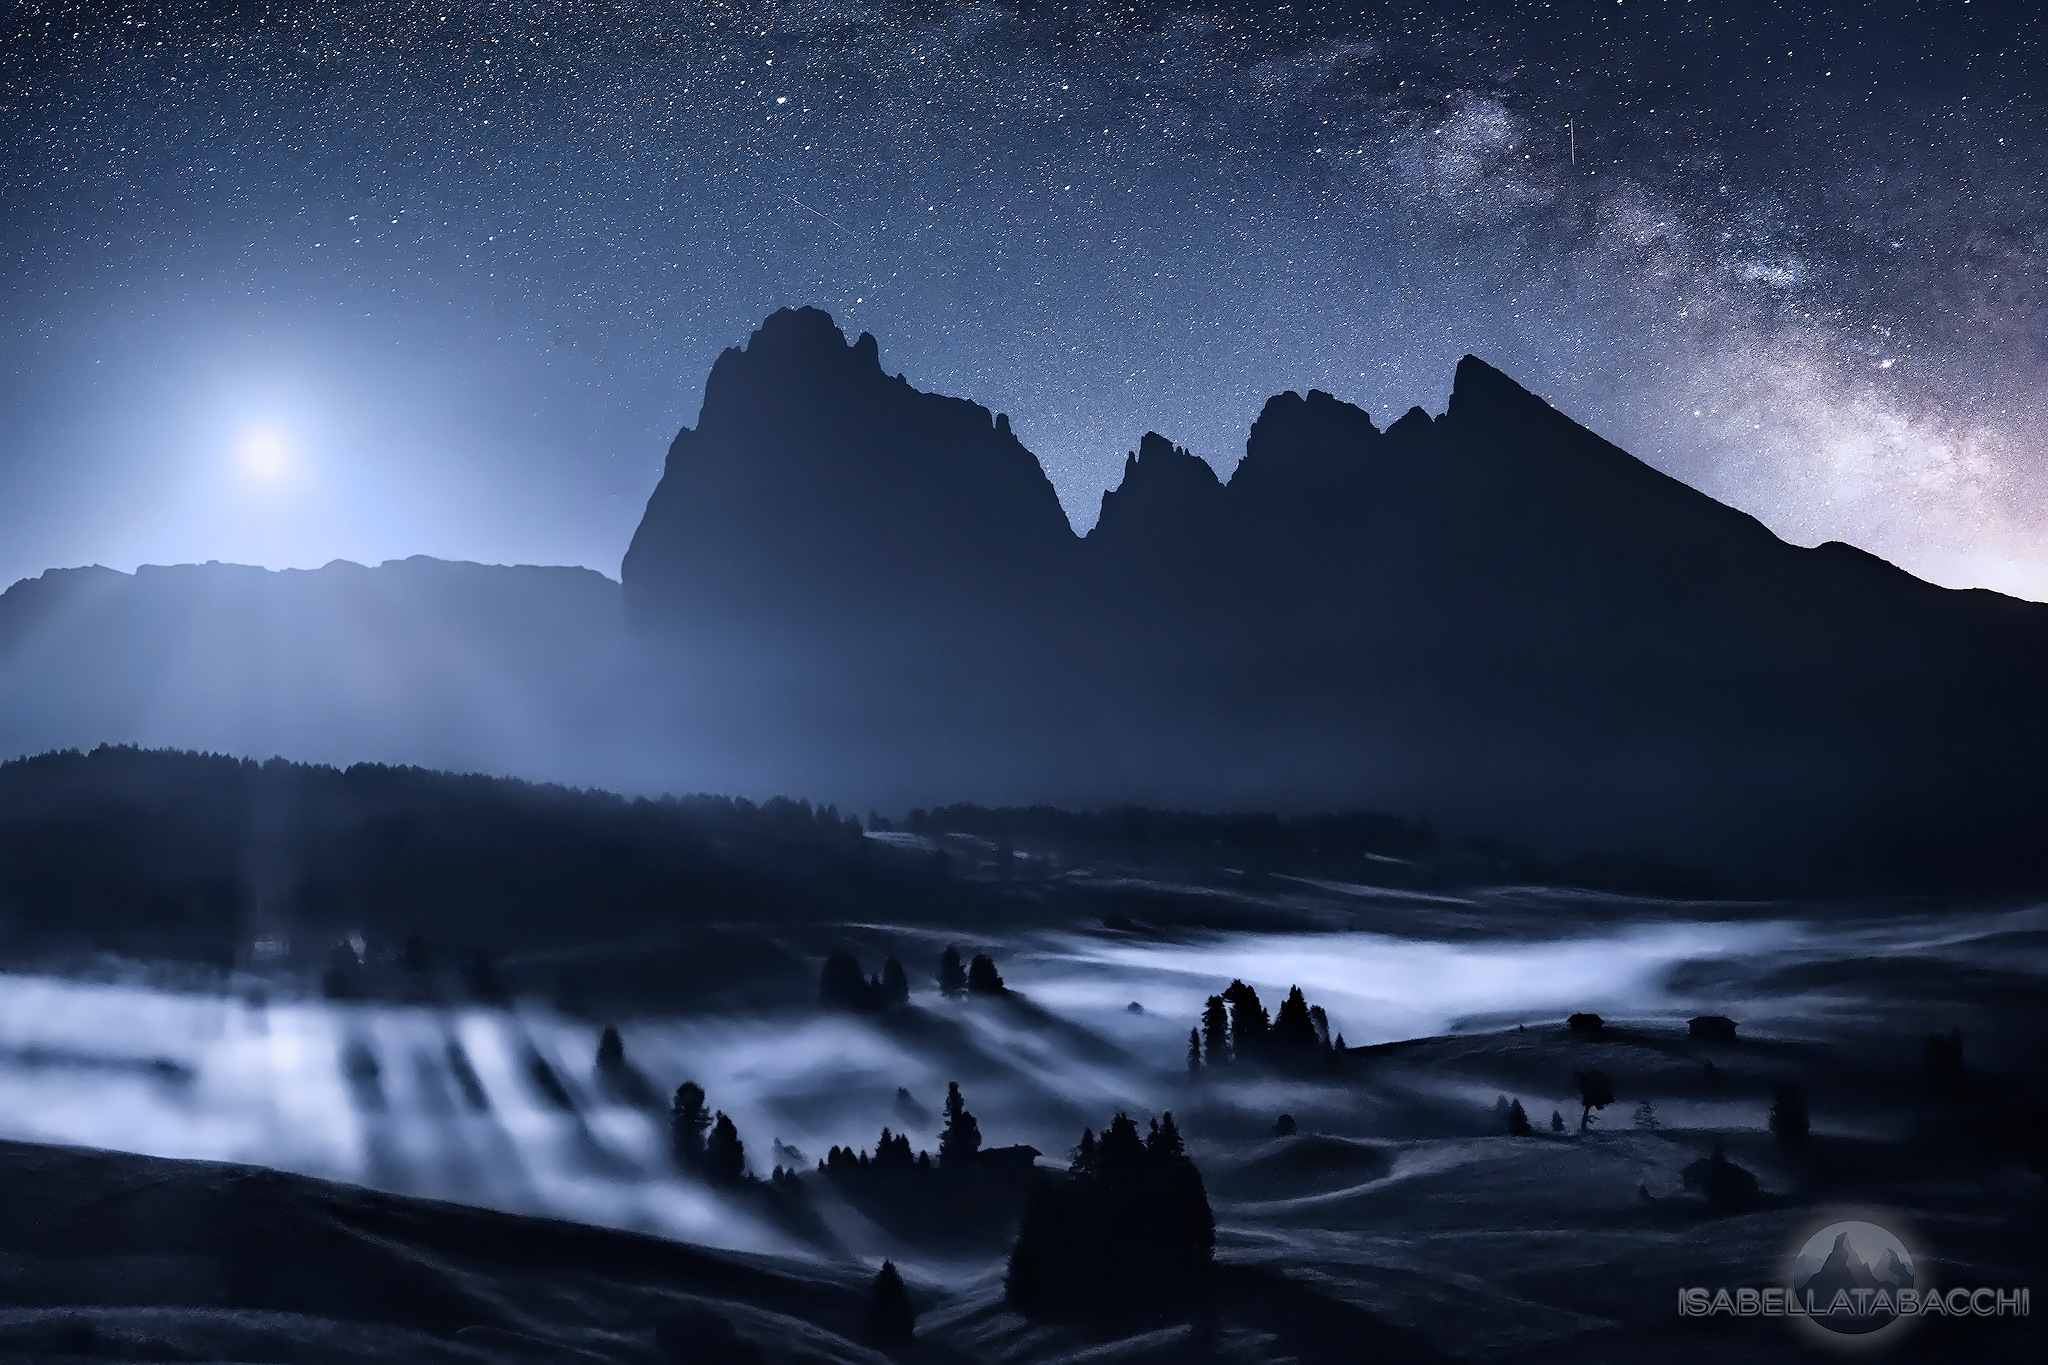
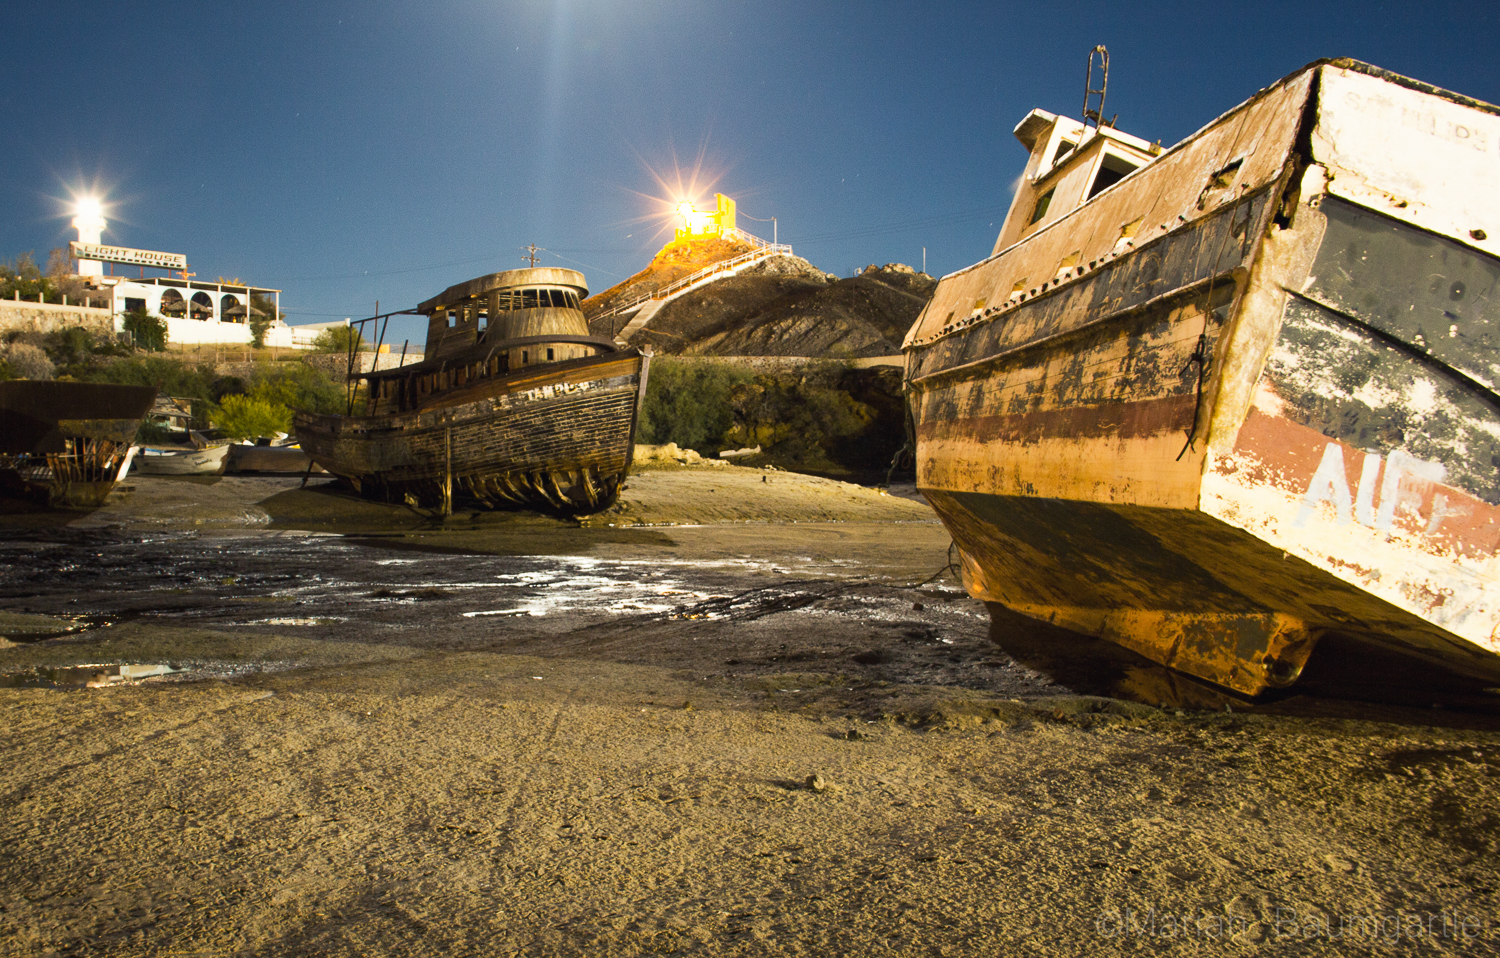
Another alternative is to photograph places at night using long exposures, this will, of course, yield an entirely different look to the photo and the risk of tourists will be entirely eliminated (for the most part at least).

If you are staying in the same place for a while it can be a good idea to come back to a place several times if you are not happy with the photos at first. Maybe you wanted to capture a fantastic sunset looking out over a city but when the time comes your sunset is ruined by a thick layer of clouds. In this case, you might be able to come back the next day and get a fantastic photo.
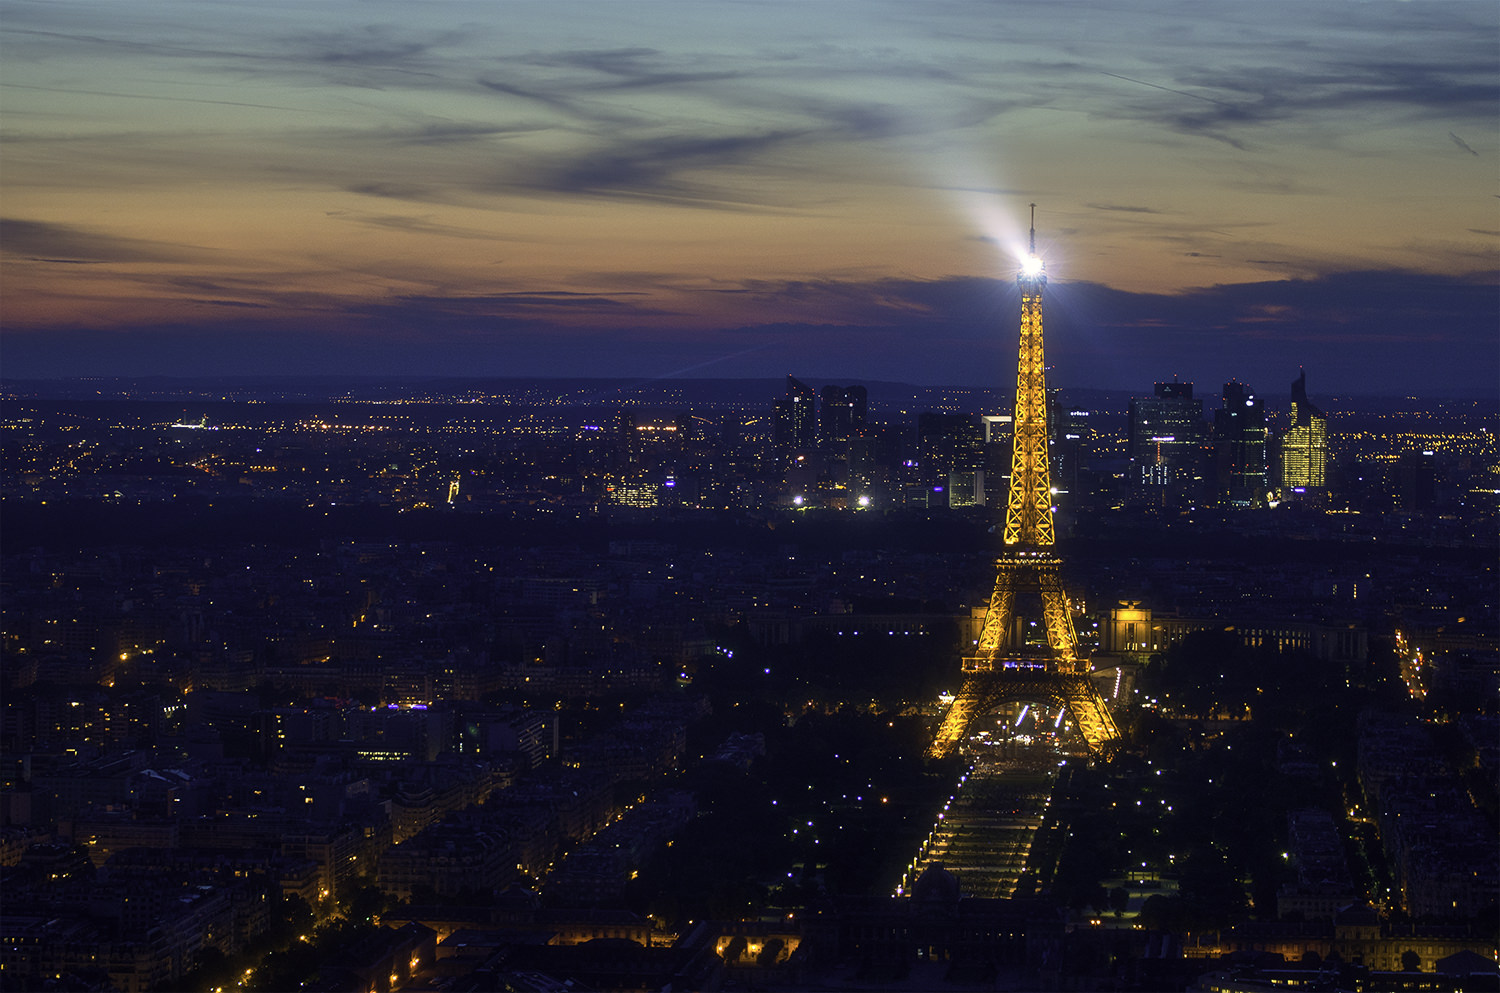
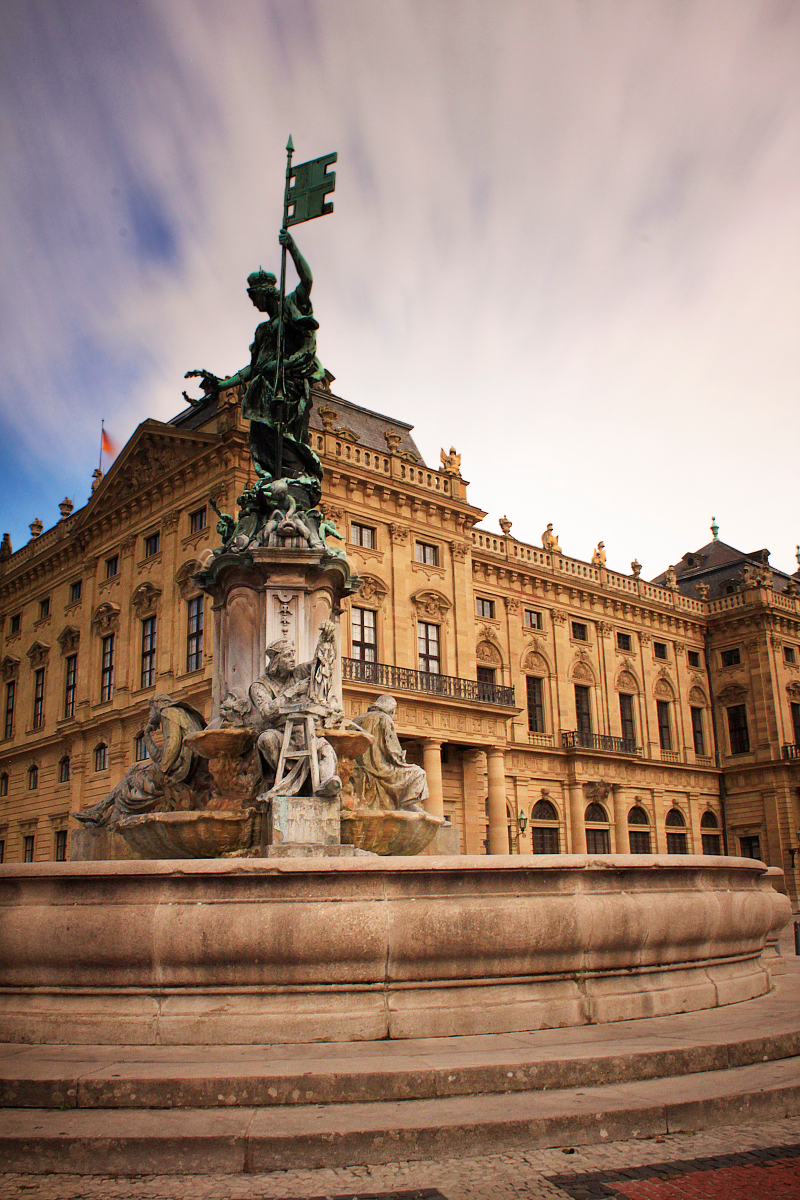
Another important photography tip is to be patient. Try not to be frustrated when a couple of selfie stick-wielding tourists are blocking your perfect shot of the Rialto Bridge, but rather set up your tripod, frame the picture and be ready to press the shutter as soon as they move out of the way. This is relevant not just when waiting to get a clear shot but also while waiting for the light to change for the better, I once stood for two straight hours on the top of Tour Montparnasse in Paris packed full of tourists waiting for the light to be just right so I could get the shot of the Eiffel Tower that I really wanted. Eventually, I got the shot.
Since the tourists are gathered among the most famous sites you can try your luck exploring less known parts of a city, you might be surprised by what you can find. But when you are photographing those famous landmarks, try to improve your photography skills by doing it differently from everybody else. This can be done by finding unique angles or concentration on details among other things.
Also, you should not rely on Adobe Photoshop to fix issues there might be with your picture, like bad technique or tourists in the frame. Yes, you can do a lot in post-processing, but it is always best to start out with the best possible shot, so if there is something you are not happy with, try to fix it on location. But don’t forget that if it’s done right it can be really interesting to have people in your images as well.

If there really are too many tourists that won’t be moving out of the way at any time soon (and you can’t come back later) you can use a really dark ND-filter to achieve a very long exposure, which will make the tourists disappear, as long as they are not standing still.
16. Avoid Cliche Travel Shots
Isn’t it funny that you always see the hundreds of other photographers standing in the same spot? Having other photographers around doesn’t mean you can’t get a unique image. Just, avoid standing where they are.
As you do your travel photography research, pay attention to what the cliche images are! Otherwise, how would you know what to avoid? You should also plan out some shot ideas to avoid the cliches. Of course, this is not meant to be a hard schedule, it should be a guideline, something to adjust if needed. Some travel photographers prefer to wait until they are in a new place to figure out the story. This way, it is a more natural process. Even so, doing research beforehand will help give you an idea what to expect. You may learn an interesting fact that could change the way you shoot in a location. Before going to Porto, I learned JK Rowling wrote the first Harry Potter book while living in the city. This changed the way I walked around the city. I found small details of buildings I could reference back to the Harry Potter books. It was so much fun! If I hadn’t done the research, I may not have known this fact until after I left. As a photographer and Harry Potter fan, this would have been frustrating and heart-breaking!
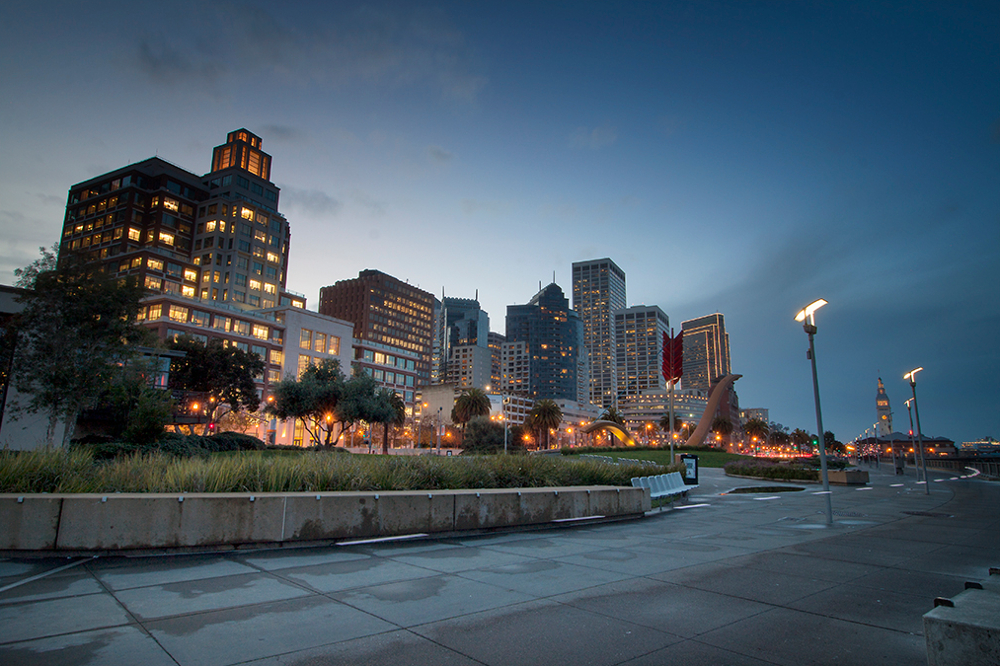
17. Golden Hour
The time of day you shoot can be the difference between a hobbyist and full-time pro. How often do you see people shooting iconic landmarks smack in the middle of the day? D’oh! If you were there at the right time of day, you would have a higher quality image. Shoot the hour after sunrise and the hour before sunset. During the day when the sun is brightest, shoot indoors or be aware where the sun is. Using a reflector can help reflect light where you want it to go.
18. Walk Around
First, assess the scene. What do you see? What do you want to capture? Take a nice walk around the scene. Search for interesting angles or actions happening. What does this subject look like from the side? Look up, look for ways to shoot down. Walk across the street and see what it looks like far away versus up close. Try shooting a few frames and see how they come out. How can you improve them? Does the image tell a story? It can be a good idea to walk away from the subject for a while as explore something new. Come back to it another time (if timing permits) with fresh eyes. This can change your perspective.
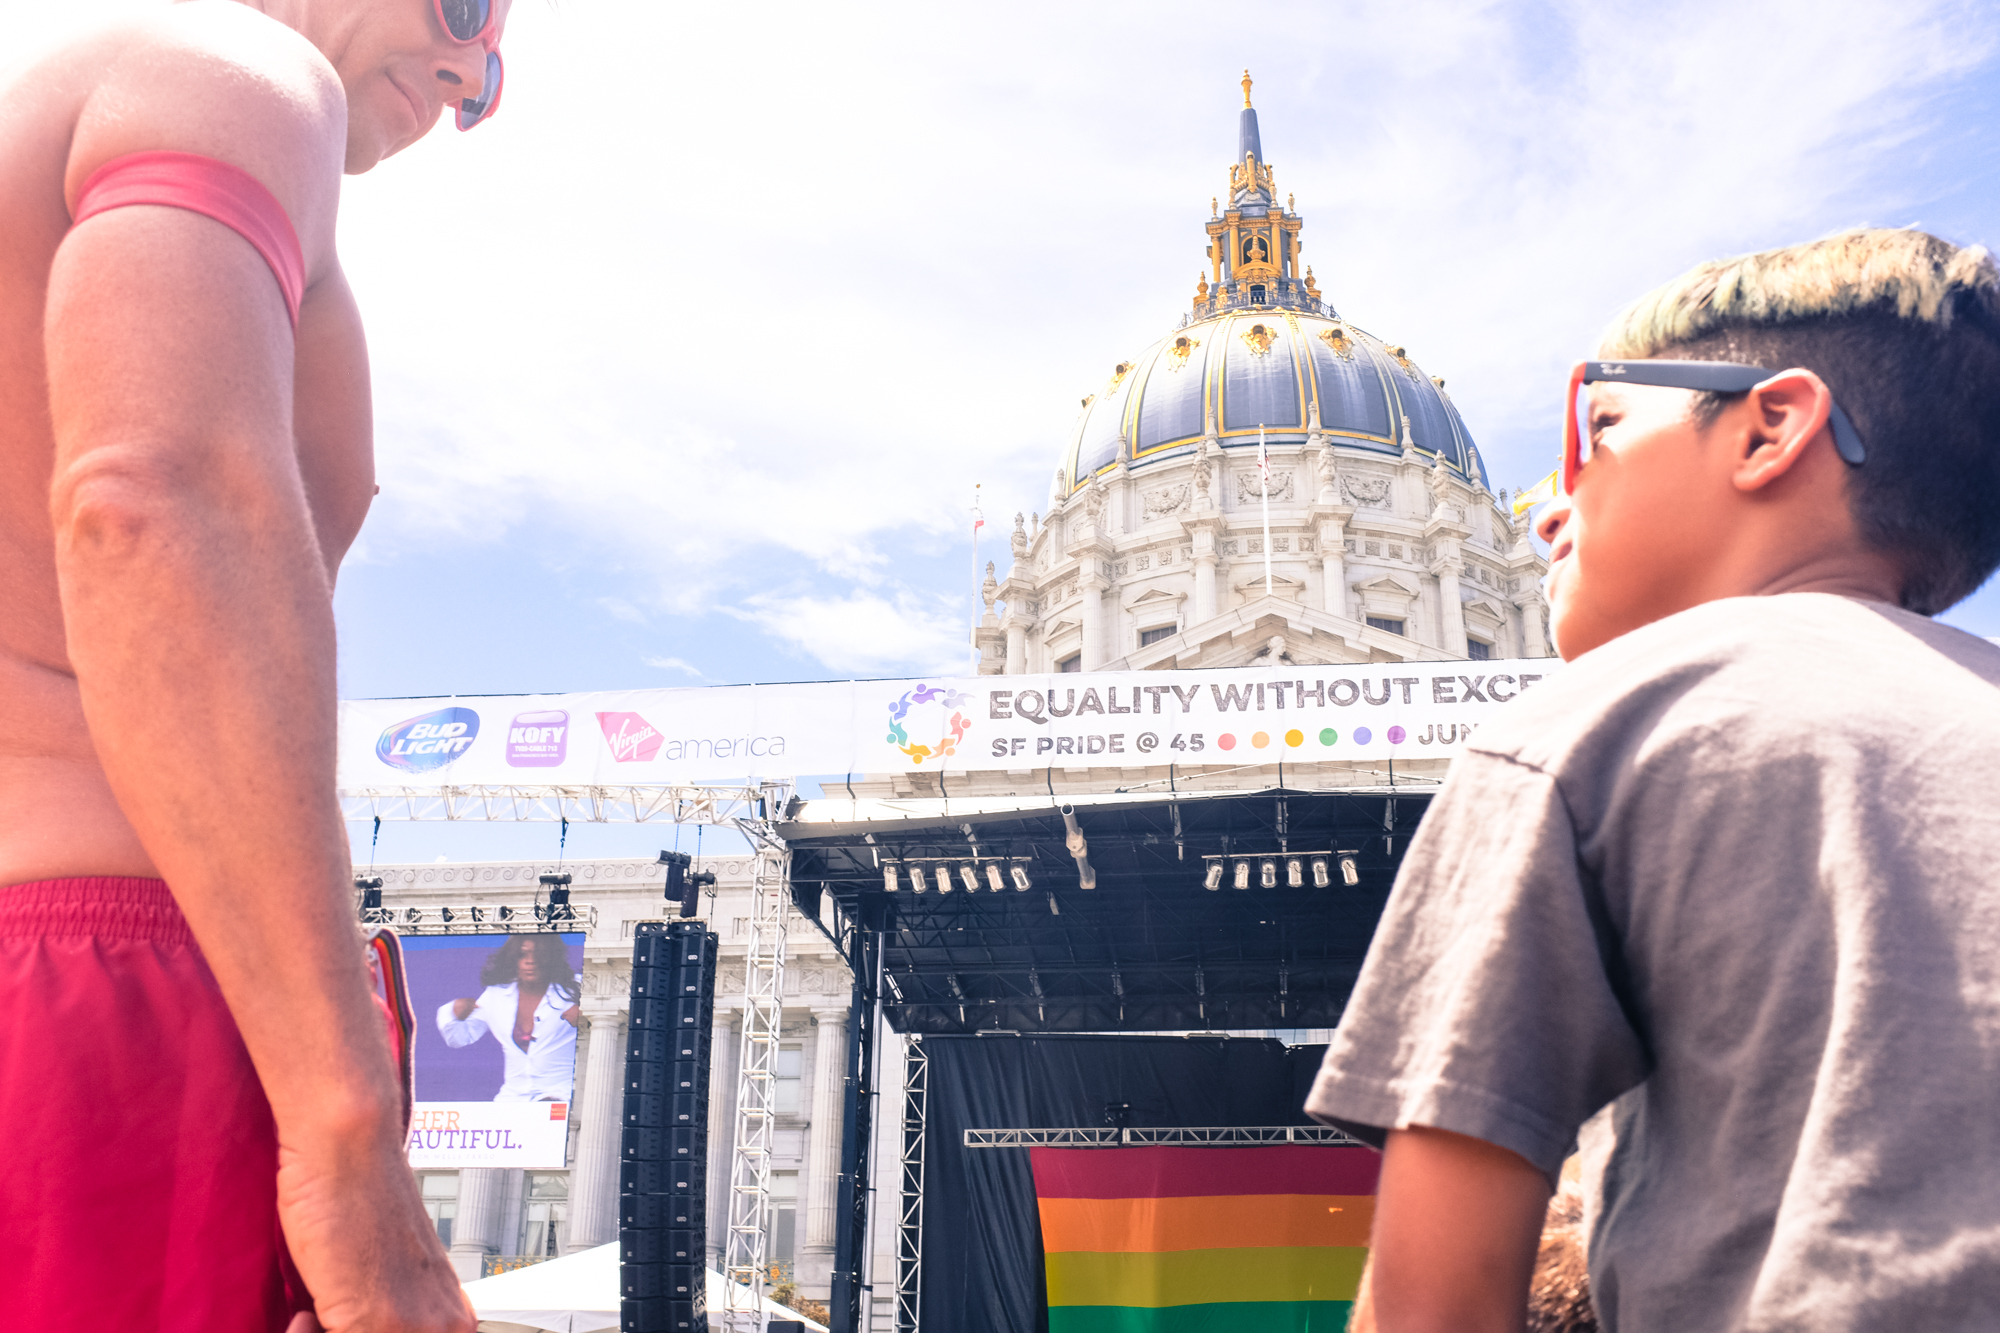
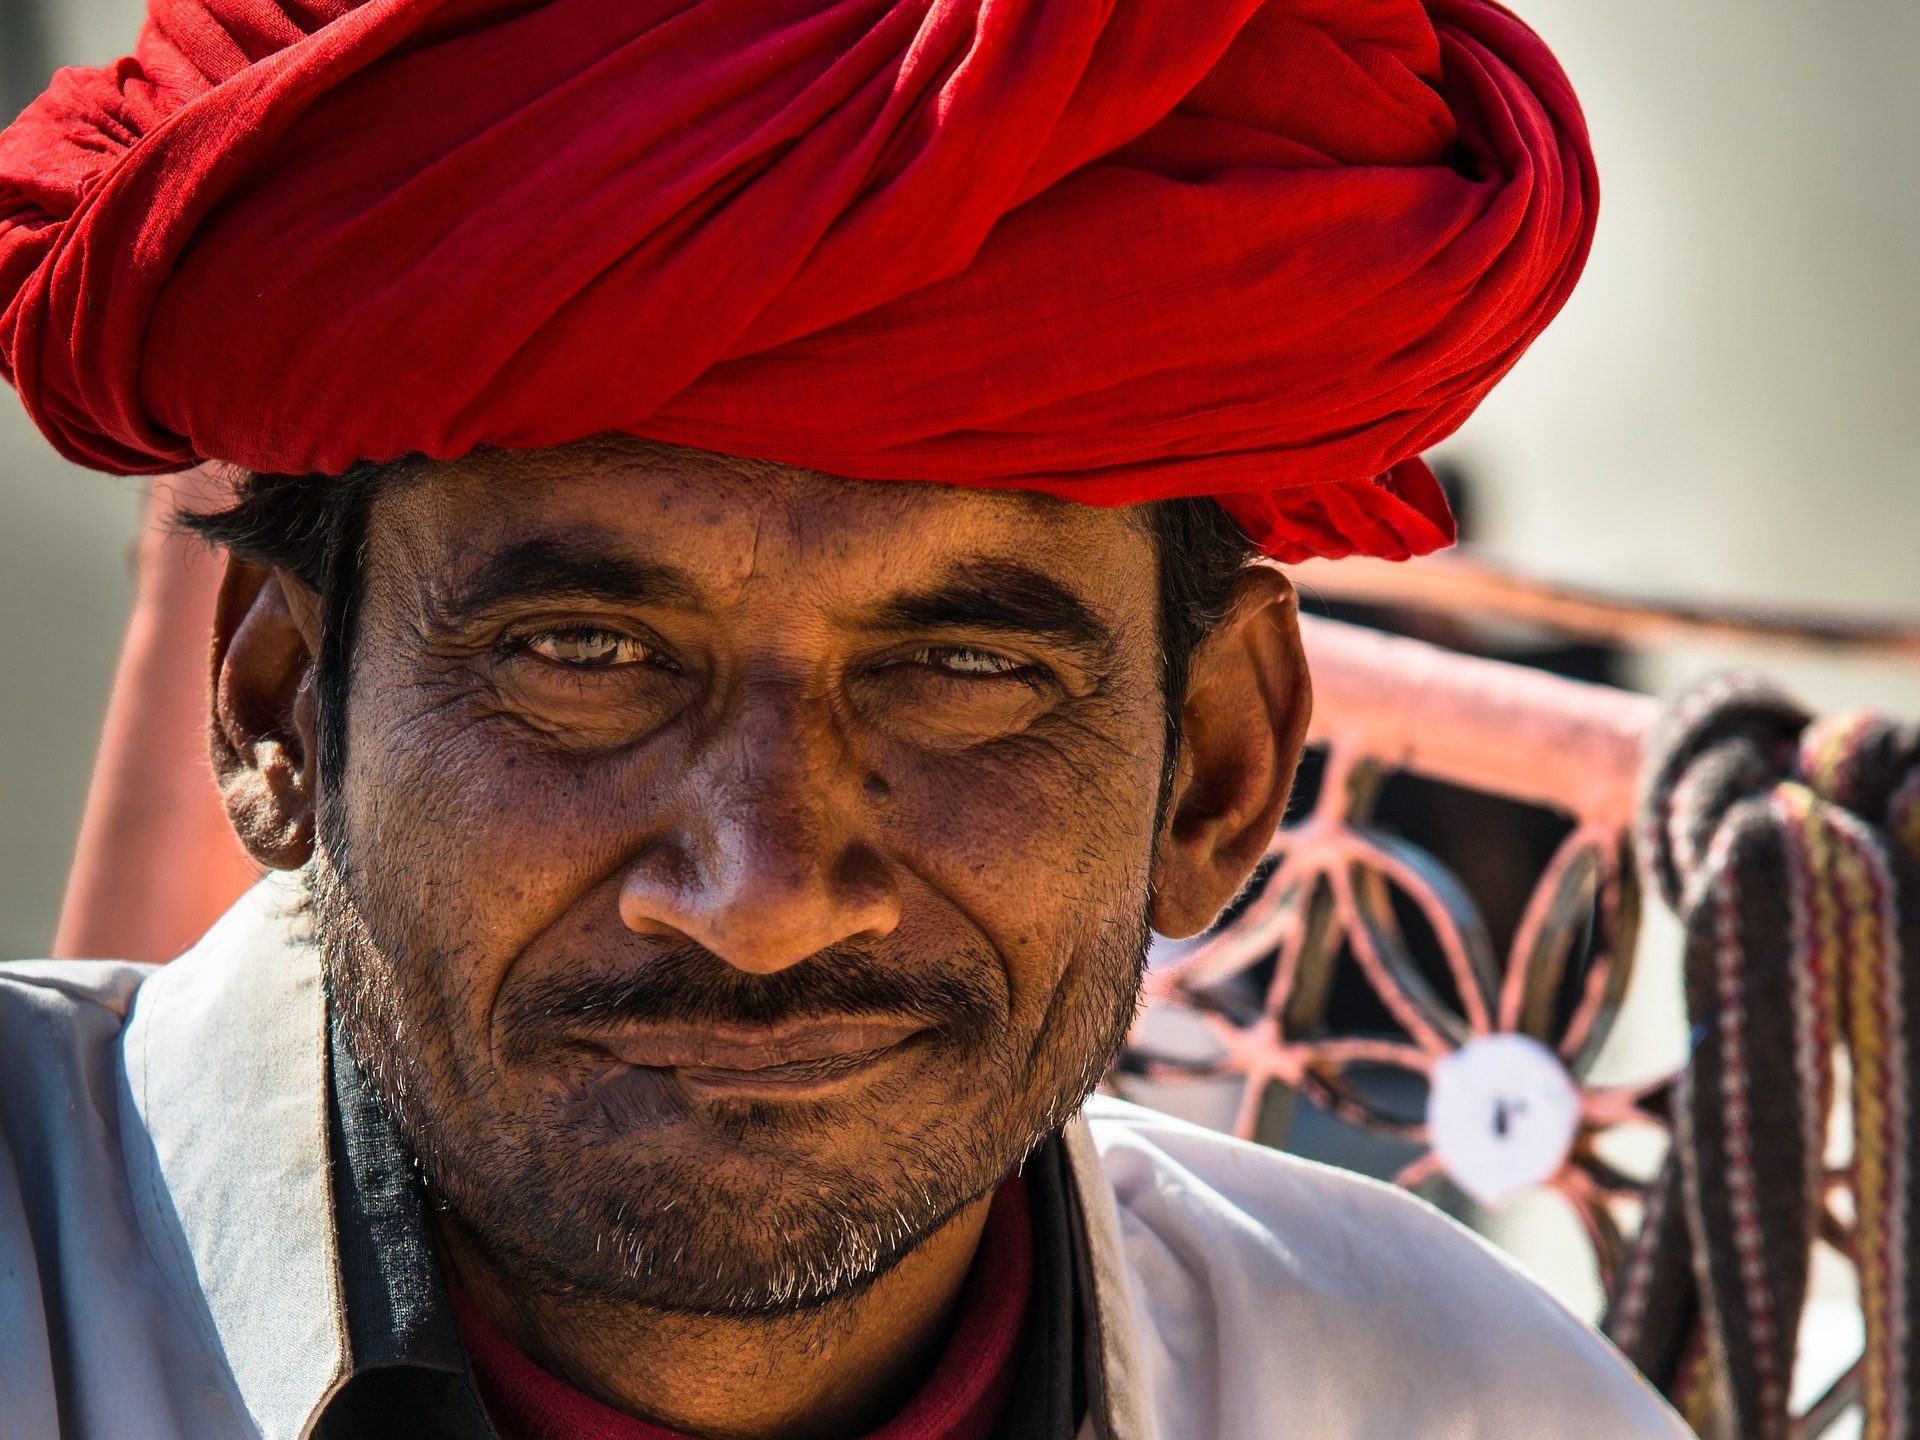
19. Shoot a Portrait
Try finding someone interesting who would be willing to let you shoot a portrait of them. If you are near a famous landmark, this will be easy. Everyone enjoys a good photo of themselves, even more in front of a famous location. Play with aperture camera setting, blur out the landmark. It’s interesting the Eiffel Tower blurred in the background. Most would make it the main focus. Maybe it is an interaction between people or a candid unposed image. That will give you a unique spin on that location. Moments are singular and will never again occur in exactly the same way.
20. Shoot Daily Life
Expanding on the above, try to create a sort of environmental street portrait. Look for a scene which speaks to the emotion of the place. It could be an interaction between a local couple, or a street vendor and tourists. Add the element of the landmark to your background to give it a sense of place. You will tell a story of daily life in this location, in a more interesting way than just each element on its own.
Avoiding cliche shots in travel photography is not difficult to do. Even though there are other photographers around, you can still walk away with a unique image. All you need is a plan and to do your research. Learn what to avoid and brainstorm how to avoid it. Take a nice walk around, get to know the locals, ask questions. A new world will open up before you if you just start a conversation and take an interest in the people and culture. This care and emotion reflect in the images. You’ll walk away with a great story and a better image.
With some proper planning and forethought, following your passion for foreign lands can be a possibility!
Travel photography is the ultimate dream job. Flying around the world, shooting beautiful locations and fun events. While this is the case, there is so much more work to this industry than it would seem. Travel photography is not always glamorous and can involve sleep deprivation, exotic illnesses, and lonely trips. However, if you are still passionate and committed to joining this industry, following the below steps will help you in your journey.
21. Do Your Research
Become an expert in how the industry works. Read all the magazines, bookmark all the blogs, and follow the major writers. Knowing how all the details work will help you and begin crafting your own stories and pitches. Figure out what you can contribute that makes you unique. Even better, find a mentor who is willing to help you along your journey. Either way, do as much research as you can to make sure this is what you want to jump into. And once you’ve made that choice, jump in full throttle. This industry requires commitment, determination, and true passion.
Websites like CreativeLive, Lynda.com, and Skillshare all have photography classes featuring travel photography. Watch them all. Watch the National Geographic Art of Travel Photography course. There will always be opportunities to learn something new in this field.

22. Start Local
Just because you want to pursue travel photography, doesn’t mean you need to travel far to begin. Start local, travel to some surrounding cities you don’t often visit and walk around. Learn how to compose images and frame a story. Think about who will want to buy these images or what type of story they contribute to. It’s best to have a plan mapped out, so you are sure to hit the right checkpoints. This is better to begin local anyways because this will take some time to develop. You wouldn’t want to waste money on a big trip, only to get there and realize you aren’t prepared with a plan.
23. Write
These days it seems most photographers also provide written content with their photographs. This is, of course, dependent on the publication and the photographer. If you are working with a larger publication, more than likely they will send a writer along with you. But, for the smaller publications and online blogs, pitching a complete article is pretty necessary at this point. If you think you will never be a good writer, think again. Writing just takes practice, like any other skill. Like photography. Put in the time to do some write ups with your images and either post them on your blog or pitch them to other blogs. You’ll find that this skill builds up quick, and in no time you’ll be writing cohesive, intelligent articles. Use a grammar editing program like Grammarly or Hemmingway to help when editing your work. These services are great for understanding basic grammar and sentence construction.
24. Build a Portfolio
It’s important to have an online portfolio as well as a social media presence. I’ve heard countless photographers talk about jobs they’ve gotten on platforms like Instagram. Social media is also great for building a large audience and becoming an influencer. That alone will get the attention of major brands since your images will reach such a wide audience. You’ll also want to have an online portfolio to showcase your work in a more formal way. Keep it simple, just a basic slideshow of images, and make sure it speaks to your desired market. Showing a wide variety of work may look nice, but it won’t have a brand convinced you are the best candidate for them. Don’t overflood the portfolio either. Maintain a few categories within your market, with no more than 15 images in each. Be selective here, only the strongest images should make it. Including a clear contact page, fun about page and blog are also great ways to show your personality.

25. Pitch Ideas
Now that you’ve created some stories, story ideas, and a portfolio, you are ready to pitch. Local publications and smaller online blogs are great to start with. They will more likely give you a chance and pay (although not a lot) for your articles. This way, you are gaining experience, building a writing portfolio, and making some cash. Once you have more articles and experience built up, you can reach higher for larger audiences. Don’t get deterred if this takes time. The market is competitive right now and oversaturated. This doesn’t mean you won’t find work, it just may take some time. The key to speeding up the process is practice. Keep shooting and writing and always have a plan.
26. Get on Stock Sites
One way travel photographers make money is through stock sales. Stock sites, like iStock or Getty Images, sell your images for editorial or commercial use. You get a small piece for every sale. This is great for travel photography as clients always seem to be looking for cultural images for commercial use. It’s great for the photographer as well because their images are making money behind the scenes. Make sure you are always looking for stock worthy images while out shooting. Get a good sense of what images they need and their requirements, so you won’t get rejected. Of course, there are other ways travel photographers make money, but getting started early in stock will help you build a steady income from the beginning.
There is a lot more to this industry than what’s outlined above, but this is going to get you a great base set of skills and portfolio pieces. If you are interested in further reading into travel photography, check out more Sleeklens articles and start reading travel magazines and blogs daily.
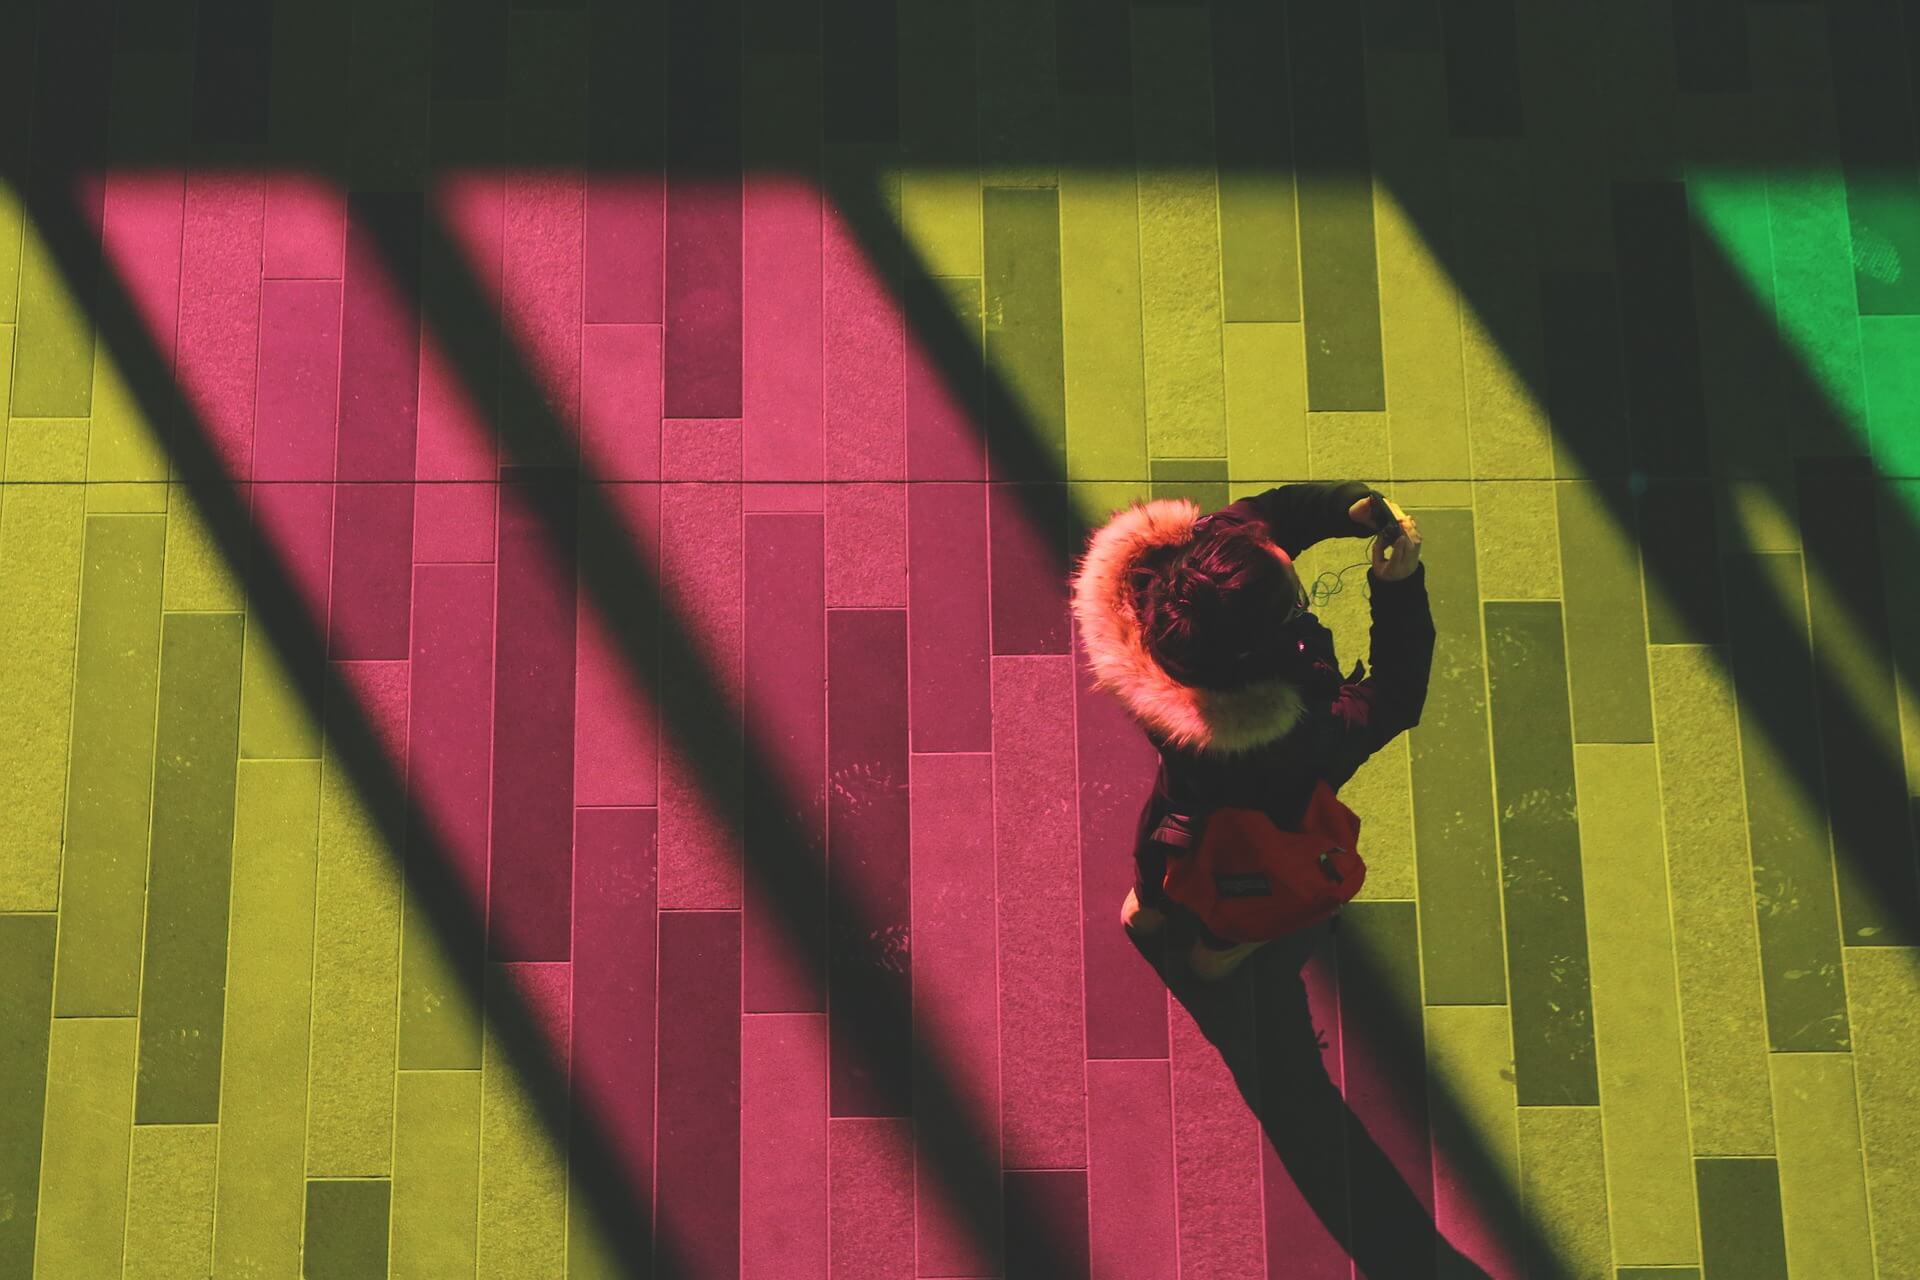
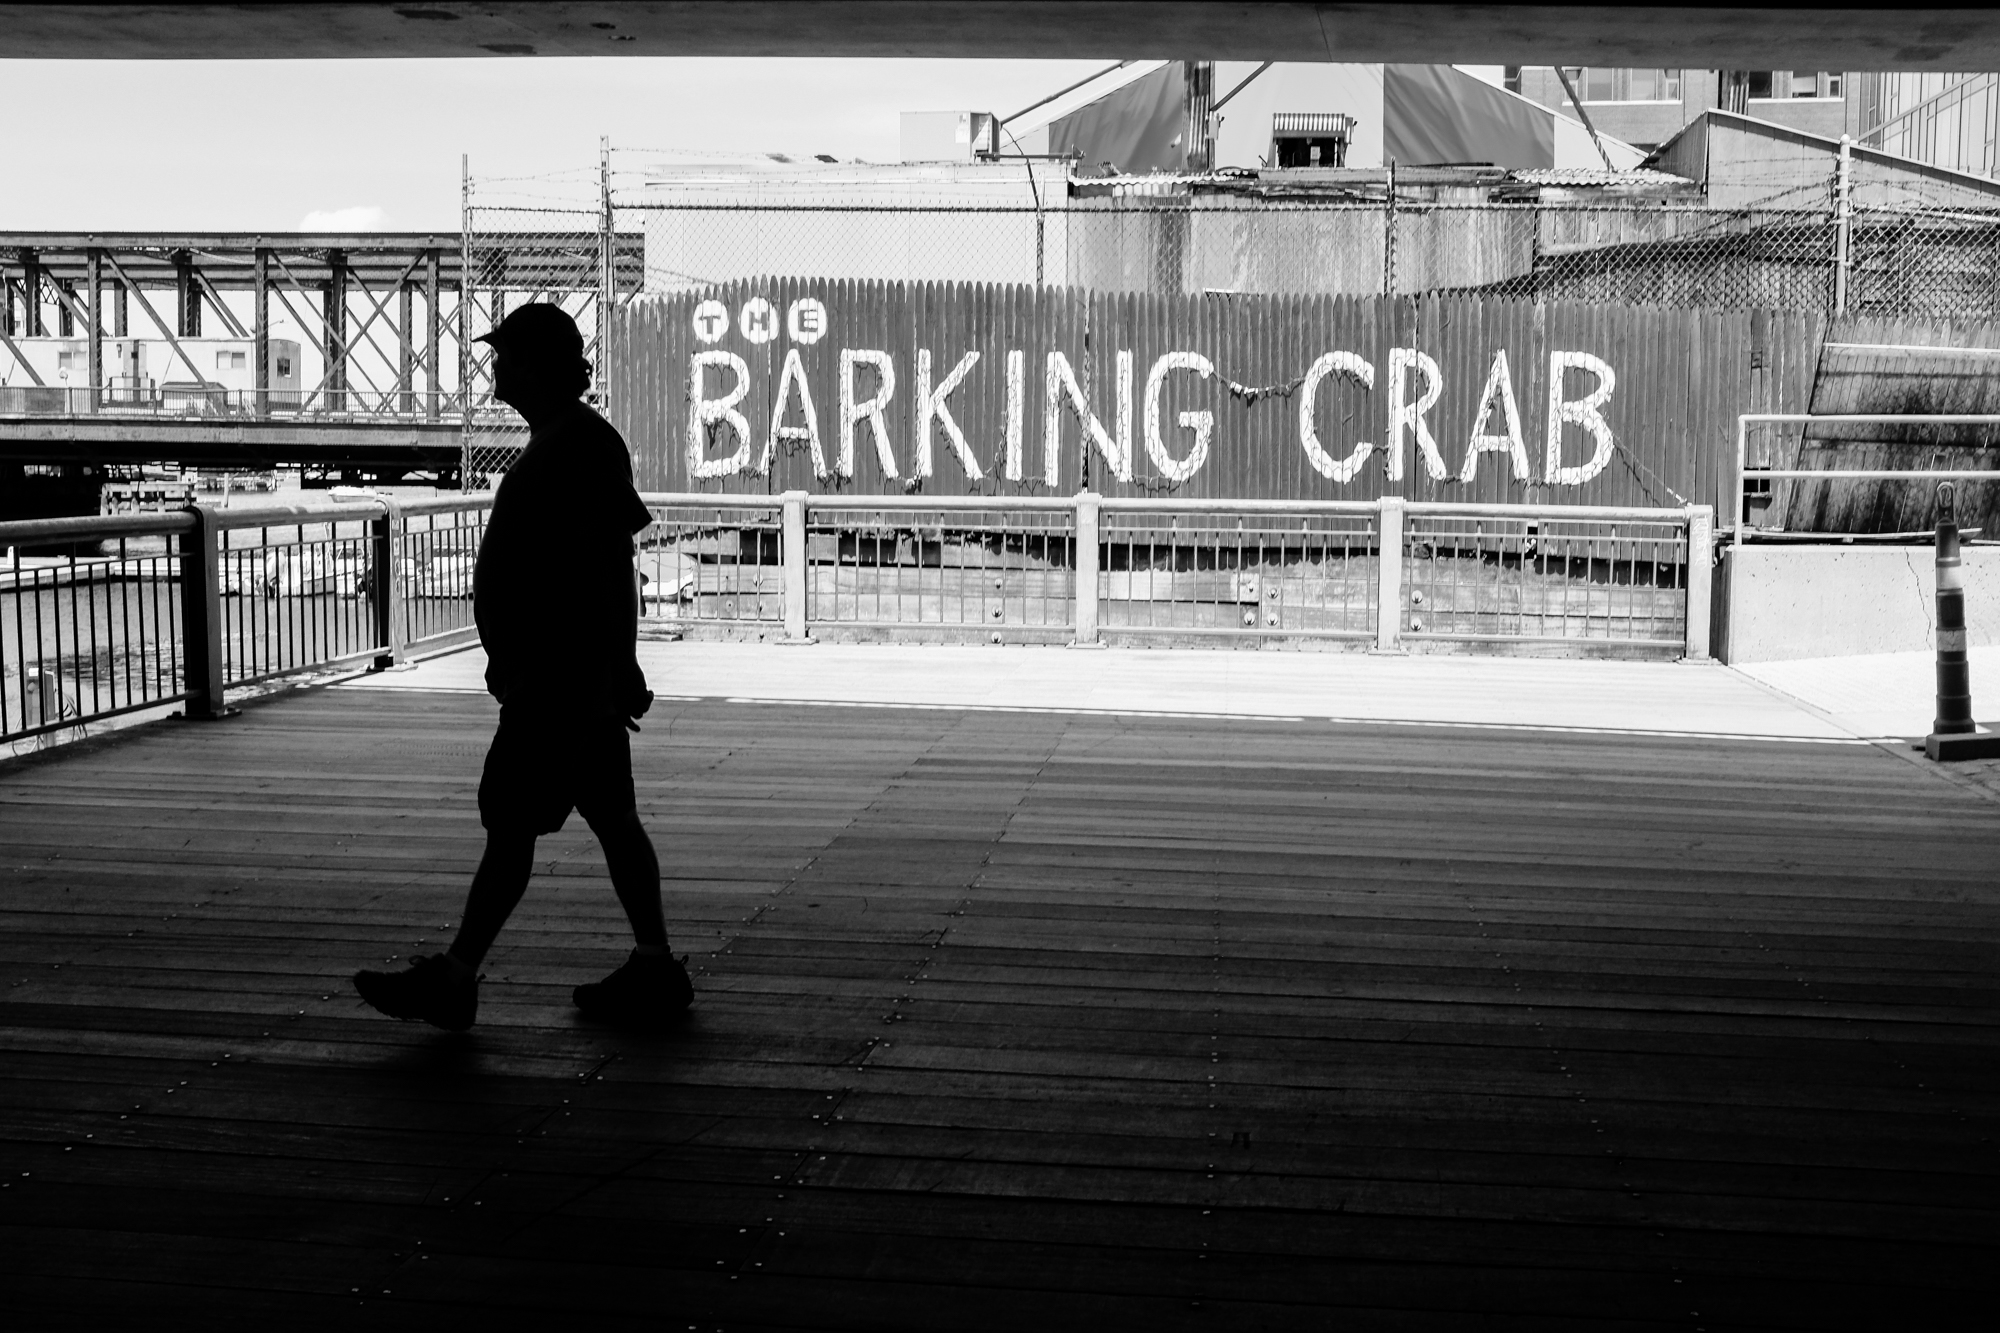
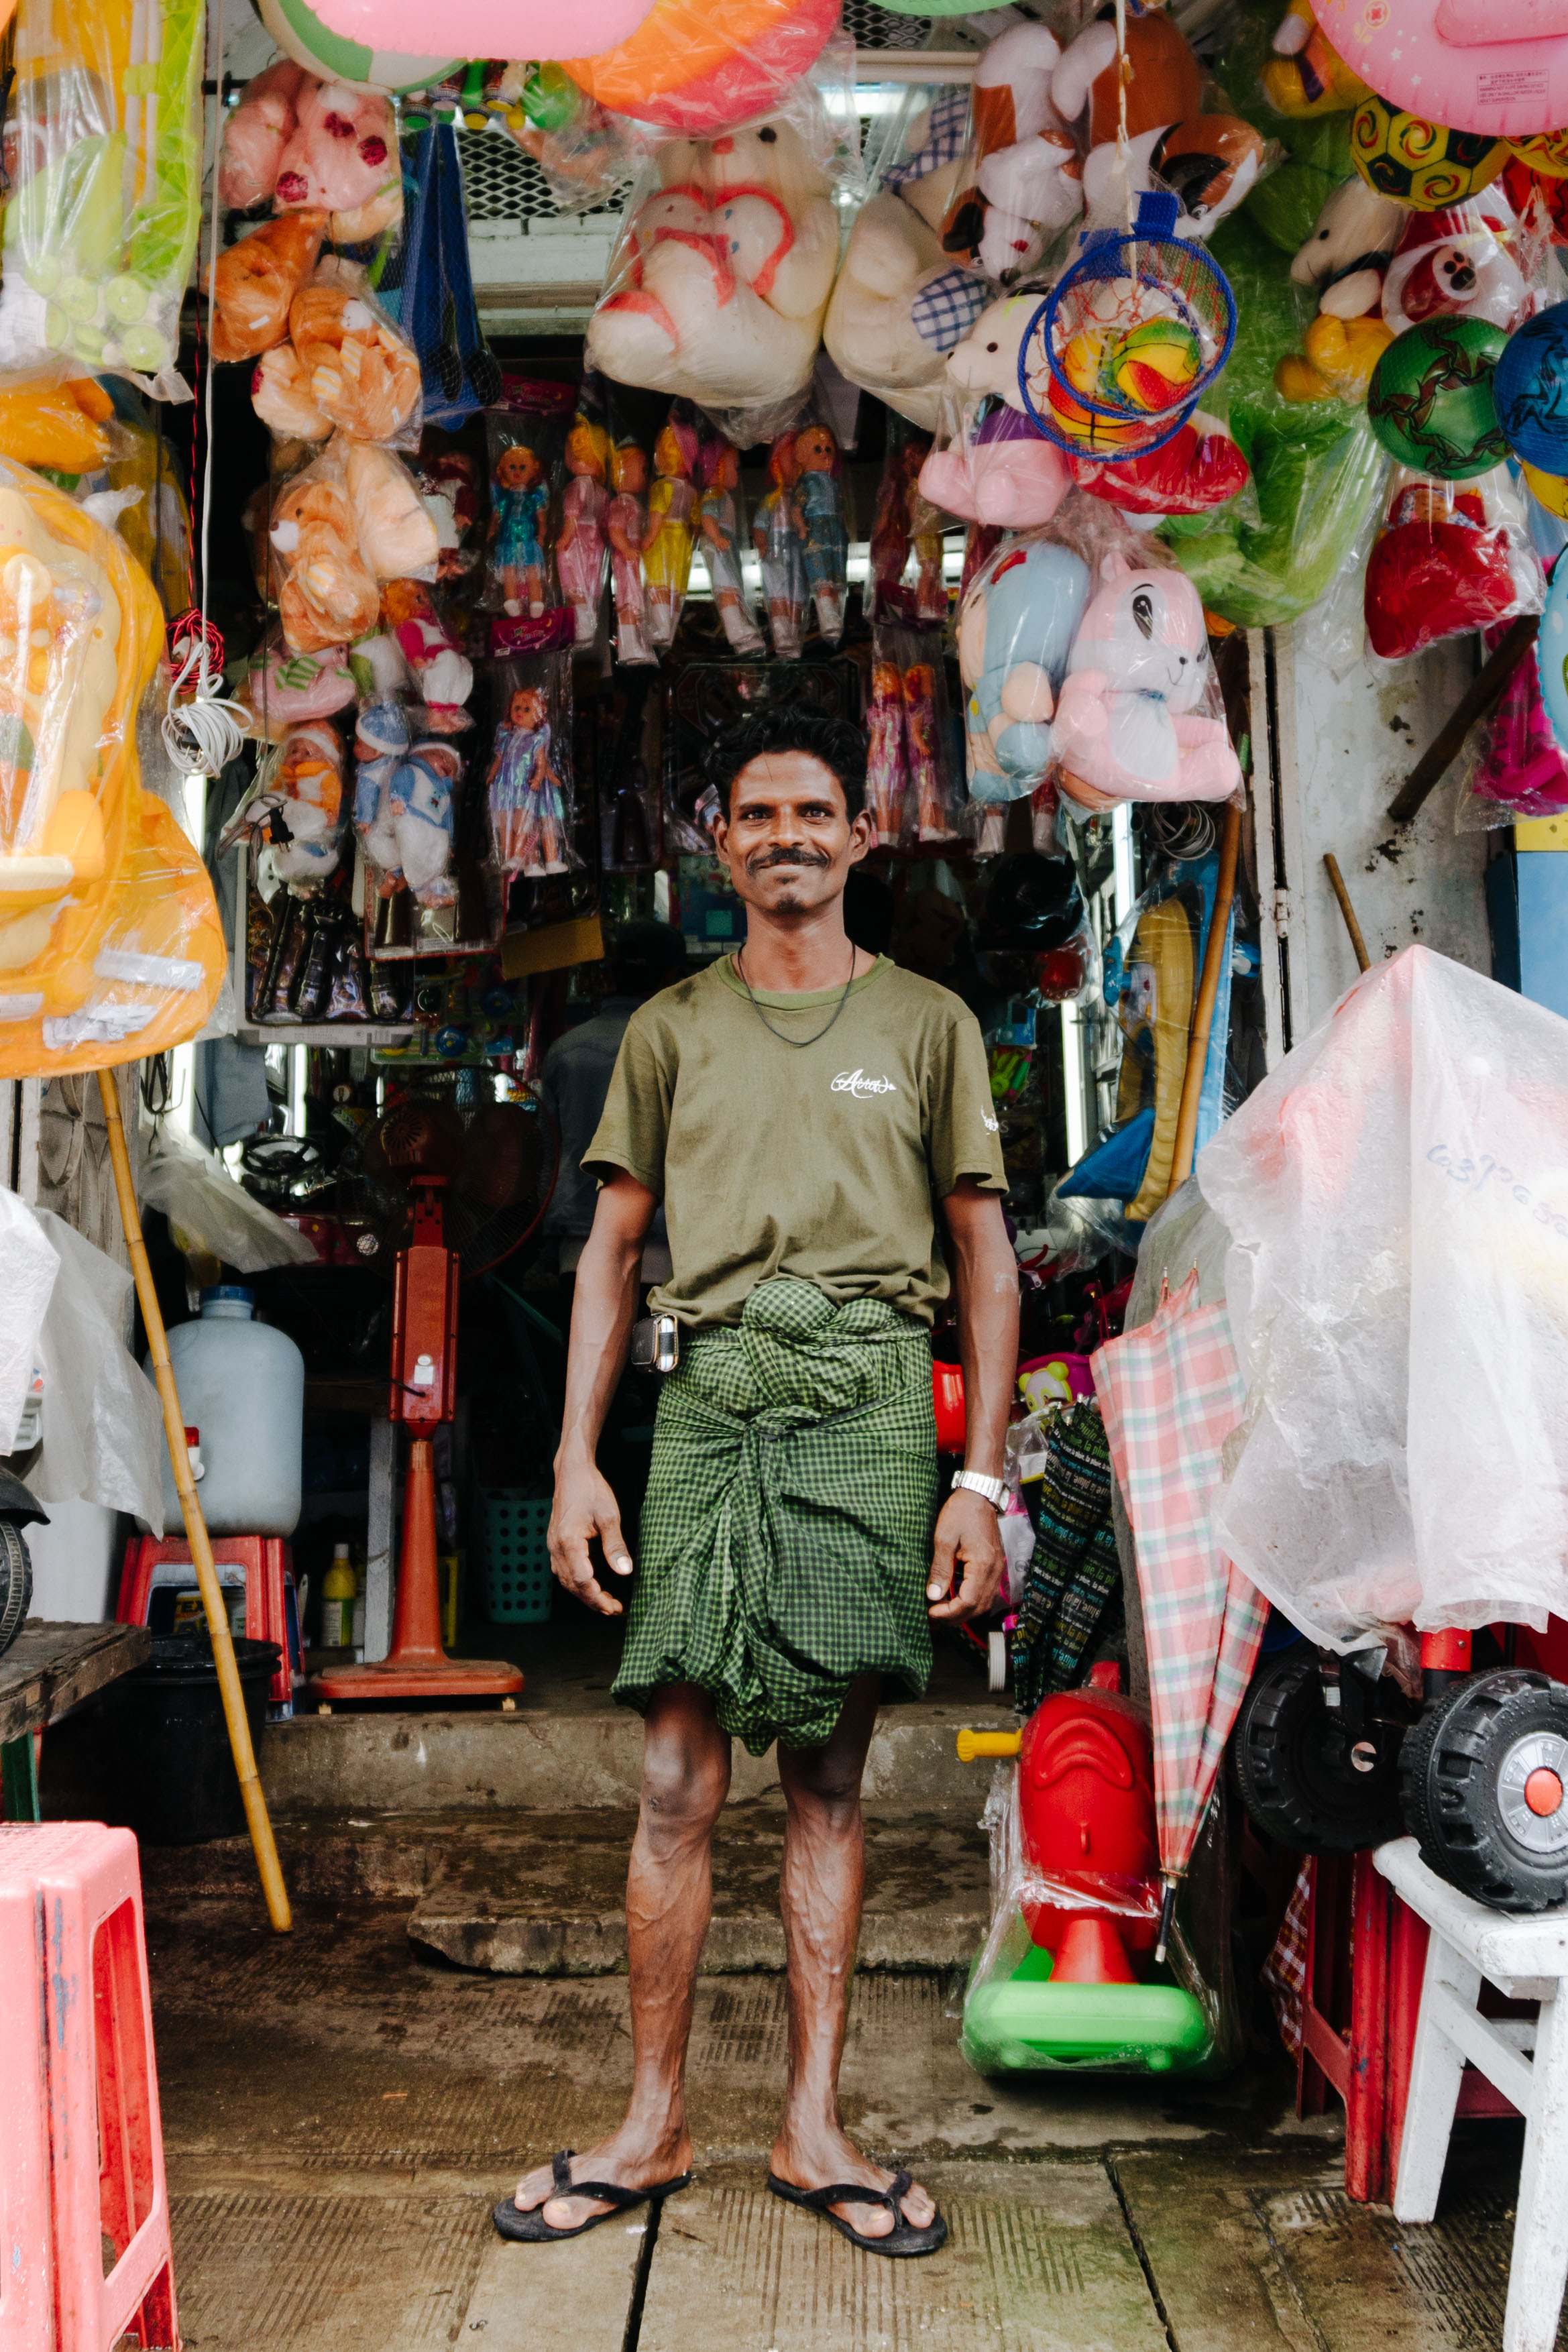
Street photography is not always an easy thing to accomplish. First, you have to conquer your natural instinct to not bother people or speak to people you don’t know. For some, this is no problem and can be done quite easily, but for others it takes a lot of work and a lot of effort.
Then, you have to deal with other factors that could make a break a great street photo, like location and exposure. But, mostly, street photographers first need to get over the fear of approaching strangers, especially if you’re shooting in a foreign country.
The thing is, street photography is one of the best types of photography out there, and one of the most popular as well. Just think about how popular Humans of New York is on Facebook, with millions of fans. Street photography can also be a great way for you to get out of your comfort zone as a photographer. Once you gain the confidence that comes from getting great travel street photos, anything is possible for you.
In order to get those great travel street photographs, here are five tips to help you on your way.
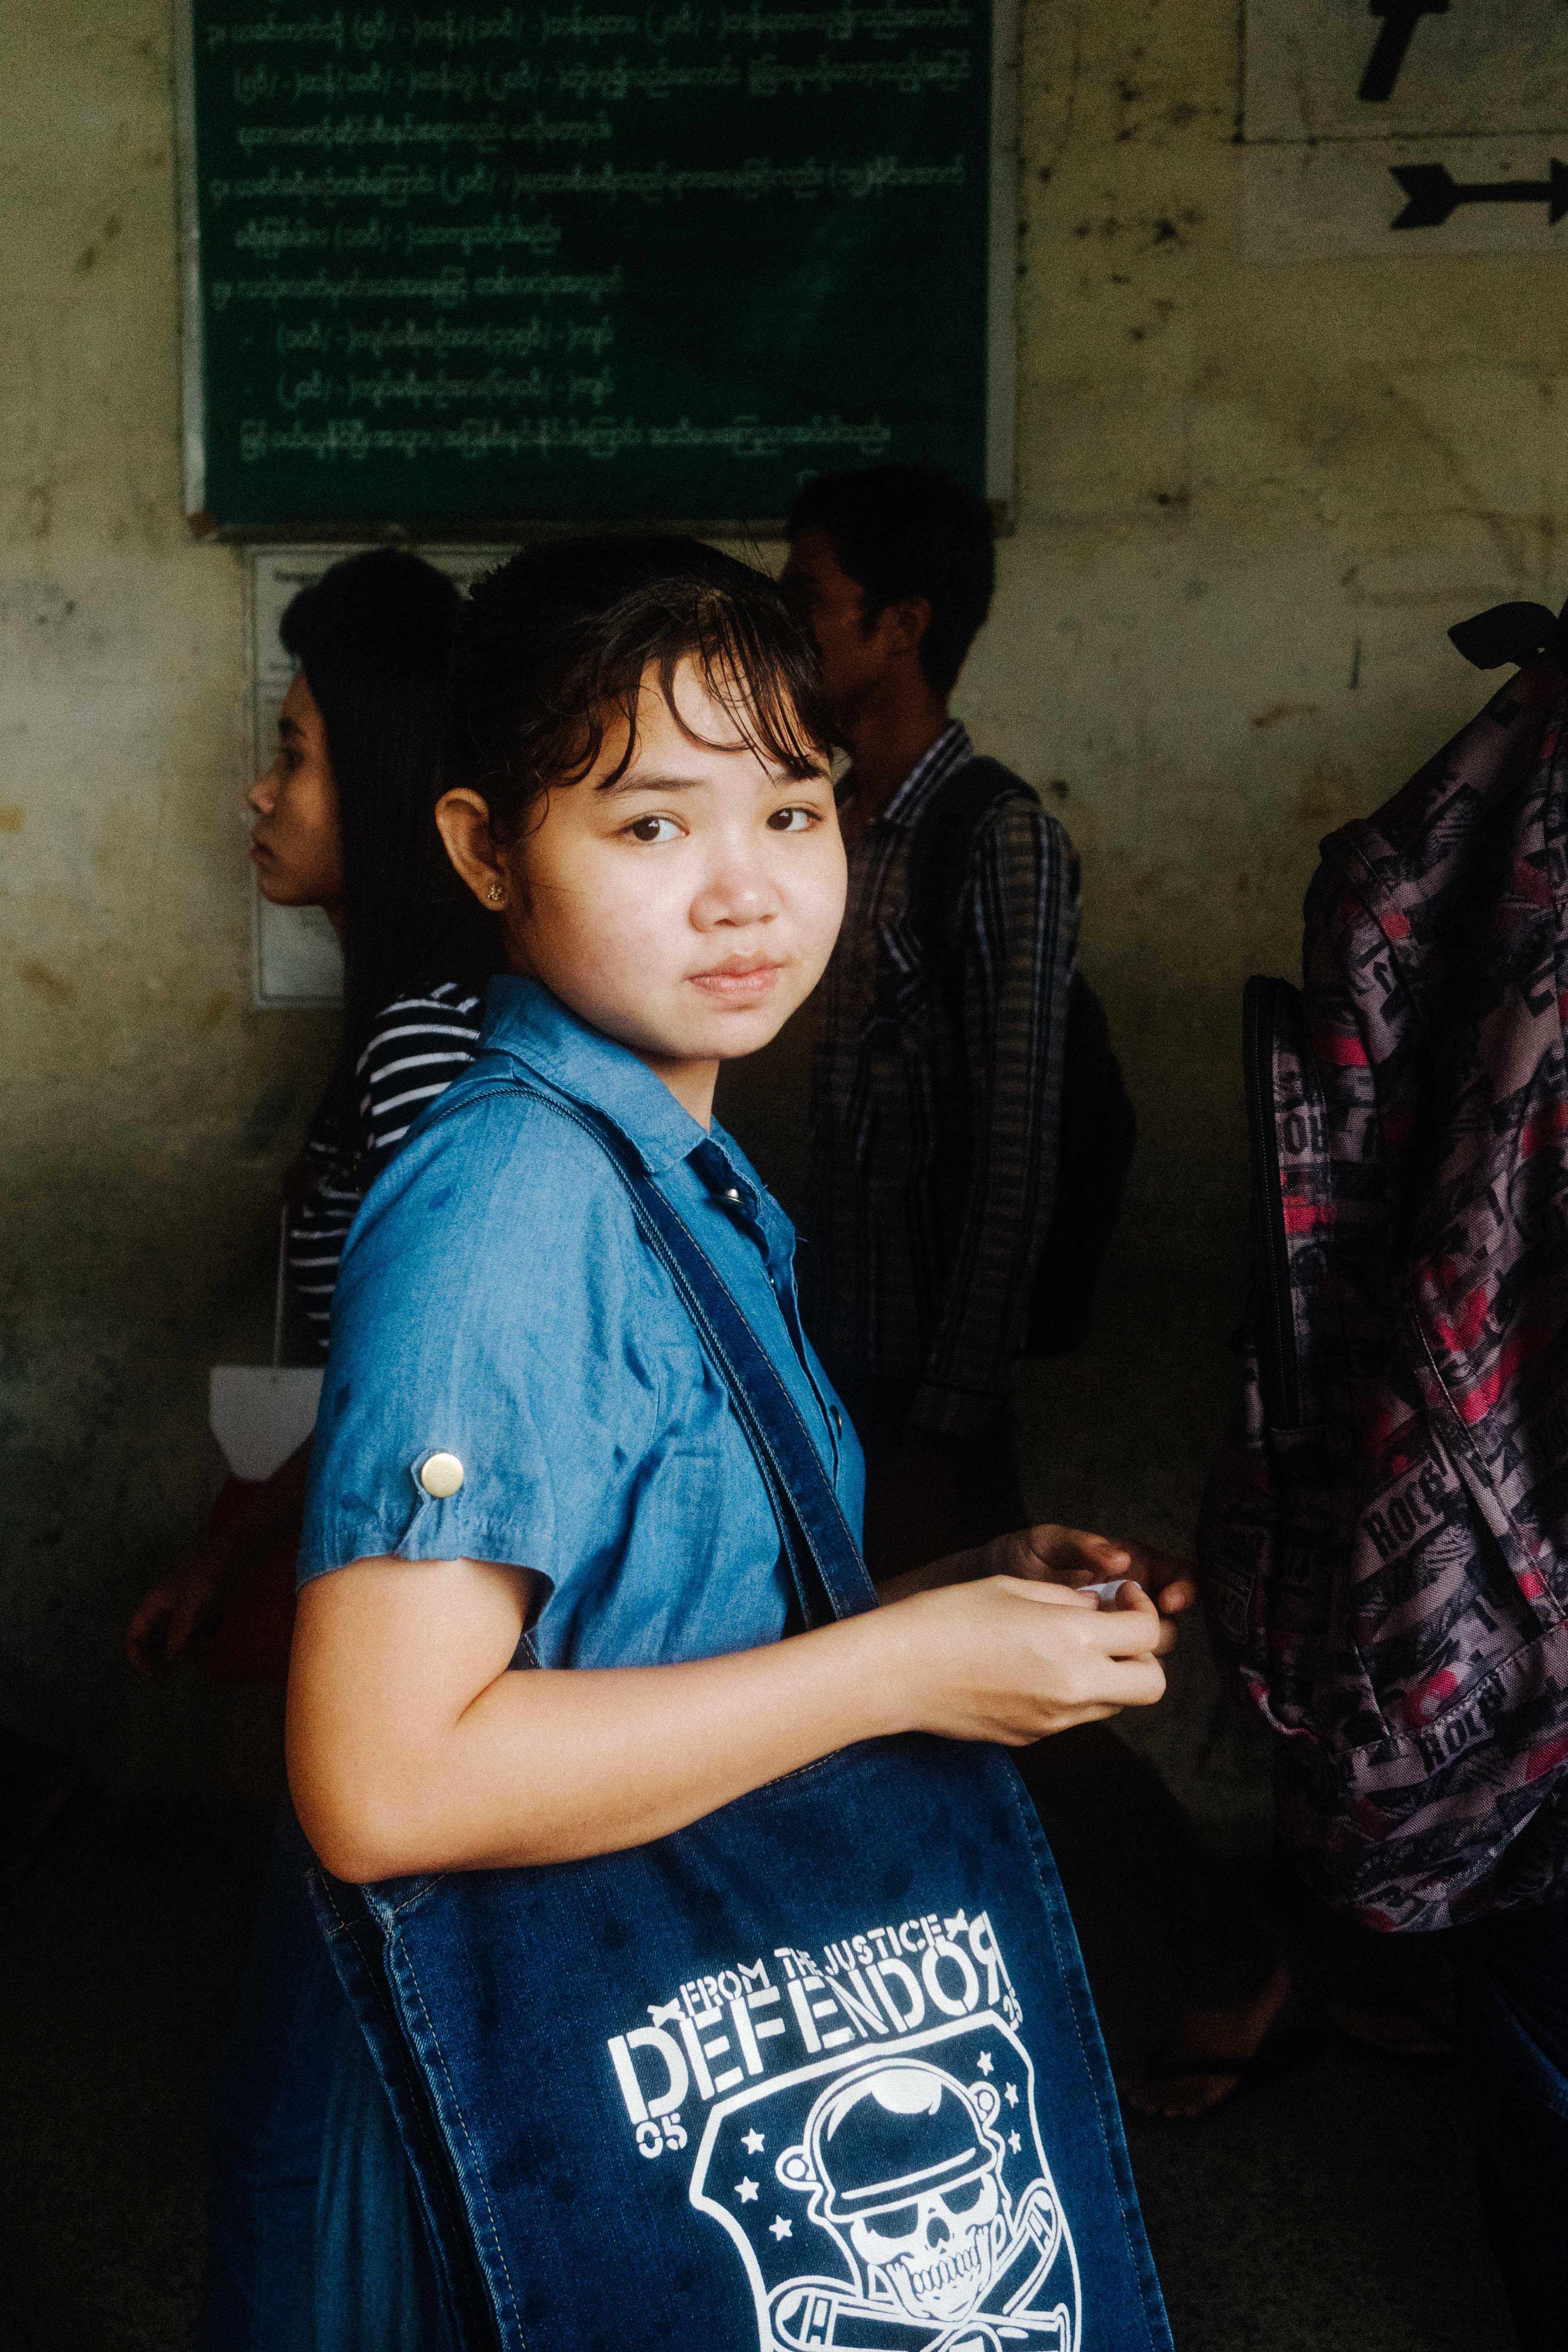
27. Be Open
When you’re traveling, you are often out of your comfort zone, so maybe it’s a little harder to be open. You’re in a new place, there are different cultures, languages, whatever it may be. But, when you approach someone for travel street photography, you need to always be open, no matter where you are.
This doesn’t mean verbally, but with your body language. People can read body language and it makes up a large portion of the impression a person will have of another person. If your body language is closed off, then the person may be hesitant to let you get a picture. Approach the person with an open body and with a lot of confidence but not too much. Walking in, you need to feel as though you are walking towards a friend because the other person is going to sense that. You also need to make good eye contact, which brings us to our next point.
28. Eye Contact
If the person makes eye contact with you, that is very good, that shows they are open to you approaching them. Making eye contact is one of the most important things that you can do. If the person keeps looking away or avoiding your eyes, then you should move on to someone else. Always watch the eyes because that will tell you if the person is receptive to getting their photo taken, long before you ask them.
29. Be Nice
This may seem like an obvious one but it goes beyond just being friendly. You need to go in and pay the person a compliment. That is a great way to break the ice with the person and get them interested in what you have to say. Don’t be weird about it, just say you like the person’s outfit, or you like their eyes. Just say something nice. You can compliment the person on their cute dog, or on the fact that you both share an interest in something, like the book they are reading for example. Once you do this, and once you find that common interest, you will have a much easier time talking to them about taking their photograph.
30. Build Trust
Once you have complimented the person, and you have developed that connection, you need to build that trust. Having a picture taken by a stranger takes a lot of trust, so it is important to do this. Talk to them immediately and make them comfortable. Tell them about what you are doing, and why you are doing it. Show them you have no hidden motive, that you just want to share their story, and their image, with the world. This will flatter the person, and it will help them trust you more with their photo.
31. Be Passionate
If you go up to someone and you are unsure of what you want and you almost seem to be annoyed with the fact that you are taking a picture, the person is going to sense that and they won’t want their photo taken. Be passionate about what you are doing and be excited about it. Go to the person and share with them this passion. They will pick up on that and they will want to be a part of it with you. Show them what you have in mind, and what you are trying to create. Be honest with them, be upfront with them, and own what you are doing. That confidence and that passion will go a long way in getting the photograph that you want.
Travel Photography
Once you take the photo, share it with the person and even offer it to them as something for them to keep. By making them a part of the project, the person will trust you a lot more, will want their picture taken and will remember the entire experience as a positive one. The more you do this, the more it will get easier with each person. That is the most important thing to remember with travel street photography, each photo gets easier the more you do it and the more people you talk to.
Keep learning and have fun!


 Before Edit
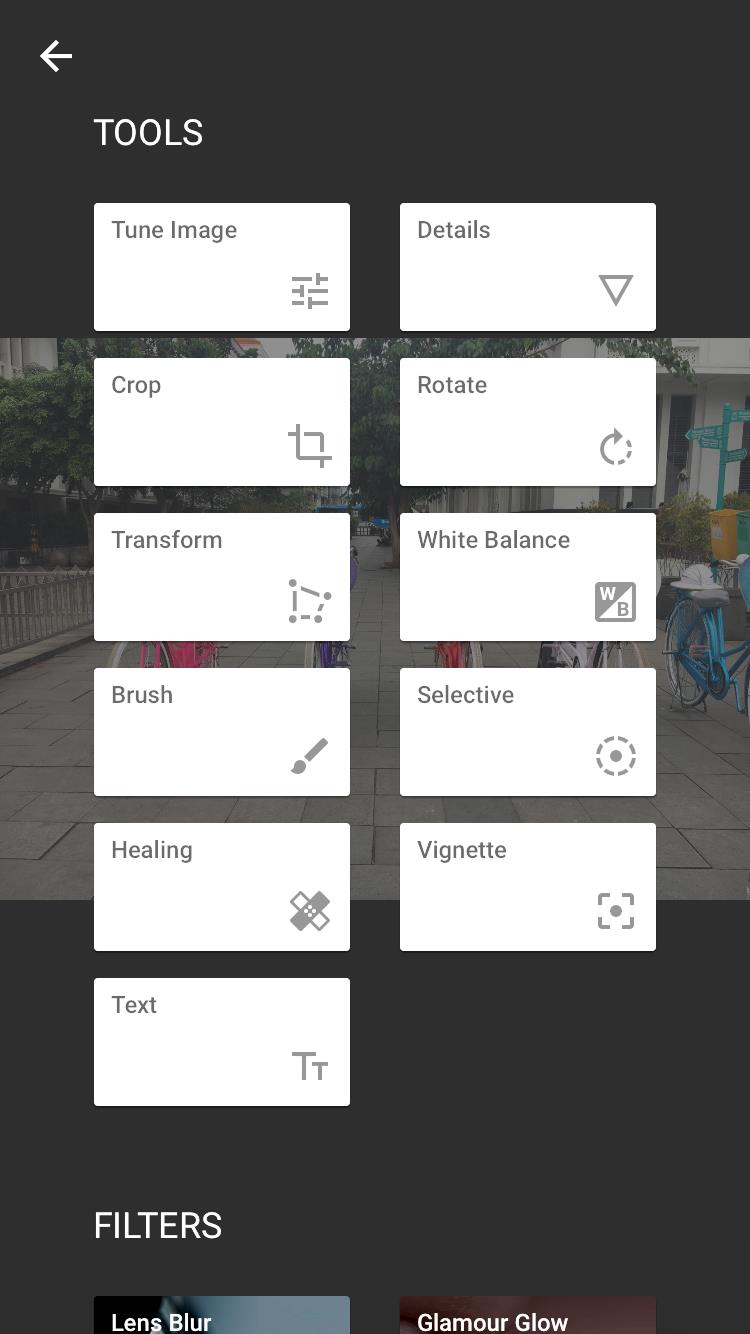
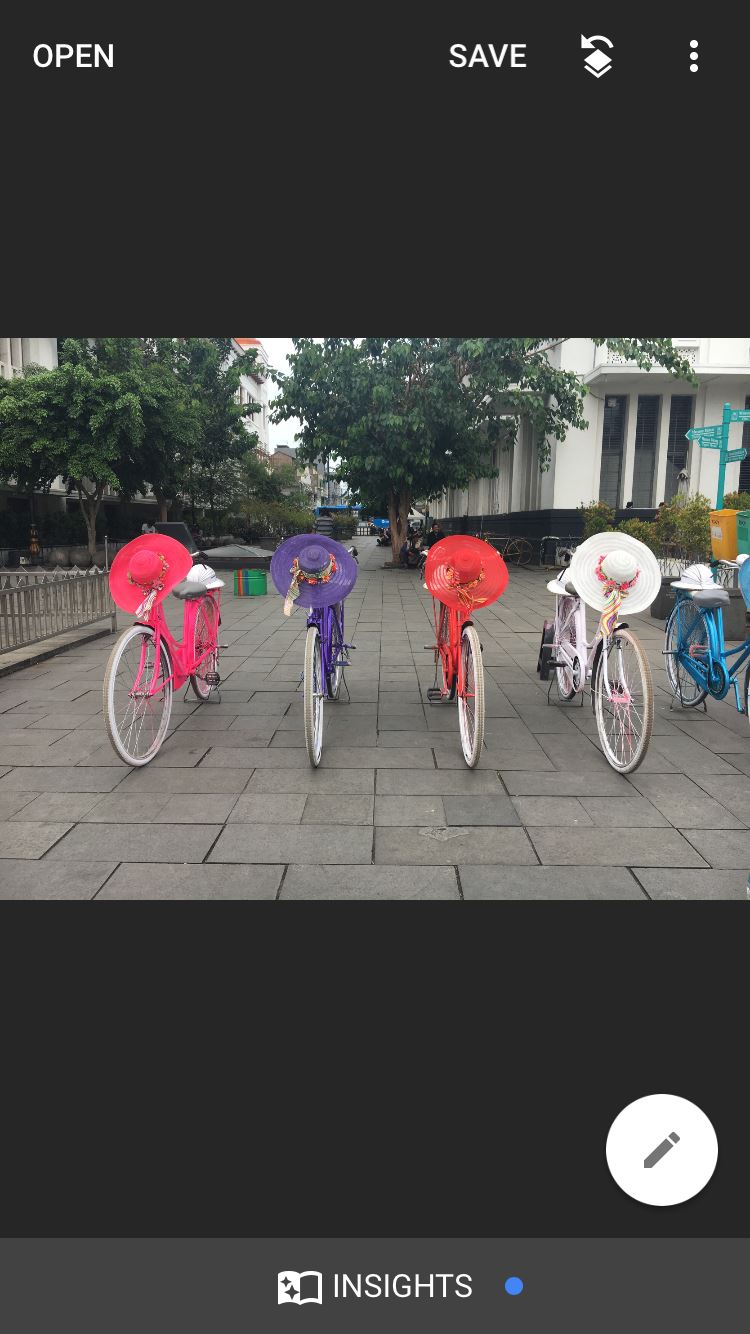
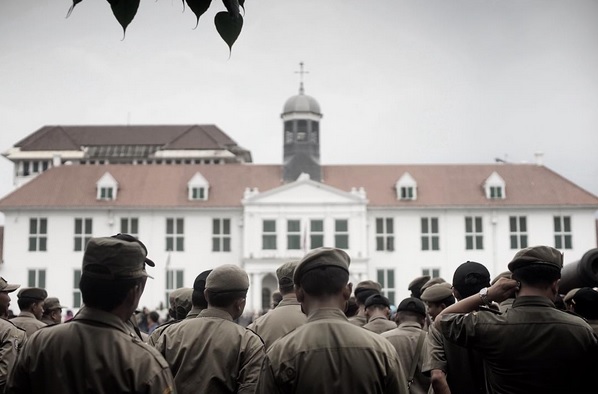
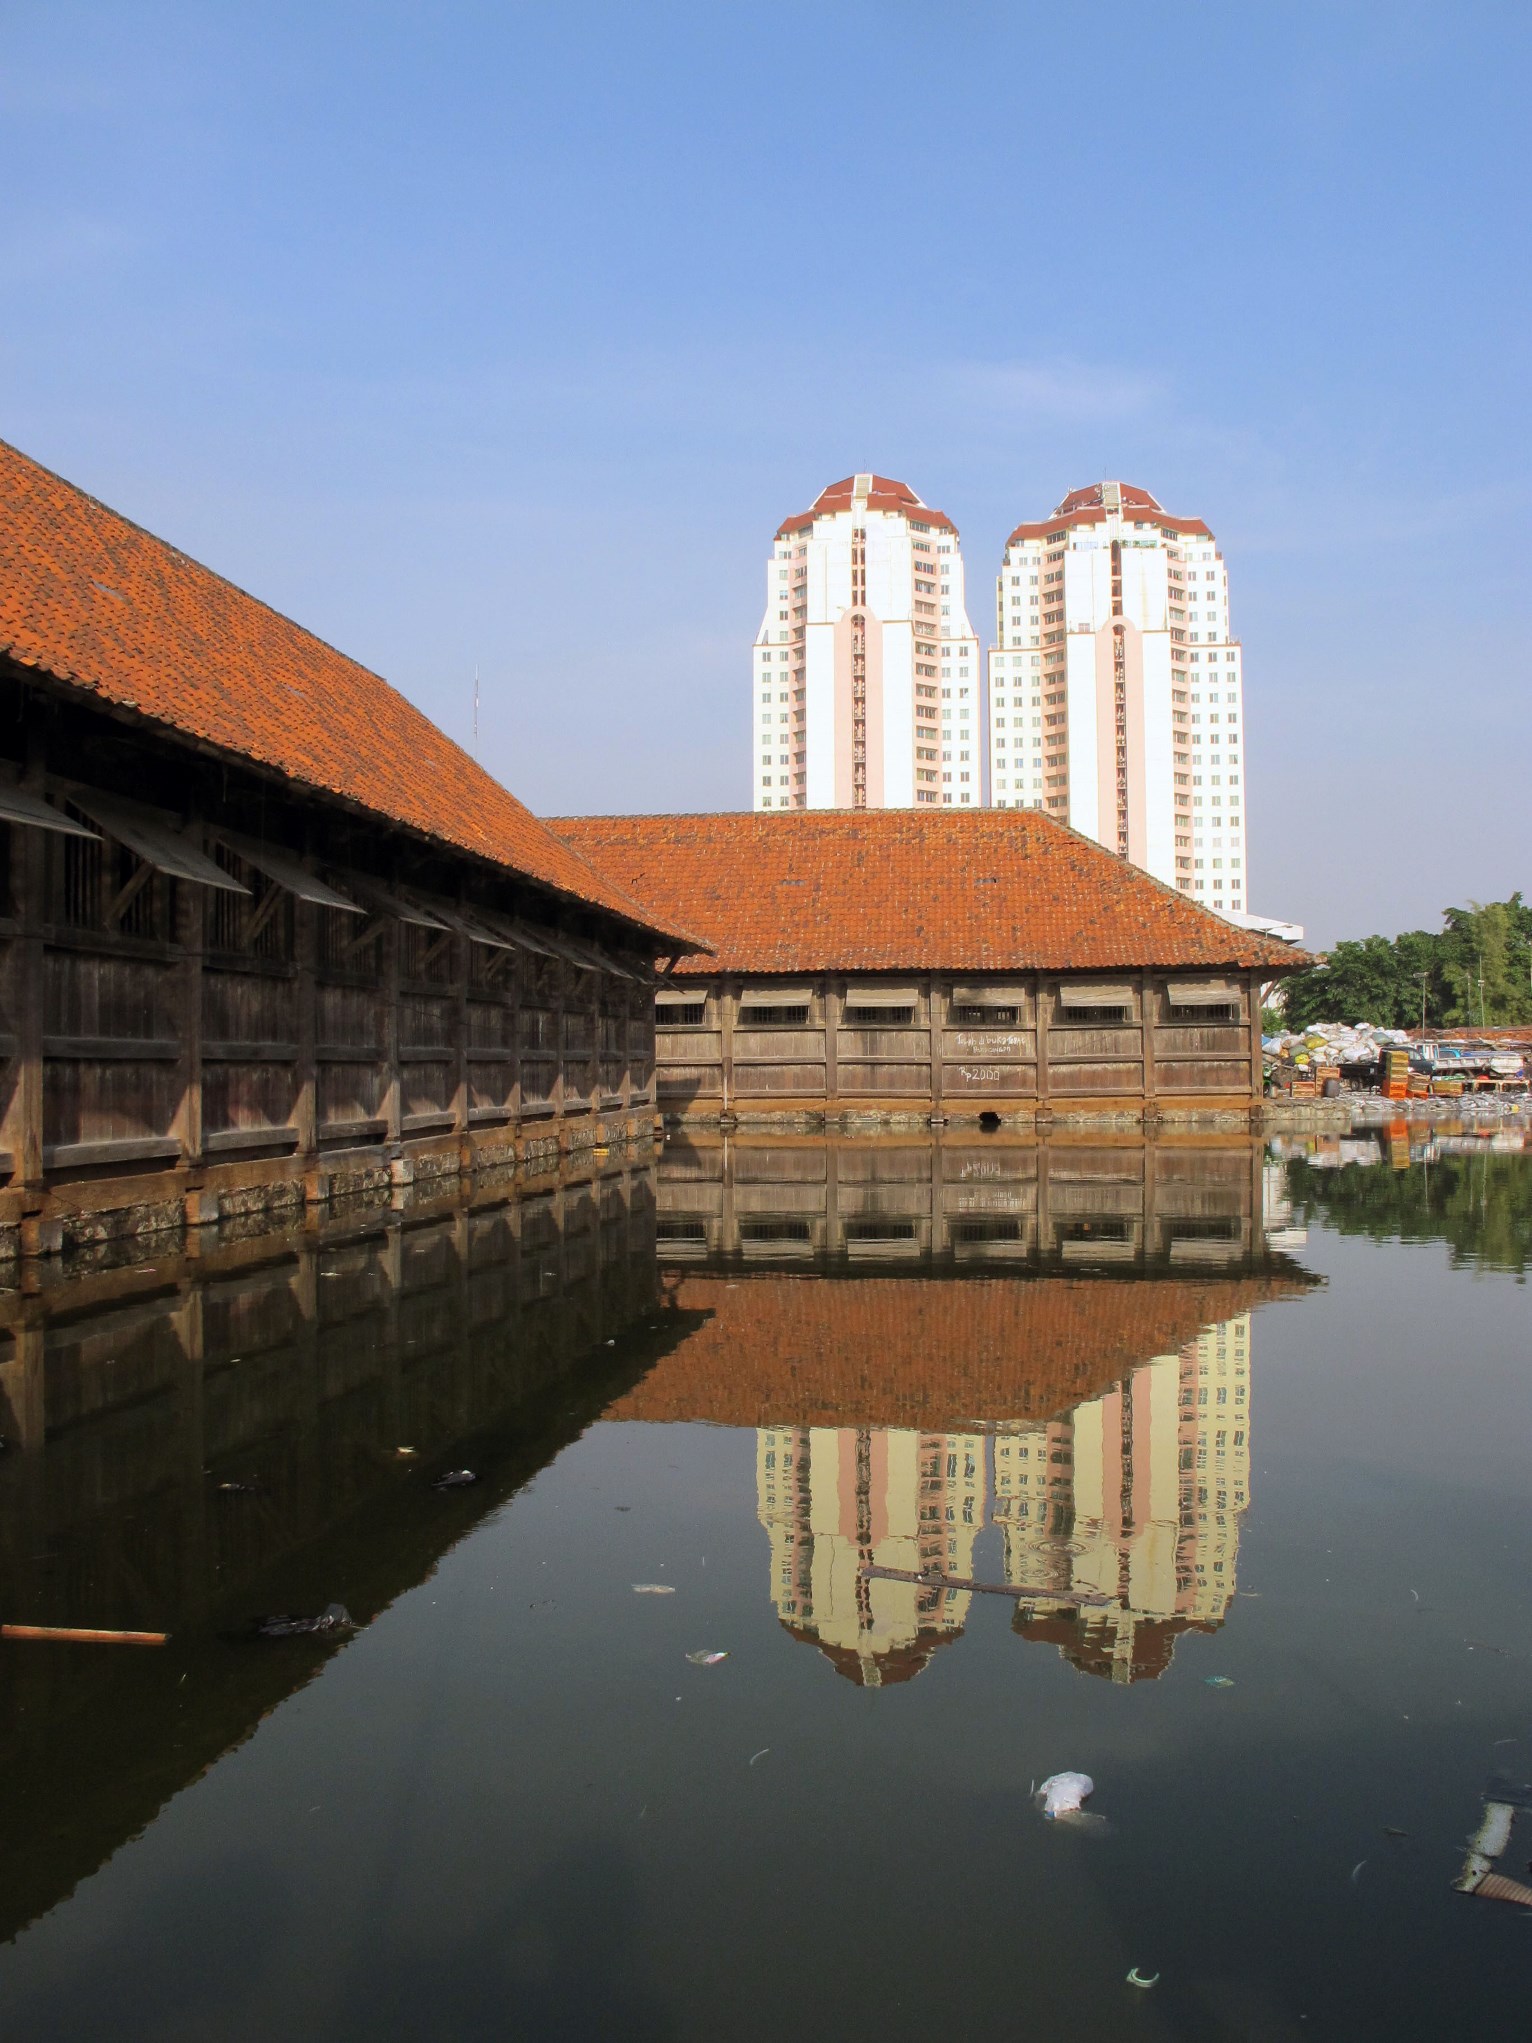
 Standby Bikes at Old Town, Jakarta
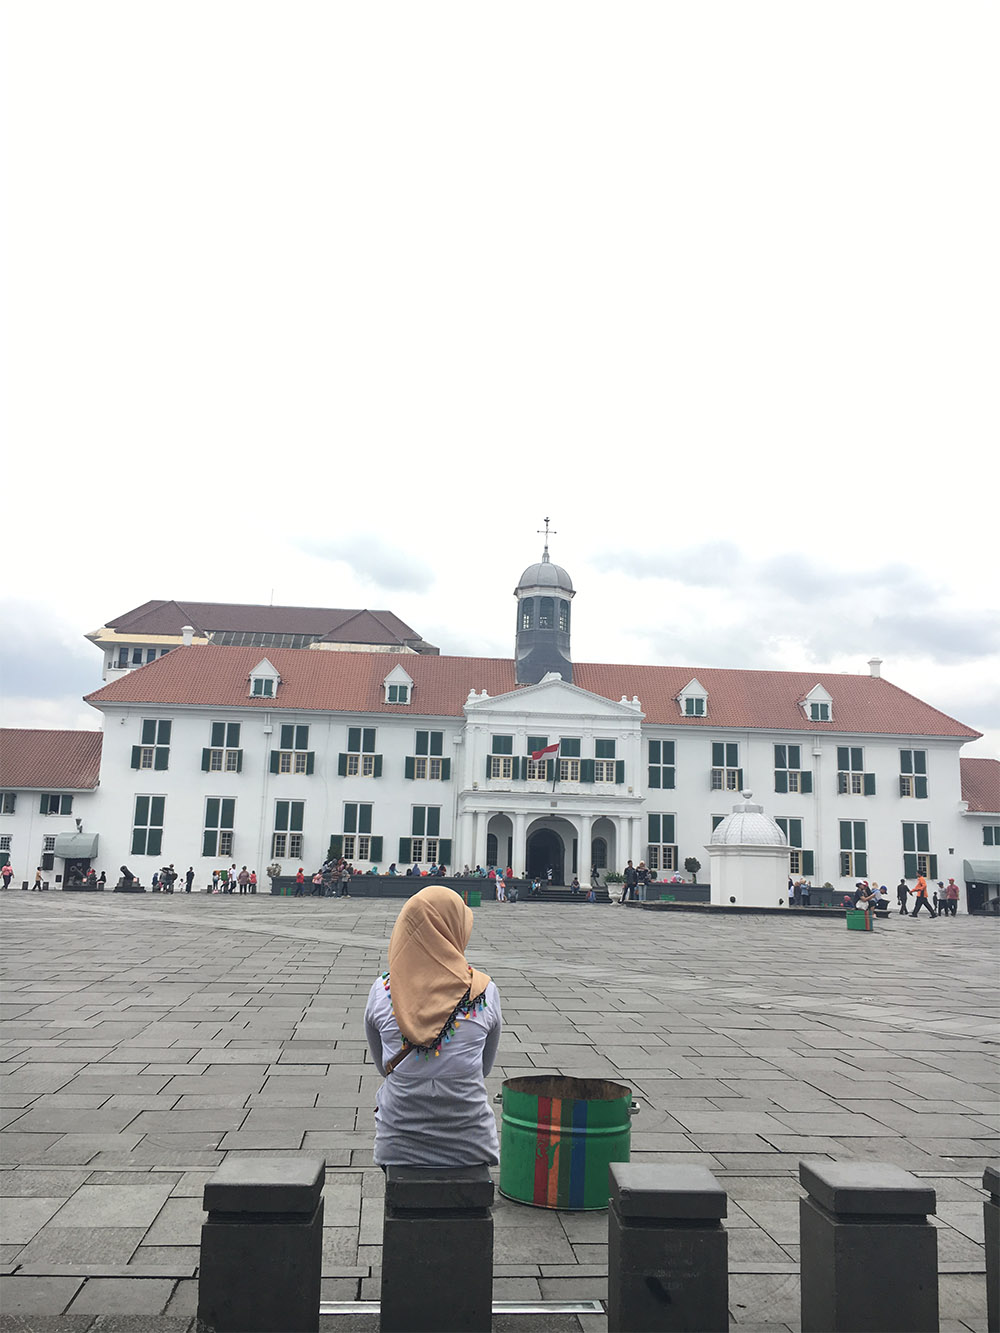 Before Edit
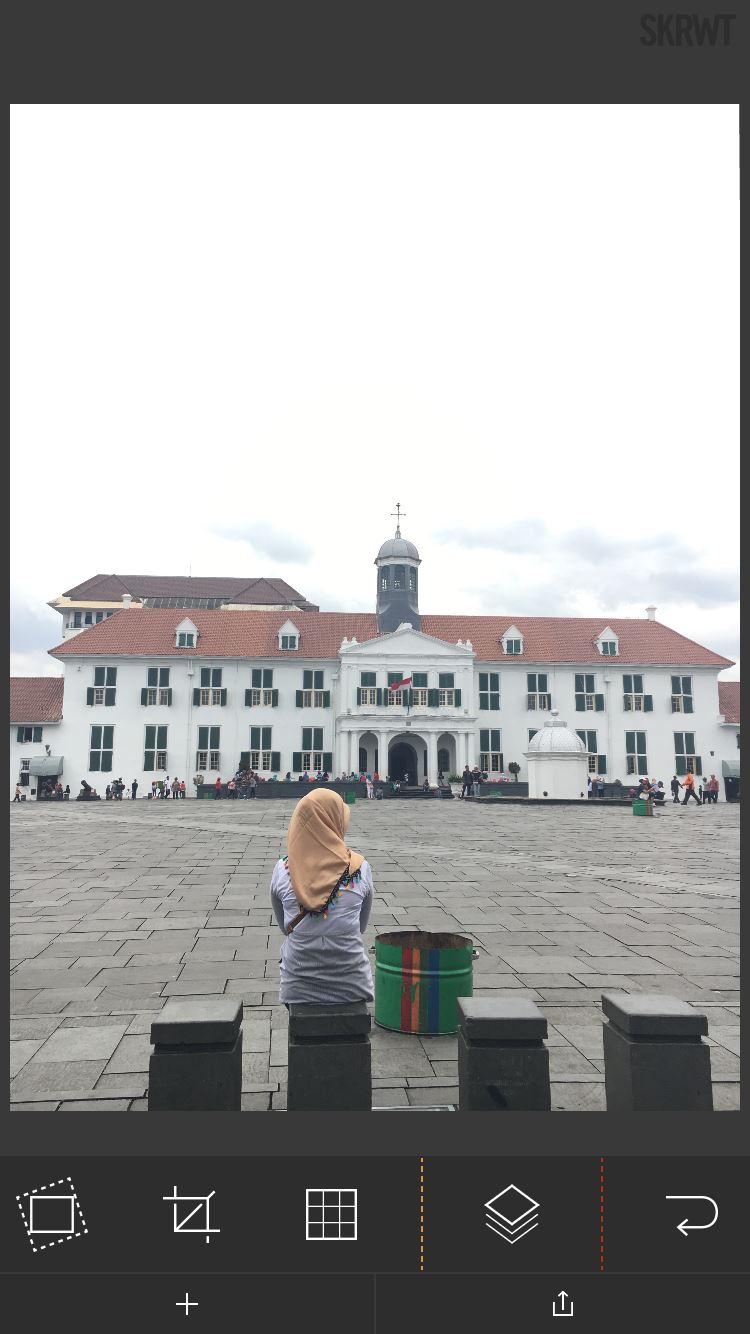 After Edit
 After choosing preset
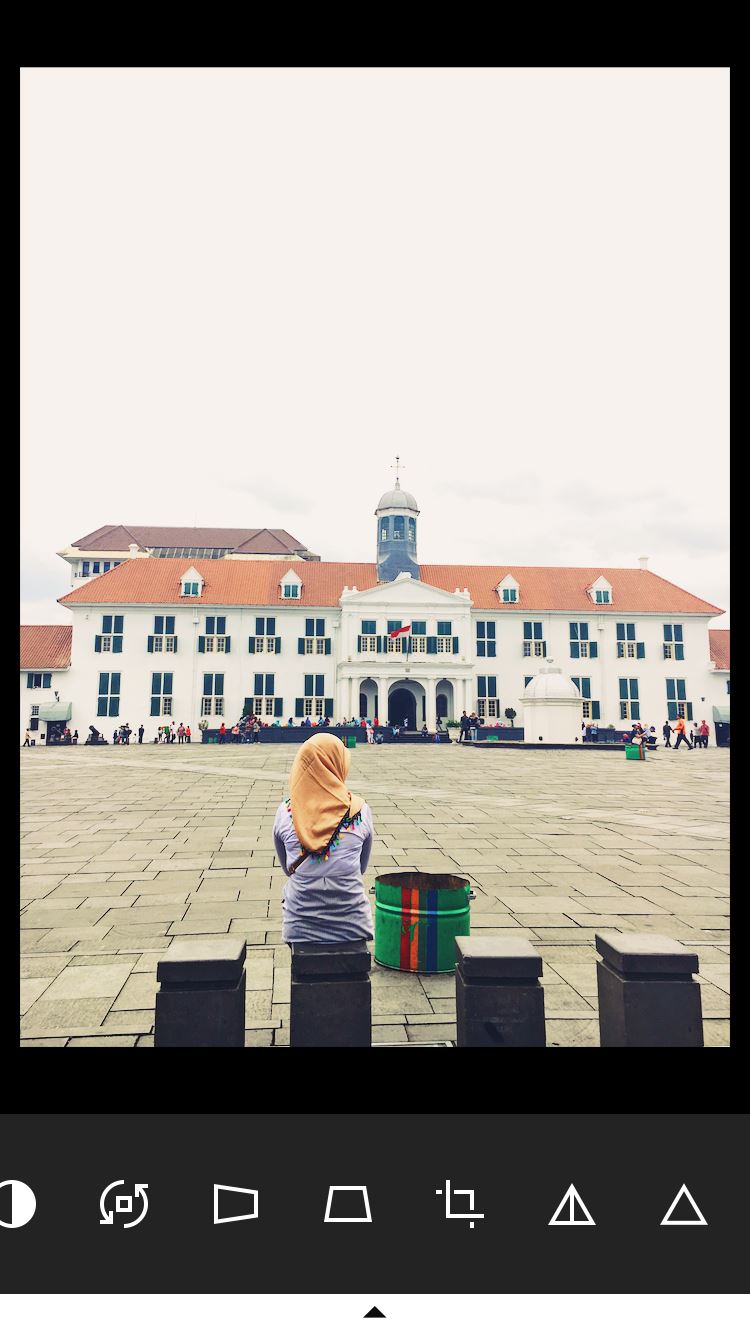
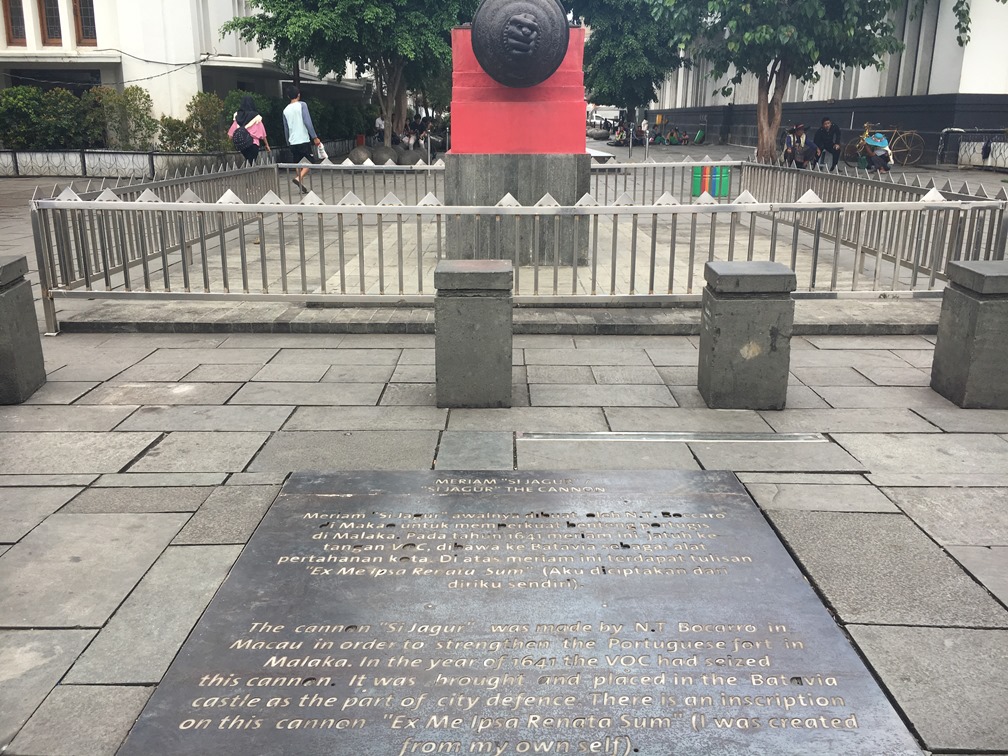 Before Edit
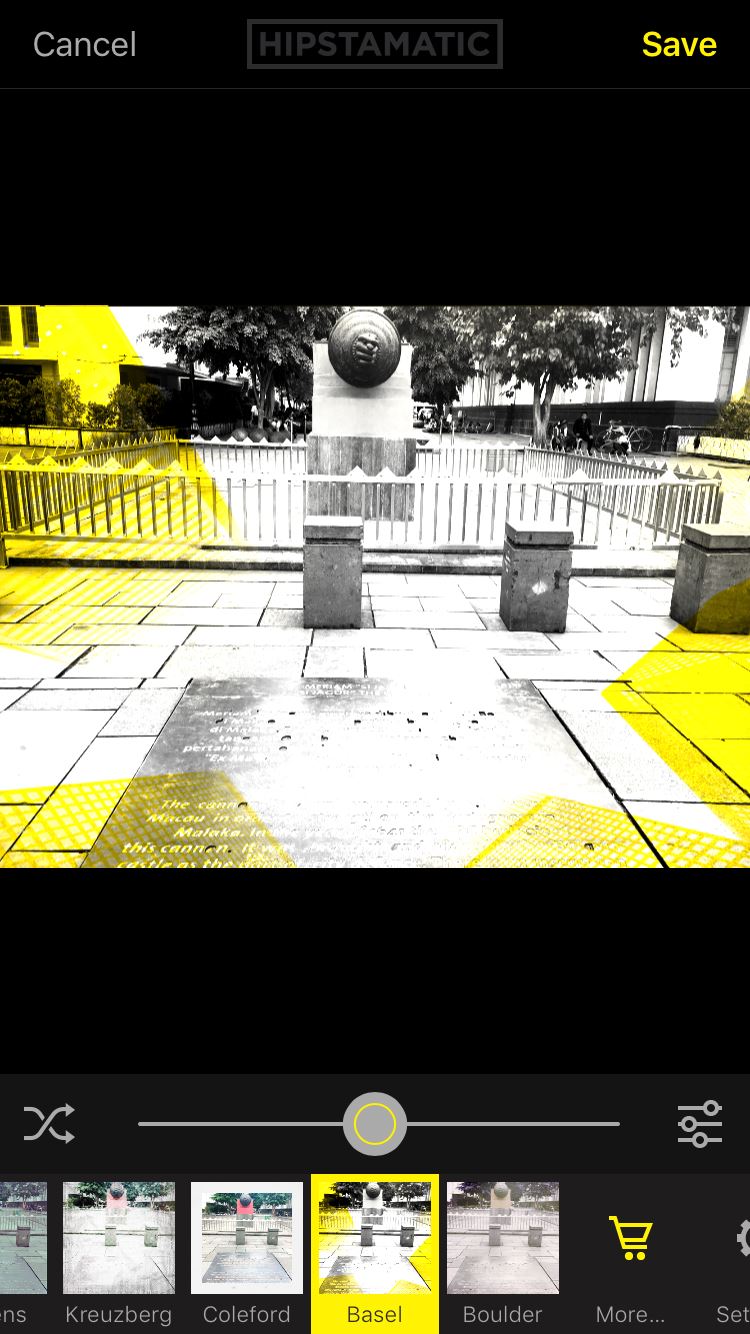 Basel combo
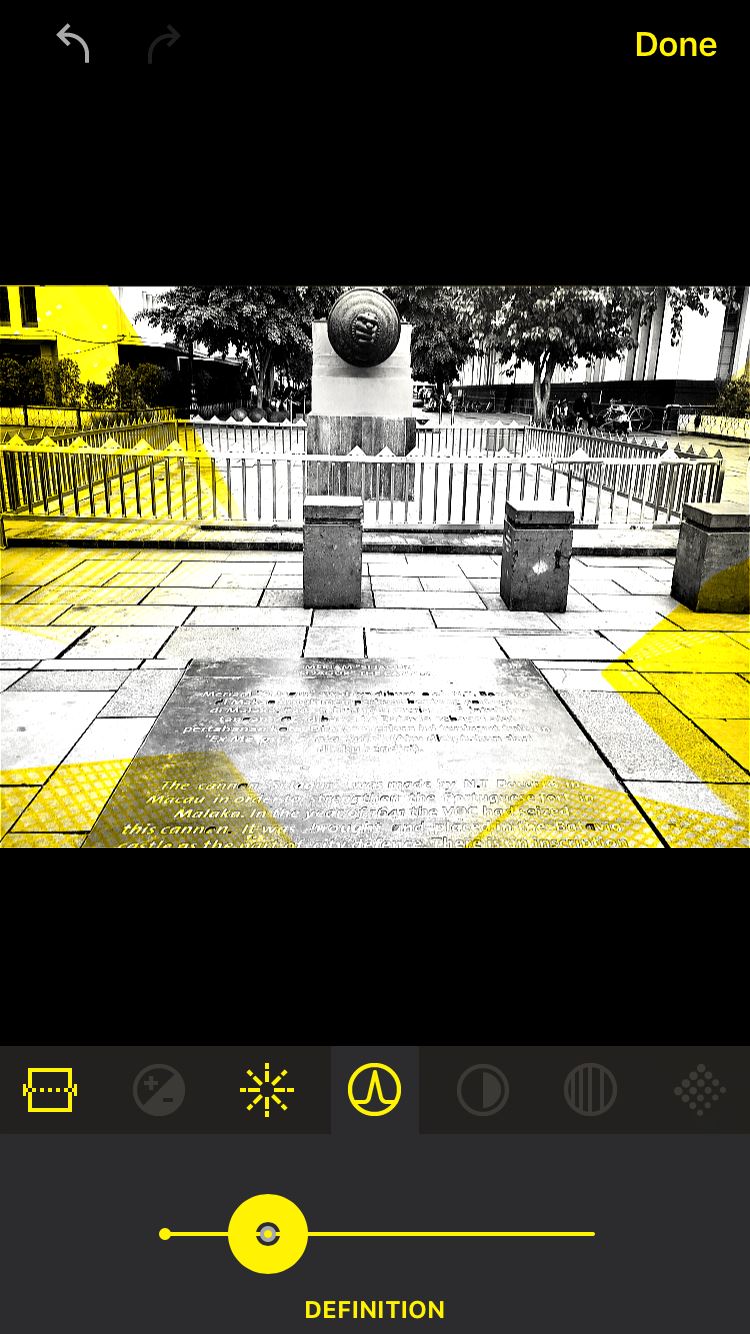
 ‘Si Jagur’ the Canon at Old City, Jakarta


 Facebook
 Google +