Tag: creative

Top Shooting Techniques and Methodology in ICM Photography

Are you currently finding yourself staring at your image portfolio and feeling underwhelmed or lacking creativity? Truth is that it can happen to the best of us. Why not tap Into ICM To broaden your creativity and get your creative juices flowing.

What is ICM?

ICM or “Intentional Camera Movement” is an image making technique whereby one intentionally moves their camera during exposure. Movement is recorded while the shutter is open and can produce some very interesting and abstract results.

The ICM technique is a great way to force yourself outside of the normal and conventional Landscape Photography restraints. Obeying the Rule of Thirds and other composition aides will help you to produce greater images. However, sometimes you just need to break outside of the box and step outside of your comfort zone.

Adding the Intentional Camera Movement technique to your photographic toolkit, will definitely get those creative juices flowing. After some experimentation and refinement of your ICM technique, your portfolio will also be refreshed with some new and exciting images.
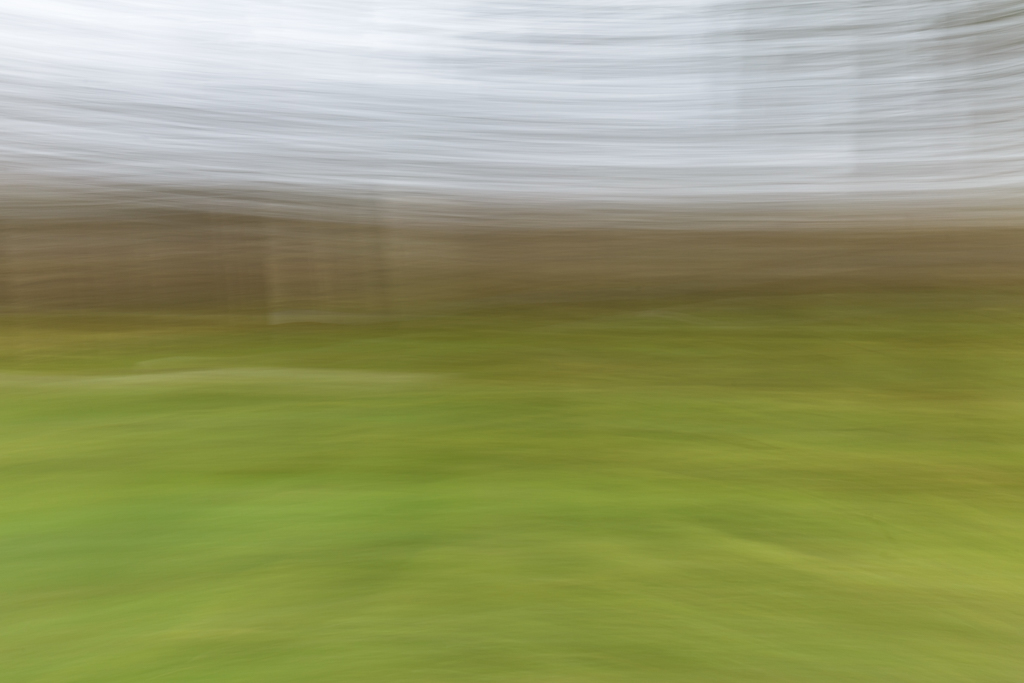
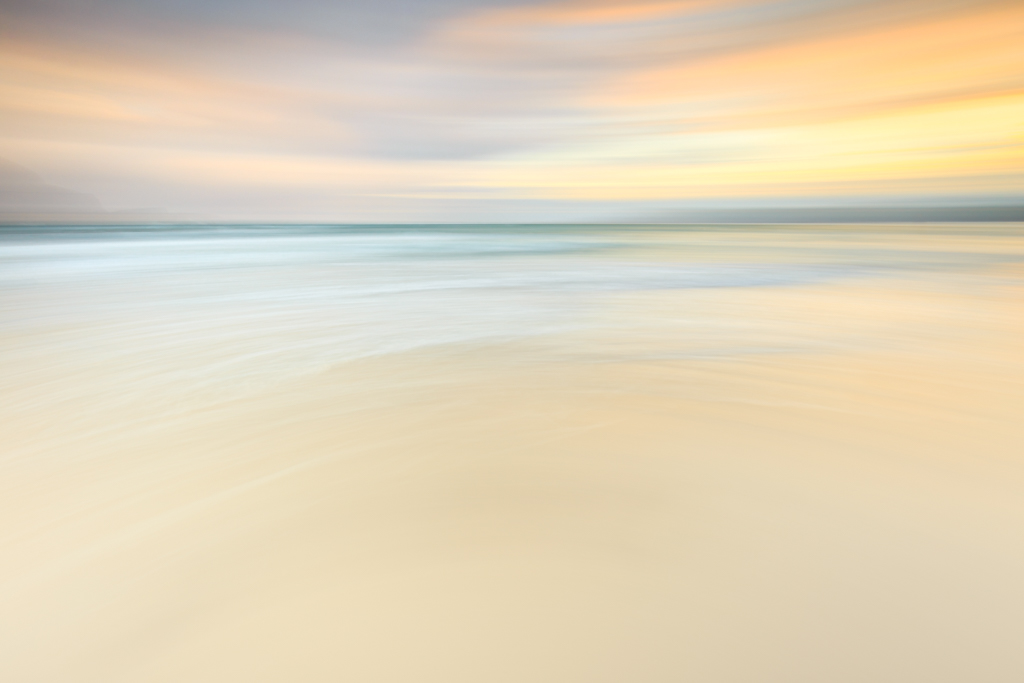
ICM Image by Graham Daly Photography

ICM Image by Graham Daly Photography

What gear do I need for ICM?

Unlike most photography genres, this technique requires nothing outside of a camera and a lens. A tripod can certainly be useful for certain images but it is not essential. In fact, a lot of the time you will probably leave the tripod in the car or at home.

Apart from a camera and a single lens, all you really need is some decent light and interesting subject. One important thing to note though is that best results will be achieved when using a camera with manual controls. A manual camera will allow you to change the aperture, shutter speed and ISO, which will help to create different types of ICM images.
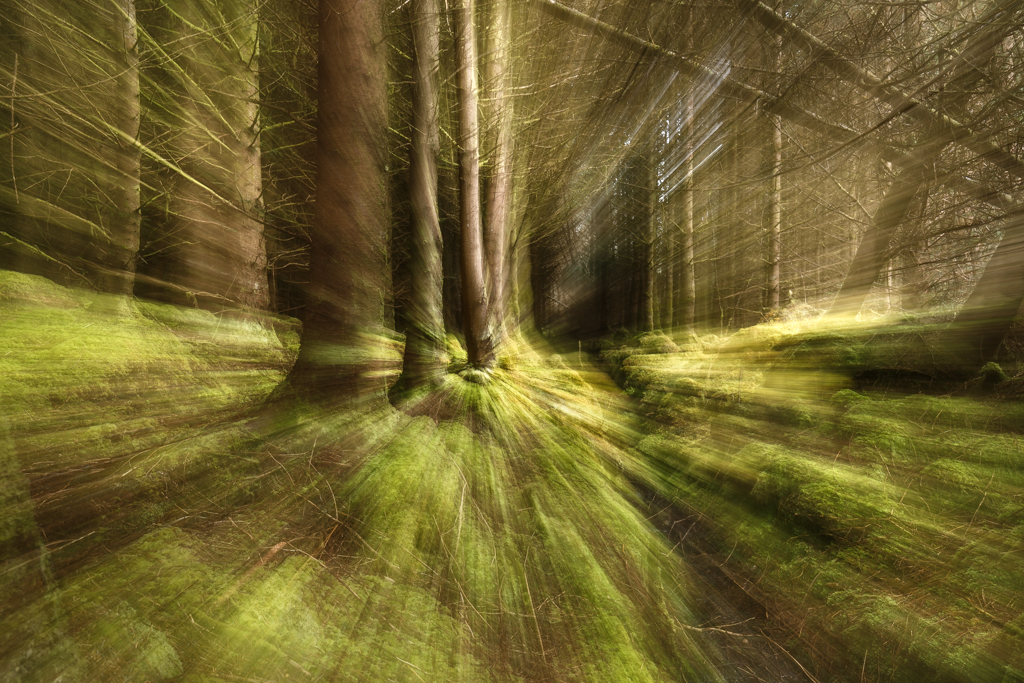
ICM Image by Graham Daly Photography

What type of lens you use does not really matter. It can be an old manual lens or the latest and greatest autofocus lens. The lens can be a prime lens or a zoom lens. Zoom lenses with varying focal length range can be useful. The tried and trusted 24-70 zoom lenses can be a great lens to have in the bag for ICM. The flexibility to switch between 24mm, 50mm, or 70mm can be liberating. Zoom lenses also provide the ability to interesting ICM images by zooming or “rolling” the lens during the exposure.

Outside of the gear, all you need is a willingness to head out with the camera and put the technique into practice.
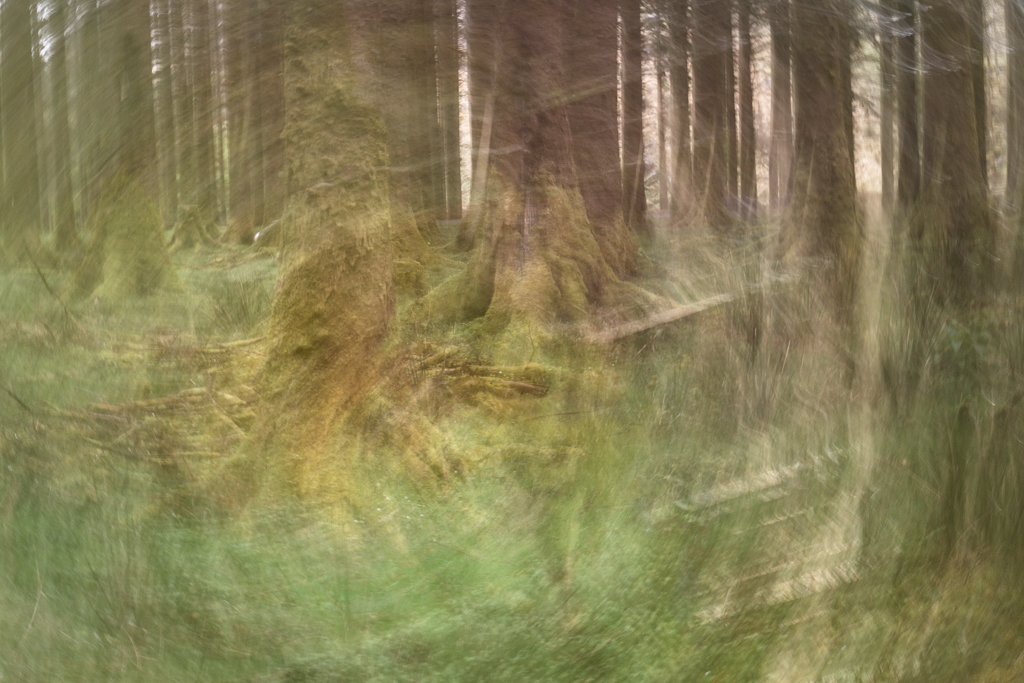
ICM Image by Graham Daly Photography

How can I tell if my ICM image making efforts have been successful?

A lot of photography is subjective. Beauty is in the eye of the beholder as they say. ICM images are probably the most subjective. Some viewers might love it and some might hate it. For me, the most important thing is whether the image satisfies me or not. I consider it a success if the image evokes some thoughts or moods within me.

Certain aspects play a stronger part in how our brain interprets and appreciates what it is seeing. For example, when color is absent from an image our brains look for strong structures and shapes instead. Which is why strong composition is so important for black and white photography. I think the opposite is true for Intentional Camera Movement images. The absent of strong structures places a stronger emphasis on color within the image. Of course, you can produce monochromatic ICM images and they might work. But in my experience, ICM images with strong color tones are more interesting than those without. But again, remember that beauty is the eye of the beholder. If you like monochromatic ICM images, then who am I to argue against it.
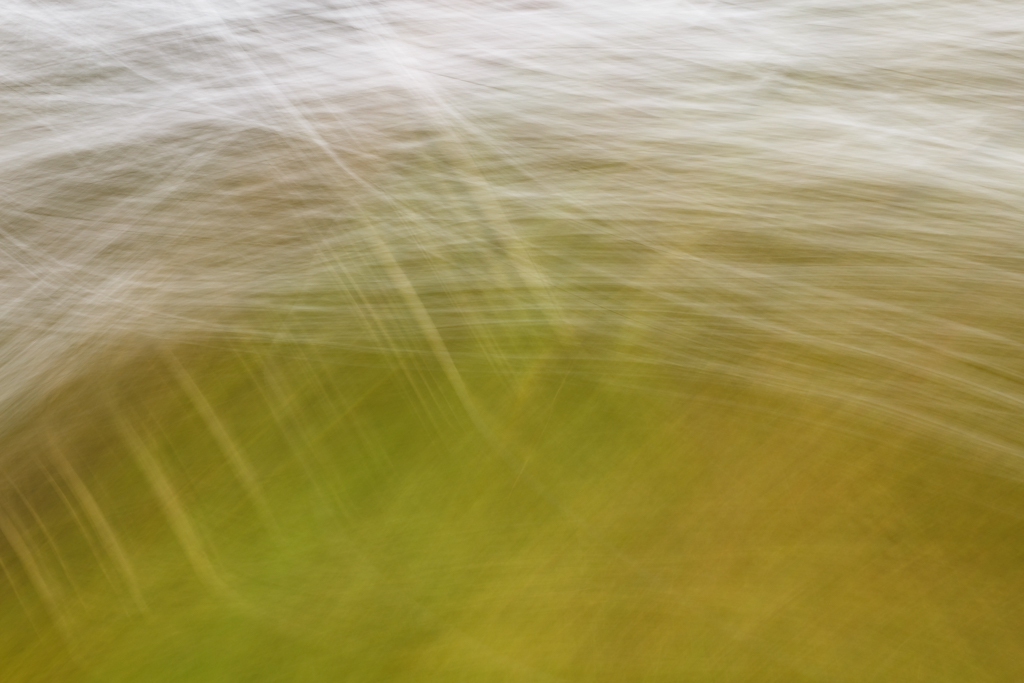
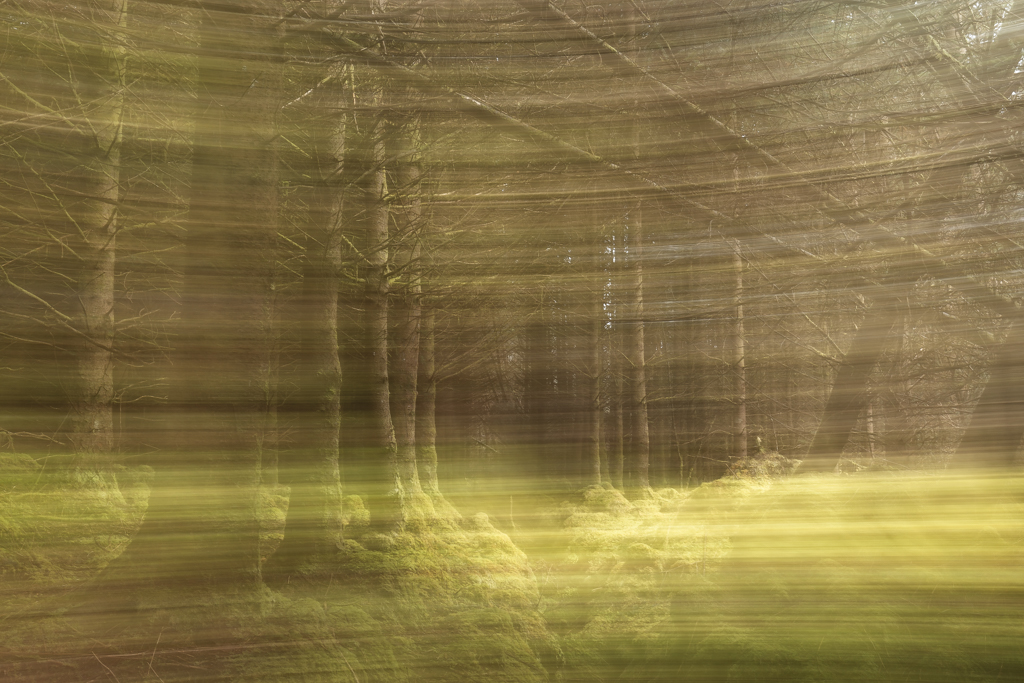
ICM Image by Graham Daly Photography

ICM Image by Graham Daly Photography

Top tips for ICM

Below are some of my top tips for producing interesting ICM images. This list is neither exhaustive nor exclusive. These are just the aspects that I have adopted into my ICM shooting technique and methodology. There are other photographers all over the planet who can add more to this list. Each will have their own routine, their own style and will have their own desired ICM results.  But this list is what works for me.

  • Try different focal lengths
  • Look for interesting color tones
  • Play around with different shutter speeds – start with 1 second and then increase from there and measure the results
  • Experiment by changing the focal length on your zoom lens during the exposure (a.k.a zooming/barrel rolling)
  • Try twisting the camera around in a circular motion during the exposure
  • Head into the woodlands – some great ICM potential all around the woods
  • Use a tripod at the coast if you want to keep the horizon level during your ICM images
  • Look for interesting shapes and patterns within the scene
  • Try panning left to right or right to left during the exposure
  • Tilt the camera up or down while the shutter is open
  • Carry larger capacity memory cards as you will end up clicking the shutter a lot in order to capture that one interesting result!

5 Portrait Photography Mistakes You Should Avoid

It’s true, creativity has no limits. What may look like an unforgivable mistake to one artist may be a relieving source of inspiration for another. Regardless of this fact, certain mistakes are simply worth avoiding. Photography genres have unique rules that deserve to be kept in mind during photo shoots. Landscape photography, for instance, demands a type of lighting that may not appeal to portrait photographers.

In portrait photography, unflattering lighting, uncomfortable poses, and tension all contribute to inauthentic photographs. It’s important to know how to deal with models, what not to do during the editing process, and how to approach different lighting situations. In addition to doing all of these things yourself, you can learn from the mistakes of others to boost your learning process.

In this article, you’ll not only familiarize yourself with 5 common portrait photography mistakes but learn from them. Each mistake is accompanied by a helpful solution so that the next time you bump into a creative problem, you’ll know exactly what to do.

Avoiding Conversations with Your Model

Taking photos of someone you barely know can be a tense activity, especially if you’re introverted. It’s easy to forget that the model is probably as uncomfortable as you are. Avoiding proper discussions will not only result in unnecessary awkwardness but give you a massive creative block.

Solution: If possible, have a short meeting with your client before a shoot. Once they get to know both your love for photography and the creative ideas you have in mind, they’ll feel more comfortable in your presence. In turn, you’ll get to know them. Don’t be afraid of asking questions, requesting feedback, and giving them creative space. They may have an idea that will come in handy during your shoot, so remember to stay open-minded.

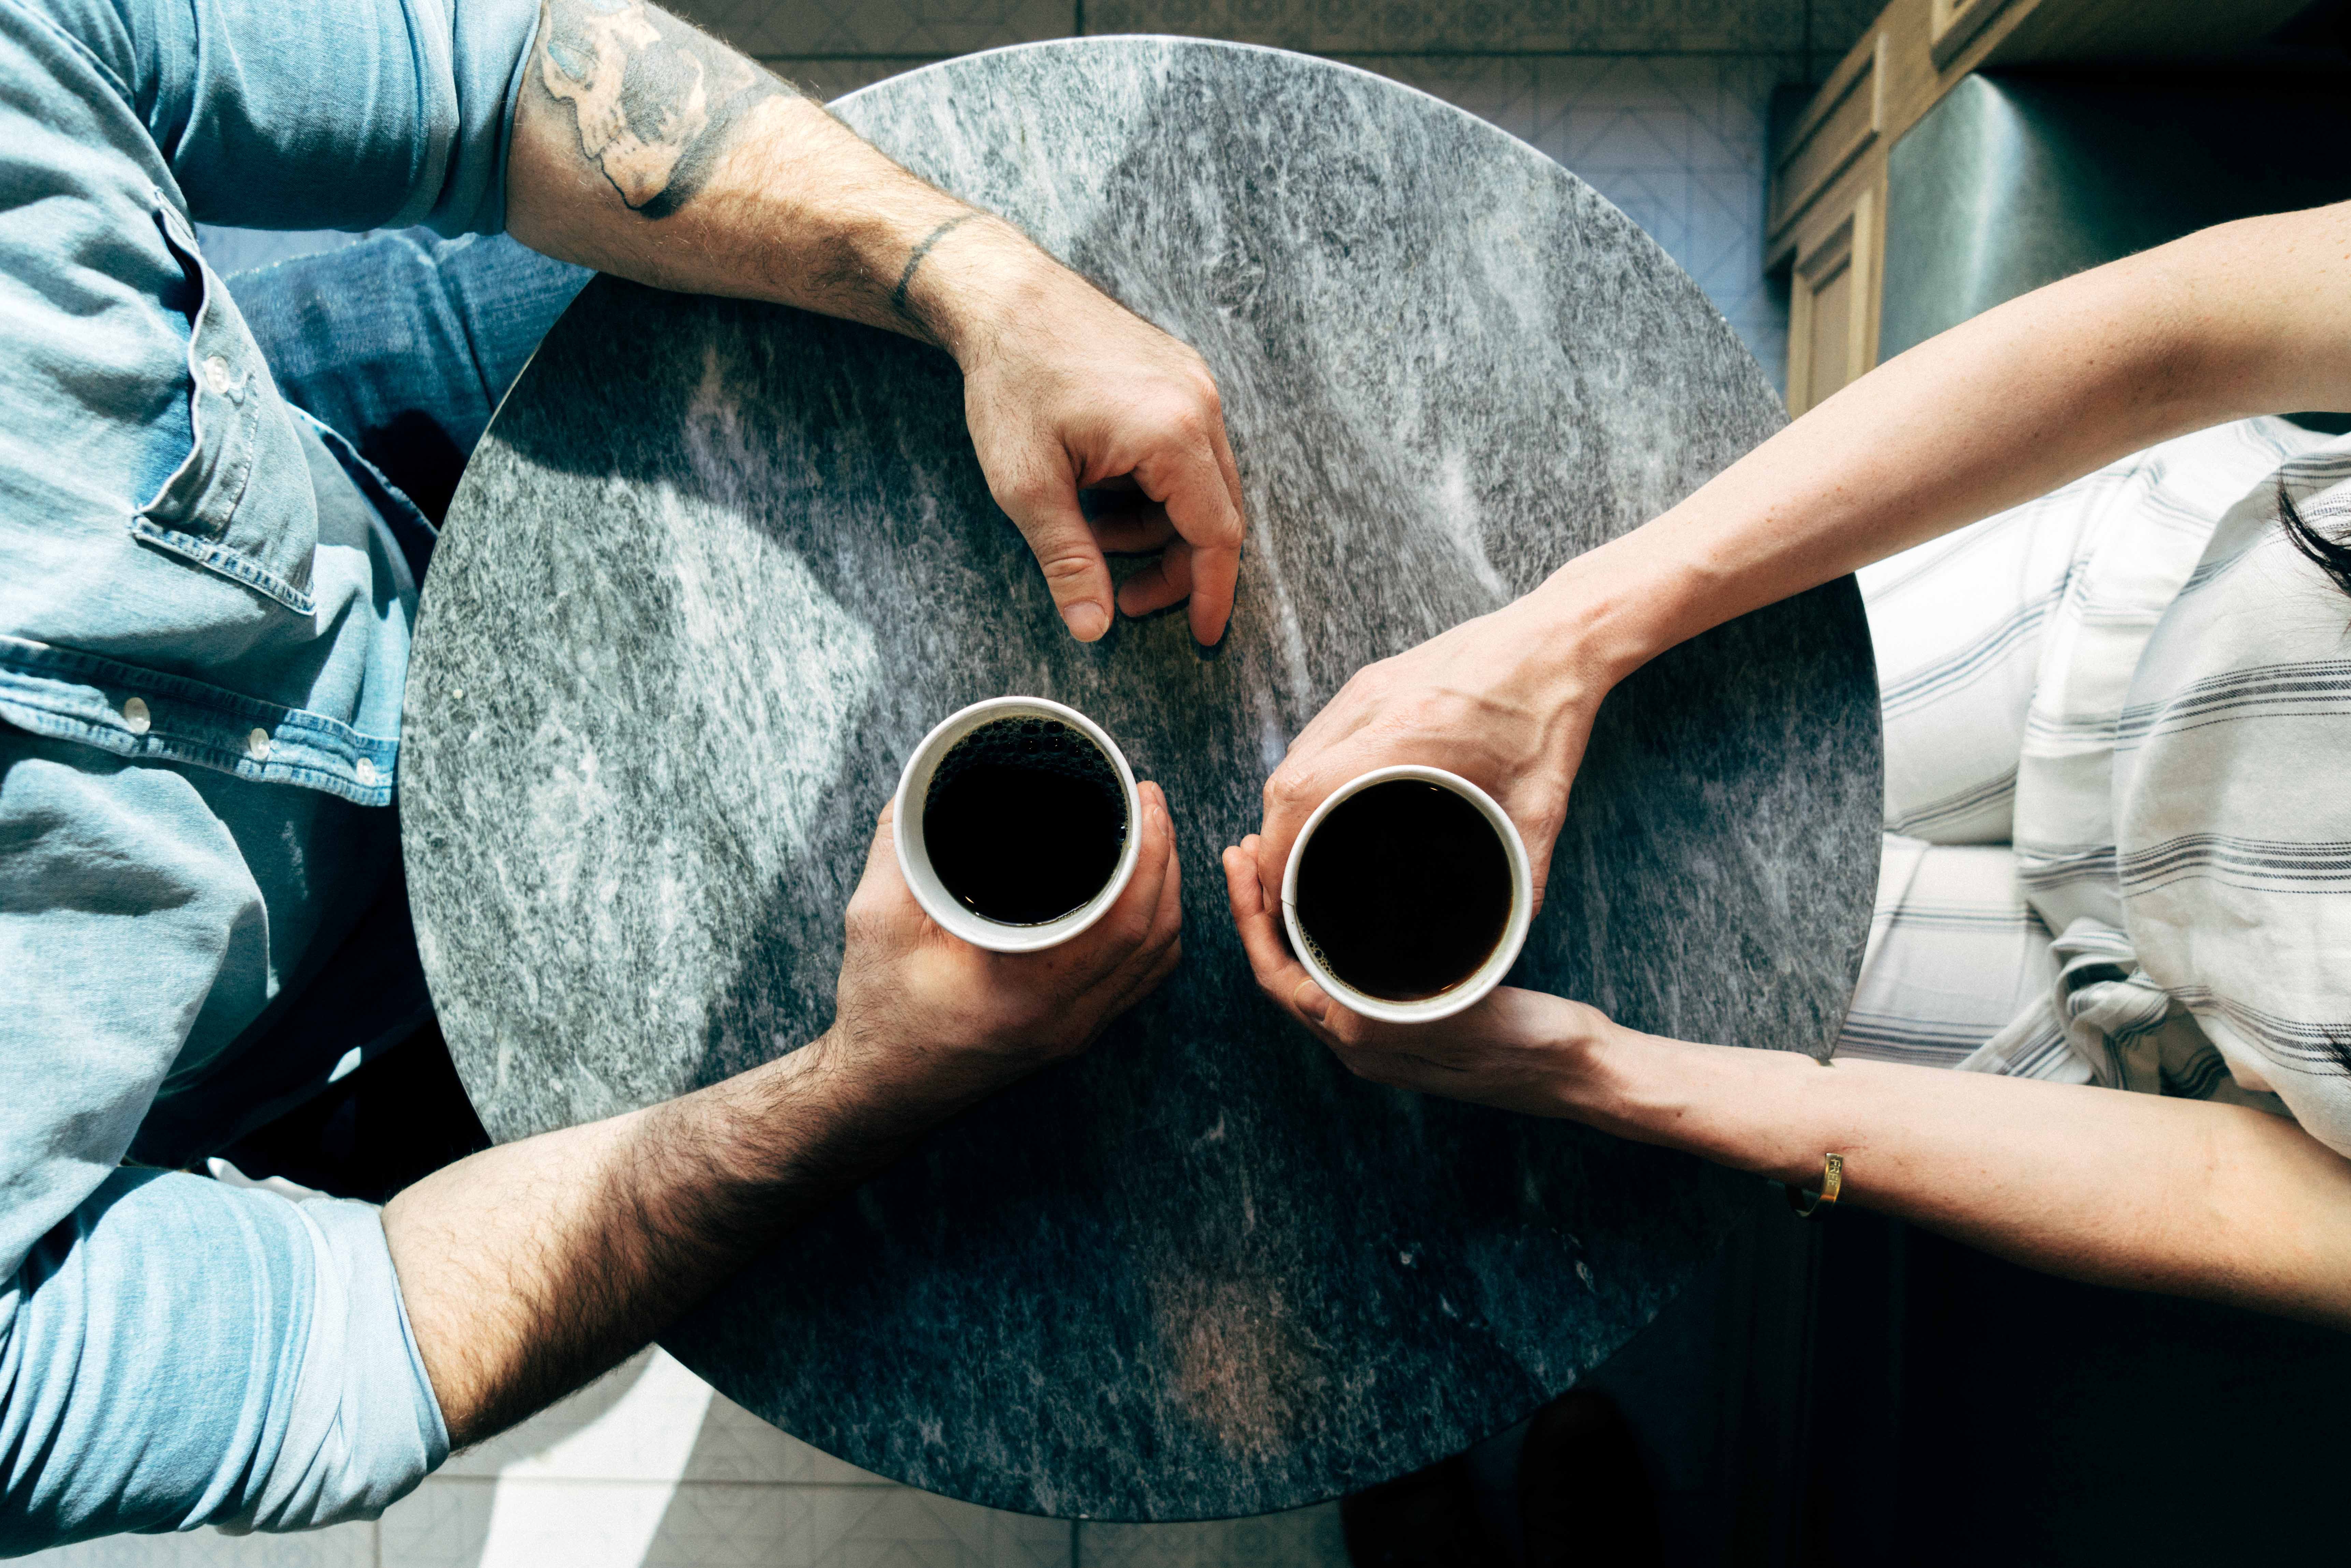
conversations with coffee

Solely Depending on Poses

Posing guides are undeniably helpful, but they can get in the way. Not every individual will feel comfortable with certain poses. Your client may even end up feeling bad about poses you really like.

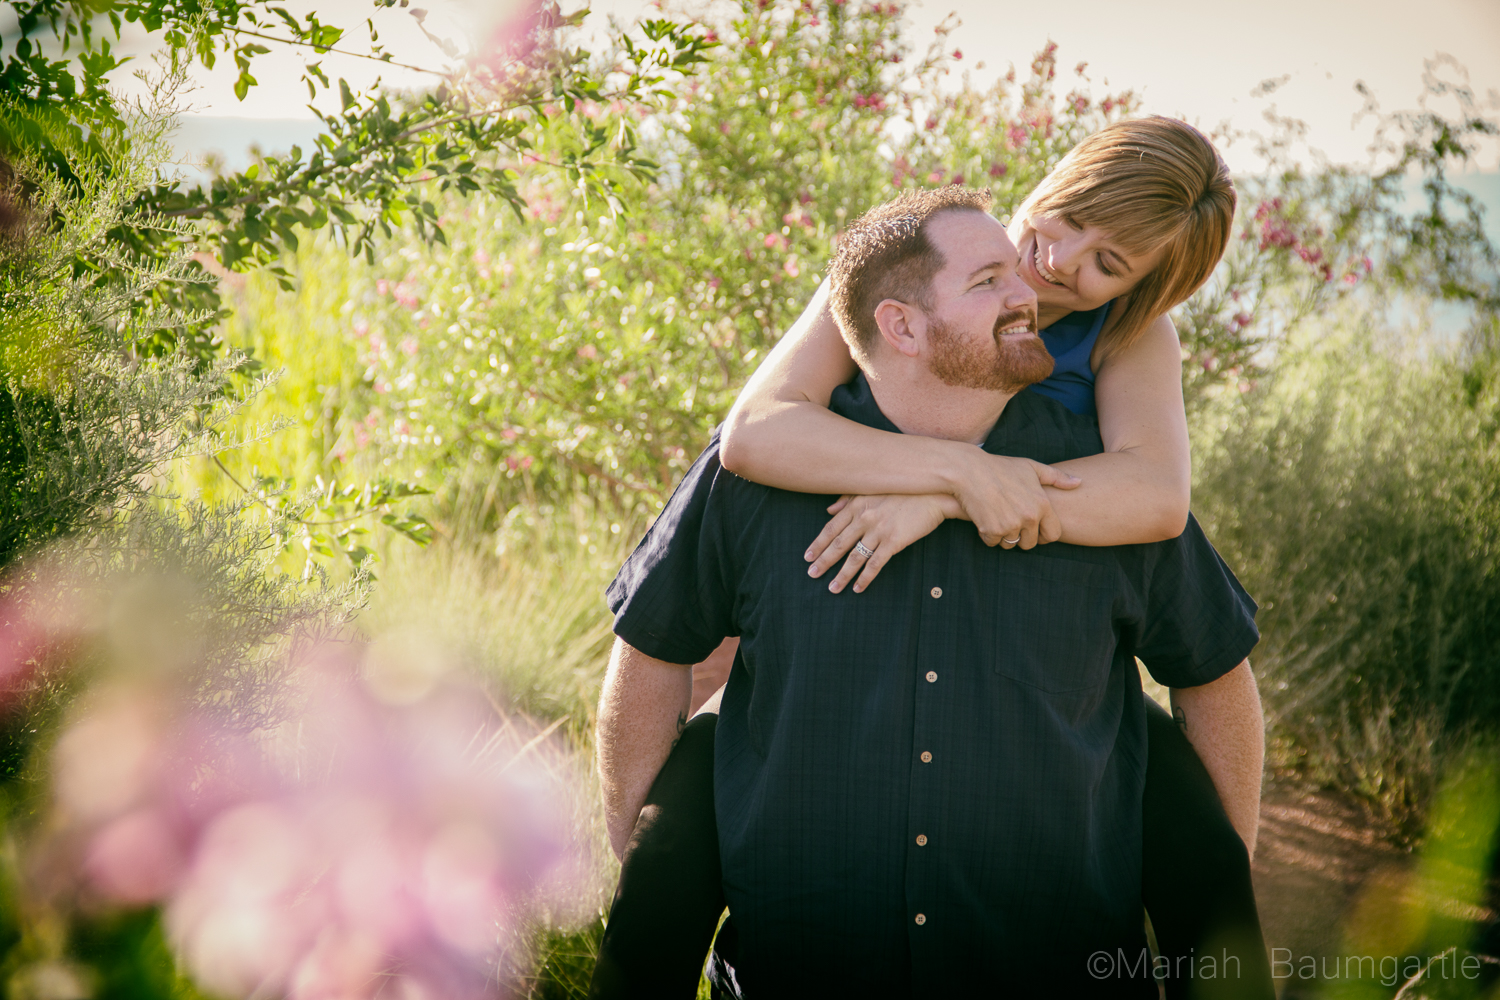
Solution: Don’t ditch your posing guide. Instead, give your model lots of room to be spontaneous from time to time. If they enjoy talking, have conversations with them as you take photos. Give them compliments and proper feedback. This will help you catch authentic moments. The photo below is a great example of this.

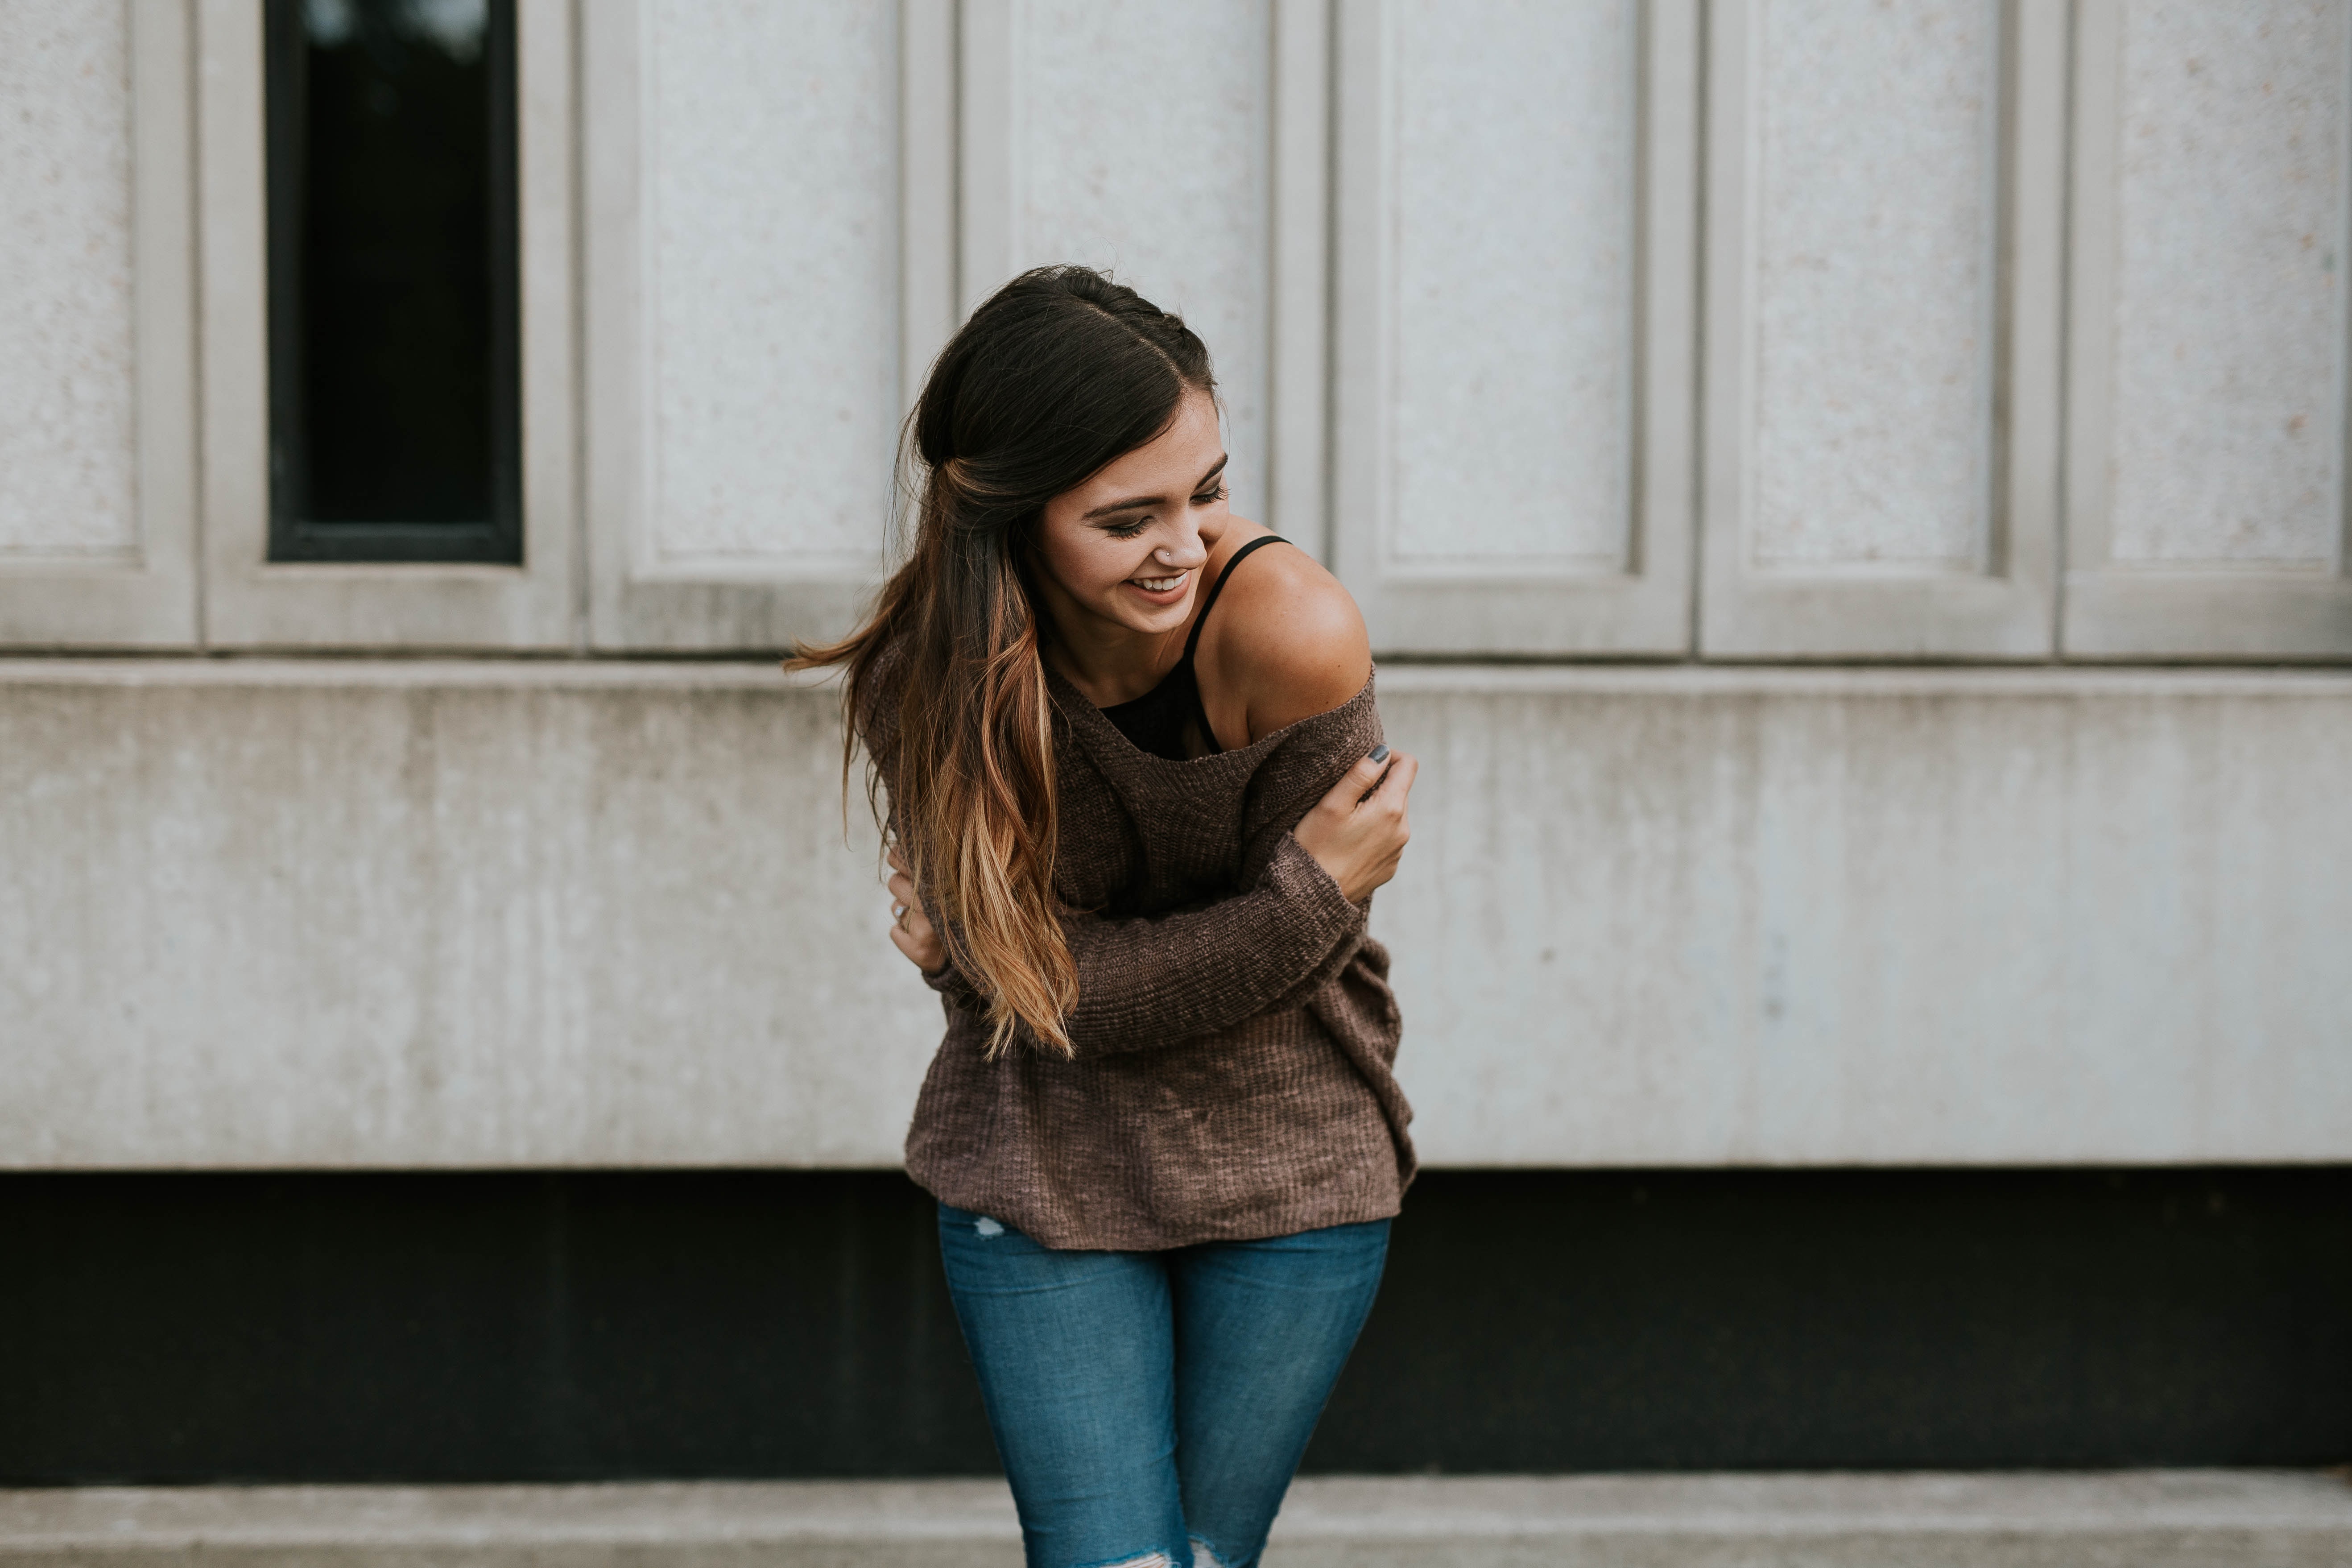
girl smiling

Beating Yourself up in Front of Your Client

…or in any other situation. Of course, self-deprecation is sometimes humorous and pleasant. When it comes to photo shoots, however, bringing yourself down will bring your others down, too. You’ll end the shoot feeling exhausted and unenthusiastic. If you don’t believe in your creative skills, no one will.

Solution: Embrace the inevitability of mistakes. If something goes wrong, don’t immediately blame yourself. Instead of discouraging both yourself and your client, find a solution. Once your client notices the confidence you have in your problem-solving abilities, they’ll feel safe in your presence.

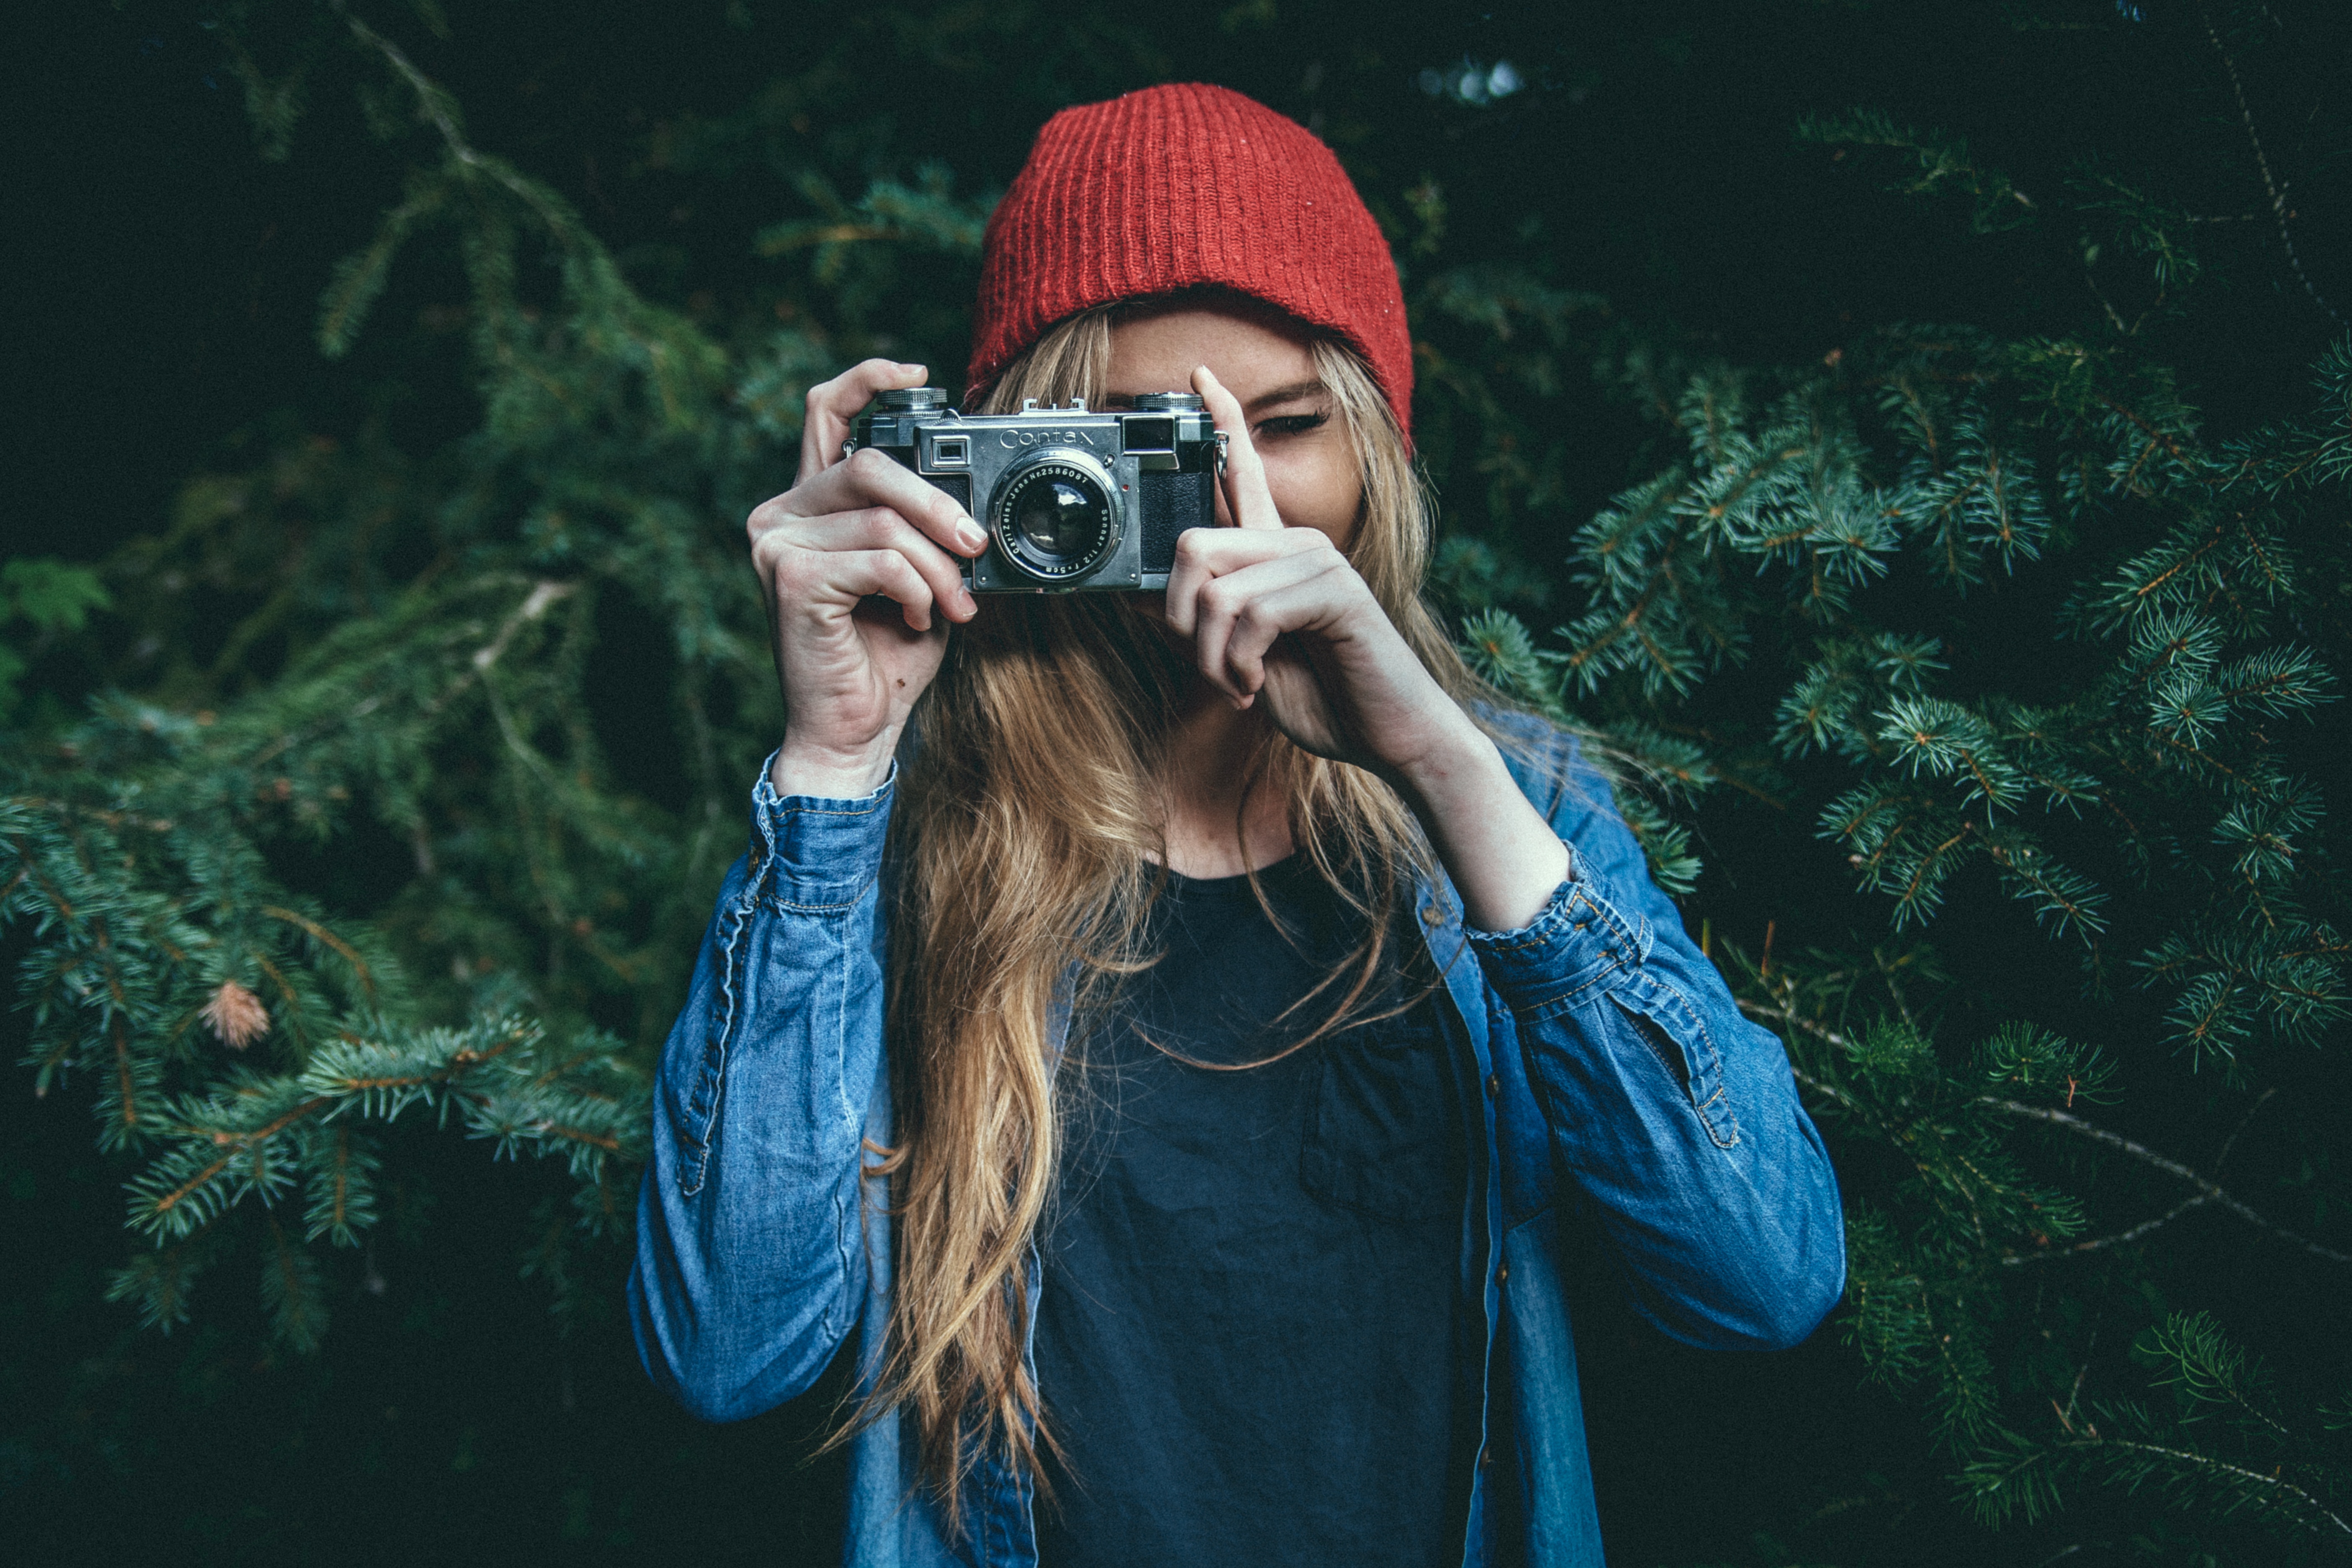
girl taking a picture

Not Focusing on the Eyes

Experimentation is cool. It proves that you don’t limit your creative mind. Many clients, however, want a combination of simple and creative photos of themselves. Images that focus on their clothes, hair, or surroundings won’t satisfy them completely.

Solution: Manually focus on the eyes when you take simple portraits. This may take some practice, especially if you’re used to autofocus, but keep trying and you’ll get the perfect results in no time.

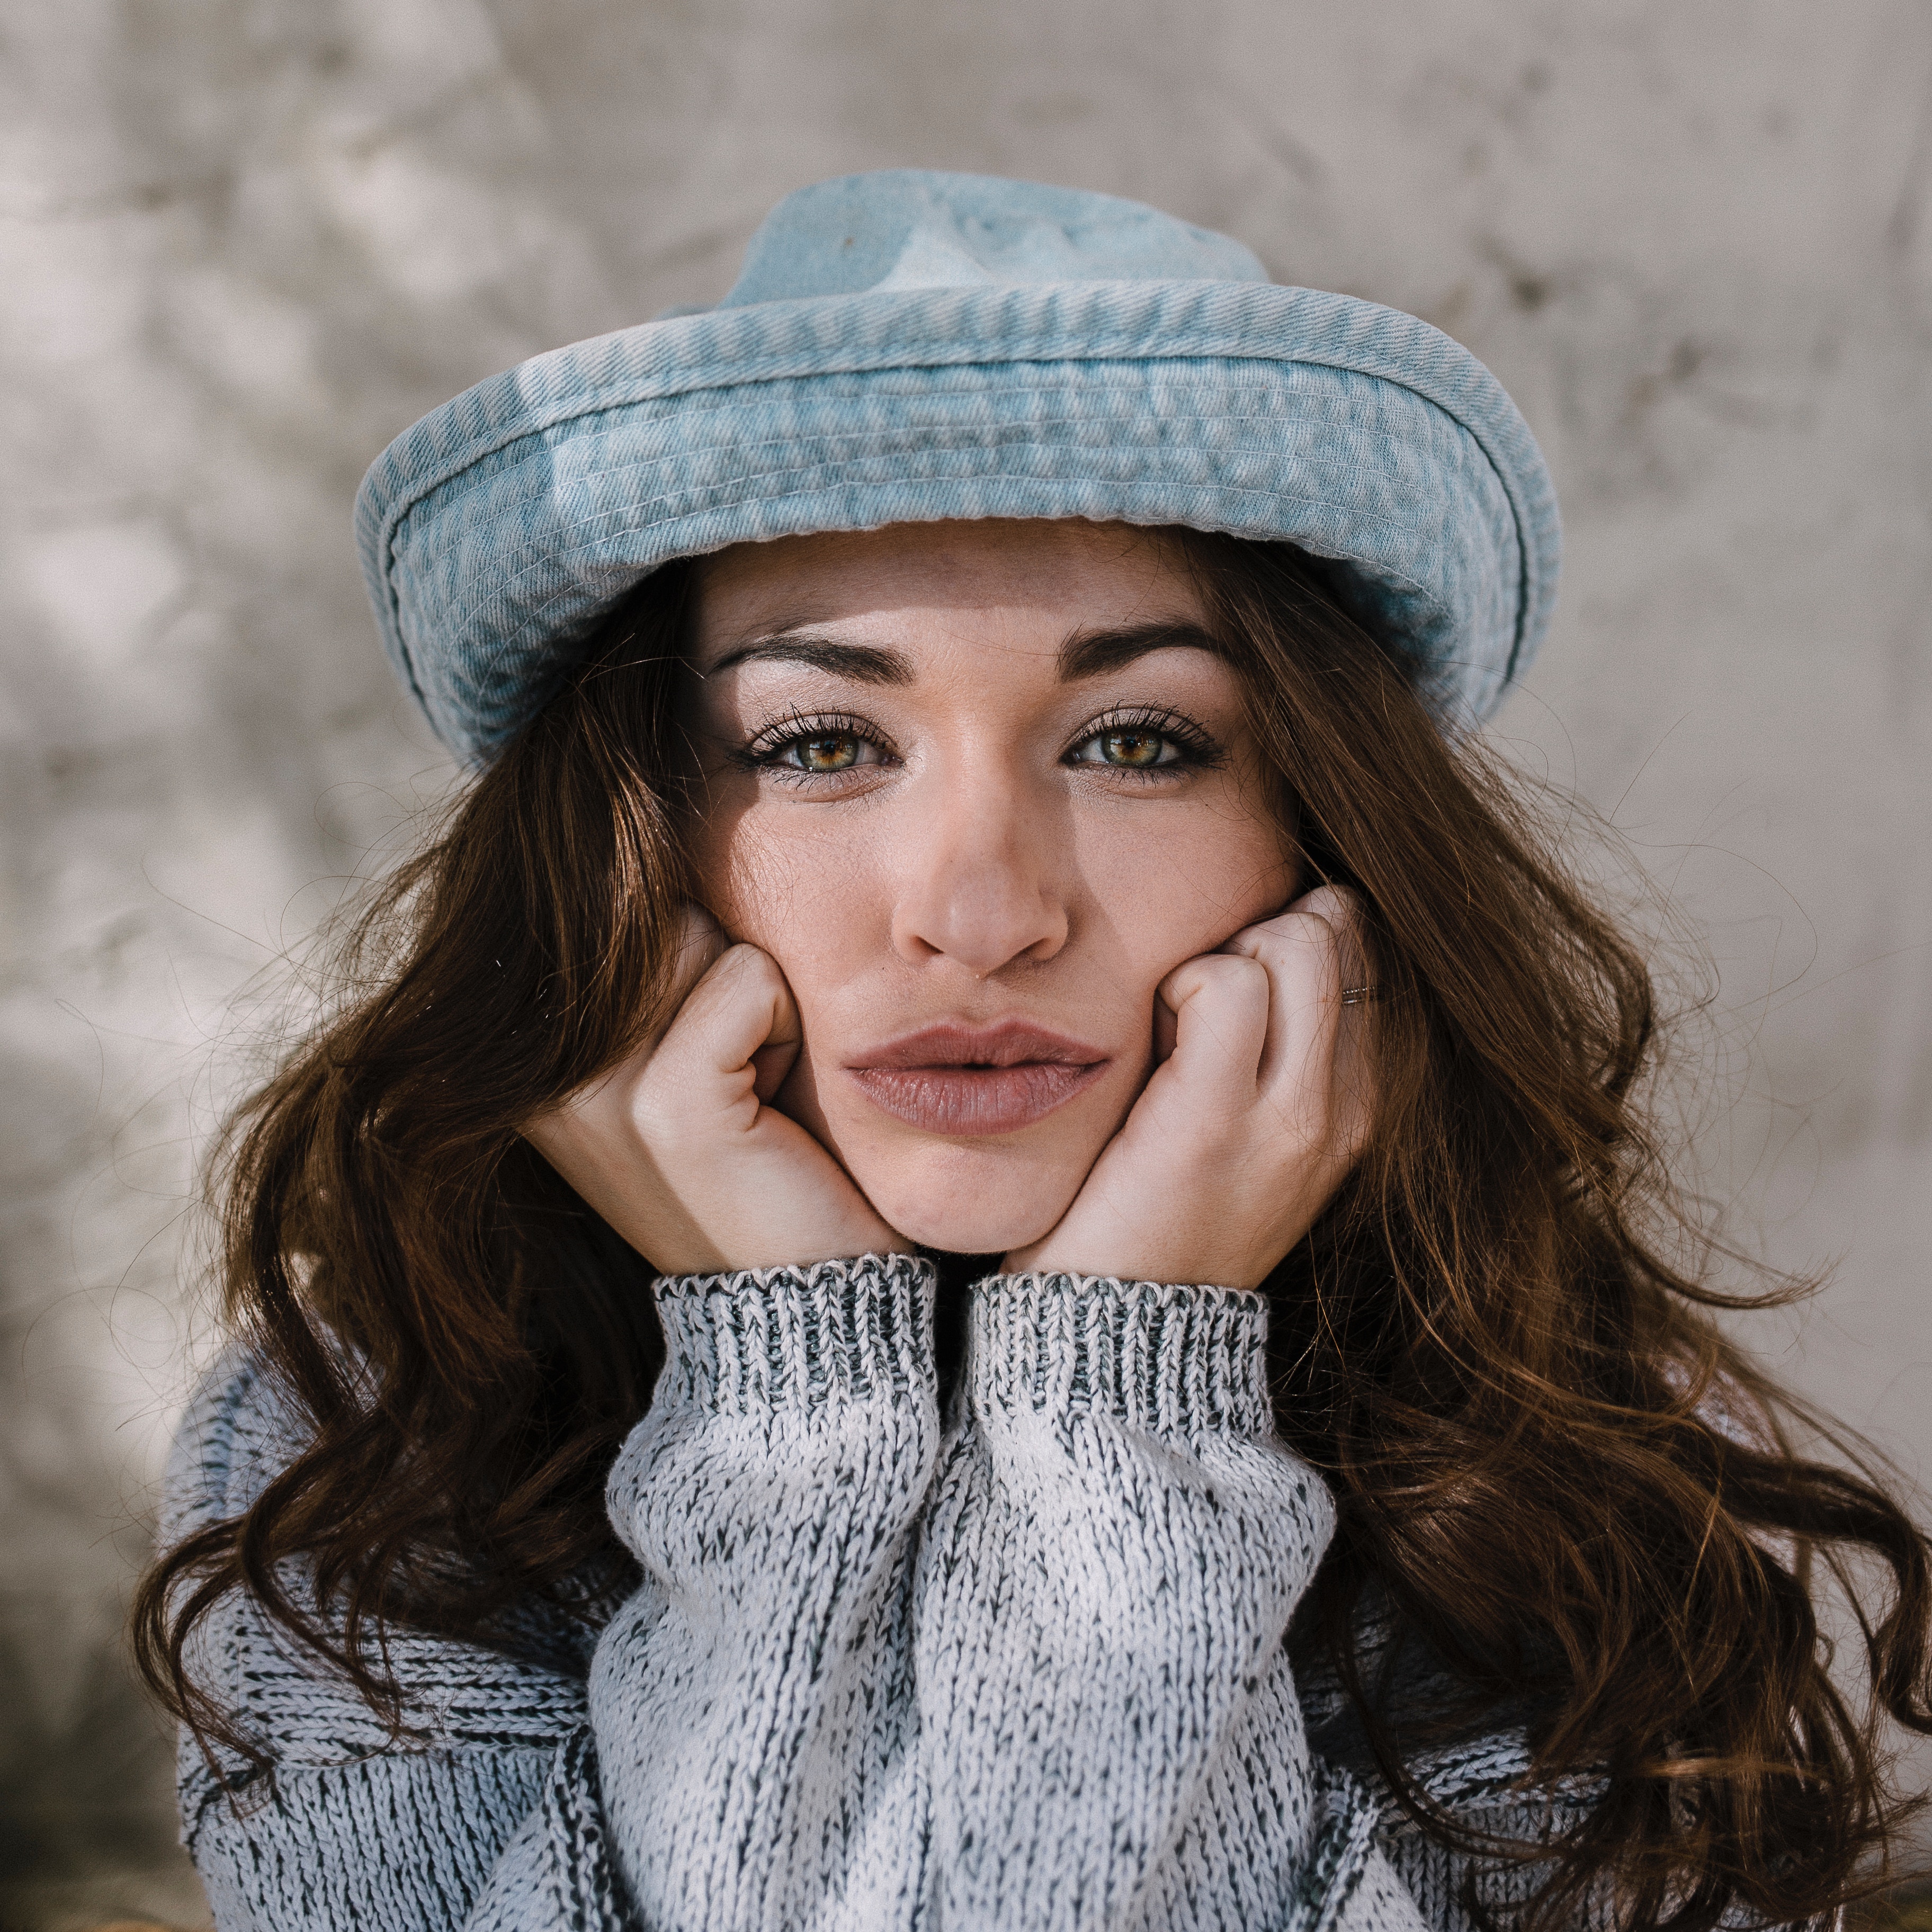
portrait

Shooting in Locations with Abnormal Lighting

Light is a photographer’s best friend

, but too much of it can lead to the creation of unappealing portraits. Harsh, flat, or distracting light is something portrait photographers don’t use on a daily basis. Unique lighting situations require unique approaches. If used incorrectly, they’ll highlight the wrong features and overshadow flattering elements.

Solution: Before a shoot, find the best locations where lighting won’t be a problem. For instance, a park filled with shaded areas will give you lots of room to take well-lit photos on sunny days. An open field will give you lots of lighting opportunities on gloomy days. Unless you want to create experimental portraits or experiment with portrait actions, avoid locations with lots of different lights.

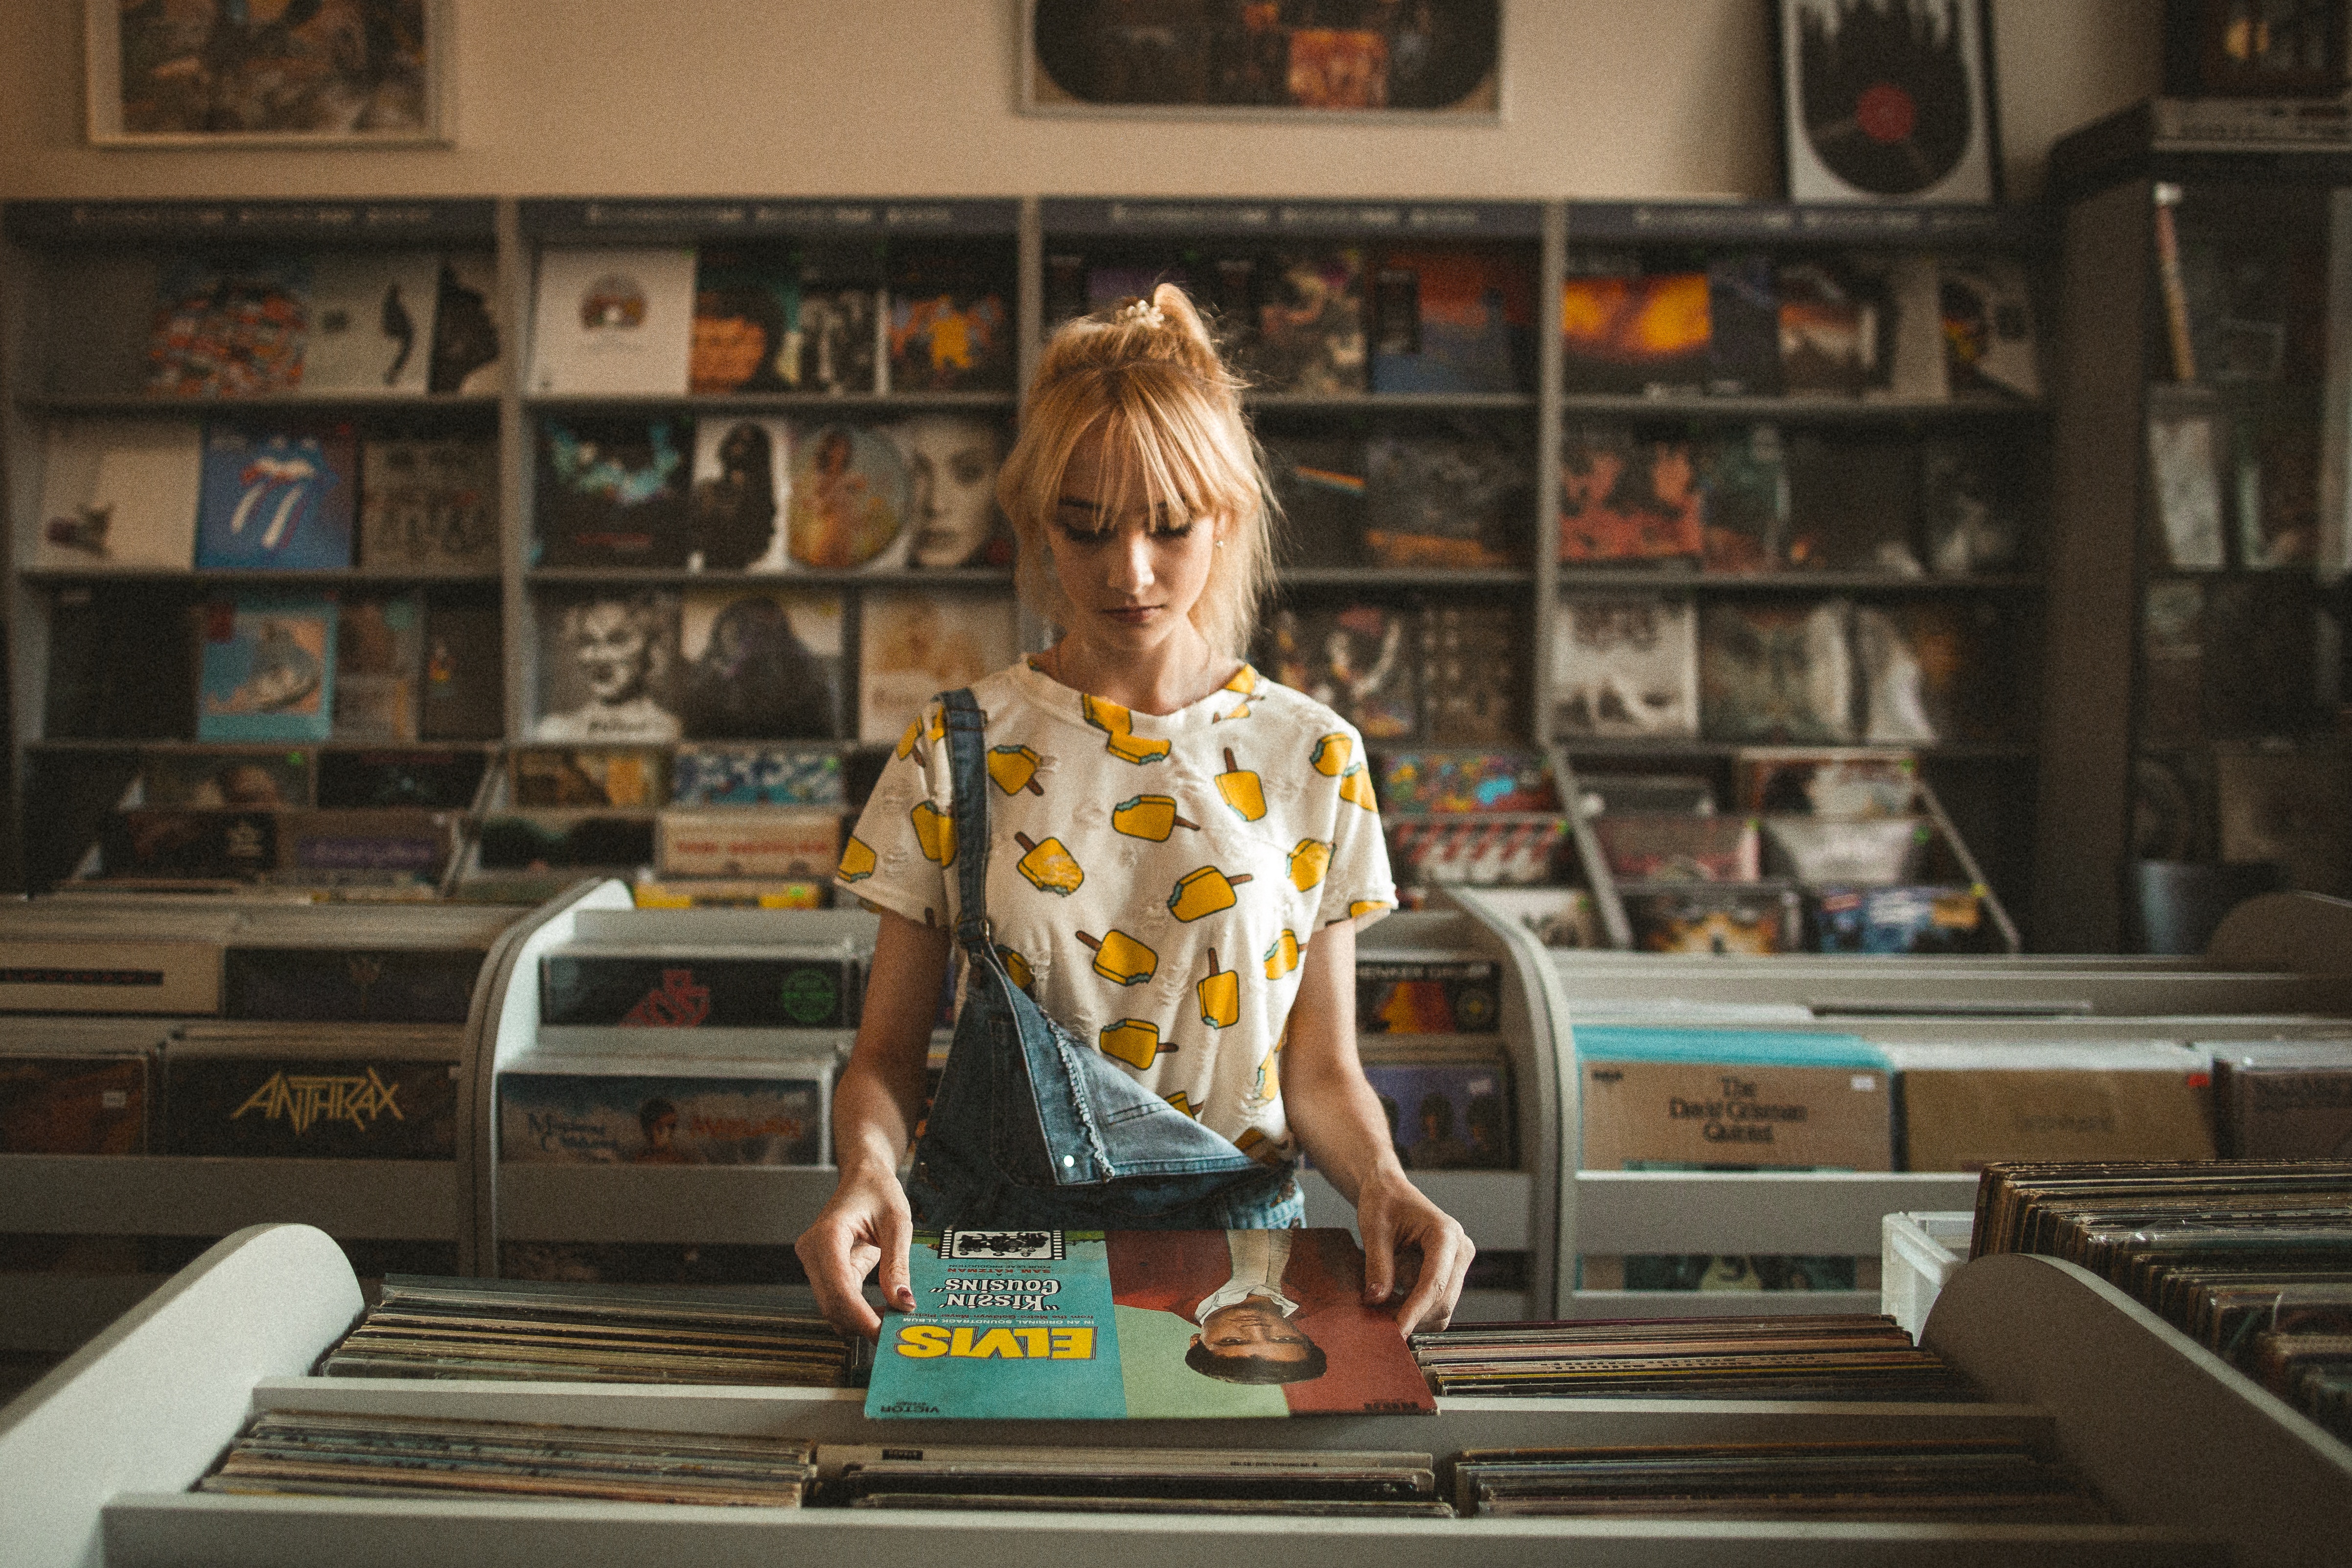
girl looking through records

It’s true, creativity has no limits. It’s also true that learning from other photographers’ mistakes will benefit you greatly. Absorb this knowledge, learn from your own mistakes, and keep taking wonderful photographs of others.

SaveSave

Get Creative with an App: Cool Smartphone apps for photography – Part 2

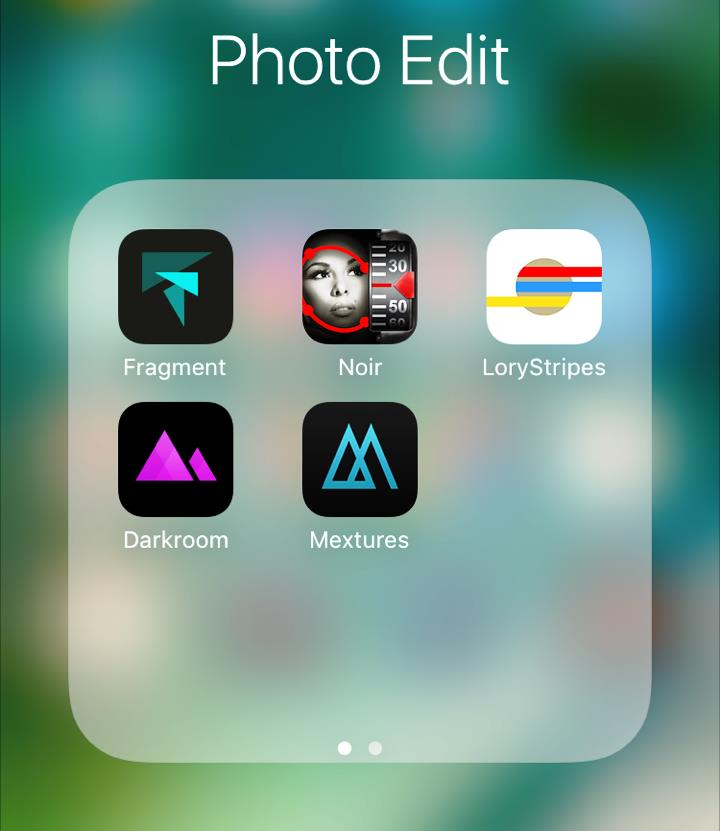
Smartphones have made our lives a lot easier especially for photographers. The continuous developments in technology and gadgets with improvised cameras on smartphones, allow us to capture any moment in one click. They also come with a range of applications to choose from for photo editing. This is the second part of the article, a continuation from Get Creative with an App – Cool Smartphone apps for photography. In this article, I will share with you some tips from a few of my go-to apps: Fragment, Noir, LoryStripes, Darkroom, and Mextures.

photoedit app1

FRAGMENT

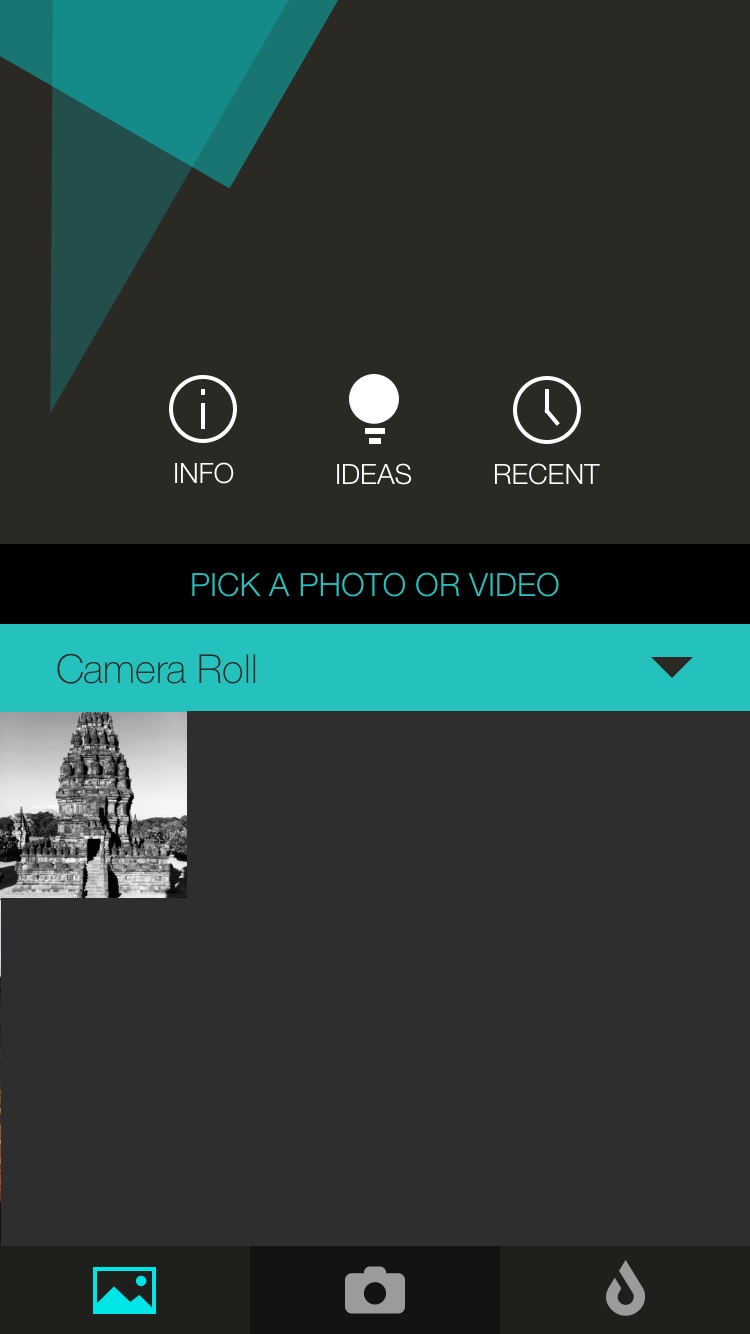
This is an app created by talented individuals at Pixite Source. When feeling inspired, I like to juxtapose images and get creative with them. Fragment is an interesting app where you can create different variations to your images. The app is packed with many features to use, in case you get confused you are able to use their random fragment feature to pick the one that suits you.

fragment1 fragment2

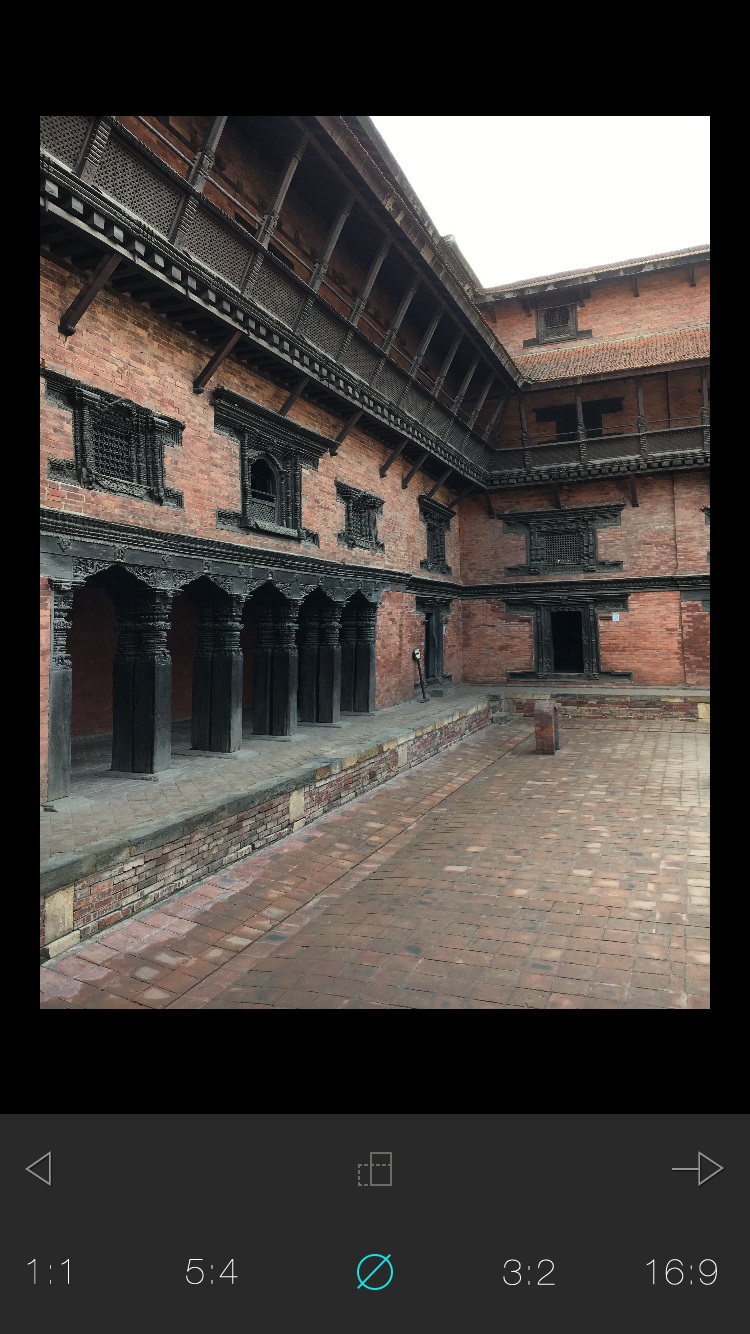
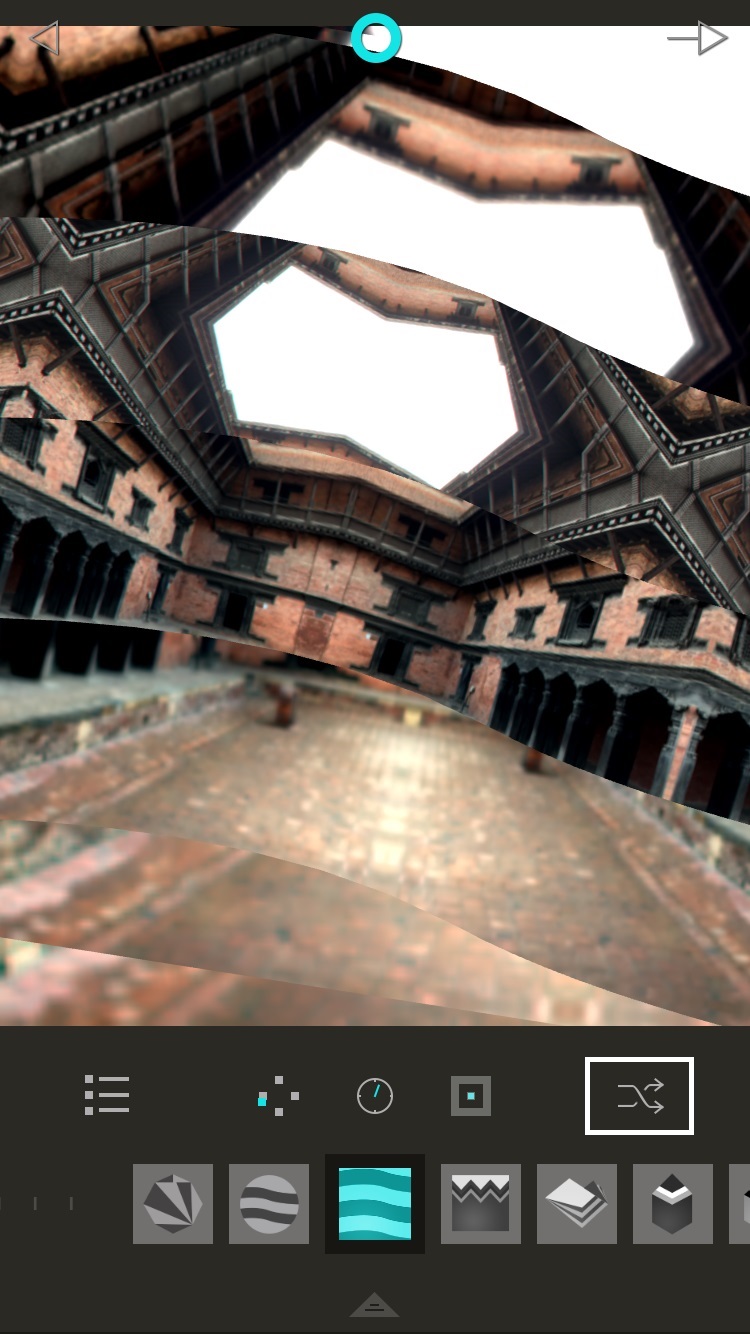
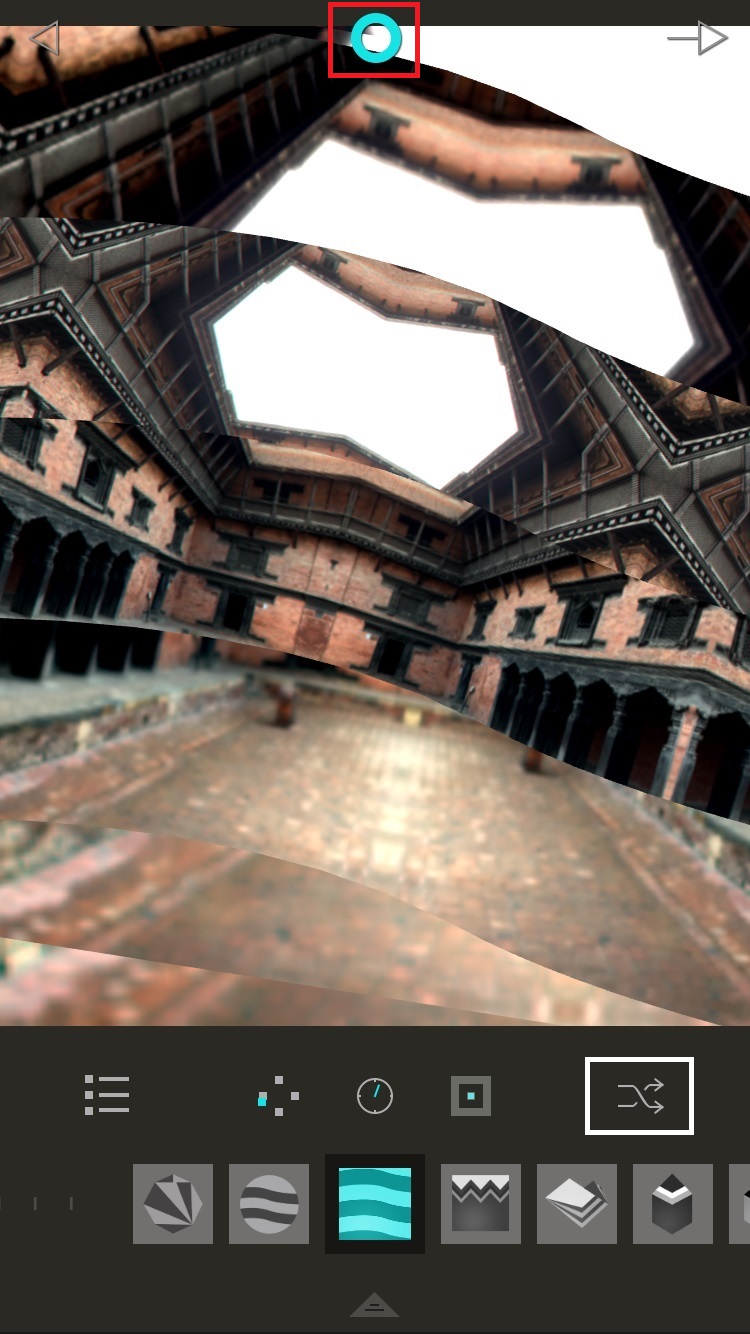
After opening the app and choosing the photo you want to work with, you will come across the screen below. Click the white highlighted option (randomized fragments) and choose the fragment you like. If you want to edit the fragment from the photo, you need to click the red highlighted option to see which fragment works for you. Upon completion, you may choose to save or refragment.

fragment3 fragment4

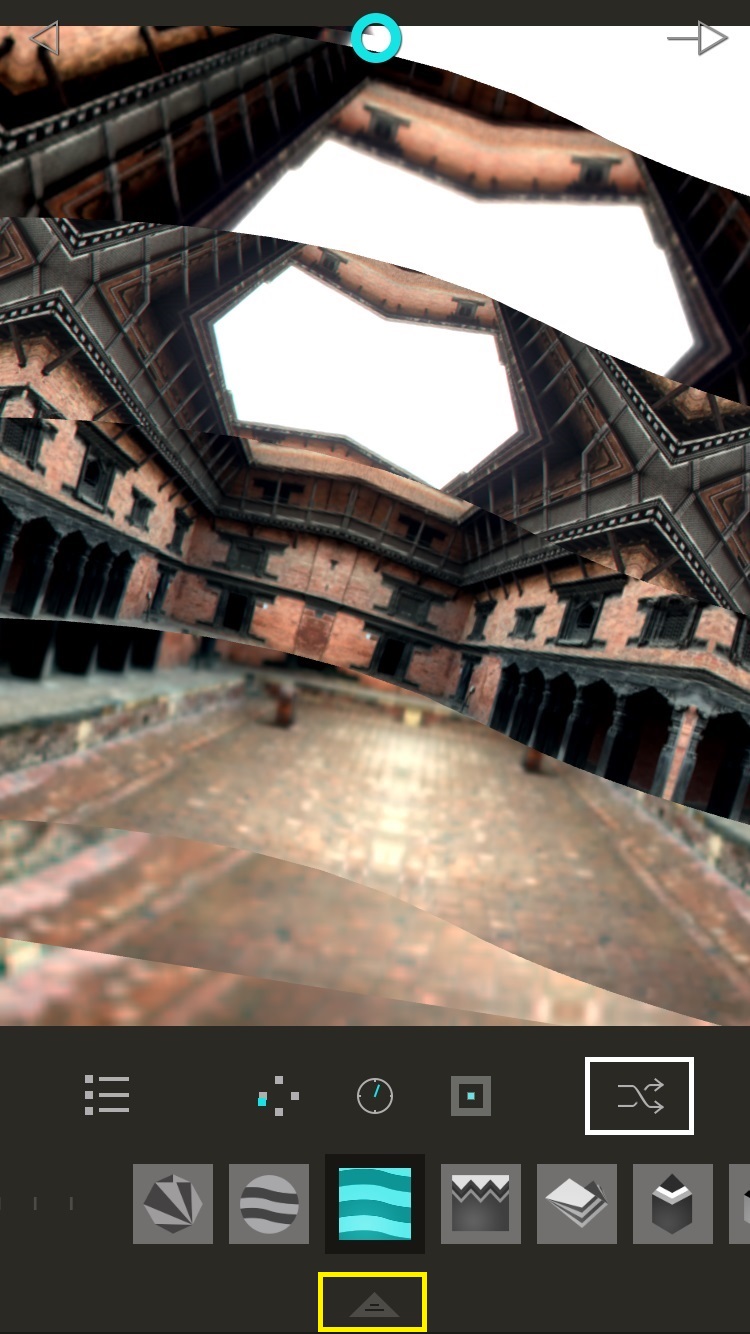
When you are satisfied with all options you chose, you can click the yellow highlighted option as seen in the image below. By clicking it, you will be able to adjust the brightness, contrast, 3D effects, blur some parts or even invert as in using colors for a contrast between two fragmented portions.

fragment7

fragment5
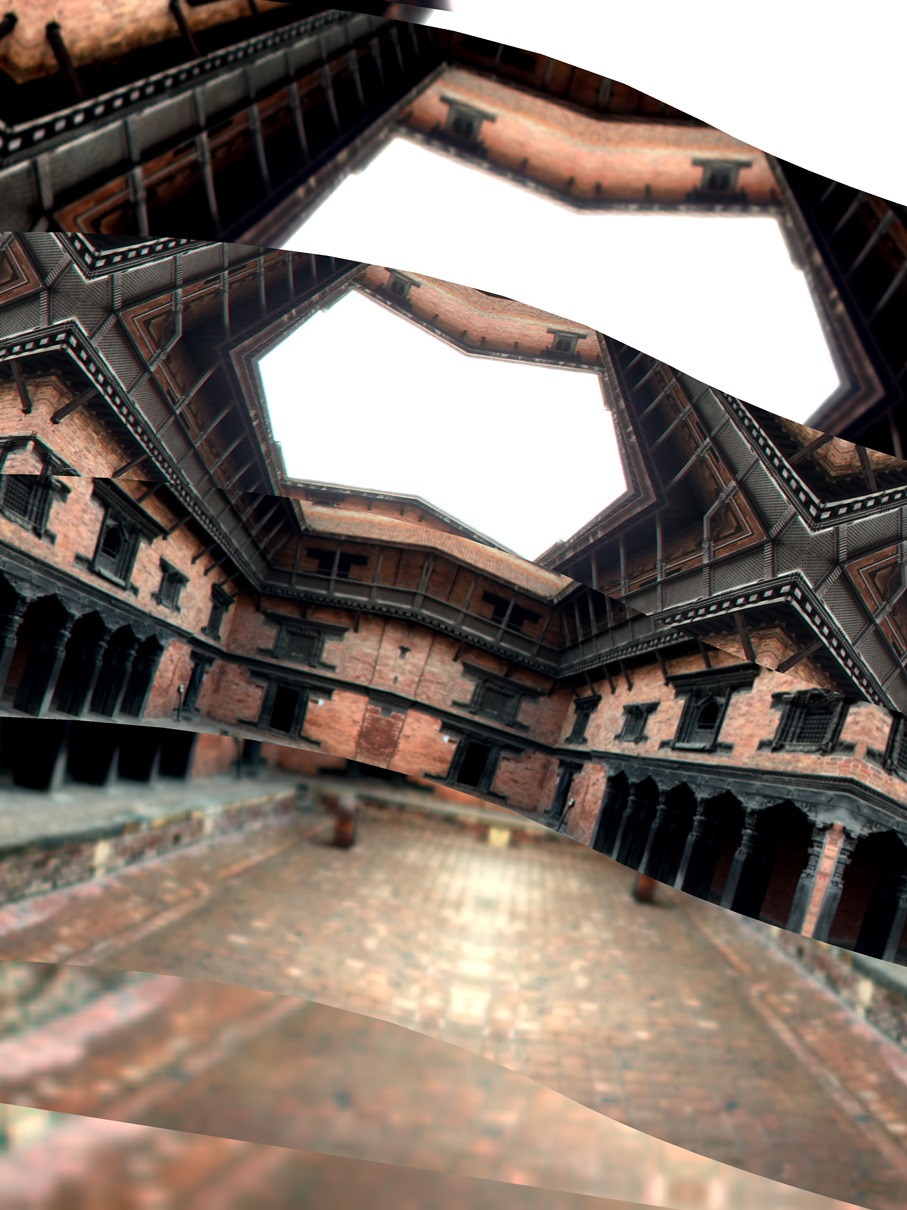
After Edit

Fragment works when you want to create a quick juxtapose edit to your images, it has many options, and it adds a completely different look to your images. I like using this app most of the time for editing with graphical options.

LORYSTRIPES

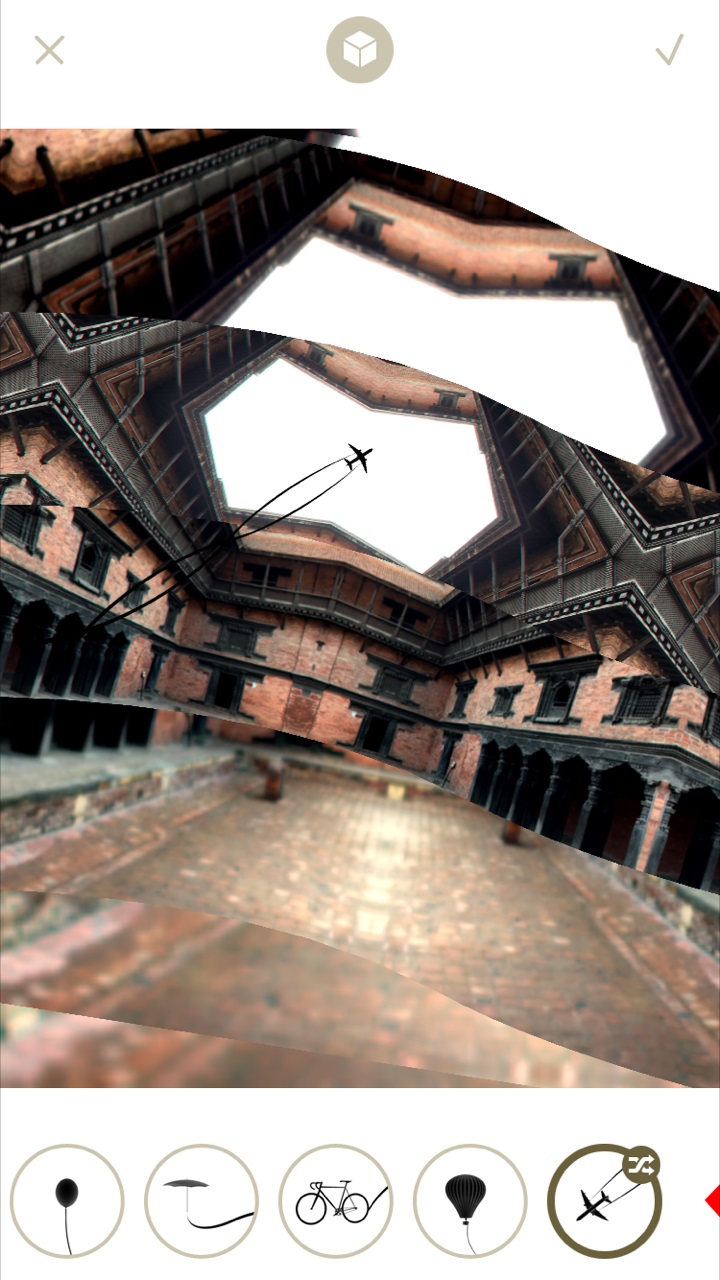
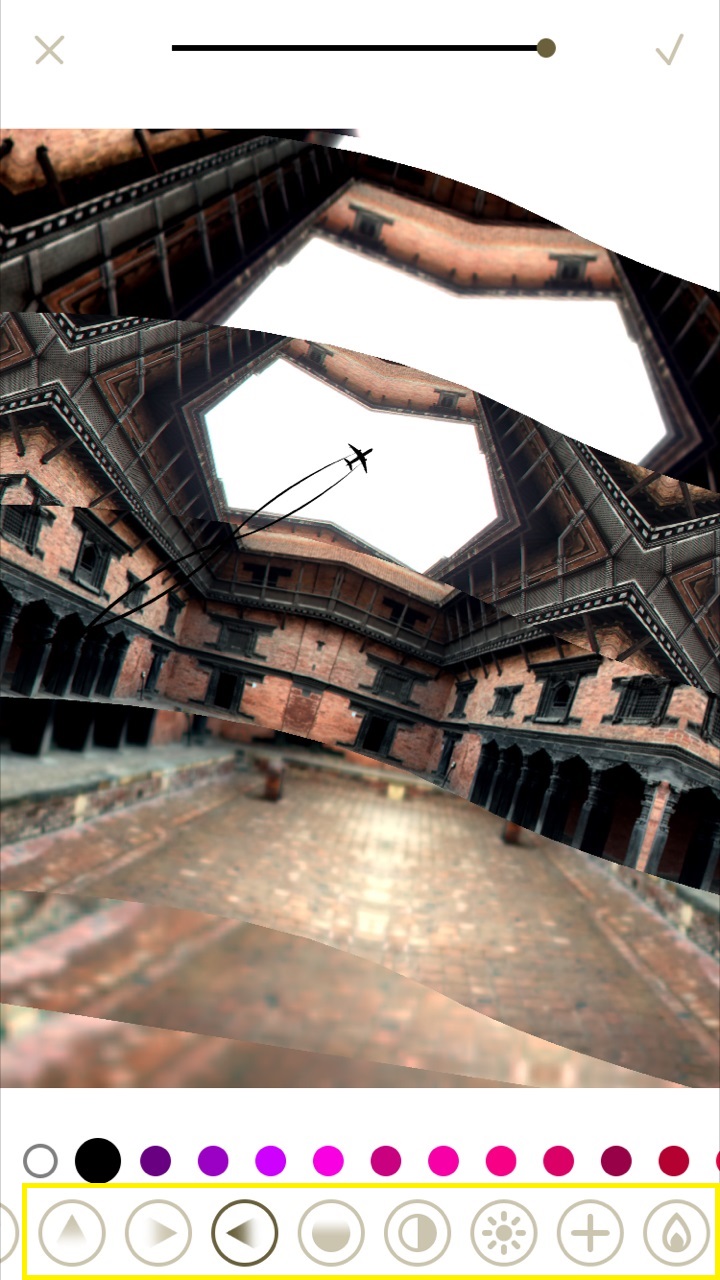
Continuing from Fragment another Pixite Source creation app, to complete my edit I go to LoryStripes to add some finishing touches to the same image. You may choose to do this by using the same image, or you can use a completely new image for a different kind of edit to your image. As the name of the app goes, this app is all about Stripes with various icons and styles. As you can see in the image below, I have chosen to add the airplane style, if you see on the corner of the style there is small randomize icon where you can click on it to choose how you’d like the style to be placed.

lorystripes1 lorystripes2

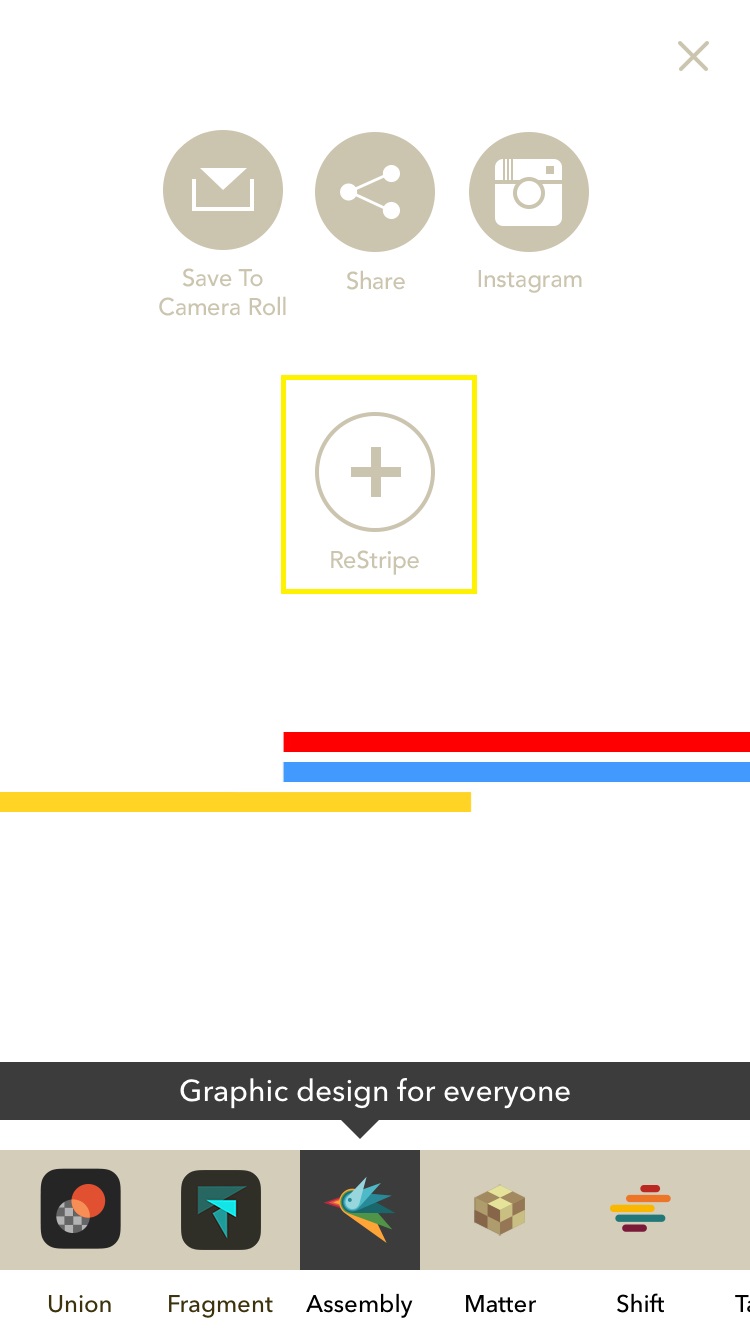
In the image below, you will see the next screen after selecting your style. In this screen, you can click any of the options highlighted in yellow to choose the color and visibility of your style. As I would like to add another airplane style after completing my edit, I choose to click ReStripe.

lorystripes3 lorystripes5

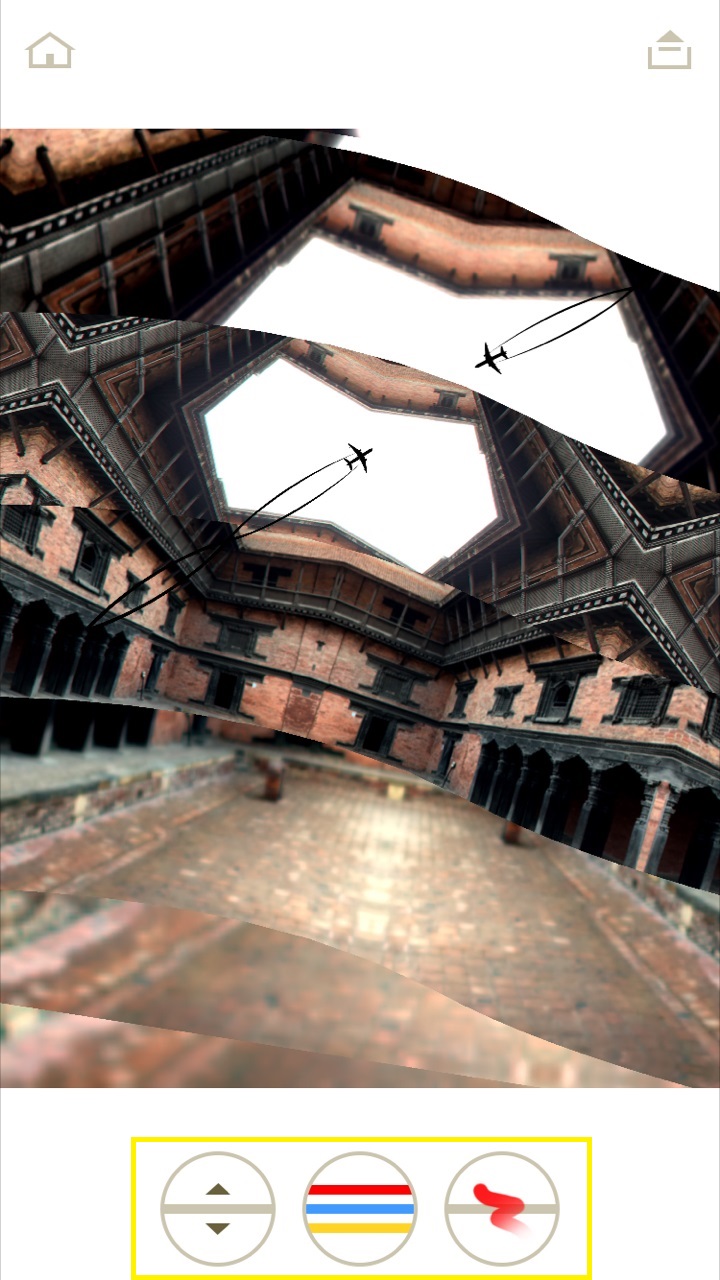
In order to erase a portion of the style, see image below and click the yellow highlighted options. Upon completion, click save.

lorystripes6 lorystripes7

lorystripes8
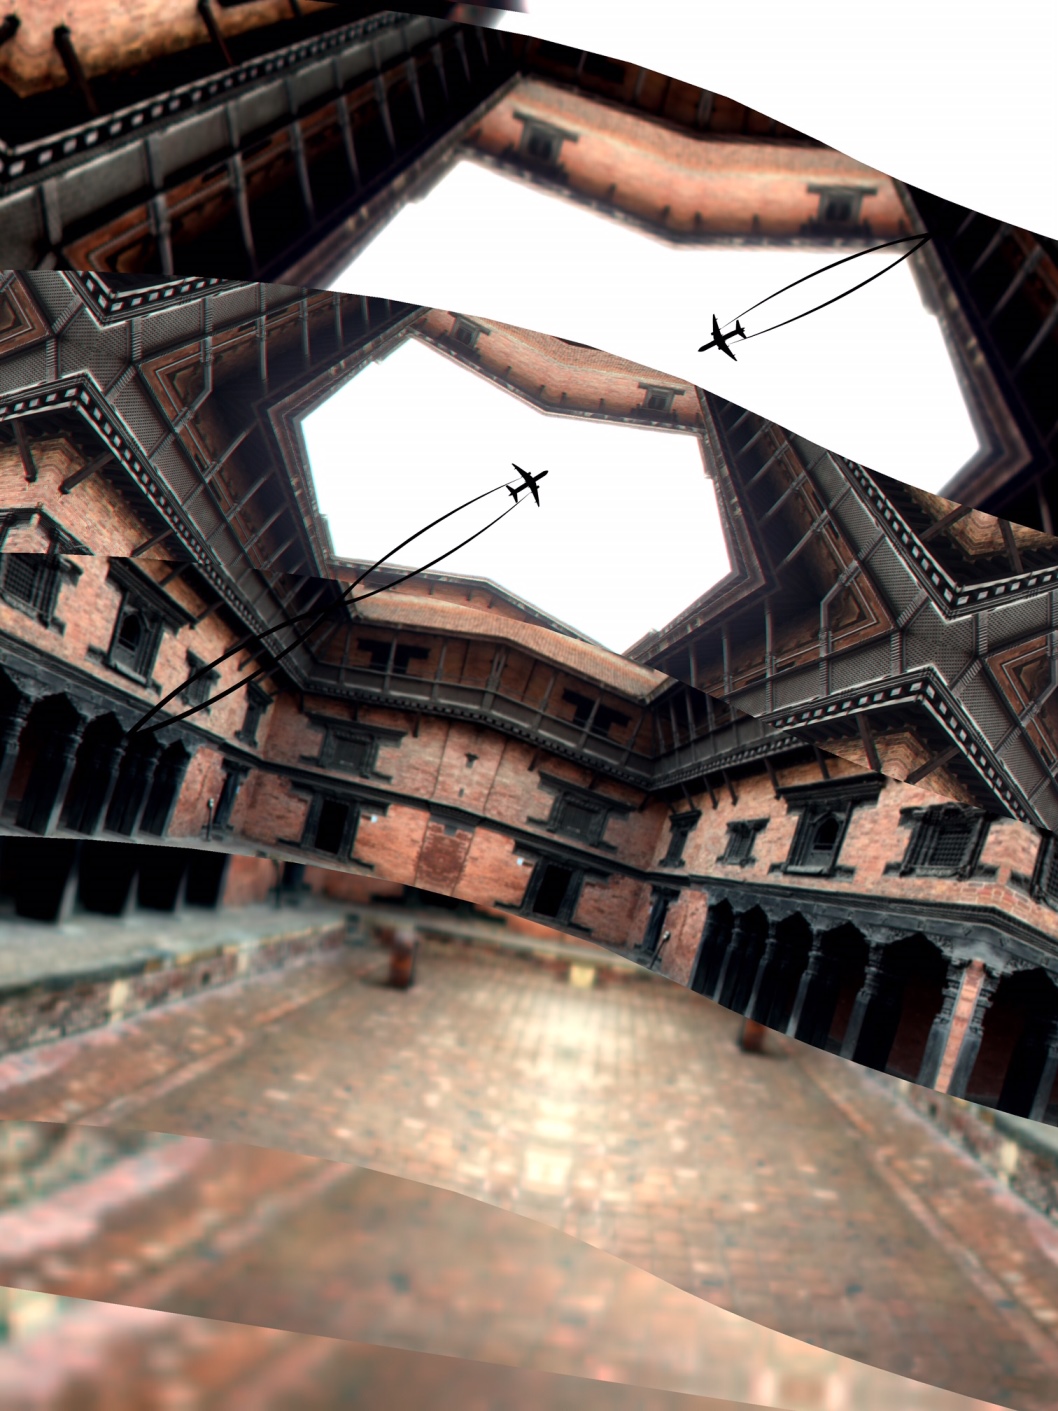
After Edit

Lorystripes is a good app to work with when looking for lines. It also helps to broaden your imagination with its 3D styles to add to your images and compile a new outlook. I use this app to add icons that the app provides to create an imaginative approach in my images.

NOIR

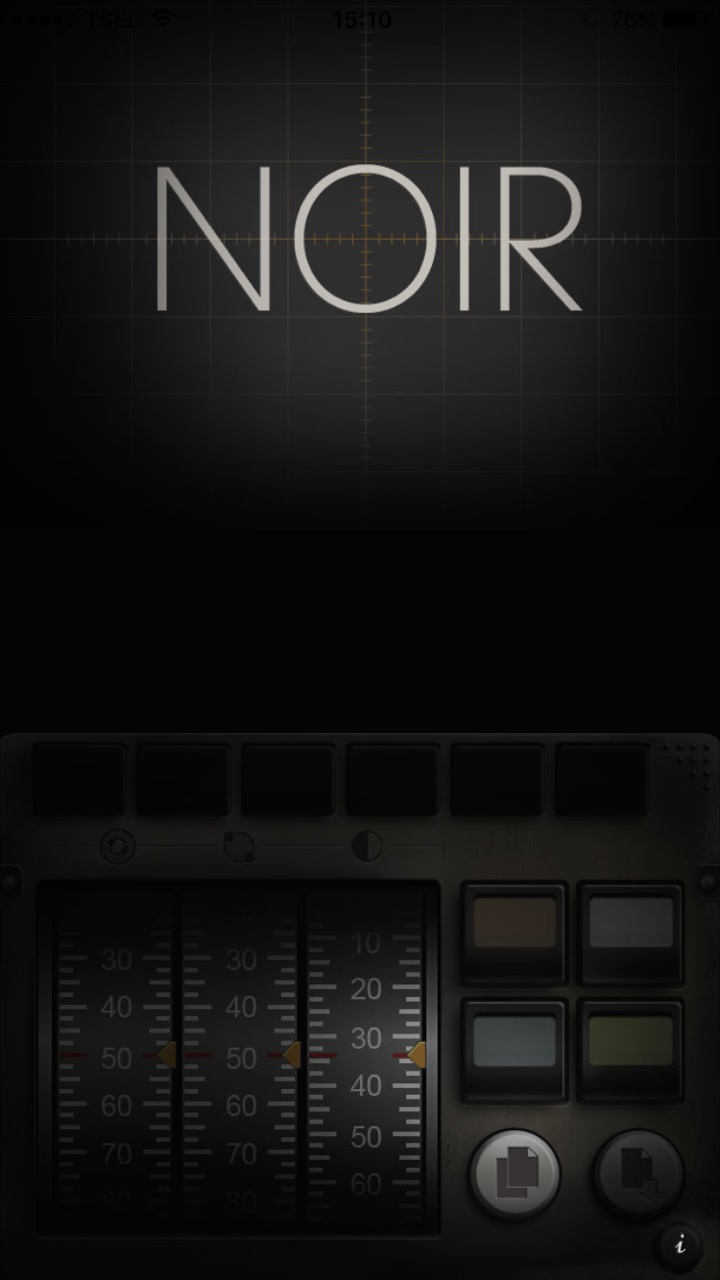
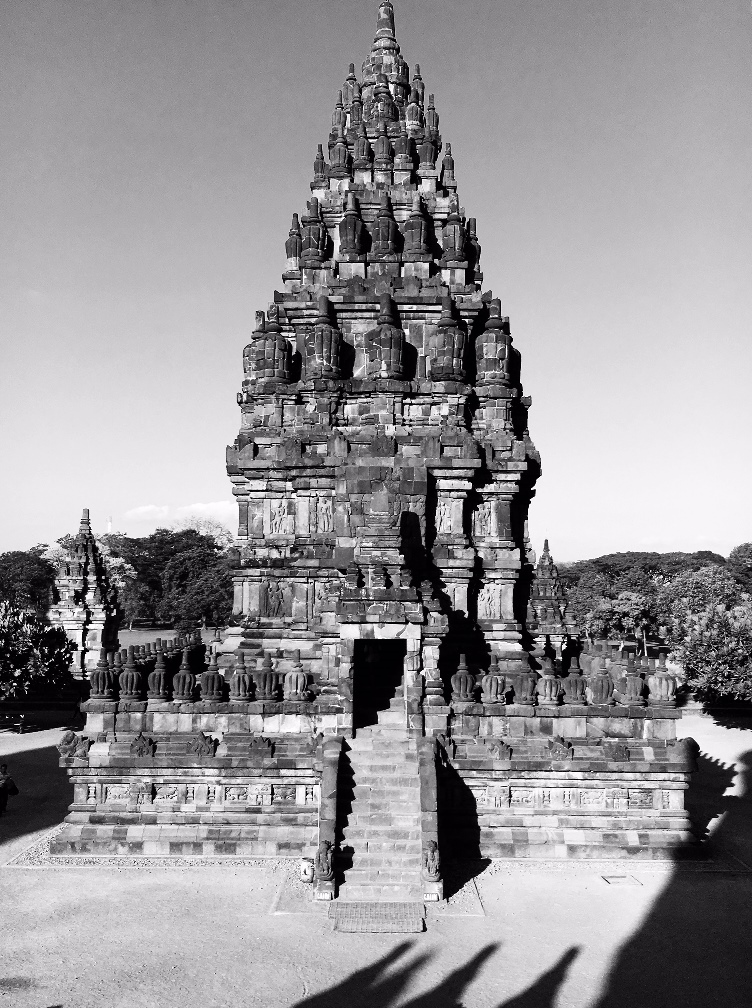
My all time favorite Black and White conversion app would have to be Noir. This app converts your image to a clean and crisp black and white, hassle free. It doesn’t require too much effort to edit your colored image. The features are pretty straightforward.

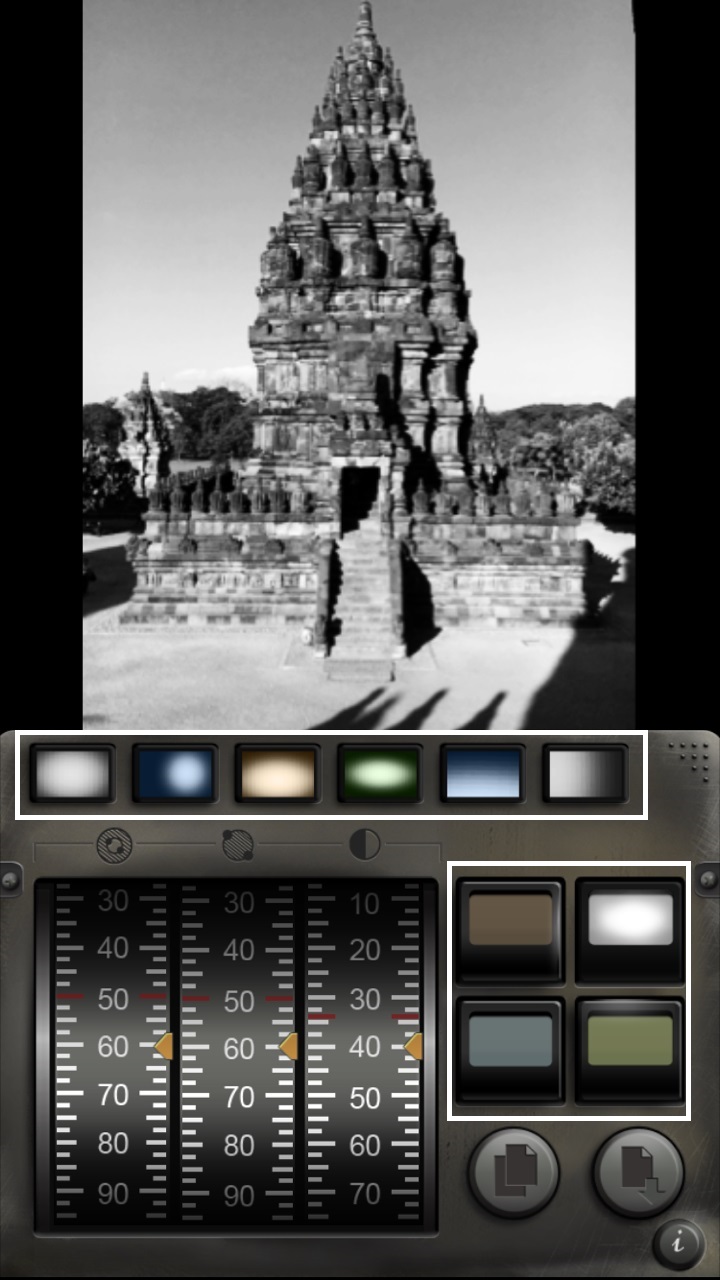
After uploading your image, see the white highlighted options to choose the color you’d like as your background and preferred color sepia, blue, green or black and white.

noir app1 noir app2

You will also see the meters in the above image to adjust the composition of your image. When doing the edits, you will notice the image is slightly blurred, ignore it and continue editing. Once you complete the edit, you will see the results.

noir app4
After Edit

DARKROOM

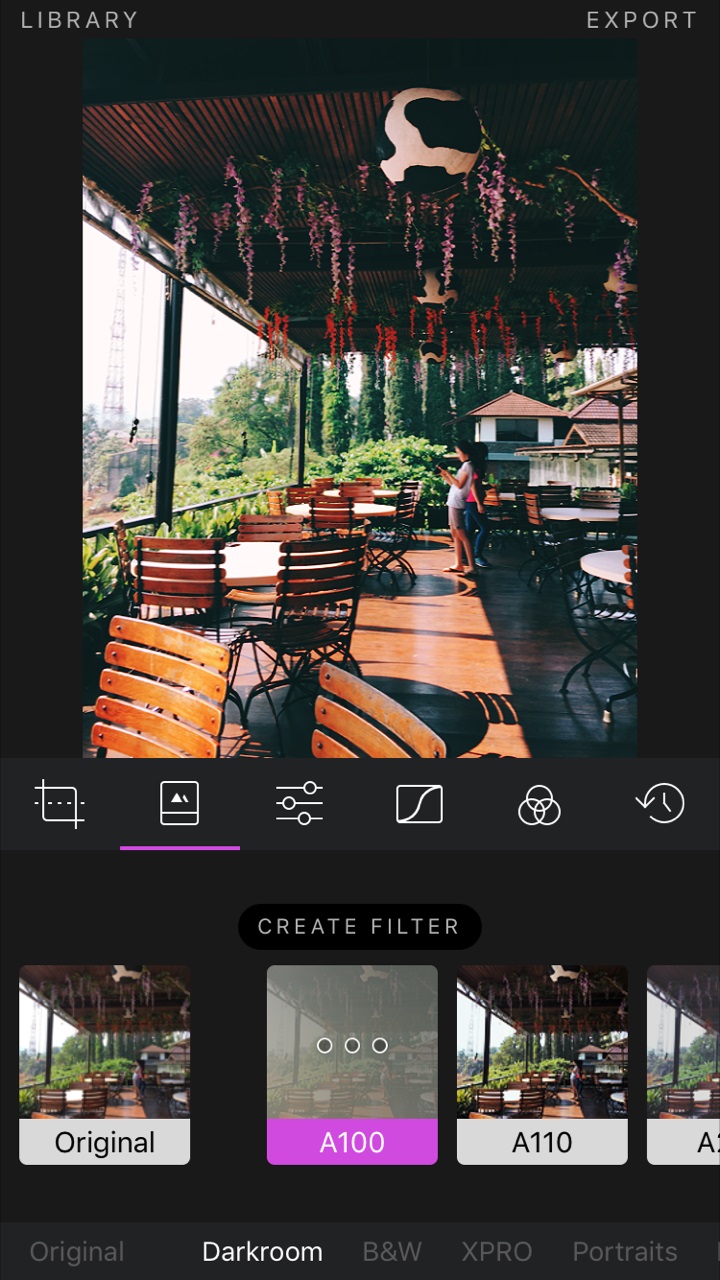
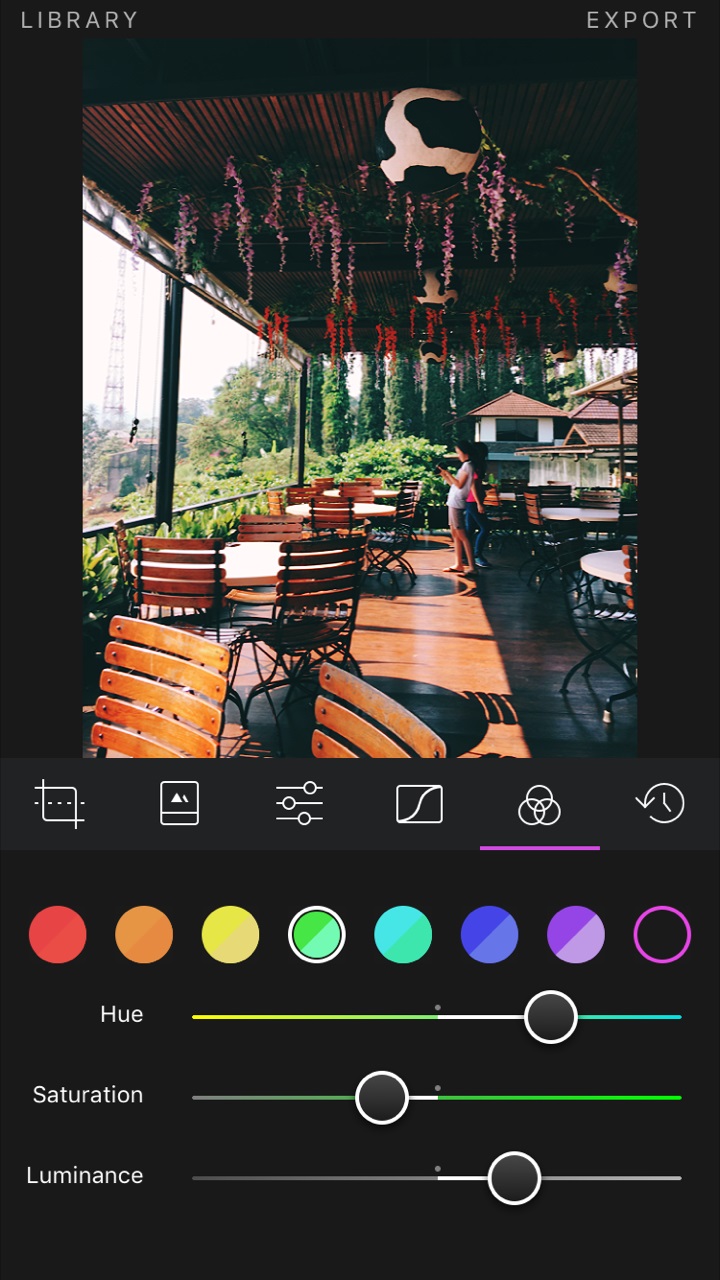
Darkroom is not an app I use much but, for instant and simple filters this app gives good results. It is simple to use with nice filters to choose from. If you see the images below, the editing process is not tedious. You can start by choosing the preferred filter and then adjusting the brightness, contrast, etc. for the composition. Apart from Snapseed, I would recommend this app for a good clean image.

darkroom app1 darkroom app2

darkroom app3 darkroom app4

darkroom app5
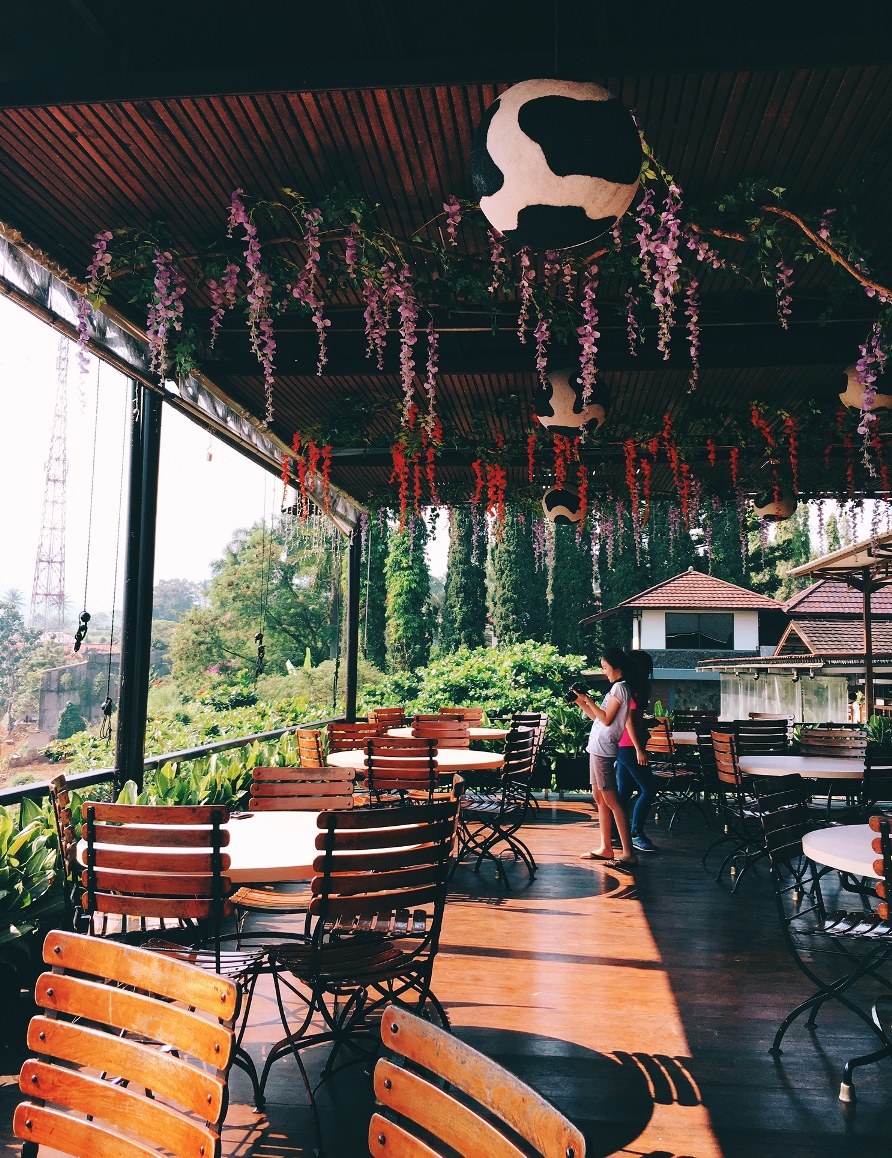
After Edit

MEXTURES

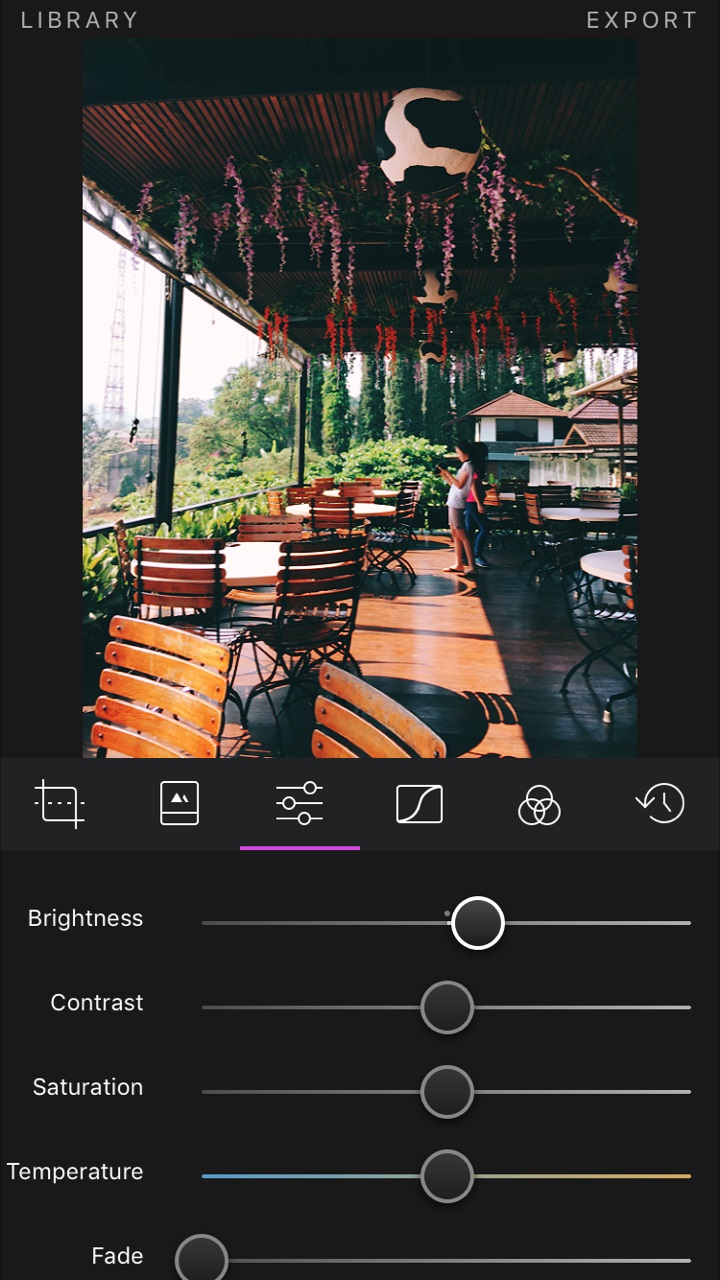
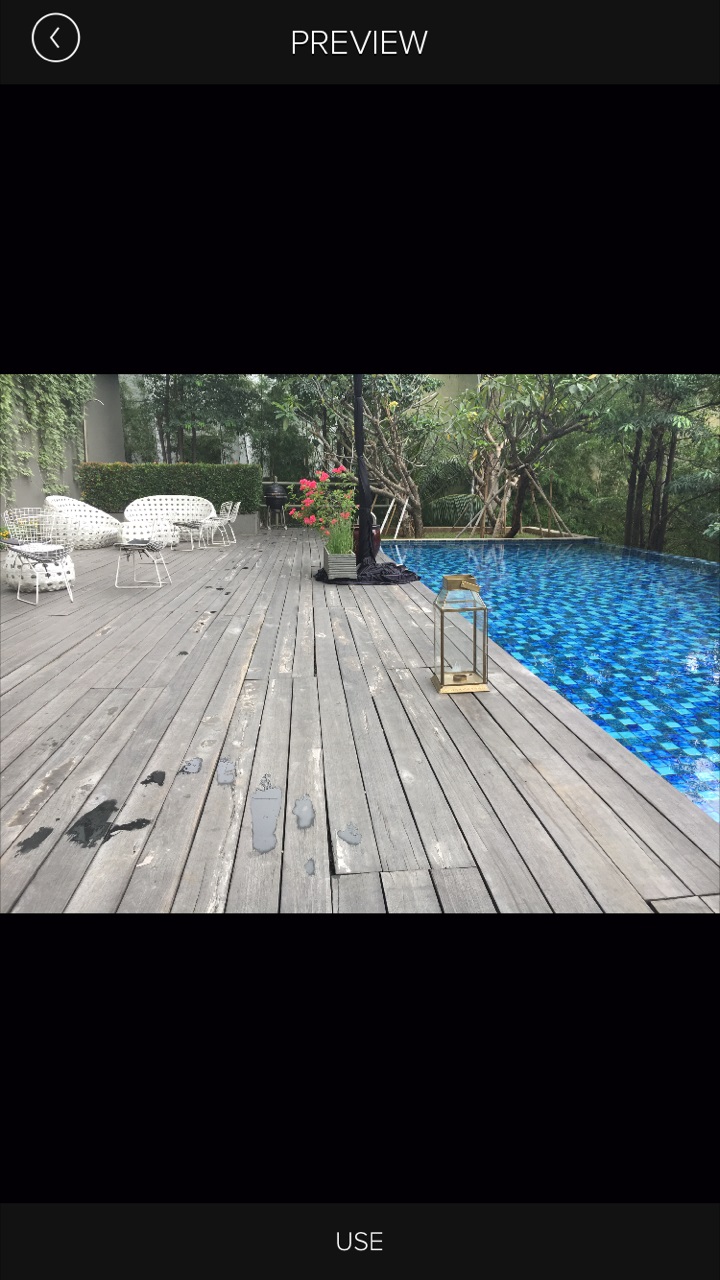
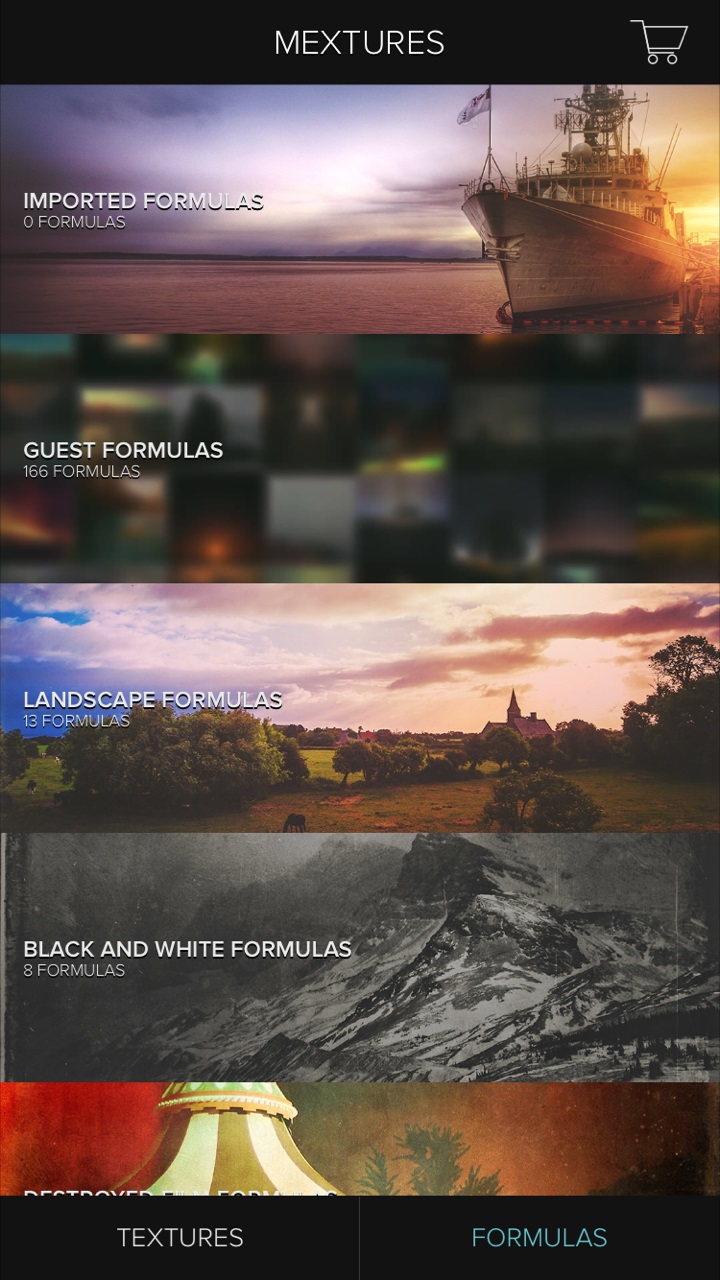
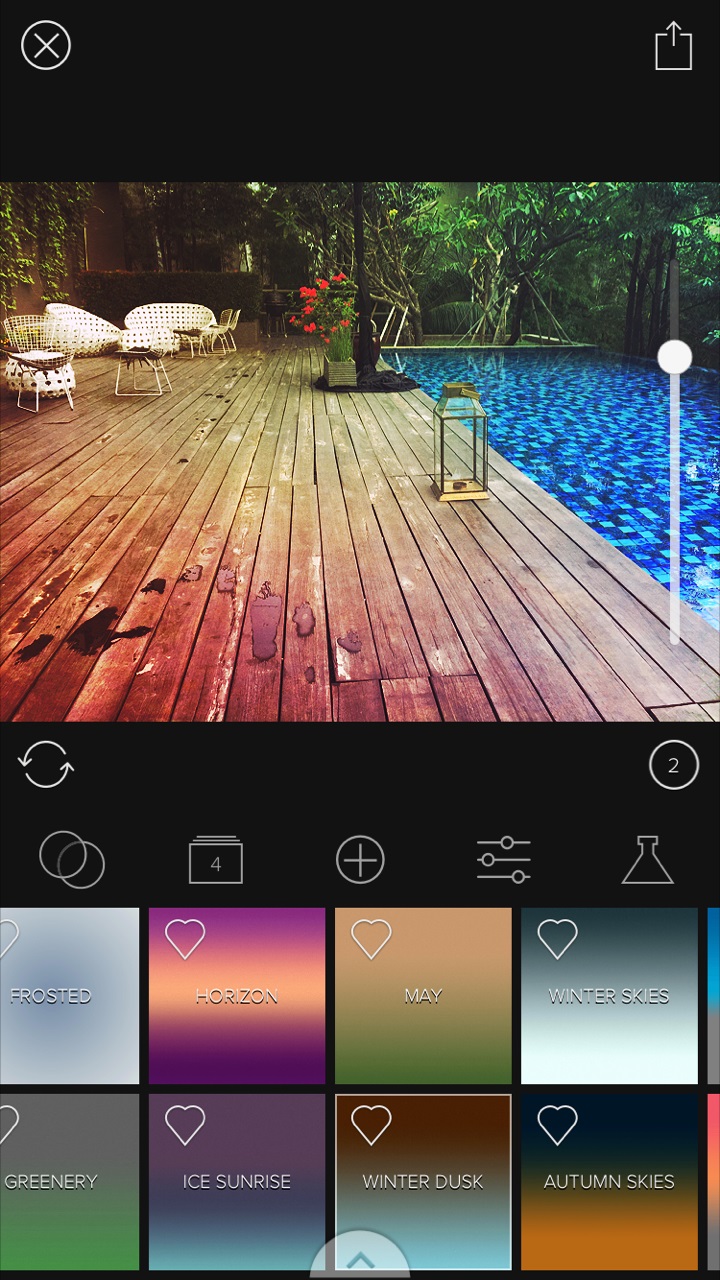
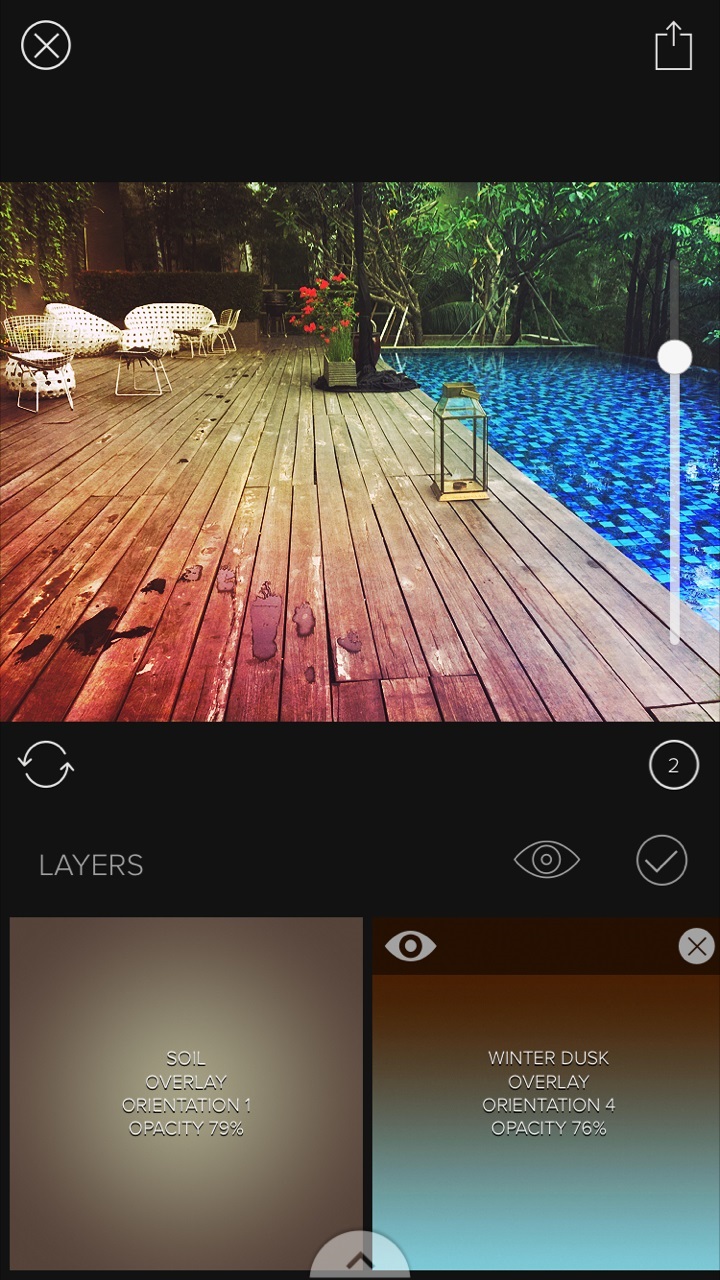
Dreamy, vintage, dusty looks? All of this can be achieved using this one app. Even if I don’t use it often, but this app is the solution for all sorts of filters and colored editing. It gives your image a fresh and subtle touch. The way around this app is easy especially for beginners or even experts. Simply choose the desired formula to overlay your image, if you like the result, then your image is ready to save. If you would like some different styles or color, you may do some minor edits to it to complete the image. See images below for the complete steps.

mextures app1 mextures app2

mextures app3 mextures app4

In the last two images above, you will see the settings after you have chosen the formula. The formula divides itself into 4(four) layers (depending on formula) for you to play around and modify. To have the complete set of the overlay filters and formula you need to pay for it on AppStore but, they also have discounted packages for a reasonable price.

mextures app5
After Edit

In conclusion, all the above apps mentioned, including from the first part of this article, are mostly the apps I love and enjoy using. There is no specific go-to app, despite a number of new apps emerging and evolving, I still find myself using these apps for my edits. The choice is yours, which app suits your taste to create images that stand out. Enjoy the process and continue to share your innovative creations!

Best use of foreground in your images: Enhancing your photos today

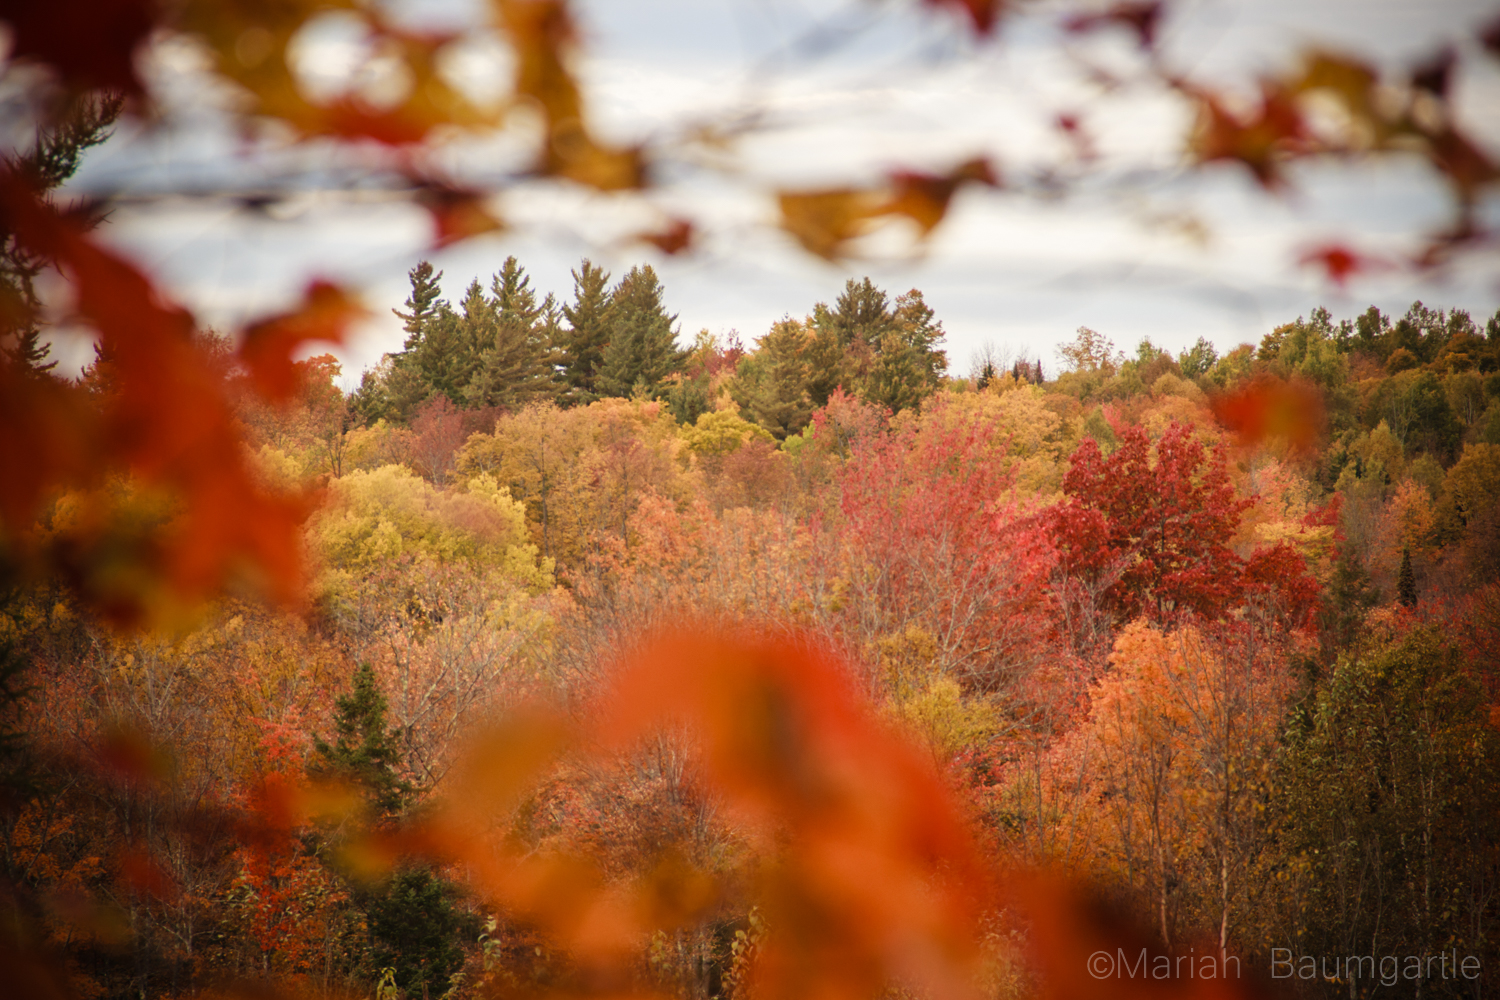
An important factor to photography is not only our background but also our foreground. Foreground can be used in many different ways in your photography by framing your subject, adding texture, and design to an image, which can all lead your eye to your main subject. Foreground can also tell more of the story in your image and pull you into the image.
To some of us photographers, foregrounds can become a little daunting and intimidating because we worry about distractions within an image. This is one factor that I think we can all grow and experiment with in our photographs. Making a foreground work in an image can really create a more artistic photograph altogether and also tell more of a story. Here are a few tips on how to create photographs with a great use of foreground.

Since photography is a two-dimensional art form you will want to add some depth into your image to let your viewer feel as though they can step into the image. Using a foreground will add some depth and dimension to your image. One of the simplest and also important ways to make a foreground work is your knowledge of the depth of field. You can use a shallow or deep depth of field depending on the subject you are trying to photograph. If you are photographing a landscape you will want to keep a deep depth of field if it is a wide-angle shot. What if it’s a telephoto photograph and your image is compressed, such as wildlife photography? In this case, a deeper depth of field could add a little bit of distraction. In this case using a shallow depth of field could frame your image and add some environment without causing distractions.

Foreground

Foreground

There are different ways to work with a foreground based on your subject. When you are photographing a landscape it can be as the reflection in a pond or body of water from your landscape or image. This is a great way to show mood in your photography. Getting lower in your image will help improve your vanishing point and bring some drama into your image. A popular landscape photography image is a road using the leading lines into your vanishing point and a simple way to show depth in your image.

Foreground

The foreground is most commonly used to frame your subject and works for people and landscapes.For example, if you set your subject behind a bush or tree you can use the leaves or greenery in the foreground to frame your subject’s face. This shows a sense of the environment that you are in, showing not only what is behind of your subject but also in the front. If you use a shallow depth of field this will show the environment without becoming distracting. One popular portrait idea that works with creative foregrounds is to have your subject hold an item out in front of them as a focus point.

Foreground

Foreground

Foreground

Foreground

Now that we have talked about foreground and background in our images we want to work all of these factors into one image. The easiest way to think of working with a foreground, middle ground, and background is if you can find three layers in an image. Your foreground doesn’t have to be far away from your subject either, it can be as simple as people walking in the foreground or a glowing sign in front of a building.

Foreground

Foreground

Some ways that your foreground could be distracting is if it’s sharper than your subject. You want to make sure that your focus is still the main point of your image and you have to remember the rules of backgrounds and incorporate that into foregrounds.When we talk about focus we are not only talking about the sharpness but what’s bringing the subject into focus. Make sure your focus point is the sharpest and also the brightest object in your subject. If you have a light background and foreground you can contrast that with a darker color. Objects that are brighter, lighter, or more saturated than your subject tend to become a distraction.

Foreground

Foreground

The foreground is not only a good technical skill to have in your photography but also a great way to boost your creativity and bring more oomph into an image.

DIY- Lens cap for making your own creative shaped bokeh effects

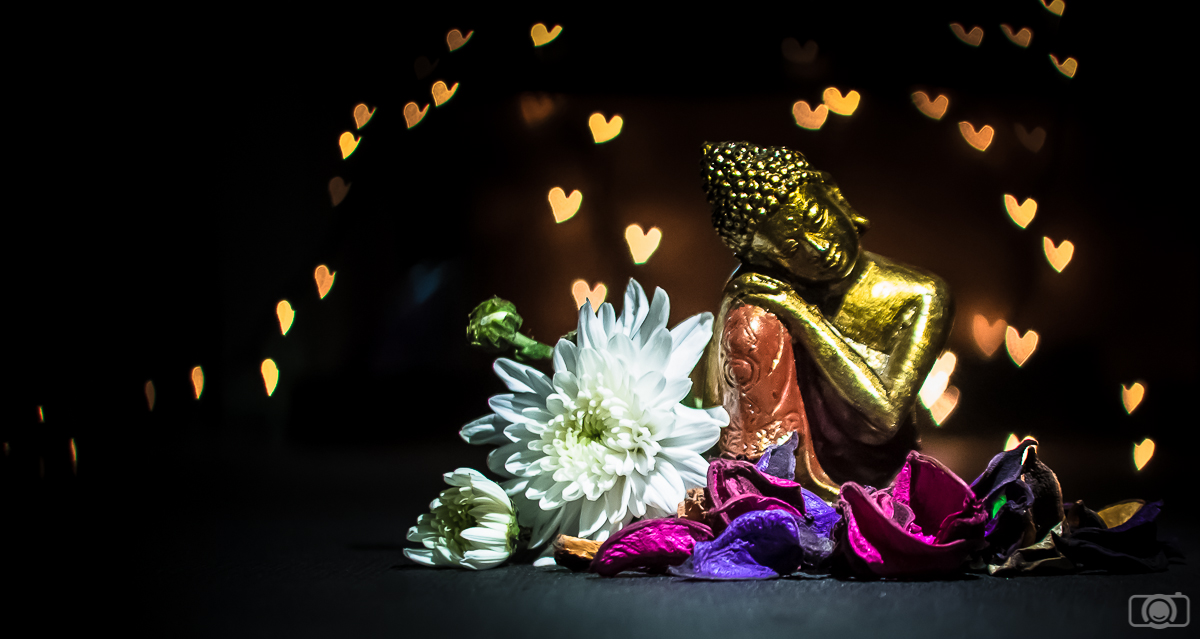
Have you ever seen those photos with this effect where light sources are shaped like hearts or stars? The effect is called bokeh and to take this kind of photos you need 2 things: knowing how to create a bokeh and a  kit for the shapes.

sleeklens-33-1

So what is Bokeh? Bokeh is an effect which happens when you set the focus so that the background of the photo is blurry. When this happens, light sources in the background are also blurry and so they look in the photo like bright circles. Usually, the bokeh is achieved by using wide apertures. You will need to play with the depth of field in order to get the blurry effect you want. You can have a look at the article of our colleague Arnel Hasanovic to learn in more detail how to shoot photos with bokeh.

Today I am going to focus on the second thing you need to get this creatively shaped bokeh: the bokeh kit. You can get a kit on Amazon. However, you can also do it yourself. First of all, creating these bokeh kits is easy and cheap and you don’t need any special equipment. Second, you can get your family and friends involved in your bokeh project, making the experience even funnier. In addition, creating your own kit will allow you to be more creative because you can create any shape you want and not be restricted to the shapes that come in a commercial kit.

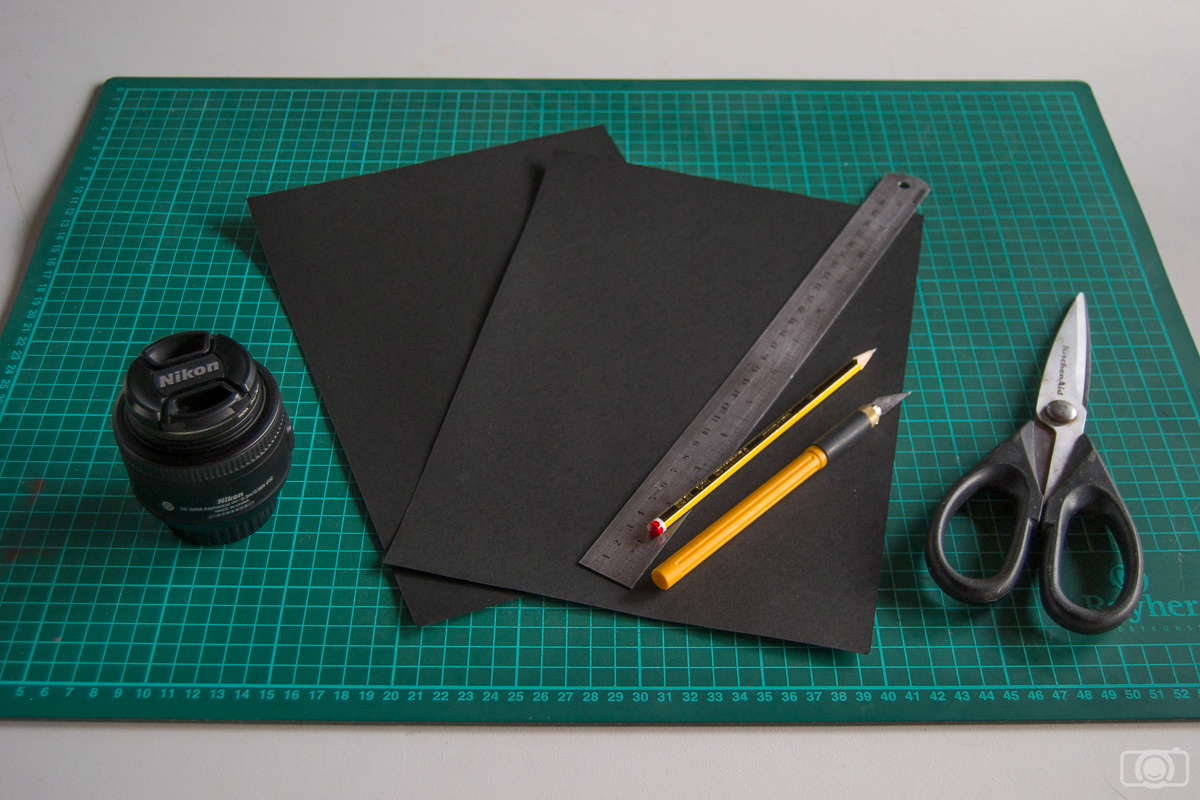
Let’s start with the list of things you will need to create your bokeh kit:

– A sheet of dark Bristol/thick paper (I prefer black, for not adding a color cast to your photos)

– Pencil

– Scissors and/or scalpel

–   A lens (preferably a lens with a wide aperture).

– A drawing compass,  a ring or other small round object

– Optional: glue/another type of adhesive substance

sleeklens-33-2
Here are the tools and materials I used. I also used a ruler to be more accurate but it is not mandatory to have.

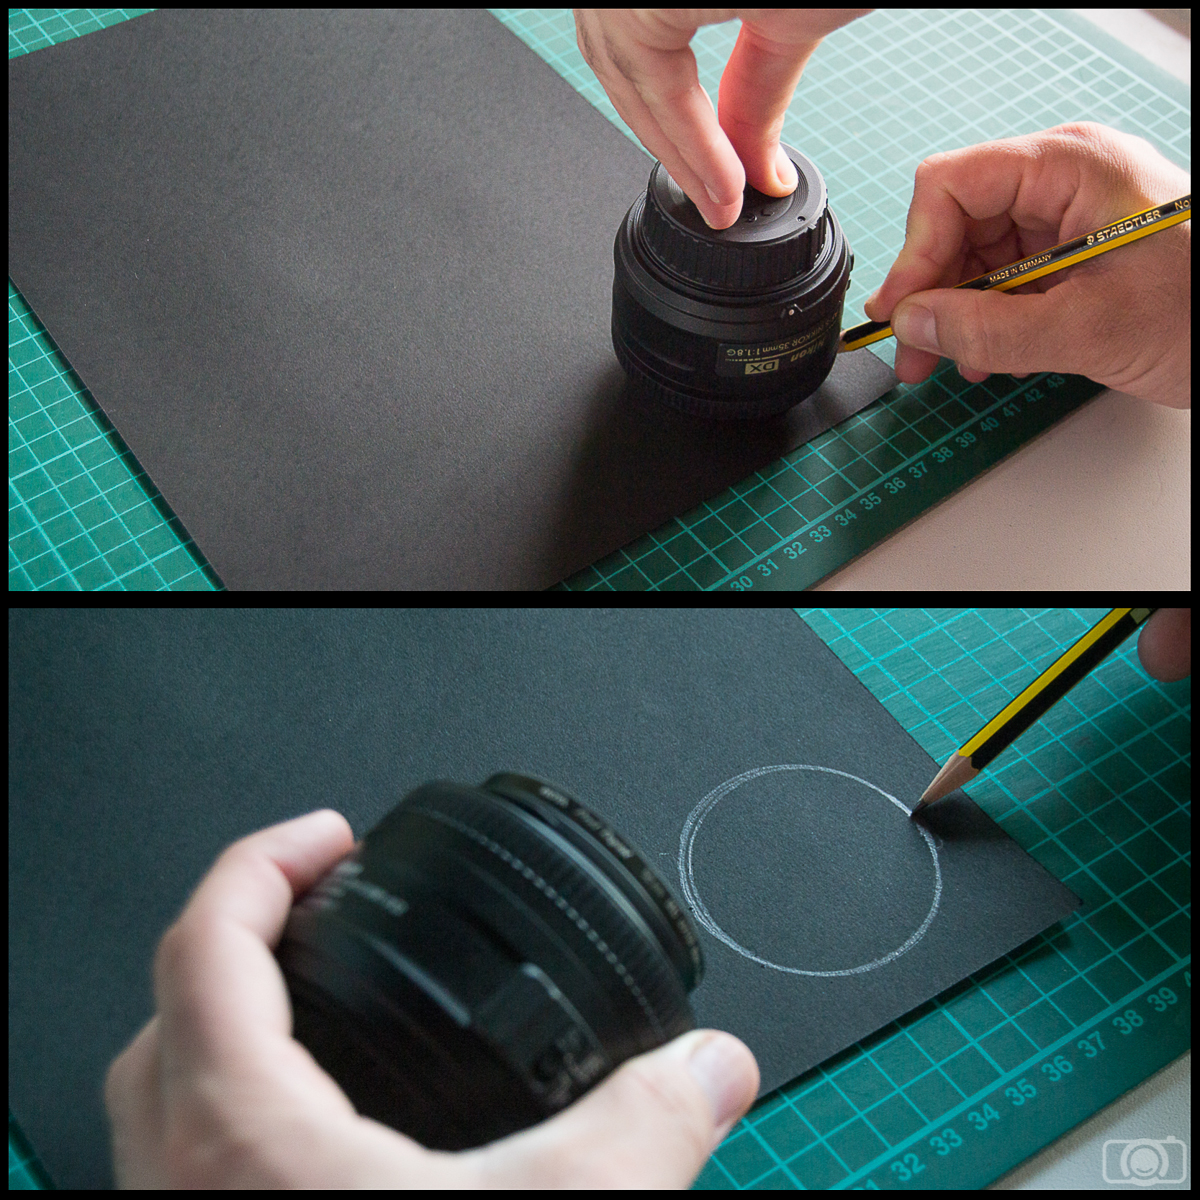
Step one:

Draw a circle with the diameter of the lens that you want to use. The easiest way for me to do it was to use the lens itself as a mold (I recommend to place a filter on the lens to protect it)

Shape bokeh

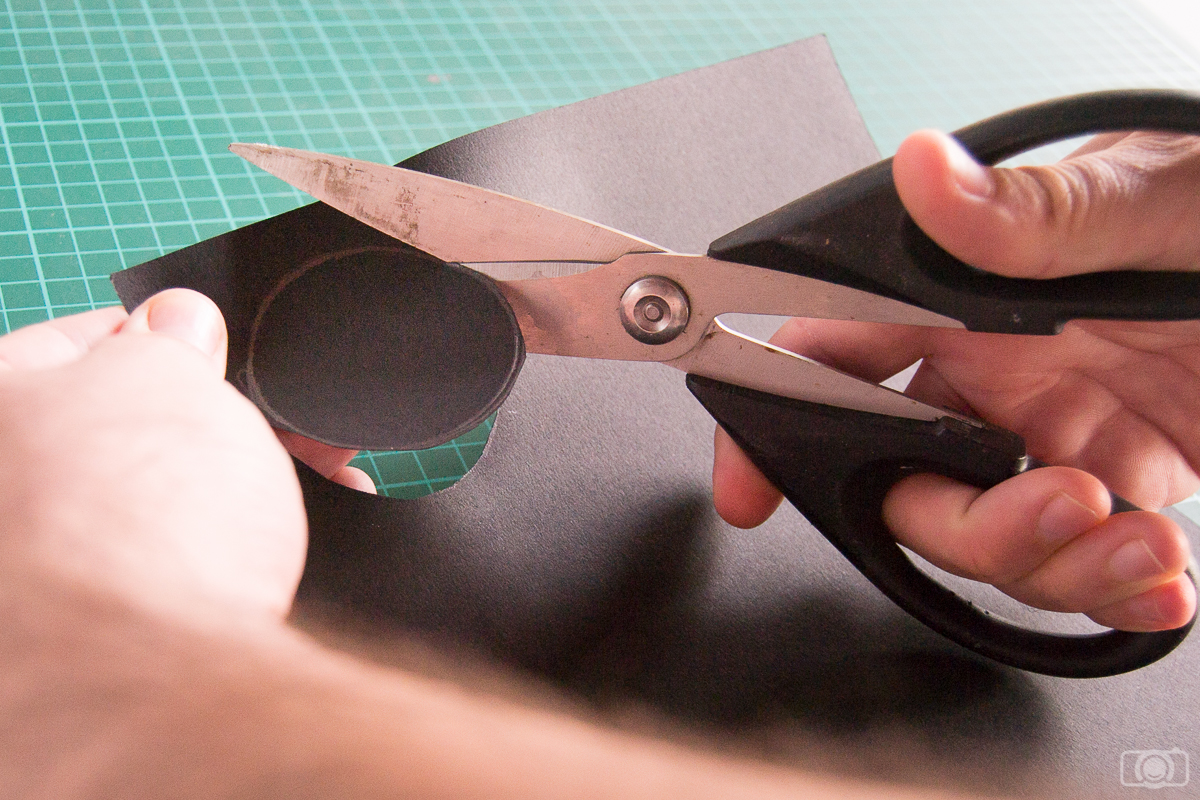
Step two:

Cut out the circle, this will be your bokeh cap.

sleeklens-33-4

Step three:

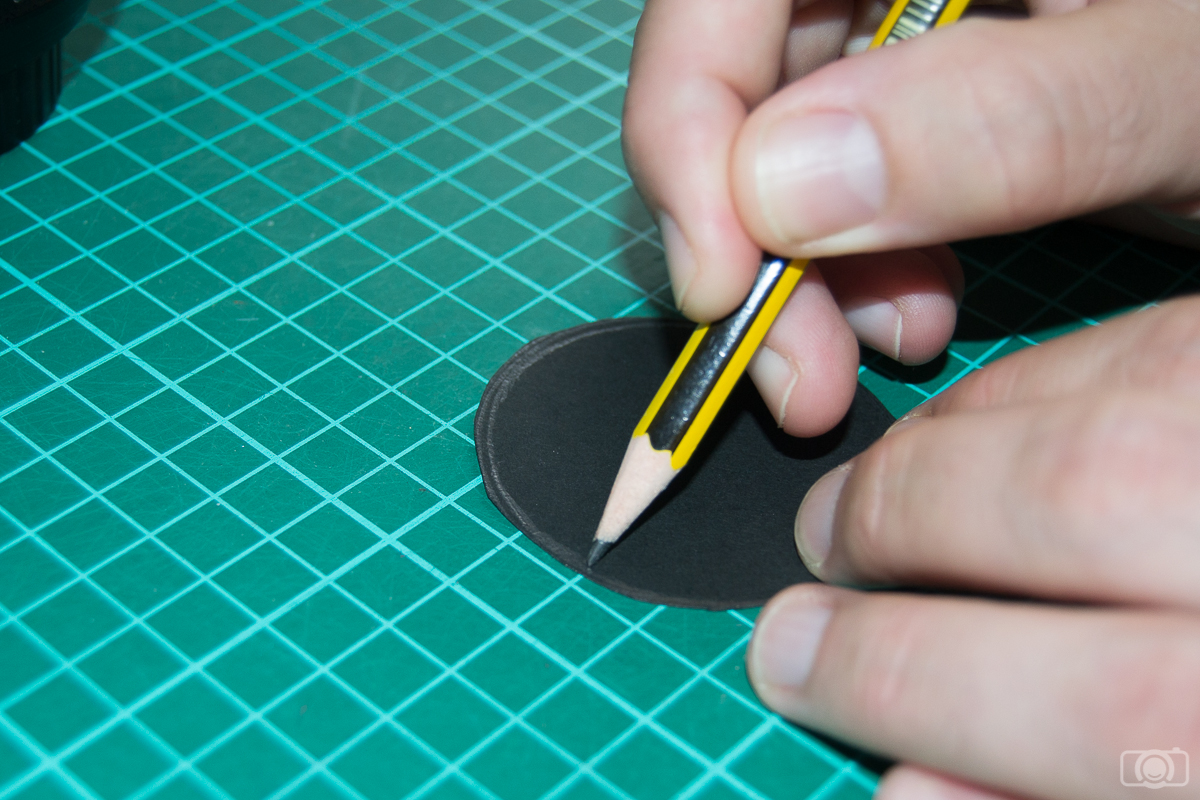
Trace a second circle on the bokeh cap, about two millimeters smaller than the diameter of the cap. You can do it approximate or you can measure it with the ruler or a drawing compass.

sleeklens-33-5

Step four:

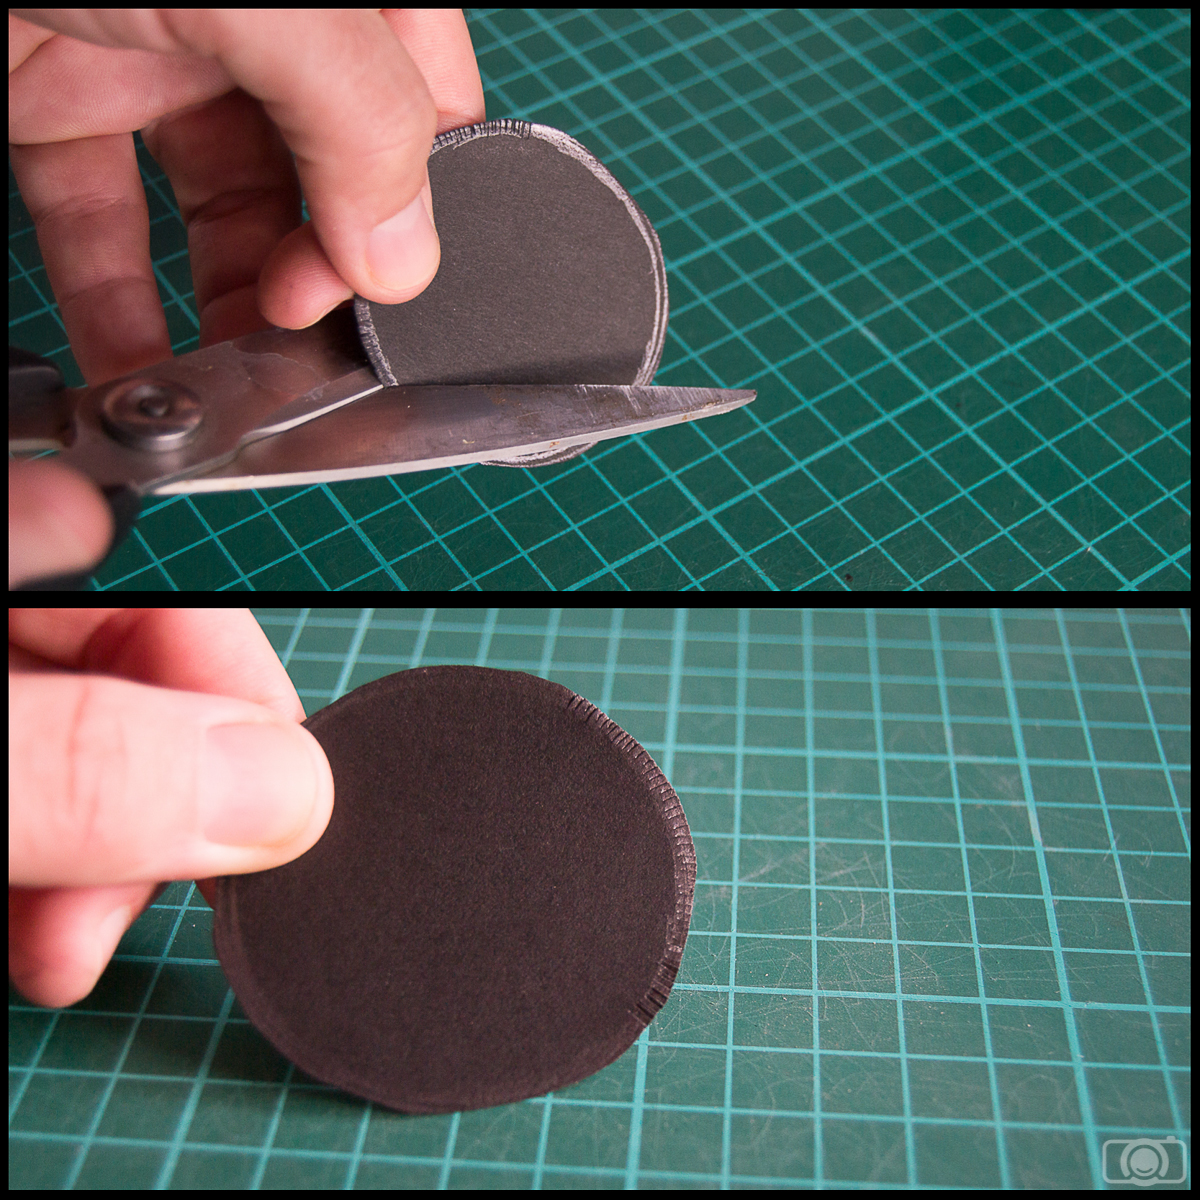
Using your scissors, make one millimeter long cuts from the cap’s circumference towards the center (the line you drew in step three will help you to do it accurately). Make the cuts as dense as possible.

Shape bokeh

Step five:

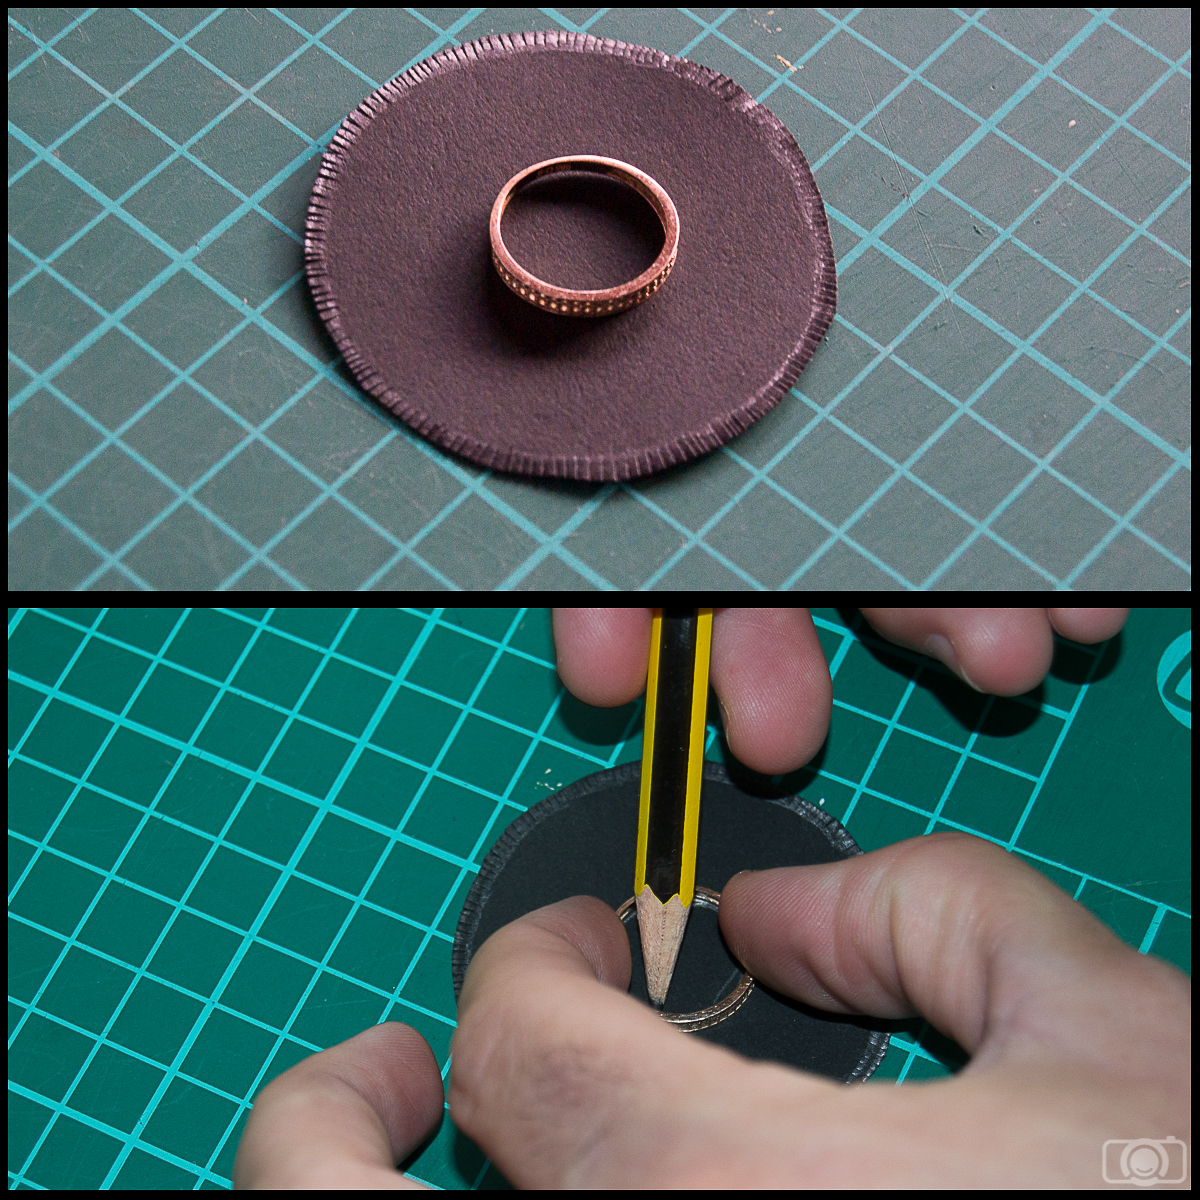
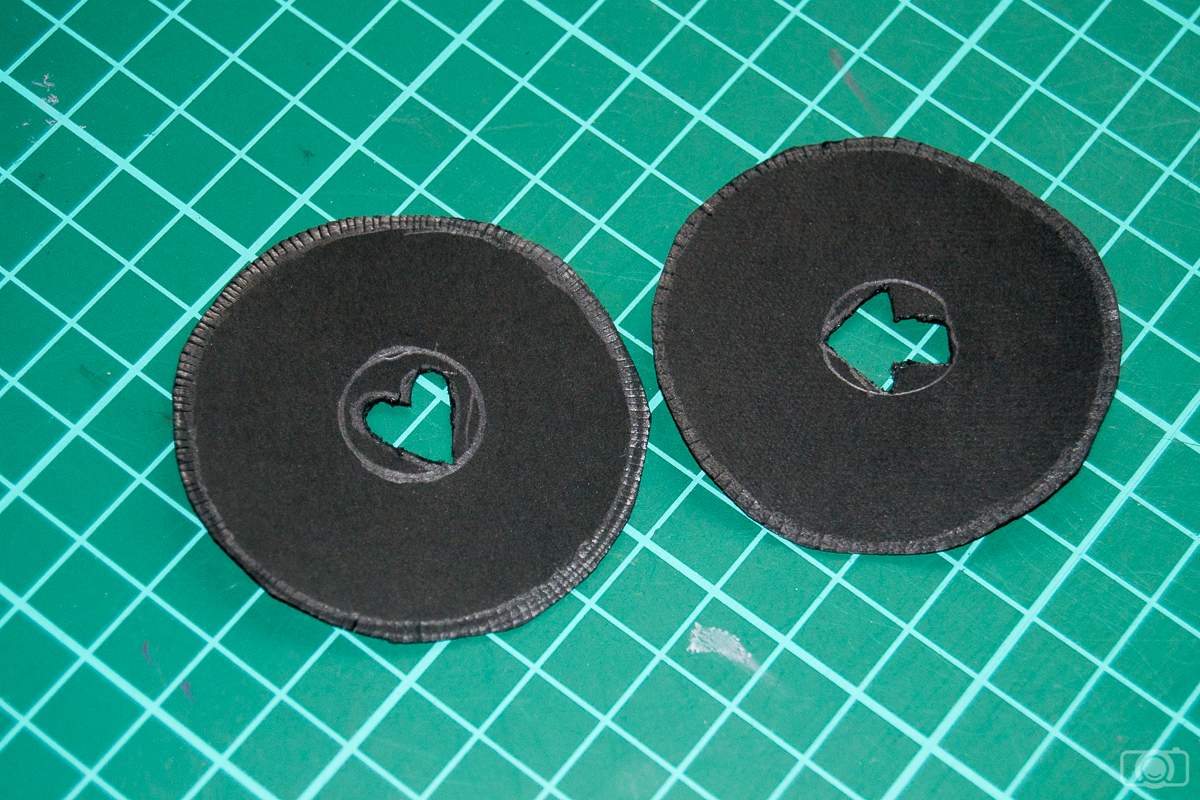
Using a drawing compass or a ring, draw another circle in the center of your bokeh cap (the ruler can be handy here as well, to place the center in the right spot). It should be small, around 2 centimeters in diameter. This circle is the maximum size of the hatch you should make in the following steps.

Shape bokeh

Step six:

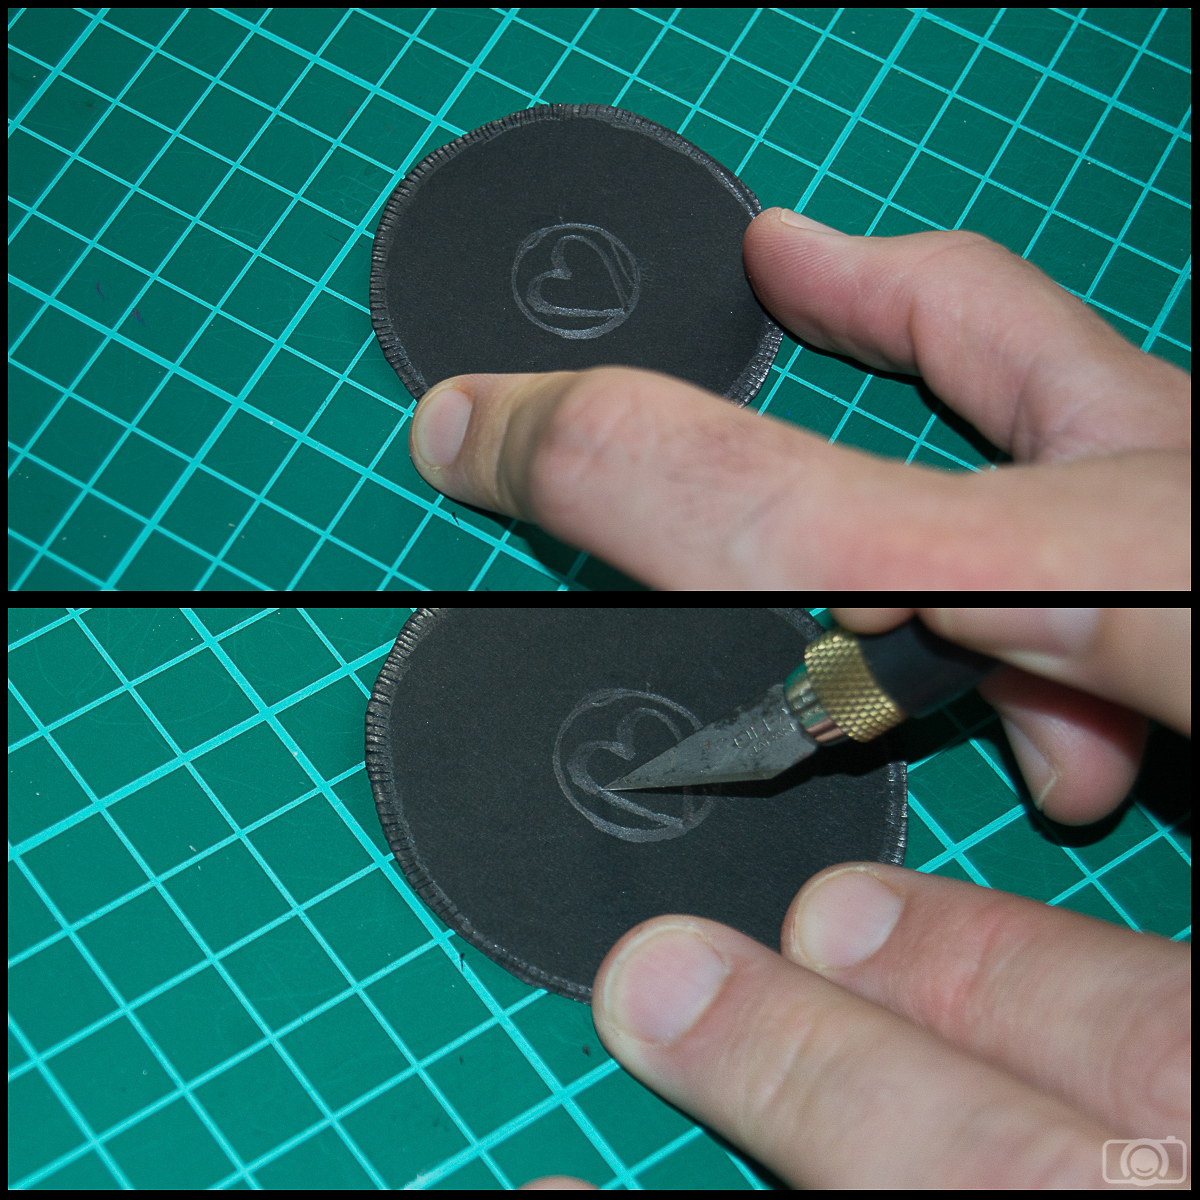
Draw the shape you want for your bokeh effect inside the circle you draw in step five. Make sure to draw it as centered as possible. And now the most important thing: use a scalpel to cut out the shape of the hatch. Be as exact as you can. The more accurate you are with cutting the shape, the nicer and sharper the effect will be, make sure to trim all the edges too.

Shape bokeh


sleeklens-33-11

Step seven:

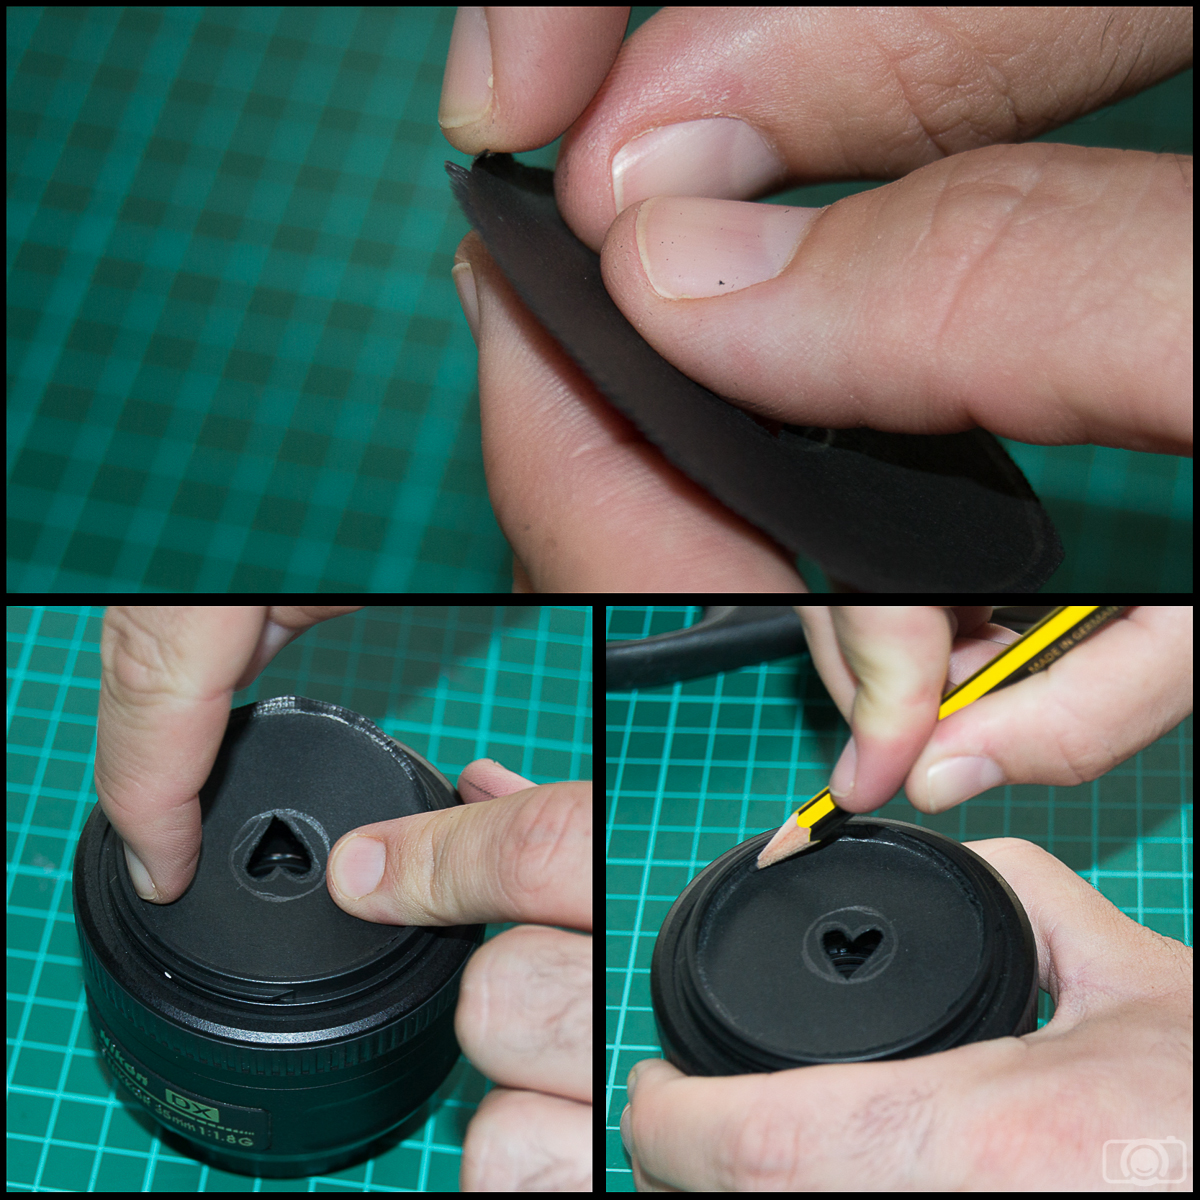
Fold the little cuts you made in step four, all in one direction and fit the cap into your lens. You can tighten the cap at the rim to the lens by using a pencil or a Q-tip (but do it gently, not to damage the lens).

Shape bokeh

Optional step:

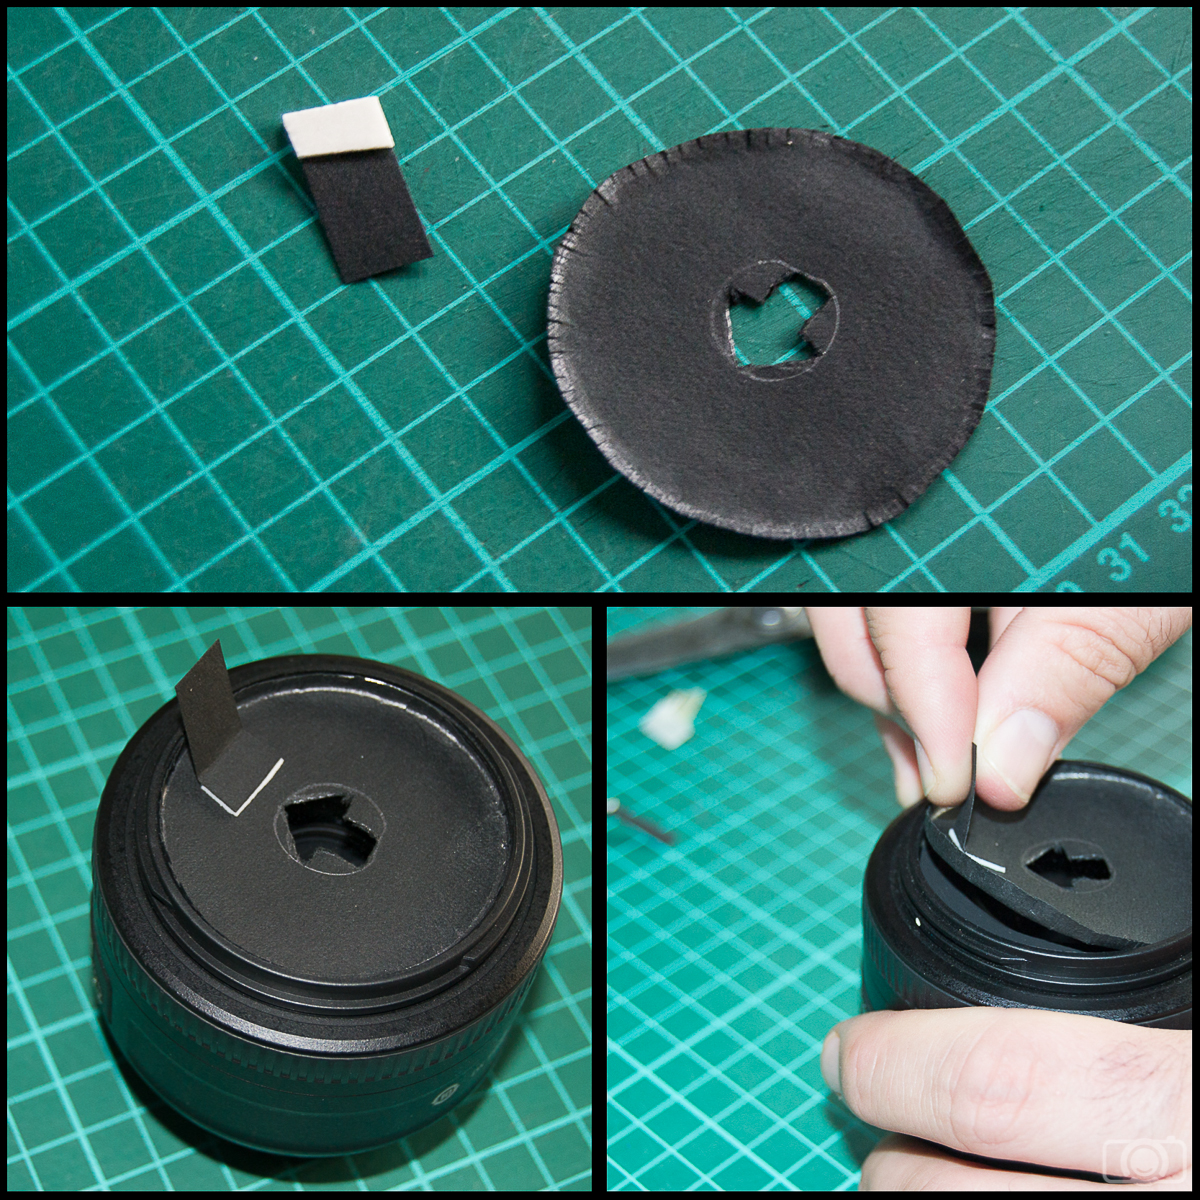
You can make a little handle that will help you to remove the cap when you finish by gluing a small strip of paper close to the rim of the cap. I used a two-sided sticky pad.

Shape bokeh

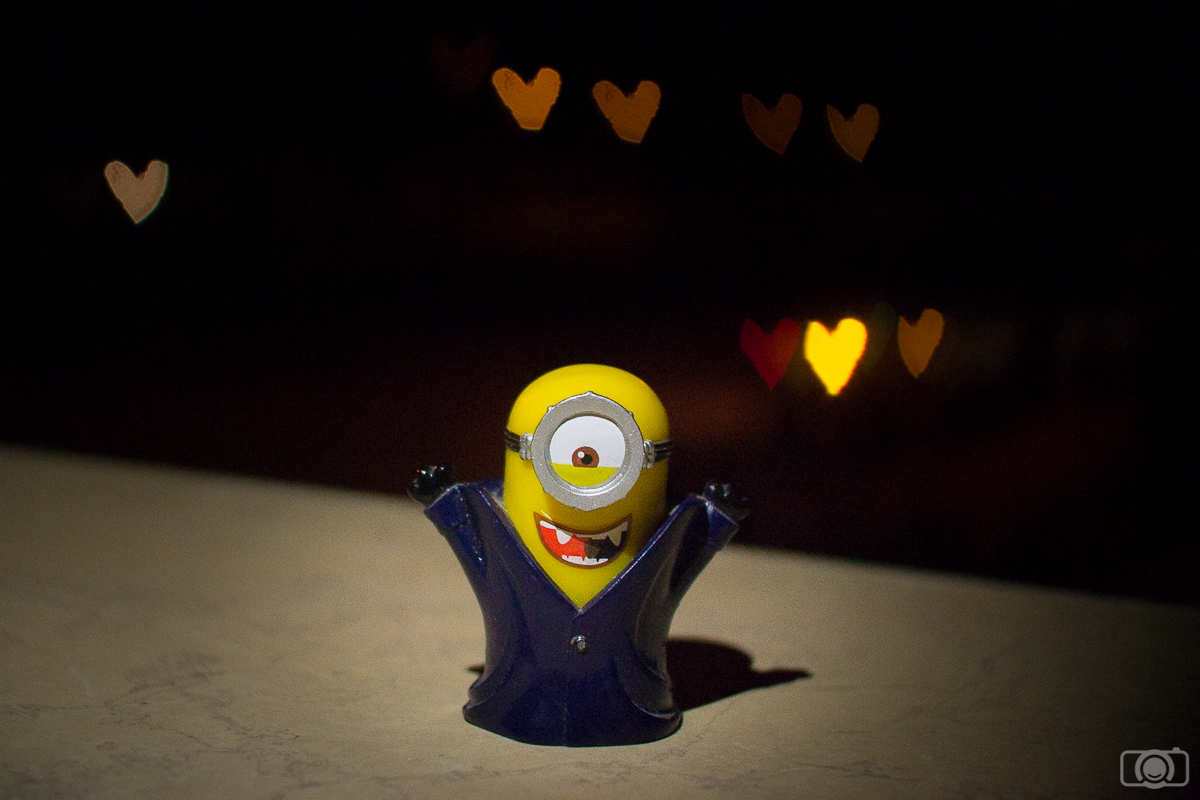
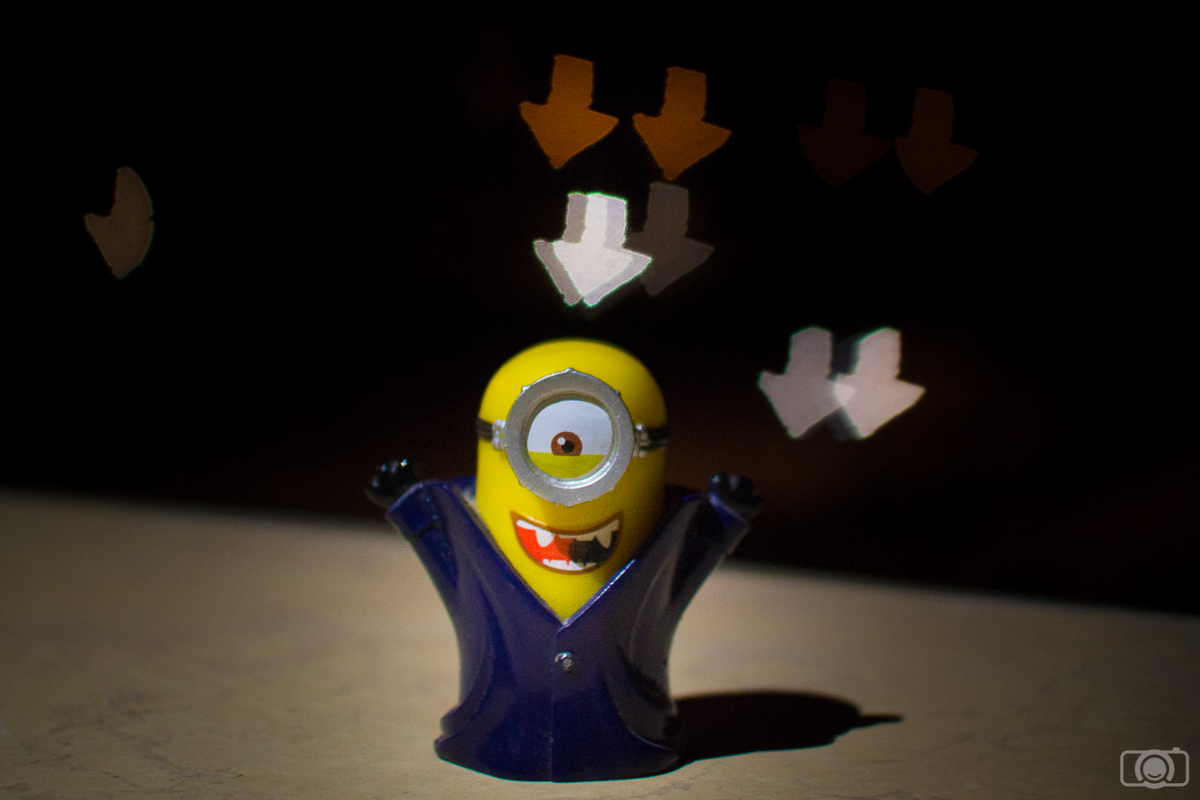
And that’s all! You now can go and take super cool photos with a shaped bokeh effect! I took some photos with our Minion. Who is going to be your model? Have a happy shooting!
To get this photo I focused on the Minion. I needed to put some light on him because it was really dark.

"<yoastmark

7 Quick And Easy Hacks For Creative Effects

We all have to start somewhere when it comes to a new field, and photography is a little deceptive in how much equipment you might actually need to be successful. Cameras, lenses and tripods are the kind of things many people think of, though it’s still easy to undervalue these items as there are so many cheap versions around. At the other end we have monitors, editing software and other extras. After all, photography isn’t just about taking the picture, it’s about making it as good as possible with editing and touch-ups too.

For newcomers it’s best to start with a good quality camera and then look to add/upgrade their equipment as they develop. This also gives you a chance to understand equipment and the differences it can make before investing, since items like filters, lenses and tripods can easily run well over $100 a piece for good versions.

Thankfully there are some cheap and easy ways to start varying your effects and abilities before shelling out for the expensive gear:

1. Turn Your Window Into a Lightbox

creative-photography-2

Securing a piece of parchment paper to your window with a little tape is an easy and inexpensive way to create your own light box. The natural light is harnessed in a non-reflective way by the paper, giving you a perfect bright, light evenly lit backdrop to work against. This is a great trick for photographing smaller items, especially those with vibrant colors.

2. Use a Card to Bounce/Reflect Light

Attaching an angled piece of white card to your camera, right in front of the flash, can give you an effective light reflector. Average thickness card, like that used for business cards, will let enough light directly through to light up the front of your subject, while reflecting enough upwards to illuminate the subject evenly from above as well.

You may need to experiment a little with the angle and thickness of the card, though it is a next-to-free reflector.

3. Create Your Own Flash Diffuser

creative-photography-3

Any type of dish or container can be used to create a flash diffuser, though circular shapes are preferred by some photographers. One method is to use a dish/container and coat it with aluminum foil, giving you a more solid device. Another is to use a disposable aluminum dish, or even a Styrofoam cup which you can try with or without foil coating.

Often the plain, bright white surface is reflective enough without the foil. Remember to also create a reflective ‘plate’ (for which you could even use an actual plate if you go the Styrofoam route!) and place it a small distance in front of your flash, with the rest of your DIY diffuser slotted around the flash itself. This type of device is great for indoor shots where you’re trying to get even lighting or lighten shadowing.

4. Use Vaseline for a Blur or Vintage Effect

creative-photography-4

A touch of Vaseline carefully smeared around the edge of your lens can give you an excellent blur effect. This can be used for two purposes. One is to re-create a ‘vintage’ look from a time when cameras did not always capture the entire shot in perfect focus.

The second is to purposely blur out some of the background material and draw more attention to the central subject of your photograph.

5. Turn a Coffee Sleeve into a Lens Hood

Cardboard coffee sleeves and similar cardboard products can be used as a quick and easy lens hood, protecting your shots from lens flare and bright lighting. This technique is especially applicable to outdoor photography, where you might have to take shots with the sun shining down towards you.

6. Turn a Sandwich Bag into a Colorful Filter

creative-photography-5

This technique involves using a sandwich bag to create a variation of the Vaseline blur technique. Simply coloring the plastic in with a marker pen in the color of your choice can create a blurred and colorful effect around the edges of your shot instead though. Just color the plastic in and tear the bag open, placing it over your lens so that the edges just about overhang the edges, leaving the center clear to keep your photograph clear.

7. Eliminate Shaky Shots With Lentils & Old Clothes

You can create your own beanbag for use when you want to stabilize your camera. This is especially great for shooting low-down subjects and also if you have the availability of a solid surface to rest the camera on, like a ledge or table.

Cut your old clothing into a sizeable shape which you can fill with lentils and stitch up. This bean bag will now hold your camera steady whenever required and you can also make adjustments to it by pushing the lentils around and distorting its shape, giving you more maneuverability than the surface of a ledge/table or the ground would by itself.