One of the best improvements made by Adobe lightroom was the possibility to use our very own presets inside our smartphones, and not only on Lightroom desktop. To do this on smartphones, we need to import our presets into Lightroom Mobile, although the process is not entirely user-friendly. We are going to show you here the entire step-by-step process with screenshots on how to add presets to Lightroom mobile. Please keep in mind you can also browse for the video version of this install process here below.
Step 1 – Bringing the presets to the mobile device
We’re going to take a smartphone as the base device for this install procedure tutorial. After downloading your presets from your account, you need to extract the file. You can do that very step by using tools like WinZip/WinRar (for Windows) or iZip (MacOSX). It’s crucial you extract the files as otherwise there’s no method to install the preset files.
Next, you’ll see a folder with files bearing the DNG extension – despite looking as photos, those are your lightroom presets. You need to upload them to your mobile device by either using Google Drive, iCloud, Dropbox (or any other cloud service of your choice), sending them to the internal storage via microSD card or USB bridge, or simply emailing them to yourself and downloading the files from the device. Any of those three steps will make sure that the files will get to your phone.
Once you located the files and managed to get them to your photo gallery, it’s time to launch Lightroom mobile app.
Step 2 – Getting the DNG Files into LR Mobile App
Now you need to open Lightroom Mobile app and get your DNG file inside the app. To do so, go as if you were going to import common photos to be edited, and then select the DNG files you’ve got from us.
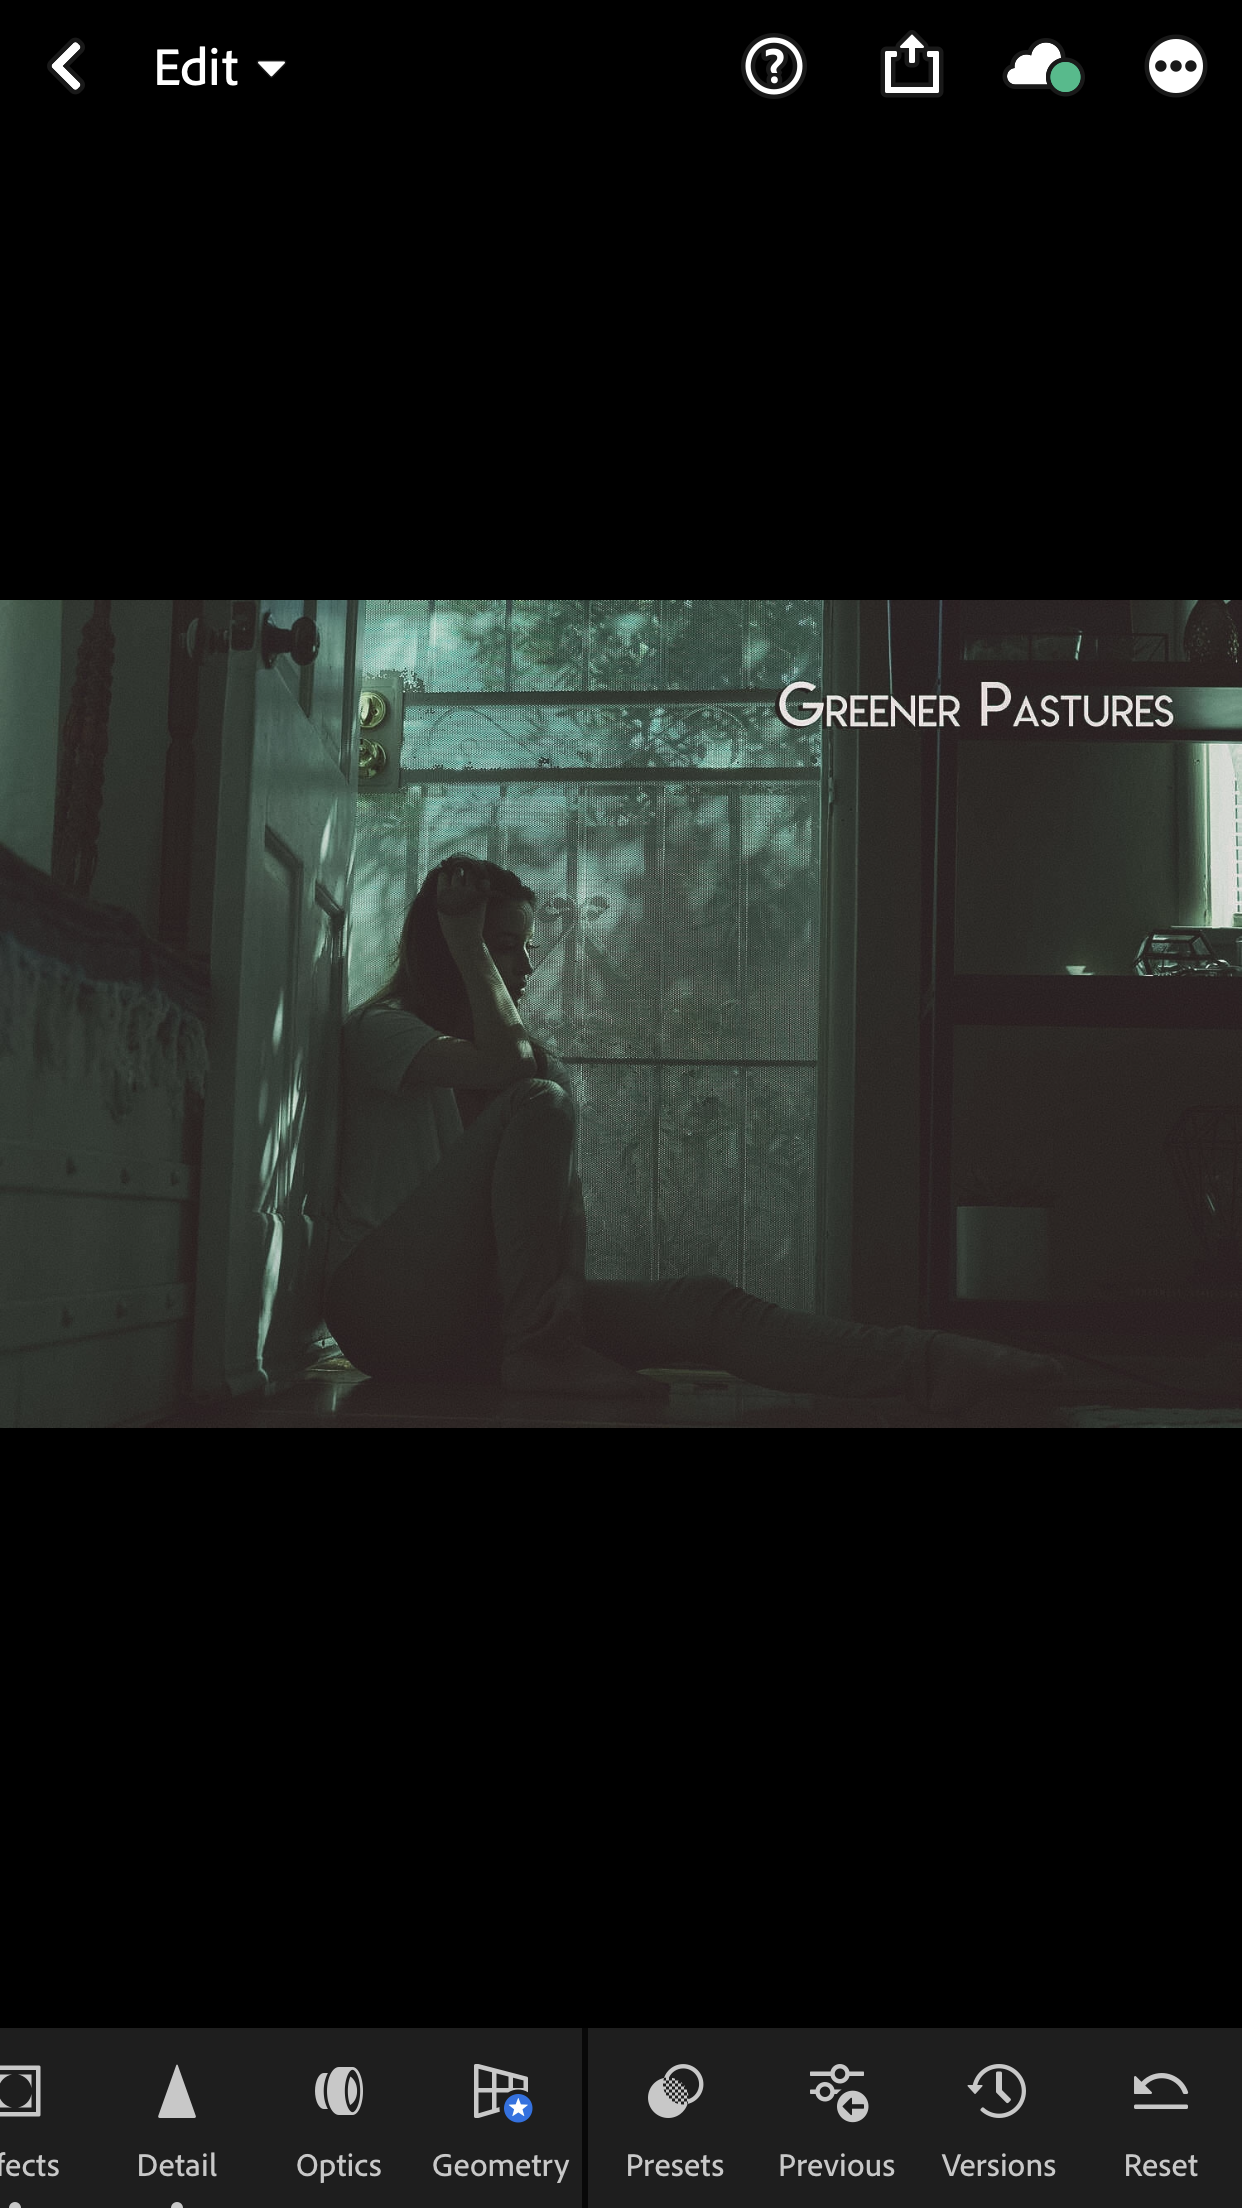
DNG files should display like this, showing the preset name on each photo. It’s extremely handy for the next step.
Step 3 – Creating the Presets
Well, here comes the ugly part. As you cannot import the new presets from your PC or install them directly on LR Mobile app, you have to create them out of the DNG files. To do so, access each one of the DNG photos, switch to the Presets tab, and at the three dots shown here
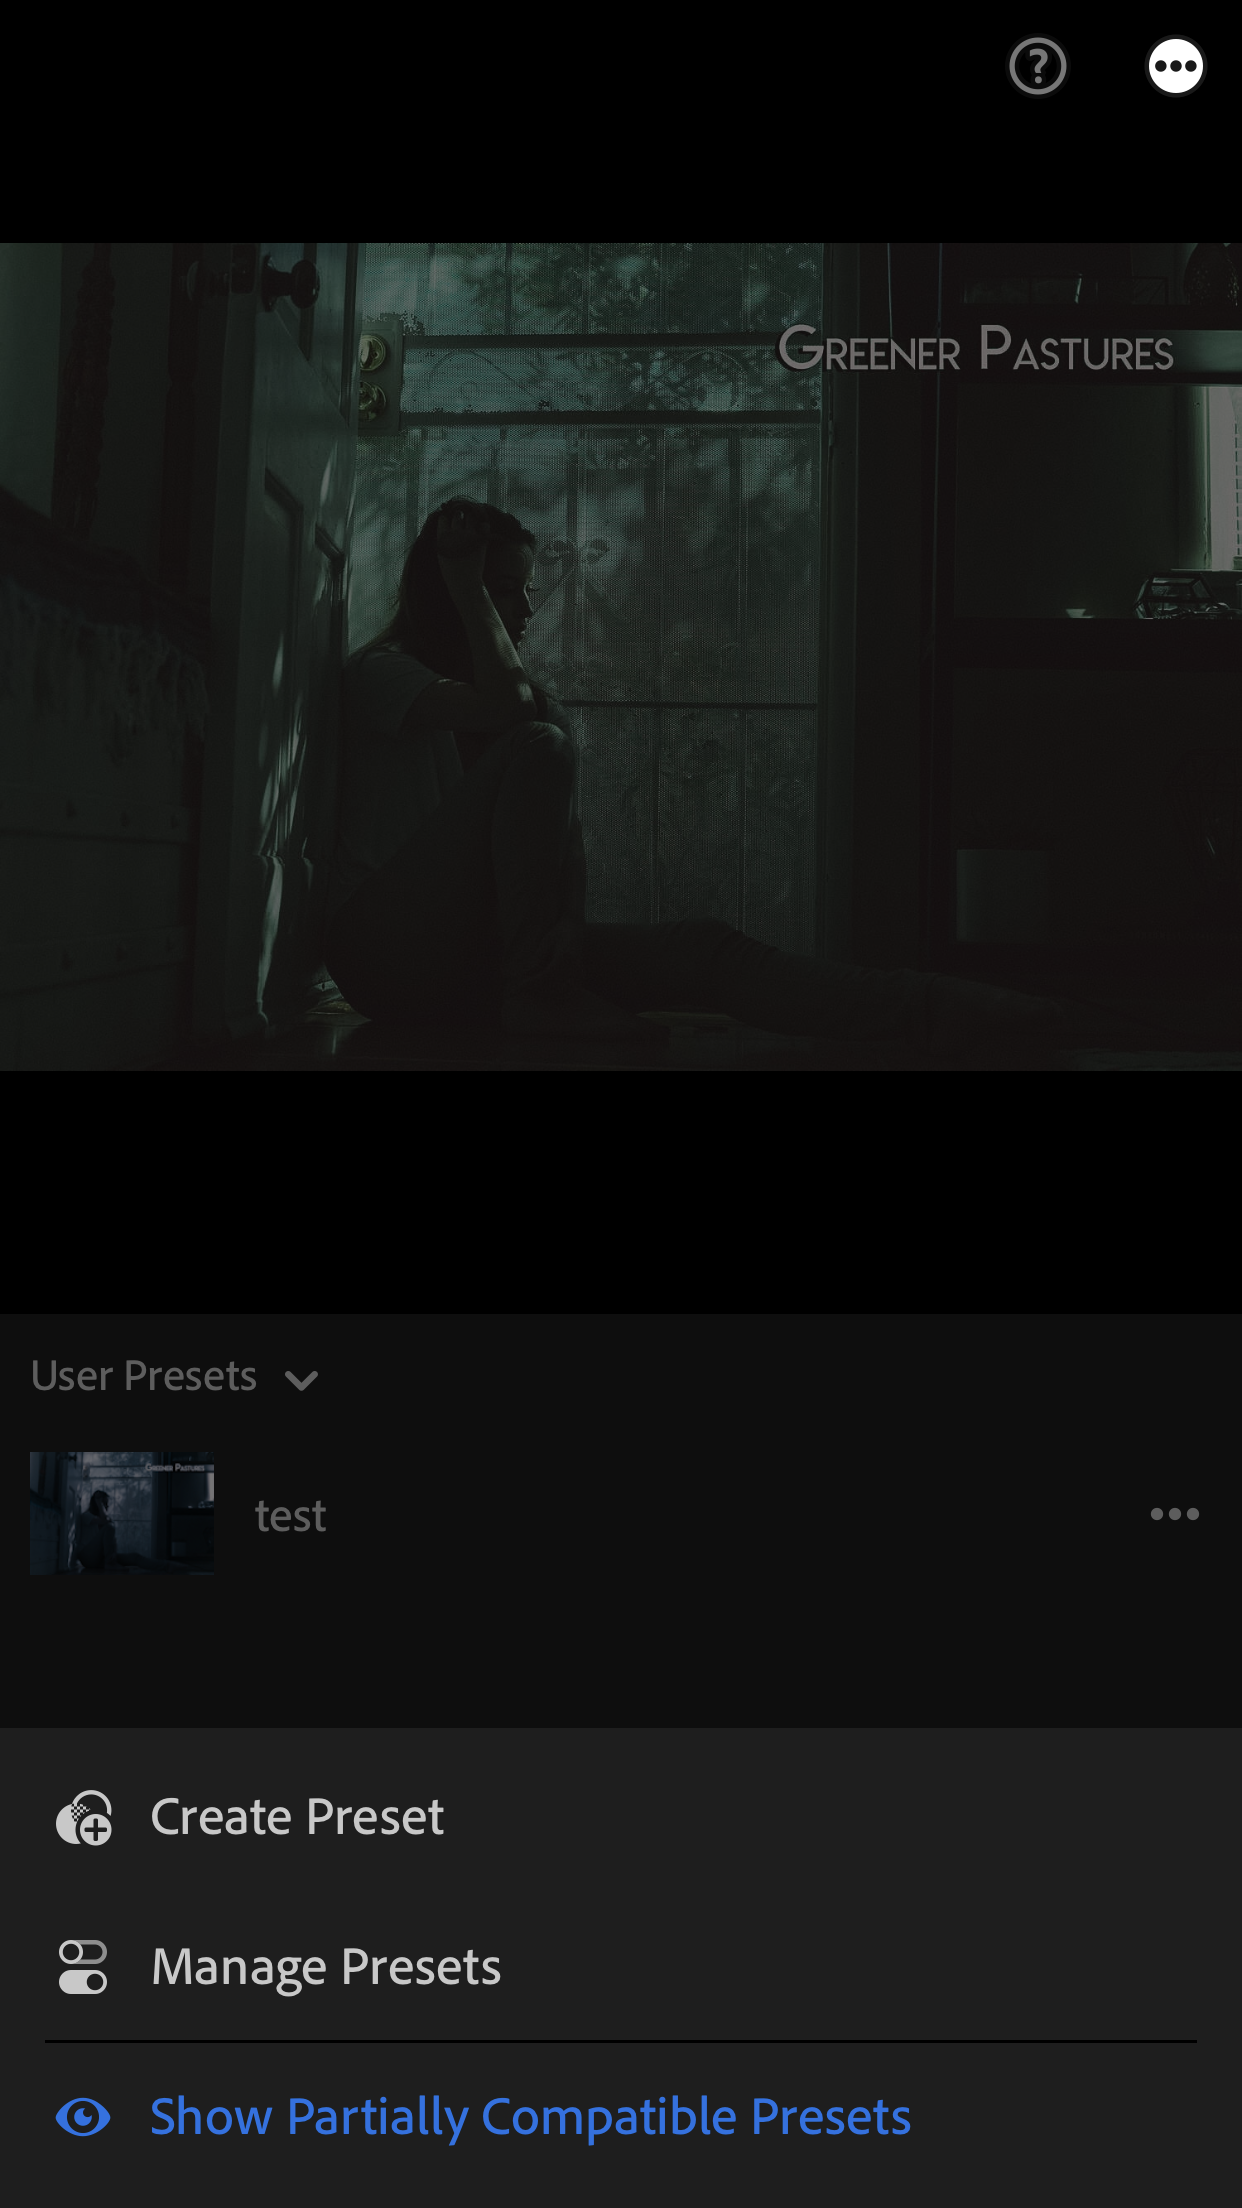
Select the option Create Preset.
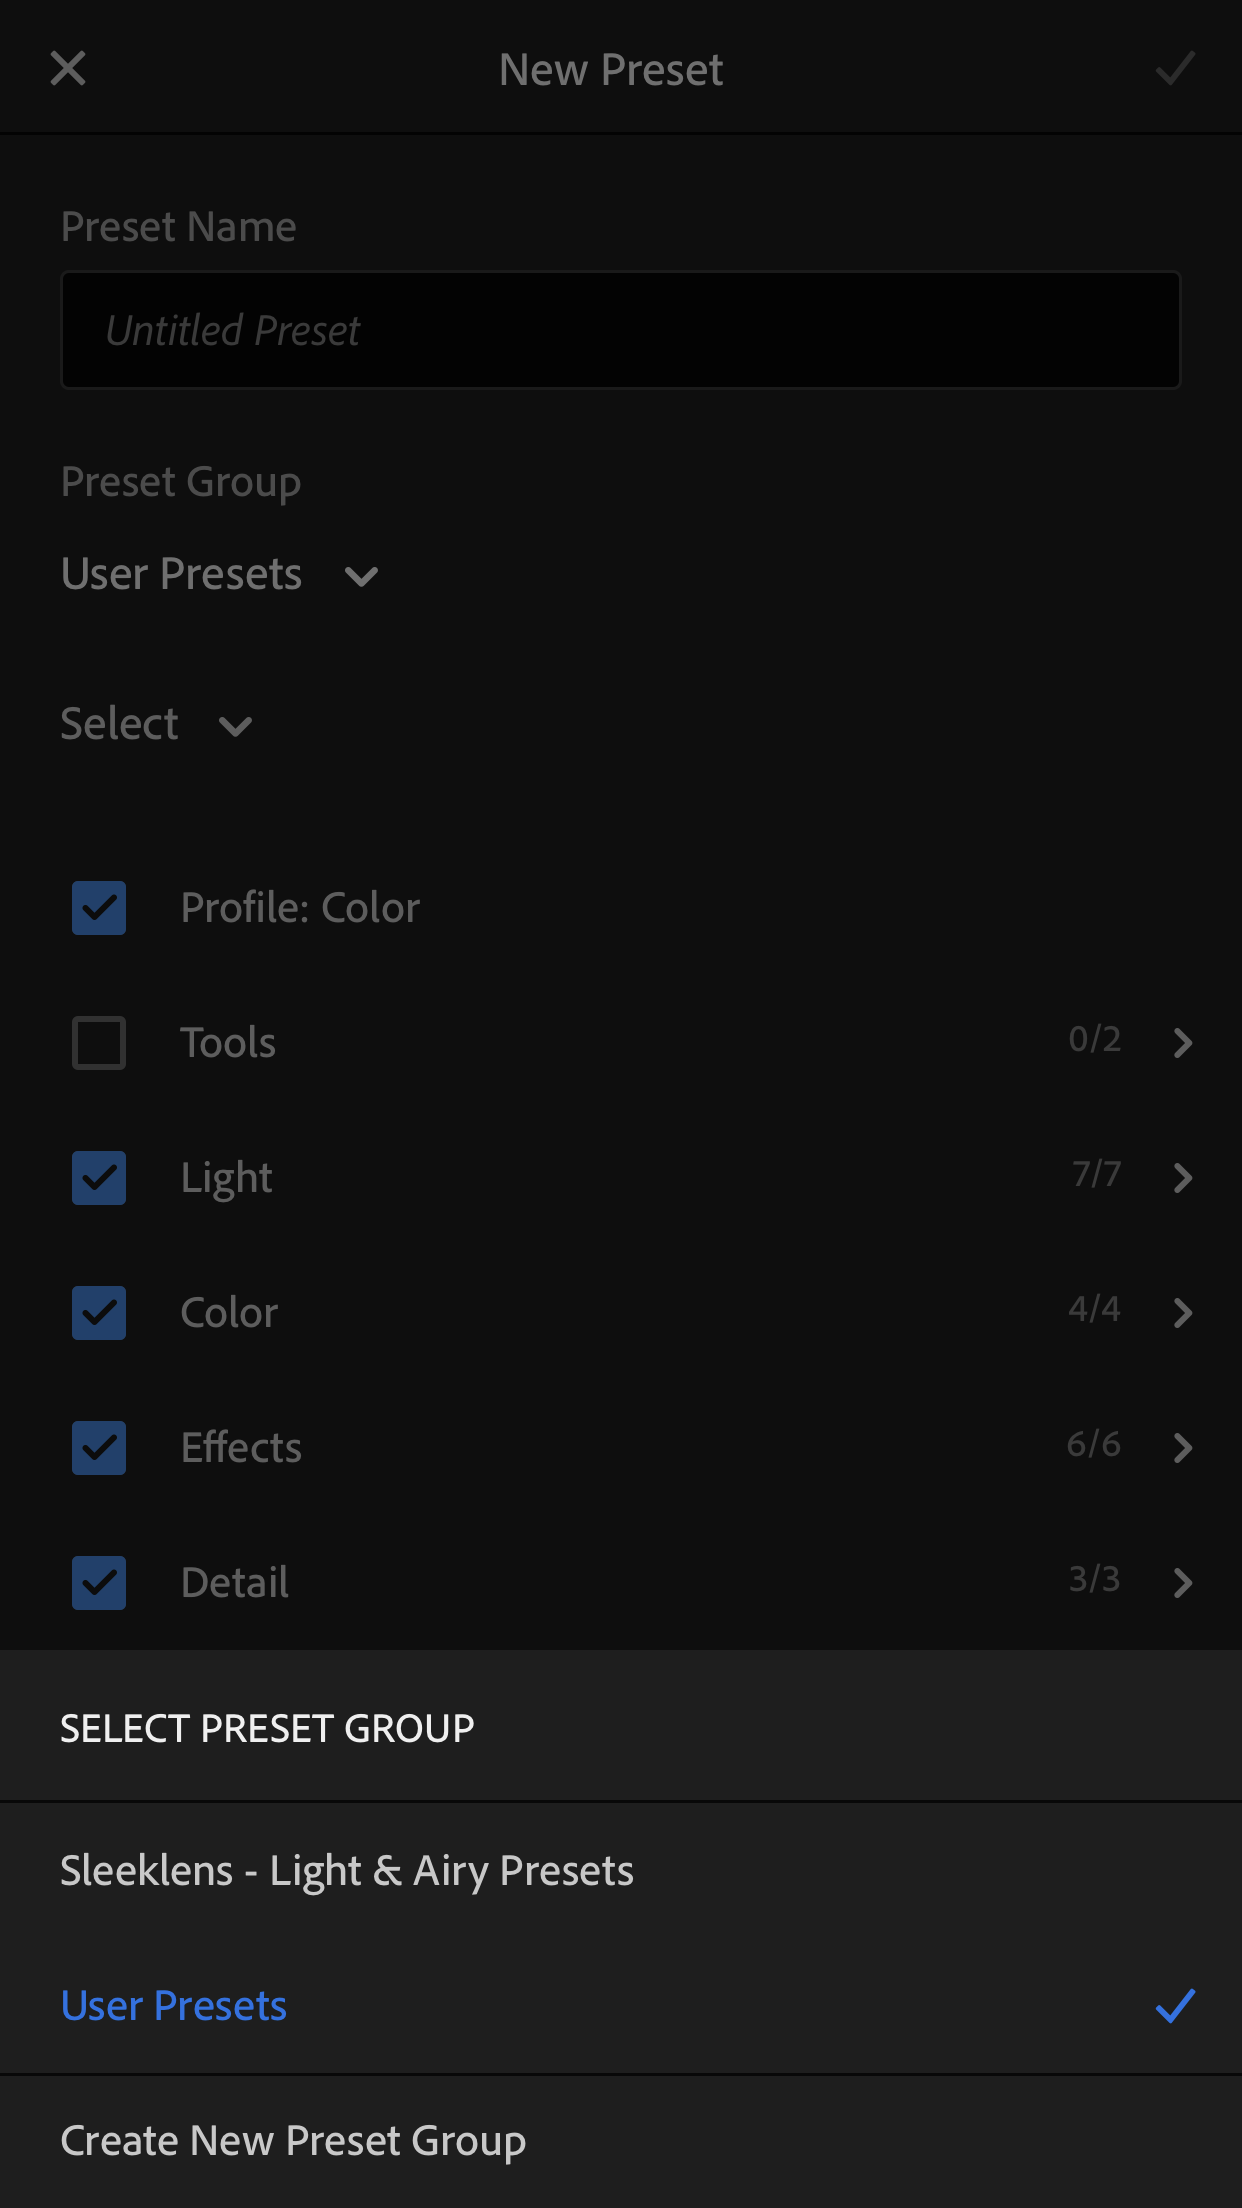
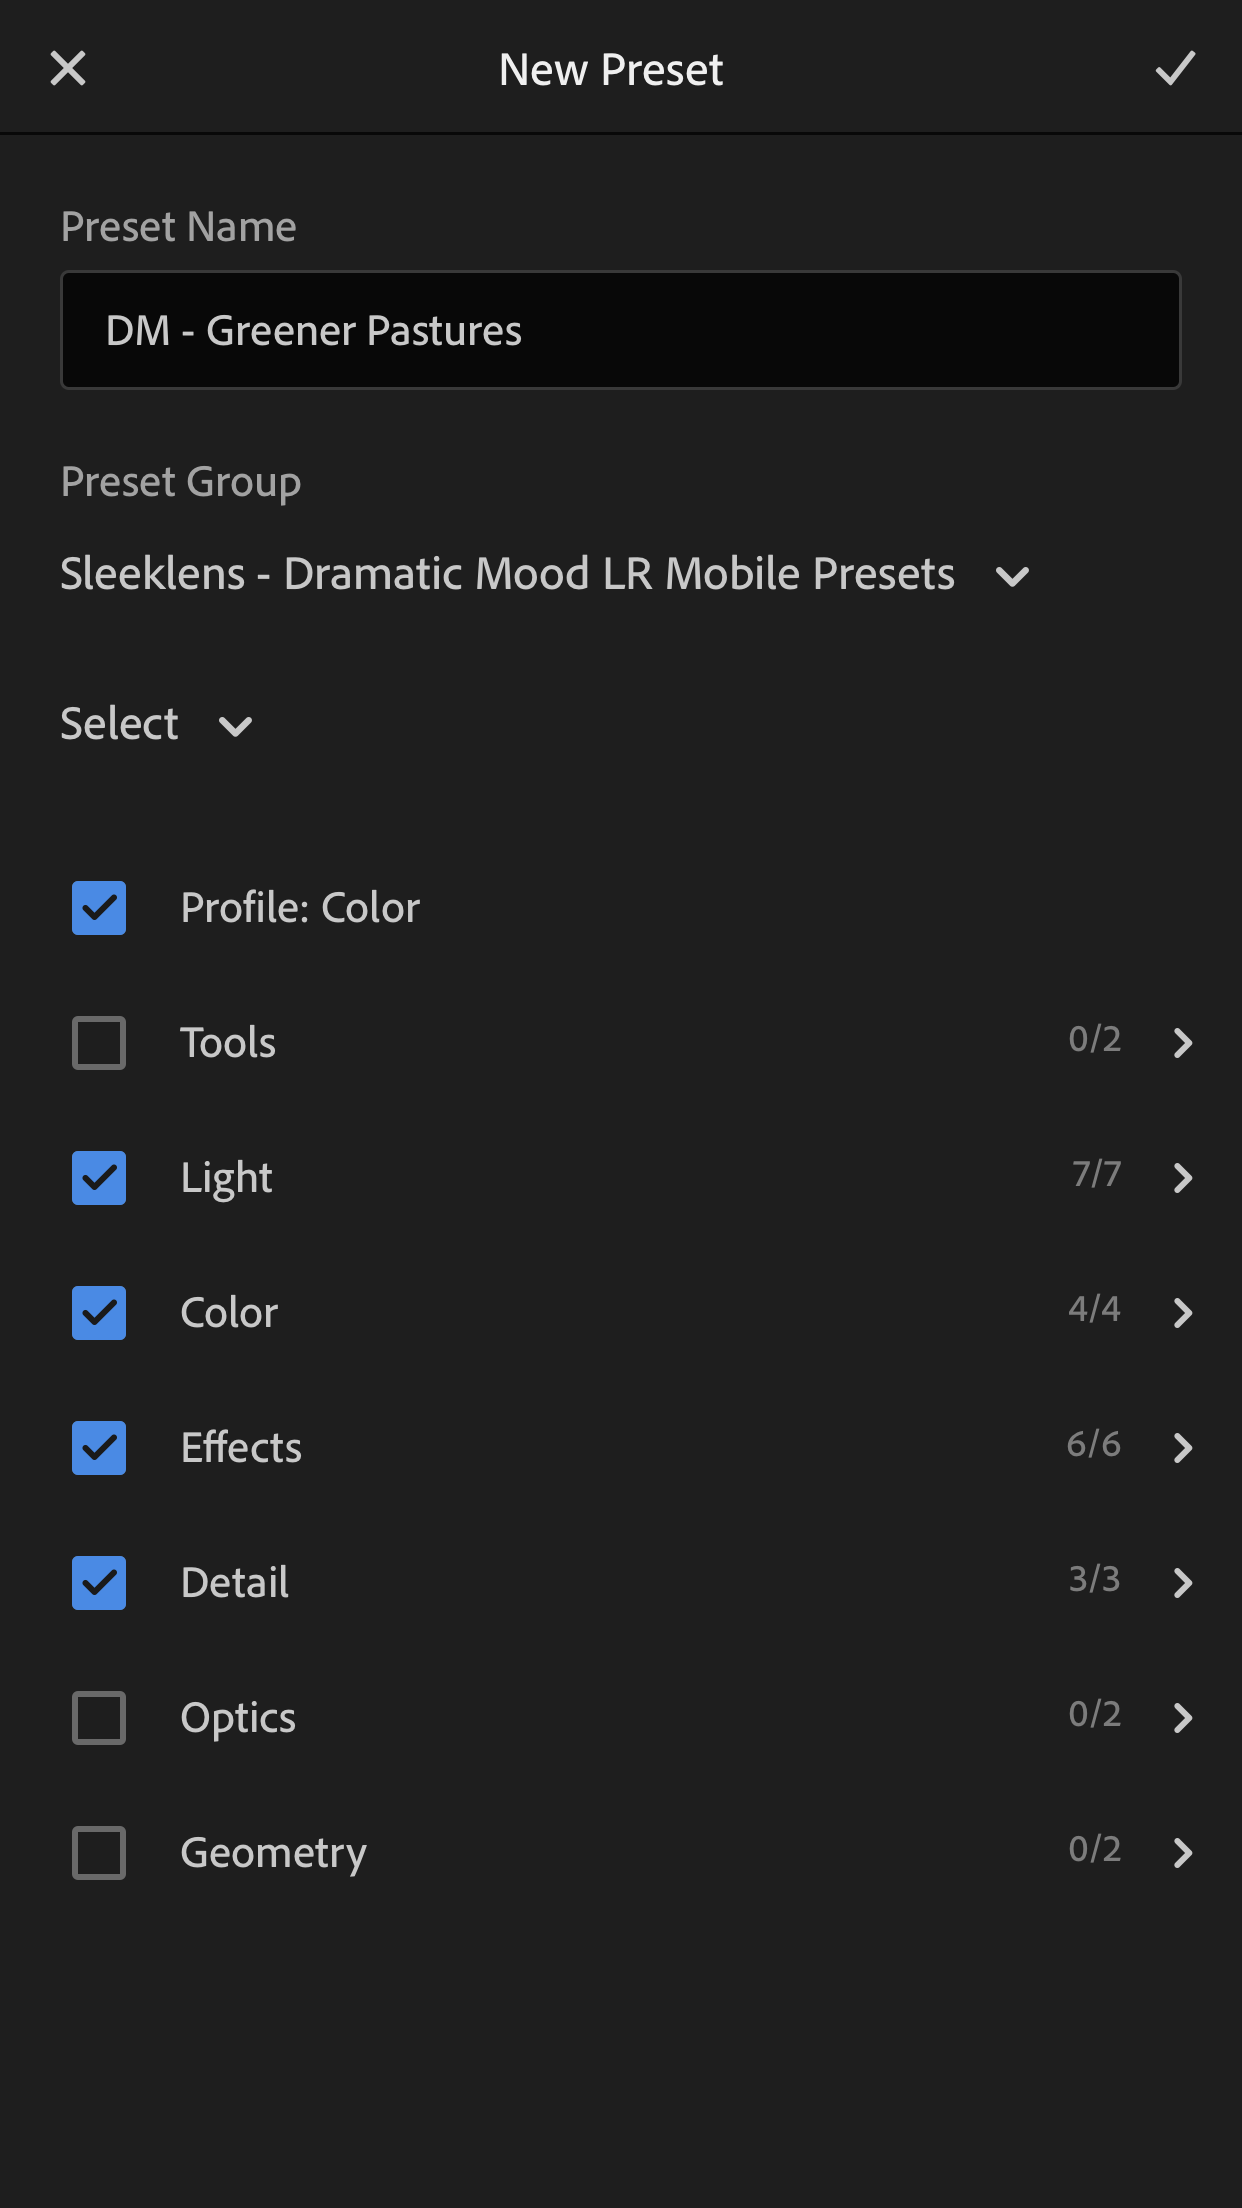
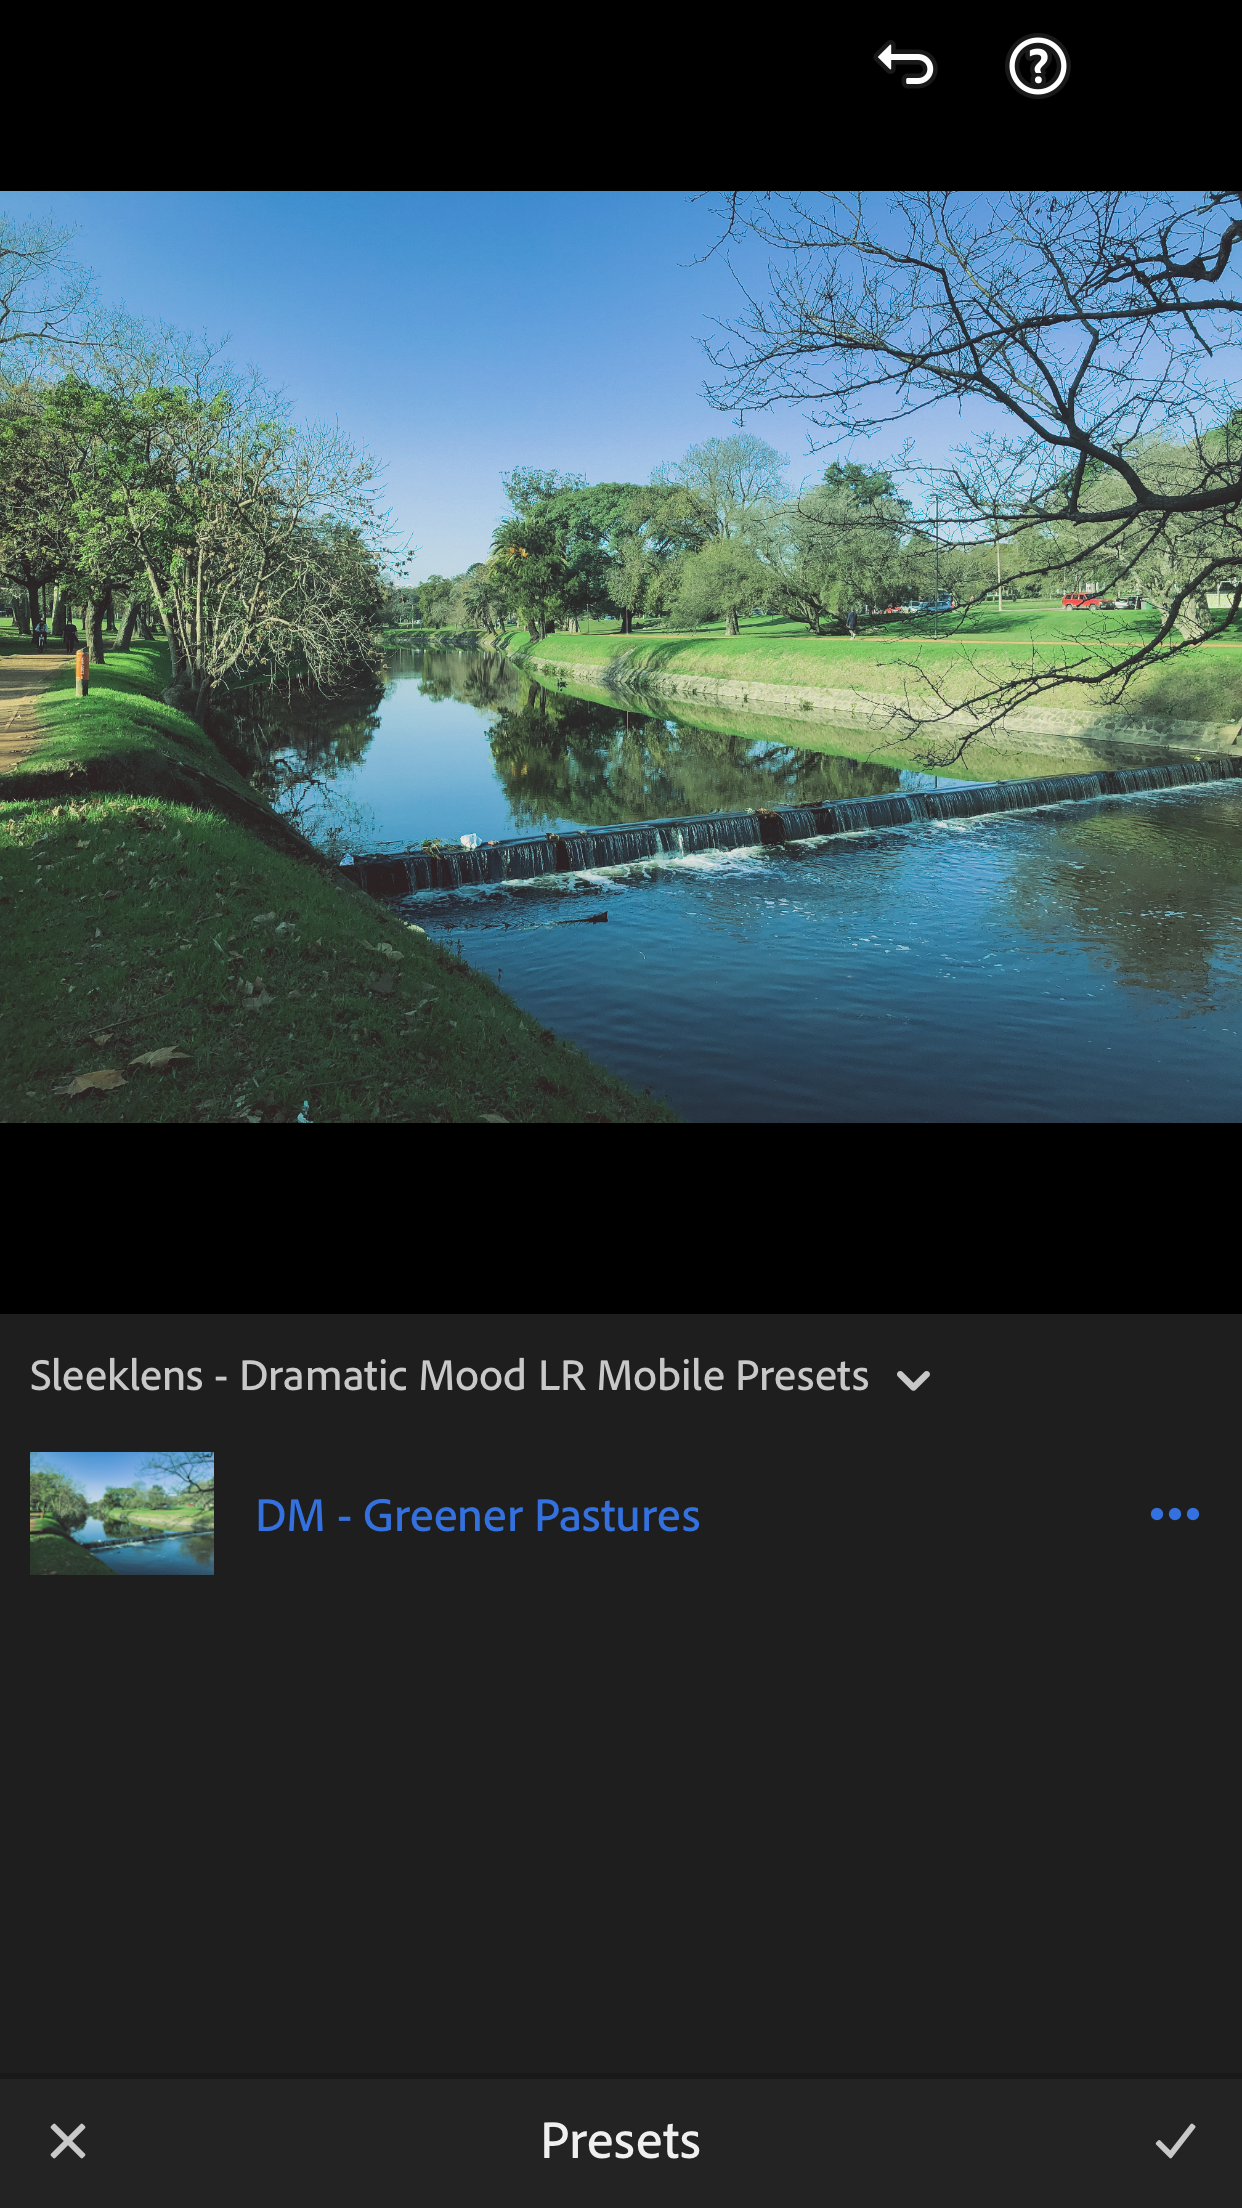
In there, you have to create a new Preset Collection, otherwise, it will send the preset to the default User Presets. Create the collection with the name of the bundle. Then, create the preset following this recommended structure: Bundle Name – Preset Name. That way you won’t misplace your lightroom presets. Of course, the naming is entirely up to you, we suggest this method for organization efficiency.
After that’s done, make sure to test if the preset works by importing another photo, then going into edit mode and select the presets icon. You should see your created Adobe Lightroom Mobile presets collection in there, and all the lightroom presets you have created out of the digital negative files (DNG).


 Facebook
 Google +