Overlays and textures are creative ways to enhance our photos within seconds, bringing those details that maybe our camera wasn’t able to get – like sun rays or light leaks, but also those that we are limited due to our gear, as proves to be the case when we desire to take photos under the rain or snow and our cameras are not weather-sealed. Thankfully, this amazing technique not only applies to Adobe Photoshop CS/CC versions but also to Photoshop Elements.
Let’s learn how to use overlays in Photoshop!
Download your Photoshop overlays or Photoshop texture pack from your account. Given its file size, you can either get a ZIP or RAR, which can be extracted using tools as WinRar (Windows) or iZip (MacOSX).
Proceed to extract the files from the zip or rar archive, you should end up with a folder that has the collection name on it and a series of high-quality JPG images. Put that folder wherever you consider it’s safe and easy to access from now on (best if not under the system drive or My Documents as you can easily lose them in case you need to reinstall your PC).
Get ready to start working with PS Elements.
Double click Photoshop Elements icon and after it loads, open up the image you desire to have edited.
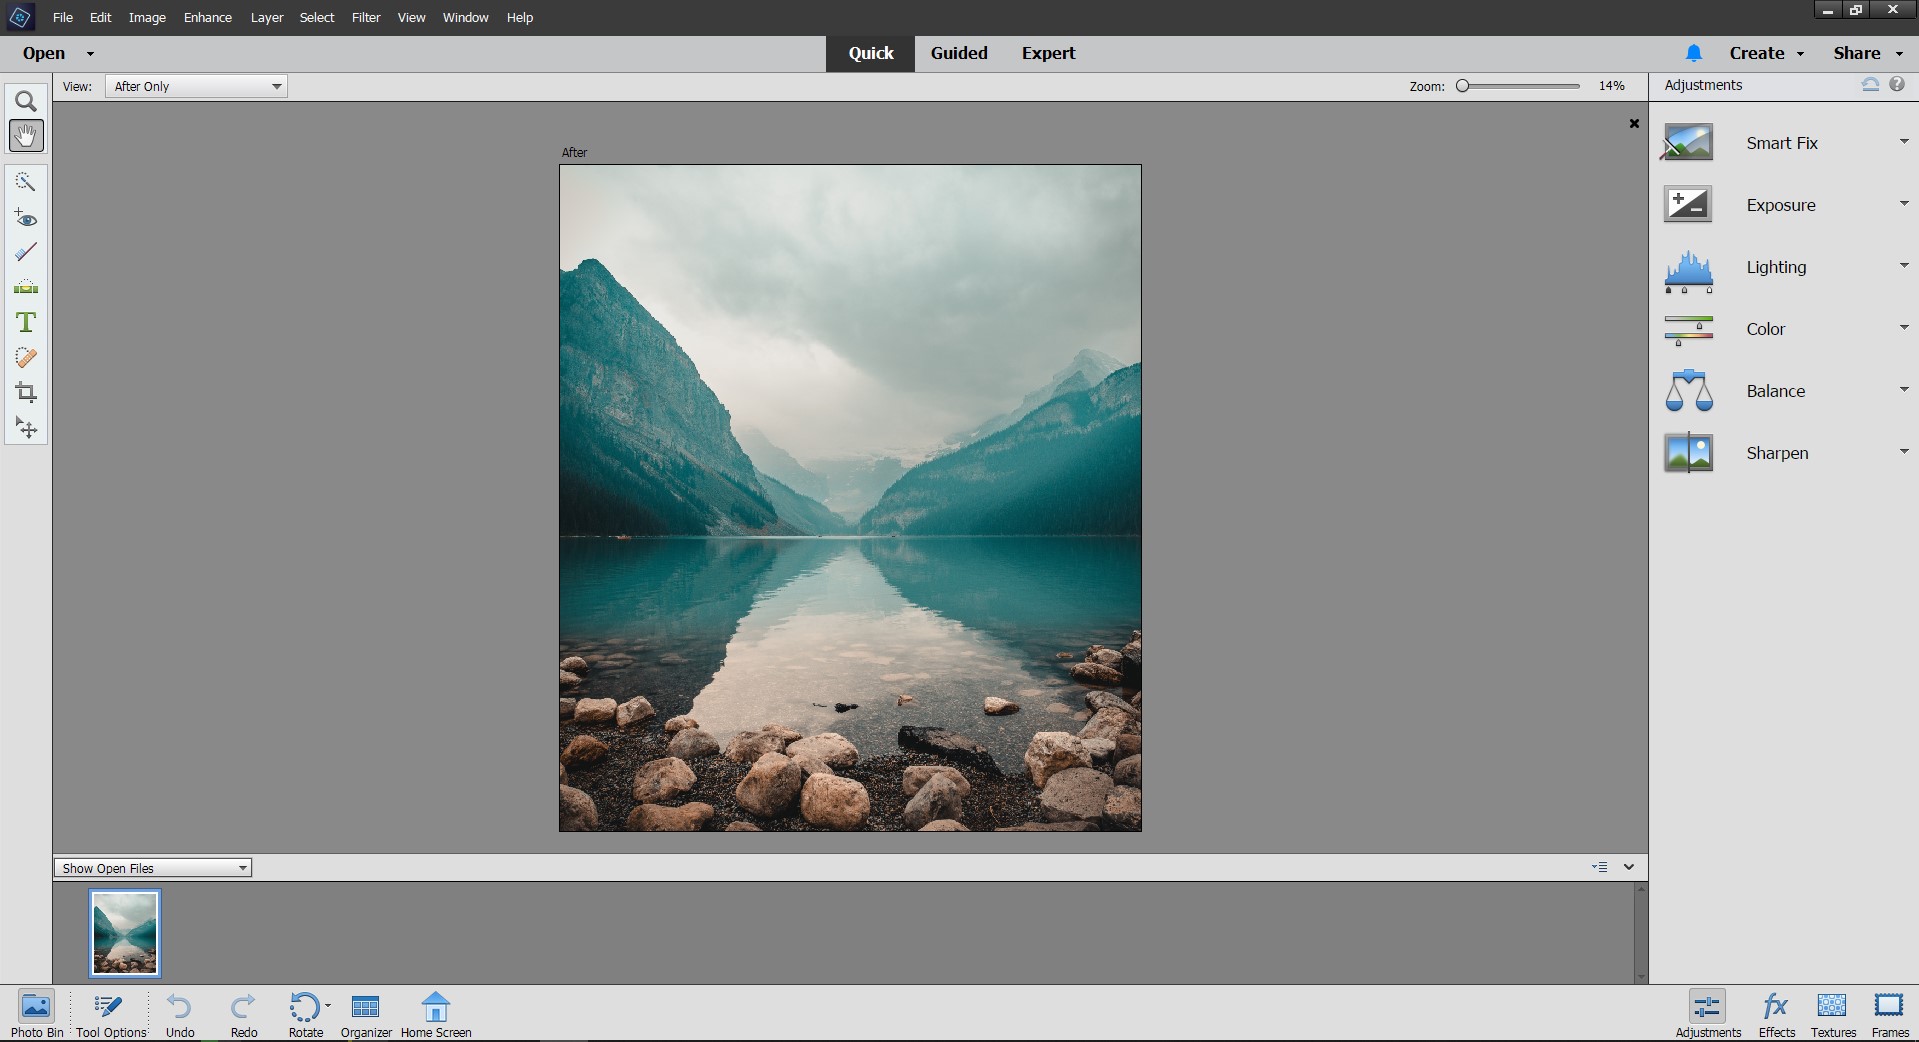
At the panel on the … select the mode option and change it to Expert Mode

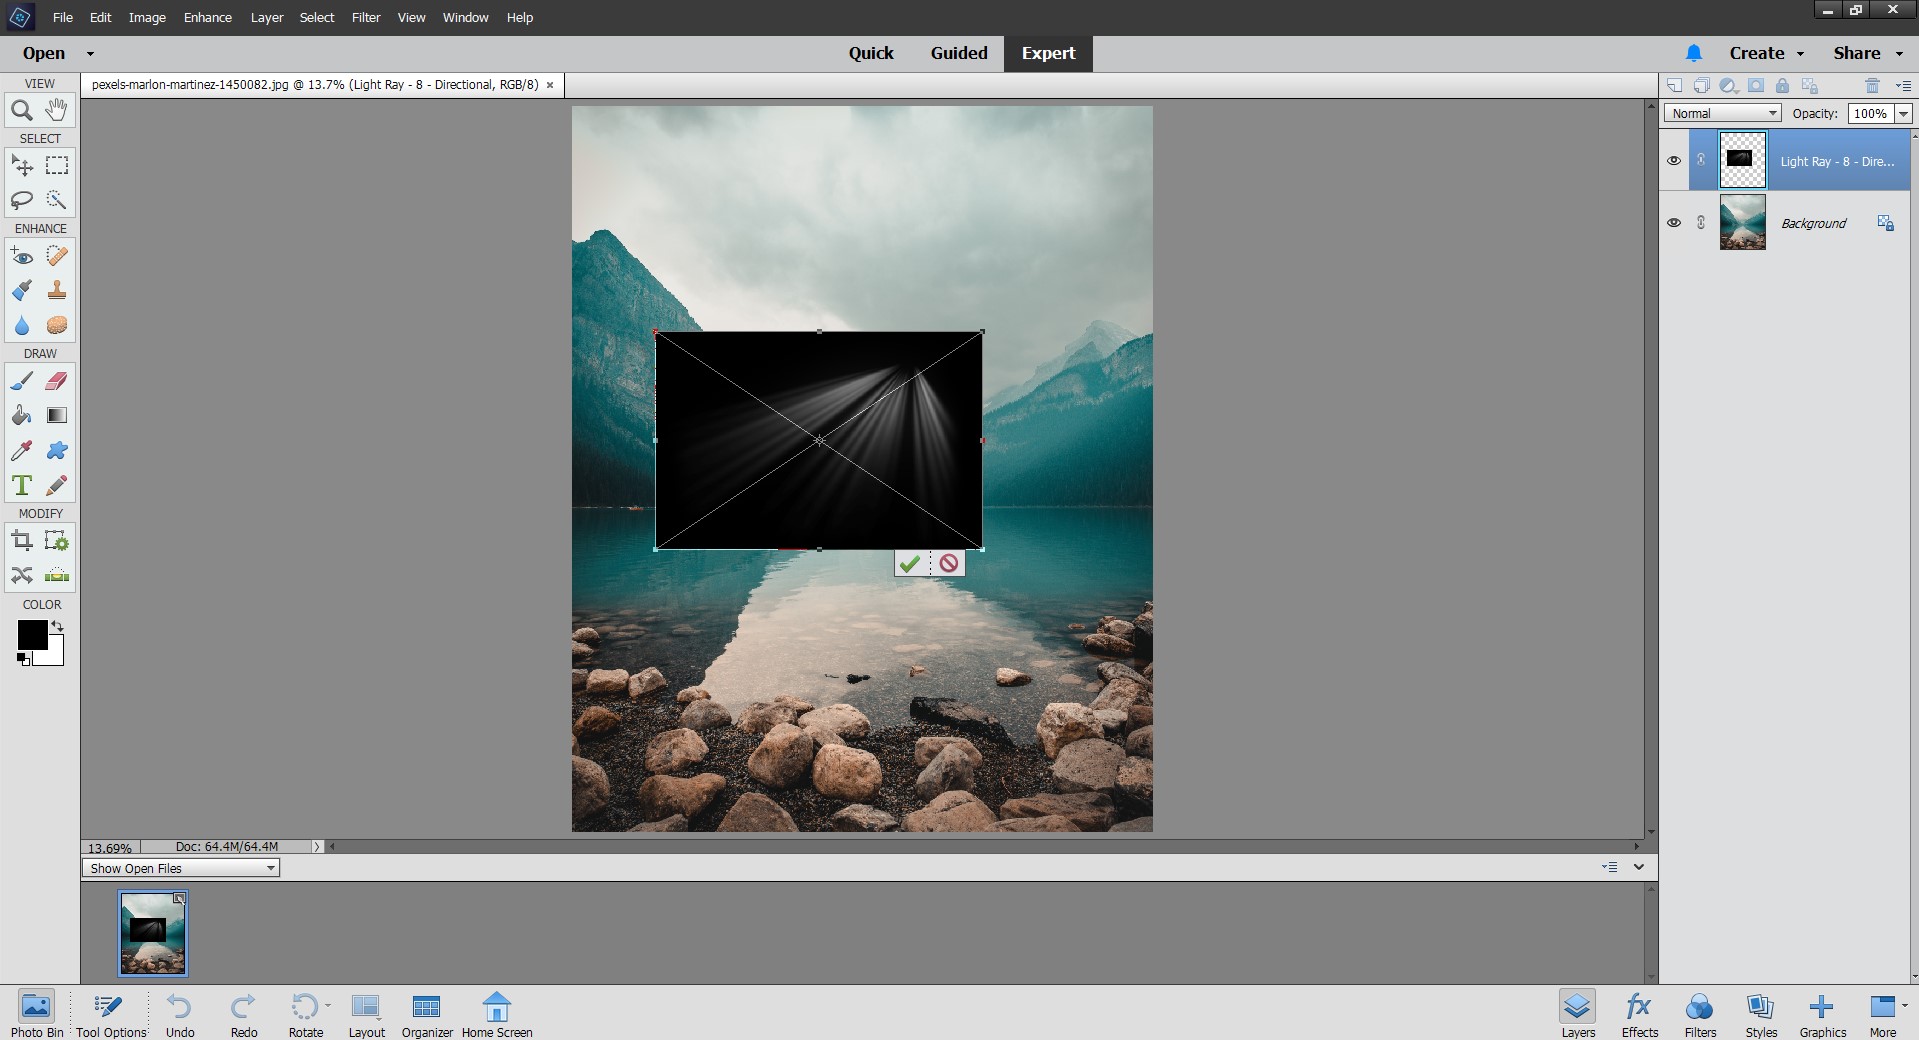
Go to File > Place. Then, select the overlay or texture that you want to work with, and by clicking on “Place” proceed to bring the file into PS Elements.

Position the new overlay where you desire, resize if needed, then click on the checkmark to place. Same procedure for textures, although usually, they occupy the entire canvas area.
This next step is entirely up to you. In case you are working with JPG files, you have to change the layers blending mode for the overlay/texture file to this mode suggested: Screen. Use the Opacity slider to adjust the intensity of the effect – reducing its value will result in subtler overlays.
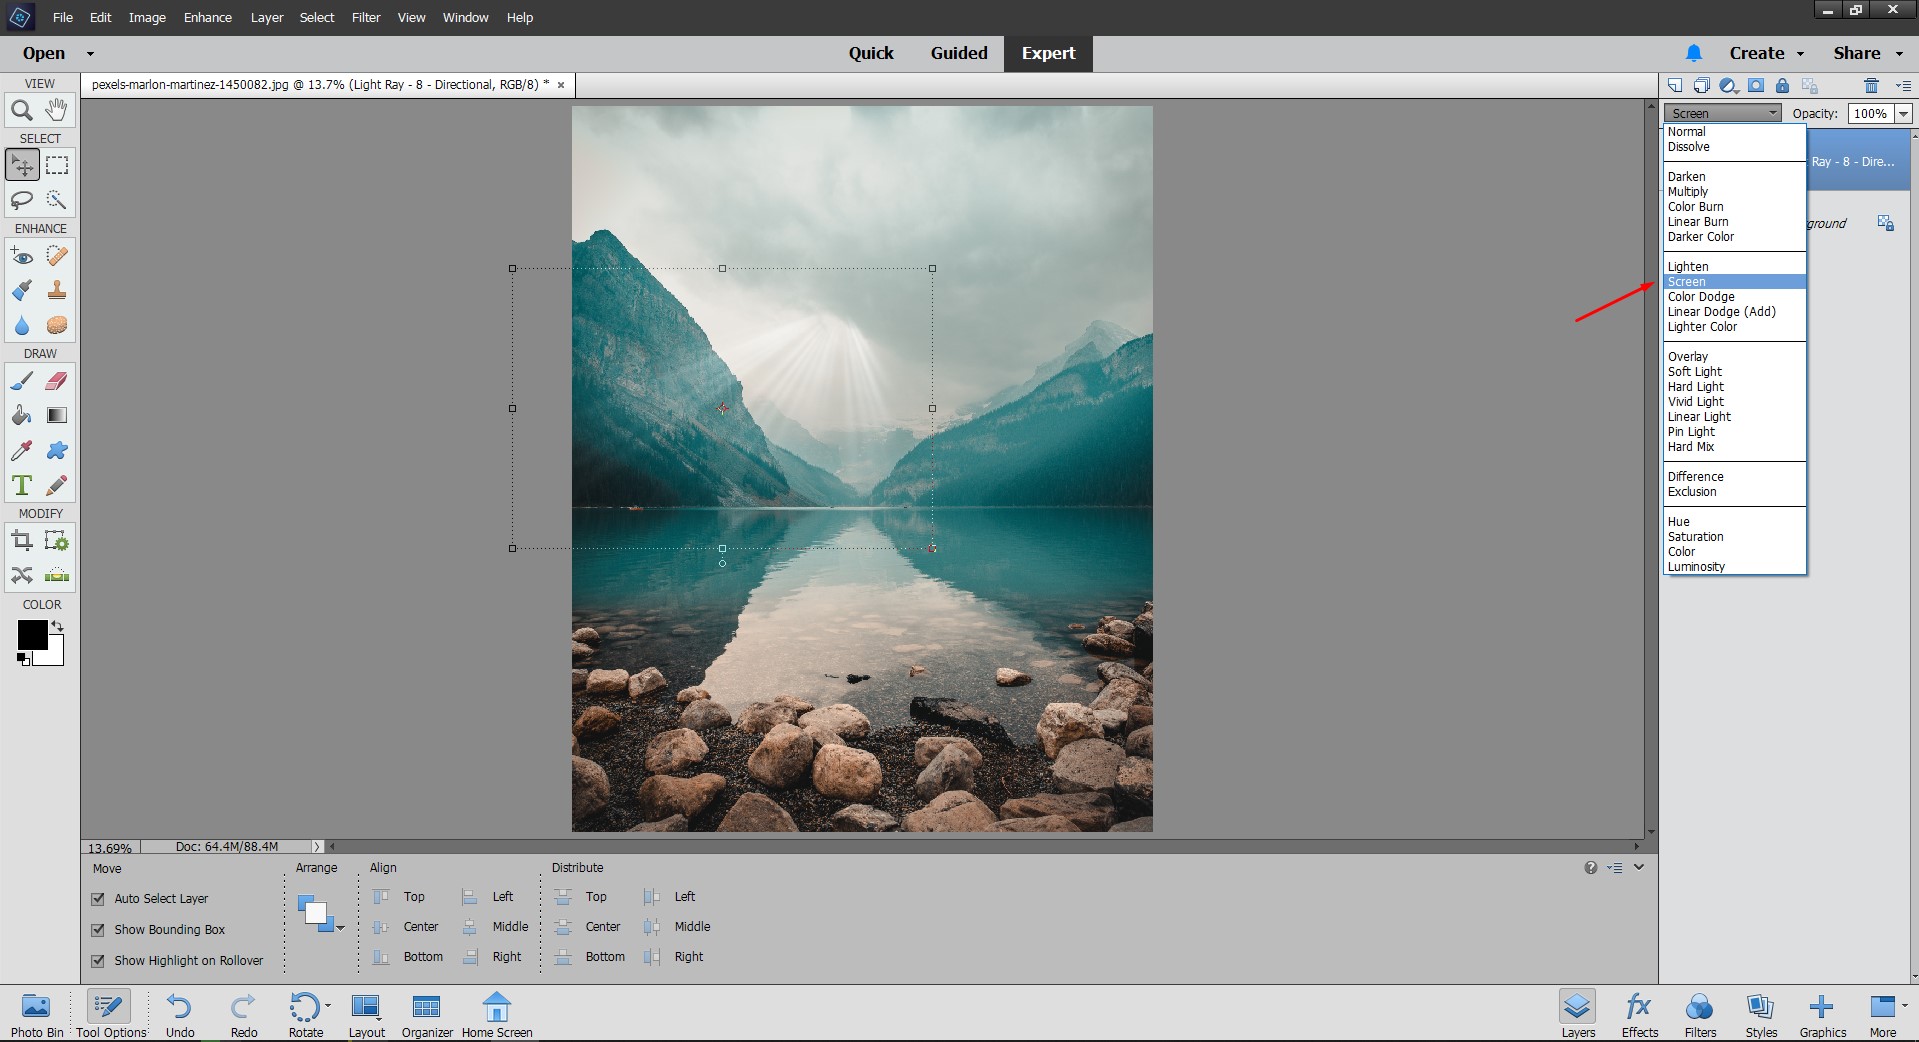
In case you are working with PNG files you do not necessarily need to alter the blending as PNG files support transparency – we do the previous step with the JPG files as they don’t.
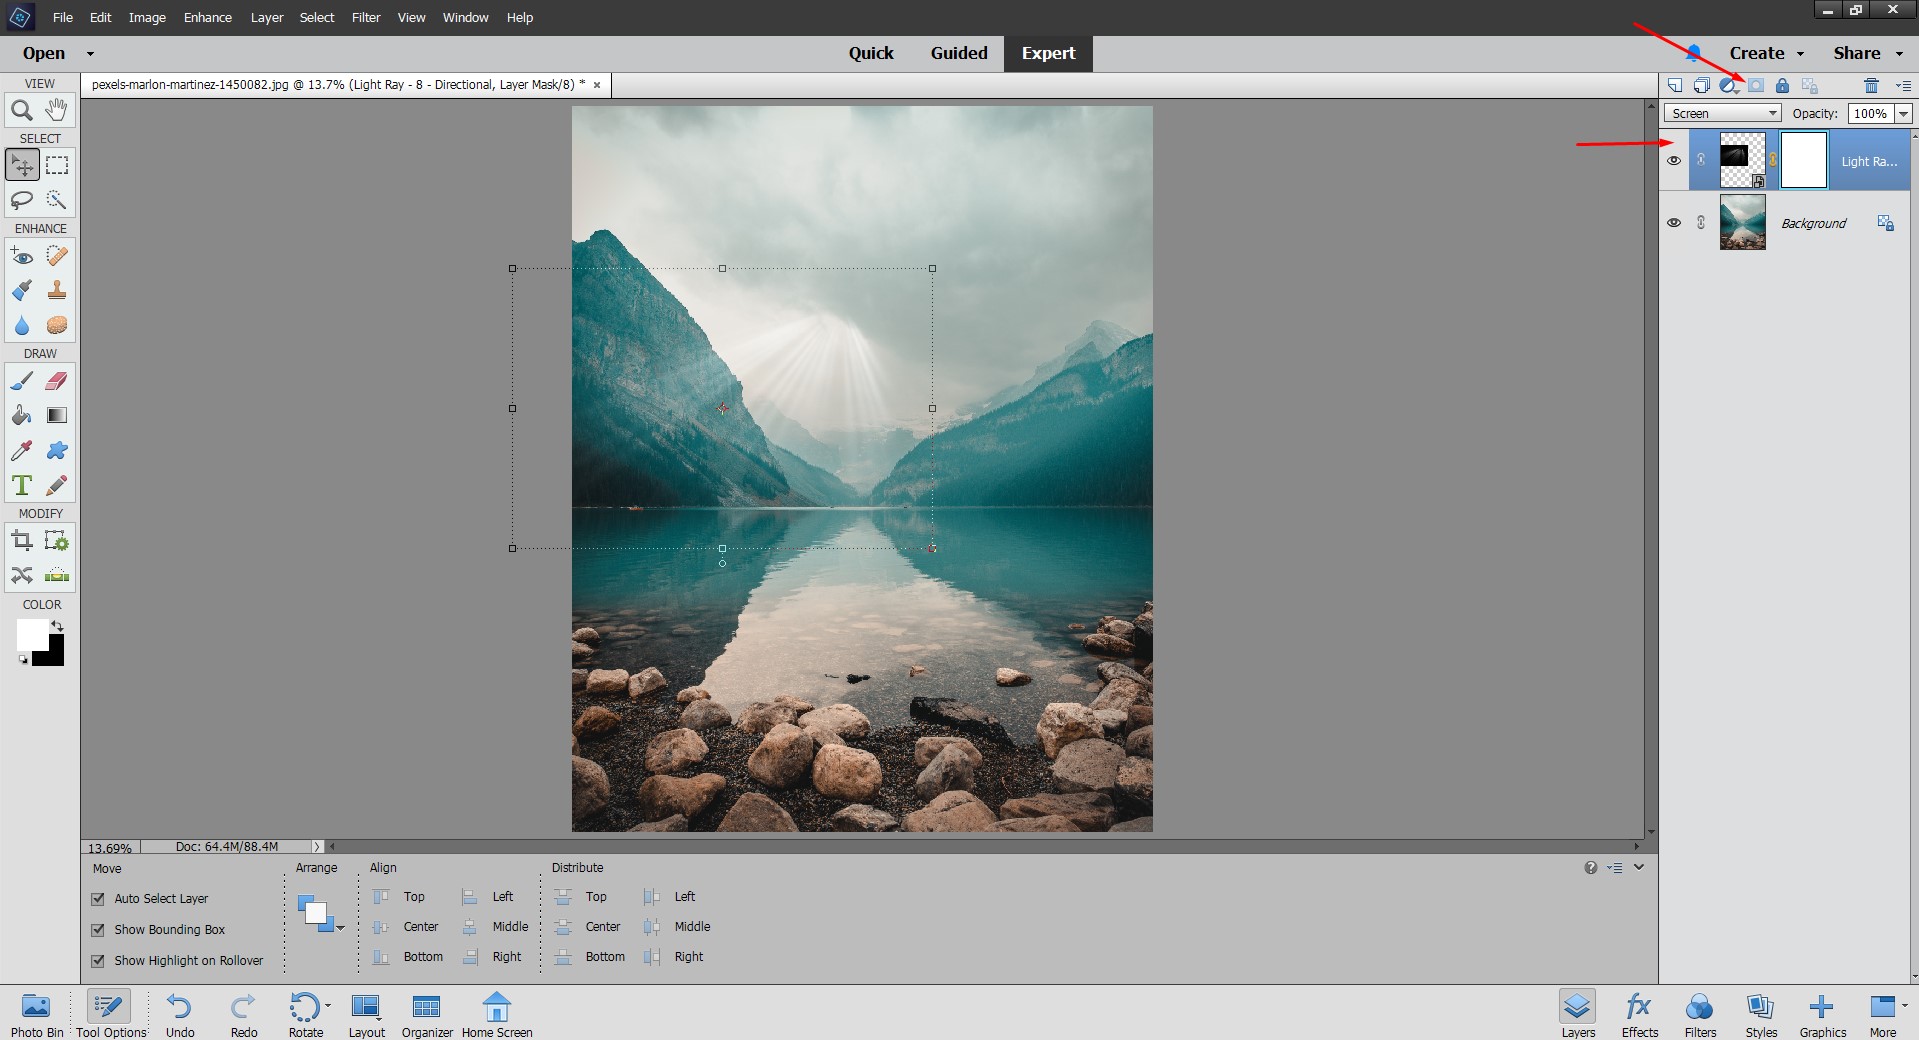
As sometimes happen, you might not need to completely use the overlays in Photoshop. Maybe you need just a tiny part, maybe you need to subtle its effect (this can be done by using the Opacity slider for the overlay layers). Instead of deleting parts of the overlay/texture, we suggest you use the Layers panel / mask option, opting for a black brush (soft or hard, that’s on the image to be checked which fits your requirements) to “delete” the areas you do not have to use. This is called a non-destructive workflow, meaning you can retrieve the entire data of the overlay by disabling the Layer painting / mask with a white brush the areas you previously painted with black.
And that’s all! We hope you have learnt how to use overlays in Photoshop. We also offer the best Photoshop actions, overlays in Photoshop, and many more, so make sure to check them out!
Feel free to contact us at [email protected] in case you experience any issues with our PS Elements Textures and PS Elements Overlays.
Please verify your software version before proceeding.
 I’ve verified my software version


 Facebook
 Google +