Perhaps you simply need a quick and efficient tool to enhance the natural conditions of illumination a scene or you want to completely transform a summer photograph to look entirely wintery. Adding a rain effect? That is also possible, and in only in a few clicks, thanks to the advantages of working with Overlays.
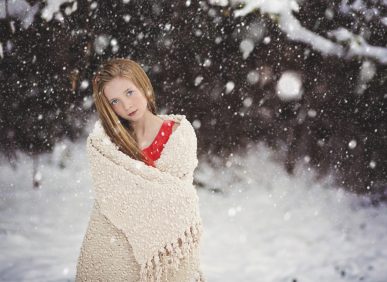
Snow Photo Overlay Collection: Thinking about how to add winter effects to your photographs? Perhaps you took a tour through our winter-themed set of Presets and Brushes for Adobe Lightroom; However, Photoshop also has a lot to offer. What if I tell you that you can add incredible snow effects to your photos just by adding an image as a layer and adjusting your Layer Blending Mode?
With our Snow Overlays for Adobe Photoshop, you will be able to experience the best of winter from the comfort of your home using our 35 different overlays of snow, ready to become a part of your editing process.
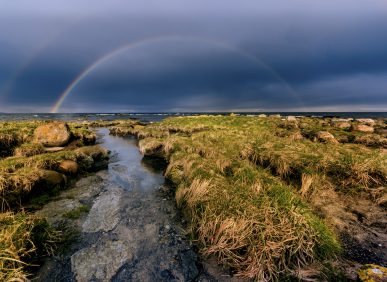
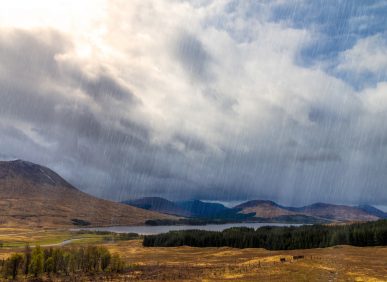
Rain Photo Overlay Collection: Not all SLR cameras can be classified as “weather sealed” – which actually means they do not have internal sealing to protect them from being severely affected in the event of rain, dust or very low temperatures, or even to put at risk their future operation. But, one day, a customer comes and wants to book for his/her daughter’s birthday on a rainy day… How do you solve it?
Very easy: Using Adobe Photoshop and our Rain Overlays, you will be able to add realistic rain effects in just a few clicks, with 35 different effects to mix and match.
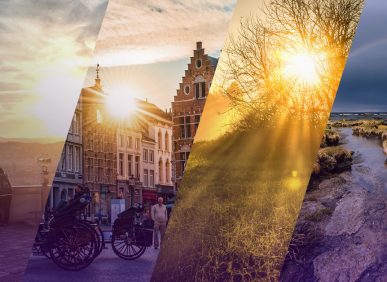
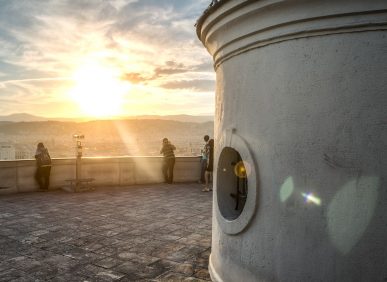
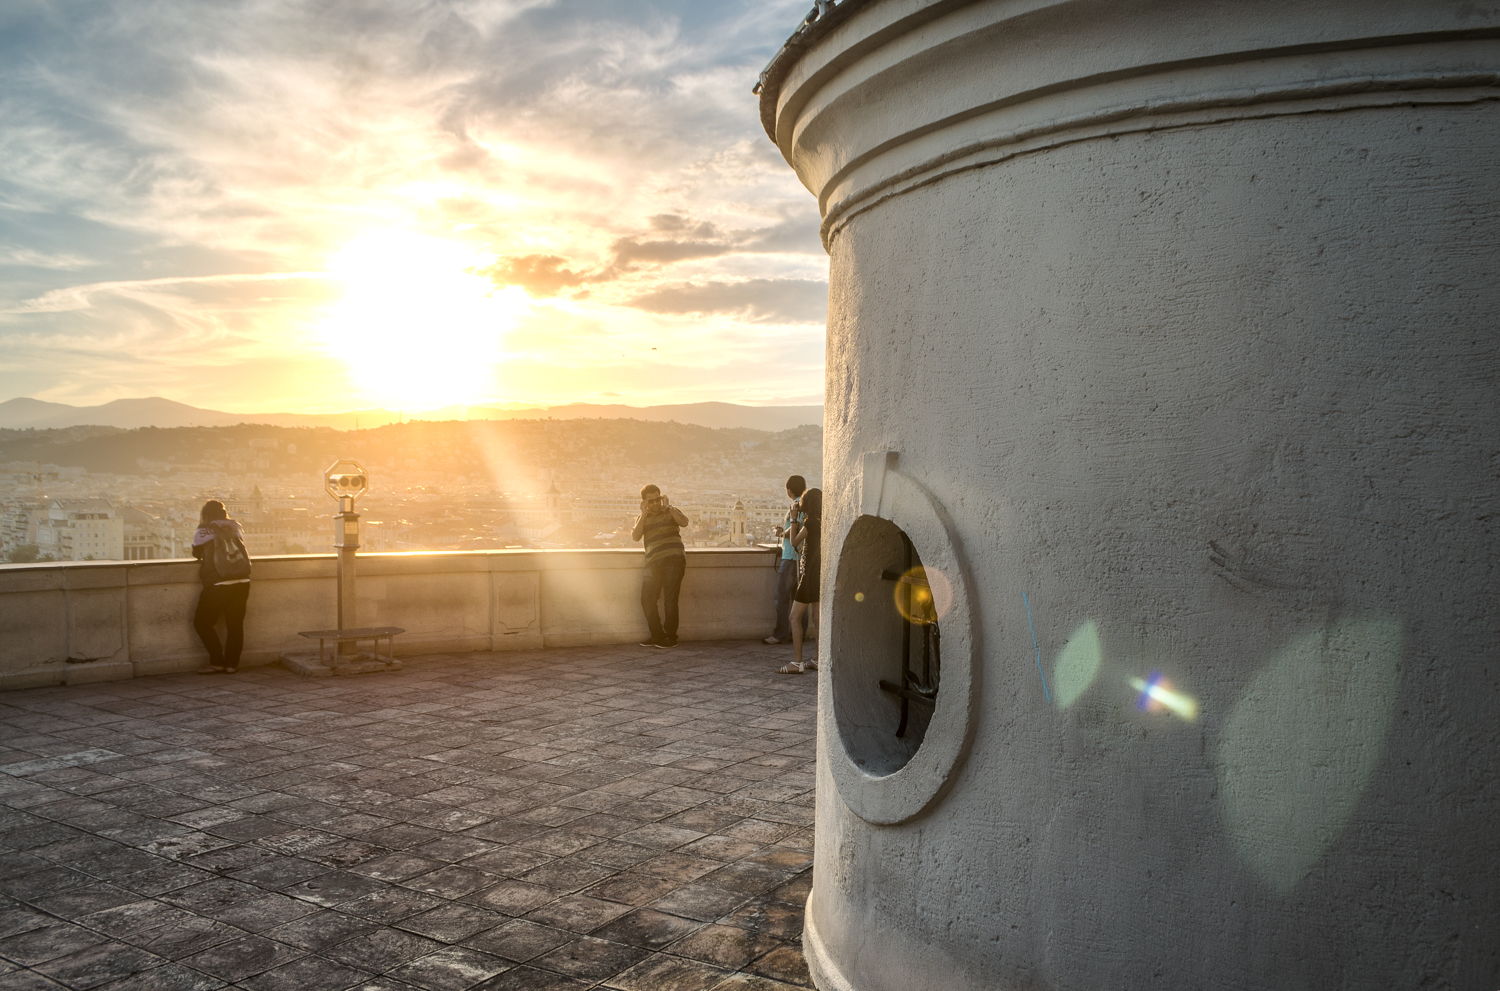
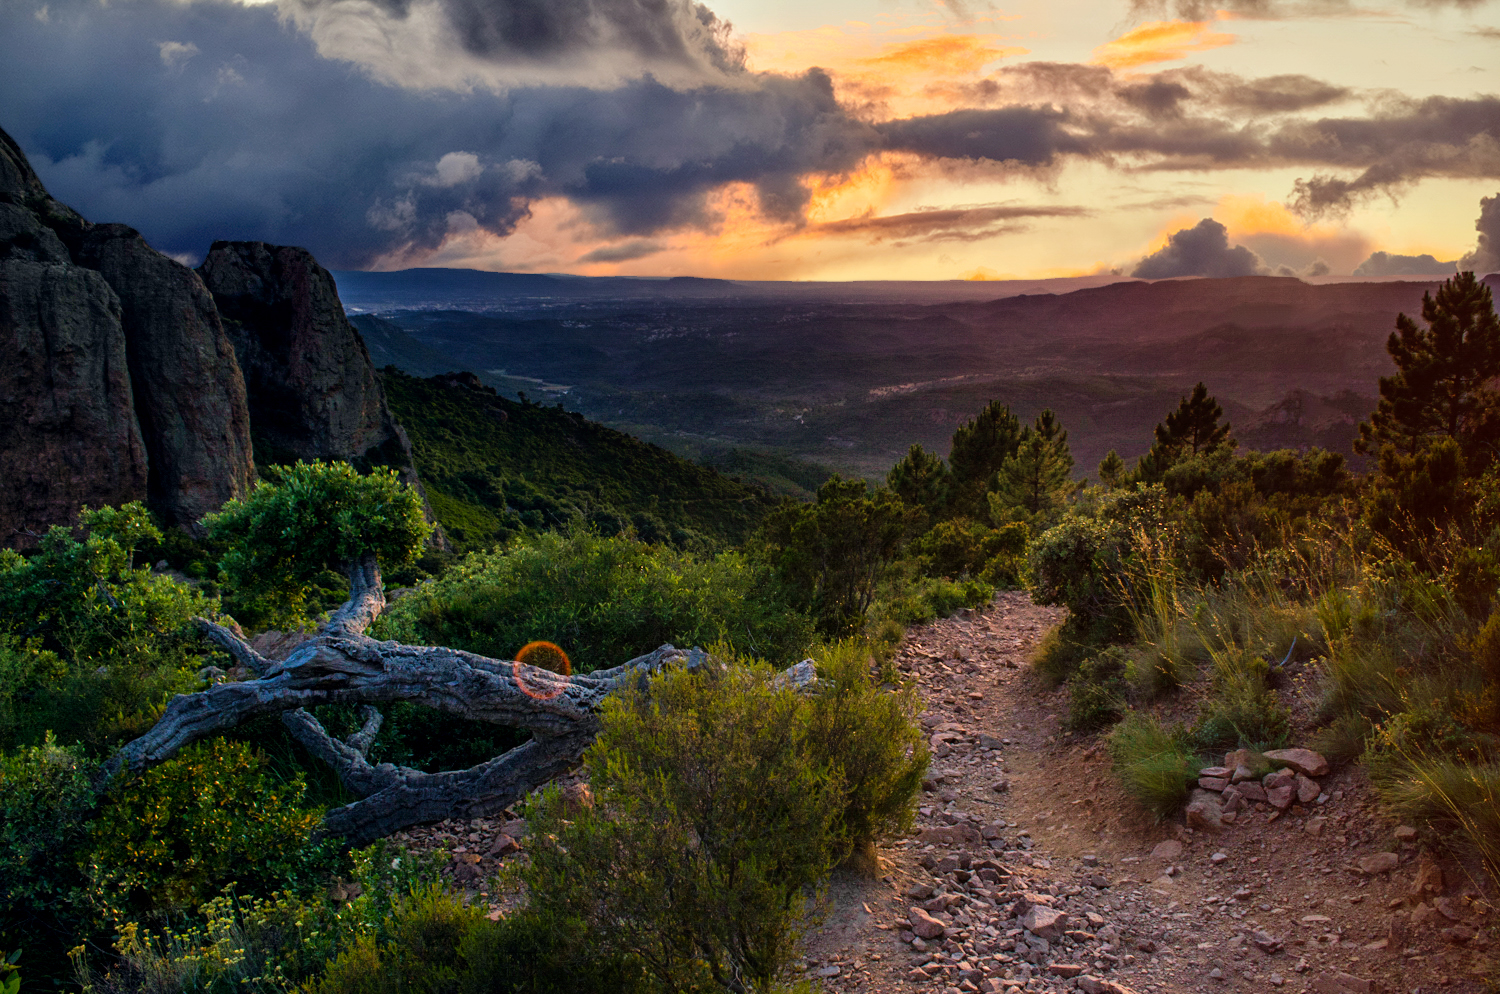
Light Flares Photo Overlay Collection: With our “Light Flares” overlay, a collection of 14 white flares and 11 color flares, you will have the convenient ability to easily recreate the effect of sunlight that is glaring down such intensity that it causes a dazzling effect in your image which pushes right through to the foreground of your scene. This overlay works great when you want to add that extra bit of drama and intensity to the present lighting situation in your photograph.
Light Leaks Photo Overlay Collection: Originally, these effects were unwanted and caused by faulty equipment or an improperly attached lens resulting in an uncontrolled intake of light that was not meant to be part of the planned photograph. Today, this effect has become a commonly used artistic application, adding life as well as realism to an image. With our “Light Leaks” overlay, a collection of 18 white light leaks and 13 color light leaks, there is no need to unnecessarily risk your equipment to replicate this creative effect, it can be easily applied and adjusted to compliment your photograph in seconds.
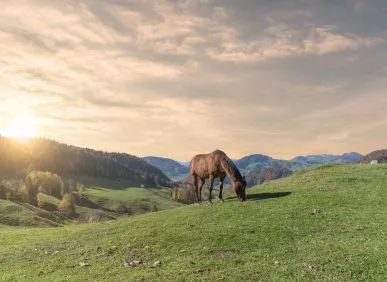
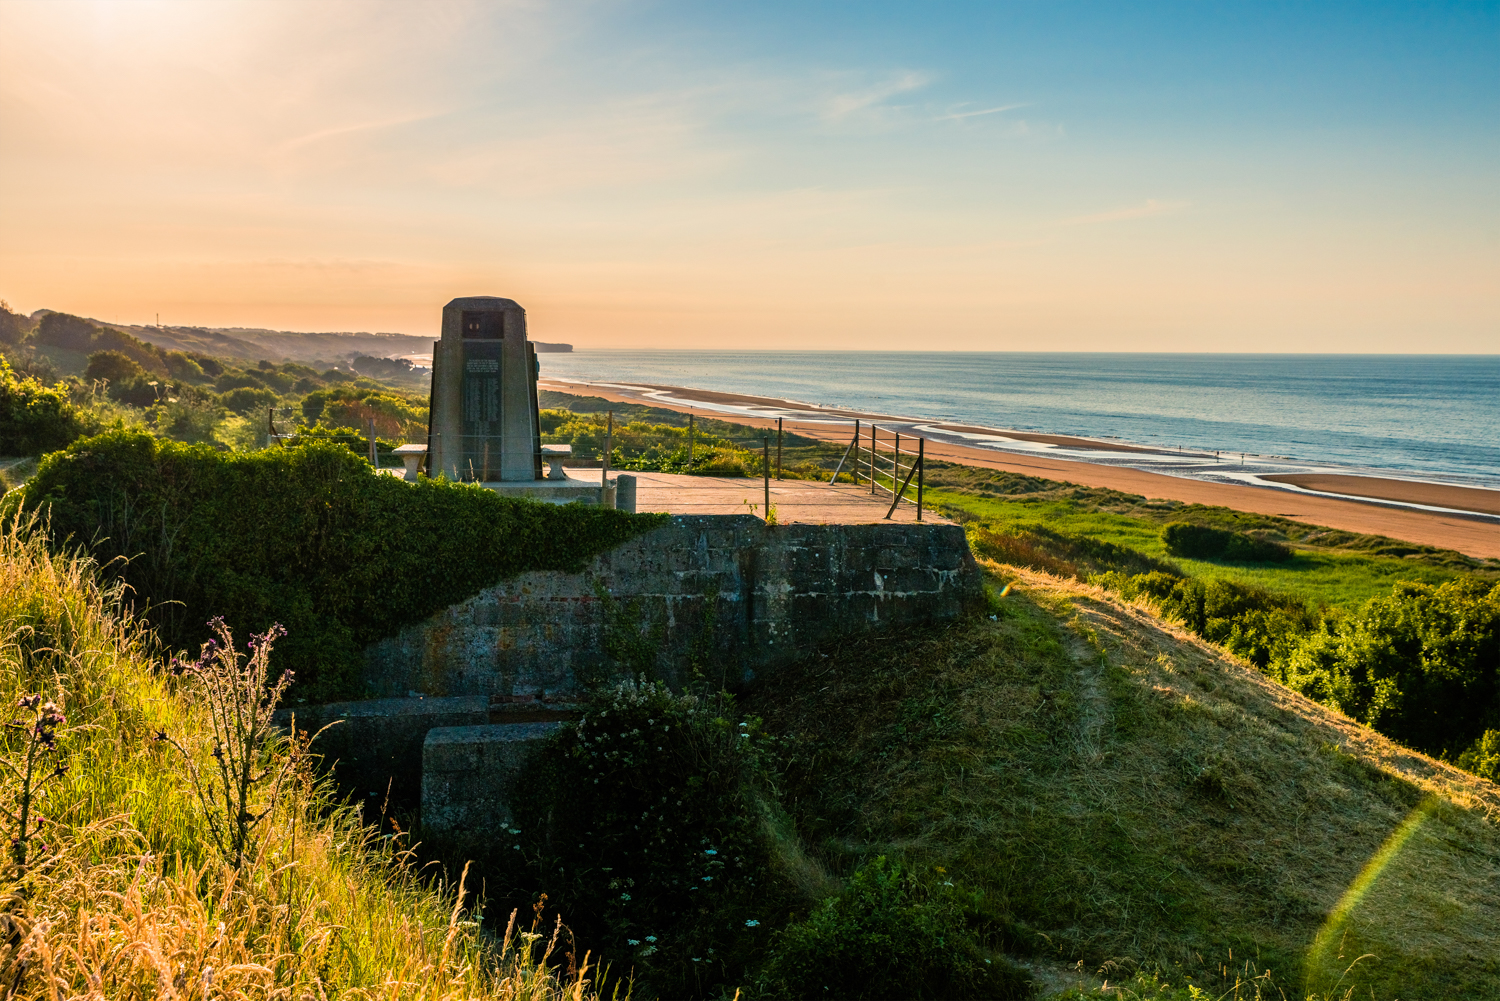
Light Rays Photo Overlay Collection: A collection of 15 White Light Rays and 10 Color Light Rays, these lighting overlays will help you add the effect of warm rays streaming across the sky and down onto your scene. Quickly add warmth and colorful life to your images with a few simple clicks. From subtly enhancing a warmly lit scene, to pushing the envelope of natural effects from sunlight, this Photoshop overlay puts the creative ability at your fingertips. Quickly and creatively add colorful rays of sunlight which pierce right through to the foreground, adding more focal points to the photograph.
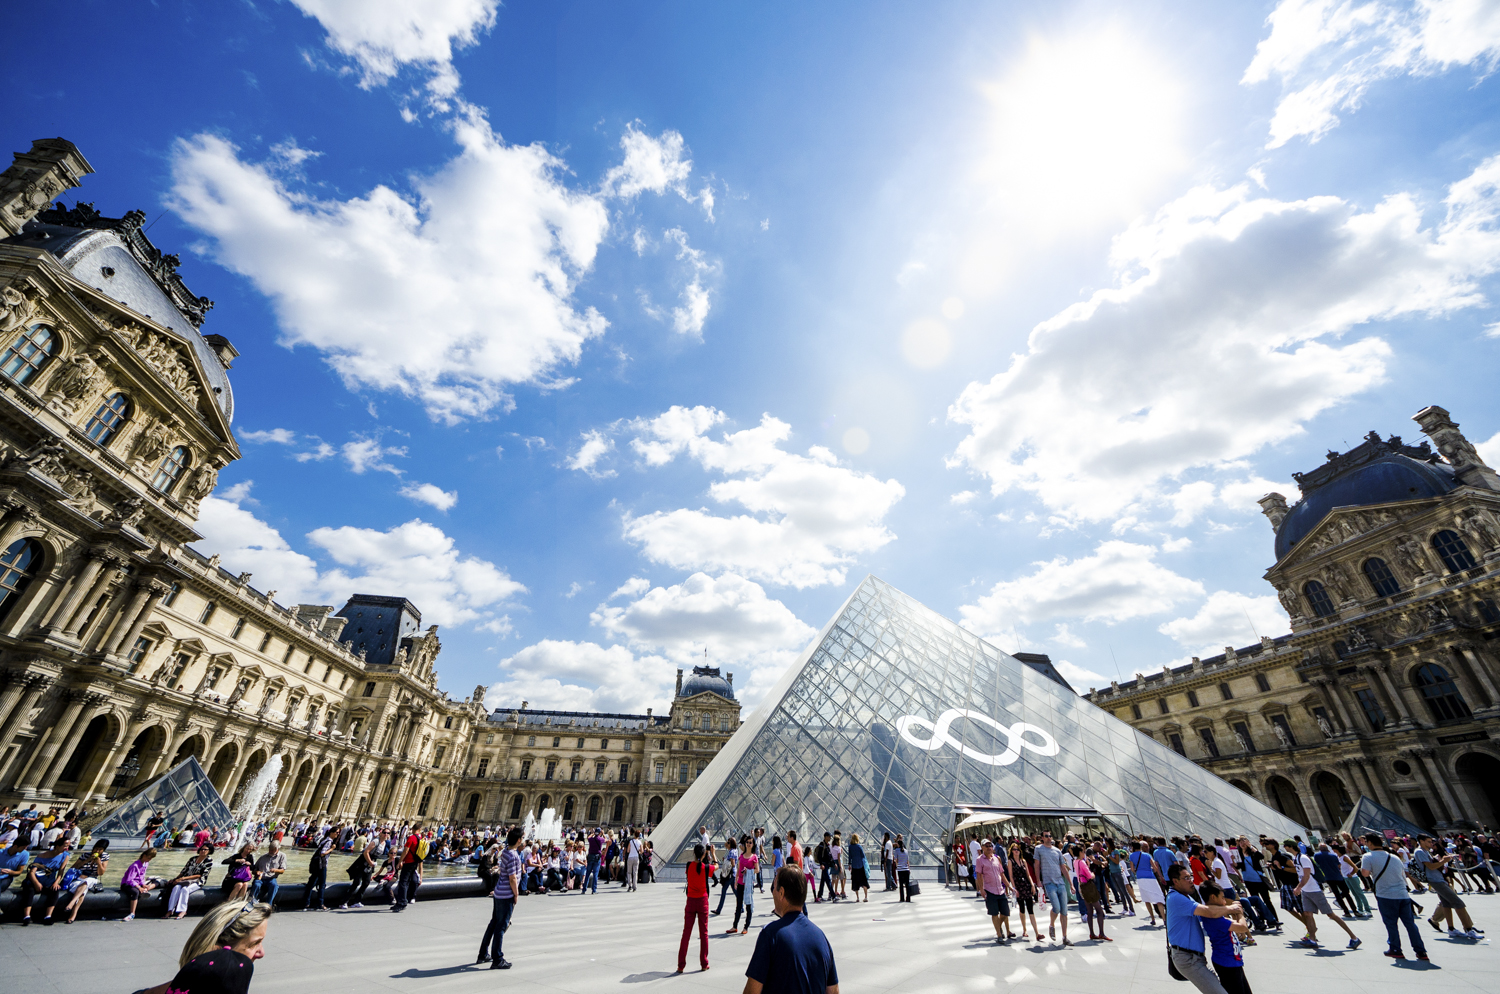
Starbursts Photo Overlay Collection: With our “Starbursts” lighting overlay, easily and effectively create an intense burst of sunlight gleaming from overhead, like an explosion of light in the sky. This collection of 18 white starbursts and 11 color starbursts will surely supply you with enough of the right tools to easily create the effect of the sun shining over the horizon as if it refuses to set. From applying subtle enhancements to turning the sun into a blazing focal point in your photograph, our “Starbursts” overlay will allow you to adjust and apply your desired effects quickly and easily with as little as a touch of a button.
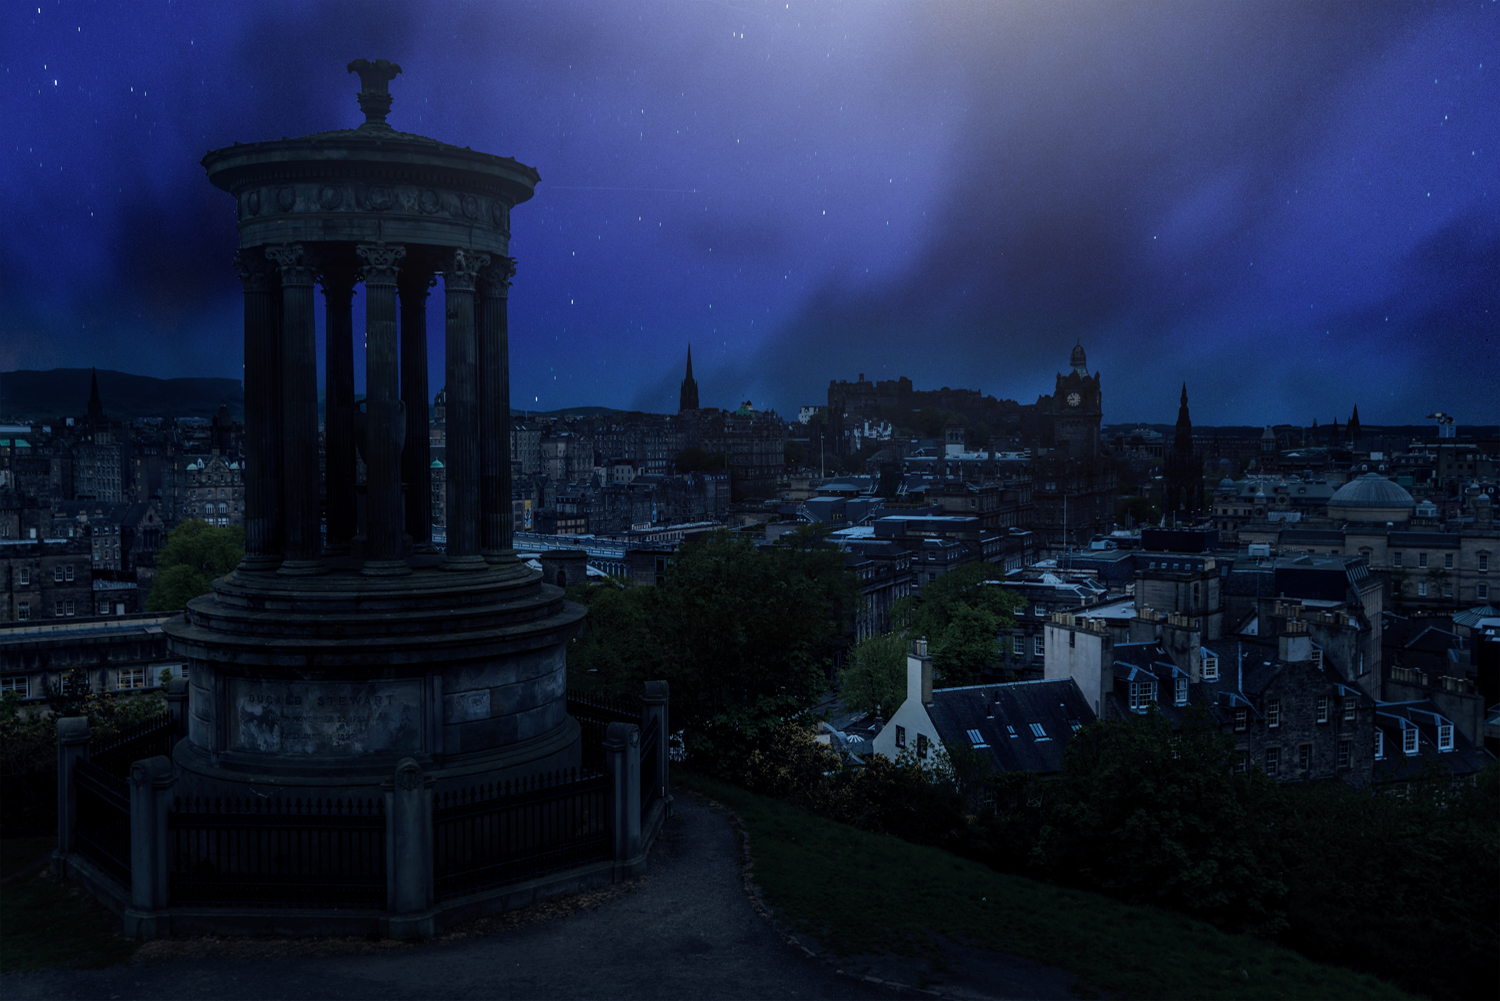
The Sky Overlay Collection: You know how frustrating it can be to end up with the perfect scene but a not-so-fancy sky ambience for it. The reason can be as simple as a focus/exposure setting to more complex situations like obstructions, cables, bad weather, etc. So, how come we deliver a stunning result with a “bad” sky appearance? The answer to that question are sky overlays. These impressive sky photos can be used within Photoshop as overlays, meant to change the original sky conditions for jaw-dropping results. Almost 200 sky overlays for photoshop, and the bonus pack of 77 sky-enhancing PS actions. Are you going to miss them?
Let’s Bokeh Overlay Collection: Bokeh effects are known in portrait photography as those light particles where the shallow DOF effect was applied, meaning the whole scene is blurred except for the subject of your photo. When we start to practice this technique, not always we get the result we aim for, and even as professionals our photos deserve that extra kick that takes a simple portrait to a masterpiece. Meet the “Let’s Bokeh Overlay Collection” for Photoshop, 125 bokeh overlays for photoshop and 86 bokeh-enhancing ps actions for better matching your photos to the overlays effect.
Autumn Pumpkin Glaze Overlay and Action Collection: The definite solution for autumn photography in Photoshop. Not only you’re getting a set of professional autumn-themed actions for Photoshop but also bird overlays. leaves overlays, leaves brushes, exclusive sky and rain overlays, color filters and so much more!
Complete Photo Overlay Collection: For those who would use all of our different Photoshop overlays for photographers, we have put together a complete collection of all four different effects. With this complete collection, you will get more than 400 overlays and more than enough to create stunning effects and enhance your photographs in your own unique and creative way. Since these overlays are the same as those found in the individual collections, they offer the same flexibility of adjustment and even the speed and efficiency of one-click applications.


 Facebook
 Google +