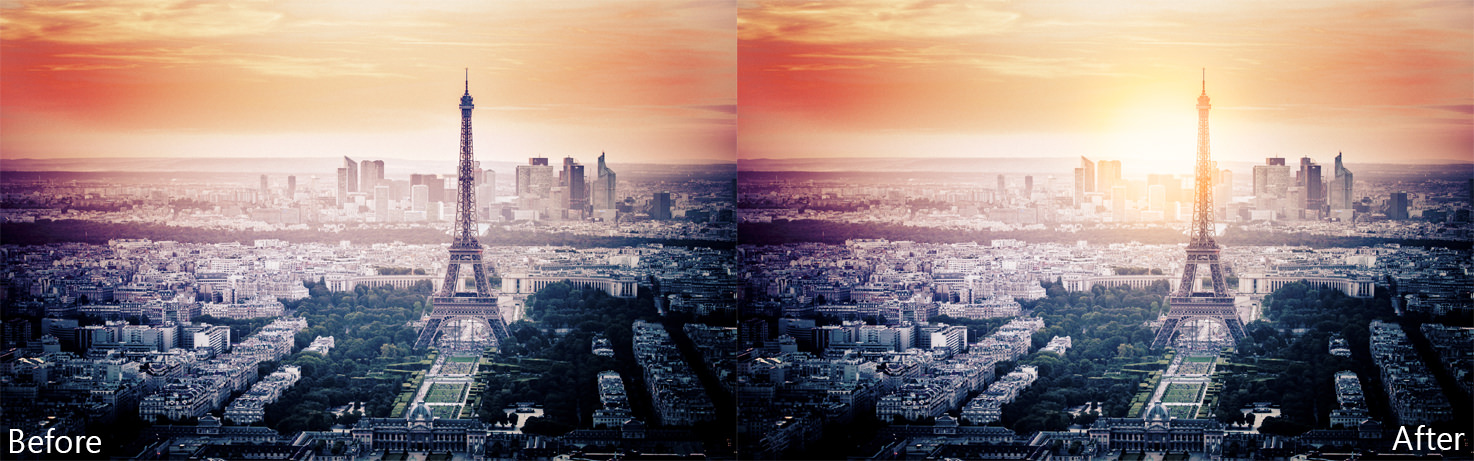
To get an installation guide on Rain and Snow Overlays go here.
Using lighting PS overlays is a great way to make a photo more interesting, by enhancing elements that are already in the image, or by adding something completely new. There are four types of lighting overlays available at Sleeklens, and in this guide we will show you how to use them. Whether you are an experienced retoucher or just beginning to explore the incredible world of photo editing you can use our lighting overlays to suit your creative needs.
The four types of lighting overlay bundles at Sleeklens are flares, starbursts, light leaks and light rays. You can buy them each separate, or in a complete bundle (link to the complete bundle). Each bundle comes with colored overlays in addition to the white overlays that you can colour yourself in Photoshop.
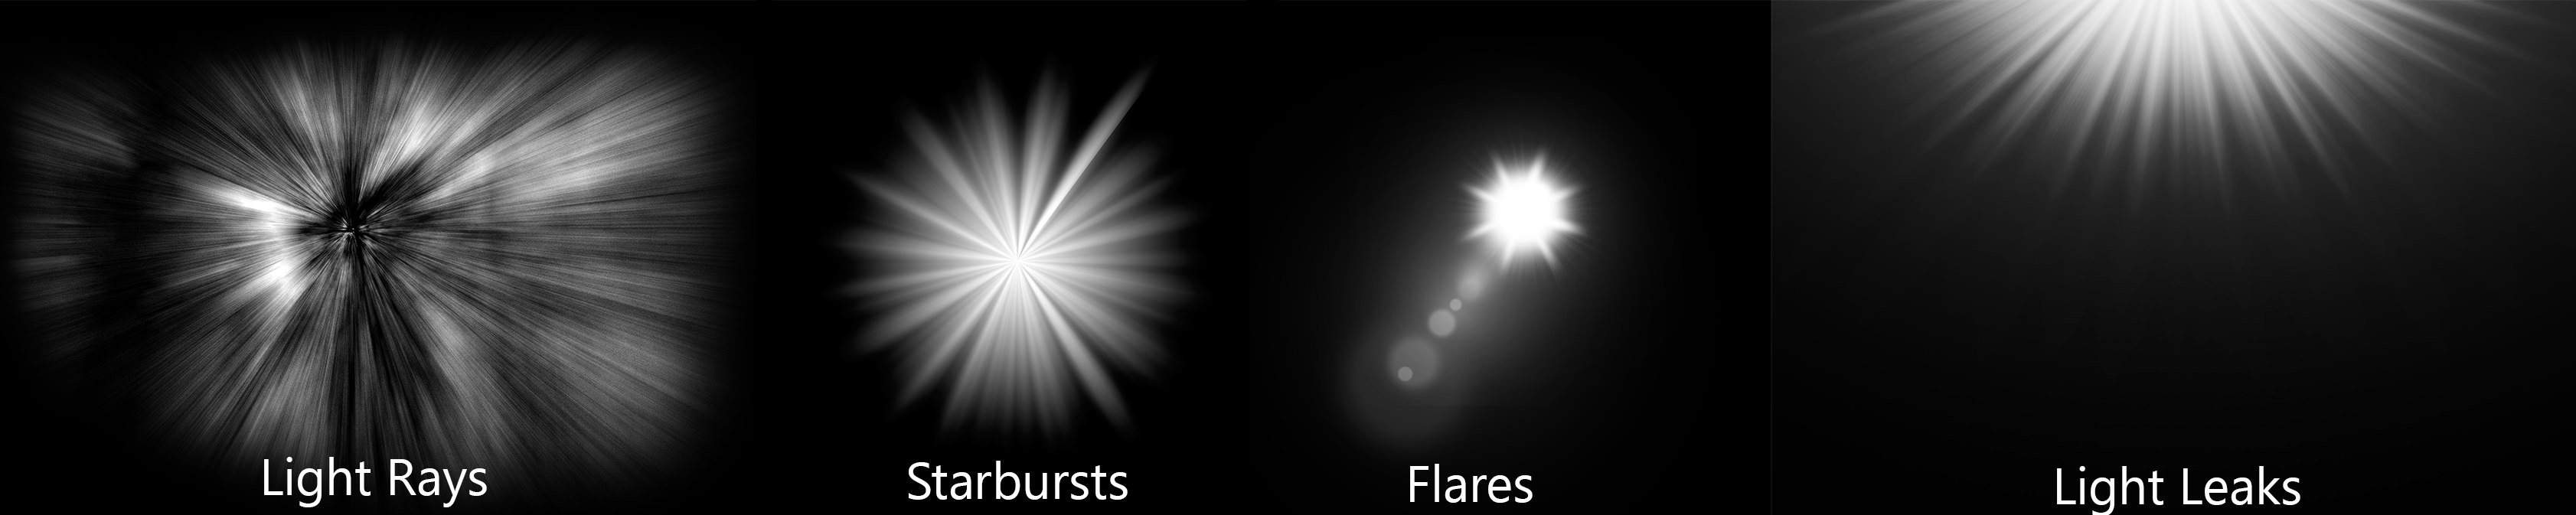
This category of overlays is great for spreading the light in pictures, to create an immersive effect. Light rays are a common phenomenon in nature, and sometimes captured in photos. The light ray overlays can for example be used in situations where light rays would normally occur or to enhance already existing rays. This type of rays usually appear when light shines through clouds, trees, bushes, dust or anything else that split the light, similar to a prism. This means it is a great idea to use an light ray overlay for example when natural rays could appear, but has not in the photo.
Starbursts usually appears when taking a photo of a small point of light with an small aperture, and sometimes appear when an object breaks the sun, for example a roof or the horizon. The starburst overlays are best used to add an starburst around a light source or enhance the effect of a starburst that is already in the picture. It is also possible to add a source of light from nothing with a starburst overlay.
The flares are a bit similar to the starbursts, but instead of only changing the shape of the lightsource the flares adds an ambient around it. The main purpose is to change color, reduce contrast, increase lightness and enhance the mood. It is also possible to create a new lightsource with a flare overlay, for example by mimicking the sun. Flare overlays can for example also enhance the sunshine, adding a new atmosphere to a photo.
Like some of the other overlays the light leak overlays does not require a visible light source, and some of the light leak will look strange if there is one. Some of the light leaks emulates the sun shining into the picture, while some others looks like an old broken camera with light leaking onto the film. These overlays are great if you want to create a completely different mood and look in the pictures

There are five steps for applying lighting overlays to you images:
After you are done with these five easy steps you can go on with more advanced features, but this is what you should know to get the most use of the overlays.
The first step is to import the overlay you want to apply to your picture. The easiest way to do this is to simply drag the overlay from the folder onto the image in Photoshop (or other applications with the necessary features). Now you can resize the overlay to fit your purpose.
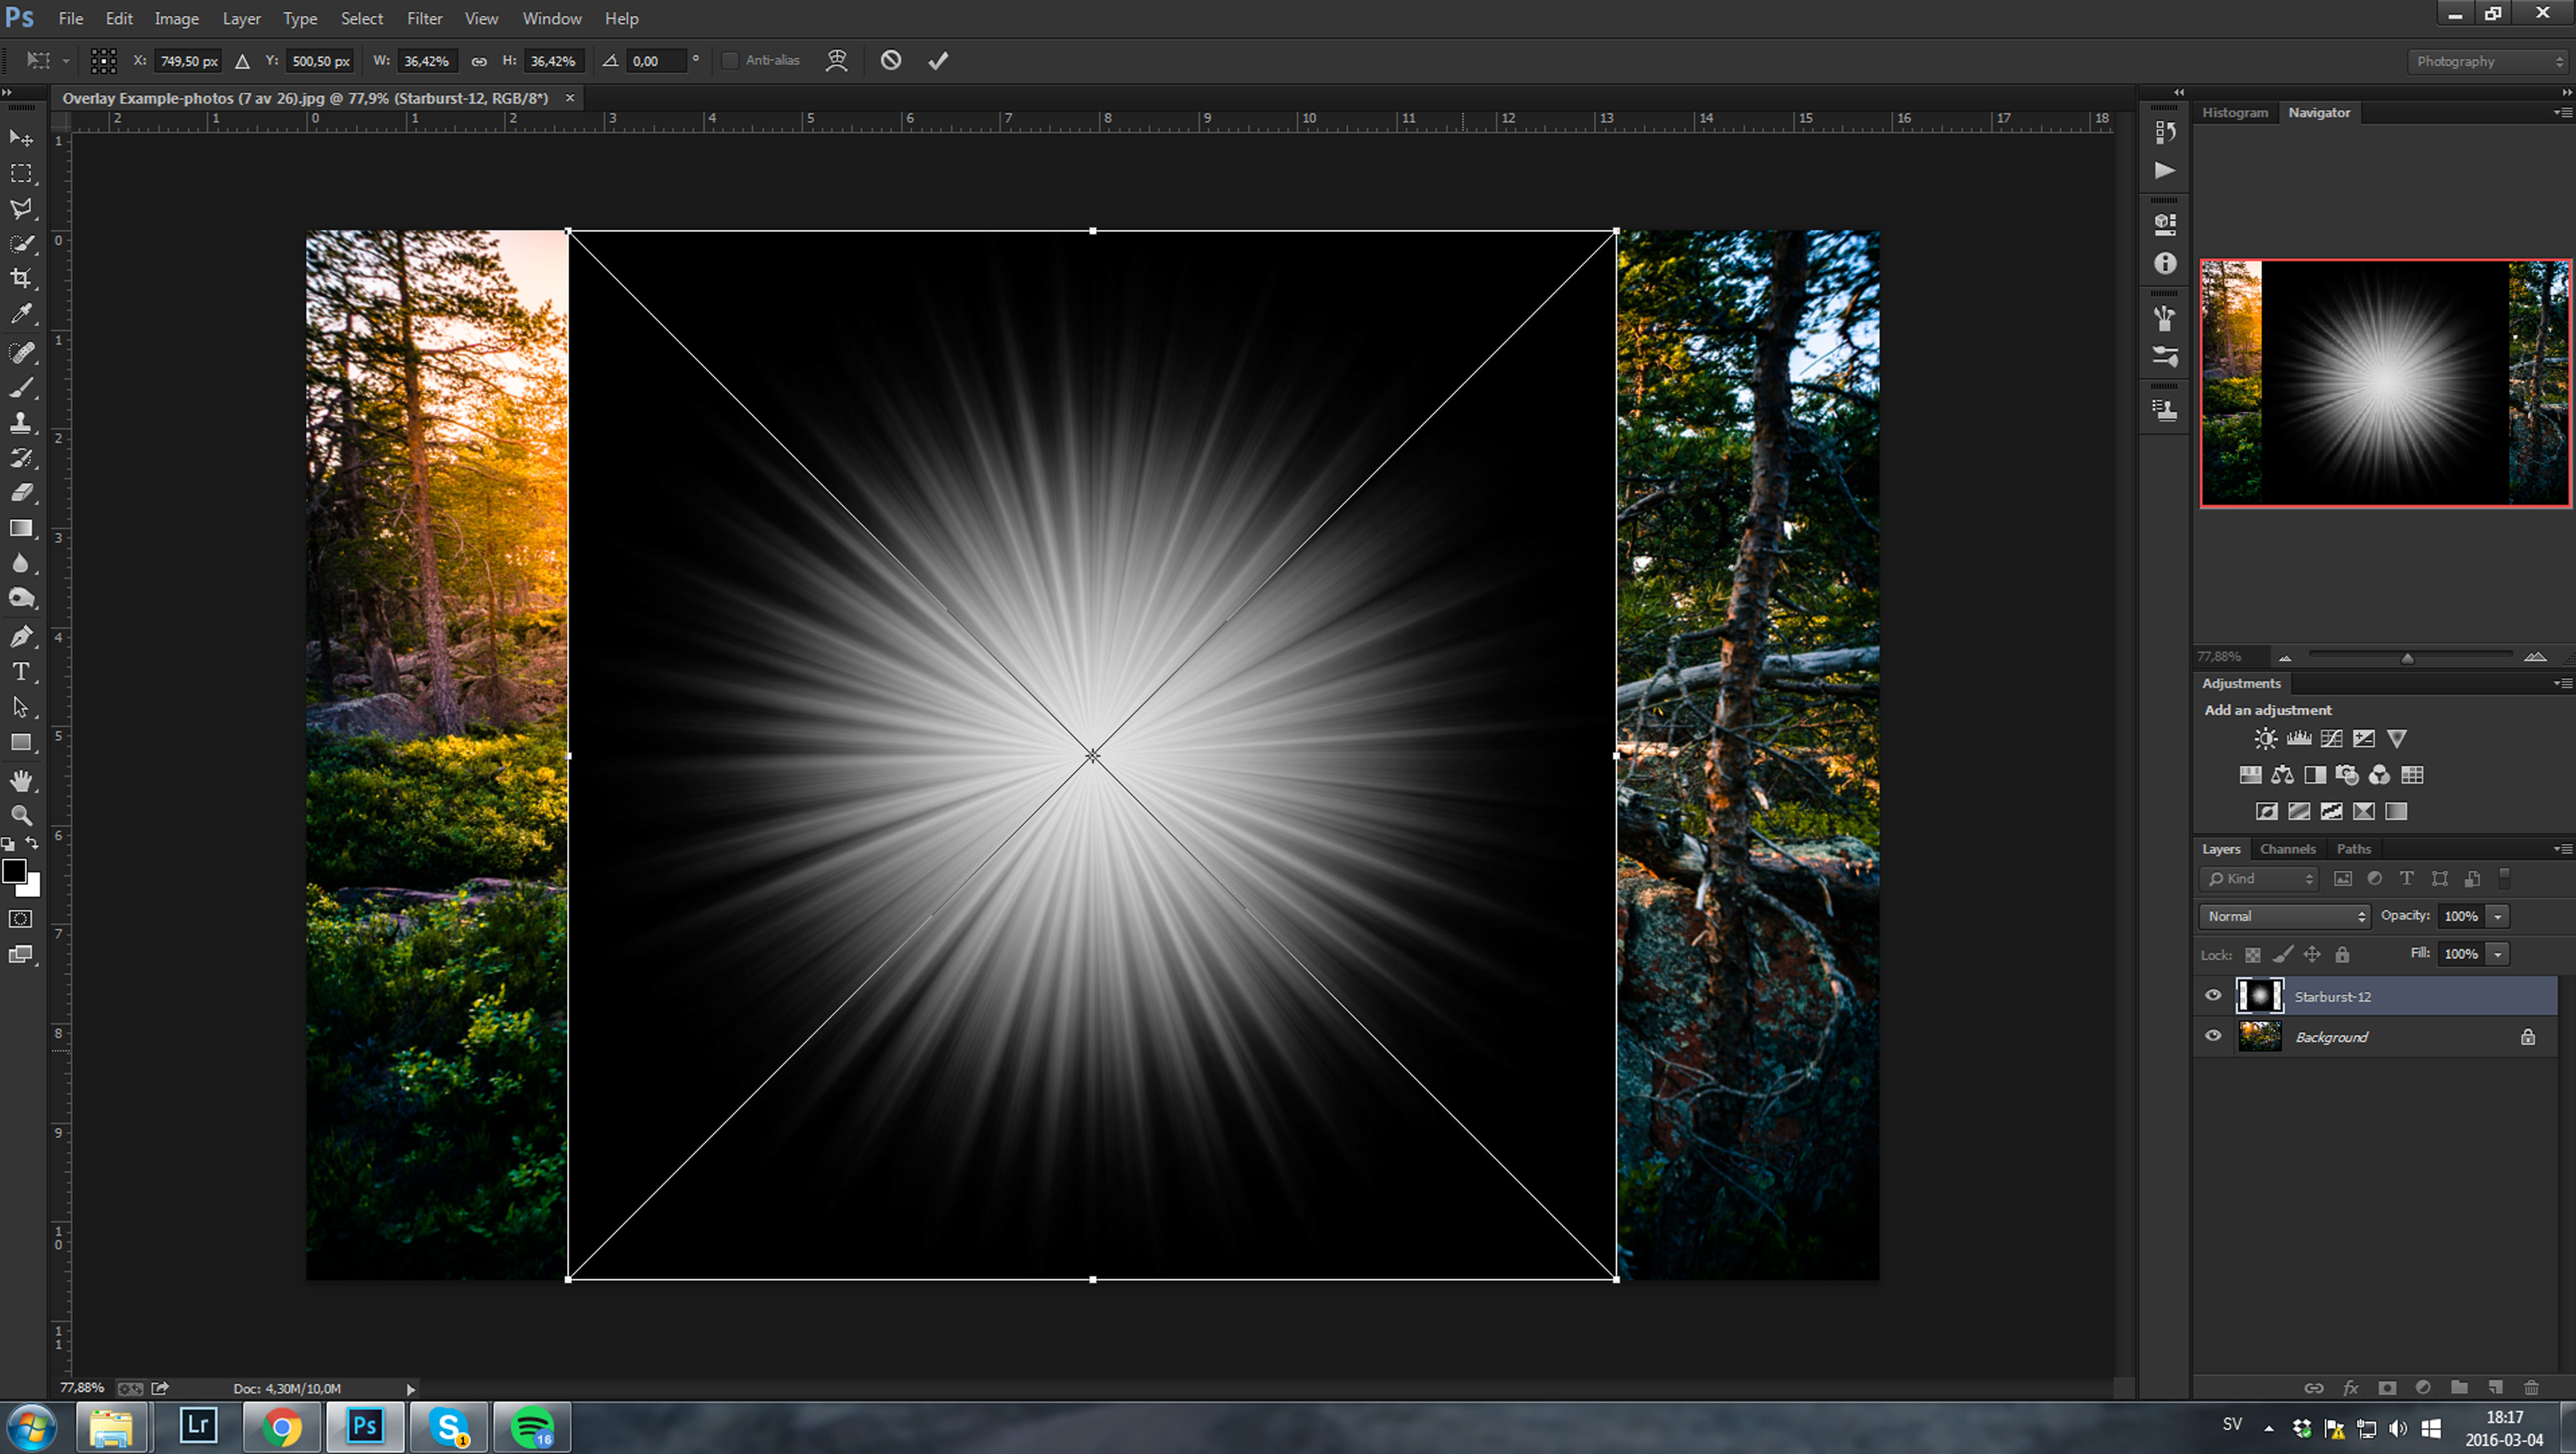
To resize the overlay simply use the transform tool (“Edit” > “Free Transform” or ctrl/cmd + T) to get the desired size, and press enter or the accept icon at the top. The transform tool will open when you drag the overlay into Photoshop on top of the picture.
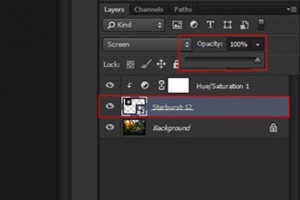
To remove the black parts of the overlay so that it actually can be used on your image you have to change the blend mode of the overlay’s layer. To do this you have to select the layer of the overlay in the bottom right (notice how the layer is marked as selected with blue colour). Then press the Blending Mode menu (should say “Normal), just above the layers. This brings up all blend modes available, and I recommend starting off trying the blend mode “Screen”.
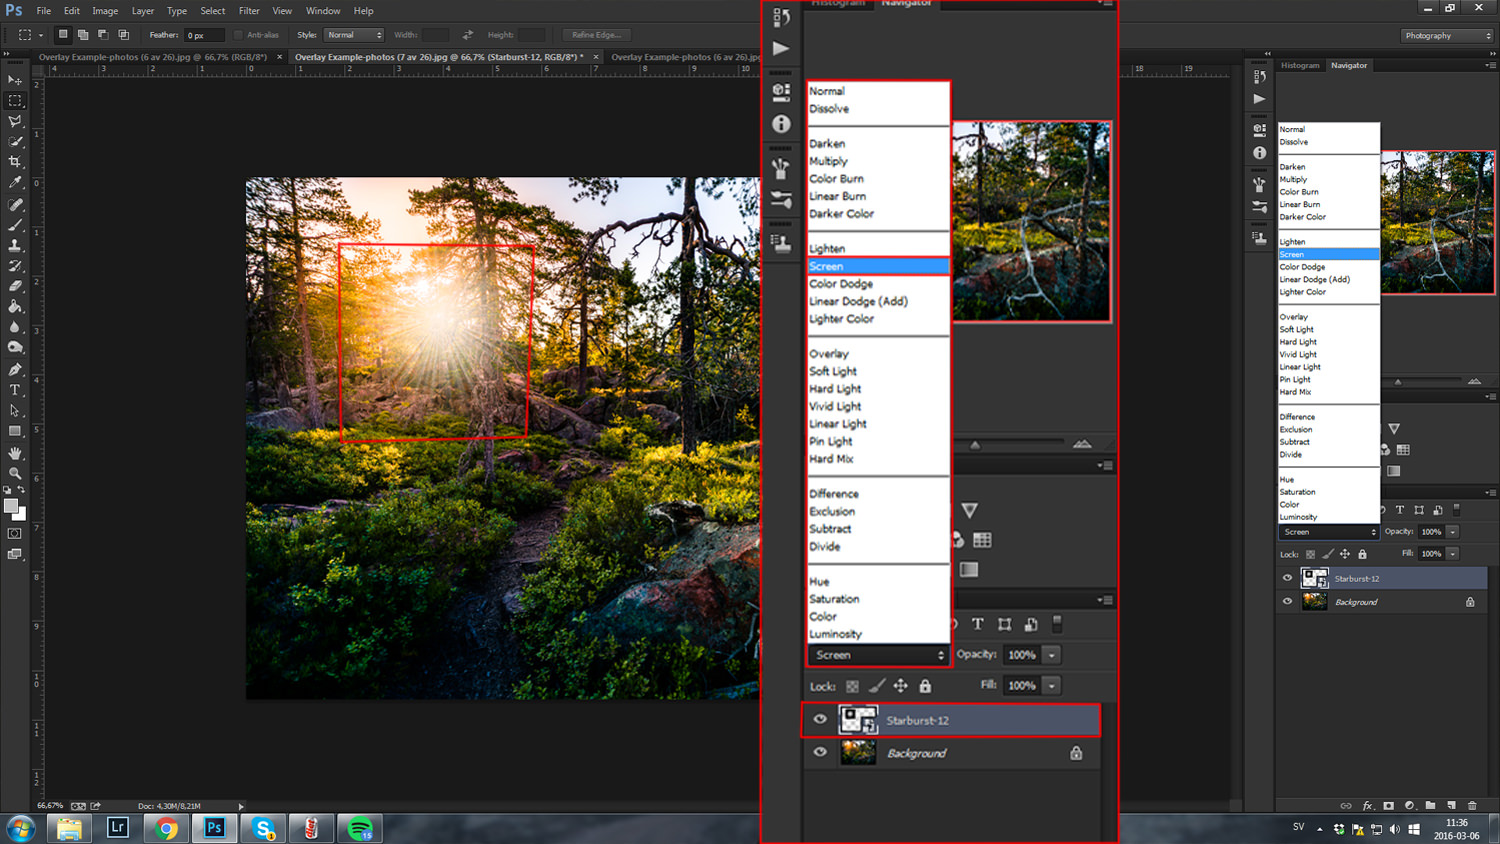
You can also try other blend modes, like “Linear Dodge” and “Color Dodge”. These three blend modes will be the most used.
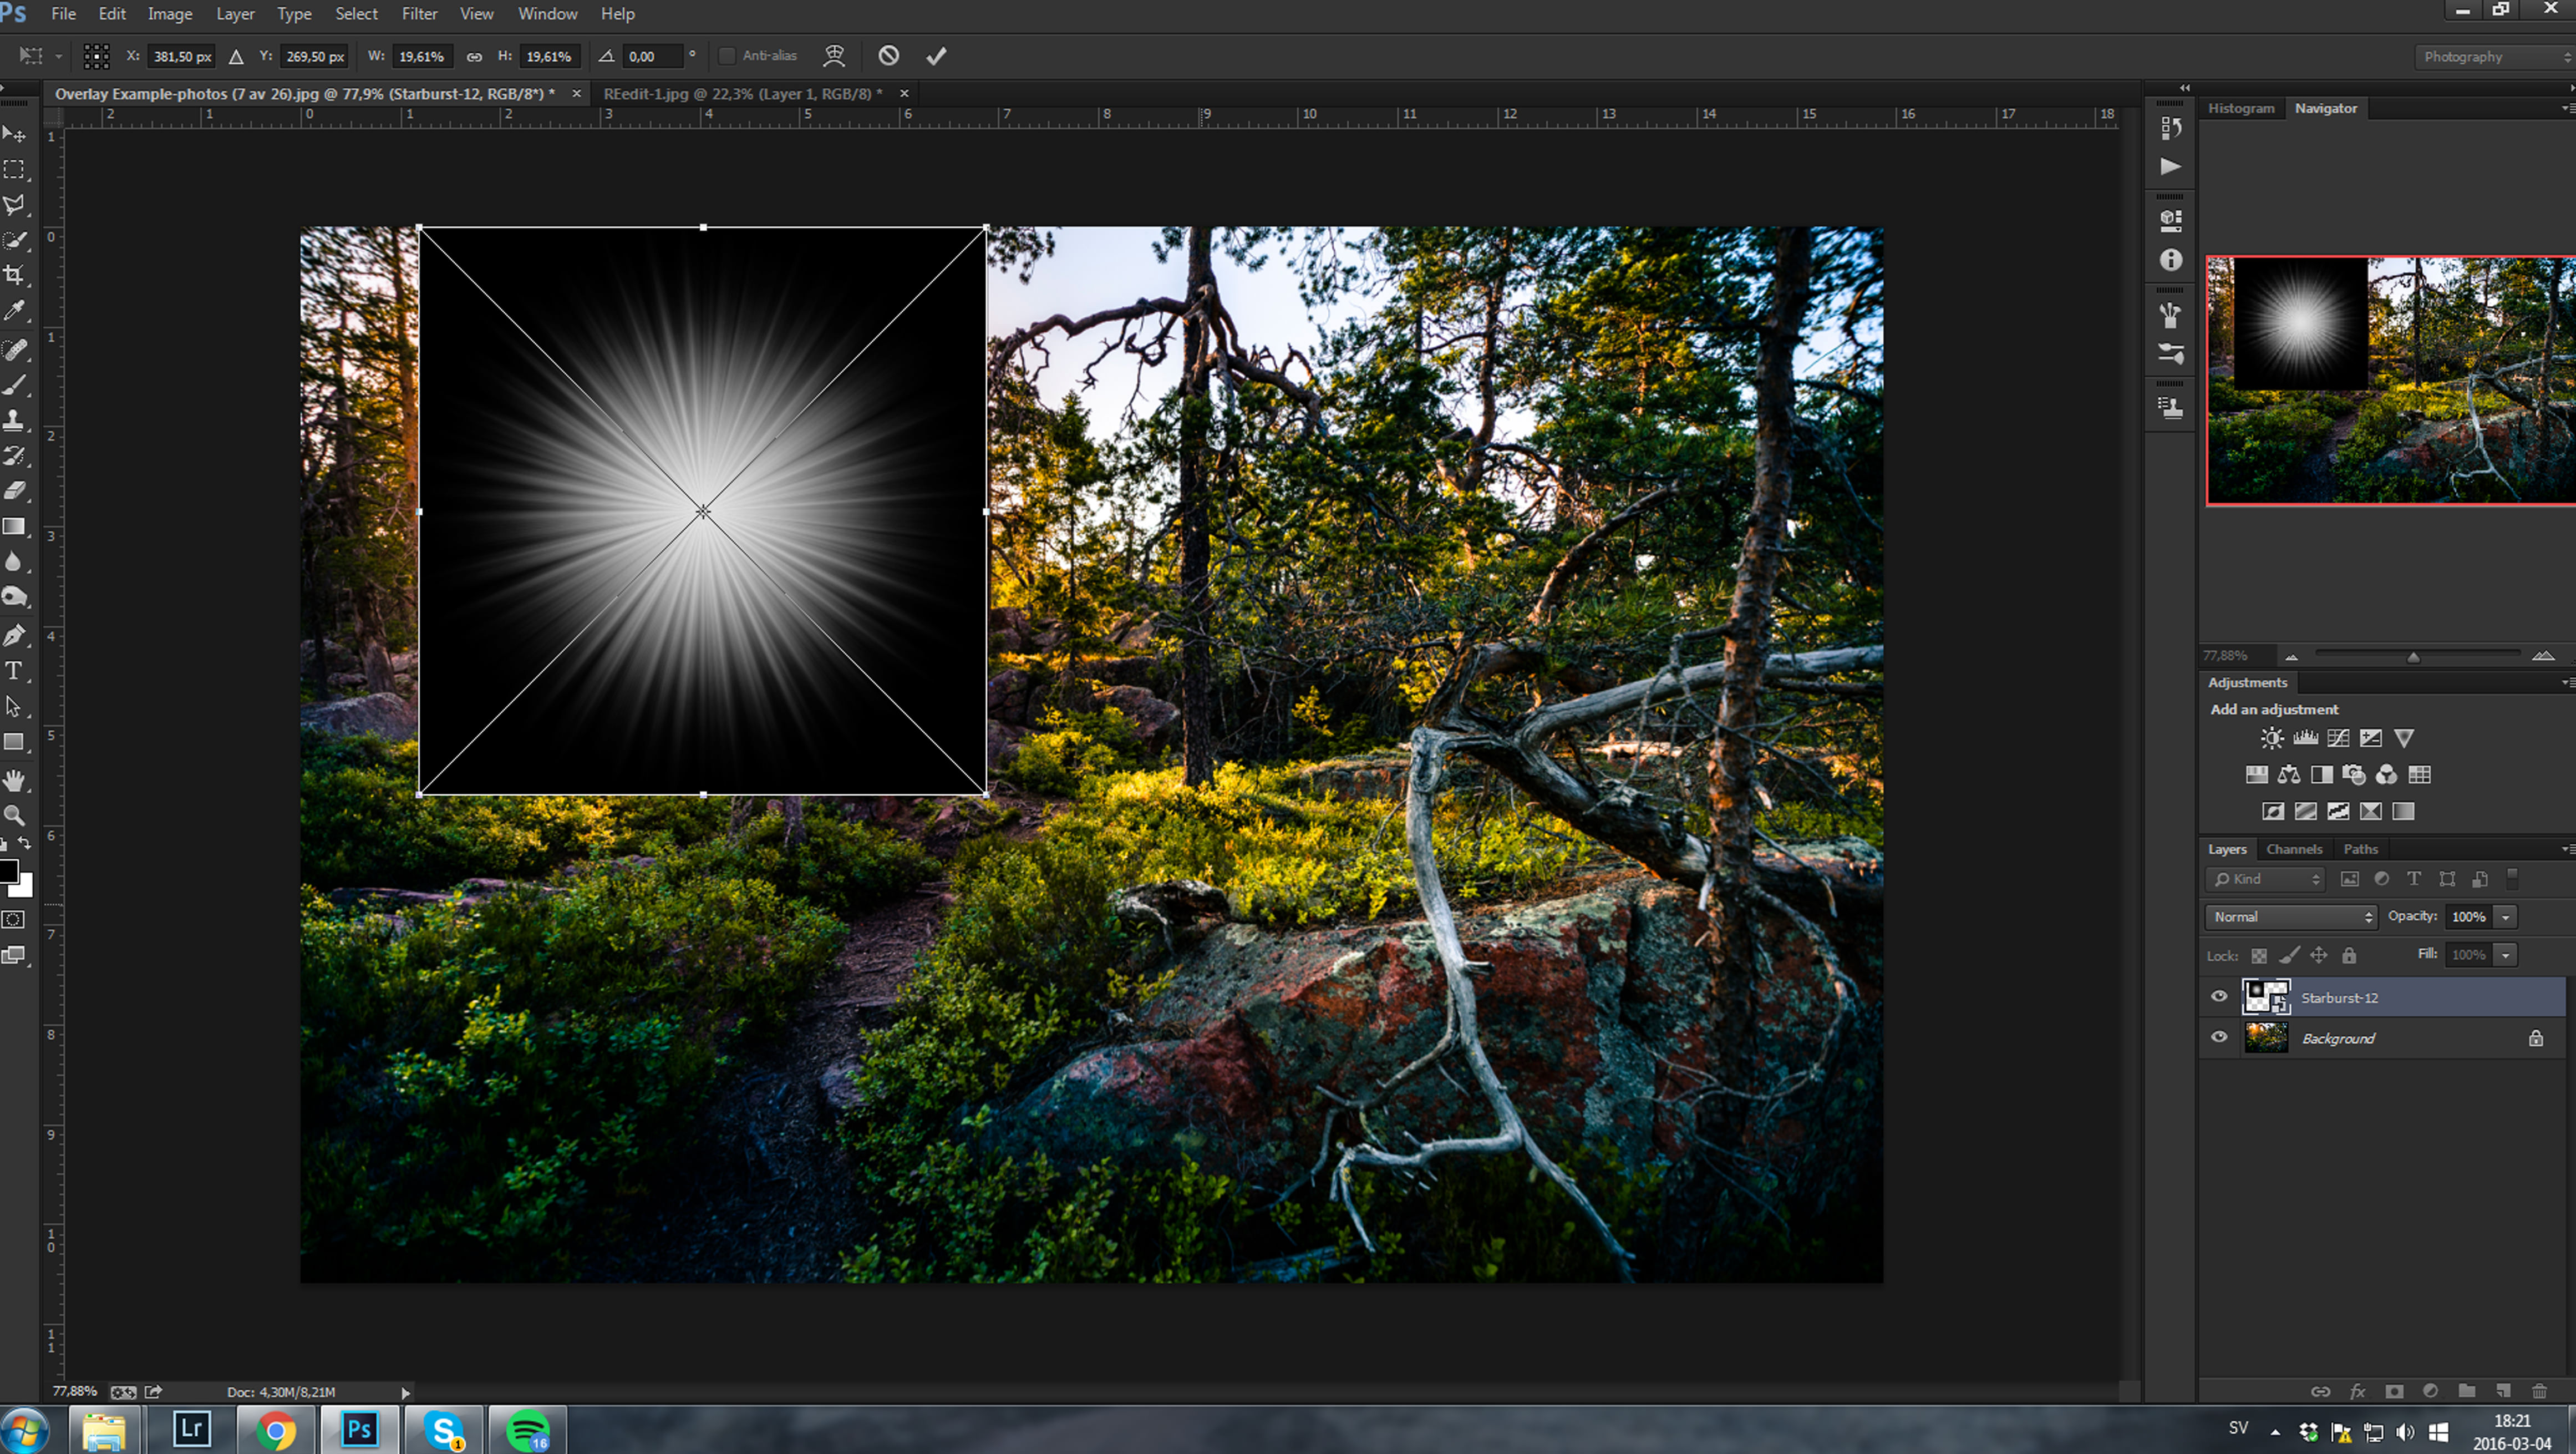
When you have set the desired blend mode you can open the “Free Transform” tool to move and resize the overlay to fit the image. In the image above you can see that the overlay should be centered over the sun, so we have to move it a little bit.
To get a more realistic effect you should change the colour of the overlay to fit the surroundings, or you can use one of the already coloured overlays that comes with the bundles.
To change the colour you should open a new “Hue/Saturation” adjustment layer with the layer of the overlay still selected. To do this you can go to “Layer” > “New Adjustment Layer” > “Hue/Saturation”
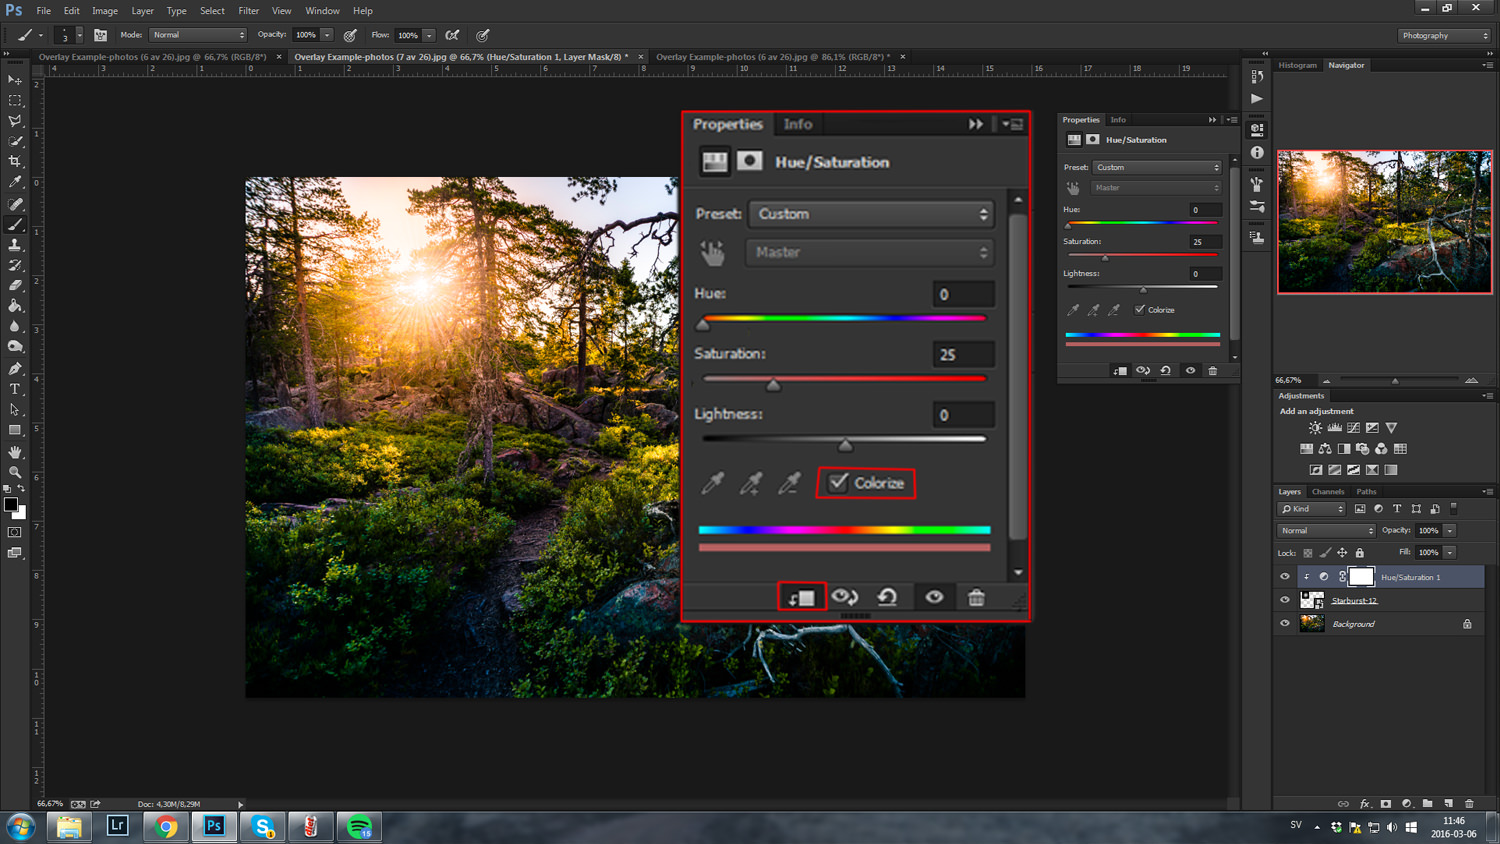
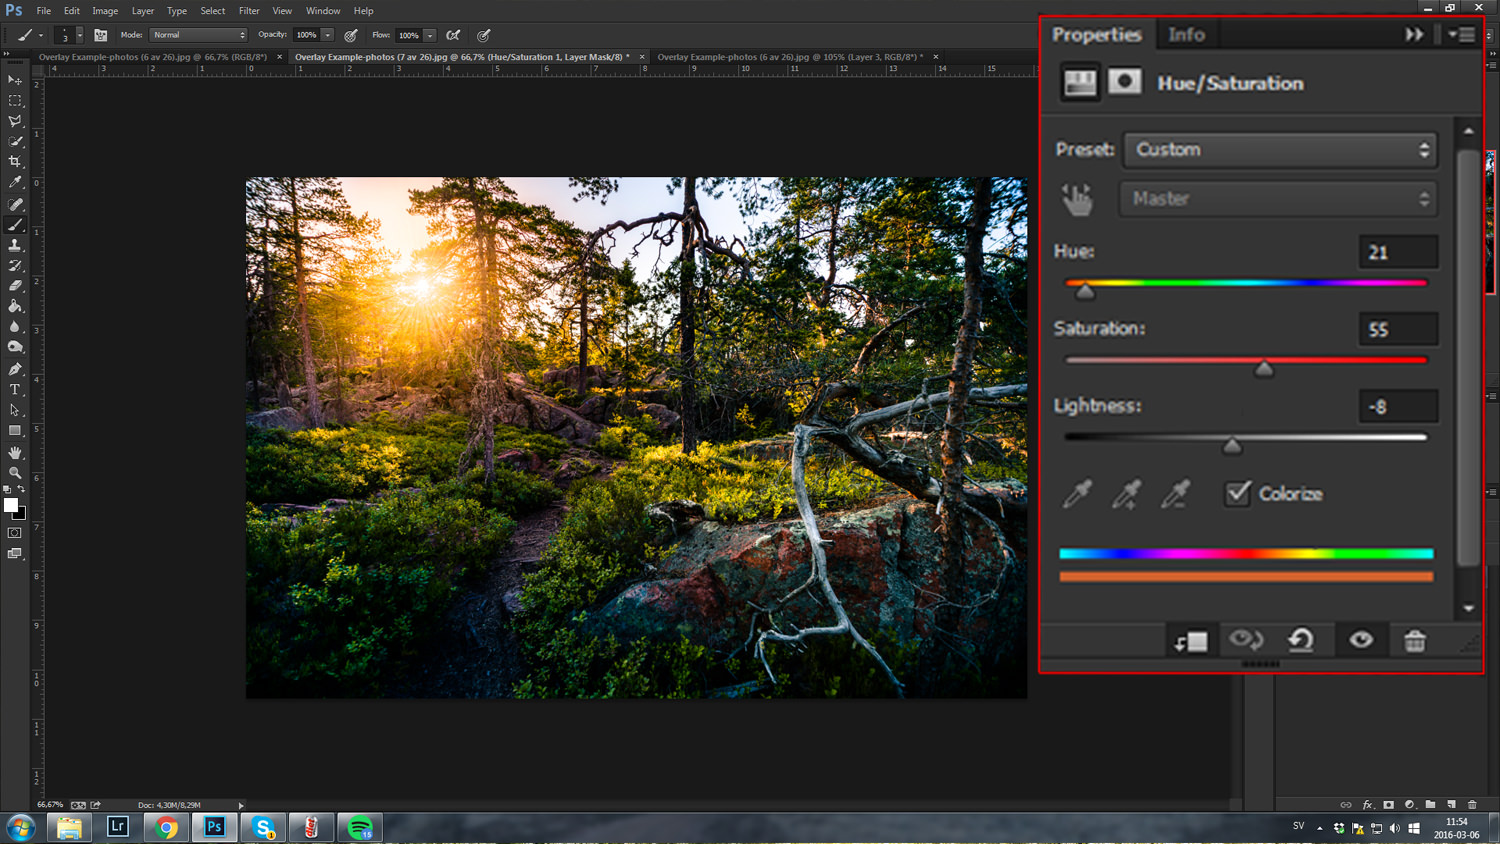
In the adjustment layer panel you can change hue, saturation and lightness. You will have to change each slider to your liking and what suits the image and this is also a great opportunity to be creative. In this situation I want the starburst to look like a part of the sun, so I will match the colour for that purpose. Do not forget to link the adjustment layer to the overlay layer, or the effect will apply to every layer in the document. To link the layer press the icon marked in the photo above. You must also check the box “Colorize” before you change any settings in the panel.
If needed you can reduce the opacity of the overlay as well. This might be an option if you think the effect is too intense or want a more subtle look. To reduce the opacity you just need to select the overlay in the layers panel and change the opacity to the desired percent.
If you want to exclude a part of an overlay you should use a layer mask. This lets you remove parts of a layer in an non-destructive way, meaning you can go back and change it at any time. To create a layer mask you need to select the overlay in the layers panel and click the layer mask icon located in the bottom of the panel.

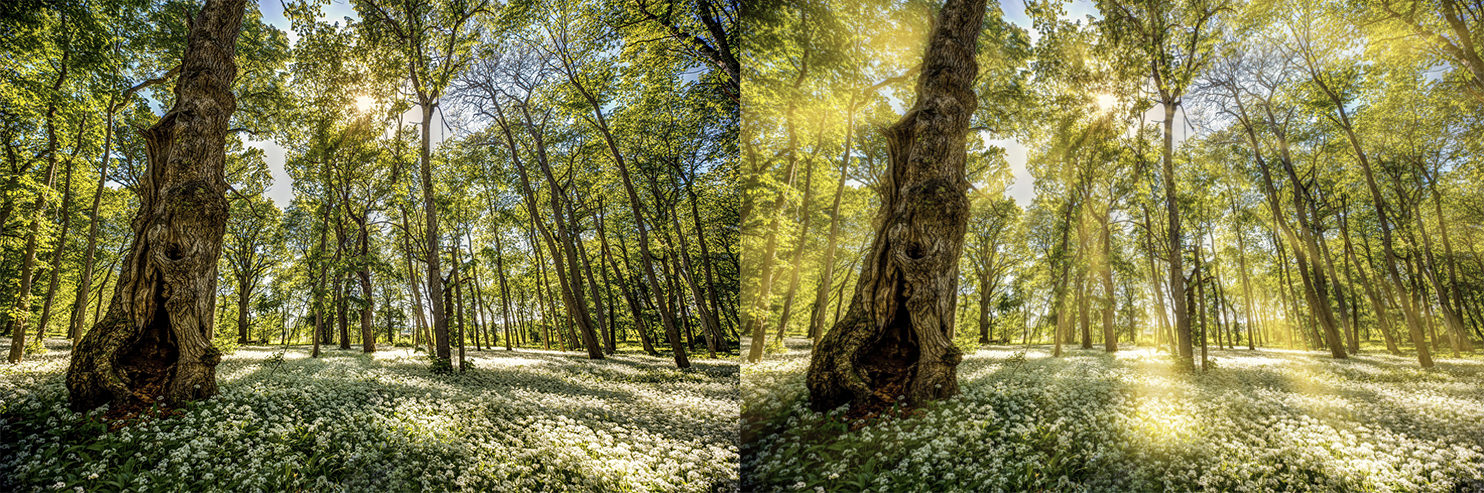
To demonstrate when this technique can be useful I will use a new picture with a light ray overlay. The trees in the picture have split the light from the sun, as we can tell by the pools of light on the ground. To enhance this we can apply a light ray overlay with quite thick rays.

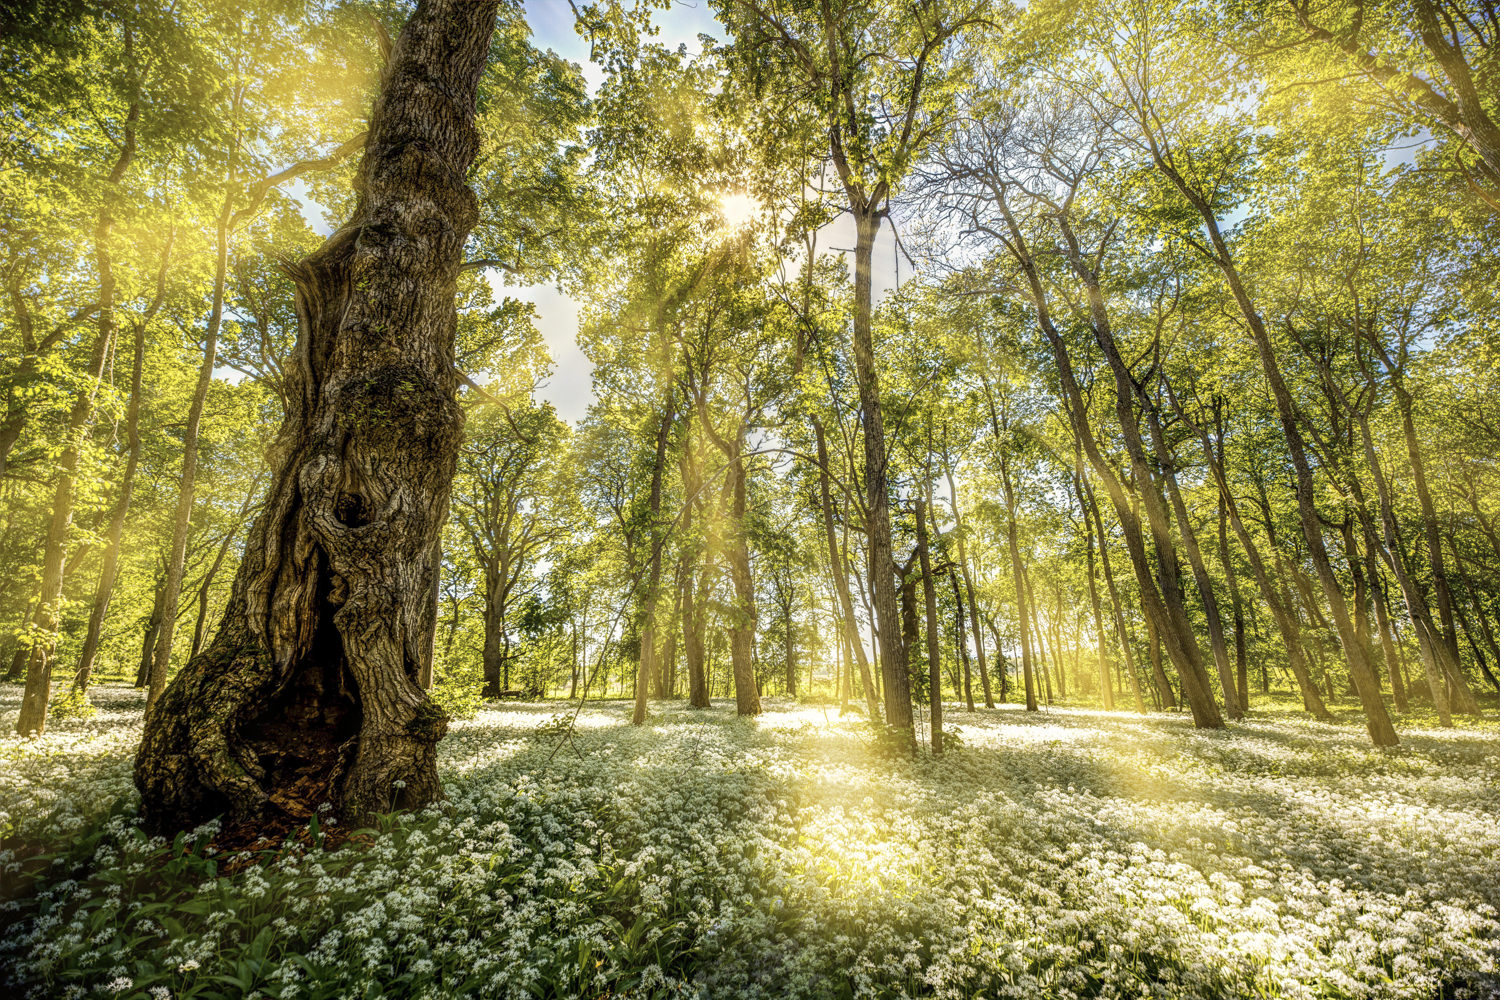
The overlay is now applied to the photo, coloured, resized and with blend mode set to “Screen”. I like how this looks, except the rays in front of the big tree to the left, so I will remove them by using a layer mask.

To make your photos even more interesting you can easily combine several overlays. Just add a new overlay and apply it just like you would usually do. For example I would like to add a flare to the previous picture, and to do this I simply have to drag it onto the image and resize, change blend mode and colour it et cetera.
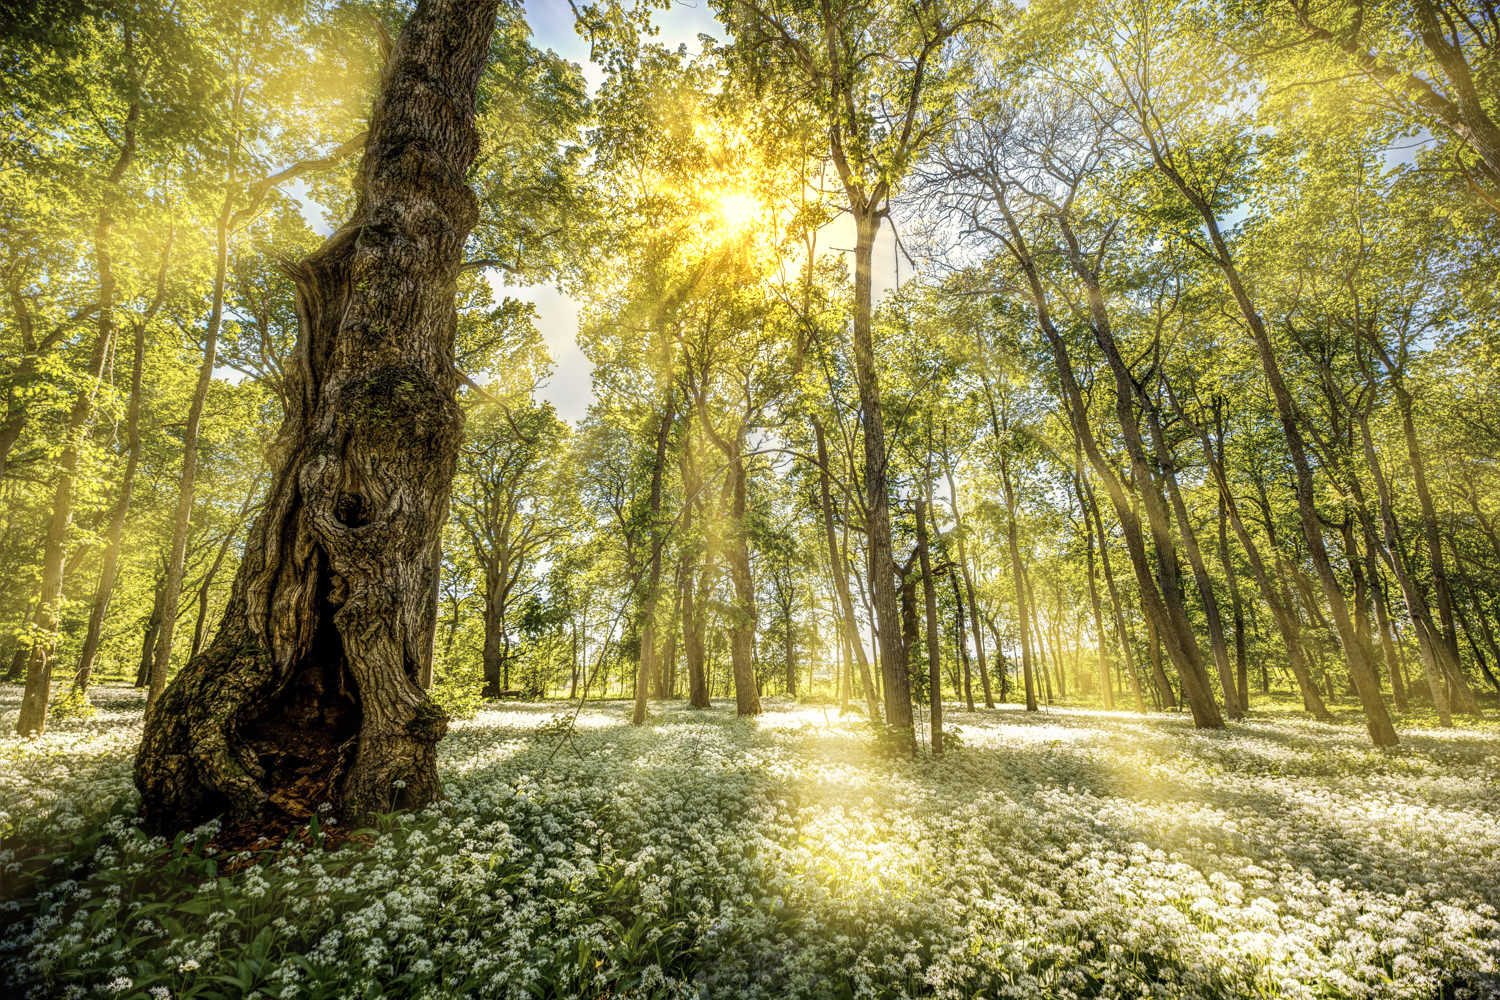
I used the flare below, resized it and changed the blend mode to “Linear Dodge”. Then I coloured it with a slightly warmer tone than the rest of the picture and set the “Lightness” to -80 (since the “Linear Dodge” blend mode makes the overlay very bright” in most cases).
And that would be all! As you can see, a procedure that is fast, efficient, and even fun. For more guides and effects on how to retouch your images using Photoshop Overlays, don’t miss our guides posted on the blog
Please verify your software version before proceeding.
 I’ve verified my software version


 Facebook
 Google +