7 Quick And Easy Hacks For Creative Effectswww.sleeklens.com
We all have to start somewhere when it comes to a new field, and photography is a little deceptive in how much equipment you might actually need to be successful. Cameras, lenses and tripods are the kind of things many people think of, though it’s still easy to undervalue these items as there are so many cheap versions around. At the other end we have monitors, editing software and other extras. After all, photography isn’t just about taking the picture, it’s about making it as good as possible with editing and touch-ups too.
For newcomers it’s best to start with a good quality camera and then look to add/upgrade their equipment as they develop. This also gives you a chance to understand equipment and the differences it can make before investing, since items like filters, lenses and tripods can easily run well over $100 a piece for good versions.
Thankfully there are some cheap and easy ways to start varying your effects and abilities before shelling out for the expensive gear:
Table of Contents
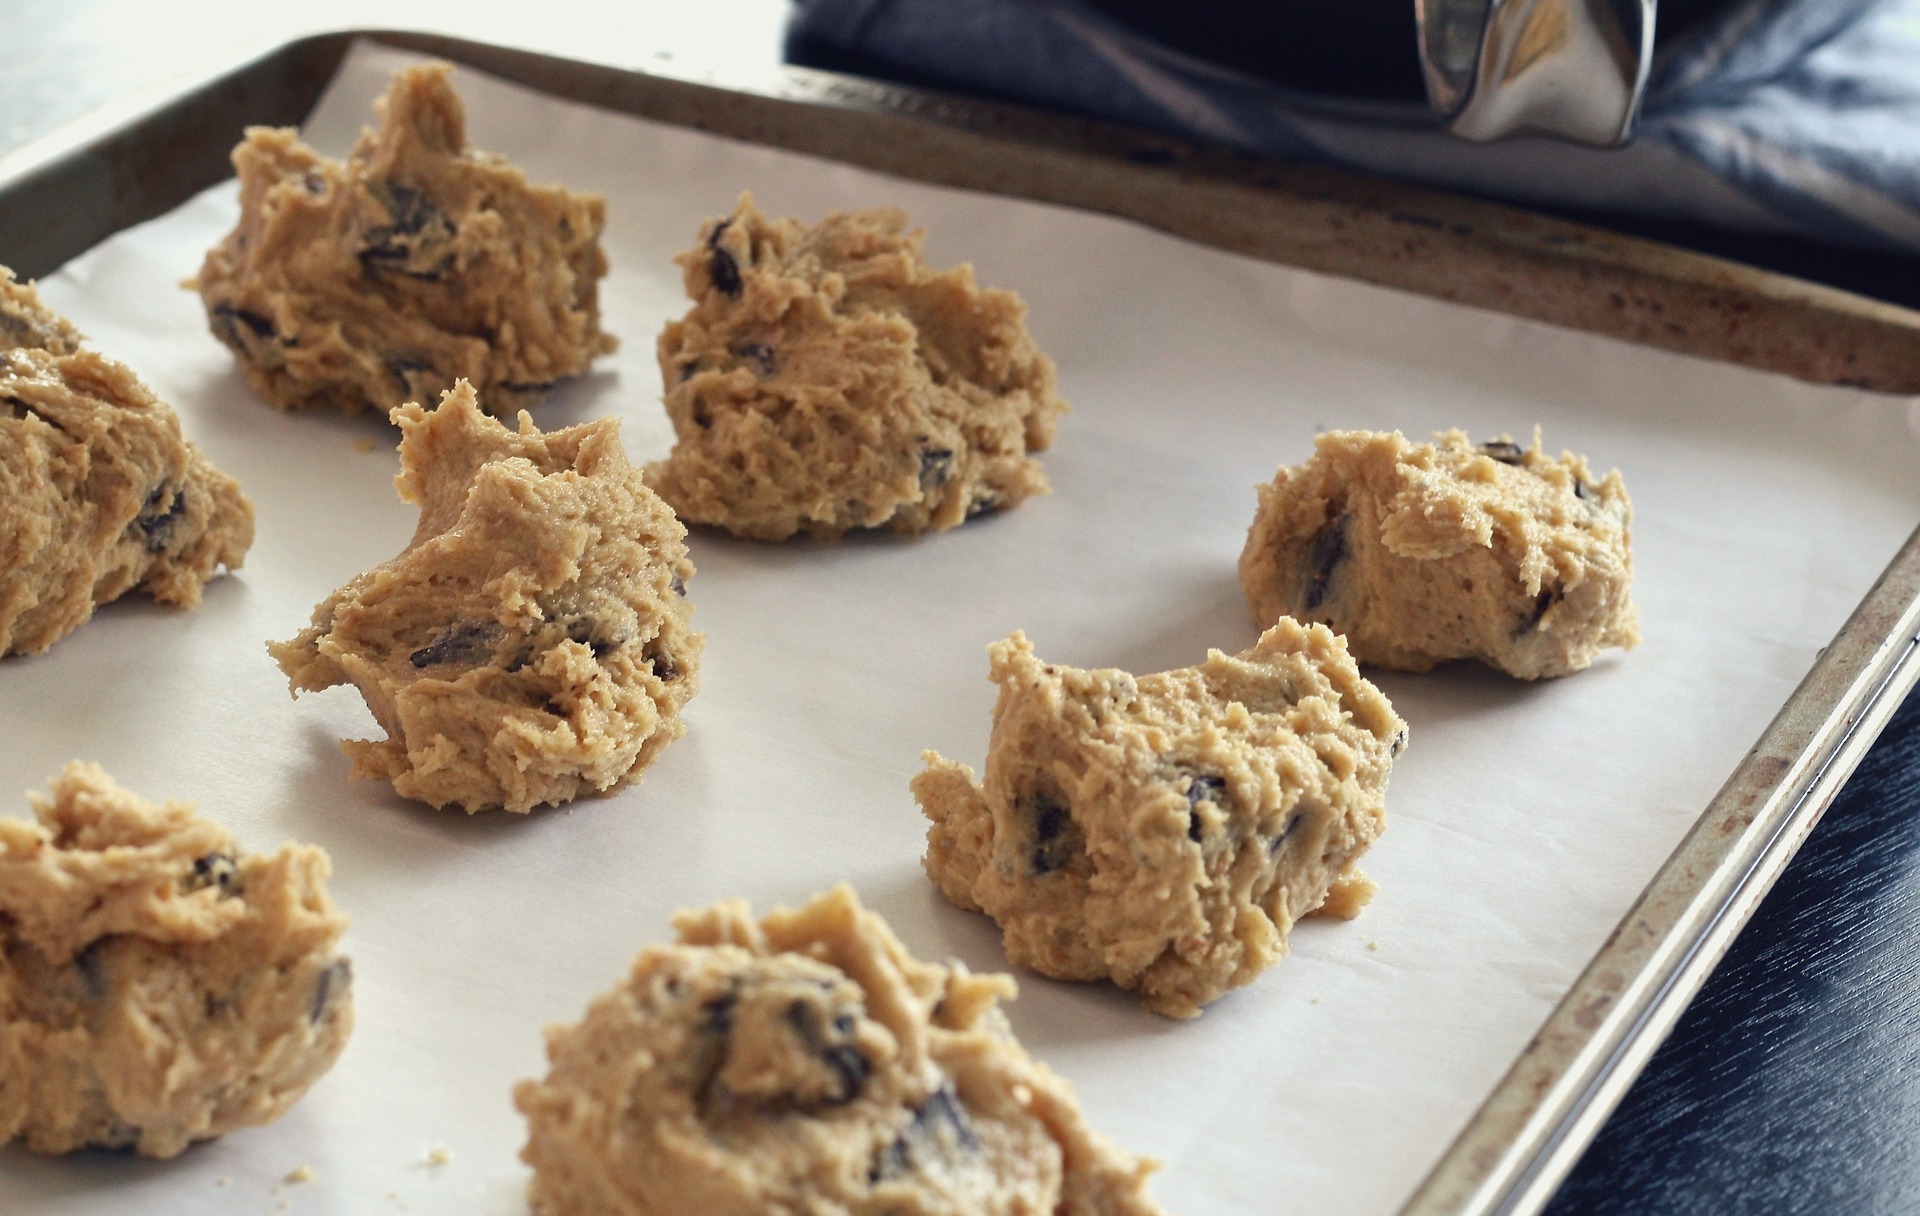
1. Turn Your Window Into a Lightbox
Securing a piece of parchment paper to your window with a little tape is an easy and inexpensive way to create your own light box. The natural light is harnessed in a non-reflective way by the paper, giving you a perfect bright, light evenly lit backdrop to work against. This is a great trick for photographing smaller items, especially those with vibrant colors.
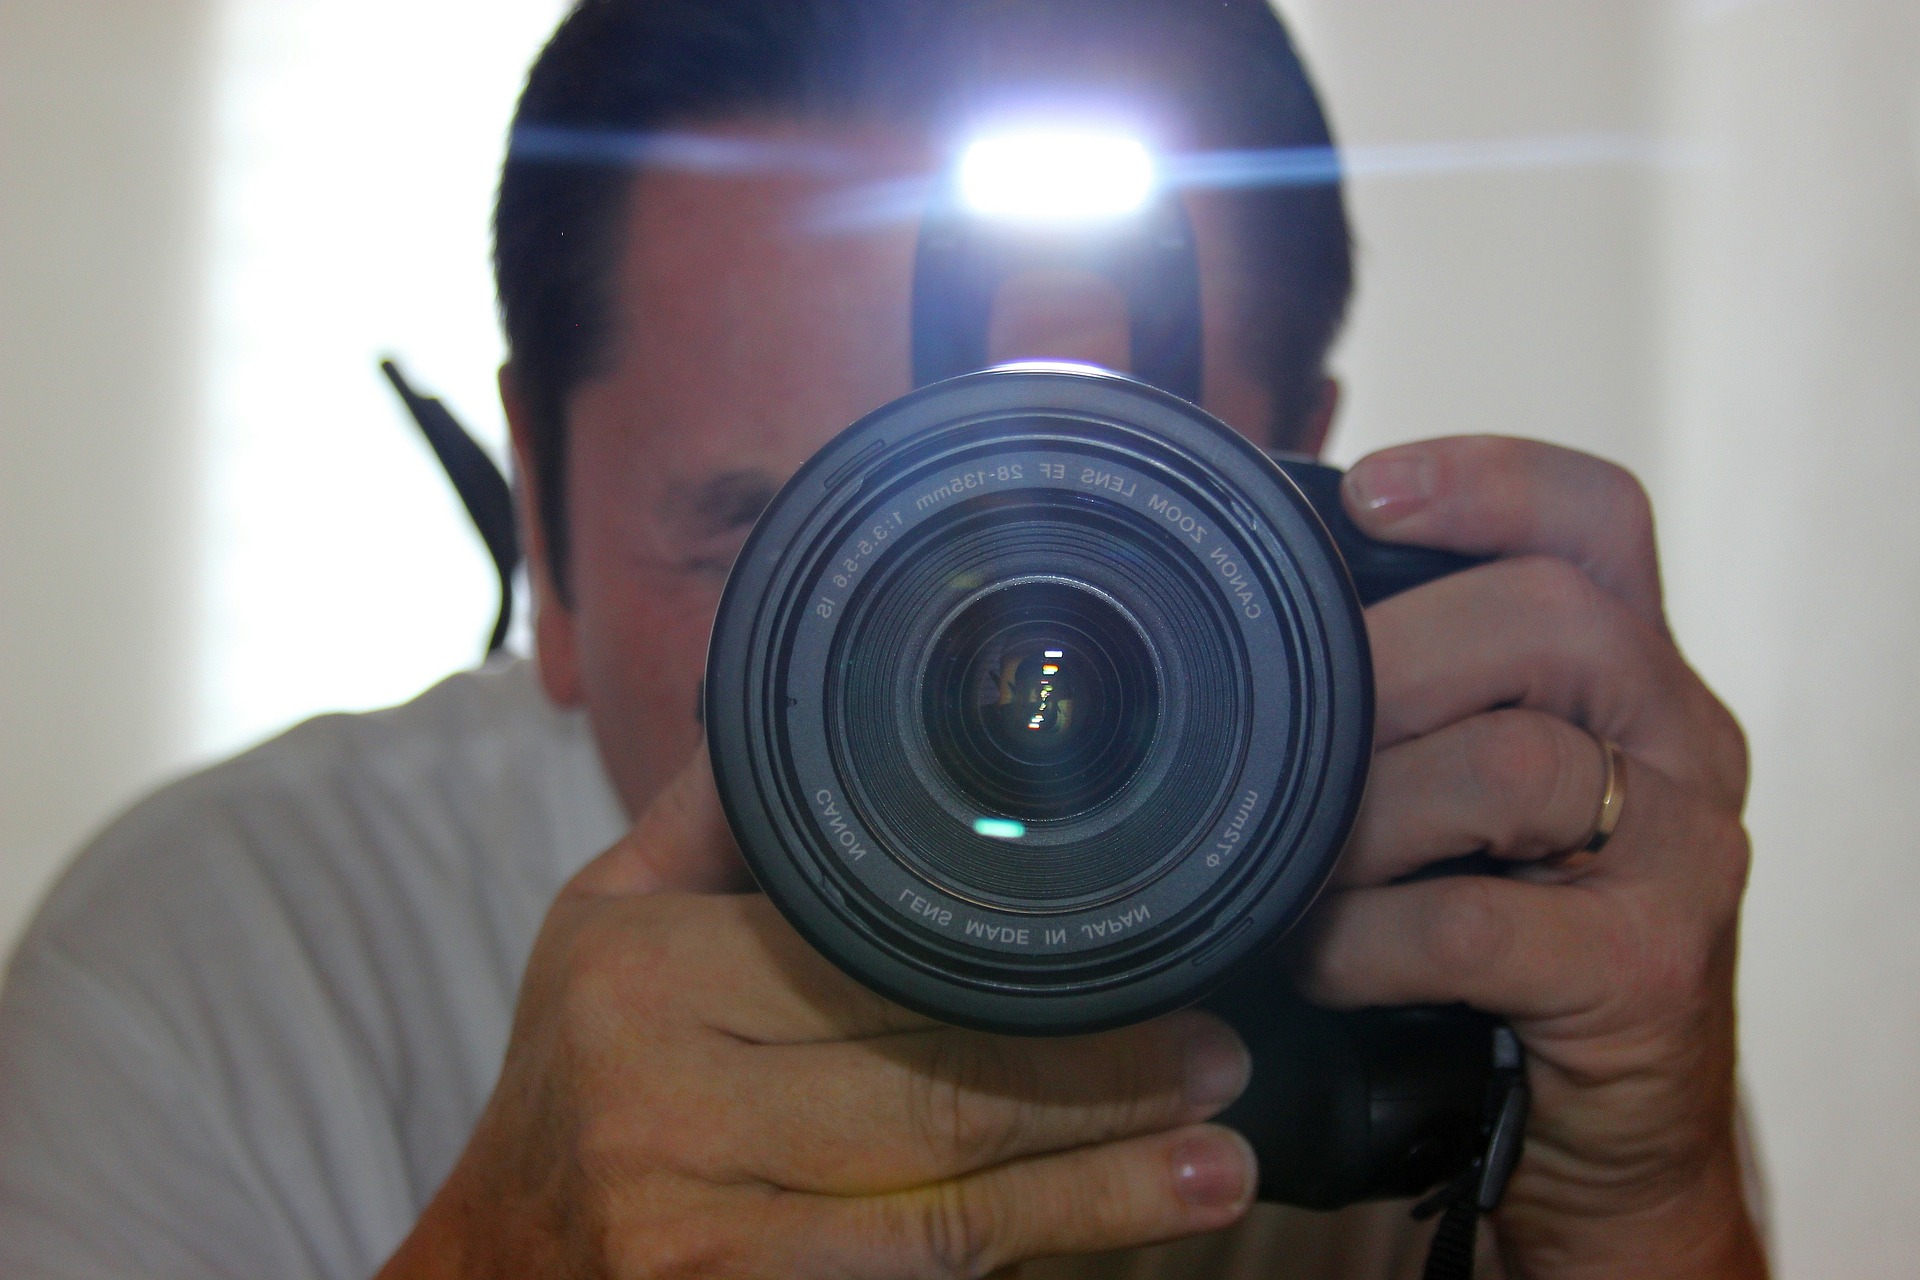
2. Use a Card to Bounce/Reflect Light
Attaching an angled piece of white card to your camera, right in front of the flash, can give you an effective light reflector. Average thickness card, like that used for business cards, will let enough light directly through to light up the front of your subject, while reflecting enough upwards to illuminate the subject evenly from above as well.
You may need to experiment a little with the angle and thickness of the card, though it is a next-to-free reflector.
3. Create Your Own Flash Diffuser
Any type of dish or container can be used to create a flash diffuser, though circular shapes are preferred by some photographers. One method is to use a dish/container and coat it with aluminum foil, giving you a more solid device. Another is to use a disposable aluminum dish, or even a Styrofoam cup which you can try with or without foil coating.
Often the plain, bright white surface is reflective enough without the foil. Remember to also create a reflective ‘plate’ (for which you could even use an actual plate if you go the Styrofoam route!) and place it a small distance in front of your flash, with the rest of your DIY diffuser slotted around the flash itself. This type of device is great for indoor shots where you’re trying to get even lighting or lighten shadowing.
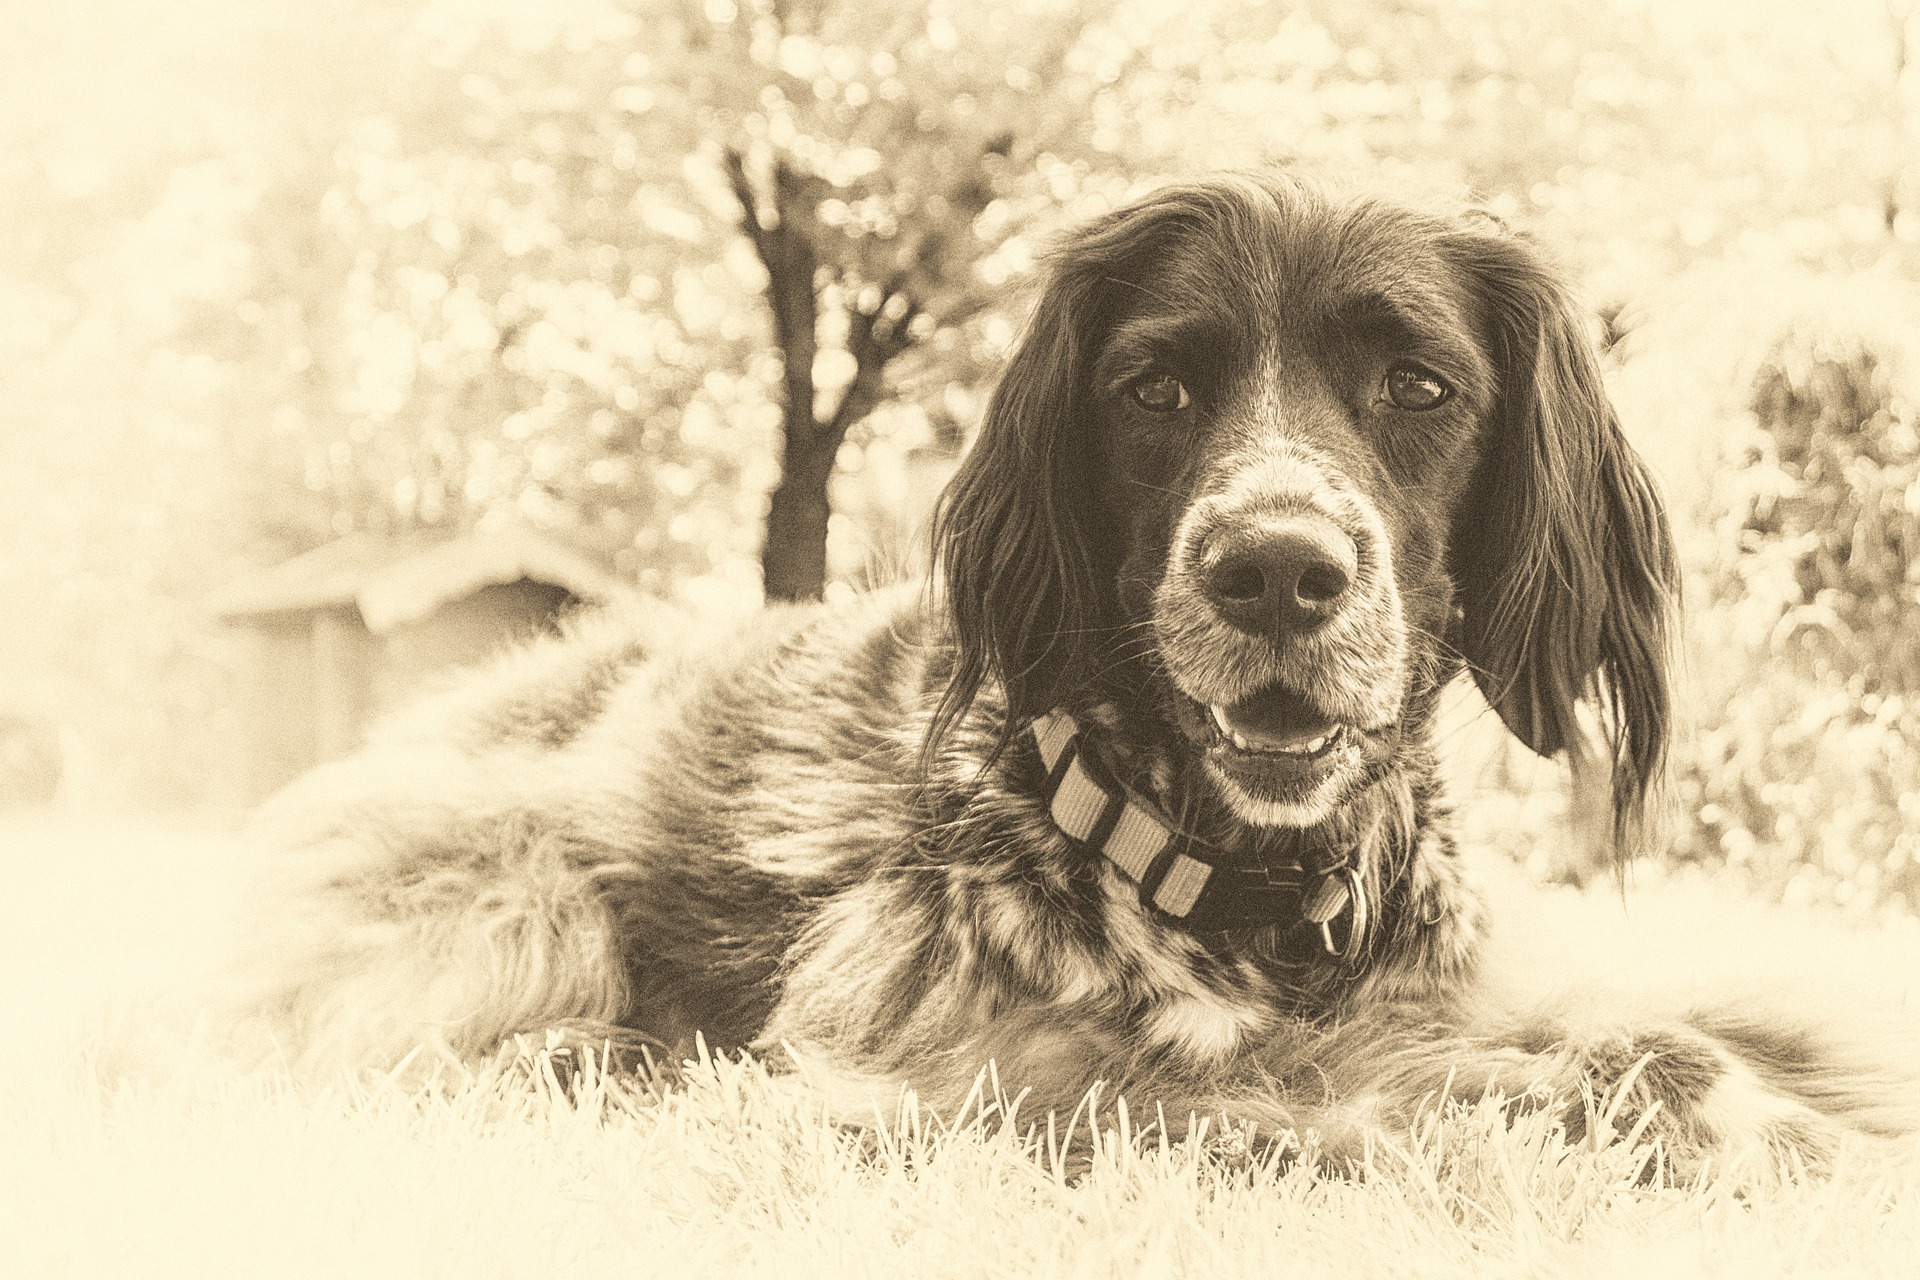
4. Use Vaseline for a Blur or Vintage Effect
A touch of Vaseline carefully smeared around the edge of your lens can give you an excellent blur effect. This can be used for two purposes. One is to re-create a ‘vintage’ look from a time when cameras did not always capture the entire shot in perfect focus.
The second is to purposely blur out some of the background material and draw more attention to the central subject of your photograph.
5. Turn a Coffee Sleeve into a Lens Hood
Cardboard coffee sleeves and similar cardboard products can be used as a quick and easy lens hood, protecting your shots from lens flare and bright lighting. This technique is especially applicable to outdoor photography, where you might have to take shots with the sun shining down towards you.
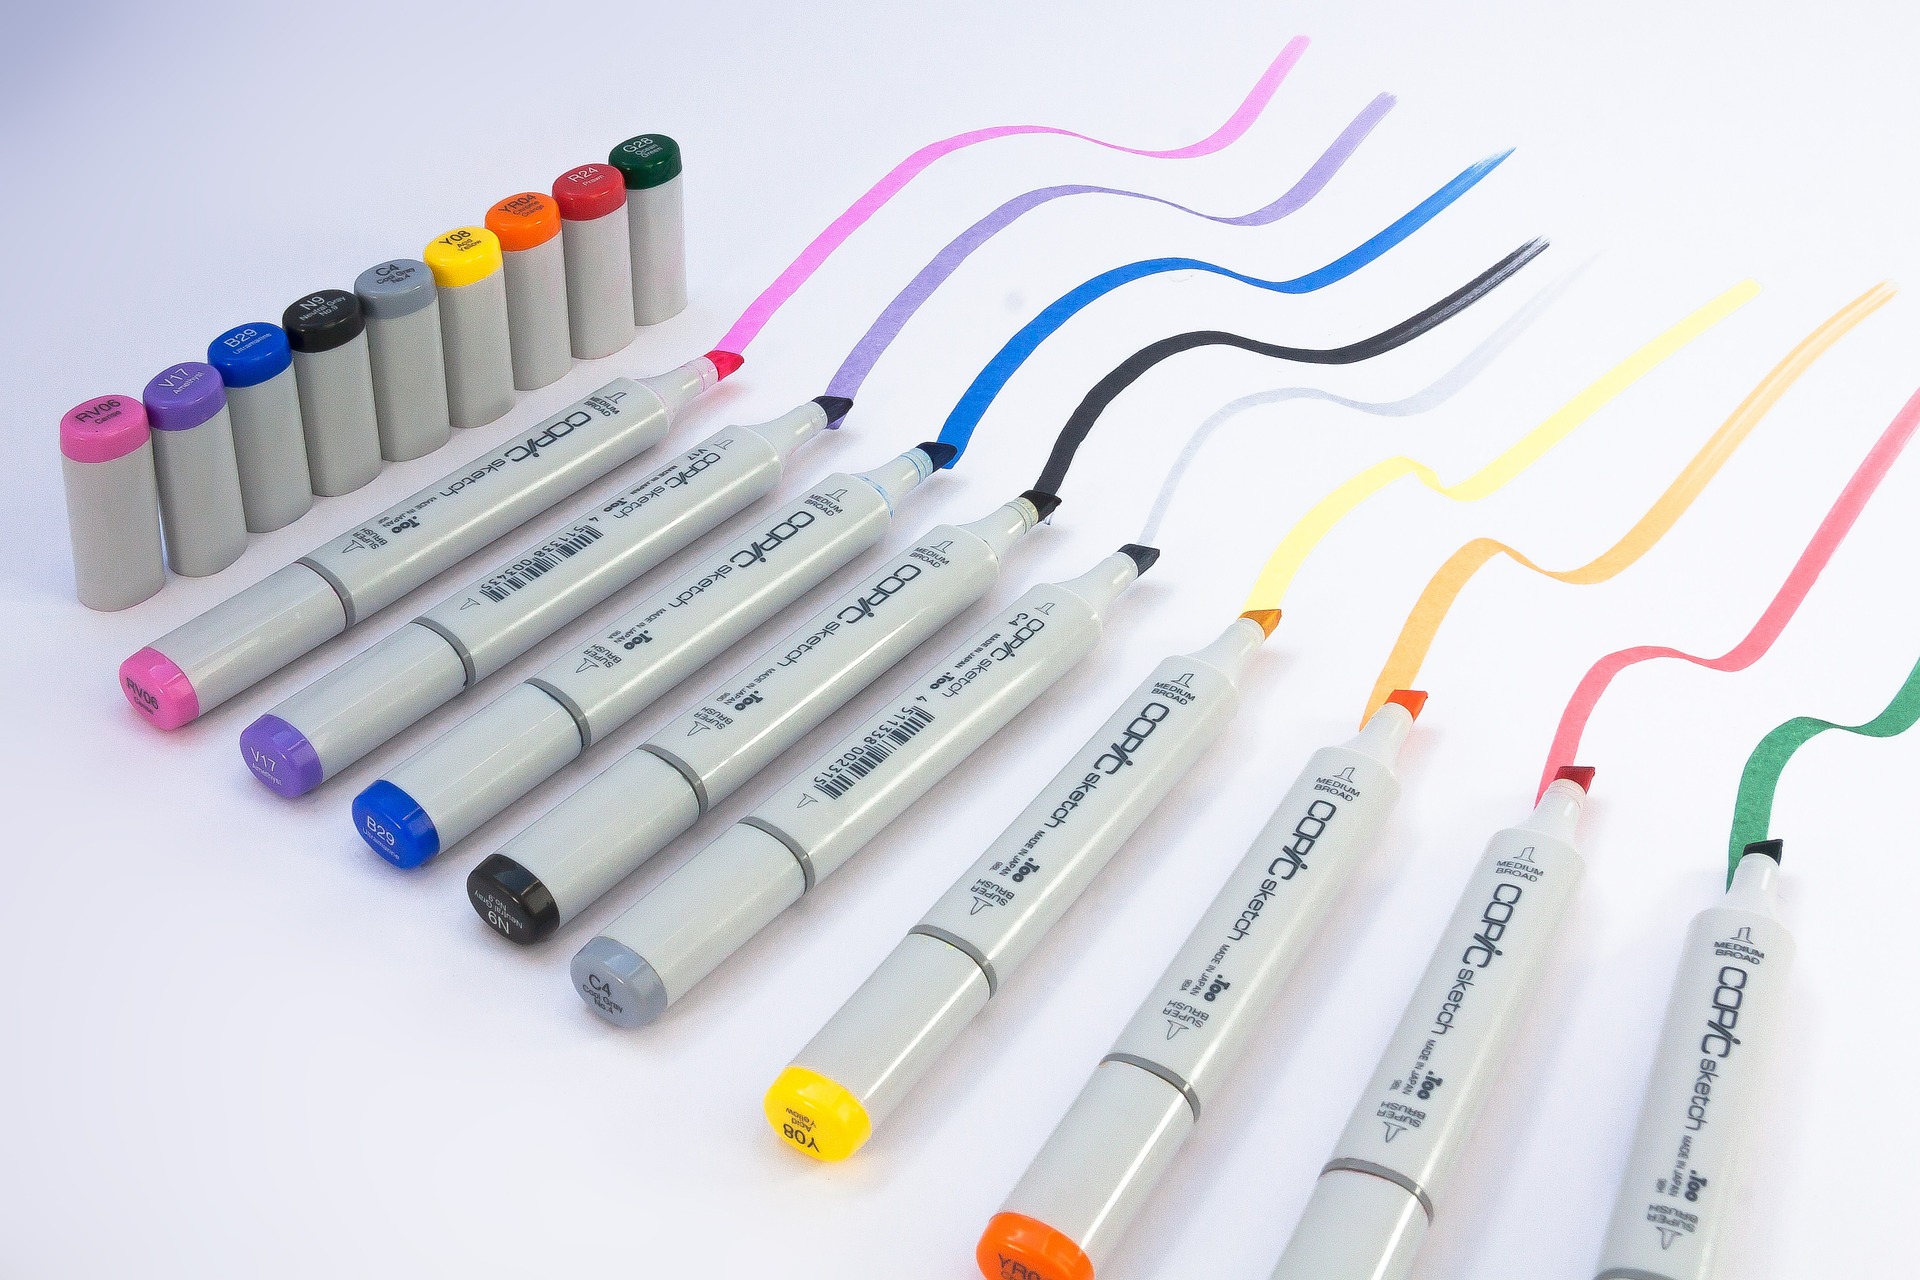
6. Turn a Sandwich Bag into a Colorful Filter
This technique involves using a sandwich bag to create a variation of the Vaseline blur technique. Simply coloring the plastic in with a marker pen in the color of your choice can create a blurred and colorful effect around the edges of your shot instead though. Just color the plastic in and tear the bag open, placing it over your lens so that the edges just about overhang the edges, leaving the center clear to keep your photograph clear.
7. Eliminate Shaky Shots With Lentils & Old Clothes
You can create your own beanbag for use when you want to stabilize your camera. This is especially great for shooting low-down subjects and also if you have the availability of a solid surface to rest the camera on, like a ledge or table.
Cut your old clothing into a sizeable shape which you can fill with lentils and stitch up. This bean bag will now hold your camera steady whenever required and you can also make adjustments to it by pushing the lentils around and distorting its shape, giving you more maneuverability than the surface of a ledge/table or the ground would by itself.
Before I became Editor-in-Chief of PHLEARN Magazine, I spent over five years specializing in Photography Writing and contributed articles regularly to sites like PictureCorrect, Sleeklens, and PhotoWorkout. Photography has always been a huge passion of mine; I may not be professionally trained in the art, but the knowledge and experience I have gained writing about photography techniques, interviewing some of the biggest and most inspiring photographers out there, and covering industry events has been invaluable!


 Facebook
 Google +
Comments (0)
There are no comments yet.