There are a lot of different ways to get kids interested in art. Kids are creative by nature. But it’s a challenge to get them interested in art and to get them to learn at the same time. By working with them to make a camera obscura, you can have fun together and teach them the basics of how a camera works. Also known as a pinhole camera, it’s a great first camera for children.
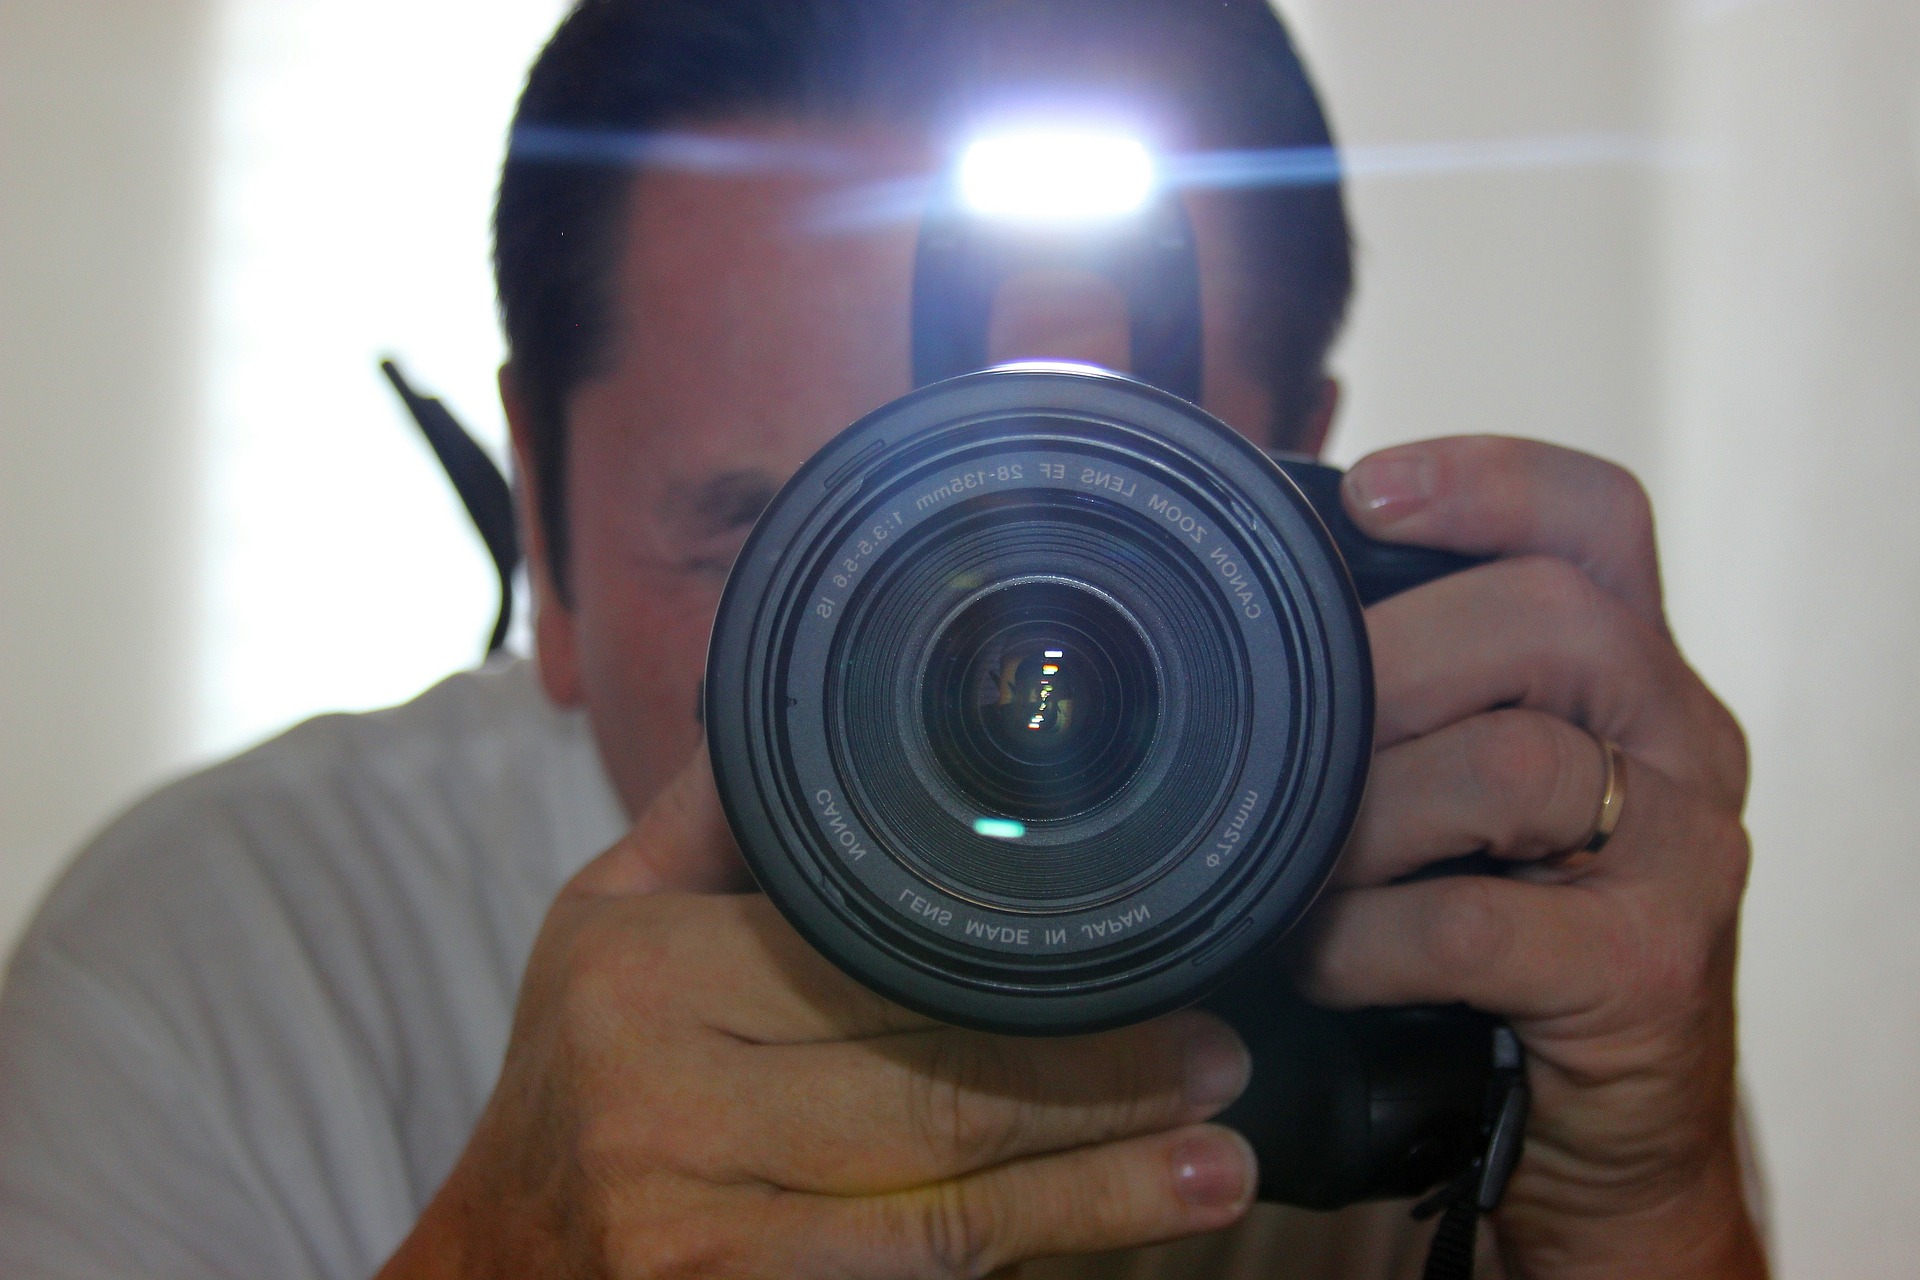
What is a Camera Obscura?
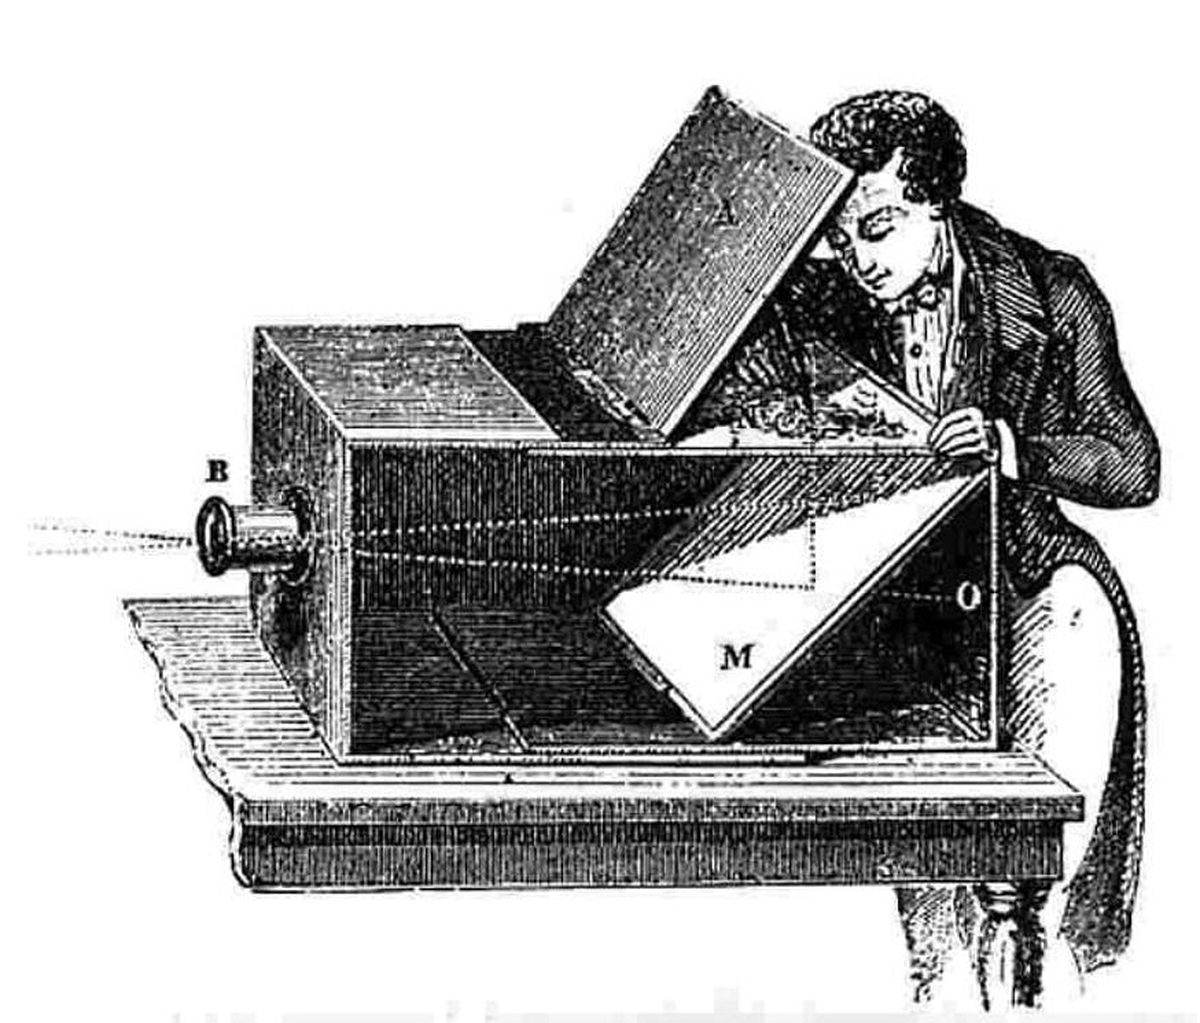
A camera obscura is a large box used to take pictures. However, this is different than a normal camera. Before photographs were popular, artists used camera obscuras to paint realistic settings. They would make a large, dark box, and set it down outside. They would then cut a hole in the box. The light coming through the box would create an image on the back of the box, which they would then set with canvas or paper to paint or draw. You can use a miniature version of this and some photo paper with your kids.
Building a Pinhole Camera
Creating the camera obscura isn’t all that hard. Take an old can or box. Make sure the object has a lid and a bottom and that the outside is complete with no holes. You want to have a lid on your can or box so that you can add and remove the paper.
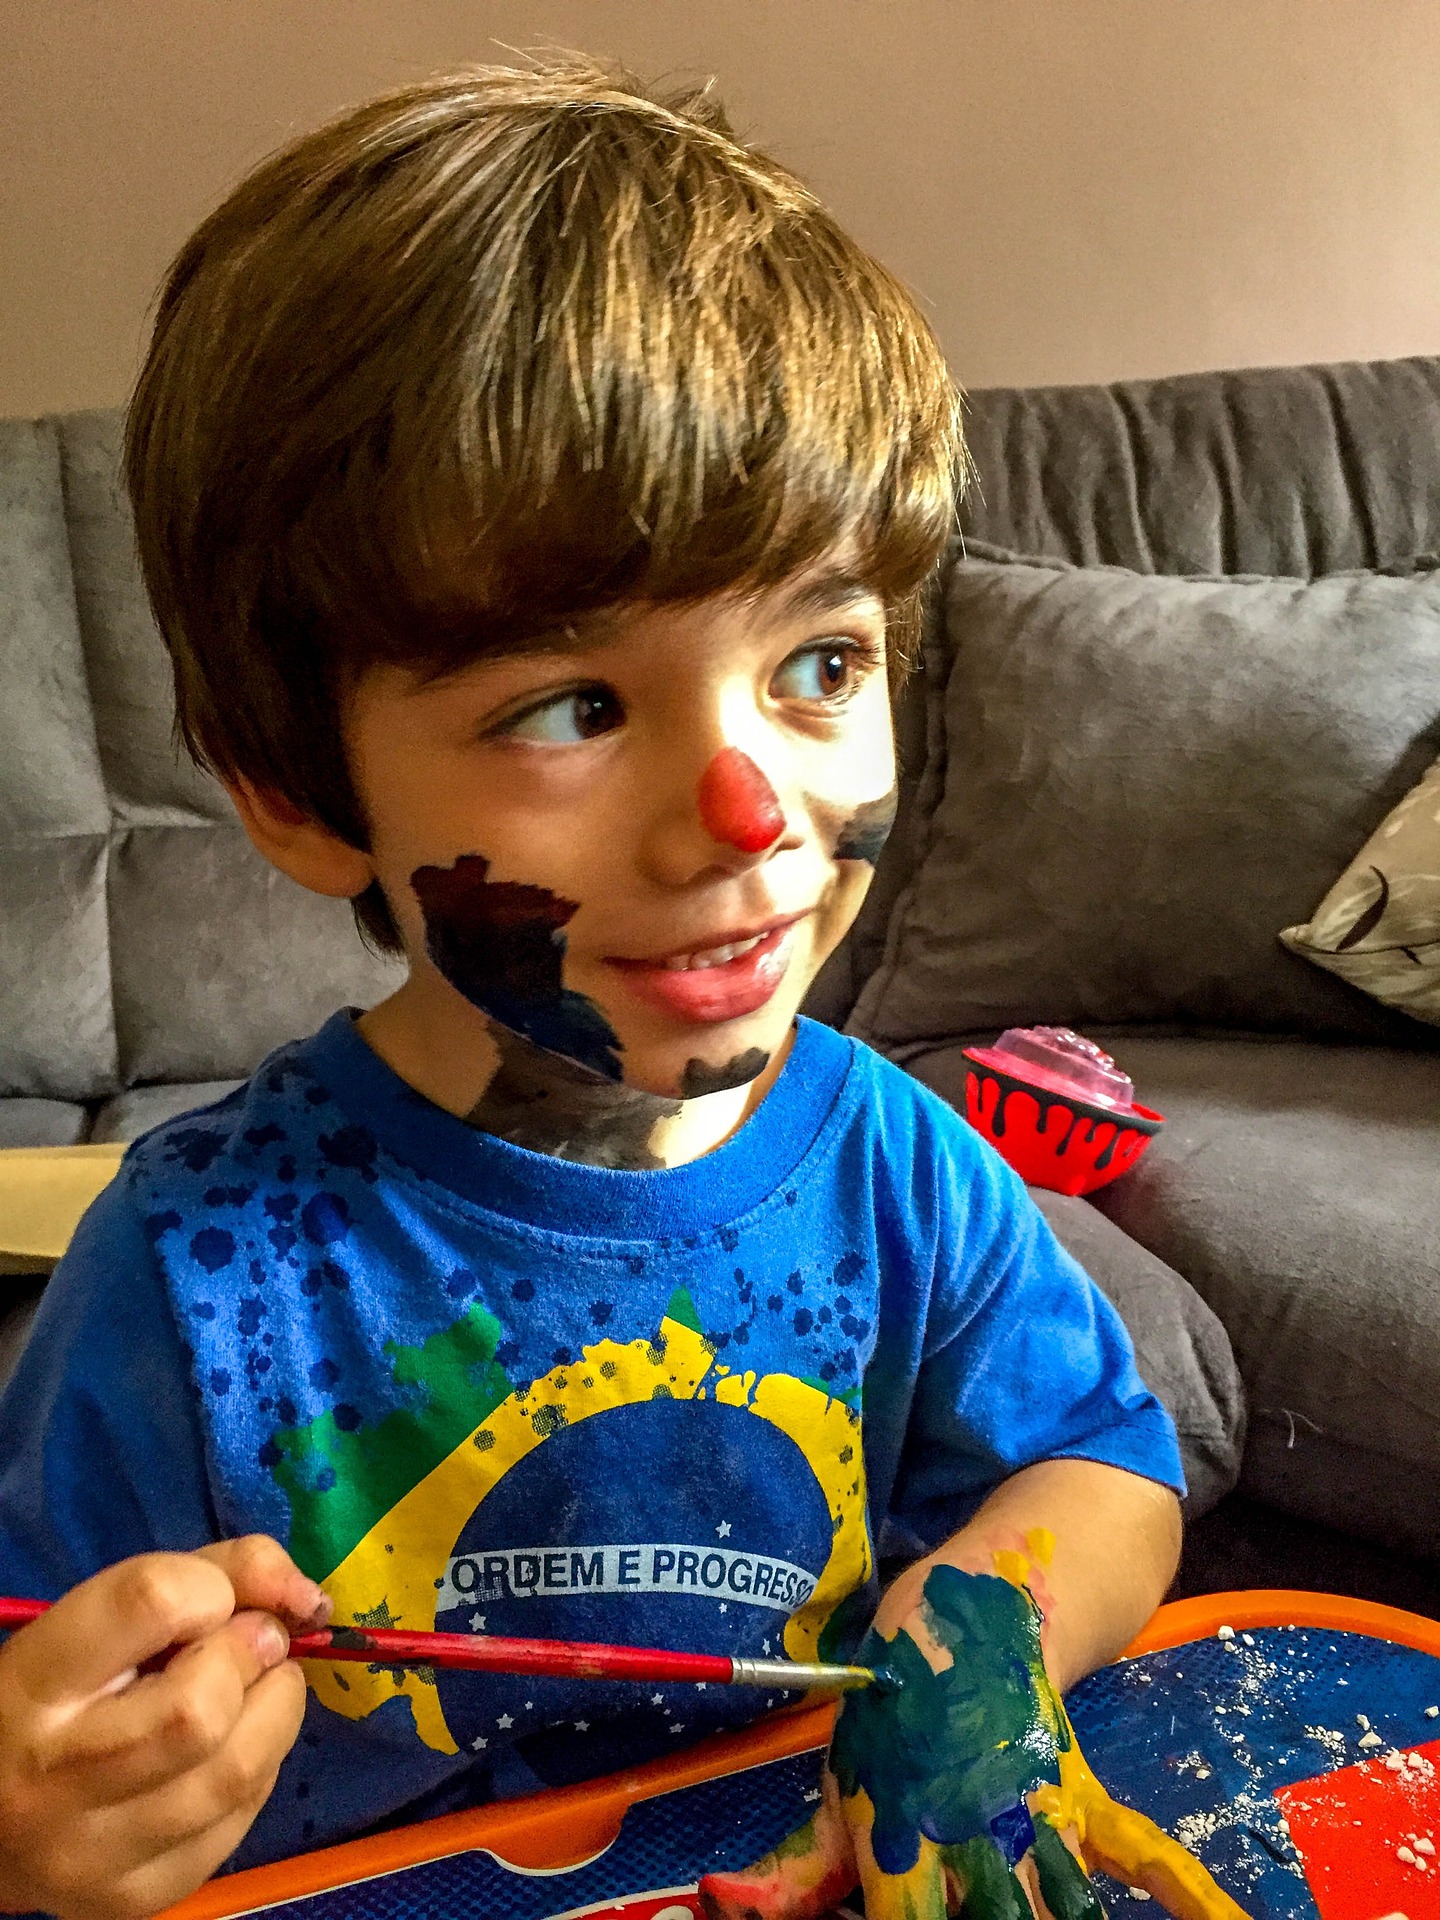
 Once you have the perfect box or can ready to go, paint the inside of it black. Do this part with your kids, and don’t be afraid to get a little messy. Make sure that the entire inside is covered, you don’t want any unpainted sources to be left to harm the picture. This is also an excellent time to get some other paints and allow your kids to design the outside of their camera obscura however they’d like. Let them individualize it, however, they want.
After the box or can has dried, you want to make a small hole in the tin or box. Do this yourself for younger kids, and carefully watch over any older children who might be able to do this themselves. Keep safety as the top priority. Have younger kids tell you where they want the hole cut so they feel included in this process without putting them in danger.
Now that your pinhole camera is put together, it’s time to shoot.
Using Your Camera Obscura
The camera obscura won’t work well with the normal film, and that takes too much to develop anyway. Go out and buy some photo paper. Some photo shops still sell it and you can easily find it on many online sites. Go into a dark room (just a room that is dark, does not need to specifically be a ‘darkroom’) and tape a piece of photo paper inside your camera obscura. You want to make sure that the center of the paper is direct across from the hole you’ve made.
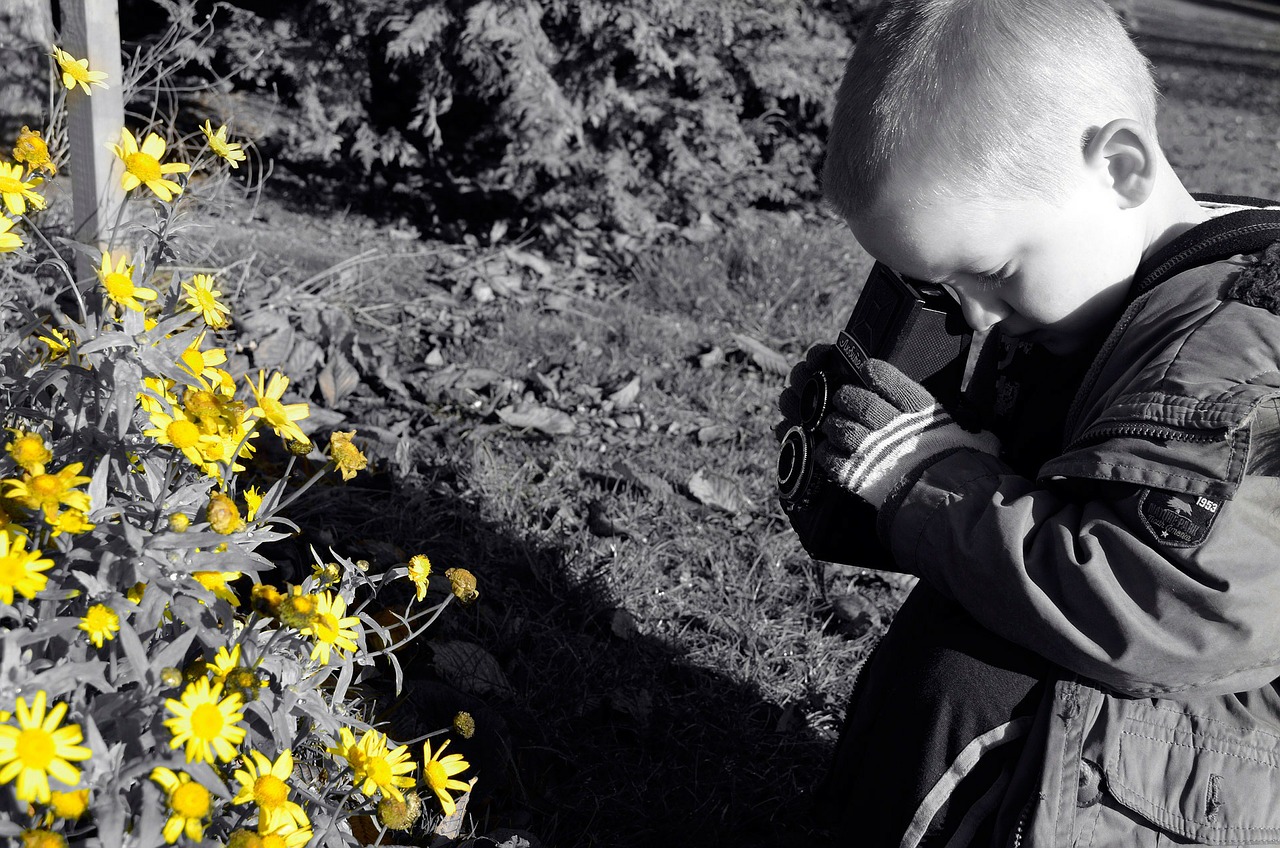
Now cover the hole with your finger or a piece of electrical tape and take it to where you want to shoot. It’s important not to let the hole become uncovered at this time. It’s best to use tape for younger kids who may have trouble keeping their finger on the hole. Because the pinhole camera is just a box or can, it doesn’t have the settings that cameras do to adjust themselves to light. So you’ll want to shoot outside; the more natural light you have the better. If you want to shoot indoors, do so near a window or in a place that’s very well lit.
Once you’re in a position to shoot, have the child set the pinhole camera down on a stool or chair, something that will help keep it steady. Cameras can take photos instantly by quickly absorbing the light of the area. Camera Obscura’s take longer. You don’t want to hold the box or tin while taking a picture of your body will naturally shake and cause the image to blur. With the camera obscura on a steady surface, uncover the hole for 30 seconds. Once the image is done, cover the hole and take it back to your dark room.
Development
Just like normal film, the photo paper needs to be developed. You can do this at home with a tub of developer and a tub of water. The developer is safe and won’t harm the skin so if you are developing at home you can let your child help you. If you’re not comfortable or don’t have the means to develop the photos at home, you can store them in a sealed envelope and take them to any place that develops film.
Building a camera obscura is a fun project that gets kids involved in art. Not only do they take pictures, but they also paint. It can be a great way to spend some time with your children. It also lets them feel the pride of creating something of their own. Their personalized camera obscura will stay with them forever and can be used time and time again as a fun project.

 Facebook
 Google +