Tag: effects

How to Add Unique Effects With Lens Movement

When people think that they want to get really amazing and unique photos, they usually think they need the best equipment and the best software to get those photos. While that does help and it can help turn a basic picture into something dynamic, you can get the same amazing impact with proper lens movement. When you know how to move our lens to create unique pictures, you will be able to get photos that stand out and make a viewer look at things in a different way.

Follow these tips to create some truly stunning creative effects with intentional lens movement.

The Equipment

The first thing you need to do is get the right equipment to make these lens movement photos a success. You don’t need super-high end items for this to work, but having good equipment is always important. A good DSLR with a 24-70mm lens will work best. You should also have a good speedlight flash as well.

With your equipment, you should have a setting similar to a small aperture of f/13, with a shutter speed of about 1/6 of a second. It is very important that you use a slow shutter speed because you need that extra bit of time to adjust the lens to get that unique effects.
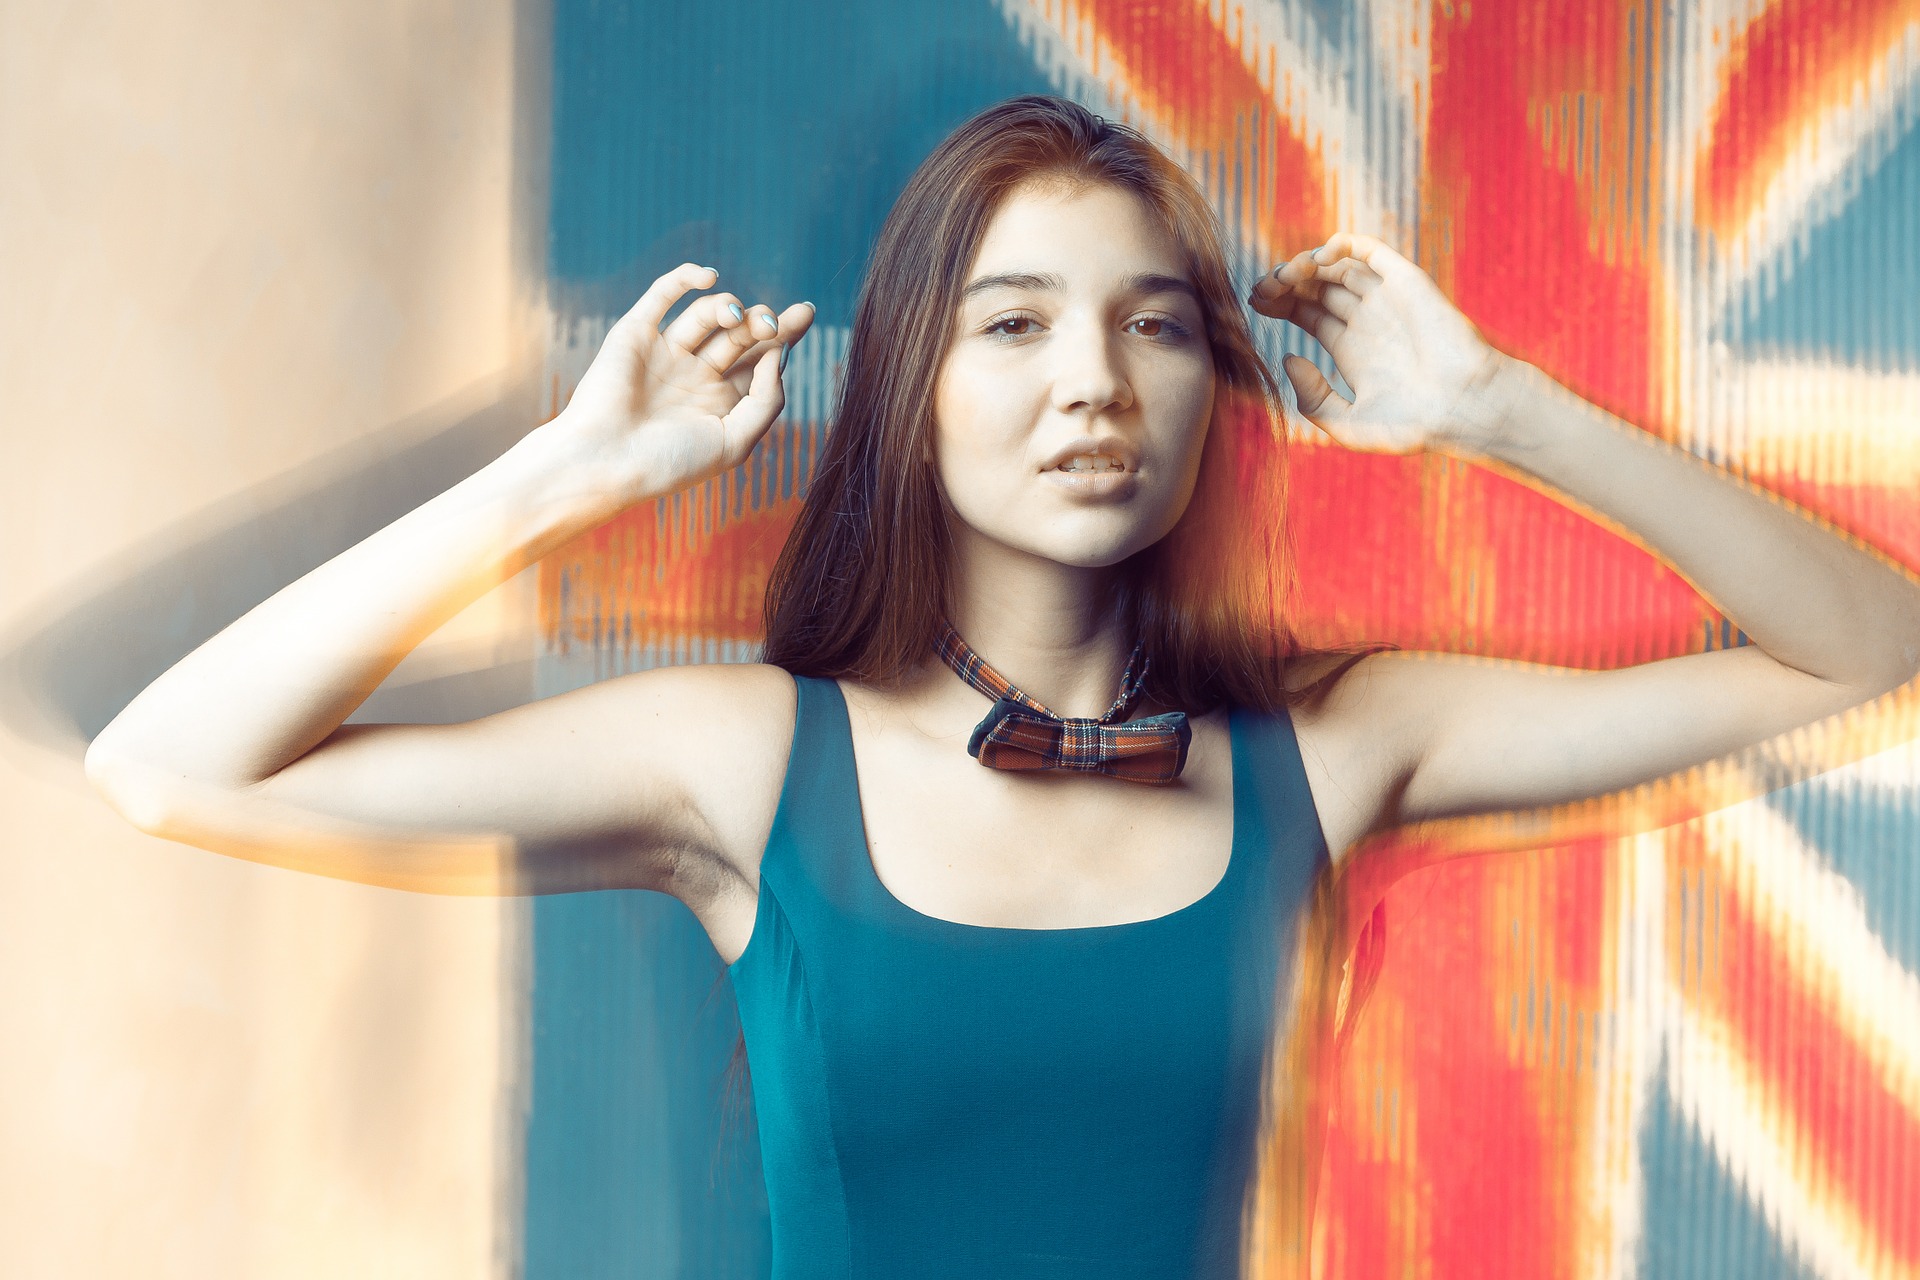
lens-movement-1

How to Do It

When you have your subject in front of you, you will need to do the following to get the right look with the picture.

First, you want to set your timing of the flash to rear curtain. This means that the flash will go off when the exposure is over, rather than at the beginning.

Second, you need to start zooming in after you have triggered the shutter. When you have it set for one-sixth of a second, you need to be very fast when you do this. Zoom in as quickly as you can to get that look on the picture. In addition, squeeze the shutter as you are starting to zoom in.

The Flash and Stash

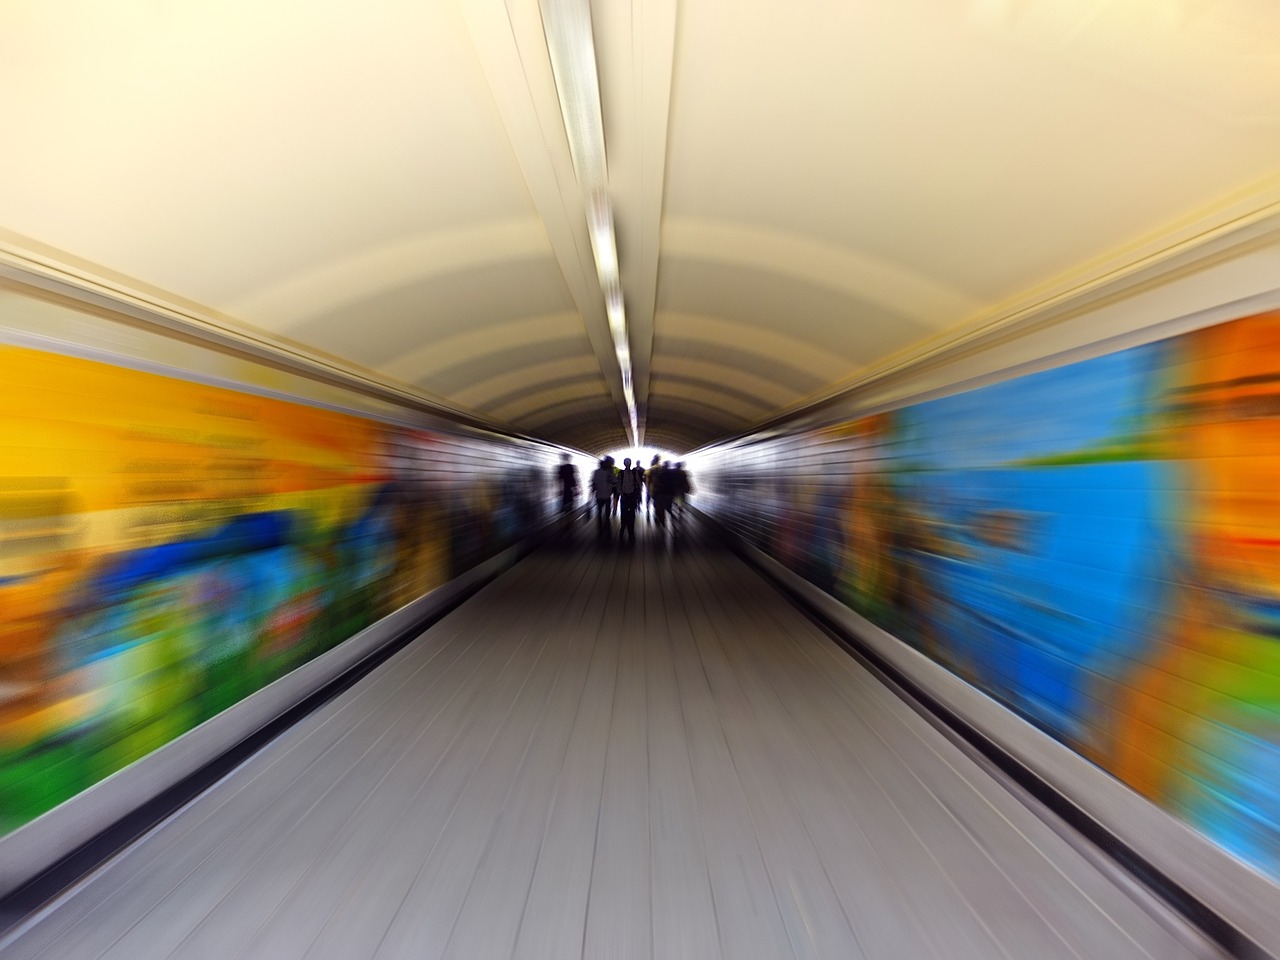
Another really cool tip for creating unique effects with lens movement is to use the flash and slash technique. This technique can actually create some really energetic images that dramatize the movement but allow the subject to stay sharp in the photo. With this technique, there is motion in the background, so the subject has the feeling of movement through the still image.
lens-movement-2

With your camera, you will want to have the aperture set at f/22, with an ISO of 200 and an exposure of one-third of a second.

In order to use this technique, you need to do the following:

  1. Set your camera so that the flash will happen at the end of the exposure. This is done by setting it to the Rear Curtain Sync.
  2. You can have your ISO higher than 200, but it should be no higher than 800. A lower ISO is going to be better for creating that blur effect.
  3. As you take the picture, begin to move the camera in a rotating fashion to get the blur of the subject centered but everything moving around the subject in a blur.

Your subject generally should be still as you move the camera in a counter or clockwise fashion while you stand in one place in front of the subject. This is what creates the look of motion, and the flash firing at the end helps to give sharpness to the subject.

This technique is actually really great for shooting in a low-light situation with a long exposure, when the showing of activity is very important.

Panning

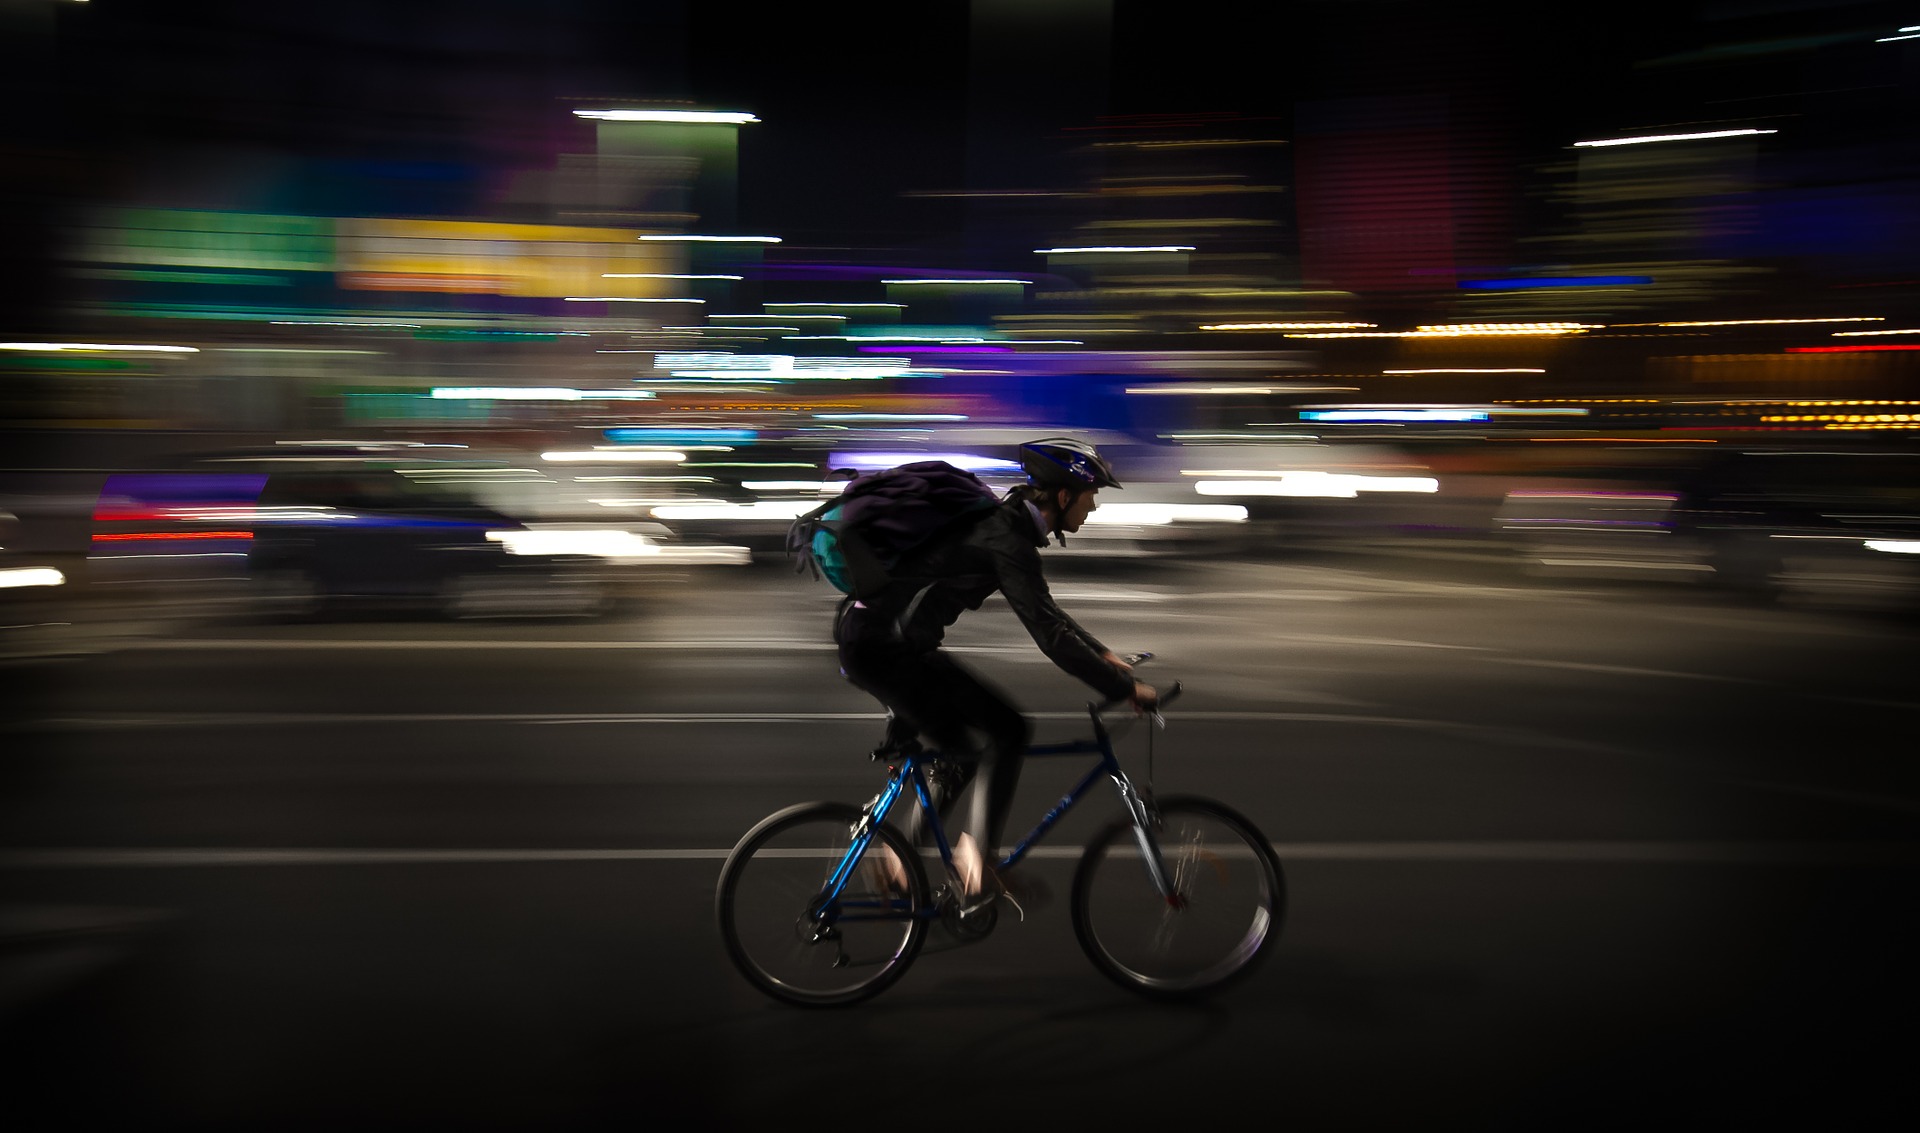
There are several other techniques you can use including panning while you take the picture. With panning, you are imitating the movement of the subject and this gives the image of a clear subject moving over a blurry background. You typically have the camera set at one-quarter of a second. If you want to have less blur, you could set it at 1/30 of a second.
lens-movement-3

Getting the right kind of movement can give your pictures a very surreal and wonderful look to them. Don’t be afraid to try things out to create the photo effect that you want.

10 Great Softbox Lighting Techniques and Effects

A softbox is one of the most versatile tools at your disposal as a photographer. It can give you the light you need for your photos, while preventing harsh angles, deep shadows and more. It will ensure that everything in your photos is balanced. There are many options for what you can do with a softbox; all it takes is knowing some great techniques to get the right amount of light for your picture.

Here are 10 fantastic lighting effects that you can achieve with just one softbox at your disposal.

Getting the Jewel Light

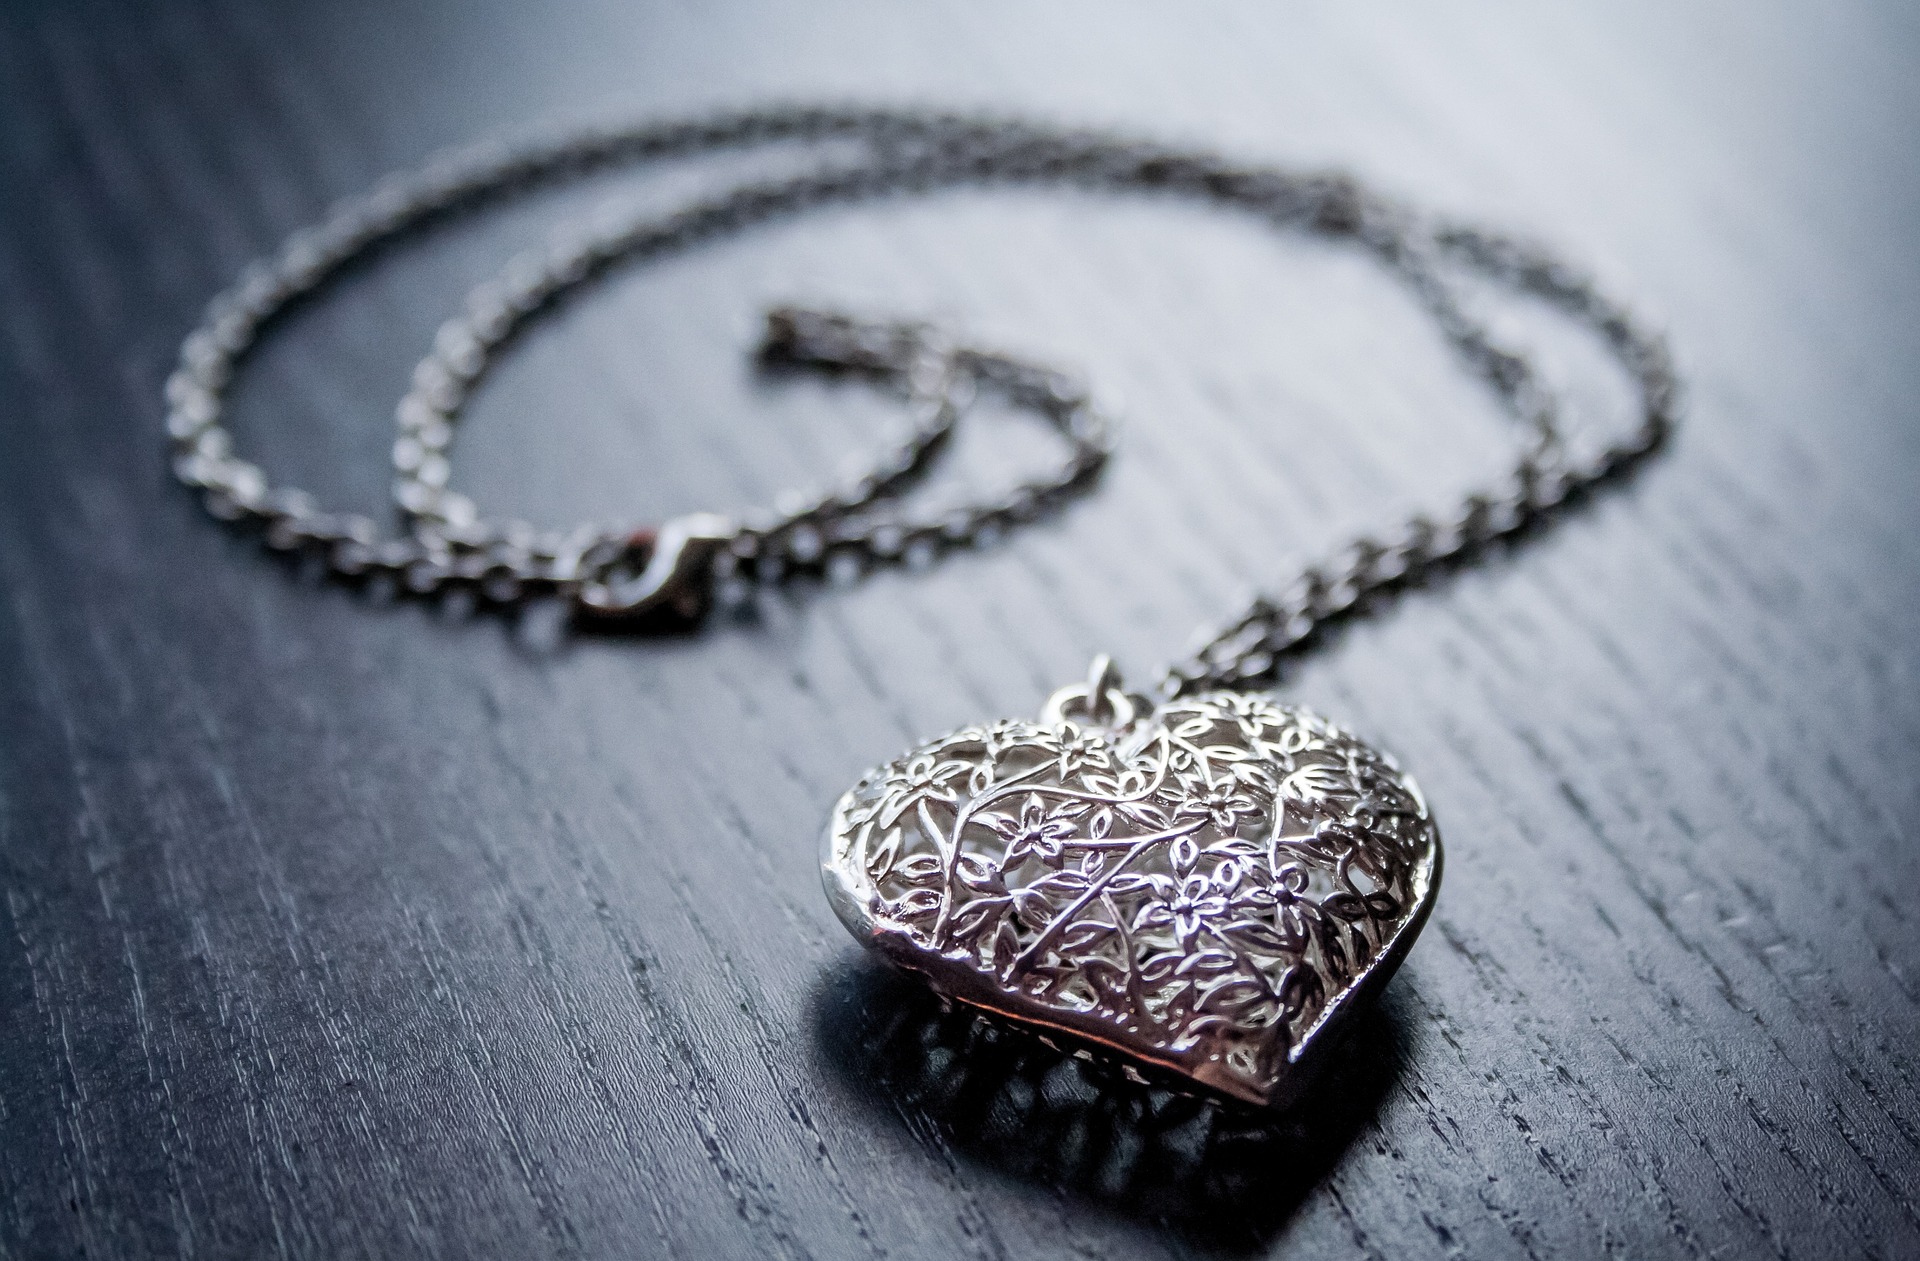
A great jewelry shot is all about the lighting. To get a wonderful picture that reflects the beauty of the jewelry, all you need is one softbox, the jewelry itself, along with a shiny surface and some white poster board. Place the piece of jewelry on the surface, with the poster board off to the side at an angle. Place the softbox to the side as well. Once everything is shining and reflecting, take the picture.

softbox-lighting-effects-1

Window Softboxing

Take translucent silk and have it in front of the softbox. About five feet in front of that silk, opposite the softbox, have the model sit facing the light. This will give the light a feel of coming in through a window, and it can make for some very unique photos.

Light the Subject and Background

If you want to give equal light on the person you are photographing and the background itself, this is quite easy to do with a softbox. Just have the subject stand at an angle to you facing the light. The softbox should only be about one foot from the subject, and at nearly a 90-degree angle from them.

softbox-lighting-effects-2

Highlighting Beauty

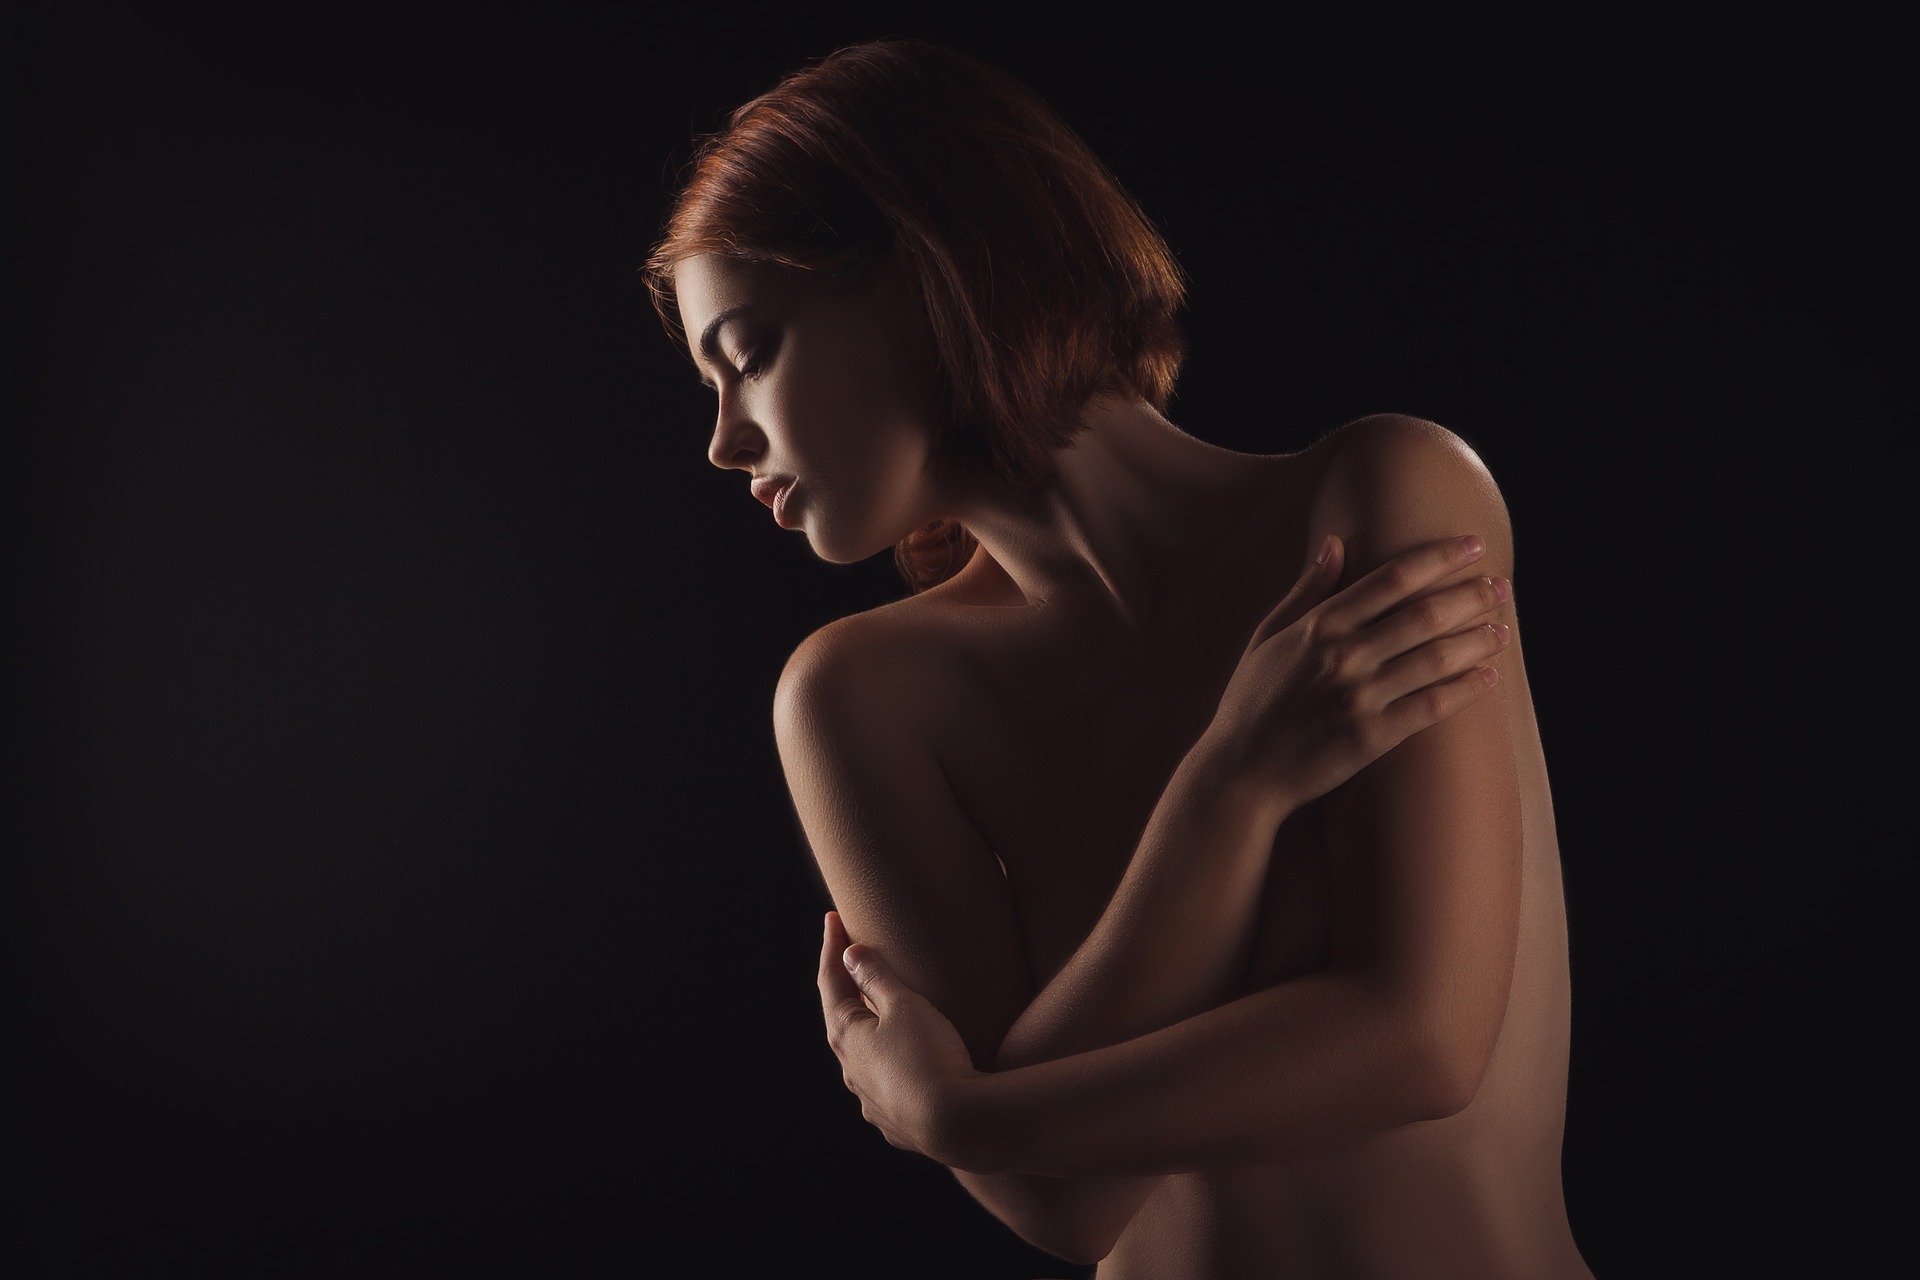
A softbox is a great way to highlight a model’s beauty. The simple and slight light can add to the features without making them harsh on the subject. All you need is one softbox with one reflector. The reflector should be down below to catch the light, and it will fill out the features of the face. Have a plain background behind the subject.

Use it as a Rim Light

When you are doing a profile picture, you can have a front profile and you can have a back profile. With the one softbox, just place it at an angle behind or in front of the person you are getting a photo of to create that rim light and to provide a slight light on the subject.

softbox-lighting-effects-3

Movie Poster Light

Using a softbox, have it lower than the person you are photographing and off at an angle from them, about 45 degrees. The person looks down at the light as you get the picture. This will highlight their features, provide some deep shadows, and darken their back area.

Softbox as a Background

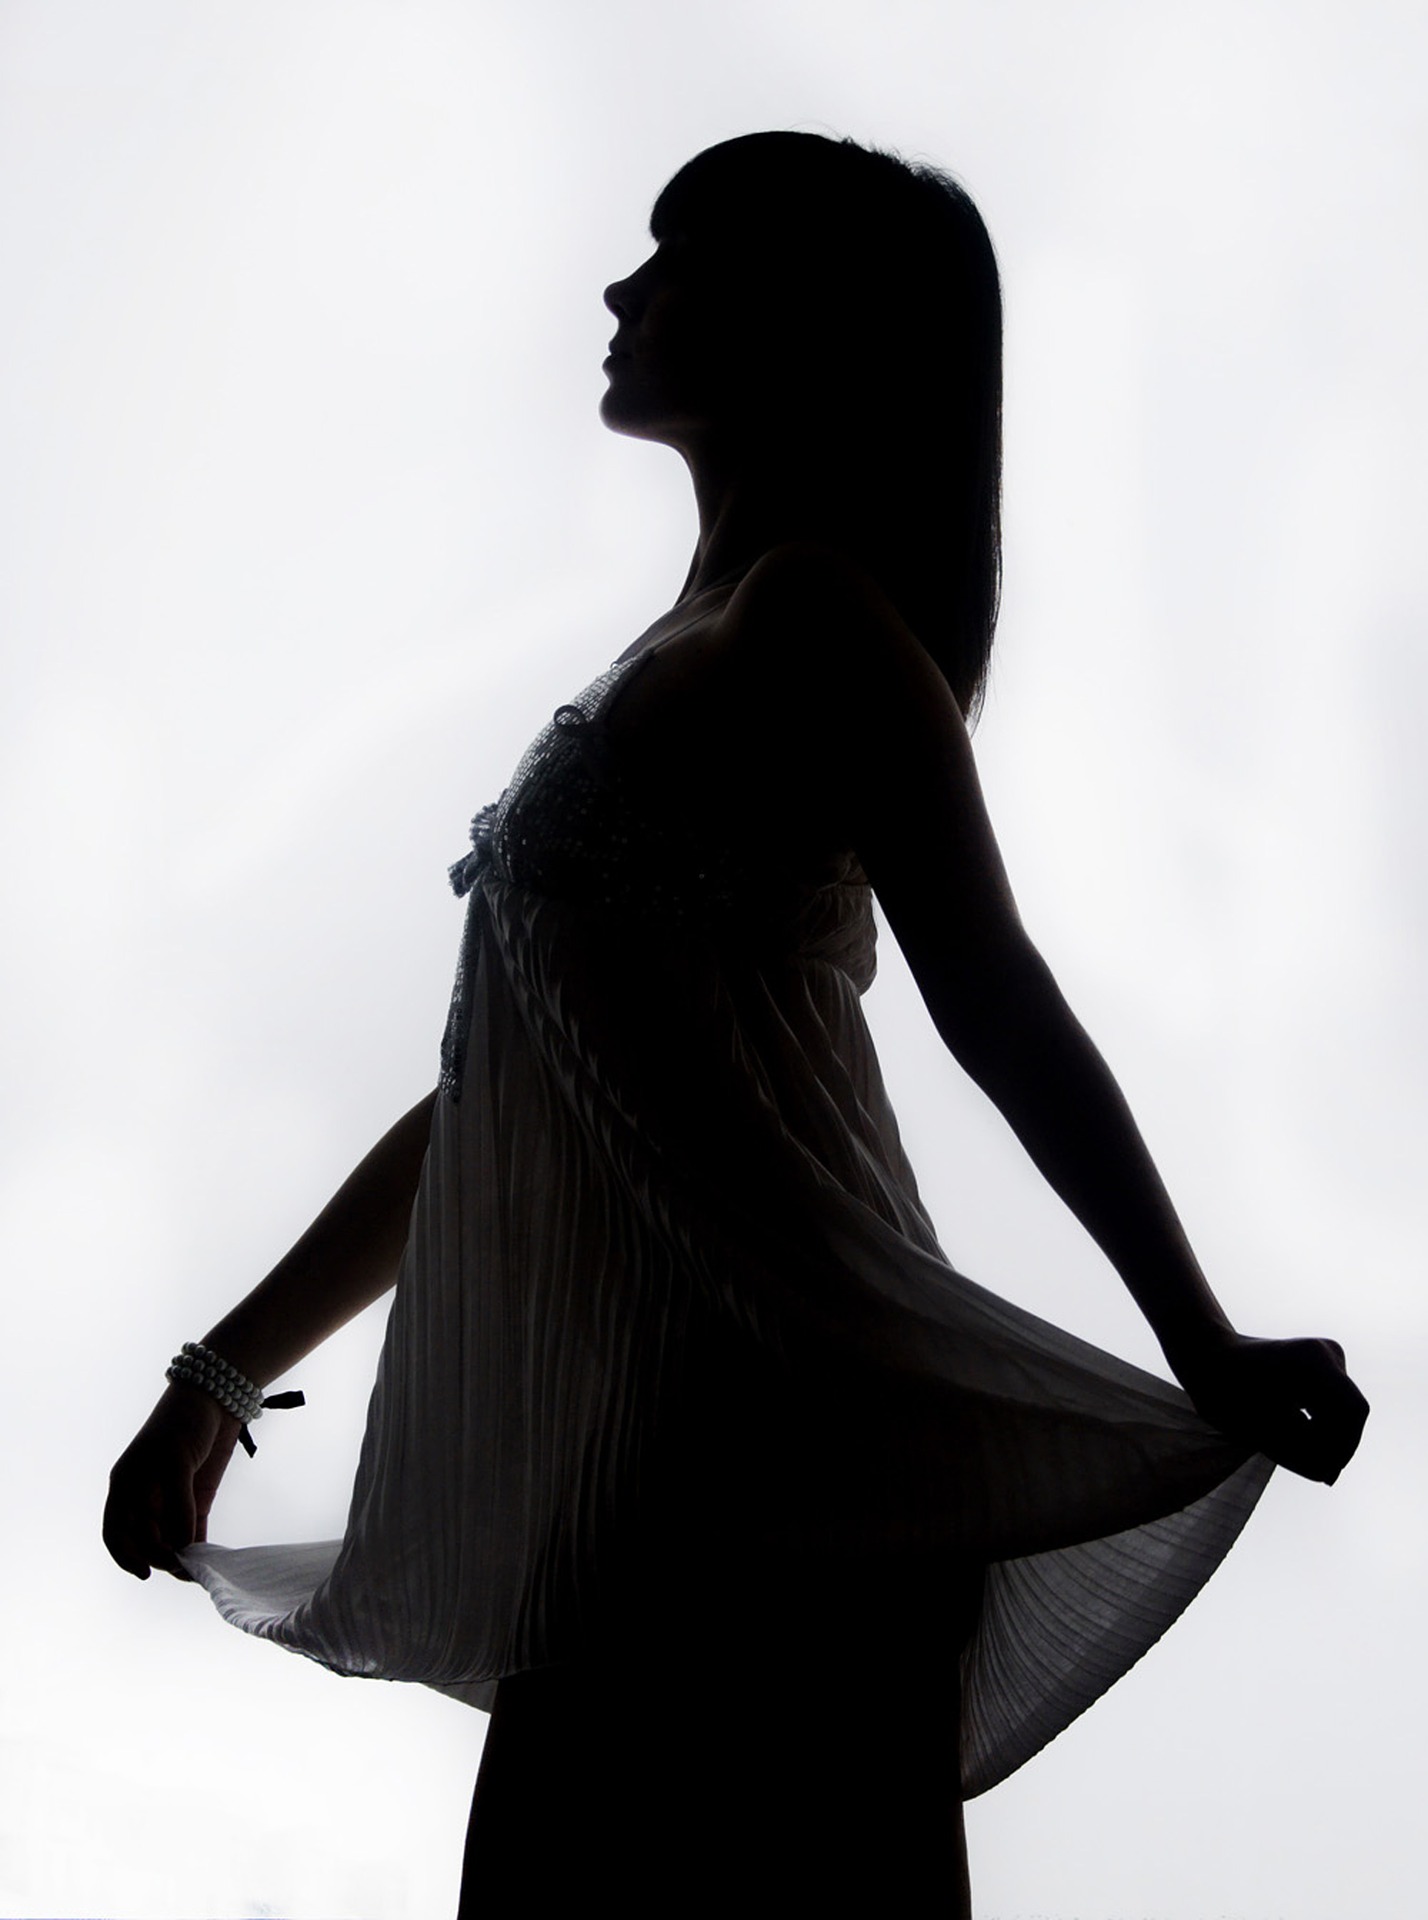
To get an amazing silhouette all you need to do is have the model stand in front of the light source itself, about one foot in front. Then take a picture of the model with the light behind them so you get clean, crisp silhouettes.

softbox-lighting-effects-4

Softbox Bouncing

In order to increase the light you have with only one softbox at your disposal, you can bounce the light off a white wall. Have the model stand in front of the camera, with the softbox next to you pointing towards a wall. This will provide a great deal of extra light as it reflects off the surface to give a lot of definition on the model, especially on the side facing the white wall.

An Element of Design

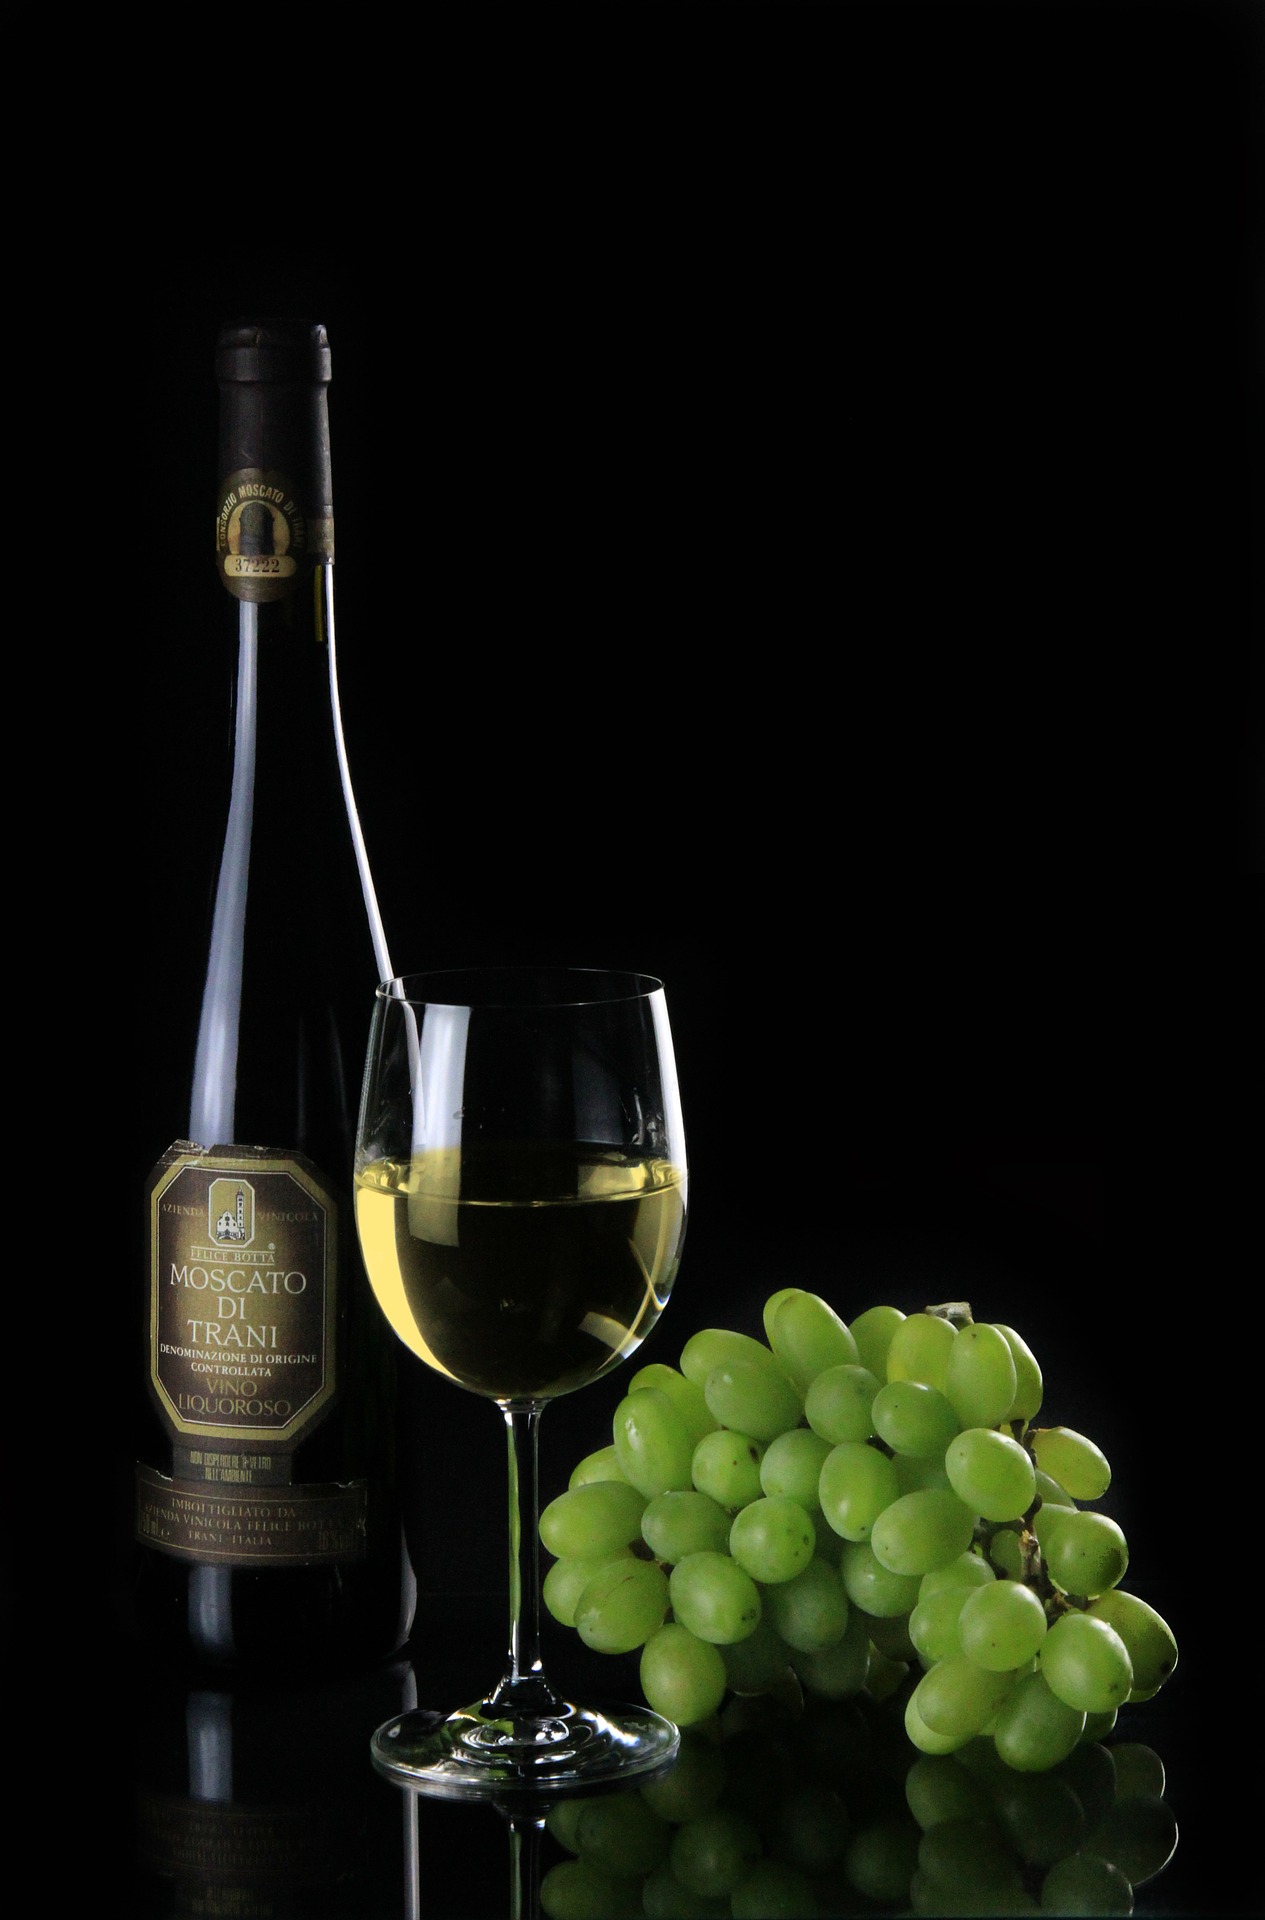
If you are taking a picture of an object, have the softbox off to one side facing towards a reflector on the other side with the object in the middle. Set your camera up between the softbox and the reflector (a foam core reflector works) and back about five feet. You will get some great light from this, especially with reflective products like bottles or glasses.

softbox-lighting-effects-5

A Group of People

If you only have one light and you want to get a group of people evenly lit, it may seem very difficult but, really, it’s not. All you need to do is have everyone stand in a line and turn the light source horizontal. At this point, you move the softbox down the line, taking one photo of each individual person as they’re lit perfectly. In post-production, you can put it all together and you will have an evenly lit photo of a group of people. It is actually multiple photos together, but with the editing it will look like it was taken with everyone all at once.

These tips will help you get the most out of your softbox, without having to buy another one, or any other form of light source. Great for photographers on a budget or just starting out.

7 Quick And Easy Hacks For Creative Effects

We all have to start somewhere when it comes to a new field, and photography is a little deceptive in how much equipment you might actually need to be successful. Cameras, lenses and tripods are the kind of things many people think of, though it’s still easy to undervalue these items as there are so many cheap versions around. At the other end we have monitors, editing software and other extras. After all, photography isn’t just about taking the picture, it’s about making it as good as possible with editing and touch-ups too.

For newcomers it’s best to start with a good quality camera and then look to add/upgrade their equipment as they develop. This also gives you a chance to understand equipment and the differences it can make before investing, since items like filters, lenses and tripods can easily run well over $100 a piece for good versions.

Thankfully there are some cheap and easy ways to start varying your effects and abilities before shelling out for the expensive gear:

1. Turn Your Window Into a Lightbox

creative-photography-2

Securing a piece of parchment paper to your window with a little tape is an easy and inexpensive way to create your own light box. The natural light is harnessed in a non-reflective way by the paper, giving you a perfect bright, light evenly lit backdrop to work against. This is a great trick for photographing smaller items, especially those with vibrant colors.

2. Use a Card to Bounce/Reflect Light

Attaching an angled piece of white card to your camera, right in front of the flash, can give you an effective light reflector. Average thickness card, like that used for business cards, will let enough light directly through to light up the front of your subject, while reflecting enough upwards to illuminate the subject evenly from above as well.

You may need to experiment a little with the angle and thickness of the card, though it is a next-to-free reflector.

3. Create Your Own Flash Diffuser

creative-photography-3

Any type of dish or container can be used to create a flash diffuser, though circular shapes are preferred by some photographers. One method is to use a dish/container and coat it with aluminum foil, giving you a more solid device. Another is to use a disposable aluminum dish, or even a Styrofoam cup which you can try with or without foil coating.

Often the plain, bright white surface is reflective enough without the foil. Remember to also create a reflective ‘plate’ (for which you could even use an actual plate if you go the Styrofoam route!) and place it a small distance in front of your flash, with the rest of your DIY diffuser slotted around the flash itself. This type of device is great for indoor shots where you’re trying to get even lighting or lighten shadowing.

4. Use Vaseline for a Blur or Vintage Effect

creative-photography-4

A touch of Vaseline carefully smeared around the edge of your lens can give you an excellent blur effect. This can be used for two purposes. One is to re-create a ‘vintage’ look from a time when cameras did not always capture the entire shot in perfect focus.

The second is to purposely blur out some of the background material and draw more attention to the central subject of your photograph.

5. Turn a Coffee Sleeve into a Lens Hood

Cardboard coffee sleeves and similar cardboard products can be used as a quick and easy lens hood, protecting your shots from lens flare and bright lighting. This technique is especially applicable to outdoor photography, where you might have to take shots with the sun shining down towards you.

6. Turn a Sandwich Bag into a Colorful Filter

creative-photography-5

This technique involves using a sandwich bag to create a variation of the Vaseline blur technique. Simply coloring the plastic in with a marker pen in the color of your choice can create a blurred and colorful effect around the edges of your shot instead though. Just color the plastic in and tear the bag open, placing it over your lens so that the edges just about overhang the edges, leaving the center clear to keep your photograph clear.

7. Eliminate Shaky Shots With Lentils & Old Clothes

You can create your own beanbag for use when you want to stabilize your camera. This is especially great for shooting low-down subjects and also if you have the availability of a solid surface to rest the camera on, like a ledge or table.

Cut your old clothing into a sizeable shape which you can fill with lentils and stitch up. This bean bag will now hold your camera steady whenever required and you can also make adjustments to it by pushing the lentils around and distorting its shape, giving you more maneuverability than the surface of a ledge/table or the ground would by itself.

How to Give Your Photo a Film Look with Lightroom in a Few Easy Steps

Creating images allows me to connect with people and make them feel like they are looking through my eyes and feeling what I feel. Like the title suggest we will be looking at how to get a film look with your images. The reason I like using the methods that I will show you below is because to me the images feel more tactile. I want people to be able to look at it and get a sense of everything I did when I shot it. So today, I want you to feel the atmosphere, the cold and the mood.

1 – Starting Point

I’m starting here in this tutorial, if you want to see the decisions and what the reasoning is behind some of the choices in the Basic panel then check out the rest of the Sleeklens Blog. We can see that it was very foggy, cold and somewhat wet when I took the photo. For me shooting in the fog is one of my favorite times to shoot. I get the moody atmosphere, great textures, and color that sets a somber tone. The color is part of getting certain film looks, so if you examine the film looks that you like it will be easier for you to choose your color. Think about the following steps to get even closer to a film look.

Arnel Hasanovic Film Look Tutorial

2 – Tone Curve

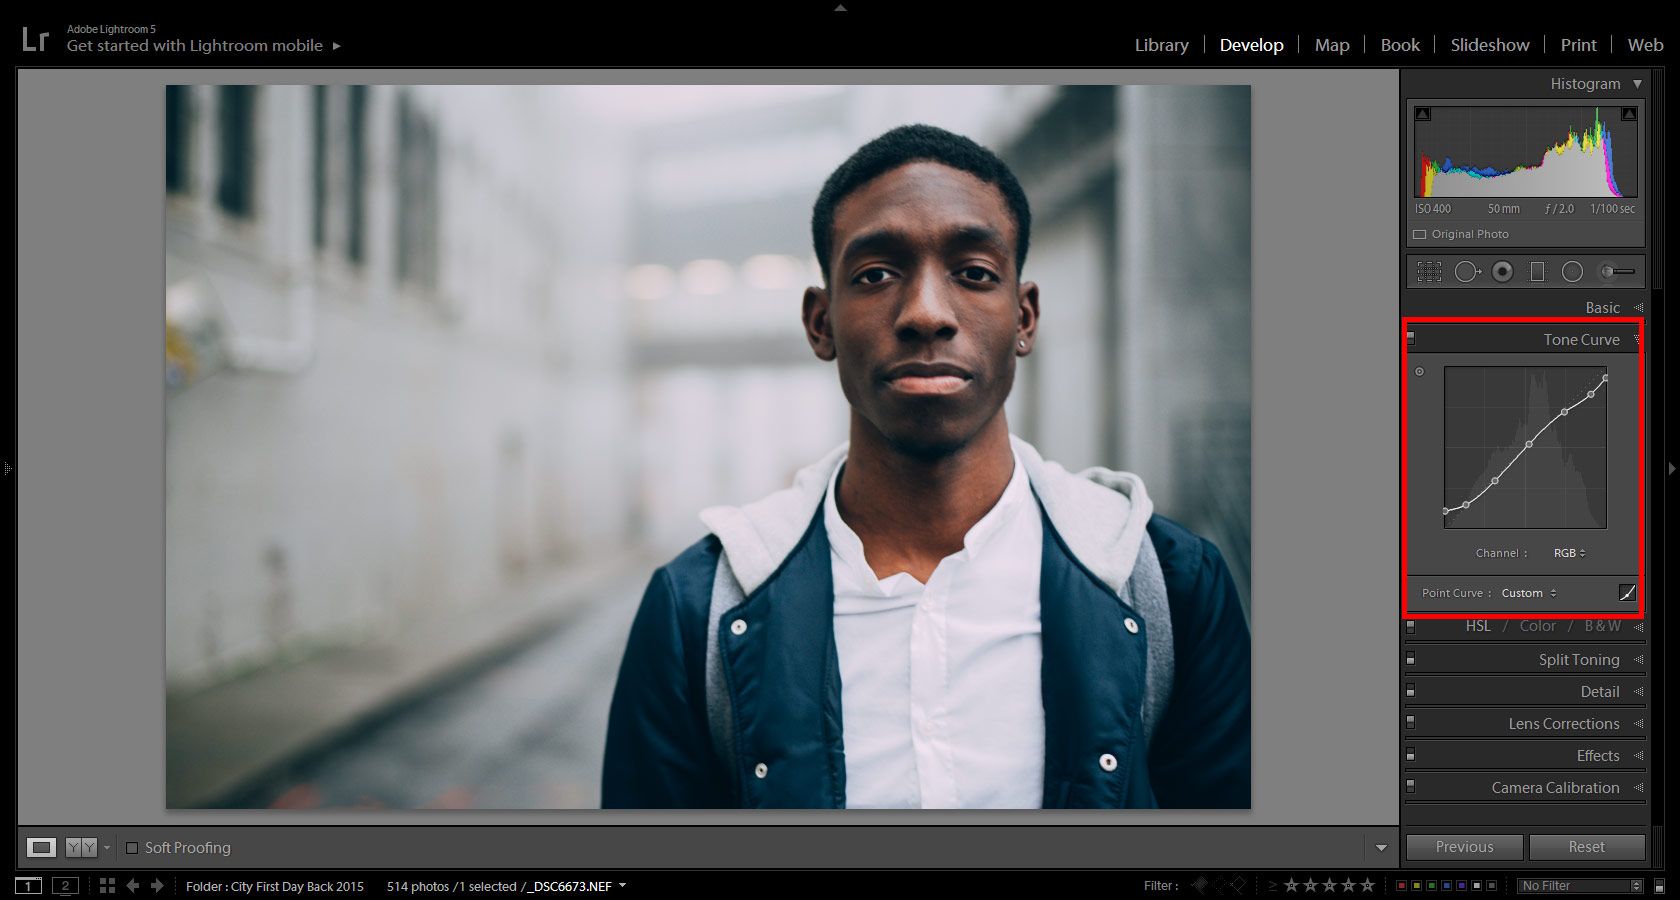
To get that film look, one of the first things that I do after thinking about the color is start by adjusting my Tone Curve. Bringing up the black point and lowering the white point will ensure that the white is slightly darkened and the black point brightens up a bit. Moving the points slightly is the key! Moving the points too far up or down can give you way too much clipping and may not result in the effect you are looking for. We are essentially crushing the color and if this is not what you want to go with, then skipping this and maybe using the next step, would be better for you. It is all a matter of taste and experimenting with what you would like your images to look like.

Arnel Hasanovic Film Look Tutorial

3 – Grain

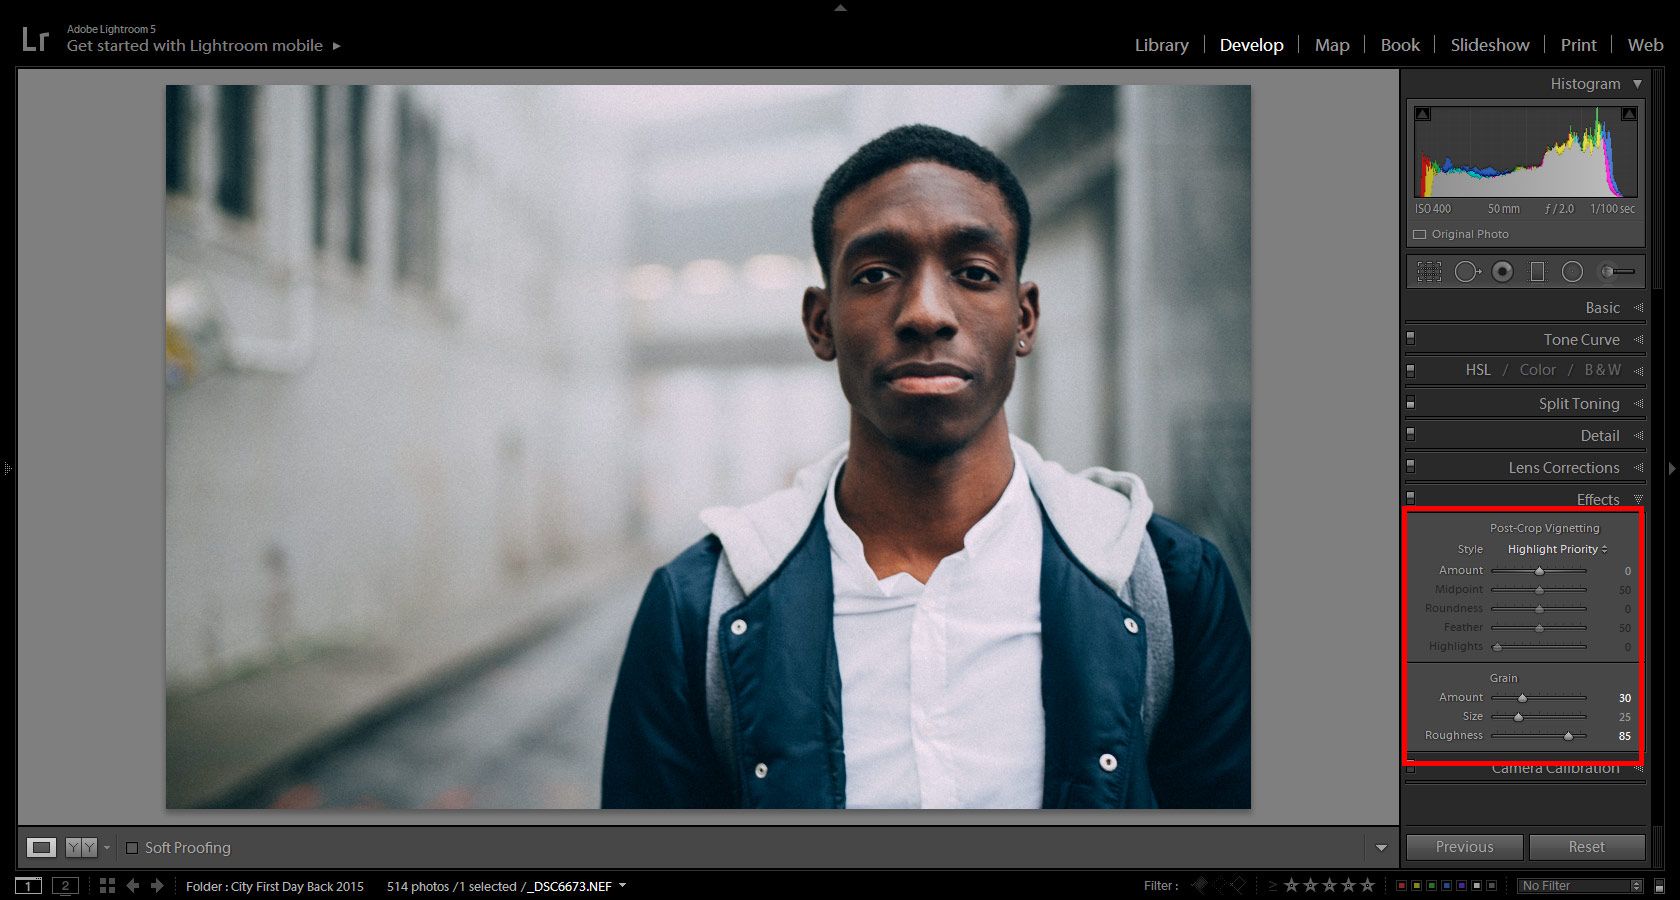
It might be hard to see in these images because of the compression but look at the left side of the image where the white wall is. You will notice that there is grain added. To me, this step is something that makes the photo tactile, something on which you can reach out and touch the texture. It adds a certain personality and realness to images. Changing the amount, size and roughness will give you different looks. Try different combinations, because not every photo will look its best with the same settings. Flipping the Effects module on and off will help you see before and after, which will help you determine the amount of grain you may want to put on. Also, not all grain is created even. There are products and plugins out there that focus on creating effects like grain which might do a better job for your needs and desired looks.

Arnel Hasanovic Film Look Tutorial

4 – Conclusion

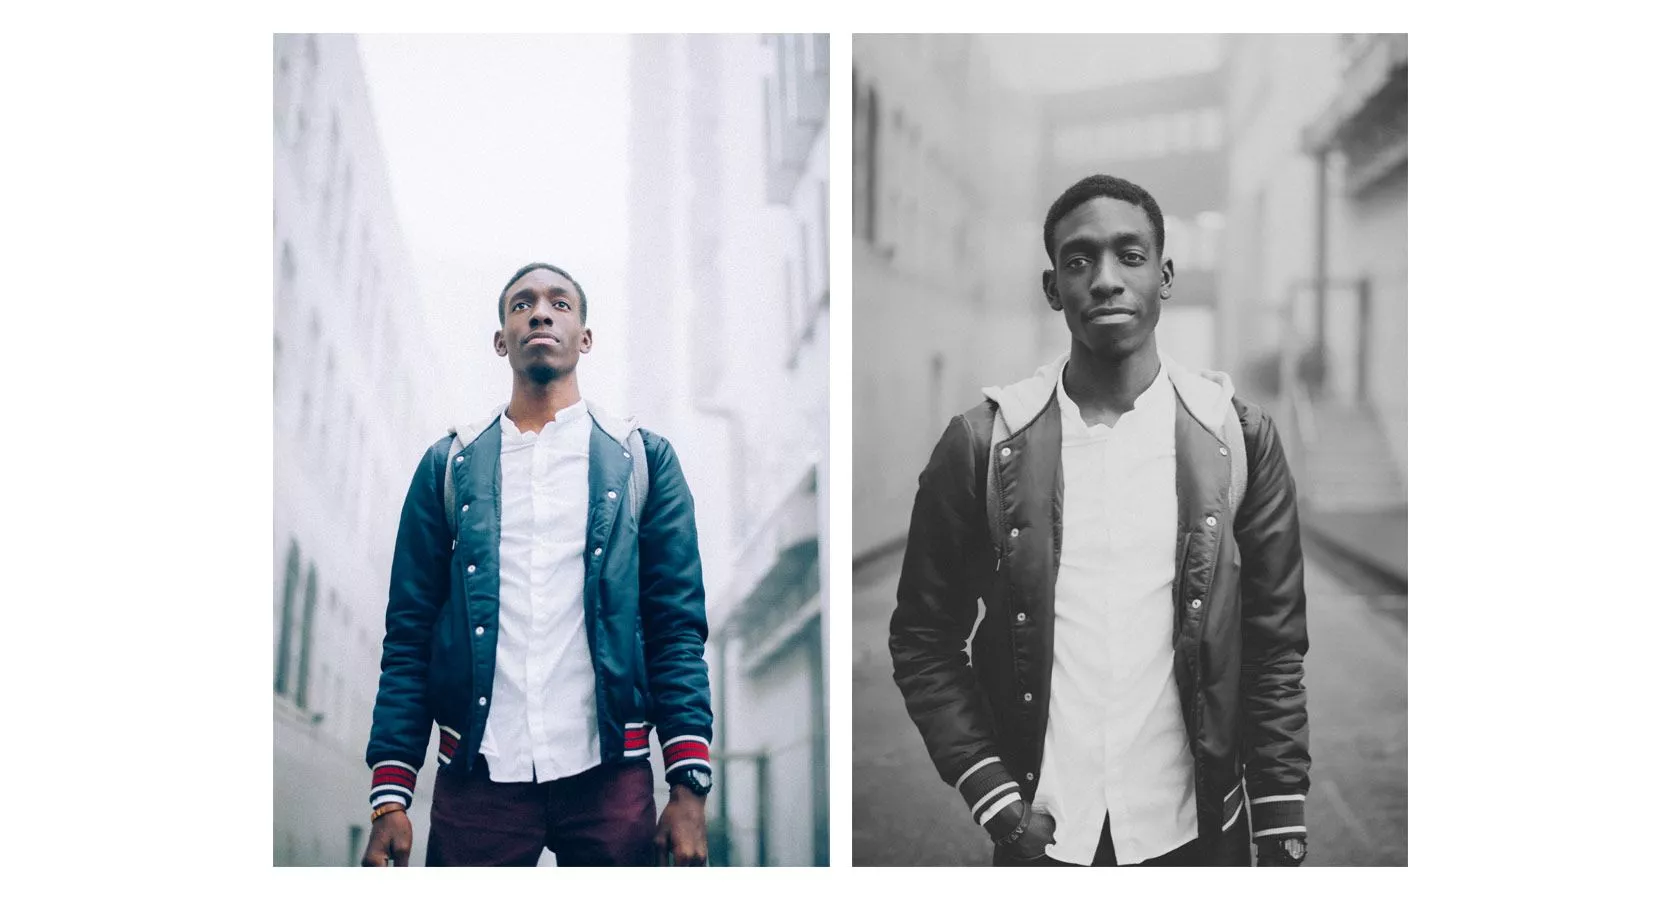
Here are a few other photos that were shot at the same time. They got slightly different edits, but what remained the same, was the fact that I did the same steps as above. I moved the black/white points in the Tone Curve module and I added grain to each image. As I mentioned earlier, experiment and try using these tools to help you achieve the look you want and need. Do not use something because others use it. You are an artist and you have taste, so use the tools that help you achieve your vision.

Arnel Hasanovic Film Look Tutorial