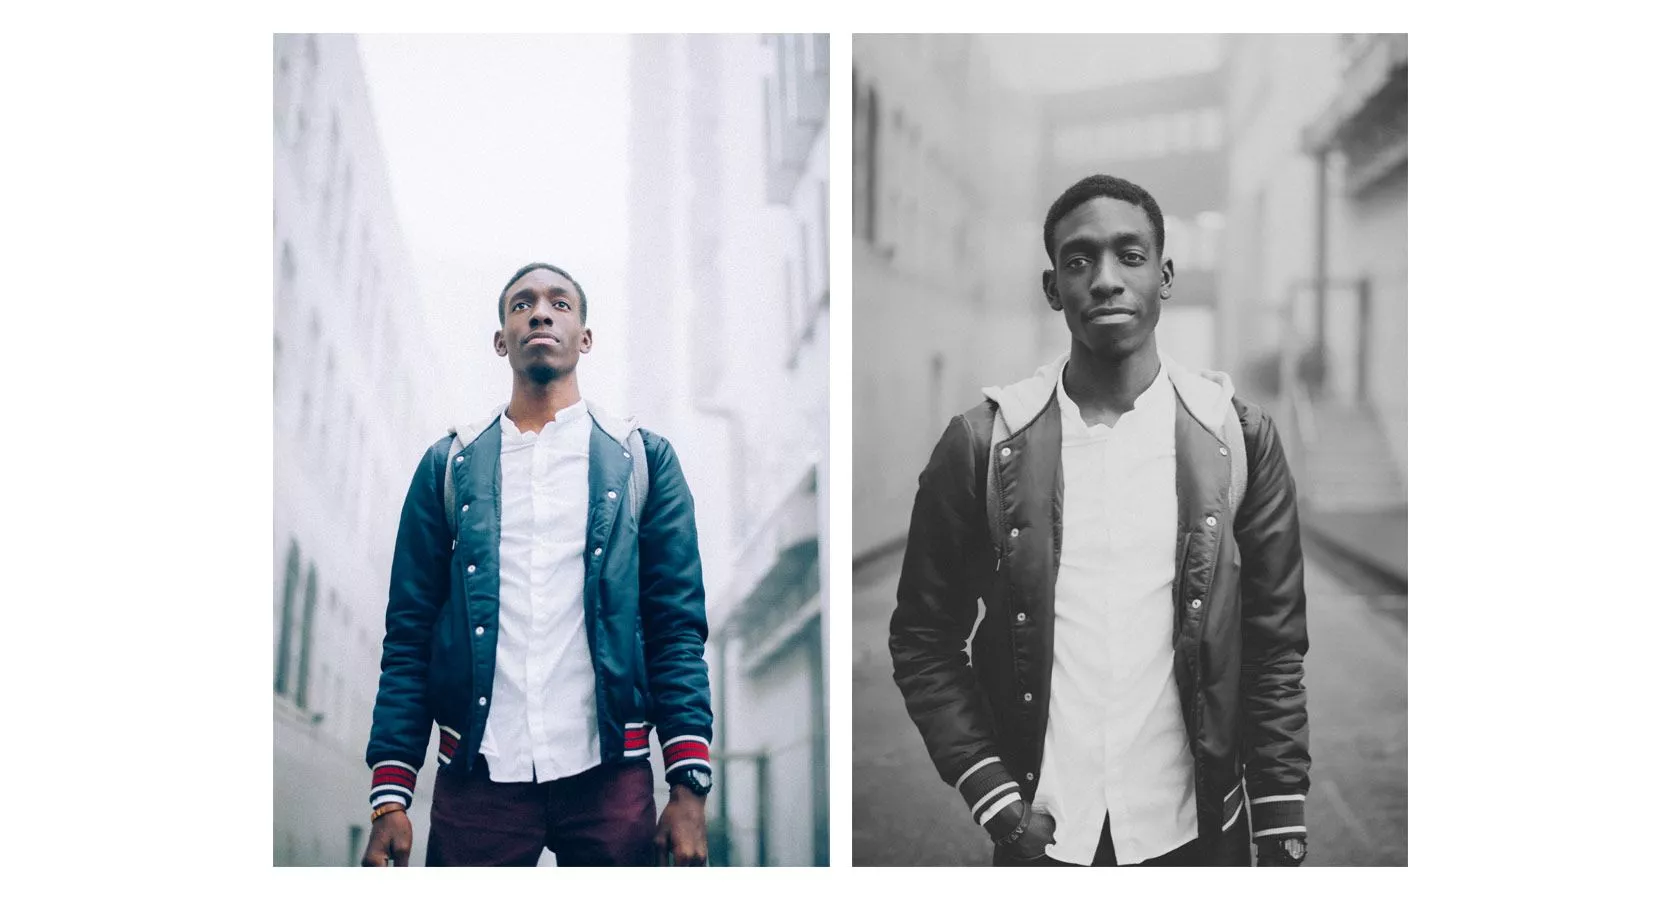
Image noise is defined as the presence of pixels in an image which does not represent the scene being photographed. Also known as grain, it’s recognizable by the appearance of what looks like dust, spots or speckles over the chosen photograph.
Needless to say, this is very undesirable for a professional photographer, so today we’ll be looking at how you can reduce and even eliminate its appearance in your work.
Causes of Noise
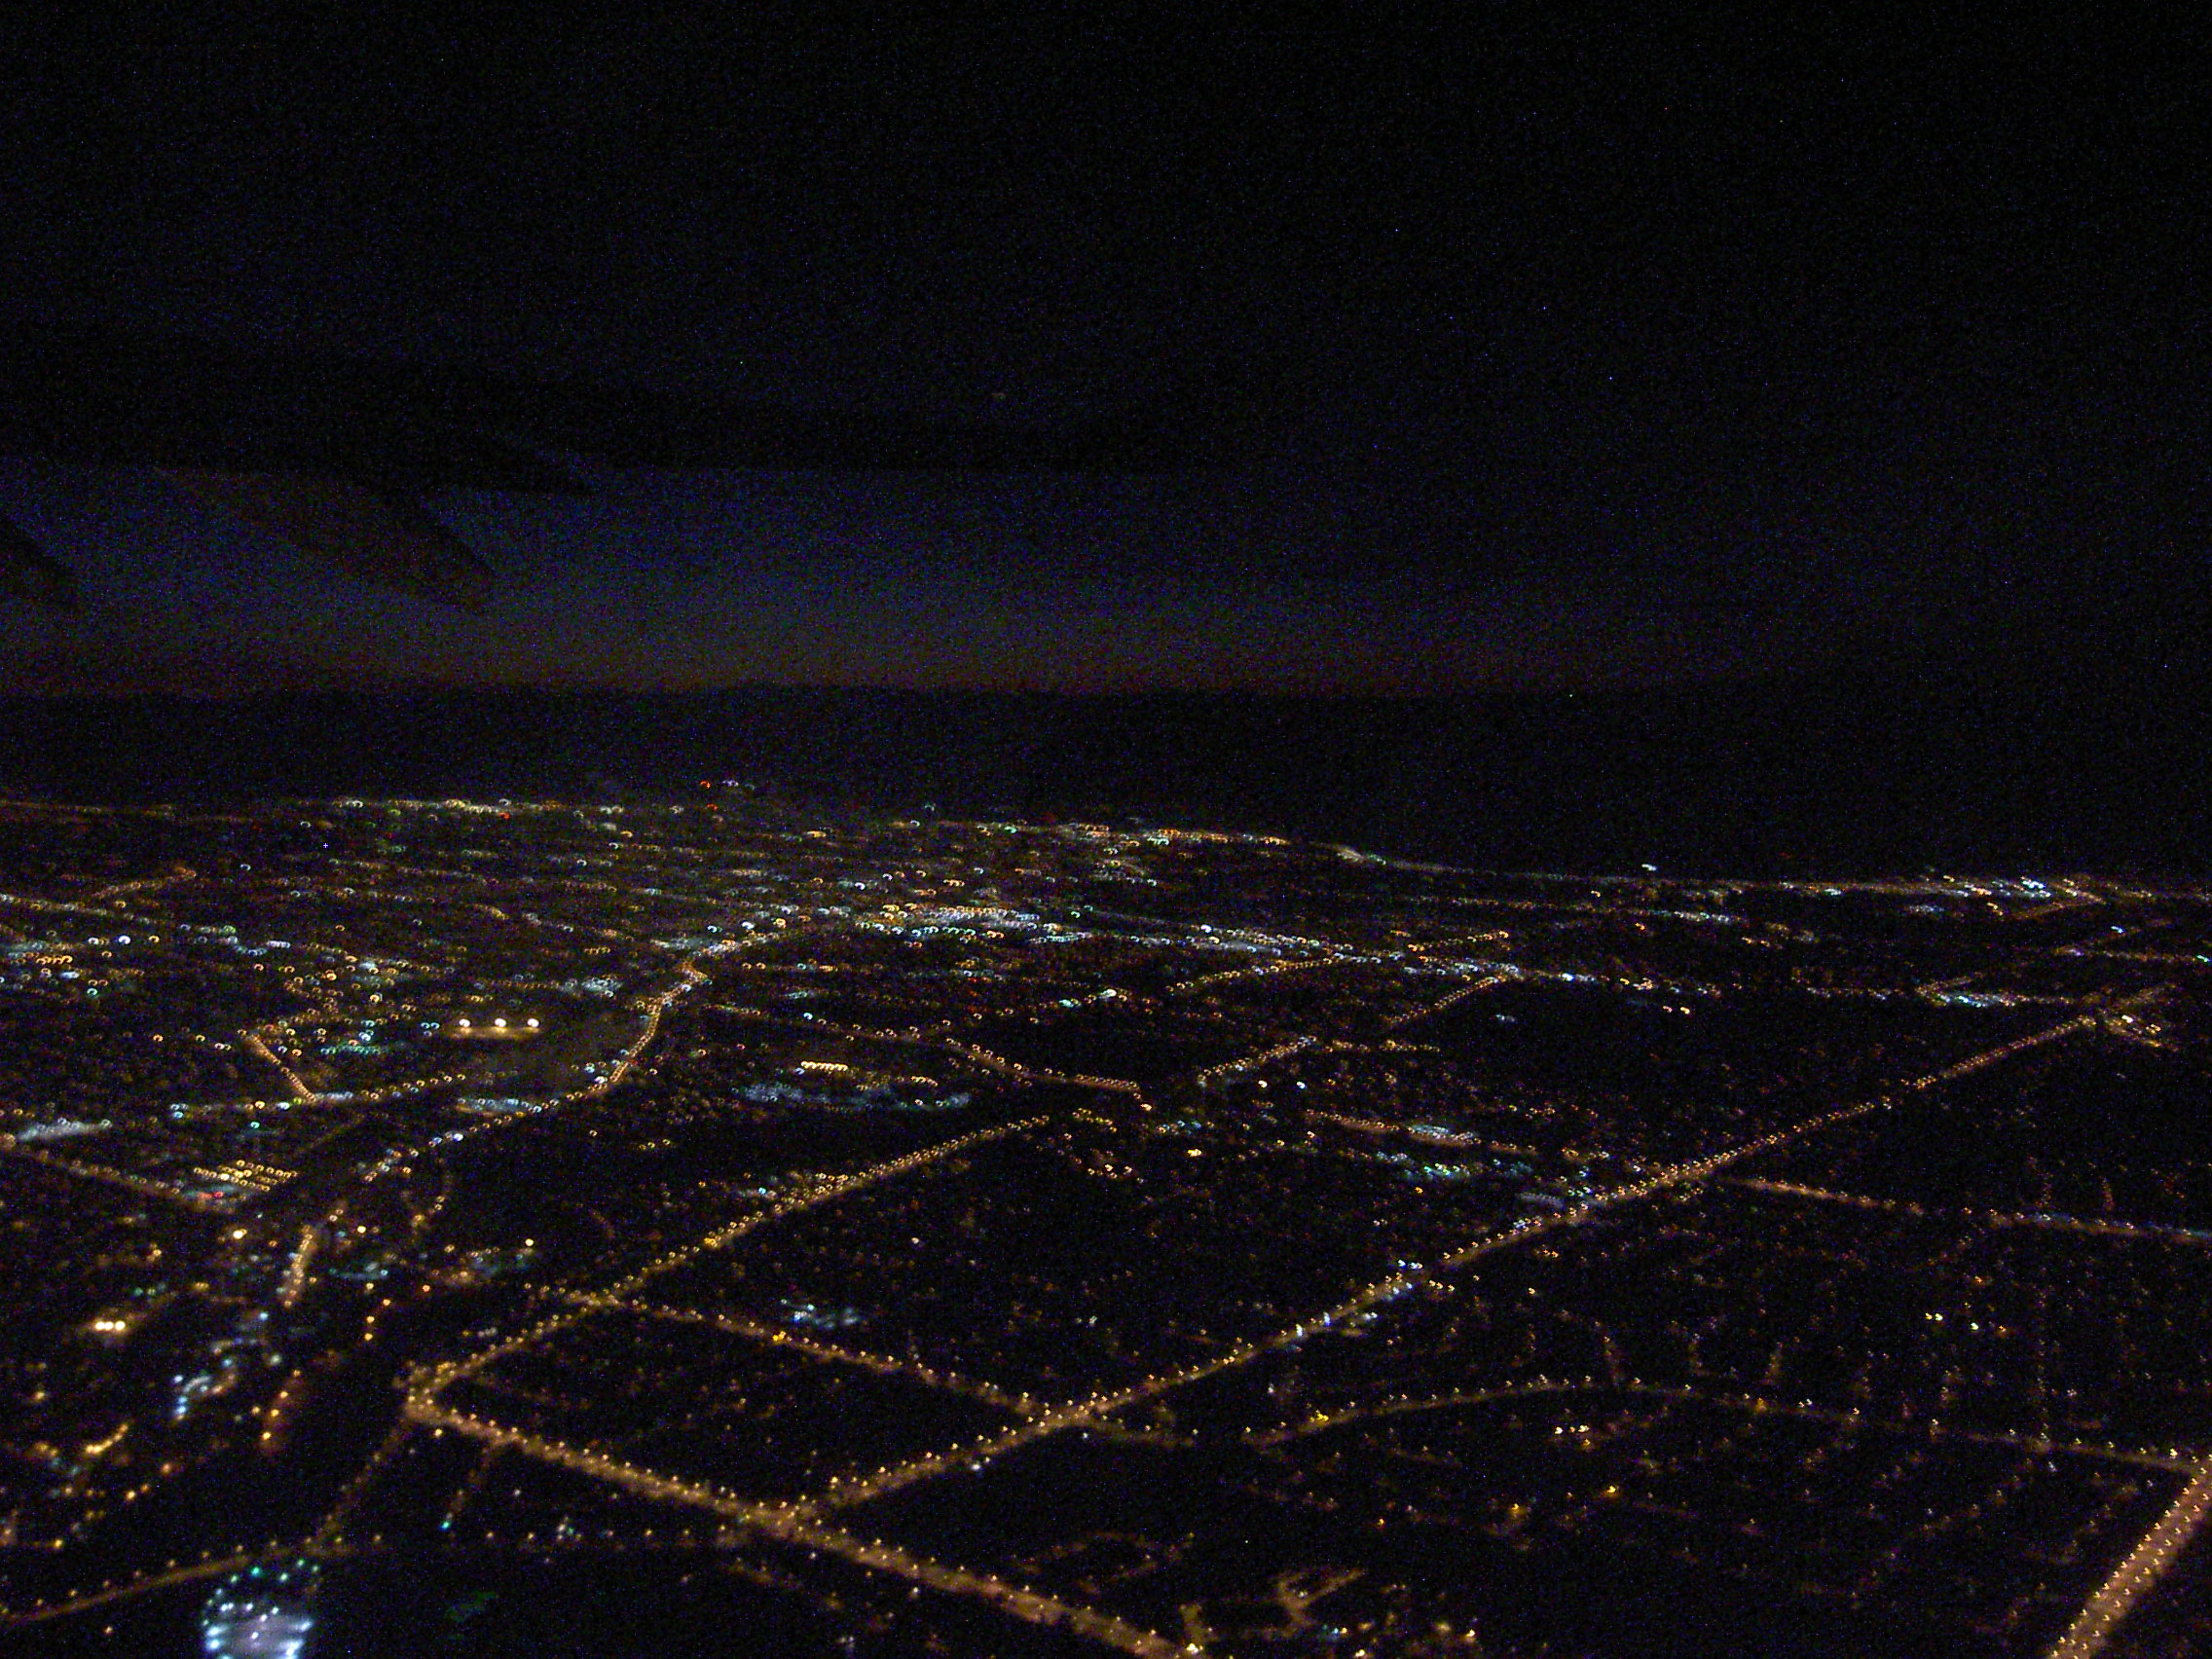
Noise is caused when you take a photograph where the camera could not accurately capture all of the pixels correctly, representing the true colors they should be. Low light levels can cause this because the camera won’t be able to actually pick up the real color properly, causing some of the pixels to be inaccurately represented.
This is easy to spot for the human eye, but not so easy for your camera to pick up on as it takes the shot, although modern technology sometimes offers ‘noise reduction’. With this technology the camera attempts to pick out pixels that are differently colored and surrounded by non-matching pixels, then eliminates them. It works well for getting rid of a lot of the specks but isn’t 100 percent foolproof.
Slow shutter speeds can also cause increased noise for similar reasons, as it allows more light to be pulled into each pixel and can thereby cause distortion in the final picture. Putting the camera into a high sensitivity setting also has the same effect, since the camera can’t actually add more light to the picture than what is naturally present. These settings can instead magnify and increase the likelihood of noise when it might not otherwise have been present.
ISO speeds are another cause of photo noise. ISO is a setting which marks how sensitive to light this particular shot will be and is usually available on an auto setting with modern cameras. The auto setting isn’t perfect though and might not be ideal for either what you’re shooting, or the style you want to shoot it in.
For that reason, many photographers will use a manual setting instead, adjusting the ISO based on how much light is available for their shot. Additionally, lower ISO settings are usually considered to give higher quality pictures, though higher ISO settings are needed if the lighting levels are low, so it’s a tricky balance to strike and there are no hard and fast rules here, other than trying to capture your shots with the lowest ISO settings possible.
Reducing the Presence of Noise in Your Shots
We’ve already covered ISO settings
and how you should be using the lowest possible setting to retain the best possible photo quality. Shutter speeds can often be adjusted in a similar way to make them faster, though this might not always be possible depending on the situation, just as you might need to use a higher ISO setting than you would like to.
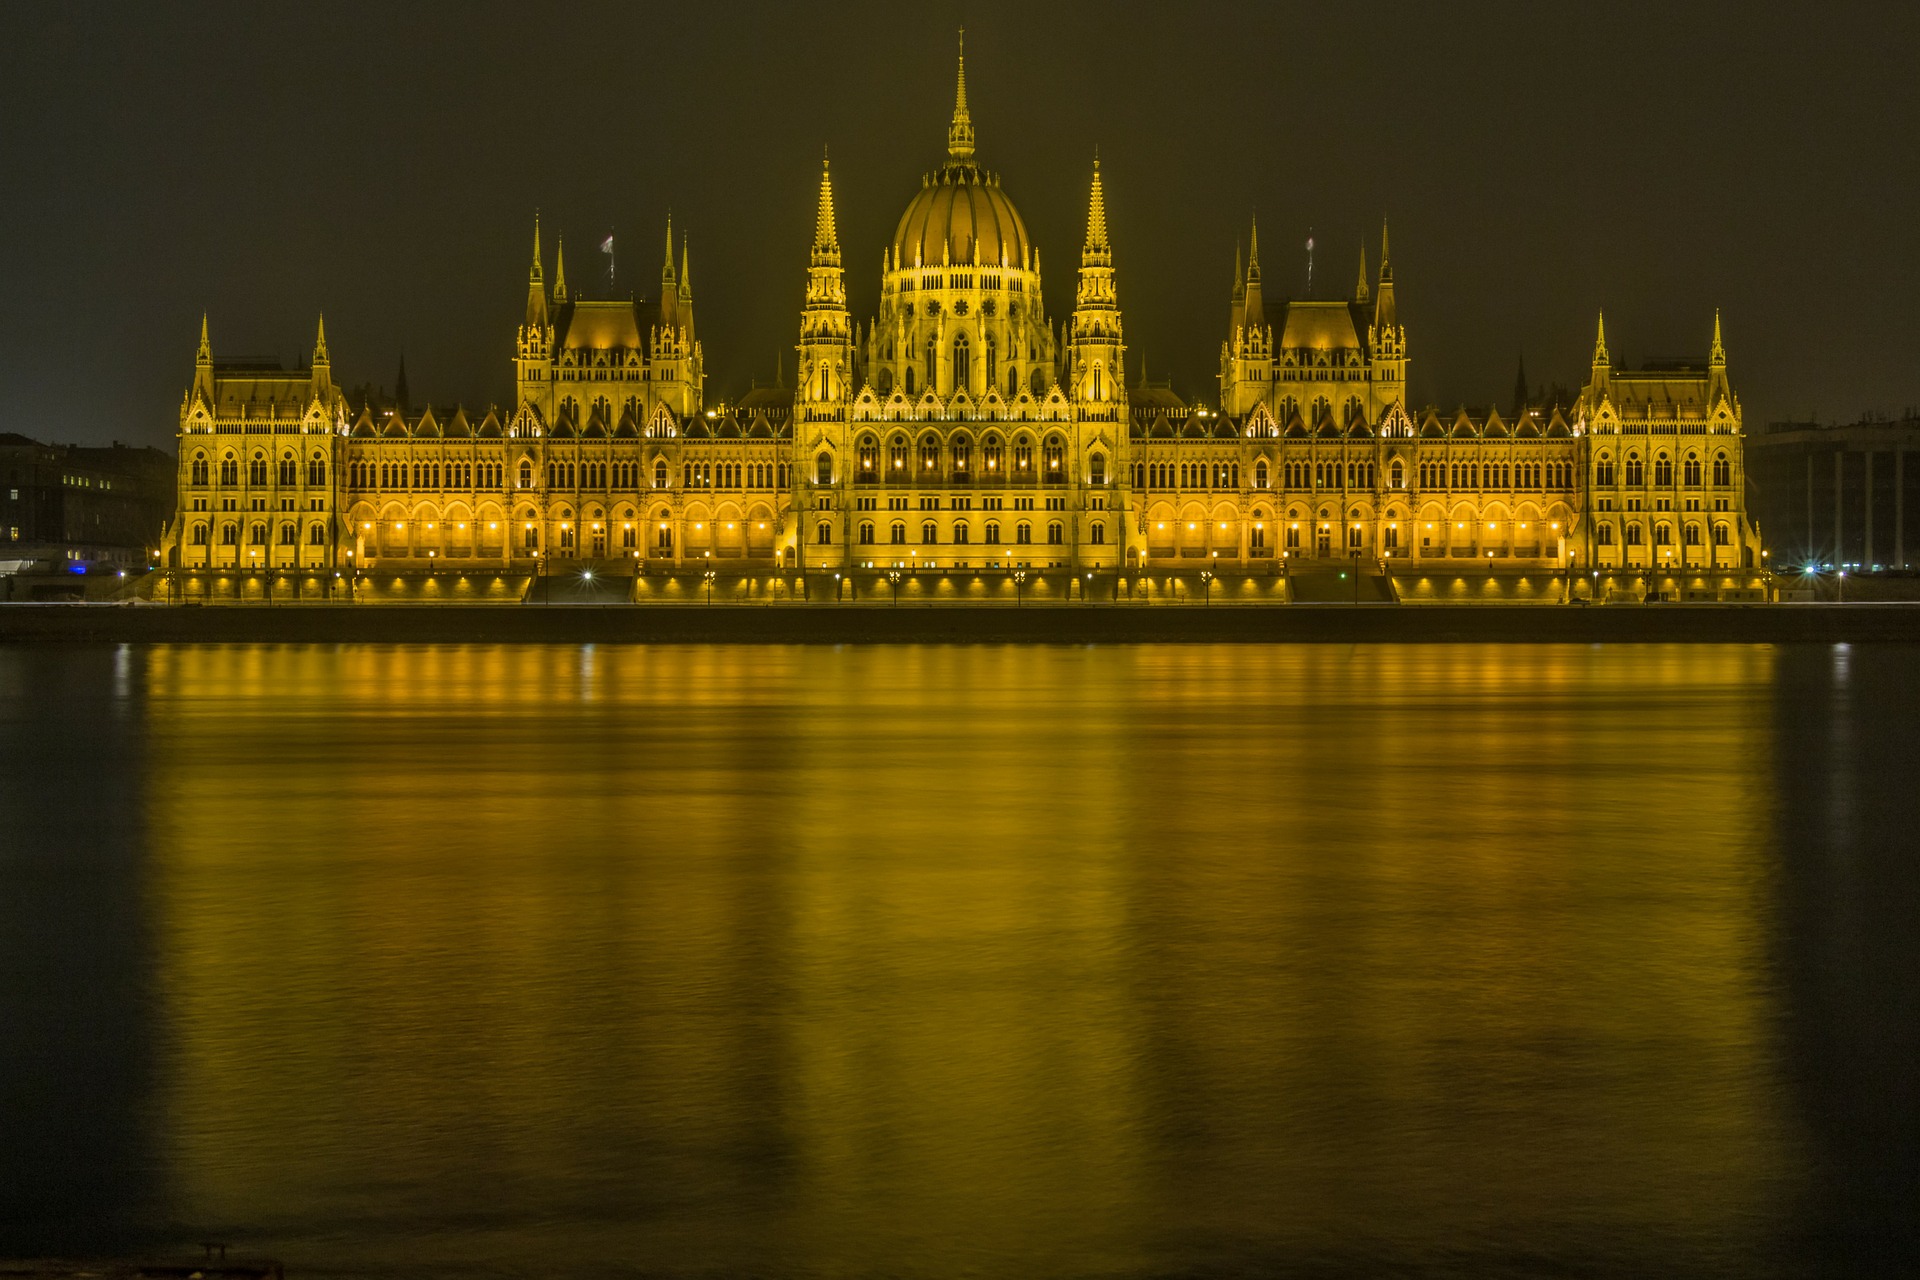
The light levels present are one of the hardest things to adjust in many situations, since you can’t ruin a shot of a landscape at sunset by adding a variety of bright lights – this just destroys your photo subject instead.
Protecting your camera from heat and also ensuring there’s no heat or mist between you and whatever you’re photographing can also help to reduce noise, since it reduces distortion. This even extends to storing your camera at a reasonable temperature since heat can distort its sensors and how it captures the details of images.
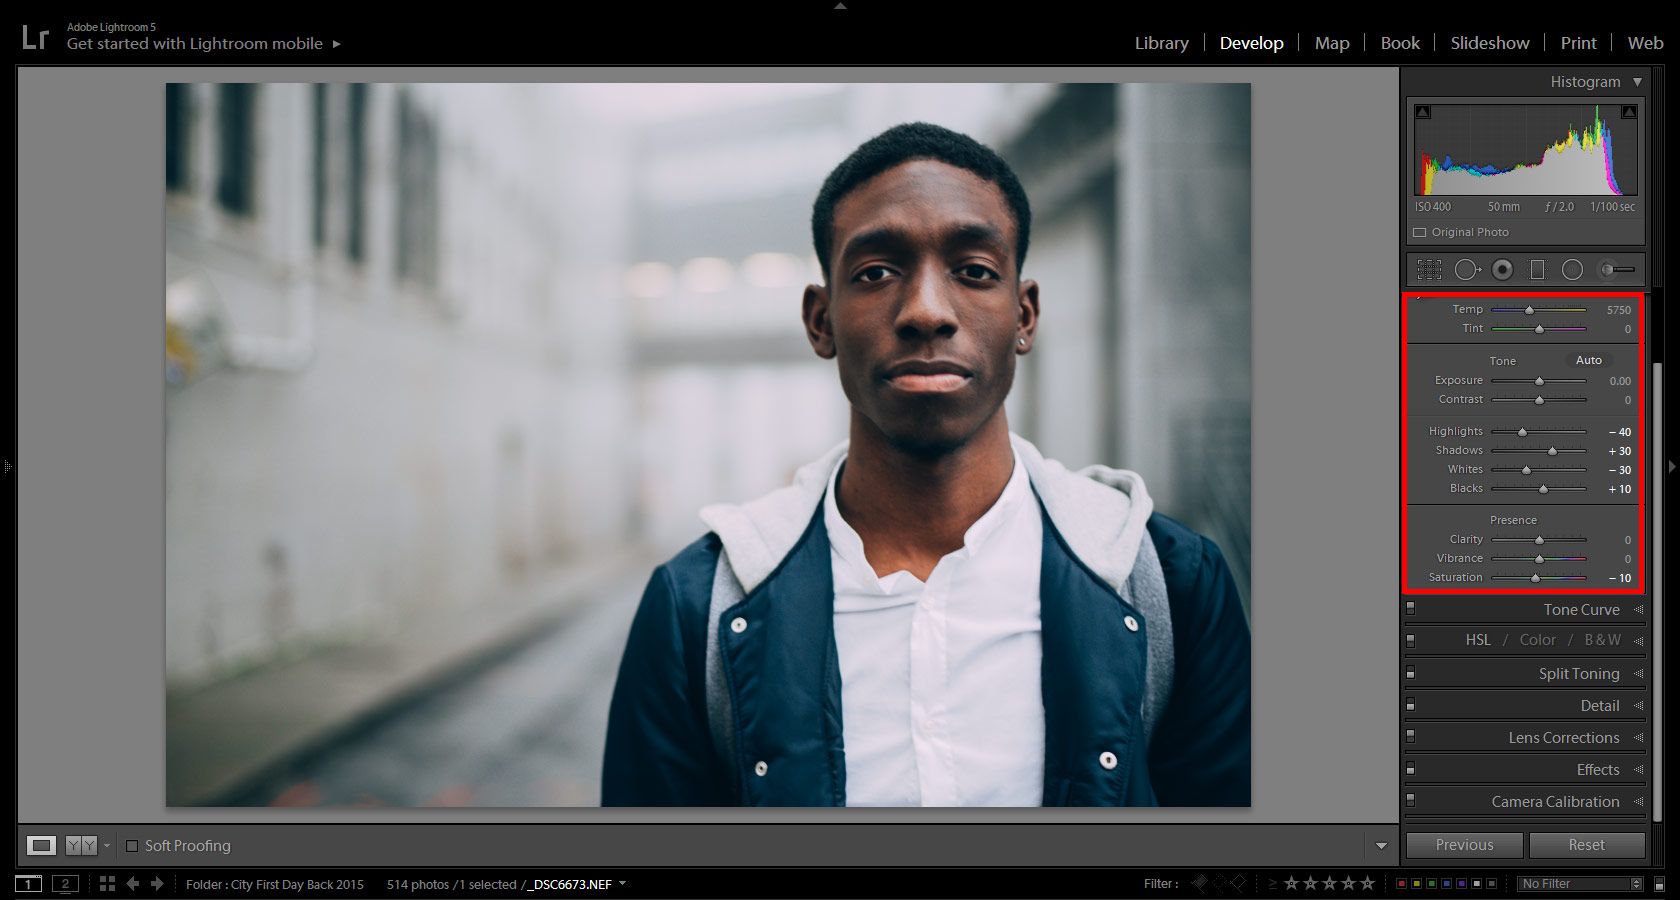
If your camera has the option to shoot using the .raw file format instead of .jpeg it can be an advantage to switch to that mode instead. Jpeg images already have compression applied to them in order to keep file sizes down and save space, something that can actually increase noise. Raw formats do not do this, not to mention that they are often more flexible when it comes to editing with the use of computer software.

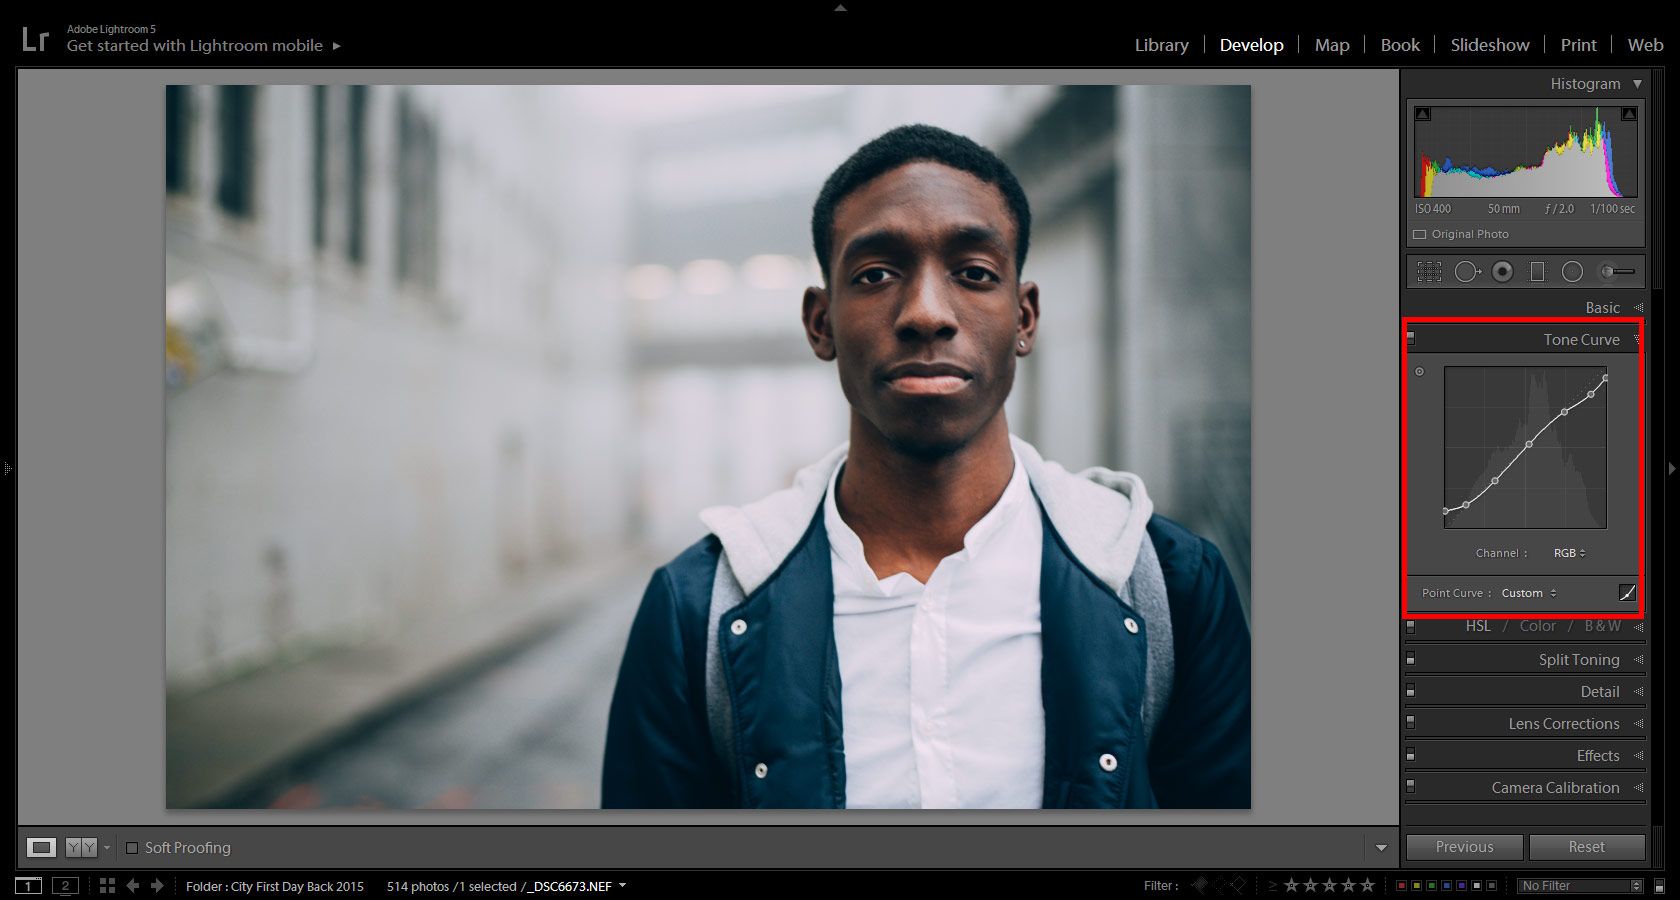
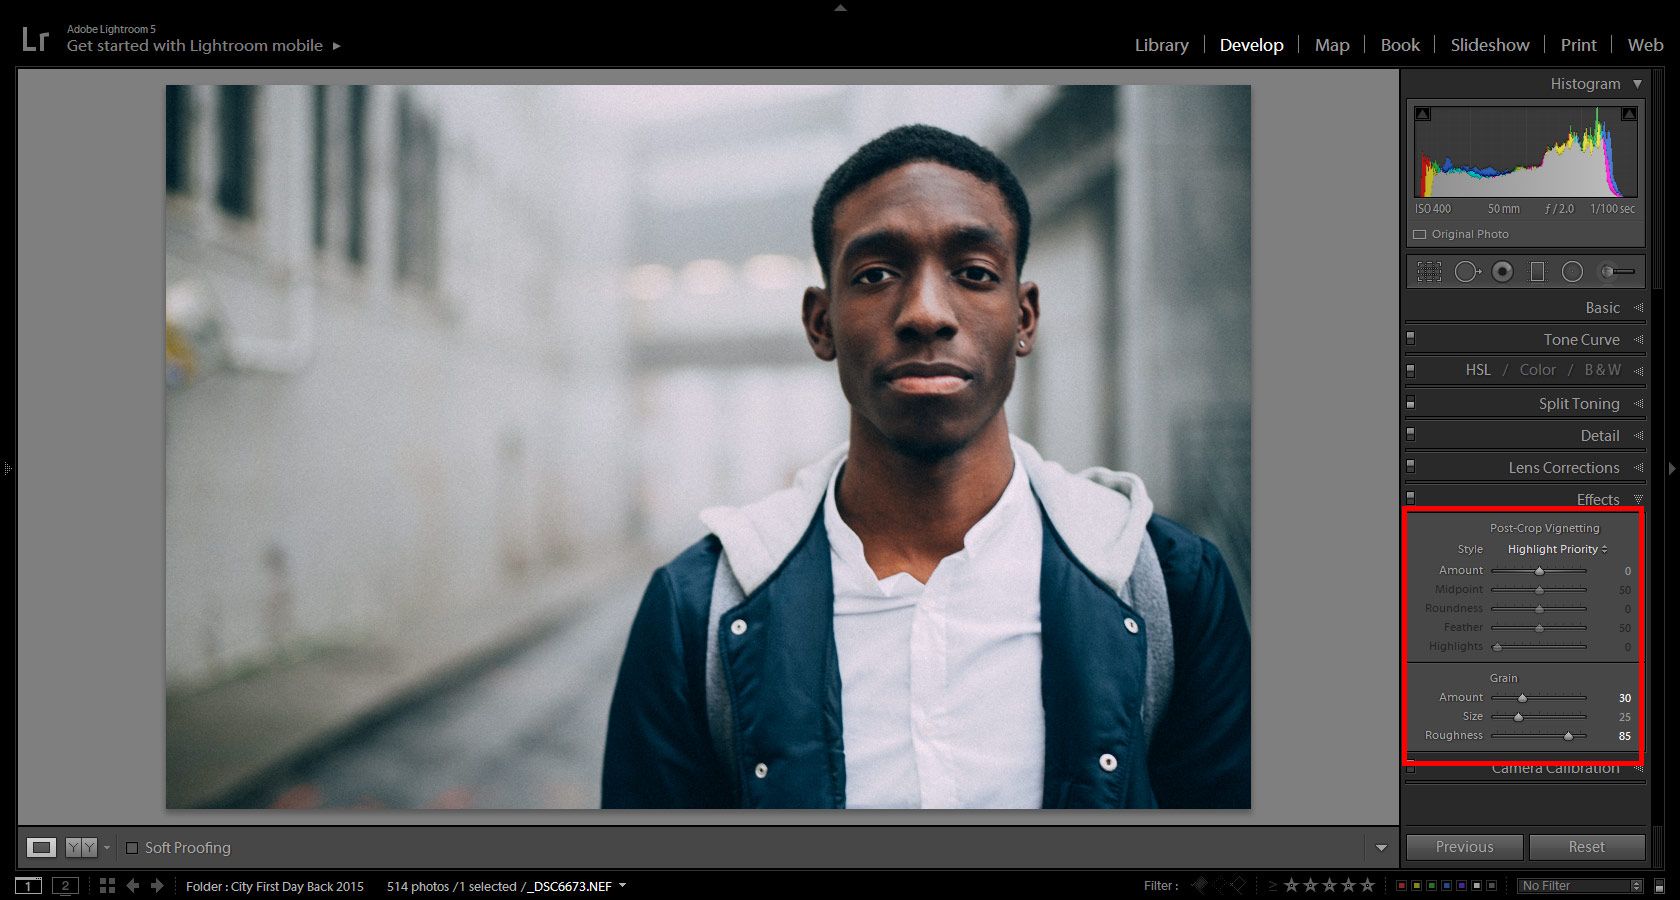
Speaking of software and editing, this is another great tool for getting rid of unwanted noise. Good software will allow you to manually remove noise and match pixels to those that surround them, giving you much smoother finishes when required. This is especially great if the noise is on areas that should appear close to uniform in color, and works very well to get rid of lesser amounts of noise when combined with the previous techniques.
It can be quite time consuming if you ignore the above tips and try to do it all at the editing stage though, so try first to prevent the noise from occurring with our suggested techniques. This way you can get rid of the stray bits using editing software and save yourself a lot of time and hassle.

 Facebook
 Google +