One of the new features behind the upgrade of Photoshop CC to its 2015 version is this brand new “Dehaze” tool, but why is it really important for our postproduction workflow in Photoshop?
Let’s imagine that we have an image like this one

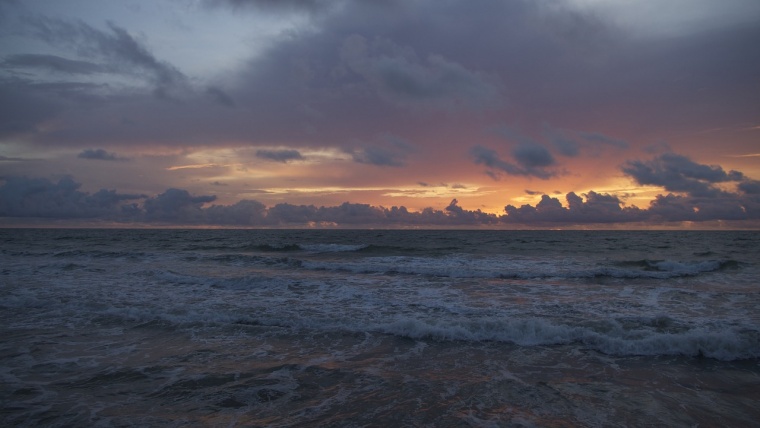
We can notice the huge amount of fog/haze visible in the scene, but we can’t think of shooting the picture again either because it isn’t convenient or because we did it while travelling. Instead of discarding the picture, we can recover the detail hidden behind the haze by using Photoshop to achieve a result like this one on the picture below.
You may say that Photoshop was able to make such adjustments since long ago, and that is completely true, except for the part that it was time-consuming for each image, which won’t serve efficiency purposes if we have to process a large bulk of images.
The Dehaze tool in Photoshop actually becomes a huge advancement in professional photography workflow, not only for becoming part of Adobe Camera RAW adjustments, but also for allowing users to either add or remove haze in only a few seconds.
Select the picture you want to apply the adjustment and duplicate it with the command CTRL+J. A new copy of the background layer will now become the active layer.
Access the Adobe Camera RAW menu by going to Filter>Camera RAW Filter. In there you need to locate the Effects tab for accessing the Dehaze options.
In a very familiar way for Lightroom users, Dehaze works with a slider which, if you happen to move it towards the right side you are going to remove Haze; whereas if you move it to the left you are going to add more Haze to your image.
This adjustment sets a whole new dimension into photography post-work in Photoshop and can be regarded as a fancy tool to use, if you are not yet ready to switch to Lightroom for managing your postproduction work.
Notice how the dehaze effect darkens the image while bringing detail if you move the slider towards the left. That is something you ought to take into consideration if you are working with underexposed images or with scenarios like forests, as the increase made in Contrast will end up making areas look completely dark.
On the other hand, when you increase the amount of haze, despite becoming more blurry, the image will also lose a considerable amount of pigment in the process.
This tool merges under the same several effect parameters that Lightroom handles independently such as Clarity, Contrast, Vibrance and much more. If we want to picture this kind of adjustment in Lightroom, we could label it as an All-In-One preset with the possibility of adjusting its intensity.
Keep in mind that Adobe Camera RAW adjustments are meant for advanced users with plenty experience in postproduction work, so I would advise you to first gain some knowledge on how to make these settings work prior to dealing with them, if you want to accomplish a quality end product.
Good luck and keep editing!
PS: In case you can’t find the Dehaze adjustment at Adobe Camera RAW menu, please make sure you have the latest up-to-date version of it – Current version is 9.2, and the update is packed with Camera RAW 9.1
Here is another cool Photoshop tutorial about glass effect photoshop.


Please verify your software version before proceeding.
 I’ve verified my software version


 Facebook
 Google +
Comments (0)
There are no comments yet.