Tag: film

The Gift of Film: A Photo Challenge

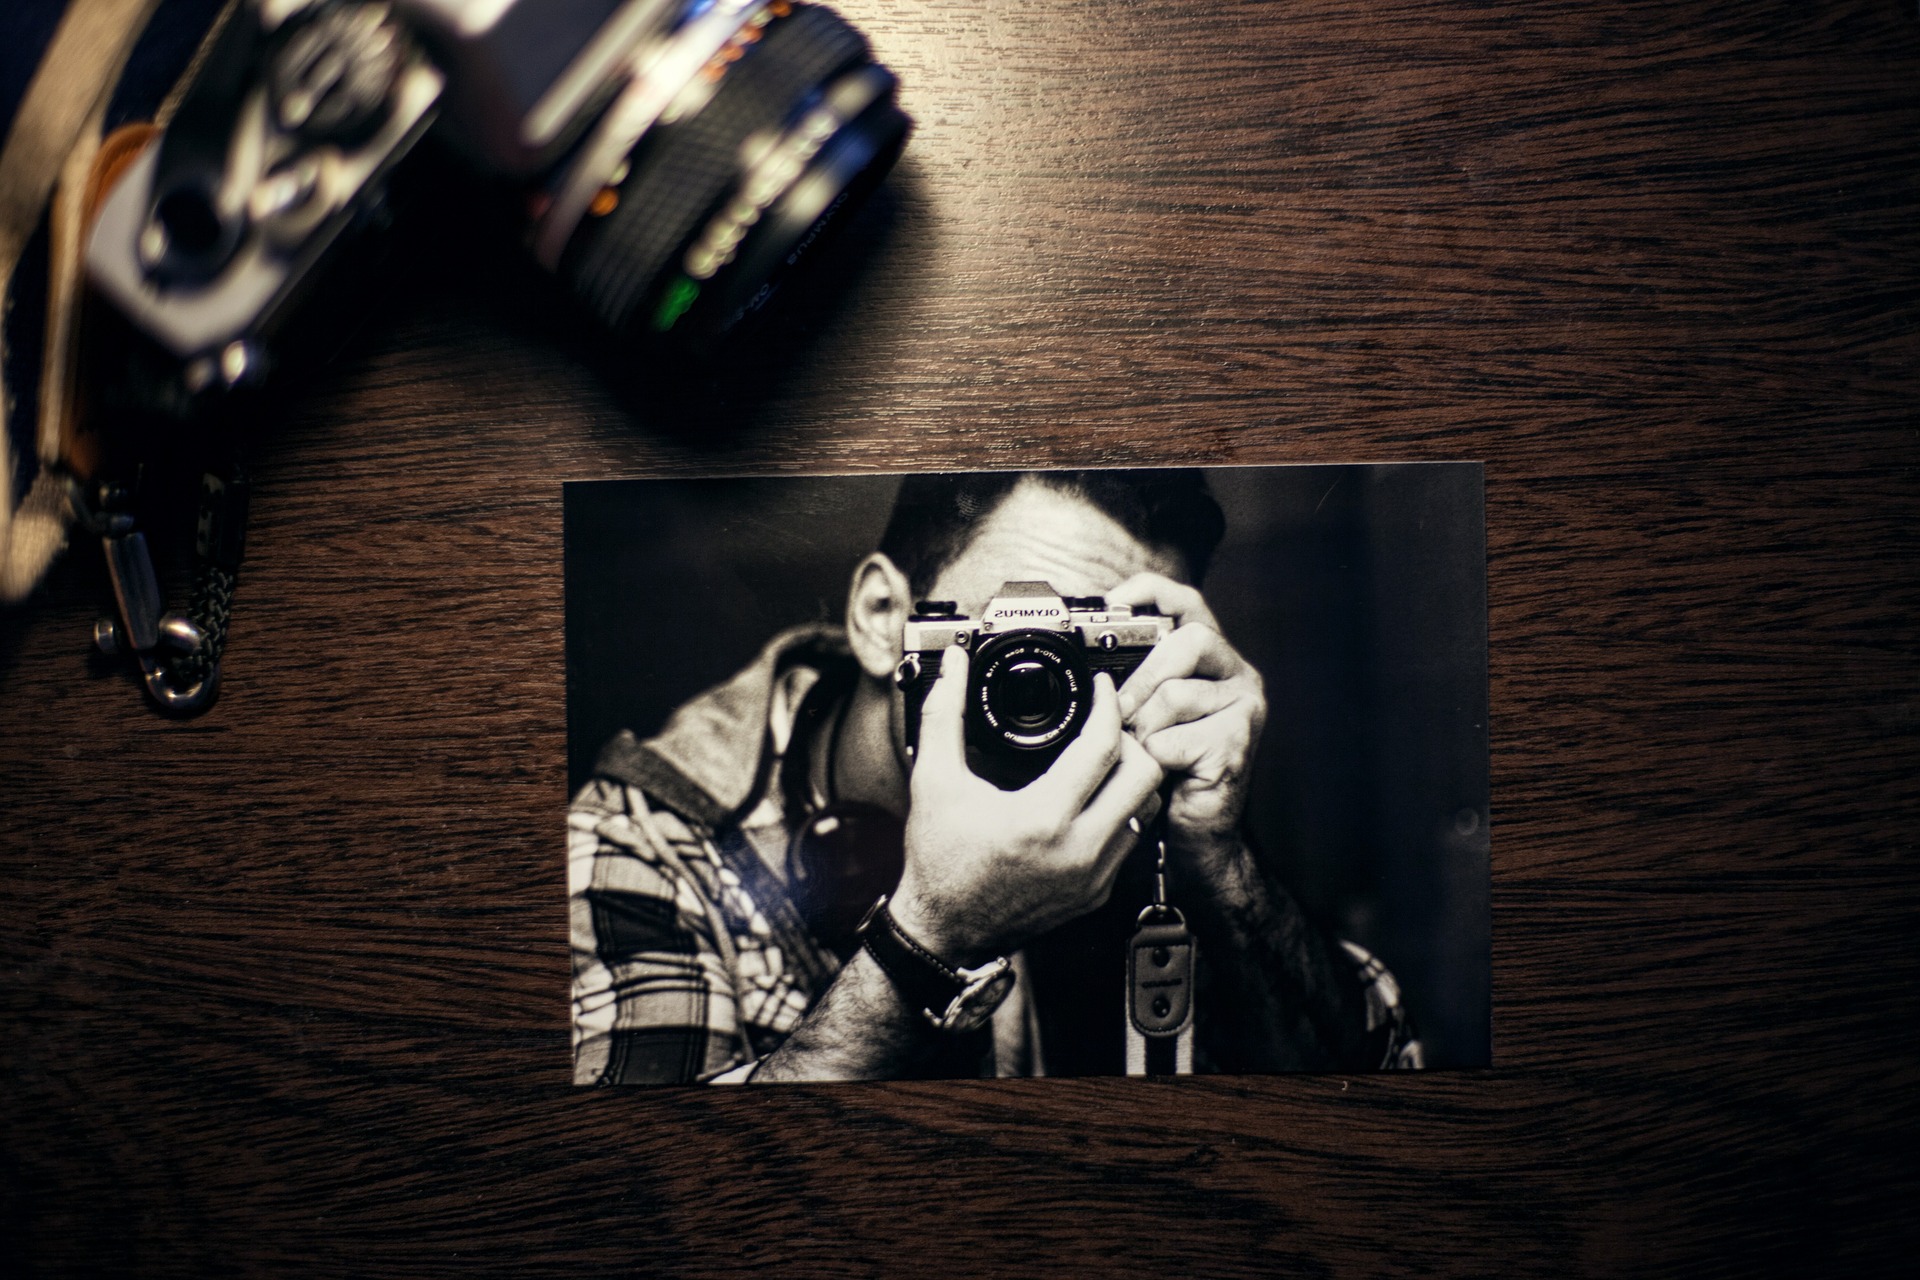
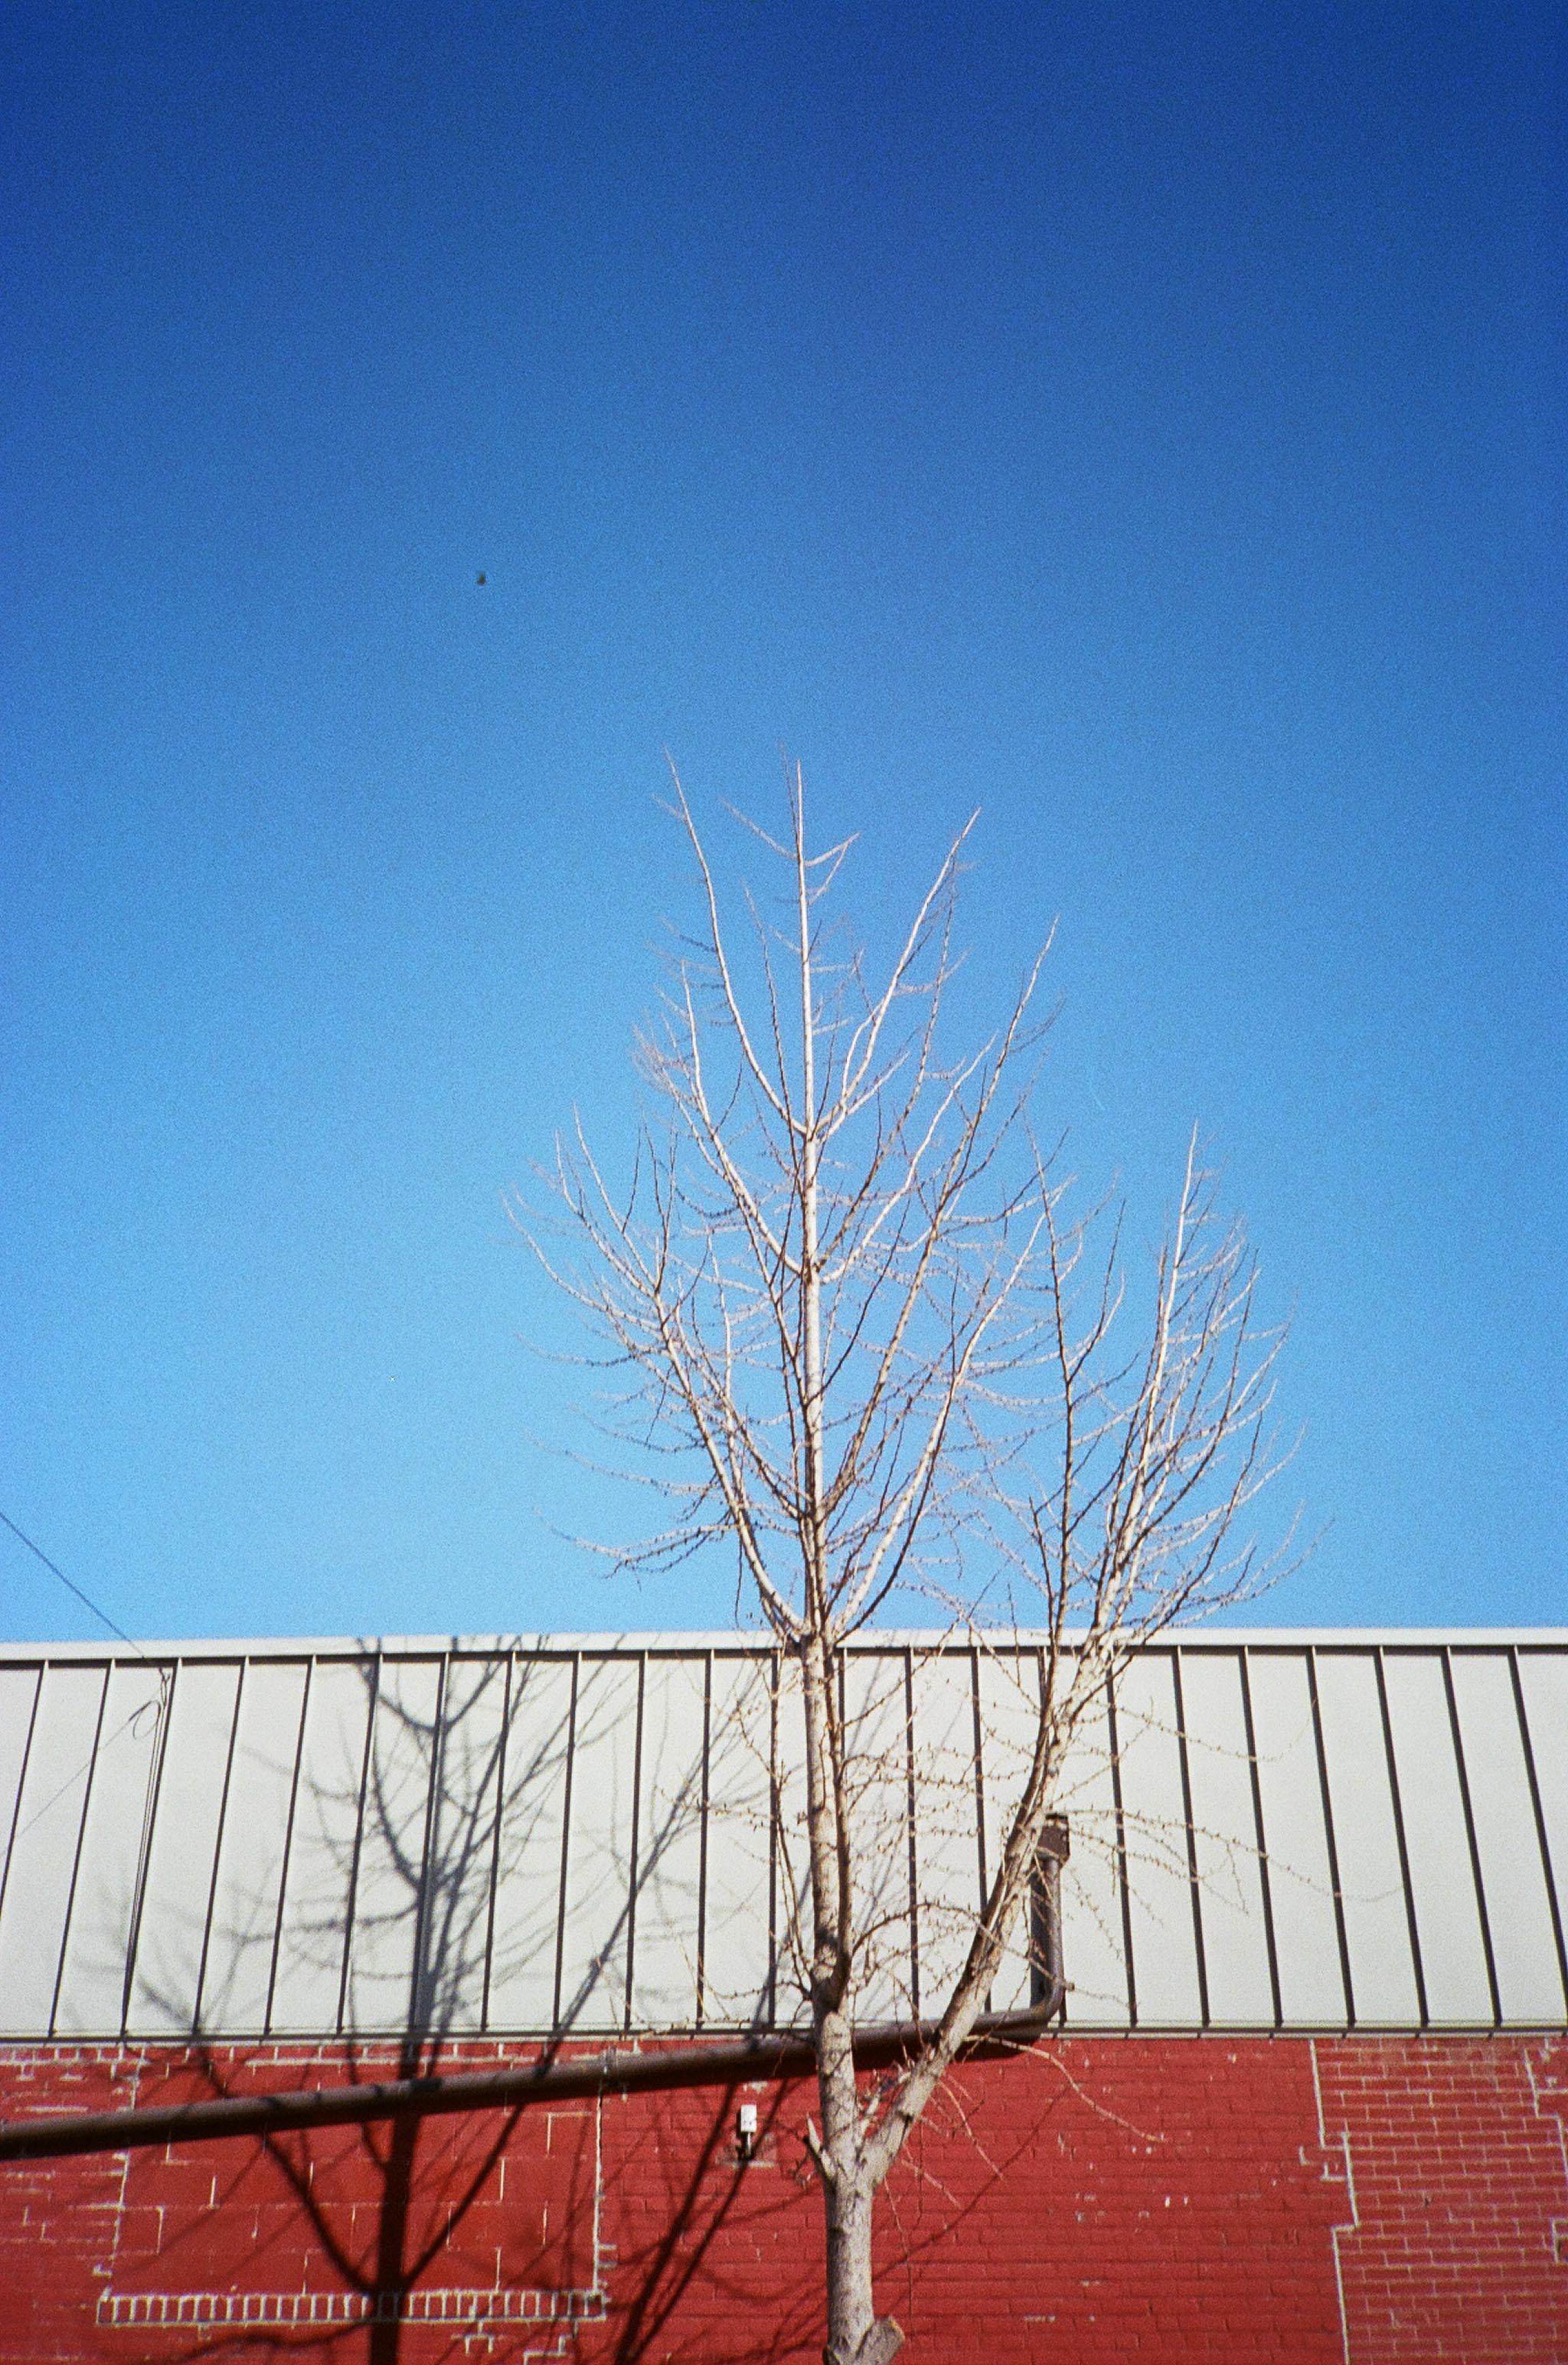
In an age of digital cameras, I challenge you to go to your nearest thrift store and grab an old-school 35mm film camera. If you wanna get fancy you can even go for a medium format classic camera to make it more interesting.

Going back to basics and learning the ins and outs of an old-school, fully mechanical camera, can teach you so much about how a camera actually works. It can also fully change the way you approach taking an image due to the fact that a film (or analog) camera forces you to work through your settings before clicking the shutter.

What To Look For

Film

When you go online or to your nearest thrift store and start looking through all your options, how do you choose? It’s good to go with tried and tested cameras that have proven their durability and reliability over time. It will be rare to come across a never used film camera.

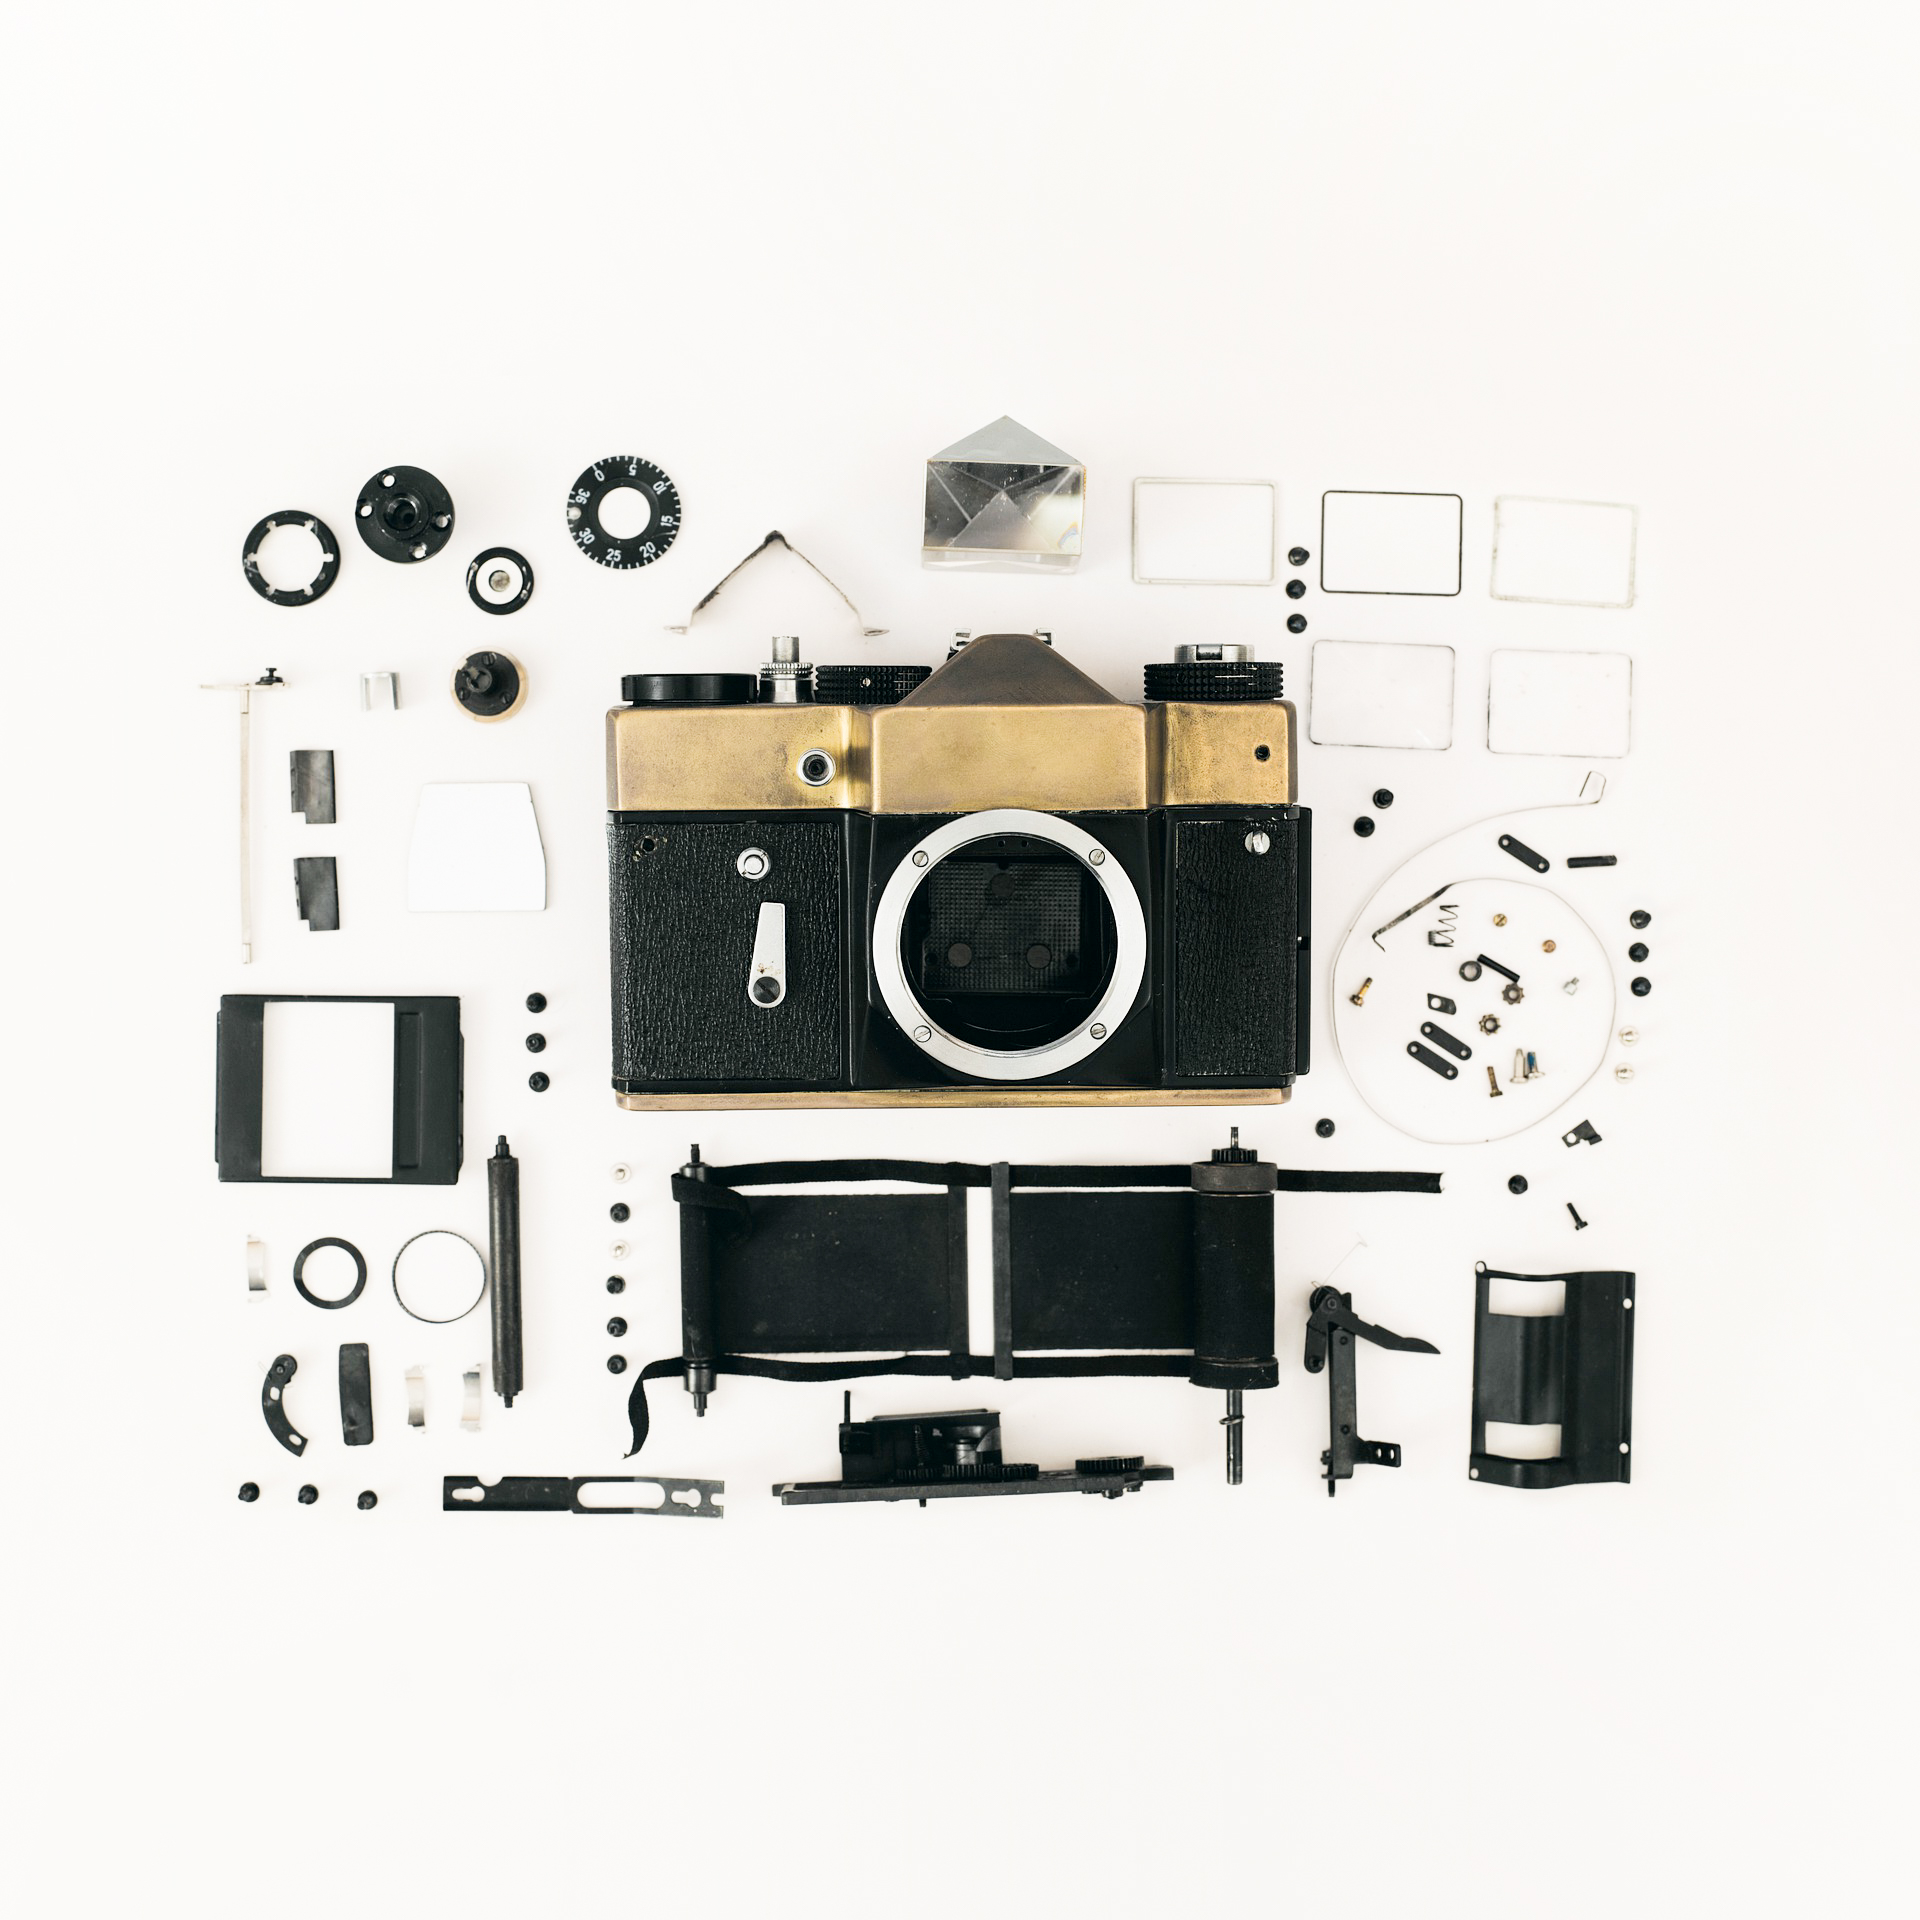
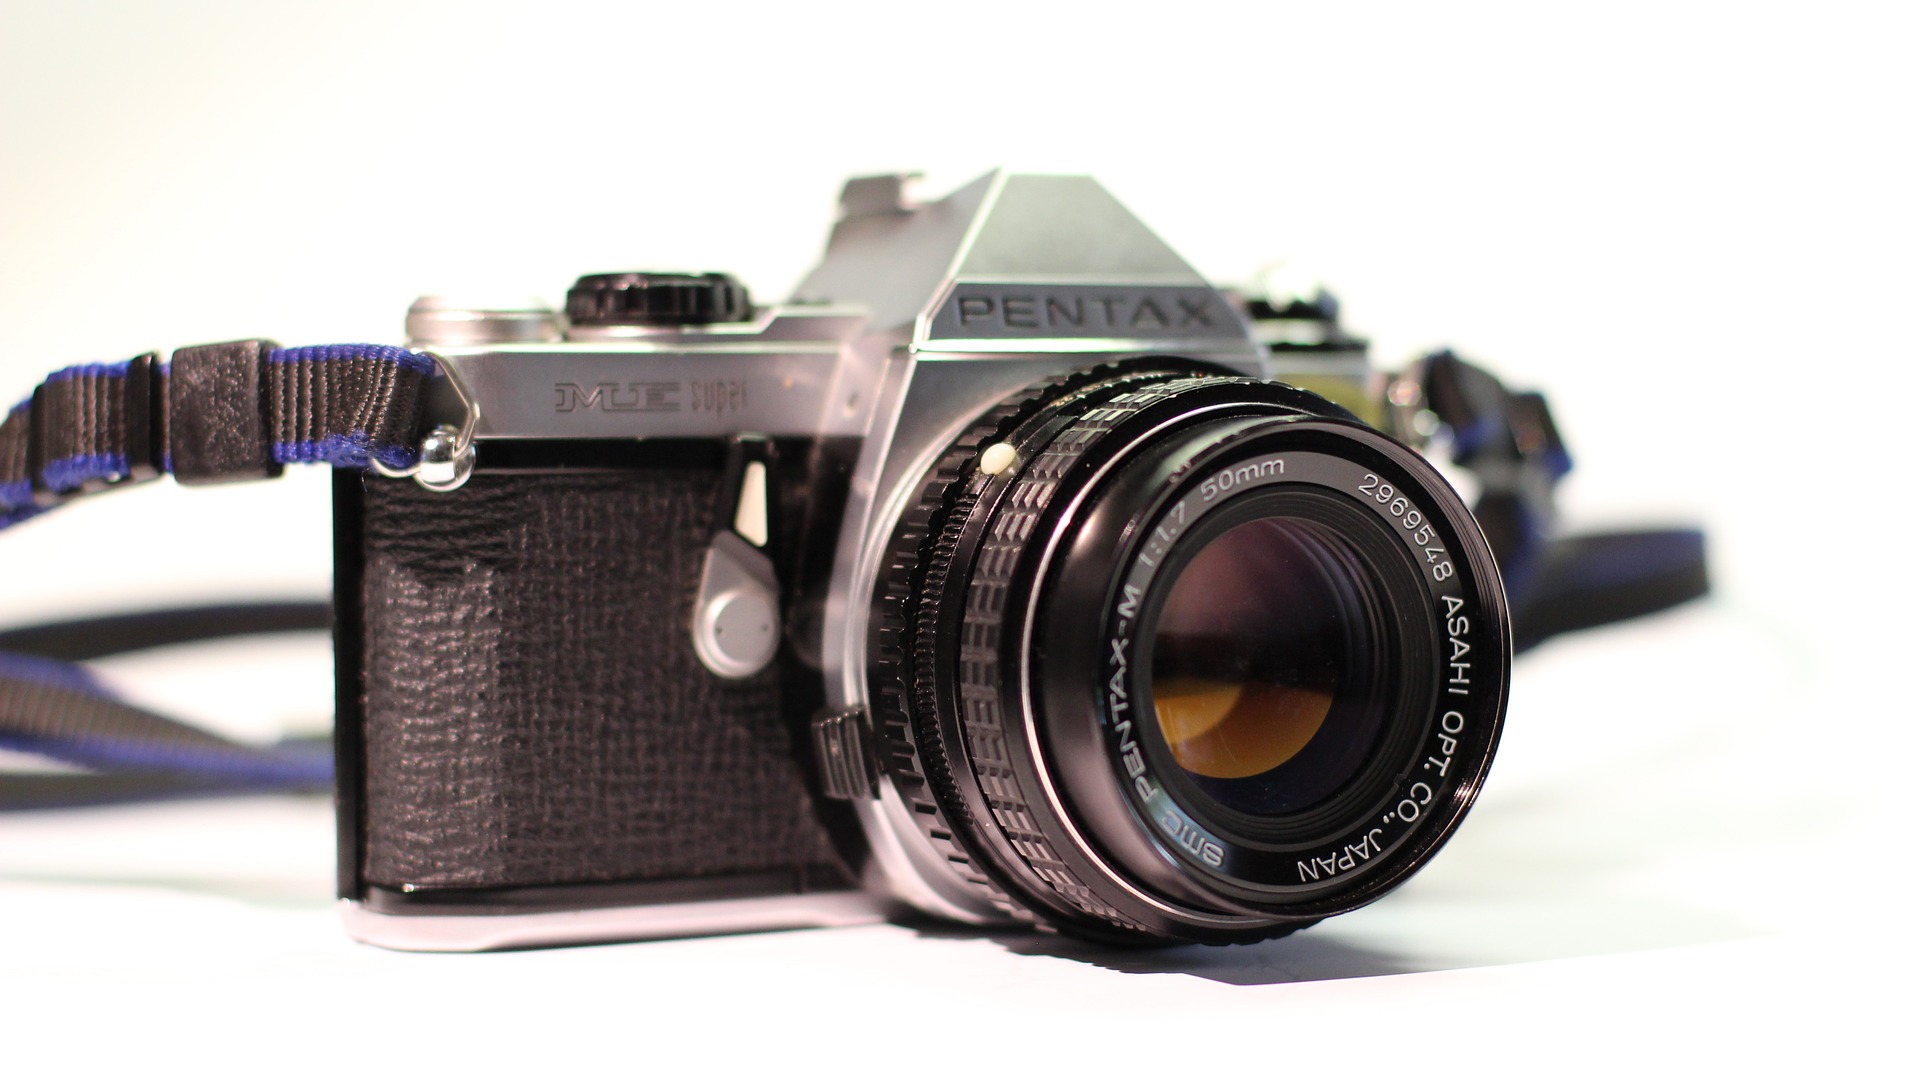
Some cameras that have proven to be incredibly durable are cameras such as the Canon AE-1, Nikon FM2, and the Olympus OM-1. These three cameras are all durable, easy to use and come with an impressive line of lenses; the latter two don’t even require any power to function. Some of their lenses, even by today’s standards, are still incredibly sharp and can be used with adaptors on modern day digital cameras.

Once you’ve found a camera you like it’s good to test the slowest and fastest shutter speed setting to make sure the mechanics are working properly. You’ll then want to open the back of the camera and make sure the sprockets that advance the film are not jammed. Close the camera and make sure it closes properly allowing no light through. This is extremely important because any light that leaks through can ruin your whole roll of film. Look through the viewfinder and inspect the body for cosmetic damage or rust.

If it comes with a lens, you’ll want to click through all the various aperture settings to make sure they open and close properly. It’s also good to inspect the lens for any mold or mildew that might be inside the lens itself.

If your camera comes with a light meter, you’ll want to test it with batteries a well. A light meter will aid you in creating properly exposed images.

The cool thing is you can pick up a really solid quality film camera these days for practically nothing. I personally own an Olympus OM-1n with a 50mm f1.4. I picked it up off Craigslist for like $80 and I love it!

Choosing Your Film

Film

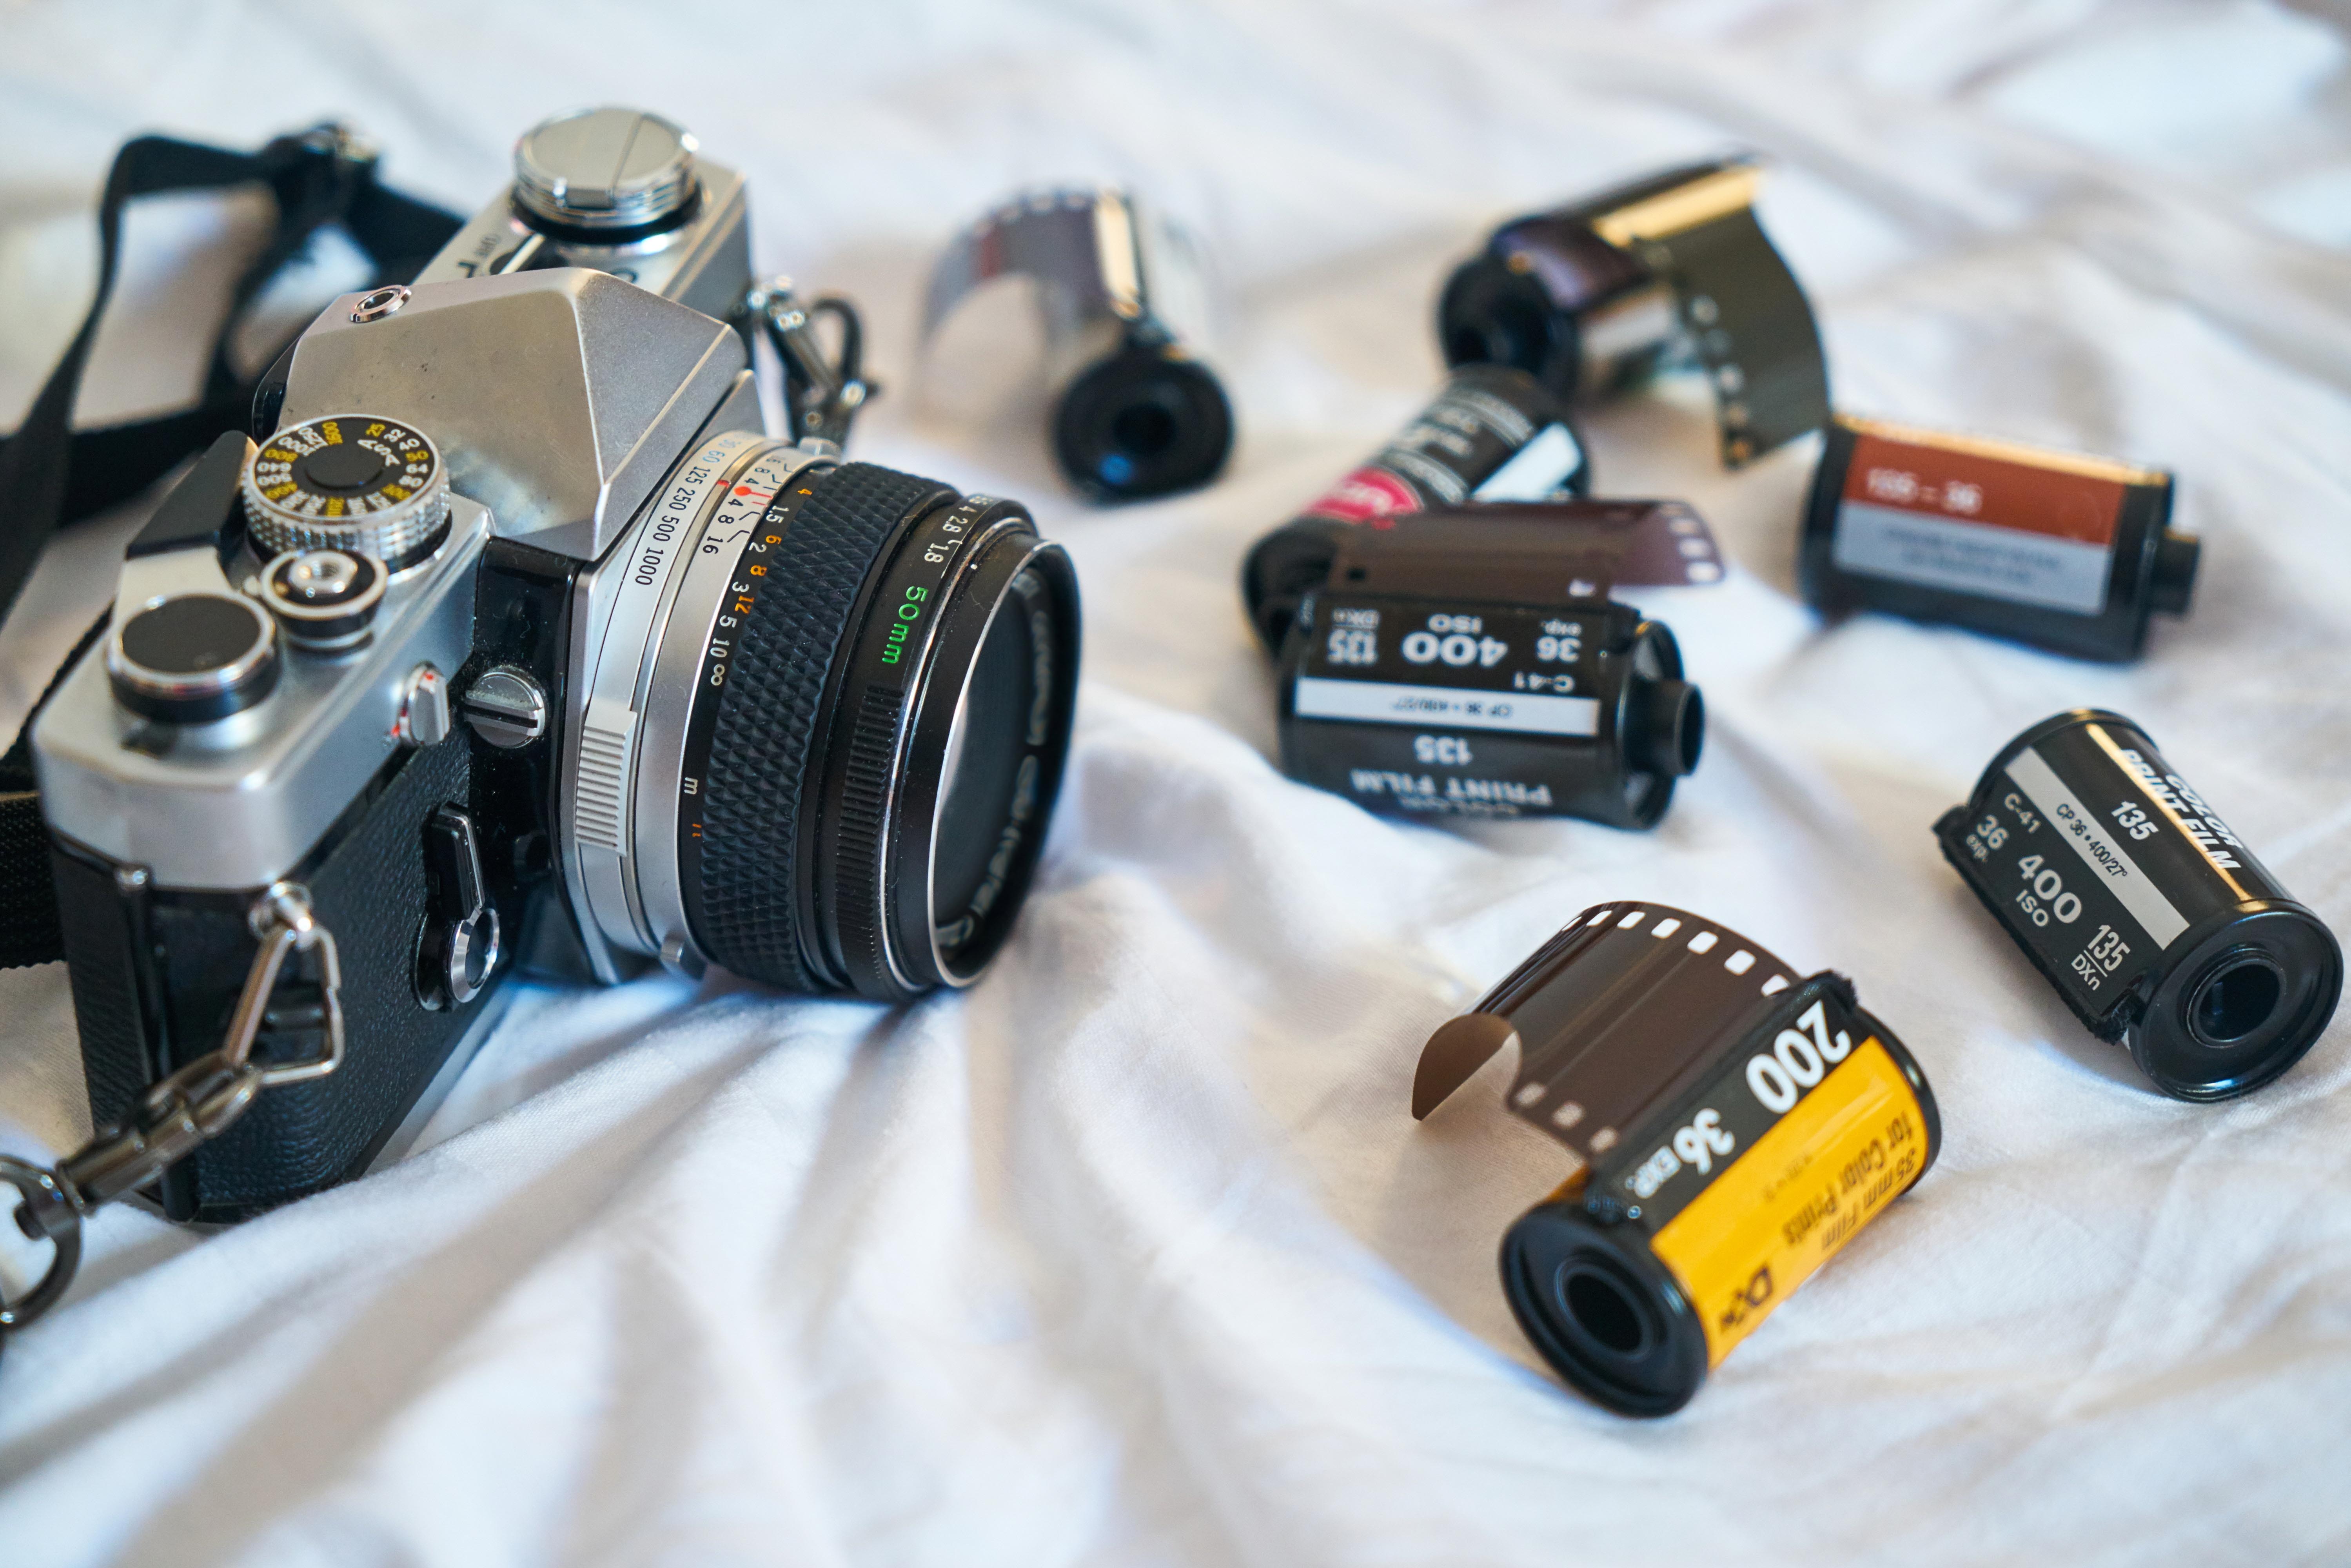
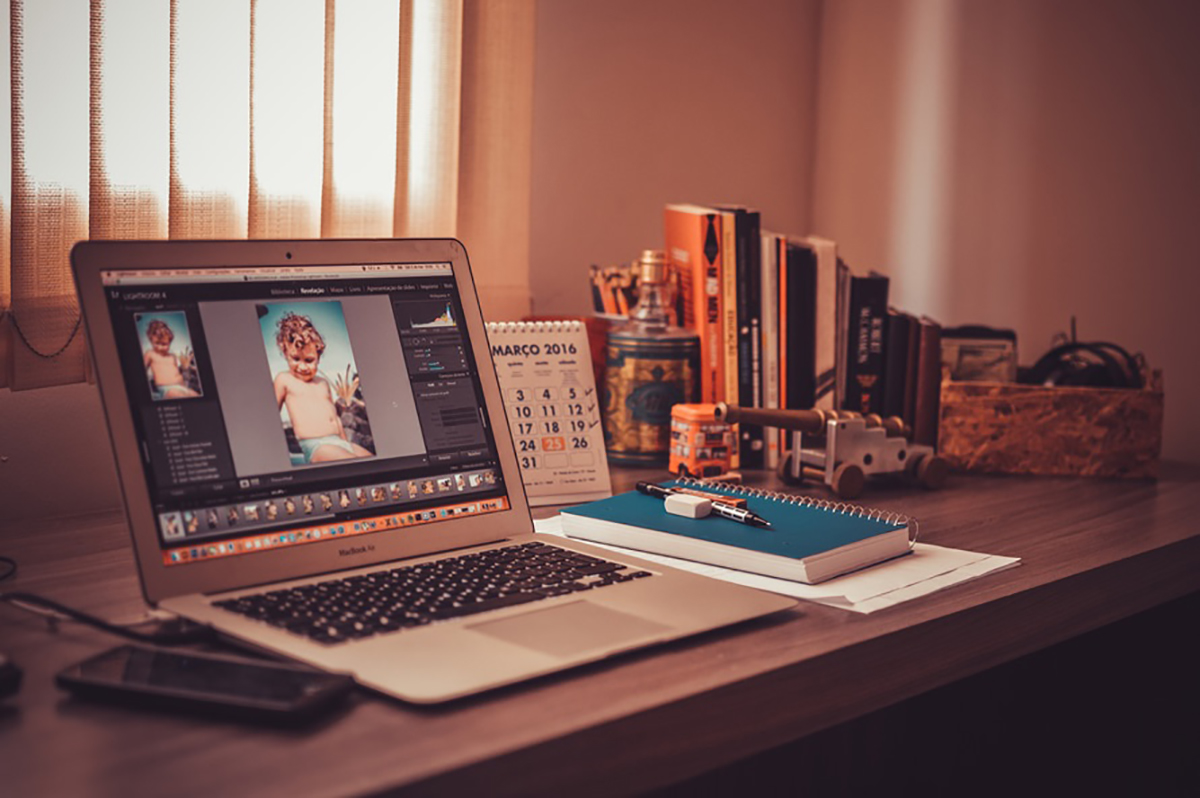
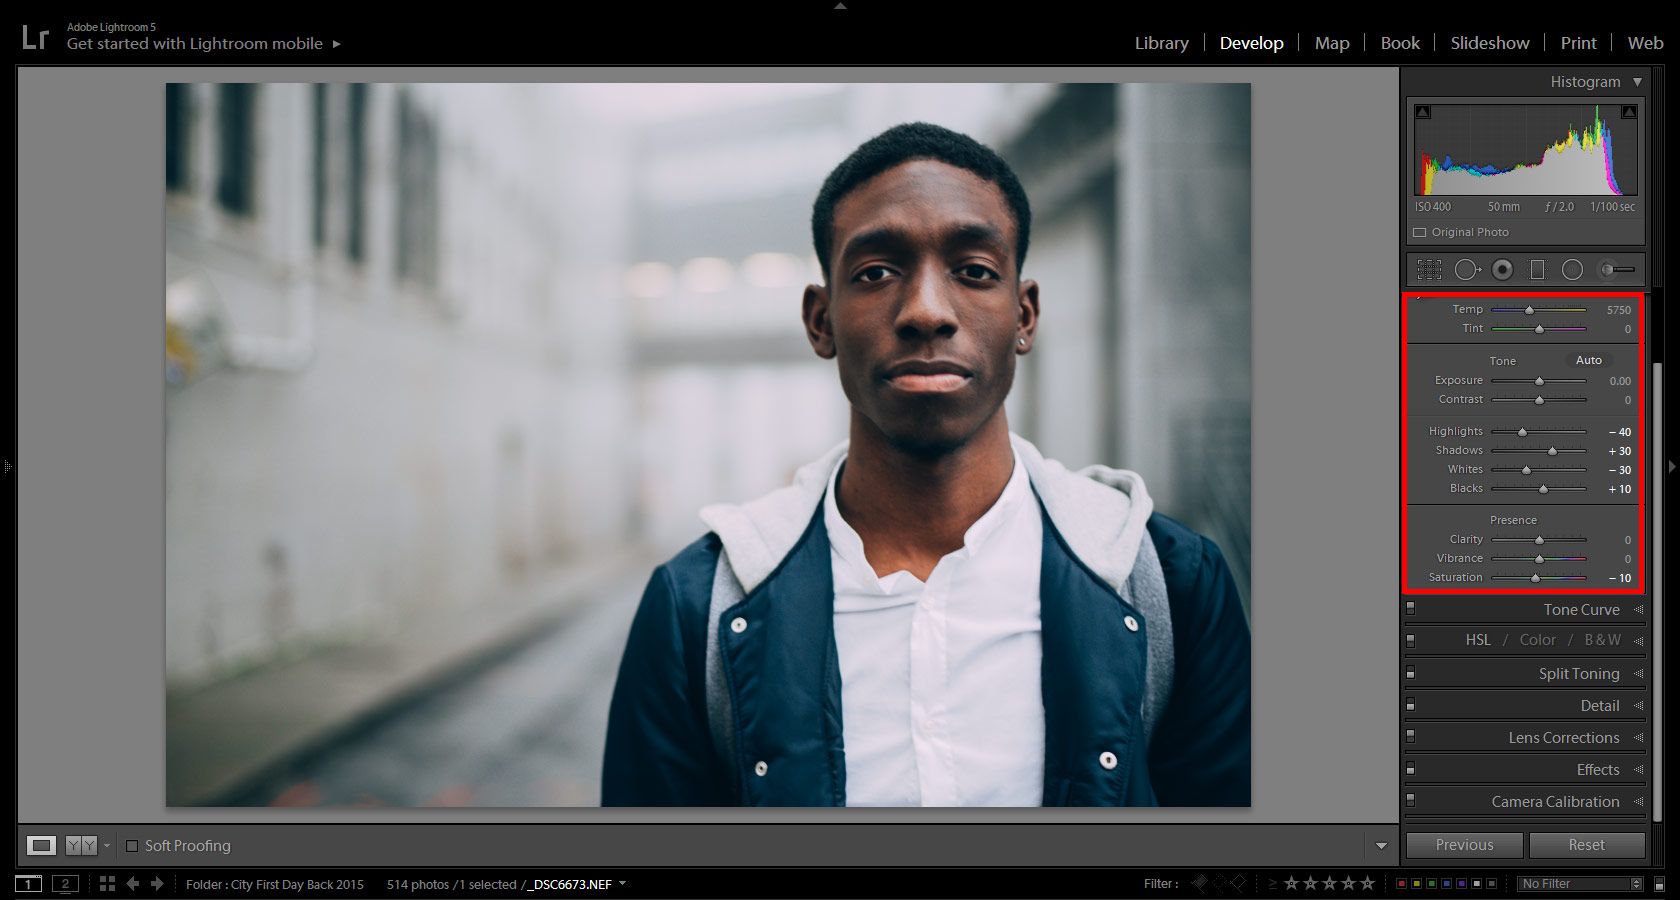
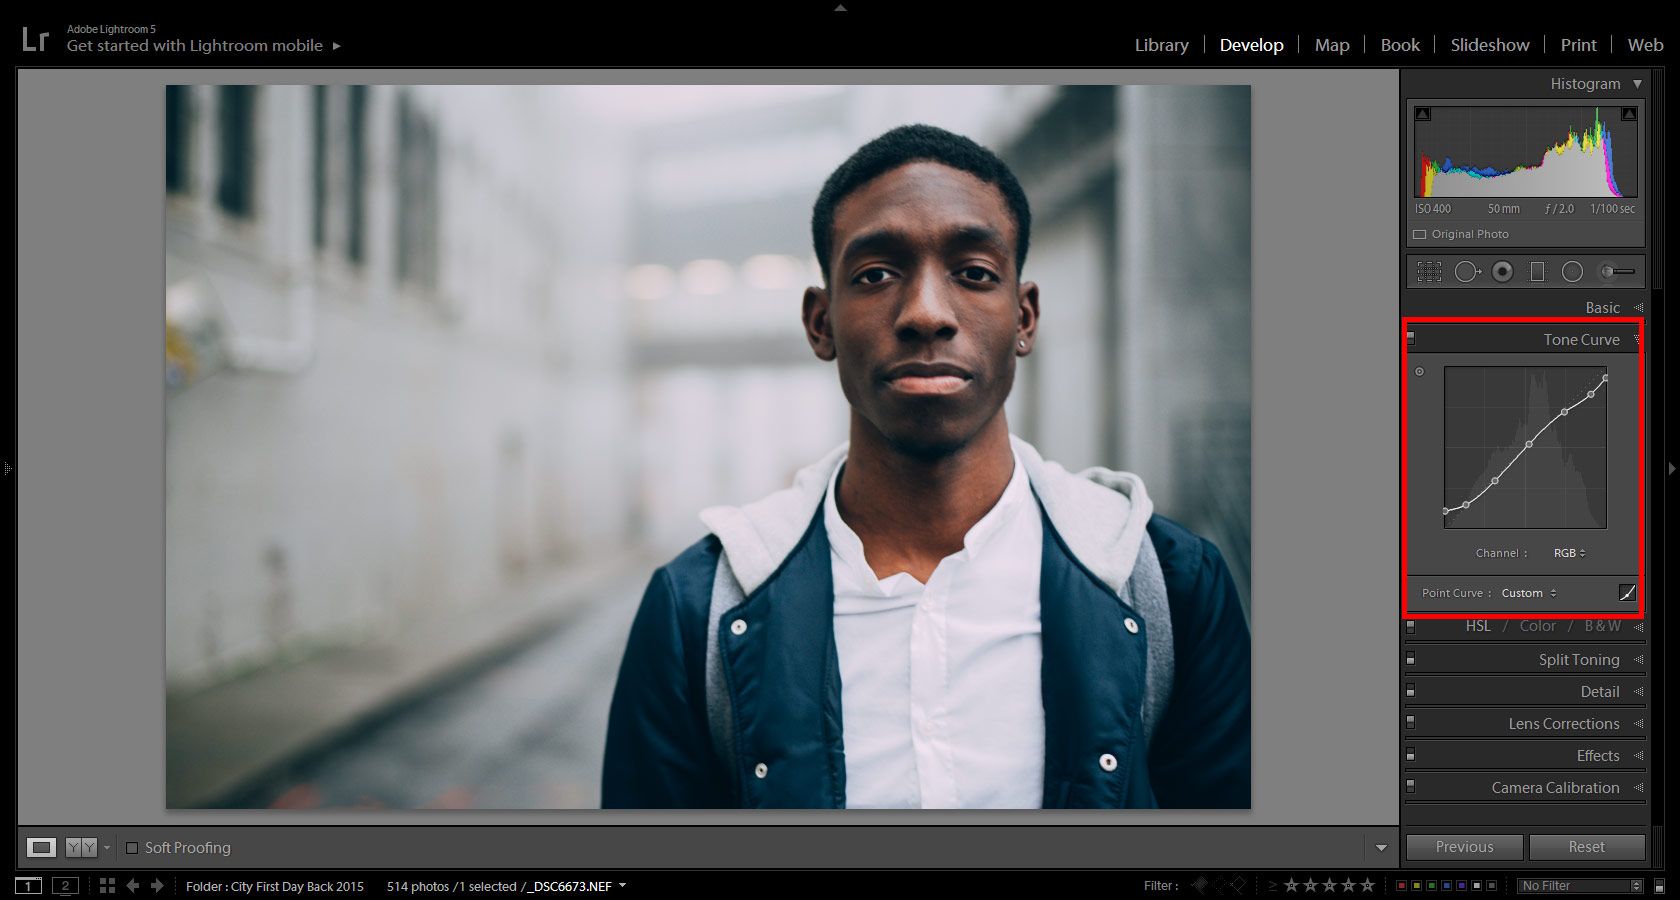
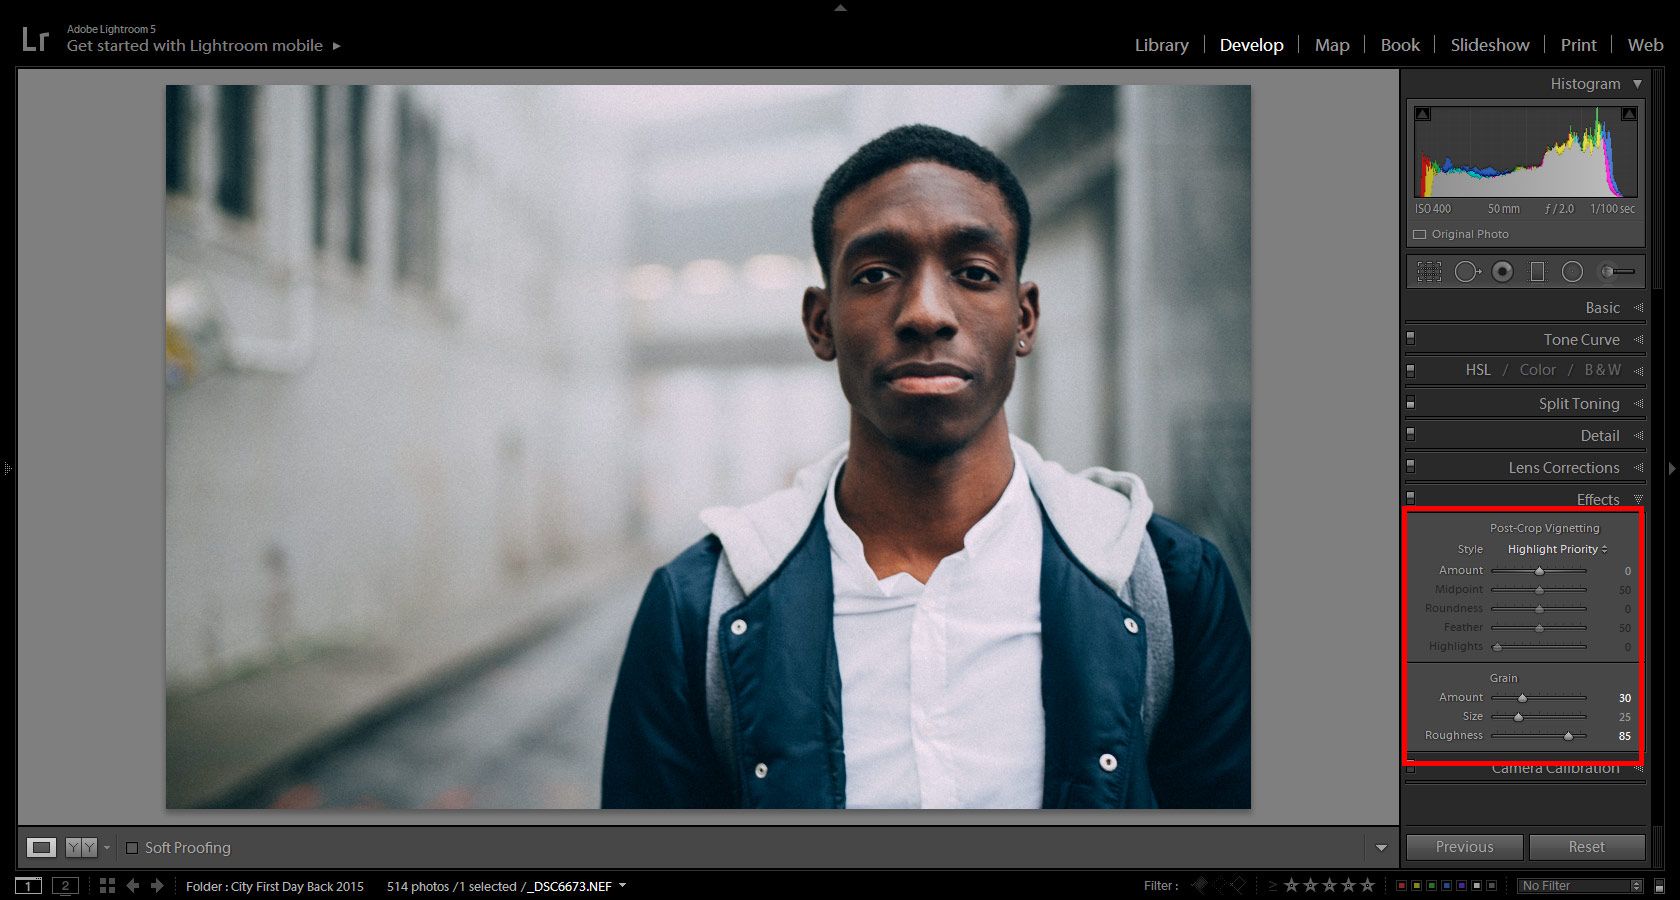
This part is really exciting because you get to basically choose which filter or preset you want to apply to your next 24 or 36 images. Just like you have your favorite ways of processing your digital images in Lightroom or Photoshop, you can predetermine the mood of your images by which film you pick. The options are endless!

Some of the most popular films in use today include Kodak Portra 400, Kodak Ektar 100, Kodak Tri-X 400 (B&W) and Fuji Pro 400H.  The cool thing is you can find an expired film or off the brand film and get surprised by the unique results. A company called CineStill is making film currently and have come out with some amazing film stock. Their goal is to give photographers the ability to mimic the color we see in cinema film. Awesome!

As a brief explanation, the number after the file name is the recommended ISO. For example, If you’re shooting Kodak Portra 400, you should set your camera to read 400 ISO.
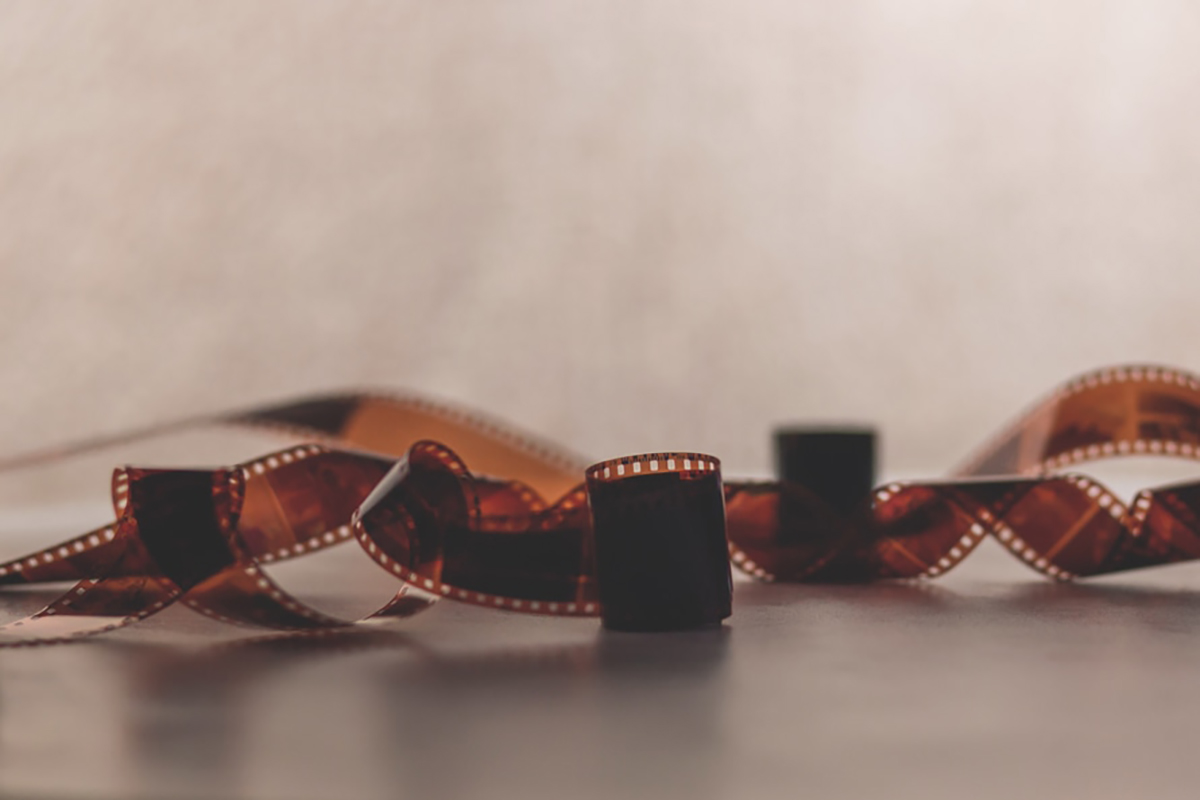
Processing

Film

Once you’ve gotten your camera and selected your film of choice, it’s time to get out there and shoot. The great thing about shooting film, especially for beginners, is that there are no shortcuts. You need to consciously think of each shot. You have to think about which settings you are going to use and manually focus accordingly for each shot. This will hone your skills and make you a more involved photographer.

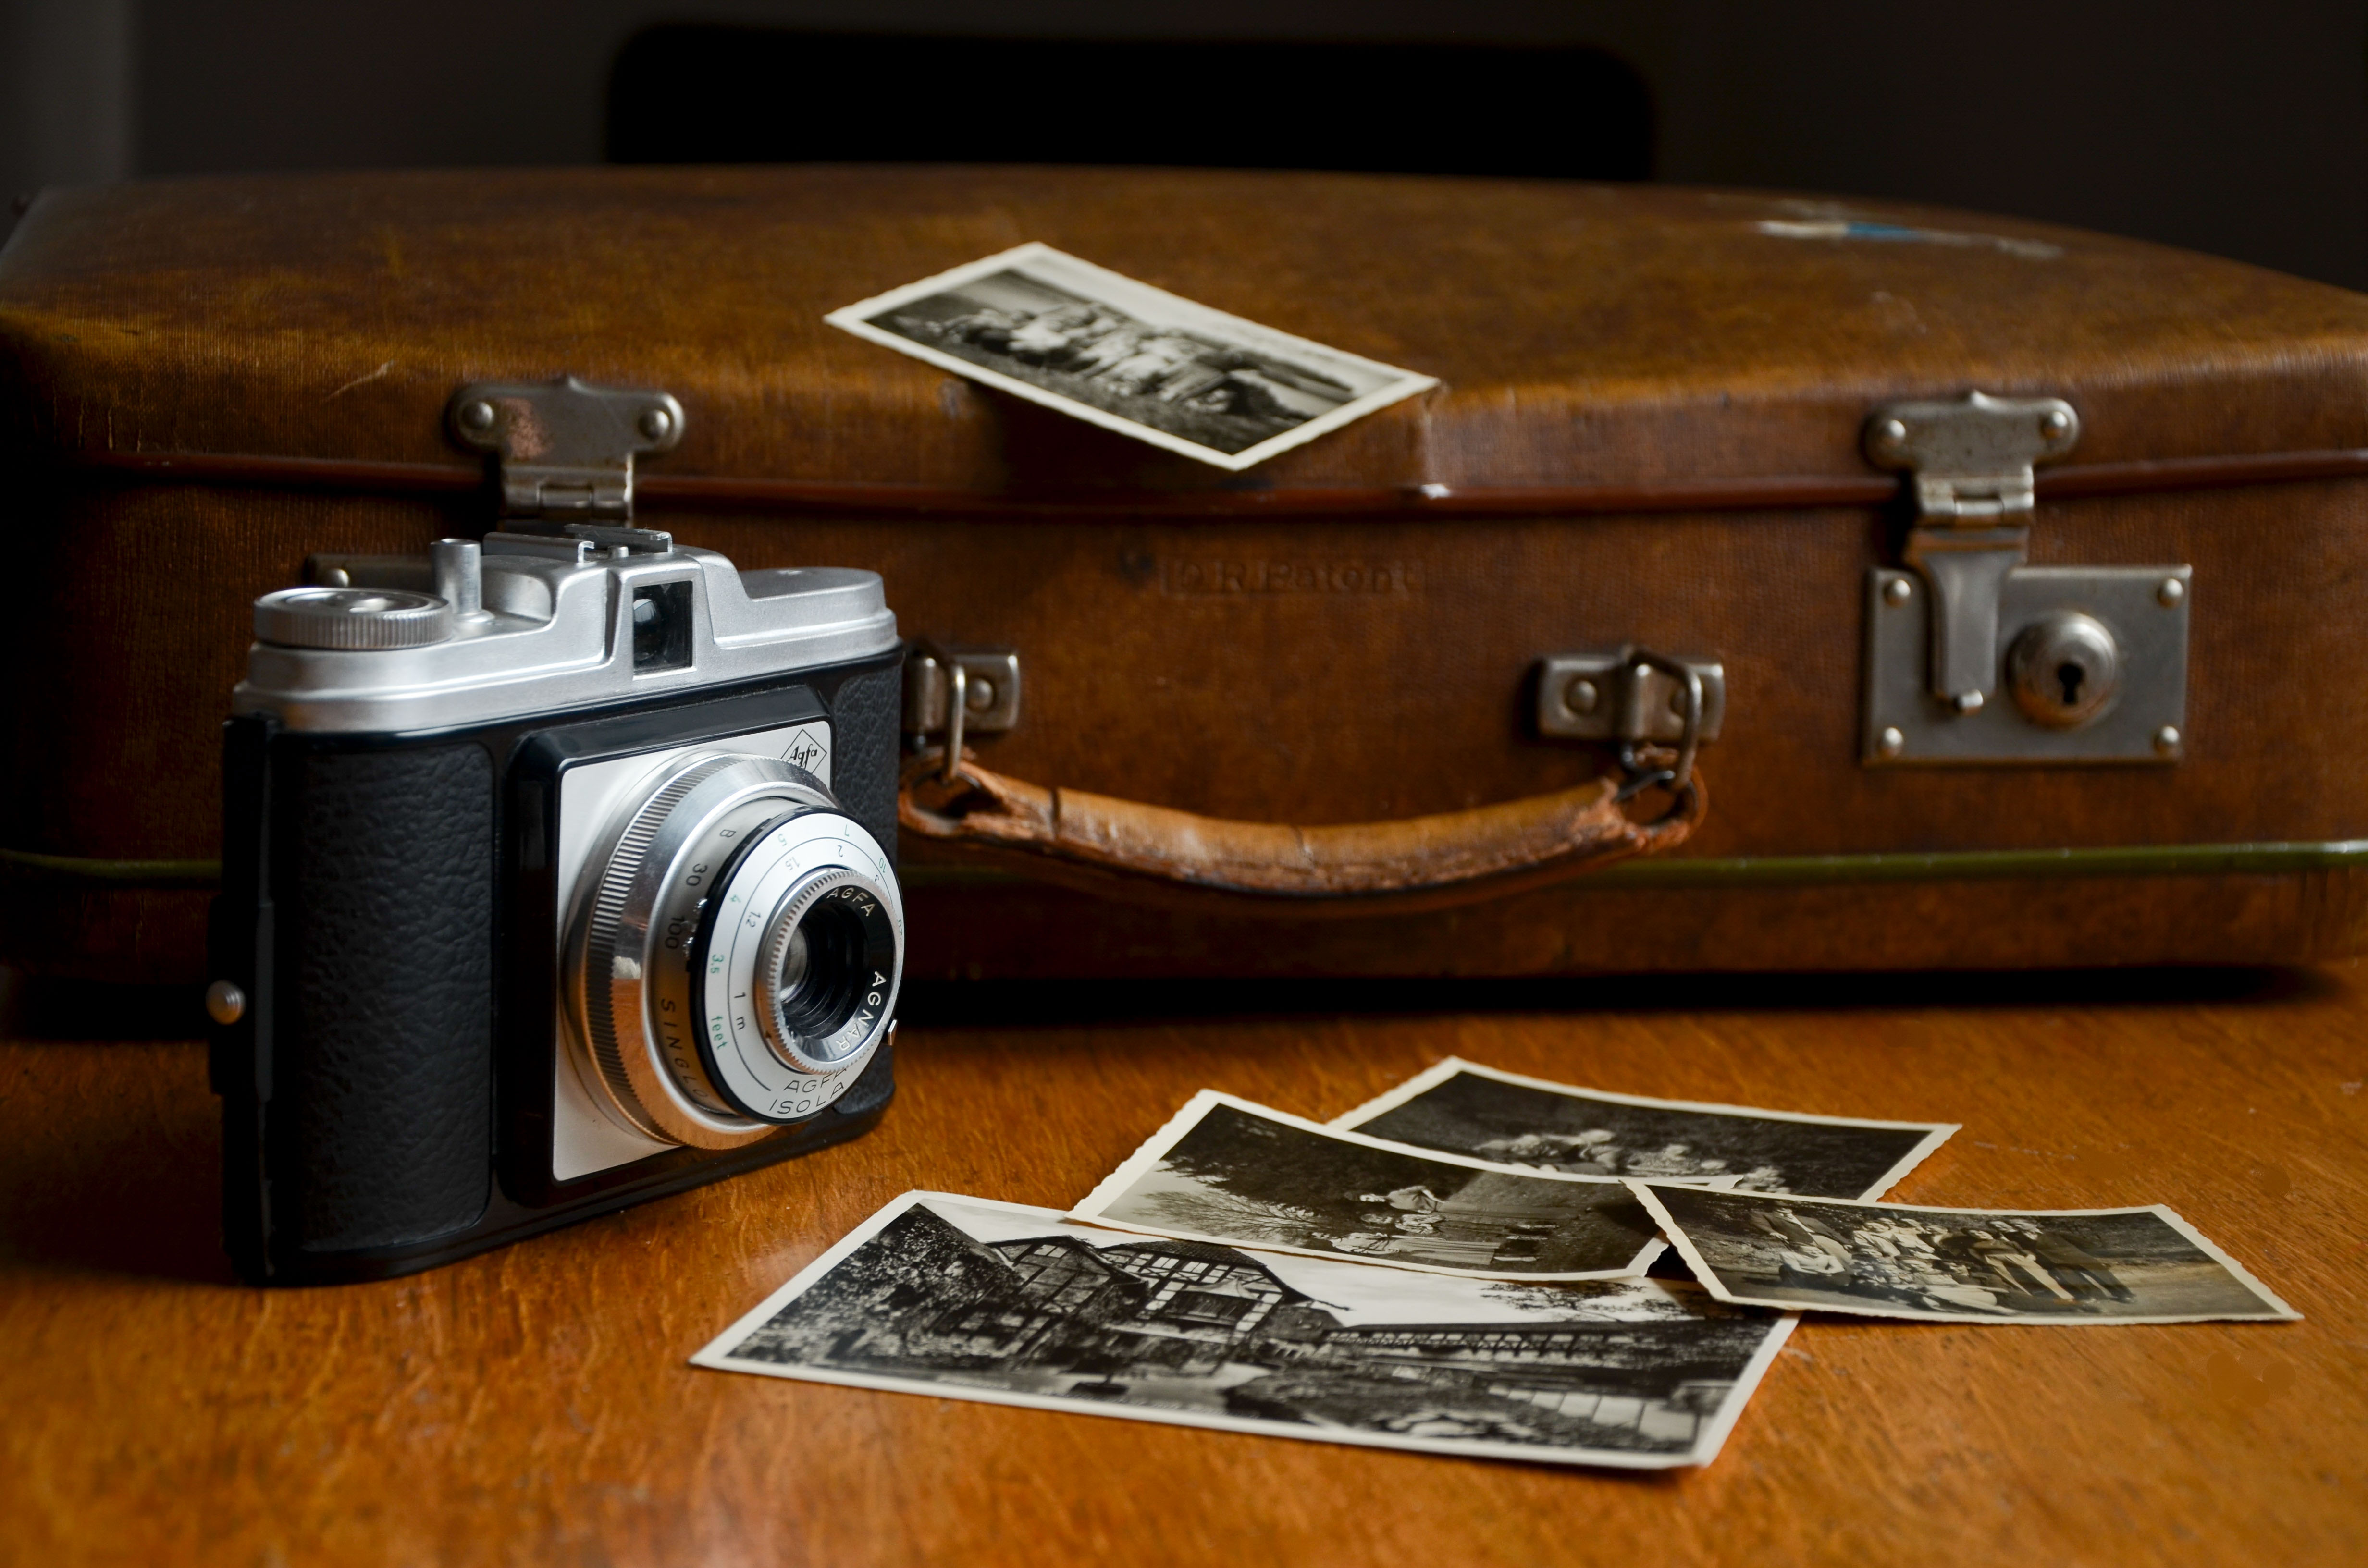
Once you’ve completed your roll, you now have 24 or 36 hidden treasures waiting to be rediscovered. An awesome thing about shooting film is that you always forget what you’ve taken by the end of your roll. There is no LCD to review what you’ve taken. Due to this, it’s a pleasant surprise every time you get back your results.

Some local pharmacies still process film in the store. They will usually give you the negatives and scans along with prints. If that is not available in your area many companies will accept film via mail.

Keep learning and have fun!

SaveSave

Turning Your Negatives into Digital Photos

Whether you prefer the mystery and vintage and retro effects of using film cameras, or just have a box of old family photos in your basement, turning your film negatives into digital photos can help make your business or your life easier. By having digital copies of your photos, you can edit them to clear up any mistakes and print multiple copies from the comfort of your own home. Even with a low budget you can convert all of your favorite film negatives to easy-to-manipulate digital photos.

The most important thing in turning your negatives into digital photos is to find a film scanner that works for you. Scanners ranges in both size and price, the smallest, portable ones, being between $50-$150 and the bigger ones up to $1,000. The scanner you’ll need will depend on the size and type of your project.

film-digital-1

Choosing a Film Scanner

If you’re sorting through a large box of negatives, or take several rolls of film of pictures a day, then you’ll be better off with a larger scanner that connects to your computer. The upside of these scanners is they can take a lot of film at a time, some up to an entire roll at once. The scanners connect to your computer and come with their own program that will download the photos into a folder of your choice.

If you only have a handful of negatives or take a week to shoot a whole roll of film, you may want to go with a smaller scanner. The upside of the smaller scanners is that they’re portable. These scanners don’t need to be plugged into your computer. Instead they save all of your pictures onto an internal memory device such as an SD card or a flash drive. All you have to do is place the chip in your computer and save the files to the folder of your choice. Small scanners are also great to take with you on the road if you need to work on your images on a laptop or public computer.

film-digital-2

Since some scanners can get pretty expensive, if you’re willing to put in a little more personal labor, you can cut down on costs. Many of the newer and more expensive scanners automatically convert the negatives of your film into positives, turning the dark images into accurate pictures. To save some money, you can buy a pure scanner that just scans what it sees into your computer. You can then manually convert the images with a photo editing program (such as Photoshop). If you already plan on editing the digital files, this can be a great step to save on money, as long as you don’t mind the monotonous work.

Converting Film to Digital

After you’ve found the scanner that works best for you, it’s time to begin the work. Converting your negatives to digital is going to take a lot of time. It can also take a lot of work if you have a smaller scanner or are going to be inverting them on your computer.

An image placed in a pure scanner, upside down

Each scanner has its own way to load the film, but generally the way you load it won’t matter. If you place the film in upside down, or backwards, or flipped around, the image will be easy to fix in any editing software. Because your film is now digital, all you’ll have to do is flip the digitized image around. Therefore when working on the film conversion, you can load as fast as you need.

Each size of scanner has an up and down in the process of conversion. Larger scanners take less of your attention at a time; you can load a bunch of film at once, and just let it run. But the downside is that these scanners can take a long time to convert all of the images.

The smaller scanners require a lot more effort on your part, as you’re constantly switching the negatives out, but they also are designed to scan the images more quickly. If you have a lot of downtime in your day, you might find it better to work with a smaller scanner where you’re engaged more often. However, if you have a lot of other jobs or chores to do while you’re converting your images, you might be better off with a larger scanner that will take its time.

The previous image, rotated and inverted with Photoshop

In the time when film photography was the norm, editing photos was a matter of literal cut and paste. In the modern day world of digital photography, editing photos is easy, but there’s a certain charm of film photography that is lost. By using a film scanner to convert your negative film into digital images, you can get the best of both worlds and conserve your family photos with ease.

Why Film Camera Photography is Making a Comeback

We may have all thought that film was dead with the advent of digital photography. Millions of people switched over to digital and many film companies went out of business. However, like vinyl records, there are those who still use film, and they swear by it. Now, more and more people are going back to analog because it has a unique style to it that they want. Call it a hipster trend if you want, but the truth is that film isn’t going anywhere.

Why Film?

Digital photography is a product of our instant oatmeal society. We take a picture and we delete it, put it in a folder and forget about it, or put it on Facebook. There is no reason to keep anything. You can take 1,000 pictures and choose one great one. The laws of averages dictate that is going to be the case. With analog, you have to be choosier. You have to really want that image because you only have so much film. There are no duck-faced selfies here, just planned out photos that are a step above the rest.

In addition, film just happens to feel better. Like a vinyl record, with the scratches serving as part of the experience, film is slow, it feels different, the cameras sound different and the lighting is captured differently. Like vinyl, there’s a real retro feel – not just in the image, but in the process. Sure, you can edit digital images now to create a retro look in post production, but there’s a romanticism with film.

It forces you to think of things in a whole new way. To shoot analog, you have to throw out everything you know about digital, and learn a new skillset that could make you a better photographer all around.

film-comeback-2

The Advantages of Film

There are many advantages that film has over digital cameras. For one thing, with digital, the sensor determines your resolution. The better the sensor, the better the image itself. With film, you don’t have pixels and you don’t have resolution. You have pure images captured in beautiful, crisp reality. Yes, the type of film and the camera will dictate the image quality, but overall what you capture is what you get. No pixels getting in the way. Depending on the film, you are going to get between four and 16 million pixels. One study found that medium format film – the kind most people use because it is middle-of-the-road – has 400 MP resolution. That is by far more than any digital camera on the market today.

Another advantage is that your analog image is going to be unique because of the film grain, which is the chemical particles that did not receive enough light. Unlike digital noise that looks awful, film grain can really add to the image and give it something unique, like a fingerprint.

The dynamic range of the film camera is another advantage over a digital camera, although less so now. Most film cameras have 13 stops of dynamic range, while most digital cameras are slightly below that.

film-comeback-3

Lastly, when you are shooting in low light conditions with a digital camera, you may get a great deal of digital noise. This can make the picture look simply awful. It is something that must be avoided, but it can be hard to if you don’t have a top of the line camera.

Old school, analog cameras tend to have better sensors for this type of scenario without sacrificing any of the movement speed you may need.

Should You Switch?

The short answer is that no, you should not. Digital cameras have many advantages and are really great machines to have at your disposal. When you need a lot of pictures and don’t want to waste a lot of time on them, go with digital. That being said, there is nothing wrong with having a film camera at your disposal. This can help you begin to appreciate how pictures were taken in the past, but it can also get you to think about new ways to get images. You will learn how to develop images, how to position things for the perfect setting. In many ways, film cameras are a great way to learn how to take pictures because everything needs to be right so you don’t end up wasting any film. In that regard, they are a training tool for the new photographer.

film-comeback-4

No, film is not going to overtake digital cameras. With every cell phone now having a camera inside, there is no chance of that happening. That being said, film is still holding on and it is not going to disappear completely. There are far too many people who want to use these retro-style cameras to capture unique images that will stand out and really make your images snap. Embrace the future of photography, but also don’t forget about the past. Take a turn with a film camera and you will be happy you did, because they are something truly unique and truly special to use.

Become a More Creative Photographer Through Restrictive Projects

There are many ways to become an excellent photographer. Though some begin their practice through formal education, such as high school or college classes, many modern photographers are completely self-taught. Ultimately, how you acquire your photography knowledge is of little importance compared to the results you achieve. However, through my own experience and education, I have learned that there’s one technique that is guaranteed to improve your creativity as a photographer: restrictive projects.

While most photography classes wisely make heavy use of restrictive projects, this learning method is not necessarily the most intuitive nor the easiest for self-taught photographers. The basic idea is to impose strong constraints on a key element or variable within photography, then take loads and loads of photographs within those constraints. When first starting out, restrictive projects often focus on technical elements, like only using f/2.8, setting all exposures to over one second, or the eternal first assignment: manual focus and exposure only. While these are excellent ways to get to know the ins and outs of your camera, the same principals can be applied to creative thinking to bring your photography to the next level.

© Nate Eames
© Nate Eames

My absolute favorite restrictive project, one that I inevitably return to when I feel my creativity slipping, is location restrictions. As you can probably guess, this just means deciding to spend a large chunk of time only shooting in one area. It’s important to choose an area that’s the right size, has enough visual material to work with, and is different from your usual locations. The size and challenge of your area should be chosen depending on your own aesthetic, skill, and experience, but it’s best to keep the area size to something you can see all at once, not an entire town or the like. It’s also important not to intermingle a restrictive project with your regular work, but to focus all of your creative energy on this singular location for as long as you can.

Recently, I took it upon myself to only shoot on one small, industrial block in Brooklyn for a weekend. I was shooting film (both color and black and white) with an Olympus XA, a very simple, compact rangefinder that further limits my freedom and forces me to think laterally. The photos throughout this article are all from that weekend project.

© Nate Eames
© Nate Eames

You probably won’t like all of the images you shoot during your restrictive projects, and you may not like any of them. However, that’s just a sign that you really are challenging yourself. That challenge is what makes restrictive projects so effective. With this type of exercise, you aren’t after fantastic results, you’re going for self-improvement and growth. Professional photographers often get bogged down by their work from taking the same sort of images over and over because clients expect a certain aesthetic from them. While a long-time wedding photographer is likely very good at taking outdoor group portraits thanks to years of practice, that type of repetition can also stymie the creative flow and ultimately cap one’s potential. Usually, the reaction to a creative rut is to free yourself from any limitations and go take photos of whatever you fancy when you get the chance. While this kind of exploration is also important, developing the ability to see subject matter in multiple ways can free any practice from monotony.

Creating limitations for yourself isn’t always the easiest thing to do, so below are some ideas for potential restrictive projects that you may find helpful, organized thematically. If one of them sounds easy, don’t do it. If one of them sounds extremely boring, don’t do it. The best restrictive projects are the ones that are intriguing and intimidating at the same time.

© Nate Eames
© Nate Eames

Example Restrictive Project Assignments:

  • Locations:
    • Only shoot on one city block
    • Only shoot within reaching distance of your own house
    • Only shoot facing towards the sun
  • Subjects:
    • Only shoot objects smaller than your shoe
    • Only shoot the ground
    • Only shoot photos with the sun in them
    • Only shoot manmade objects that are green
    • Only shoot people without photographing their faces
  • Camera settings:
    • Only shoot with the aperture wide open
    • Only shoot with something in the foreground out of focus
    • Only shoot at the minimum focusing distance for any lens
    • Only shoot a telephoto lens while indoors
    • Only shoot vertical panoramas
  • Physical techniques:
    • Only shoot without looking through the viewfinder/screen
    • Only shoot crouched down
    • Only shoot from the hip
© Nate Eames
© Nate Eames

Hopefully, one of the above “assignments” will trigger your intrigue while still feeling difficult to accomplish. Regardless of what restriction you choose, the most important part of this practice is determination. It’s not enough to take photos of one city block until you can’t think of any more good shots to take. In fact, that’s precisely when the project begins. The goal is to take photos past the point of creative exhaustion; when you can’t possibly think of anything else to take that wouldn’t be either repetitive or terrible, keep shooting. Eventually, you will always get a second wind and find new perspectives or personal aesthetics that you never thought existed, and that is when you truly grow as a photographer.

How to Give Your Photo a Film Look with Lightroom in a Few Easy Steps

Creating images allows me to connect with people and make them feel like they are looking through my eyes and feeling what I feel. Like the title suggest we will be looking at how to get a film look with your images. The reason I like using the methods that I will show you below is because to me the images feel more tactile. I want people to be able to look at it and get a sense of everything I did when I shot it. So today, I want you to feel the atmosphere, the cold and the mood.

1 – Starting Point

I’m starting here in this tutorial, if you want to see the decisions and what the reasoning is behind some of the choices in the Basic panel then check out the rest of the Sleeklens Blog. We can see that it was very foggy, cold and somewhat wet when I took the photo. For me shooting in the fog is one of my favorite times to shoot. I get the moody atmosphere, great textures, and color that sets a somber tone. The color is part of getting certain film looks, so if you examine the film looks that you like it will be easier for you to choose your color. Think about the following steps to get even closer to a film look.

Arnel Hasanovic Film Look Tutorial

2 – Tone Curve

To get that film look, one of the first things that I do after thinking about the color is start by adjusting my Tone Curve. Bringing up the black point and lowering the white point will ensure that the white is slightly darkened and the black point brightens up a bit. Moving the points slightly is the key! Moving the points too far up or down can give you way too much clipping and may not result in the effect you are looking for. We are essentially crushing the color and if this is not what you want to go with, then skipping this and maybe using the next step, would be better for you. It is all a matter of taste and experimenting with what you would like your images to look like.

Arnel Hasanovic Film Look Tutorial

3 – Grain

It might be hard to see in these images because of the compression but look at the left side of the image where the white wall is. You will notice that there is grain added. To me, this step is something that makes the photo tactile, something on which you can reach out and touch the texture. It adds a certain personality and realness to images. Changing the amount, size and roughness will give you different looks. Try different combinations, because not every photo will look its best with the same settings. Flipping the Effects module on and off will help you see before and after, which will help you determine the amount of grain you may want to put on. Also, not all grain is created even. There are products and plugins out there that focus on creating effects like grain which might do a better job for your needs and desired looks.

Arnel Hasanovic Film Look Tutorial

4 – Conclusion

Here are a few other photos that were shot at the same time. They got slightly different edits, but what remained the same, was the fact that I did the same steps as above. I moved the black/white points in the Tone Curve module and I added grain to each image. As I mentioned earlier, experiment and try using these tools to help you achieve the look you want and need. Do not use something because others use it. You are an artist and you have taste, so use the tools that help you achieve your vision.

Arnel Hasanovic Film Look Tutorial