Tag: workflow

Become a More Creative Photographer Through Restrictive Projects

There are many ways to become an excellent photographer. Though some begin their practice through formal education, such as high school or college classes, many modern photographers are completely self-taught. Ultimately, how you acquire your photography knowledge is of little importance compared to the results you achieve. However, through my own experience and education, I have learned that there’s one technique that is guaranteed to improve your creativity as a photographer: restrictive projects.

While most photography classes wisely make heavy use of restrictive projects, this learning method is not necessarily the most intuitive nor the easiest for self-taught photographers. The basic idea is to impose strong constraints on a key element or variable within photography, then take loads and loads of photographs within those constraints. When first starting out, restrictive projects often focus on technical elements, like only using f/2.8, setting all exposures to over one second, or the eternal first assignment: manual focus and exposure only. While these are excellent ways to get to know the ins and outs of your camera, the same principals can be applied to creative thinking to bring your photography to the next level.

© Nate Eames
© Nate Eames

My absolute favorite restrictive project, one that I inevitably return to when I feel my creativity slipping, is location restrictions. As you can probably guess, this just means deciding to spend a large chunk of time only shooting in one area. It’s important to choose an area that’s the right size, has enough visual material to work with, and is different from your usual locations. The size and challenge of your area should be chosen depending on your own aesthetic, skill, and experience, but it’s best to keep the area size to something you can see all at once, not an entire town or the like. It’s also important not to intermingle a restrictive project with your regular work, but to focus all of your creative energy on this singular location for as long as you can.

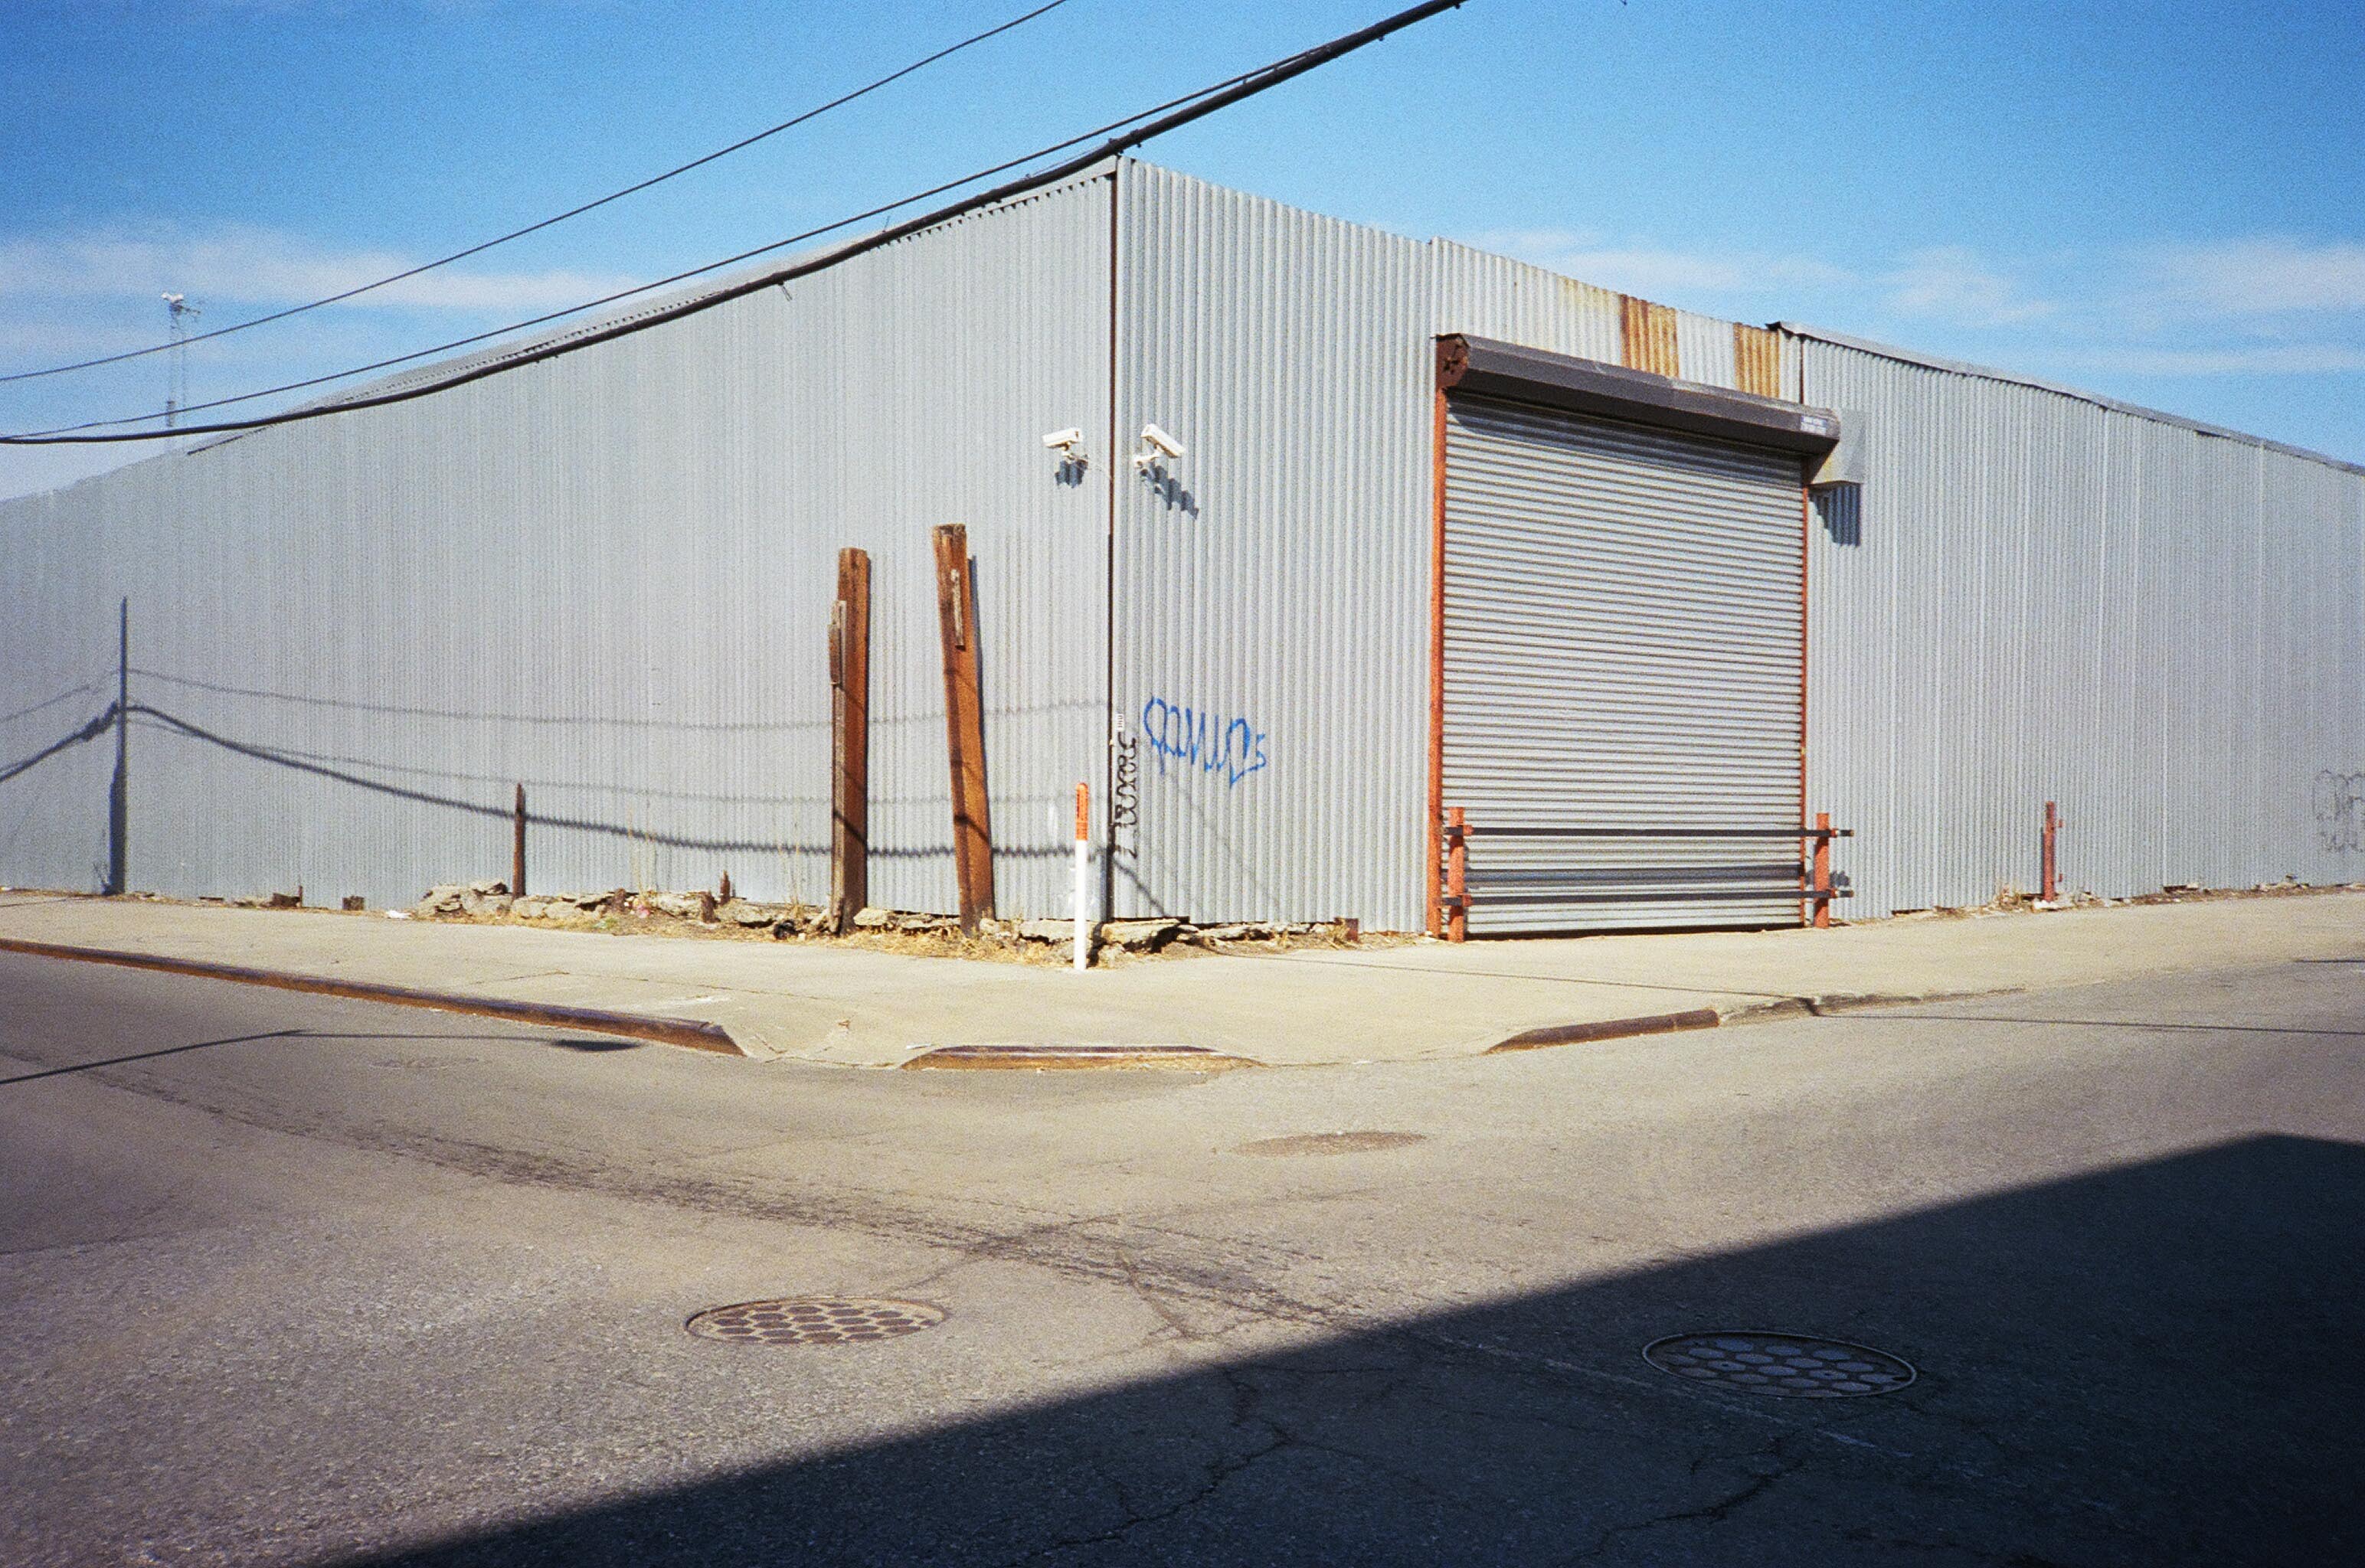
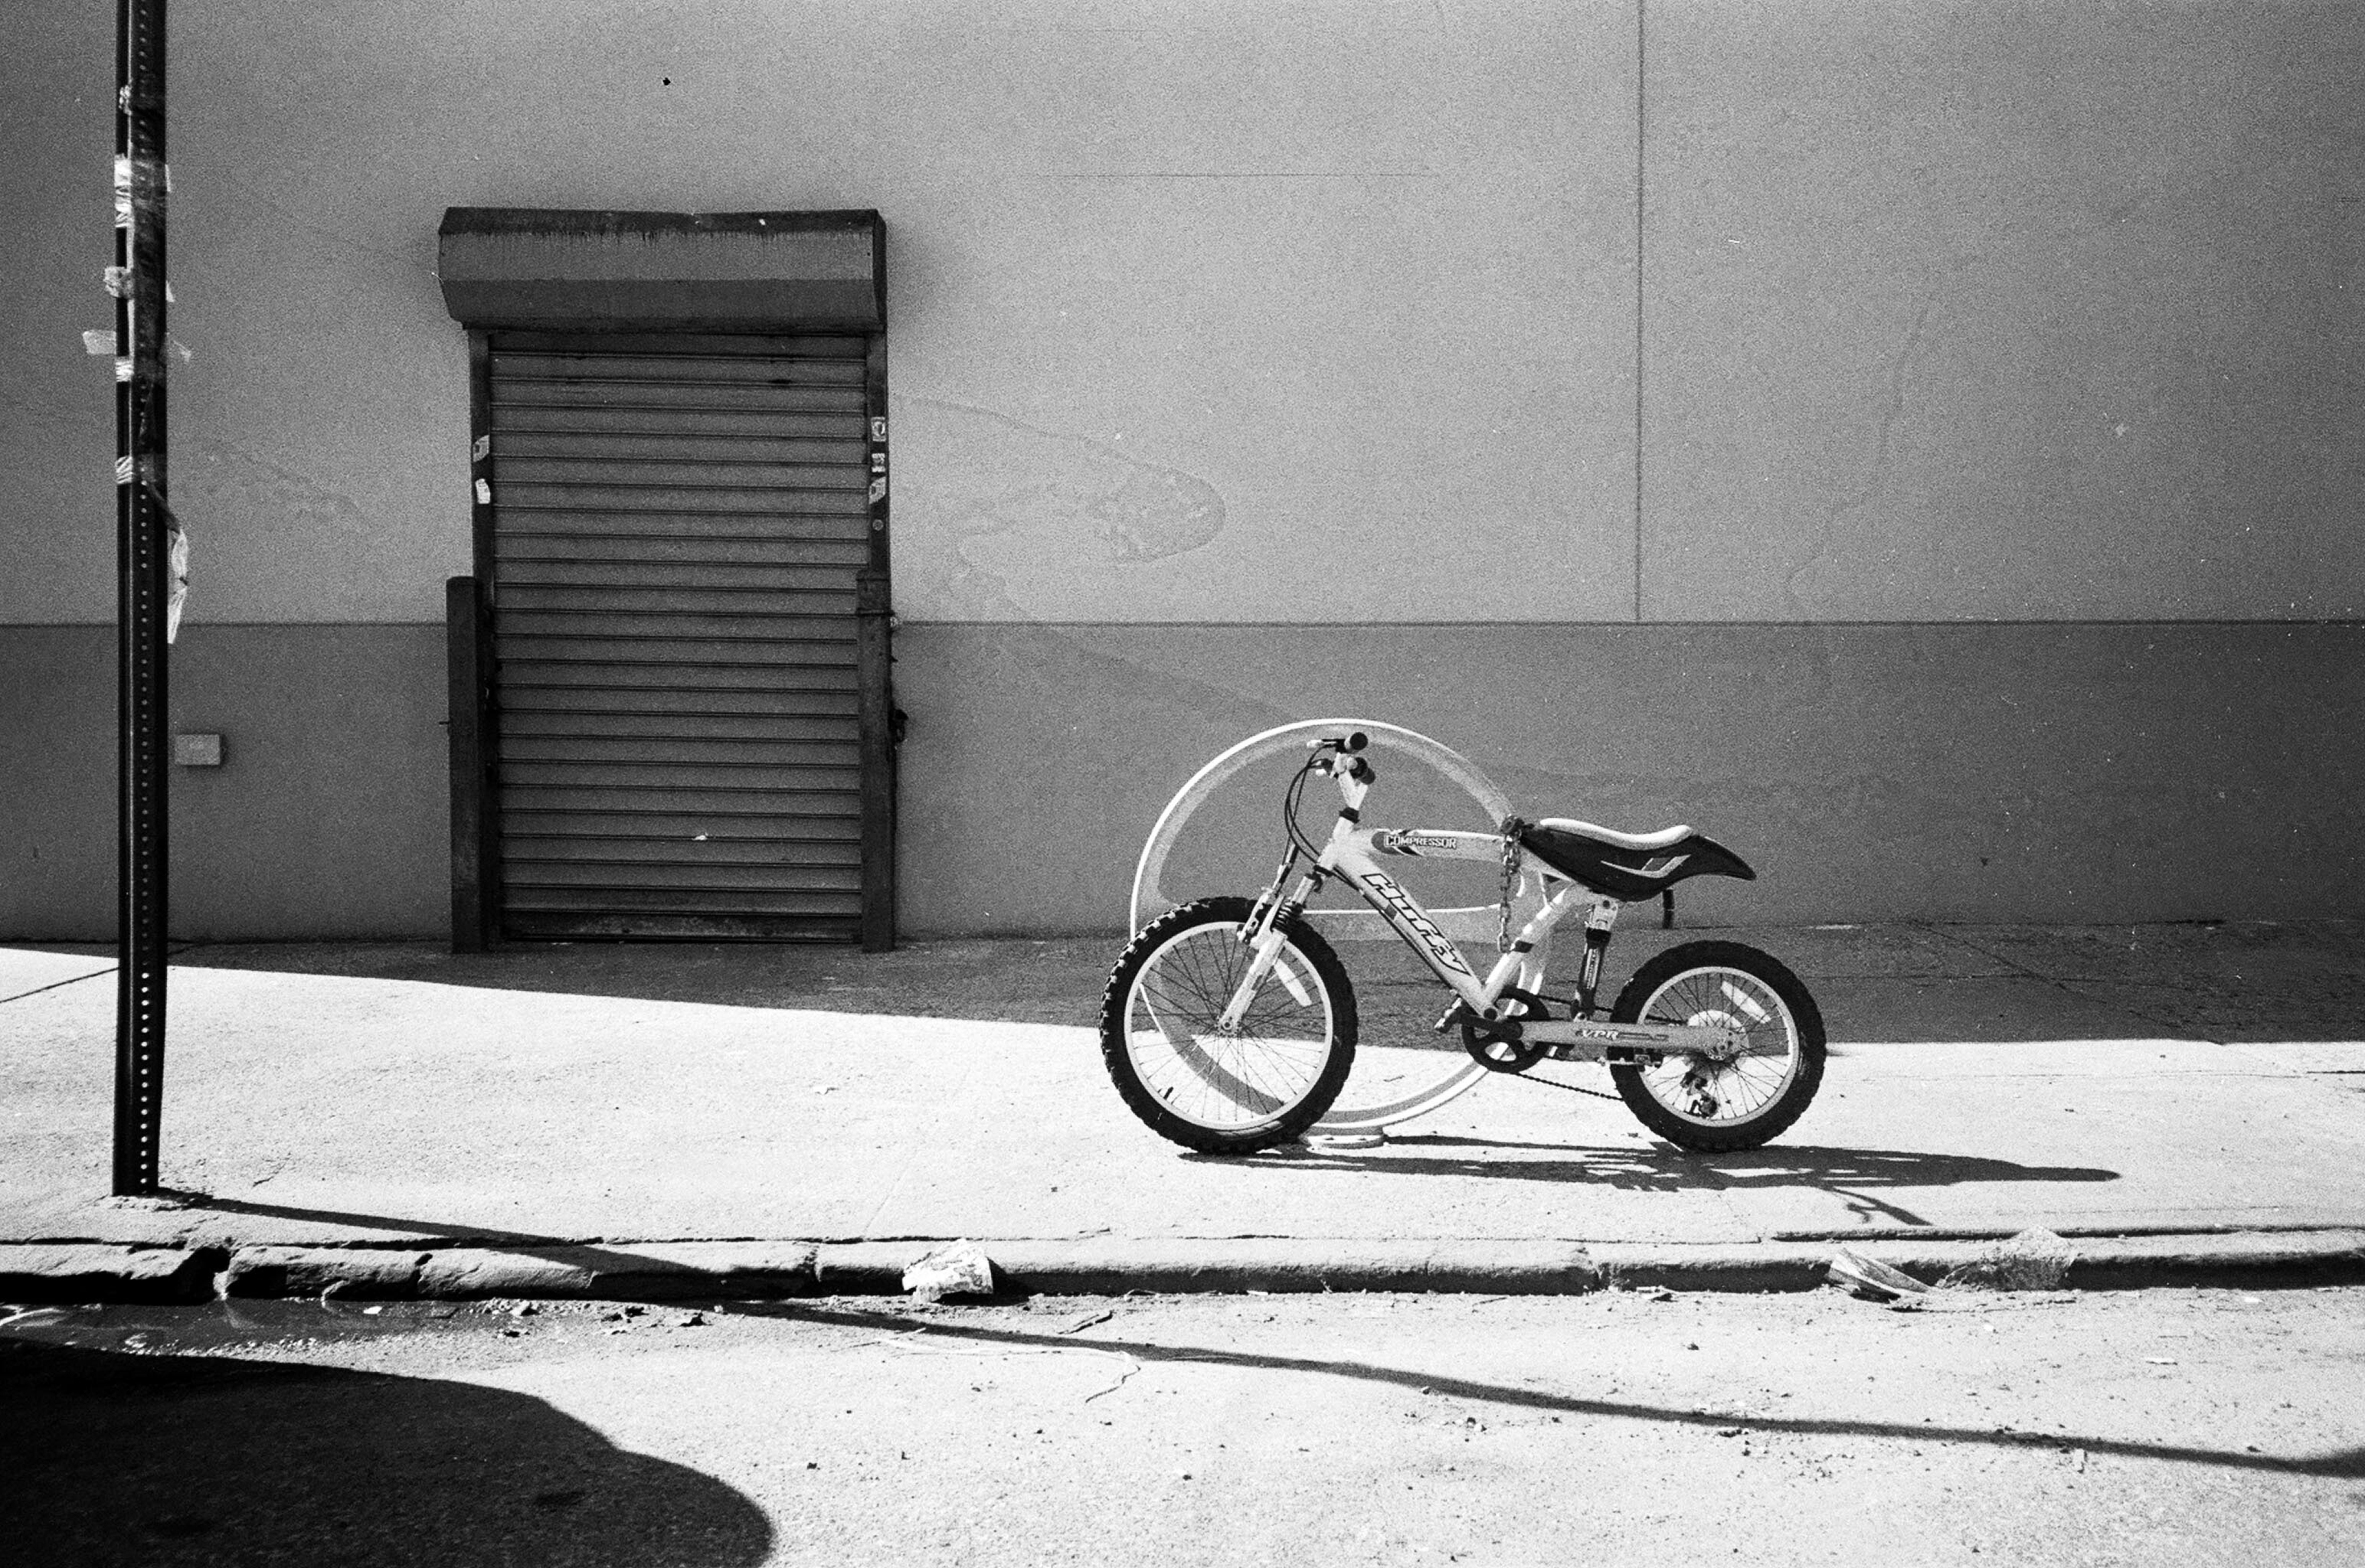
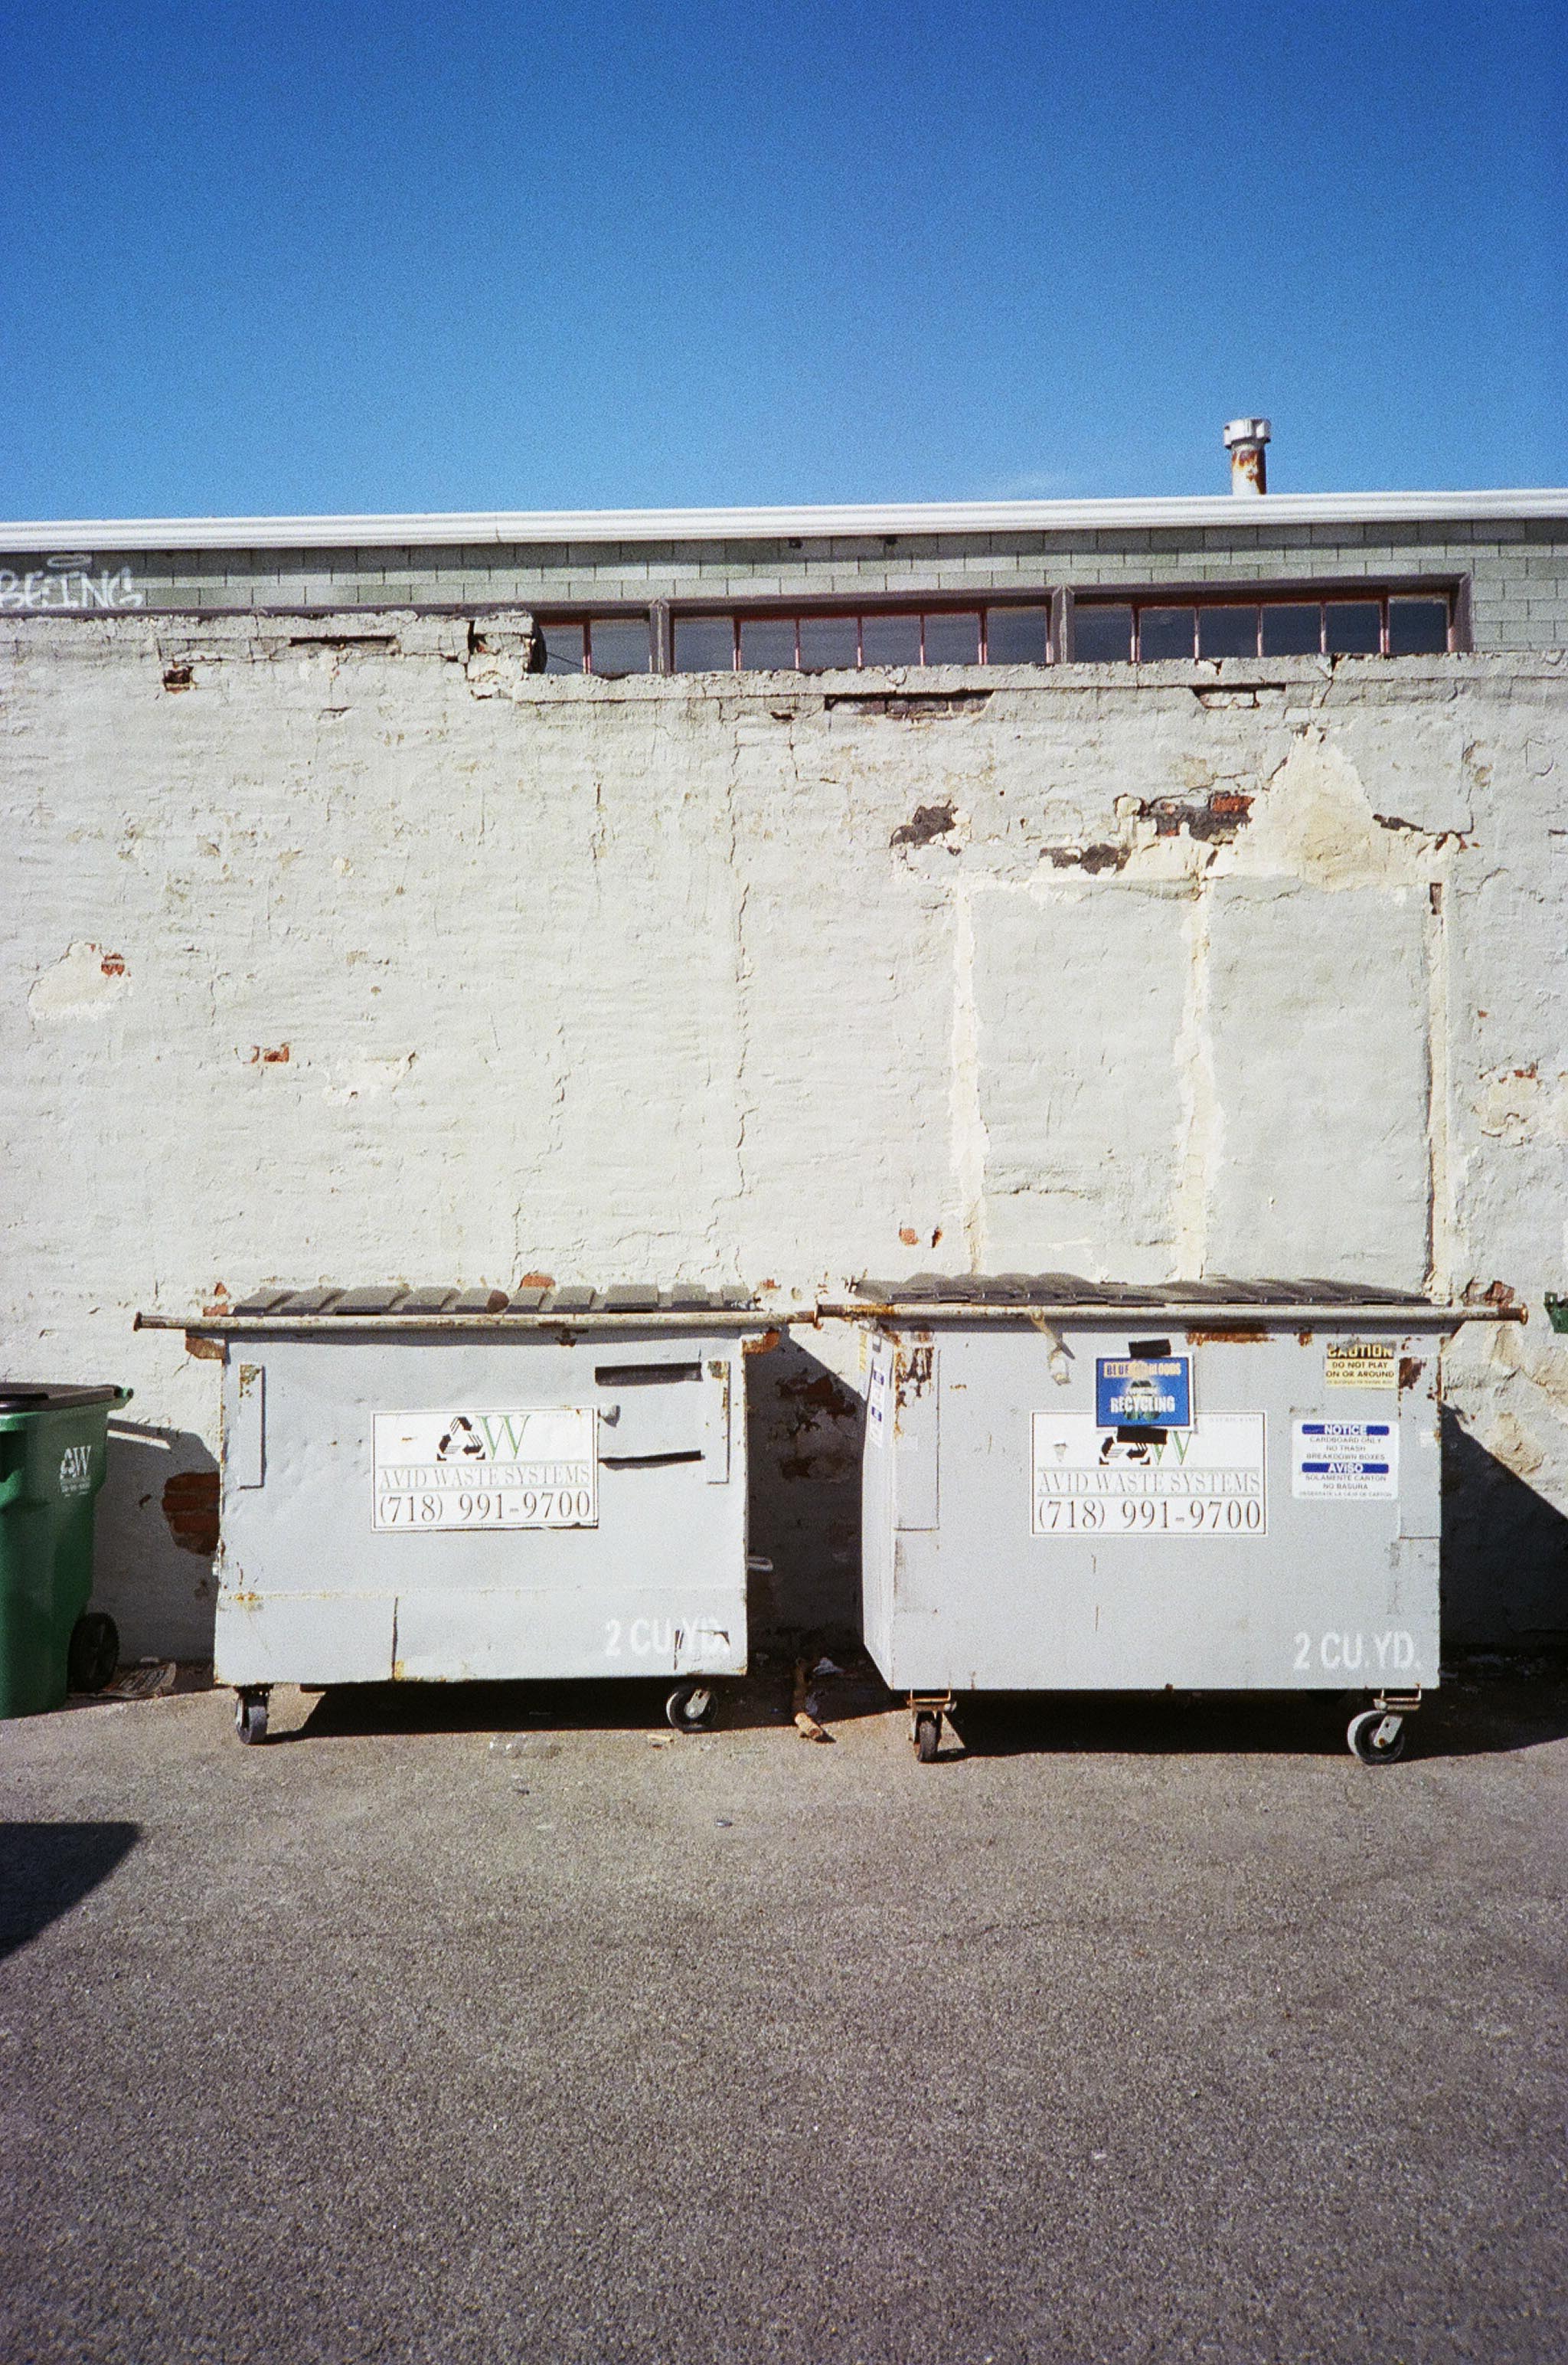
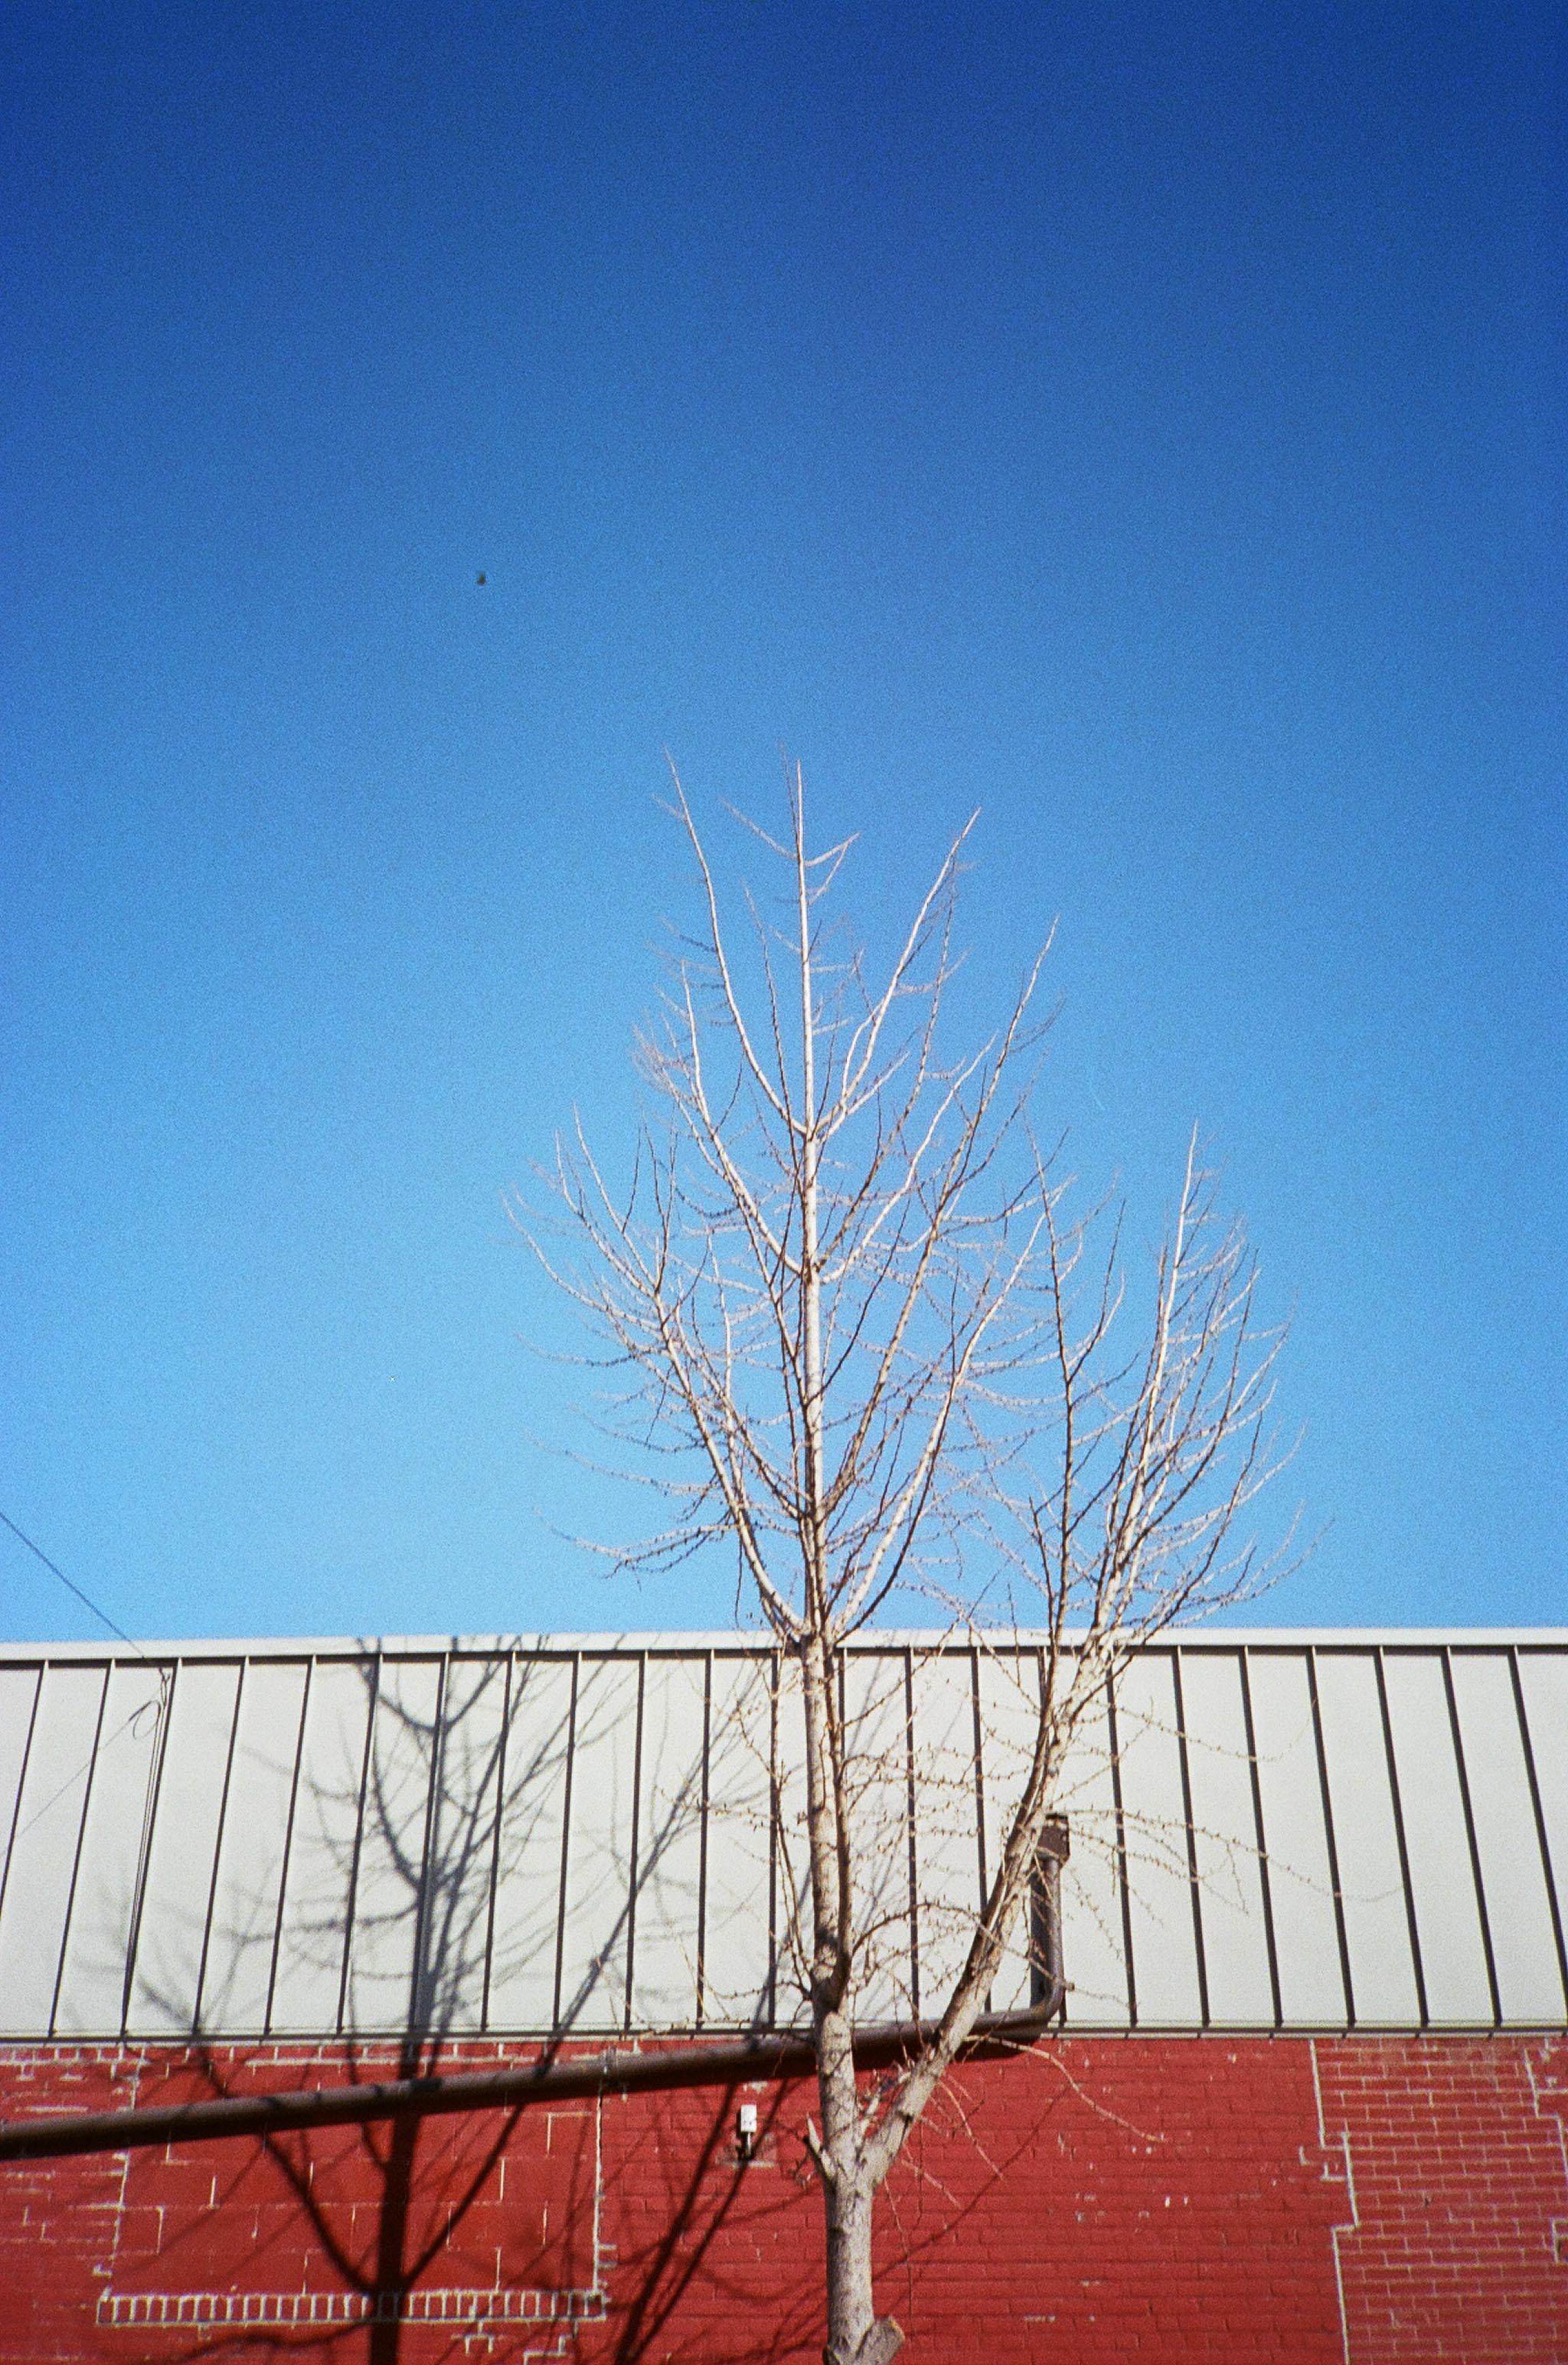
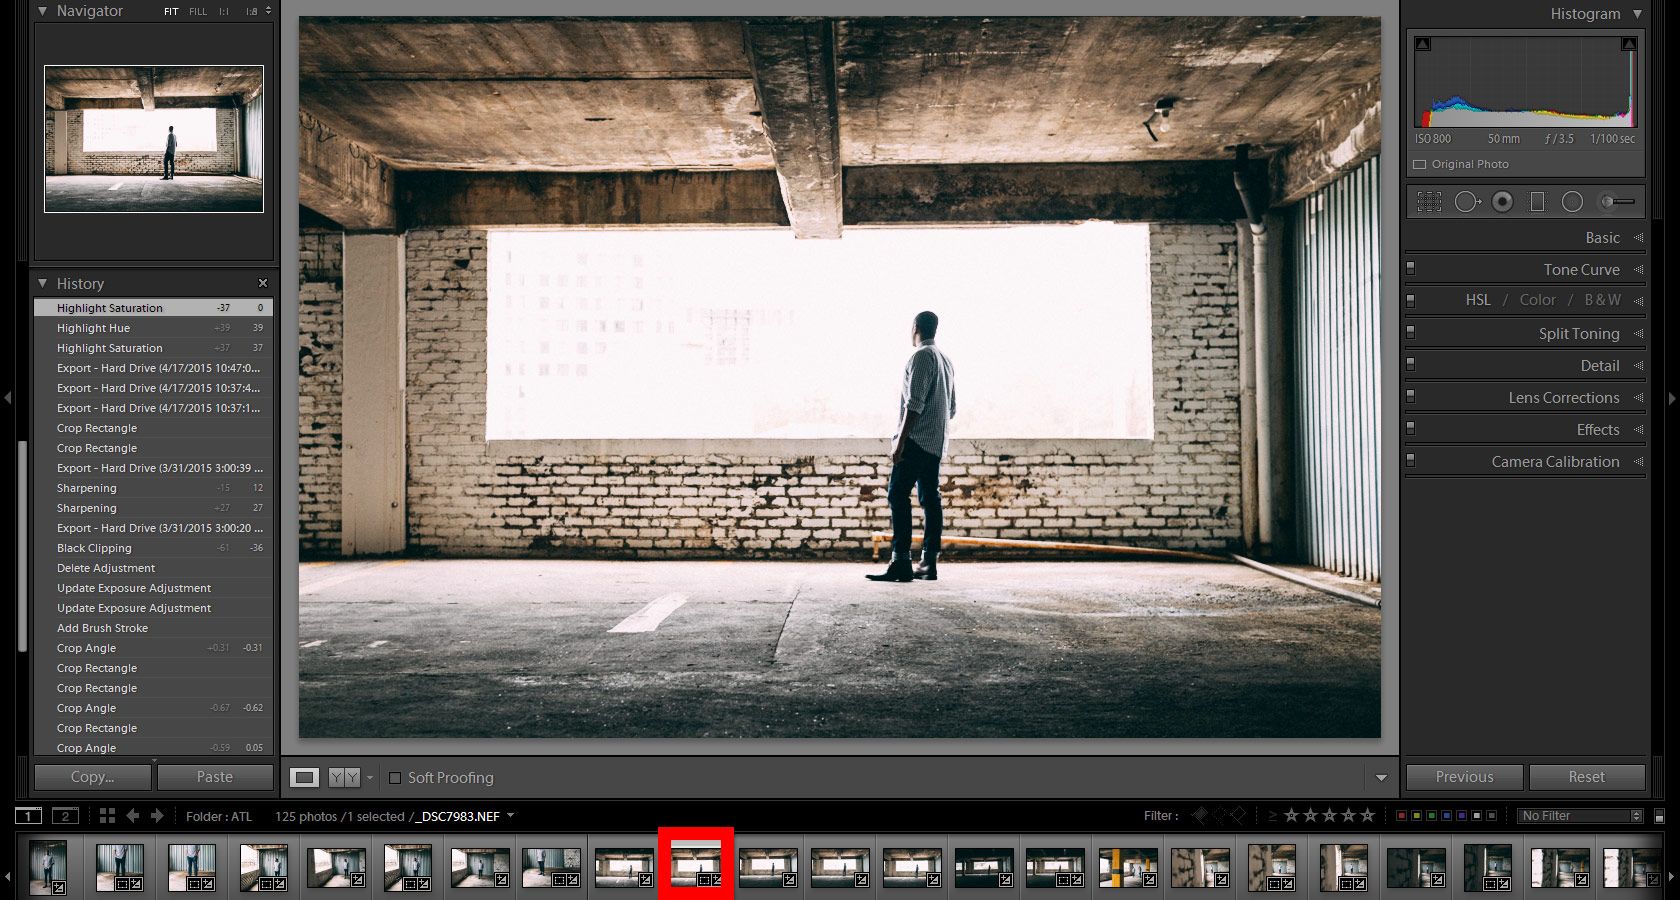
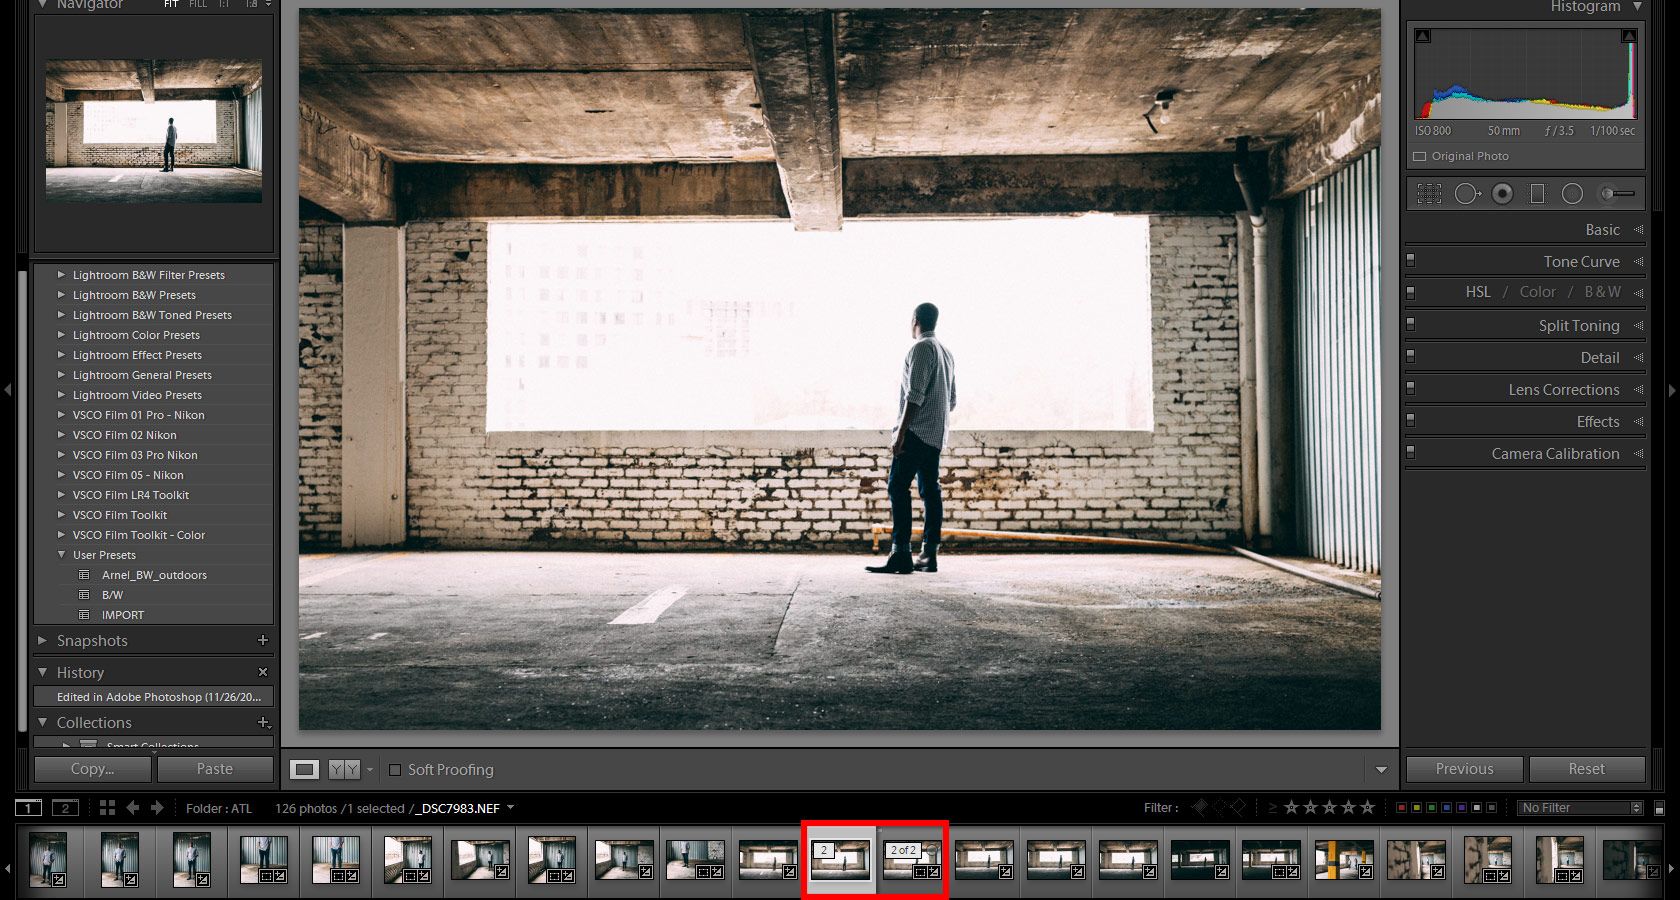
Recently, I took it upon myself to only shoot on one small, industrial block in Brooklyn for a weekend. I was shooting film (both color and black and white) with an Olympus XA, a very simple, compact rangefinder that further limits my freedom and forces me to think laterally. The photos throughout this article are all from that weekend project.

© Nate Eames
© Nate Eames

You probably won’t like all of the images you shoot during your restrictive projects, and you may not like any of them. However, that’s just a sign that you really are challenging yourself. That challenge is what makes restrictive projects so effective. With this type of exercise, you aren’t after fantastic results, you’re going for self-improvement and growth. Professional photographers often get bogged down by their work from taking the same sort of images over and over because clients expect a certain aesthetic from them. While a long-time wedding photographer is likely very good at taking outdoor group portraits thanks to years of practice, that type of repetition can also stymie the creative flow and ultimately cap one’s potential. Usually, the reaction to a creative rut is to free yourself from any limitations and go take photos of whatever you fancy when you get the chance. While this kind of exploration is also important, developing the ability to see subject matter in multiple ways can free any practice from monotony.

Creating limitations for yourself isn’t always the easiest thing to do, so below are some ideas for potential restrictive projects that you may find helpful, organized thematically. If one of them sounds easy, don’t do it. If one of them sounds extremely boring, don’t do it. The best restrictive projects are the ones that are intriguing and intimidating at the same time.

© Nate Eames
© Nate Eames

Example Restrictive Project Assignments:

  • Locations:
    • Only shoot on one city block
    • Only shoot within reaching distance of your own house
    • Only shoot facing towards the sun
  • Subjects:
    • Only shoot objects smaller than your shoe
    • Only shoot the ground
    • Only shoot photos with the sun in them
    • Only shoot manmade objects that are green
    • Only shoot people without photographing their faces
  • Camera settings:
    • Only shoot with the aperture wide open
    • Only shoot with something in the foreground out of focus
    • Only shoot at the minimum focusing distance for any lens
    • Only shoot a telephoto lens while indoors
    • Only shoot vertical panoramas
  • Physical techniques:
    • Only shoot without looking through the viewfinder/screen
    • Only shoot crouched down
    • Only shoot from the hip
© Nate Eames
© Nate Eames

Hopefully, one of the above “assignments” will trigger your intrigue while still feeling difficult to accomplish. Regardless of what restriction you choose, the most important part of this practice is determination. It’s not enough to take photos of one city block until you can’t think of any more good shots to take. In fact, that’s precisely when the project begins. The goal is to take photos past the point of creative exhaustion; when you can’t possibly think of anything else to take that wouldn’t be either repetitive or terrible, keep shooting. Eventually, you will always get a second wind and find new perspectives or personal aesthetics that you never thought existed, and that is when you truly grow as a photographer.

How to Go from Lightroom to Photoshop to Wrap Up Editing

As photographers, we have many different options of software to edit our images. The different tools we use are usually geared towards being great at specific tasks, so we end up having to use multiple tools to get the exact look we want. When I just want to lightly edit or keep it as a photo with no manipulation or heavy editing, I start and finish in Lightroom. If I am going to do anything more than the Lightroom options allow, I will start in Lightroom and move into Photoshop to finalize my image. In this tutorial, I am going to show you how I go from editing in LR to finishing in PS.

1 – Starting Point

Let’s say this is the photo I want to edit. I have done all of my edits in Lightroom and now I want to move into doing some more editing in Photoshop. I would do all of my color, lens correction and tone curve edits, but would stay away from doing sharpening and grain. I would do grain and sharpening as a final step, depending on the size and medium of how my final image will go out. In the next step, I will show you the actual settings I have set up for when I export images to Photoshop.

Arnel Hasanovic LR to PS workflow

2 – Settings

 There are many different options in this section, but this is what I go with because I want to have as much and as good of information in my file as I can. To get to this menu you go to Edit>Preferences. Once you do this step you may have to restart LR for the changes to occur.

Arnel Hasanovic LR to PS workflow

3 – Exporting

 After you have changed your settings for the kind of file you want to export, then go to your image> Right Click > Edit In> Edit in Adobe Photoshop (your version). You can also Open as Smart Object, in which if you make any changes in LR they should automatically update in PS. I won’t do this now because I have no need for it in this case. If you look at the options in gray, you have the ability to do HDR and Panorama export from here after selecting a group of photos that apply.

Arnel Hasanovic LR to PS workflow

4 – Photoshop

 Now, this is what I get when the file opens in PS. In this case, after I have done all the edits I want, I click File>Save and it will save the file in the same folder as the original, which will also show up in LR as you will see in the next step.

Arnel Hasanovic LR to PS workflow

5 – Back to Lightroom

 Once you have saved the image in PS you will go back to LR and possibly see the stack of photos icon on the original image. It means there is a photo stack of the related images and if you click on it, you will see the rest of images.

Arnel Hasanovic LR to PS workflow

Once you click the photo stack, you will see 1, 2 or something similar, depending on which photo and out of how many. You now have the images with the PS adjustments back in LR for you to edit or make any further changes that you may need to. I generally would export straight from PS, but if you have any reason to come back into LR then this is how you end in itself. From here you can make your normal export from Lightroom.

Arnel Hasanovic LR to PS workflow

6 – Conclusion

It’s good to know how to jump from one software to another and there are several ways of doing it. This is just my way and the settings I use. If you have other ways, share them with me.

Lightroom workflow tips

Do you want to master post-production software, for example Adobe Lightroom? In order to become truly proficient, you have to know it inside and out, which will happen only after working with the software. However, you might not think you can learn how to use Lightroom – especially if you are switching from Photoshop, knowing already, what is needed to create stunning post-production work. But if you want to help yourself, you should get started ASAP.

Image editing or background editing is like winning the first part of the war. After that, you have to import and export your images by choosing it.

Today, we are going to review the essential tips and tricks that every user must know if wanting to boost workflow performance. Say goodbye to those sessions lasting more than half an hour per picture, and take your post-production skills to the next level!

Lightroom and Catalog

Consider cataloging your pictures after importing them from folders of the hard drive of your computer. Lightroom offers various options, such as tags, flags and much more, for sorting your images in the perfect way possible.

01_lr_tips_mini

You may ask: “how does this apply to me?” Well, let me tell you that when you import collections of more than 2k pictures into Lightroom, things can start to get a little messy, especially if you happen to want to locate a picture you took a years ago, having only a vague idea of how it looked.

By using metadata and keywords, you can save yourself an incredible amount of time for future post-production, while reviewing the job you did in the process.

Output Sharpening helps you add extra sharpening when you want it. While exporting for web, select lower quality and set standard or low but when you are exporting for printing or archival purposes, disable this setting. Sharpening can be done further, however, the removal of digital sharpening can be tricky.

Working with Virtual Copies

Ever heard of Virtual Copy mode in adobe photoshop Lightroom? No? You have been missing a marvellous feature offered by Lightroom for testing different possibilities of post-production work. With it and using Lightroom, some pretty amazing things can be done.

Imagine wanting to apply some lightroom presets to a picture, you took, but you’re not sure which effect appeals to you the most. On top of that, you also have to work with a combination of presets for each desired effect, so moving backwards with CTRL+Z doesn’t seem an efficient option… This is where Virtual Copies are a lifesaver!

02_lr_tips_mini

Right-click on the preview (or even on the actual picture) while operating in Develop Module and apply the option “Create Virtual Copy”. Lightroom will then create an extra copy of the raw files, which you can tweak and edit as much as you want while keeping the original file intact after import (don’t confuse this with Lightroom’s non-destructive workflow, it operates the exact same way, but for testing several options on the same file).

Have a question? Ask in the comment box.

Master Batch Processing

In the life of photographers, there comes a time when you don’t go through every single photo you shoot for a job, especially if you tend to multitask, handling many jobs simultaneously, because of time constraints between deadlines.

Just like having your way with presets for applying effects in only a few seconds, you can process a large batch of photos while doing another task, if you use the Batch Processing mode within Lightroom.

03_lr_tips_mini

In order to use this function, all you need to do is to select or choose a picture with the desired post-production work already completed and then select or choose all the photos you need to post-produce. Right-click, and in the displayed menu, go to ‘Develop Settings’ and then to ‘Sync Settings’. This will synchronize the options applied to the picture you have already post-produced with the images you need, regardless how many photos you have to process. It is very handy, and the excellent thing about it is that you can grab a cup of coffee, while Lightroom does all the work for you.

You don’t need to switch modules to export images

Unless you really need to work with printed images, or if you need to create books/slideshows with Lightroom, don’t switch modules just to save your work as an image file. Right click on one image and select ‘Export’. You will end up saving an amazing amount of time by not waiting for Lightroom to adjust the UI after each picture finished by you. Such adjustments at times are very slow.

04_lr_tips_mini

Learn to work with Shortcuts

Just as you know from Photoshop, the Adobe guys thought of everything in order to make sure a quick, reliable work interface. Therefore, the best way to speed up your post-production process is by learning the essential shortcuts for the most commonly used commands.

05_lr_tips_mini

Take a tour at Adobe site, locate the documentation with the shortcut list, and print it out with just one click. After using shortcuts for a couple of weeks, they will come naturally to you, and you will enhance your post-production speed by more than 100%.

If, against all odds, you don’t wind up learning most of the shortcuts, don’t worry, there are other ways to achieve this. Simply buy an overlay for your laptop keyboard, and you will have every single shortcut displayed – this option, as far as I know, works only for Mac users, so if you work with Windows like I do, then stick to the first method and start wondering why you haven’t switched to Mac yet 🙂

Show your support by sharing this article on social media!

Work with Presets and Brushes

Several designer companies work hard to provide quality products that can make our post-production sessions as short as possible, while getting professional results. Presets and brushes are must-have tools for every dedicated Lightroom user, so the sooner you get used to applying them, the better your job is going to turn out.

06_lr_tips_mini

Another possibility is to get your very own preset with the parameters you use in your photo editing sessions, and the great thing is that they will stay there as long as you need to use them, as well as be available for use in the Library module for editing your pictures with the Quick Edit mode.

As you can see, there are various ways for you to boost your performance inside Lightroom – it takes some dedication to master this versatile software while having fun in the process. Good luck and keep editing!