Tag: tips

Beginners Guide to Street Photography

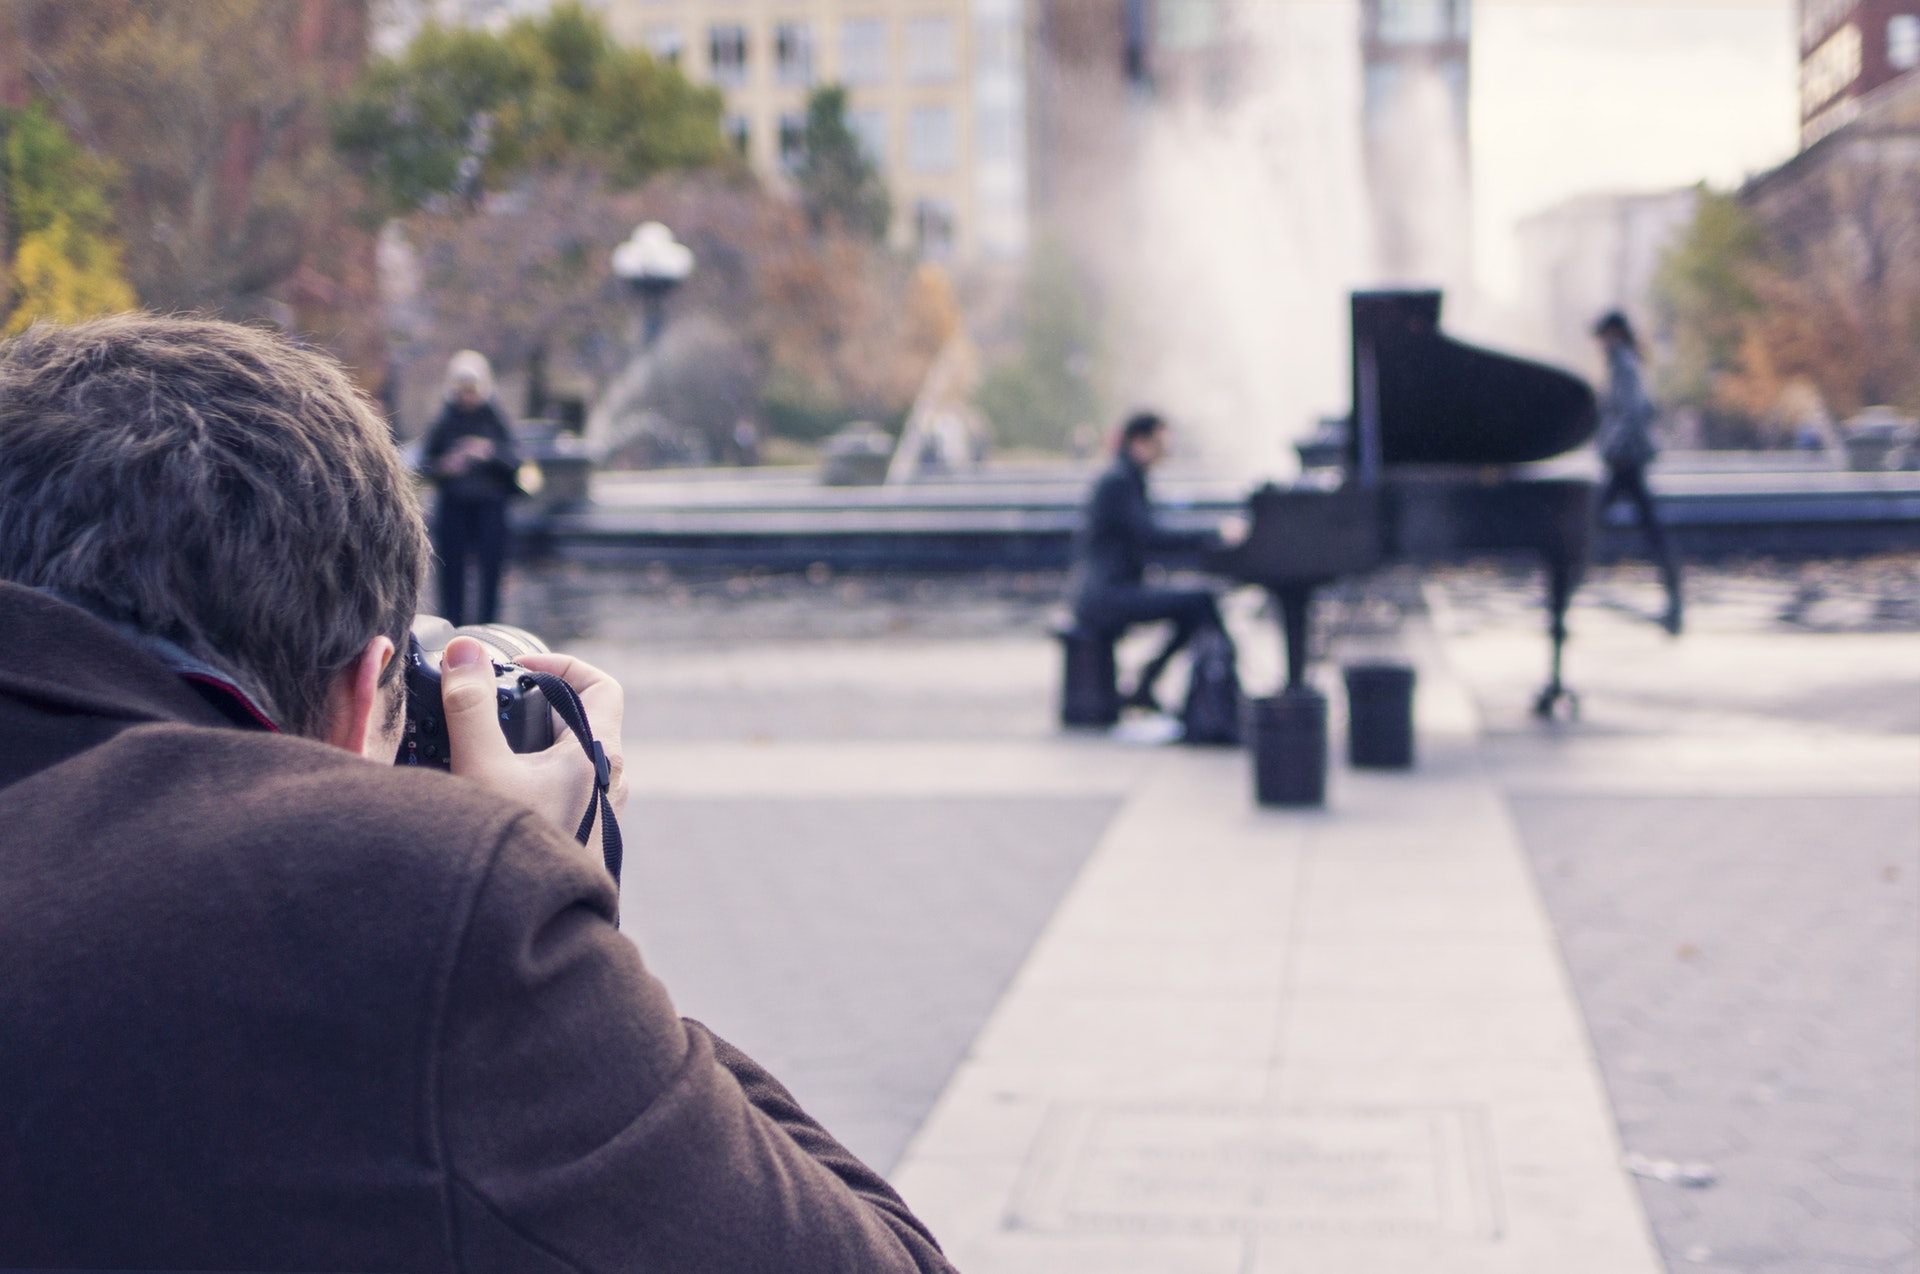
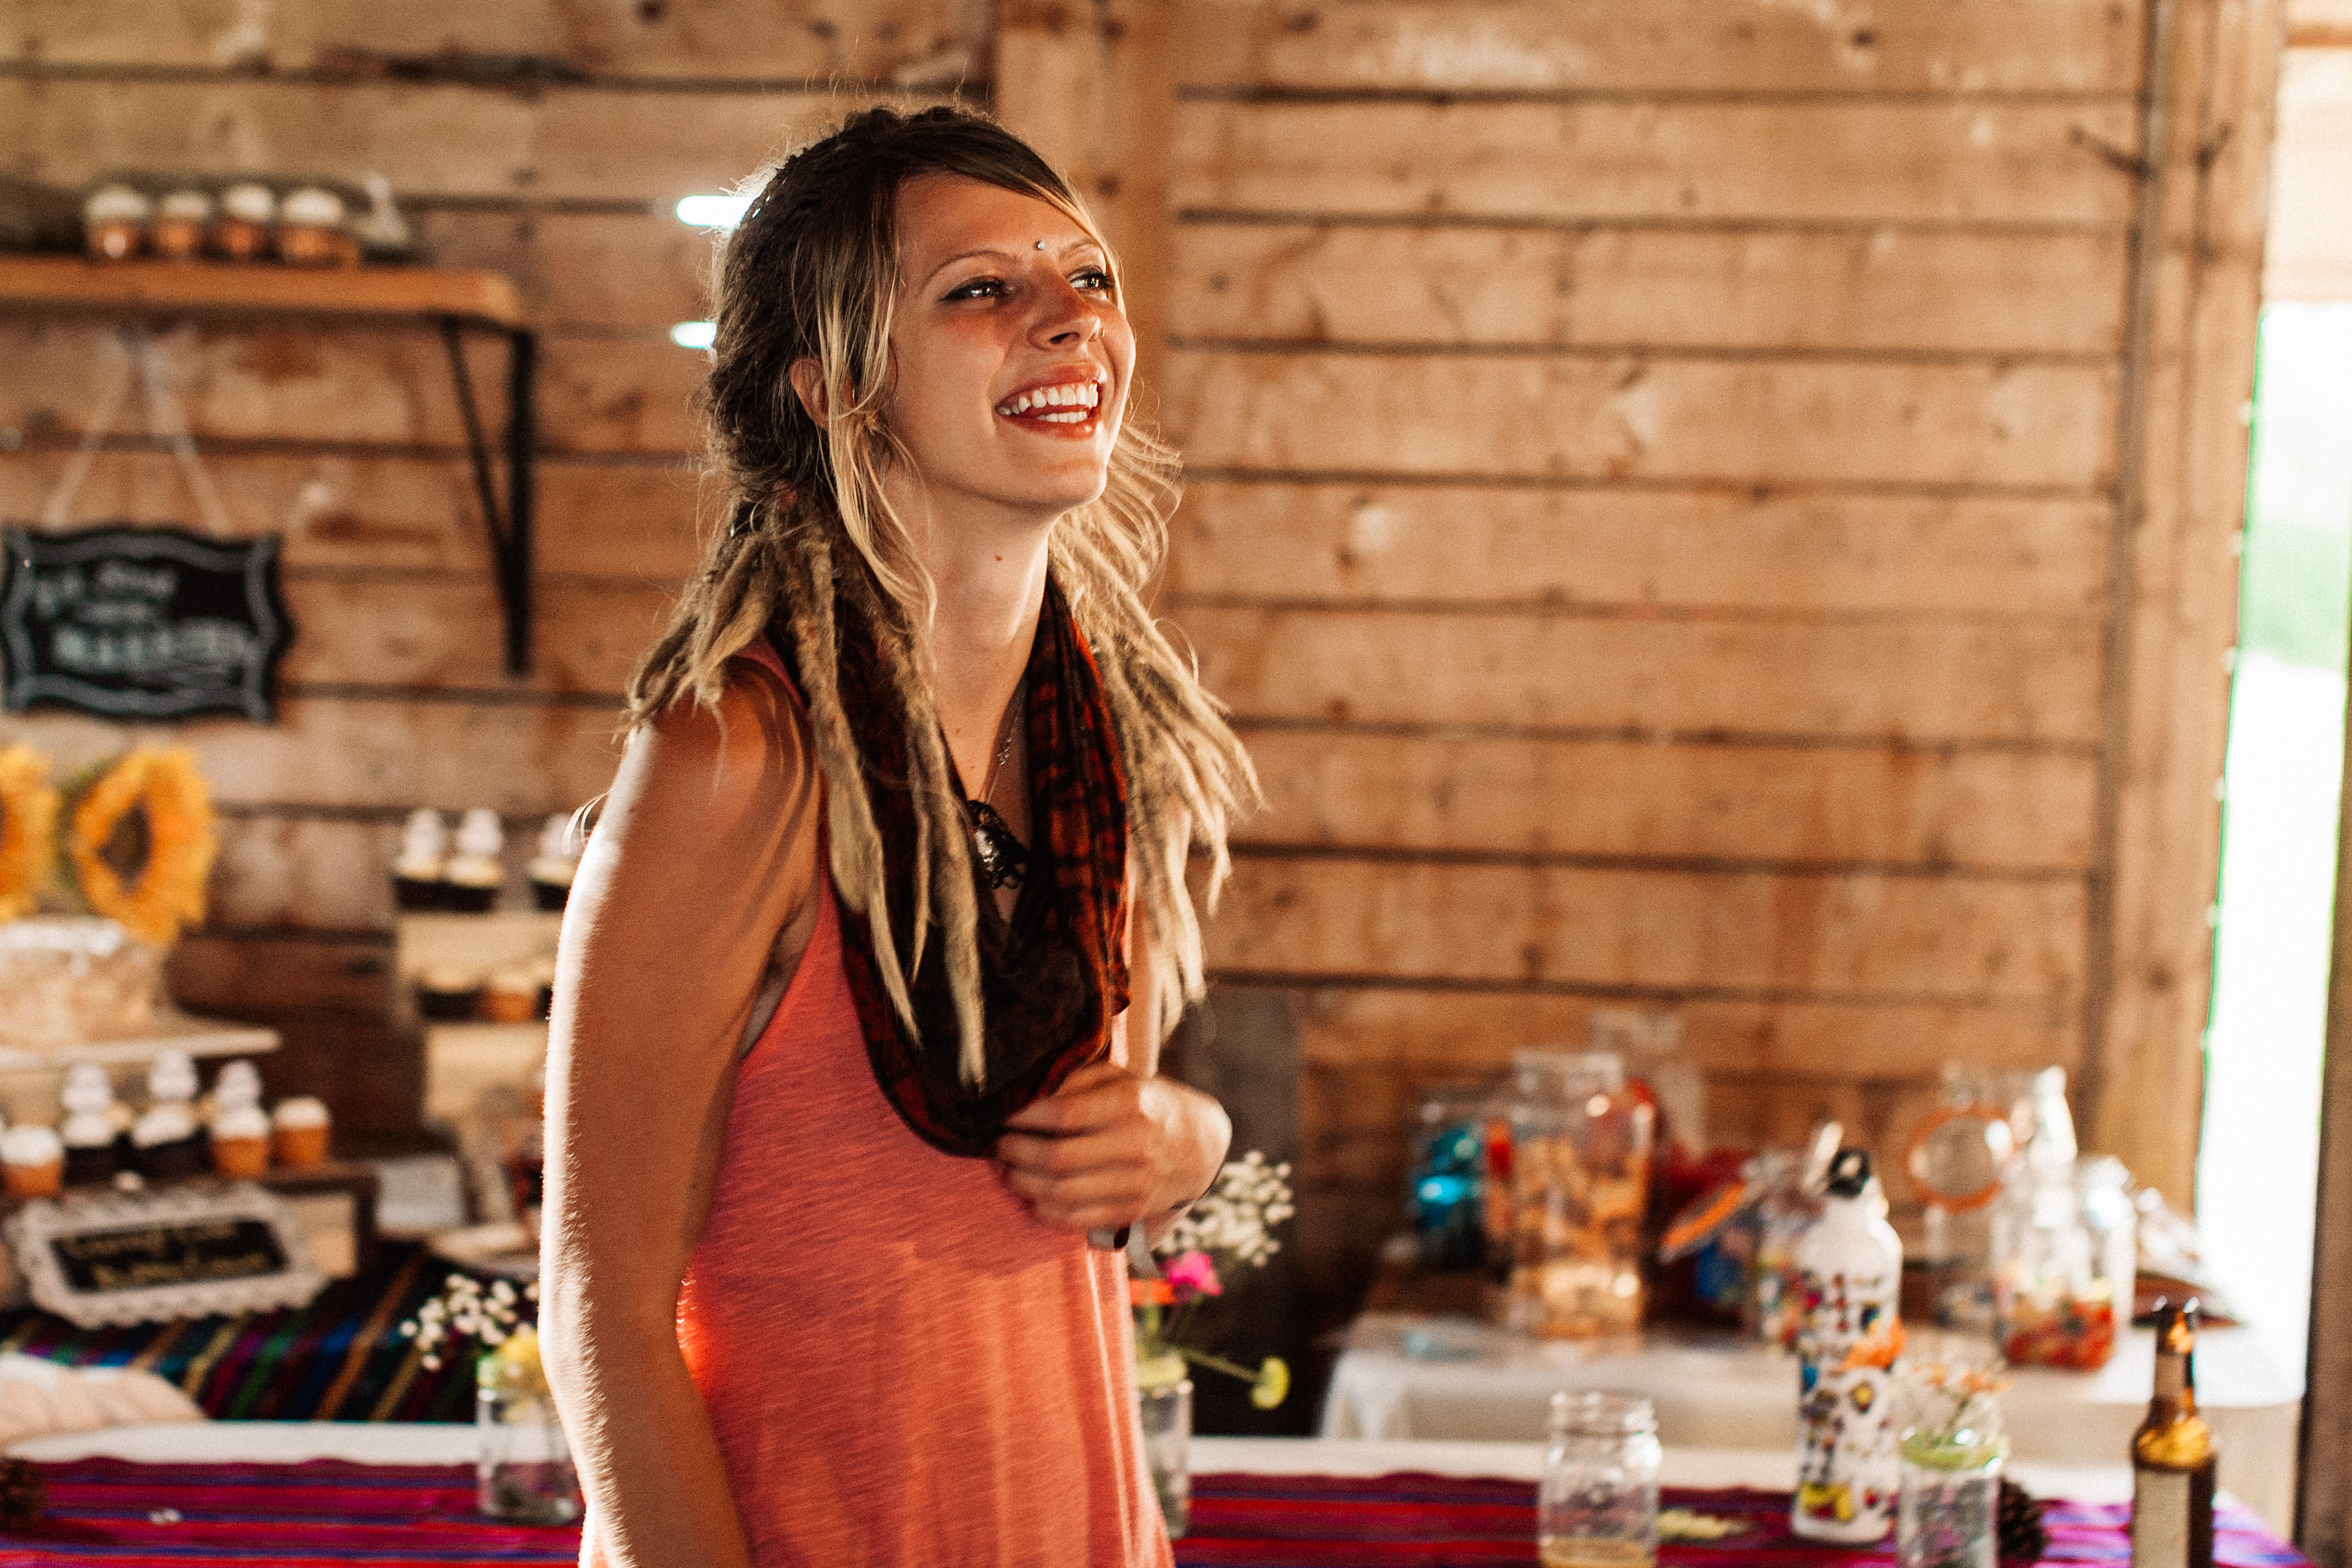
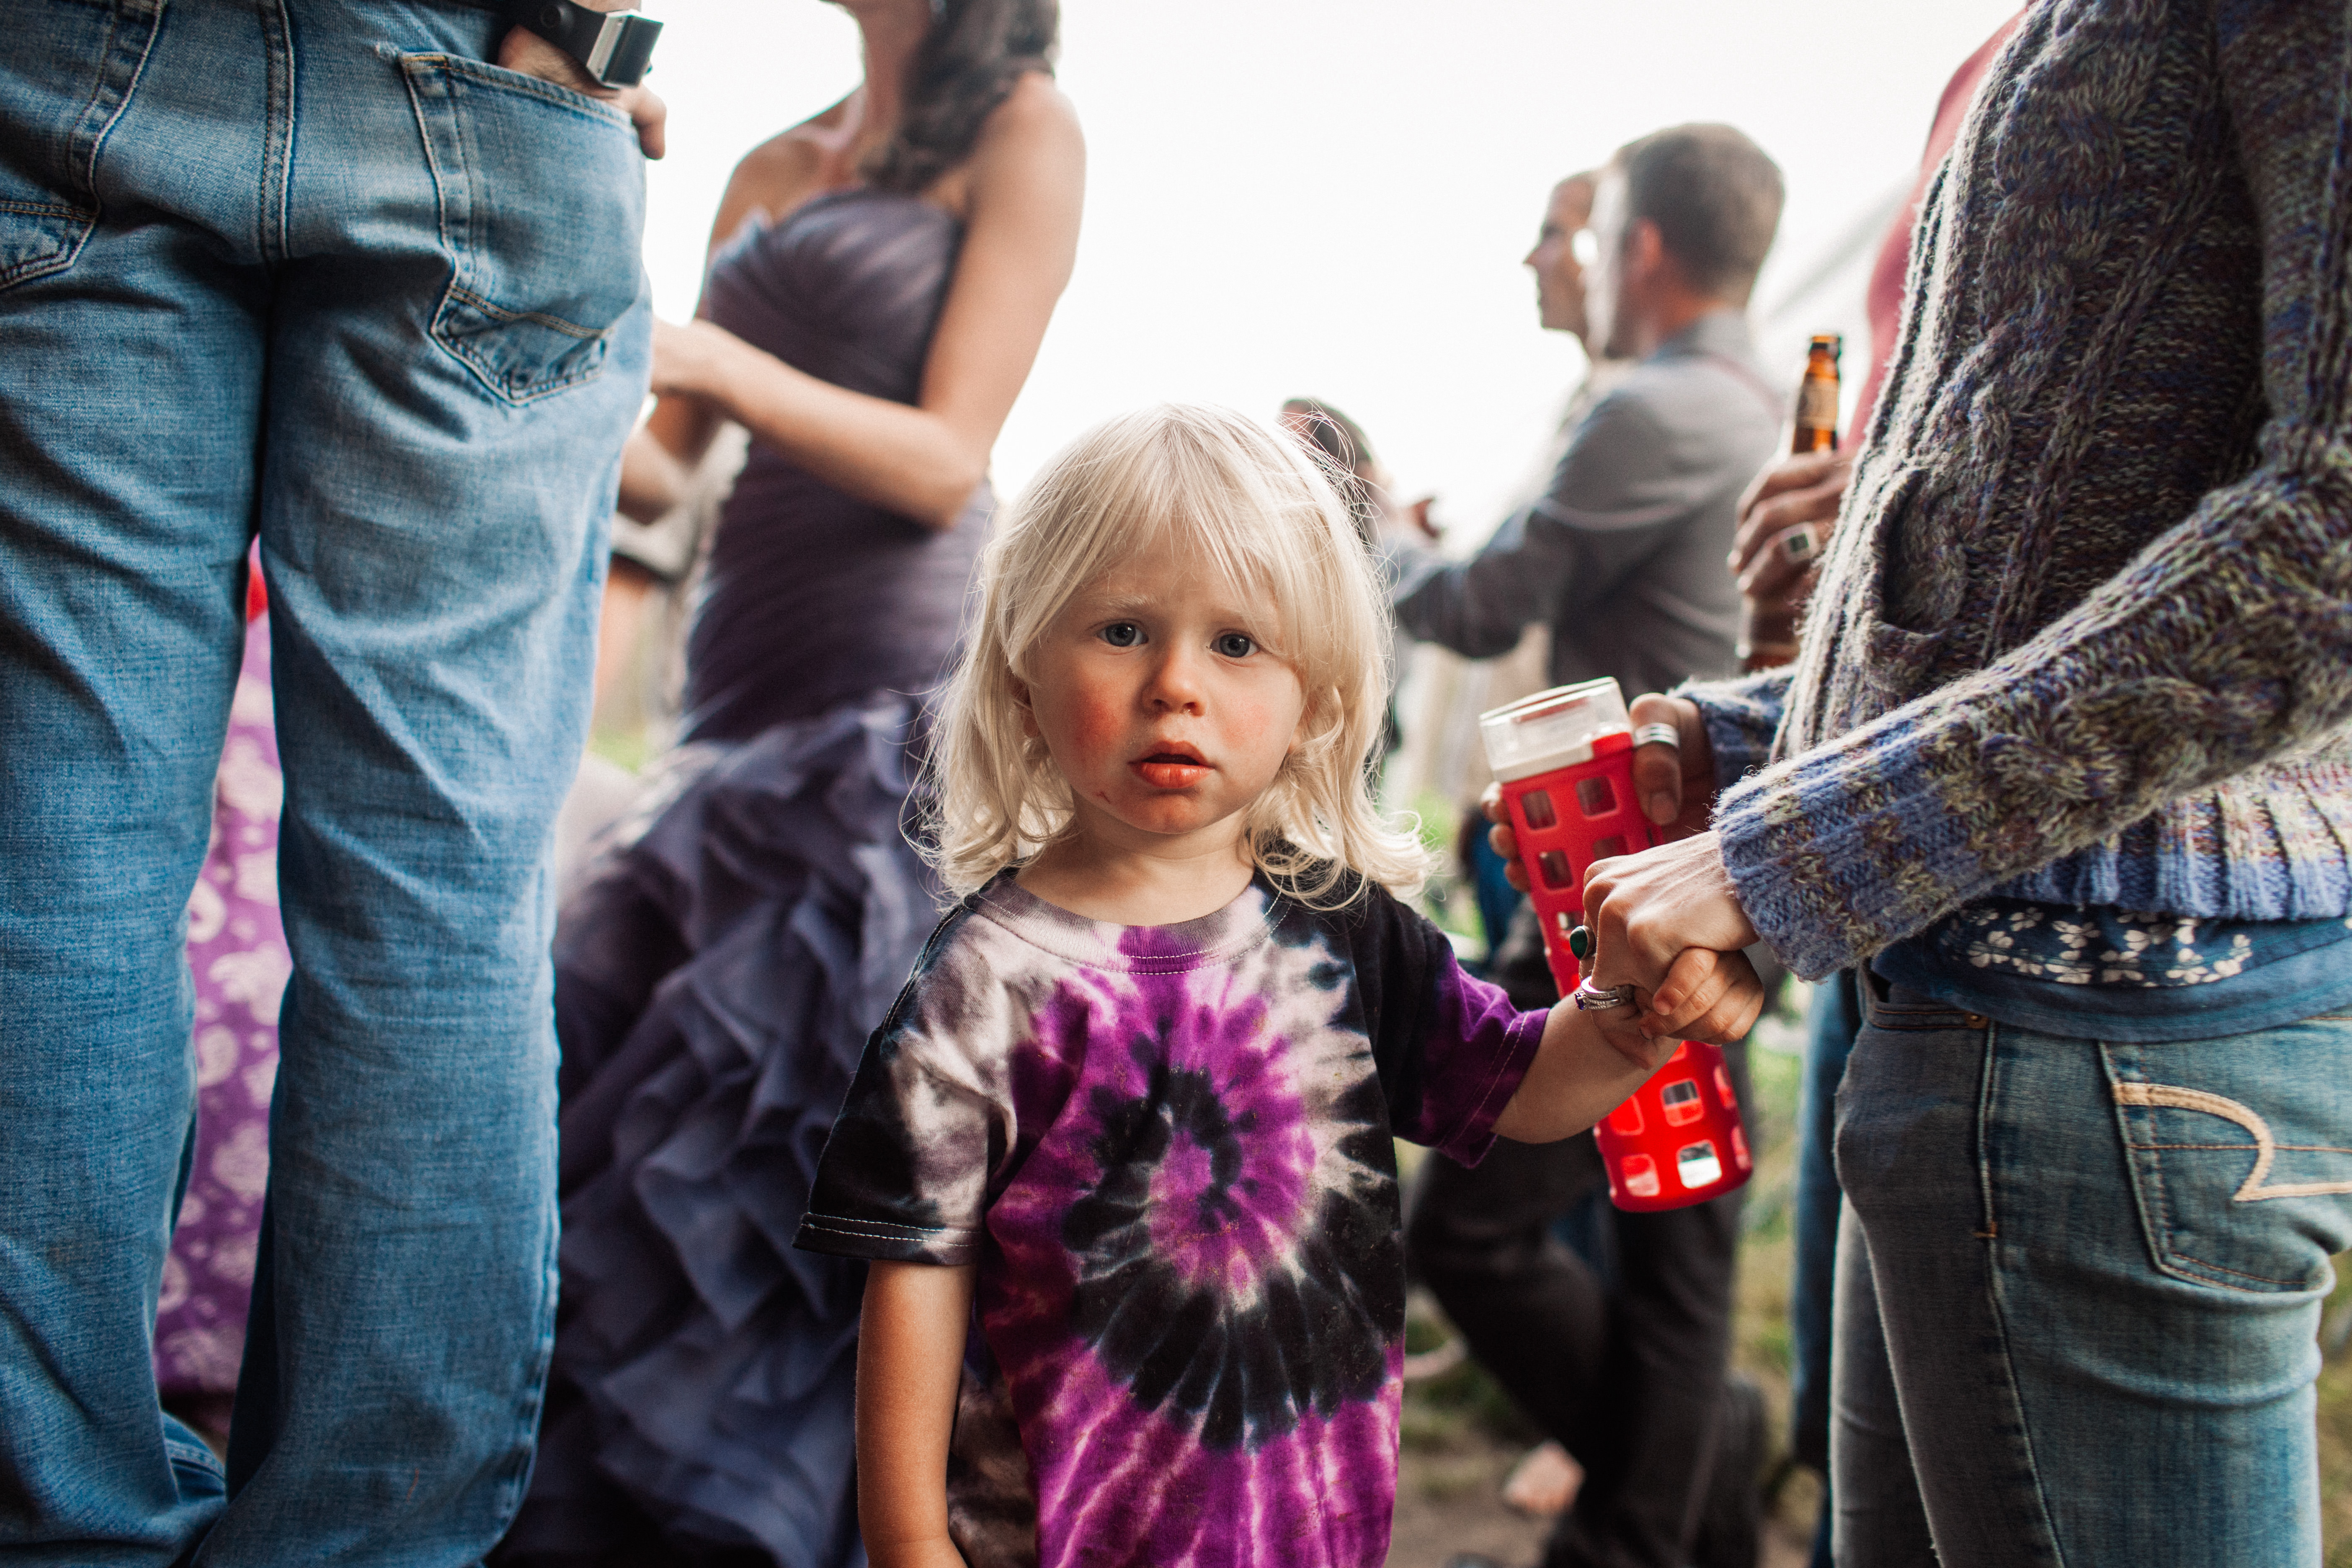
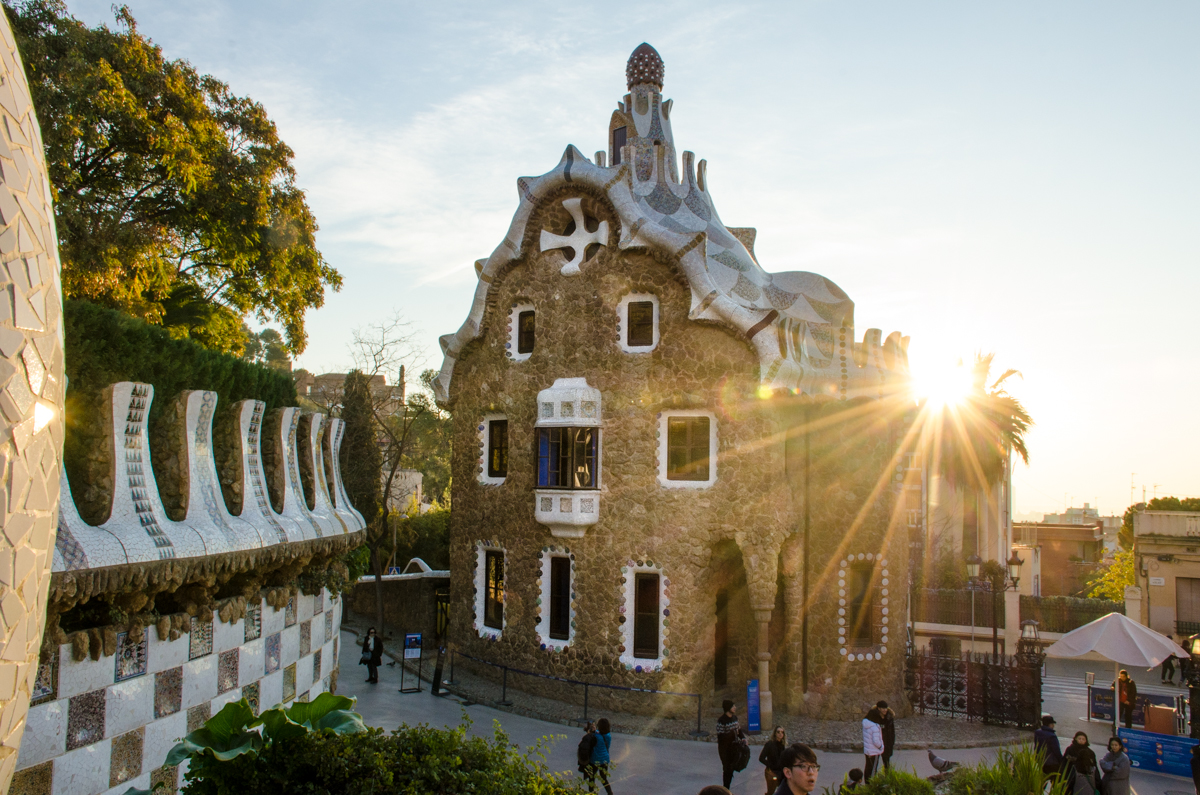
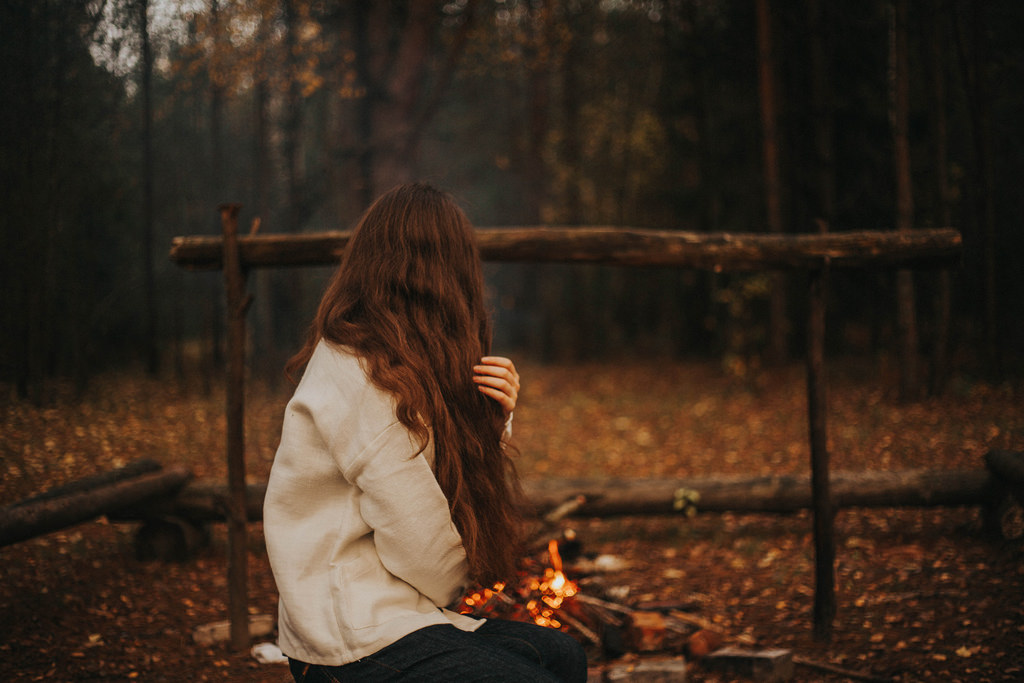
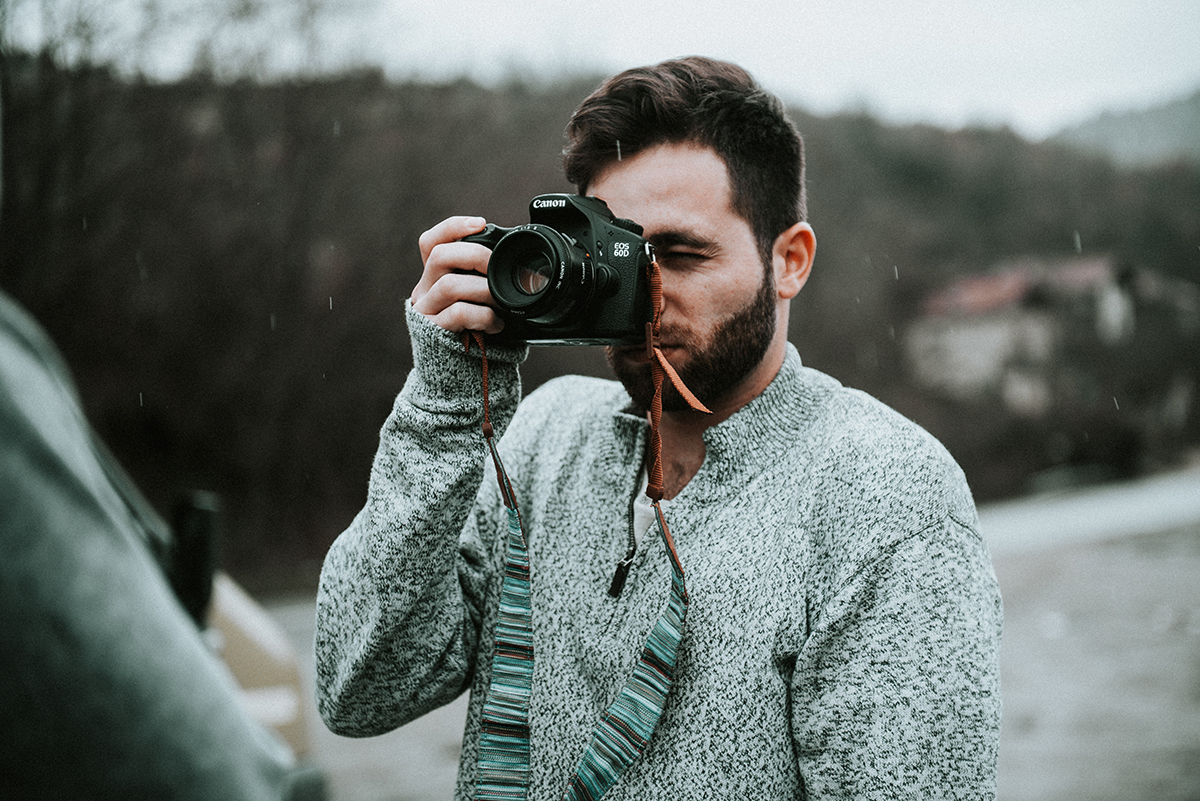
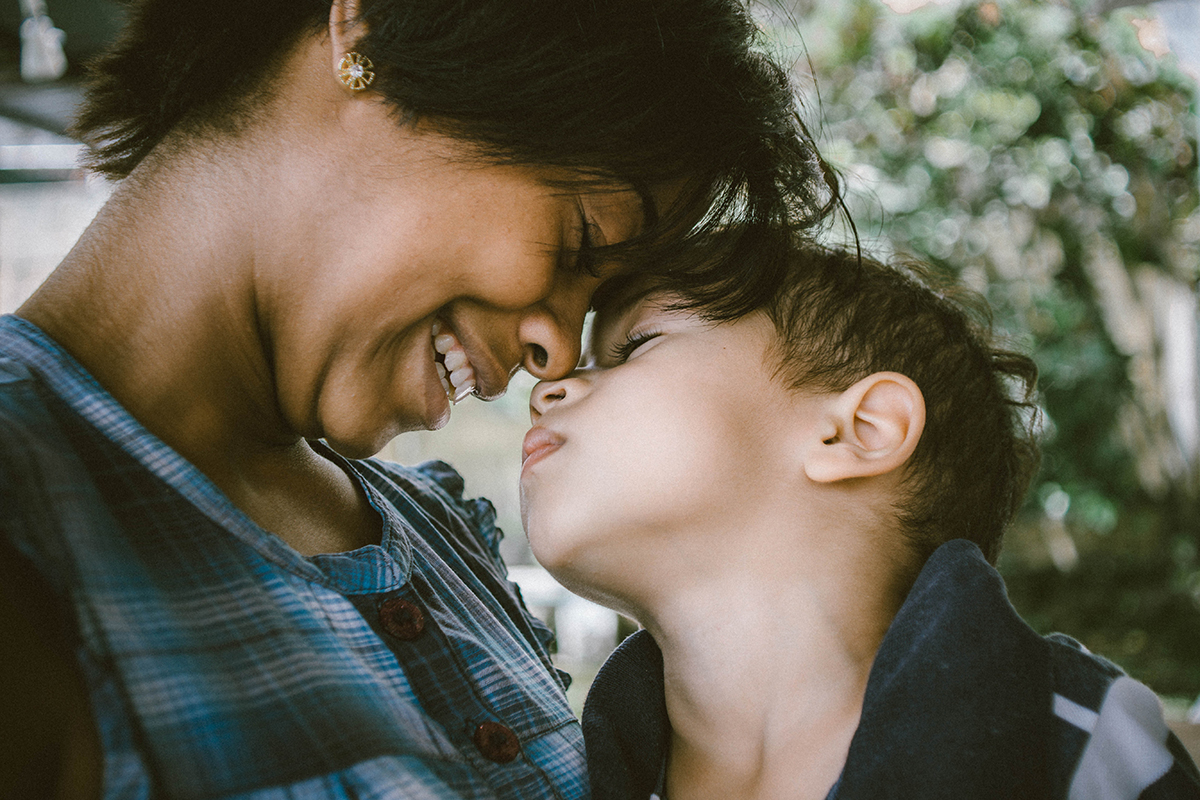
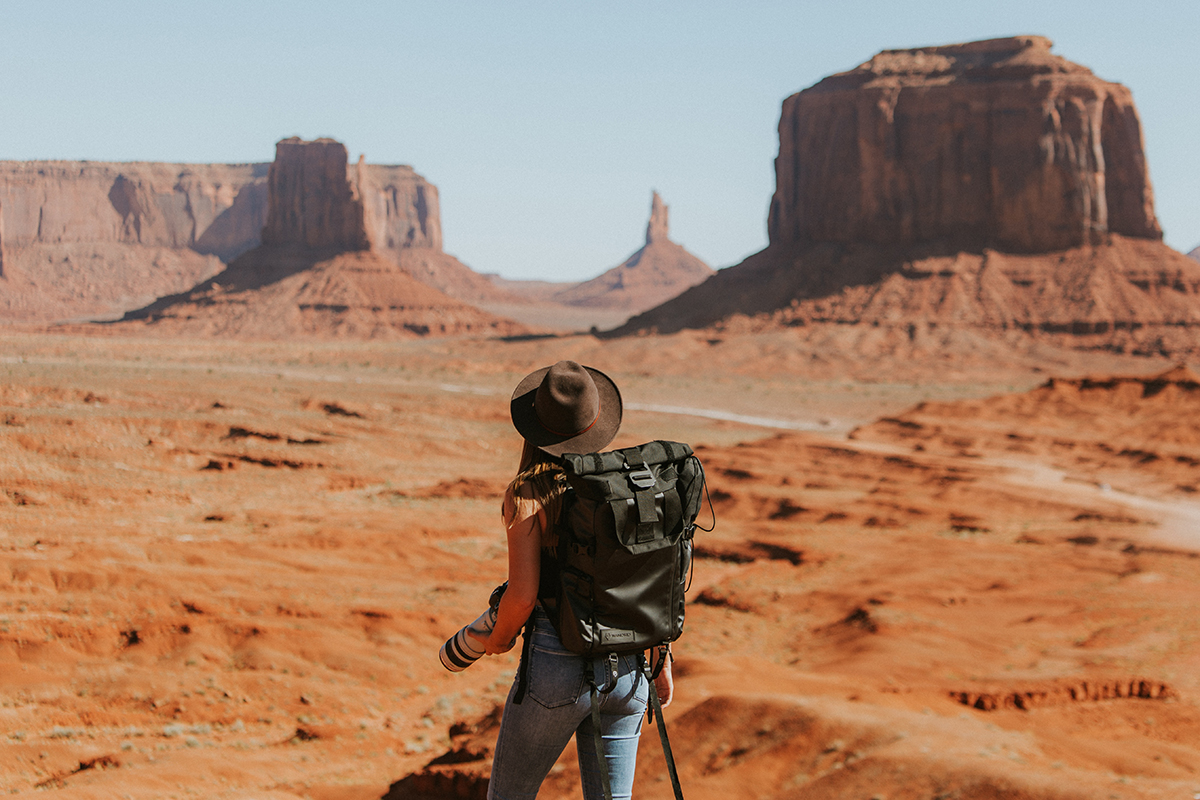
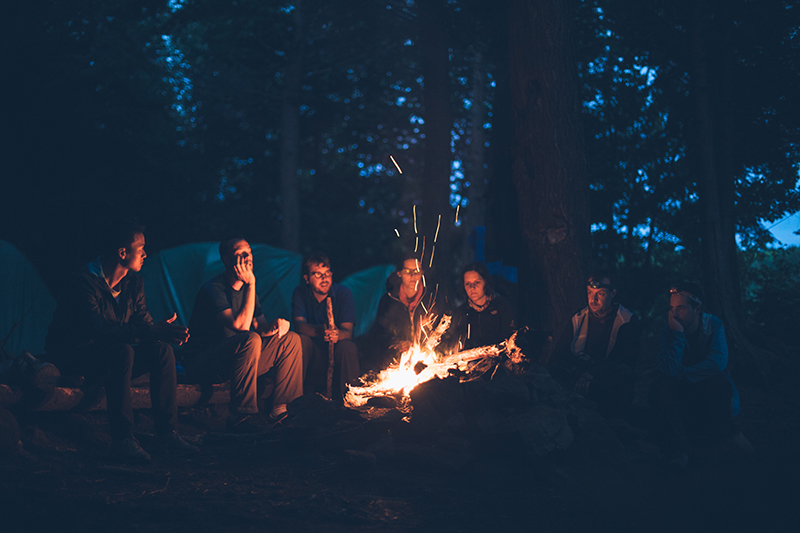
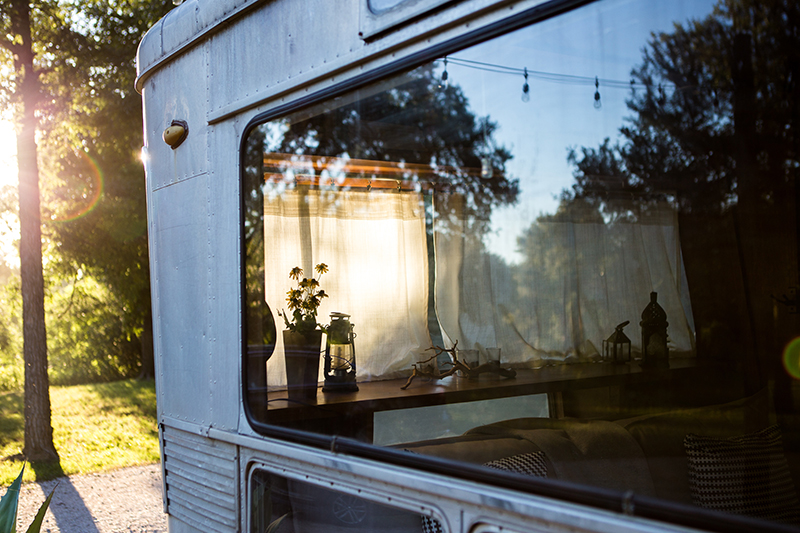
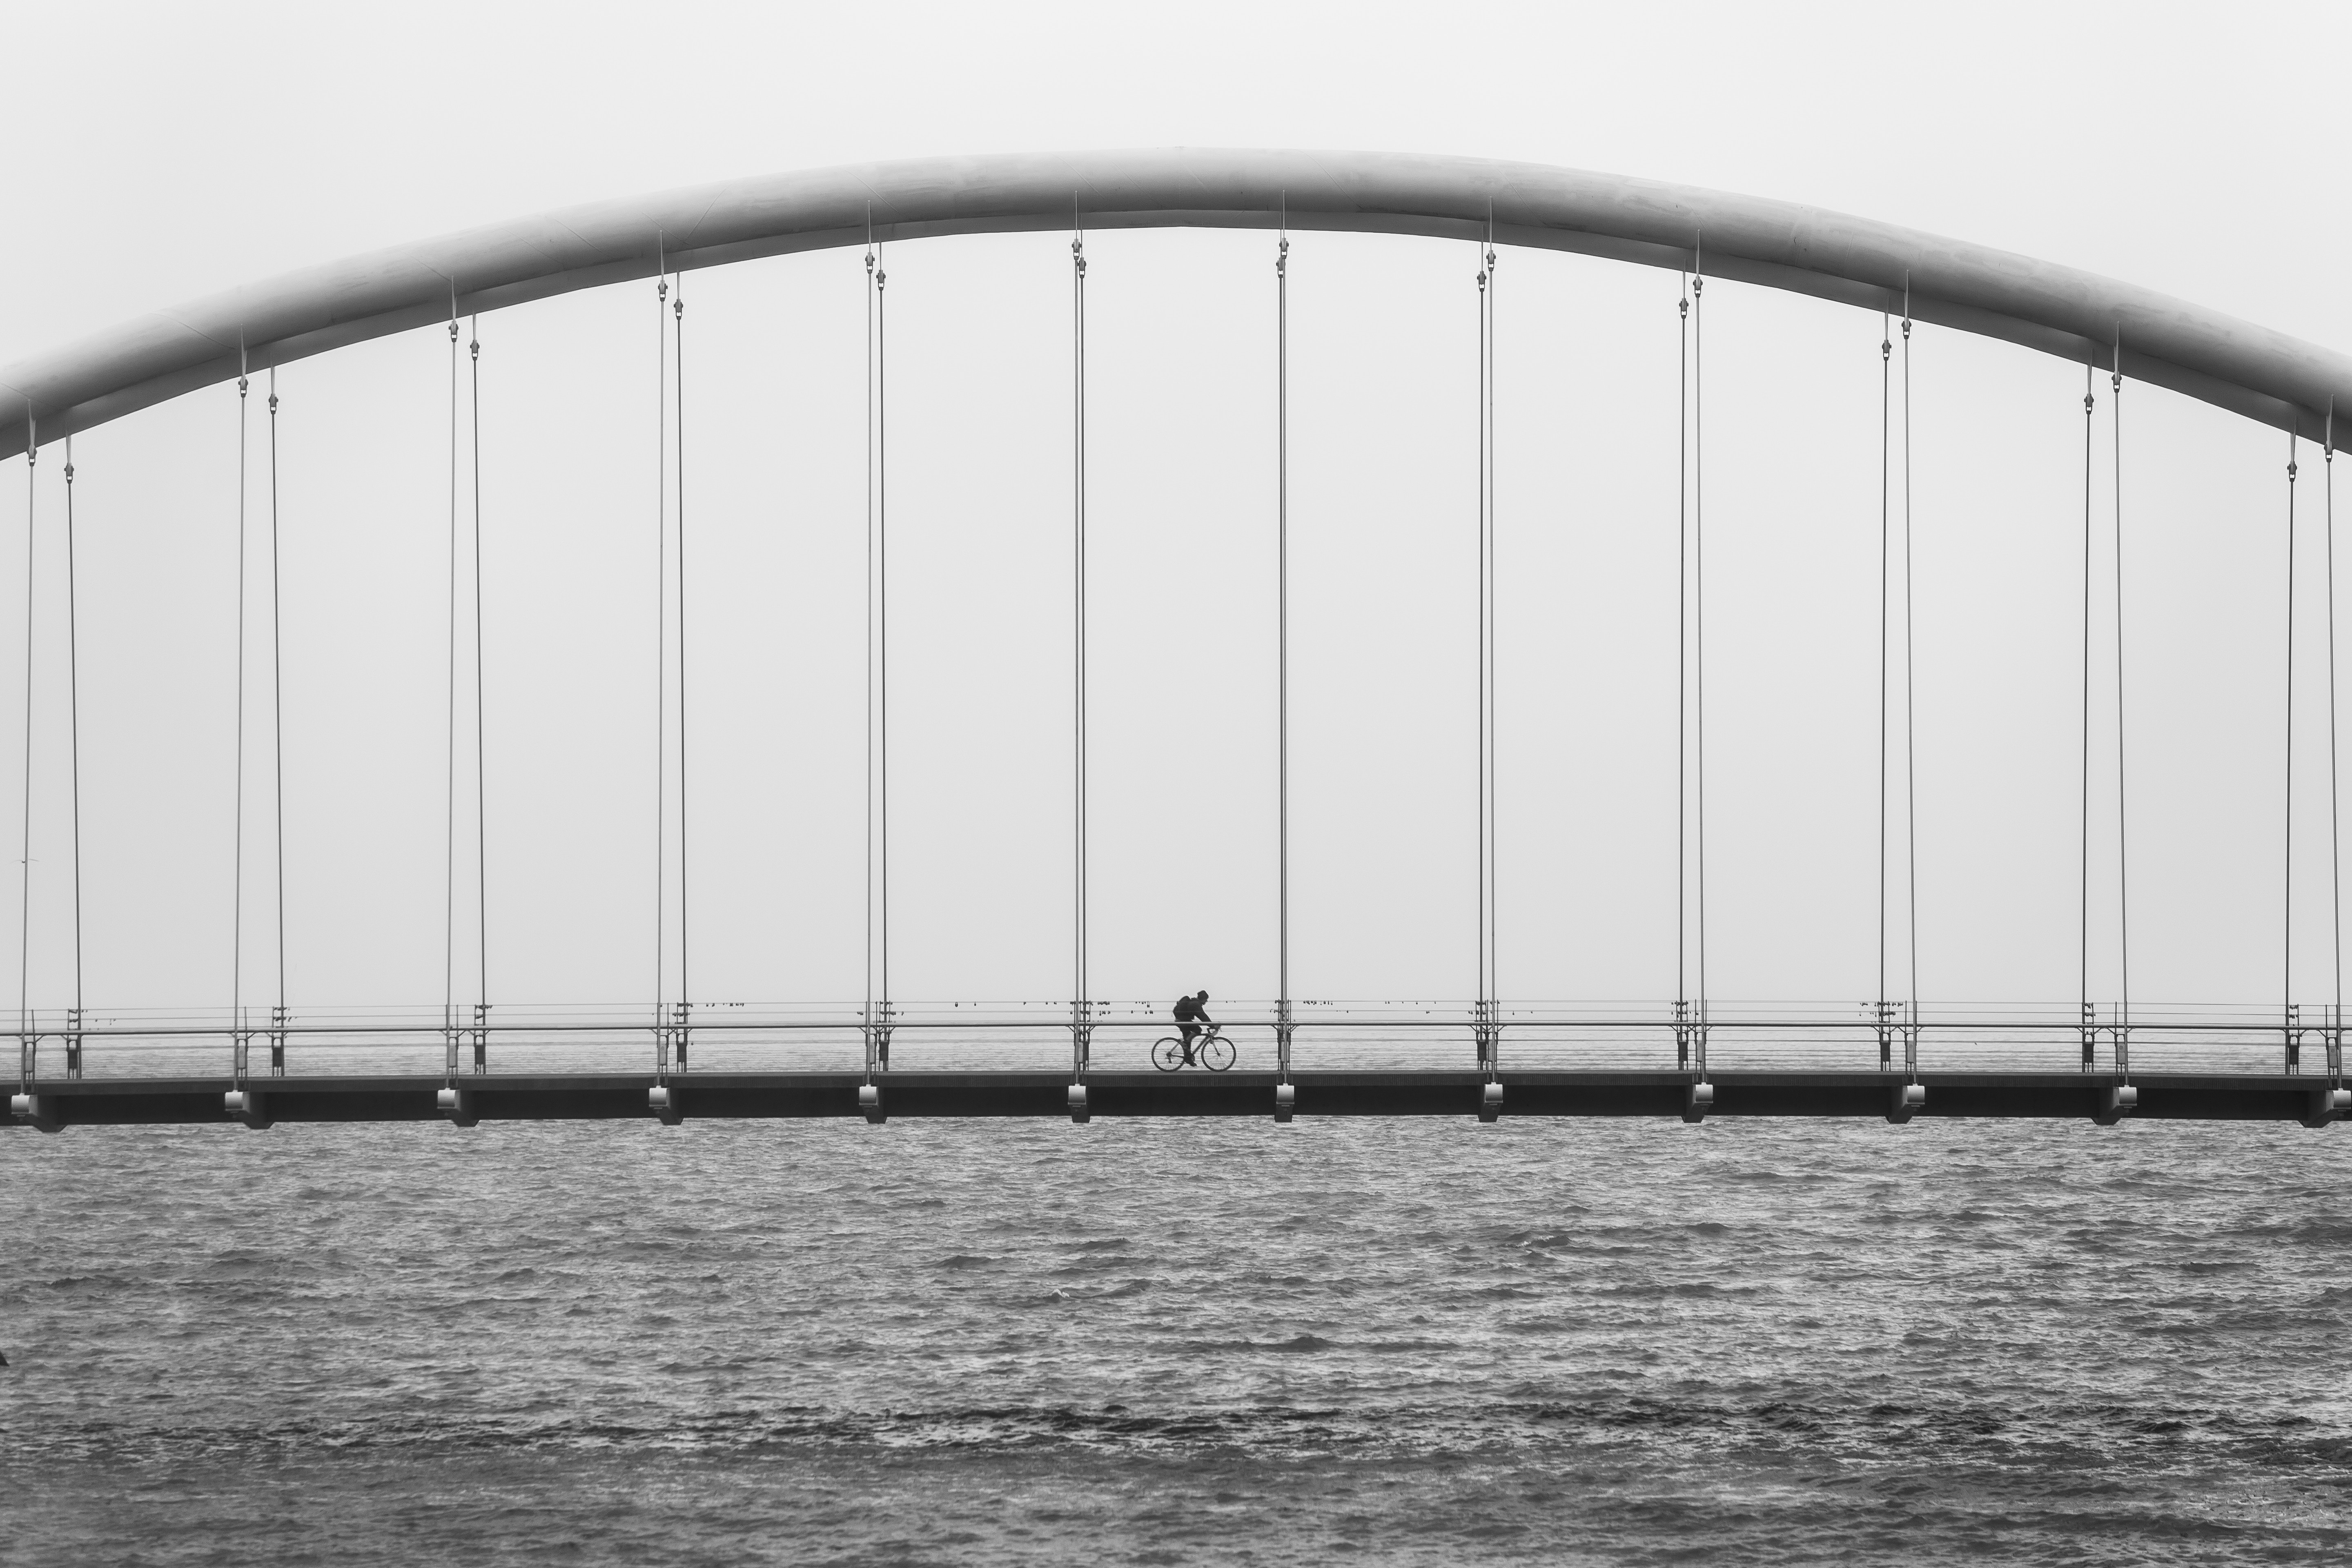
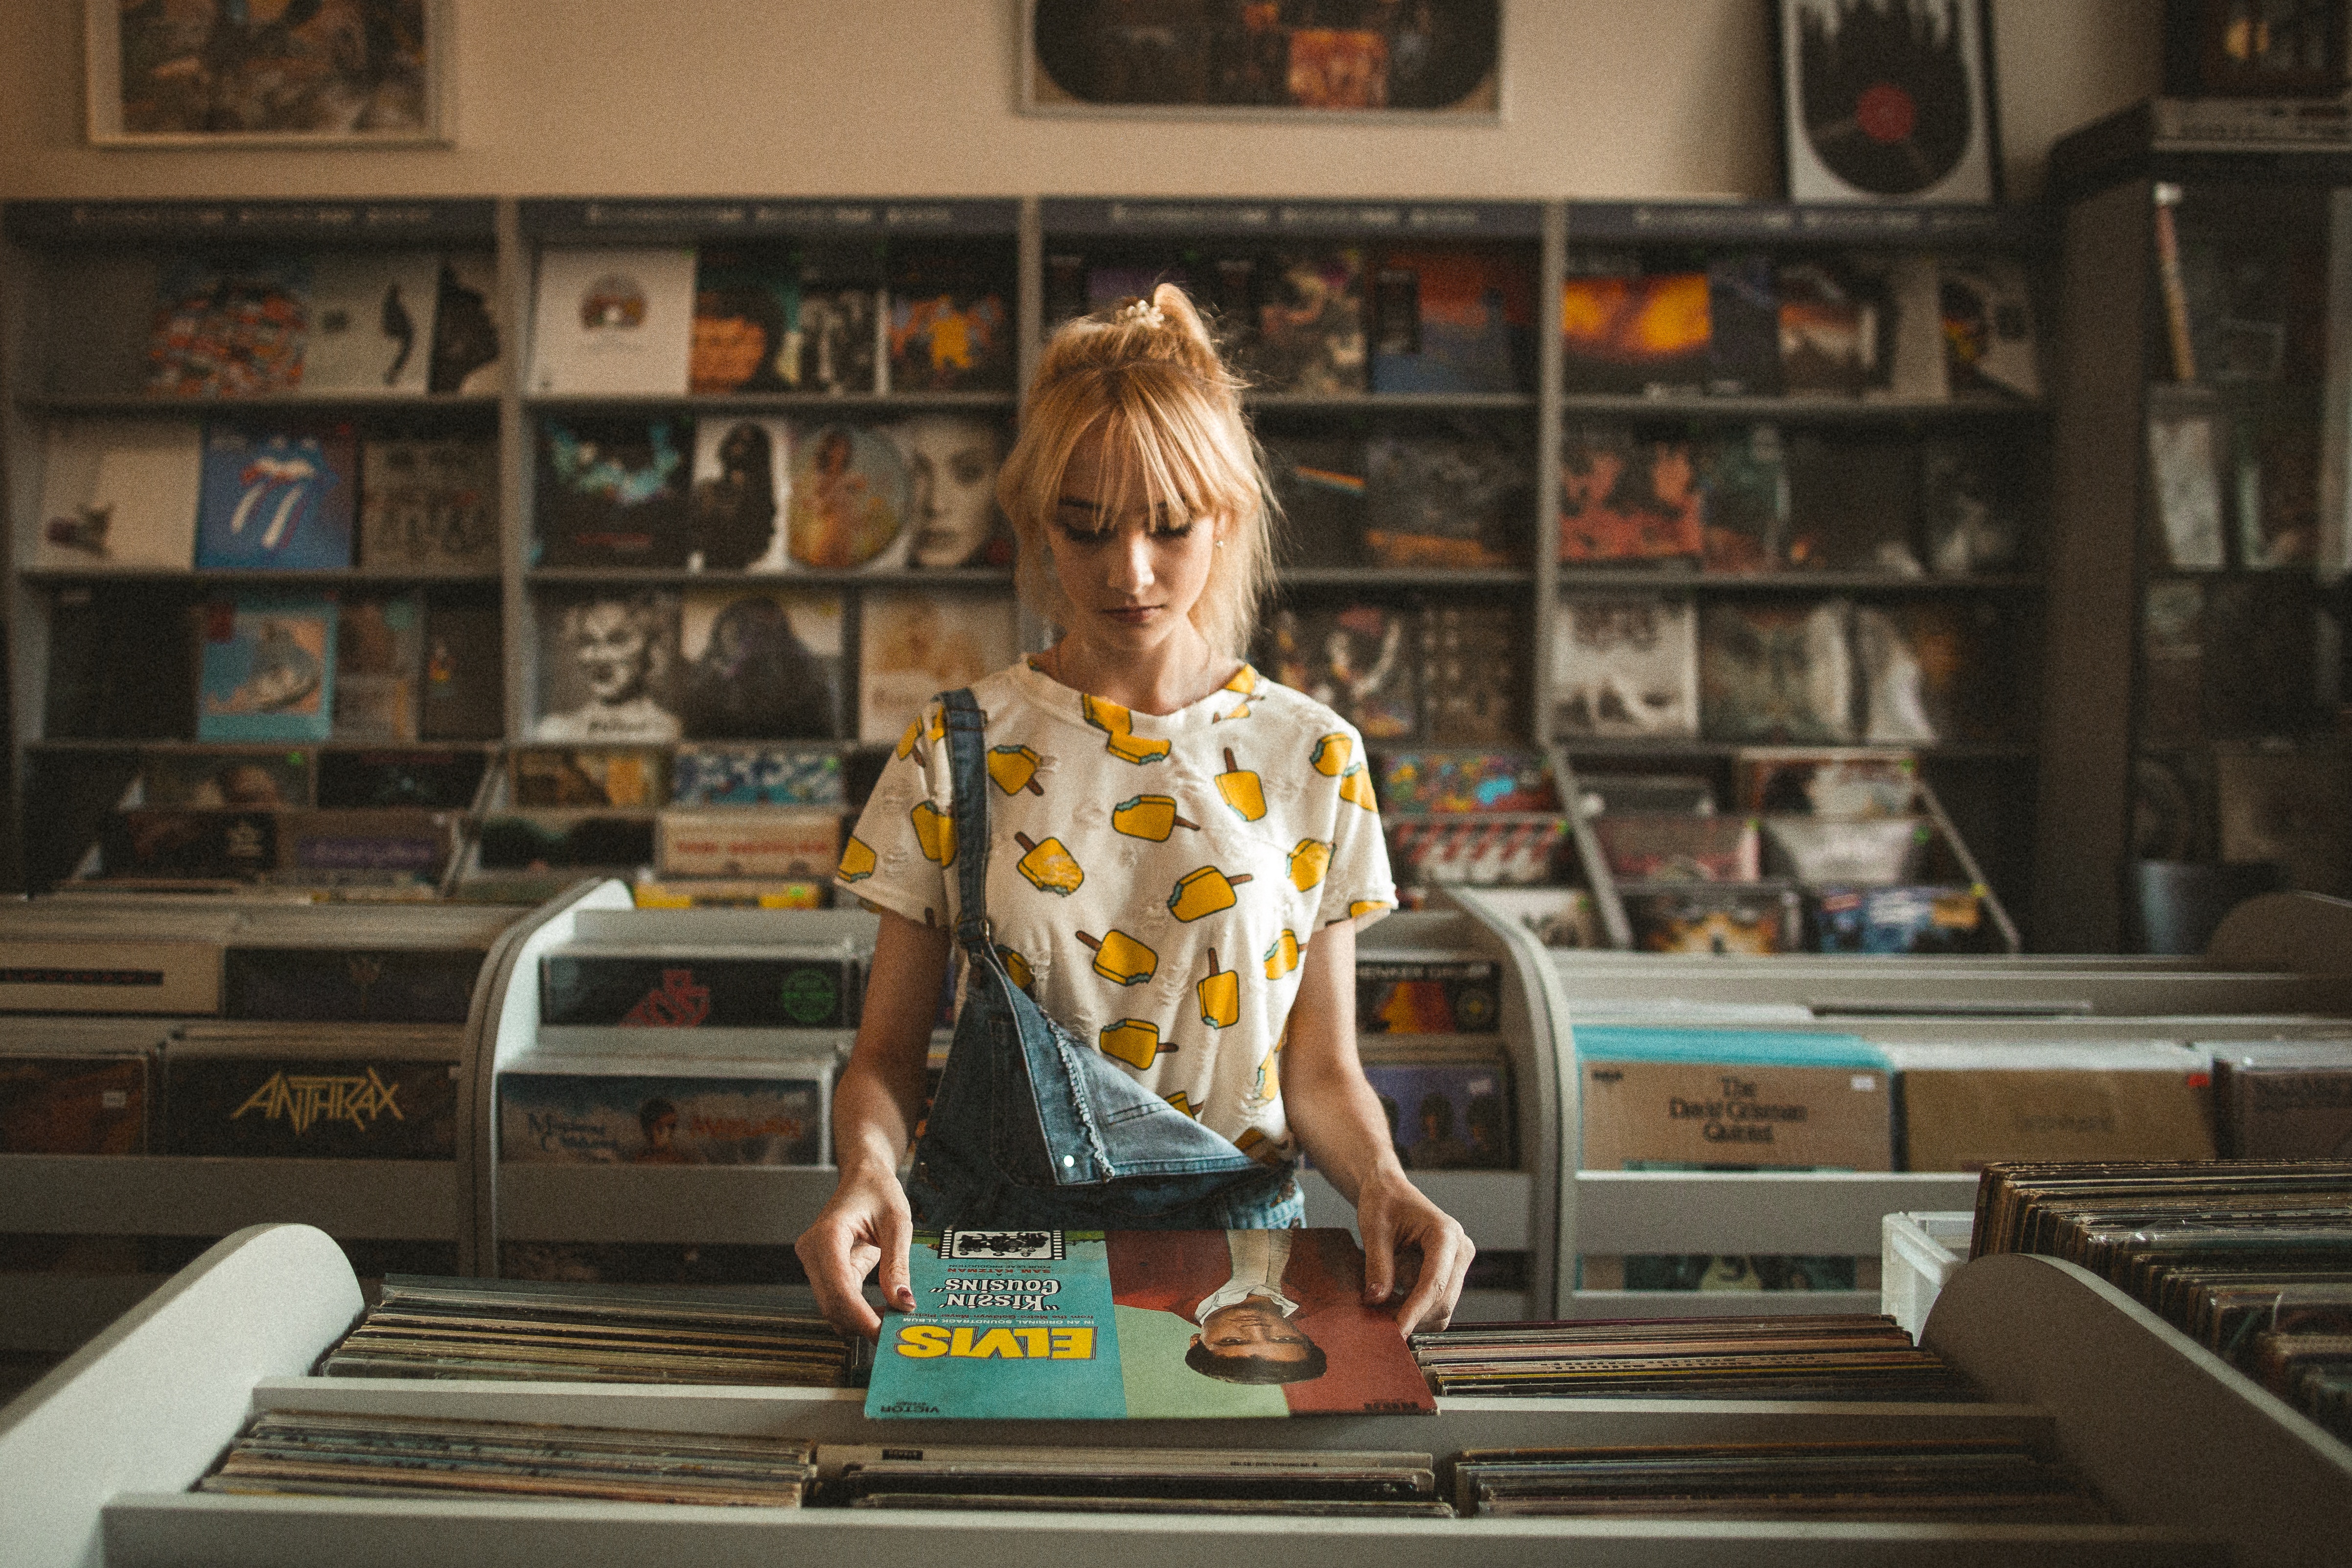
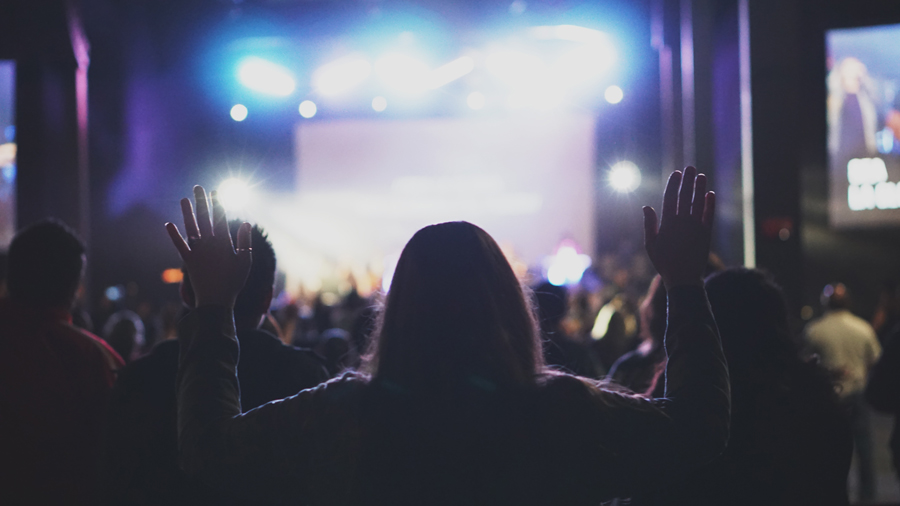
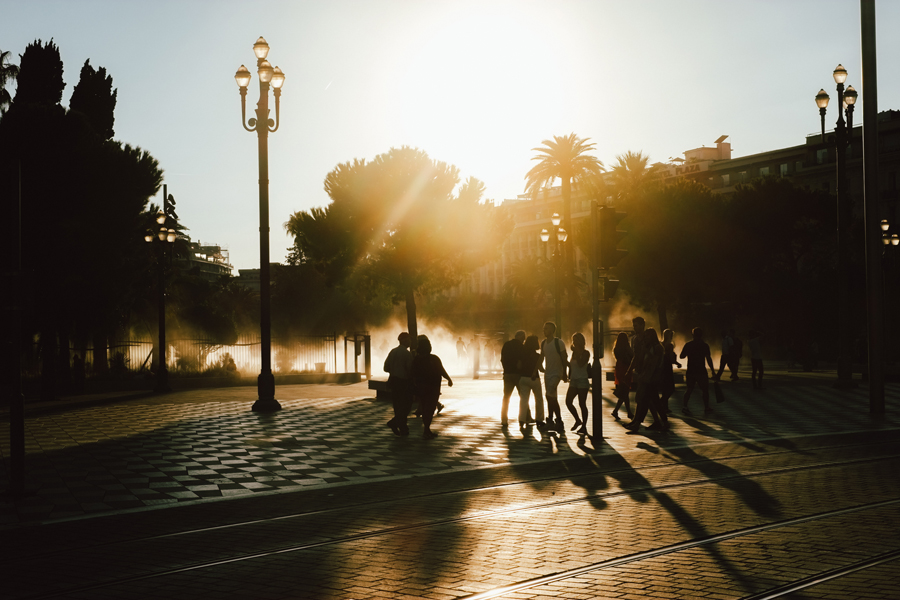
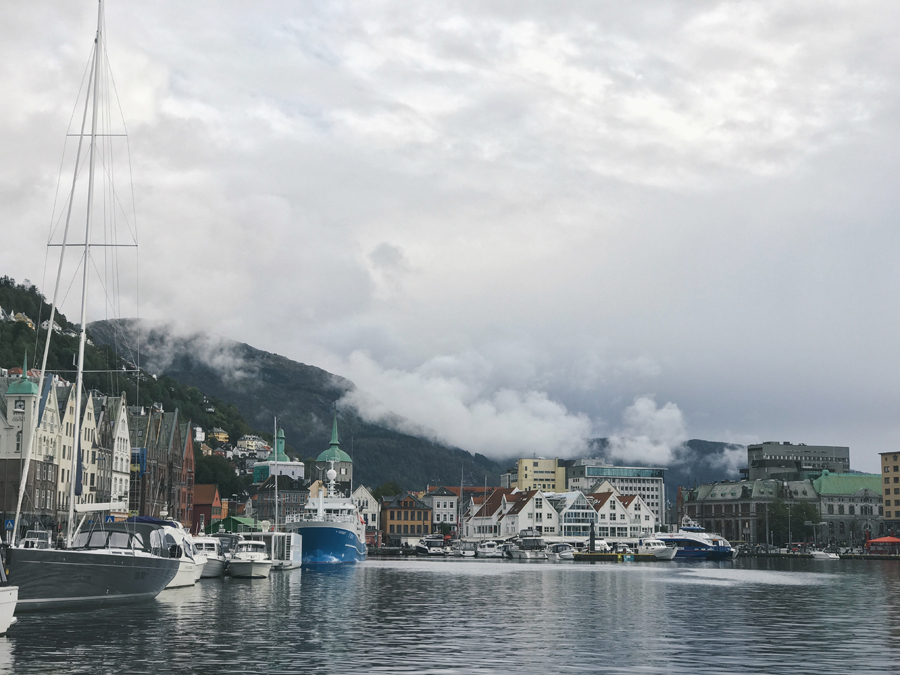
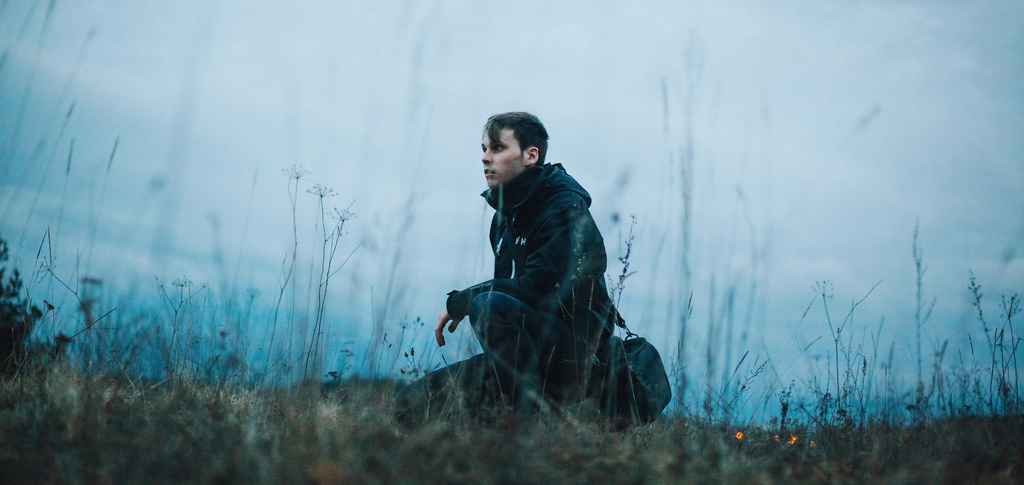
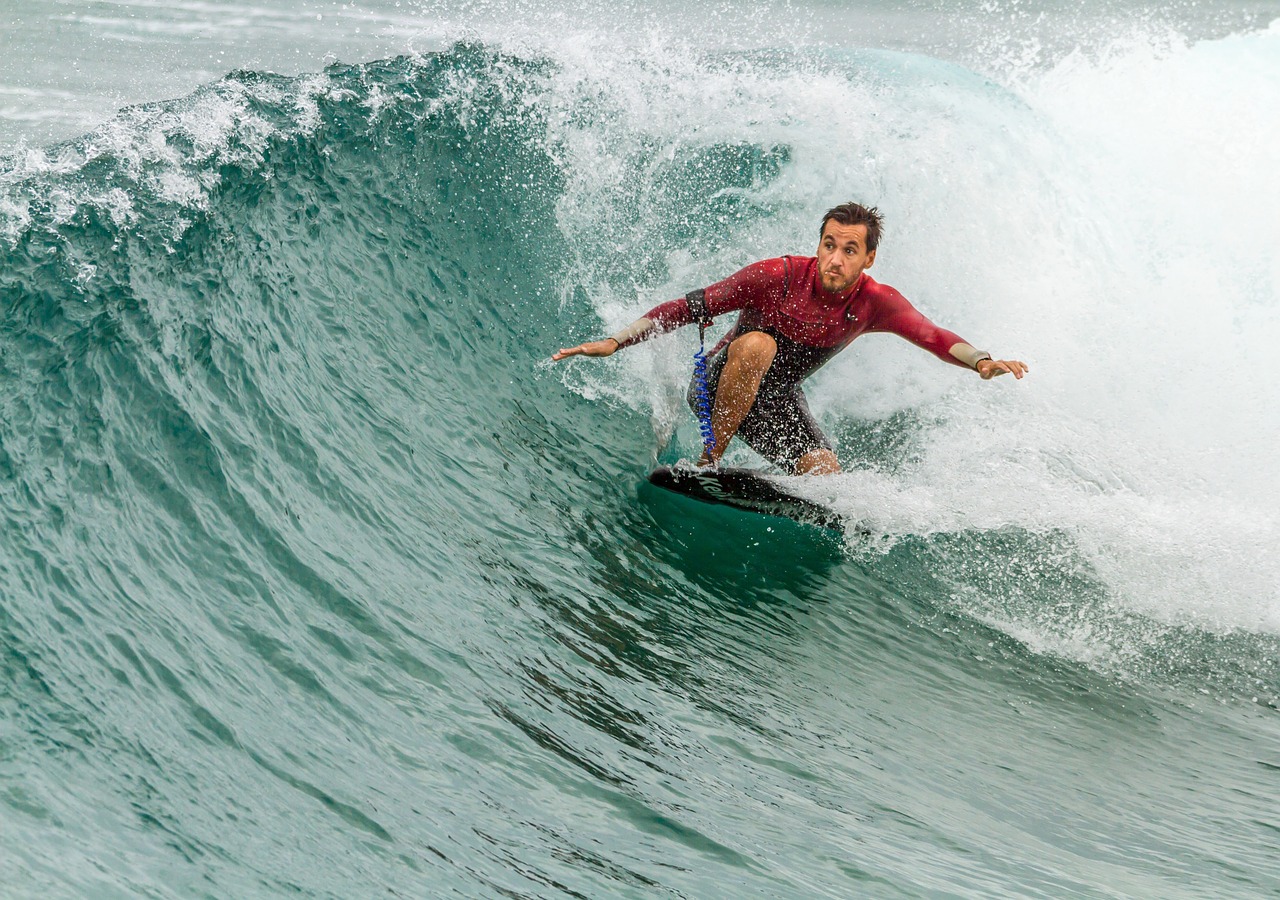
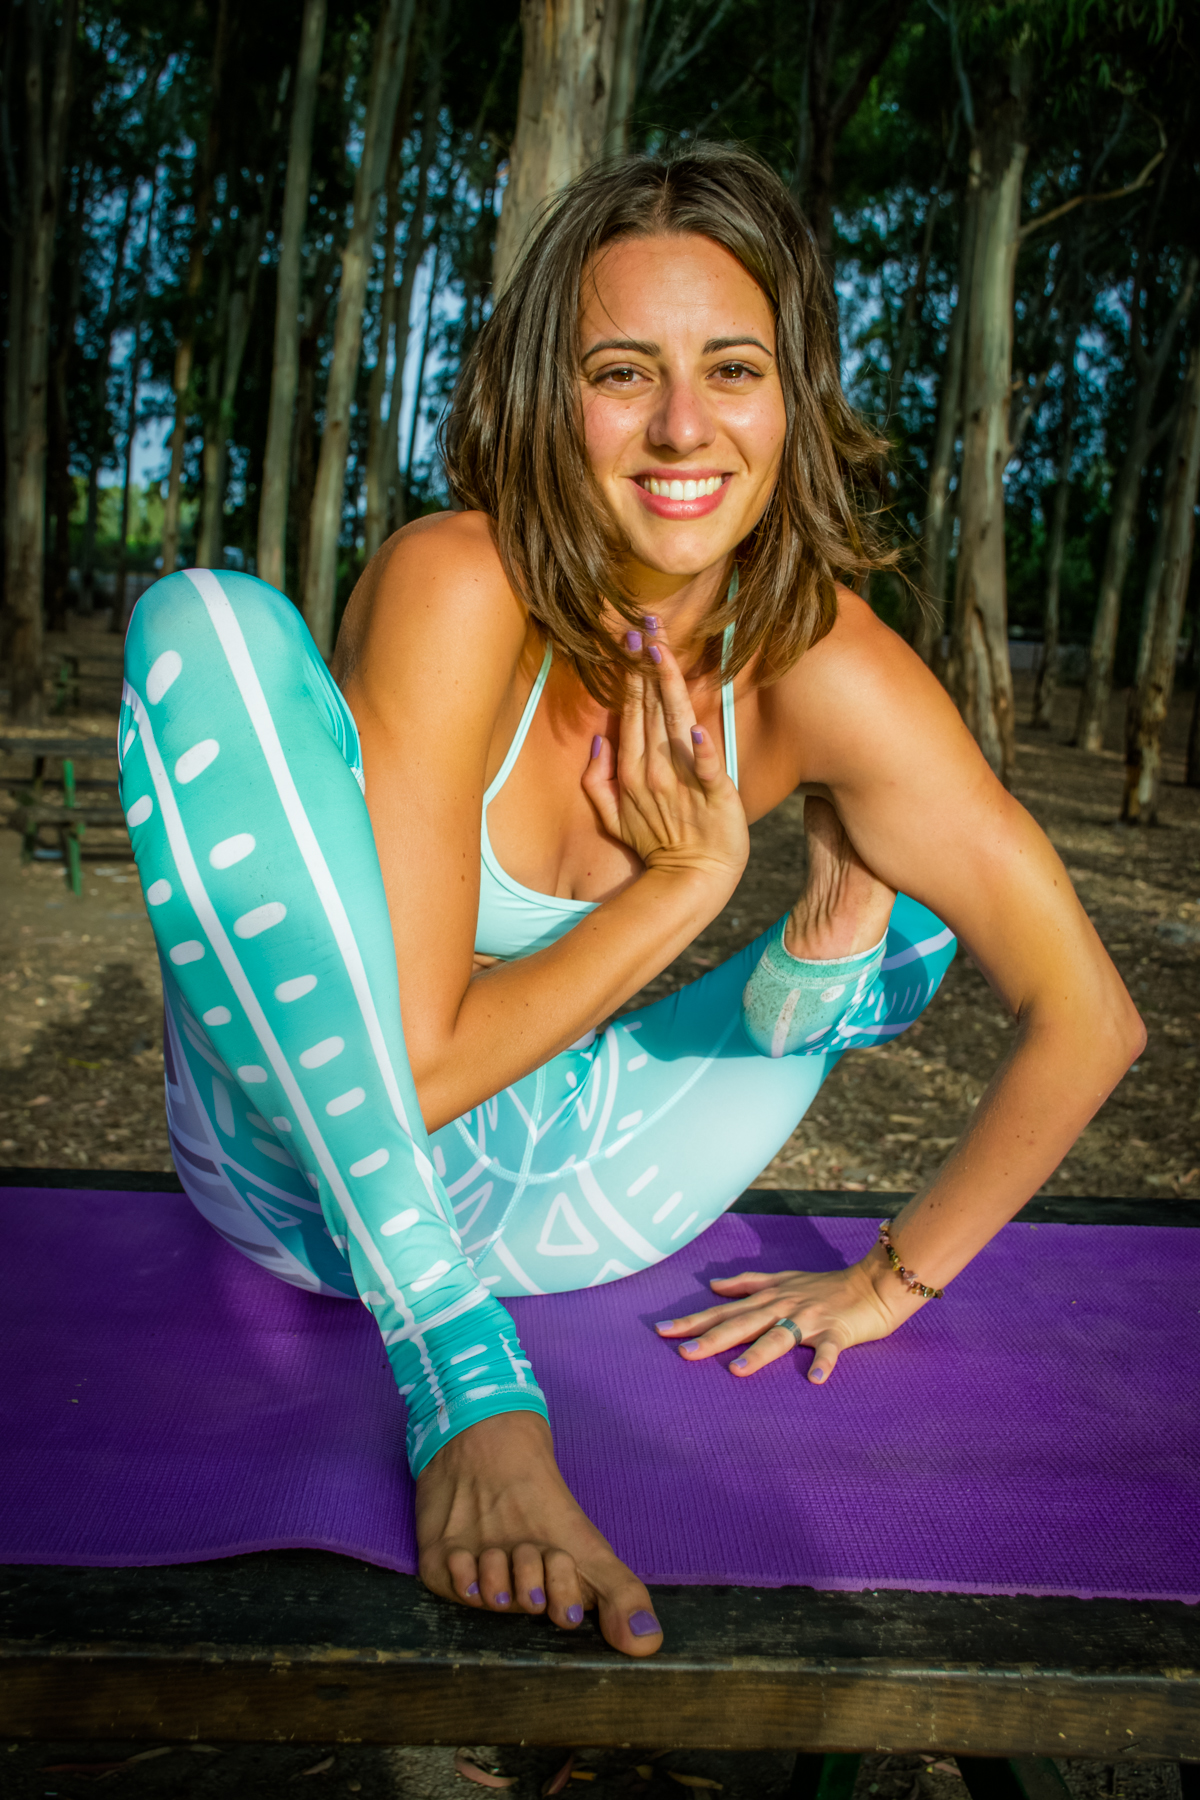
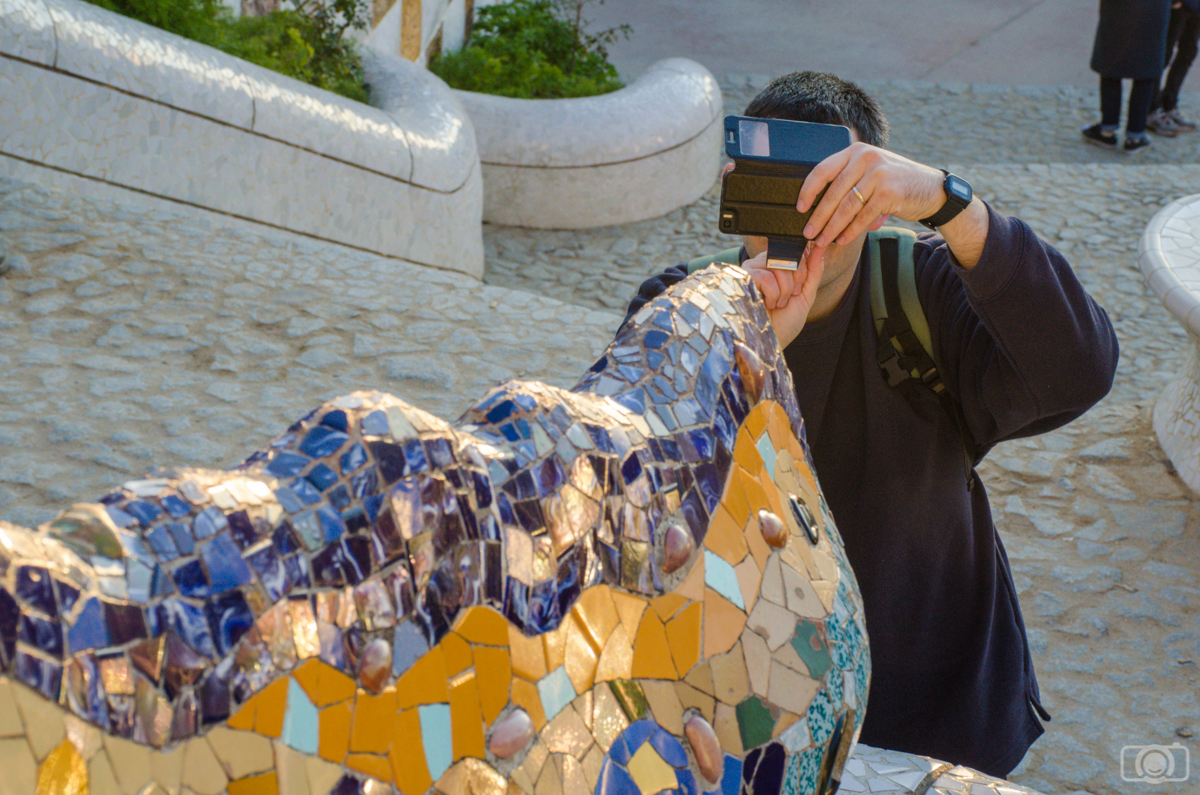
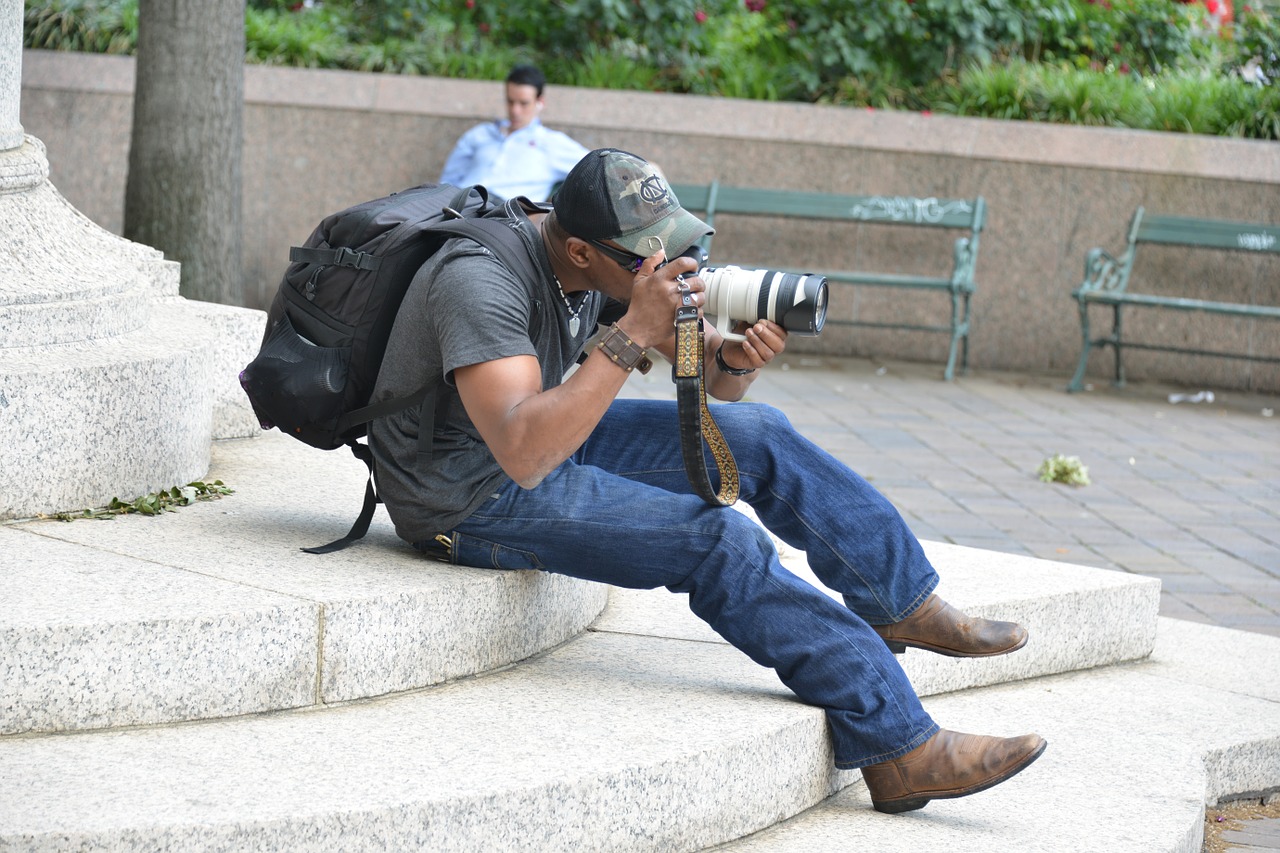
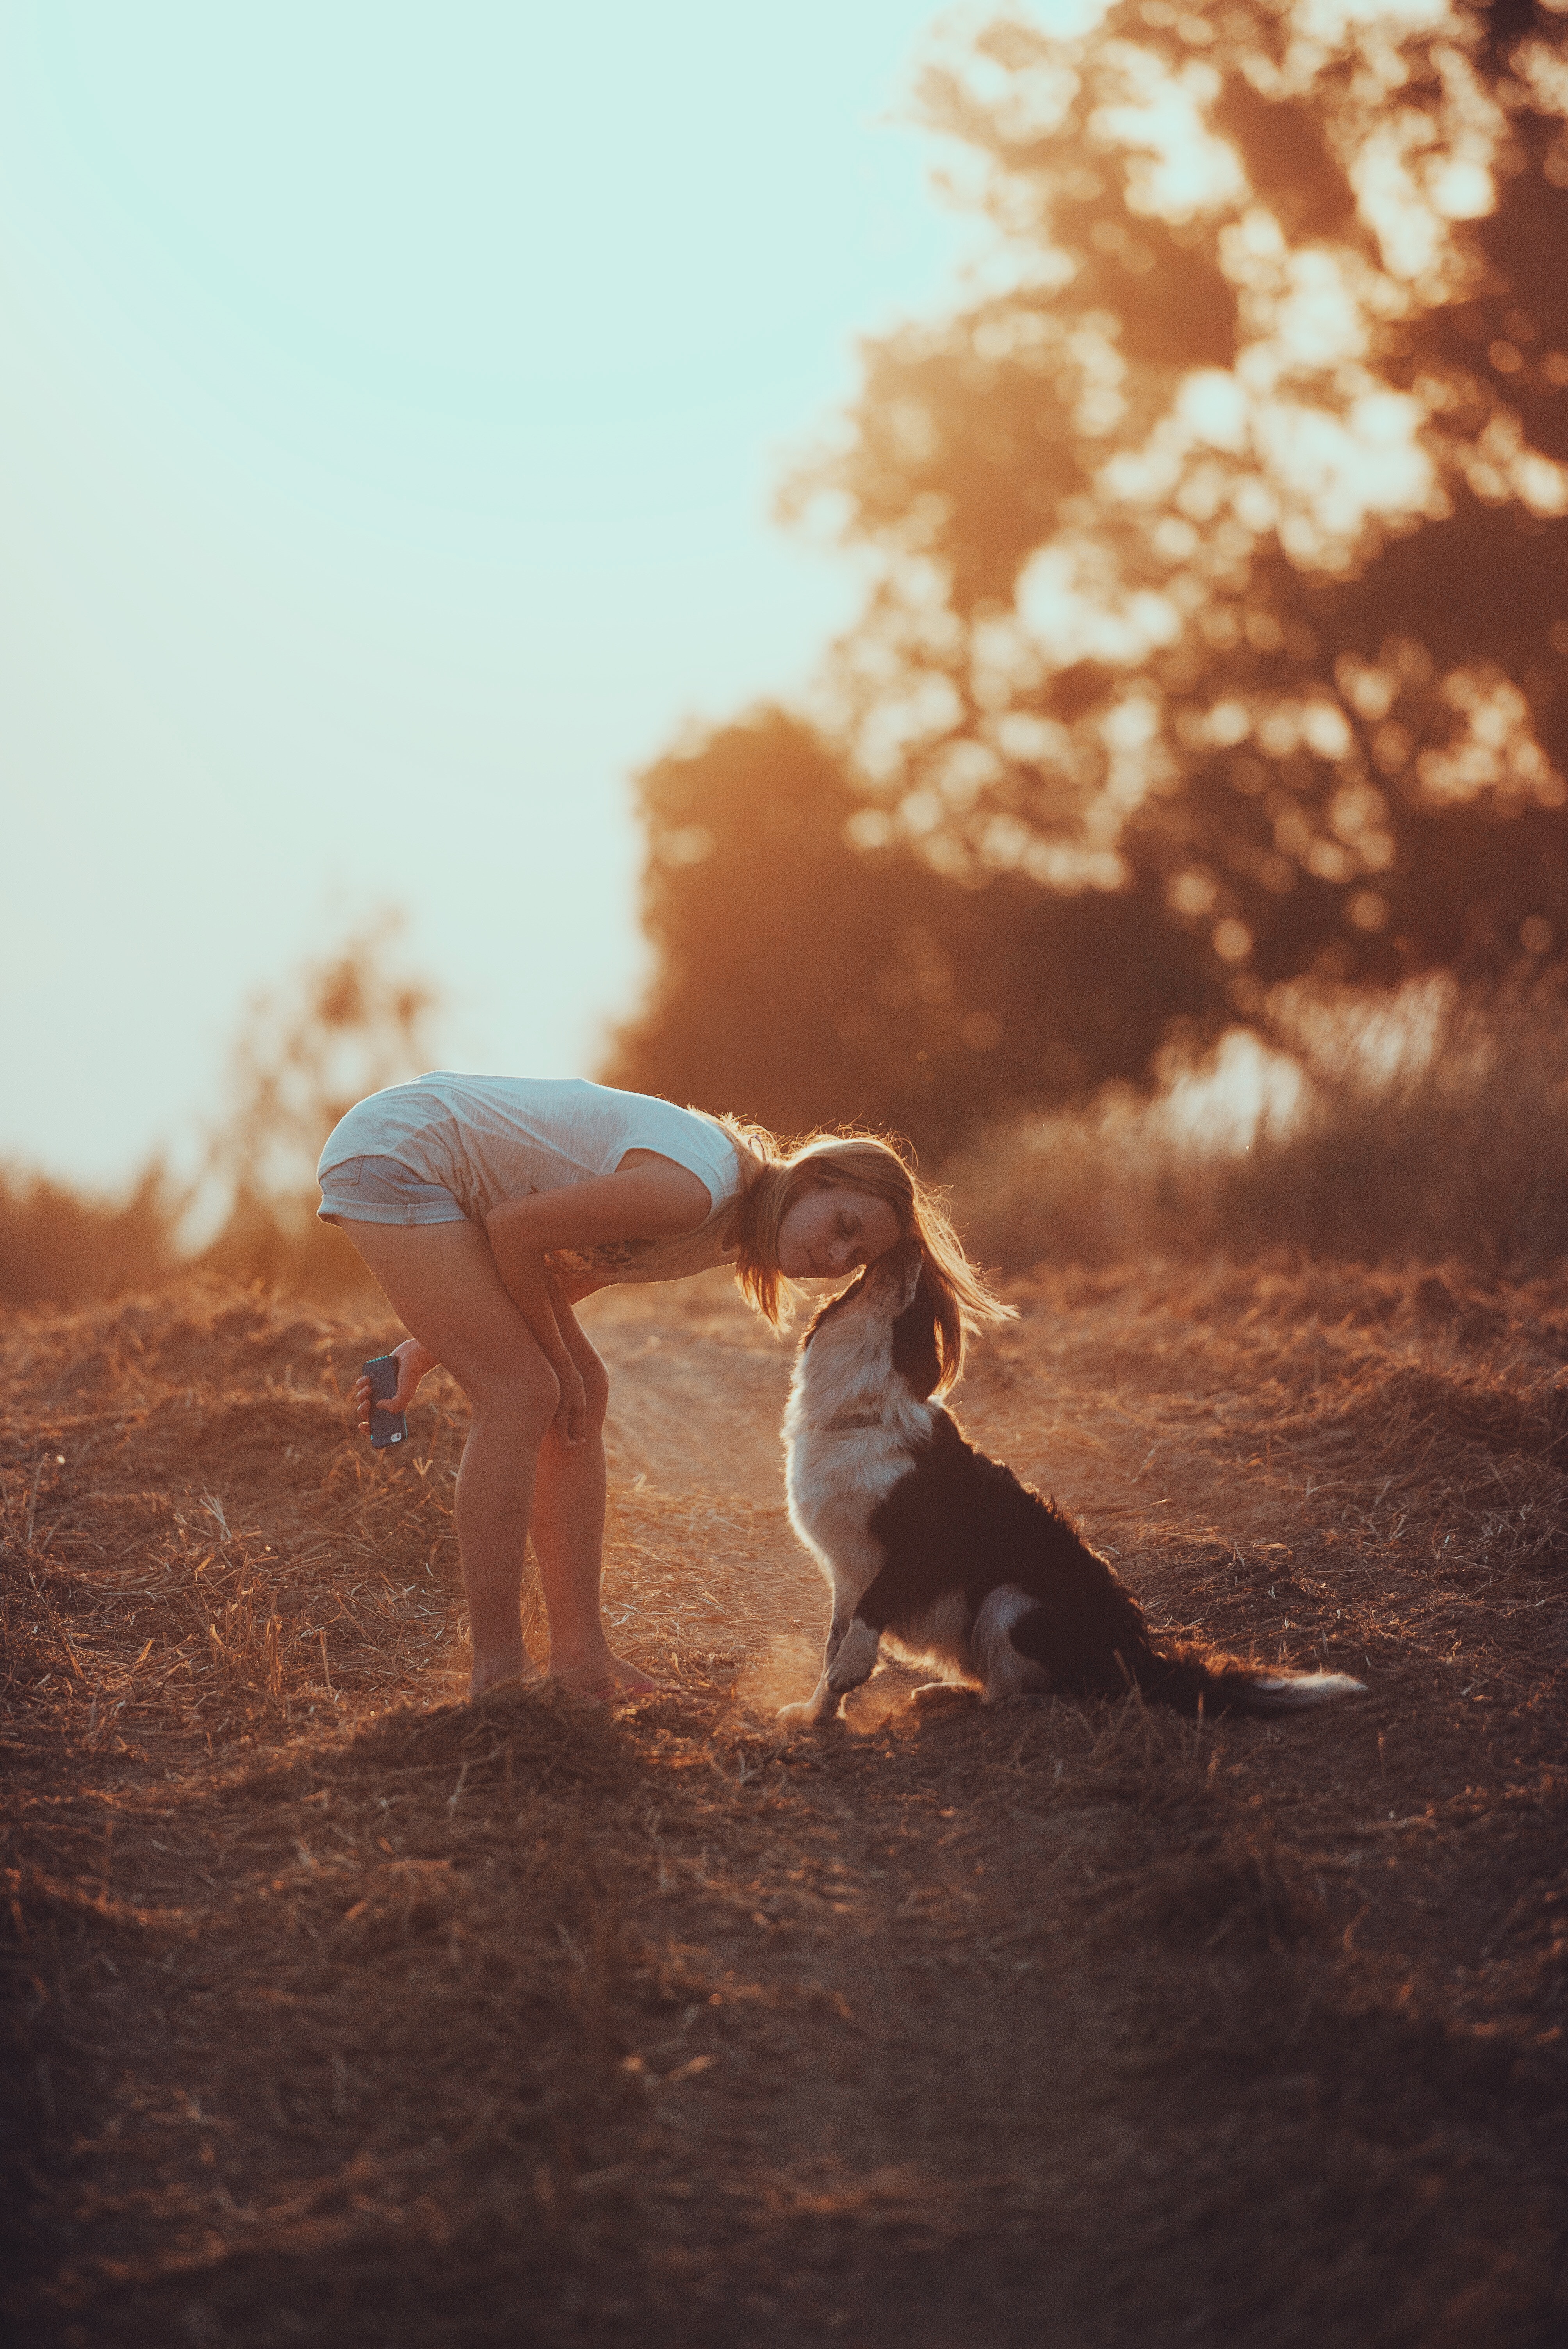
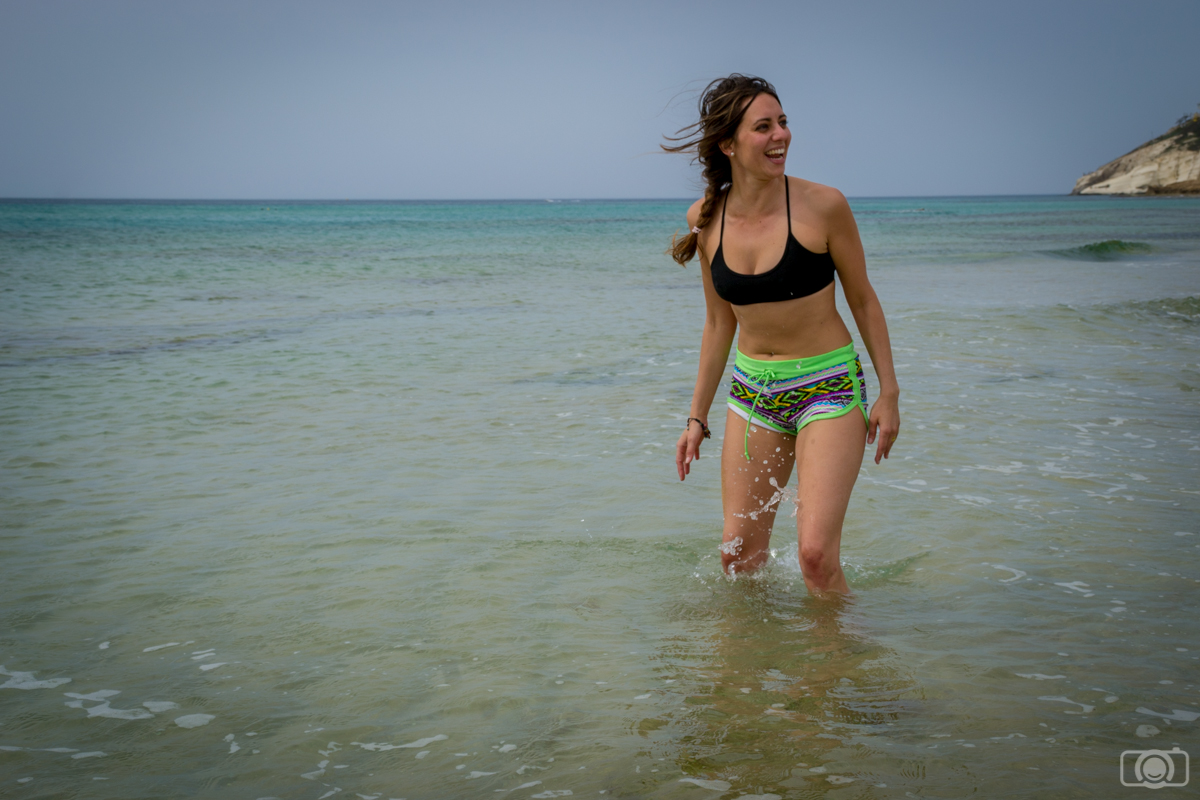
For many of us, the thought of starting a conversation with a complete stranger frightens us. So why in the world would we do this willingly while also trying to sneak a picture out of it? Simply put: because it opens up an entirely new and exciting world of possibilities.

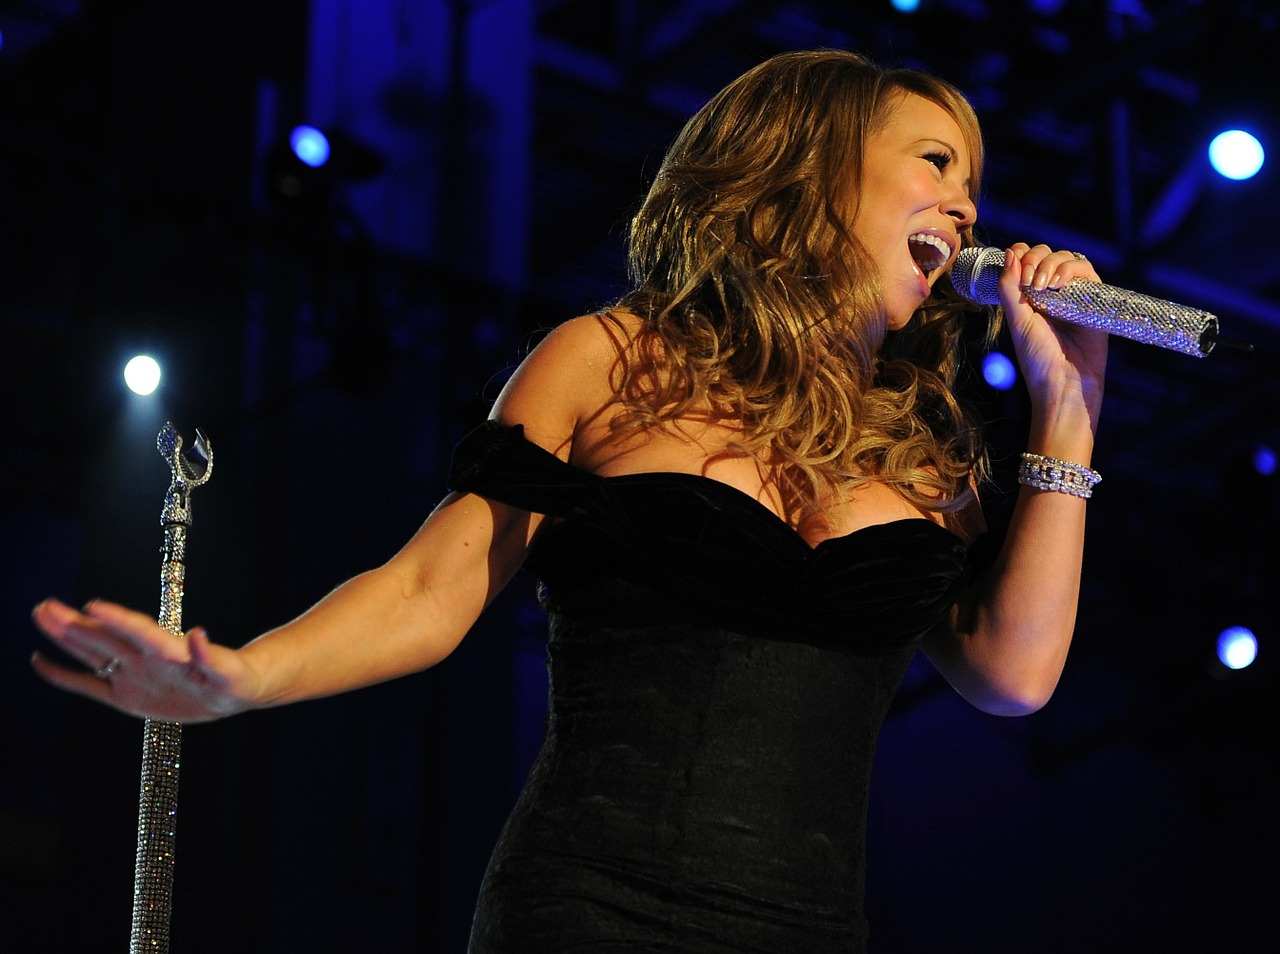
If you’ve been inspired by the work of street photographers, such as Henri Cartier Bresson or more modern day street photographers such as Bruce Gilden, and wished you could gather up the courage to do it yourself—today is the day to get started. In this street photography guide, we will consider some practical advice, along with some tried and true methods that will help a beginner get on the streets.

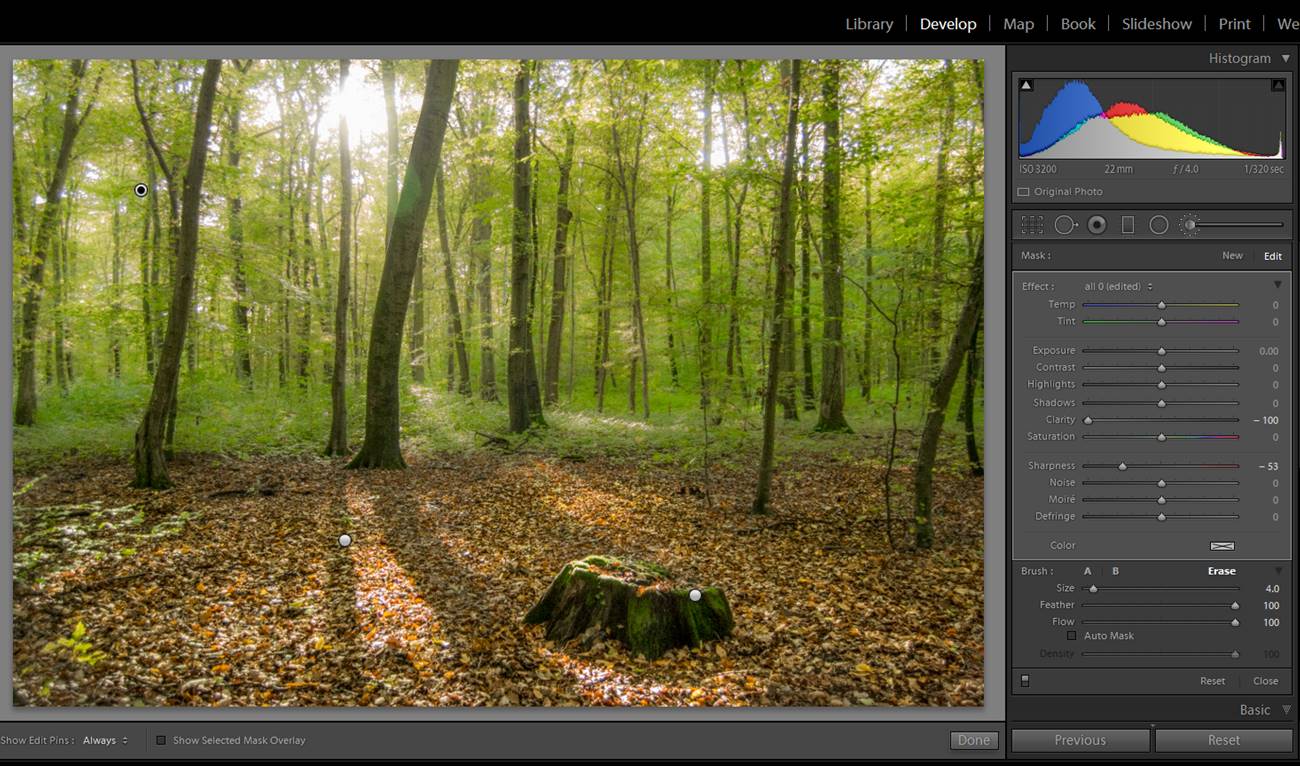
How to Do Street Photography

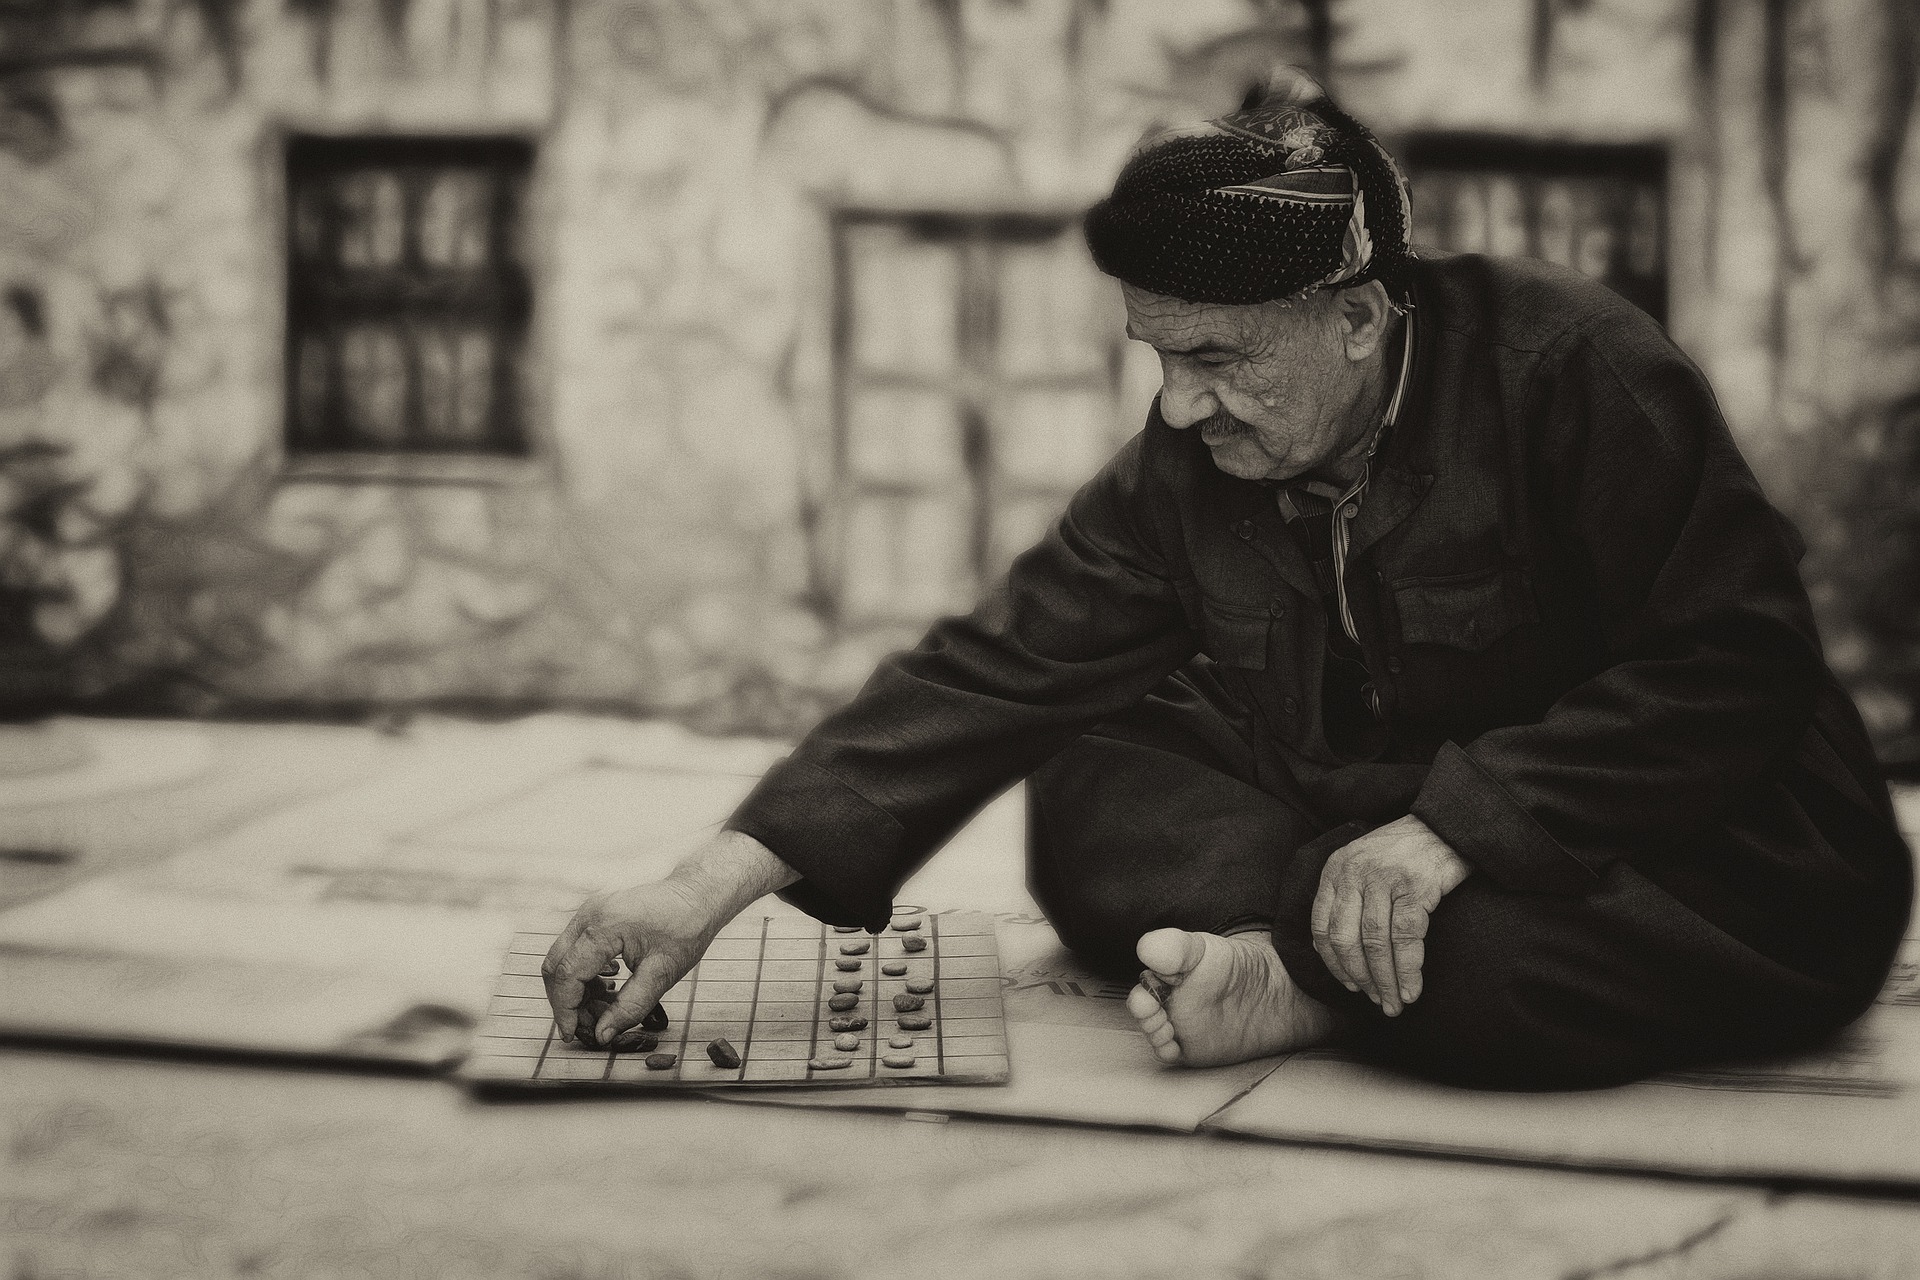
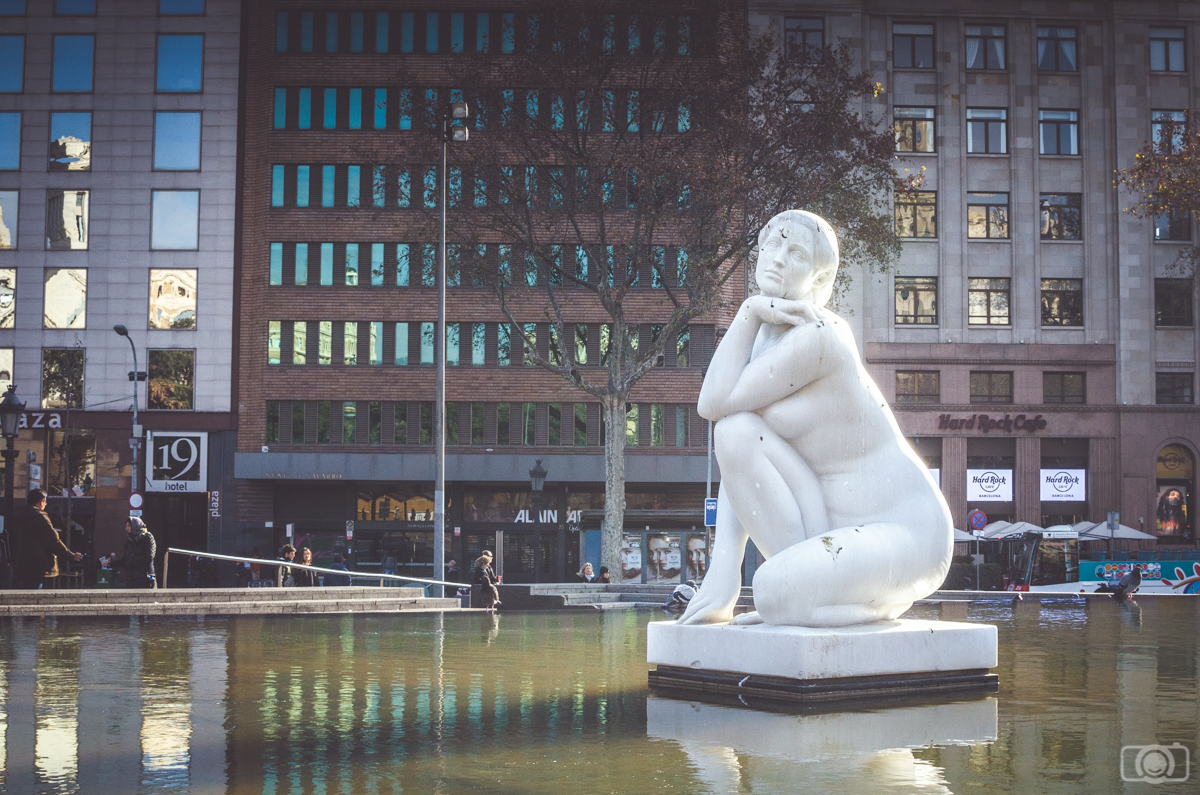
Being one of the most diverse forms of photography, street photography can be very exciting. Street photography encompasses things such as portrait photography, landscape photography, urban photography, low light photography, and more all bundled into one. This ultimately means there are no specific rules or guidelines when it comes to street photography, and you can pretty much try anything you please that fits into the genre of street photography itself. However, in this section, we will be discussing street photography tips to help you get the best photographs.
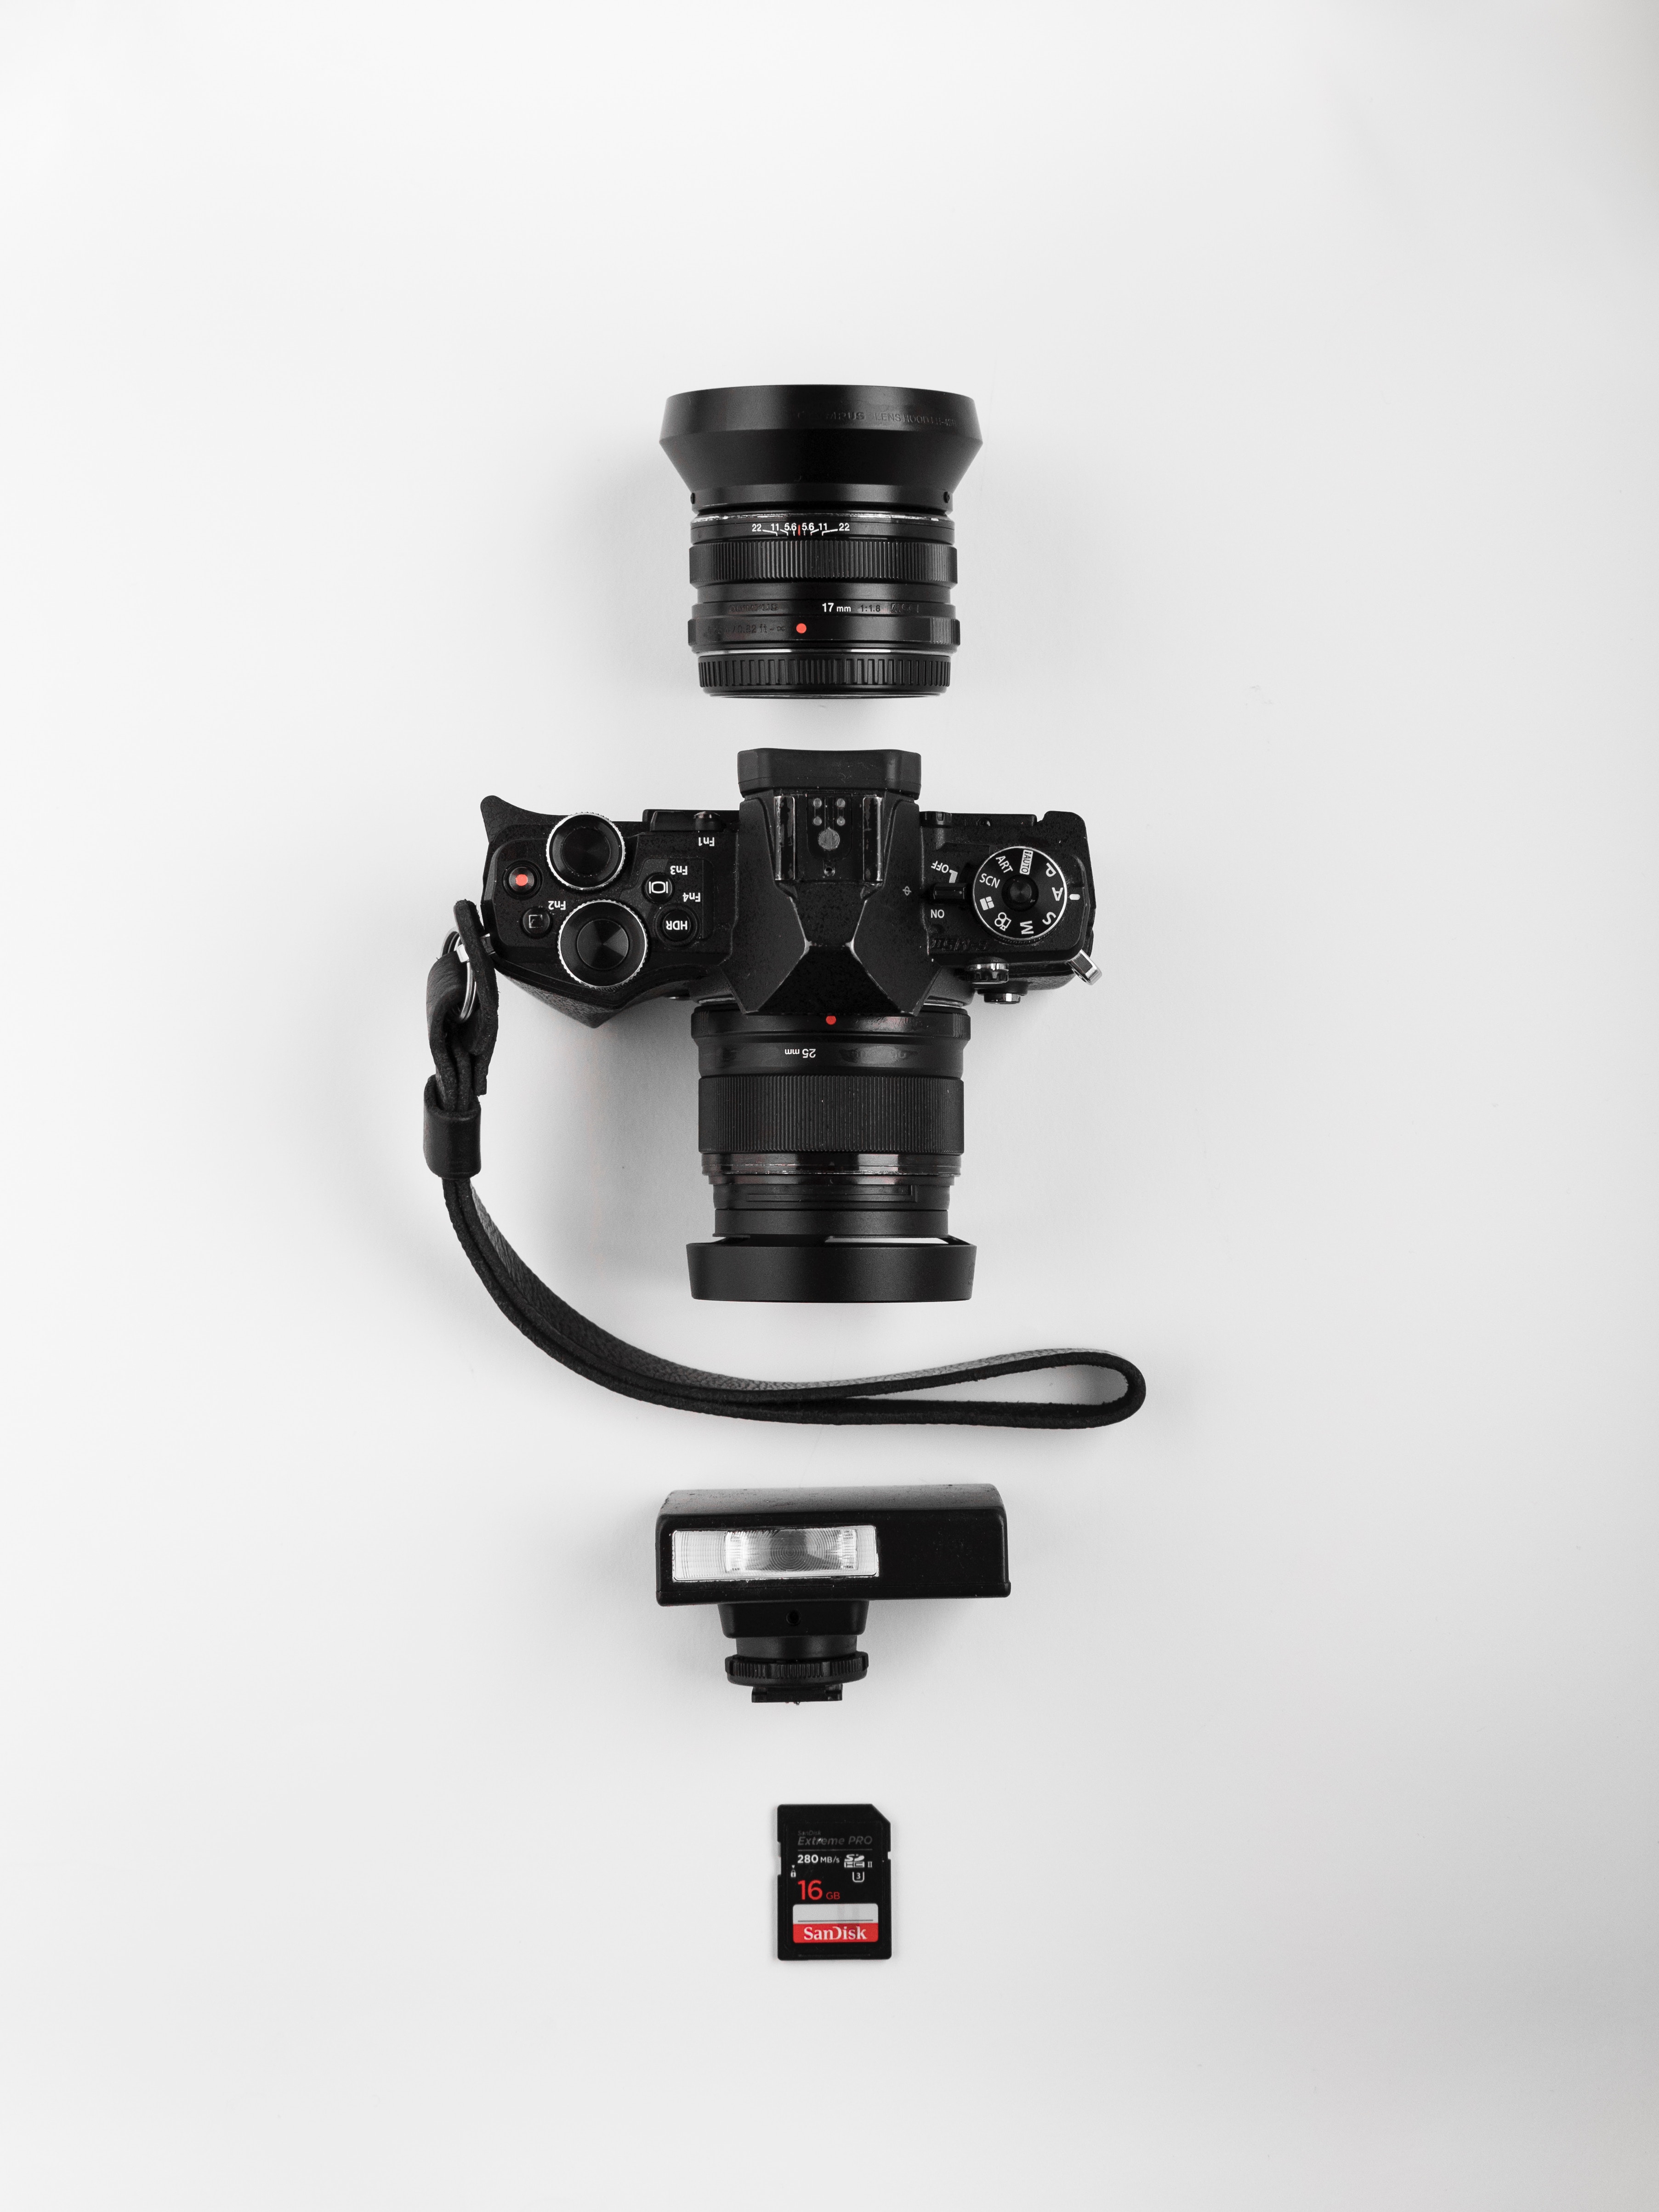
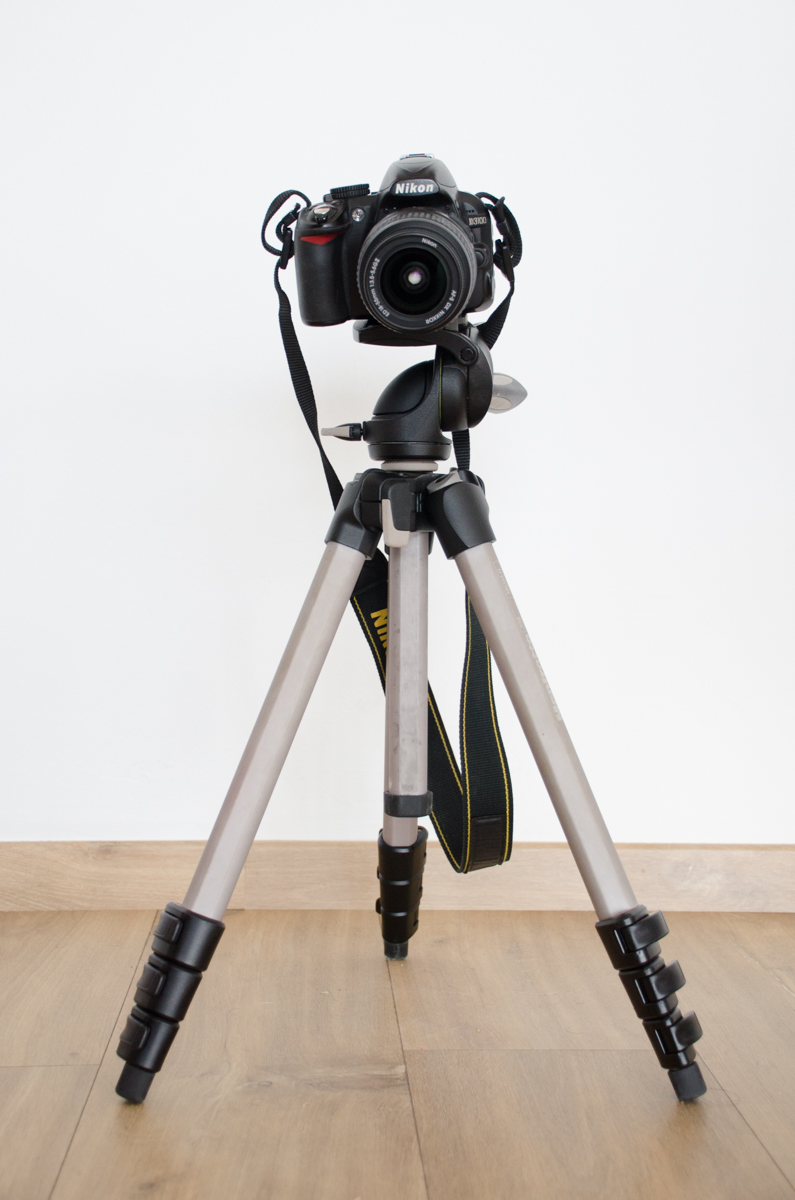
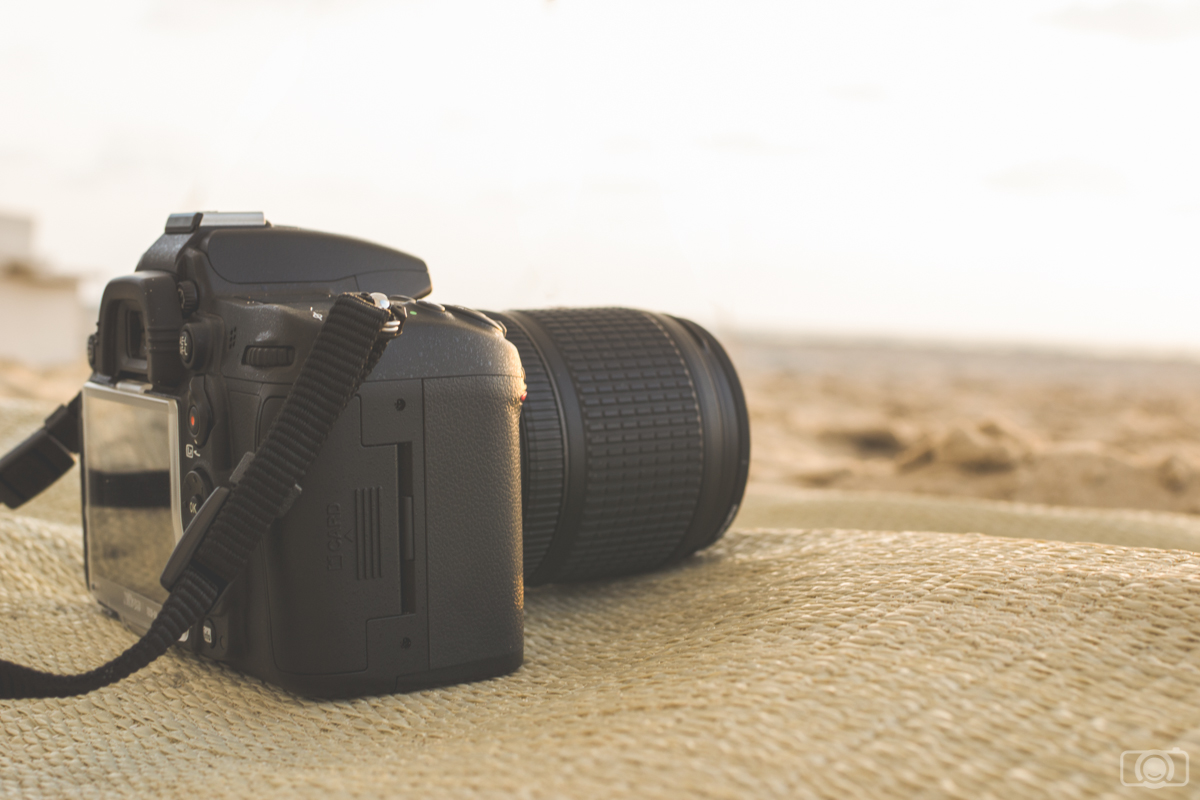
Gear

Gear

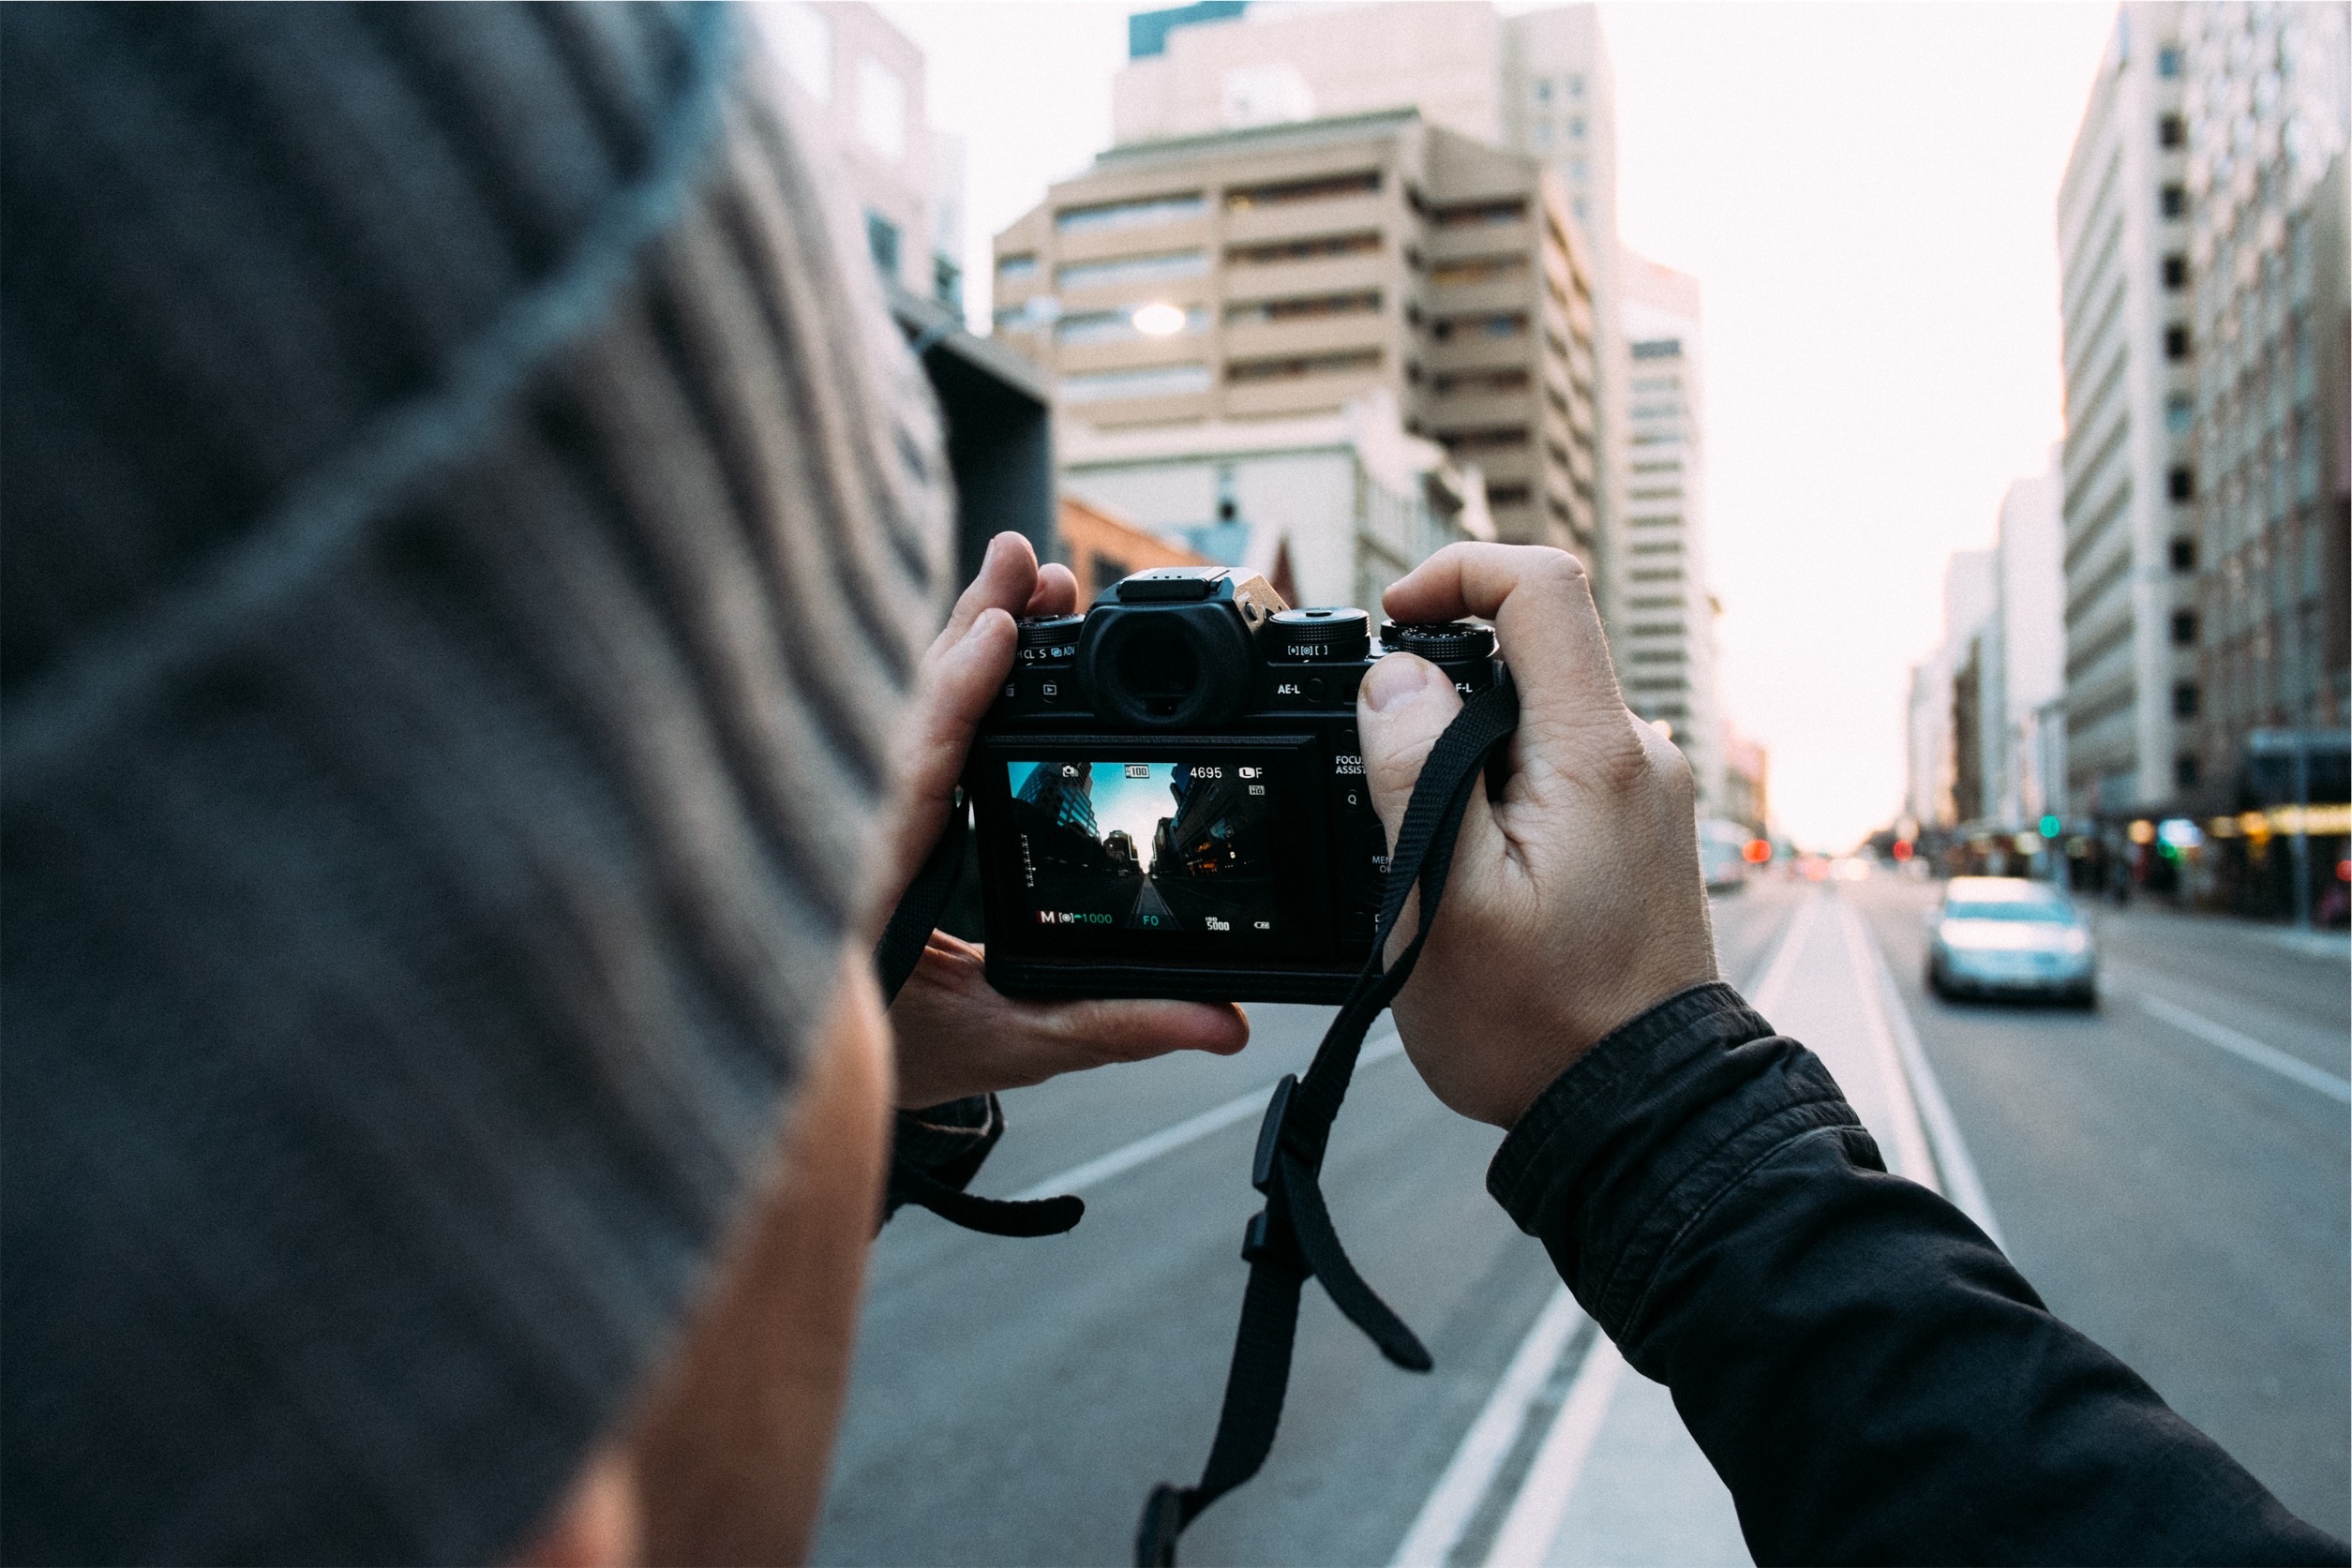
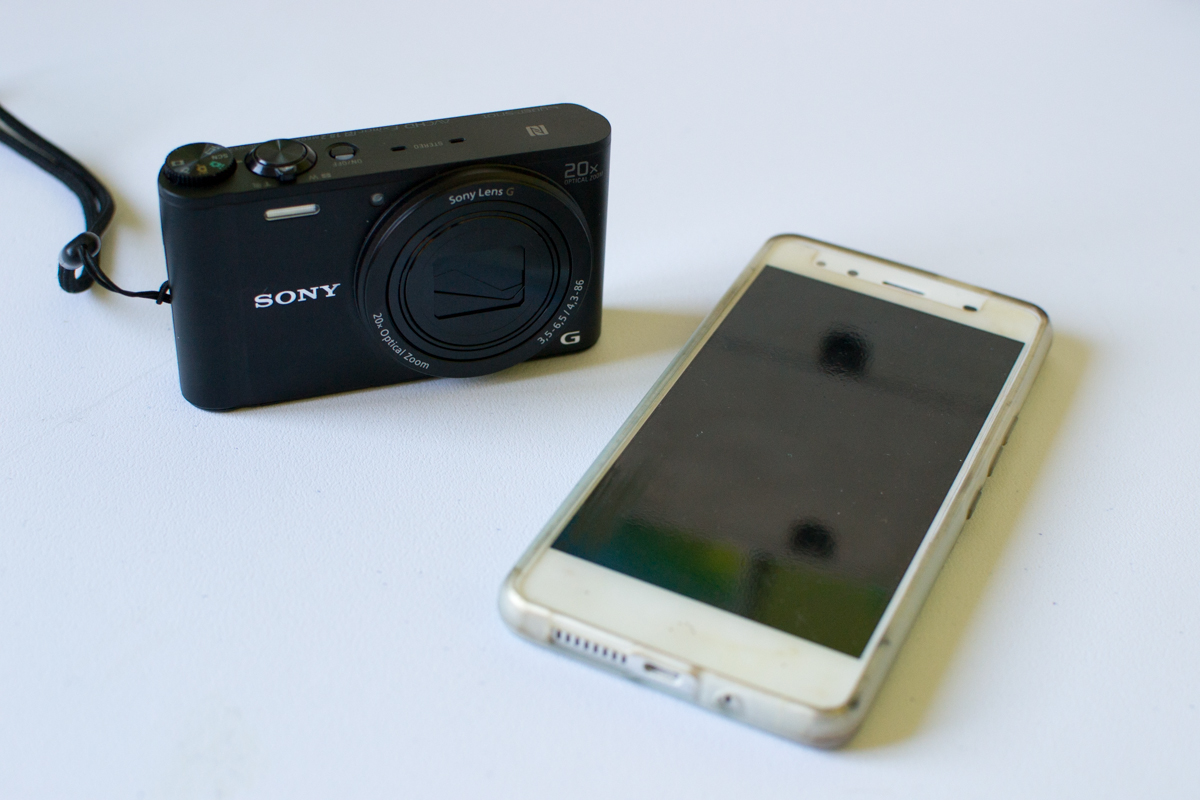
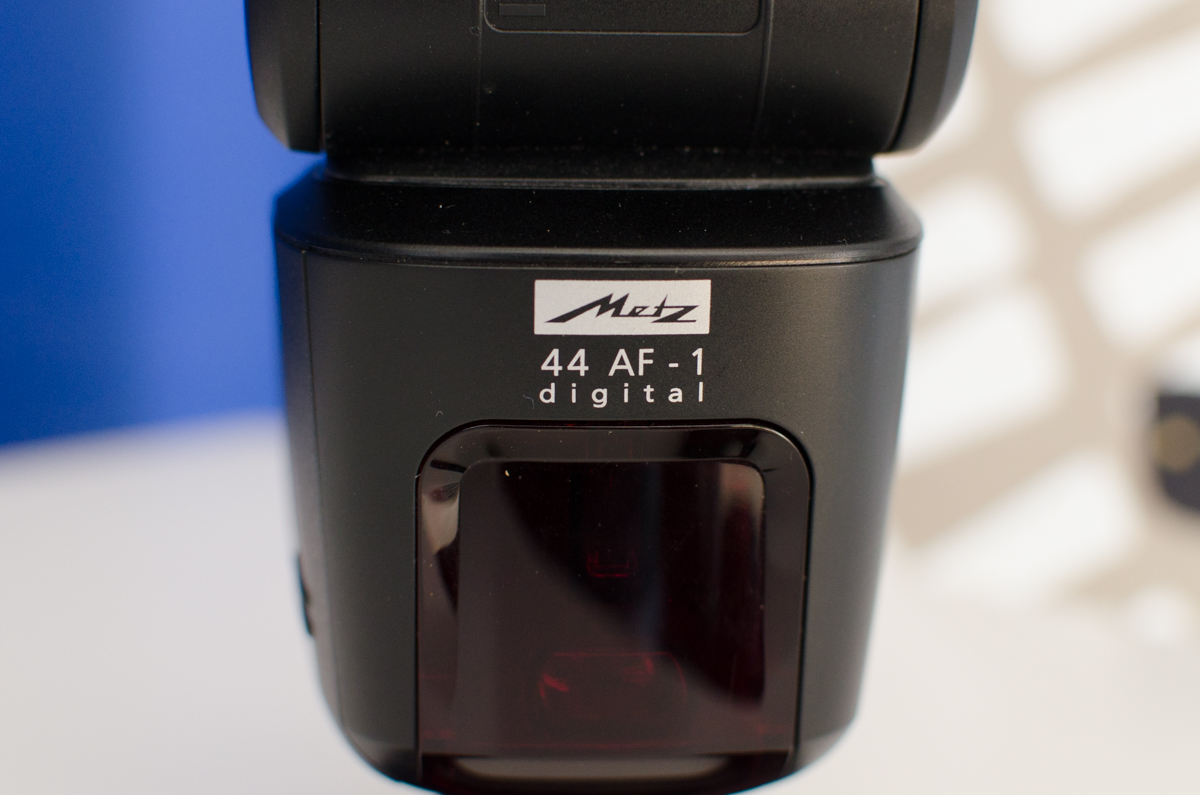
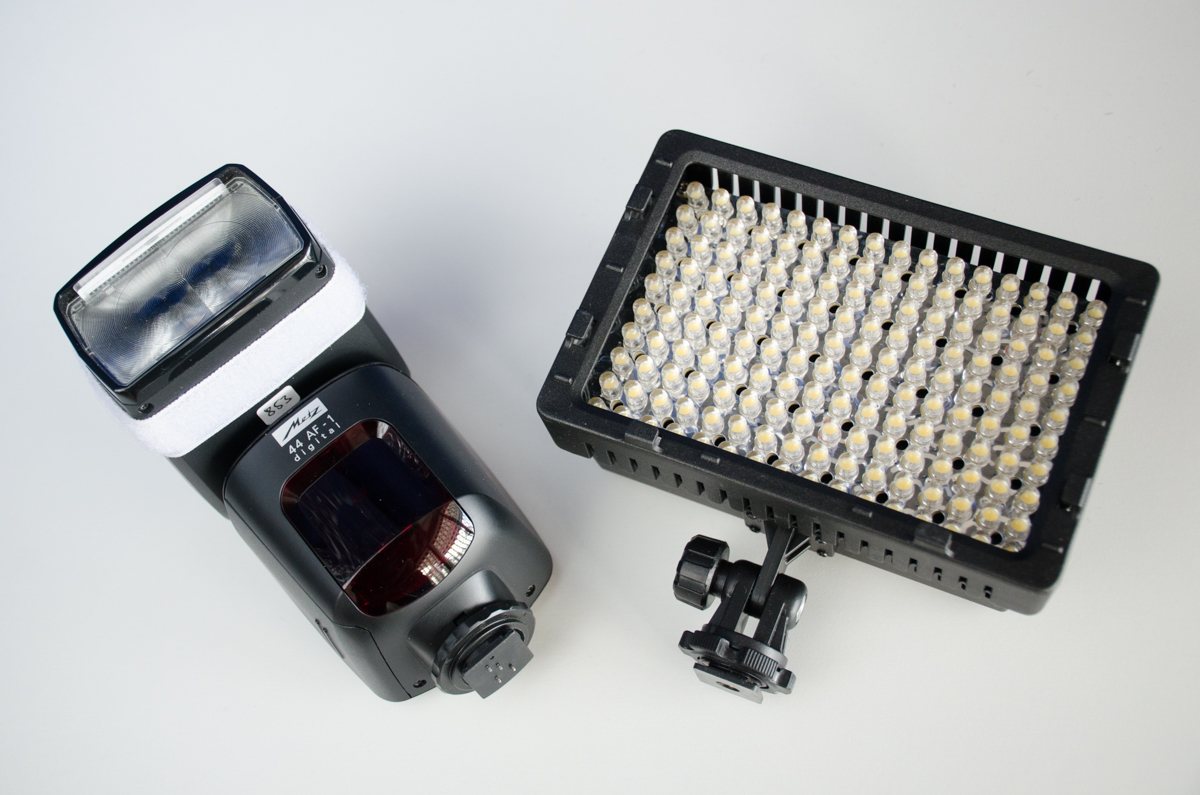
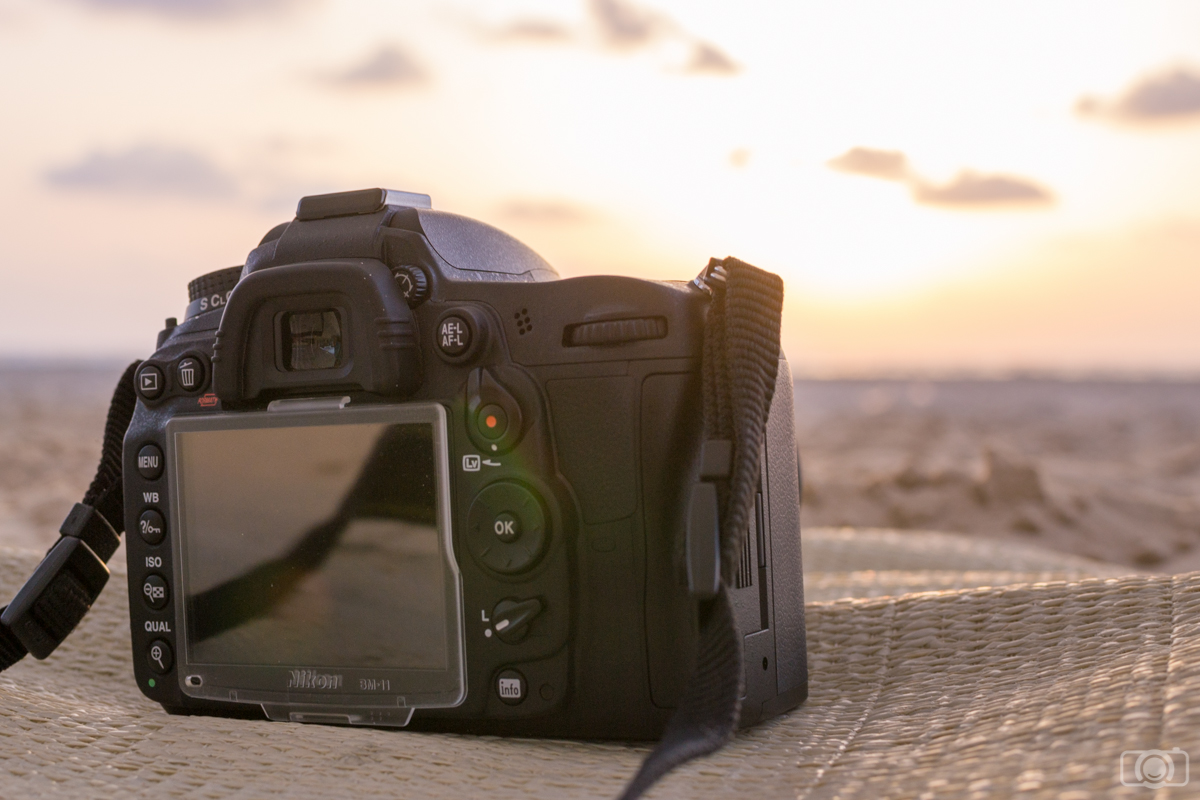
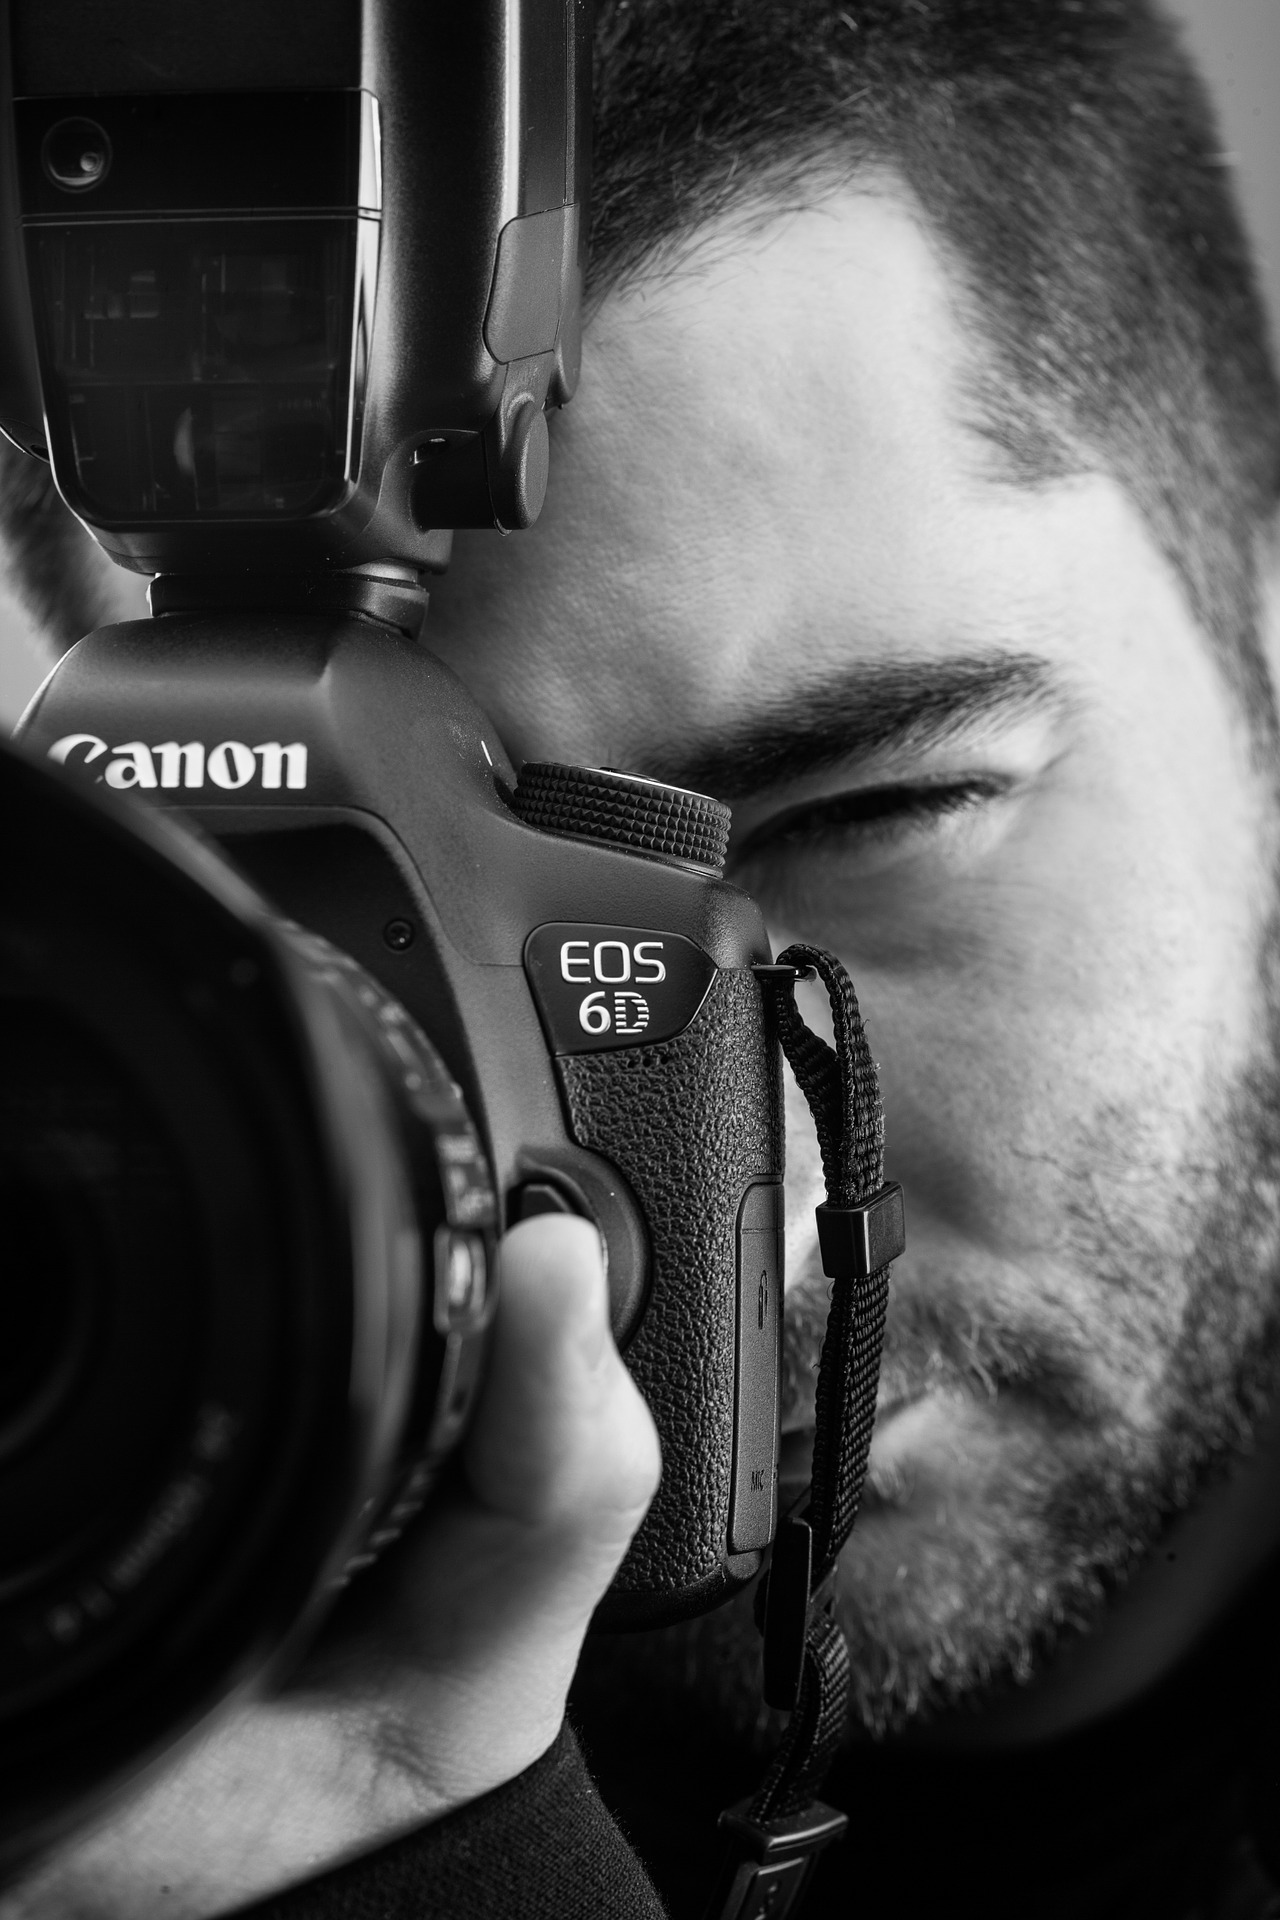
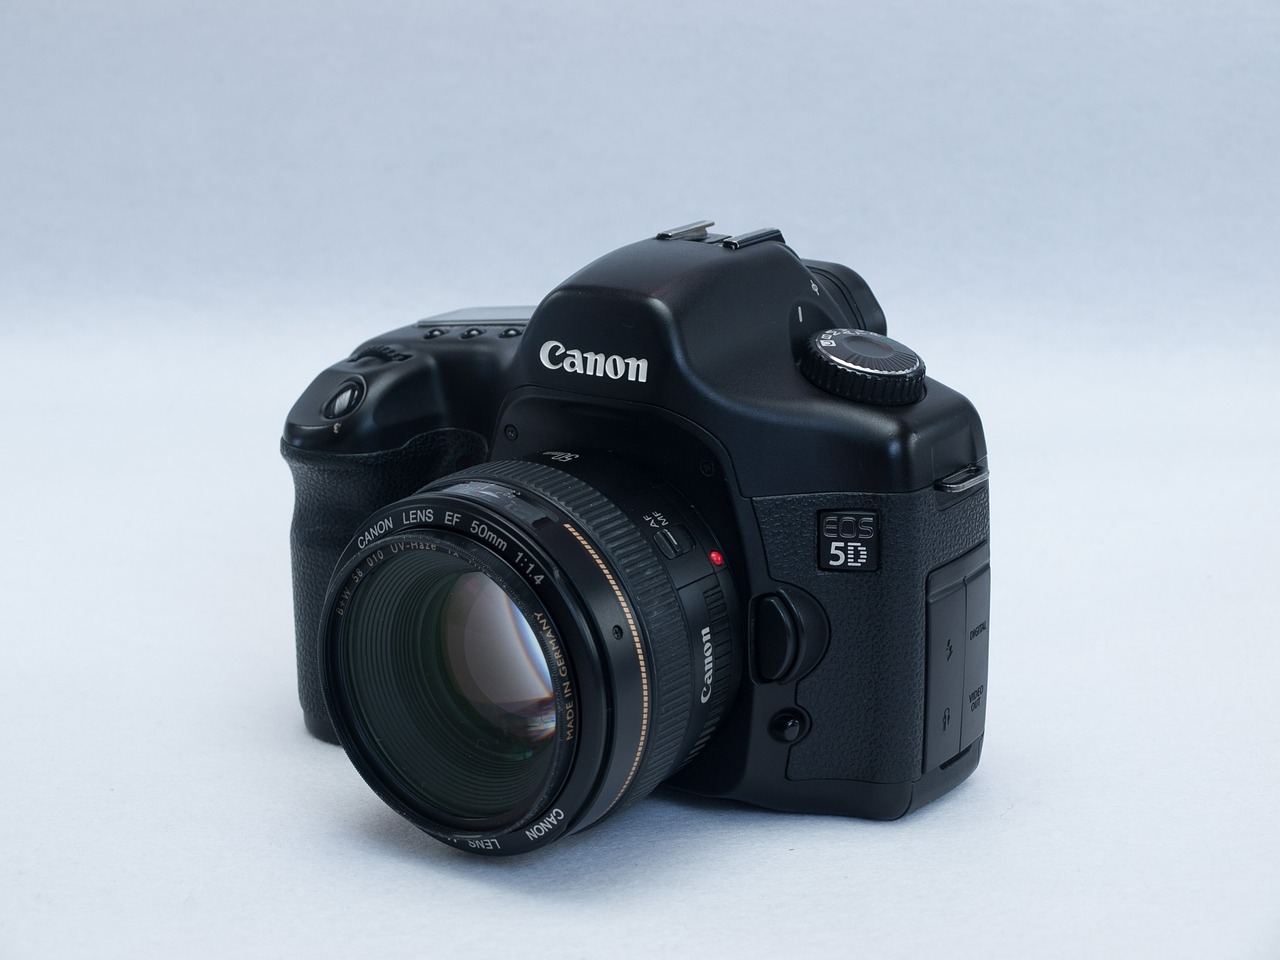
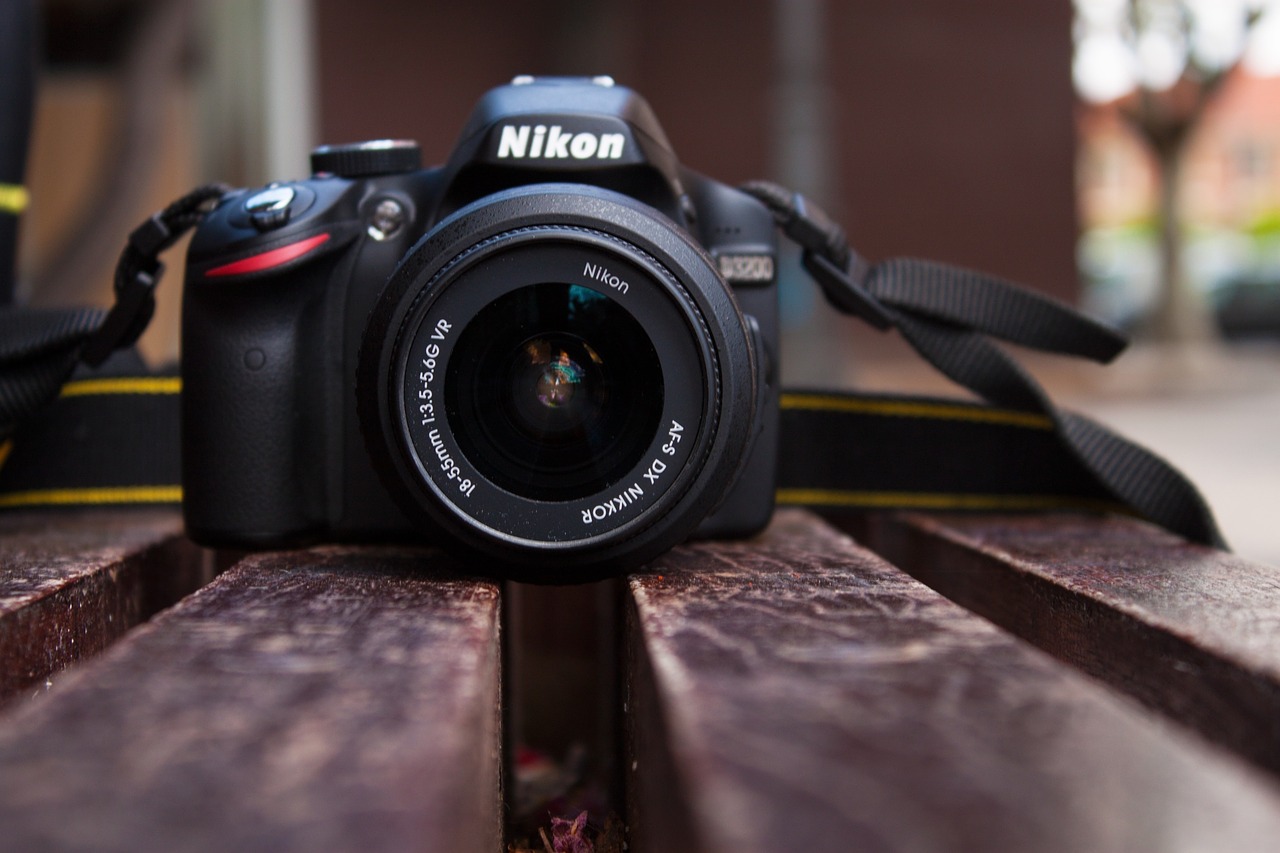
The goal is to be as unintimidating to others a possible. In the day of mirrorless cameras, it’s getting much easier to get great image quality while  using a very light and inconspicuous setup. One thing you can do, especially if you own a bulkier DSLR camera, is cover any brand logos with black tape and lean towards the use of smaller, wide angle lenses to make your camera seem low key.

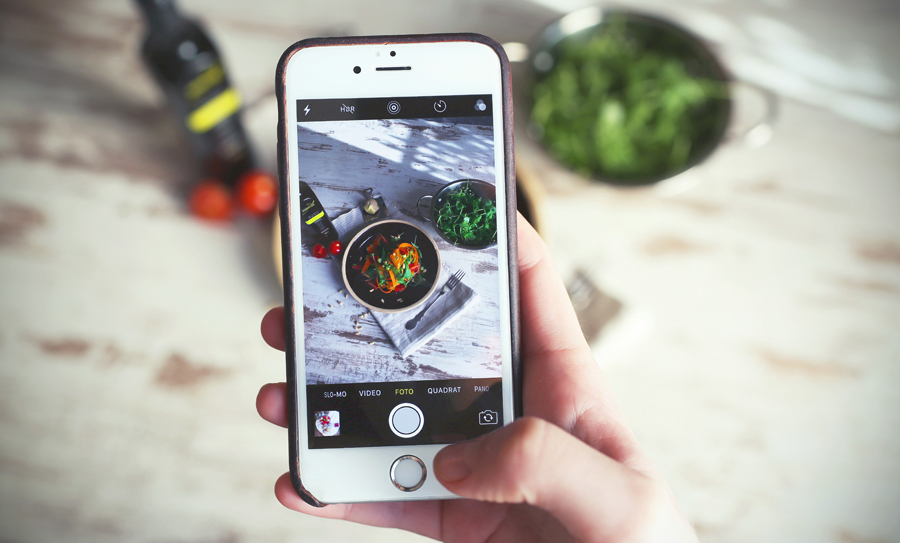
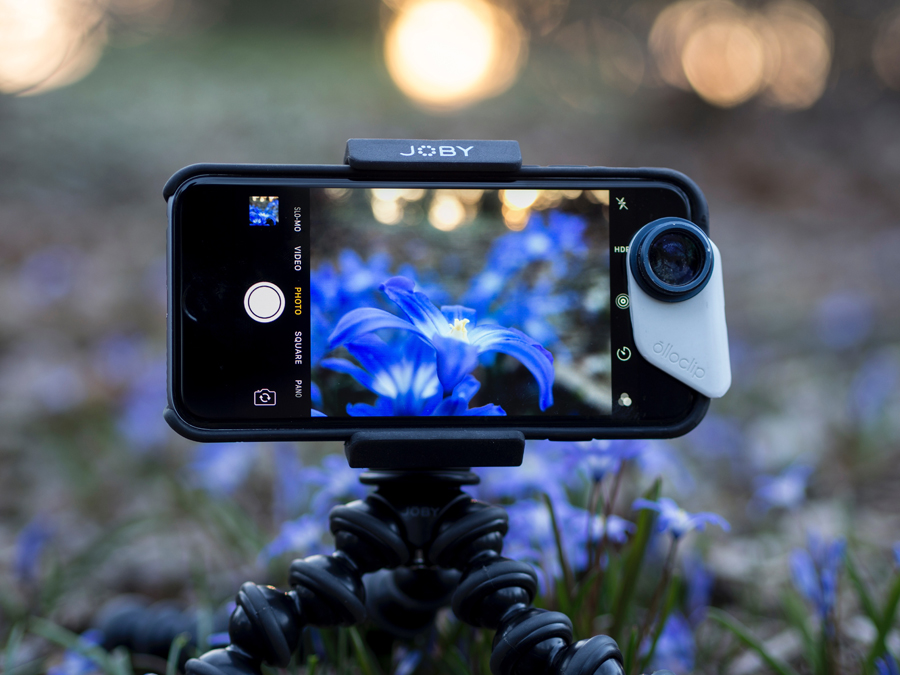
Don’t be afraid to use the camera on your phone! It’s said that the best camera is the one you always have on you. With that being said, you can get great images from most phones on the market today. The iPhone also offer subtle ways of taking a street photo that allow us to use the volume buttons on the side of the device, as well as with buttons on earbuds.
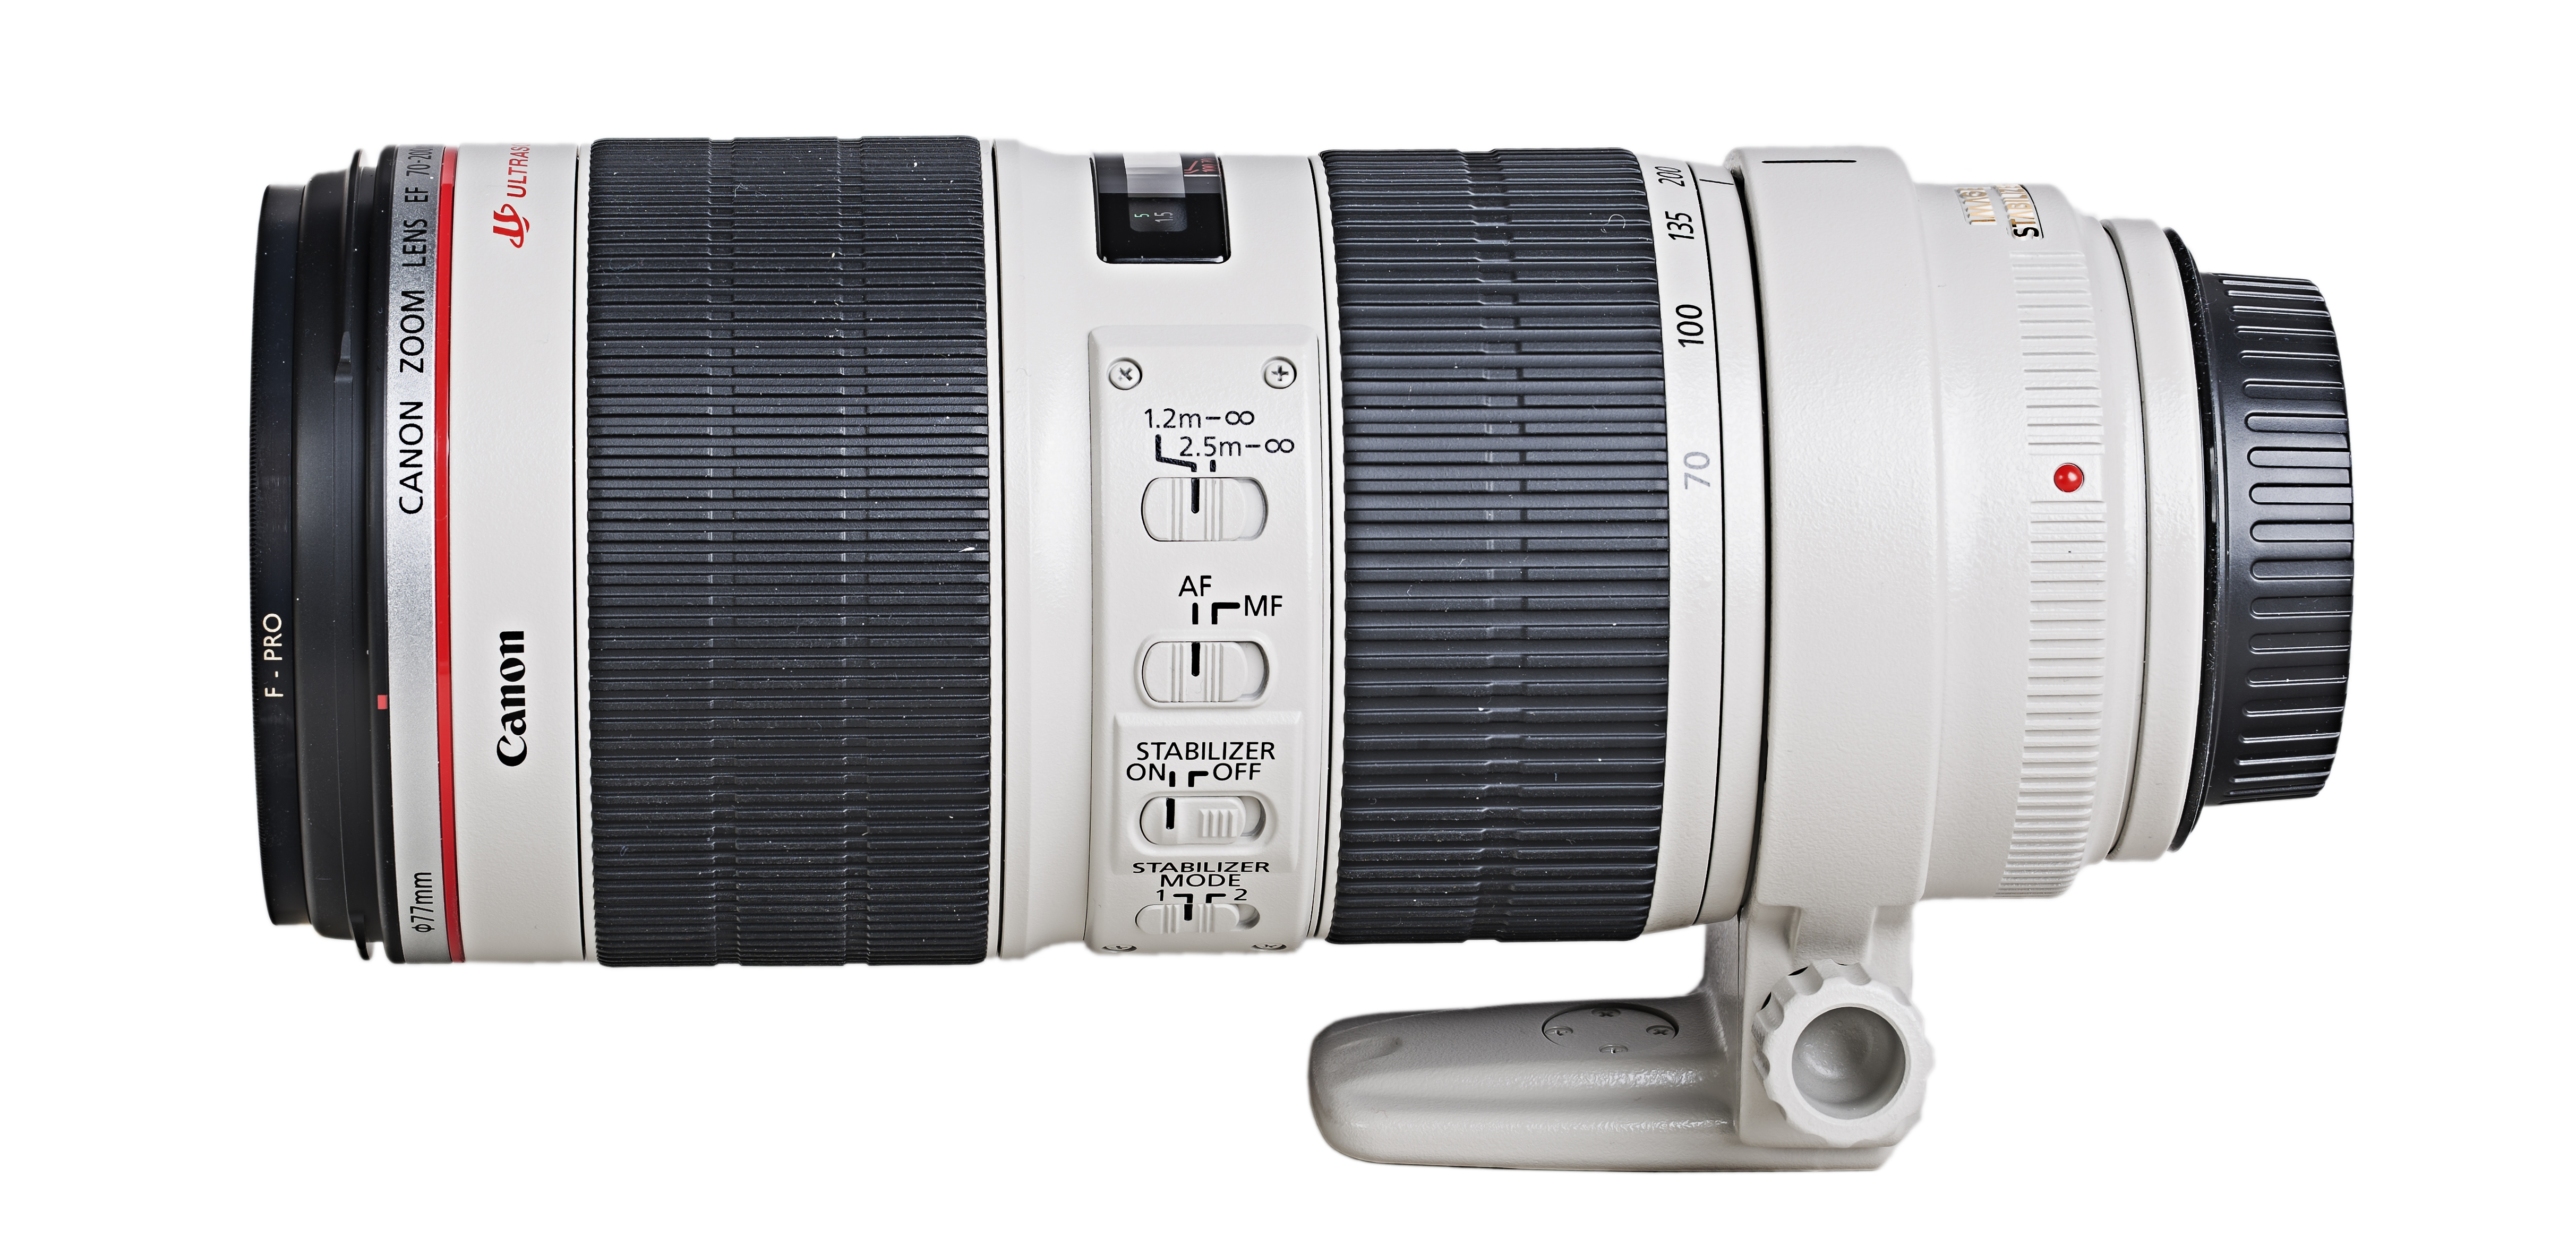
Lenses

Wide Angles Lens

I’m personally not the biggest fan of wide angle lenses when it comes to photography, but I must admit they do play their part. Wide angle lenses, such as a 24mm or wider, are usually considered and mentioned when it comes to things like documentary photography, landscape photography, real estate photography, or even architecture photography. However, as I mentioned earlier, street photography encompasses many different genres of photography, and is not too specific.

street photography

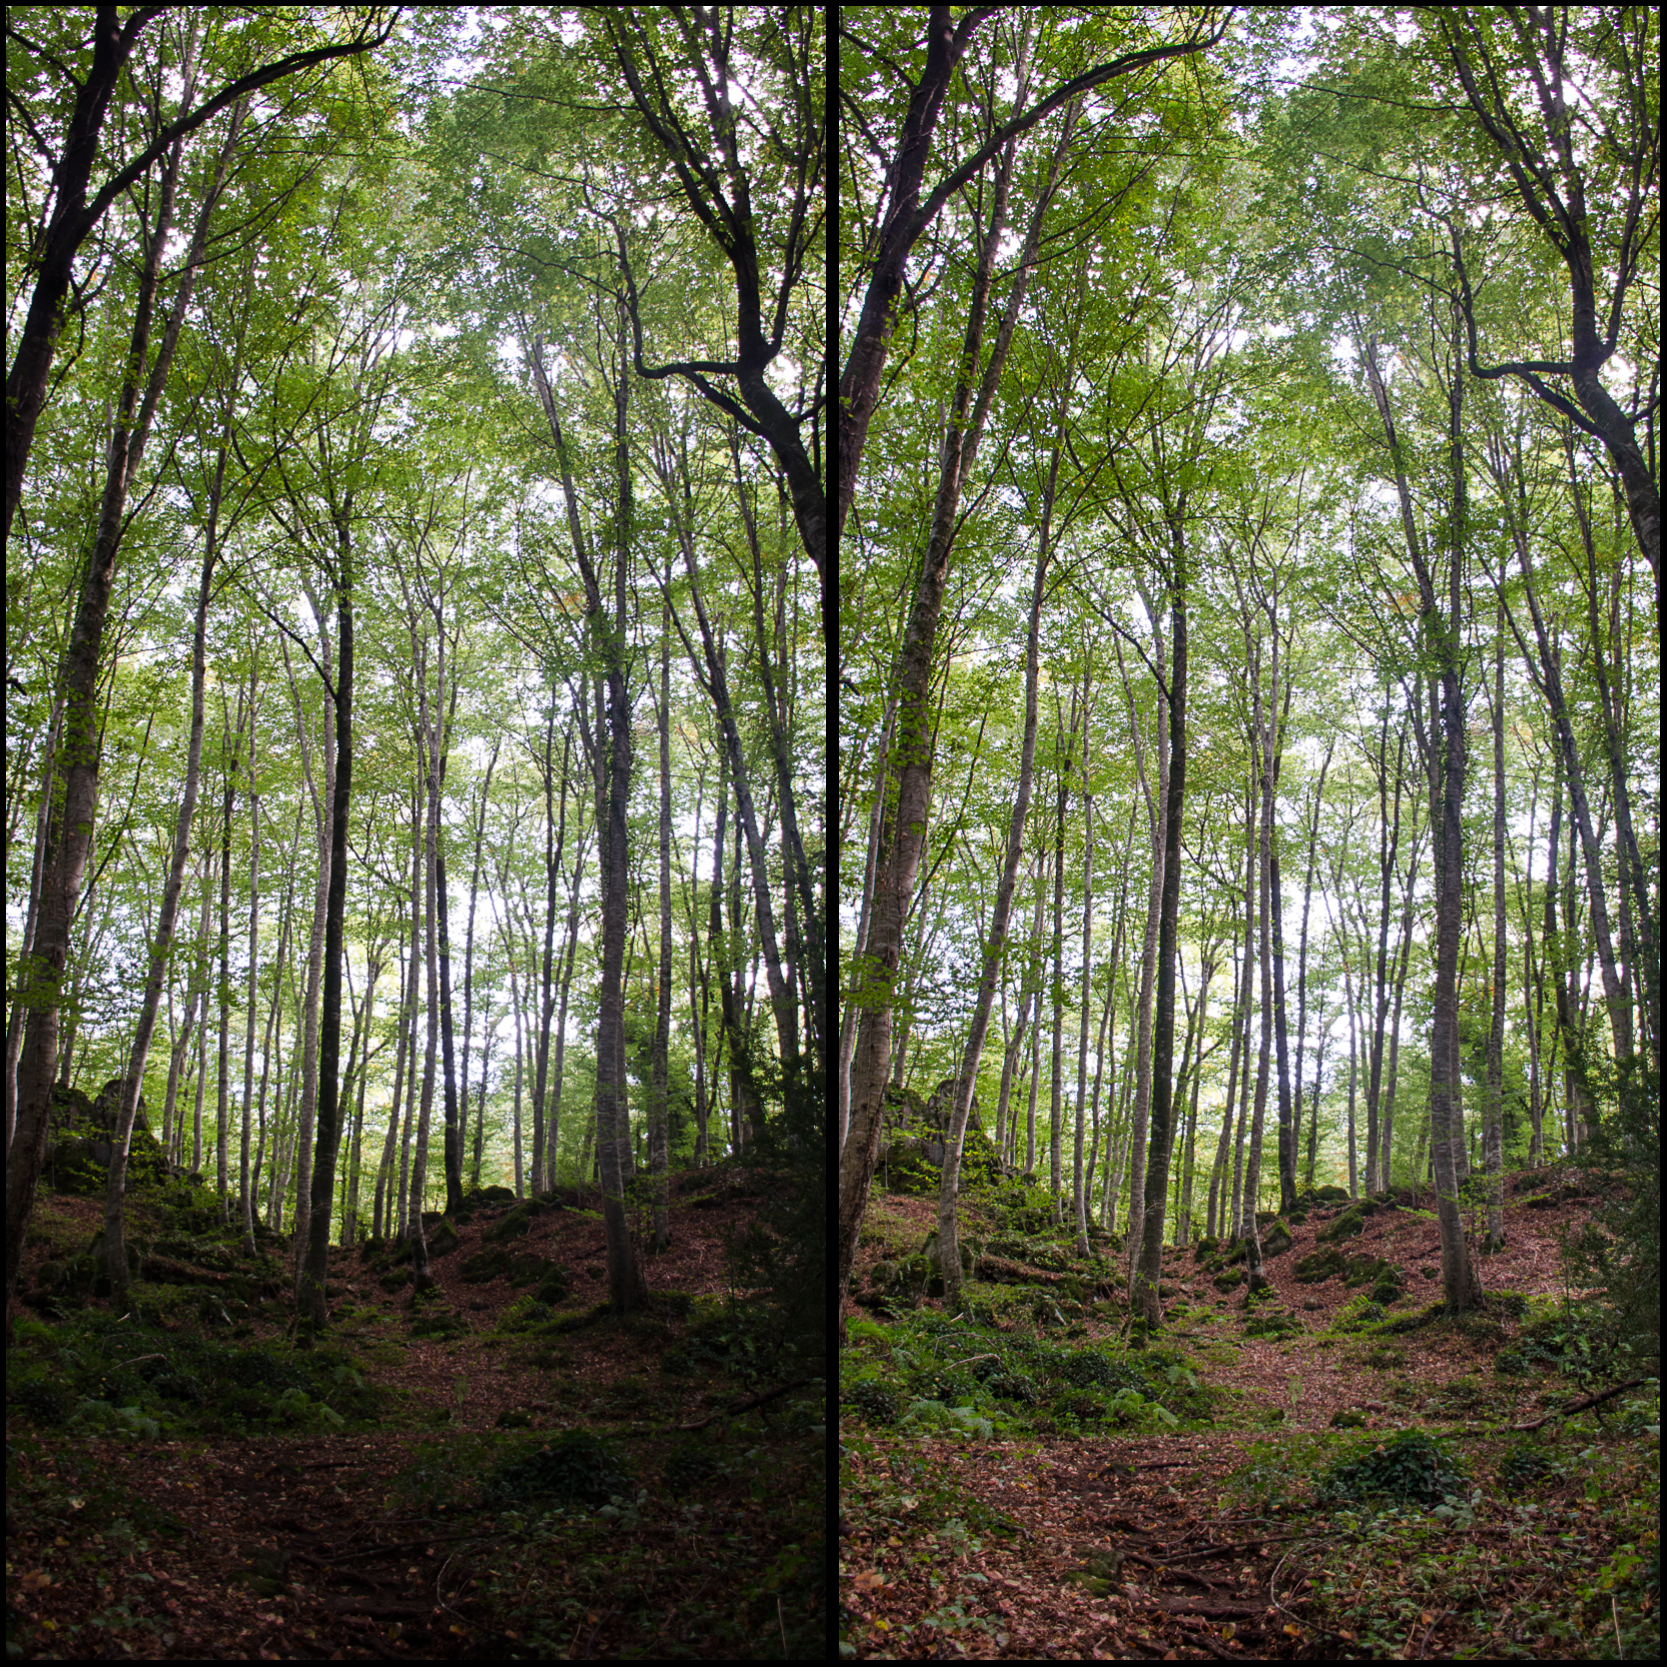
With that said, It is sometimes helpful to get a wider perspective of your scene than a close up of everything. Capturing wide angle shots can help tell more of a story, as it contains many different elements within the frame that contribute to the image itself. Wide angles also tend to show a lot more interaction with different subjects, and from time to time, can yield some very rewarding and interesting images. A 24mm f/2.8 would come in handy if you’re interested in getting wide angle shots, or you could walk around with a 24-70mm f/2.8 as well for variation.

Nifty Fifty Prime Lens

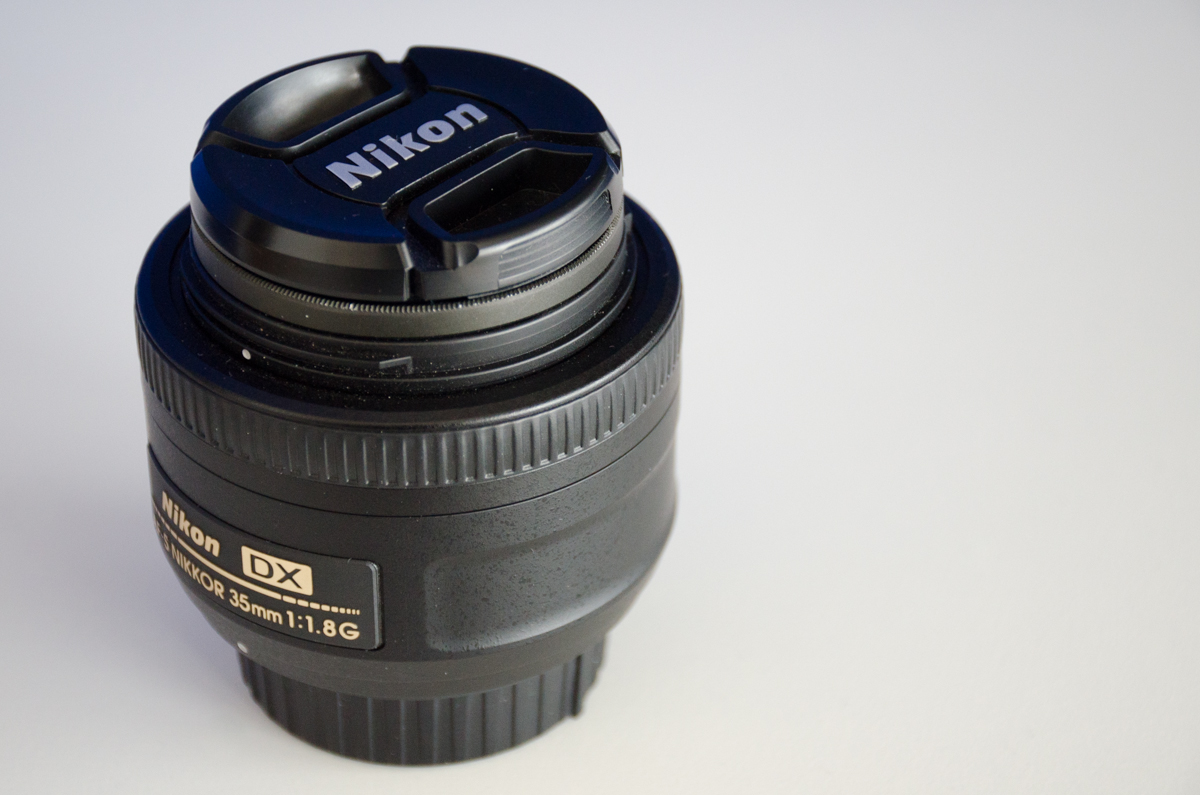
Most photographers like myself use a 50mm f/1.8 or 50mm f/1.4 for many reasons. First, I must say I personally have a lovely relationship with my 50mm prime lens, as it came in handy when I needed it the most. The 50mm is so easy to mount on your camera and carry around while working perfectly in low light situations. The size of this lens also helps you avoid being seen or drawing too much attention to yourself when shooting. The 24-70mm f/2.8 zoom lens failed me a few times in regards to blending into the background and not drawing too much attention myself.

street photography

With the 50mm, you are capable of capturing some amazing candids or portraits when on the move. It is also a good focal length to use in places such as cities or highly populated areas. I would recommend using a 50mm over a 24mm when doing street photography any day, but this is also subjective to what it is you’re looking to capture or even the environment you plan to be in.

In addition to focus length and blending in easily with your surroundings, there is a beautiful depth of field that is created by a 50mm that adds an extra layer professionalism to your street photo. The 50mm is arguably one of the best lenses out there to have as a beginner and a professional photographer overall. I’m almost certain this will be debated, but you must give credit where it’s due, and this lens always gets the job done right when you need it.

Close Ups

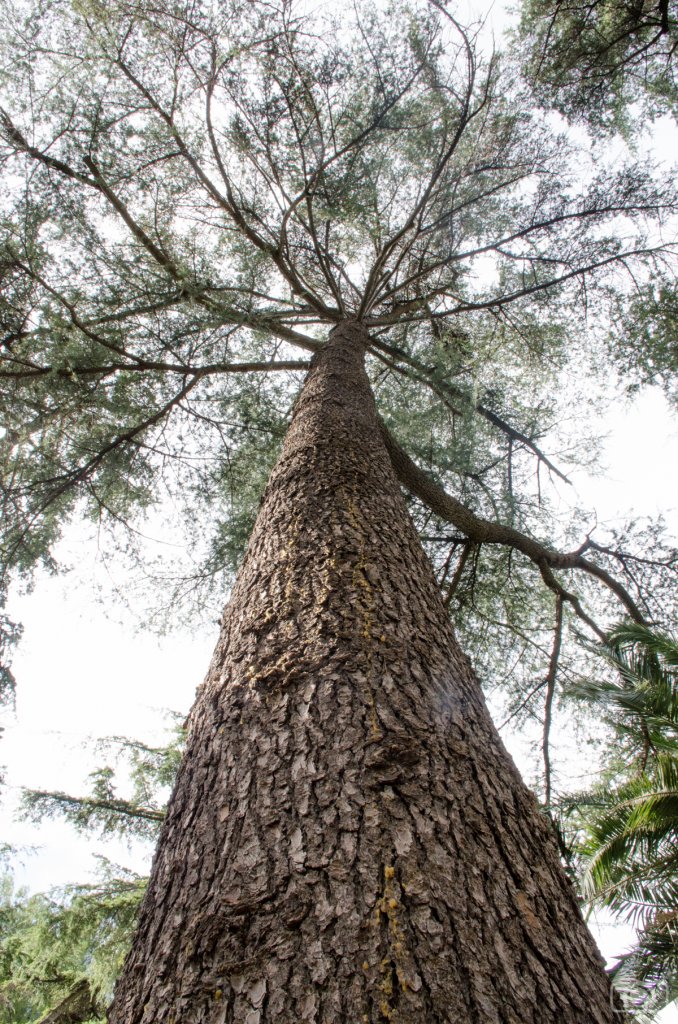
For close, detailed shots, the 85mm is a lens that could be considered as well. It can almost be seen as the bigger brother of the 50mm, but it does have its challenges in the field.

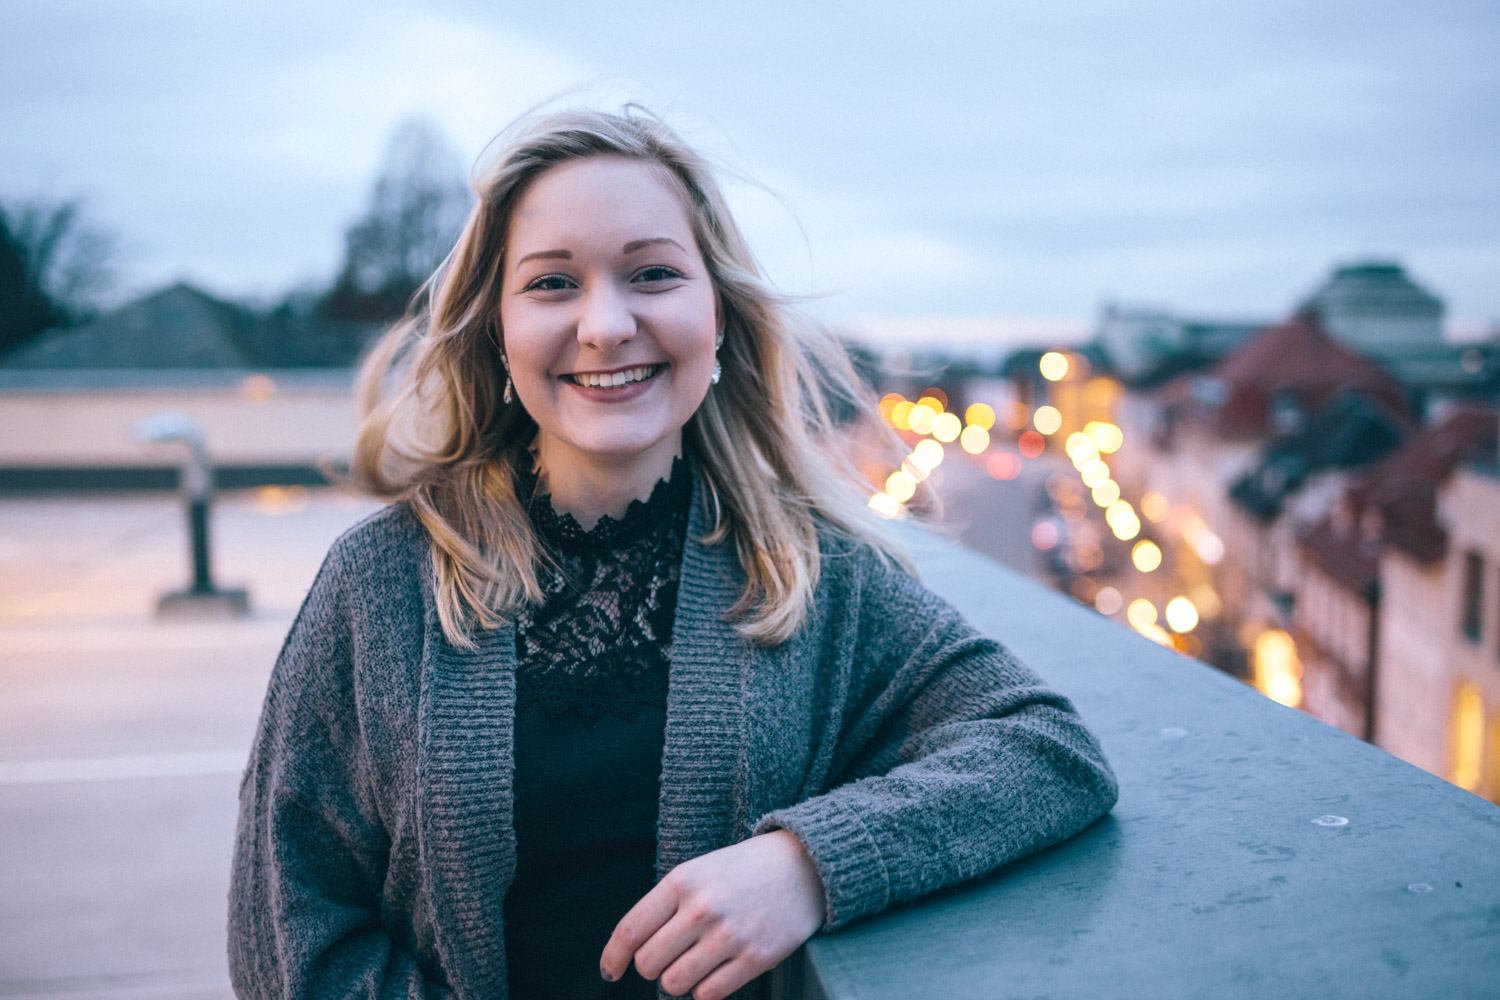
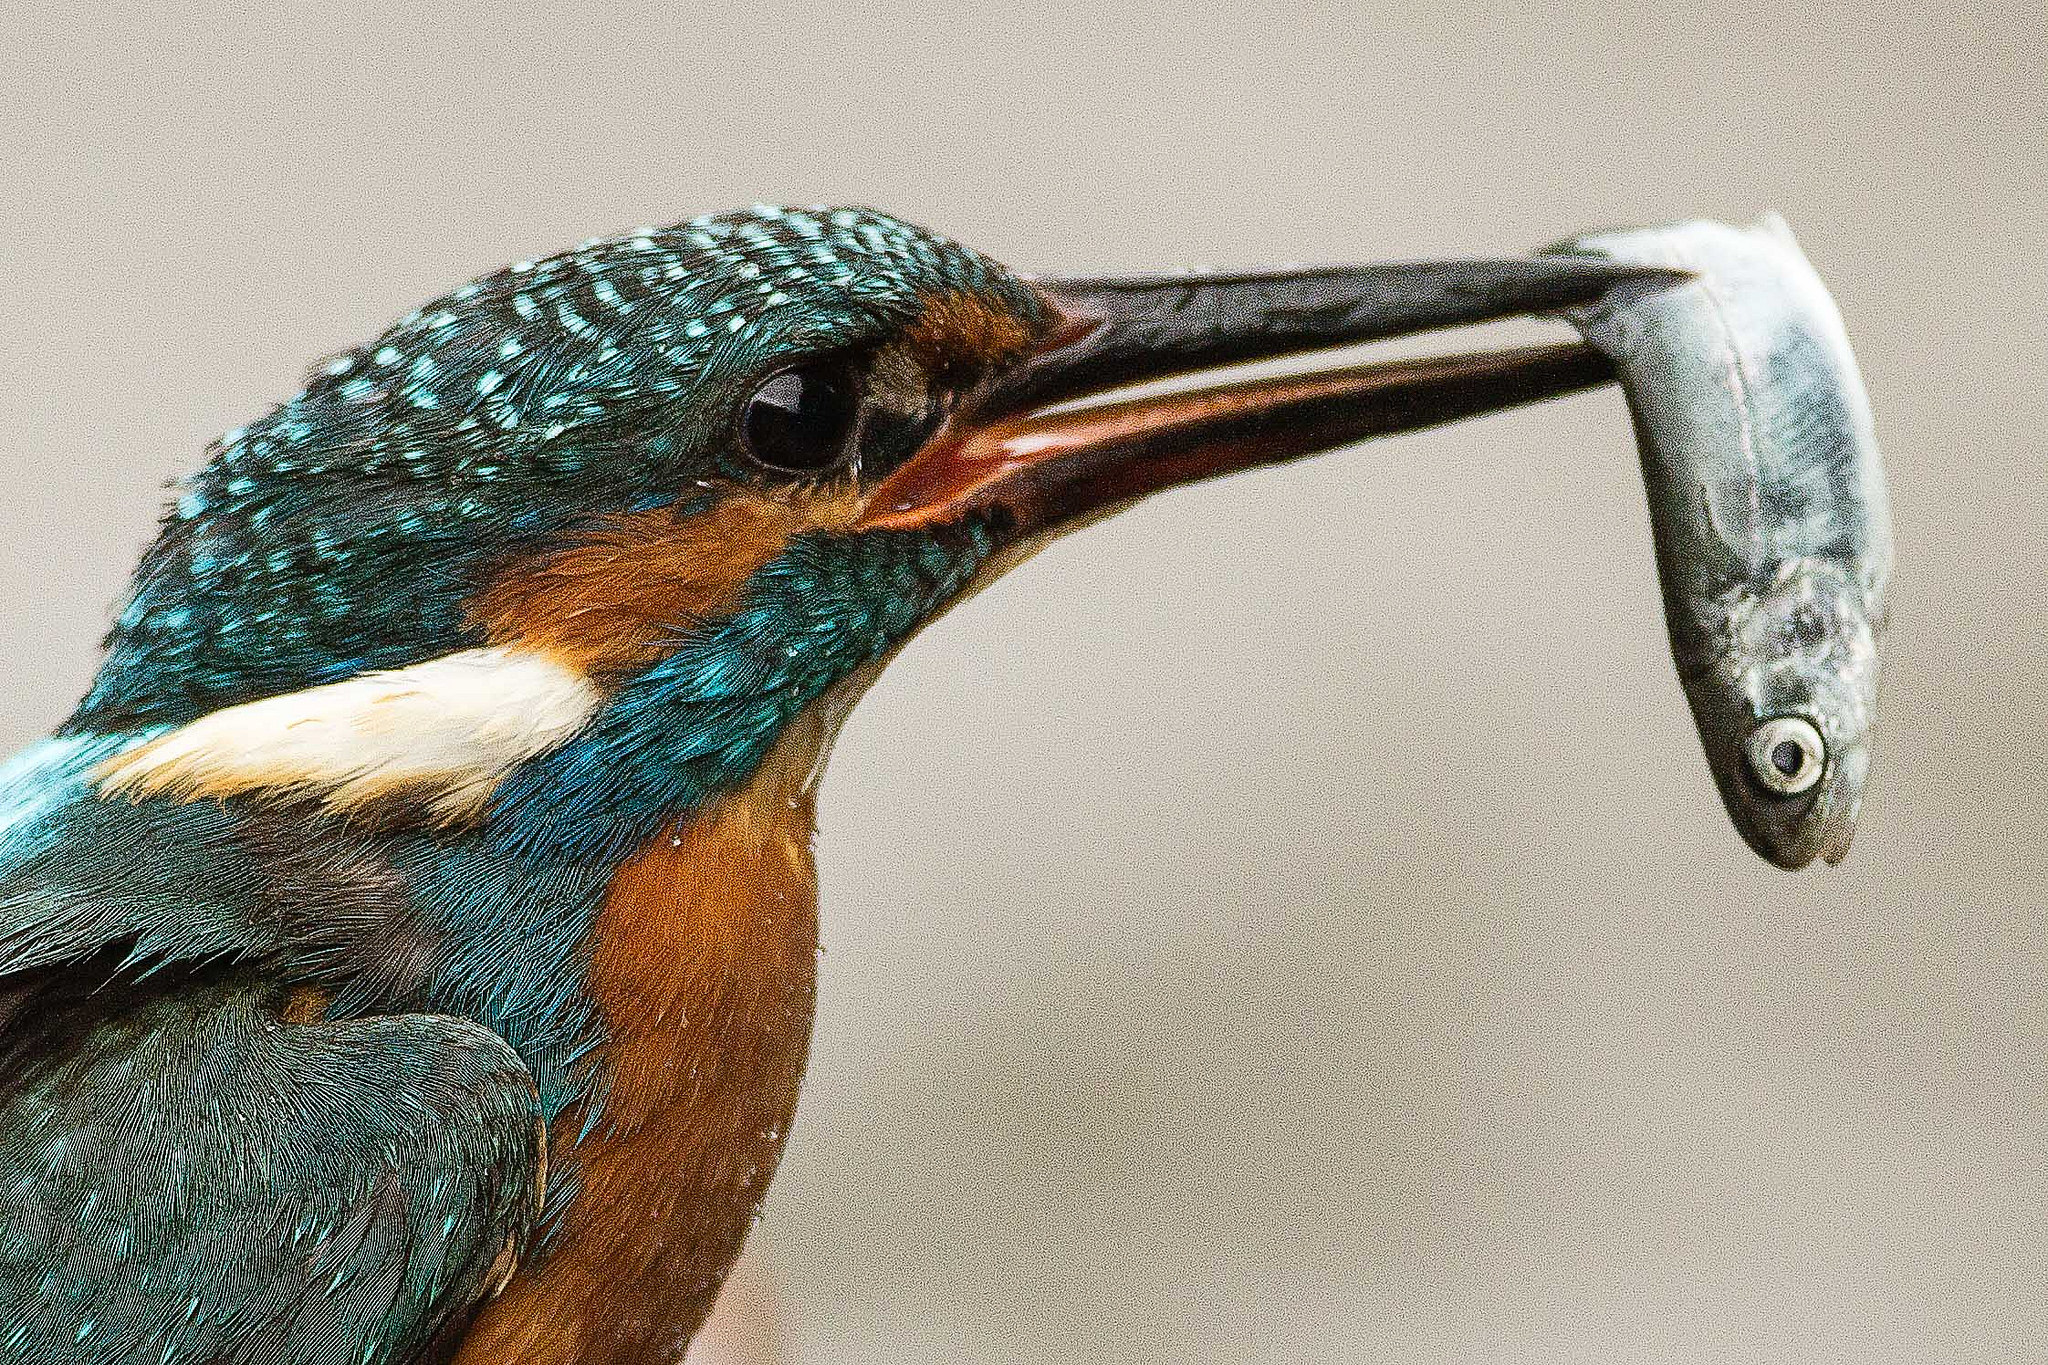
The first challenge can sometimes be the focal length of the lens itself. If you’re used to using a 50mm, and then switch to using an 85mm, then you can expect some similar but noticeable differences when shooting. The first thing I noticed when taking a street photograph with an 85mm lens is the isolation of my subject. The 85mm creates a crazy out of focus or blurred background, which intensifies the focus on the subject itself.

street photography

The result of this is very stunning, and will leave your viewer captivated by the image, especially if it’s a close up street portrait. However, the focal length of this lens can be a bit challenging when trying to capture subjects moving towards you, as it is an extra 35mm closer than your 50mm. Nonetheless, you eventually get used to it very quickly, and start to take some amazing shots.
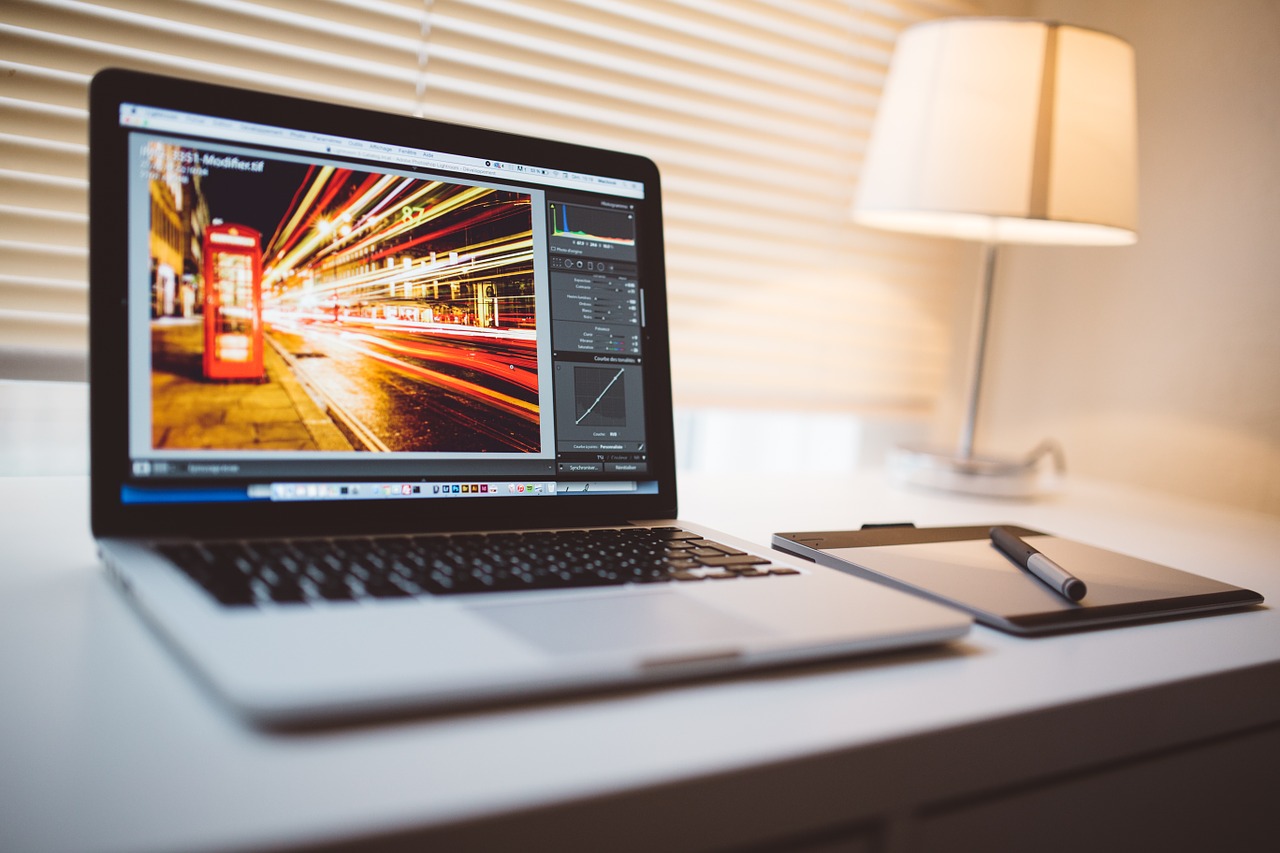
Camera Settings

Settings

Automatic, Shutter Priority and Aperture Priority Modes

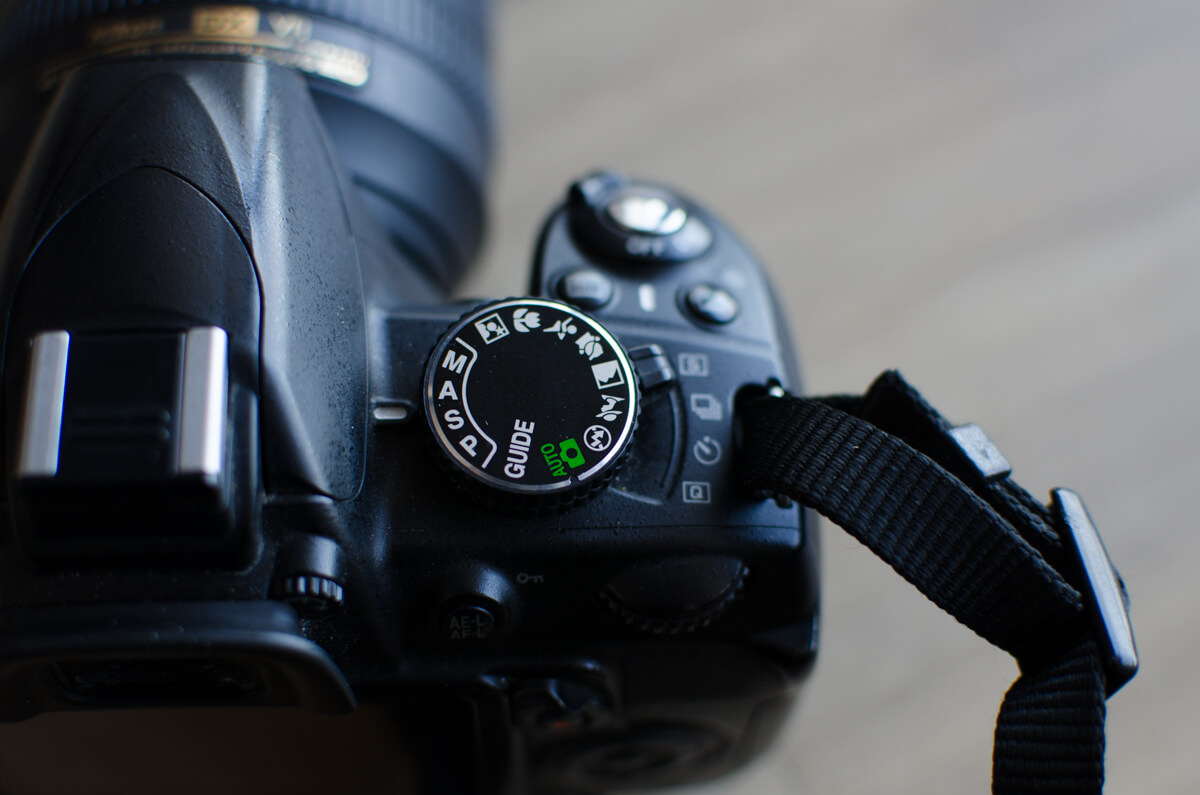
It’s often times more important to get the shot than to miss it while trying to get the settings perfect. There are many techniques that can aid in your shooting. Many cameras have a fully automatic setting. While this is the easiest way to get the shot, it limits your creativity over the final image . Many cameras have a shutter priority (S) and aperture priority (A) mode that will tailor the camera’s settings around your decided shutter speed or aperture. These modes are your friends.

Some may say that in order to be a “true” photographer you need to be shooting in manual mode at all times. I can guarantee this type of thinking will only result in missed opportunities. Don’t allow your ego get in the way of efficiency.

Focusing

Many cameras these days have quick autofocusing systems that are crazy accurate. However, if you are using a camera that has less than stellar autofocus, you can switch to manual focusing. Many street photographers swear by the method of Zone Focusing.

Zone Focusing is a technique where you pre-focus your lens at a set distance, and anticipate the position of your subject, which will result in acceptable sharpness. If your lens gives you distance markers, this aids in your ability to pre-focus accurately. Over time you’ll get more in tune with what you can get away in terms of acceptable clarity.

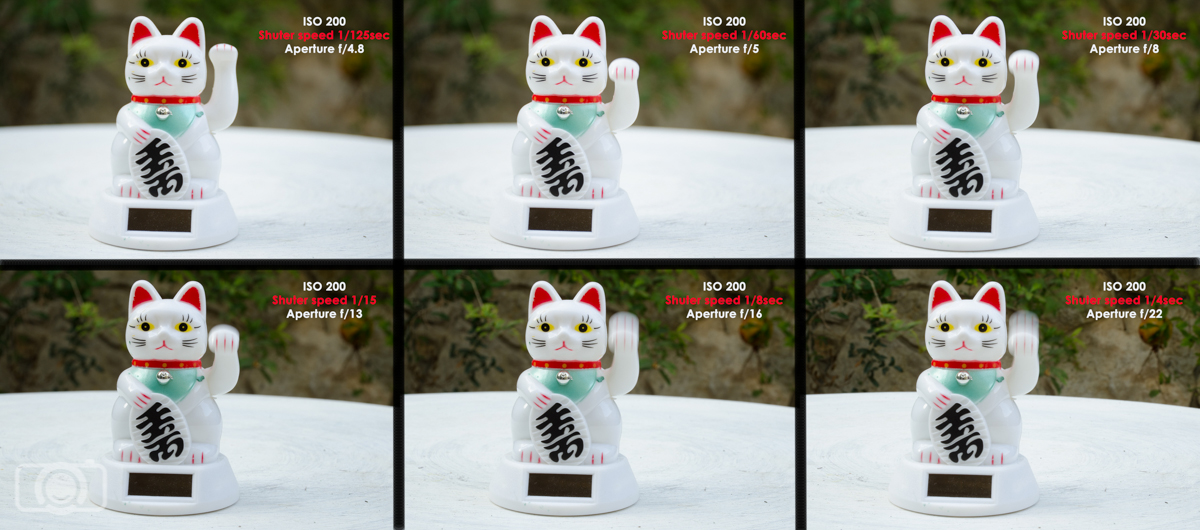
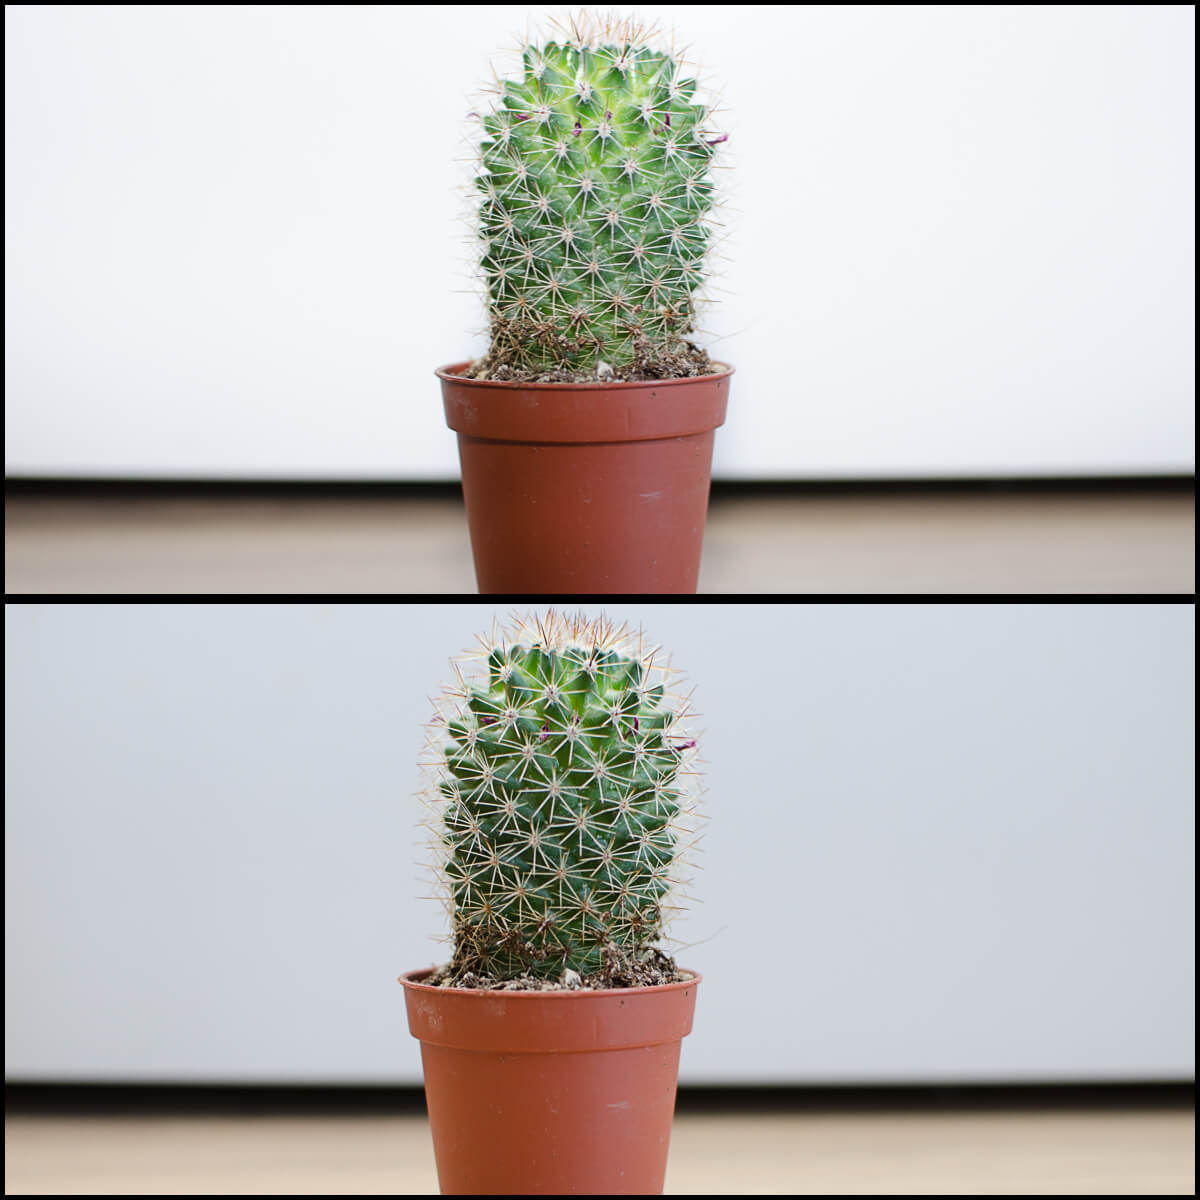
In order to maximize your area of focus, use an aperture anywhere between f.9 and f.16. The smaller aperture (the larger number) will give you a wider depth of field, meaning more things will be in focus.

6 Common Street Photography Mistakes

In my expert opinion, I would say that street photography is not one of the easiest genres of photography, but it can produce many great images. The best thing in street photography is that everything is captured in real time and cannot be faked or replicated more than once. Each image has its own unique style, meaning, and elements in the frame.

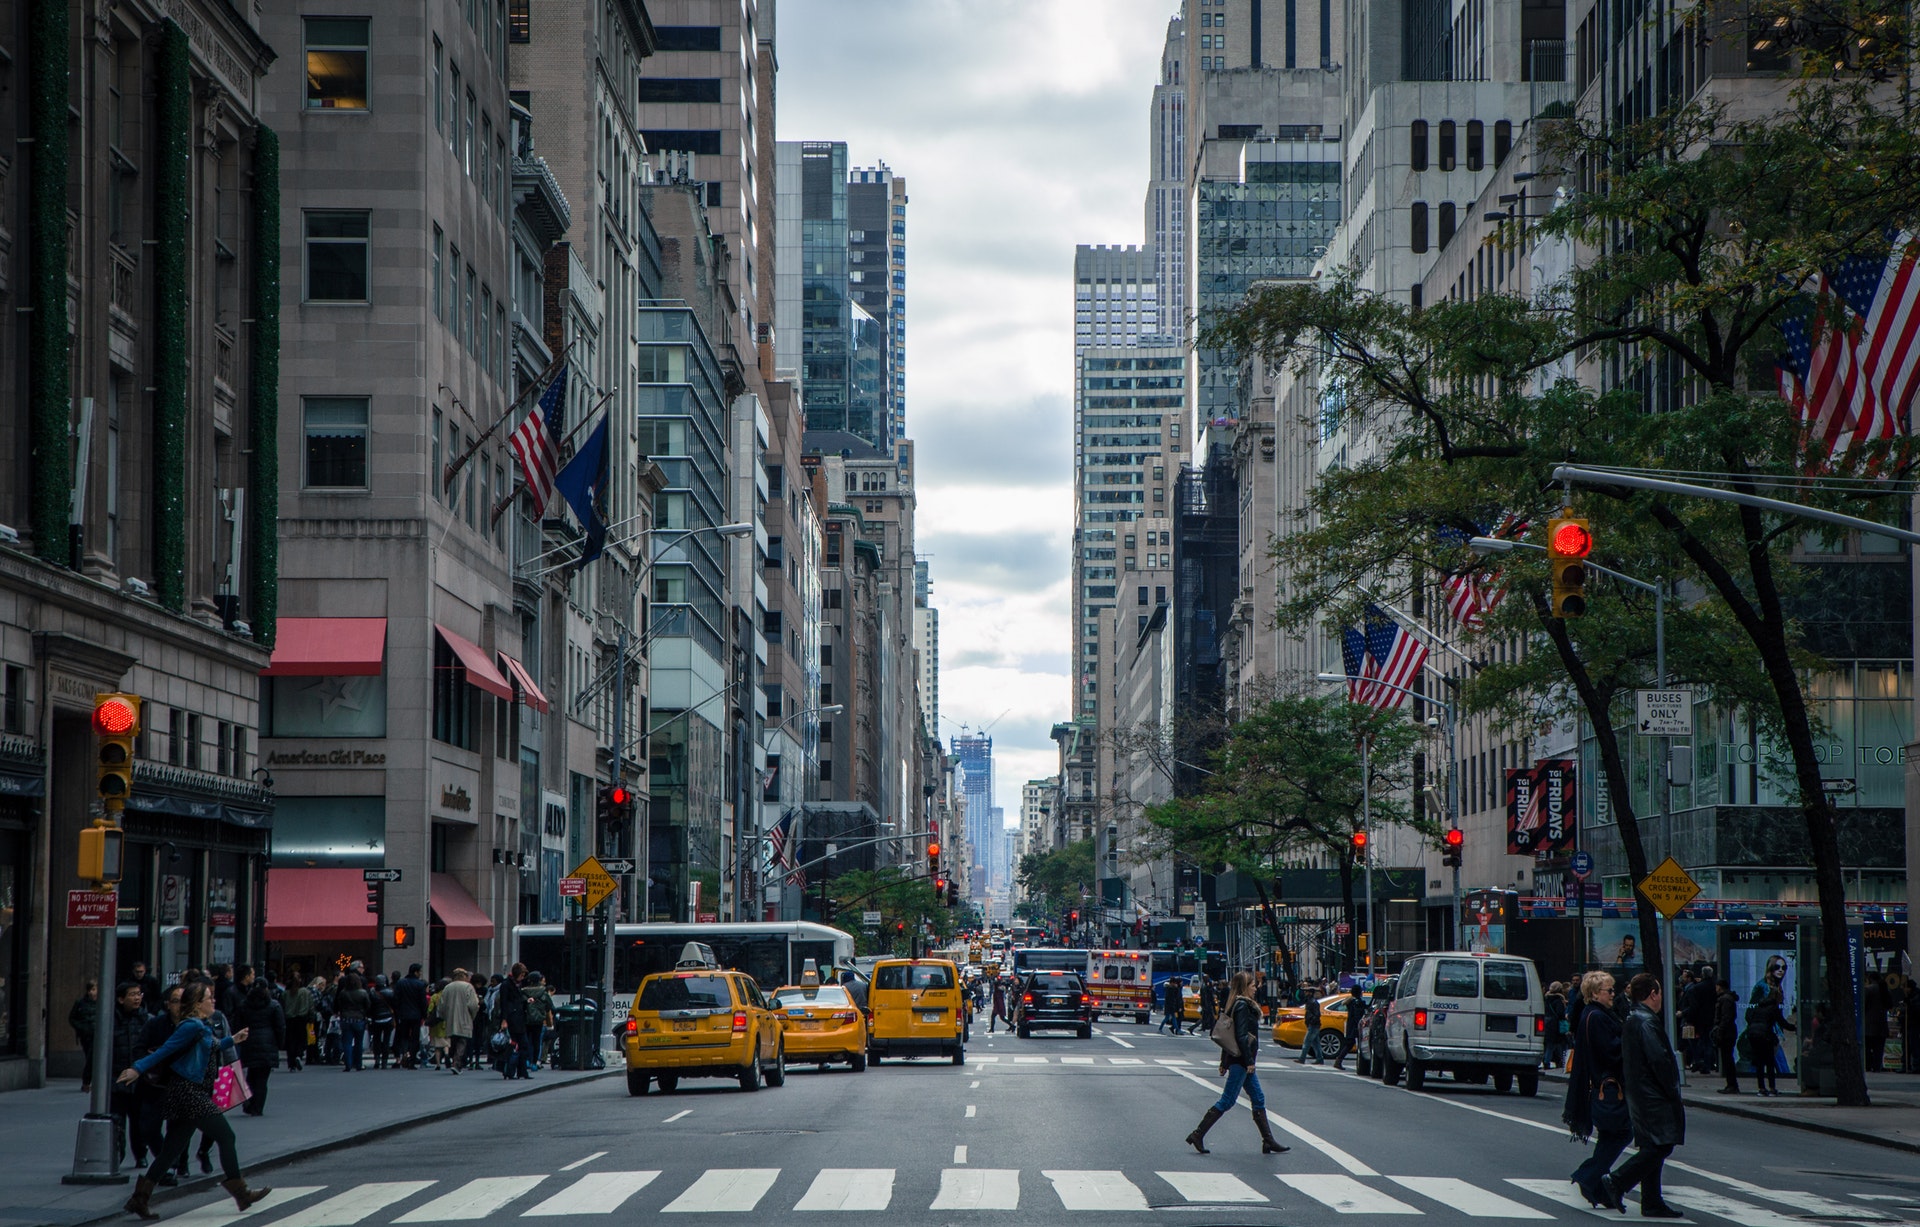
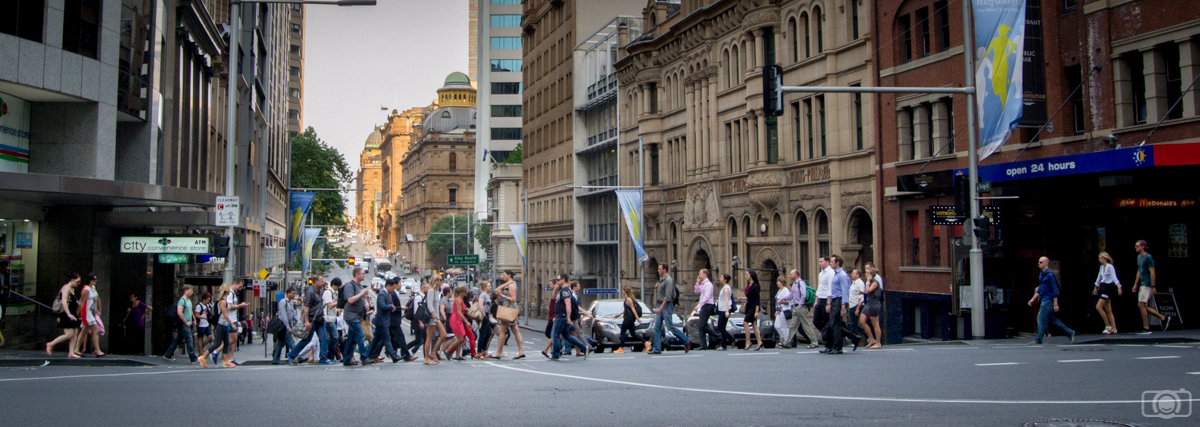
Street photography can also be subjective to where you live. For example, depending on whether you live in a city or suburbs, you will find that photographers who live close to a major city, like New York, are capable of capturing more captivating street shots than those who live in a suburban area.

In this section, I will be sharing with you the top five mistakes that are commonly made in street photography, and how to correct them. Some of these mistakes were even made by me as a beginner—and sometimes even now as a professional—so I urge you not to feel embarrassed or discouraged, because we’re constantly learning when it comes to this craft.

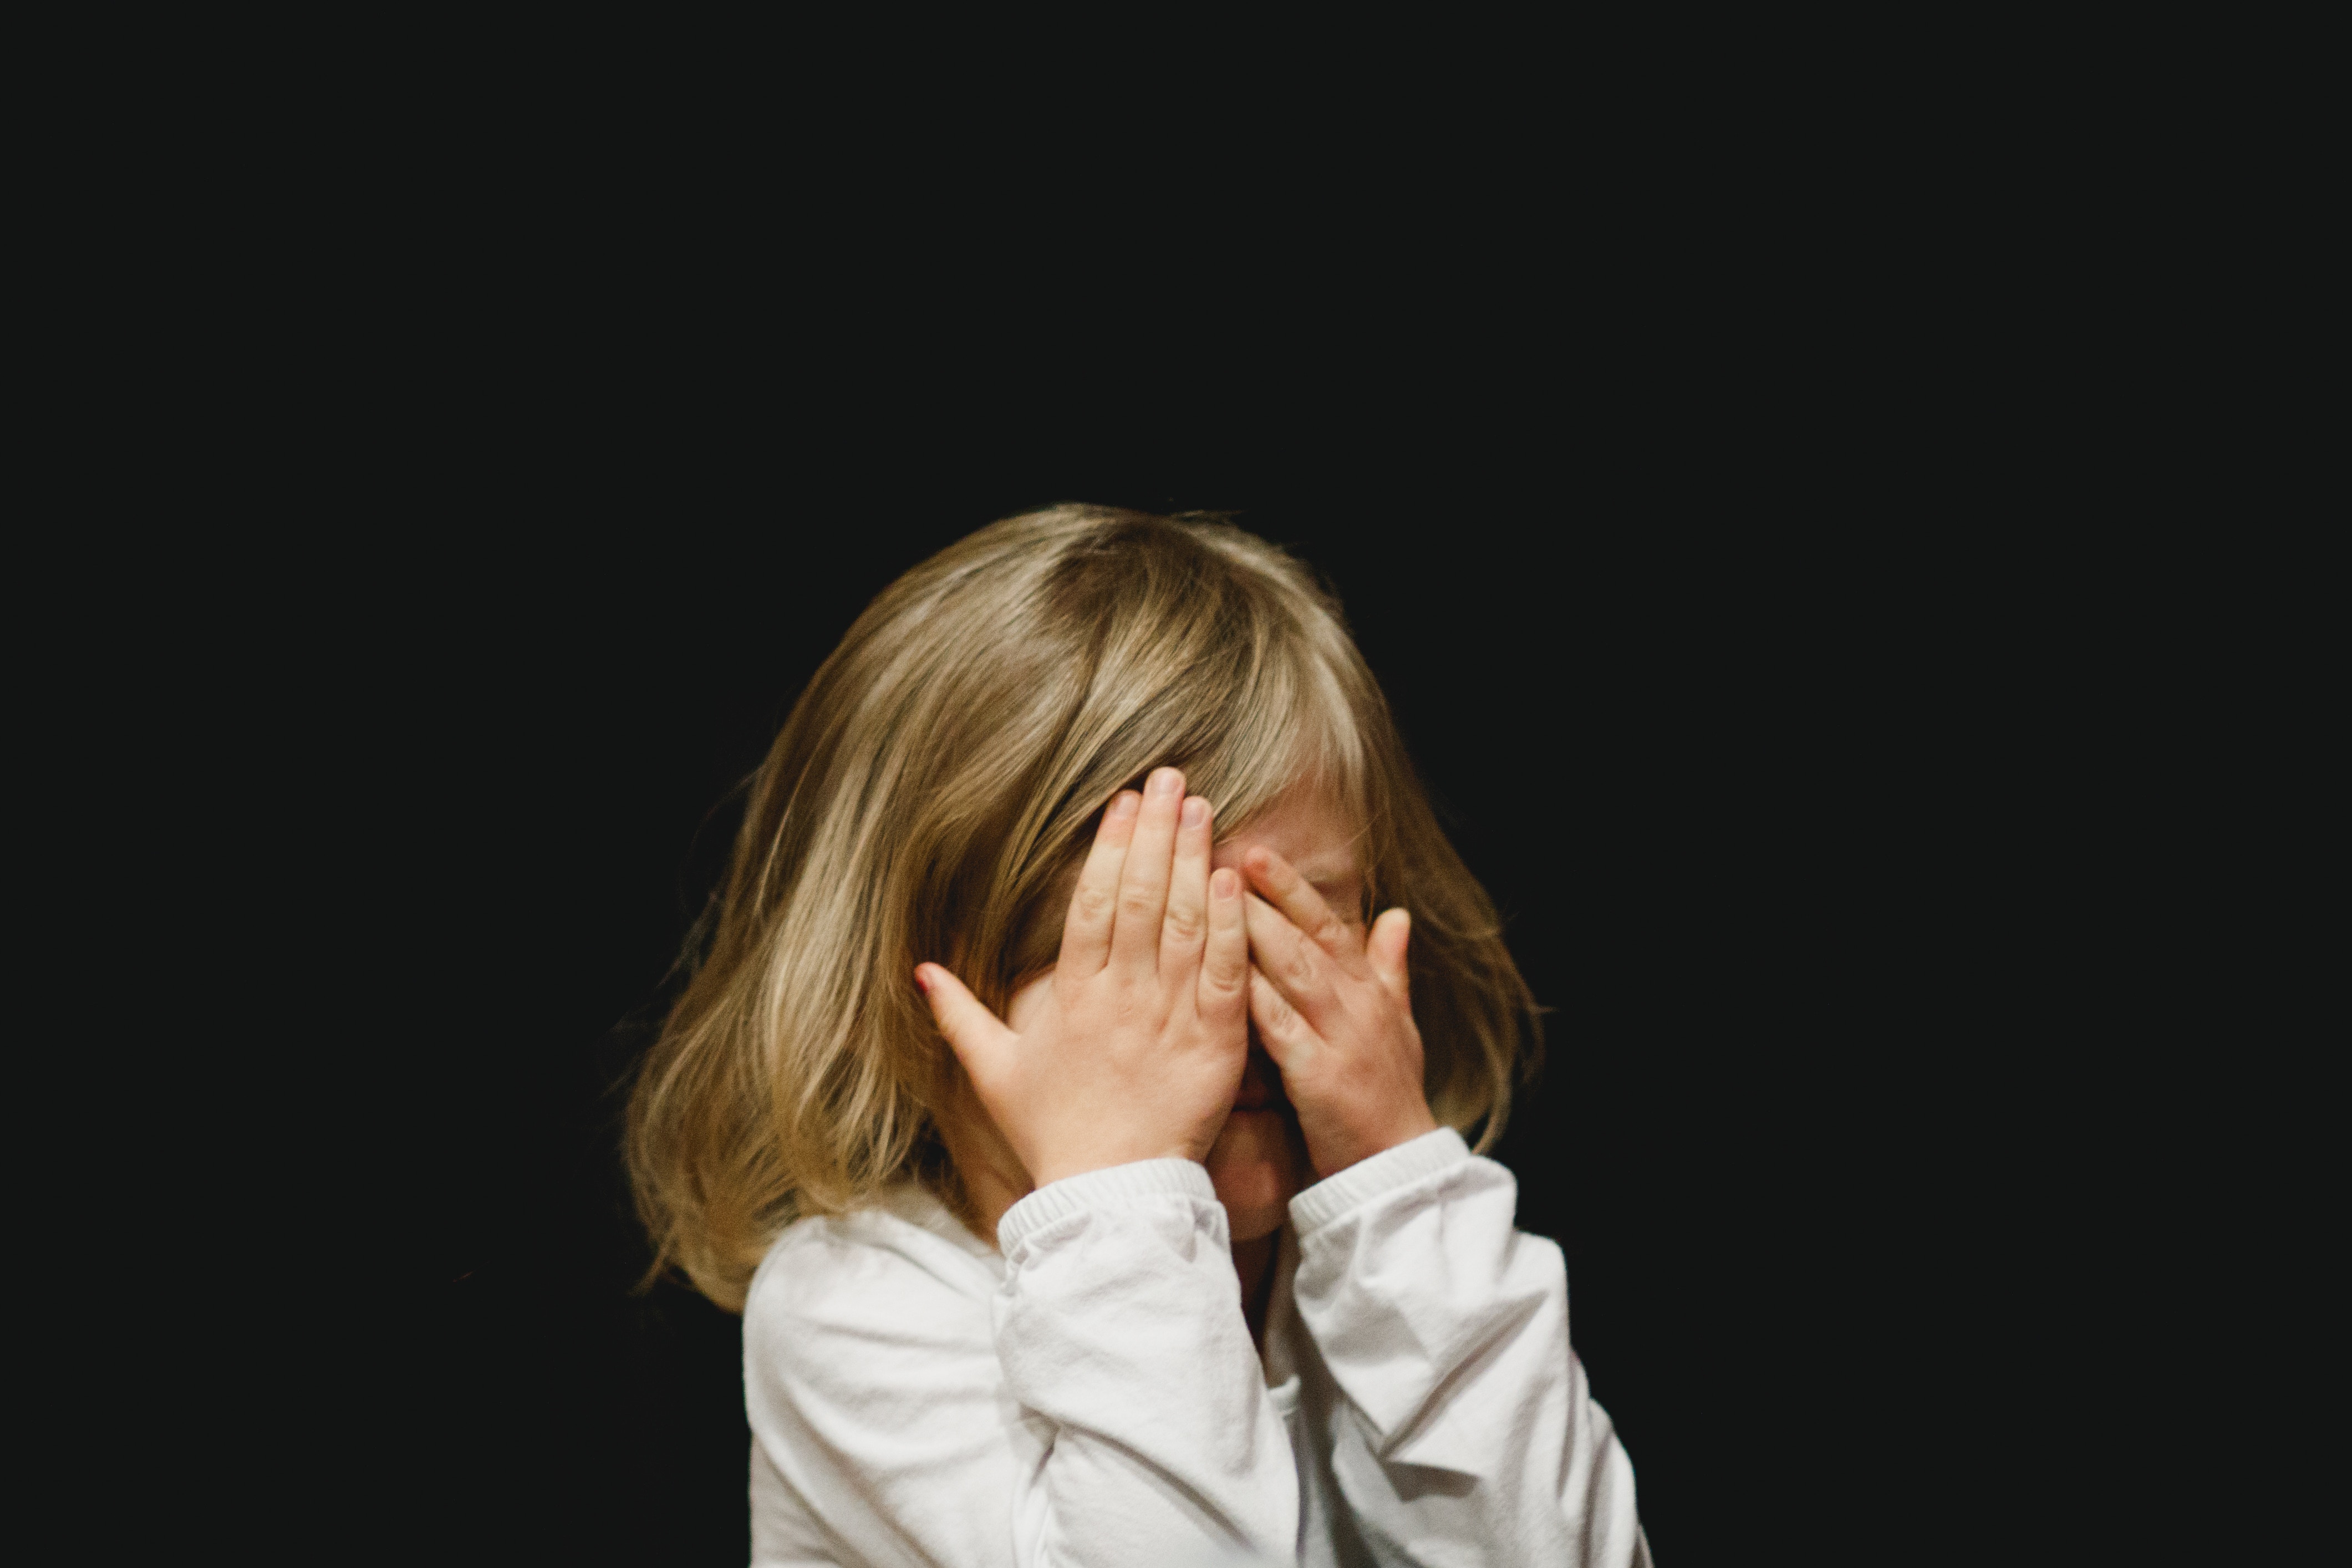
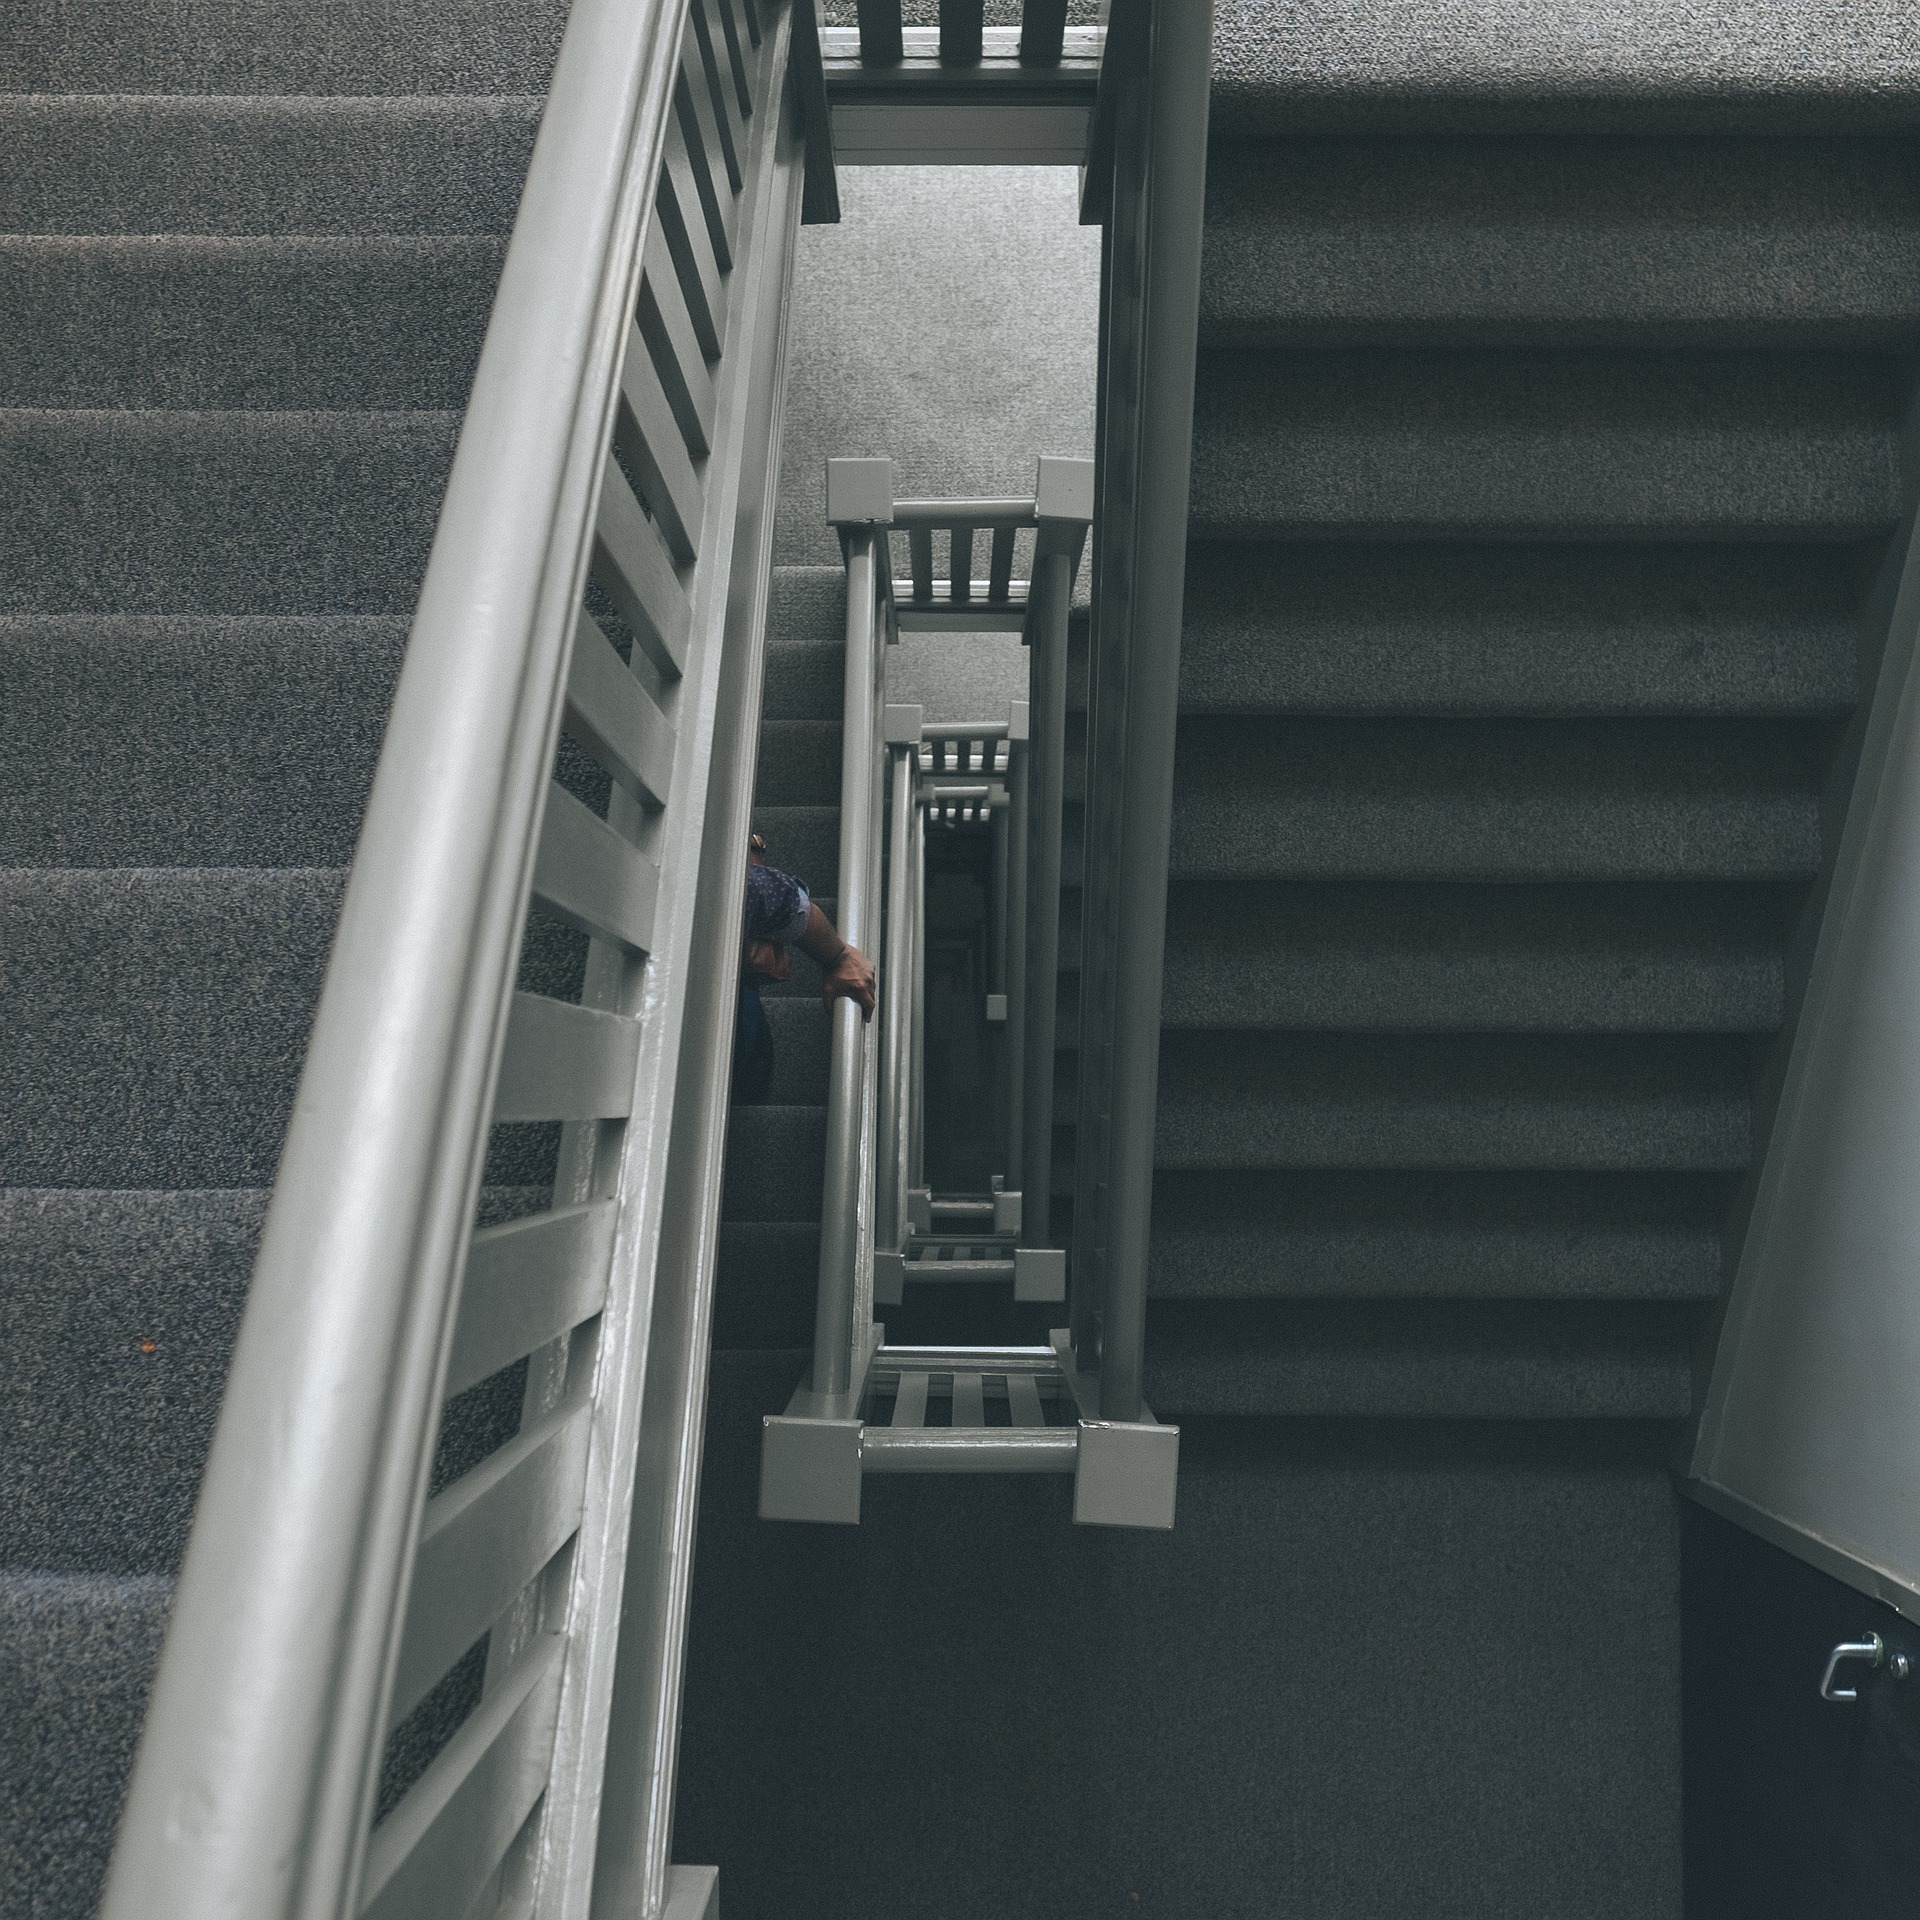
Letting Fear Get The Best Of You

Most of us are guilty of this first mistake. Doing street photography in fear will not bring you much reward or shots because to get the best shots, you just have to go for it. I used to be afraid myself to take out my camera and capture a shot of strangers walking or to actually just take out my camera to public place to practice street photography. The mentality I had was that everyone is gonna see me and I’m going to draw a bunch of attention to myself. I started to care more about how others feel about the camera than how I felt about getting the shots I want. This hindered me from getting what could be some pretty amazing shots in my pas,t but I’ve refused to let it hold me back now.

street photography

To get over this fear you should make it a habit to walk with optimism and positivity. Make sure to be polite and ask the stranger permission first before you take a single street portrait of them. Don’t be afraid to get close and be in the middle, because the people around you will never really know what it is you’re capturing. Make it a habit to just think about yourself and your camera and nothing else. Once you’ve developed that state of mind, you will become more comfortable when you shoot street photography. However, this is an issue you have to deal with very quickly, or else you will not get the shots you need and will remain timid.

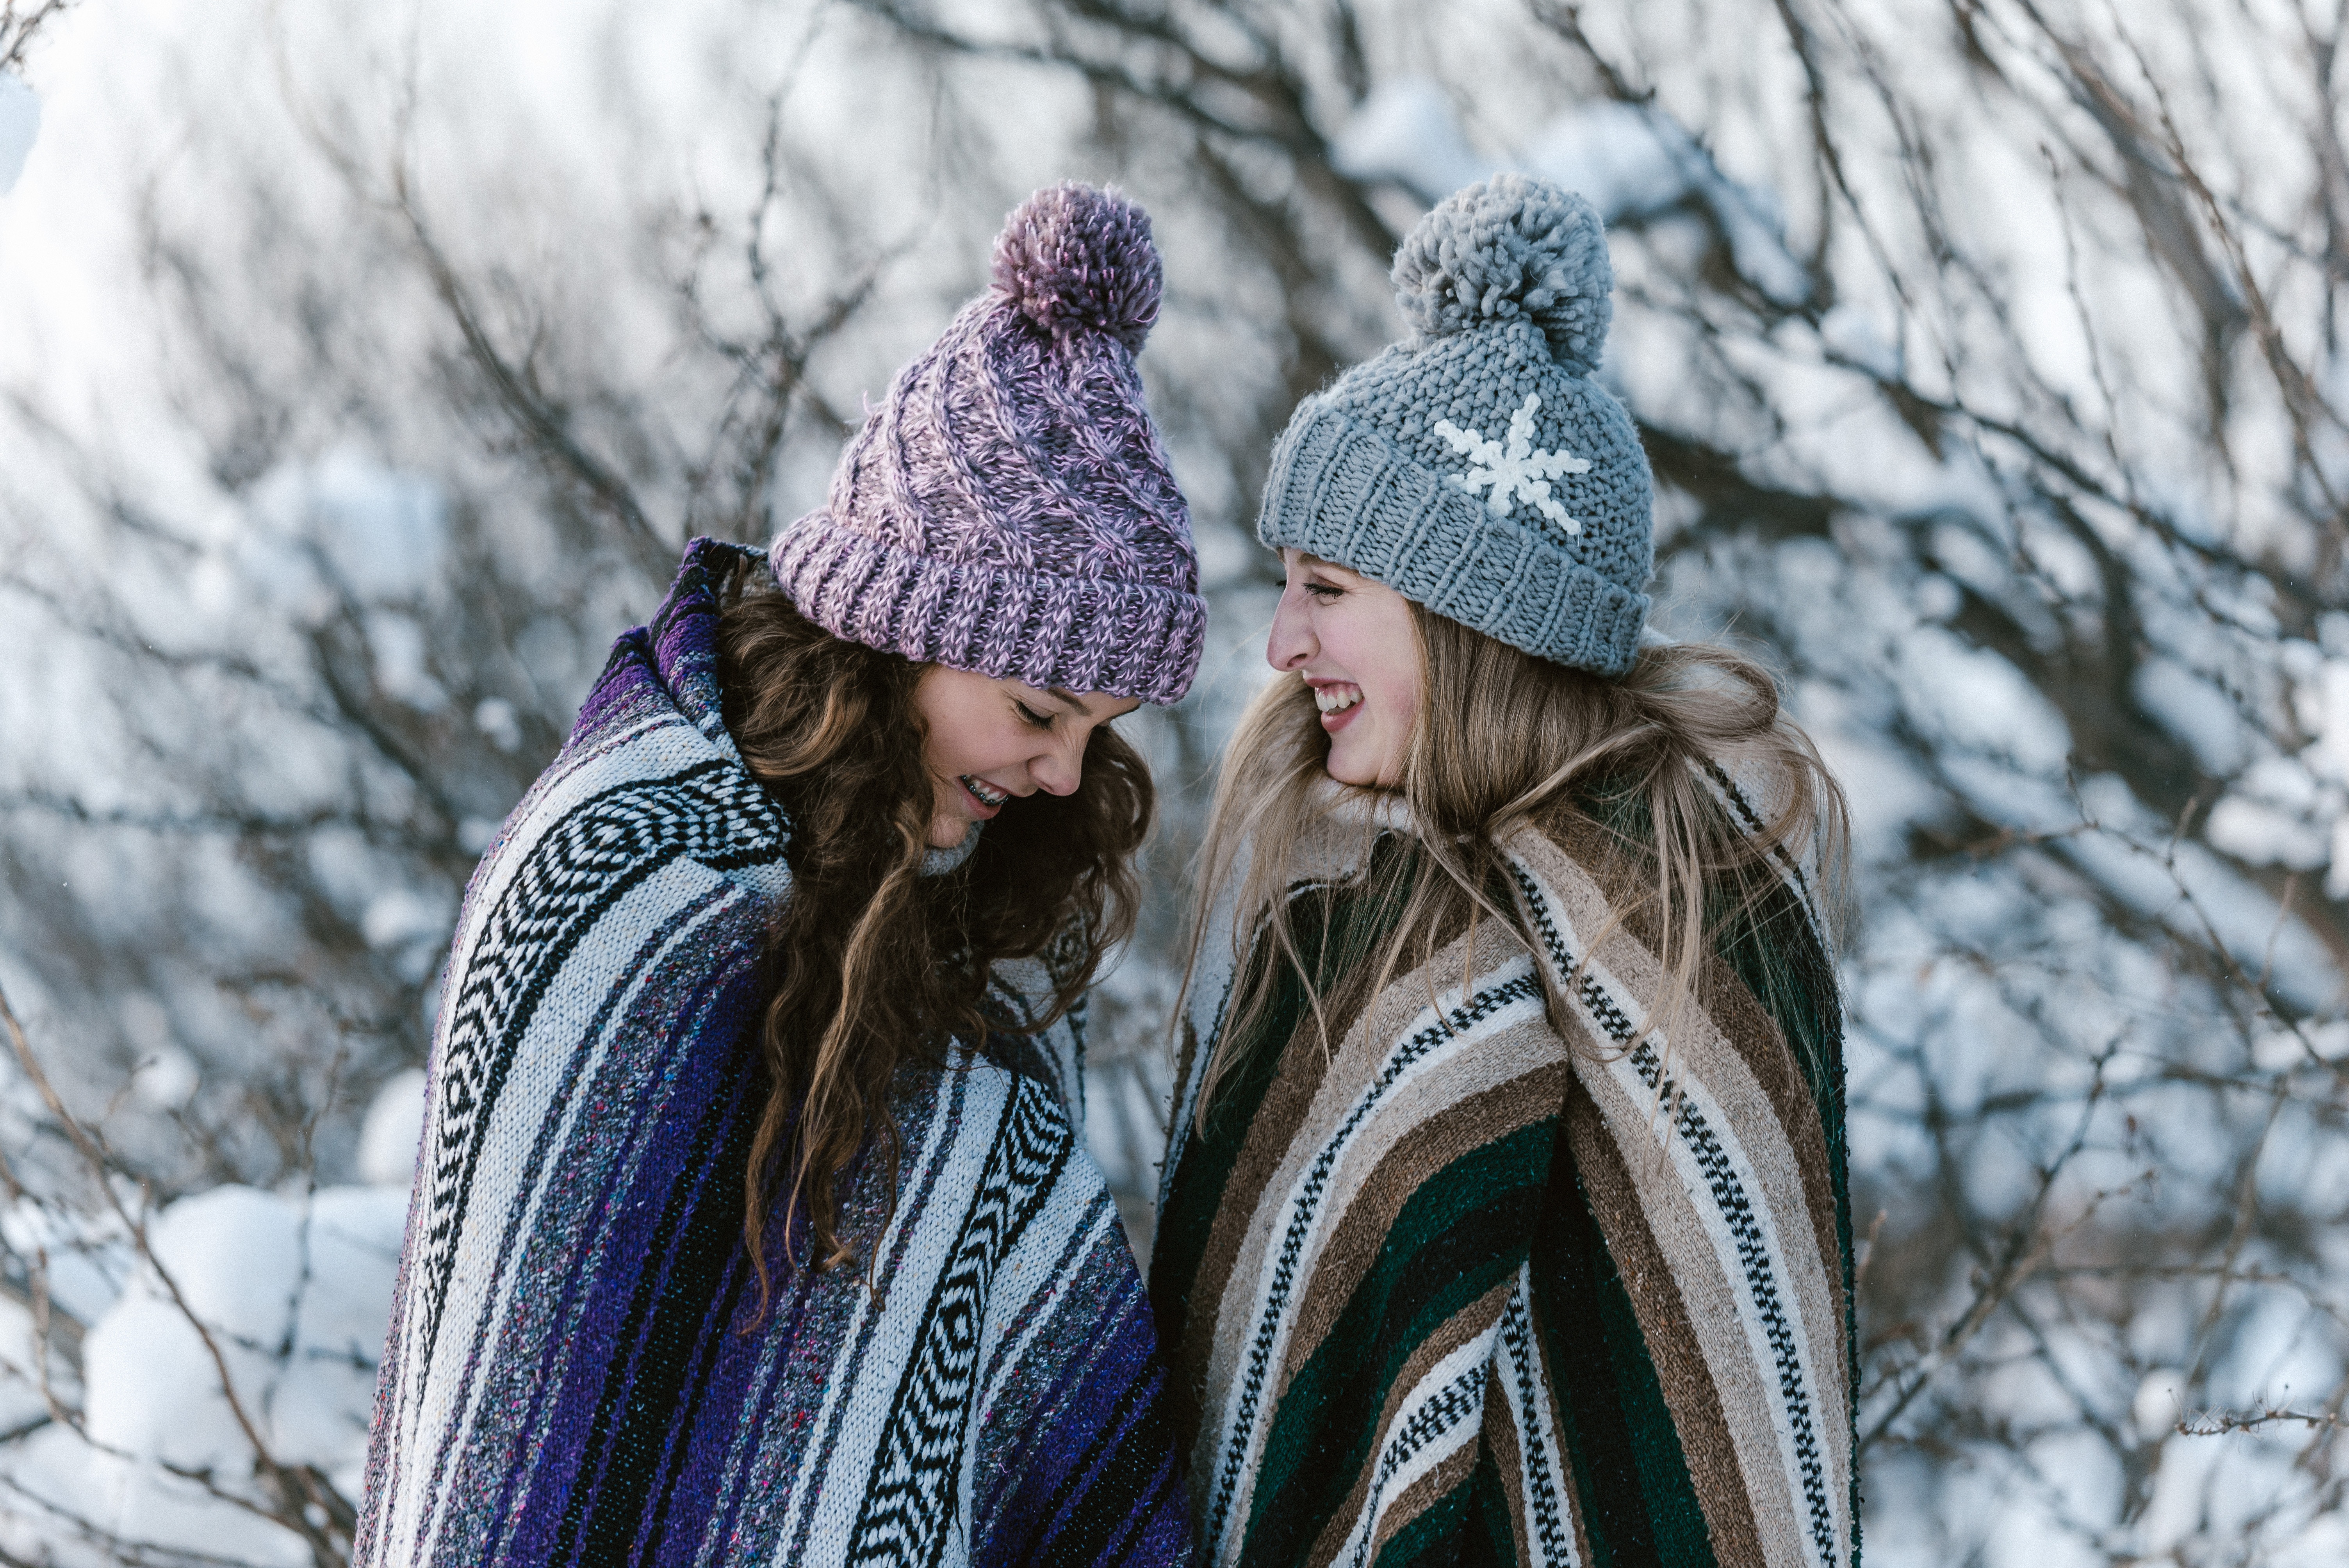
Asking Permission to Photograph

Many people have differing opinions on whether a photographer should ask for permission when photographing strangers. While technically it is legal for us to take pictures of people in a public place (in most cases), one way to make sure you don’t run into trouble is to just simply ask for permission.

Now, even if you don’t intend to sell the picture, uploading a photo on the internet where people who did not even know they were being photographed is something that many people are not comfortable with. This is aggravated by the fact that some photographers tend to post pictures of people in situations that most people would not be happy to be shown in—for instance, drunk people lying on the street.

I believe that a healthy balance is to only post pictures of people in situations in which you would be comfortable to find a yourself in and, if someone ever finds an image where they are depicted and ask you to remove it from wherever you are showing it (something highly unlikely to be honest), just do so. Also, if you feel the picture is just too good, approach the person and ask them to sign a model release—they might be happy to do so!

Confidence is key. If you are nervous or feel bad about asking for a photo, these feeling will come across, and you’ll most likely walk away without taking the shot. Walk up with a smile and simply explain why you would like to take their picture. For example, you could ask, “excuse me, I’m professional photographer working on a photo project documenting New York City. Would it be okay to take your picture?” If they say no—no harm no foul.

There is another saying along the lines of, “the only photos you’ll regret are the ones you never took.” Personally, the worst feeling after a shoot is what if. What if I had asked that person or had taken that opportunity to take the shot. Don’t live in fear. Over time, rejection becomes natural; with a little practice,  you’ll eventually get to the point where it no longer bothers you.

Low ISO

I used to believe in the rule that shooting at a low ISO when doing street photography is best. This has proven to be a mistake, as the advancement of cameras over the years has allowed photographers like myself to shoot at a high ISO without compromising my image with grain. A low ISO is obviously subjective to what  you’re shooting with, but when it comes to street photography it’s not always the best option.

street photography main road

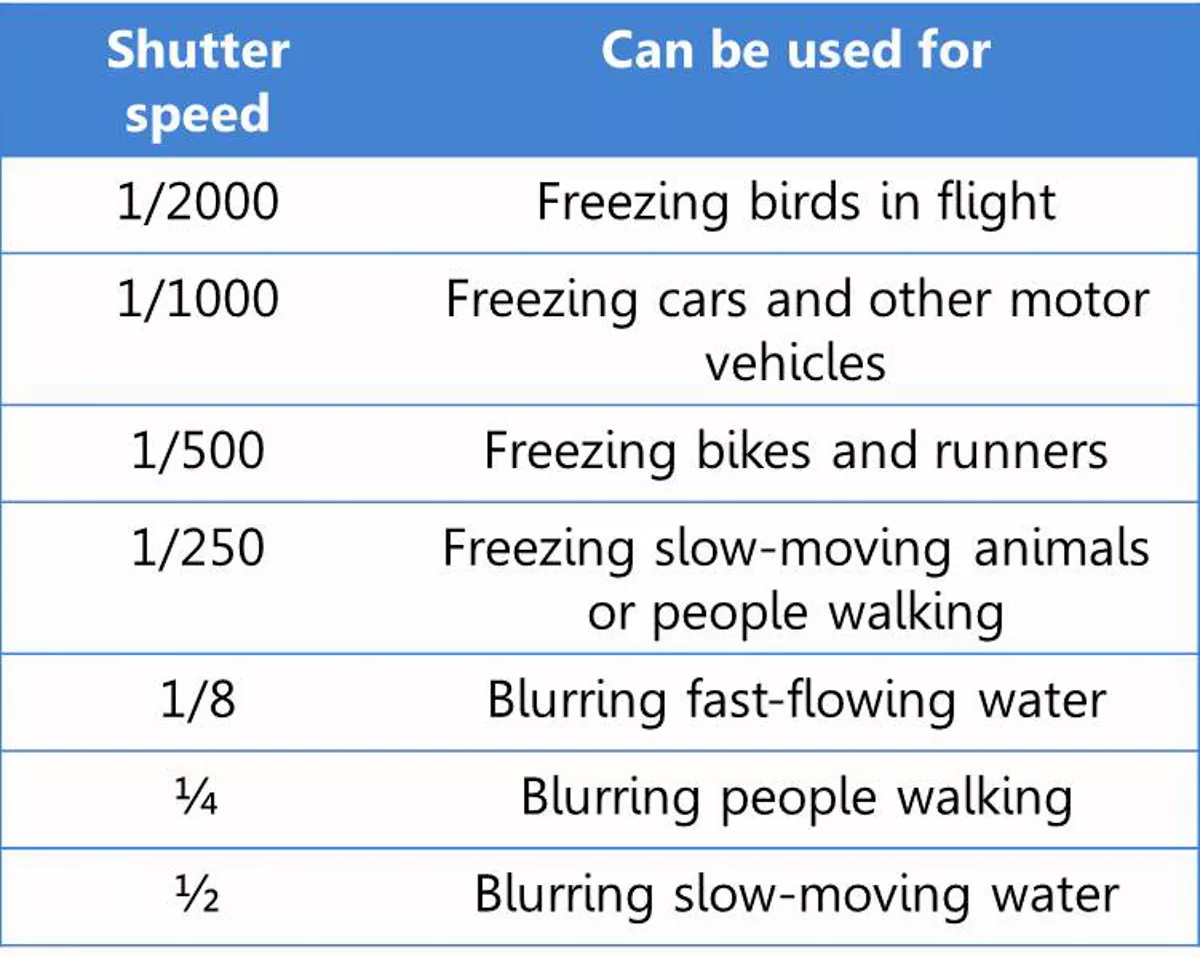
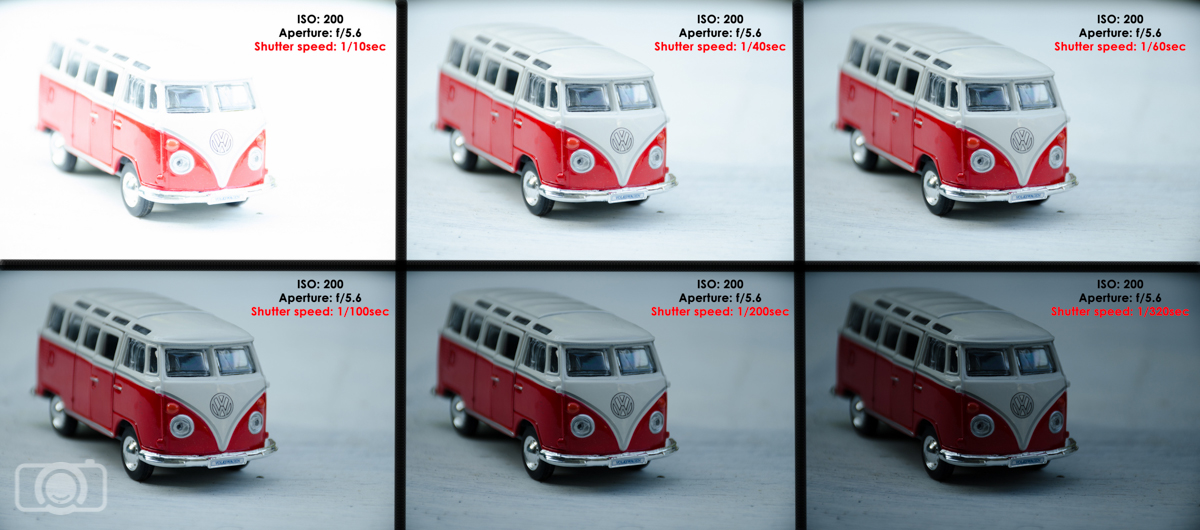
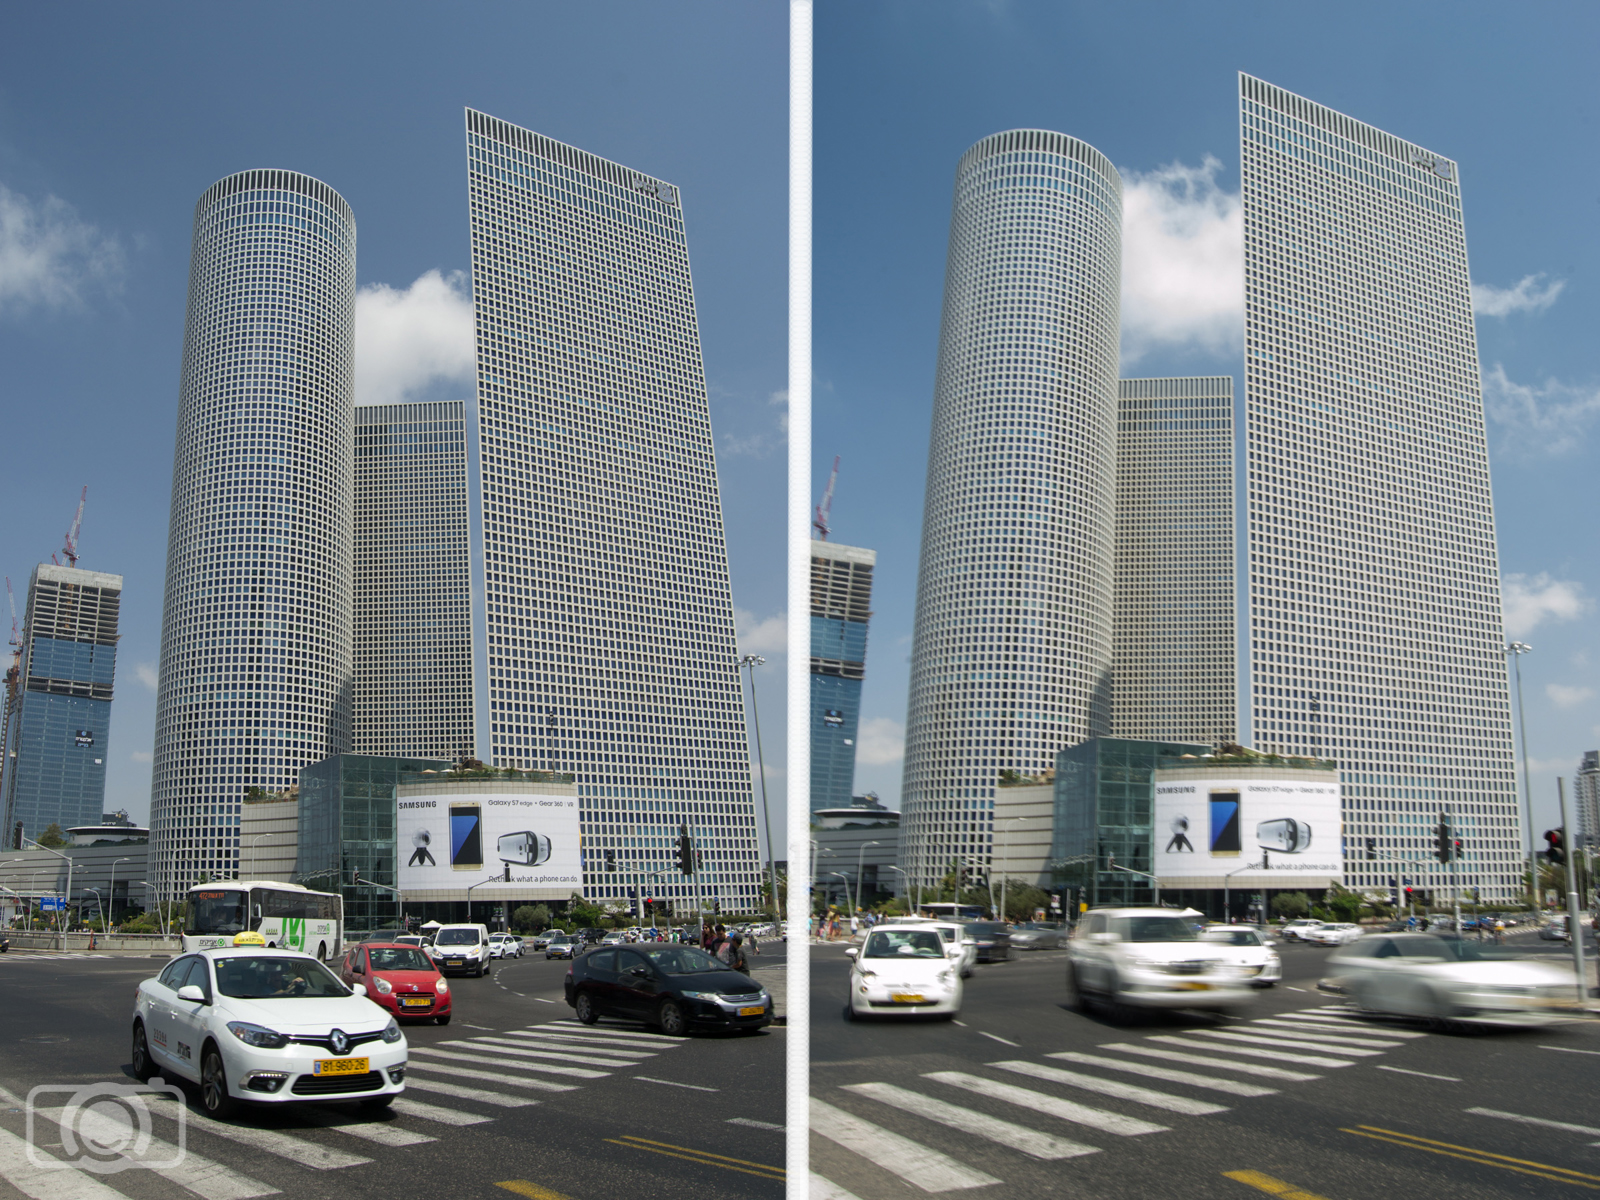
Normally, you are forced to shoot street photography at a high shutter speed, preferably 1/250 or higher, depending on your lighting conditions. We need the shutter speed high because street photography is very spontaneous, and you need to have a freeze frame of whatever it is your subject is doing.

In addition to having a high shutter speed, I would also recommend a high aperture value as well. Anywhere between f/8 – f/16. The reason for this is also related to the fact that your subject will more than likely be moving at an unpredictable rate. In the event that they are moving fast, would want to be able to have a large depth of field, just in case you miss the main focus. The rest of your shot will be pretty sharp, so you can make adjustments in post-production.

Don’t Move Too Fast

Try not to be so caught up looking for the next subject that you’re walking fast and missing the great things that are already around you. Take your time and observe where you are, and let that dictate your shots, because moving fast will distract you from what’s just around the corner. Street photography takes a little patience, but the patience you put in will give you a reward you will appreciate later, so try to take it slow.

street photography busy street

Not Getting Close Enough

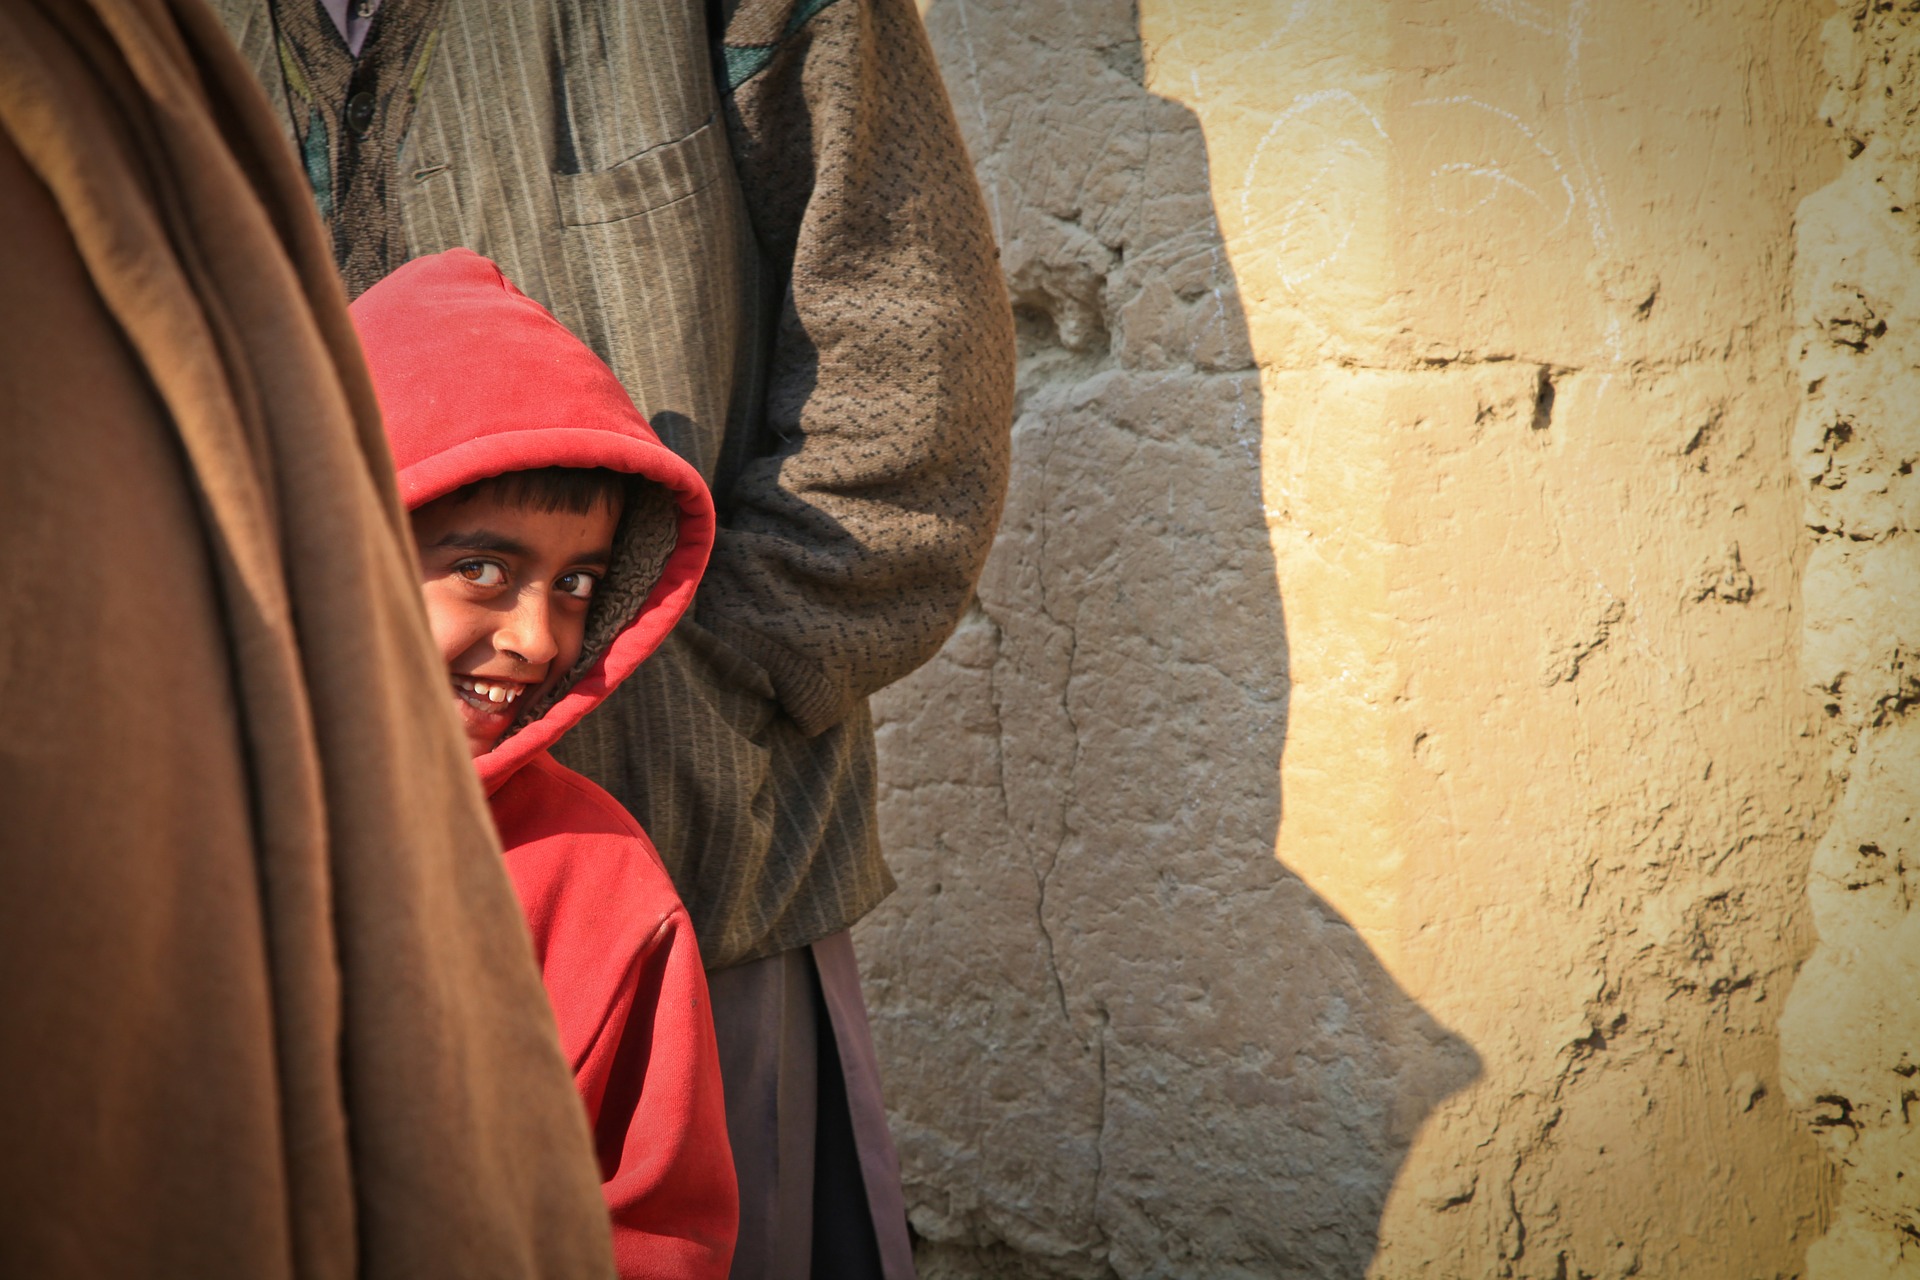
This mistake is one a lot of us make—not getting close enough to our subject because we are too scared or in a panic. A wide shot is always good in street photography, but there may be a lot of moving objects or people that will distract viewers from the main subject in your frame. Get close, and make sure you isolate what it is you would like viewers to see in your frame. Otherwise, they will be distracted by everything else.

street photography with subject

Glued To The Viewfinder

I know you need to look through your viewfinder to compose your shots, but don’t be distracted by the viewfinder so much that you forget to use your eyes.

Being distracted by looking through the viewfinder all the time will limit you from seeing the bigger picture, as your field of view is limited. Your eyes are the true viewfinder, and should be your primary tool when looking for shots during street photography.

Keep your head up and your eyes alert so when you can actually see your shot, then bring your camera up to your eyes and capture the frame. Street photography is a beautiful thing, but it’s all about timing, patience, and being fearless. Once you’ve mastered all these things then you have nothing to worry about.

6 Challenges Every Street Photographer Faces

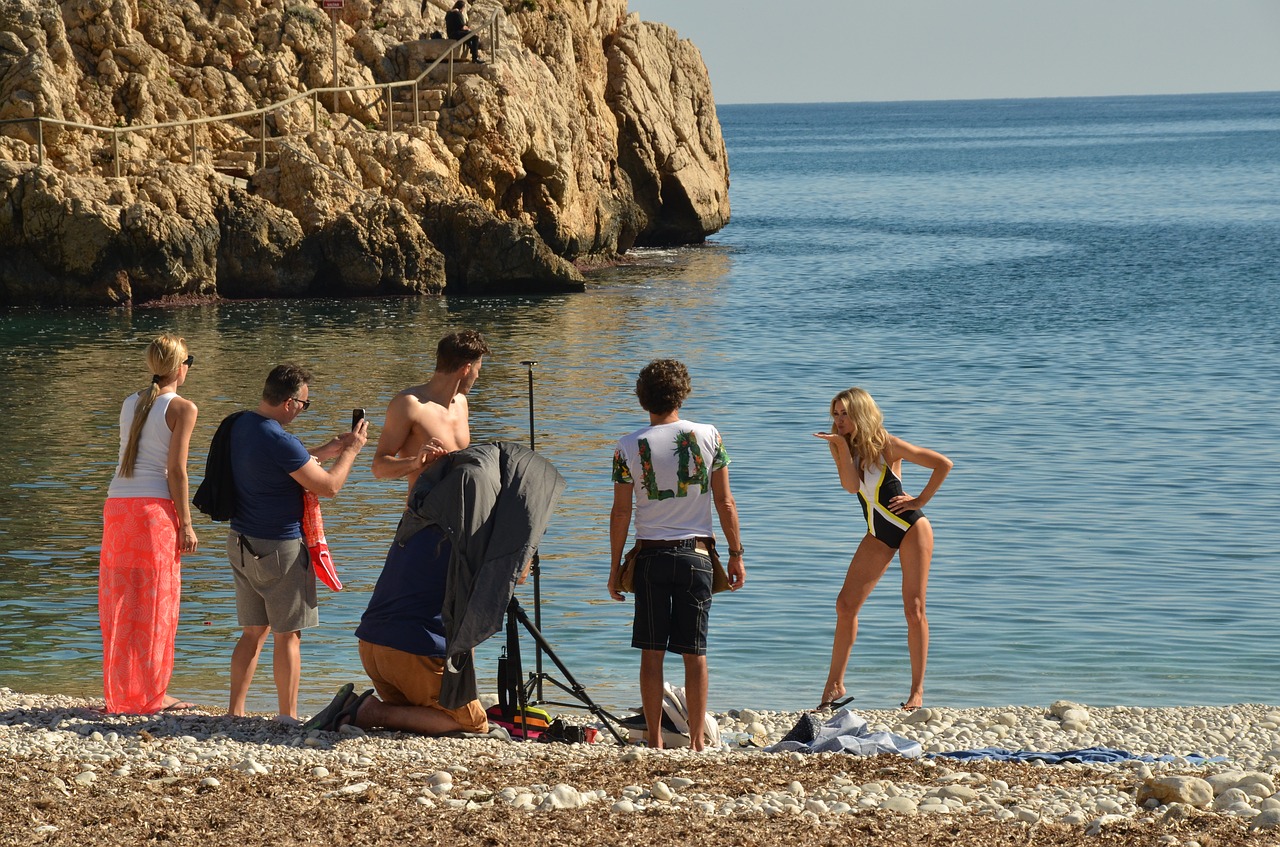
Street photography is one of the most dynamic and interesting forms of photography out there. It is something that can really capture the world as it is. There is no posing, no special lighting, it is just capturing the world at that moment. The most interesting photos are the ones that are captured like this. The problem is that it takes a very special type of photographer to be able to capture street photos. You have to be outgoing, confident, and very good at what you do.

For those who do street photography, it is rewarding and amazing. It is not always easy though, and there are always challenges that a street photographer is going to run into. Understanding those challenges, and working to keep them from becoming a major problem, can improve your street photography skill.

street-photographer-problems-1

Poor Location

There is a chance that when you’re photographing people on the street, you choose a poor location. If your location is empty, and there isn’t anything interesting there, your photos are not going to be interesting either.

Being Afraid

It is not an easy thing to go up to someone and ask them to take their picture at random. You may feel shy, or even afraid, so that can impede you from getting the photos you want. You should never let this push you away from getting photos. You should always make sure you push yourself and try to get the photo and talk to that person. Don’t let fear limit you.

Other People

The biggest part of street photography are the people, but some people are going to be wary of you getting their picture. If you are not going to talk to the person, then just be as subtle as you can with your photography, but don’t be rude about it. Make yourself look like the photographer you are, and people will be much more apt to trust you. Don’t look dodgy or creepy, and don’t hide to get your photos.

street-photographer-problems-2

Some people will not want their photo taken. If they confront you, then all you have to do is apologize, explain what you are doing, and offer to delete the photo from your camera. This will show you have nothing to hide, and that you understand they are angry about the picture. Work with people, never against them.

People Stop Doing What They’re Doing

When you have the confidence to get the shot, you may find that the person stops doing what they were doing. Maybe they walk out of the frame, maybe they see you and just freeze up. It is important to be subtle, but understanding, and move on if you have to because your photo may not work out and there will always be other photos down the road. Try to plan what your subject is going to do, and where they will enter the shot, so you are ready when the moment comes.

street-photographer-problems-3

It is important to understand that there may not be a decisive moment for you. You may be waiting a while for that moment, but that moment may not come. If it doesn’t, move on and just get another shot whenever you can.

Worry

You may start to worry that you will never get that shot. You may want that perfect shot that will never come. All you can do here is stop worrying and take as many photos as you can. The more you take, the more chances you have at getting that perfect photo you have been hoping for. Don’t be afraid to take dozens, or even hundreds, of photos of one subject. Just start taking photos and don’t stop until you are satisfied.

Incorrect Exposure

On the same note as before, you may get those quick shots, but that could end up being a poorly exposed picture, or one that is out of focus. Try to have your camera ready before you start shooting, and get some preview photos if you can. Just a small bit of planning ahead can ensure that you get the pictures that you want, and that they are not going to turn out poor or out of focus. It is always best to take that extra time to do it right.

street-photographer-problems-4

Famous Street Photographers

If you’re looking for inspiration to improve your street photography skills, one of the best ways is to study the experts. A few popular street photographers to study include:

  • Martin Parr
  • Henri Cartier Bresson
  • Bruce Gilden
  • Joel Meyerowitz
  • Lee Friedlander
  • Robert Doisneau
  • Helen Levitt
  • Robert Frank
  • William Eggleston
  • Saul Leiter
  • Diane Arbus

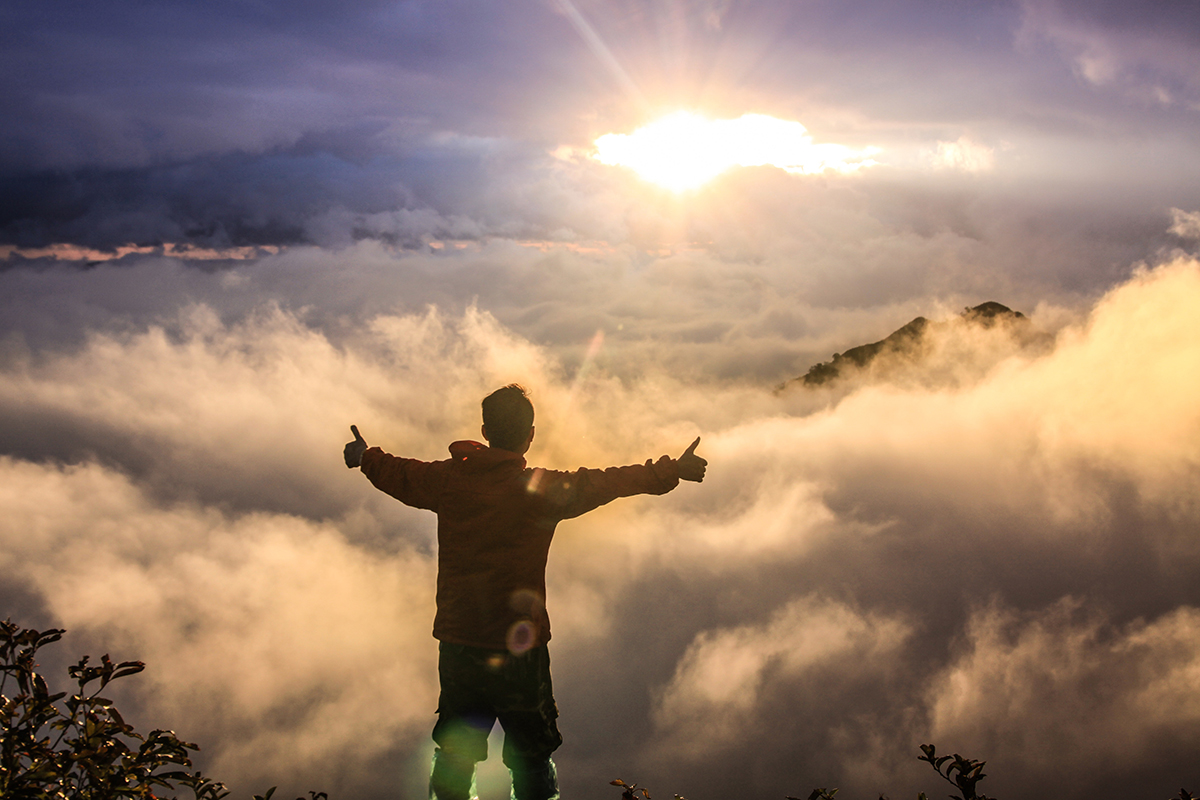
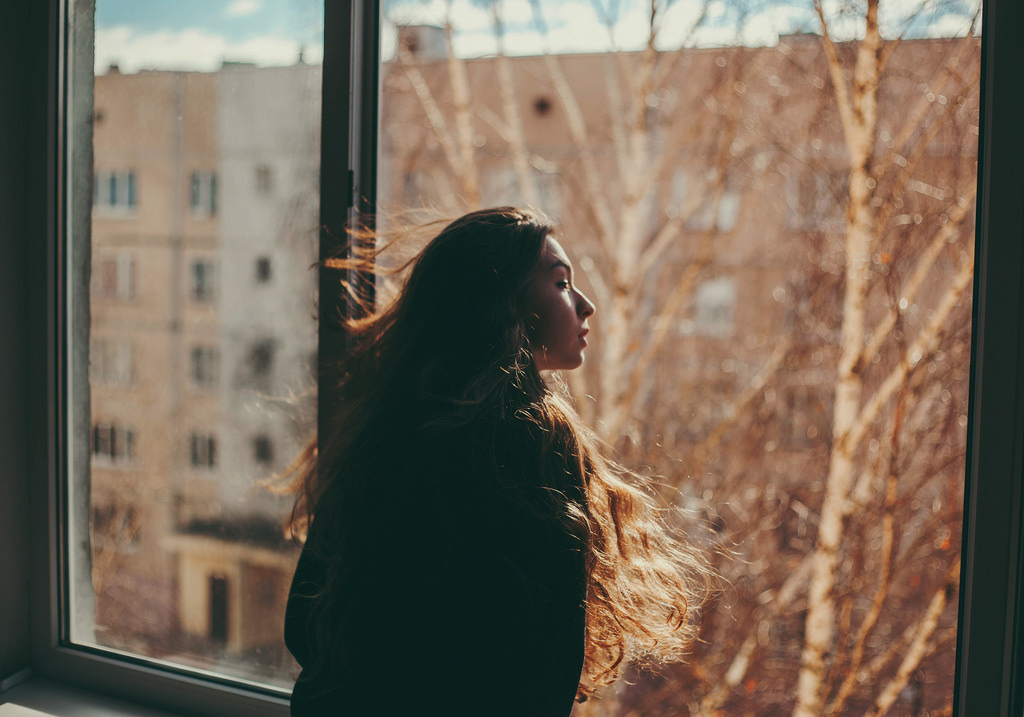
Street Photography Requires Skill and Confidence

Street photography can be a fun and challenging way to improve your photographic skills. It’s also a great way to explore the world and capture everyday life as it happens. We hope these tips have given you some ideas on how to get started with street photography.

SaveSaveSaveSave

What is Shutter Speed?

When it comes to photography basics, mastering the the exposure triangle is imperative to taking a well-lit photograph. In this post we will talk about one of the three elements that control exposure: shutter speed.

What is Shutter Speed?

Your camera has a shutter, which is a curtain in front of the sensor. When this curtain is closed the light can’t reach to the camera sensor. The shutter curtain opens and let light into your camera. When you press the camera shutter button, it is open just for a certain time (usually for fractions of seconds or one/few seconds). The amount of time that it is open is the time that the camera sensor is exposed to light, it is known as “shutter speed”.

Shutter speed is measured in either seconds or fractions of seconds. Keep in mind that in the second case, the bigger is the denominator of the fraction, the shorter is the time that the camera shutter is open. For example, 1/4000sec is a much faster shutter speed than 1/250sec.

What is shutter speed scheme


Shutter speed can be used creatively because short shutter speeds (also known as a faster shutter speed) freeze action while long speeds (also called slow shutter speed) can create motion blur. In the latter case, moving objects appear blurry along the direction of their movement. It is useful to know which shutter speeds are good for freezing or blurring some common actions. These numbers will give you a good starting point for your own experimentation.

Shutter speed table
The numbers in this table are an approximation.

When you are shooting at lower shutter speeds, you can get blurriness even if you don’t want it. This happens especially when you are taking pictures holding the camera in your hands. When the shutter speeds are slow, the slightest movement of your hands makes the picture blurry (I mean the unwanted “OMG this mountain looks blurry”—this is known as camera shake, not the creative blurriness we were talking in the previous paragraph). For that reason it is recommended to use a tripod when using a slow shutter speed.

What is the threshold between using tripod and not? It is said that you need to use a tripod when your shutter speed is less than 1/focal length. The result of the equation is expressed in seconds. Focal length is the measure of how much you are zooming. It is easier to understand with an example: if you are using a focal length of 35mm, then you need a tripod when the shutter speed is 1/35sec. For myself, I know that I need a tripod when I shoot slower than 1/80sec, doesn’t matter the focal length I am using. I guess there is a personal factor here. If you don’t have a tripod, look for alternatives that can help you to stabilize your camera. For example, you can lean on solid and stable things (trees, walls, light posts, tables…).

Benefits of Using Different Types of Shutter Speeds

With this understanding, let’s look at the benefits of using different types of shutter speed.

In the tutorial video above, we have a photo capturing a waterfall and this is taken at a faster shutter speed. What this does is that it is freezing the water coming out of the waterfall. But we have seen amazing waterfall photos with silky smooth waters and those are taken at a slower shutter speed. What this does is that when the camera opens the shutter, it’s seeing the motion of the water and then closing, allowing it to show the motion of the water thus giving a silky smooth appearance of the water.

We also have another example of light coming into the camera. If we have the photo and want to take a photo of it, we are going to have a very slow shutter speed with everything set neutral, we will have a dark image. We need to make sure it is exposed to the right situation. We will, therefore, allow more light to come into the camera, using a longer shutter speed. It’s going to vary from scene to scene and this is what we call ‘exposure triangle’ where you try to have everything calculated including the shutter speed. So, when you have a longer shutter speed, you are allowing the collect manner of light to hit the sensors thus giving you the proper exposure.

Shutter Speed Practice Exercises

Messing around with shutter speed can help you to set the tone or add emotion to an image. In essence, the less motion in a photo, one could say there are more tension and drama to be seen.

Imagine catching a still frame of a friend or group of friends laughing simultaneously. Within that image, with a fast shutter speed, you’re guaranteed to capture the raw emotion on each face. As opposed to our example of the waterfall, where the camera captures the movement of the water, giving it a soft, cotton type look. This then makes the image more soothing, peaceful and serene. You can try these shots in low light conditions or make use of the shutter priority mode where the camera automatically adjusts your ISO and aperture levels  so you don’t end up with an overexposed image.

Exercise 1: Understand How Shutter Speed Affects Light

For this exercise you need to set your camera on manual mode. Then, fix the ISO to a certain value. ISO 100 or 200 is a good way to start. After that, fix the aperture. You can try a value of f/5.6. Find a subject for your photos and set the camera on a tripod (or any alternative means of stabilization). Take a photo using a slow shutter speed (for example 1/10sec). Take photos changing the camera shutter speed progressively. Once you are done, check what happened with the exposure of your photos. The only thing that changed between your photos was the shutter speed because you fixed the ISO and aperture. So whatever changes you see in the exposure are due to the changes in the shutter speed. You can repeat this exercise with new values of ISO and/or aperture and see what happens!

The numbers in this table are an approximation.

Exercise 2: Understand How Shutter Speed Works with Other Camera Settings

For this exercise you need to set your camera in Shutter Speed Mode. Set the ISO on a fixed value, for example ISO 100 or 200.  Find a moving subject for your photos (I used a Maneki-neko—this cat turned out to be really useful for practicing exposure) and set the camera on your tripod.

Take photos while changing the camera shutter speed progressively. As you are using shutter speed mode, the camera is constantly changing the aperture in order to get what it considers a good exposure, so all your photos will look the same from the point of view of amount of light. Go over your photos and see which aperture value the camera used for each shutter speed value. The faster the shutter speed, the lower is the light going into the lens (because the lens is open just for a short time) and to compensate for that, the aperture needs to be bigger (remember that bigger aperture is expressed with lower f numbers). Have a look at your photos. Did you managed to freeze the movement? At which shutter speed? Do you have any photos with motion blur?

Exercise 2 shutter speed
When you use Shutter speed mode, you play changing with the shutter speed and the camera will adjust the aperture in order to obtain a well exposed photo.

Depending on the lens you are using, It is possible that the camera won’t be able to compensate for the shutter speed by the aperture. For example, the lens that I used today is an AF-S Nikkor 18-140mm 1:3.5-5.6G; its aperture can open to a maximum of f/3.5. Other lenses can open more and reach f/1.8. Check always which is the maximum aperture of your lens and take into account that if you zoom in, this value will change a little (for example, when I zoom to 140mm with my lens, I can open it not to f/3.5 but only to f/4.8). If you reach the aperture limit of your lens, what you can do to get a well exposed photo is use a slower shutter speed. If you still want to keep the fast shutter speed, as you can’t change the aperture (you reached its limit), you will need to play with the ISO settings. You can have a look to our college  Damon Pena’s post to see another example of ISO adjusting.

Exercise 3: Freezing and Blurring Moving Objects

This is one of my favorite exercises! Go to the street and take photos of moving things. Cars are perfect subjects. Set your camera in the same way as in exercise 2 (Shutter Mode and ISO 100 or 200).  Use your tripod/alternative option to stabilize the camera. Pick a fast shutter speed and take a photo of a moving car. Did you manage to freeze it? Change to a slow shutter speed. Is the car blurry now? You can try also to freeze/blur bikes, runners, walking people, pets. Try to use varying shutter speeds to see how the camera setting affects motion.

Shutter speed and movement
I took these two photos in a busy junction in Tel Aviv (Israel). In the left my camera was set on: ISO 100, f/9and shutter speed 1/160sec. The cars were not going too fast, so I managed to freeze them. In the right my settings were ISO 100, f/22 and shutter speed 1/6sec. At this shutter speed I got the blur motion I was looking for.

Exercise 4: Night Photography

If you like night photography, you might also like playing with light trails. Light trails are the lines recorded from the movement of a point of light (like for example cars) during the exposure. Set your camera on a tripod (important). With the camera on Manual mode, set a low ISO, an aperture higher than f/8 and try different long shutter speeds until you get the light trails you like. Maybe you will need to reset ISO and aperture values to get a good result.

Night long exposure
Light trails are always fun. I set my tripod and camera on a bridge in Haifa (Israel). I tried several settings and I ended up using ISO 500 (although you can use lower ISOs too), f/22 and a shutter speed of 6 seconds. This shutter speed worked well in my case because it allowed me to capture long light trails. Shorter shutter speeds also allowed me to capture light trails, but they were short (They didn’t stretch all over the road).

I hope these exercises will help you to get familiar with shutter speed. Soon you will be able to get more creative by freezing and blurring your subjects. Have a happy shooting!!

How to Do Candid Photography: Tips for Capturing the Special Moments

Formal photographs make stunning portraits, but do not always capture emotion in the same way that a natural, unposed shot can. Candid photography often results in more intimate photographs and reveals sincere emotion. When a shot is posed, subjects may feel self-conscious—this can sometimes show through in the final product.

Luckily, candid photography is all about capturing authentic moments—and it’s surprisingly easy. Oftentimes, the beginning of a photo session is awkward. Unless you’re working with professional models, many people are unsure of what to do with their bodies and wind up looking tense and uncomfortable. The goals here are to make yourself less conspicuous, and 2 make your subject(s) comfortable.

How to Take a Candid Photo by Subject

Individuals

20150627-191242-405_mini

The art of capturing a candid moment of a single person can be extremely difficult or totally effortless, depending on the circumstances. Capturing the true emotional of an individual at an event is pretty straightforward because that person is likely not paying much attention to the photographer; if your subject is uncomfortably aware of your presence, though, it is relatively easy to catch him or her off guard during a distracting moment.

20151128-220240-2_mini

Now, exclusively photographing one person (especially someone with no modeling experience) can be a much more daunting task. Patience is essential, as is a sense of humor. It is important to make your subject feel comfortable, and this will usually take some easing into. Be reassuring and encouraging, and snap twice as much as you normally would. In between those tense, uncomfortable moments, you’re bound to catch a few natural facial expressions.

Couples

20160109-173457_mini

If you are working with two or more individuals, the process is a bit simpler. It’s much easier to dissuade any discomfort when your subjects can interact with each other. When I take a couple out on an engagement shoot, I like to find activities for them to do–nothing extravagant, just simple things to direct their attention away from themselves. Props really come in handy in these situations and I often suggest that the couple brings something along.

comic_mini

Even if you don’t have props, it’s not too difficult to capture those genuine moments. When it comes to candid wedding photography, try positioning the couple away from you, and then ask them to casually walk toward the camera and talk to each other. This trick gives them something to do and puts you further away–making them less aware of your presence and giving you a great candid shot.

Children

20150718-180853_miniChildren are especially great subjects for a candid portrait because the younger the are, the less likely they are to have developed the sort of self-consciousness that hinders adults.

20150627-201506_mini

Also, a lot of kids are naturally curious about the camera and don’t mind being in front of it. My only advice for capturing a candid picture of children is this: Don’t forget about them! They can be some of your most honest and most interesting subjects.

Groups

emal_mini

As a wedding photographer, I have taken more than a few group photos. Most of my clients ask for standard, posed pictures with their friends and family. While the posed photo is important, the group photos with the most life in them are the ones that are unexpected. Getting these shots is easy. Simply shoot the formals, then keep on clicking while everyone is getting readjusted or regrouping. Keep shooting even as everyone is walking away–by then, they have had time to relax and you will be able to photograph them even more naturally.

20150718-224728_mini

If you are working a wedding or any other big celebration, there is a pretty good chance that dancing will be involved at some point. This is a perfect time to get some great candid photos of lots of totally uninhibited, blissfully unaware party-goers. You’re guaranteed to capture the true emotion of the party guests.

While these photography tips vary slightly depending on the subject matter, the most important thing to remember is to keep shooting, even if you don’t think you need to. Those brief, special moments in between a thoughtfully composed posed shot often result in some of the most poignant and sentimental photographs.

How to Make Clients Feel Less Awkward While Capturing Candid Shots

Though posed portrait photography is great, it’s not as heartwarming as a photo of best friends having an unexpected laughing session.

A lot of families, couples, and friends want to be photographed in the most genuine way possible. To really capture the beauty of candid portrait photography, you have to make yourself invisible and be quick on your feet. Most importantly, you have to make your subjects feel comfortable enough to be themselves in front of your camera.

Here are a few ways you can make the most of your candid photography photoshoot without making anyone (including yourself) feel out of place.

family candid shots

Talk to the Clients

Whether you’re going to photograph a child, a couple, or a professional model, always prioritize communication. Without it, your clients will feel like strangers and your photos will look stiff.

These simple but effective approaches will create mutual trust and understanding:

  • Explain why you love your work – truly passionate people give an air of confidence. Be open about your intentions; your clients will feel much more comfortable around you when they’re aware of your creative goals.
  • Get to know your client’s story – when people open up, they feel like close friends. You can get to this stage by asking your client about their interests, biggest passions, and ambitions. If you show them that you care, they’ll relax in your presence.
  • Ask for their honest feedback – it’s likely that your clients know very little about photography themselves, but that shouldn’t stop you from asking them for constructive criticism and ideas. If you give them a chance to control the photo shoot even a little, they’ll feel heard and appreciated.

mother daughter candid

Don’t Get Too Close

If you want to take a truly candid photograph, you should be invisible to your subjects. This means keeping a distance and letting them freely interact with one another. Getting too close to them might make them feel awkward, so try to avoid that unless they specifically ask for spontaneous closeups.

A zoom lens or telephoto lens is ideal for a professional photographer who wants to give their clients space without compromising their own creativity. Your subjects won’t be aware of how close your lens really is, and you won’t feel like you’re interrupting special moments.

child candid

Make Sure They Know What You’re Shooting

Before your photo shoot, let your clients know that the first few photos won’t look that great. Let them know that it’s okay to feel awkward and self-conscious at first. This information might give many of your clients the confidence to be themselves during your session.

Once the awkward stage passes, show your clients your results. Candid photography isn’t about posing, so make sure you don’t throw too many compliments around as you shoot. However, make it clear that you’re okay with showing them your photos once in a while. This will give them a better idea of your style and give them a chance to provide you with helpful feedback.

mother child candid

Let Your Confidence Shine

Confidence is contagious. When you talk to your clients, don’t be afraid of sharing your passion with them. Let them know how excited you are about your photo shoot. This might seem like a silly thing to do, but it will make them feel more relaxed. Passionate photographers have an unbeatable energy that attracts all kinds of people. The more you value your skills, the more noticeable they’ll be to others, and the more comfortable they’ll feel around you.

father daughter candid


Candid Photography Captures Special Moments in an Authentic Way

Everyone is different. It’s not possible to get along with every single individual out there. However, in the world of photography, it’s possible to provide every client with the most beautiful photos they could ask for. You don’t need to have a specific type of personality to achieve this. All you have to do is wisely use your social skills, make your clients feel at home, and take photos that they’ll cherish forever.

What is a Histogram?

Today I want to talk about one of the most helpful features of the camera—the histogram. Don’t think I always liked histograms. When I started, I found them complicated to understand and in fact, I totally ignored them for a while. However, once I saw the point of the histogram, I started checking them on the screen of my camera every time I was taking a shot. Trust me; the time invested in understanding histograms is totally worth it. They will become one of the best tools you will have, both in the field and in post-processing.

Histogram

What is a Histogram?

A histogram is a graphical representation of any type of information, it does not have to be an image. In formal terms, a histogram is a bar plot that represents the number of occurrences (y-axis) of a given event (x-axis). This could be, for instance, the number of people with a given age within a group. Imagine, for instance, a photography club where the members have different ages as follows:

  • 20 years old: 3 members
  • 21 years old: 1 member
  • 22 years old: 1 member
  • 23 years old: 4 members
  • 24 years old: 1 member
  • 25 years old: 6 members
  • 26 years old: 0 members
  • 27 years old: 2 members

A frequency histogram representing the data set above would look like the following figure.

hist1In this sample size, you can see the age range represented on the x-axis and the number of members with a given age on the y-axis. This way of presenting the information is very simple and easy to interpret, hence the widespread use of histograms in all branches of numerical data analysis.

A  histogram in photography is a graph that shows the range of tones in your photos—in other words, it tells you the frequency distribution of shades in the photo you just took. The x-axis will represent the intensity or brightness (which can go from 0 to 255 on an 8-bit image) and the y-axis will represent the number of pixels with that given brightness. In the case of a grayscale image, a single histogram contains all the information of the image, while in the case of a color image three separate histograms are needed, one for each of the basic colors.

Given an image, a histogram can be constructed, but given a histogram, an image cannot be constructed. In other words, when a histogram is created, important information is lost and thus histograms cannot be used as compressing algorithms. This is because the histogram tells us how many pixels have a given brightness level, but it does not give any information on the location of those pixels within the image.

How to Read a Histogram

So what information can we get from a histogram? This is related to a rule of thumb according to which the more spread among all values a histogram is (i.e. flat) the more balanced the image will be. Now, when applying this rule, you need to take into account what type of image you are dealing with.

Take, for instance, the following black and white image of the Charles Bridge in Prague together with the histogram (highlighted with a red rectangle) as shown in Photoshop.

hist2

There are a couple of things that we can learn from this example image. First of all, the scene looks rather dark, and that is why almost all the data point pixels are on the lower (leftmost) half of the histogram. The histogram is ordered from left to right, with the darkest value (0) on the left and the brightest one (255 when working with an 8-bit image) on the right.

In addition to this overall frequency distribution of the brightness values, it is also noticeable that there are two main peaks with a valley in between. In this particular image, the reason for these two peaks is that both the water and the bridge itself are rather dark while the rest of the buildings and the overcast sky are lighter. This means that the scene itself lacks of mid tones and hence the gap in the histogram.

If we improve the image by increasing the brightness and the contrast, we end up with a much flatter histogram that also covers a wider range of brightness values.

hist3

Now you can see how the center of the bulk of pixels moved to the right and it lies much closer to the center of the histogram. At the same time (and as a consequence of this), the image looks much more balanced than before.

If you look closely to the histogram, especially on darkest pixels, you can see that the bar graph is now much more disperse than before, with a lot of variations and low values intertwined with high values. This is actually a consequence of the algorithm used to increase the contrast in Photoshop, which is similar to a histogram equalization.

Now, what happens if your image was intended to be dark? Good photos are not necessarily those that comply with all the rules known like for instance a flat histogram, completely in-focus or well balanced in colors. After all, that is why automatic modes do not always produce the images we are looking for.

The example image below, once again from Prague, is a backlit scene that was intended to be dark in order to create a high contrast photo as a result.

hist4

Notice how the histogram shows a skewed distribution of pixels on the left side, with a relatively high peak on the far right side of the histogram chart. This is the result of having the Sun on the image, which, even though small, is very bright while the rest of the scene is underexposed to capture the silhouettes and shadows. Trying to get a flatter histogram chart with this example image would render a completely different (and unwanted) result.

Finally, in the example image below, from the Red Square in Moscow, is a much more balanced histogram chart—the vertical axis is reflected on a histogram centered at the mid tones. Even though there is a high concentration of pixels on the middle, the overall histogram shape has a normal distribution—it is symmetric and has a good coverage of all the values without getting into the extremes (under or overexposed areas). This is also a natural consequence of the scene being captured, with no strong shadows or light sources included.

hist5

Notice that even though this is a color image, the histogram chart I am showing is the luminosity one. This is because what we are interested on here is the exposure balance of the picture, so the full color histogram will not yield any useful metrics for our purposes.

How to Check the Histogram on a Camera

When capturing an image, it is useful to look at the histogram shape for a couple of reasons. First, the back screen of your camera can be brighter or darker than the average monitor. This means that you could get disappointed when you get back home and open your images with your computer. Also, if the ambient light is too strong, the contrast of the camera screen might no be good enough to distinguish whether your image is properly exposed or not. However, histograms will always be visible and, as long as you stay away from the extremes (unless that’s your intention!), once you get back home you will at least be able to do a good job with post-processing, since your image will not have completely dark or burnt out areas.

You can set your camera to show you the histogram chart on its screen each time you take a photo. This is quite handy, especially at the beginning when you are still not used to checking it and you might forget to ask for it. In my Nikon camera, in order to see the histograms in the playback, I needed to check the histogram chart in the menu of the Display mode. If you have another type of camera, have a look at the Manual and check how you can set it. It will probably be something similar to what I explained for the Nikon.

Most cameras also have the option to show you the RGB histogram. In fact, this is a group of three histograms, each one showing you the histogram of colors Red, Green and Blue. Today, I am going to focus on the general histogram chart, but I just want you to know that you have the option to use it by the 3 colors as well, should you choose to do so.

Histogram

How to Check a Histogram in Lightroom

You can see the Histogram both in the Library Module and the Develop Module, but you can only really use it for the Develop Module.

So, click on Develop.

histo

You will see it at the Top Right hand corner.

histo1

You can also access it by pressing (Ctrl+0) that’s Control + Zero, or on a Mac it will be Command + Zero.

So we could go super in depth here talking about the Histogram, but that is really not necessary to learn how to use it and get great results.

The Histogram is really just a bar graph plotting out all the pixels on your image.

In the example image below, where I have highlighted you will notice R G B with percentages on it, and you will notice how this changes as you hover over areas on your image. This is useful when you are checking areas and you think it looks a little too “Red” or whatever, and you start to change the colors up trying to balance it out to get a normal distribution, you can use these percentages as a guide for that.

histo2

You’ll understand more as I go along.

You will also notice when you hover over the Graph it is split up into 5 sections.

Blacks

Shadows 

Exposure

Highlights

Whites

By clicking and holding on these individual areas you can you can then manipulate your images.

Play around with each one for a few minutes and when you are familiar, Press Ctrl Z to undo until you are back at the start.

For Photography we would mostly use the Highlights and Shadows area, we would also play around with exposure, but the first two would be our main focus so we’re not losing much detail. For example, a bright Sun or edge of a cloud may be far too bright and you’d want to bring that down just a touch.

The same goes for the opposite , like Black Wheels on a Black Car, you may want to take it back a little and show a bit more detail.

So as an example, we’ll take my starter image below.

20140920-IMGL6900-2

As you can see it’s a little Dark due to the exposure, the Highlights aren’t great and it’s a little saturated with color.

To Fix this, I’m first going to Click on Highlights and slide it to the Right a little, to give a bit of life to the models.

Then I’m going to do the same with my Shadows, only this time I’m going to slide to the left a little to bring out those Darks more in the Eyes, Background and Hair.

And Finally, I’m just going to play with the Exposure a little, it’s not really necessary, but it is good to have a look and see if I can balance the image just a little and see if I can make any further improvements.

You can also play with the Blacks and The Whites too, I found that by sliding the Black area to the right it gave me a little bit more color.

Now you will notice on the histogram bar chart, there are two upward facing triangles.

histo3

When you click on them, what they indicate are the areas in my image that is absolute Black or absolute White, my whites were fine which means my Highlights are all good and the Blue Dots Highlighted in the Image above are true Black, on this occasion those true Blacks are fine, there’s no problem there. But as mentioned before, you may lose some detail in the Shadow areas, you’d then have to play with Black, sliding back and forth to try to fix it as best as you can.

In my image the Blacks are spot on, no problems with those as they’re deep in the Shadows.

To check back and forth instead of clicking on them all the time, you can press (J) to show both Whites and Blacks, Whites will be in Red and Blacks in Blue.

Getting Familiar with the Histogram

Histograms can look a bit scary at first, but once you know what to look for, they are quite friendly. The histogram is a bar graph with a horizontal axis and vertical axis which represent the shades you have in your photo. On the left edge you have the pure blacks and as you go to the right on the axis you have lighter and lighter tones until you reach to the pure white in the right edge. I have a little trick to remember where are the blacks and whites in the histogram. I always think the histogram is like “B&W photography”, black is first (in the left) and whites after them (in the right). For this trick to work you have to think from a left-to-right writing mode.

Histogram


OK, so now we know what the horizontal axis means. What about the vertical axis (i.e. height of the histogram)? It tells you how much of each shade you have in the photo. The basic principle of reading the histogram chart is the same; the more data peaks you have in one area on the horizontal axis and the higher they are means that these are the tones and shades that are the most dominant in the photo.

Histogram

Let’s see this in a real photo:

Histogram


The histogram is a great tool for getting well-exposed images. A general rule of thumb is to have the histogram chart stretched all over the horizontal axis and avoiding having a skewed distribution (spikes) at the extreme left and/or right of the axis.

Histogram
This photo is quite balanced, you can see that the histogram stretches almost all over the horizontal axis, the most dominant colors here are bright and for that reason, we see higher peaks on the right side of the histogram (but not at the edge)

A photo with too many peaks in the blacks means that it is too dark or underexposed. To correct the exposure, you will need to increase the light of your image by, for example, using a wider aperture or increasing the ISO.

Histogram
This photo was under-exposed, that is why it is so dark and the histogram stretches only over the left-hand side of the axis, and we see that the peaks (which are high enough to be called spikes) are concentrated at the left-hand edge

On the other hand, if the photo has a lot of high peaks in the white, it means that it is overexposed or even burnt. This time, to correct the exposure, you will need to decrease the light of your image by, for example, using a smaller aperture or a lower ISO.

Histogram
This photo has been over exposed and parts of it are even burnt, the histogram shows just that; we see the graph is very low the most part of the axis and only towards the right-hand edge of the axis the histogram rises sharply


Now you know! If you see that your histogram is too much in the blacks or in the whites, this means that you MIGHT need to correct the exposure of the image. Notice that I said MIGHT. Why? Because photography is a creative craft, so it might just happen that having an underexposed or overexposed photo is exactly what you are aiming for. You need to think what do you need in your final image and then see if the histogram you have matches what you are looking for. I will show you with a little game!

Let’s play the histogram game!

I am going to show you a histogram and you need to make an observation to decide which kind of photo might correspond to it. Spoiler alert! Don’t scroll down too far or you will see the answer! Let’s see the first one:

Histogram 1


histogram-correfocs

Options:

  1. A boiled egg on a white table
  2. A night photography of a street event
  3. A chess board
  4. A multi-color chicken

Solution: Number 2! In night photography you will get histograms with a lot of peaks in the blacks area. But this is normal because night is dark and black is what we expect to find in the frame.

Histogram

Histogram 2


histogram-egg-white

Options:

  1. A boiled egg on a white plate
  2. A beach at night
  3. A chess board
  4. A gray cat on a brown sofa

Solution: Number 1! We got a histogram with a lot of whites because the image is mostly white!

Histogram

Histogram 3

histogram-egg-black

Options:

  1. A polar bear in the snow
  2. A groom in black sitting in a black car
  3. A multicolor bouquet of flowers
  4. Eggs in a white plate on a black table

Solution: Number 4! Here the histogram shows peaks in both blacks and whites and almost no middle tones because the photo has high contrast: white and black are the main colors.

egg-in-black-1

Histogram 4

Histogram

  1. A cat in the middle of the night
  2. A bride in the snow
  3. A colorful house with a sunburst
  4. A colorful patchwork blanket

Solution: Number 3! The beautiful Gaudi House and the most part of the photo is well exposed, so the histogram has a lot of middle tones. However, the sun-star makes the whites in the histogram quite high. Exactly what I wanted!

Histogram

What do you think about histograms now? Still scary? I hope not! It takes a bit of practice to get used to them, but believe me, it is totally worth it! A basic histogram can be very useful, but you need to get used to the particularities of each image in order to correctly read it. Something similar goes with post-processing. No matter how bright or dark your monitor is, looking at the cumulative histogram will always give you an objective assessment of the exposure of your final image. This way you will avoid the problem of publishing a photo that looks too dark or too bright in other people’s monitors.

Grab your camera and tell me how it goes! Have a happy shooting!

Self Portrait Photography: How to Take Self Portraits That Look Natural

Photography has always been a source of endless comfort for me. I remember the unforgettable excitement I felt when I picked up my very old, very broken phone and started taking photos of myself with a camera that had fewer than 2 megapixels. What first started out as a simple creative experiment turned into an ever-changing relationship with myself and the people around me. I had no idea that in a matter of days, I’d be running to my camera to deal with both pleasant and upsetting emotions. It was an instant spark, similar to the burst of happiness one feels when meeting a person whose presence just makes sense. I was oblivious to the fact that this seemingly insignificant moment had the power to change me in such a profound way.

23877933852_2c21c654ef_b

I became more involved in the online world when I started taking photos, which gave me the necessary confidence and motivation to take raw and honest images. There were so many relatable people in that world, strangers who offered advice or simply left a nice comment. What fascinated me most, though, were the emotions that were naturally attached to every breathtaking piece of art, especially self-portraits. Most photos weren’t accompanied by any words, yet looking at each one felt like diving into a new story.

28242469542_eff36e6226_b

Like any adolescent, I was fighting emotions and trying to deal with them the best way I could. Sometimes I’d come home after a particularly rough day and a pattern of light on a wall would catch my eye, compelling me to take a few photos reflecting my emotions and, at the same time, acknowledging the beauty of my surroundings.

28593895295_a5a1556d11_b

As a self portrait photographer, the need to create art and the opportunity to do so gave me a chance to find uplifting details during dark times. I became aware of fleeting moments that, if captured, would become pleasant souvenirs as well as tiny homes of comfort. This need to blend with nature and to include myself in photographs has taught me to be humble and patient; humble because the earth is filled with incomparable beauty, and patient because of the days and weeks it sometimes takes me to find the right moment, to catch the perfect light. My current small apartment has taught me to make use of every corner and every eye-catching item, be it the way neighboring buildings reflect light until the sun sets, or a patch of darkness in a very light room. Details like that not only spark the imagination, but also inspire gratitude.

29335933473_74765c6a0f_b

In some ways, photography (or any kind of fine art) is more than just a striking photograph. It’s self-reflection, appreciation, emotional growth, escapism, confrontation, and the list goes on. It doesn’t matter what kind of subject is in the photo if the self portrait photographer has created it with passion. If emotions can be felt while looking at someone’s work and if someone can feel less lonely by simply sharing his or her art, then the world quietly becomes a better place in someone’s world, and that matters. I believe that any photographer, any artist, has the ability to change someone’s perspective or even help someone get through a challenging time in their life. When one is aware of this power, life becomes all the more vibrant.

31447552792_3fe3df6147_b1_

Spontaneous portraits effortlessly capture raw human emotions. Because of this, it’s difficult to associate them with self-portraiture.

As a self-portrait photographer, you’re usually aware of the camera. As both the photographer and model, you have an idea of the emotions you want to document and the way you want to look. This awareness is the complete opposite of spontaneity. Or is it?

Spontaneous self-portraits are a genre of their own. It’s possible to take photos of yourself in which you’re genuinely unaware of the camera. It’s also possible to express yourself so naturally, that viewers won’t believe you took a photo of yourself.

9 Tips for Natural Self Portrait Photography

With the help of music, new locations, films, and hobbies, you’ll be able to take a professional self portrait that looks both spontaneous and genuine. Here are tips on how you can achieve this.

outdoor self-portrait

Listen to Your Favorite Songs

We all love music. It lifts our spirits, comforts us on bad days, and gives us creative ideas. Why not let it help you during a creative self portrait photo shoot, too?

Create a playlist that makes you feel empowered, happy, dreamy, excited or anything else you can imagine. Your favorite songs will make your photoshoots more fun, give you more confidence, or even inspire you to dance! Make the most of this energy as you take photographs. Move, laugh, sing, and just be yourself.

Music will also give you room to experiment. You might get so carried away that you’ll forget the camera’s presence! This will result in beautiful and spontaneous self-portraits.

spontaneous self-portrait sample

Take Photos in a New Place

New surroundings can refresh your creativity and distract you from any modeling tension you might have. The more places you explore, the easier it will be to look natural in your creative selfies.

To take an artistic self portrait, take the time to admire your surroundings. Look at things you like while pressing the shutter. This will create the illusion of spontaneity. It will also take your mind off poses, expressions, and angles.

movie still self-portrait

Create a Collection of Movie Stills

Actors are experts at looking natural in front of a camera, so take the time to observe them. Instead of simply watching films, take screenshots every time you come across a beautiful scene. Alternatively, you can simply research movie stills and select your favorite ones. Either way, you’ll have access to millions of helpful visual references that will teach you the art of spontaneity.

self-portrait avoid eye contact

Avoid Eye Contact

Spontaneity implies an unawareness of the camera, so don’t look into your lens all the time.

Use your visual references to get new posing ideas. Experiment with a different angle, facial expression, and perspective. Look into the distance, close your eyes, talk to someone, etc. This will give you lots of room to look as genuine as possible in the final photographic image.

self-portrait look at a distance

Do Something You Love

If you can’t fake spontaneity, then embrace it by distracting yourself.

One of the easiest ways to get lost in your own world is to work on something you love. If you enjoy drawing, on self portrait photography ideas is to take photos of yourself working on a new sketch. If you enjoy spending time with your loved ones, photograph yourselves playing a game. Even though you’ll be in charge of taking the photos, you’ll enjoy yourself so much that your facial expression and pose won’t matte as much.

spontaneous self portrait

Once you get the hang of these techniques (and trust me, you’ll master them quickly), you’ll become an expert at taking a beautiful self portrait. You’ll also get better at feeling comfortable in your own skin, enjoying your photoshoots, and finding inspiration in the most unusual places.

Tell a Story

The most important part of the transformation is understanding the emotion you want to create. It’s okay to simply enjoy the unpredictable nature of a shoot. It’s also okay to have a detailed plan before you begin. Whichever method you choose, remember to have a story in mind. What kind of story do you want to tell? Are there any emotions that really stand out to you? It would help to watch a film or read a book before your selfie portrait shoot; even if you won’t end up planning anything afterward, the emotions of the story will seep into your mind and fill your subconscious with interesting ideas. If you have the time and the desire, writing a short story for your character would benefit you greatly. Not only would it provide you with enriching ideas, but it would also improve your writing and thinking skills.

//

Actors often admit that a makeover gives them the necessary confidence embody their character successfully. An outfit change could turn you into someone who’s willing to expose their heart for the sake of self portrait photography. While this isn’t a direct transformation tip, it’s a reminder to familiarize yourself with your emotions and to find comfort in them through your art. The results might not always please you, but they’ll give you the necessary amount of empathy to have an honest shoot.

Experiment Hairstyles & Hair colors

I encourage you to experiment fearlessly. Most of my hairstyles are the results of random movements and patterns. More often than not, they’re just messy knots which happen to be photogenic. Anyone can be their own hairdresser, especially passionate photographers who wish to tell a heartfelt story.

//

Much like hairstyles, hair colors are very fun to experiment with (especially when you learn how to work with them in Adobe Photoshop). Selective color in Adobe Photoshop allows users to change specific hues in an image, a tool perfect for hair retouching. For instance, dark hair can be highlighted by altering the neutral colors in selective color. Similarly, lighter hair can be completely transformed by changing yellows and reds.

When the lighting conditions aren’t ideal during a shoot, changing hair color in Adobe Photoshop might be an ordeal. If you don’t have access to the best lighting at any point in time, investing in several wigs would remove the problem. There’s a plethora of hairstyles and hair colors to choose from when it comes to wigs; using them in your self portrait will enhance your portfolio in unimaginable ways.

//

Play with Makeup

For those who aren’t big on makeup, the transformation is still very possible. A simple eyeliner can make someone feel like an entirely different person. Even a touch of black lipstick could instantly transform you into the character you admire. Keep this in mind when you look through your makeup tools – chances are that you’ll find creative and eye-opening ways to apply them.

Makeup, specifically eyebrow pencils, are ideal for creating beauty spots or freckles. Such minor additions will dramatically change your appearance, allowing your images to strongly affect viewers. Freckles look particularly alluring in black & white photographs. Makeup can also come in handy when creating fake tattoos or other body modifications. The fact that makeup can be easily removed makes it a self-portrait photographer’s best friend: easy to apply, easy to remove. The results transform you into someone completely different, someone whose emotions and stories you can confidently share with the world.

//

Scout Locations

Visiting new and picturesque locations might help you develop a character idea or enhance a vision you already have. If you don’t have access to such places, shoot somewhere familiar and alter the colors using selective color (Lightroom has similar features.) This way, you can transform a summery backyard into an autumnal one. The possibilities are excitingly endless. What you’ll get is an almost fictional world where you and your imagination can thrive.

Adding textures in the editing process could also add an interesting element to your transformation. Since there are all kinds of resources out there (many of them are free), you can make your image look as old or as new as you like. This creative freedom enables artists to create an artistic self portrait that is out of this world.

//

Sometimes, we find ourselves hiding behind masks just to please someone or avoid an unpleasant conversation. These situations often leave us feeling so distant from ourselves it makes our hearts ache. To a certain extent, self-portraiture is an ode to all of these moments, a way of relating to all kinds of people by transforming ourselves into something we’re not. One could also consider self-portraiture a form of empathy. We create characters whose stories we strongly wish to share with the world and by doing that, we learn more about other lives and how we perceive them.

Pay Attention to Lighting

This might be a straightforward thing to point out, but people are often oblivious to the importance of lighting. Light is a reflection of emotions; it’s often a sign of untold stories which have found their way into an image. Making the most of artificial or natural light is a skill worth learning.When outdoor lighting conditions are unfavorable, use any artificial lights you can get your hands on – you’ll be surprised that almost anything makes a great portrait if you take the time to experiment with angles, positions, and poses. (Just as an example, even a simple lamp can be a brilliant source of light, especially backlight.) Taking a few steps from a window on a sunny day will create a darker atmosphere, allowing for somber photographs. Similarly, standing right next to a window with lots of natural light will create a more cheerful atmosphere. However, don’t limit yourself to these simple steps; try various positions, a different angle, or a new facial expression, and soon enough you’ll find yourself enjoying the process instead of being intimidated by it.

img_5408

img_8407

Express Emotions

In addition to lighting, a photograph’s emotional aspect is of great importance. Unpleasant feelings like jealousy and abandonment can be soothed, if not completely obliterated, with the help of self-portraiture. It’s not necessary to sob or scream in front of your camera; it’s just as possible to cry through a fragile pose or to be angry with your eyes. It’s also possible to glow with happiness without smiling and to show excitement through a simple hand gesture. If you’re not comfortable with showing your face, remember that self-portraiture doesn’t have to revolve around a subject’s countenance; even a faceless photo of you holding a book in a homely atmosphere could be deemed a self portrait.

If you don’t feel any profound emotions on any given day, or if the idea of expressing anger doesn’t appeal to you, watch a touching film or read a great book. Short films (Vimeo is a great place to find those) and poems are also great shortcuts if you’re short on time. Experiencing the very depths of art will inculcate in you a desire to nurture your emotions and find new ones to observe. After watching a film, no matter how different its emotions are to yours, you’ll feel creativity rushing inside of you. Such moments of intense emotion are absolutely ideal for fine art photography, especially self portraiture.

space_21788573054_o

where-dreams-and-nightmares-collide_16833752639_o

Study Other Photographers

Finding your style as a self-portrait photographer might seem like an ordeal. To soothe the pain of creative frustation, take the time to study other photographers’ images. You’ll notice that there’s a myriad of genres within self portraiture, from conceptual, to horror, to anything you can imagine. Let this knowledge give you the freedom and the courage to work with your ideas in every way imaginable. As you experiment, your style will gracefully emerge. If you don’t know where to start, here are a few skilled self-portrait artists worth following: Cindy Sherman, Andy Warhol, Vivian Maier, Trish Morrissey, Man Rey, Francesca Woodman, Lee Friedlander, Robert Mapplethorpe, and Robert Cornelius.

img_0946

escapism_16337498508_o

Do a Complete Transformation

As you may have noticed, many photographers transform themselves completely for the sake of self portraiture. This is a fantastic way to represent emotions, fictional characters, sayings, nature, etc. This world is limitless and exhilarating; you can look for wigs, costumes, props, locations, and backgrounds (or even make your own). You can add freckles to your face, experiment with dramatic makeup, and fake a haircut; the possibilities are endless. Your results will stand out, add diversity to your portfolio, and allow you to create as many self portraits as you like without worrying about monotony.

flaxen

stoker_16791067480_o

Whether you’re comfortable with showing your face in photos or not, you can be considered a professional self portrait photographer. All it takes is a patience, openness, and a willingness to experiment. Becoming a part of the self portraiture world will give you the necessary skills and patience to work with other people. Thus, you’ll be both a wonderful self portrait photographer and a creative photo-taker in general.

Good luck!

img_8240

SaveSave

How to Create Panorama in Lightroom CC

Have you ever desired to take a panoramic photograph and your camera doesn’t have the panorama feature? Do you want to do panoramas without switching to Photoshop or other specialized software? Have you forgotten to take your wide angle lens with you on your vacation? Do not give up on the amazing scenery that is in front of you. Following this tutorial, all you will have to do is photograph some parts of the scene and the software will process your images to produce a panoramic image within Lightroom CC (2015).For those who are not familiar with Panoramic Photography, it is a technique of photography that captures a series of images using a photographic camera and aligns them all together, to make a single photograph with a wider aspect ratio than a commonly used photograph.

Before Lightroom CC (2015) came out, in order to stitch together multiple images, you needed to switch between Photoshop or use other specialized software. Even though there are some cameras that have the panorama feature built into them, but most professional DSLR cameras do not.

Recently, after the latest update, you can create your panorama images inside Lightroom CC itself. The best part is that after the software process all the images, it will create a brand new seamlessly stitched RAW file from the images without rendering the images in pixels, with this new raw file, you will be able to retouch the panorama preset in Lightroom as you would any other image. So, you have to know first how to install Lightroom preset and once it has been installed, you can now create your panorama images inside the Lightroom CC.

Panorama is a feature that has been missing for a long time in the software. In order to create breathtaking panoramas, just follow the simple steps below.

Step 1 – Take multiple shots with your camera

  • With your digital camera take multiple pictures from left to right or from bottom to top, depending on the scenery you have chosen.
  • After the first shot is taken, while shooting the subsequent photos, make sure to get a little bit of the scene of the previous image so that Lightroom has data to render them together.
  • If you are using a DSLR or a camera that can manually change its settings, do not change the aperture of the camera. For example, if you use an aperture opening of F11 make sure you use it in every single shot.
  • I did not use a tripod to shot the images used in this tutorial, although it is not crucial, the use of a tripod is recommended.

import

Step 2- Import your images into Lightroom

Import the images that you have photographed.

File/Import Photos and Video 

import_select

Step 3 – Select the images

Select all the images that will be used. Shift+click the first image and click on the last image in order to select all the images.

If your images are not in sequence, (cmd+click on the mac or ctrl+click on the PC) on each image to select them.

There is no need to adjust your images on the Develop Module at this stage. We will do it afterward, on the final image.

photomerge-panorama02

Step 4 – Merge the images 

After selecting the images, go ahead and merge them together.

Photo / Photo Merge / Panorama (cmd+M on the Mac or ctrl+M on the PC)

pano_autosphe

Panorama Merge Preview box will appear.

  • Auto Select Projection: Lightroom will choose automatically which projection fits better.
  • Spherical: The images will be aligned and transformed as they were inside a sphere. Best for wider or multi row panoramas.
  • Perspective: The images will be aligned and transformed as they were mapped to a flat dimension. Best for architectural photography.
  • Cylindrical: The images will be aligned and transformed as they were inside a cylinder. Best for wide panoramas, but with straight lines.
  • Auto Crop: The white edges will automatically be cropped. You can also crop it later on even crop it inside Photoshop, that way you can recover these white areas.

click Merge after the best settings are chosen.

After that, Lightroom will render all the images together. Depending on your machine it may take some time to do the renderings.

newpano

Step 5 – Adjust the final stitched image

The neat thing is that Lightroom creates a brand new RAW file, that means that you will end up with the maximum capability to edit your image.final01

Select the new file and adjust it on the Develop Module as you would normally do in any other image.

In the end, you will end up with a nice panoramic picture.  So, did you enjoy our tutorial?  You may want to check on other tutorials such as How to Correct White Balance in Photoshop and let me know if you find it helpful.

final02

You can watch this helpful video to learn how to make a panorama photo in Adobe Lightroom. This feature has been there for quite a while much like the HDR feature and they were kind of added at the same time. The feature is super easy and does a very good job of stitching together all the images no matter how many you have.

As we begin, you can see that we have eight images at the bottom which I took. These are almost 180 panorama and this was handheld since I did not have a tripod with me. As such, it’ll take a little bit more work for the program to go ahead and stitch them together. This is also a very tricky scene since as I was taking the image, the waves were constantly moving so it’ll also stitch those as well.

To get the panorama, I will highlight on all the images, right click on them, and then choose “Photo Merge” and then Panorama. This gives us a final rendering for the preview and it is clear that this is a little bit low quality and this is just to give Lightroom a little bit easier time to mess with it since it has many pixels to play with especially with eight photos.

We have several projection options to work with including spherical, cylindrical and perspective. The spherical was great for a wide panorama especially that transitions into objects that are kind of in the frame and so it’ll be the best one for the image we have because of the sphere that we have on the bridge. Cylindrical is kind of has the same effects as spherical but does a better job in making vertical line stay straight. However, we are interested more in the horizontal lines than in the horizon of the image, as this makes spherical much better. On the other hand, perspective is mainly suitable for real estate and architectural stuff as it seeks to do a lot of distortion.

We will, therefore, stick with the spherical projection. We have a couple of features such as auto crop which takes away the white space and kind of automatically crops it in so you don’t have to do it later. We also have boundary warp which is a new feature in Lightroom and kinds of take all the white features and stretches the image to try and fill out spaces in the image. We will use the boundary warp and increase the cover size to 100 and this fills in space very easily thus giving us an image that is perfectly fitting in the available space. We can opt to reduce the numbers and then do some cropping but this will mean going back into Photoshop to try and fill in the spaces.

With all the white spaces filled, we will click “Merge” and wait for the program to put all the images together. Once done, we will have an extra image on top of our initial eight. This is the panorama image which looks great and everything is stitched together perfectly.

The next step will be to fix some of the distortions which arise when we shoot panorama images especially if you have them handheld. To fix some of these distortions we will go to Lens Collection and enable for Profile Collection and then go to Transform and try auto to see whether it’ll collect things for us. However, this only does some minimal collections and therefore we will need to play around with the distortion. We will, therefore, go back to Lens Collection and try playing around with the distortion so as to get some straight line. We will need to change things such as scale, aspect, and the rest until we get the best results possible.

This done, we can go ahead and do the fun bit of changing the effects including the shadows, highlights, vibrancy, clarity and temperature to make it look like a sunrise. Once this is done, we will have our panorama image which includes all the eight images combined into a single image. If we want a large image, we will have a lot of data to play with. We can even crop this image to make it narrow one or crop parts of it to make different size photo print if we want to. All these will come out looking perfect since we have all the data to play with which is a combination of the eight images we had. This is the beauty of making panorama images since you have different cropping aspects and know that your image will come out very clear because of the data you have.

You can check more of our Lightroom tutorials as well as Lightroom Presets and Photoshop Actions to help you do your post-processing edits in an easy and remarkable way.

How to Shoot Portraits at Home

In this text, I talk how to do home portrait photography when without proper studio gear. I once faced a situation where I was asked to take a profile photo of a professional with short notice and I had no studio equipment available. Here is my workflow for that kind of situations. It is basically by the book, i.e. I follow the basic guidelines with no secrets or magic here, or maybe just a little with post-processing.

1. The Light

First and the last thing everyone talks when teaching photography is lighting. It is so important that some photographers even first look to find a great light and after that, they start looking something to take a photo at. In order to take a great photo, you need great light. So, at home, you need to look for the best light available, and that will be the big window on the sunny side. If you live in the Nordic country and it is a period of polar night approaching, you need to use that window when the sun is up that brief moment, if any. There are lots of setups how to use light, but in a standard setup, you set your subject sideways by the window so that the window is mostly on the front side of the face. You may want to achieve the “Rembrandt triangle” on the shadow side of the face. If window light is too harsh, you may move your subject further away or use some diffusor on the window. In the example photo below I had white almost transparent curtains covering the window to soften the light during home portrait photography.

Natural Light Portrait Example 2

The window light may be enough, but if you are not looking for too dramatic shadows, you can improve the quality by filling the shadow side with some light. This can be achieved in multiple ways. Some reflector can be used. If you do not have a proper photography reflector you can use any white surface; cardboard, white sheet or anything. In the example photos, I used a reflector with silver coating. Silver coating seemed to match the light coming through the white curtains better than reflector with gold or half gold. I set the reflector right next to subject as close as possible to reflect the light from the window to the shadowy side. You need to have the reflector in front of the subject and not totally on the side or otherwise you will lighten the ear and the back of the head. We did not have any assistant available so I set the reflector leaning against a chair that was standing on the bed.

If you have off-camera flash available with some diffusor or softbox you can, of course, use that to fill the shadow side. But be subtle not to flatten the image too much. You can also use on-camera flash if you are able to turn it backward or sideways to reflect via the walls. But this depends on a lot on the room and you need to be careful not to create extra shadows.

2. The Background

A good photographer always checks the background first before concentrating on the actual subject of the photo. To get good portraits at home you need to find a good background, which usually is a plain wall without anything on it. The tricky thing is that you need that background to be near to the best light. I have two good windows for indoor portraits at home and to utilize the other one, I need to remove one painting from the wall. The background is an important factor that makes professional photographers different from beginners. For each and every photo, you need to check the background and get as little distraction there as possible. The color of the background matters also, but that is a discussion of its own.

Natural Light Example 3

3. The tricky part: the right pose and facial expression

It depends a lot on the person how easy it is to get a good facial expression. For some people, it is just “smile” and “click” and that’s it, but for most of the people you only get that awkward Chandler-smile (check from Google or YouTube). If you are not working with a professional model that can make a good face with minimal guidance, this will be the tricky part. What kind of expression you want depends also of course on your goal and your subject. For a company executive photo, you need to get that trustworthy smile, for heavy metal guitarist, you may want to get that murderous look. A teenage girl may want that (in?)famous duckface look.

I usually start with getting the pose right. For normal home portrait photography, you want to turn the shoulder line a little bit diagonal towards the camera. Then you need to get them sit straight and bear their head up. If you take the photo lower than their eyes they look more majestic and more authoritarian. If you take the photo little higher than eye level you get their eyes look bigger and there is a bigger change to diminish the possible double chin. This is also the right position if you are taking that duckface photo. If you get your subject to lean little bit forward you can get more attentive and personal looking photo. Leaning forward also diminishes possible double chin.

When I get the pose right I take a couple of photos without asking for any facial expression. This is also the time to check that your camera settings are right and that you get the correct exposure. Then I ask the subject to smile and I take a couple of photos regardless how awkward the smile is. Do not tell them! At this point praise how good photos you are getting. At this point, they usually get more relaxed and confident as they think that you already have the photo. Do not tell them if you do not have the perfect one yet. Then I usually use a little trick: I ask them to do something crazy. Stick tongue out, roll their eyes or anything crazy. If you get a smile as a reaction to your suggestion, capture that! If you get that crazy look, capture it. (That may be priceless.) And be ready to take a photo right after the crazy face when they usually do that natural relaxed smile. That is the one I am aiming for. The crazy face exercise is just a distraction to get them relaxed and to trigger the smile. There are of course other strategies to get the right expression, like the one the famous Cartier-Bresson is said to have: just wait until there is the right expression.

It is also a good advice to take photos when the subject is actually not posing for a photo. Like the leftmost example in the beginning of this text. Some people are just natural talent, like the boy below.

Natural Light Example 3

4. Post-processing – where the magic happens

Something which non-photographers may not realize is that nowadays almost every photo published by professionals are processed with a computer. There are zillions of great photos on Internet and people are so used to see processed photos, that if you want to make your photo pop-out, you need to get the final edge via post-processing it with the computer. Post processing is where you update a good photo to a great photo. Nowadays the skills on post processing are one essential factor that makes the difference between just ok photographers and the great ones.

The amount of processing depends on your goal. For beauty magazines and advertisements the amount of processing seems to be nowadays unnatural. For normal portrait photo without any artistic effect, you want to do only some subtle adjustments so that the person in a photo does not even realize what kind of tricks you have done with the computer. There are lots of tutorials how to retouch your portraits and how to do e.g. some facial contouring. You may sharpen and brighten the eyes or even do some more advanced enhancing of eyes in Photoshop. You may also smooth the skin a little, adjust color vibrance, lighten the shadows if needed, add some clarity to the hair, check the lip color, whiten the teeth (but just little if you are not doing a Pepsodent ad).

If the photo is going to Internet, nowadays the trend seems to go towards the more high key type of photo, i.e. you may want to brighten the highlights and shadows quite a lot compared to a normal natural looking documentary photo. You may also want to add some vignetting to the background. You also need to crop the photo. This is actually one of the most important things in post processing. You want to have the position of the subject within the frame to be perfect and that is done by cropping. I usually take the original photo too wide framed to have more room for post processing decisions about the final crop. There is an advice around that if you want to improve your photos, go closer. That applies to post processing also; It usually helps to crop tighter. If I have the feeling that there is something wrong in the photo, or something is missing, is usually try to crop tighter. Nowadays it is completely ok to cut off the top of the head. That gets a more intimate feeling on the photo, just like leaning forward. See the rightmost example photo.

Below is the final photo, which was taken according to the original request. The three photo series on the beginning of the blog text is my own vision, which we took right after the photo below was taken. Other photos in this article are more of my examples of photos taken in front of a window without artificial flashes.

IMG_2608_mini

Portrait Photography Tips and Tricks

Need some tips for your camera settings? Ok, here you go. Use as low ISO as possible. If you want to have whole head sharp, use something like F11 and adjust shutter time accordingly. If you are shooting without a tripod you do not want to go to longer than 1/80 or 1/60. I usually do the portraits without a tripod to be able to adjust the position and angle quickly. If you do not have enough light or if you want to get more focus on eyes, and blur ears little, go to lower F value. You can even go to 2.8 or lower if your lens allows. I usually set ISO to 100 and start with aperture priority mode with F8-2.8 depending on the light and the effect I want. If I want to have more control and do more adjustments then I switch to manual mode.

How about focal length then? That is really a topic of its own. Some people prefer 200mm. Sometimes 80mm is referred as portrait lens. If you check portraits on Peoples magazine or similar you may be surprised to see that there is more and more portraits taken with wide angle, something like 24mm. So, to be on safe side, use anything between 70-200mm for normal portraits. For beauty photos go towards 200mm. If you want to get more character out, go towards wider angle.

The Value of Window Light in Portrait Photography

The concept of light can be intimidating, especially for beginners. Even if artificial light isn’t in the picture, the natural light might seem exceedingly difficult to work with. If you look at it from another point of view, however, then you’ll see the beauty of light’s many personalities. No matter where you are, be it in the safety of your home or out in nature, you’ll encounter countless opportunities to work with unique lighting situations. Throughout a single day, it’s possible to find a plethora of photo-worthy spots where fantastic, well-lit portraits can be taken.

Window light is especially useful for beginners in the photography world. It can be very uncomfortable to openly shoot outdoors when you’re not confident in your new found interest. When I discovered photography, I didn’t dare to photograph in public for fear of being thought of as an unfit artist. Though my fears were irrational, they were also an understandable reaction to a lack of skills. If you can relate to this or any other form of shyness, anxiety, or overthinking, then you’ll find much comfort in knowing that shooting great images indoors is very possible. Once you familiarize yourself with your creative skills, your confidence will naturally increase.

//

You might think that windows are too simple. Though they may be limiting to a certain degree, working with them right at the beginning of your photography journey will help your imagination thrive rapidly. The more challenges you face as a beginner, the easier it’ll be to find ways out of seemingly impossible artistic situations. If your mind gets used to finding solutions no matter how large an obstacle is, you’ll gracefully navigate through potential future difficulties such as unsuccessful photo shoots and technical issues.

In addition to strengthening your patience, experimenting with window light will allow you to appreciate the power of limited light. Oftentimes, we seek open locations and perfectly lit spots which guarantee beautiful results. Finding comfort in a lack of light will allow for interesting compositions, which will, in turn, allow for even greater portraits when you do shoot in locations with more light.

//

If you don’t know where exactly to start, simply stand in front of a window. If you’d like to take photos of someone else, it would greatly help to have a test shoot with yourself beforehand. A test shoot will allow you to understand the way light embraces facial features from different angles. Simply take photos of yourself from different positions and angles; this will strengthen the relationship between you and your camera. When you have a shoot with a client or a friend, you won’t be overly confused about light’s interesting ways of working. Furthermore, you’ll be more familiar with self-portraiture, a wonderful genre that encourages self-reflection, vulnerability, and creativity.

//

On days when the weather isn’t at its kindest, window light can be just as useful. While harsh midday light will compel your subject to squint, milder light on overcast days will provide a mild glow. If you want to make window light stand out even more on such days, use a reflector. This will serve as an extra source of light, brighten your subject’s face, and give their eyes an extra sparkle. My favorite kind of light is one that hits half of a subject’s face, creating a portrait that is reminiscent of 18th-century paintings. Windows make this effect very easy to achieve.

If you’re shooting indoors on a particularly bright day, curtains will come in handy. In addition to softening the harsh light, curtains will cast stunningly intricate shadows on your subject’s face. This will not only give you many ideas to work with, but it will also provide you with refreshing and dreamlike decorations. In portfolios, such photographs stand out beautifully. Don’t be afraid of using other kinds of fabric for creating shadows, too.

//

Window light possesses far more potential than most people imagine. Its versatility can satisfy photographers with all kinds of preferences. Whether you’re in the mood for a soft, harsh, or dreamy light, a window will provide you with the ideal environment for your shoot. If you take advantage of this easily accessible light, you’ll be one step closer to being a more open-minded artist and thinker. If you make the most of your imagination, you’ll find yourself thriving along with your photographs in no time.

Happy shooting!

Common Cat Photography Mistakes To Avoid Today

Cats are adorable, have all kinds of personalities, and are always picture perfect. It’s not surprising that cat photography is so popular!

If you want to get better at photographing cats, there are two things you must be aware of: what to do and what to avoid. In this article, I’ll focus on the latter. Knowing common mistakes will save you a lot of time and help you quickly find your creative strengths.

Always Taking Photos from One Perspective

cat photography

While taking photos from above can result in beautiful pictures, it shouldn’t be the only perspective you use. For example, instead of taking photos from above, get down on your cat’s level to focus on its eyes, expressions, and other details. These are things you would miss if you were simply taking photos while standing above your cat.

In addition to playing with different angles, shoot through objects. If your cat is standing behind a stool, cover part of your lens with the stool and shoot through the gaps. This will create an interesting foreground, frame your picture, and emphasise your cat’s features.

Avoiding Nighttime Photography

cat photography

Nighttime or indoor photography can seem like an intimidating genre because of camera noise and the lack of natural light. Fortunately, you don’t need to worry about these things too much – your camera probably has enough tools to help you take beautiful nighttime portraits of your cat. Manual focus, ISO, and colour temperature will all help you take amazing nighttime photos.

When working in a space with a limited amount of light, use manual focus to avoid focusing on the wrong objects. Don’t be afraid of increasing your ISO number, as it will help you take sharper photos. If the lights in your location are too warm or cold, manually change your camera’s colour temperature.

Not Taking Photos of Details

cat photography

Cat photography isn’t just about classic cat portraits. Observe your cat and focus on tiny details and quirks that make it special.

Experiment with different photography techniques as you do this. Try freelensing, panning, and zooming in.

Always Using Autofocus or Manual Focus

cat photography

Some photographers avoid auto focus because it feels “lazy,” while others avoid manual focus because it doesn’t give them sharp results. Both of these standpoints are understandable, but they can really limit you on a creative level.

If you use auto focus all the time, you won’t have full creative control over your images. You might find it hard to focus on a specific detail, especially if your composition has a lot of distracting elements. If you use manual focus all the time, you might miss out on special moments. You also won’t be able to efficiently sharpen your candid photography skills.

When it comes to cats, using both focusing techniques is important. When your cat is running around, you can use auto focus to quickly capture unexpected poses and expressions. When your cat is calmly resting, you can use manual focus to capture details that appeal to you.

Not Including Other Elements or Genres in Your Pictures

cat photography

If you consider yourself a creative photographer who enjoys experimenting with unusual ideas, you can freely express yourself through cat photography. You don’t have to limit yourself by strictly taking photos of your cat and not including anything else in your compositions.

If you like taking portraits, take photos of yourself holding your cat. If you want to get better at conceptual photography, make your cat portraits surreal by editing them in Photoshop. Feel free to combine as many photography genres as you want.

cat photography

Cats are incredible little models that deserve to be photographed in all kinds of ways.

Now that you’re aware of the most common cat photography mistakes, you can take your cat snapshots to the next level. Even if you’re not going to show off your work on Instagram, you’ll have enough skills to take amazing photos of cats anywhere and at any time.

5 Reasons Self-Love Will Make You a Better Photographer

What is self-love? The general definition is a regard for one’s health and happiness.

As photographers, we often beat ourselves up for not being creative, productive, or successful enough. This makes us insecure, resentful, and uninspired.

This can stop right now. Self-love means taking care of yourself, especially when you’re tired. It means being honest, open, and loving.

Respecting yourself will have a significant impact on your work. These five reasons will show you just how important it is to be kind to yourself and why your photographs will be affected because of it.

productive

#1. Proper Rest Will Lead to Productivity

Whether you take photos every day or work in an office, endless job tasks will tire you out. You won’t have time to focus on your other interests, sleep well, or spend time with your loved ones. This, in turn, will lead to an unproductive mindset. It’s a vicious cycle you don’t deserve to be in.

On the other hand, regular breaks and proper sleep will rejuvenate you, which will lead to productivity. Instead of dreading your obligations, you’ll embrace them.

Learn to be aware of what you need, be it a delicious snack or an extra hour of sleep. Here are a few simple yet impactful self-care routines that will make you feel better:

  • Reread your favorite book
  • Go on a date with your friends
  • Go for a peaceful walk in your local park
  • Listen to music without any distractions
  • Look through your favorite photographers’ work

learning new things

#2. You Won’t Have to Force Yourself to Learn New Things

Learning isn’t about forcing yourself to go to school, wasting hours of your time, or relentlessly working on pages of homework. Learning means being truly passionate about a subject and doing your best to master it.

When you respect your skills, you’ll want to work on them. This will make you naturally curious about a variety of topics, many of which will benefit you in the long run. The more you learn about photography, the more skilled you’ll become.

client relationship

#3. Your Relationship with Your Clients Will Improve

An important aspect of self-love is honesty. This means being honest about your feelings, intentions, and goals.

When you know what you want, you’ll be able to clearly translate your needs to everyone around you. This will make your photoshoots easier because it will prevent a lot of unnecessary miscommunication. It will also help you give the right directions, successfully fulfill your clients’ needs, and be open to admitting mistakes.

self-worth

#4. Negativity Won’t Shatter Your Self-Worth

Bring your own #1 fan is an incredible way to block out hate. Social media is filled with direct and indirect negativity without which life would be significantly easier. Self-love will encourage you to spend less time on social media, focus on your own interests, and not shatter when someone says something unpleasant to you.

support

#5. And You’ll Willingly Ask for Help When You Need It

Sometimes, we need support from fellow photographers. Self-love will compel you to humbly reach out to others and ask for help. There’s nothing wrong with sharing your feelings, being open about a struggle, or asking for constructive criticism.

When you receive support, you’ll feel heard, appreciated, and understood. This will encourage you to reach new heights and be a helper yourself.

self-love

If you continually beat yourself up, you won’t be as productive, kind, and inspired as you deserve to be. Self-love will improve your life and make you a better photographer.

Learn what works best for you and embrace it. Remember that not every self-care method will appeal to you. Experiment, treat yourself to a variety of goodies and be open to happiness.

Now go do something nice for yourself and tell us about it in the comments!

5 Tips for Taking Spectacular Candid Photos: Beginners’ Edition

Candid photography is a genre that revolves around spontaneity. It’s often associated with the family photographer because of its ability to capture real moment and expressions.

The main difference between candid and portrait photography is posing. While portrait photography usually requires a strong knowledge of flattering angles, poses, etc., candid photography relies on pure presence. Only by being in the moment will you be able to get the perfect candid shot.

Being a skilled candid photographer will give you access to loyal clients, provide you with photos that will make your portfolio look amazing, and strengthen your creativity skills. Even if it doesn’t become your main passion in life, it will leave you feeling refreshed.

Here are 5 ways you can embrace this gratifying genre and become a better candid photographer.

family photos

Take Photos Consciously

Candid photography is all about unpredictable moments. This means you can’t put your camera down unless you want to miss a great opportunity. However, make sure you don’t shoot mindlessly. Take as many photos as you can, but do it consciously. Be aware of what your clients are doing. Read their emotions. This will help you take meaningful photos.

One of the most effective ways to read someone’s emotions is to get to know them first. Before you photograph your clients, befriend them. Observe their mannerisms and listen to their stories. Though you won’t be able to read their faces perfectly, you’ll get a better idea of who they are as individuals. That’s significantly better than photographing strangers.

family photos children

Shoot in Burst Mode

Most modern DSLRs have Burst mode, a feature that quickly takes lots of photos within a few seconds. This is ideal for moments when a lot is happening at once. Use burst mode to photograph your subjects when they’re laughing, playing, and moving around quickly.

family portrait candid

Autofocus or Manual?

Manual focus is precise and requires a lot of patience. Autofocus, on the other hand, is very quick but may not give you the most precise results.

If you’re photographing a moving subject, you might focus on the wrong spot either way. It all depends on the situation and what you’re comfortable with. In my opinion, both autofocus and manual focus are great for candid photography, so experiment with both until you find a method that appeals to you.

candid animal photo

Practice by Photographing Animals

Animals

are fantastic subjects for candid photography enthusiasts. If you have a pet, take photos of it while it plays and interacts with other animals. This will allow you to improve your skills without feeling awkward, wasting time, or making your subjects feel self-conscious. Most importantly, it will help you make mistakes without discouraging your clients.

If you don’t have access to animals, take photos of friends or family member when they’re busy talking to one another. In their presence, you won’t have to worry about awkwardness or mistakes.

low light candid portrait

Use High ISO Numbers in Low Light

If you’re going to take photos in relatively low lit areas, you’ll want to increase your camera’s ISO number. A high ISO number will capture more light, which will help you take sharper portraits. Experiment with different numbers until you find one that has the perfect amount of grain. My favorite range is ISO 400 – ISO 1600 (I use a Canon 5D mark ii.)

Don’t let grainy photos intimidate you. Most modern editing programs, including Photoshop and Lightroom, have brilliant noise-reducing features.

family candid

Candid photography is a genre that will fulfill you in many ways. It will improve your photography skills, strengthen your imagination, and give your clients unforgettable memories. Practice, experiment, and go make someone’s day using your unique point of view.

August Essentials You Must Have in Your Camera Bag

In many parts of the world, it’s currently so hot that people’s cameras are threatening to melt under the scorching sun. During times like these, it’s important to protect yourself from heat, insects, and other inconveniences that naturally emerge during the summer months.

This doesn’t mean you have to invest in expensive protection gear (though that, too, would be handy). You can, however, invest in small but practical items that will make this month easier to handle. By keeping yourself and your equipment cool and protected, you’ll have more energy to take photos and less reasons to worry about discomfort.

Below, you’ll find seven handy items that you can easily carry in your backpack or camera bag.

sunscreen

Sunscreen

This one might seem obvious, but it’s one we tend to forget or ignore most of the time. (I’m guilty of this!) Fortunately, today’s sunscreens aren’t chunky or disgusting. Most of them smell wonderful, are easy to apply, and won’t make you feel like a sticky little frog. Carrying a small one in your bag will save you from a lot of painful sunburns!

An Extra T-Shirt

There’s nothing quite as uncomfortable as having to walk around in a sweaty t-shirt, especially if you’re planning to take photos of yourself or photograph other people. The best solution to this problem is to carry a light item of clothing in your bag.

summer snack

A Snack That Won’t Spoil

Chances are that walking and photographing will make you hungry. If you have nothing delicious to eat during your shoot, you’ll feel extra tired and grumpy. Grab a few snacks that are healthy, filling, and yummy. My personal favourites are small fitness bars filled with nuts, chocolate pieces, and cereal.

Travel Size Anti-Bug Spray

While some insects are simply bothersome, others are dangerous. Don’t enter a forest without applying bug repellent on your skin. This will protect you from ticks, ants, mosquitoes, and other creepy crawlies that could make your outdoor trip an inconvenience.

summer hat

A Cap or Hat

Whatever you do, make sure your head is covered when you go out. A cap will provide you with shade when you look through your photos, while a hat will make you look very fashionable. I often used summer hats to cast beautiful little shadows on my face for my self-portraits.

A Lens Cleaner

Summer means beaches, water, or even deserts, which also means that your lens will be covered in tiny particles. These particles will stand out in your photos, especially when sunlight hits them. Not pretty.

If you clean your lens with your finger or a random cloth, you might accidentally scratch it. The best tool you can use is a professional lens cleaner, which exists in the form of a cloth or pen. Both cost less than $10 on Amazon and will take up very little space in your bag.

neutral density filter

Lens Filters

It’s difficult to take appealing photos on bright days without the help of filters. With a lens filter, you’ll be able to block out unnecessary sunlight, create vibrant atmospheres, or simply keep your lens safe. Here are a few popular ones that might make your shooting experience more interesting:

  • Clear filters are very cheap and will simply add a layer of protection to your lens.
  • Circular polarizers will deepen the colours in your photographs and create more contrast.
  • Neutral density filters will perfectly expose your images (i.e. darken them).
  • Bokeh filters will change the shape of your bokeh and just give you an opportunity to have fun!

summer camera bag

The items above won’t take up much space in your bag, will keep you cool and safe, and will provide you with the best shooting experience possible. Remember to keep your skin protected, your head covered, and your lens clean.

Now go out and enjoy August!

Photo Ideas for Field or Camping Trips for Artists on the Go

We still have over a month of summer left, which means there’s still time to go on exciting adventures, soak up the summer sun with your friends, and make the most of your free time. One of the best summer activities is going on a camping trip with your loved ones. This opportunity is ideal for bonding, spending quality time away from technology, and improving your photography skills.

Camping trips offer breathtaking surroundings and photogenic subjects. They’re great for photographers who want to experiment with a lot of different genres without worrying about the results. However, due to the sheer amount of things you can photograph, these trips can be a little overwhelming.

To save you from unnecessary stress, here is a list of photo ideas that will help you make the most of your travels.

camping trip wide shot

camping trip wide shot II

Wide Shots Featuring Your Surroundings – Landscape Photography

Give your future self a clear idea of where you were during your trip. Photograph your surroundings using a wide-angle lens. If you don’t have one, take several photos of one location and stitch them in an editing program; this will create a very eye-catching panorama.

Wide shots are perfect for capturing the general atmosphere of a location. They also look good in portfolios, on social media, and in art galleries. You might even end up selling your landscape photos to some very eager art appreciators. 🙂

camping trip details

Details – Macro Photography/Diptychs

As appealing as details are, they’re easy to forget. This is why it’s very important that you photograph as many of them as you can. During your trip, this can be the mug you’re using, the food you’re eating, or the leaves on the tree that’s right above your sleeping bag. Every moment counts.

You might not use detailed snapshots in your portfolio, but you’ll definitely use them to go back in time to a very refreshing and fulfilling adventure. If you want to be extra creative, use these details to create two-photo collages called diptychs (pictured above).

camping trip candid portrait

camping trip campfire friends

Posed and Candid Photos – Portrait Photography

A camping trip is nothing without friends, so make sure you include them in your best shots! Make sure you take a combination of posed and candid portraits. Posed photos are great for social media and even your own portfolio. Candid photos, on the other hand, can be proudly added to family albums and cherished for years to come.

camping trip drone photography

camping trip drone photography II

Bird’s Eye View – Drone Photography

Even though drone photos are very, very popular, don’t let that stop you from appreciating your own surroundings from above. By photographing your experience from a unique angle, you’ll add to your rich collection of landscapes, details, and portraits. These visual memories are bound to make your trip unforgettable. (And if you really want to take it to the next level, film your journey!)

camping trip

camping trip

Different Times of Day

To really improve your photography skills, make sure you take photos at different times of the day. Daylight will help you take bright photos of your friends and surroundings; the golden hour will provide you with the perfect light for all kinds of photos, and the evening will give you the chance to sharpen your nighttime photography skills.

camping trip

I hope the ideas above help you make the most of your photography skills and your camping trip. I’m certain that by the time it’s over, you’ll be significantly more experienced as an artist.

Regardless of how much you love the world of photography, though, make sure you live in the moment, too. Trips are meant to be relaxing, fun, and eye-opening. As soon as you start to feel stressed, put everything down and just be there for yourself and your friends.

Now let’s go out and make some amazing memories. 🙂

Top Shooting Techniques and Methodology in ICM Photography

Are you currently finding yourself staring at your image portfolio and feeling underwhelmed or lacking creativity? Truth is that it can happen to the best of us. Why not tap Into ICM To broaden your creativity and get your creative juices flowing.

What is ICM?

ICM or “Intentional Camera Movement” is an image making technique whereby one intentionally moves their camera during exposure. Movement is recorded while the shutter is open and can produce some very interesting and abstract results.

The ICM technique is a great way to force yourself outside of the normal and conventional Landscape Photography restraints. Obeying the Rule of Thirds and other composition aides will help you to produce greater images. However, sometimes you just need to break outside of the box and step outside of your comfort zone.

Adding the Intentional Camera Movement technique to your photographic toolkit, will definitely get those creative juices flowing. After some experimentation and refinement of your ICM technique, your portfolio will also be refreshed with some new and exciting images.

ICM Image by Graham Daly Photography

ICM Image by Graham Daly Photography

What gear do I need for ICM?

Unlike most photography genres, this technique requires nothing outside of a camera and a lens. A tripod can certainly be useful for certain images but it is not essential. In fact, a lot of the time you will probably leave the tripod in the car or at home.

Apart from a camera and a single lens, all you really need is some decent light and interesting subject. One important thing to note though is that best results will be achieved when using a camera with manual controls. A manual camera will allow you to change the aperture, shutter speed and ISO, which will help to create different types of ICM images.

ICM Image by Graham Daly Photography

What type of lens you use does not really matter. It can be an old manual lens or the latest and greatest autofocus lens. The lens can be a prime lens or a zoom lens. Zoom lenses with varying focal length range can be useful. The tried and trusted 24-70 zoom lenses can be a great lens to have in the bag for ICM. The flexibility to switch between 24mm, 50mm, or 70mm can be liberating. Zoom lenses also provide the ability to interesting ICM images by zooming or “rolling” the lens during the exposure.

Outside of the gear, all you need is a willingness to head out with the camera and put the technique into practice.

ICM Image by Graham Daly Photography

How can I tell if my ICM image making efforts have been successful?

A lot of photography is subjective. Beauty is in the eye of the beholder as they say. ICM images are probably the most subjective. Some viewers might love it and some might hate it. For me, the most important thing is whether the image satisfies me or not. I consider it a success if the image evokes some thoughts or moods within me.

Certain aspects play a stronger part in how our brain interprets and appreciates what it is seeing. For example, when color is absent from an image our brains look for strong structures and shapes instead. Which is why strong composition is so important for black and white photography. I think the opposite is true for Intentional Camera Movement images. The absent of strong structures places a stronger emphasis on color within the image. Of course, you can produce monochromatic ICM images and they might work. But in my experience, ICM images with strong color tones are more interesting than those without. But again, remember that beauty is the eye of the beholder. If you like monochromatic ICM images, then who am I to argue against it.

ICM Image by Graham Daly Photography

ICM Image by Graham Daly Photography

Top tips for ICM

Below are some of my top tips for producing interesting ICM images. This list is neither exhaustive nor exclusive. These are just the aspects that I have adopted into my ICM shooting technique and methodology. There are other photographers all over the planet who can add more to this list. Each will have their own routine, their own style and will have their own desired ICM results.  But this list is what works for me.

  • Try different focal lengths
  • Look for interesting color tones
  • Play around with different shutter speeds – start with 1 second and then increase from there and measure the results
  • Experiment by changing the focal length on your zoom lens during the exposure (a.k.a zooming/barrel rolling)
  • Try twisting the camera around in a circular motion during the exposure
  • Head into the woodlands – some great ICM potential all around the woods
  • Use a tripod at the coast if you want to keep the horizon level during your ICM images
  • Look for interesting shapes and patterns within the scene
  • Try panning left to right or right to left during the exposure
  • Tilt the camera up or down while the shutter is open
  • Carry larger capacity memory cards as you will end up clicking the shutter a lot in order to capture that one interesting result!

How to Take Cool Photos of Motorbikes

I love my work, I love to take photos of many things, portraits, nature, kids, events… but my favorite objects have wheels, two of them.

You can shoot bikes in more than one way. They can be moving objects riding or racing, or they can be models in the studio, on a stand on a show, or even outdoors in front of an interesting background, or even in nature.  My photos of bikes are published on my website, and they are clean without of a lot of disturbing details.

So, we gonna go thru the process of getting quality photos of bikes without fancy equipment or use of a studio.

Ducati motorbike

The camera, whatever is a cheap, used or old DSLR, or even the most expensive one on the market it’s all in the setting, and in the angle.  Any 50 mm. or above will do the job. Just avoid shooting at a focal length of less than 50 mm. unless you want to achieve the wide angle effect.

There is more than one reason to shoot with lenses that are going above 50 mm. The longer focal length would mean the easier isolation of the bike from the background. Also, less focal length will make a nasty distortion on the proportions on the bike.

My usual setting is F4, this is fair enough for the image not to lose the details.

Also, you should mind the time of the day of your photo session. Midday is a very very bad timing because the sun is very harsh. If you don’t have other option than find a good shade. The best time is early in the morning or in the afternoon. At this time of the day, the sun is more even, and the light is smoother. Also, all of the shiny chrome parts of the motorcycles won’t destroy your image. The tendency of the gas tank is to throw a shadow on the machine so probably you should consider using a board to throw a light in those spots. This is the cheaper way, the more expensive solution is professional lighting equipment.

motorbikes

Always check the background for outside sessions, for every model not only for motorcycles. Try to find some background color with a contrast. This will help you to put an accent on the bike. If you ask me just shoot them on an empty field with a blue sky or in front of a brick wall. For me, personally, industrial background works best for Cafe Racers, Bobbers or Choppers, and a modern architecture for new sporty bikes as a background.

When you are shooting a model such as a bike, consider that you will have to take shots from every possible angle. Start from left, right, front and back. After that, you should go for the details. If you are a sick fan of bikes like me than you will know all the details, but if you are not that into this than you should shoot: the bars, the tank, the pipes, wheels, engine, headlight and all the shiny chrome parts. Now that you have covered the basics, use the rest of the time on exploring the bike.   Find interesting details such as skulls and (or) all kinds of different markings. You can also talk to the owner of the bike, or the builder if it’s a custom bike, just in case if you are missing something out. Don’t be lazy and use all kinds of angles. Get down on your knees and get dirty. The lower angle is, the better your photo will be. Never take photos from a standing point, always shoot in the line of the tank or the headlight, this one trick makes any bike look much better. In one situation, I even requested a removal of the tank so that I can get a clear view of a big shiny V twin engine. 🙂

After the session probably you will have to post process your work. Photoshop or Lightroom will do just fine for editing images that you took. Firs look for dark places on your photos such as the seat, tires, engine etc.  Newer crop the photos to tight around the bike and leave a space for text on them. Who knows, they might get to be published in a magazine or a web page. After all, it is a great success if your photos see the light of a magazine.

For this kind of photography, you shouldn’t have to have a problem in finding a model. Try the local dealer, a local custom bike builder, or even a proud owner of unique motorcycle (old timer or a rare model), and don’t be afraid to ask somebody to take photos of his bike. Trust me, the bikers like to show off with their precious toys.

SaveSave

SaveSave

What to Do When Things Go Wrong During a Portrait Photo Shoot

Failure can’t always be avoided

. Crying children, uncomfortable models, and technical issues can all stop you from having a creatively fulfilling photoshoot. Even though people and situations are unpredictable, you can have control over what happens. There are things you can do to:

  • Fix any problem that occurs, no matter how impossible it may seem
  • Increase your model’s confidence because of your calmness during the incident
  • Attract more clients thanks to your problem-solving abilities

Below are five scenarios featuring different people and obstacles. Each scenario comes with a few solutions that will keep you grounded and make your subjects feel at home. With these tips in mind, you won’t have to panic the next time you bump into an intimidating problem. Just take a deep breath, remember what you learned, and act like the skilled photographer that you really are.

child hiding behind hands

Take a Break When the Kids Start to Cry

It’s easy for children to lose their patience, especially in the presence of a stranger. If your little model starts to cry or run around, don’t get frustrated. Most importantly, don’t show your frustration. Patience will clear your mind, allow you to find a solution quickly, and show your clients that you’re a tolerant photographer.

If your model is restless, let the entire family take a break. Even if this adds an extra hour to your session, it will be significantly better than continuing and getting highly unflattering results. Once everyone has relaxed (talking and eating always help!) you can safely continue your shoot. If you want to be very hospitable, have a few goodies ready for when your models get tired. They’ll appreciate your thoughtfulness.

two girls covered in blankets laughing outside

When Your Model Looks Uncomfortable, Be Supportive

Feeling left out and incompetent can immediately ruin anyone’s self-confidence. To solve this problem, be open about your past experiences. Make sure your subject feels like a normal individual worthy of being photographed. Don’t let your models bring themselves down. Don’t make it seem like perfection is attainable. What you want is for them to feel their best. Once they do, everything else will fall into place.

Be kind, share funny experiences from the past, try to make them smile, and let them know that making mistakes is okay! If they get the idea that you won’t lose your temper every time they strike the wrong pose, you’ll gain their trust and boost their confidence.

photography equipment flatlay

When There’s a Technical Issue, Make Sure You Have Backup Gear

Many wedding photographers stick to this rule like their lives depend on it. Without backup gear, a full-day shoot can turn into a photographer’s worst nightmare. Here are a few things you should have (in addition to your main equipment) in case something breaks:

    • Camera body
    • Batteries
    • Lenses
    • Lens filters
    • Memory cards

If you’d like to find out more about backup gear, check out this article.

girl holding an umbrella

Prepare Lighting Equipment in Case the Weather Gets Bad

Make sure you check the weather forecast before you plan a shoot. If the weather isn’t promising and you can’t afford to postpone your shoot, bring an umbrella and a reflector to the location. An umbrella will keep you, your equipment, and your clients dry during an unexpected storm; a reflector will enhance your subjects’ faces on an overcast day.

In addition to bringing helpful equipment, make sure there’s a building nearby where you could stay during a storm. The last thing you want is to make your clients feel unsafe. Knowing what to do and where to go will save you from a lot of unnecessary misunderstandings in the future.

silhouette of girl against nightsky

Photography, like any other job, has the potential to throw you into a pit of annoying mistakes. Don’t let this trouble you. Knowing how to deal with problems will help you focus on what matters most: taking incredible photographs of incredible people. Being prepared may not completely eliminate failure, but it will definitely keep you happy, sane, and positive. That, dear reader, is how you deserve to feel.


What to Avoid When Posing Models: A Reference Guide

If you’re active on social media, you’re probably familiar with the perfect photo: a body-flattering pose, a breathtaking expression, and a look that speaks of pure confidence. It may seem like the models in such photos are naturally perfect and that nobody else can even dream of modeling the same way. The truth is that these individuals simply have a strong knowledge of posing which greatly contributes to their modeling success.

Certain angles can make even the most stunning models look unappealing. Every person has a variety of expressions and poses that can make or break an image. It’s up to you to help your subjects find these strengths. To do this, you can show them what not to do. The reason this approach works is that mistakes, unlike ideal poses, are universal; anyone can learn from them. Once your subjects know what to avoid, they’ll discover confidence-boosting poses that will not only make them look incredible in your photos but give you a chance to take your work to the next level. Let’s begin!

model posing out in nature

Don’t Make Them Uncomfortable

Awkwardness and posing don’t work too well together. An overload of compliments, criticism, or silence will make any model feel out of place. If you don’t want to try too hard and give the wrong impression, get to know your subject’s personality first. This will help you understand the kind of treatment they’d be happy with. Even a short conversation will reveal their personality and, in turn, allow you to reveal yours.

Don’t forget to talk about yourself, too. Opening up to people will make you appear relatable, charismatic, and friendly. You and your model may find mutual interests or acquaintances that will help you bond during the photoshoot. And even if you don’t perfectly click with someone, there will always be an opportunity to make them feel good in your presence.

man standing in front of wall

Don’t Ask Them to Pose Immediately

Many photographers treat posing like acting. Instead of telling their models to strike a pose, they ask them to move around, interact with their surroundings, and visualize something specific. This may not appeal to every person you work with, but there’s something important you can learn from it: giving your models room for imagination will help them pose naturally. Spontaneity, in addition to a lack of strictness, will open up many creative doors for you.

model posing outdoors

Avoid These Poses

Once your model feels comfortable in front of your camera, it’s time to let him or her know what to avoid:

  • Slouching: this is something many people do unintentionally. To avoid this, your models should straighten their backs, take a few deep breaths, and slightly turn away from the camera. This will instantly make them look relaxed and comfortable.
  • Entire body facing the camera: this will make your models look awkward and wide. Instead of facing the camera, your subjects can slightly turn their shoulders or put their hands on their hips.
  • Pressing arm against the body: this will flatten your subjects’ arms and make them look much bigger than they actually are.

model laughing in a field

Don’t Forget the Hands

Awkward-looking hand poses can make a generally beautiful image look unnatural. Make sure your models’ hands are relaxed; their fingers should be slightly spread out and placed on their shoulders, under their chins, or wherever they decide. Give them freedom when it comes to their hands, but always make sure to correct them when they start to look too tense. A proper hand pose will give your photographs an air of grace. When your models see how elegant they look in your photos, they’ll feel even more confident in your presence.

closeup of a model holding her face

Posing isn’t always a walk in the park. Even professionals need clear instructions when working with new photographers. If someone with years of experience needs direction, imagine what a struggle it is for non-models to feel comfortable in front of the camera! A small amount of patience and posing knowledge are all you need to create a healthy photographer-model relationship.

SaveSave

When Should You Embrace B&W Photography?

When does an image deserve to be converted to black and white? This is a question you have probably asked yourself countless of times during confusing editing sessions. Some photographs simply look better in black and white, while others stand out gracefully only when their true colors are present. Others look fantastic no matter what.

To make the decision-making process easier, consider the points below. They’ll help you answer important questions about your work, ones that will give your photographs a chance to shine in the best way possible. You’ll be compelled to observe your image, spot both distracting and appealing elements, and come to a conclusion you won’t regret.

This is when you should embrace b&w photography:

cat yawning


When Your Photograph Is Hard to Edit

Some photographs simply don’t look appealing in color. More often than not, those same images look significantly more beautiful in black and white. If your photo has too many distracting colors, chances are that you’ll like its monochromatic version much more. I’m often surprised to see what a dramatic change a simple conversion can make!

When There Are Lots of Shadows

A person’s face partially hidden by mysterious shadows, a street filled with silhouettes on a bright day, and a mountain surrounded by intimidating rainclouds all have one thing in common: they possess photogenic shadows. Impactful black & white photographs often have a lot of contrast, so pointing it out in your own work using highlights and shadows will make it look all the more astounding.

man and train

When You Want to Get Rid of Busy Elements

In addition to color, there are many elements that can ruin a photograph’s composition. A background filled with moving objects of various colors, shapes, and sizes may distract the viewer’s eye and obliterate the entire meaning of an image. If you have photos of locations crowded with different subjects, convert your results to black & white. This will help viewers clearly see what you want them to see.

When There Are Textures Involved

Eye-catching textures have the potential to get lost in colorful compositions. Faces, houses, roads, and landscapes are all made up of elements that, when devoid of color, transform into masterpieces of their own. If your image is filled with interesting lines, patterns, and shapes then consider converting it to black & white. To really enhance the textures in your image, gently increase the clarity, contrast, and sharpness in your editing program.

comparison for b&w
Edits like this are subtle yet effective. To create a similar effect, increase your photograph’s clarity, contrast, and sharpness in Lightroom. The Tone Curve tool is also very helpful when it comes to intensifying highlights and shadows.


When There’s an Abundance of Negative Space

Environments are ideal for telling deeper stories, focusing on unusual subjects, and highlighting things the human eye wouldn’t notice at first glance. Unfortunately, environments are also known for their negative space, something that can prove to be a nuisance during the editing process. If you take very atmospheric and environmental photographs, black & white photography may be perfect for you. Black & white conversion will turn any extra space into an aesthetically pleasing blank canvas.

When Emotions Are Your Main Focus

This is particularly helpful for portrait photographers. Relationships between people – and human emotions in general – look very genuine and raw in black and white. Experiment with black & white if you have intimate photos of this sort, and you may get very touching results.

happy couple laughing

From now on, black & white photography will no longer be an unsolvable mystery. Whether you’re an avid portrait photographer, a curious landscape artist, or an eager photography enthusiast, a solid knowledge of black & white photography’s strengths will strengthen your own work. Once you familiarise yourself with the approaches above, you’ll know exactly what to do with every image you edit in the future.

cycling on a bridge

5 Portrait Photography Mistakes You Should Avoid

It’s true, creativity has no limits. What may look like an unforgivable mistake to one artist may be a relieving source of inspiration for another. Regardless of this fact, certain mistakes are simply worth avoiding. Photography genres have unique rules that deserve to be kept in mind during photo shoots. Landscape photography, for instance, demands a type of lighting that may not appeal to portrait photographers.

In portrait photography, unflattering lighting, uncomfortable poses, and tension all contribute to inauthentic photographs. It’s important to know how to deal with models, what not to do during the editing process, and how to approach different lighting situations. In addition to doing all of these things yourself, you can learn from the mistakes of others to boost your learning process.

In this article, you’ll not only familiarize yourself with 5 common portrait photography mistakes but learn from them. Each mistake is accompanied by a helpful solution so that the next time you bump into a creative problem, you’ll know exactly what to do.

Avoiding Conversations with Your Model

Taking photos of someone you barely know can be a tense activity, especially if you’re introverted. It’s easy to forget that the model is probably as uncomfortable as you are. Avoiding proper discussions will not only result in unnecessary awkwardness but give you a massive creative block.

Solution: If possible, have a short meeting with your client before a shoot. Once they get to know both your love for photography and the creative ideas you have in mind, they’ll feel more comfortable in your presence. In turn, you’ll get to know them. Don’t be afraid of asking questions, requesting feedback, and giving them creative space. They may have an idea that will come in handy during your shoot, so remember to stay open-minded.

conversations with coffee

Solely Depending on Poses

Posing guides are undeniably helpful, but they can get in the way. Not every individual will feel comfortable with certain poses. Your client may even end up feeling bad about poses you really like.

Solution: Don’t ditch your posing guide. Instead, give your model lots of room to be spontaneous from time to time. If they enjoy talking, have conversations with them as you take photos. Give them compliments and proper feedback. This will help you catch authentic moments. The photo below is a great example of this.

girl smiling

Beating Yourself up in Front of Your Client

…or in any other situation. Of course, self-deprecation is sometimes humorous and pleasant. When it comes to photo shoots, however, bringing yourself down will bring your others down, too. You’ll end the shoot feeling exhausted and unenthusiastic. If you don’t believe in your creative skills, no one will.

Solution: Embrace the inevitability of mistakes. If something goes wrong, don’t immediately blame yourself. Instead of discouraging both yourself and your client, find a solution. Once your client notices the confidence you have in your problem-solving abilities, they’ll feel safe in your presence.

girl taking a picture

Not Focusing on the Eyes

Experimentation is cool. It proves that you don’t limit your creative mind. Many clients, however, want a combination of simple and creative photos of themselves. Images that focus on their clothes, hair, or surroundings won’t satisfy them completely.

Solution: Manually focus on the eyes when you take simple portraits. This may take some practice, especially if you’re used to autofocus, but keep trying and you’ll get the perfect results in no time.

portrait

Shooting in Locations with Abnormal Lighting

Light is a photographer’s best friend

, but too much of it can lead to the creation of unappealing portraits. Harsh, flat, or distracting light is something portrait photographers don’t use on a daily basis. Unique lighting situations require unique approaches. If used incorrectly, they’ll highlight the wrong features and overshadow flattering elements.

Solution: Before a shoot, find the best locations where lighting won’t be a problem. For instance, a park filled with shaded areas will give you lots of room to take well-lit photos on sunny days. An open field will give you lots of lighting opportunities on gloomy days. Unless you want to create experimental portraits or experiment with portrait actions, avoid locations with lots of different lights.

girl looking through records

It’s true, creativity has no limits. It’s also true that learning from other photographers’ mistakes will benefit you greatly. Absorb this knowledge, learn from your own mistakes, and keep taking wonderful photographs of others.

SaveSave

7 Tips for Developing your Photography Vision Like a Professional

Developing a photography vision is a challenge. But what is exactly this “Vision” thing? It is the way you see the world. The problem is that we are so used to see the things from our point of view that a lot of times we don’t even think about it as something unique. But our vision is really unique!! As photographers, we have the chance to express our vision through images. However, to do so we need to do some previous work first in order to recognize and develop our vision. Today I want to share with you some ideas about how to do it.

#1. Make a list of the things you love and things you hate

For this first exercise, you don’t need your camera yet. This one it is a bit of self-analysis. You just need a piece of paper and a pen. It will be good that you do this exercise in a moment you are relaxed and that you can invest some time in it. If you feel like, prepare a cup of coffee, tea or any other drink will make you feel cozy. Do anything you need to feel comfortable and make it a nice experience/moment of the day.

Once you are ready, make 2 columns on the piece of paper: “Things I love” and “Things I hate”. Put on them anything that comes to your mind. Anything. The list might seem a bit of a mess, but that´s ok. And remember, the important thing here is that you write things you “love/hate” and not just “like/dislike”. Vision is driven by strong feelings, so a big first step is to identify them.

Photography vision
Feel free to add to your list anything you love/hate. You will be surprised at the number of things you will come up with!

#2. Make it “abstract”

Next step is to take the subjects of each column and think why you love or hate them. You will need to dig more into concepts, ideas, values… To do this might be a bit difficult, especially if you have a long list of things you love/hate.  Work just with some of them for now. In the future, you can always come back to your list and pick new ones.

You will have a collection of concepts that move you. These are some of the things in life that make you react, that make you feel. These are the ingredients of your vision.

Photography vision
Going abstract with the list of things I love I realized that something that moves me in nature is its colors. I am always amazed by the vivid tones you can find in a simple tree. As I want to show colors, I stopped trying to convert my photos to Black & White and instead I am studying color theories in order to get deeper into the subject.

#3. Take photos with your subjects and concepts in mind

Now it is time for action! Pick some subjects from your list and take photos about them for a period of time. It can be during one day, one week or one month. Choose the time that is more realistic for you to keep.

It is always easier to start with one of the things you love because it won´t generate any strong conflict between you. If you want to take photos of the things you hate (in order to make some type of protest for example), make sure you don´t go so far. It is important you don´t do anything you don´t feel comfortable doing or that you put yourself in awkward or even dangerous situations. The whole idea here is to recognize the things you are attracted to and the things that produce rejection on you. In any case, these justify you (or others) end up suffering.

And here the important thing: you need to keep always in mind not just the subject of your photos, but the concepts you linked to it. This is the key of everything!! Because in order to take photos that convey your vision you need to do a little switch in your way of thinking the photo: you need in fact to take photos of the concepts, not just of the subject!

Photography vision
One of the things I love is finding nature in the cities. For that reason, I can just stop in the middle of a street to take a photo of any botanical element. Sometimes people stop by to see what I am doing. This is one of the side effects of following your vision…that some people might think you are a bit crazy 🙂
Photography vision
This is one of the photos I took that day.

#4. Keep your gear simple

When you work on your vision, your aim is not to take the perfect shot, but to try to convey what moves you. Keep this in mind because it is easy to get trapped in the technical part of photography. I think that the technical part of the craft is important and you need to master it too. However, I tend to relax a little about technical issues when I do these type of exercises to develop my vision because I want to focus on feelings and concepts. For the developing the technical part, there is another type of activities.

An easy way to keep things simple is to limit the gear you will work with. Take just one lens, or take photos with your phone a compact camera. In this way, you won´t get distracted.

Photography vision
Compact cameras and some phones might not have the capabilities than more advanced cameras can provide you. But using them might help you to work in your vision because their simplicity takes out of your mind a lot of technical decisions.

#5. Find ways to emphasize the concepts in your photos

This is the trickiest part. Here is where all your creativity and knowledge about composition has a role. If you are not familiar with composition yet, you can start by having a look at the article written by Julian Rad about the subject.

Try to highlight the concept linked to your subject. The way to do it will depend on each concept, so there is no a universal rule here. I recommend you to approach it as a game. Experiment, have fun. You will probably end up with a lot of photos that might not be perfect but that will put you closer to your vision. It is a learning process.

Something that usually works is to keep the composition the simplest you can in order to avoid elements that might make the viewer lose the attention/interest for the main subject.

Photography vision
Simplifying your compositions can be a great way to highlight the elements you want from your image. Here I wanted you to see these 2 rings placed together (symbolizing connection).

#6.Edit photos with your vision in mind

If you edit your photos, this is a good moment to work on your vision too. Editing has a huge role in conveying emotions. Before starting editing a photo, take a moment to think what are the elements in the photo that moves you (that caught your attention). Your mission is to edit the photo in a way that these elements out-stand from the rest of the photo.   This is quite an extensive subject, so if you are interested to have a look at the article I wrote an article about How to post-process your images according to your photographic vision. It will give you a good starting point.

#7. Build something with your photos

Once you have some finished photos that show your vision, do something with them. One option is to print them and hang them in a place you can see them often. By looking at your photos you will realize if they are really conveying your vision or not. If you don´t look at the photos anymore because they are somewhere in an external memory, they won´t sink on you. In addition, if somebody else is coming to your place and see the photos, you can talk with them about them and check if you manage to convey what you wanted.

For printing, it is always great to find a high quality developing place and work with them. Printing in high quality is a world on its own. You need to take care of color calibration, know a little about paper quality, check the printing resolution… If this sounds too much for you right now, forget about high-quality printing and find a printing lab you like and that will make the printing experience for you easier and nicer. Prints for working in your vision don´t need to be huge or expensive. I rather print the photos in lower quality that not printing them because it is too expensive or too complicated. I personally print the photos to work on my vision in lower quality labs and I send my absolute favorite photos to be printed in high quality.

You can do other things besides or in addition to printing your photos. You can build collages, make albums, build collections in galleries… you can do what suits you the most. The idea is always the same: keep your photos in a way close to you that you can come back to them easily to check them and analyze them.

Photography vision
I print the photos I want to work with and I glue them into an album. I personally like this option because I can write notes and ideas about the photo. I that case, the print is not a high-quality one, but I printed it in 5 minutes in a photo laboratory next to my place. It makes its job as a learning material. When I want to frame a photo is when I look for high-quality prints. This is just my personal way of working.  Of course, you can print all your photos in high-quality laboratories too.

I hope this will help you to develop your vision. I just have the last piece of advice: be flexible about your vision. Our experiences in life make us change the way we see things, so our photography vision might change accordingly. Working in your photography vision is a lifelong endeavor. It is good to take it easy and enjoy the ride!! Have a happy shooting!

SaveSave

SaveSave

How to take enchanting photos using cellophane

It’s a given that professional photography equipment enhances every artist’s workflow and is an absolute joy to work with. However, professional tools aren’t the only things that can help you become a better photo-taker. There are many unlikely things in our homes which have the potential to add an extra touch of creativity to our work. Some obvious things, like lamps and mirrors, are often used by creatives because of their interesting ways of either creating or reflecting light. Other things, though occasionally used by artists, aren’t as popular. One of these handy little photo instruments can be found in almost every person’s kitchen: cellophane.

You might be wondering how cellophane, a transparent sheet mostly used for the preservation of food, can be used in the world of photography. You may have noticed that despite the sheet’s transparency, it can quickly become opaque when crumpled up. This haziness is ideal for the creation of enchanting photographs of all types. Whether you’re photographing animals, people, or something entirely different, cellophane can help you experiment with textures and clarity. This experimentation will compel your mind to absorb new ways of thinking creatively. In turn, these innovative ways of thinking will allow you to become a better, more observant, and more open-minded photographer with a bountiful supply of initiative.

Cellophane can be used in limitless ways, depending on your imagination. Though the following tips will help you look at photography from a creatively peculiar point of view, don’t stop there. Let these ideas be the foundation for even more fascinating and striking ideas.

/

//

Using cellophane to take photographs with blurred edges

If you want your images to be sharp with a vignette of blurriness, cut your cellophane into a square that’s a little larger than your camera lens. Afterward, proceed to cut a hole in the center of the square – its size depends on how unclear you want the edges to be. The smaller the cut in the center, the blurrier your image will appear and the more challenging it will be to get sharp results. Once you’re happy with the results, wrap the cellophane square around your lens, making sure that the cut-out hole is placed roughly at the center of the lens.

/

Something to keep in mind is that it might be difficult to focus your lens manually due to the tightly wrapped cellophane. To make focusing easier, don’t wrap the cellophane square around your entire lens and leave some space for your fingers to change the focus. Though using tape is optional, it could prevent the cellophane from constantly falling off. Remember that it doesn’t have to be perfect or visually appealing since the effect itself is the most important part.

Using cellophane to take unclear yet dreamy photographs

To create photographs that are beautifully textured yet slightly unclear, cover your lens with cellophane in the same way as the previous method, but without the cut-out hole. Again, wrap it in such a way that will give you the opportunity to manually focus your lens. If you use auto-focus, loosely wrap the cellophane around your lens to give it enough space to find the right sharpness. The effect will make your photographs look like they were taken straight out of a dream. A certain level of sharpness will remain, though everything will be covered in a pleasant layer of cellophane fog.

/

If you want to be even more creative, combine freelensing with cellophane. This will result in unique and charming photographs. For more interesting results, crumple up the cellophane before using it. Adding textures to editing programs like Photoshop will further enhance your shots. If you use Lightroom, make sure to apply your favorite preset for even more stunning results. Using all of these tools and features will transform your images into works of art you’re proud of.

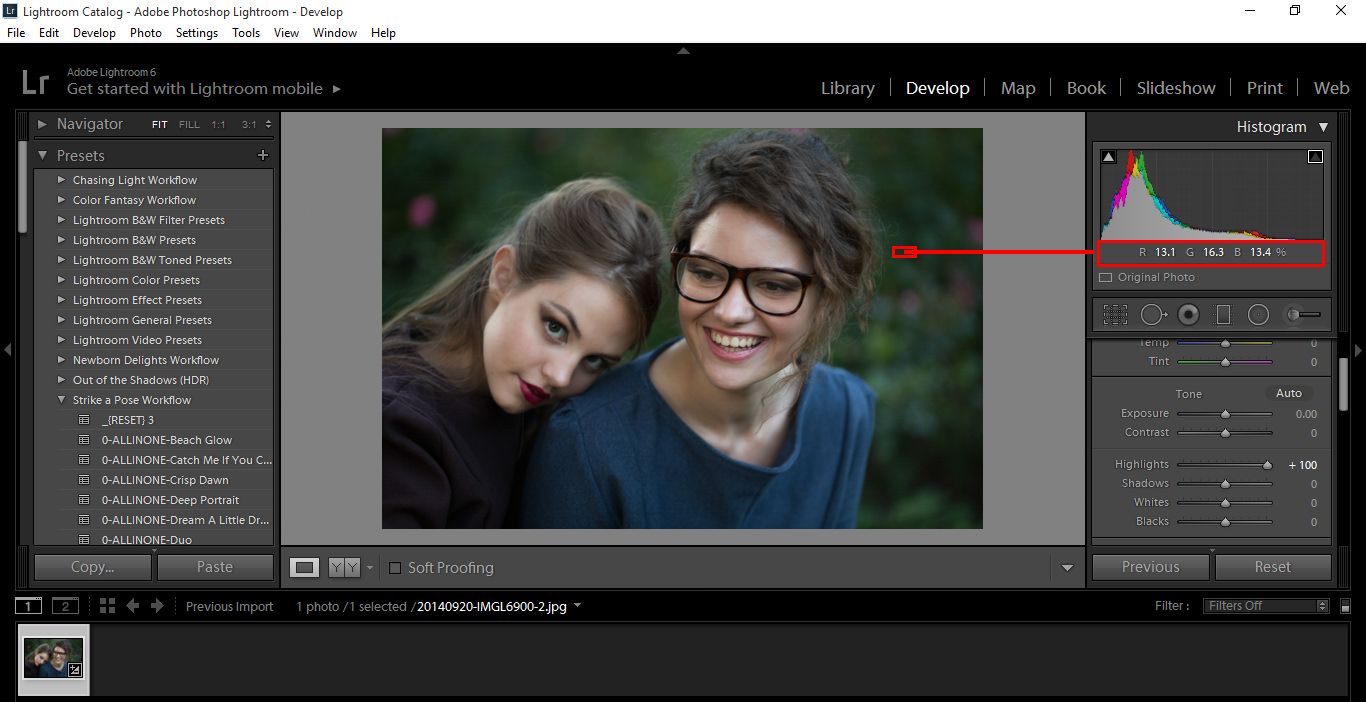
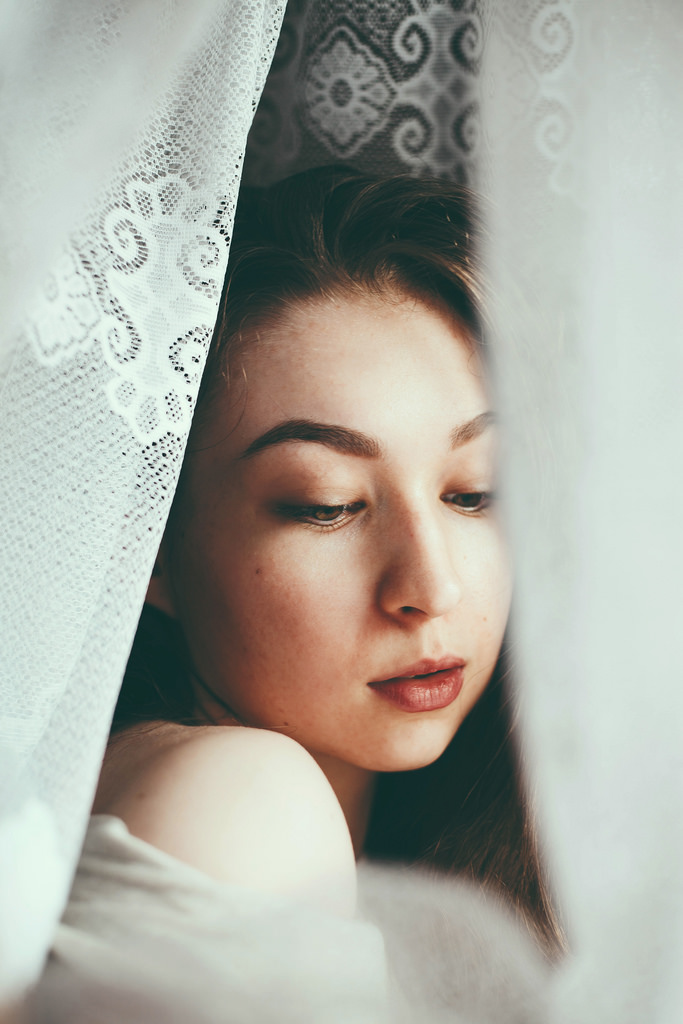
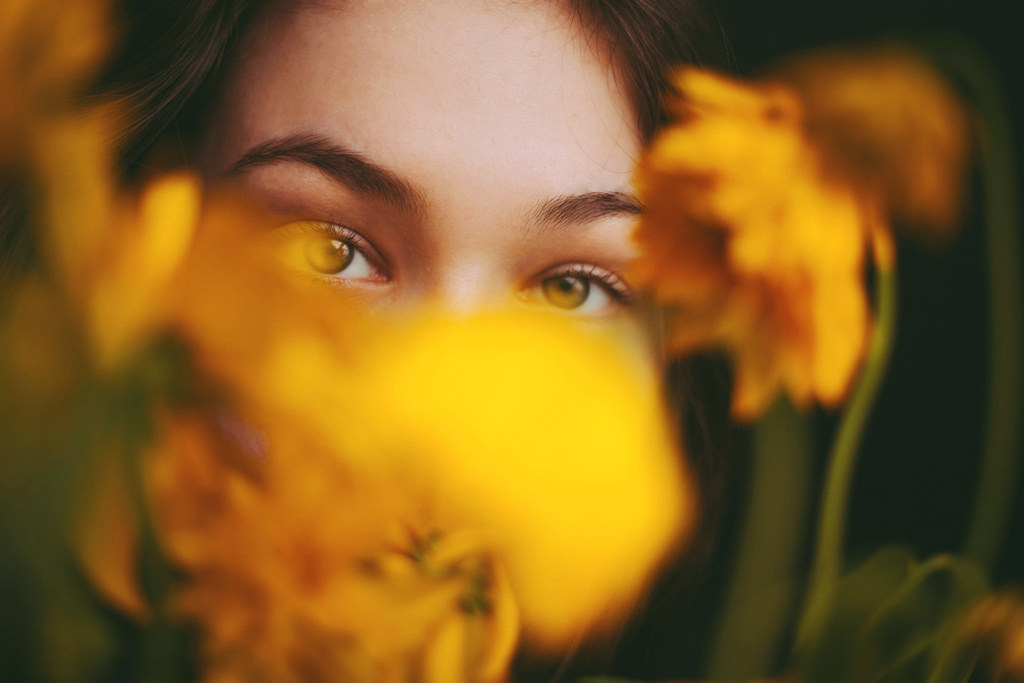
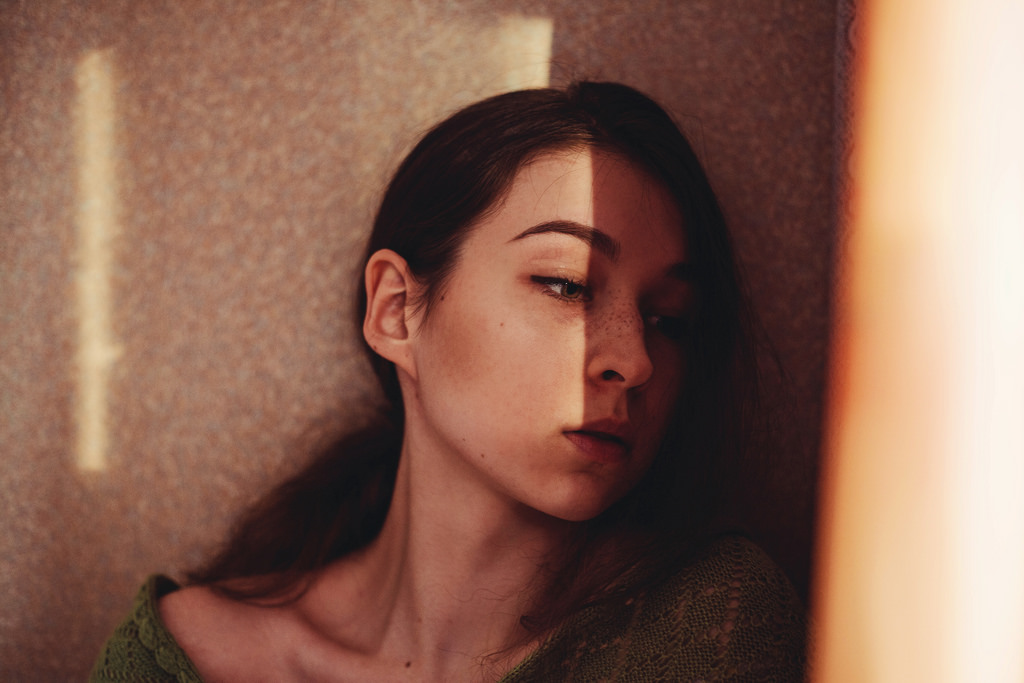
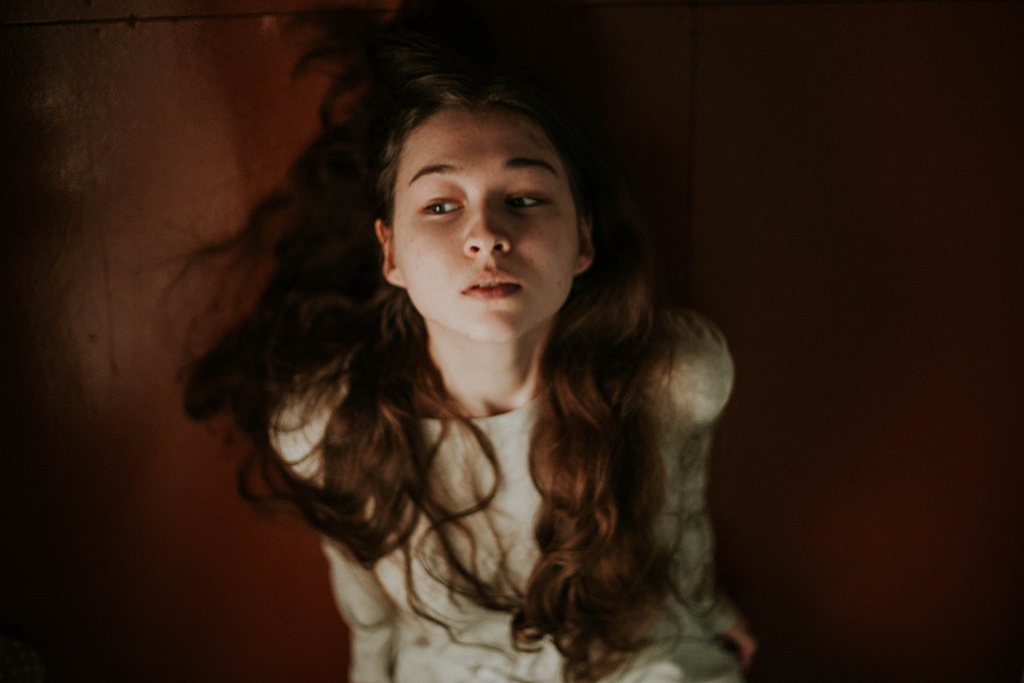
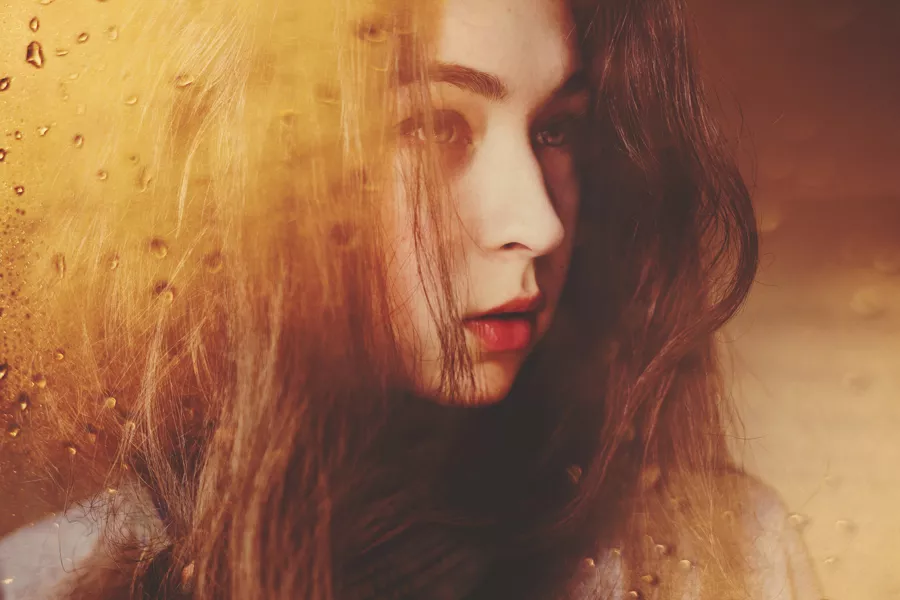
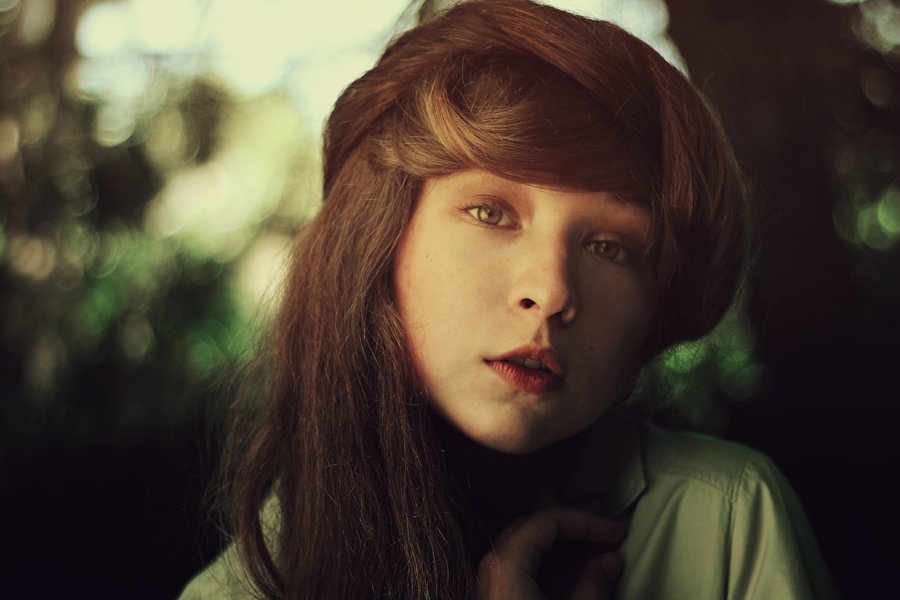
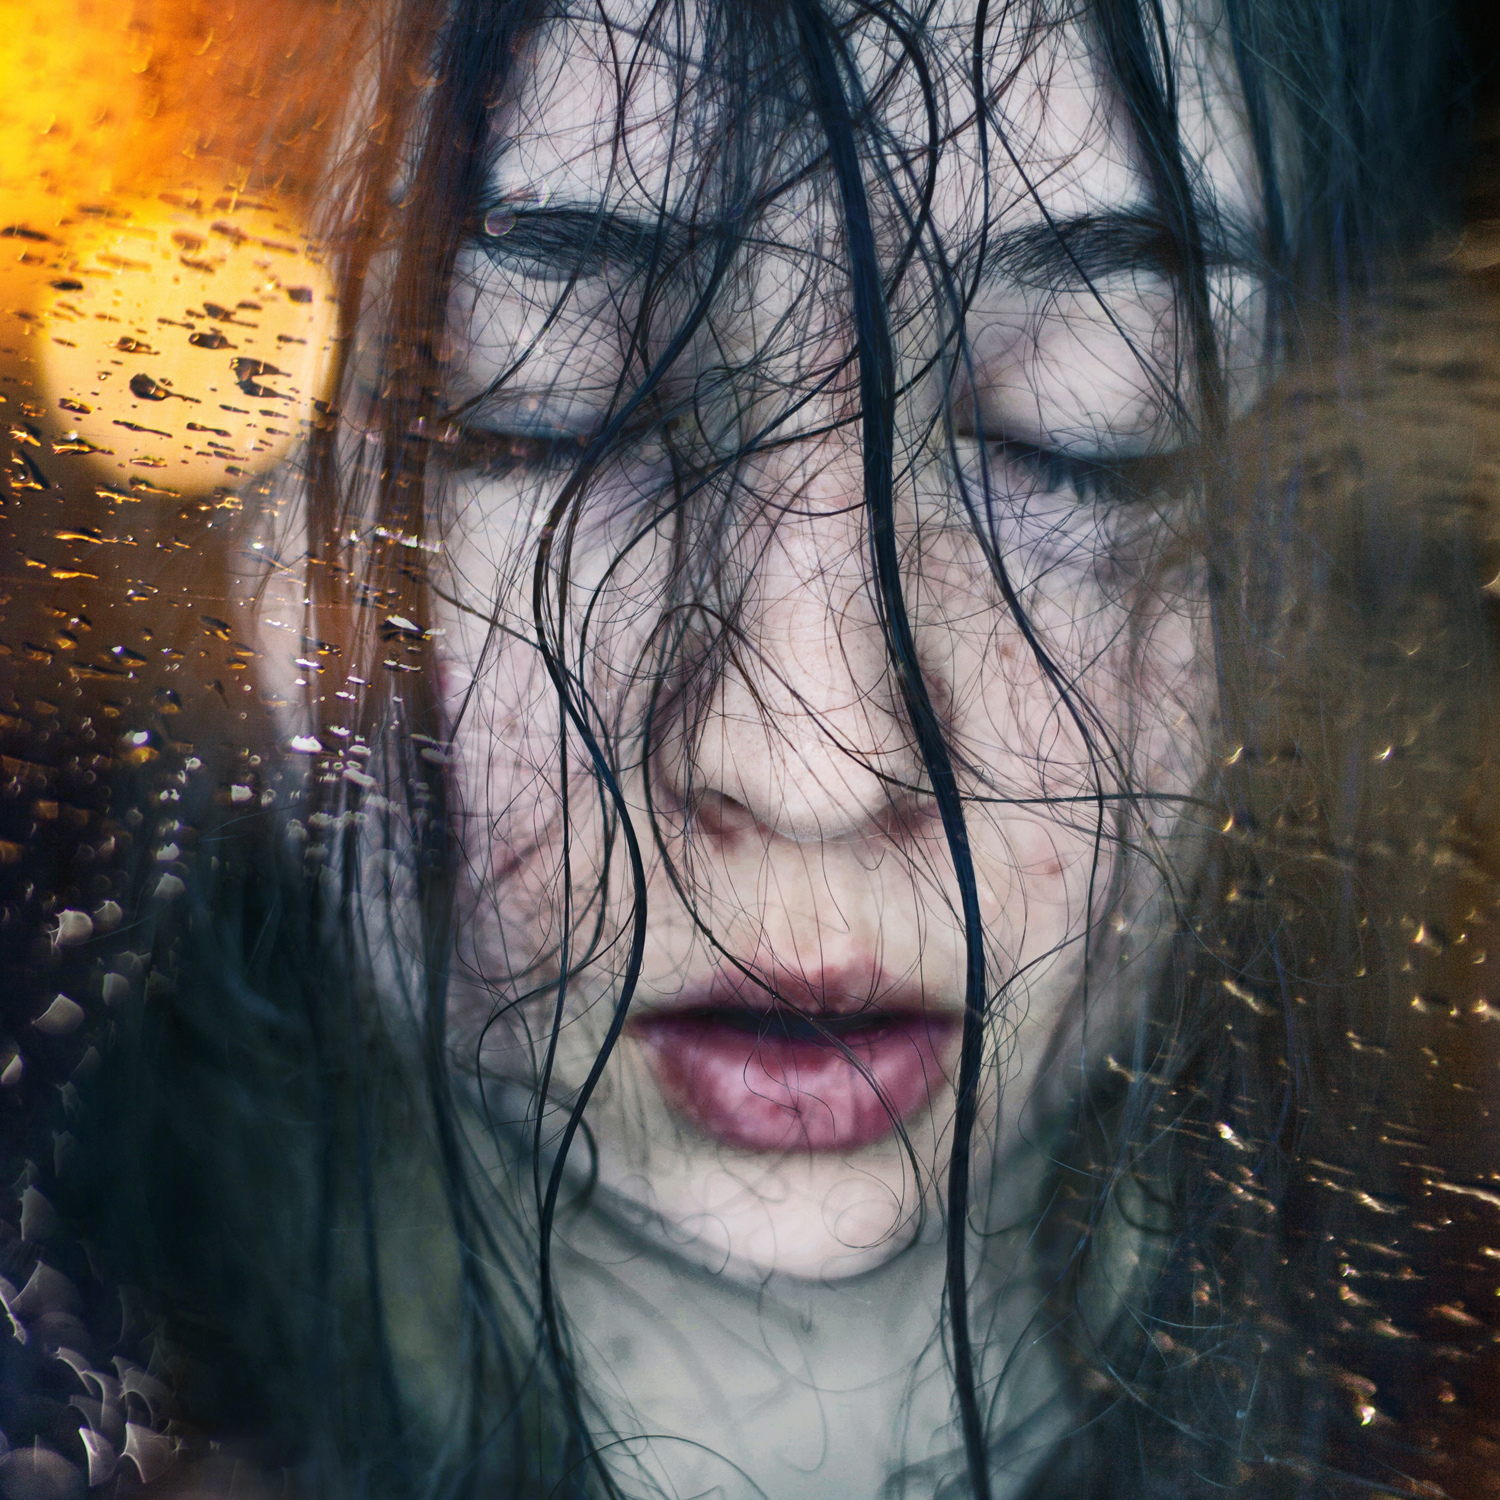
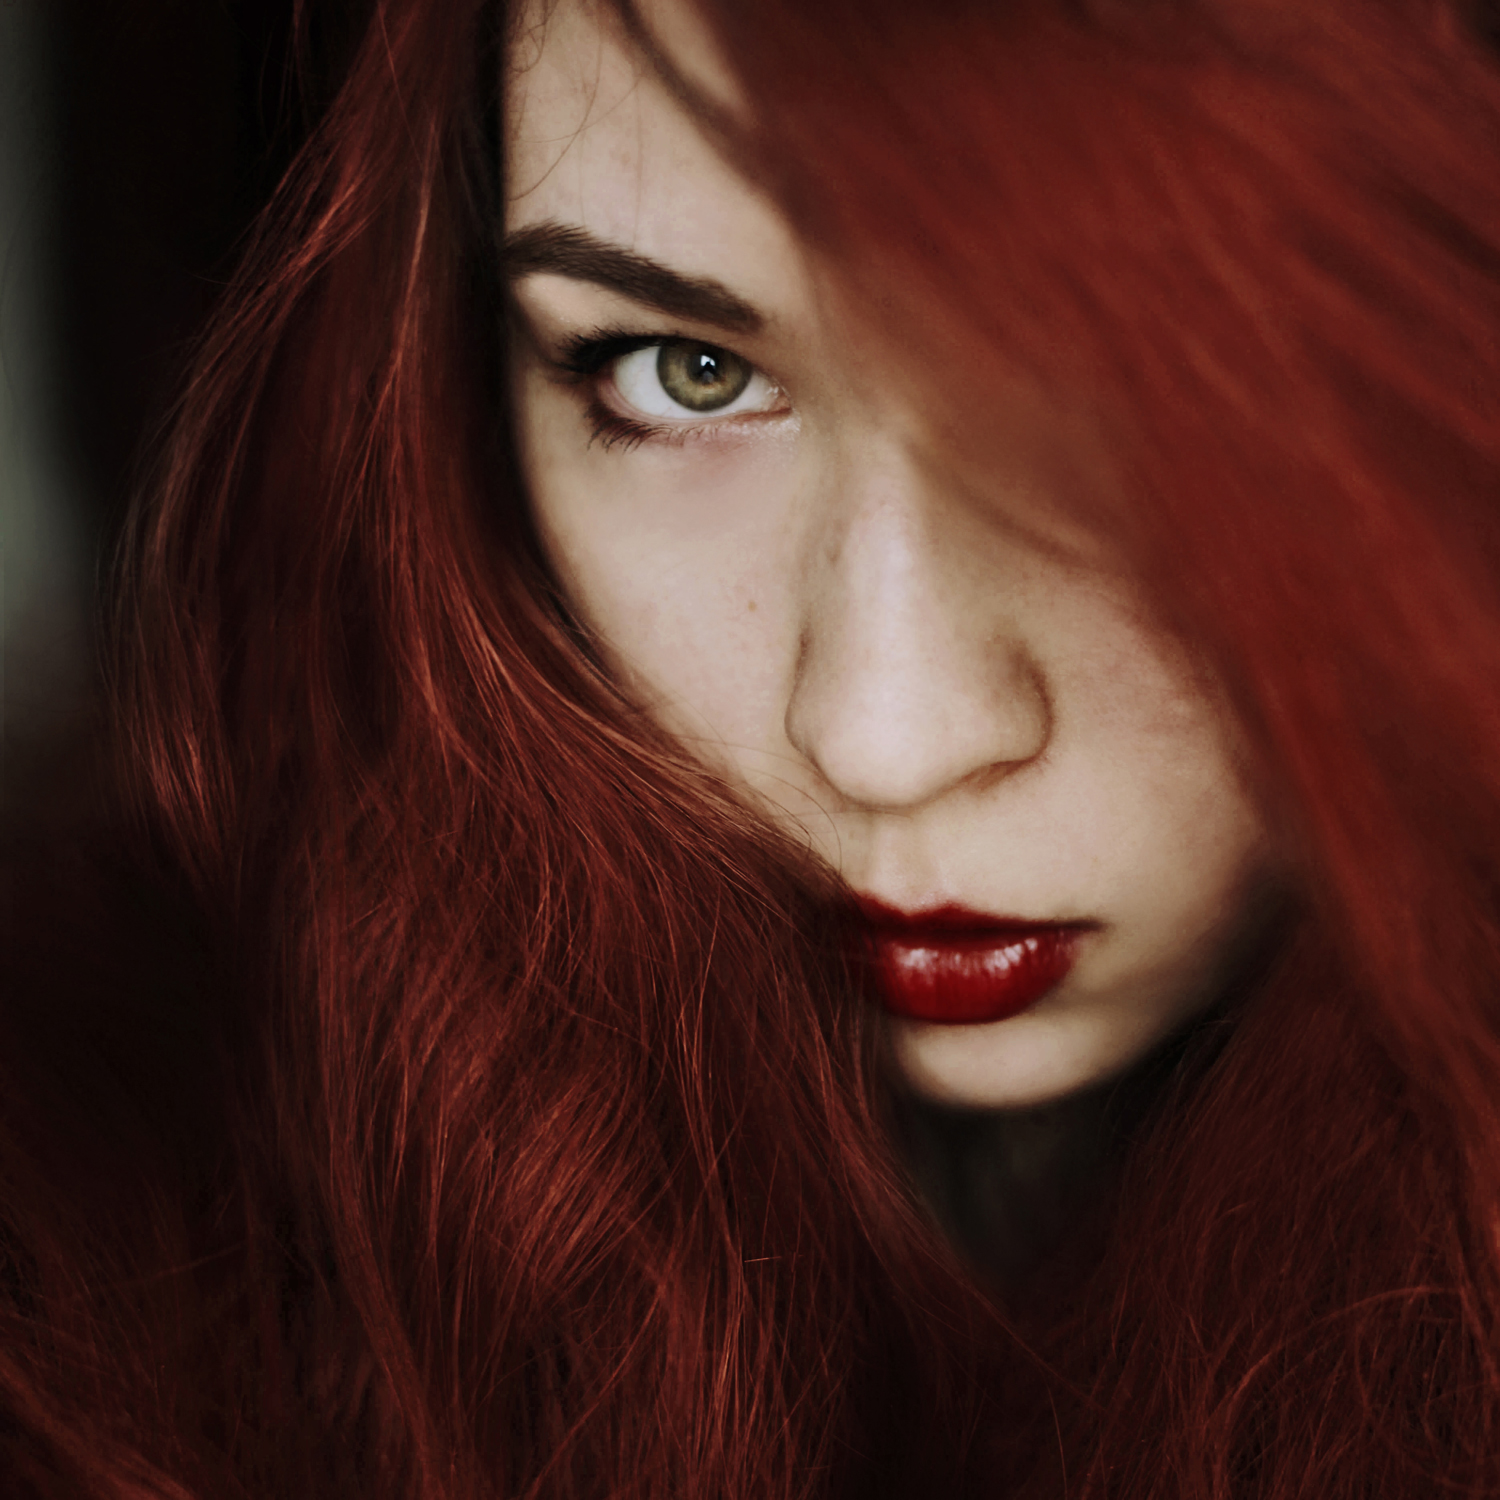
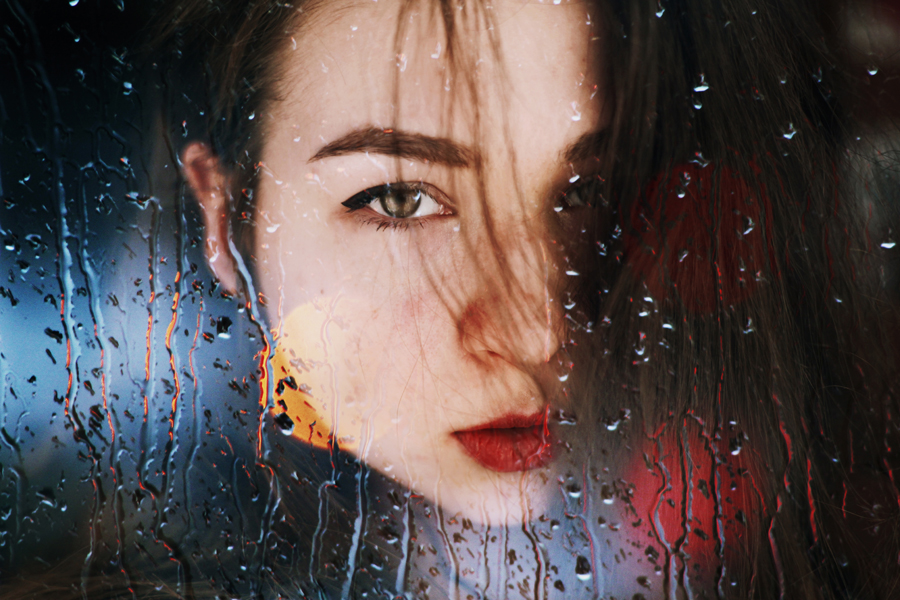
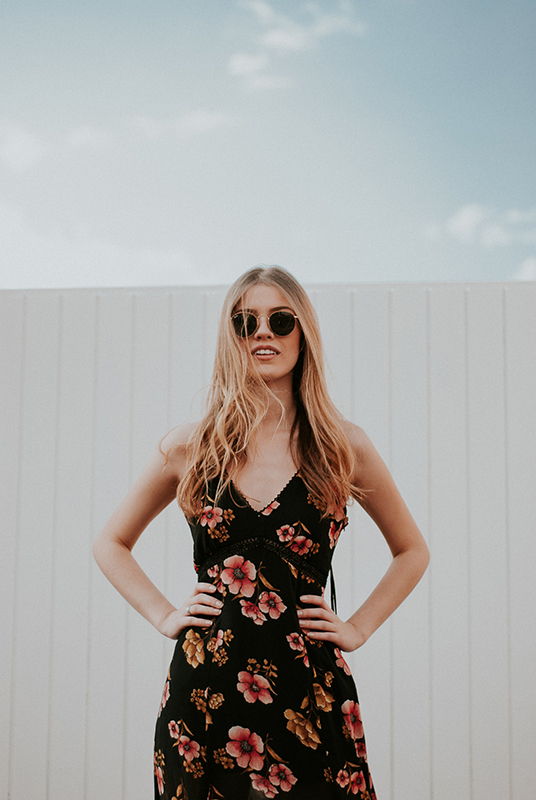
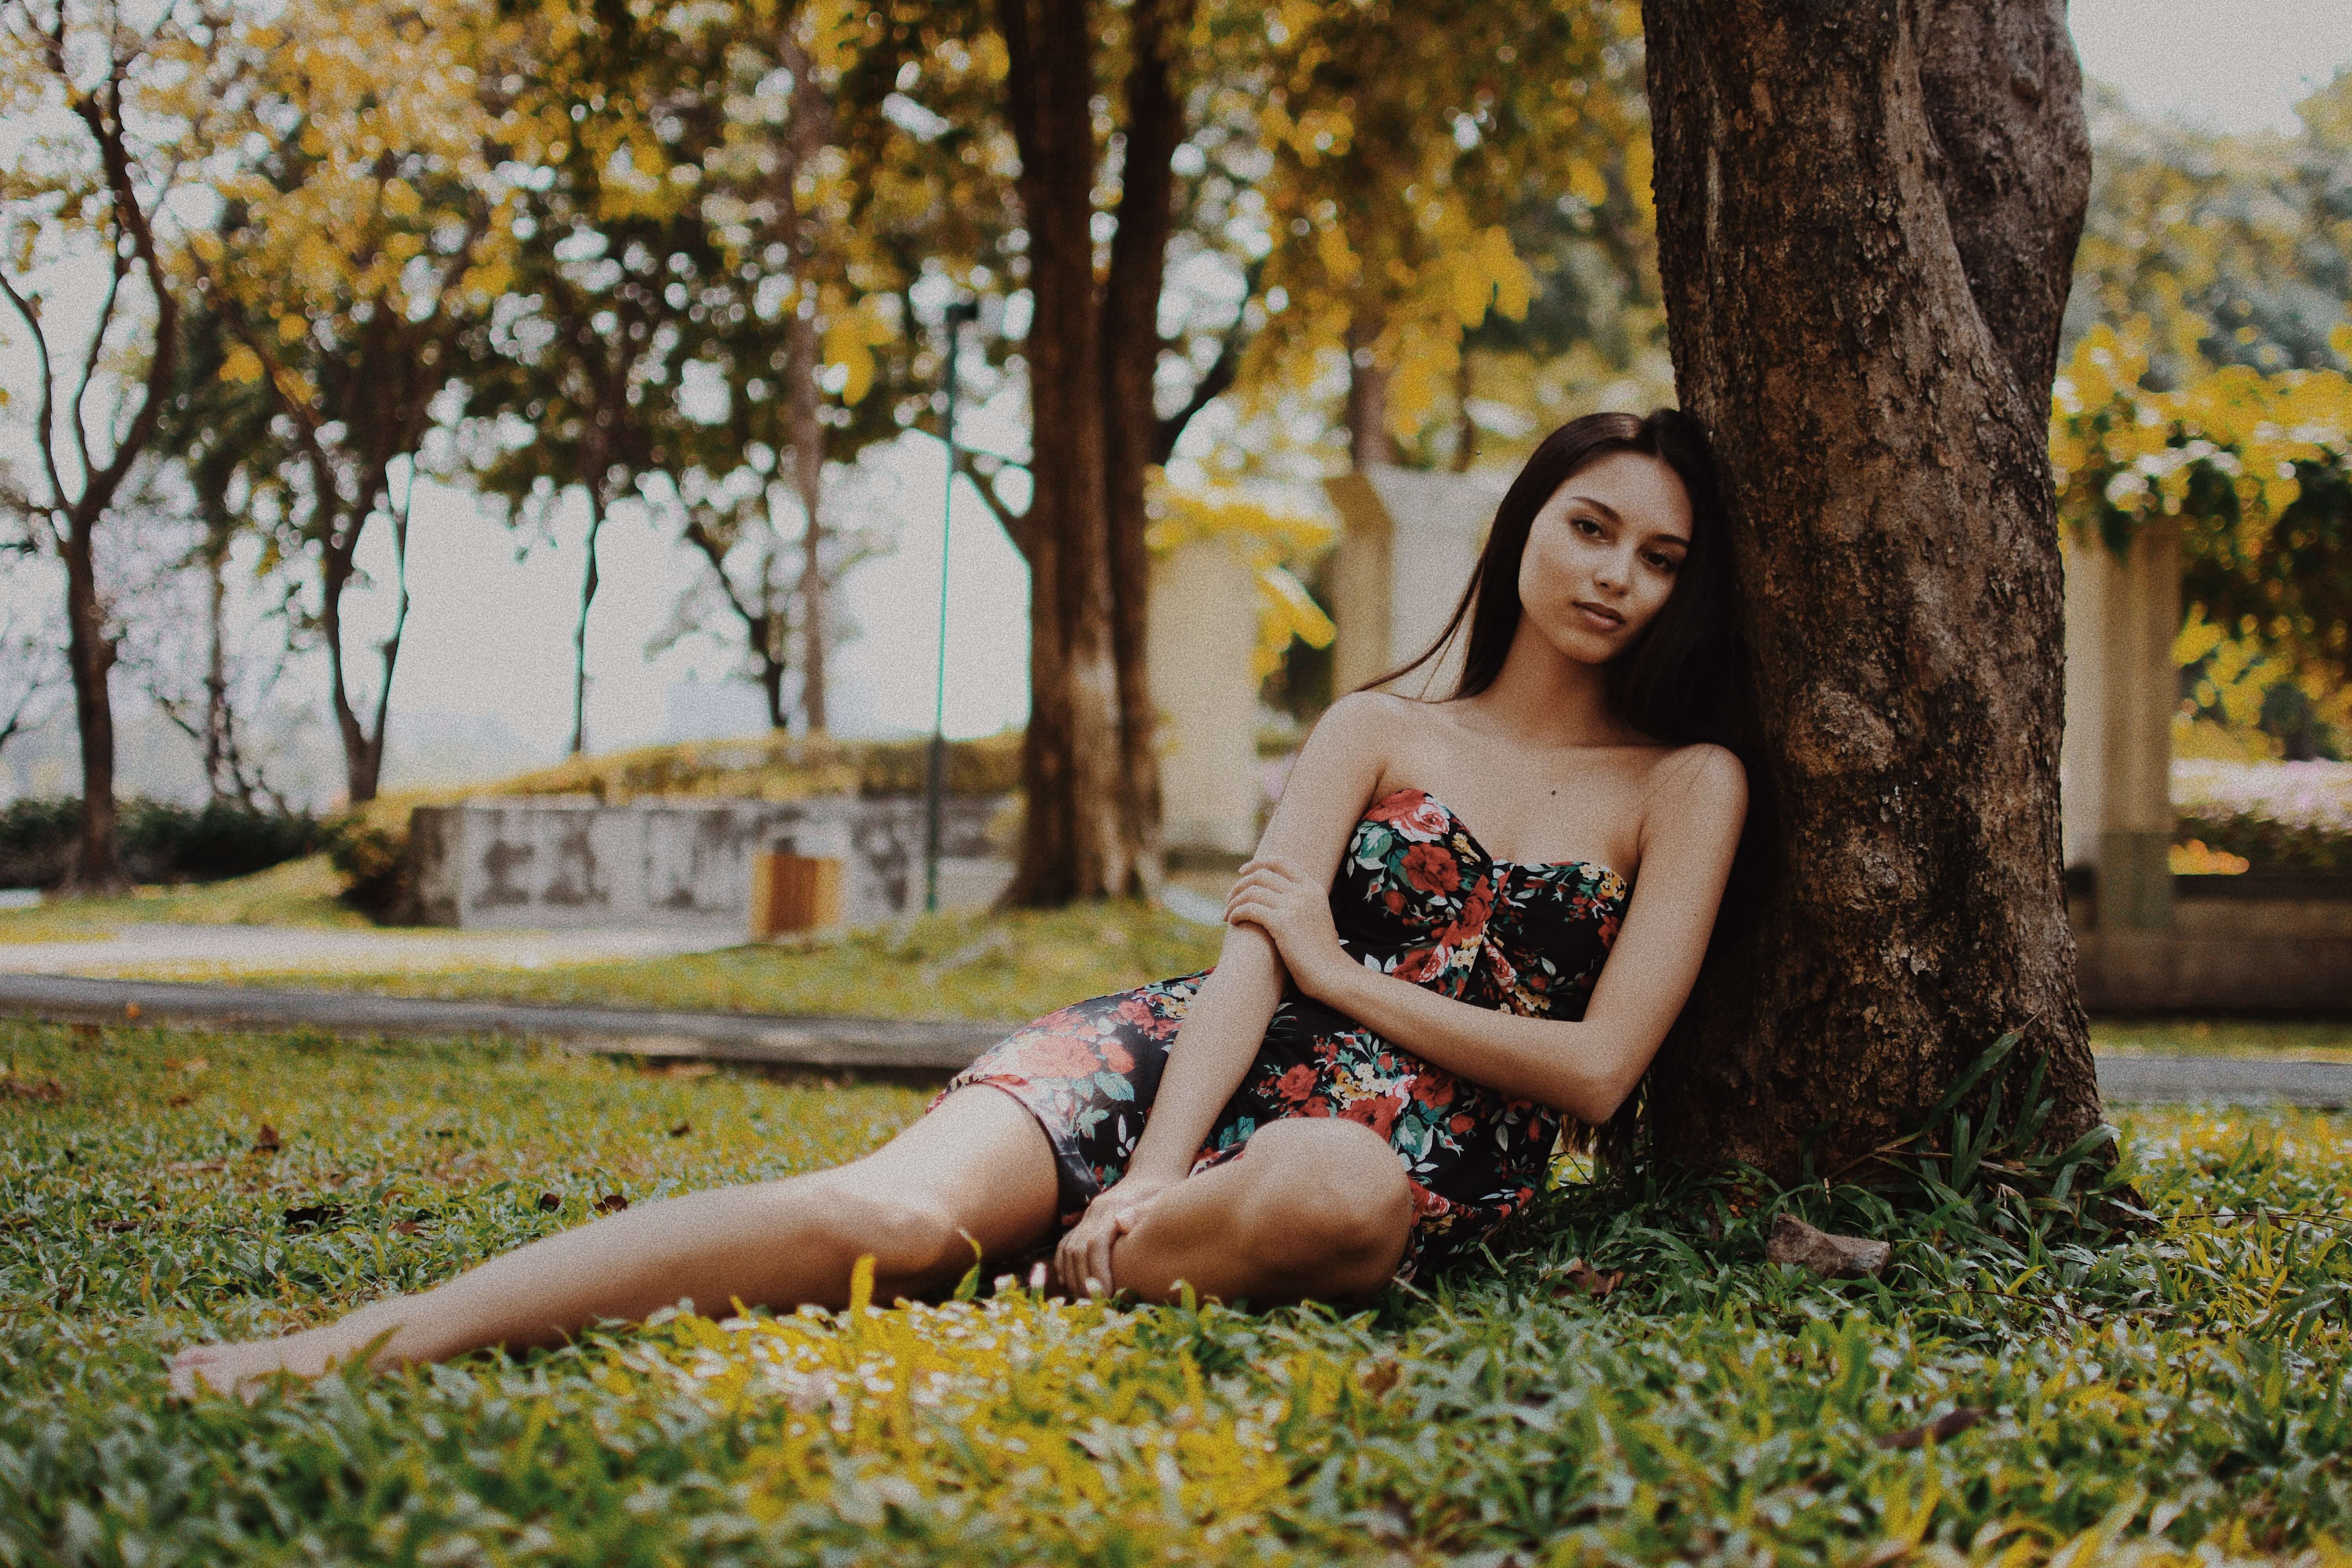
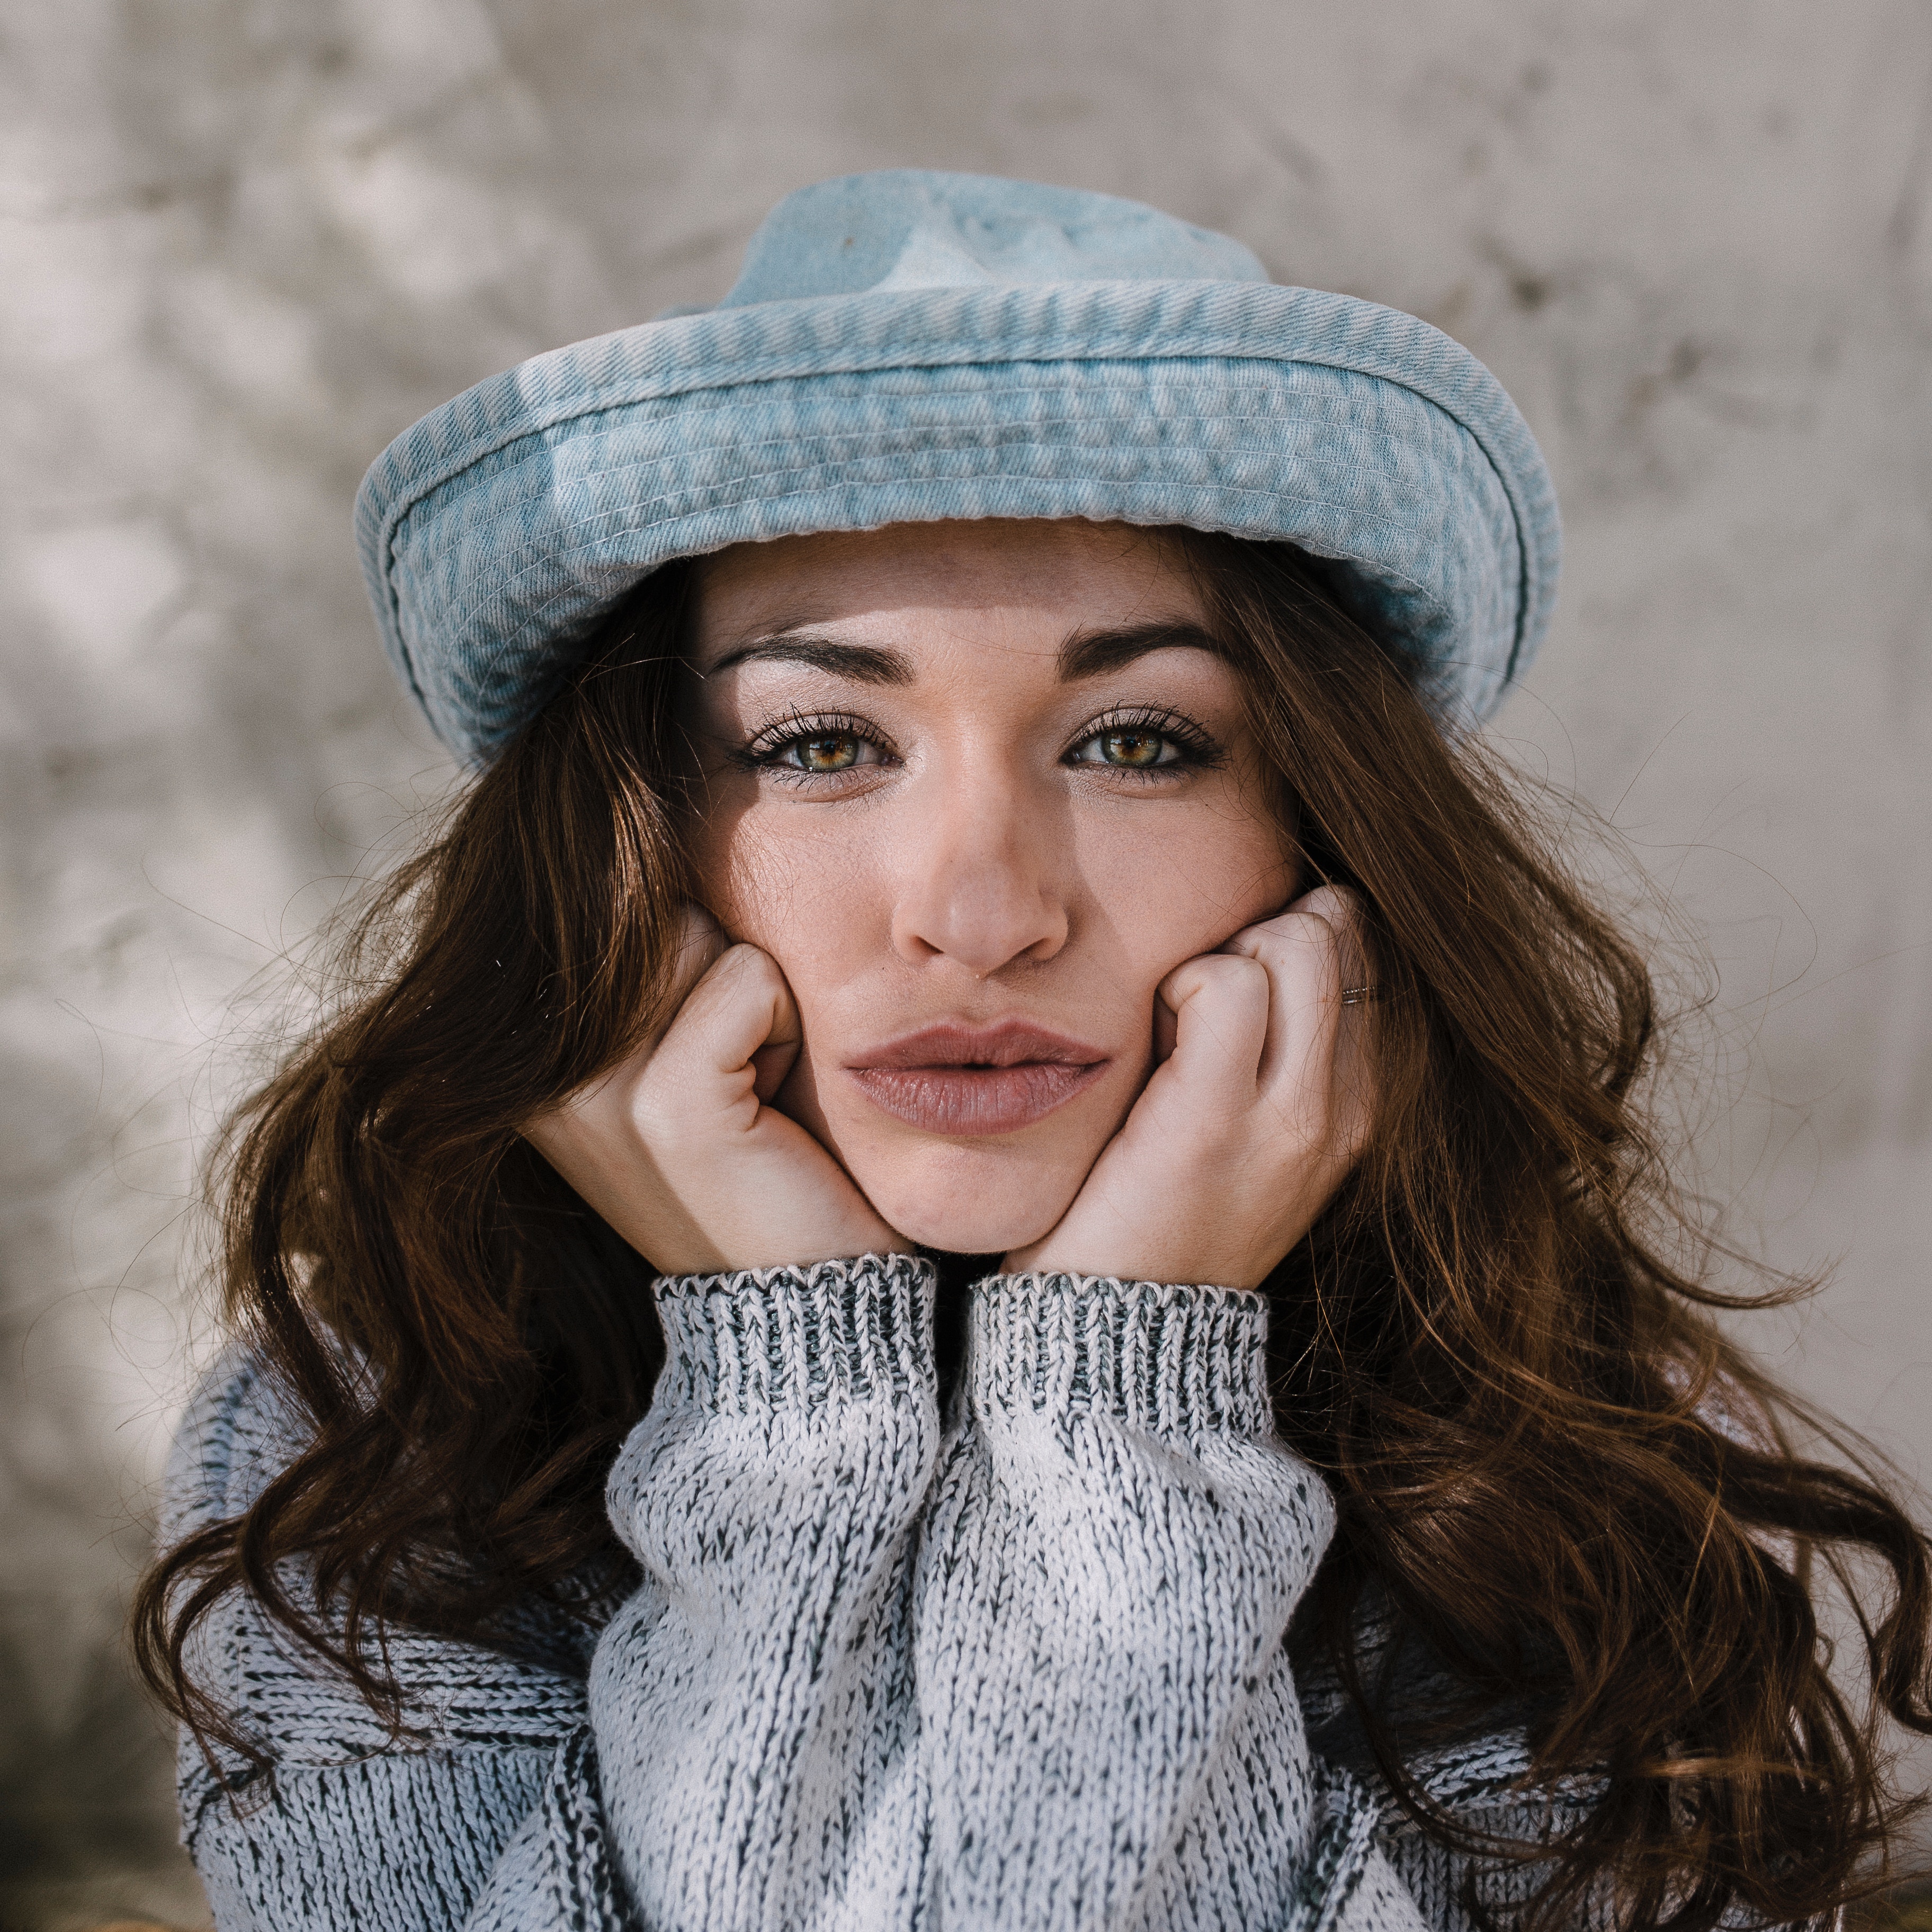
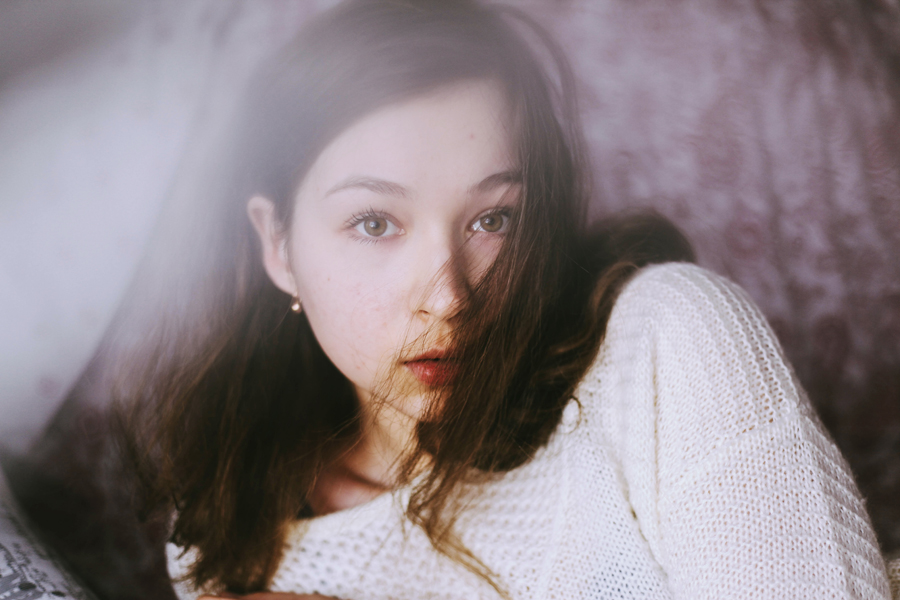
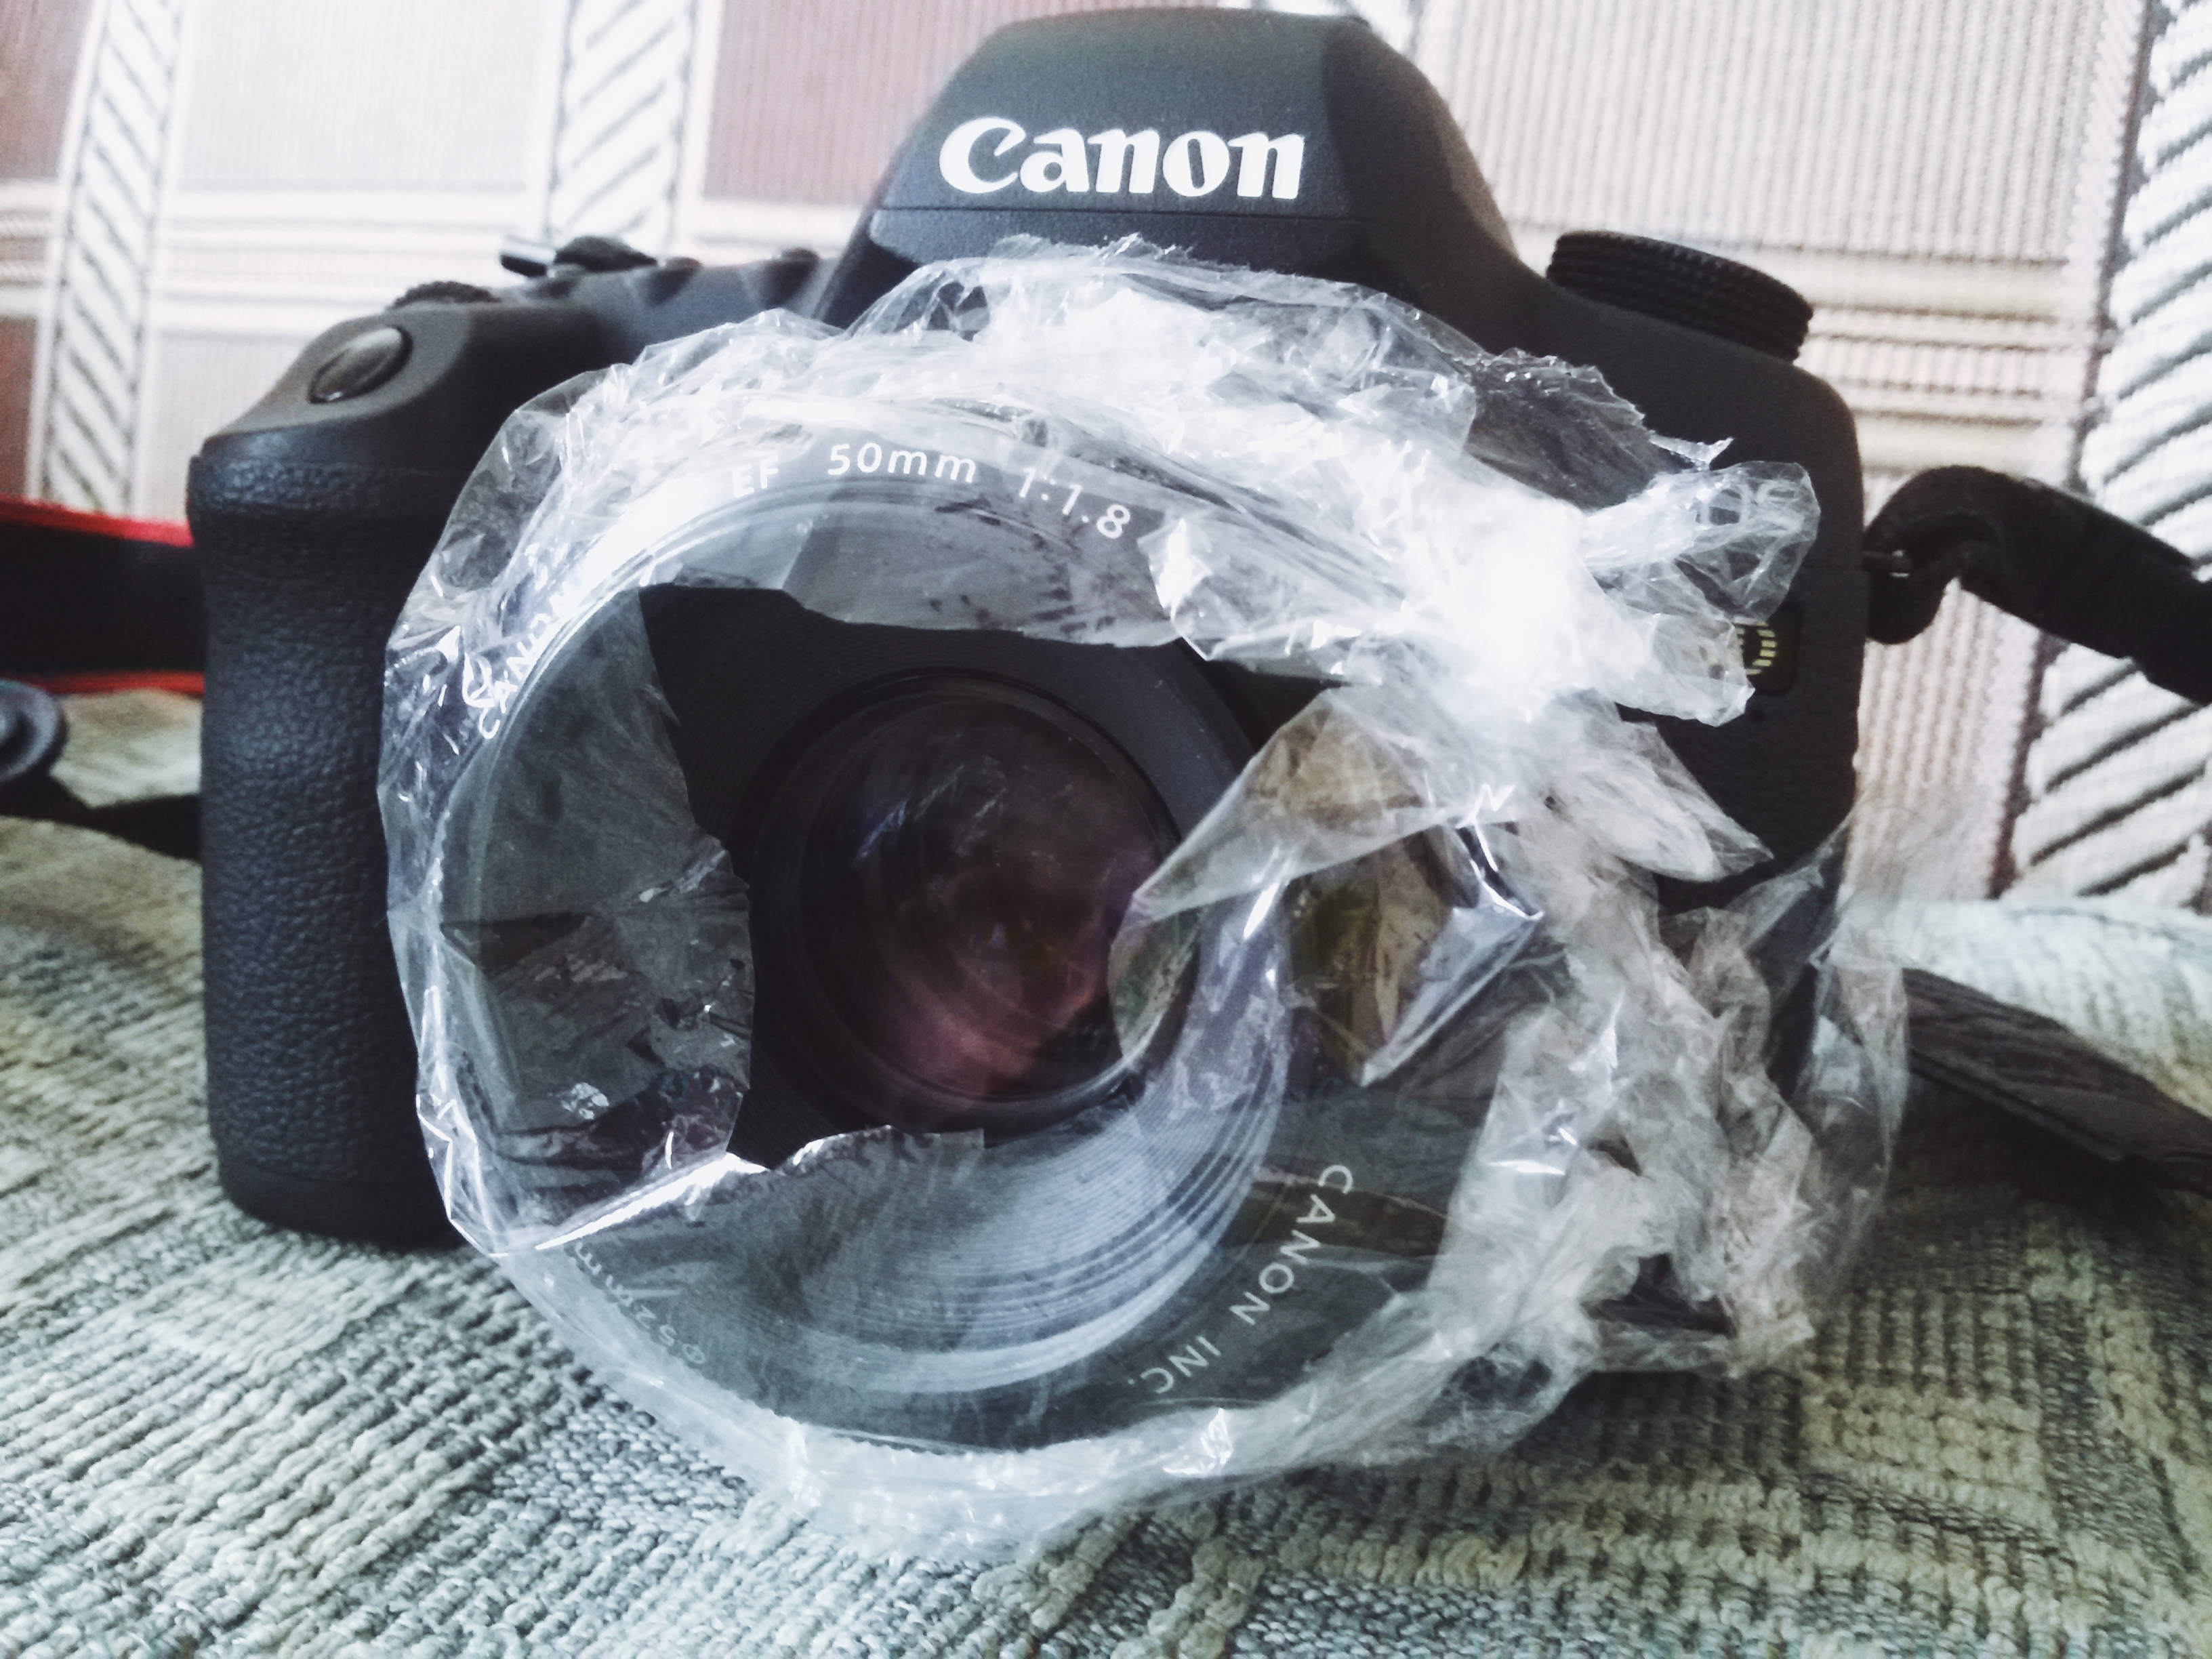
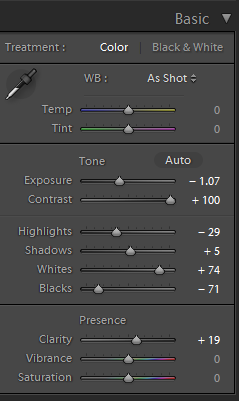
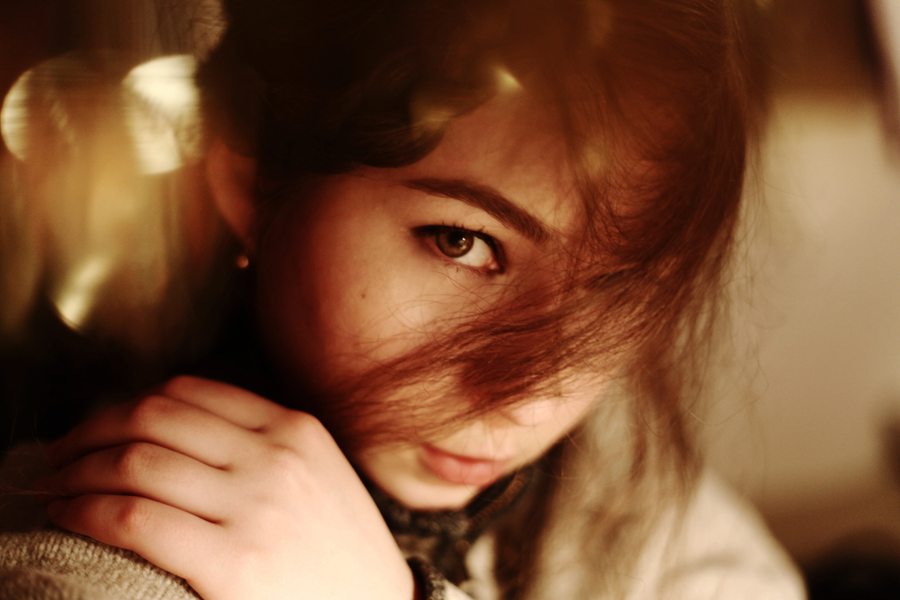
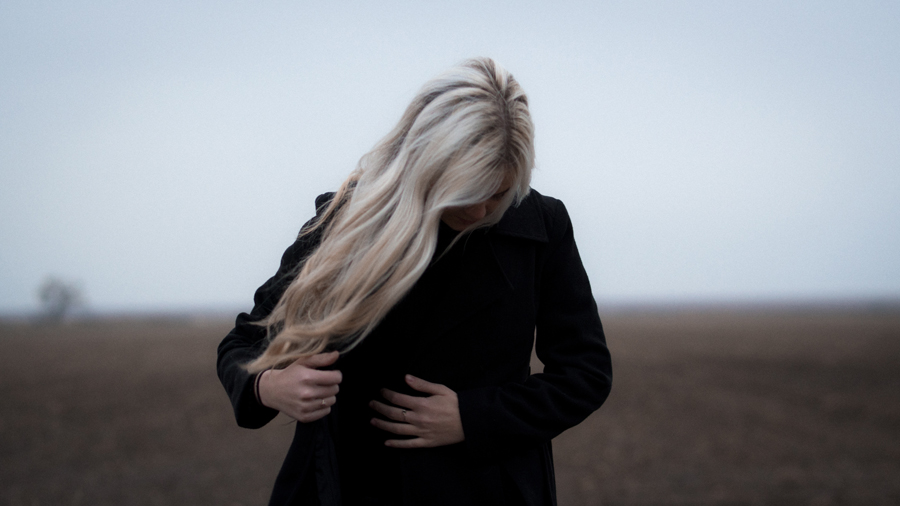
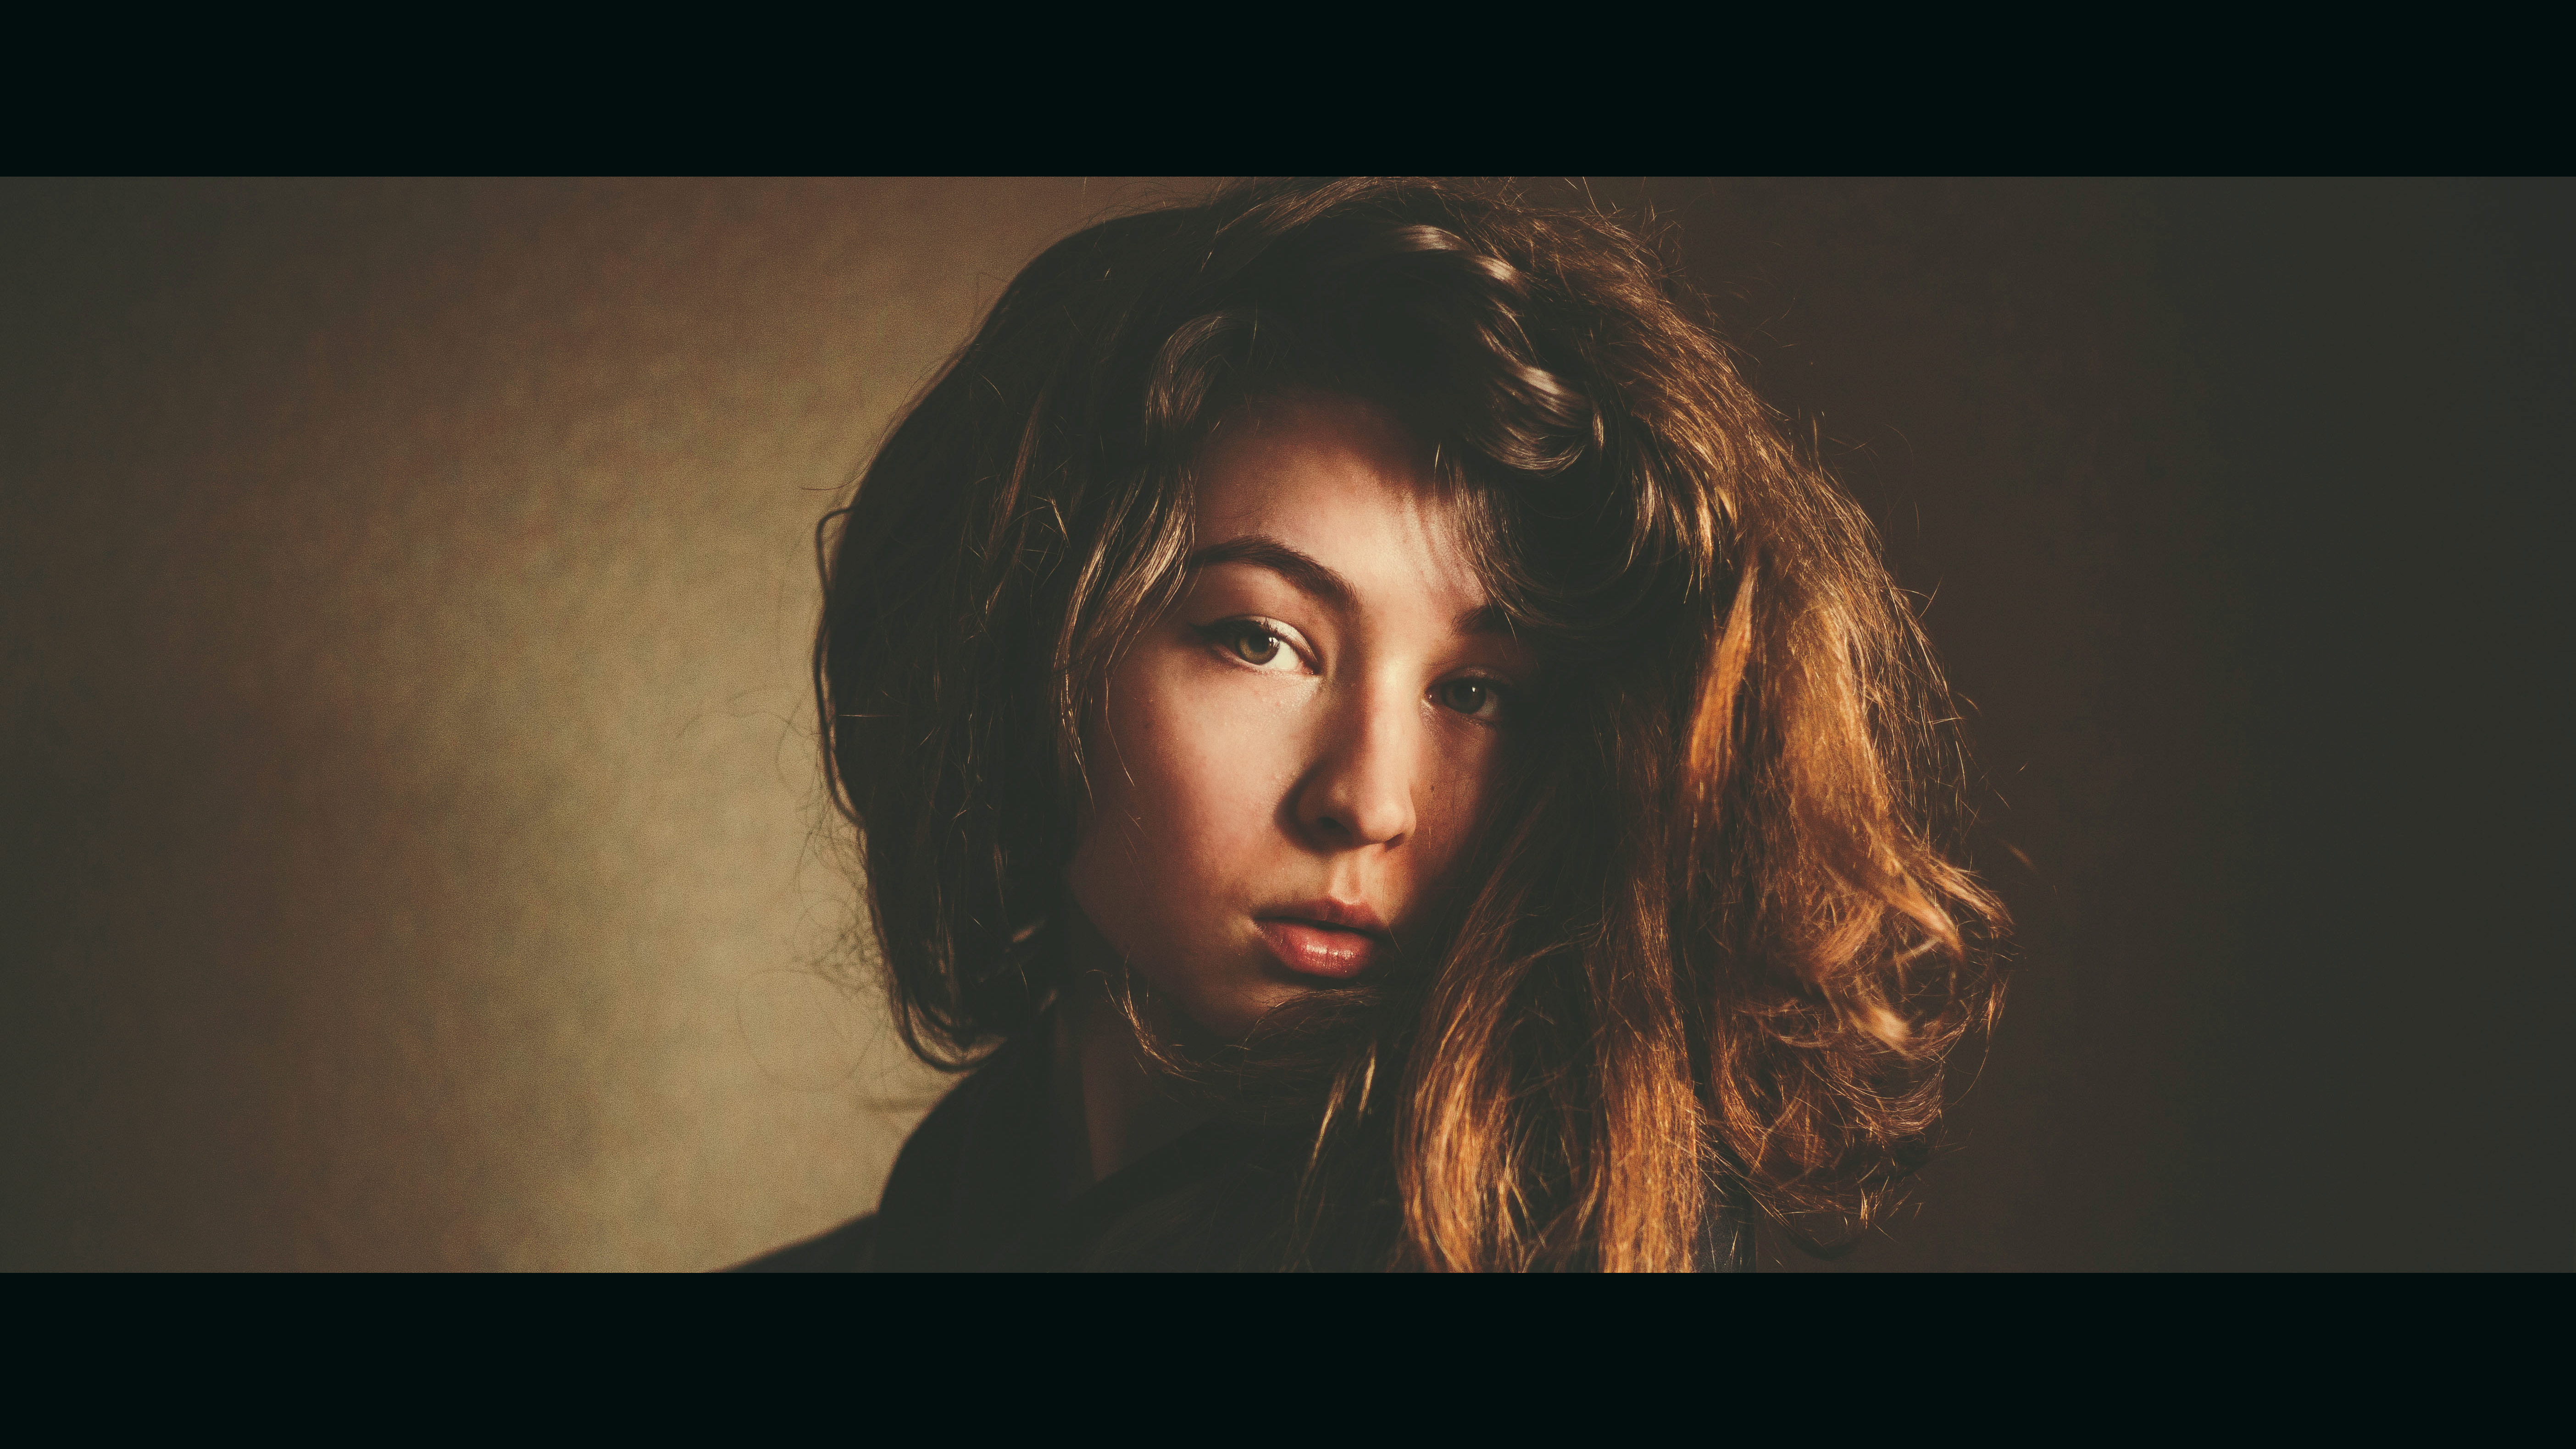
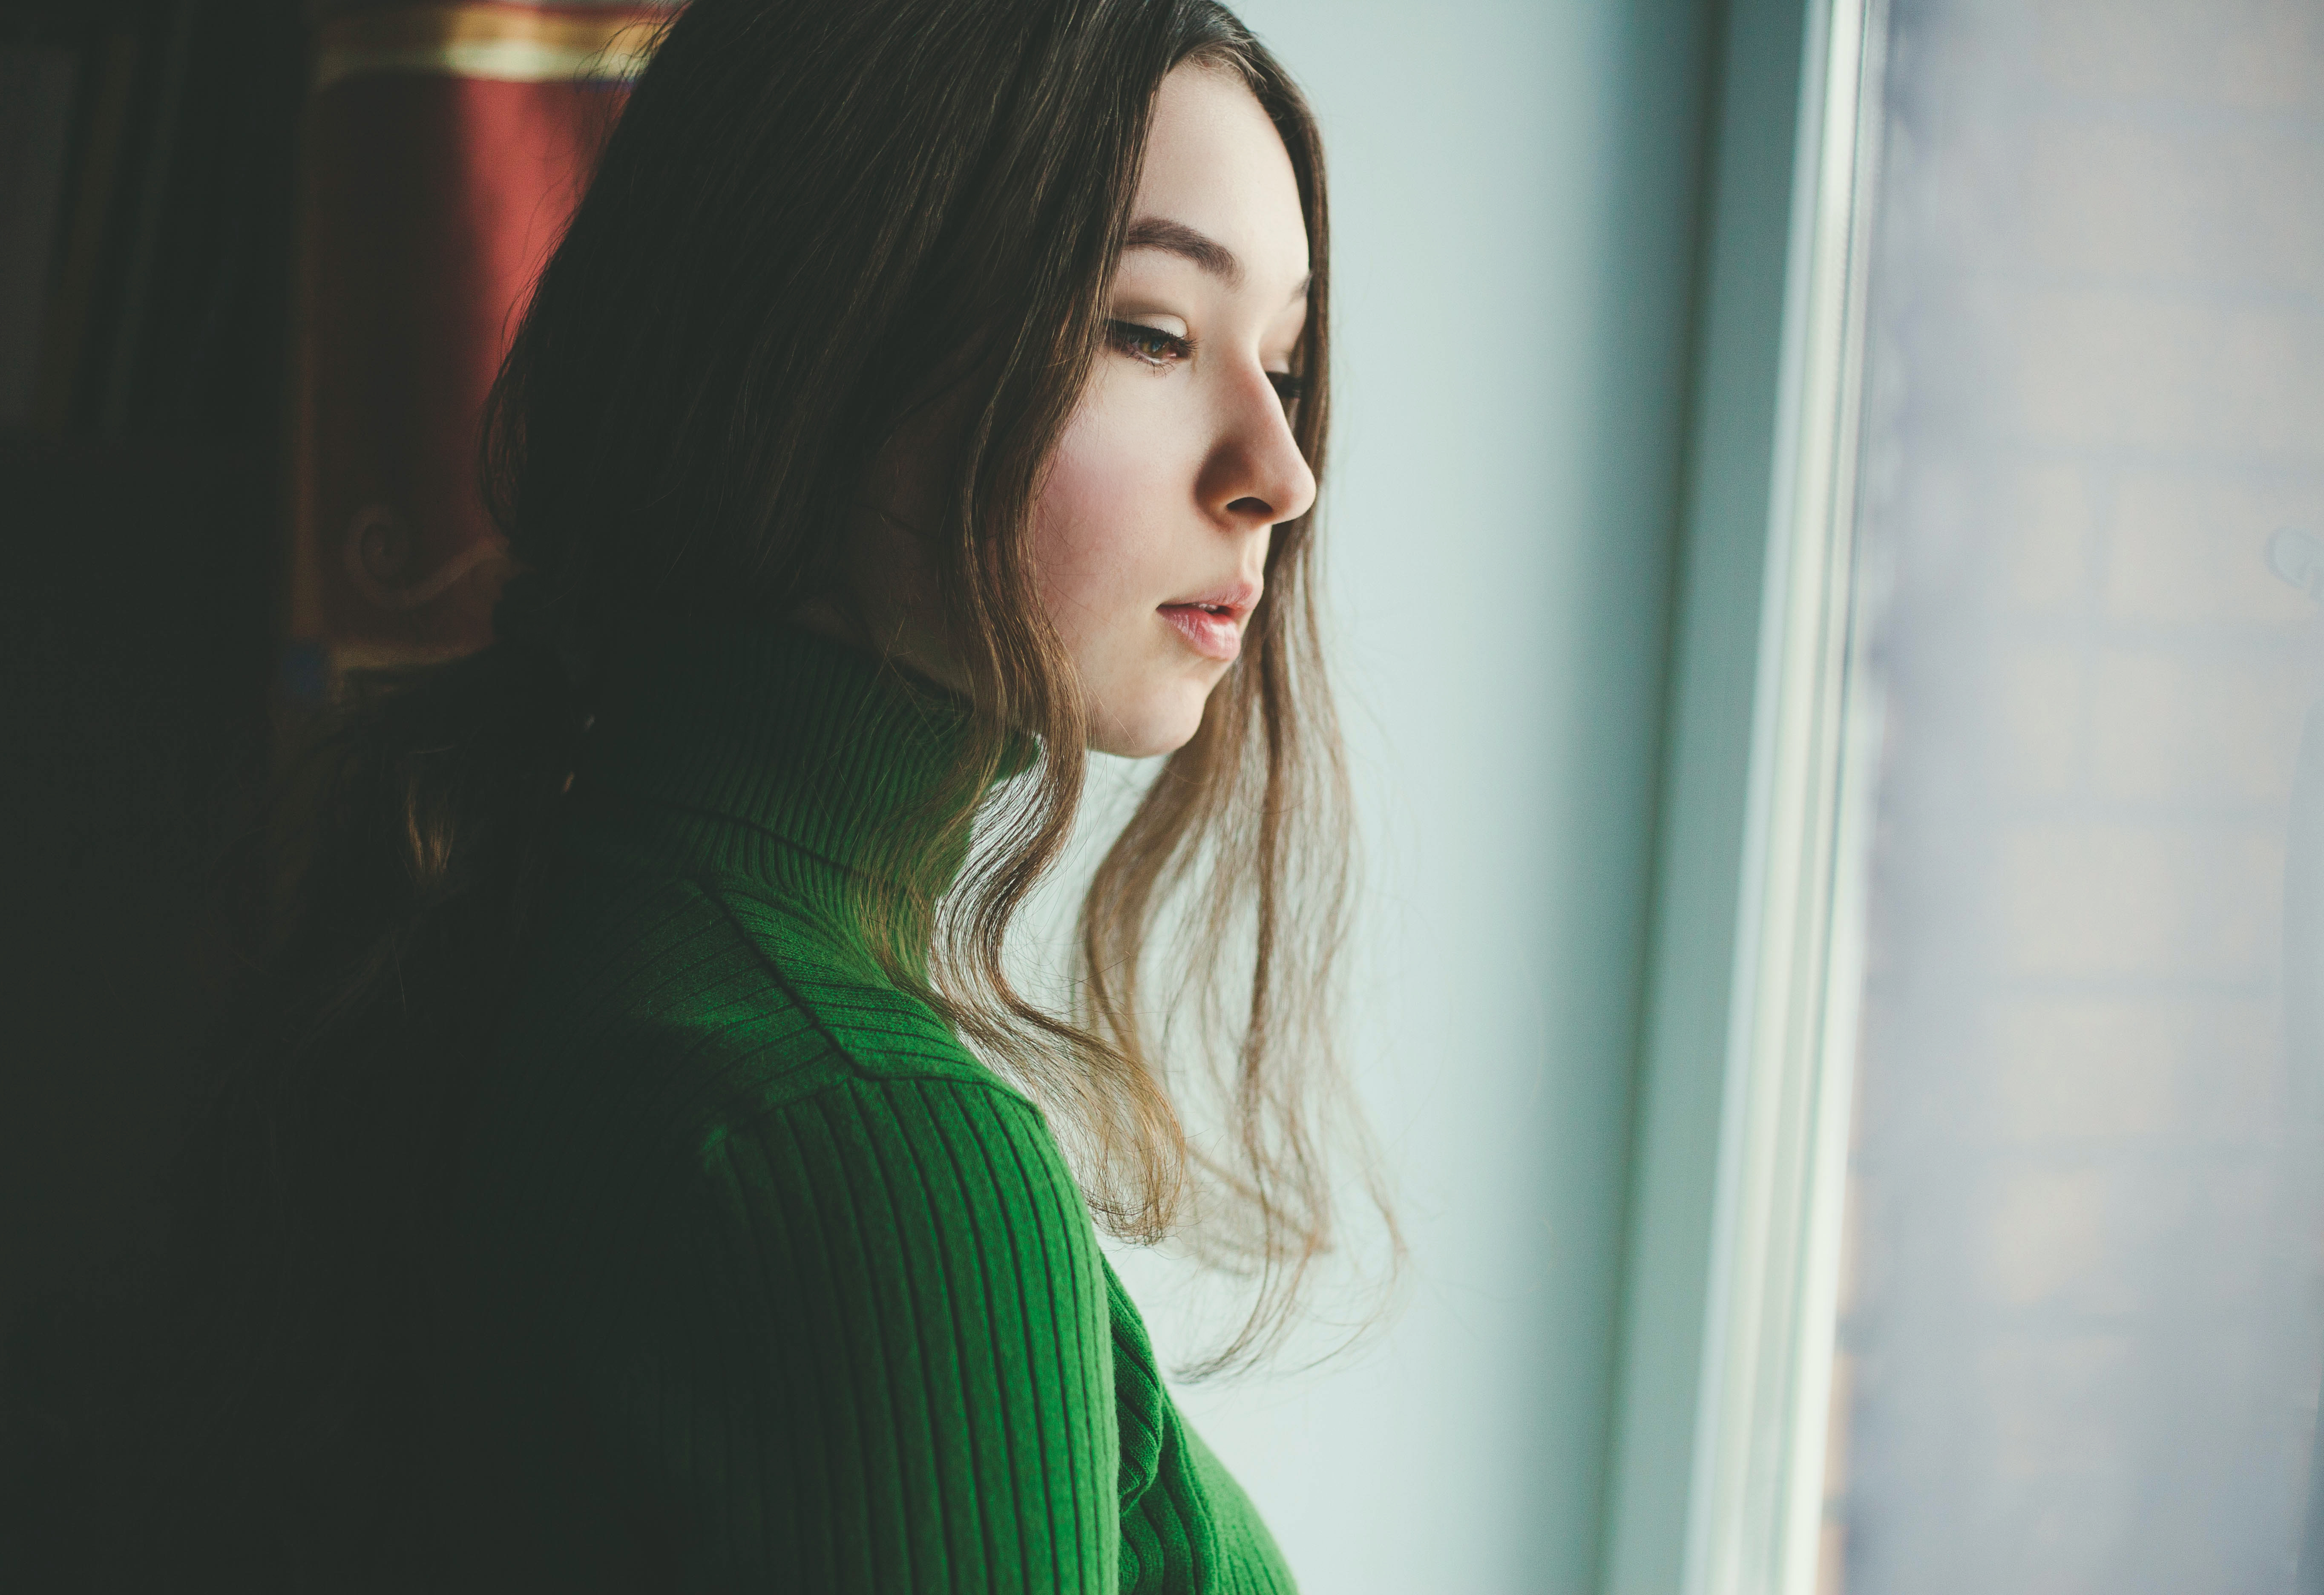
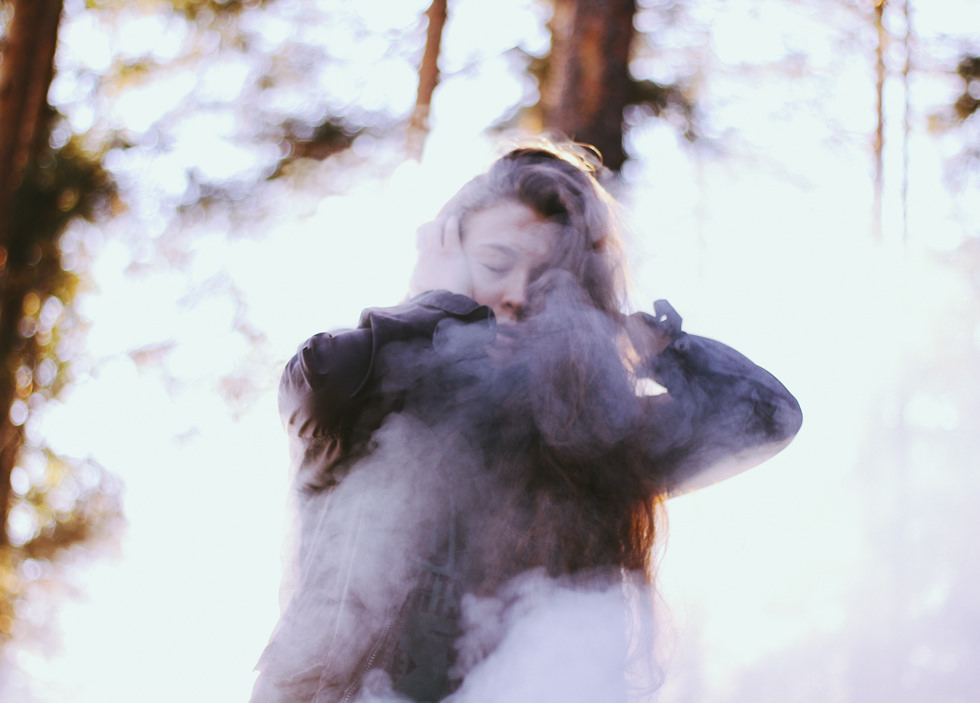
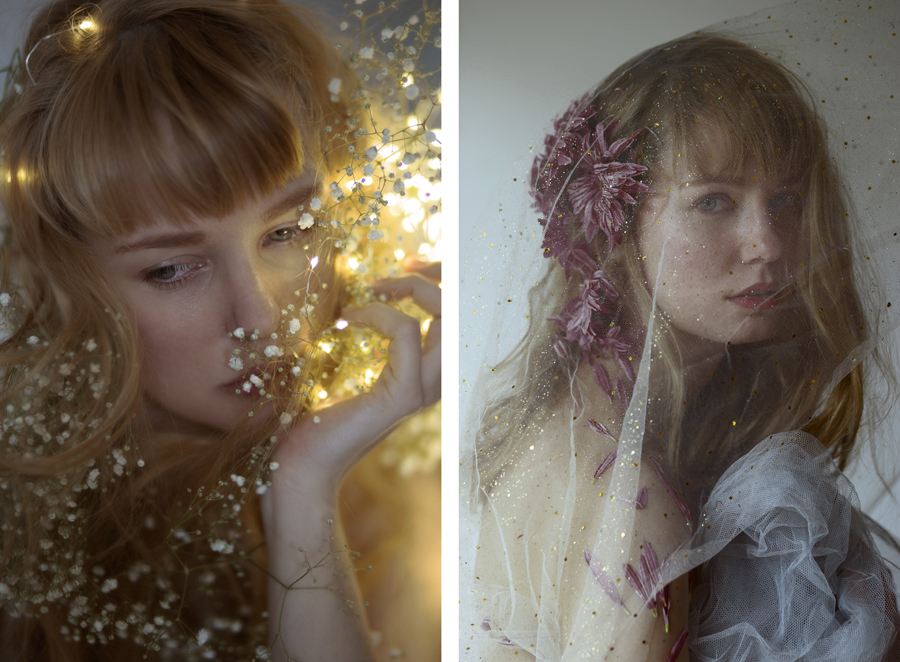
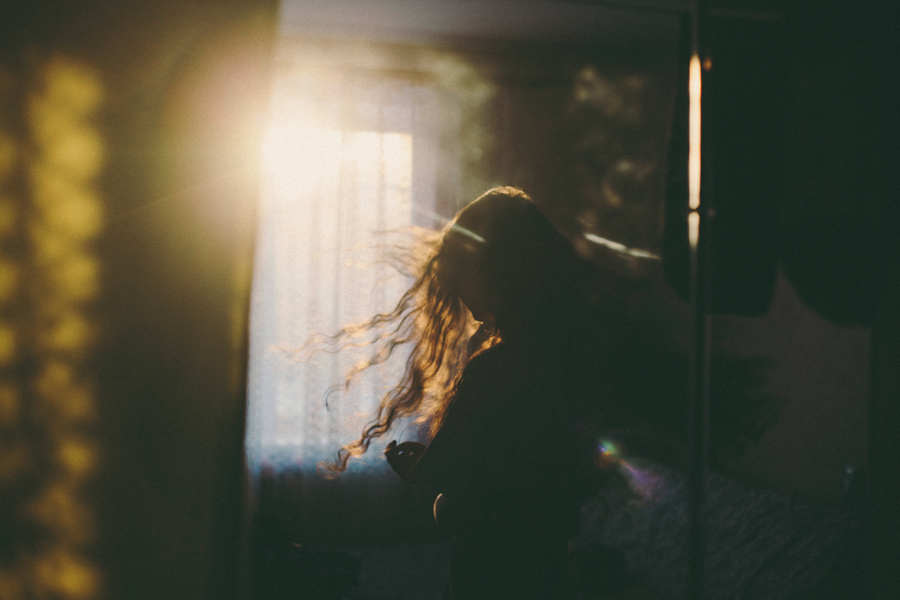
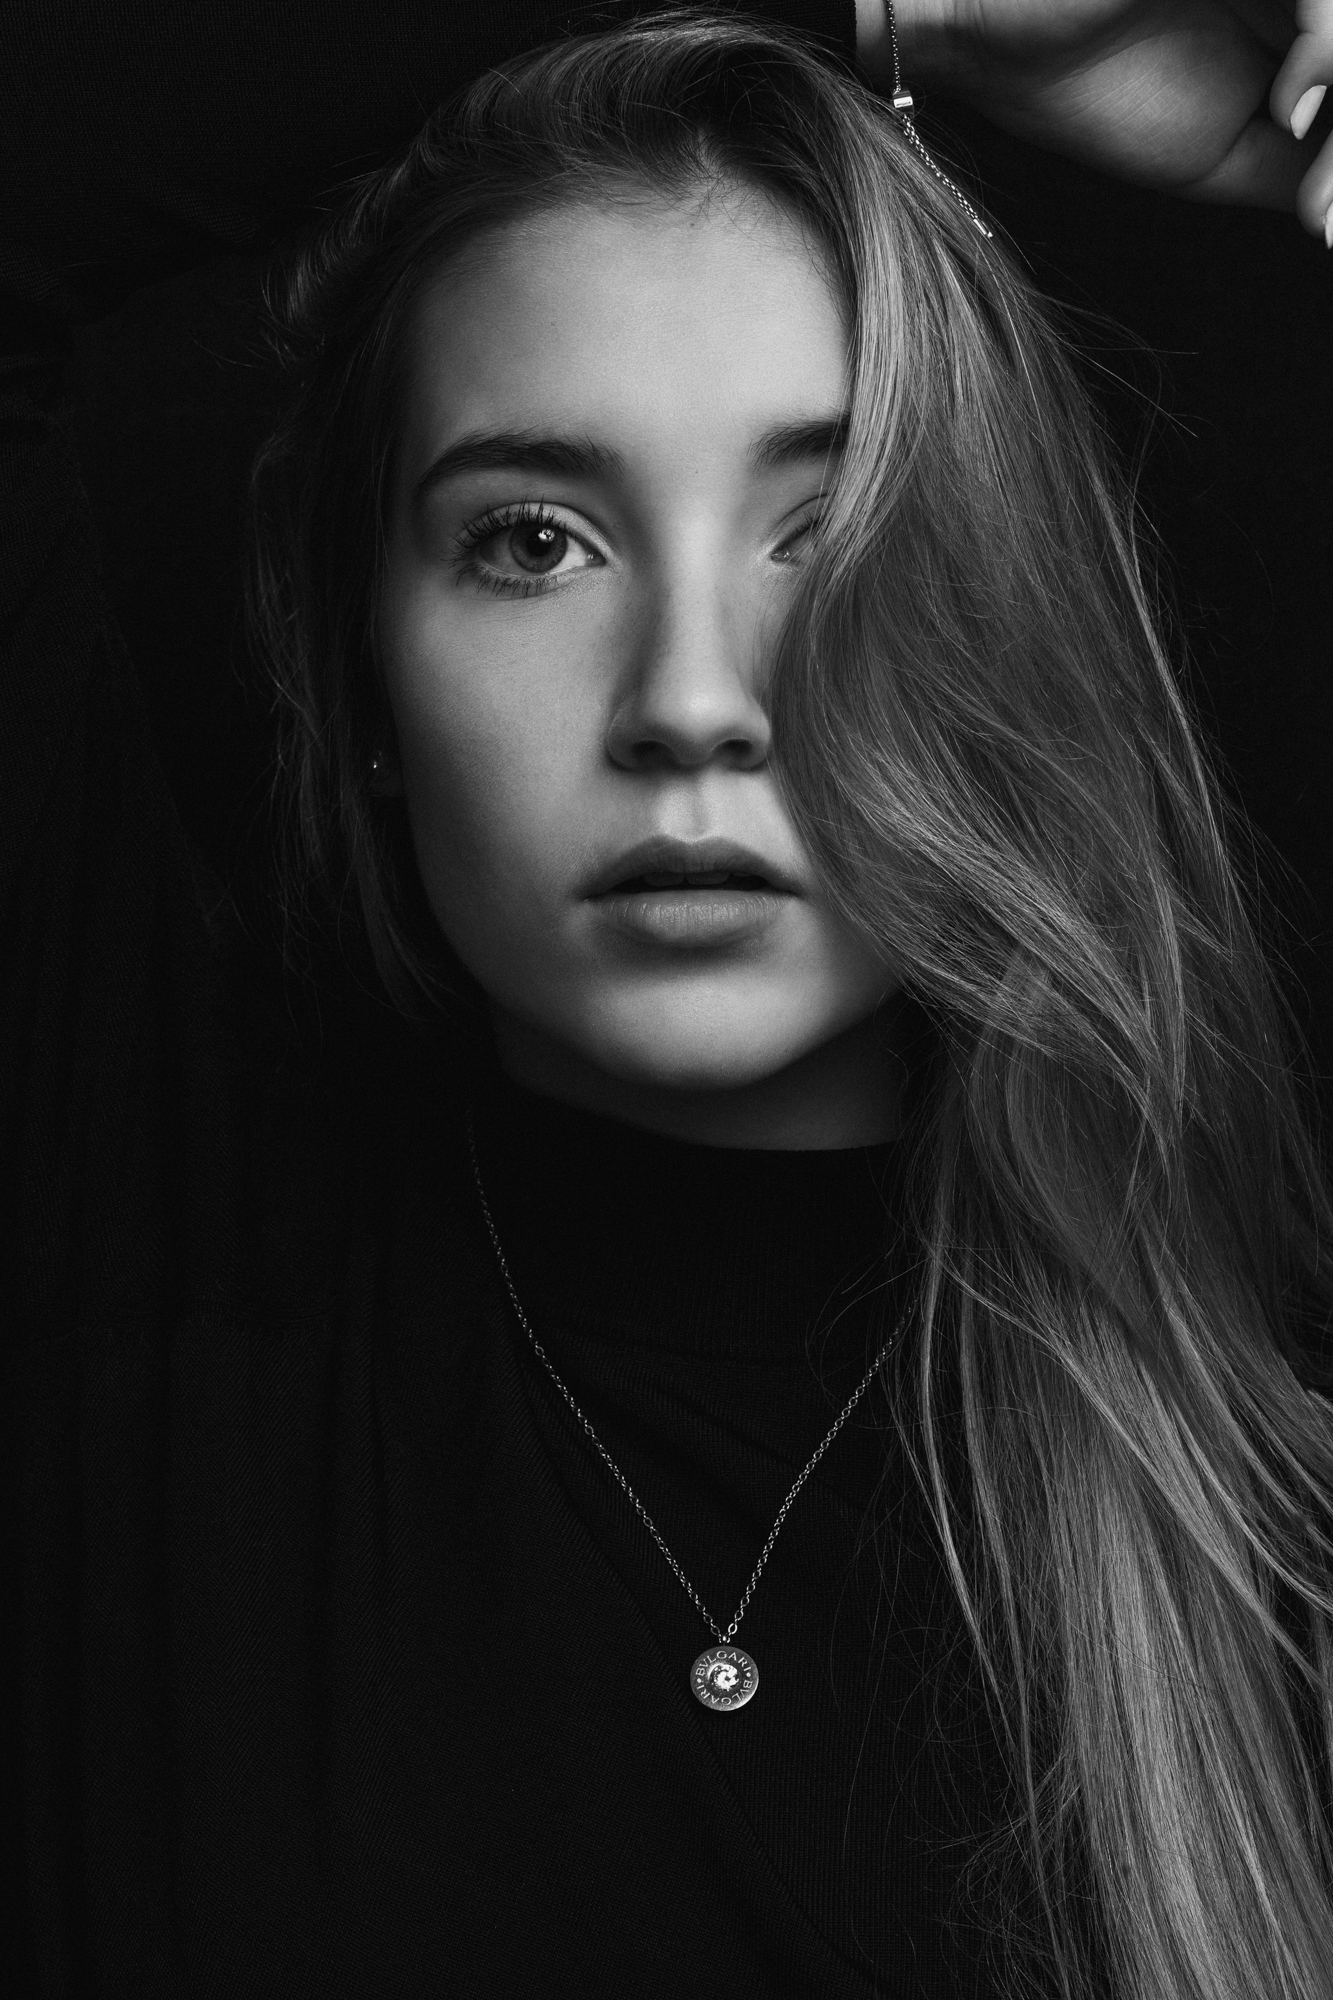
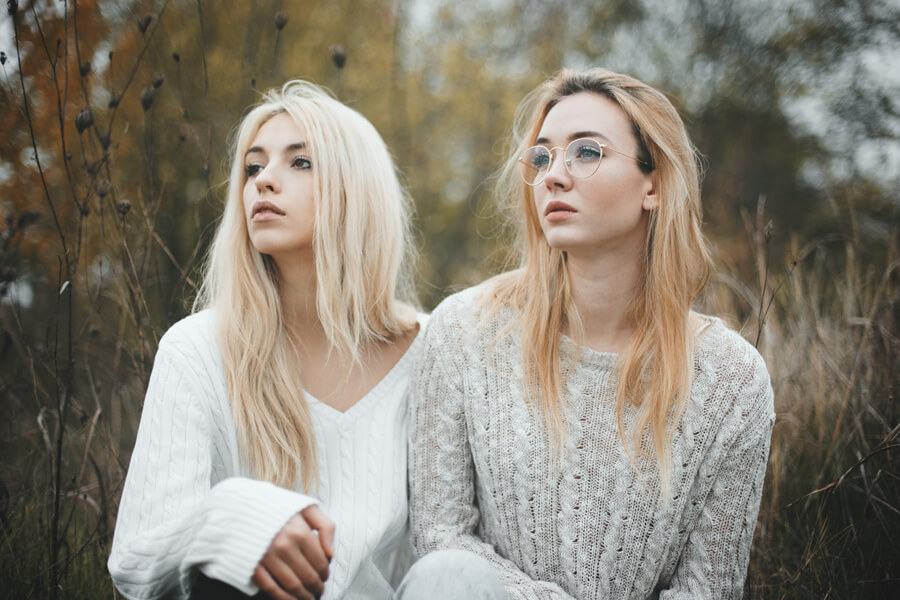
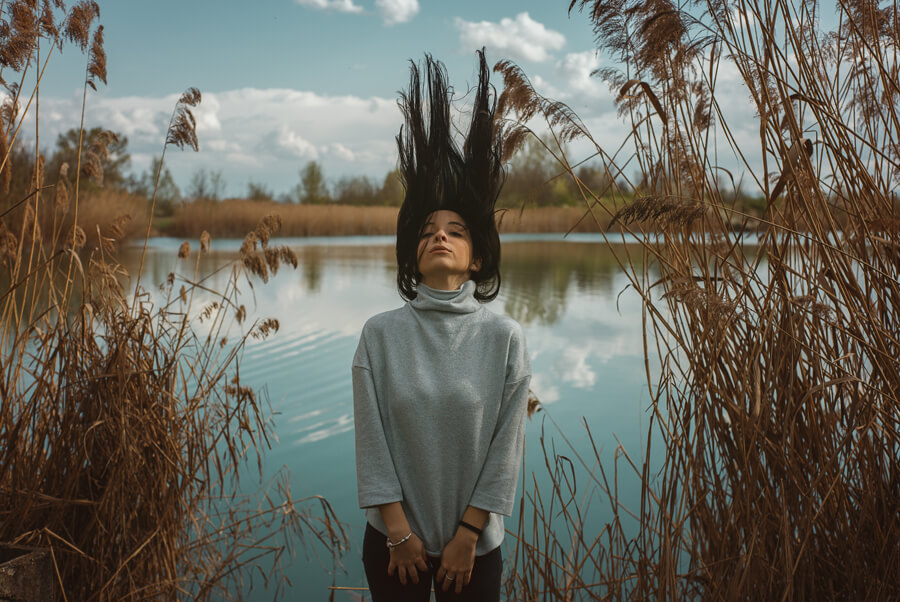
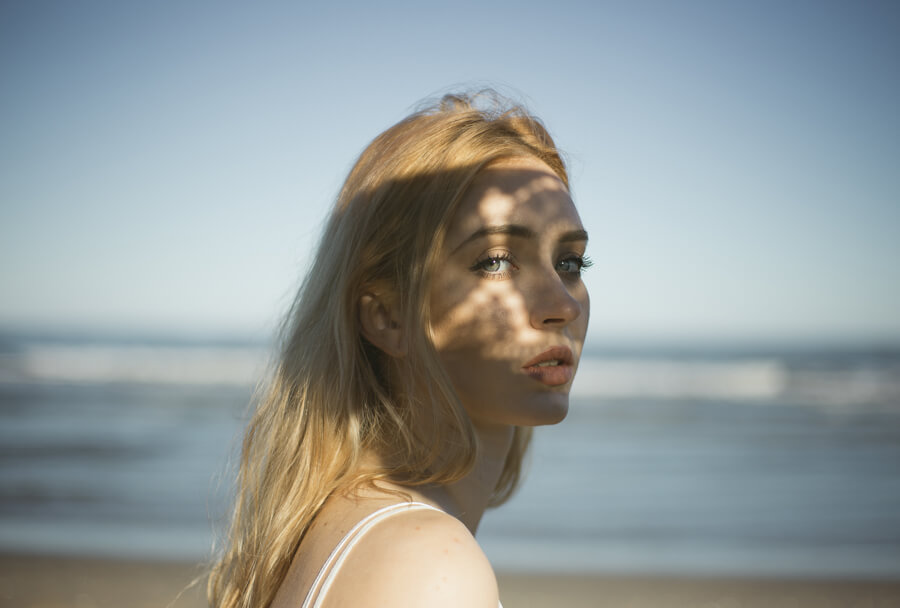
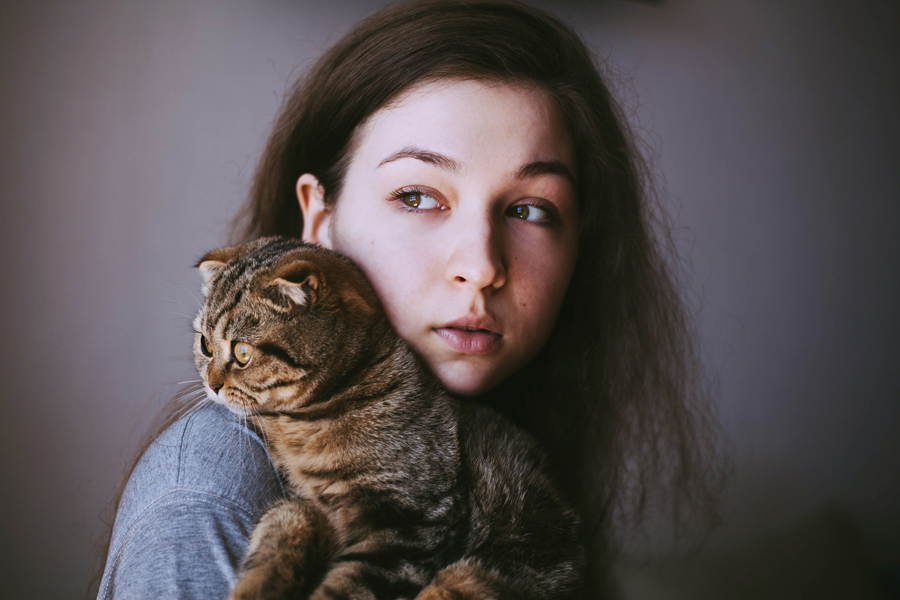
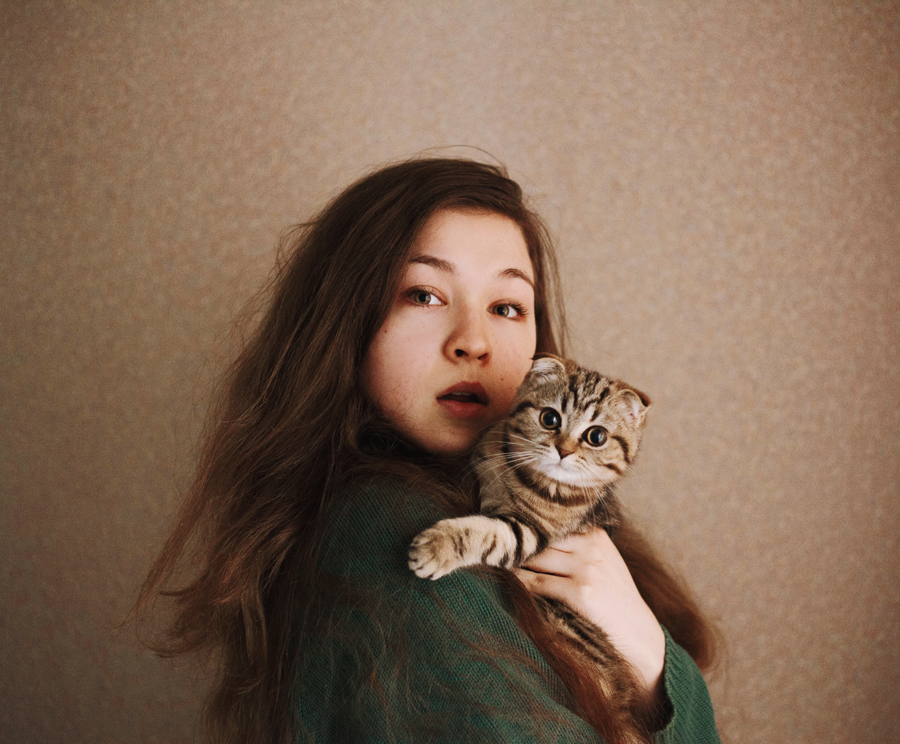
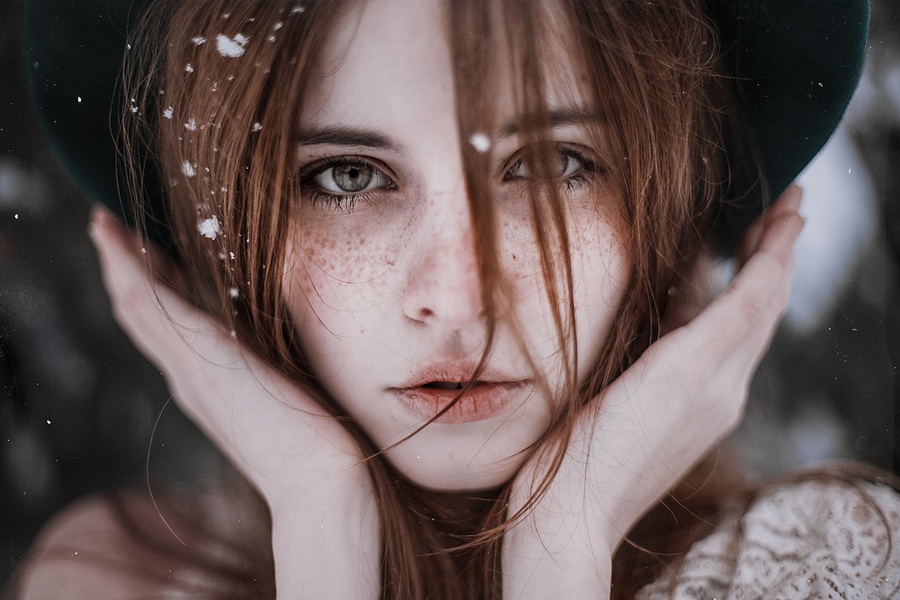
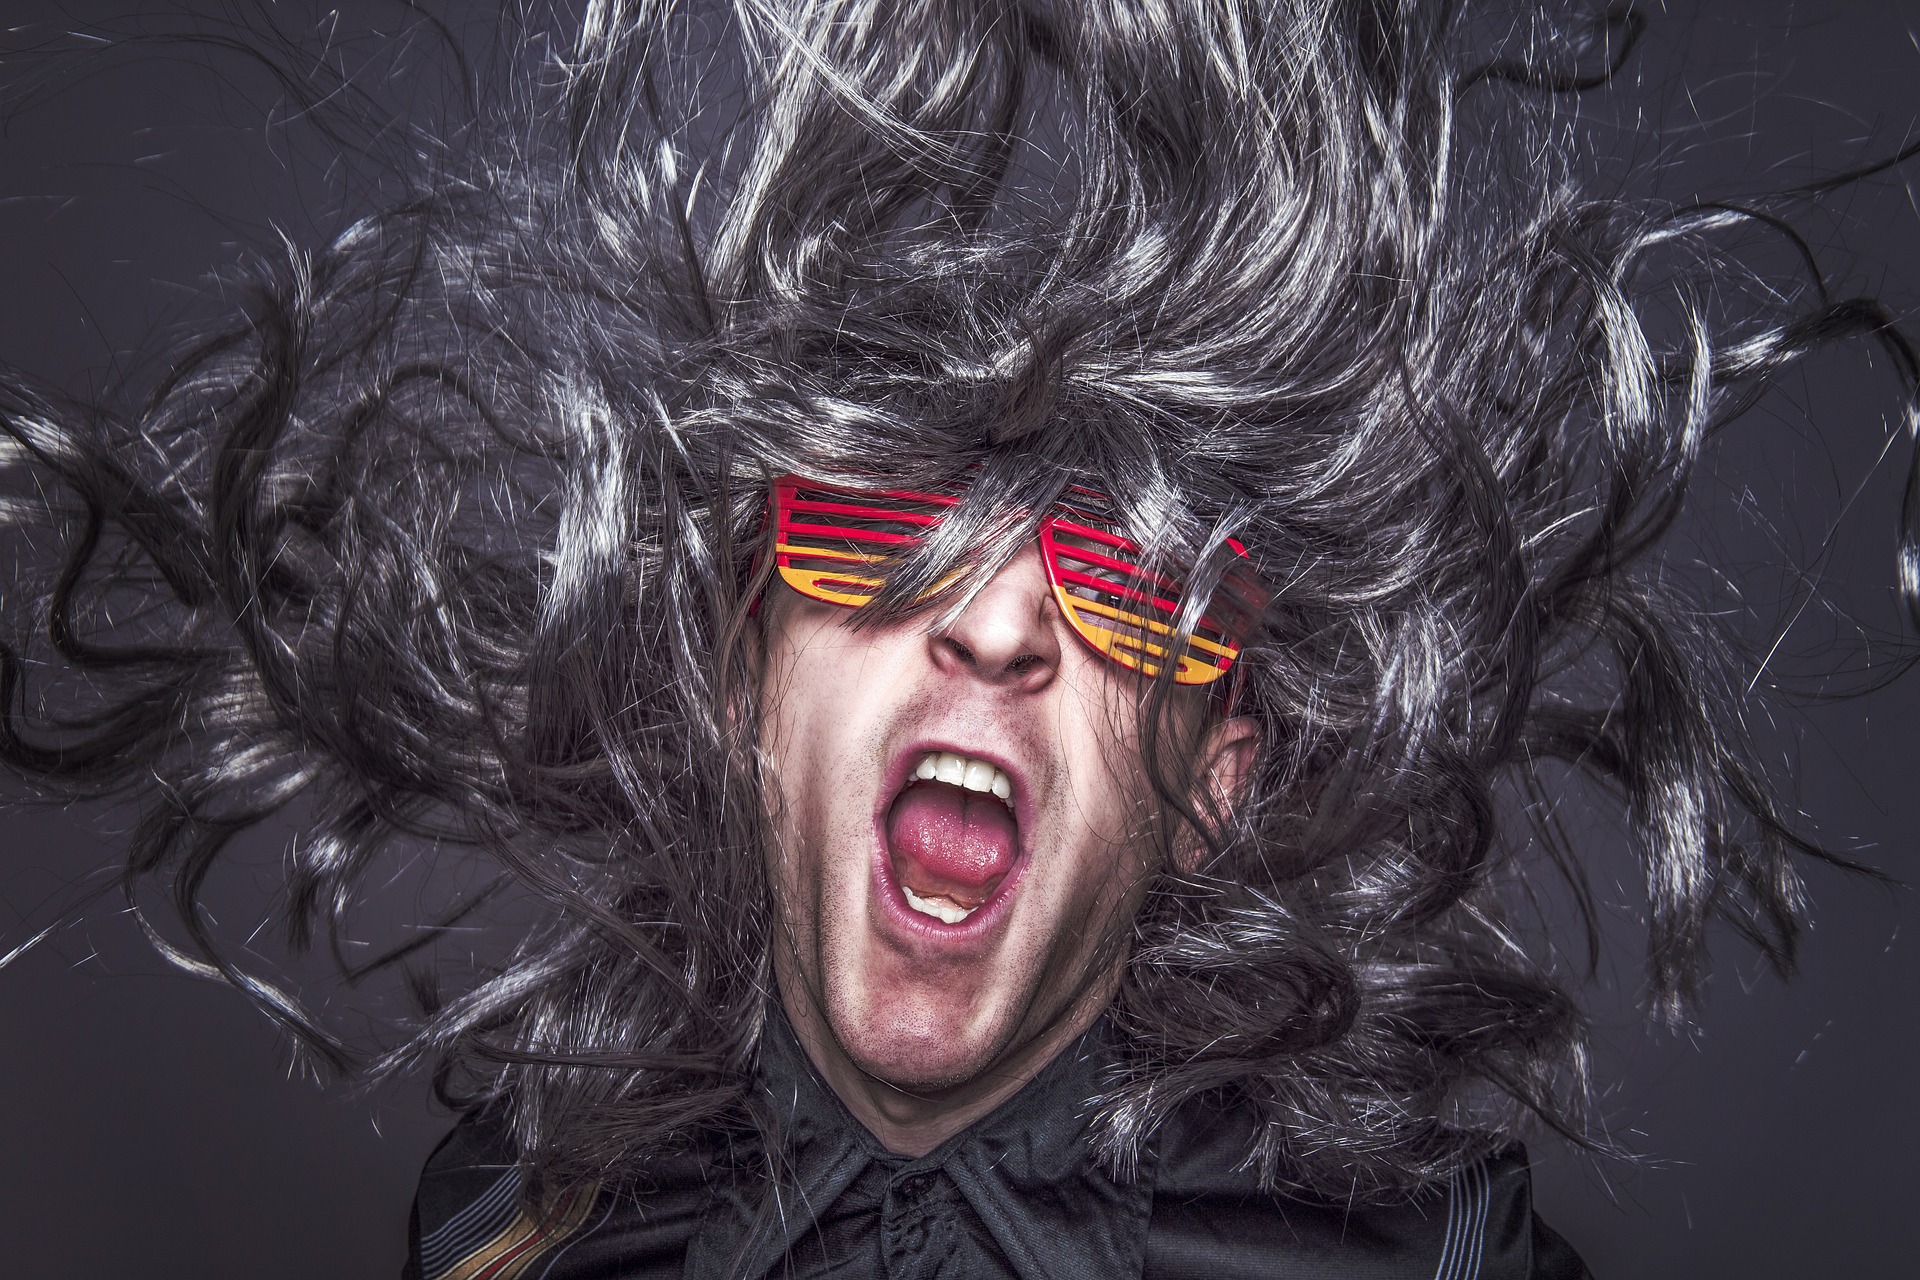
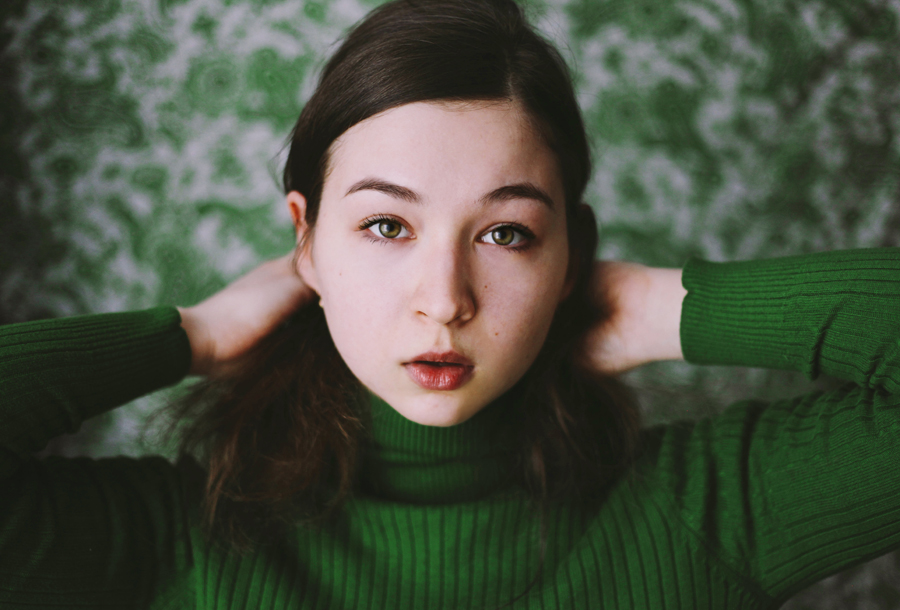
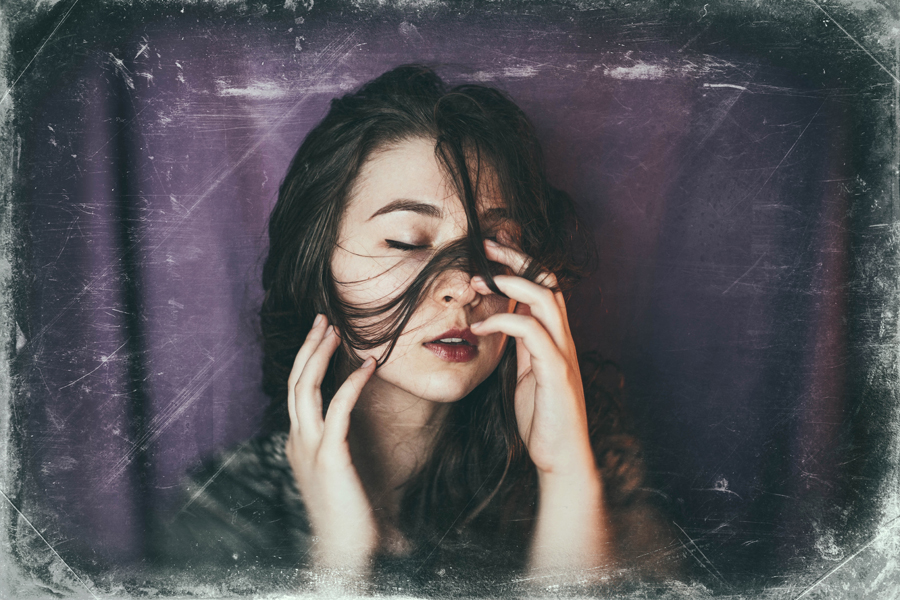
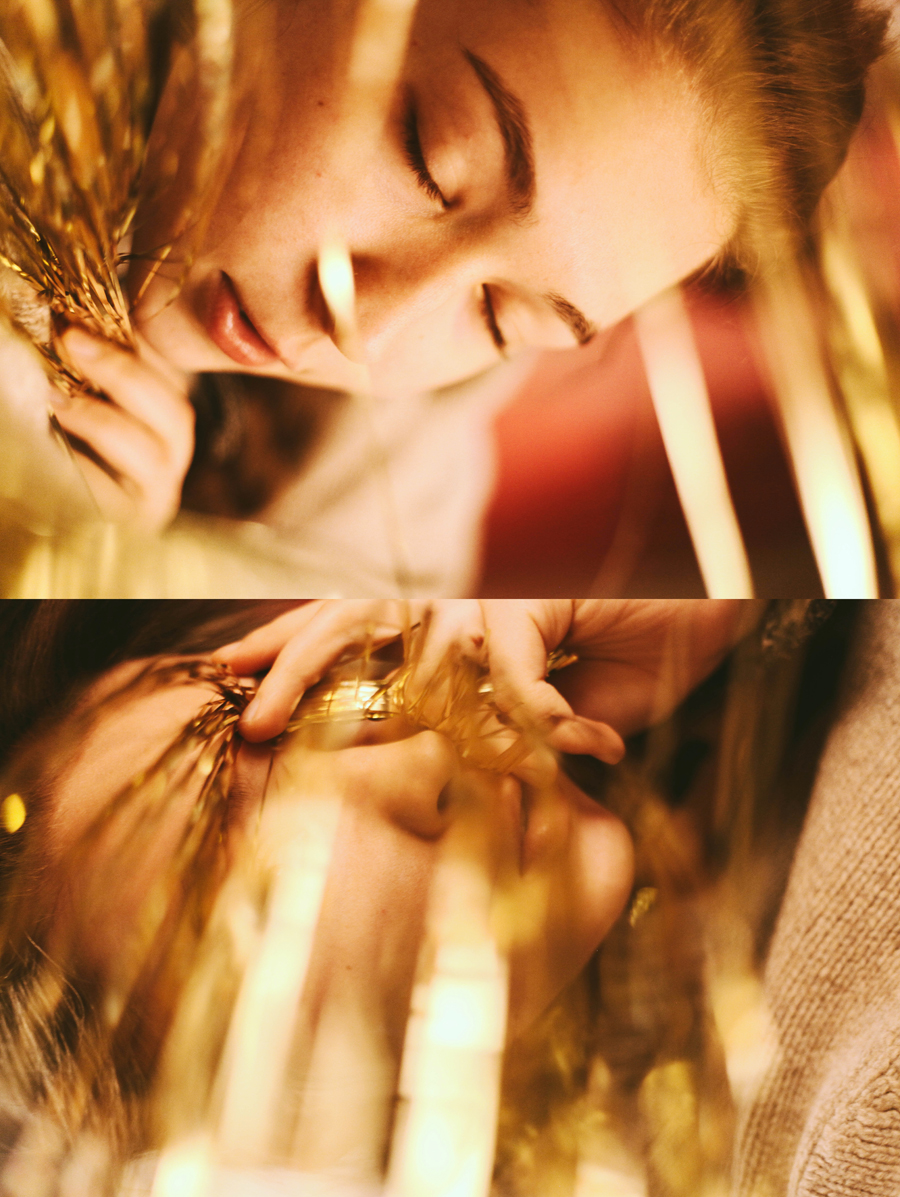
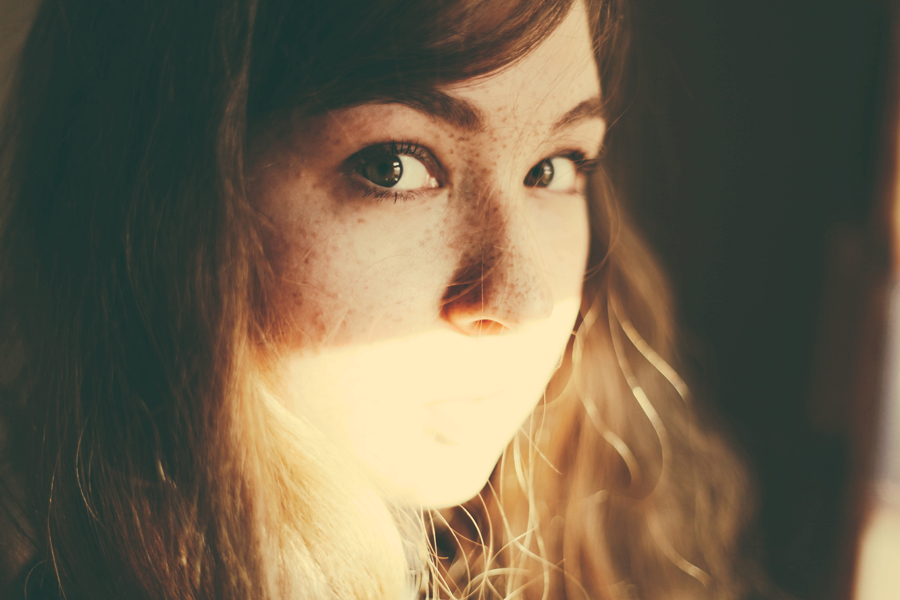
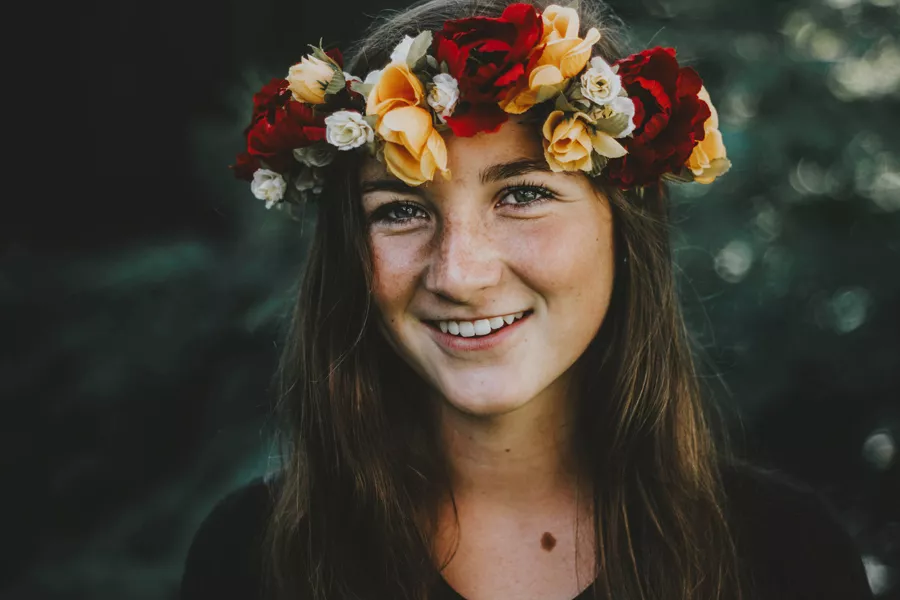
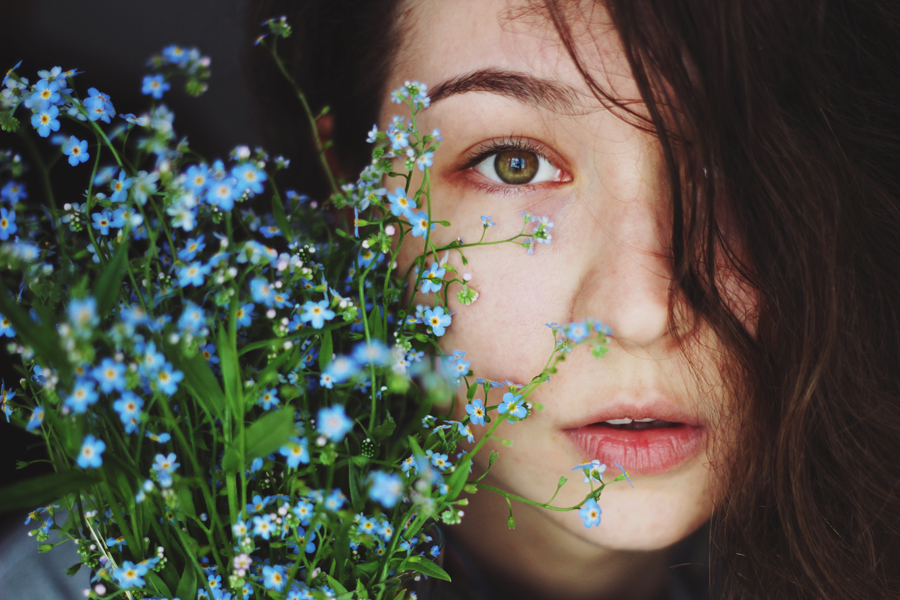
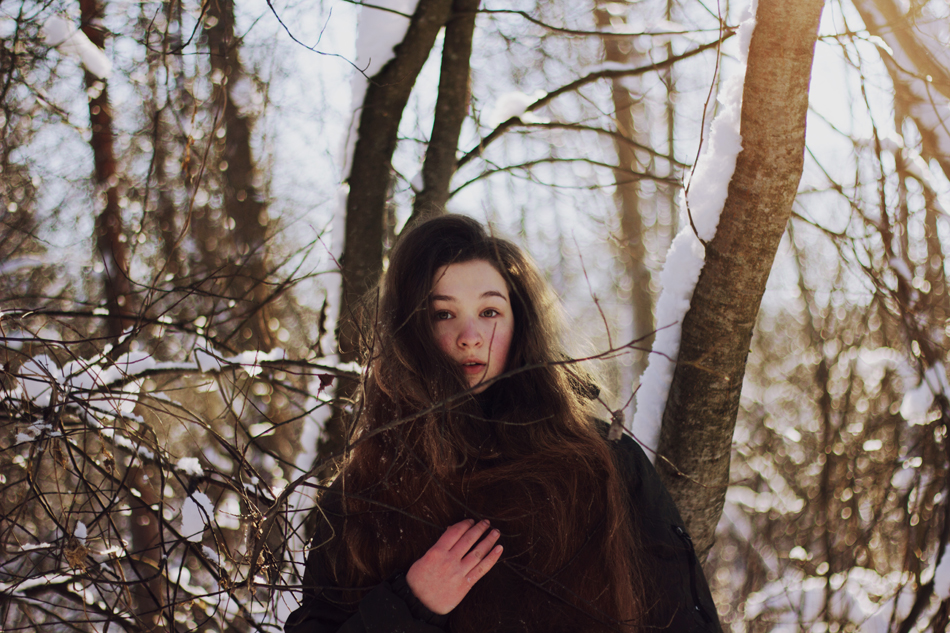
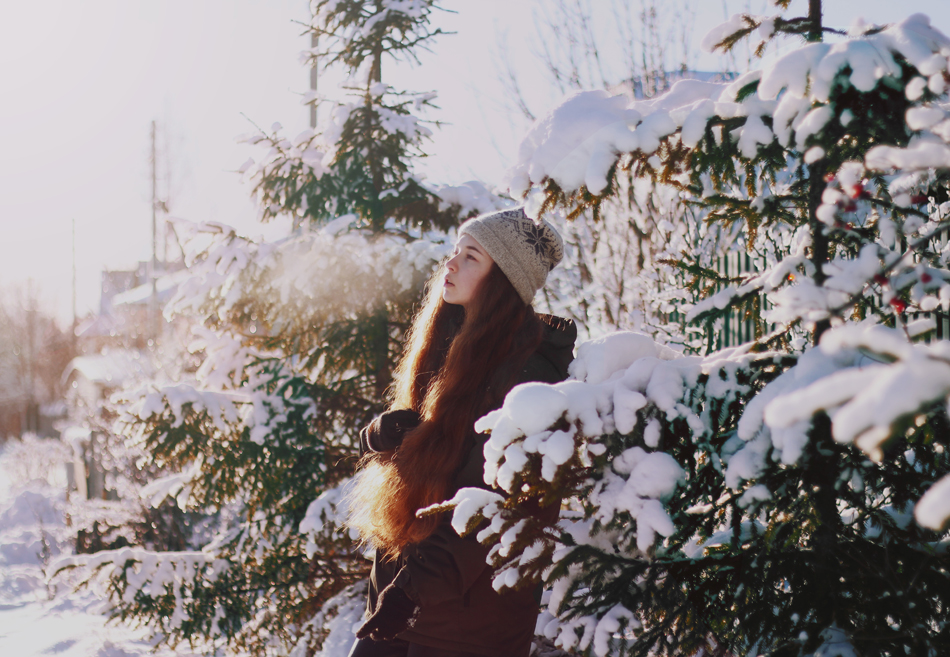
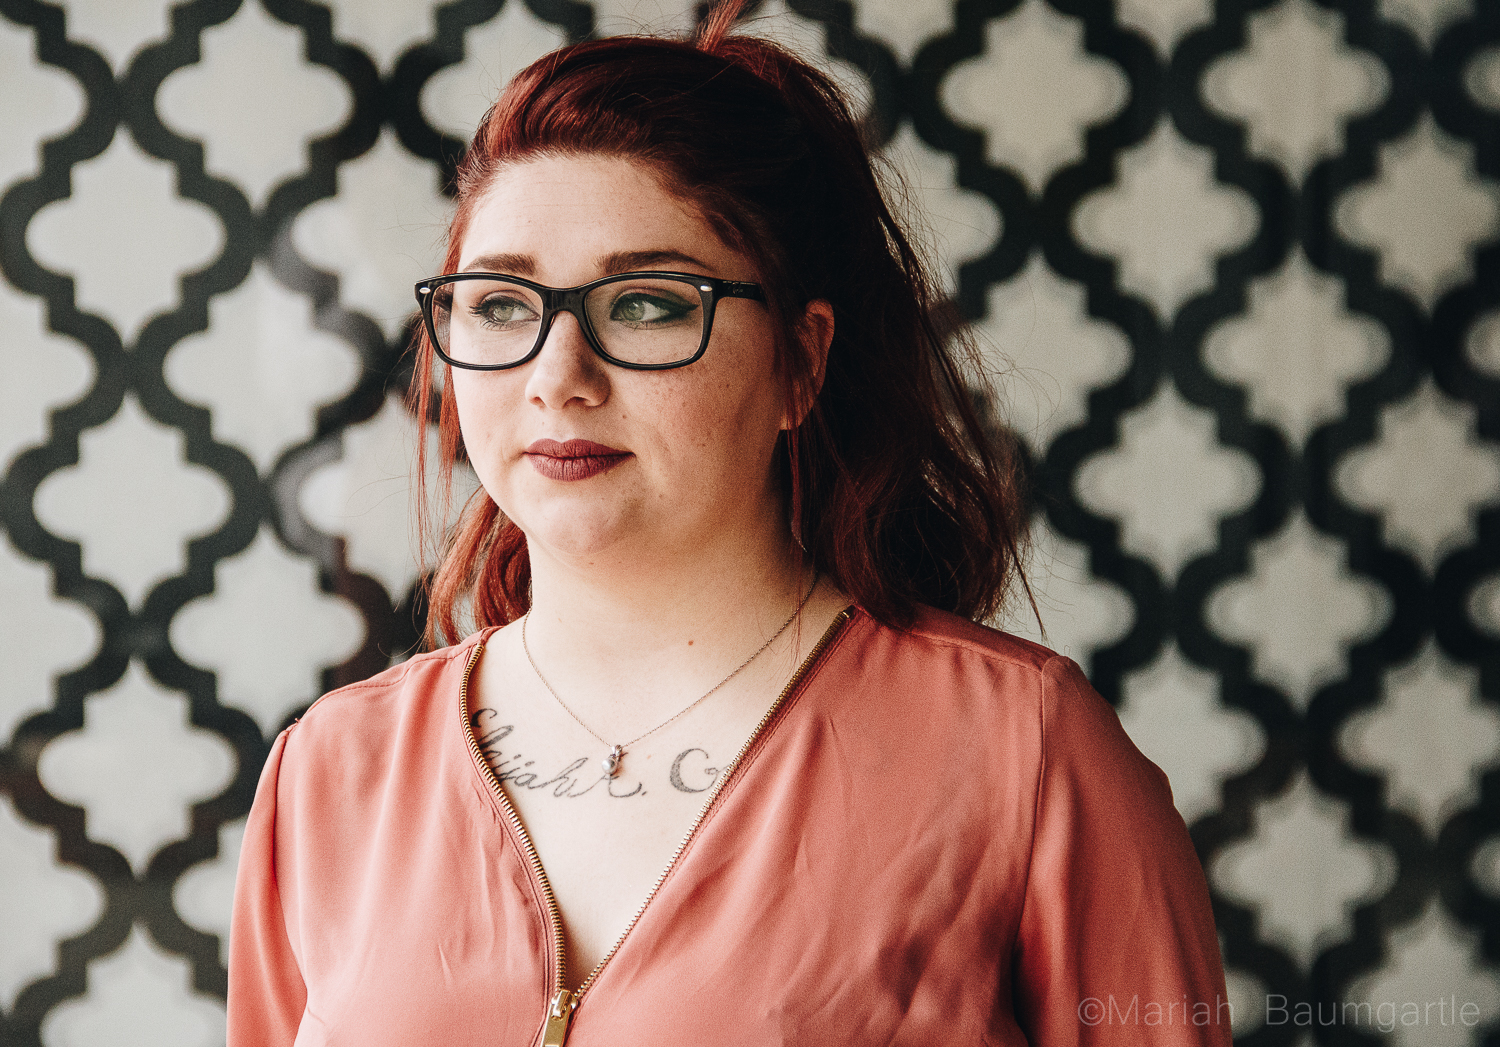
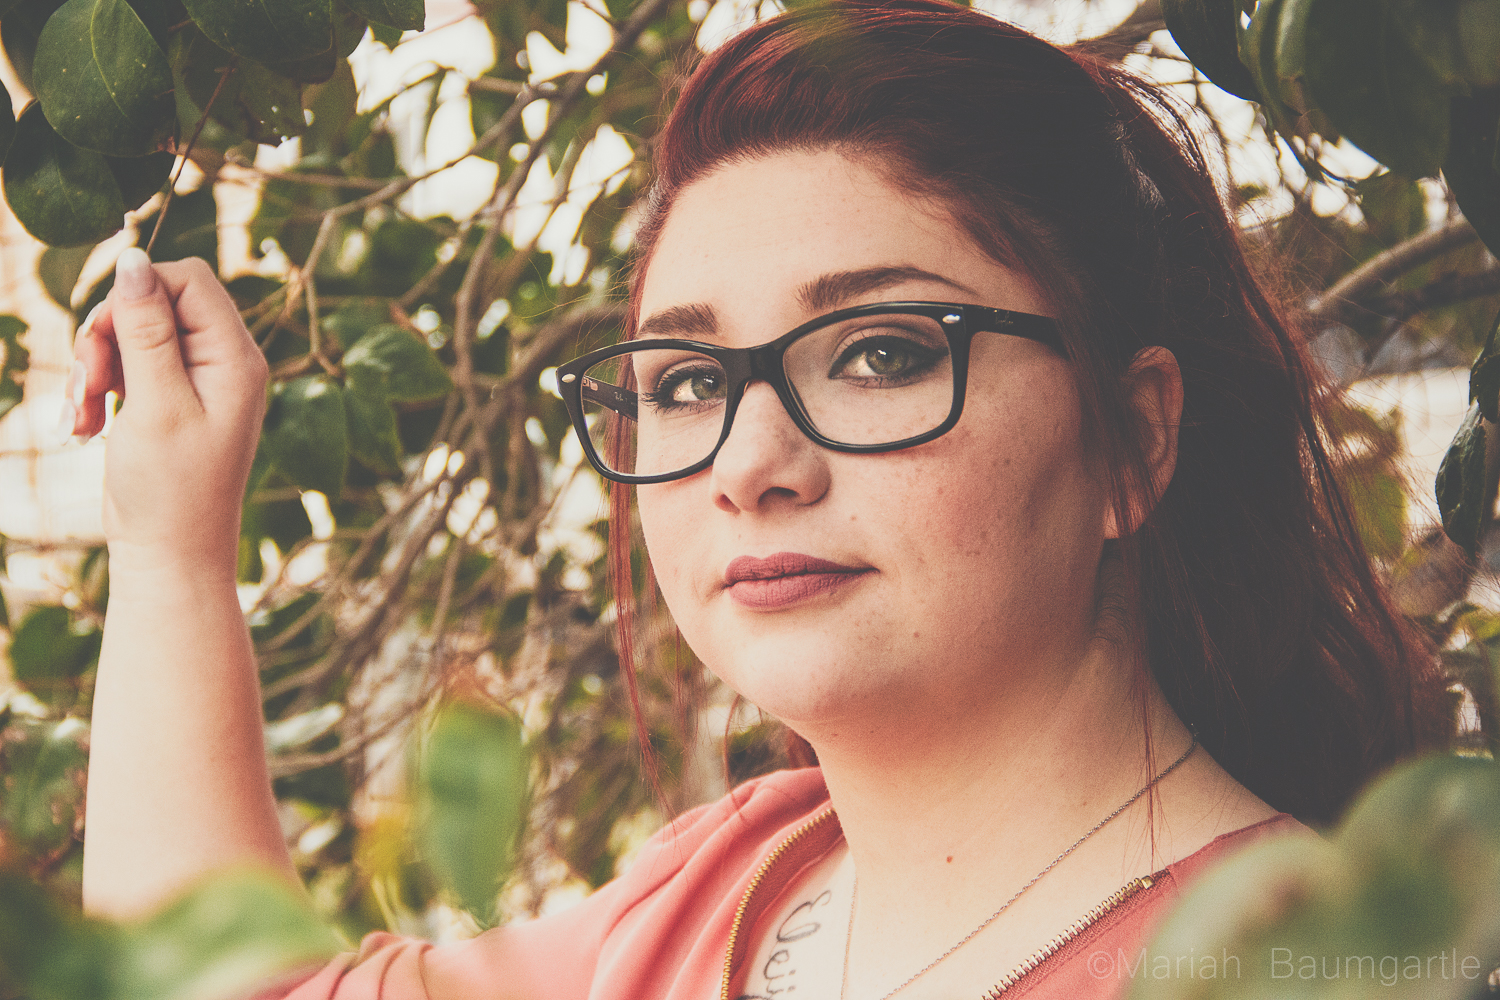
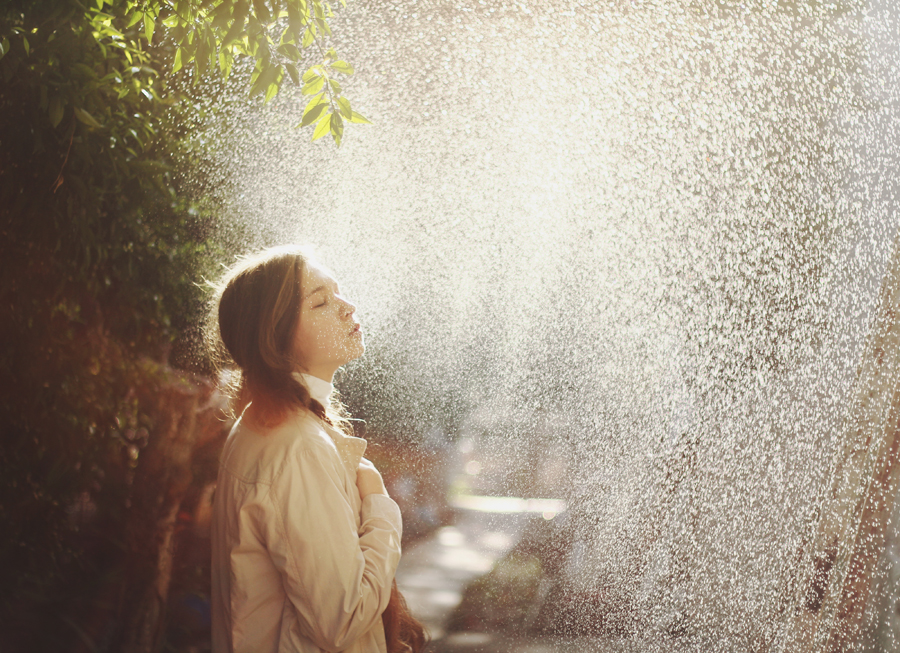
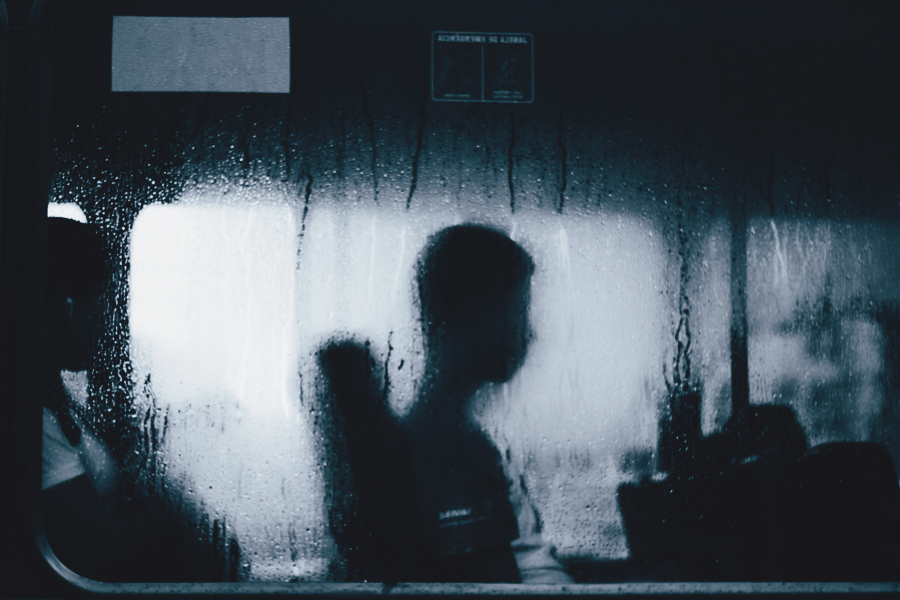
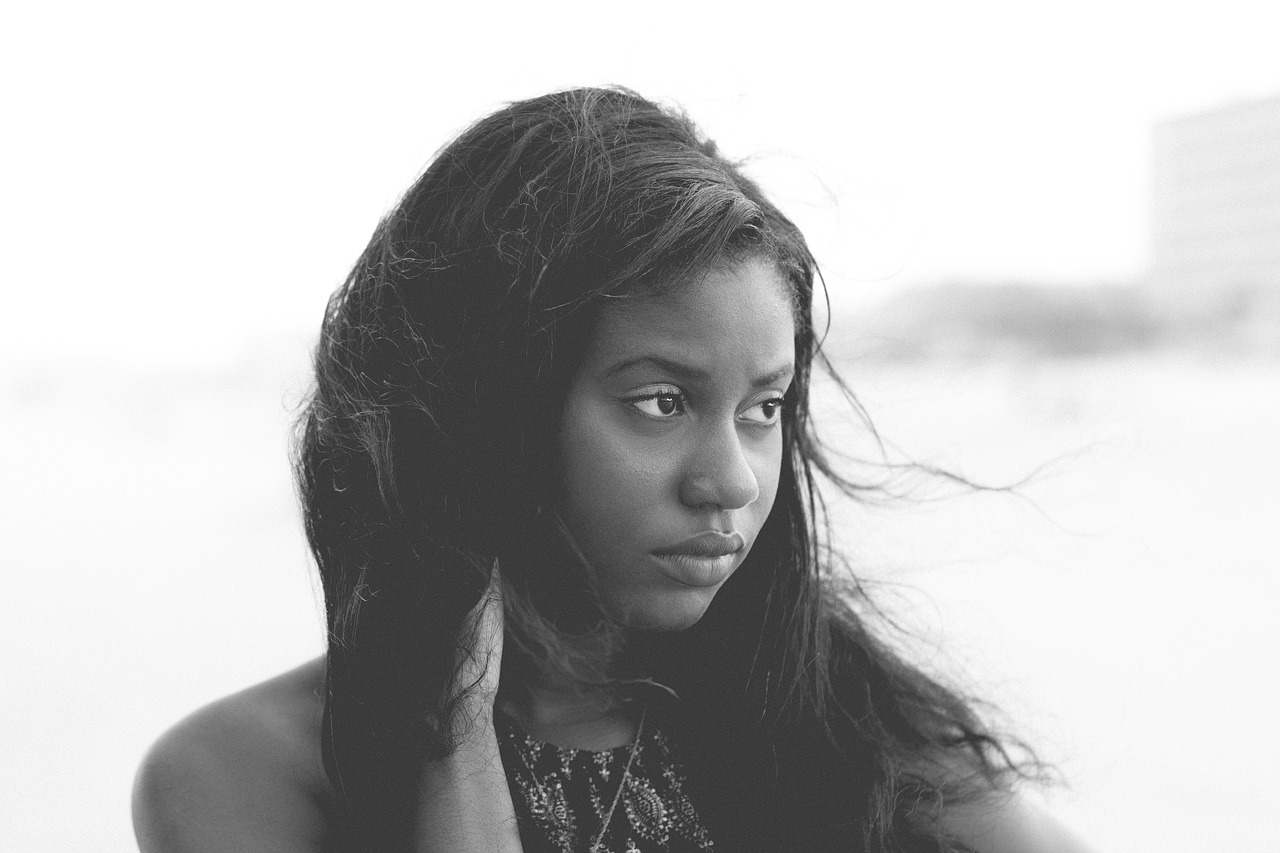
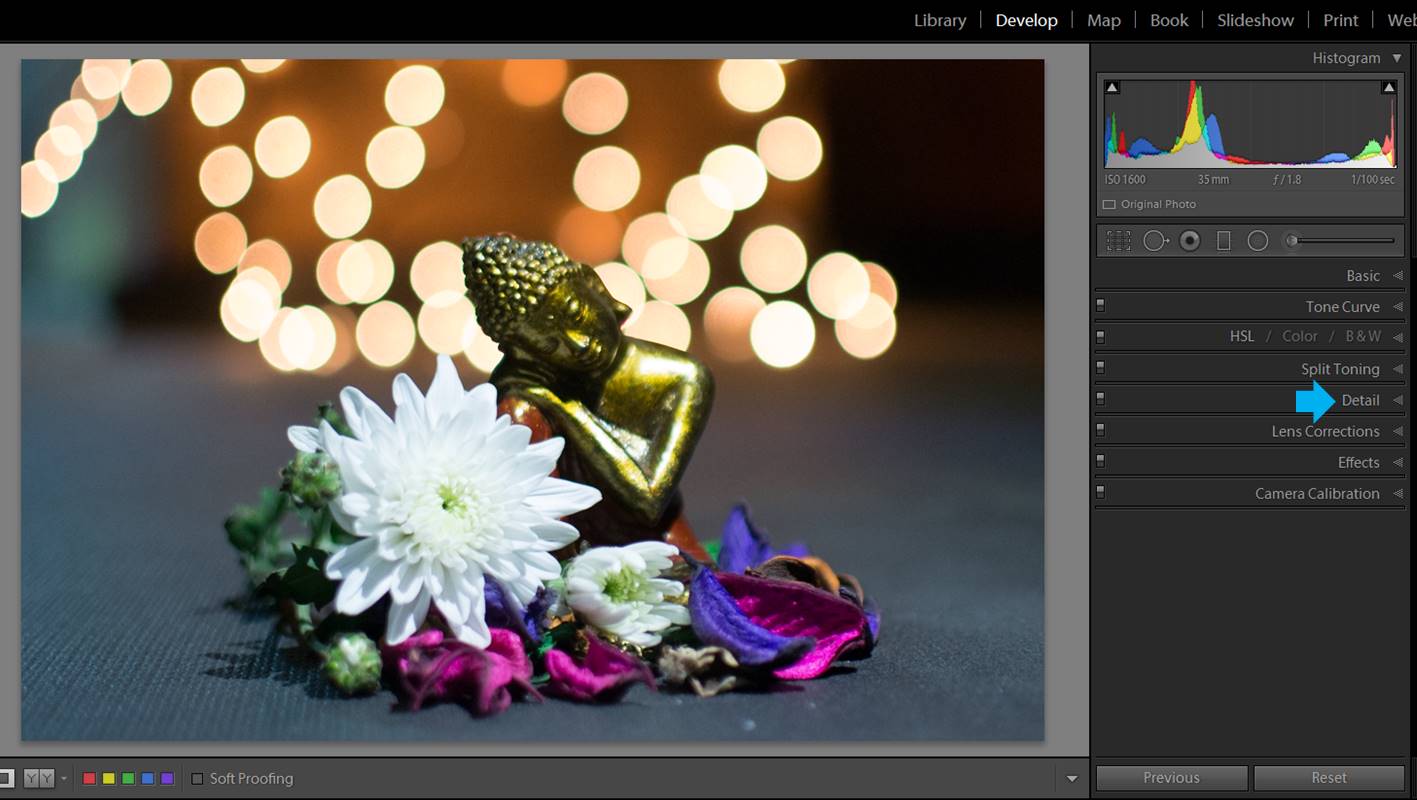
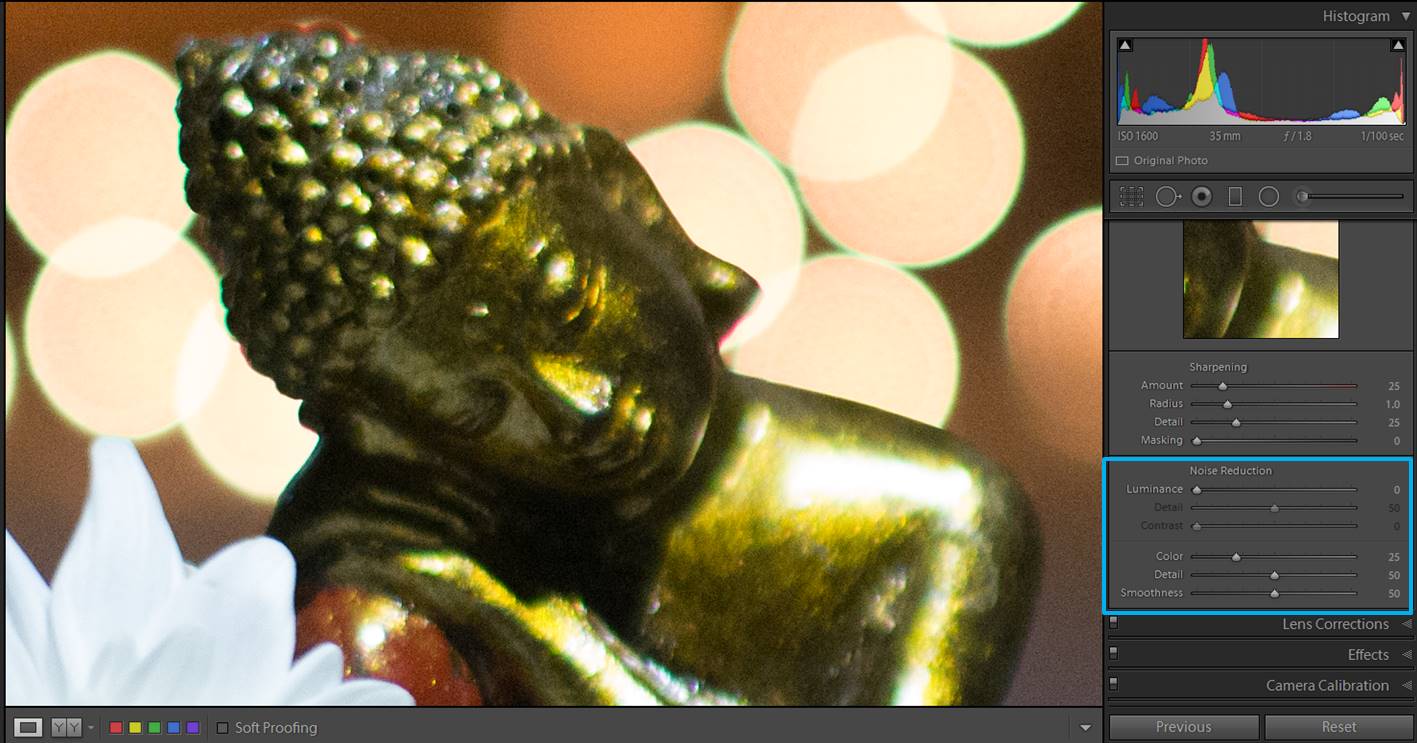
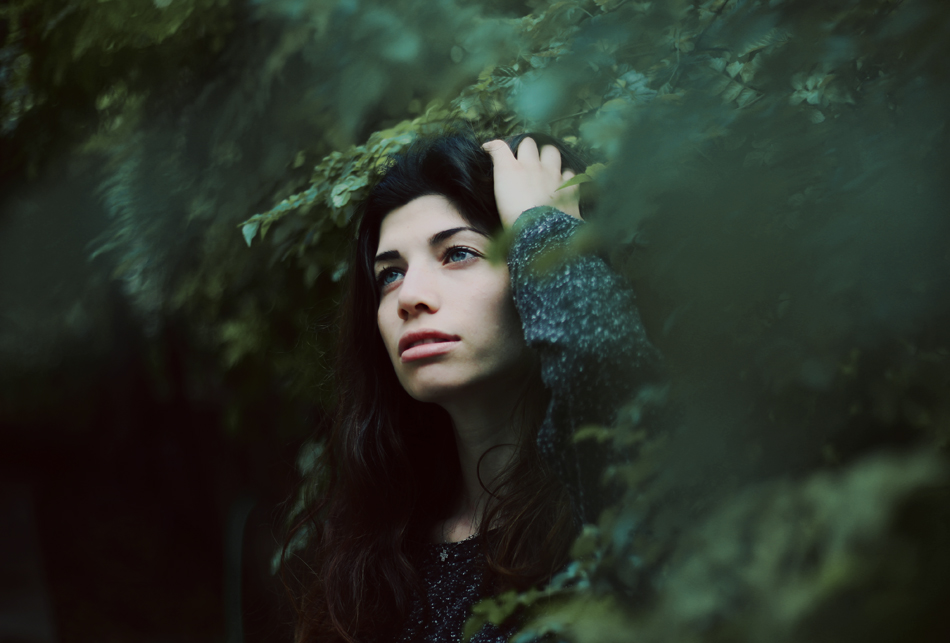
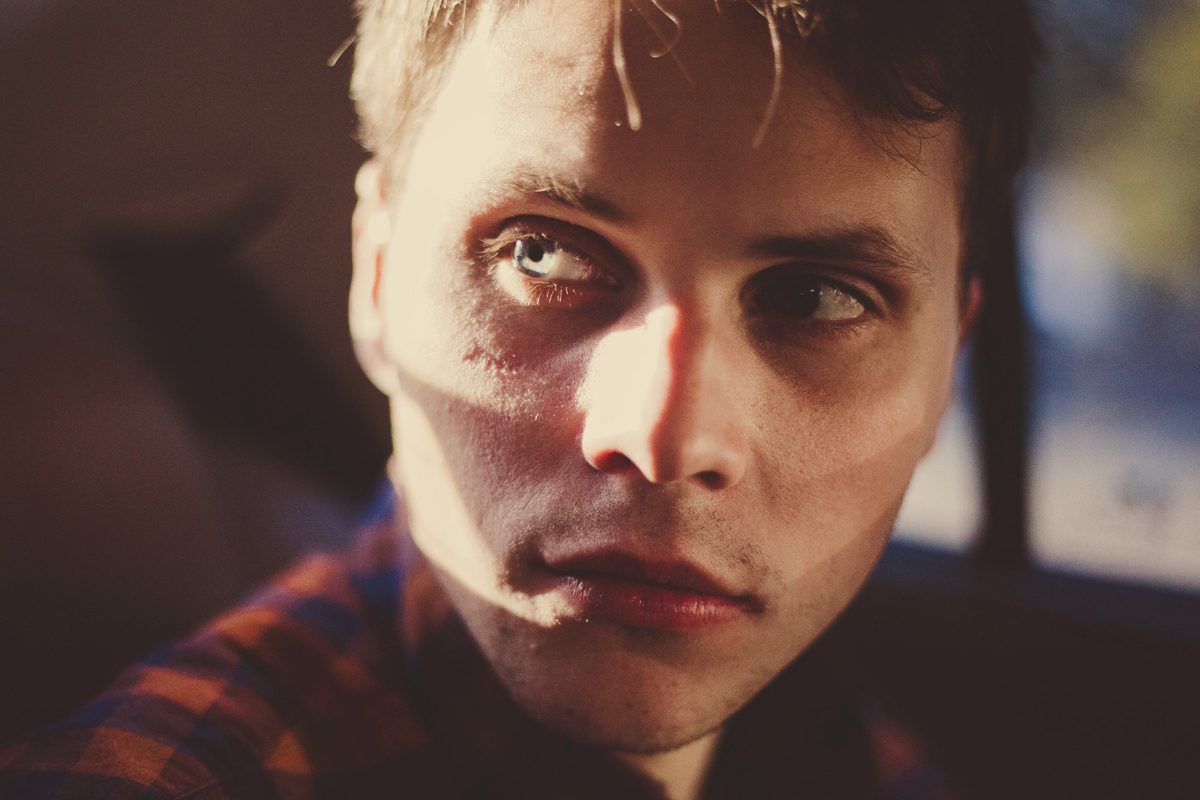
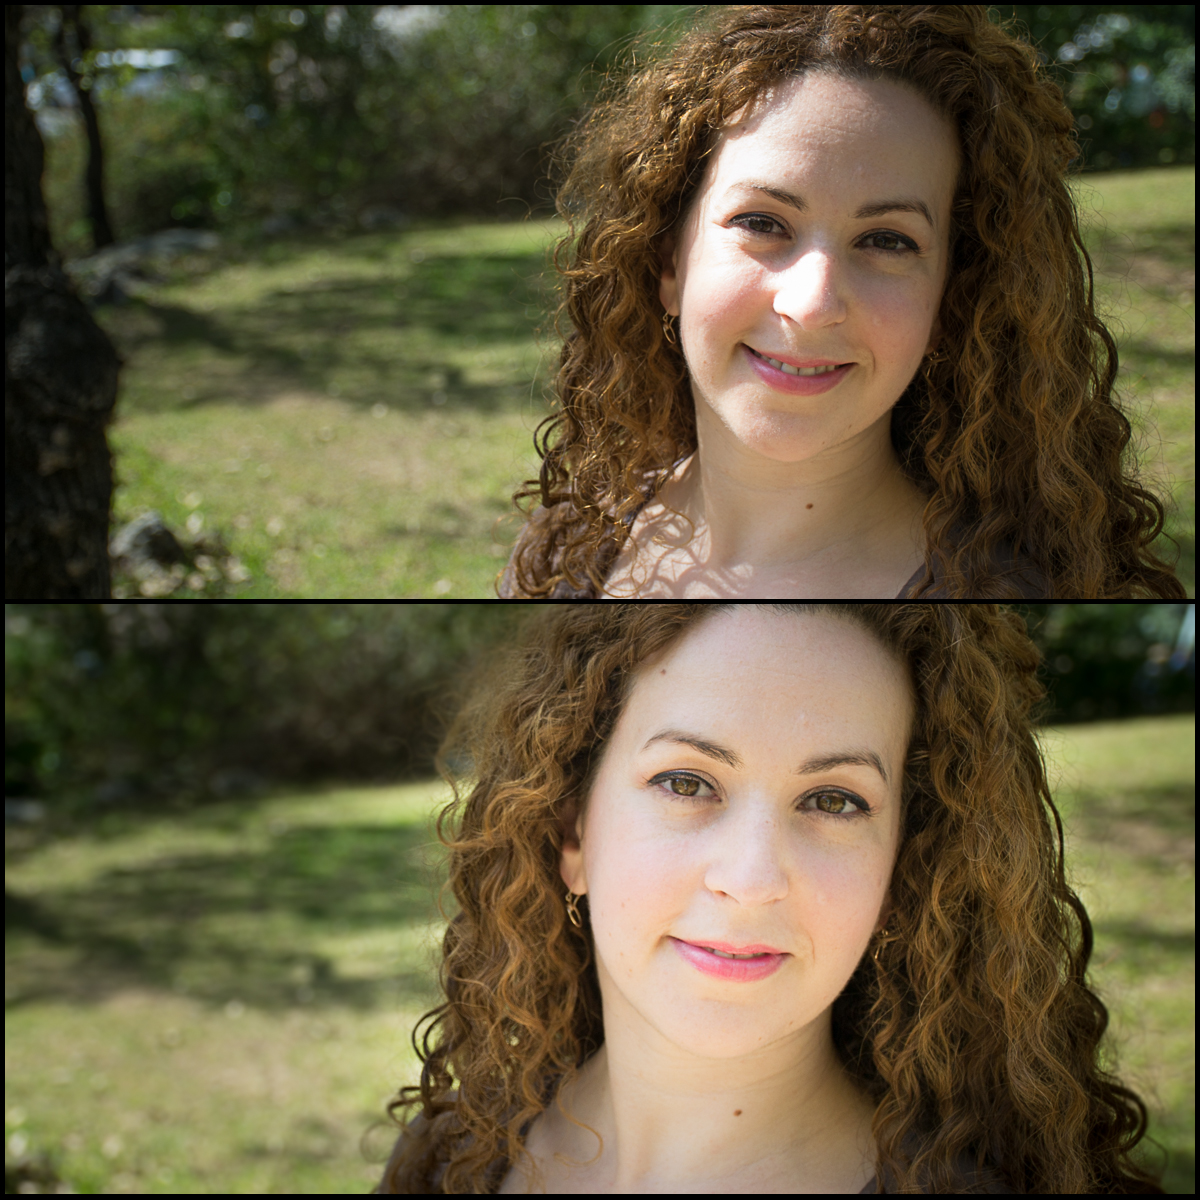
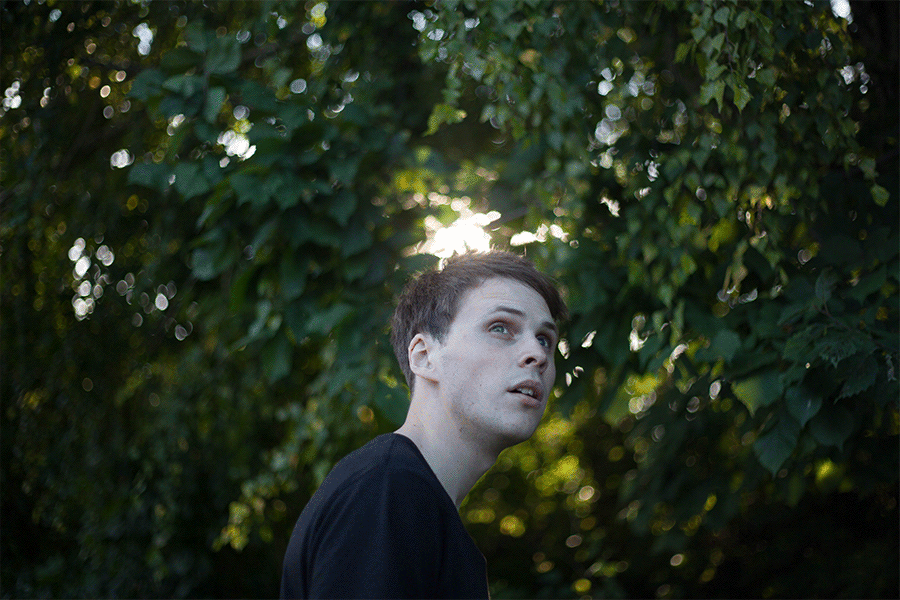
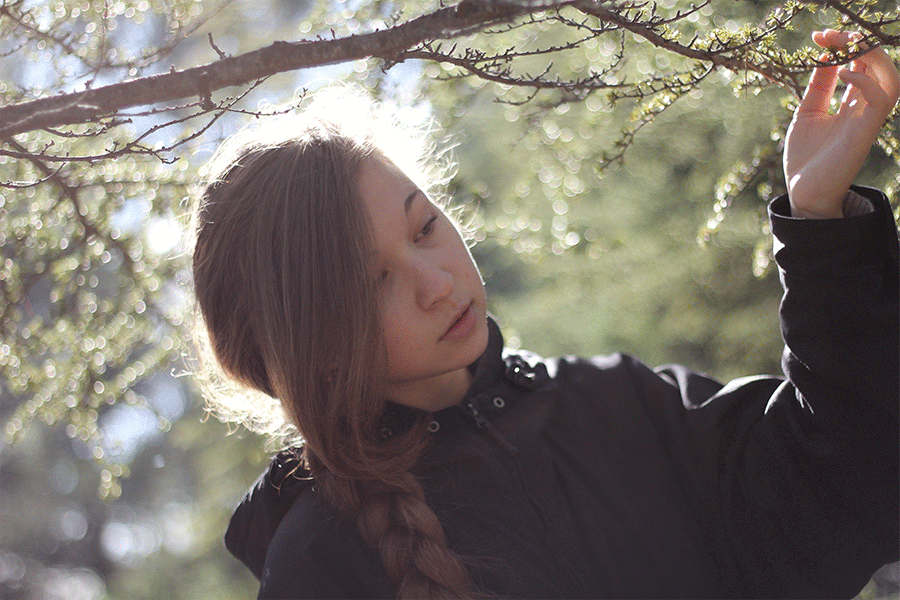
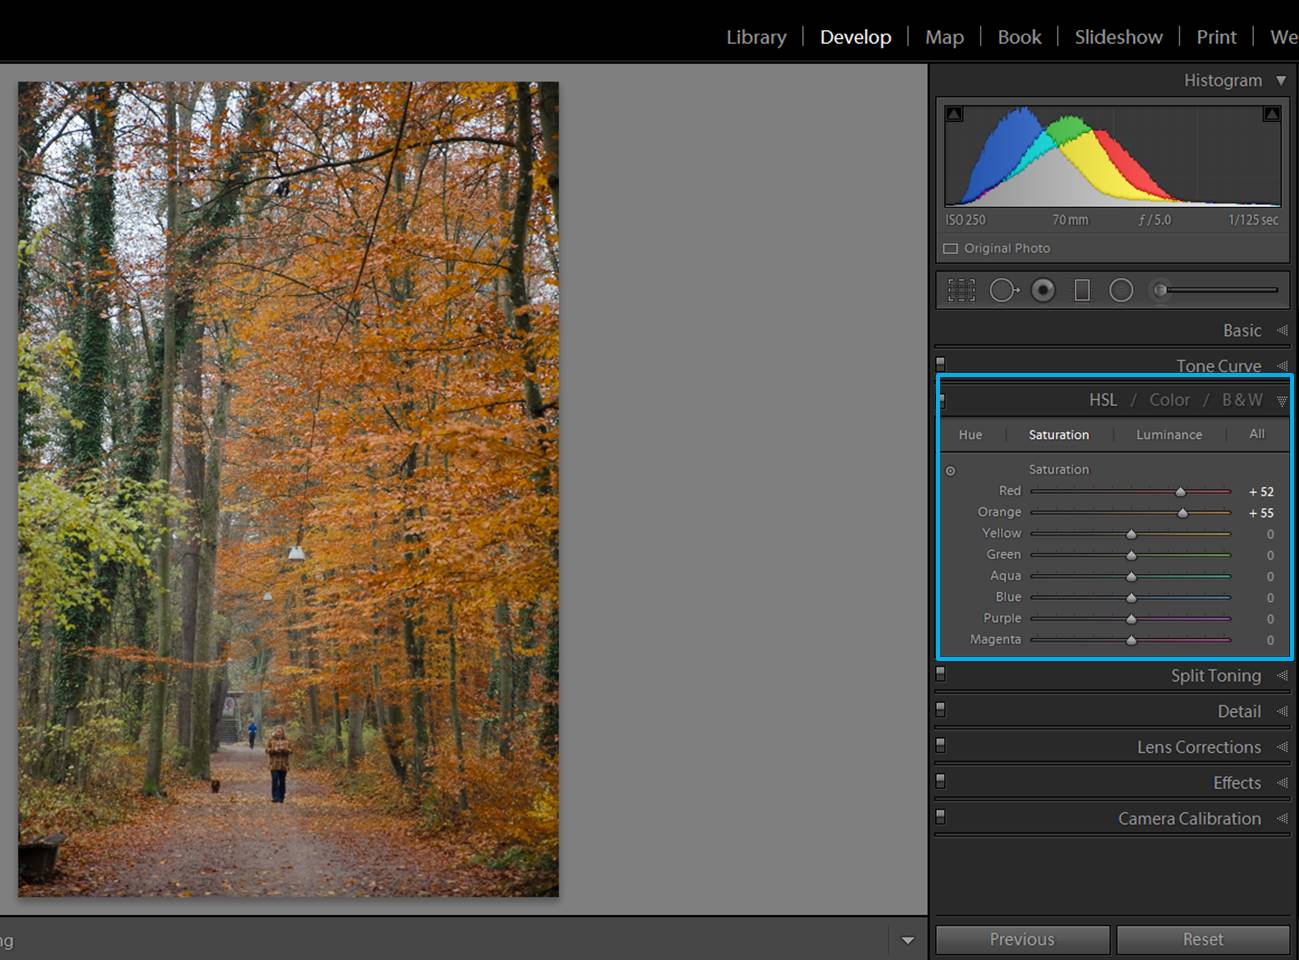
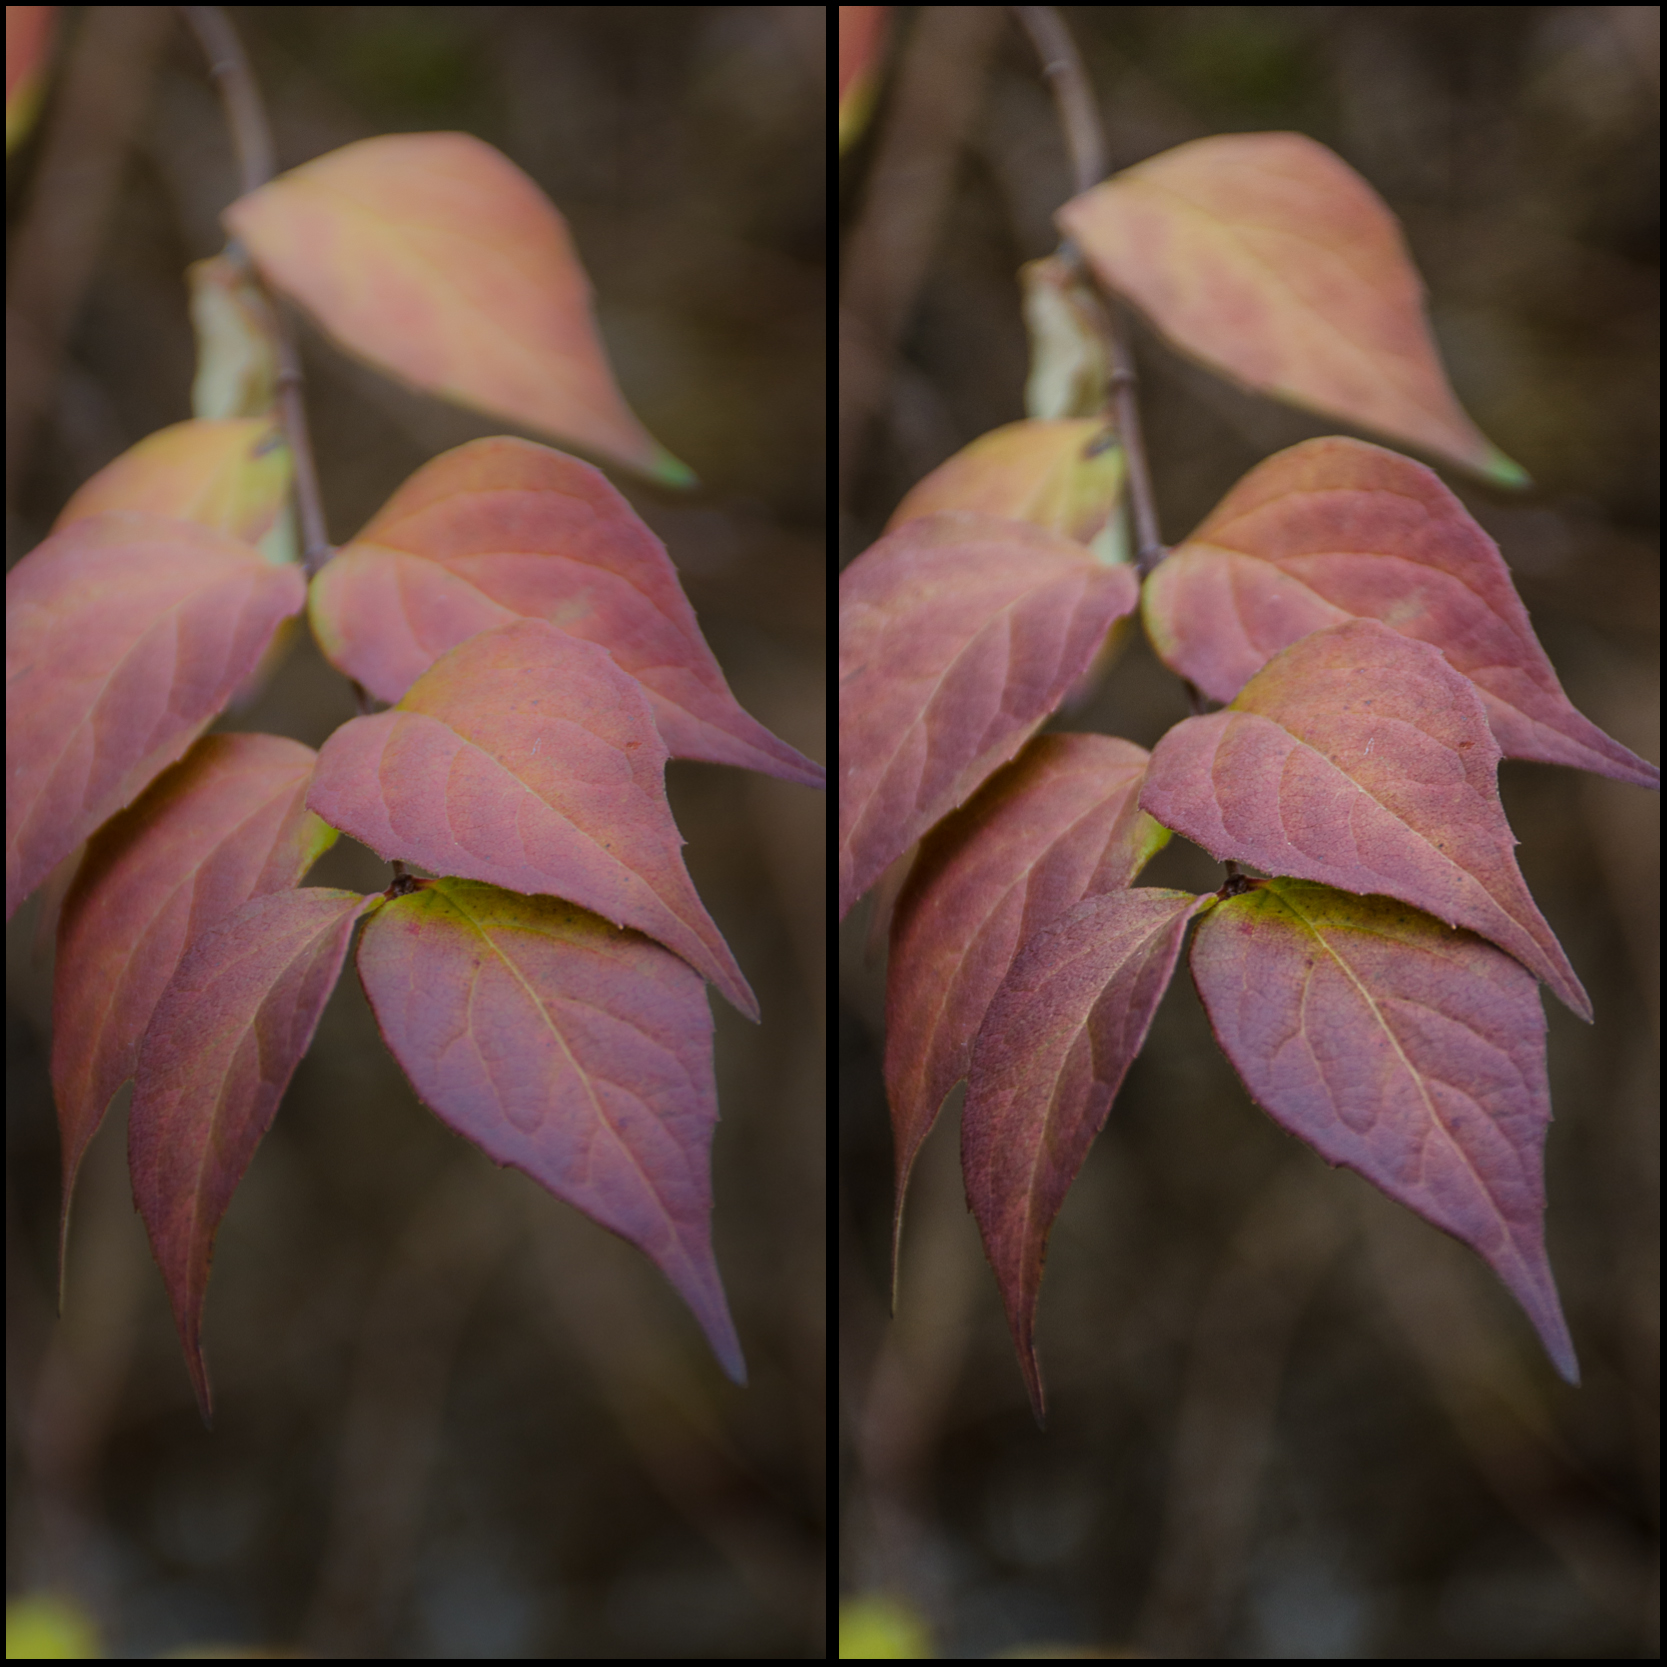
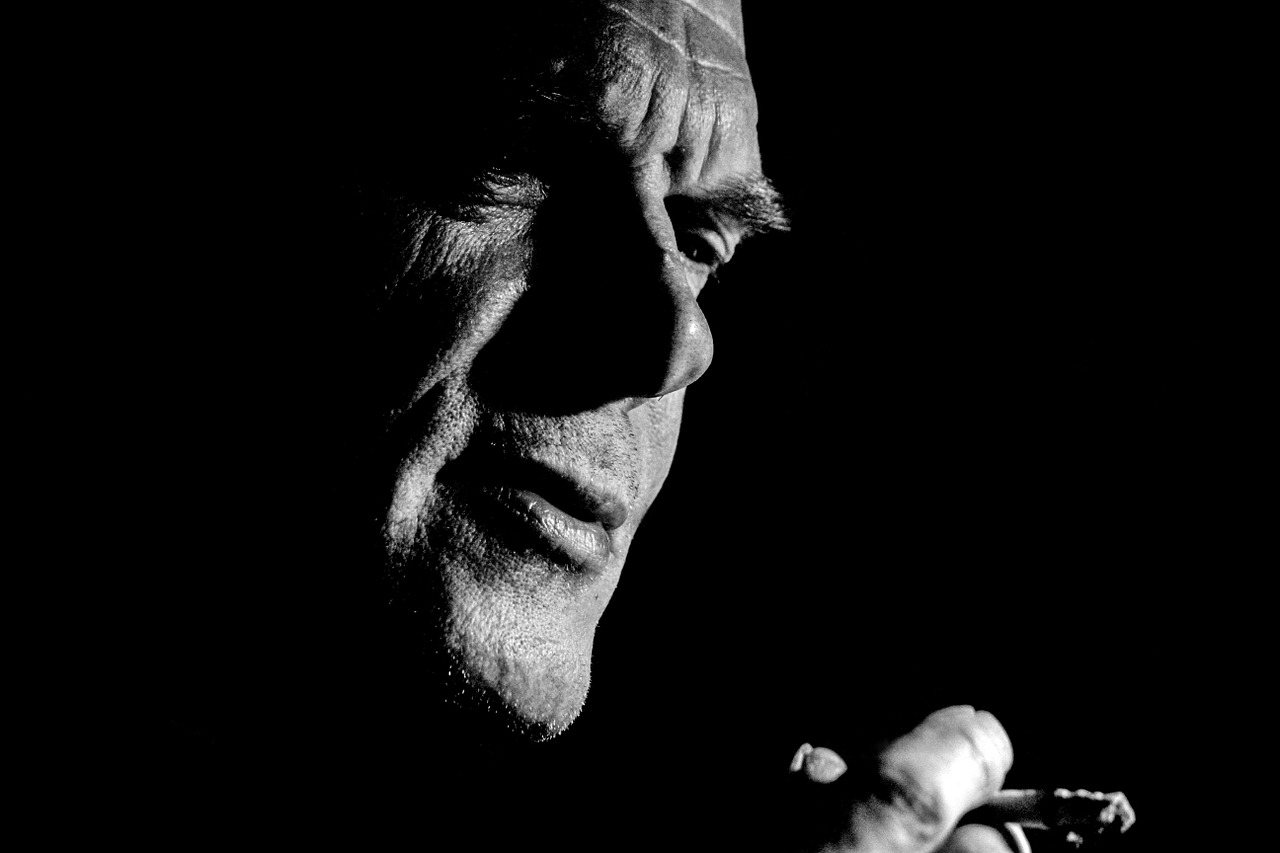
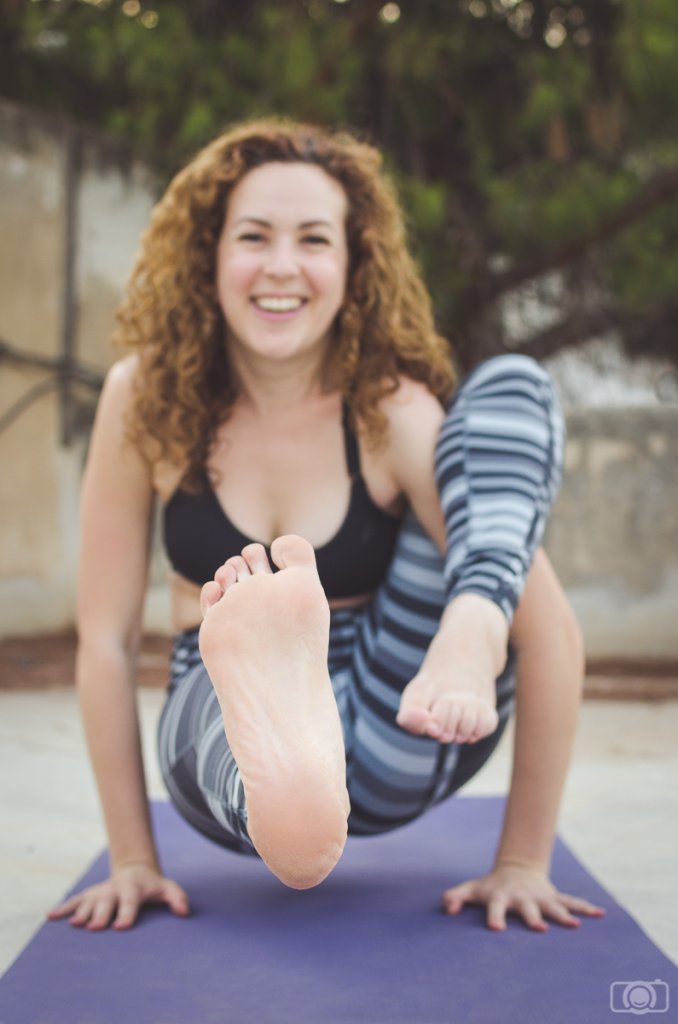
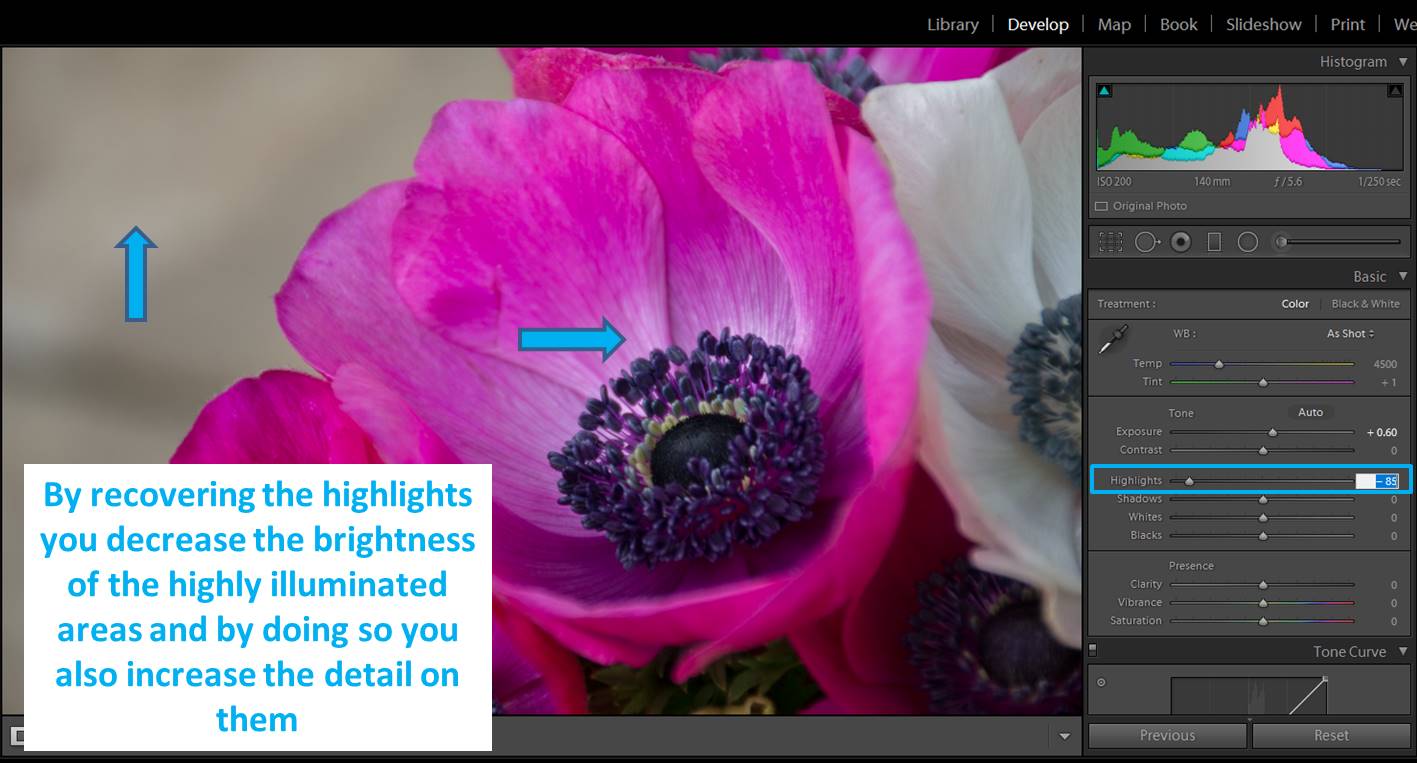
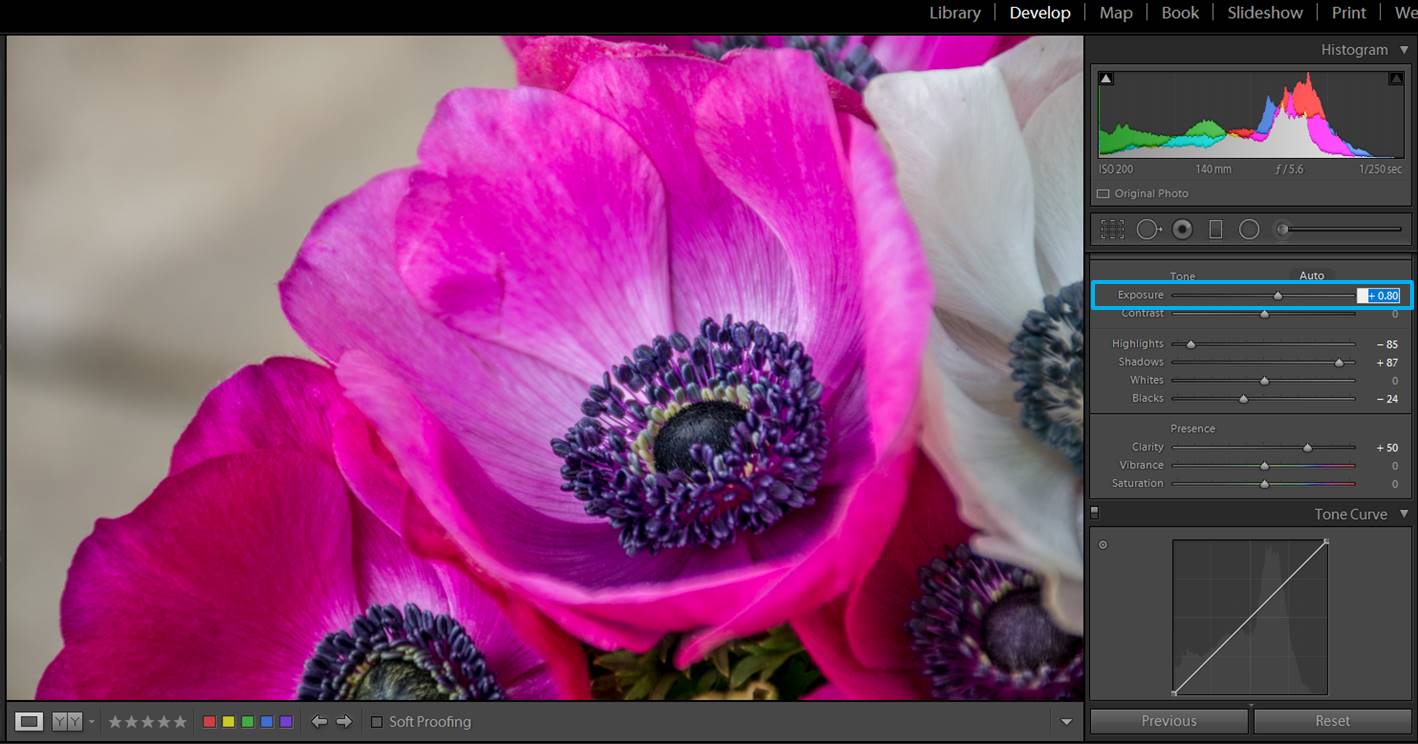
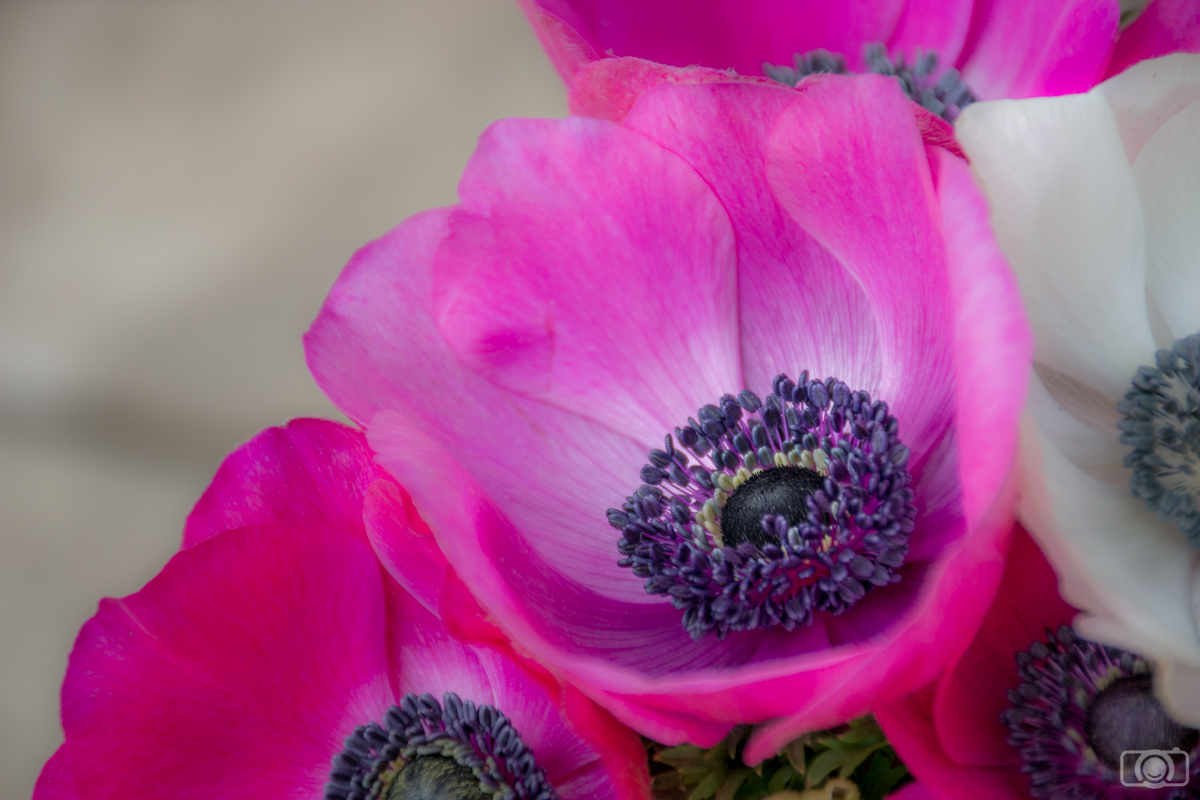
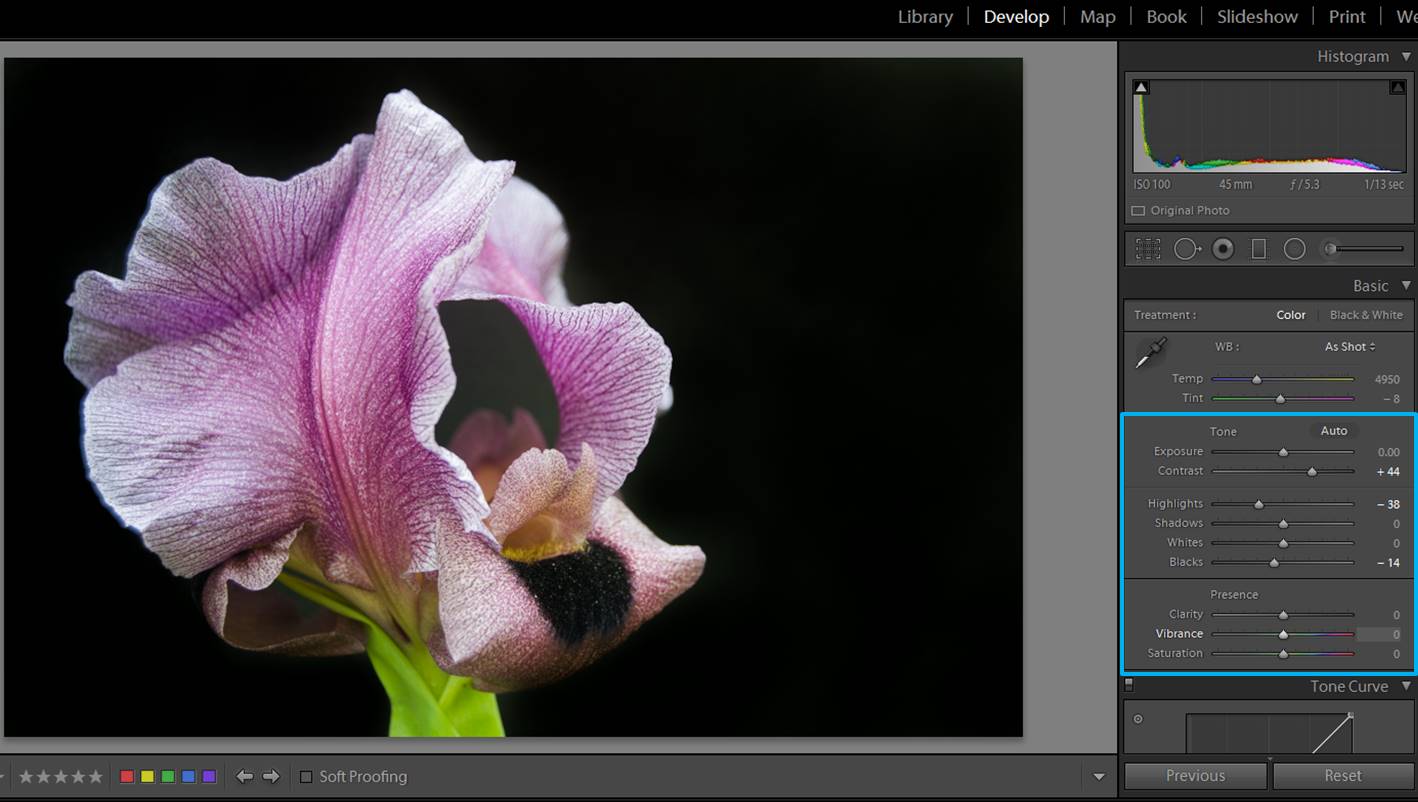
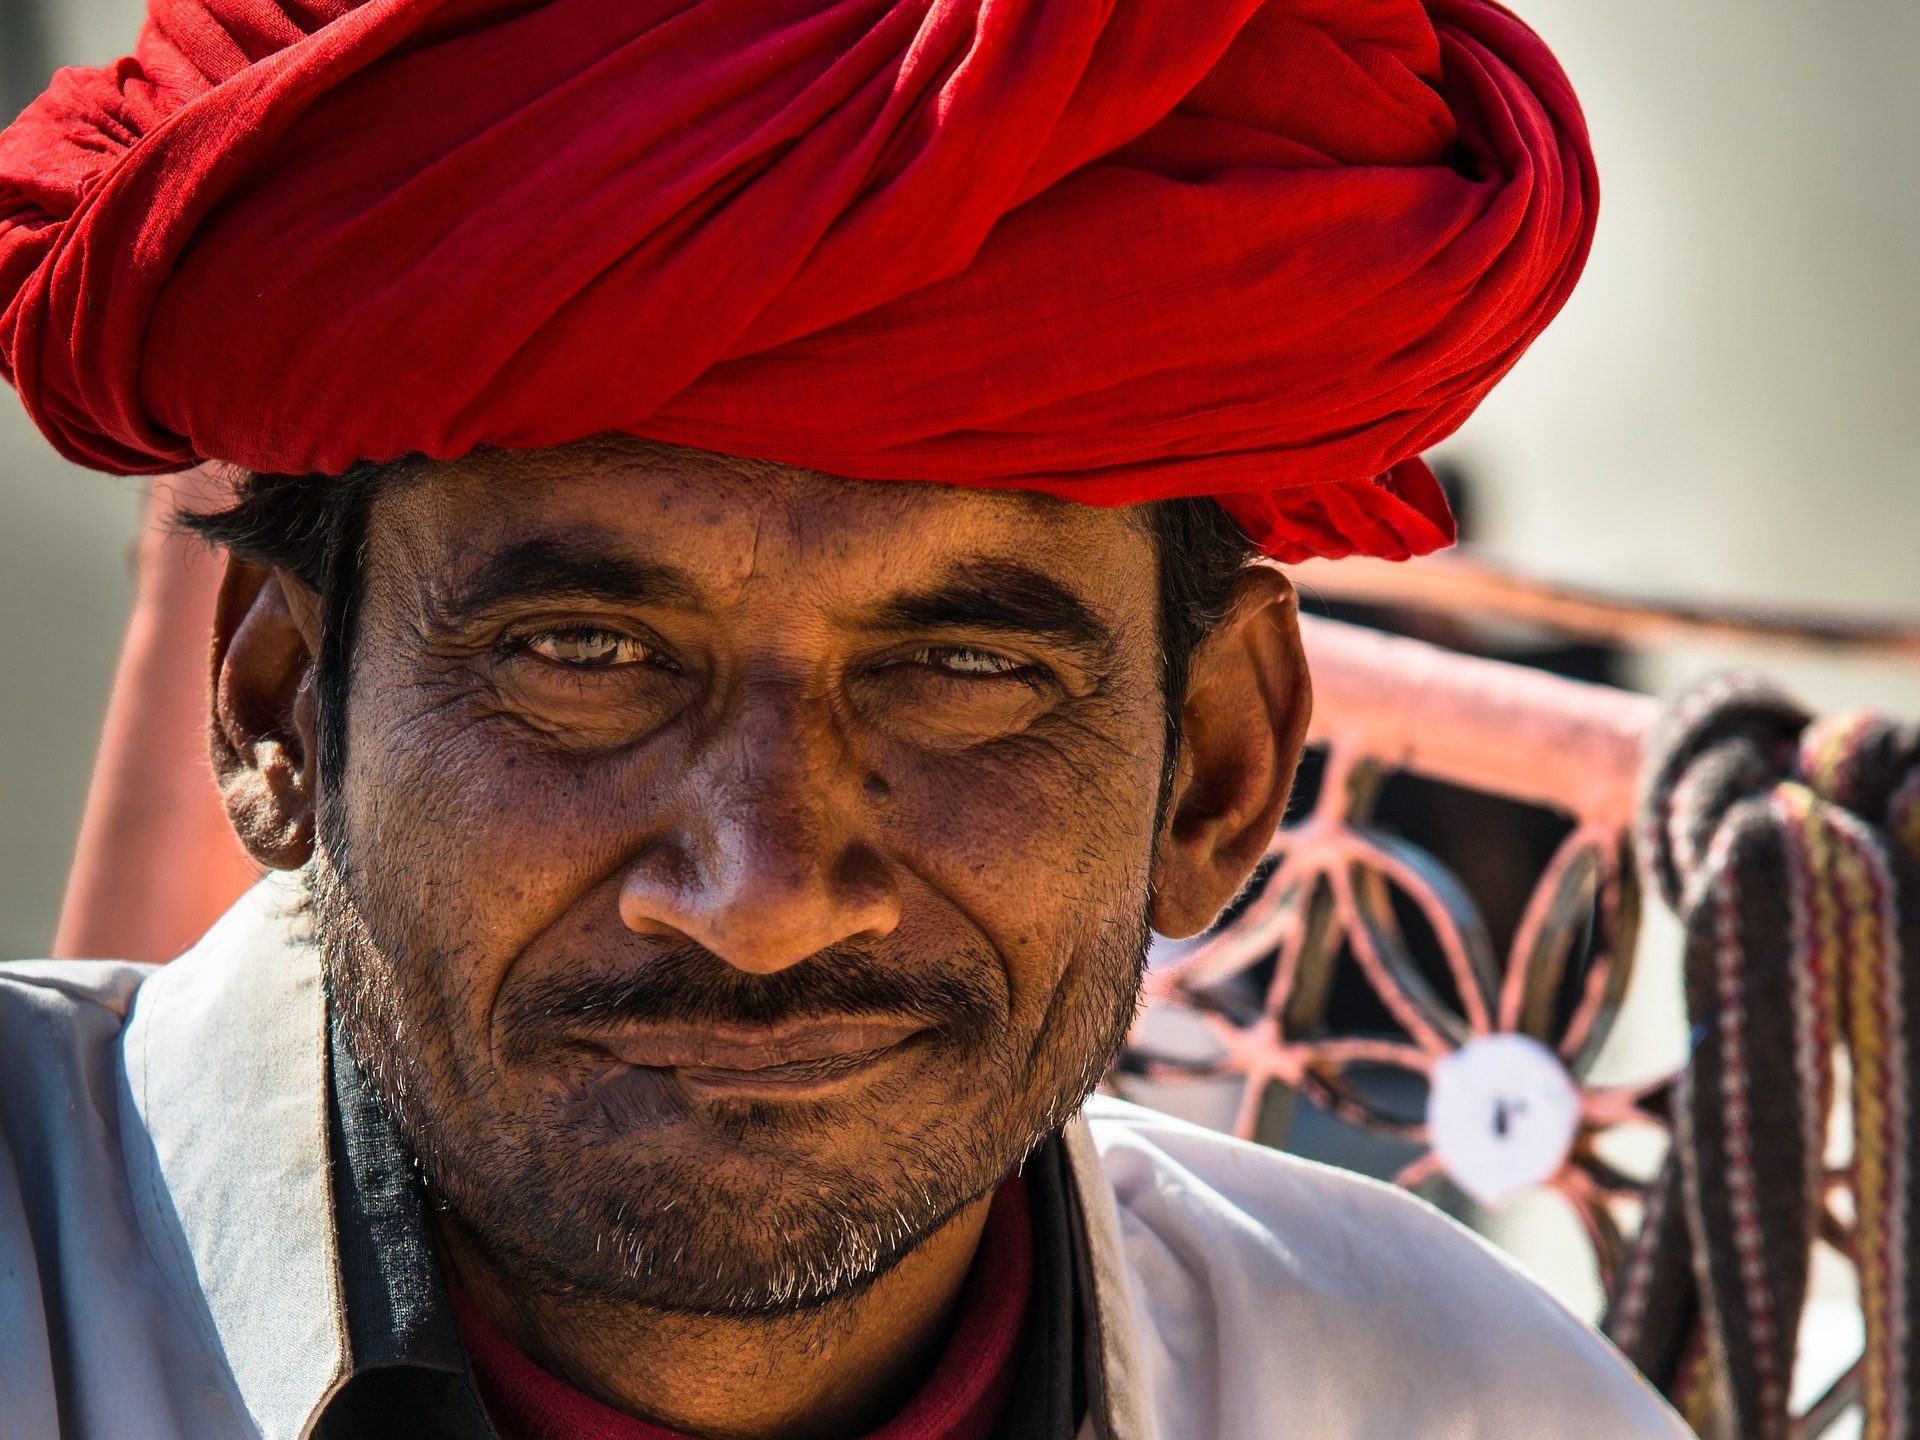
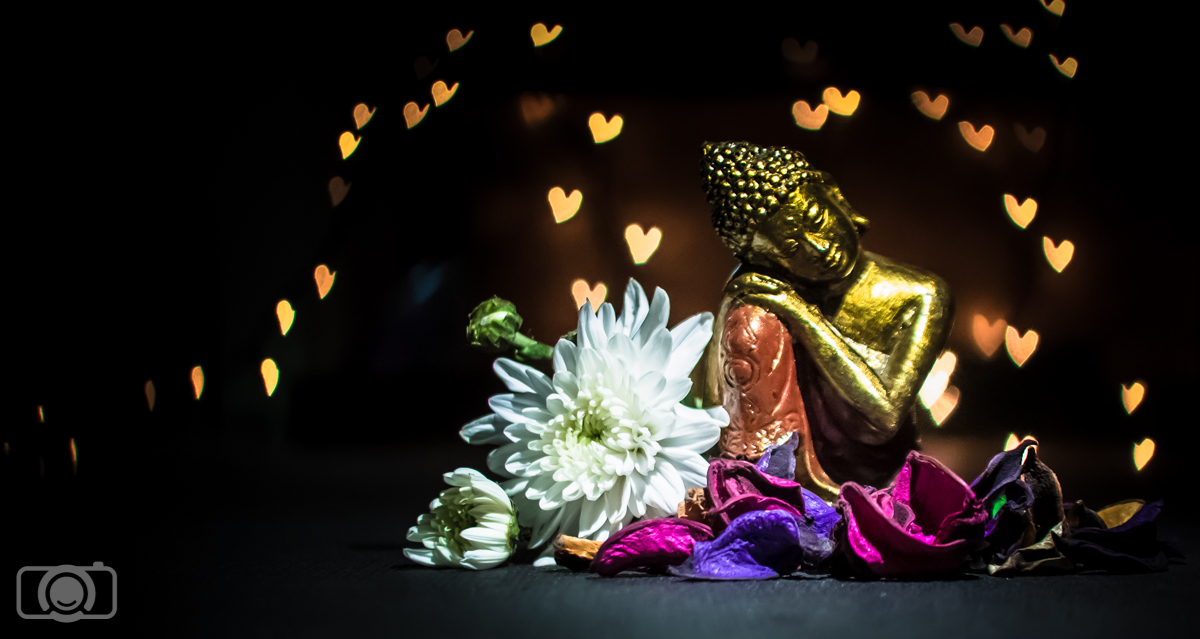
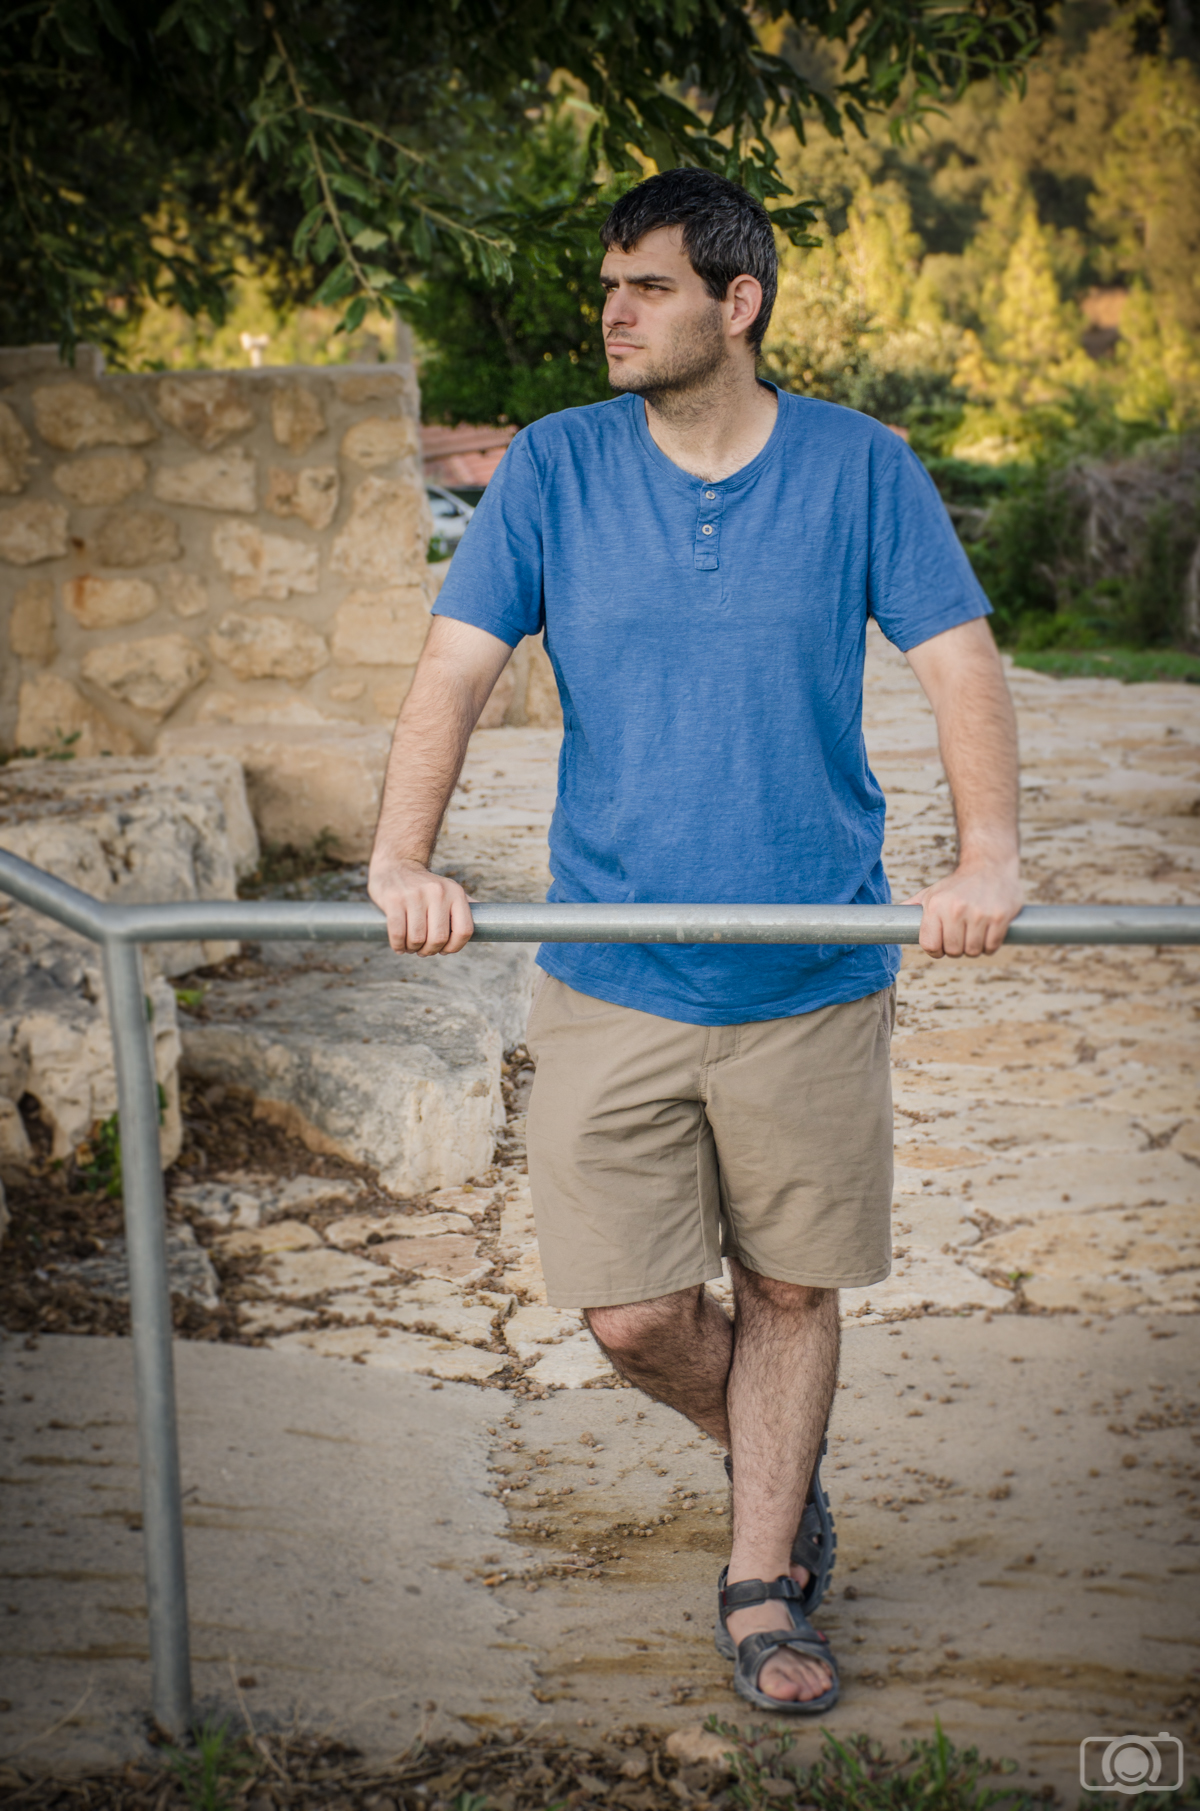
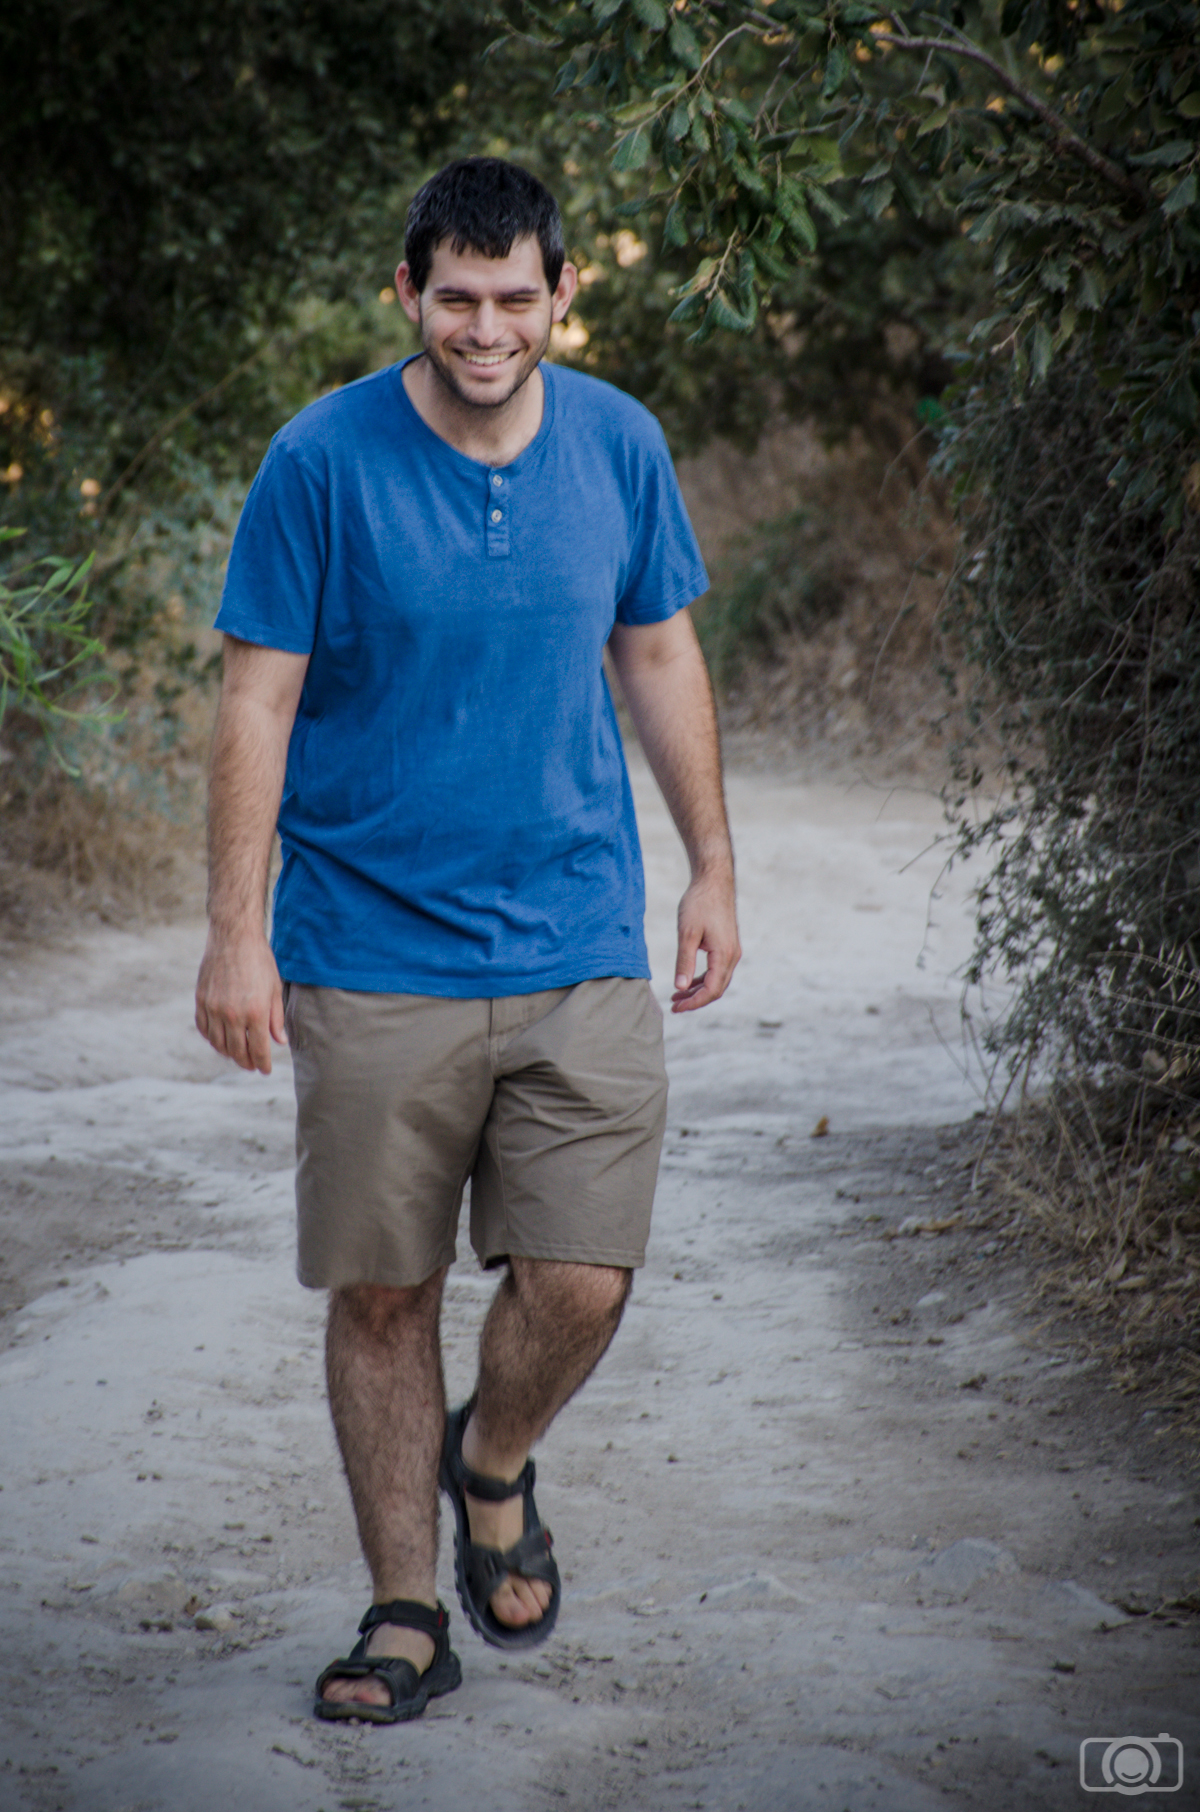
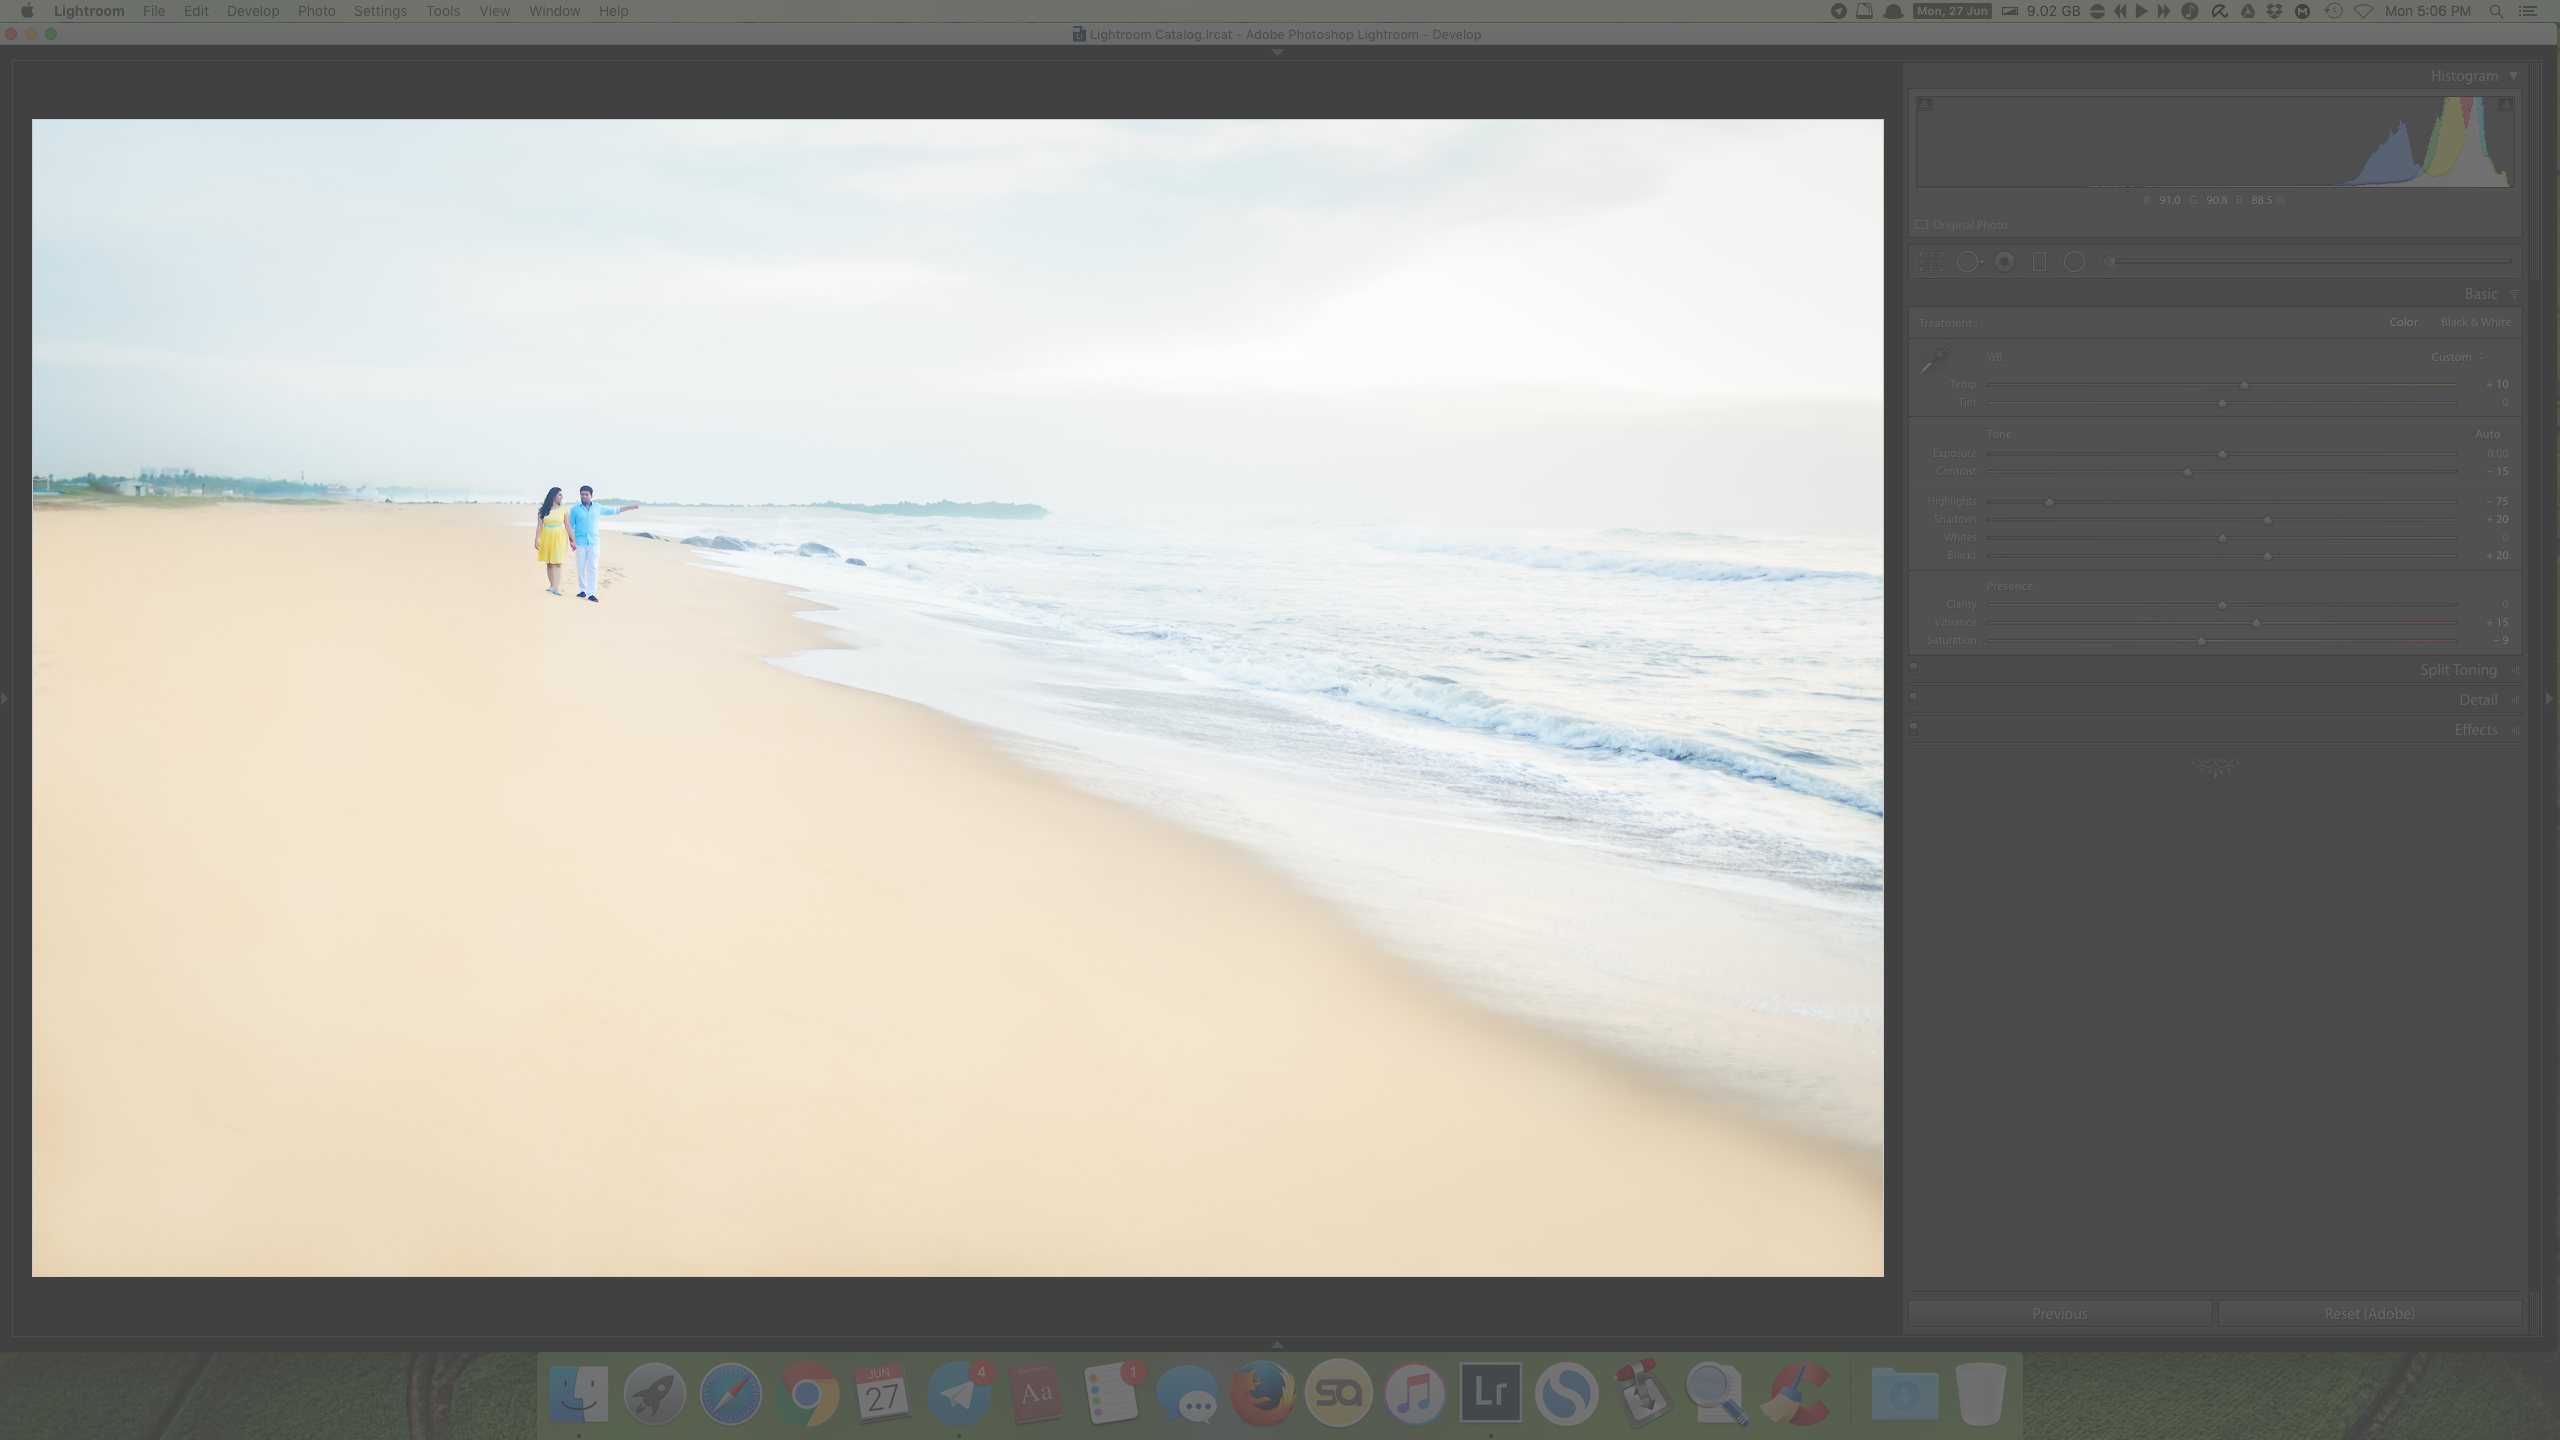
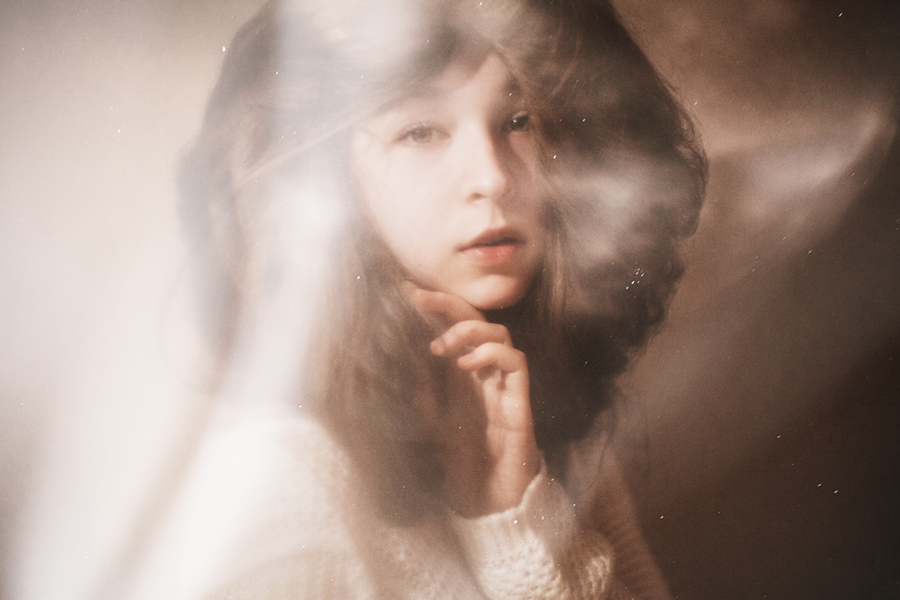
/ This portrait is a combination of cellophane, free textures, and a Lightroom preset.
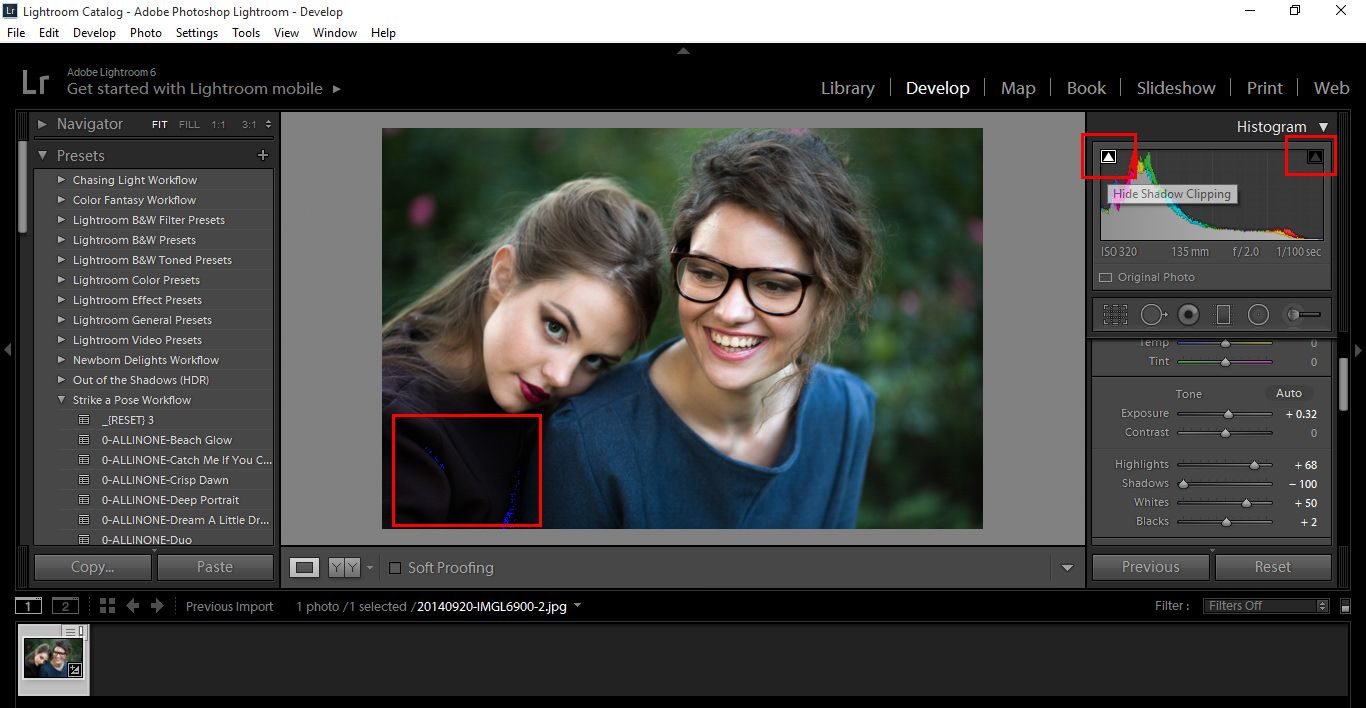
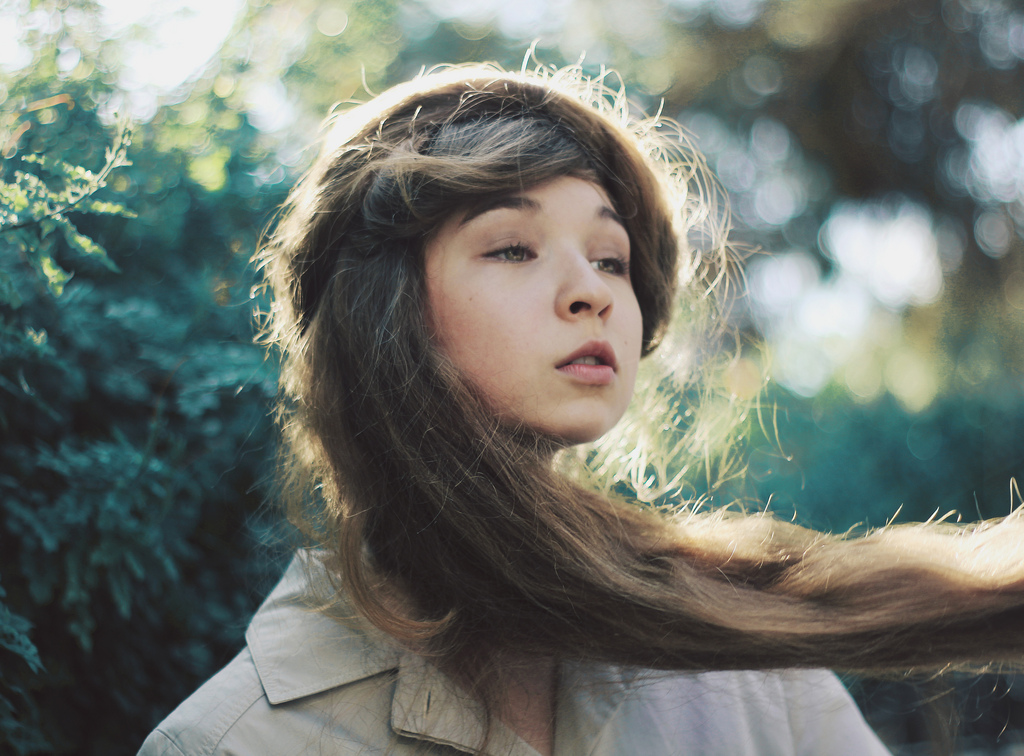
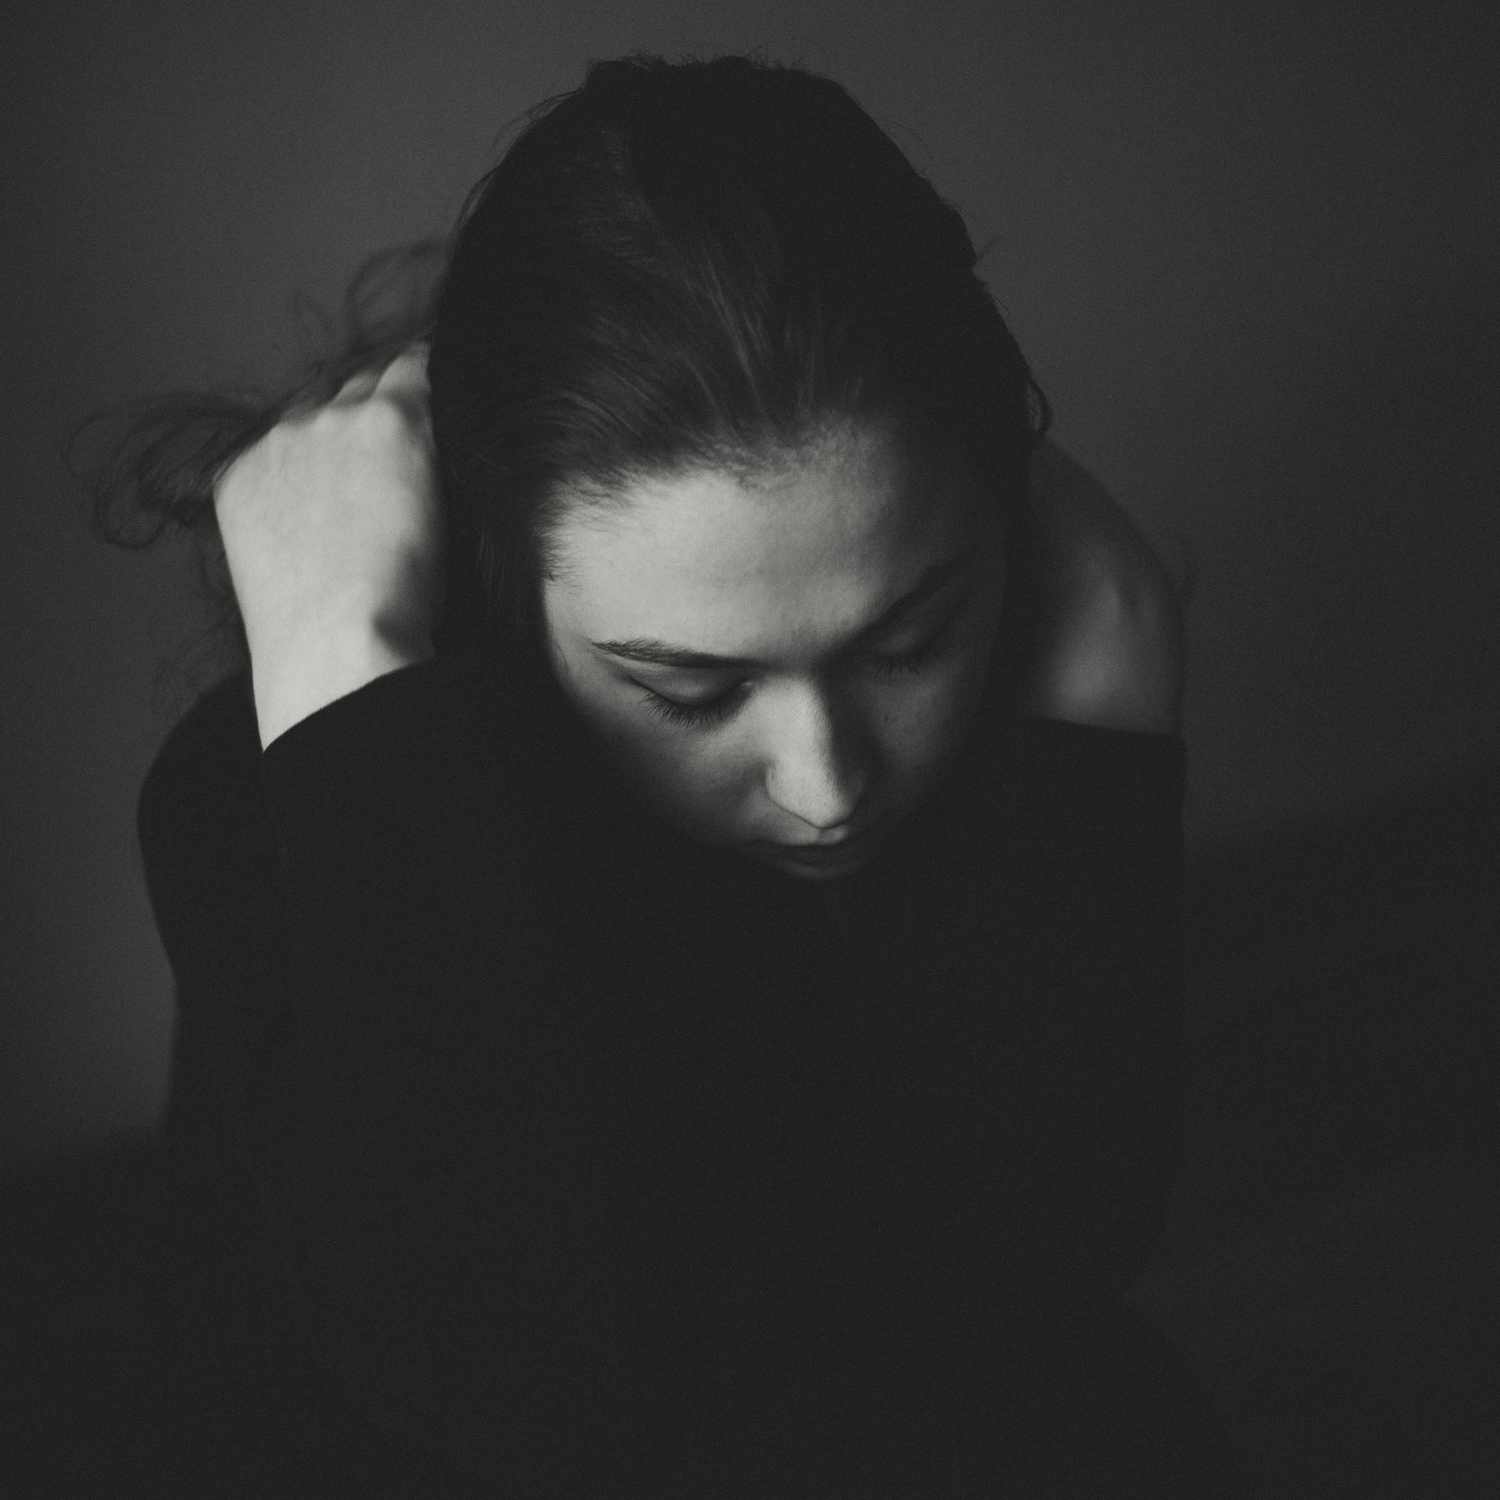
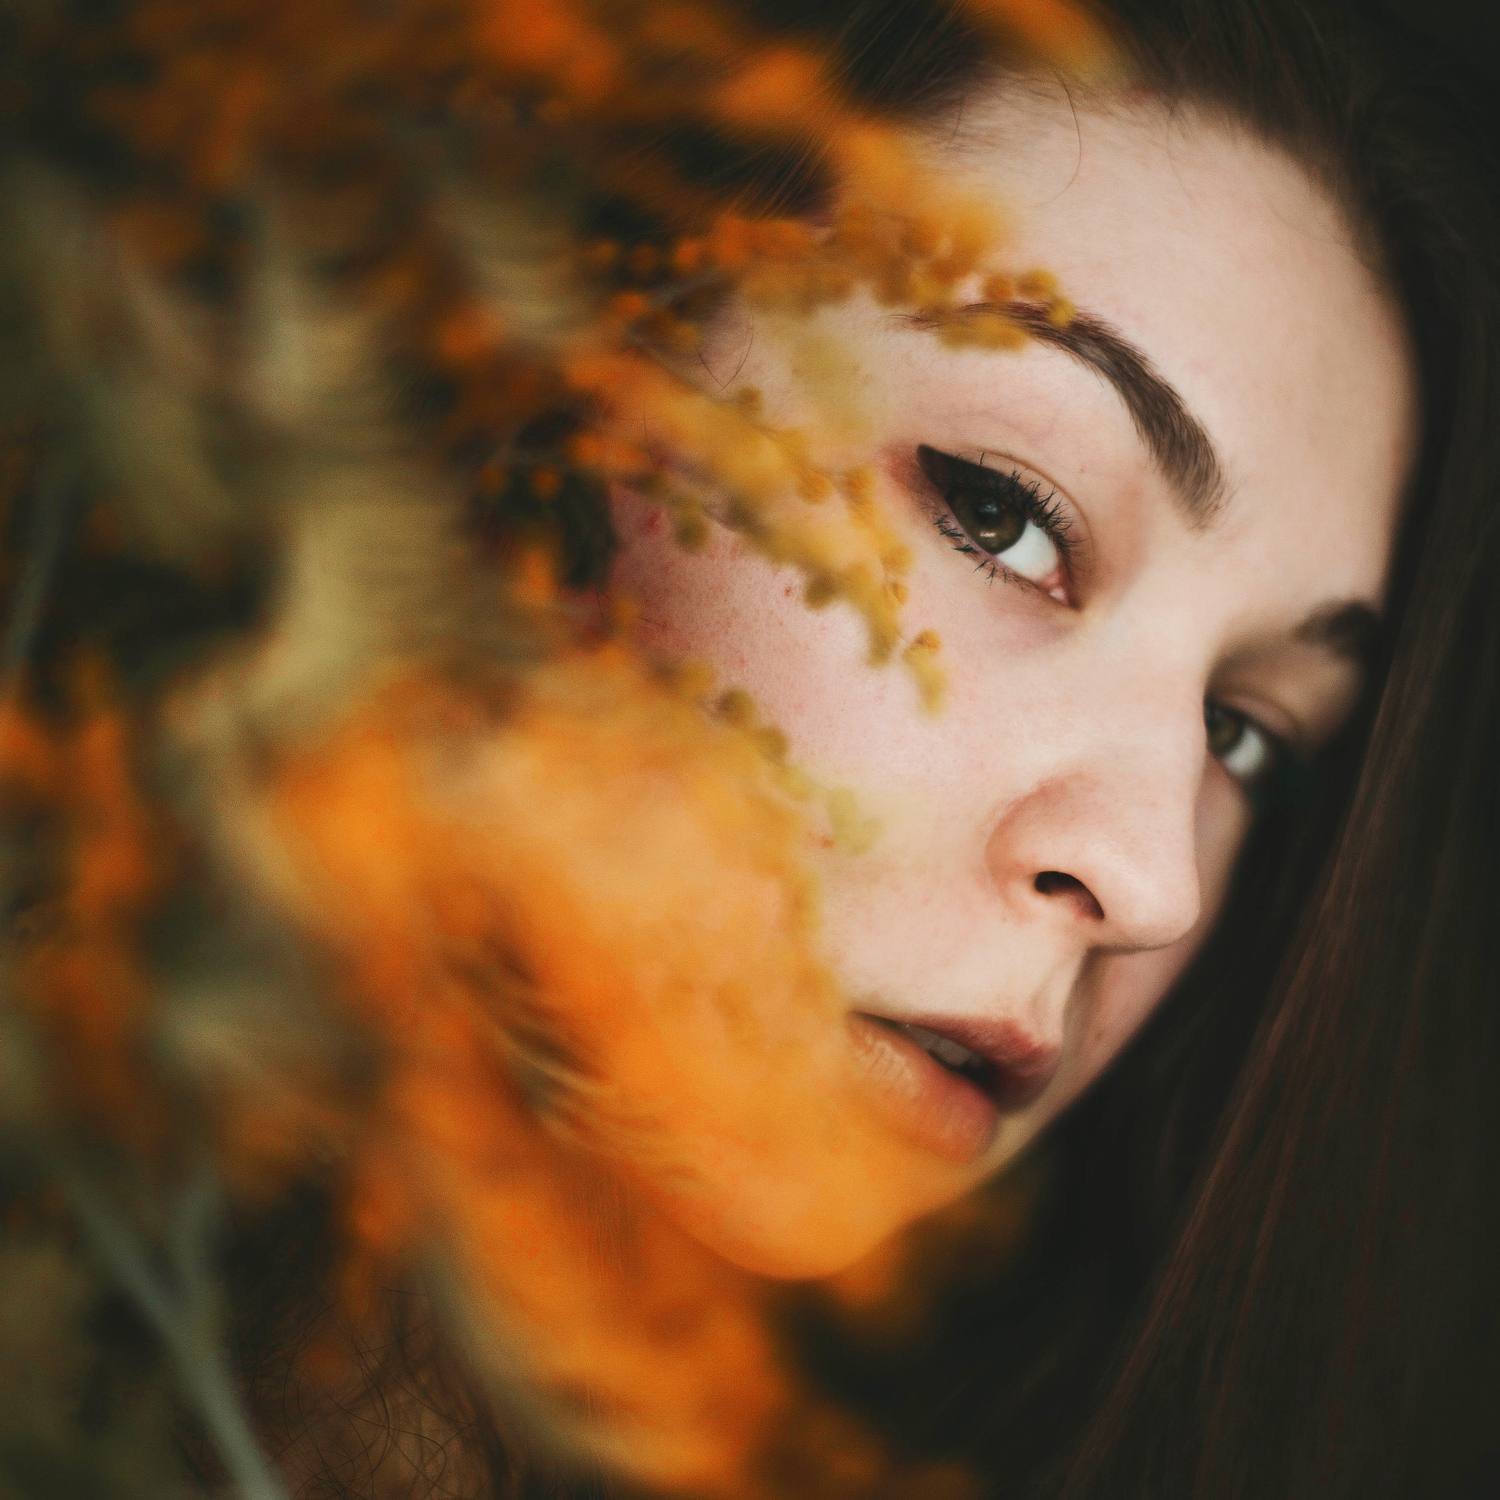
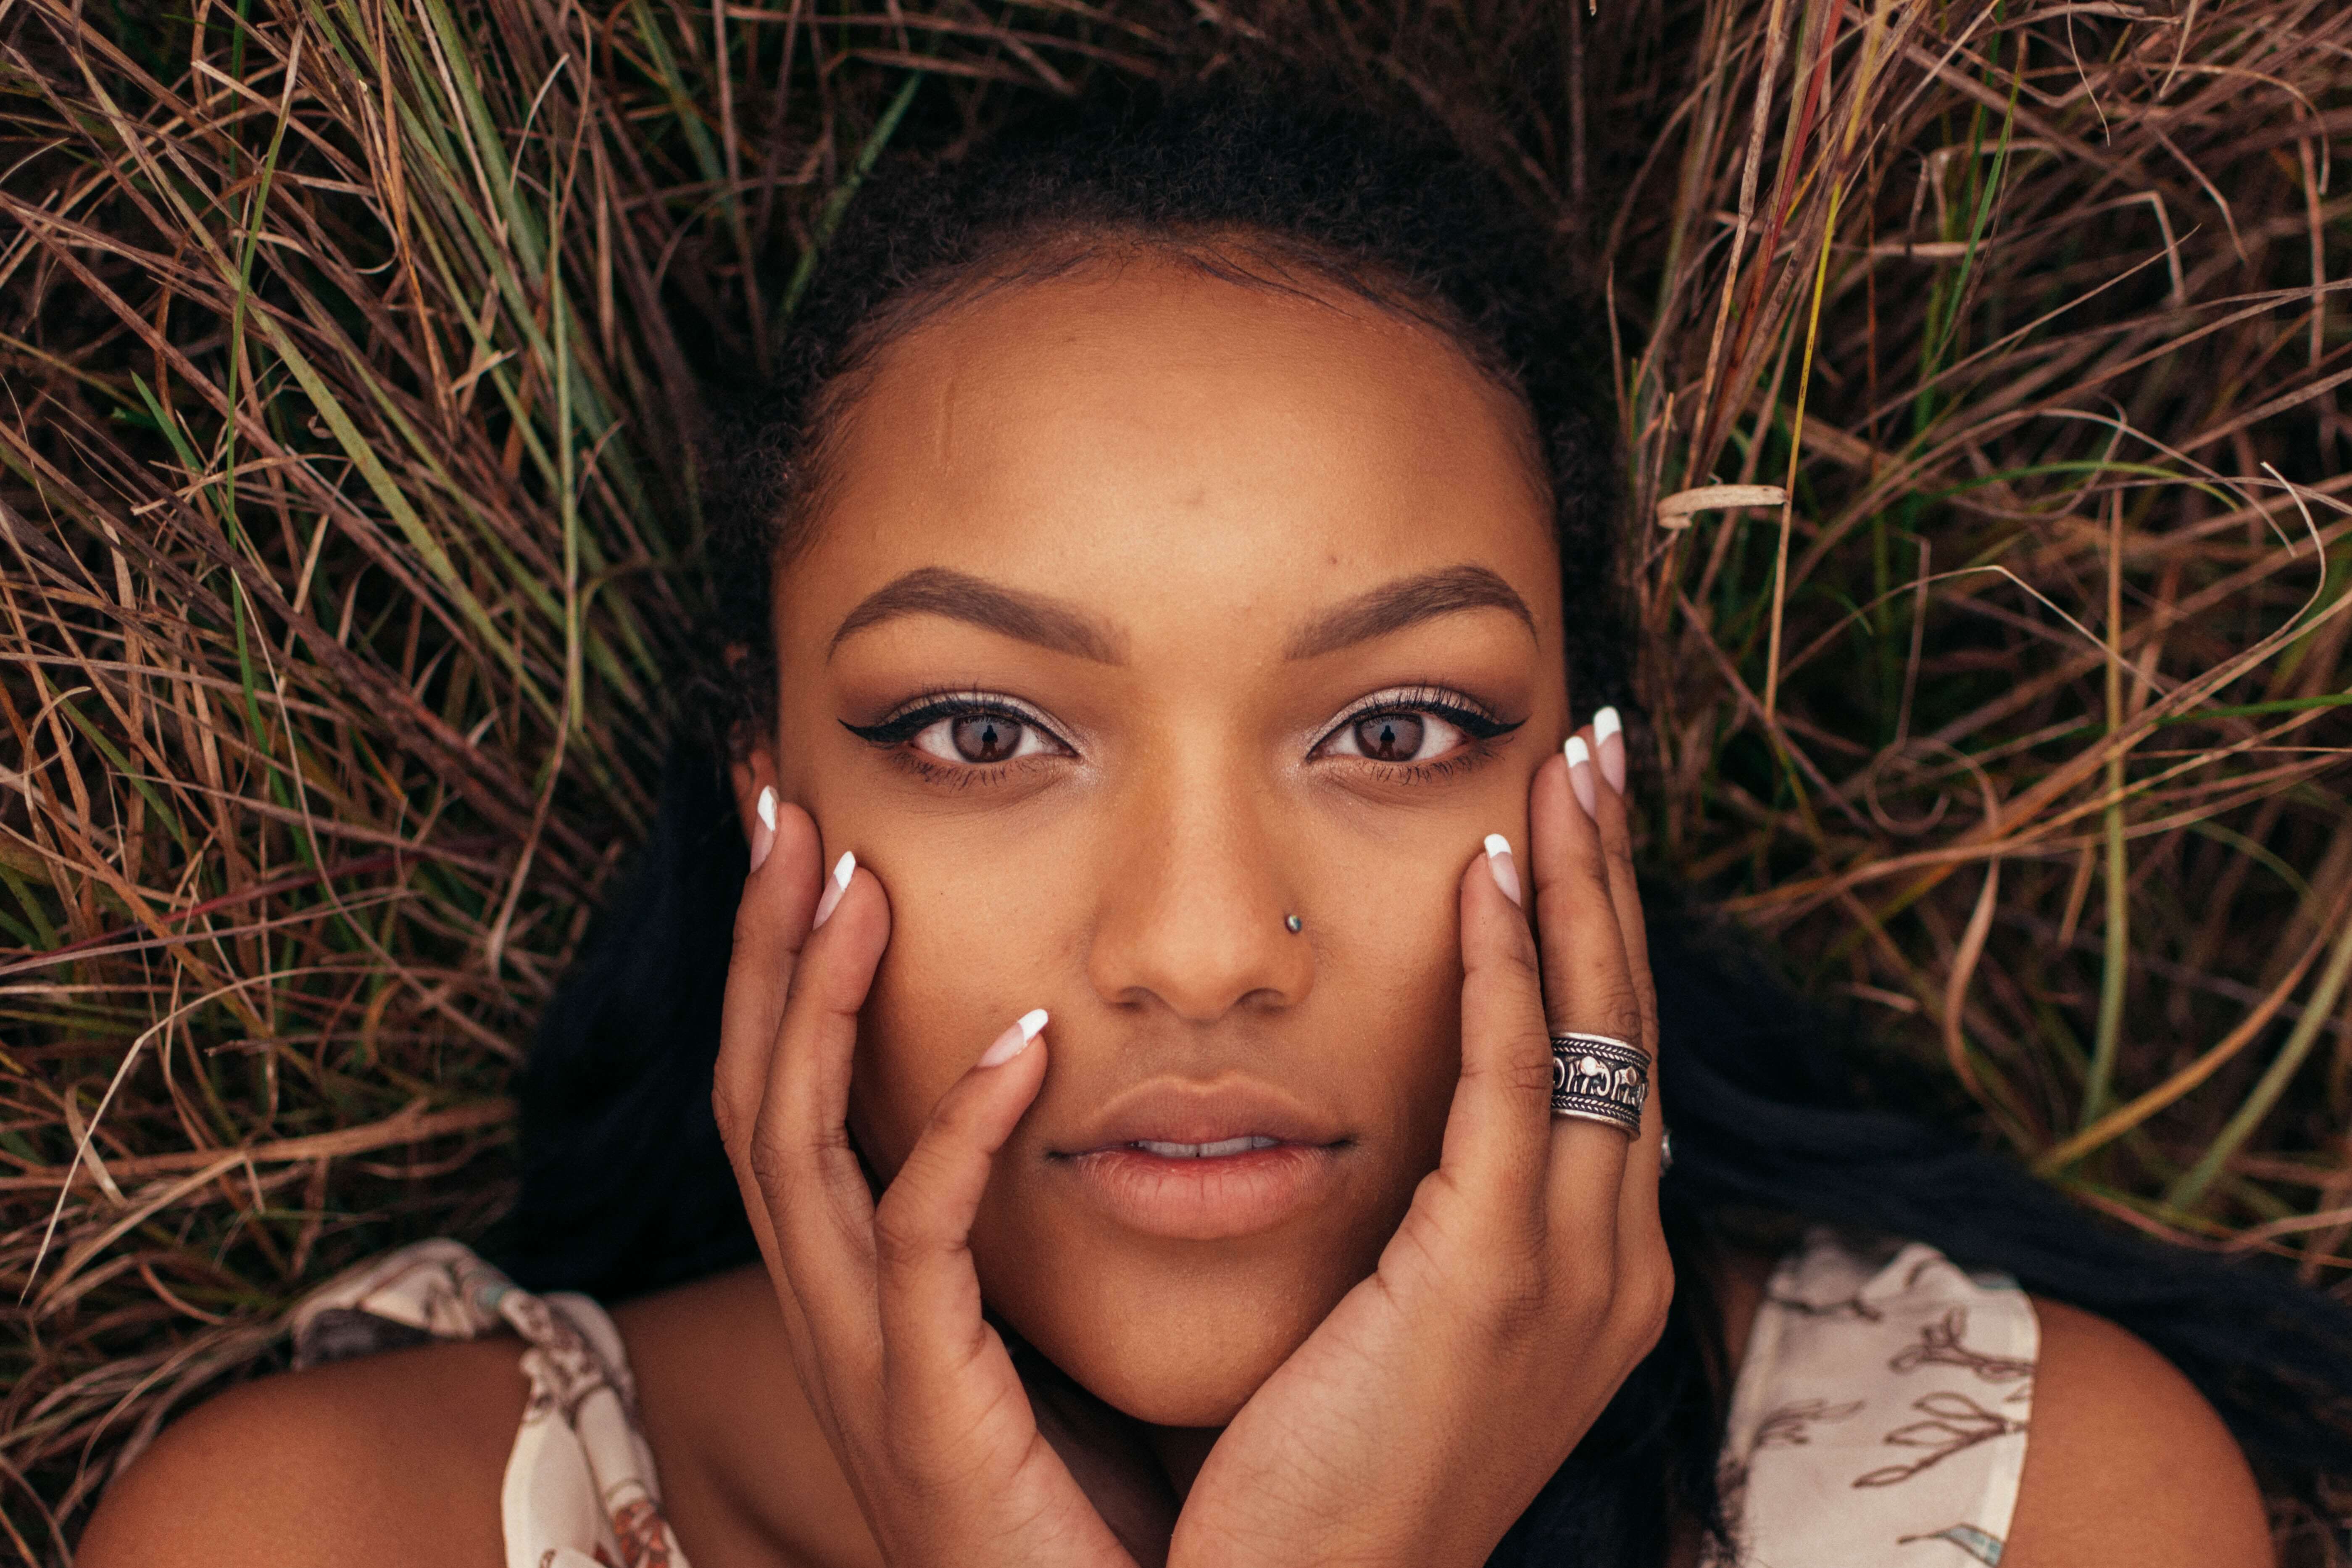
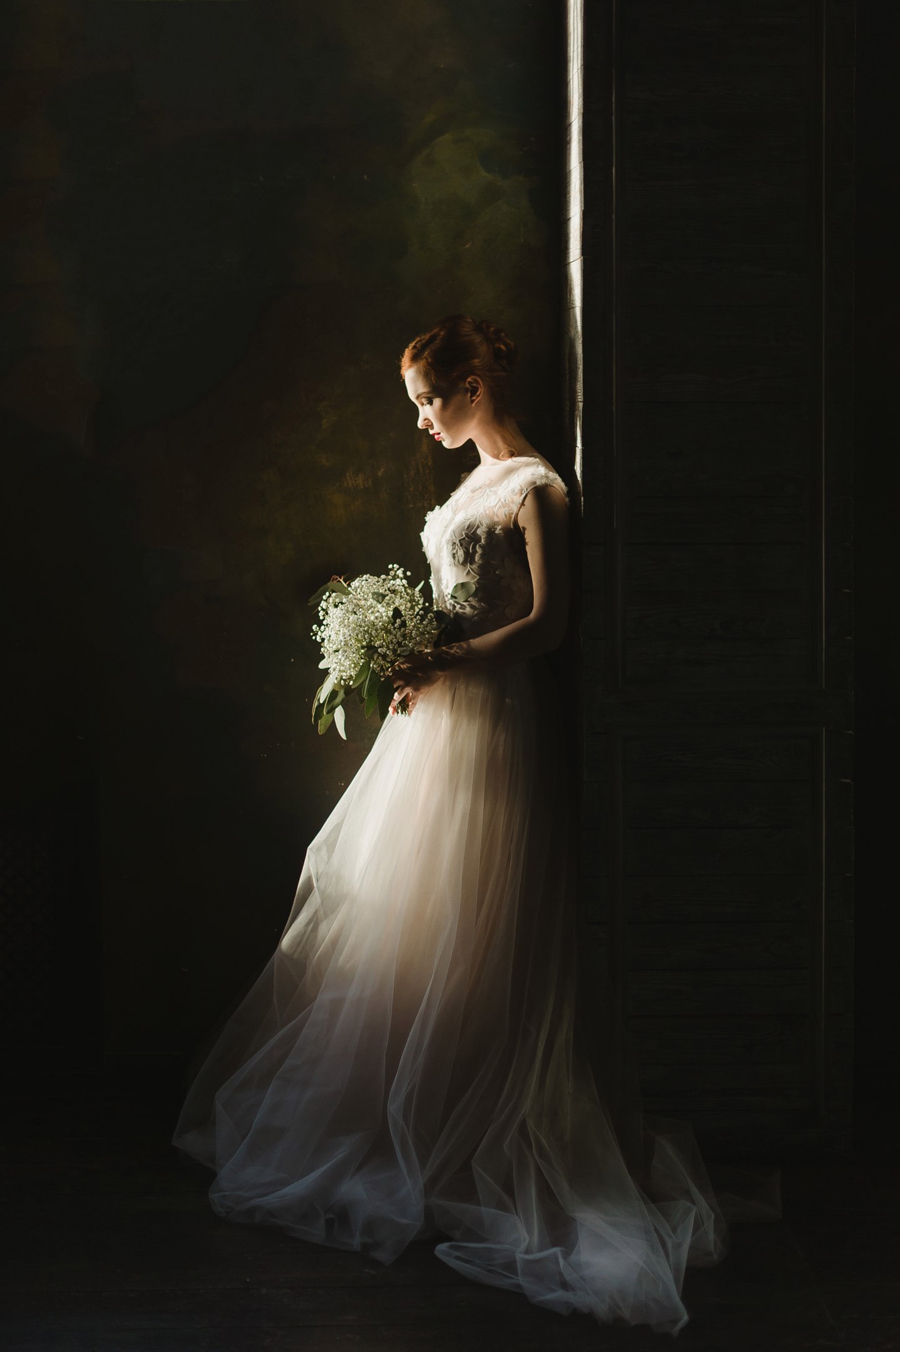
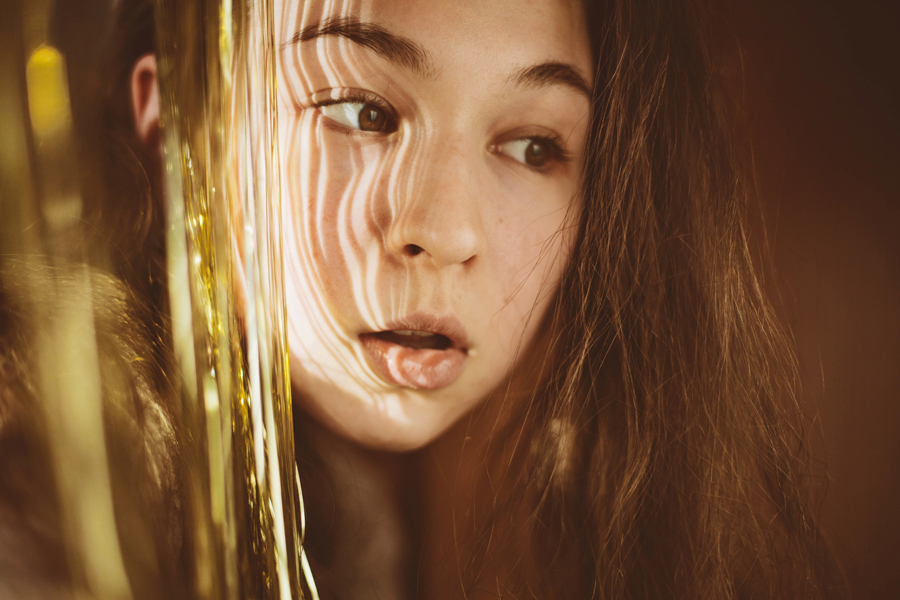
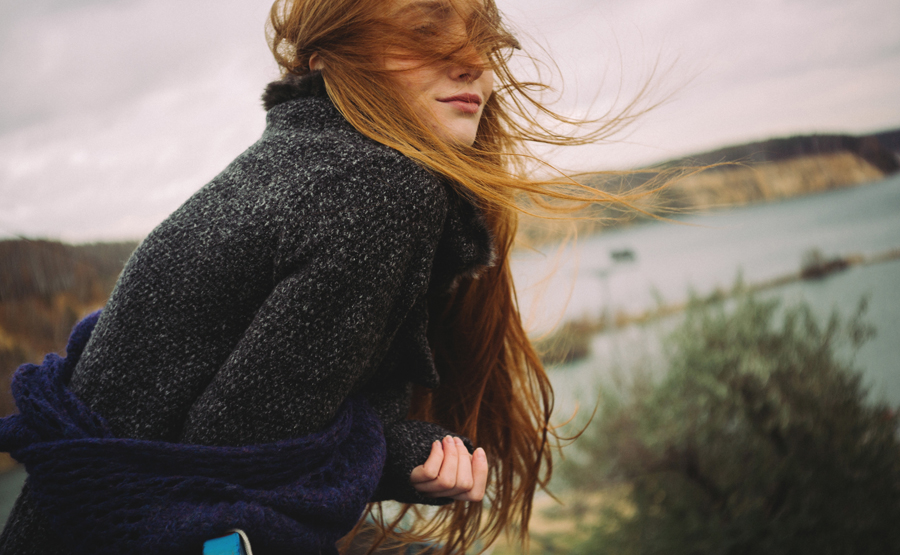
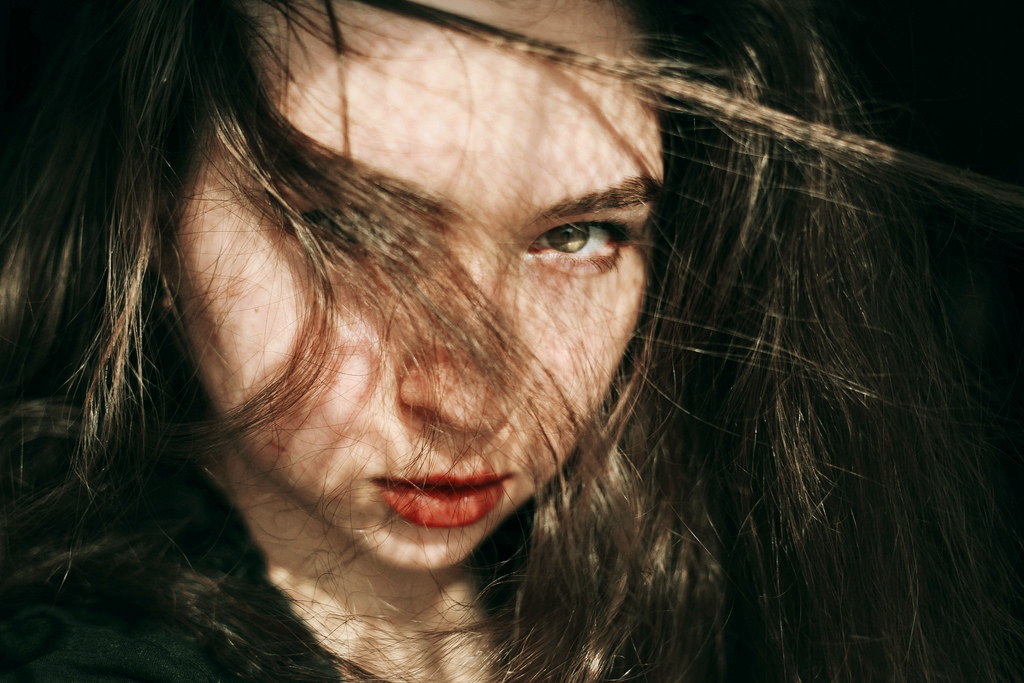
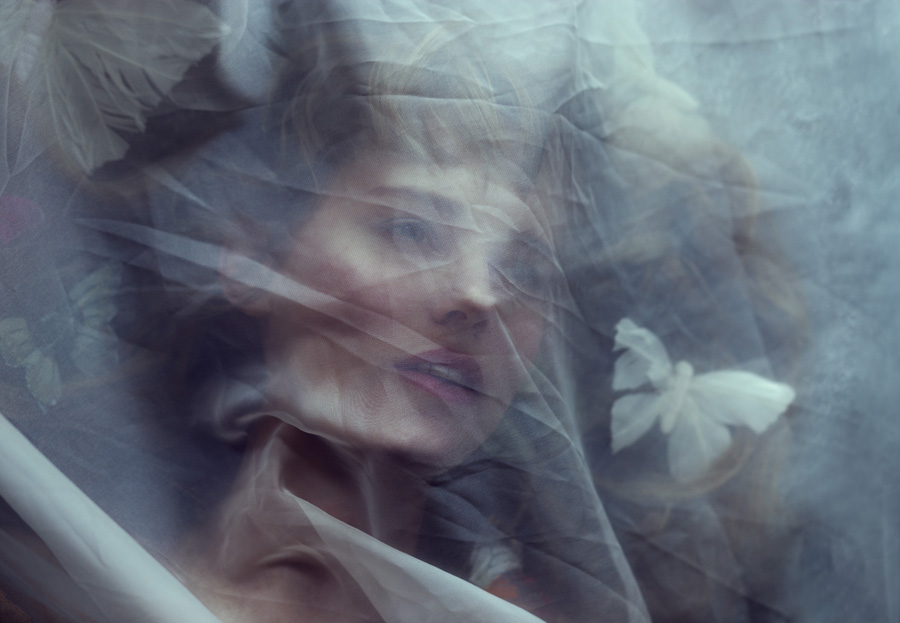
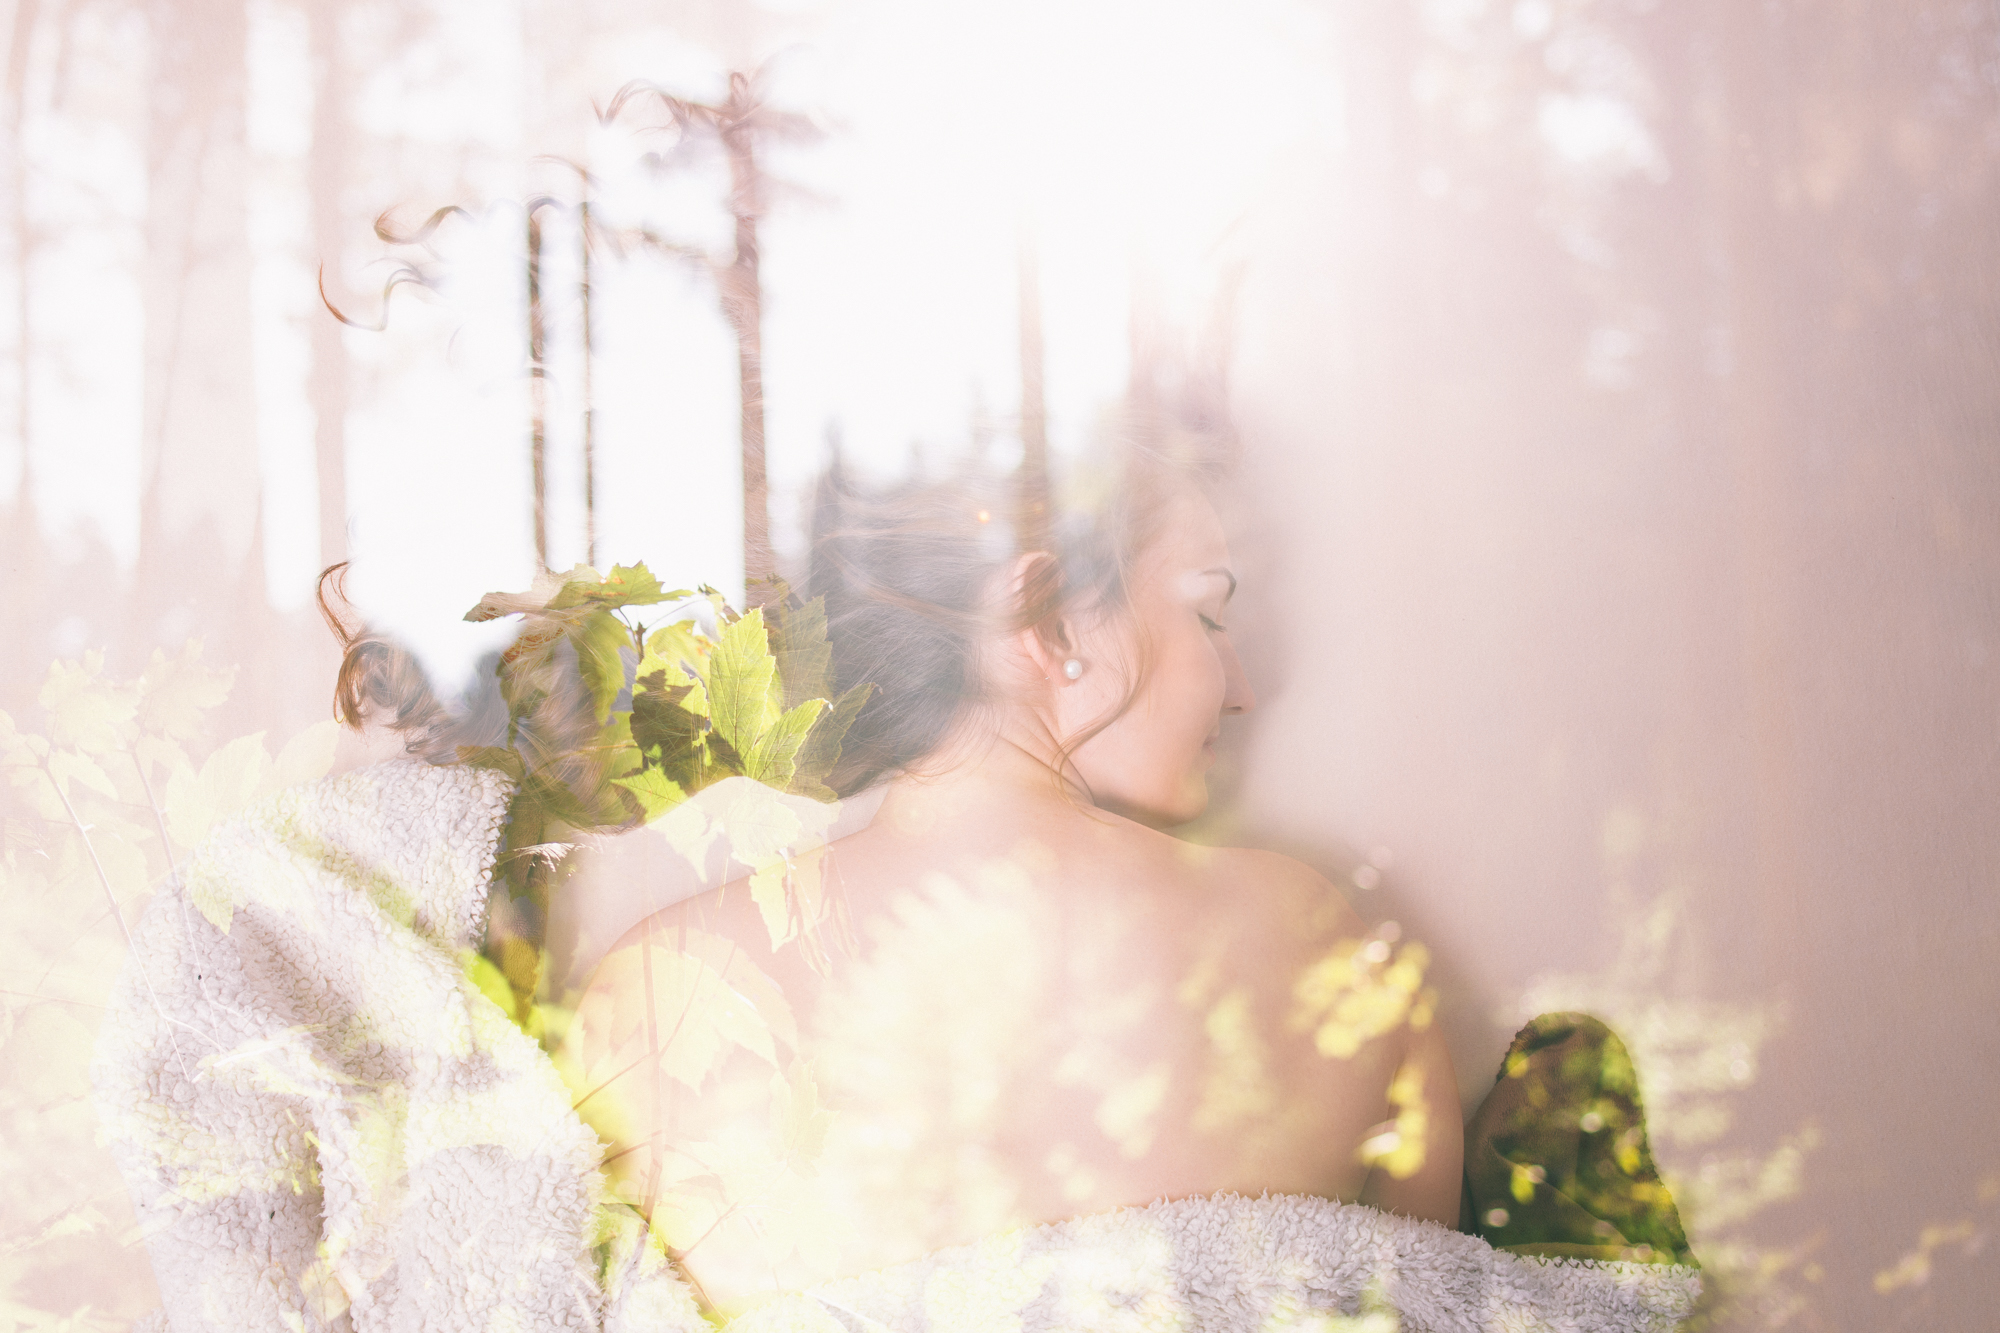
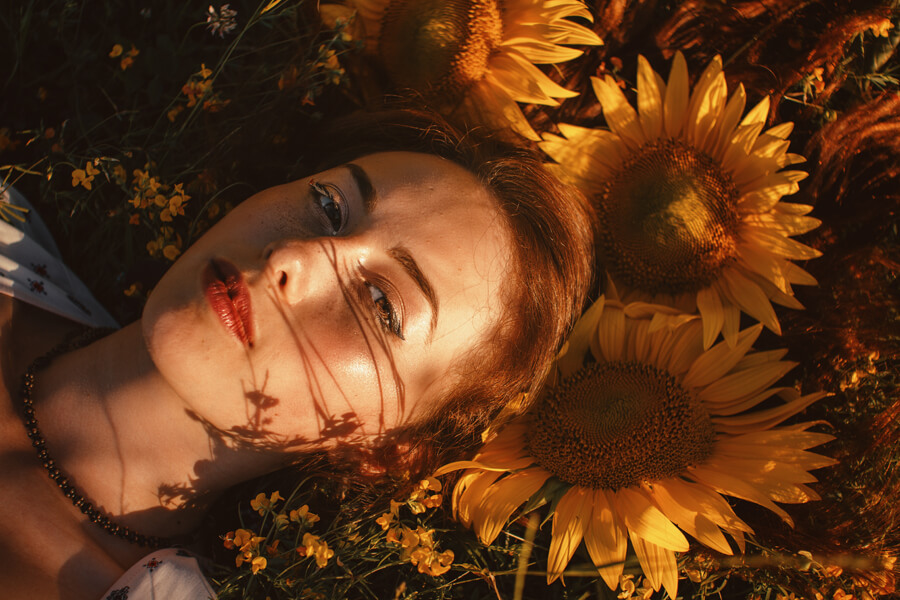
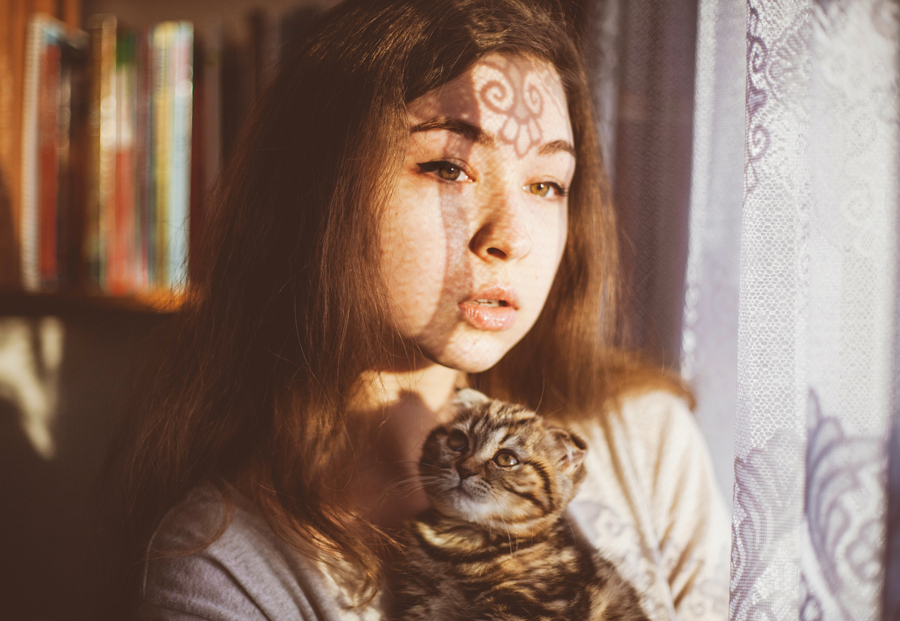
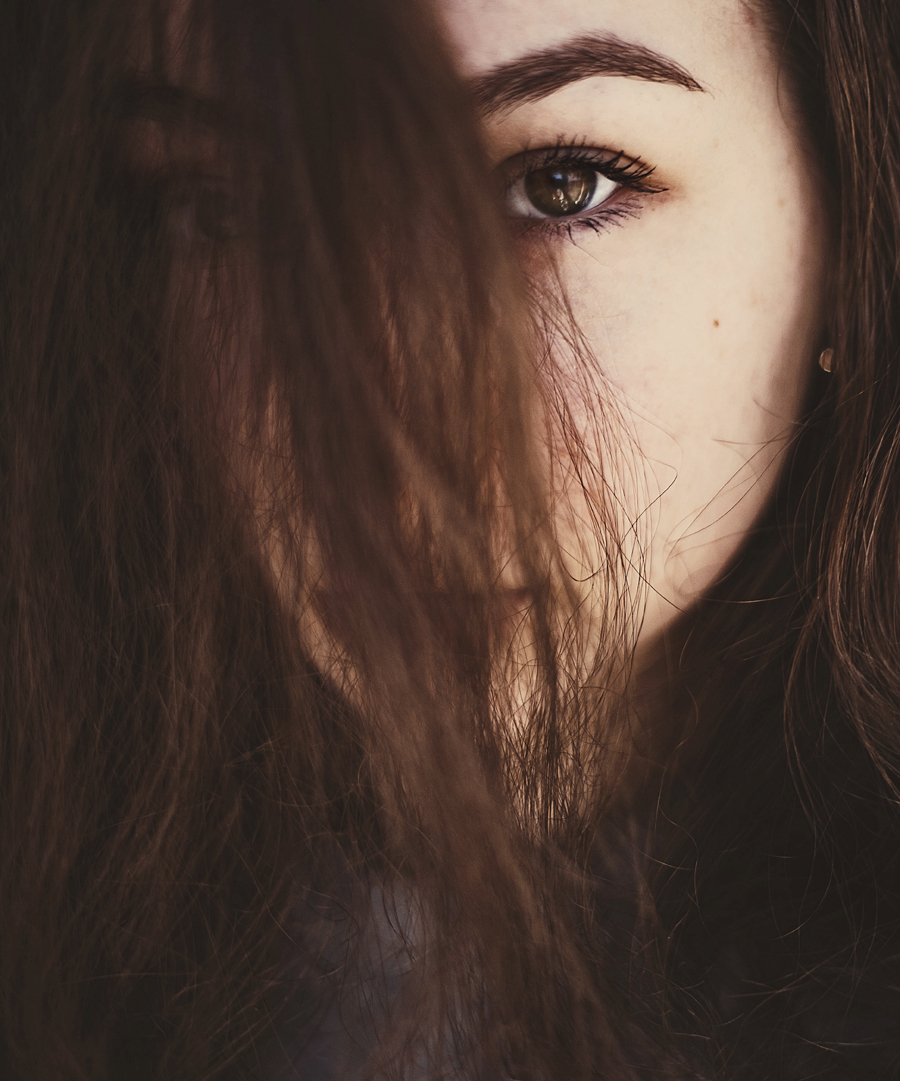
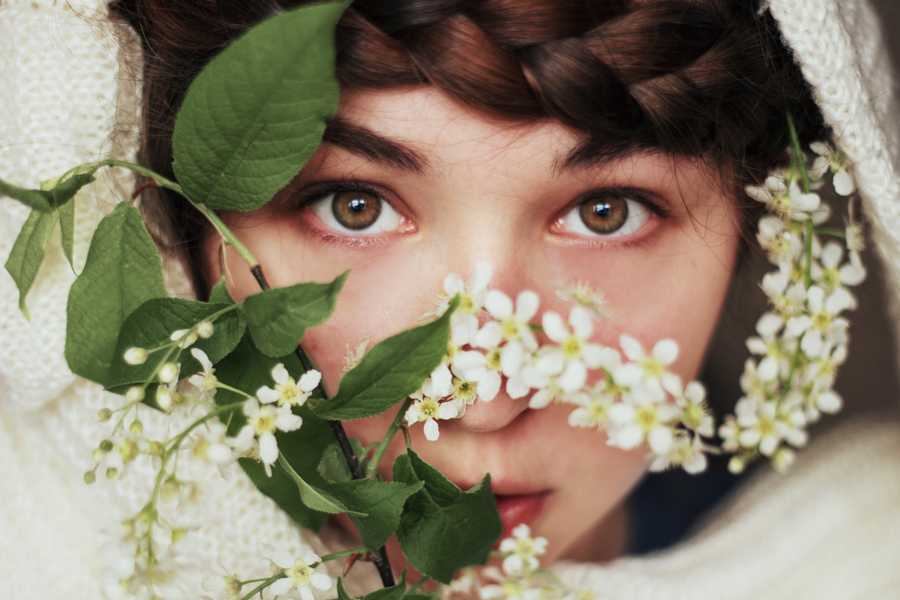
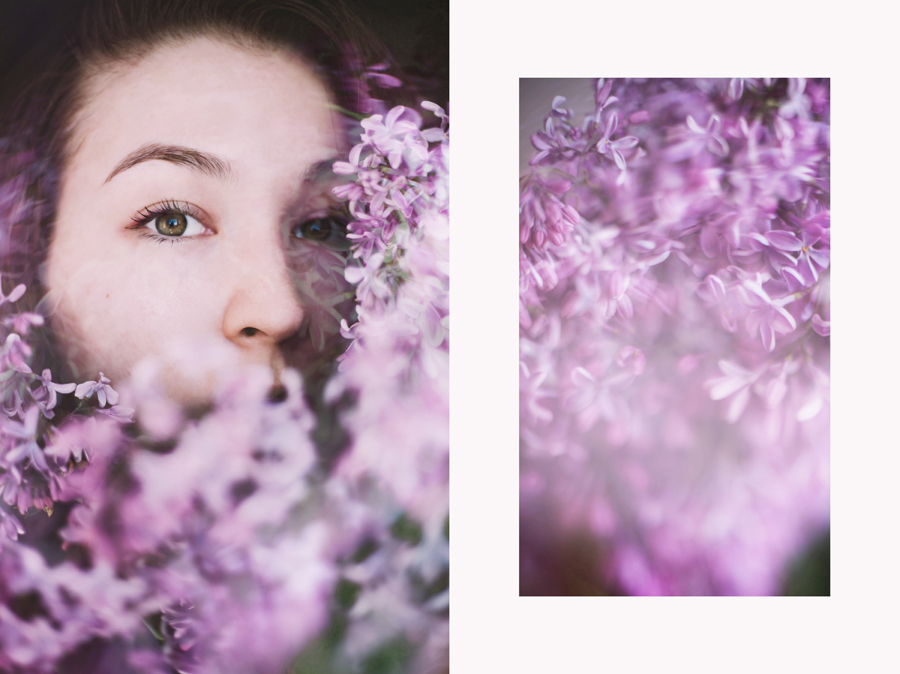
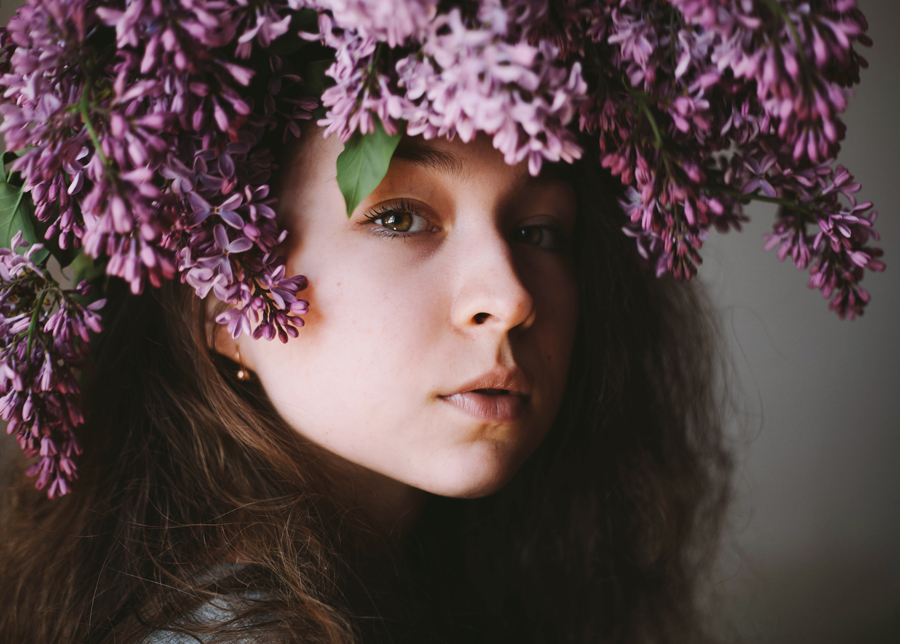
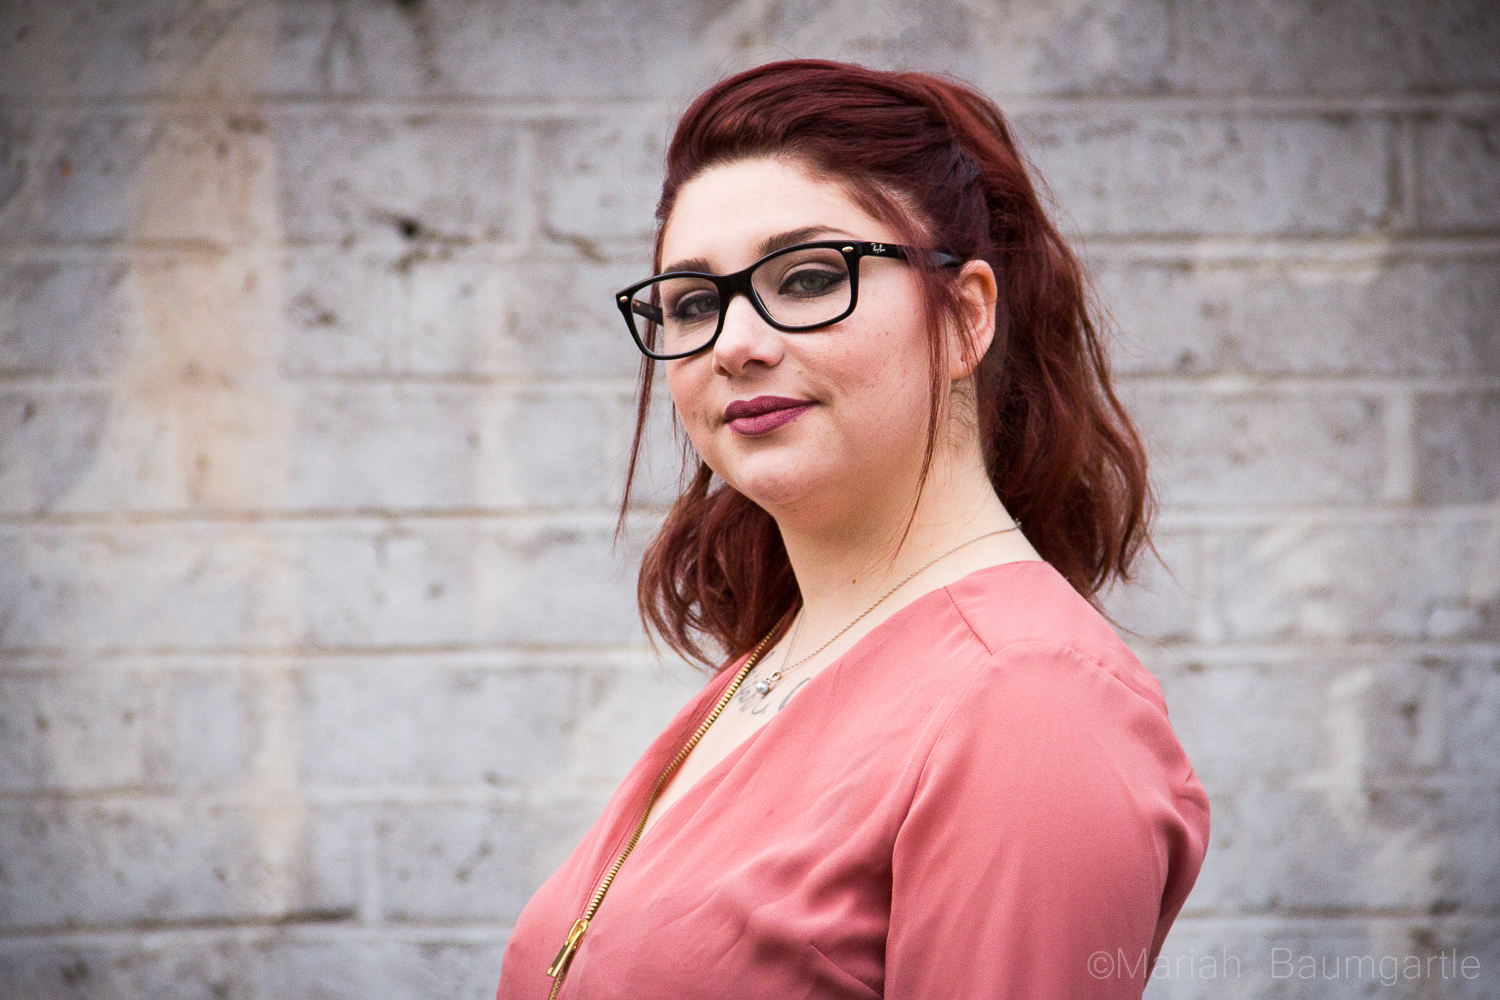
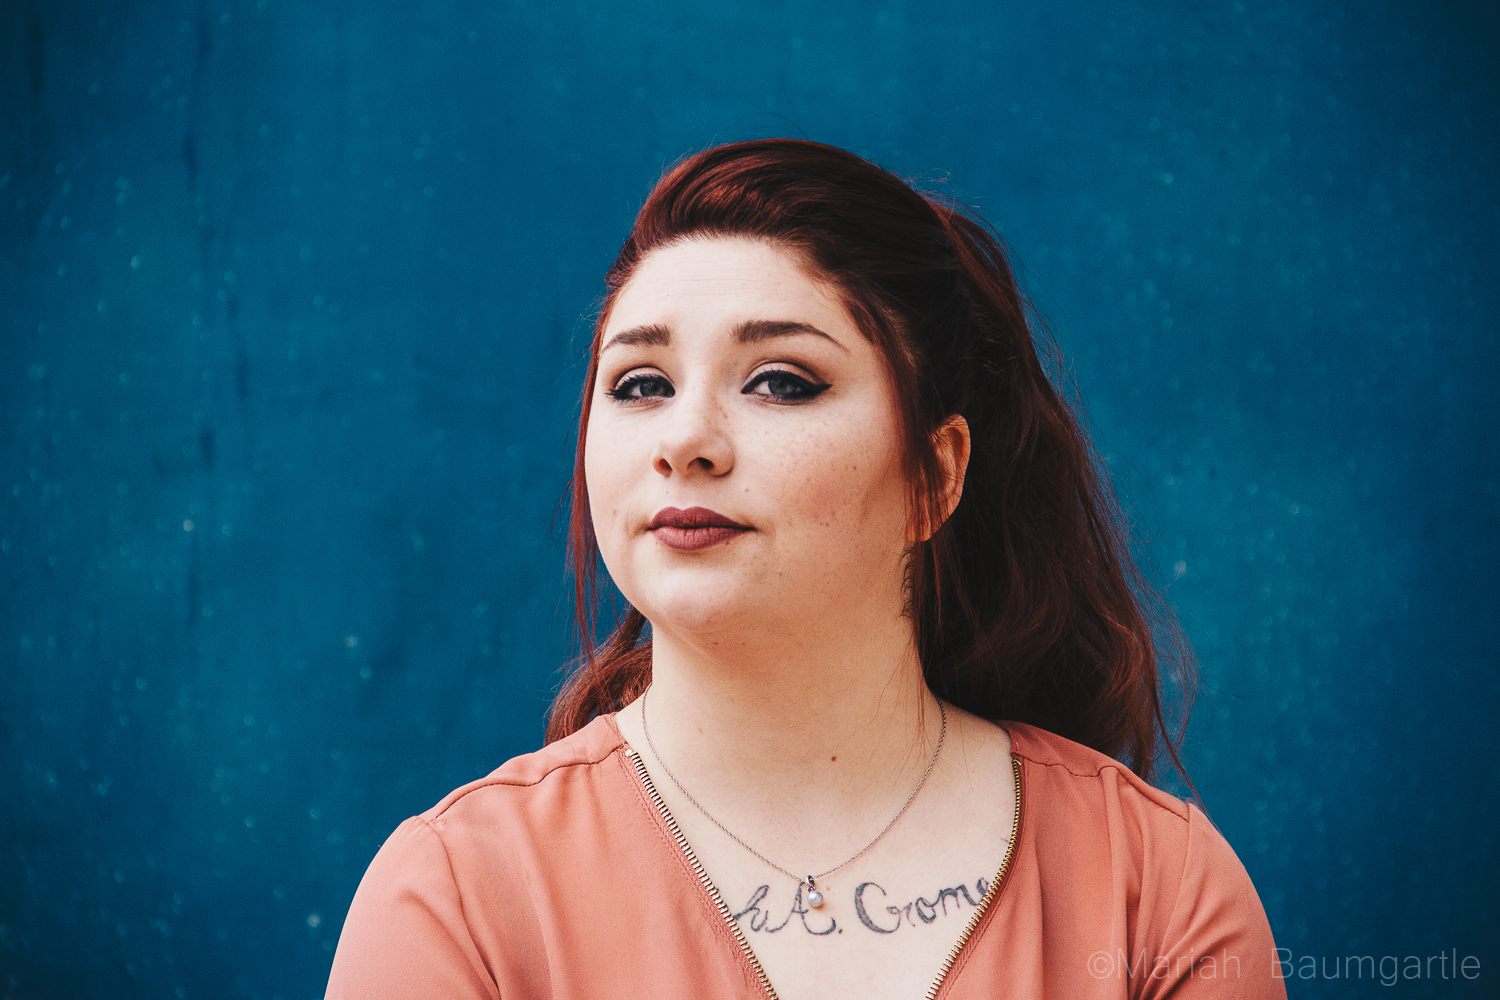
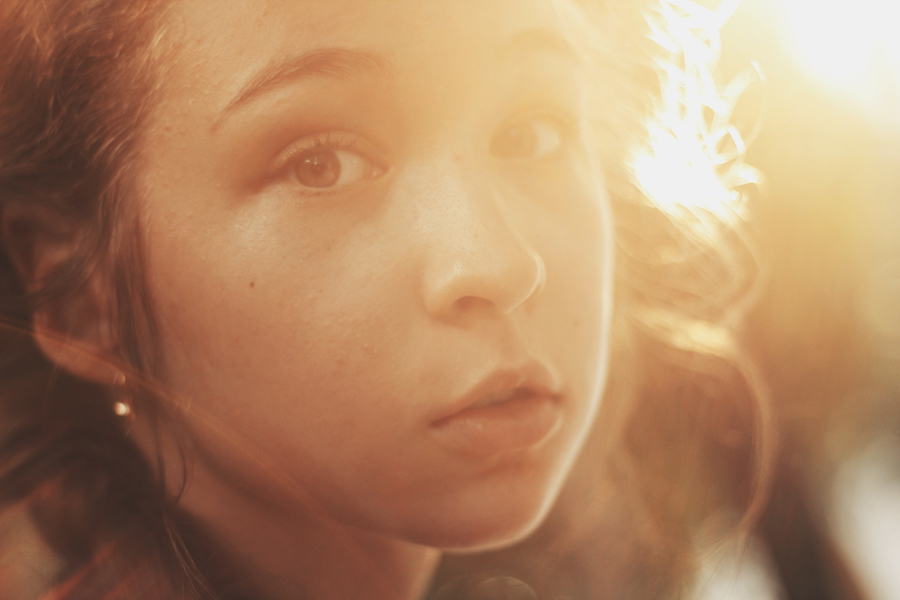
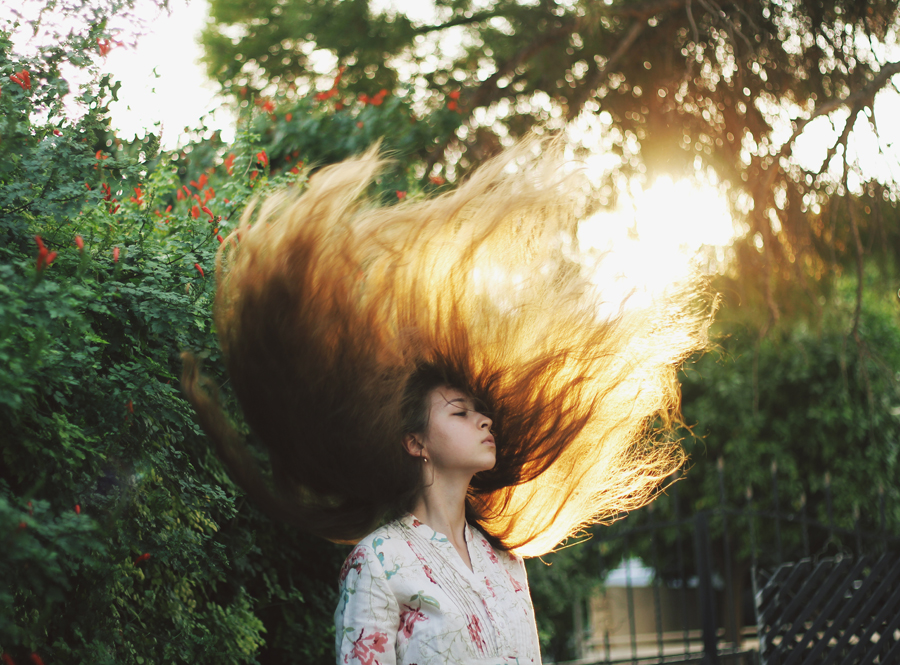
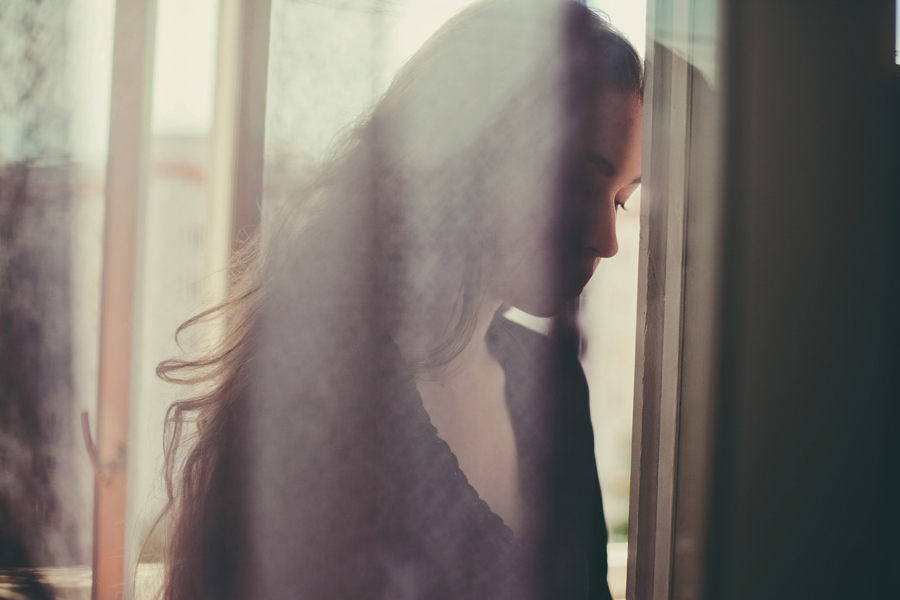
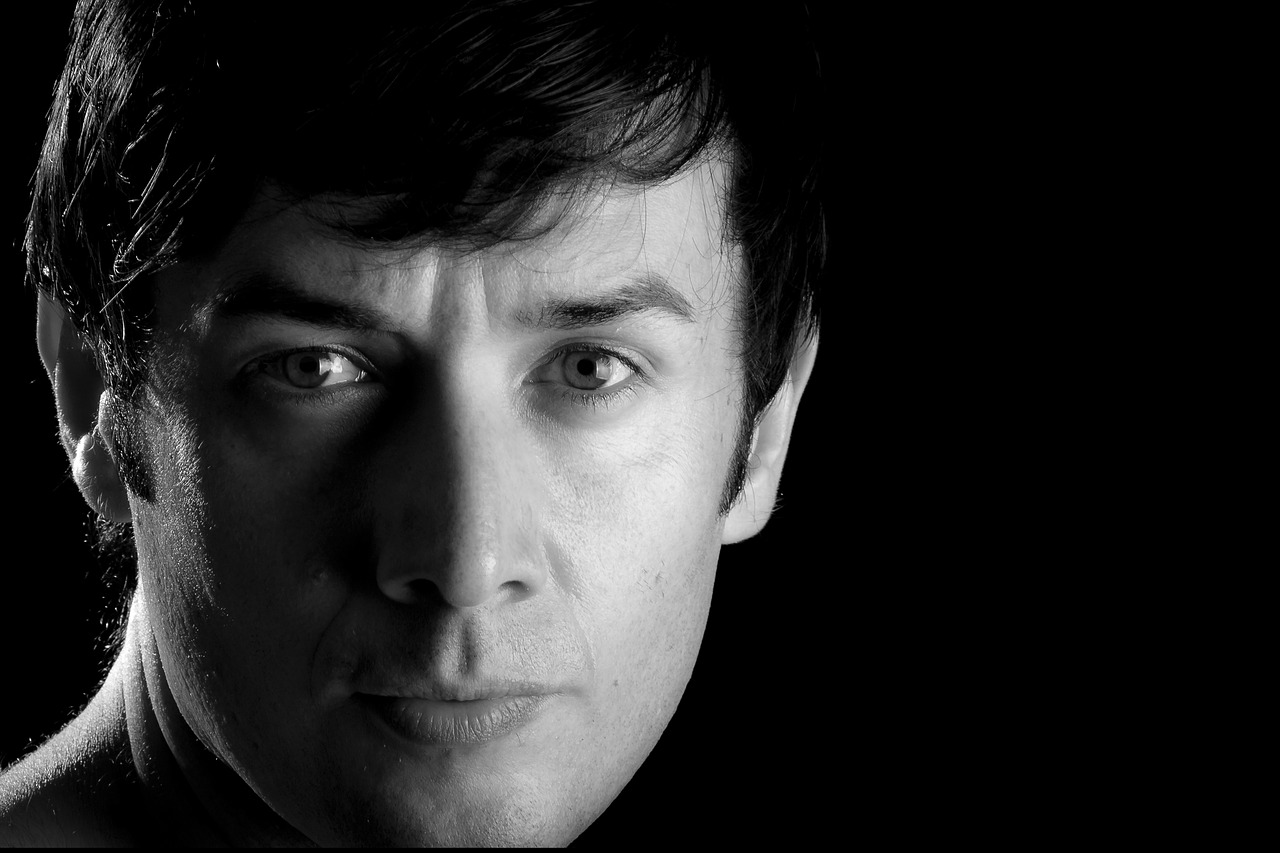
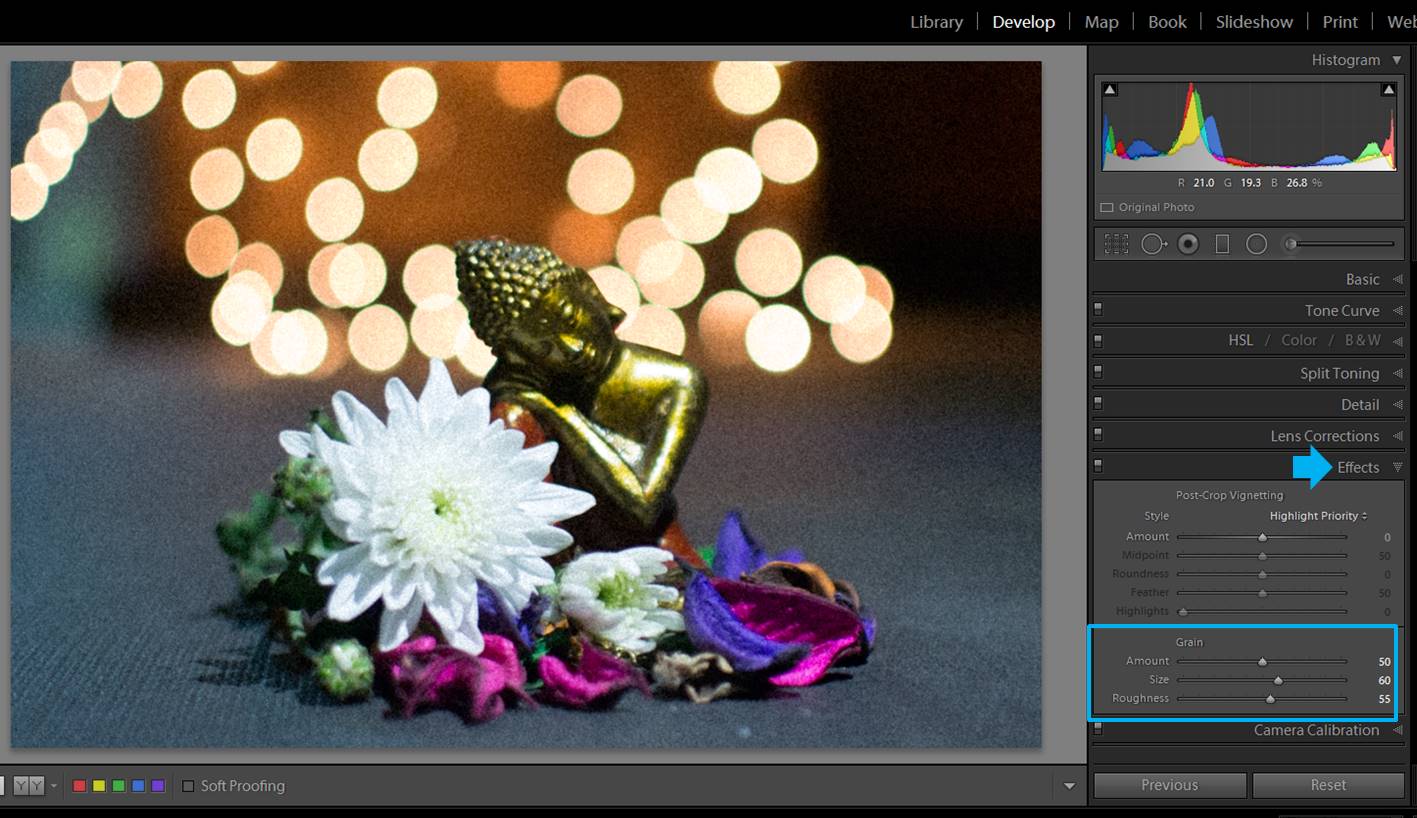
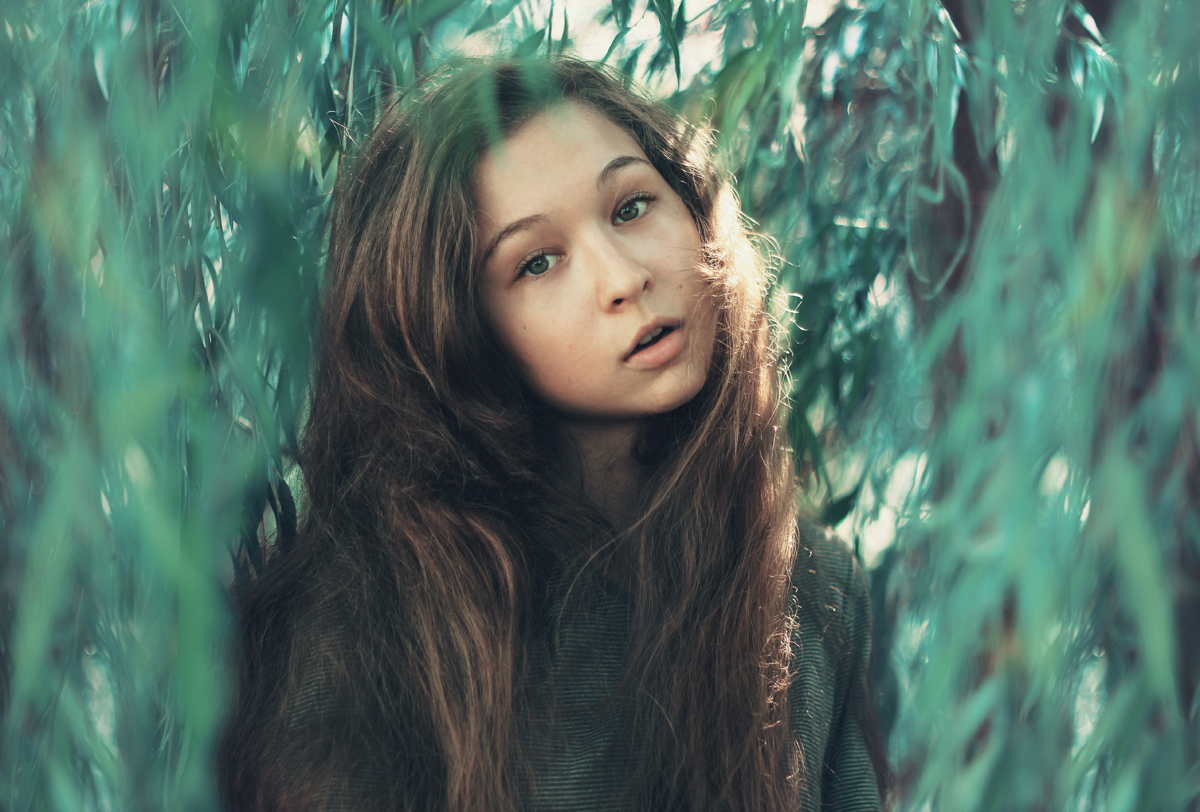
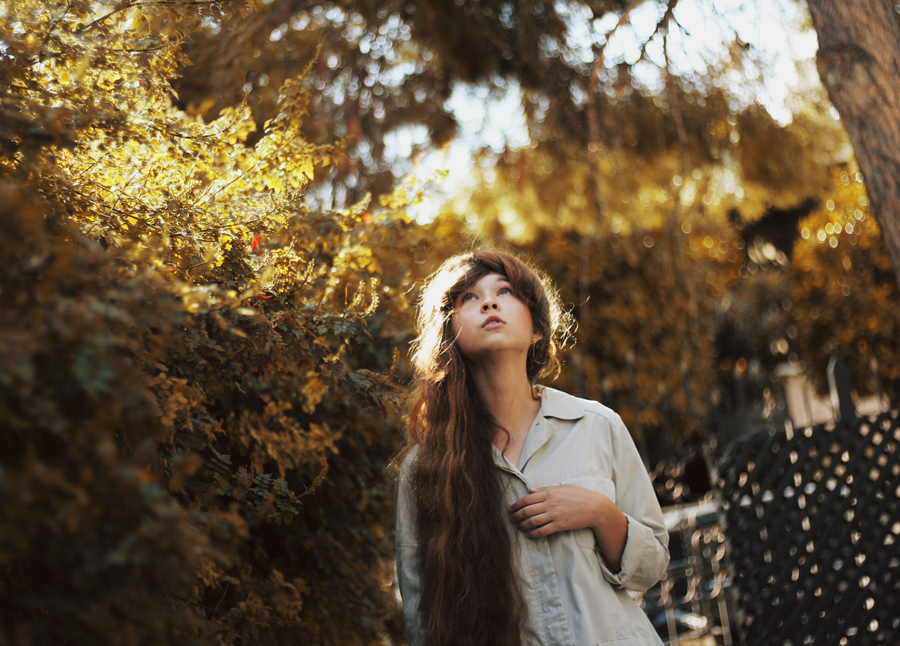
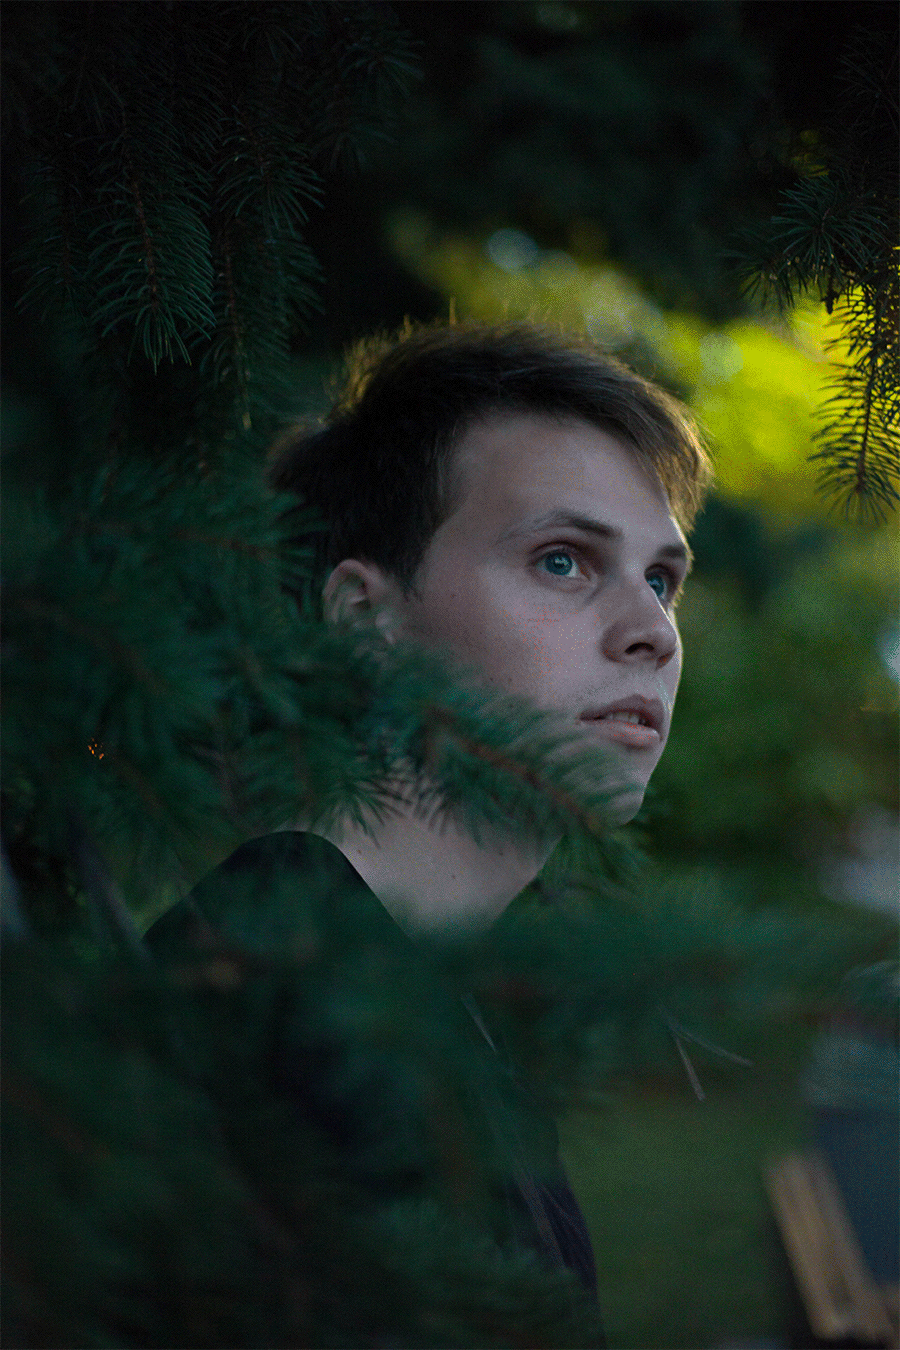
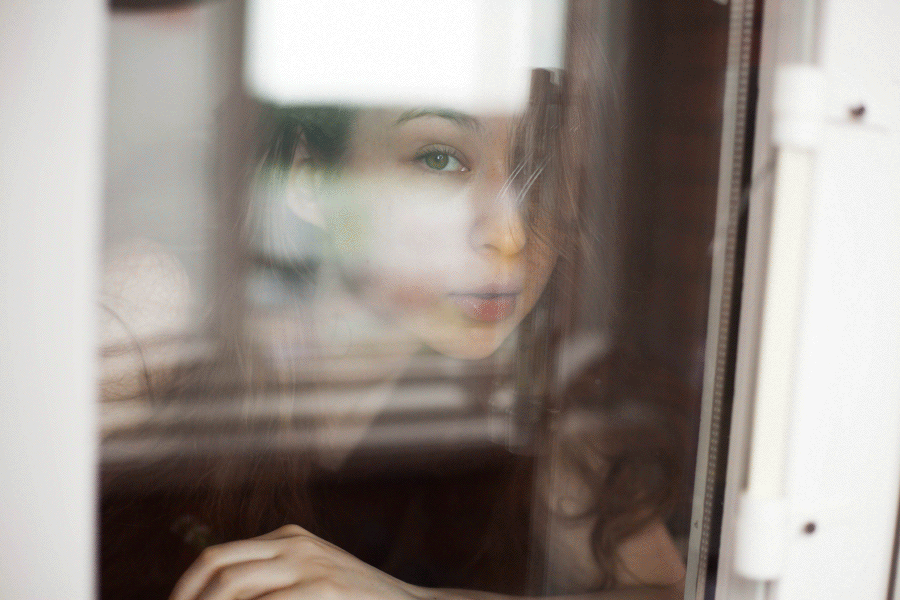
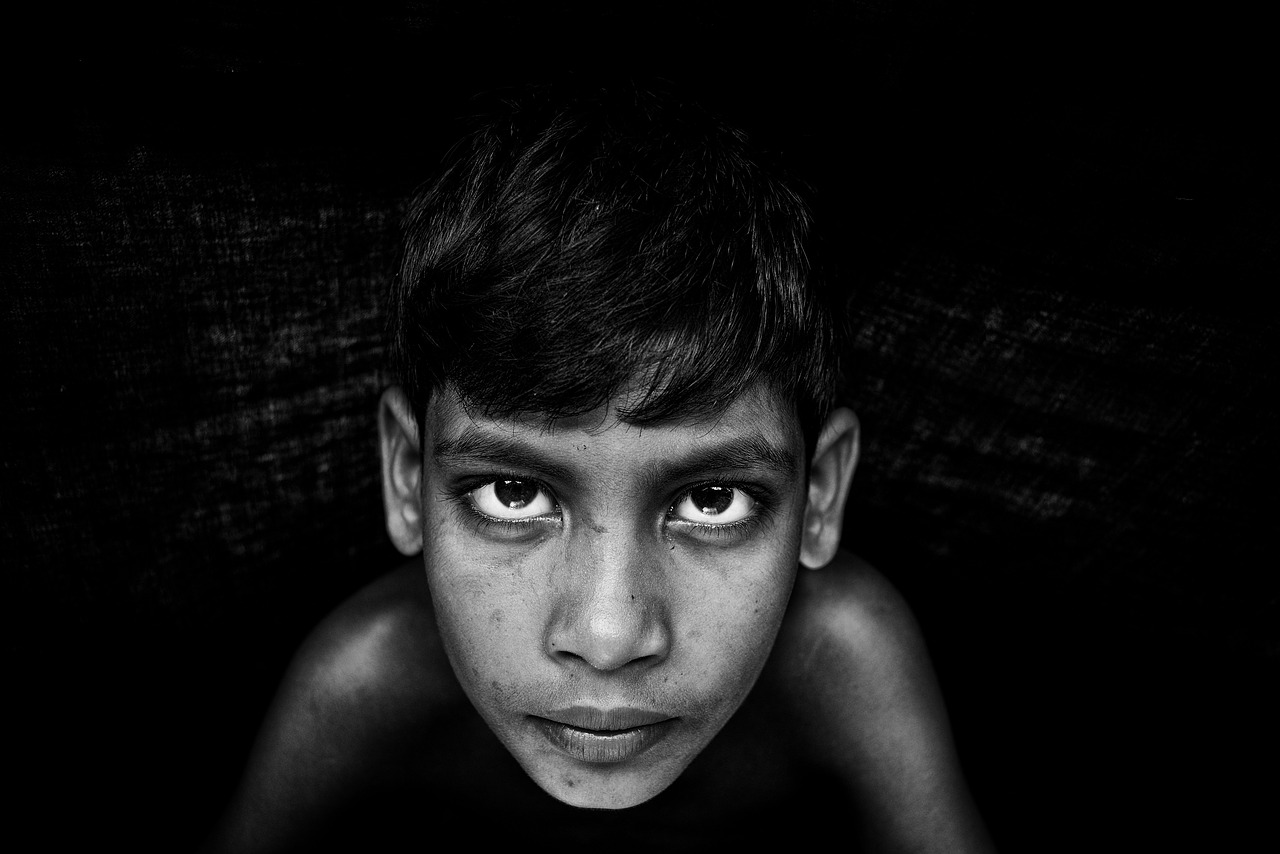
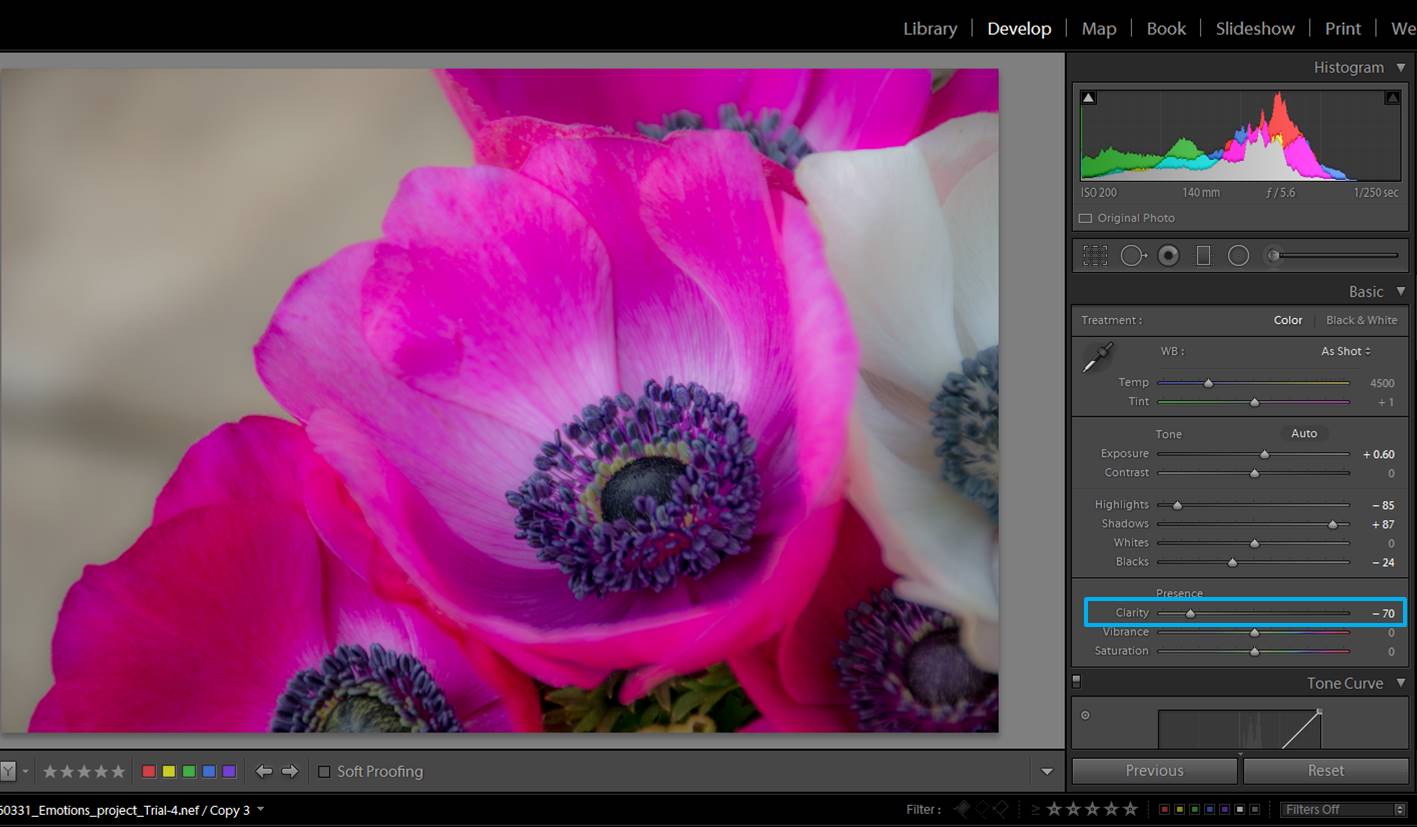
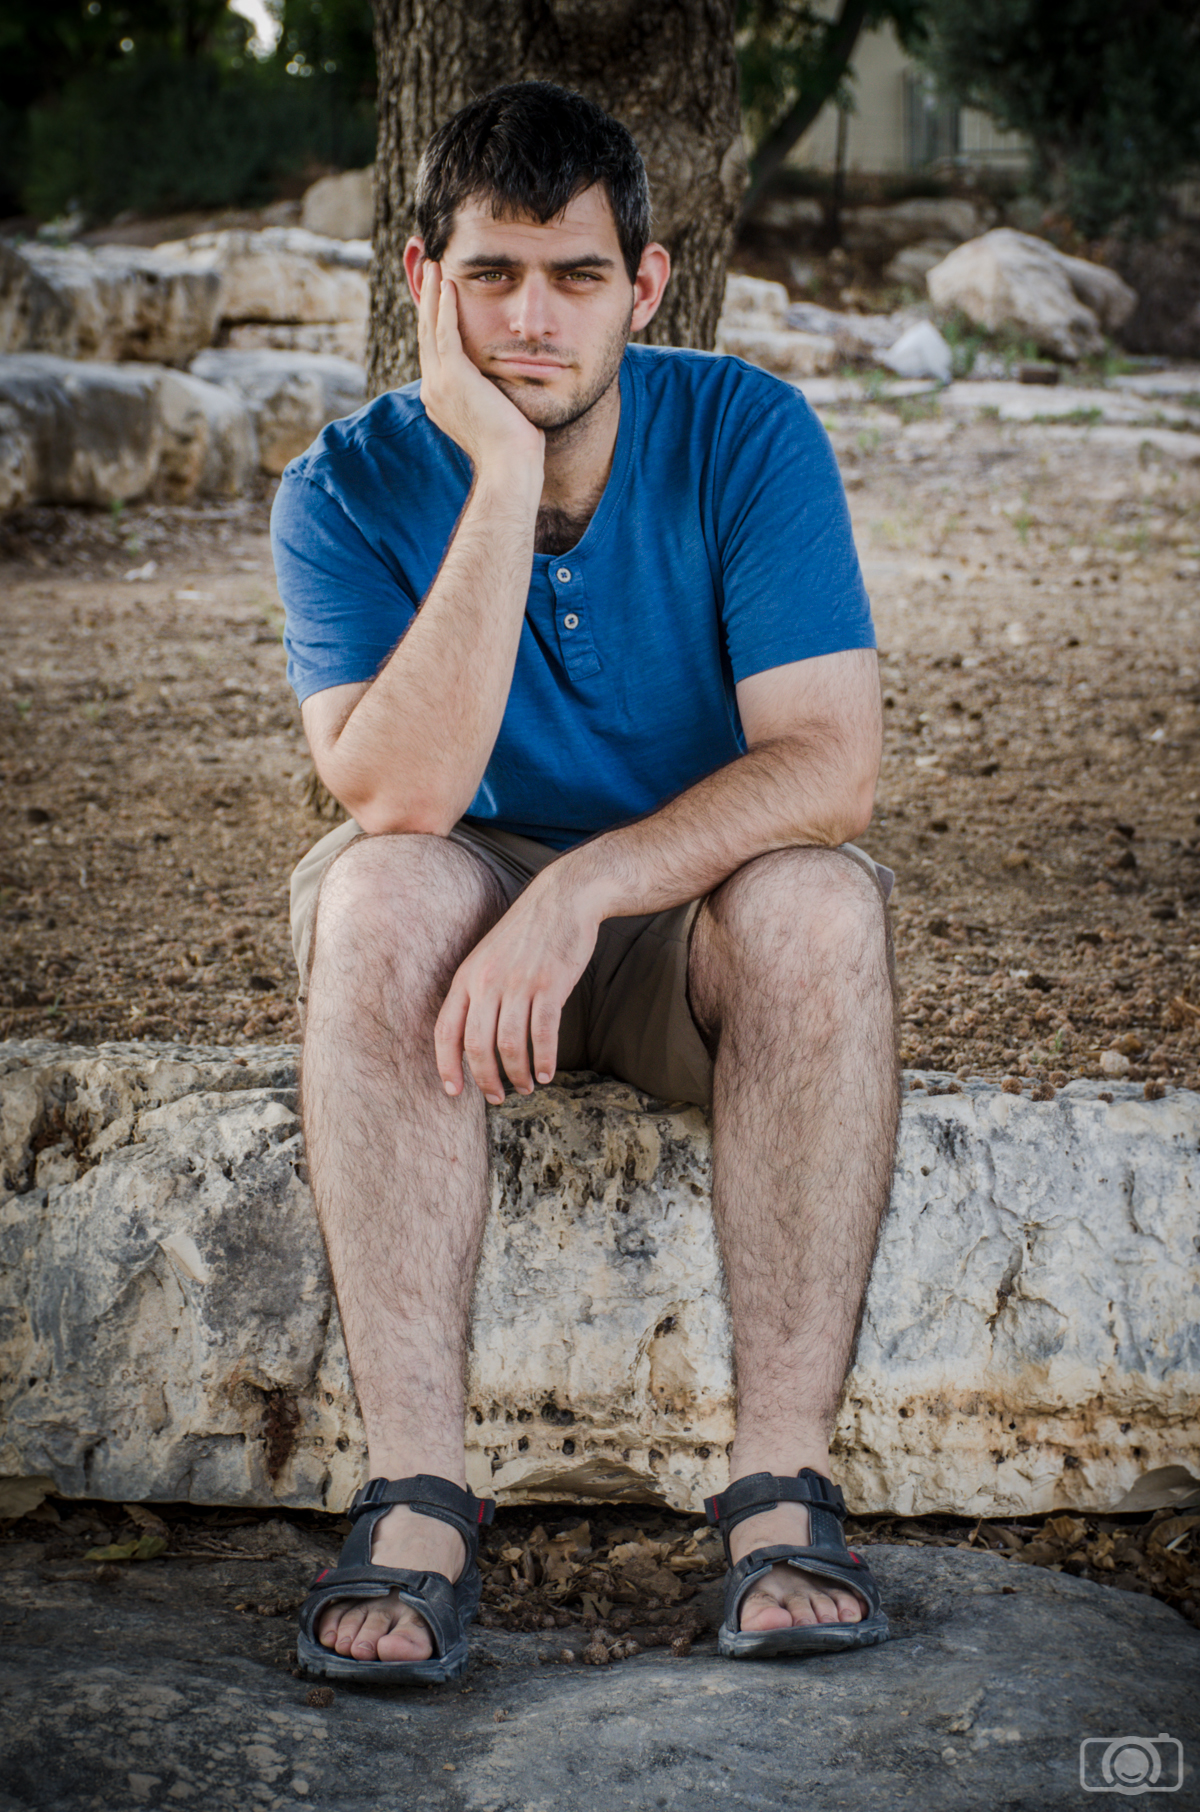
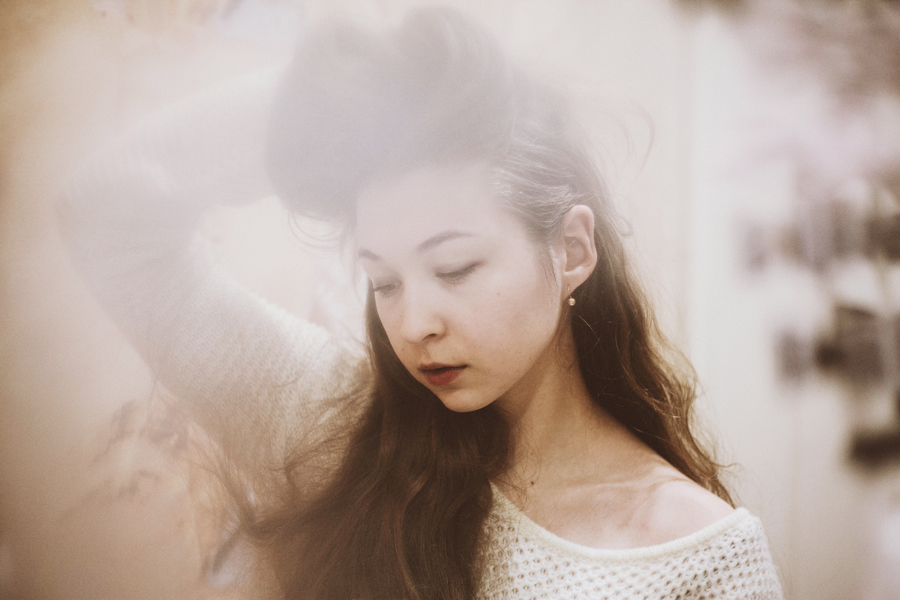
The beauty of cellophane is its unpredictability. For photographers who are interested in experimenting creatively, this is an exciting chance to grow and to learn new things. No matter what genre of photography you cherish most, use cellophane during one of your shoots. The results might surprise you, teach you new things, or show you a completely new way of looking at photography. Whatever happens, you will be closer to becoming a more experimental and open-minded photographer.

Happy shooting!

//

How to Fix Overexposed Photos in Lightroom

We’ve all been there: attempting to capture the heart of a photo shoot in a limited amount of time, coming home with a heart full of wild excitement, and being disappointed with the results. Maybe you shot on a sunny day, creating bright photographs that somehow managed to conceal your subject completely. Perhaps you shot during the golden hour, resulting in beautifully warm – yet unbearably bright – images.

Photographer friend, I have some good news for you: fixing these lighting errors is possible using a number of editing programs. The program we’ll be focusing on today is Lightroom. After installing the Lightroom presets, you will see that Lightroom presets is filled with a plethora of handy little tools like exposure, highlights, shadows, clarity, and more. These tools – which can be altered by using sliders – can fix both dramatic and minor issues. If you’re refusing to share one of your favorite shots due to overexposure, the tutorial below will help you fix your dilemma. In no time, you’ll be able to find potential in photographs that, at first glance, seem impossible to fix. This will give you more opportunities to add great photos to your portfolio and make your shots less stressful.

//

Before you begin, it’s very important to remember the power of shooting in RAW mode. The value of RAW lies in the amount of image data it collects; JPEG stores less image data, resulting in photographs whose quality isn’t the best it can be. Thus, editing RAW files enables the photographer to alter things dramatically without instantly ruining the overall quality. When it comes to images that are too bright or too dark, this is especially valuable.

Preset-loving folks, please keep this in mind: In Photoshop, it’s possible to use an action after editing your image and not lose any of the minor details you fixed. In Lightroom, however, this is possible but not easy to achieve. When presets are applied, any changes you made before the application are completely altered to fit the preset’s inbuilt adjustments. To avoid losing precious work, apply your desired preset first and then work with the sliders. This will save you a lot of time and frustration.

Now that you’re aware of these points, let’s begin!

The Basic panel contains the most important sliders – if you were to use only those during the editing process, you’d get an abundance of great images. Imagine how wonderful your work can be if you master the basics, apply stunning presets, and understand how to use Lightroom’s other panels (such as Tone Curve and Split Toning). It would be great also if you could master how to remove blue cast photos in Lightroom.

//

  • Exposure: dragging the slider to the left will darken your image significantly. Use this tool carefully as it will affect every part of your image. Of all the sliders, exposure is the most sensitive to changes. Keep this in mind as you experiment with it. Since the eye isn’t always sensitive to small changes, use the before & after tool as often as you can.
  • Contrast: this is as important as exposure, though playing around with it won’t result in overly exaggerated shots (especially if your photograph is very flat). Even a contrast of +100 could work! Drag the Contrast slider to the right until you’re satisfied with the results.
  • Highlights and Whites: the brightest parts of your photo can be fixed using these sliders. Blown out highlights in photos can be softened by dragging the highlights slider to the left. To help your shot reclaim its beautiful contrast, increase the whites by dragging the slider to the right. This will help maintain a balance and prevent any clipping from happening. (Clipping is the loss of image data – this is common when working with photos that require much editing.)
  • Shadows and blacks: to recover the strength of shadows in an overexposed image, drag the shadows slider to the right and the blacks slider to the left. Similarly to the previous point, this balance will get rid of unnecessary clipping and let your image naturally stand out.
  • Clarity: if you feel that your image has the potential to look even better, increase its clarity. Too much clarity will result in very unnatural looking photos, so be careful as you drag the slider to the right.

Once you’re done with the basics, feel free to experiment with other panels. Now you’re ready to make the most of any shoot, no matter how bright it may be outdoors. Be proud of yourself for learning something new!

//

Happy shooting, and don’t forget to never stop learning.

The importance of lighting and why you shouldn’t be afraid to experiment with it

The importance of lighting in photography is a well-known topic that’s been discussed for ages, by both professionals and amateurs. We can easily define light as endless, ever-changing, and infinitely majestic. Light can soak a location with heartwarming golden colors or simply dance with mist in a dark room. Because of its versatility, light is often feared.

Experimenting with light seems to be an intimidating idea; first attempts to master light are often met with failed results, which might discourage many artists. After all, it’s still possible to take visually stunning photos when there’s a plentiful supply of light available. Though unsuccessful shots are inevitable in any photographer’s life (regardless of their level of experience), befriending the many sides of light is highly important. Several failed shots are worth experiencing if the ultimate goal is a strong understanding of light.

The importance of lighting in limited light situations

Creative potential and light go hand in hand; if there’s even a small source of light somewhere, there’s a chance you’ll be able to use it to create fascinating shots. Dark rooms with limited light, for example, can be used to take mysteriously inspiring portraits. If you prefer to decrease your ISO number as often as possible, encourage yourself to get out of your comfort zone and use a high ISO number. In most cameras nowadays, a high ISO isn’t extremely damaging to a photograph, especially if you shoot in RAW mode. A combination of RAW, a high ISO, and a sturdy tripod will allow you to take photographs that would lose their mystery if more light were available.
Limited light is also a great opportunity to take abstract photographs. Unclear portraits of people whose faces are slightly concealed often have the power to tell a deep story. Silhouettes or shadowed faces are great examples of photos that could instantly catch a viewer’s eye. If storytelling is something you’re interested in, limited light could help your stories come to life.

//

The manipulation of light

Light can be manipulated to make your photographs look like carefully crafted works of art. Find beautiful fabrics in your home (curtains are a great resource) to create intricate shadows on sunny days. If you’re a portrait photographer, this shadow play will help you take unique photos of people, photos that both you and the model will be proud to have. Interesting shadows can also be created using hands, trees, hair, grass, and more. Your imagination is the most important part of the equation, so make sure you nurture it whenever you have the chance. A big imagination will constantly give you peculiar and brilliant ideas, which will help you to continuously grow as a photographer. The more ideas you’ll acquire, the harder it’ll be to not make great progress.

//

/

Artificial lighting and its role in Photography

Though natural light isn’t accessible 24/7, artificial light is always there to help you take better images. This kind of light can be altered more easily than natural outdoor light, making it possible for you to have more control over everything. Artificial light can be moved, decreased, and covered in an endless amount of ways. Even everyday objects as simple as torches, desk lamps, and phone light can be used to take stunning portraits. That’s why it’s crucial to acknowledge the importance of lighting early on.

You might be repelled by the unflattering colors that artificial lights tend to create – yellowish or blue hues that alter skin tones dramatically. This, however, can be fixed by altering a camera’s white balance. If your camera’s white balance doesn’t fix the issue, don’t refrain from continuing to take photographs. Editing programs such as Lightroom can decrease an image’s temperature and gracefully fix any unwanted colors.

//

Confront your fears

Any creative fear can be changed by directly confronting the fear itself. If you’ve always avoided darkness for fear of getting blurred results, learn the power of high ISO numbers and strong tripods. If you’ve never been a fan of artificial light, research the works of talented studio photographers like Sue Bryce and give artificial light another chance. If you think your home is boring, notice the way light enters your room or the way your lamp makes your table shine. If you find too much natural light distasteful, dare to experiment with shadows. Open your mind to the beauty of light, no matter where you are, and you’ll get brilliant photographs in return.

Happy shooting!

//

Using backlight to create ethereal portraits

You’ve probably come across dreamy-looking portraits, ones which possess a warm glow without appearing too harsh. It seems that the photographers behind these shots mysteriously conjured up the perfect light, creating a composition so striking that you can’t imagine recreating something equally beautiful. The secret, however, doesn’t lie in light that requires an elaborate spell – the key to taking great backlit portraits is the right kind of light and the ideal location to complement that light. Though this might sound like a tough (or vague) challenge, don’t be discouraged. If you find yourself visualizing photographs even when your camera isn’t nearby, mastering the art of backlit photography will come easily to you. Below are a few important basics to get you started:

Finding a great location

If you’d like to experiment with backlight, find a location where light roams freely. (Open spaces like fields are ideal for this.) If you live in a busy city filled with structures that block the sun, find a roof where you can safely photograph yourself or your subject. These locations will give you plenty of light to work with. (If you don’t have access to such places, shooting in front of a window on a sunny day will suffice.)
The backlight will light up not only your subject but everything surrounding your model. This is why shooting backlit portraits in a field of flowers, for example, will yield breathtaking results. If you’re shooting in a more urban location, add your own flowers and plants to enhance the composition. Challenge your imagination. When surrounded by objects which are beautifully lit, your subject will glow all the more. Furthermore, such small decorations will make the overall composition absolutely stunning.

//

//

The benefits of shooting during golden hour

Before we get into the best ways to position a camera for backlit photography, let’s focus on every portrait photographer’s favorite time of day: golden hour. The magic hour comes into being shortly after sunrise or before sunset. This is a time when the light is, as most people agree, at its best. Everything takes on a soft and warm glow during the golden hour, creating an almost nostalgic feeling wherever you look. If you’re an absolute beginner, experimenting in an open space during golden hour will inevitably provide you with the best possible lighting conditions for a successful shoot. For expert photographers, shooting in all kinds of spaces during the magic hour will add a pleasant touch of warmth to their work. If you’d like to learn more about the golden hour, read this article.

Choosing the best time to shoot

To make the most of a backlit shot, you must control the amount of light that enters your lens. Direct sunlight will ruin your shot, while completely blocking it by placing an obstacle in front of it will make your results very dark (unless you’re shooting silhouettes, this method won’t work.) For visually appealing results, make sure light enters your lens from one side. This will create a pleasant light leak which will not only brighten your composition but add a beautiful texture to it.

//

Unlike golden hour, a backlight is rarely available in limited quantities. It can be found even on overcast days when soft light is present. If you find the light is too dull on a day when the weather conditions aren’t ideal, use a reflector; this will significantly enhance any available light and make your subject’s face stand out in a flattering way. If you don’t own a professional reflector, it’s very likely that you can find one in your home: a mirror, a white sheet of paper, kitchen foil, or a Tupperware lid.

Experiment persistently

Most importantly, experiment. Break the rules: create dark silhouettes, work with overexposed shots, and photograph whatever you desire during the magical hour. Enjoy the warmth of golden hour and the softness of duller days. If portrait photography is your niche, experiment with other genres using the same methods. Try out taking photos of flowers, buildings, and objects. Broaden your creative horizons. This will be very evident in your results; additionally, it will transform you into a better photographer and observer of the world.
Whatever you do, don’t stop shooting, and you will thrive in the most surprising of ways. Just remember to embrace spontaneity, listen to your imagination (no matter how bizarre it may seem at times), and find potential in seemingly insignificant details.

Happy shooting!

//

//

Getting creative with foregrounds: How to improve your portraits

When I first started taking photographs of other people, my portraits often ended up looking very similar and much too simple. Though I yearned to have inspirational and visually stunning shots in my portfolio, I couldn’t find a way to create them using the limited amount of equipment I had. Compelling self-portraits were especially difficult to make due to the fact that I had neither a remote nor a tripod at the time. Then, during a self-portrait shoot, I held an object in front of the lens for the sake of experimentation. This created a dreamy effect which slightly concealed parts of my face and highlighted others. The difference a single little thing could make a seemingly simple portrait astounded me. If I could place almost anything in front of the lens and create an interesting photograph, what would happen if I chose my foregrounds according to a theme, an item of clothing, and more?

Even if you don’t own a professional DSLR camera, chances are that placing any item close to your lens will cause blurriness. It’s even possible to create such an effect with a tiny camera phone. This kind of blur is ideal for all kinds of photographs, but it’s especially eye-catching when portraiture is involved. Hiding part of your subject’s appearance using things like flowers, hair, and hands will allow the viewer to feel like they’re a part of the story. Like well written stories, photographs that make viewers feel included will glow with potential. Furthermore, these works of art will touch friends and strangers alike, drawing more people to your photographs. Eventually, you’ll find yourself discovering all kinds of ways to include simple things in your photos to create spectacular images. Here are a few tips on how you can get creative with foregrounds:

//

Finding foregrounds at home

Whether you live in a tiny apartment or in an extravagant mansion, you’re bound to find useful, foreground-worthy products in your home. Since foregrounds are barely distinguishable when placed very closely in front of the lens, don’t worry about experimenting with items that aren’t necessarily used in the photography world all that often. For example, reflective kitchen utensils like forks and spoons can serve as great additions to a picture, allowing for shiny-looking results that direct the viewer’s eye straight to your subject. If you’re a fan of animal photography, your pet’s toys could enhance your image’s composition; in addition to having a fun time with your pet, you’ll be able to capture a beautifully framed moment. Take some time to look at your possessions from a fresh perspective, giving everything a chance to become creatively useful.

//

Finding foregrounds in nature

If your own possessions don’t spark ideas in your mind, take a walk. No matter the season, nature is always prepared to help you with your artistic endeavors. Branches, flower, grass, etc., can all serve as brilliant foregrounds. This is especially effective in the early autumn and all throughout spring when nature’s colors are at their most vibrant. Even shooting through a cluster of branches will add vibrancy and mystery to your shot. If you photograph a person using this technique, your results will be gracefully cinematic.

//

Instant foregrounds in portraiture

There are foregrounds which require little to no effort to create. If – during one of your portrait shoots – you’re out of both props and ideas, ask your model to place his or her fingers in front of the lens. By partially covering some of your subject’s facial features, this effect will make viewers wonder what the subject is hiding. Other easy foregrounds include hair and items of clothing.

//

Adding foregrounds in the editing process

If you already have a set of images you wish to enhance, you can do so by adding artificial foregrounds to your shots in editing programs like Photoshop. The Internet has an impressive amount of free texture packs. For instance, a free light leak pack will give you access to an abundance of stunning resources which will add vibrancy and brightness to your images. It’s also very likely that you already have the resources to create eye-catching photographs; look through your old work, especially your travel photos, and experiment with anything that stands out to you. Alternatively, you can look for great content on free stock photo websites; it’s very likely that you’ll find what you need there.

Working with foregrounds will give you a chance to appreciate the beauty in everything. Additionally, it will give you a chance to reinvent your style, discover new ways of photographing and find potential in the smallest details. In general, it’ll make you a better photographer. Always stay creatively curious.

Happy shooting!

Finding spellbinding inspiration in films

Films can be thought of as the equivalent of moving photographs. Seemingly endless, these timeless images reveal an array of interesting emotions, places, and people within just a few hours. The stories they tell often touch our hearts and remain with us for a long time, teaching us more about ourselves, the world, and what it really means to be alive. It’s not surprising, then, that the basic blocks of filmmaking – millions of stunning images – have the power to provide us with inspiration. Using movies as an opportunity to take more effective and meaningful photographs will lead you to a future filled with far more creative potential than you can imagine.

But how can you be inspired by films? Any story, whether it resides in the azure skies of a painting or in the mind-boggling plot twist of your favorite TV show, can serve as a source of valuable ideas. If you feel you’ve reached a creative block, or if you simply want to explore other ways of photographing people and places, here’s a list of things to look out for when you’re enjoying your favorite film:

//

Darkness and light

Since an indescribable amount of effort is put into the making of a film, each scene is guaranteed to have hints that will allow viewers to understand the story on a deeper level. Symbolism – which can be both obvious and subtle throughout a film – can be found in the way light hits the character’s face, for instance. Films revolving around mystery often include characters who are barely lit by car headlights, or who are overshadowed by a mess of clothing in a dark room. Heartwarming scenes in movies are often accompanied by light that reflects the characters’ sunny dispositions – golden light that makes their eyes glow and their hair shine.

Even if you’re not planning to take cinematic photographs, it would greatly help to understand the importance and beauty of light. The more you look at visually stunning compositions (of which there is an abundance in films), the easier it’ll be to find similar compositions during your own shoots. With time, you’ll be so accustomed to finding both unusual and striking light that you’ll find potential everywhere, even if you live in a tiny apartment in a city that barely gets any light. Even shadows and darkness will cease to intimidate you – they, too, will become your artistic tools.

Films and shows with breathtaking visuals:
The Light Between Oceans
Carol
Riverdale
Her
An Education

//

//

Angles and movements

Characters often do much more than speaking in a film. Bits and pieces of an entire story can be found in expressions, postures, angles, and more. To create a photograph with a deeper story, pay attention to your subject’s movements during a shoot. If you want to get even more creative, come up with a story beforehand to intensify the emotional aspect of your shot. This will make the shooting process fruitful in numerous ways; you’ll get brilliantly emotive results, and you’ll find your path to becoming a more advanced storyteller. The more you practice, the incredible your results will be.

If you’d like to work with more than posed photographs, go on a trip with someone, even if it’s a short walk to the local bookstore. Photograph their movements as they observe the world around them. There will be moments of oblivion – fleeting seconds when they’ll forget there’s someone photographing them – which, if captured, will result in honest and unique portraits. If you’d like to experiment with raw emotions and poses, be spontaneous during your next shoot.

//

Details

Close-ups are common in films. They reveal parts of a character that the viewer would’ve ignored in more distant scenes. In the movie Carol, the main character’s (Therese) love interest is often shown up close to reveal exactly how much Therese admires her. As you explore locations with or without your model, find details that catch your eye. If you go out for a morning walk, notice the way light hits a leaf, for example. Find potential everywhere, and the ideas will gracefully swim to you.

So take advantage of the many brilliant films that exist today. Take notes as you observe movements, emotions, light, and details. Inspiration could be hiding in the least likely places; it’s your job to find it and use it. Using this inspiration, you’ll be able to add an abundance of light into your portfolio and improve significantly as a photographer.

Happy shooting!

//

//

Quick and easy hairstyle ideas for shooting sessions!

Every kind of hair is photogenic, no matter its color, length, or texture. Since there are so many variations in the world, it shouldn’t come as a surprise that every portrait shoot is exceedingly unique. However, not having to worry about being monotonous as an artist shouldn’t stop you from pursuing more and more creativity. When you photograph either yourself or others, ask yourself which feature, appearance-wise, stands out most to you. More often than not, hair is going to be one of your answers because of the significant part it plays in portrait photography. Decorating it in elaborate ways will provide you with an opportunity to share more of your artistic and imaginative skills, which is something clients of all sorts favor. If you’re finding yourself short on time or feel that you’re out of ideas, try out the following hairstyles. They’re quick and easy and capable of making your images pop!

Side part

Perhaps the simplest of all hairstyles is the side part, which is especially suitable for client shoots. If you wish to have a shoot that’s simple, easy, and elegant, then this hairstyle is for you.For an exotic touch, make your subject wear a flower crown, a hat, or a single flower. The simplicity of this look will provide enough of a frame to nicely complement your subject’s facial features. Best of all, it won’t be too distracting; this is perfect for photo shoots in which striking compositions aren’t a necessity. Side parts also make great foregrounds when making closeups – if part of your subject’s face is covered by their hair, the side that is covered will be blurred, further accentuating features that are exposed.

//

Wild and free

For my own self-portrait shots, I often turn my hair into a messy combination of knots and curls. This allows me to work closely with my imagination, challenging me to make the most of a random look. The results, which are often pleasantly surprised, never fail to fill me with original ideas. Though messiness isn’t often associated with positive feedback, messy hairstyles are an exception. The textures of a messy look give images a painting-like atmosphere. It’s almost like going back in time and allowing a famous painter like John Waterhouse to capture your features on a canvas forever. This works best for medium-length (or longer) hair. Unruly hair looks incredible in black and white images; combine this with freckles and you’ll have yourself an impressive shot.

/

Top knot

Though top knots can be cliché, they have the potential to look wonderful, especially in cozy indoor settings. If you’re having a casual shoot with a friend or are simply in the mood for taking warm photographs, experiment with this look. It’s fun, easy to make, and will give your subject’s appearance a pleasant frame. For additional coziness and texture, make the top knot messy!

/

Wigs

If the aforementioned ideas don’t appeal to you, buy or rent a few wigs. These are guaranteed to give you an endless amount of creative possibilities and thoughts. If your wig looks too artificial, convert your photos to black & white (or shoot in b&w mode if your camera supports this feature). A lack of color will direct the viewer’s attention to your subject’s facial features rather than the quality of his or her wig. Wearing a hat or other hair accessories with a wig will also provide the viewer with an effective distraction.

/

Whichever style you choose, don’t forget to experiment and be creative! Sometimes, the messiest of looks end up creating the most astounding images. Add your own unique style to a commonly used hairstyle; for example, a ponytail can be combined with a small top knot, or a messy hairstyle can be accompanied by a tiny hat. Be fearless and your work will thrive because of it.

Happy shooting!

How to take great photos from unusual angles

When you take photographs of your subject, how do you usually hold your camera? Do you always photograph people or places directly, or do you dare to experiment with unusual angles? Though the beauty of a great photograph isn’t completely determined by specific angles, there are ways to enhance an image’s mystery, effect, and overall composition using unique camera positions. To do this, it’s important to embrace new ideas. Even in the world of portraiture, where flattering angles are valued, there’s space for camera angle experimentation. Here are tips on how to experiment in a way that will provide you with amazing results and valuable creative experience:

Don’t use your tripod

Instead of depending on your tripod for your camera’s stability and safety, use flat platforms in your home. Tables, couches, and books can all be great substitutes for a tripod. If there are other objects on your platform, don’t remove all of them; instead, leave a few to make your shot more interesting. Foregrounds have the potential to frame any shot beautifully. Additionally, raise your camera a little by placing something soft underneath the lens. This will provide you with an interesting angle which you can use to take photos of people, self-portraits, etc. To avoid damaging your camera, make sure that anything you place it on is completely safe. Though experimentation is wonderful, you don’t want to end up with broken equipment. This is why it’s safer to experiment without a tripod in your own home.

/

Using less equipment to take eye-catching photos will be challenging. When I first began experimenting with self-portraiture, I had neither a remote nor a tripod. As a result, I had to run back and forth with the hope that my results would be sharp. My tripods were often tables, chairs, and armchairs. When I acquired both a remote and a tripod, I was thrilled. The contrast between using a flexible tripod and a simple table was shocking, and it allowed me to greatly value my new possessions. Sometimes you have to take a step back from your professional equipment and rediscover the value of everything you own. This challenge will shape you into a better, more flexible photographer.

If you’re not fascinated by the idea of temporarily abandoning your tripod, consider using a flexible one. Tripods like the GorillaPod can be attached to almost anything, from street lights to branches, and they can give you more creative opportunities no matter what kind of photographer you are.

/

Shoot from a low angle

Out in nature, there are many plants and objects which can serve as brilliant foregrounds. Even shooting through branches will give you unique results. Combine this with a low angle and you’ll get unusual and eye-catching photographs. To achieve this effect, carefully hold your camera slightly above ground, finding interesting elements to shoot through while keeping the focus on your subject sharp. Though manual focus isn’t as easy to work with as autofocus, mastering it will save you a lot of time and frustration, especially when shooting through things like plants. Other things you can shoot through are fences, hair, and even your own hand. Don’t be afraid of being spontaneous, and make sure you give everything a chance to be a part of your work. In doing this, you’ll discover the beauty of objects that once seemed dull to you. This will stop you from taking details for granted.

/

Look up

If you live in a city filled with towering buildings, let your camera look up. It’s easy to look ahead and ignore the endless amount of photogenic things around you, especially when you’re outdoors. Change this by taking the time to find unique buildings and photograph their vastness. In addition to familiarizing yourself with architectural photography, you’ll learn how to find beauty from every position.

/

The more you experiment with angles, the more interesting your portfolio will become. You’ll find value in taking cinematic photos from low angles and in shooting everything above you. Furthermore, you’ll learn and cherish the knowledge that as a photographer, you are completely limitless. No matter where you go, be it a popular location or an abandoned village, you’ll find ways to pour your unique style into your photographs.

Happy shooting!

How to Take Better Photos With Your Phone: 4 Steps to Improvement

Fact #1: Almost all of us have smartphones. Fact #2: Almost all of us have used our smartphones to take photographs at one point or another.

Even if you’re not an avid Instagram user, there are many ways in which phone photography (commonly known as phoneography) can boost your creativity and observation skills. Phone photos, thanks to their ever-increasing popularity, are taking over both the real and the online worlds, compelling others to find something photogenic of their own to shoot.

/

What if you’ve already tried out phone photography but disliked the process? Maybe the camera in your phone didn’t provide you with enough options, giving you results that were either too bright or too dull. Perhaps you believed that shooting at night would be too problematic because of your phone’s limitations. If you could relate to any of these scenarios, give phoneography another shot; there’s a solution to all of these issues that might transform your hesitance into interest. Here are tips on how to take great photos with your phone.

Choose a camera app that matches your preferences

It’s very likely that the camera app that came with your phone isn’t being used to its full potential. Advanced settings often present in DSLR cameras – such as ISO and shutter speed – can be altered in phones, too. To make the most of these hidden features, you need a handy camera app. Here are a few great ones:

iPhone users can enjoy apps such as Manual ($3.99), Focus ($1.99), and VSCO (free). All of these apps enable users to alter their camera’s focus, ISO, shutter speed, white balance adjustment, and the list goes on. Apps like VSCO will let you edit your photographs with a variety of presets as soon as you’re doing with your shoot.

Android users have just as many wonderful options to choose from Camera FV-5 ($3.35), Camera360 (free), and DSLR Camera Pro ($3.52). Like the popular iPhone apps, these are capable of letting you take the best possible photograph before you even begin the editing process. If you’re not a fan of editing apps, these instant photo enhancers are the right tools for you.

/

Use a tripod

Phone tripods can be found almost anywhere. Nighttime photography enthusiasts, self-portrait artists, and landscape photographers often require the use of a tripod for their shoots. Since most phone cameras have timers, tripods can really come in handy for interesting phone photographs. If you like long exposure photography, for instance, then you’ll get great results with the help of an advanced camera app like Focus and with an affordable tripod.

/

Photograph everything

Once you acquire a better camera app, take photographs of anything that catches your eye. Most importantly, don’t forget to experiment and try out new things. The beauty of phoneography is that it’s always accessible no matter where you are. Take photos of details, landscapes, buildings, and people. The accessibility of this photography genre makes it easy to see what it’s like to shoot different kinds of subjects. If you’re a macro photographer, try photographing people. If you’re a portrait photographer, take photos of buildings. During these experiments, you’ll discover new creative worlds. As you do, your inspiration will grow exponentially.

/

/

Acquire an editing app that satisfies your creativity

This last tip is optional but useful for those interested in improving their editing skills. Many editing apps (like VSCO) have presets similar to the ones in Lightroom and Photoshop. By understanding the beauty of color correction and enhancement, you’ll find it easy to use editing programs like Lightroom. Thus, whether you use a professional camera or not, all of your artistic skills will strengthen. iPhone users can find their inner retoucher in apps like Enlight ($3.99), AfterFocus ($0.99), and Snapseed (free). Android users can enjoy the great editing features of apps like Pixlr-o-Matic (free), Photo Lab PRO ($2.99), and Pixlr Express (free).

/

/

Phone photography doesn’t have to take over your life or replace DSLR photography. Instead, it can help you take quick photos using a small device, enable you to find photographic potential almost anywhere, and encourage you to visit new places. To put it simply, phone photography is worth experimenting with. The knowledge you acquire as you take photographs with your phone will come in handy when you use professional cameras. Phoneography is just another reason to be more creative, observant, and imaginative.

Happy shooting!

Complete guide to flash for beginners (III): Tips for using an external flash

If you are still reading this article series is probably because you decided that you need an external flash or you even got already one! Congratulations! You did the harder part. Now it is time to have fun! Unlike with the built-in-flash, shooting with an external one is a bit more than pointing and firing. If you don´t know yet how to handle your new gadget, don´t worry! We will give you some tips that will help you starting using it.

#1. If you want to use the TTL, you need to set your camera in Aperture Mode

This might seem obvious for a lot of photographers, but I did not know it when I started using the external flash. I usually  shoot in Manual, so the TTL was not working for me. I was kind of: “What happens to this flash? Maybe I have to ask for a refund because it doesn’t work!”.  So remember: No Aperture mode= No TTL!

flash guide

#2. Wait a little between shots to give time to the flash to load 

Maybe you are used to shoot several photos in a raw or in continuous mode. External flashes need some time to load , so if you shoot too fast, some of the times it won´t fire.

#3. Become a Bouncing master

Bouncing is  one of the most important things you can do while using a external flash.  It is not common to flash directly to the subject. Light will be too strong, it  will look unnatural and in addition, it is uncomfortable for the model. Instead, the good thing to do is pointing with the flash to a surface close to your subject (wall, ceiling…). It is the light that reflects from this surface the one that will add light to your subject. It will be a diffused light, so it won´t be so strong and it will look

flash guide

flash guide


flash guide

If you don´t have any evident surface to bounce in, you can use other things, such as the white clothes of somebody around you, a board, some furniture… or you can use reflectors and difusers .

flash guide

#4 Be respectful when using your flash

Don´t fire your flash directly to the eyes of neither people nor animals. I always like to make sure that people does not mind I use the flash, especially if I am shooting events. The strong light can be quite annoying, so it is good that people agree. Some people get into the situation of wanting you to take nice photos, but they don´t want you to use the flash (or they complain about the light). In that cases, try to explain to them nicely that not using it might affect the quality of the photo. If they decide they don´t want flash anyway, at least you were clear about the consequences.

External flash guide III

#5. Be extremely aware for not flashing  babies.

It is easy remembering not using the flash when you take photos of a baby at home. But when you are in an event or with a big group of people, it is easier to miss it. Flashes are quite aggressive for delicate eyes of a baby, so try to be always aware of the proximity of one of them.


#6. Do wrist workouts.

Do some gym style exercises that will  increase the strength of your wrists. Just kidding!! But if you are going to hold your camera with a external flash for long time (this happens a lot if you are shooting events), you will notice the extra weight. Rest form time to time to avoid soreness (and now I am serious! After shooting a night wedding and carrying the camera with the flash for several hours, I felt my writs sore next day).

I hope you liked this series and that you find it useful. Have a happy flashing

How to take emotional and meaningful self-portraits

In today’s technologically advanced world, selfies exist everywhere. With the desire to take a photo of oneself comes the desire to look visually appealing. Subconsciously, many of us seek to look acceptable because we wish to feel accepted and welcome. I myself can relate to this desire, one that has often turned into an obstacle in my creative endeavors. Though this need, which is often desperate, makes many people feel like outcasts because of their insecurities, it mustn’t be chastised. A need for acceptance through photos of yourself doesn’t mean you should ditch the mirrors in your home, abandon the art of self-portraiture, and never look at yourself again. Rather than neglecting your appearance, embrace it in an honest way, finding inspiration in the things you often avoid thinking about. Self-portraiture, in its rawest form, is both honest and gentle, revealing the photographer’s strengths and weaknesses simultaneously. Here’s are tips on how to add more emotions and depth to your self-portraits:

Understand and embrace yourself

It can be very challenging to pick out an emotion and label it accurately. Instead of trying to chase and organize your feelings, remember a movie that really touched you. The movie may not have directly explained the actors’ troubles or joys, but what it did was present you with scenes which flipped a switch in your heart. Photography, like any meaningful film, possesses a similar kind of power. Use this to your creative advantage. Read books, watch films, and listen to stories. As you do these things, your mind will get filled with fascinating ideas and the knowledge that you’re not alone, no matter strange your emotions might seem to you. Storytelling will give you the necessary confidence to take self-portraits, and the heart of a creature belonging to someone else will fill you with inspiration. Watching an incredible film right before a shoot will be especially helpful, as your inspiration will eagerly wait to be used by you.

//

Use nature and objects to intensify your emotions

Weather, colors, movements, and light will all help you reflect your emotions better.
Though facial expressions can often speak for themselves, their effect can be enhanced using things in your home or out in nature. Weather, for instance, can be used either as a dramatic contrast or a direct reflection of the emotion you wish to convey. A self-portrait of a dancing silhouette against a daunting, stormy background has the power to express passion, perseverance, or an inner struggle. No matter how moody or sunny it is in your area, use it to your advantage – if the weather doesn’t match your desired mood, challenge yourself by finding ways to use the current conditions to your artistic advantage.

Other elements that can further highlight an emotion are colors, movements, and light. Colors are especially useful in the editing process, where they can be altered even more to perfectly elevate the image’s atmosphere. Movement can be used to express things like haste, impatience, longing, and fear; a portrait of a person looking frightened in a room filled with falling feathers could express the subject’s fear of moving forward in life. To complement all of these elements, light must be used wisely. Experiment with it as much as you can, even on a daily basis – soon enough you’ll naturally understand what kinds of shadows and highlights would look good in a certain composition. Once you befriend light, things like colors and movements will be bonuses, instead of hindrances, in your work.

//

//

Find yourself in other people

Oftentimes, the people and things we photograph are a direct reflection of ourselves. The famous portrait photographer Richard Avedon once stated, “Sometimes I think all my pictures are just pictures of me.” When we photograph others, we usually capture them in moments we ourselves can relate to. The angles and poses we prefer are often very much our own; even the editing process is a quietly personal one.

Since self-portraiture isn’t all about human faces, take photographs of the people or things you cherish most. If you do want to include yourself in the image, place a mirror next to your subject(s) to get an interesting reflection of yourself. Whatever you do, find details, objects, and colors which speak to you and use them during your shoot. Though the results may not necessarily feature you, they’ll contain the very heart of who you are, and that can certainly be considered a self-portrait.

There are countless ways to take photographs of yourself without prioritizing perfection; photography of all types can be celebrated no matter who or what the subject is. Accepting yourself in spite of your insecurities and worries through art will make you an endlessly empathetic individual. Again, this doesn’t mean that your entire portfolio must consist of very raw photographs; what it means is that when you do feel insecure, dare to embrace it, not conceal it.

//
Happy shooting!

Beating anxiety, one photo at a time

Many people experience intense anxiety at one point or another. The feeling is often paralyzing, forcing a person to believe that they don’t belong anywhere. Though it’s a very private experience, anxiety is also a universal feeling which many of us can relate to and understand. In the photography world, anxious thoughts are powerful enough to affect even the most confident minds. Fortunately, embracing photography can obliterate uneasiness and push us to be more courageous when facing both personal and creative challenges.

Anxiety comes in all shapes and sizes, from a tiny pang of fear to a heavy storm of relentless doubts. If you’re not comfortable whilst socializing, you might fear the idea of photographing strangers or working with new models. If self-portraiture is something you wish to experiment with, you might be afraid of getting unflattering results. Natural as such insecurities may be, they can be removed with the help of a camera. All you need is persistence and a tiny drop of courage.

//

If you’re a beginner, especially one who’s interested in portraiture, then taking self-portraits first will greatly benefit you. When I first began taking photographs, I was both anxious and shy. The very thought of asking people to model for me made me queasy. Because I wasn’t confident in my own creative skills, I didn’t believe anybody else would be. This resulted in many solitary hours with the camera, which taught me much about photography’s technical aspects and my own posing abilities. Having to be in front of (and behind) the camera opened my mind; this, in turn, helped me understand the models I would be working with later on. Being able to relate to the modeling side of photography helped my future subjects feel relaxed in my presence. Knowing that I myself had been afraid of the camera made them trust me. If the photographer could face her self-doubt, why couldn’t they?

Self-portraiture let me confront my own fears and express negative emotions creatively. This was both cathartic and artistically productive. Since emotional images are often associated with tears and fury, we aim to avoid them. However, vulnerability doesn’t revolve around fragility only; it’s a combination of sensitivity, openness, and self-awareness. Understanding your emotions will not only help you create touching photographs, but it will also enhance your empathy, allowing you to be comfortable with any kinds of emotions. Viewing deep feelings through your lens will provide you with an objective perspective, one that will enable you to understand yourself and your needs better. Once you get to know yourself, your anxiety will lose its intensity and self-portraiture – or any other form of art – will become a place of creativity and growth.

//

//

If you’re not interested in portraiture but still feel anxious when taking pictures, find a comfortable location and photograph anything that appeals to you. Not having to worry about being disturbed by strangers will relax your mind and enhance your creativity. Go out on days when everybody else is busy or find a spot in your area that is rarely visited by people. These places will become comforting homes outside of home. In them, you’ll find the necessary time and space to familiarize yourself with your camera and various lighting conditions. Once you begin to “feel” your camera, you’ll feel brave enough to explore more, photograph more, and challenge yourself more bravely.

If you think photography causes anxiety, then think again. Photography can be a place of comfort for the frightened and a refuge for the weak. In the world of photos, sensitivity is happily embraced and nurtured. Furthermore, the same sensitivity is turned into amazing works of art which challenge and motivate others to improve. Practicing in any way will:

  • make you comfortable with your camera
  • give you space to understand yourself as an artist
  • enable you to empathize with future clients and models
  • help you embrace your own emotions

Most importantly, all of these things will allow you to beat anxiety, one photo at a time.

Good luck!

//

Football Photography Series: Capturing the Action

Watching football is always exciting – tons of smashing bodies, plenty of fast-paced action, and the thrill of cheering for your home team. Capturing a football game with your camera can be equally exciting, but certainly presents a number of challenges to photographers, especially if you’re new to shooting sports.

Before heading to an important game, check out these tips. Consider seeing if there are school teams playing nearby so you can get some practice in before you try shooting in a more intense setting. There are lots of distractions to deal with at football games, and if you want to get good photos, you’ll need to learn to tune it out and focus on your goal.

Keep these suggestions in mind as you pack your camera bag and start shooting. The best way to master the art of capturing the action of a football game is to get out there and do it.

Football Photography Tips on Taking Football Action Shots

1. Use the Right Gear

Football is a difficult sport to photograph because it takes place on such a huge field. And because most of the action will take place at the center of that field, you’ll need to use a telephoto lens to get close enough to the players. While some shots will work better with the expansive field and even hundreds of spectators in view, for truly captivating football photos, you’ll need to get in on the action.

photographing football action

Sometimes, though, the action will come to you. During certain plays, you could end up with players tackling just a few feet away. Using a telephoto lens will make capturing this action impossible. While some photographers will use a second camera body with a wider lens attached for this kind of shooting, hobbyists or people who are just starting out might not have access to another camera.

You can try shooting half the game with one lens and half the game with the other, or switch it up at the end of each quarter. You’ll get a feel for how each style of shooting works before you invest in another camera body.

2. Check Your Settings

The most important camera setting for capturing the action at a football game is your shutter speed. You’ll need your camera to act fast if you want to freeze-frame a group of football players flying past you. Use a setting of at least 1/1,250 of a second, or even up to 1/2,500 if you can.

fast shutter speed

Note that while a smaller aperture will let in more light and allow you to use a higher shutter speed, this will result in a shallower depth of field. Try not to go lower than f/4, and consider increasing your ISO if necessary, to compensate.

3. Find a Unique Perspective

The view you’ll get while sitting in the stands is a familiar one – anyone who has gone to a football game knows what to expect. When you’re trying to capture eye-catching football photos, you want to give viewers something they haven’t seen before.

Get down lower and shoot from the ground up, or find a vantage point that gives you the opportunity to look down on the field from above. Sitting on the sidelines and capturing the players as they sprint by can give you some interesting snaps that you would miss out on if you were in your regular spot in the bleachers.

football player photo

4. Know Where to Shoot

Most of the best shots you’ll get will be of the offense trying to score a touchdown, so watch for the quarterback and follow the ball. You’ll get some interesting shots when your team is on defense as well, though, and if you keep your focus on the football as it moves across the field, you’ll be prepared to snap a shot no matter what’s going on.

Having a basic knowledge of the game can be helpful when it comes to shooting football or any other sport. Even if you don’t, keep an eye on the key players and you should be able to capture the action.

5. Stay Focused

There are tons of other things going on at a football game – mascots running through the crowd, cheerleaders trying to generate excitement, and crowds of people everywhere you look. But if you want to get the best football shots, you need to keep your focus on the field.

If you miss a shot, you won’t get another opportunity. There’s no rewind option. Learn to tune out those distractions and stick to watching the game through your viewfinder to ensure that when an exciting play happens, you’ve got it covered.

football field action shot

The most important thing to remember as you’re starting out shooting football is not to get discouraged. Sports photography is a unique skill, something many professional photographers spend years developing. You won’t be capturing iconic sports images overnight.

However, these tips will help give you a head start to ensure that even your first forays into this kind of photography will pay off. And, as you continue practicing, you’ll start to develop your own style and techniques, making your football photos more original, creative, and dynamic.

Photographer interview: Isabela Mayer

Isabela Mayer is a talented portrait photographer from Londrina, Brasil. Using all kinds of creative techniques, Isabela gracefully captures her models’ inner and outer beauty. In this interview, we talk about inspiration, how she fits photography into her busy schedule, and more.

What inspired you to start taking photographs?

I’ve always liked taking pictures since I was a child, but I think what really inspired me to go after a photography career were book covers. I love reading and even though we’re not meant to “choose a book by its cover” I’ve always done that, the books with beautiful and interesting photos on the cover caught my eye every time.

//

You have a great variety of stunning portraits. How do you make your models feel comfortable in front of your camera?

I feel like I’m a bit of an awkward person, I’ve always been really shy so working with models was a big challenge for me in the beginning. Nowadays I try to relax, make conversation and get to know them. The shots always turn out to be a lot of fun!

Judging by your gorgeously edited photographs, you seem to be very familiar with post-processing. What do you love most about editing?

I love choosing the colors I’m going to use for each shot. I feel like that’s a big part of how I make my images look my own.

//

In relation to the previous question, what’s your favorite editing program?

If I could only choose one I’d say Lightroom, it is so versatile! But I don’t think I could live without Photoshop. I usually combine both.

Since your portfolio is rich with portraits, what’s one piece of advice you’d give to someone who’s about to have their first client shoot?

I’d say take your time. Don’t be nervous and rush things, check your camera a couple of times to make sure you are happy with your images, the important thing is the final result and not how fast you end the shoot!

//

What parts of the photo-taking process do you find most challenging?

Finding locations. I live in a region where everything is green and not that interesting and the buildings are not that pretty either… I have to improvise and choose my angles well to make it work.

What do you wish you had known when you first started shooting?

I wish I had known more about photography equipment. When I first started out I spent all my money on the wrong things and later had to change all my equipment so it fit my purposes better.

//

You’ve grown so much as an artist over the years. What has been the biggest obstacle in your journey so far and how did you overcome it?

Thank you! My biggest obstacle is definitely university. I study architecture full time, so it’s a struggle to find time for photography. I think I’ll only overcome it when I graduate, haha, but as of now, I do my best to fit shoots into my crazy schedule, even if it means not sleeping much!

Is there any type of photography genre you’d like to experiment with more?

I think wedding photography. I’ve started taking photos of couples lately and it’s so captivating! I like the idea of telling stories through my photographs and there’s nothing quite like a good love story. Also, I love capturing feelings.

//

And finally, what do you tell yourself when you feel insecure about your work?

When I feel insecure I usually just take a break, watch films, distract myself for a bit so I can start having ideas and getting excited to photograph again. I try to always keep in mind that photography is a never ending learning experience, you are always learning new things and improving and sometimes that involves making mistakes or criticizing your own work.

//

You can find more of Isabela’s work on Facebook and Instagram.

Complete Guide to Flash for Beginners (II): Things to Consider when Buying an External Flash

In the previous article, I talked about the advantages and disadvantages of using an external flash. If you decided that it is time for you to get one, now you will face the big question: Which one should I buy? I struggled quite a lot before I got my first flash because I didn’t understand well the specifications. In addition, I did not know what I needed to have in order to answer my requirements. Today I will share with you everything I learned in the process of buying a flash. I hope this will make it easier for you!

external flash for beginners


Get to know what the specifications of a flash mean

When you are new into flashes, it might seem that the specifications and reviews are written in another language. TTL, guide number, flash value, zoom coverage, bounce capacity, speed sync…. a lot of new terminology you never heard before! Let’s go over all of them. You will be able to understand flash terminology in a flash (sorry, couldn’t resist the pun)!

Guide number: measures the flash’s ability to illuminate the subject so that it will have a balanced exposure. It is calculated as the distance the subject from the flash times the f-value of the aperture (in order to simplify it, the calculation is usually done with the iso value of 100). This calculation can help you decide on the type of flash you should buy but also can help you to decide on placement in the photo when using the flash you have and your camera settings.

Zoom coverage: indicates how far the light from the flash can reach (and still be effective for the photo). Some flashes can adjust the distance to be synchronized with the zoom of the lens

 Bounce capacity: Certain flashes have swivel and tilting heads. This feature enables you to use the flash not only for illuminating your subject with direct light (which can be too hard in certain situations) but also to reflect (or bounce) the light off of surfaces, softening it in the process.

external flash for beginners

Speed Sync: When using a flash two actions happen: the shutter opens to expose the sensor (or film) to light and it discharges a burst of light onto the subject. In the basic level, these two actions need to be synchronized in order to be effective. In a more advanced level of flash usage, if it fires closer to the moment the shutter opens or having the flash closer to the moment the shutter closes will of light closer to the yield different effects.

TTL: In the camera, you have different modes to choose from: auto, aperture, manual etc. The external flash also has several modes of action. In manual mode, you set it as you want and the settings will remain that way until you change them. In TTL mode your flash changes its settings according to instructions from the camera. The camera tells the flash to discharge twice; first before the shot to allow the camera to adjust the flash settings, and second while taking the shot itself (while the shutter is open) in order to illuminate the subject.

external flash for beginners

Evaluate the use you will make  

Choosing between one flash model and another will depend on the usage you intend for it. Some of the most frequent uses are:

  • Indoors portraits: When you take photos of one or two people in small and closed spaces, as is usually the case with indoors photography, you’ll mostly use the flash to remove shadows and give a bit more of light to the scene. You don’t need a super powerful flash with long coverage because you are usually close to the model and your light conditions are not the worst (you are not shooting in total darkness). However, it will be nice if you have TTL (it will be faster and your model will have easier time). Having a flash with rotating and tilting head will be useful too, because it will give you more flexibility to bounce the light from different directions and objects.

external flash for beginnersexternal flash for beginners

  • Indoors group portraits: Same as above, with the difference of having more than two subjects, this means you’d need to take the photo from a bigger distance from them so they will all fit in the frame. If this is your case, you would want a flash with higher flash value so it could reach from further away.
  • Portraits outdoors: You’ll probably be taking portraits at several locations which probably won’t provide the same protective and dependable environment a studio (or a room) would provide. I heard stories about flashes falling from cliffs or get broken because they fell because of a gust of In this case, I’d recommend you to get a flash that will be powerful enough, but still cheap (you might want to consider to take your chances with a none brand-name product). Then, if something happens to it, you won´t feel so bad about it.

external flash for beginners

  • Events: Events are a bit of a mixture of all of the above, they could require you to switch between locations, you might need to take photos of groups and/or individuals, you’ll probably need to take photos of little details as well as wide angle shots. In order to truly be prepared you might consider having more than just one flash (and even more than just one camera). Of course that depends on the nature of the event and what is required of you.

external flash for beginners

These were just some examples, meant to give you food for thought while you analyze your future use of the flash and why some flashes might fit better that others. You are the one that knows the type of photos you want to take, so the final decision is yours and it might be different from what I said in the examples.

Decide on a budget

Prices start at around 10 US Dollars and can go up to hundreds of dollars. Decide on a budget before you start looking. You can find the perfect flash for you and then realize that it is way too expensive  and you can´t afford it. I always recommend not spend a lot on the first one you get. You don´t know yet if you are going to use it as much as you think. You might love using flash, but you might also hate it. Getting a flash with good quality/price ratio is always a good choice in my opinion especially when you are trying something new. You can always upgrade to a more expensive one in the future, when you are sure of your needs and real requirements. Also, it is better to make all the beginner’s mistakes done on a cheap piece of equipment than on an expensive one.

external flash for beginners

Same brand of your camera or a third party flash?

You can get a flash from the same brand as your camera or from a totally different company that makes flashes compatible with your camera (third party). There are advantages and disadvantages to the two options.

If you get a flash from the same brand of your camera, the compatibility is assured. Besides, most brand names provide worldwide repair services and most reliable private repair services will also be familiar with them. Moreover, some added value functions such as remote communication between the camera and the flash would work only when using devices of the same brand.

Third party flashes are usually cheaper, making a great option in case you have a budget to consider. Also, you might want it to have features or accessories that are provided by a specific brand.

 external flash for beginners

First or second hand?

The advantages of getting a brand new flash are quite obvious, you know exactly what condition it is, you have a warranty and who to contact if you have issues or need of technical support. The major disadvantage is the cost. On the other hand, some people prefer buying second hand equipment when they try a new thing; it’s cheaper, you don’t have the constant fear of scratching it when using it and if you are electronic savvy who likes to fix things by yourself, warranty is not an issue. However, when it comes to flashes you must keep in mind that it has a light-bulb which has a life span measured by how many times it’s been fired (or lit). Make sure it is not going to burn out soon and keep in mind it will entail further expanses and a visit to the service lab.


I hope you’d found my article helpful. If you have any questions, suggestions or remarks feel free to write a comment. Happy shooting!

Discussing the beauty of portraits with photographer Bluewaterandlight

Ben, also known as bluewaterandlight, is a talented portrait photographer from Germany. His interest in people is very evident in his images, which vary from heartwarming portraits to emotional works of art. In this interview, Ben talks about his working process, how he feels about human interactions, and what he believes aspiring photographers should know. Please enjoy this fascinating conversation.

Tell us a little about yourself and what you do.

Hey, my name is Benjamin, but I prefer Ben. I’m a portrait & people photographer from Germany. I wanted a new toy to play with, which I couldn’t understand directly, so at Christmas, in 2014 I decided to buy a camera. And the journey began. Since I got this camera I knew I wanted to photograph people, but my introversion and shyness made it impossible. But with every little step, I noticed more and more that I must photograph people and not landscapes, so I spent time with other people and I found the most interesting thing in our world: humans.

//

Landscapes are really beautiful but without people they are dead. I’ve learned to see the beauty in every little piece of God’s nature. The beauty is there, everywhere. But unfortunately, most people can’t see it. If every earth inhabitant could see this beauty, we would not enslave and destroy our nature, but live in harmony with it.

Photography for me is the best therapy and way to express myself. When I am sad or full of anxiety I create a picture of myself or another person with these feelings and put all my sadness and anxiety in the picture and then my heart is ready for happiness and love. I love people and I think this gives me the power to work hard and follow my dream, to be a worldwide working photographer.

Your portfolio is filled with gorgeous portraits. How do you make your models feel comfortable in front of your camera?

I start my photo shoots with a hug for my models to create a friendship. I’m really interested in people and this is one of the reasons my pictures look so natural. During the shoot, we talk a lot about life, love, anxiety and other things. My shoots look like this: two friends talking about their life and creating “a few” pictures.

//

In addition to being sharp and well-lit, your photos are beautifully edited. What does your editing process consist of?

My editing process begins during the shoot. I alway try to get the perfect exposure directly in the camera. Great make-up is also very helpful. At home, I import my pictures to Lightroom and choose the best pictures, if I didn’t do that already at the location together with the model. Then I import my/our favorites to Affinity Photo to edit the skin and if necessary, I remove distracting elements. Then I go back to Lightroom and edit the color, brightness, etc. Here I use my own or the VSCO presets.

Many of your images were shot using a limited amount of light. What do you think is the most important thing to consider when shooting in darker locations?

Shootings at dark locations are really hard because my Canon 6D’s autofocus isn’t good, and at dark locations, it’s extremely bad. So I mostly focus with manual focus and focus peak (Magic Lantern). Often, I use a reflector or even a flash. Many people don’t like noise/grain, but I love it because it gives the portrait a bit of a painting and creates a symbiosis between the model and the background.

//

Are there any photography genres you’d like to experiment with more?

In the future, I want to take more “Fine Art” pictures because I want to tell the world what’s in my mind. I want to travel more to talk with people all over the world and take pictures with them. And I would love if I find a model to take pictures of her/him crying, it’s one of the strongest feelings.

What do you find most challenging about portrait photography?

For me, people photography is the masterclass of photography. It’s extremely hard to make people familiar with you and your work and make them trust you. In my preparation for a photo shoot, I listen to my “power playlist” to give myself certainty that the photo shoot will be awesome. You should create your own “power playlist” filled with songs which give you energy and self-confidence.

//


If an aspiring photographer asked you for advice, what would you tell them?

  • Follow your heart, don’t give a shit on what other people think.
  • If something doesn’t work, wait a bit, try it later and get some rest. But never give up!
  • Use music to make the emotion more intense (a mobile music box with Bluetooth and battery is helpful.) Classic music, for example, can slow down the space around you and help you see through chaos.
  • Write down your ideas and thoughts in a notebook. If you don’t, you will forget them.
  • Don’t look at cameras, lens or other gear. It’s not important. The image in your mind, your ideas and people are important.

You’re a fan of black & white photography. What do you find most appealing about it?

Black and white photography is the origin of photography and the most natural photography. It puts my focus on the model/subject and away from color. For me, it’s the essence of photography. It makes the light and structure more important.

//

If you could meet your favorite artist and ask them 3 photography-related questions, what would they be?

  1. What’s your story?
  2. Why do you do your photography the way you do it?
  3. How do you handle anxiety and depression?

What has been your most challenging creative obstacle so far, and how did you overcome it?

Every single time, it’s hard to transfer the image from your mind to the reality. My most challenging picture was the picture of my best friend Ante. I was inspired by the pictures of “omerika” (https://www.instagram.com/omerika/).

The act of sleeping fascinated me all time because during sleep you solve problems you can’t understand in the real world. During sleep, you can be every person you want. You can be an astronaut, race car driver, a bird and even the doctor (knock, knock. Who is there? Doctor! Doctor Who? Correct. 😛 ) In this picture I wanted to create a symbiosis between a sleeping girl and mother nature. First, I tried to use a tree as a symbol of “mother nature” but then I didn’t like the picture. So I put it away for a few days, and later I decided to use a forest and merge it. It was so beautiful. I love this image.

//


A few last words from the photographer:

Don’t do what other people want you to do. Do what you love and never give up!
“The limits in photography are in yourself, for what we see is only what we are.” -Ernst Haas
Good light and great ideas,
With love, Ben 

You can find more of Ben’s work on his website and Instagram.

//

A day in the life of a photogenic kitten

I own a sassy little Scottish Fold called Mimi whose rambunctious personality gives me unique photo-taking opportunities every day. Though I mostly focus on portraiture, taking photos of animals gives me a chance to broaden my creative horizons and familiarize myself with mind-opening, genre-specific techniques. With this in mind, I decided to focus on an average day with my cat and find interesting creative doors as the day progressed. Here are the results.

//

//

While some cats are nocturnal animals, others enjoy sleeping at the same time as their owners. Mimi is a combination of both, switching from a peaceful nighttime cat to a wild creature lurking in the dark. The former is preferred by everyone not just because it gives the family an undisturbed night of sleep, but also because it makes Mimi fairly sleepy in the mornings – the ideal time to take cozy pet photos. A kitten experiencing the light of a new morning is exceedingly charming. This time of day is particularly useful for those who own wild kittens; photographing them early in the morning will help you avoid taking unsuccessful and blurry shots. Keeping the curtains drawn on a bright morning will also provide you with the best light: a mild yet clear environment for the best indoor pictures.

//

//

Mimi turns into a hyper creature as soon as she devours her breakfast. While this part of the day is a challenging one to capture, it’s worth diving into thanks to the often funny creative opportunities that arise. The light during this time is still mild, so worrying about lighting conditions isn’t a necessity. Taking into consideration the importance of capturing movement, the good lighting conditions are a huge plus. If the light isn’t favorable when your cat is in a playful mood, consider increasing your camera’s ISO number for less blurred results.

To make playtime more entertaining for both you and your cat, consider using distractions such as toys and snacks. These will catch your pet’s attention and serve as visually appealing foregrounds. Other objects which have the potential of becoming striking foregrounds are hair, blankets, and plants. Remember to reward your cat every few minutes so it feels encouraged and loved. Grumpy pets don’t make the best models, no matter how sweet they may look.

//

//

Exploring the apartment is something Mimi thoroughly enjoys, no matter how well she knows every room. Washing machines, doors, tables, and windows all fascinate her beyond measure. For unique and endearing images, follow your cat around and notice what interests them. Photograph them while they’re in their own bubble of curiosity. Exploration is the perfect time for spontaneity, and spontaneity is perfect for eye-catching and impressive shots.

//

//

Take advantage of your cat’s favorite hobby: napping. Mimi can sleep for hours on end, occasionally getting up and freezing mid-stretch. Since cats are so flexible, their sleeping and resting positions are often quite amusing. Mimi, for example, loves sleeping with her paws lined up neatly in front of her, just like The Sphinx of Giza. Photographing your cat’s unique quirks will give your photos more personality, so use your pet’s naptimes as an excuse to take awesome photos.

//

It really is all in the details. Focusing on parts of your cat – its paws, ears, eyes, and so on – will allow you to think more creatively due to the fact that it takes careful observation to find outstanding details. Instead of photographing your cat from a distance, find graceful parts that stand out to you. Making a collage out of those parts could be the start of an interesting project, for instance.

In just a day, you could acquire a plethora of sweet cat photographs. Imagine how wonderful your results would be if you photographed your pet more often if you started a project tracking its development and growth. Such projects, tough as they may sometimes be, are fantastic methods of improvement. Whatever you decide to do after reading this article, remember to reward your cat, be present while shooting (even if you’re focused), avoid stress, and most importantly, enjoy this wonderfully pleasant time together. The experience will leave you feeling warm and the photos will be the beginning of something wonderful.
Good luck!

//

5 Tips for Taking Unique Pictures of Fish

With bright colors, unique shapes, and smooth, gliding movements, it’s no wonder fish are a popular subject for photographers. A trip to the aquarium provides endless inspiration for potential captures, but it’s important to know what to look for to ensure your shots give you the results you want to see. Even if you’re shooting fish outside in a lake or river, there are some things you should keep in mind as you venture out with your camera.

Fish photography presents several unique challenges – like low light, reflections, fast-moving subjects, and shooting through water. Fortunately, these roadblocks can all be overcome through practice. In fact, once you know how to approach them, they can actually work to make your final images more interesting.

Your captures of fish could be some of the most spectacular photos in your portfolio – you just need to know how to approach these unique challenges in a way that will produce fantastic results.

1. Stay Out of the Shot

Even though aquariums are generally fairly dark, all those layers of glass reflect each bit of light in the room. You’ll see that the glass reflects the walls, benches, and even you and the other visitors, as well as reflections from all the other tanks. Using a lens hood and pressing your camera against the glass can help to block out all that extra light, but chances are you’ll still need to check your position to make sure your frame doesn’t include any unpleasant intrusions.

aquarium fish photography

Even if you’re shooting outside, you’ll likely have to deal with reflections – but this time, they’ll be on the surface of the water. These can trip up your camera’s light meter, making it think there is more light in the scene than there actually is. Be careful about trusting any automatic settings, and use a handheld light meter if you can.

2. Capture the Action

Fish darting around and even jumping up out of the water will be moving quickly. You’ll need to use a wide aperture setting to let in as much light as possible, allowing your camera to use a faster shutter speed. That way, you can freeze the action and catch those fish in motion before they zoom off to another part of the aquarium, or disappear back beneath the waves.

fish swimming upstream photo

This can be tricky in an aquarium, where the lighting might not be bright enough to allow for a quick shutter speed. To achieve this, try to find a scene with solid lighting and wait for the fish to come to you. Chances are you won’t have to wait long before some vibrant fish come along and capture the light with their bright scales.

3. Get Up Close

Using the right lens can make a huge difference when you’re trying to shoot something as small as fish. It can also help you cut through the water during a shoot at the aquarium, because the more water you have between yourself and your subject, the softer your focus will be. Frame your subject in a tight shot by using a lens that has a good range and can zoom in, where necessary.

jellyfish closeup photo

At the aquarium, fish might also swim right up close to the glass – and if you’re pressed up with a lens hood, you might be too close for zoom. Ideally, you’ll want some range, so you can shoot wherever the fish might be swimming.

4. Don’t Sweat It

Condensation is a frustrating part of shooting anywhere you’ll find water. Humid environments, like on a lake or in an aquarium, can cause your camera to sweat and fog up. Newer cameras will even shut off to prevent damage if they recognized too much condensation in the internal circuitry. To keep this from disturbing your shoot, give your camera some time to adjust to a new environment before you try capturing photos.

5. Make Your Subject Pop

Whether you’re shooting at an aquarium or outside, it’s important to think carefully about your compositions. Frame your image in a way that makes the fish stand out from the background, which can be a challenge.

tropical fish photo

In an aquarium, you’ll have to fight against other brightly colored fish that might be competing for attention, or dark shadows that could close in on your subject. In the wild, there are all kinds of other distractions to deal with – splashing water droplets, plants and other animals can get in the way of a clean, simple composition that shows off the spectacular fish you’re trying to photograph.

Using these tips to take photographs of fish will help you come up with some impressive images that showcase the movement, colors, and shapes of these beautiful creatures. Grab your camera and get to the aquarium to test them out before the crowds show up!

Photographer interview: Martina Bertacchi

Martina Bertacchi is a talented photographer from Italy who photographs people in worlds unlike our own. Her portraits are charming and striking, focusing on the subject’s raw beauty and their surroundings. In this interview, Martina talks about her inspiration, ambitions, and the tips she’d give to aspiring portrait photographers. I hope you enjoy this eye-opening conversation!

What inspired you to start taking photographs?

I started taking pictures by chance about 6/7 years ago when I was still at school, and photography became a sort of safety valve on the days of full study. I took inspiration from the smallest things, also in the house, but mostly when I went out I really liked to capture nature, leaves, and flowers. My main source of inspiration was the Internet, sites like Flickr and Facebook have helped me a lot. I saw some photographs and I remained amazed by their beauty, so much that I wanted to start playing around with my camera and make it my own. Only much later I began to get interested in portraits.

You have many stunning photos of people. What do you look for in a model?

I love spontaneity in people. I think that in every single person there is a beauty. I consider it very important to constantly look into it, details even in the face. Sometimes the imperfection can become perfection. I prefer delicate, dreamy faces that tell something.

//

The subjects in your photographs are always very sharp and well-lit. What advice would you give to aspiring portrait photographers?

The advice I would give to a young aspiring portrait photographer is to not be fooled by the desire to have super expensive equipment but to also start experimenting with a simple camera, play with the lights and natural shadows. I think good post production is more important, as that is what gives meaning and feeling to your photo. Lightroom helped me a lot in the beginning.

What does your editing process consist of?

First I shoot in RAW. I find it essential to recover the lights in the background, and it’s more appropriate for the white balance. To develop the raw format I use Lightroom – as I said before, I modify the lights, use Photoshop to work on the skin, and then I play with colors, curves, tones, and contrast.

//

//

Who are your favorite artists and why?

I do not have a favorite artist. There are so many that I admire and I esteem. I prefer to quote emerging photographers that inspired me a lot, like Marta Bevacqua, Alessio Albi, Laura Zalenga, Alexandra Sophie. They represent fully the emotions, through their stories –  almost fairy-tale atmospheres that fascinate me a lot.

Is there anything photography-related you wish you could tell your younger self?

I would say to always be themselves, to never give up, and never stop to create and experiment new things and to be inspired by anything that surrounds them.

Your models look very graceful and natural in your images. How do you make them feel comfortable in front of your camera?

I’m actually very shy. It happened several times to turn on the music and let myself and my models be carried by it. I always try to make them express themselves without forcing anything.

//

Is there a photography genre you’d like to experiment more with?

I’d like to experiment more with taking pictures indoors, with natural light, and why not also self-portraits. I find them very intimate and full of emotions.

What do you find most challenging about portrait photography?

Surely to capture the perfect moment, whatever fills my heart with joy and creates something magical and beautiful.

If a photographer approached you and asked for 3 tips, what would you tell them?

Yes, I have three pieces of advice for people who love making photography:
Let yourself be guided by your feelings and inspirations and most importantly, take the time to observe the environment in which you take pictures and always give a close look to your subject’s details in order to give value to your portraits.

You can find more of Martina’s work on her Flickr and Instagram.

//

Better Sharpness and Focus: A Guide on Photography Improvement

Have you ever found an image that is not sharp at all or an image that is out of focus or even focused on a wrong section? Because of my work as a web builder, besides as a photographer, this is a common problem for me. I’m going to give you some tips and tricks that I’ve learned as a photographer and as a web builder.

Sharpness is the key for professional photography. Not all of you will notice the difference between a crystal clear and fairly clear photography. But if you a professional and if you are about to make a big print from some photo you will see the difference too.

To achieve crystal clarity of your photos you will have to shoot like a sharp shooter. Those sniper shooters are not fools for using firm foundation. So, therefore, use a tripod, monopod, or even a bench just to stabilize whenever possible. If you have used a moment to think about composition and aperture think for a minute about how to improve your stability. If you don’t have a tripod, just buy one.

Better focus and sharpness

Don’t zoom to the maximum. If you are shooting with 55-250mm. lens the best focus and for super sharp photos you should not go above 230mm. I am quite sure that there are exceptions from this rule, but I’m talking about average lenses, not the professional the most expensive ones. Test your equipment; for example, shoot a text from newspaper hanged on the wall with different focal length and you will see the difference of the sharpness you will get.

Just as zoom makes the difference to the sharpness so it does the aperture. Most of the photographers learned that the sharpest image is somewhere between f/7.1 and f/8, and this is true in general but it depends on the lens also. As I question everything I also question this rule. So I have tested my equipment and it makes a difference from type to type of lens. For example, a wide angle lenses are sharper at a little higher aperture. I did a little research on the net, and the result was that this is because they are made that way.

Decrease your ISO. Photographers know that with higher ISO you are getting more noise to your image. But you also need to know that with increasing your ISO you are reducing visible details on the image dramatically. So if you are in a situation to increase ISO sensitivity, I highly recommend that you use flash or move to a better-lighted area to get a sharper image.

Sharpness is the key for professional photography.

Also, you need to be gentle with your camera and stop hitting the shooter button like it did something wrong to you and it needs to be punished. Hitting hard the shooter button adds a torque to the camera in that critical moment when you are recording the scene. The proper way to treat the shooter button is to roll your finger back across the button. Additional to this if you are the owner of a less expensive DSLR your shooter button is either plastic or metal. Don’t get me wrong this kind of a button does the job, but the expensive cameras come with squishy shutter buttons with a rubber coating on top so that the press of the button does not create vibrations on the camera. So if your camera is not so squishy you can always buy a rubber pad for the shutter button which will solve this problem and it will cost you a few dollars.

About the focus… first you have to make a difference if you are shooting a moving or a still object. If it’s a moving object choose continuous focus (AI servo on Canon or AF-C on Nikon). If it’s a standing object choose AF-S on a Nikon or Single Servo on a Canon. Always, and I mean always choose focus point manually. Don’t let the camera choose instead of you. Practice using the four-way selector on the back of your camera. If we are talking about portrait photos always focus on the eyes on the person. And if we are talking about landscape photos focus on one-third up from the bottom of the frame. Now that you have focused on the scenery be careful not to move forward or backward at all. And if we are talking about macro photography never focus too close to the lens because each lens has a close focus distance. I usually find that if I focus at the closest point the result is a blurry image. Give it up a little space and back up a little bit from the closest you can be and you will improve the result.

So that’s it for focusing and sharpness, I hope that you have enjoyed reading this article and that you have learned something new. Until the next time, I’m wishing you all the best.

5 Tips to Photograph Parks at Night

Some of the most spectacular scenes you can capture at night will be in parks. We’re not just talking about city parks here, although they can be quite remarkable. Visit National Parks, with their incredibly expansive skies dotted with stars, or check out amusement parks, where you can find bright lights, vibrant colors, and thrilling movement.

While these locations will definitely provide you with some exciting subject matter, you won’t get the results you’re looking for unless you follow a few tips, especially if it’s your first time out. To shoot in these places in lower-light settings, you’ll need a more advanced camera, a solid wide-angle lens with a fast aperture, and a tripod.

With your gear packed and your location scouted, head out and capture some of the most incredible night photography you’ll ever take – by keeping these tricks in mind.

1. Get Your Timing Right

The best time to shoot at night is about a half hour after the sun has slipped below the horizon. You’ll hopefully still be able to capture a bit of afterglow in the sky, but it will be plenty dark to highlight the artificial light in an amusement park. If you’re shooting at a National Park, you’ll have just enough light left to keep some of the details in your landscape and whatever foreground elements you’ve included in your composition.

amusement park night photo

You’ll still be able to get some impressive shots after that vibrant glow is gone, though. The lights on the carnival rides will pop against a velvety black background, and in National Parks, you’ll start to be able to capture the detail in the stars.

2. Adjust Your ISO and Shutter Speed

Increasing your camera’s sensitivity to light will help you accurately capture the details in low light settings, so dial up your ISO to 400 or more. This will depend on the capabilities of your specific camera, as you don’t want to push your sensor to the point where you start seeing a lot of noise.

national park night photography

You’ll also want to switch up your shutter speeds. Using a longer exposure time will allow you to capture some movement, but you’ll need to use a tripod and make sure you’re not jostling the camera when you release the shutter. The goal here is to keep static elements of your composition clear while letting the moving parts blur into a colorful, eye-catching pattern.

3. Try Your Camera’s Timelapse Mode

Since night shooting can be somewhat unpredictable, this is a great opportunity to experiment with your camera’s time-lapse feature. This means your camera will automatically expose a frame every four seconds or so, and you’ll wind up with a very unique selection of different blurs, colors, and compositions.

amusement park blurred motion

This is similar to shooting video in that you’ll have a somewhat ongoing record of the scene, but this way, you’ll end up with a series of full-frame stills, instead of a full recording. This gives you some really interesting results that you can play with later, in post-processing.

4. Don’t Rely on Autofocus

Focusing is an issue at night since it’s hard to see the subject of your photo when there’s very little available light. Autofocus is especially unreliable, so you’ll need to get familiar with the manual focusing ring on your lens. You can also use Live View, if your camera allows it, to have a larger screen to work with as you try to focus your lens.

city park night photo

Try using a lens with a wide aperture, so the depth of field shouldn’t be an issue. You want as much of the park scene to be in focus as possible. Try to find areas where some of the ambient light hits your subject, to create a bit of contrast where you can aim your focus.

5. Composition Matters

Even when you’re shooting in the dark, it’s important to carefully compose each frame. As you would with any other landscape, try to include elements to provide a sense of depth – leading lines, foreground interest, and as much detail as possible.

It’s easy to let the star of the image be the lights from the amusement park or the sparkling stars in the night sky at one of the many National Parks around the world. But if you want to create a truly eye-catching, dynamic shot, you’ll need to be sure that there is more going on than just these special features.

composition night photography

Now that you’ve got some ideas in mind to help get you started photographing parks during the night, get out and start looking for some dynamic compositions. Remember that trial and error is one of the best ways to help teach yourself more about photography – so don’t be afraid to get brave and try some new things. With digital files to work with, you’ve got nothing to lose!

How to take heartwarming photos with your cat

We’ve all attempted to take a sweet photo with our pet at one point or another. Such attempts are often fruitless, especially when cats are involved. Taking photos of them, let alone with them, is akin to running a marathon on an unpleasantly humid day (covered in scratches). The secret to taking interesting photos with your cat involves patience, observation, and creativity. The tips below will help you understand your cat and your camera better. With this knowledge, you’ll be able to take unique and heartwarming photos with your beloved pet.

//

Prepare your camera beforehand

It’s important to understand your own camera before you attempt to capture your cat’s personality. Plan your shoot at least a day before you have it. Consider the following:

  • Time of day
    Unless you’re planning to use a studio, the time of day is of extreme importance during the shooting process. The darker it is, the higher your ISO number should be. The best lighting conditions are during golden hour (if you’re photographing outdoors) or at noon (if you’re indoors).
  • Focus
    Are you going to be close to the camera or quite a distance away from it? Knowing where you’ll stand with your cat (so that both of you fit into the frame) will prevent you from having a confusing, unsuccessful shoot. Make sure your camera’s aperture is small enough to avoid blurring important parts of your composition. (A large aperture might create photos in which only your cat’s nose is in focus, for example.)
  • Prepare a distraction
    Collect a few of your cat’s favourite toys and treats. Attaching its favourite possessions next to your camera will allow it to feel more comfortable and will encourage it to pay more attention to your camera. You could also ask someone your cat is familiar wih to help you distract it. Some cameras have a blinking timer light perfect for capturing a cat’s attention. If you feel like experimenting, see what your cat finds interesting and look in the same directions; this will add a great touch of spontaneity to your images.

//

Know where you’re going to shoot

Is your cat familiar with the spot where you’re planning to take photos? Taking it to a place which it doesn’t know well might result in panic, scratches, and a failed shoot. Consider your cat’s favourite places and take photos there. Even if they might not be the most picturesque locations, you’ll get a great experience which won’t stress anyone out. With time, your cat will be comfortable enough in your arms (and in front of your camera) to explore other locations.

//

//

Make sure your cat is comfortable and happy

If you own rambunctious kittens, play with them a few minutes before your shoot to avoid restlessness. If you have older cats, make sure they’re content and full. Photographing cats soon after they’ve woken up will prevent them from getting too excited and allow them to be calm enough for your shoot. Unlike us humans, cats look photogenic even after a long nap, so makeup or skin (fur) retouching shouldn’t be a worry at all. Furthermore, remember to have some food nearby so your cat knows that its hard work will pay off. Reward it with a small treats every few minutes to encourage its enthusiasm. In addition to treats, keep toys and a bed nearby to make your cat feel safe.

Experiment

If posed photos don’t interest you, embrace spontaneity instead. As mentioned previously, you should familiarize yourself with the settings in your camera before your shoot. Make sure the focus, aperture, and shutter speed are perfect for the lighting conditions you’ll be working with. Once you’re happy with the settings, position your camera and interact with your cat. Play with it, reward it, and accept its unpredictable nature. The results will be unique and perfect for memory-keeping.

//

The more you shoot, the more your cat will enjoy the photo-taking process. When it feels more comfortable in your camera’s presence, feel free to experiment with different times of day, light patterns, etc. Here are a few ideas: a silhouette of you holding your cat at night, a double exposure, a simple casual photo in the kitchen with backlight illuminating the room.

If a shoot doesn’t go the way you expect it to, try again later. Don’t allow yourself to give up easily. Photographs of any kind, especially ones with your pet, are worth the hard work and determination because of the wonderful memories they keep for us.

//

Photographer interview: Ines Rehberger

Ines Rehberger is a very talented portrait photographer from Germany. Her photographs possess raw beauty, honesty, and an infinite amount of stories. I had a chance to ask her about the value of lighting, her working process, and more. I hope Ines’ outlook on life motivates you to believe in yourself and look at life from a different perspective.

What inspired you to start taking photographs?

I grew up being an art-focused child. I loved to draw and paint. But it never fulfilled my aim to show who I am inside. I wasn’t able to make myself happy with what I did. So one day I grabbed my mom’s pocket camera and started taking pictures of friends and myself and since those days I never stopped. Photography opened a world of endless possibilities to capture my soul, to create worlds and transfer feelings.

//

Your portfolio is beyond stunning. Which photograph of yours is your favorite and why?

Thank you so much! Since I’ve been taking pictures for many many years it is really hard to pick a favourite. It also depends on my mood. But as I’m sitting here, feeling kind of Scotland-homesick I have to go with this one featuring my host mom Therèse:

//

The quality and creativity of your images are extremely impressive. What does a typical portrait shoot consist of?

You’re making me speechless! Thanks again! Well, usually I welcome the model at my home and we have a chat and maybe a tea and talk about ideas and choose some outfits. My shootings are very spontaneous. Whatever happens, happens. And most of the time I’m happy about it.

Every person you photograph possesses raw honesty and such touching emotions. How do you make your subjects comfortable during a shoot?

To me, it is very important to talk to the model like I talk to everyone else. I don’t treat them like clients. I want to get to know them and in the same way, I tell them about myself. Once there is a state of trust it is quite easy to tell someone what kind of emotion I’d like to have for a portrait.

//

Your relationship with light is phenomenal. What lighting-related advice would you give to an aspiring photographer?

I’d tell her/him to go and try as many light situations as possible. Natural light, as well as artificial light. There are so many ways to create beautiful light situations without having to spend money. I personally love to use mirrors to reflect light or use a flashlight through glass. Car lights and traffic lights also create amazing effects.

You’ve shot so many interesting people. Is there anyone you dream of photographing one day?

Sometimes I dream about taking pictures of celebrities like Lana Del Rey or Benedict Cumberbatch. Some people say: dream big, but at the moment I like to take pictures of the people I trust and love the most and in my opinion, they are just as interesting as celebs.

What has been the most challenging creative obstacle in your life so far, and how did you overcome it?

I actually just overcame it. I was really struggling with my work. I still like my old style of photography but it came to a point that I realized it wasn’t what I truly wanted to do. I felt like I was simply taking the pictures people expected me to take. I took a rather long break and came back as motivated as I used to be. Now taking pictures became a rare thing for me but it is more intense than ever before.

//

If you could visit your past self, what art-related advice would you give her?

Always trust in art. It will never let you down.

Most of your photos are accompanied by intriguing titles (such as “lumen” and “in winter when I bloom”) which deepen the value of your photos. How important are titles to you and why?

Titles can be important. There were times I wanted to title every series and every portrait I took. With time they became less important to me. Sometimes I want people to find their own stories and ideas for my pictures.

//

What 3 tips would you give to a beginner in photography?

1-> Believe in yourself
2-> Be yourself
3-> Take your camera and go outside and take pictures of random things and love the possibility to freeze anything you want in time. You’re a magician!

You can find more of Ines’ work on her Flickr and Facebook.

How to Shoot Professional Portraits: A Detailed Guide

Those pro portraits you had watched on the net and in the magazines do not need extraordinary gear and special knowledge. In fact, there is nothing that you can’t do. I will prove that in this article, with a focus on the lighting for indoor and outdoor portraits.

A good portrait with interesting expressions, composition, and proper lighting has more power than any other kind of photography. Why? Because of the power of the emotions on a face broth in just a part of a second frozen in time forever.

Professional photographers use multiple flashes with as many as four strobes. At first, you must know why there are four strobes, and what is every one of them doing to your image. It’s simple because each and every one of the strobes is having only one function.

How to shoot pro portraits

The MAIN LIGHT- is supposed to be of the camera. You and nobody else wants red eyes on the photos. Red eyes occur when shooting with on camera flash, so that’s why we will get it off the cam. With this kind of position of the main light, we can create shadows and highlights to the face bones, skin or other face parts. If the flash is on the cam we cannot be creative and dance with the shadows, simply there are limits. The newest DSLR models have the feature to trigger the flash unit wireless, if not then we going to have to buy a long enough cord.

Now that we positioned the main light left or right of the object, depends on the side that we choose the FILL LIGHT (also known as diffuser light) should be on the opposite side. The fill light is used only to soften the shadows that occur from the main light. This kind of light is optional but it’s good to have one in direction of creativity. In case you are not able to have one you can use a white cardboard from the opposite side of the main light to reflect the light beams from the main light. In case it’s not good enough you can wrap the cardboard in an aluminum foil for a better reflection. Additional to this you can play with the distance of the cardboard to get a better effect.

The third source of light is the BACKGROUND LIGHT. This kind of light is used only to show what is behind your object, and of course it’s optional only if you need one in a current situation. The light is positioned behind your object lighting up the background. In case your background is black or in the very dark color you can skip this. If you are improvising you can hang a black bad sheet behind your object and you are done.

Portrait: The power of the emotions

The fourth light is called KICKER LIGHT (also known as hair, rim, or edge light). This light is used to make a distinction between the object and the background or it’s kicking the object in front line. It is placed above the object facing the back of the head. But if you place the main light correctly you can forget about this source of light.  In my opinion and from my experience it is good to have one but you can make more artistic photos without the kicker.

If you are shooting portraits outdoors my advice would be to use wide angle lens. At wide focal length, you can make beautiful distortions such as creating illusions of the length of the arms (for example), and you will catch some of the surroundings. Also, the background can add drama to your portrait and can change the whole context of the photo. Consider that all of us are stuck with the meaning of the orientation or the layout of the image. Don’t stick to a portrait orientation; you can shoot portraits with landscape orientation. Mix your framing up in each shoot that you do and you’ll add variety to the type of shots you take. Play with the expressions and emotions of the person that you are photographing- don’t be a boring photographer.

After we are clear with the positions of the lights it is up to your taste how you going to dose the amount of the light. Remember that you can play with the distance between the object and the source of the light. These would be my general advice for indoor and outdoor portraits. You can combine additional lights for outdoor photography. Also, the article does not mean that lights are only for in the studios. Practice, practice, and experiment with lighting and composition. The greatness of your work comes with the experience.

Tips for Winter photography in a warm weather area

I love winter photos. There is something special in landscapes full of snow, people covered in several layers of winter clothes, animals with white fur… Unfortunately, I do not get many chances to take such photos because I live close to Barcelona, in a warm Mediterranean area. For me snow is something extremely unusual. It snows here once in 20 years and when it happens Barcelona just shuts down.

winter in Barcelona

Although our winter doesn’t look so wintery we still have it!! It is just different and not so hard as in other parts of the world. But we still notice a big difference between our summer and our winter: we have rains and cloudy days, temperatures are lower and it can get really windy. However, we still have quite a lot sunny days even in winter.

sunny winter

Winter photography tips are a bit different for areas with Mediterranean or any other warm weather. Unless we travel to some mountain, we won’t need special protection for our gear from low temperature or snow and even rain can be handled quite easily.On the other hand, we don’t have the typical image of the white winter people usually think of. Today I am coming with winter tips adapted to warm weather areas. Let’s check them out!

#1 Focus your photos in weather elements that represent winter in your area

Observe your winter weather, look for weather elements that represent it. It might be the wind, the rain or a gray sky. Try to include weather elements in your photos to give them a more wintery look. Trees moving billowing in the wind, heavy clouds, rain puddles in the streets…

winter storms

#2 Include nature elements in your frame

Nature has strong seasonal patterns, so you can take advantage of it! Trees without leaves, plants that are typically from winter, birds or other animals that are typical for winter.

tree in winter

#3 Take photos of winter events

There are things that happen only in winter in winter. Well, known holidays such Christmas also got quite universal, so including Christmas decorations might also have a connection with winter ( if you are in the North hemisphere).

winter decorations

But there are a lot of other local events related with “winter”. For example, in some catalonian comarques such as  Garraf and Penedes,  we celebrate the “Xato Days”. The Xato is a typical dish that we eat just in winter. During the Xato Days, experts in xato meet for contests that will determine who is cooking the best Xato. These contests are held in the different municipalities, in a street event.  Here, we heard “Xato” and we think: Winter food! You can find local events around the world that are related to winter. Maybe not a lot of people knows about them outside your region. However, I think that sharing your local events through your photography is a great way to show a different and unique aspect of this season and to spread your local activities and traditions.

winter gastronomy

#4 Look for universal elements that we all associate with “cold”

In the last tip, I told you to go local. Another totally different strategy is to look for elements that everybody associates with winter. Photos of people with coats, wood hats, scarves billowing in the wind, cups with hot steamy beverages, burning fireplaces, all are associated with winter.

winter clothes

#5 Emphasize the wintery look of your photos in Lightroom

You can emphasize the wintery look of your photos using Lightroom or any other editing program. Color has a big association with the mood of your images. Increasing the blue colors by using the Temperature slider in Lightroom (Develop module) will give it a cooler look.

Cold temperature winter

You can check this article about Color and mood to learn in more detail how to modify the color of your photos.

nature in winter

Decreasing the saturation of your photos or using a matte effect might also help you to get a more wintery look. You can check the Masterclass about saturation to learn how the Saturation slide work. For winter look, the saturation should decrease (moving the saturation slider towards the left) because you want to lessen the colors instead of enhancing them. The matte effect is also a good resource for winter. I explained how to get this effect in Lightroom in my article about “Tips for post-processing forest images in Lightroom”. Scroll down to the “Add a dreamy look” for detailed explanations.

matte effect winter

Winter presets are also really helpful. Besides saving a lot of time in post-processing, presets provides you with a lot of new creative approaches.

winter presets

Experimenting with backgrounds for portraits

Backgrounds have the spectacular ability to transform a seemingly uninteresting portrait into an eye-catching work of art

. Their strength lies in patterns, symmetry, and colors; elements often accidentally neglected in portraiture. Though it’s possible to take photos which possess both simplicity and outstanding beauty at the same time, experimenting with backgrounds will give you a chance to greatly boost your portfolio’s visual appearance. The more you practice noticing the uniqueness of backgrounds and the more you include them in your work, the quicker you’ll thrive both as a photographer and as an observer of the world.

Outdoor backgrounds

Making the most of your natural surroundings outdoors will sharpen your creative eye and provide you with endless photo opportunities. Nature, especially, is ideal for photos of any kind thanks to its wonderful patience – it’s always waiting to add something incredible to your images. Its endless presence and perpetual flawlessness give everyone a chance to make the most of its natural beauty. Even better, nature constantly changes, giving us new worlds to work with every season.

Flowers, bushes, leaves, branches, landscapes, etc., can all become important elements in your images if you take the time to include them in your compositions. Sharp mountains could complement your subject’s sharp facial features or, instead, serve as a dramatic contrast to the softness of their expressions. Blurred autumn leaves in the background could work in harmony with your subject’s autumnal clothing. When it comes to backgrounds and what they can contribute to any image, the possibilities are endless.

//

Nature could also be used to create powerful diptychs (a “collage” consisting of two images), stunning resources to use in future shoots, and anything you could possibly image. Similarly, cityscapes have the ability to transform your outdoor photos into truly impressive creations. Be it a crowded street or a lonely spot in a nearby park, anything can serve as an appealing background.

The key to great outdoor portrait backgrounds is making sure that your mind and eyes are constantly open, especially when you’re not taking photos. This doesn’t mean you should forcefully notice details around you all the time. Instead, find short, calm moments throughout your day when you can choose to pay attention to your surroundings instead of your phone. If you’re someone who loves adventures, spend a day looking for new and photo-worthy places. Take the time to find interesting locations, no matter how small, if you enjoy running. Eventually, these details will turn into amazing backgrounds for your images, ones that will make you proud of your work and eager to discover more.

//

//

Indoor backgrounds

The colder months often force us to sit at home with our cameras, desperately attempting to come up with creative shooting methods. Many artists don’t own professional studio gear, so the notion of giving up on shooting indoors is an understandable one. However, simple indoor images can be enhanced with the help of “handmade” backgrounds, creations which will inevitably lead you to amazing photo opportunities and unique ideas.

If painting is one of your interests, create your own backgrounds and temporarily hang them on a wall – your very own little studio. Alternatively, you can use other people’s paintings as striking additions to your portraits. If neither of these appeal to you, use wallpapers since they often consist of intricate, symmetrical patterns. Blankets and curtains are also fantastic backgrounds, especially ones that are beautifully decorated. You could even create your own forts out of them and no one would be able to tell. 😉

//

//

The beauty of shooting in your own home is having easy access to your wardrobe – experiment with various color combinations and find ones which enhance both your background and your subject’s attire. If you’re planning to shoot elsewhere, choose several outfits to use in case you come across an unusual (yet original) background. Use rental costumes and wigs to give your portfolio a fresh spark if you have the chance. If you’re shooting in a store, let artificial light be your background. Oftentimes, beautifully decorated light in shops will add an otherworldly atmosphere to your images. It’s also possible to create your own backgrounds in an editing program using other artists’ photo resources and overlays. Whatever you do, remember to use your backgrounds to the fullest and not let your fears bring you down.

No matter where you are or what time of day it is, remember to keep your mind and your eyes open. Before you know it, your images will be appreciated for their beautiful compositions and most importantly, for their eye-catching backgrounds.

Good luck!

//

//


Hiding and highlighting facial features

At times, the key to a unique portrait is a touch of mystery: hands covering an eye, windswept hair sheltering half a person’s face, a seemingly simple texture highlighting one’s lips. These subtle layers of obscurity create fascinating – sometimes even abstract – works of art, ones which amuse their viewers and make their creators beam with pride. Transforming simple portraits into creative, eye-catching ones isn’t as challenging as many artists believe. Even if you’re short on time during a shoot, you can still take gorgeous photographs which will please both you and your subject. Here are tips on how to do this.

Hair

We’re all familiar with portraits in which the model’s face is hiding behind vibrantly colored locks. The impact such images have aren’t capable of losing their allure since there’s an overwhelming amount of hair textures and colors out there. No matter how cliché such images might seem to you, try covering your subject’s face with their hair and see if the results pleasantly surprise you. 🙂

//

//

Foregrounds

Foregrounds possess an infinite amount of creative possibilities because they can be almost anything, from a tattered curtain to a wrecked window pane in an abandoned house. These objects, visually appealing or not, will inevitably increase the meaning of your images and add a great creative touch to them. Foregrounds are blurred most of the time, so how they look shouldn’t be important to you. Experiment with shapes, sizes, and patterns, remembering to hide parts of your subject’s face at the same time. The results will impress both you and others.

Cropping

The cropping tool is perfect for creating mysterious photographs. If you find an image too dull and exposed, forget the rules for a moment and crop part of your subject’s face. Experiment fearlessly with this tool and see what looks right to you as an art-loving individual. Combining intriguing foregrounds and cropping half of your subject’s face to expose their eye, for example, will create an image the story of which others will want to know. Similarly, you could conceal your subject’s face with their hair and crop out their lips. Photos of this sort are a great way to experiment with compositions and to challenge yourself as a photographer and editor. Additionally, mysterious (yet at the same time, simple) photos like this are often used for book covers, a huge plus which will inevitably enrich your portfolio.

//

//

Hands

Since hands are capable of reflecting a plethora of emotions, adding them to your portraits will give them even more potential to touch your viewers. If you wish to give your photos a fragile touch, photograph your subject peeking at the camera through their fingers. If you want to achieve a feeling of inner strength, shoot your subject while they’re covering their mouth during a carefree moment of laughter. These interactions and “disguises” will add an interesting element to your photograph, something that’ll make your entire portfolio stand out.

//

Light

While overexposure is often looked down upon, it can prove to be a useful tool for photographers. In the image below, the lower part of the subject’s face is overexposed, giving a powerful idea of silence. Her surprised and almost pleading expression adds to the image’s quietening atmosphere, further strengthening the concept of silence. Thus, finding patches of light and concealing/highlighting certain facial features will not only make your images interesting to look at, but it will also intensify their meaning.

//

Objects

While foregrounds serve as composition enhancers, objects like plants can be used to both hide parts of a face and become a part of it. Flowers are ideal for this as they’re photogenic and capable of beautifully complementing a face. (For example, simple white flowers could enhance a natural makeup look.) If you’re having a (client) shoot outdoors, make the most of nature, especially branches and flowers. Hide certain facial features using nature to tell a powerful story. (If you don’t have a desire to strengthen your storytelling skills, this method will still work for you.)

//

Textures

The Internet is brimming with textures of all sorts. Even if you’re not experienced in Photoshop, you can master textures within a few minutes thanks to the abundance of free tutorials out there. Textures are valuable to all kinds of photographers – they add gorgeous details to images that would’ve been too simple without them and are capable of concealing unwanted details. Furthermore, they just make your image look great. Use them to your creative advantage, whether it’s to cover an eye using a light leak or to hide everything saves your subject’s lips using a stock photo of water.

//

What story do you want to tell? Will hiding your subject’s eyes and focusing on his or her lips reflect your unique story? Will cropping half of their face make a strong point? Prepare ideas before your shoot, taking the time to consider your shooting location and your model’s features, and you’ll end up with impressive, incredible results.

Good luck!

How to adjust the color temperature of your photos directly in your camera

Have you ever taken photos and realized that the colors are not as you saw them in the scene? Don’t worry because this is common in photography. This effect is caused by the difference in the light sources. The sun on a bright day, on a cloudy day, a light bulb… different light sources emit light with different hues and this makes them have different color cast. Our brains “corrects” the color cast, but our cameras don’t do it unless we tell them. Have you ever heard about white balance (WB)? This is what will help you to avoid color casts in your photos due to the light source.  Color and WB might be a bit confusing at first, but once you understand, it gets easy and fun to play with them. Let’s start with color!

How to adjust the color temperature of your photos directly in your camera
The same scene with different color temperature has a totally different effect on the viewer. The upper photo has a slightly yellow cast that makes it seem warm. The lower one has a blue cast that makes it have a cooler feeling to it.

A bit of color science: The connection between color and temperature:

I am not going to get into a huge scientific explanation, but I think it helps to know the story of William Thomson in order to understand where some color concepts are coming from. William Thomson was also known as Baron Kelvin the 1st (1824-1907). He was a mathematical physicist and engineer. He was the responsible for formulating the Kelvin scale which measures absolute temperatures (for that reason temperature is measured in Kelvin units!).

How to adjust the color temperature of your photos directly in your camera
This photo has a color temperature of 5500 Kelvin. This temperature corresponds to daylight and it is usually considered neutral (at this temperature, whites look actually white).

In his experiments, Kelvin noticed that, as it is being heated, carbon changes its color. Thus he saw that it is possible to align a scale of colors to the one of temperature. This is how the concept of color temperature was born.  At absolute zero (-273.15ºC, cold) the corresponding color is black. The visible spectrum of the scale runs between 1700K and 12000K. Ironically, the colors are organized on the kelvin scale in reverse from what we consider as “warm colors” and “cold colors”; “warmer” colors like red orange or yellow have lower temperatures on the kelvin scale than “cooler” colors like blue or purple.

Color temperature and photography

The color temperature of a photograph is the dominance of some colors over others. When the lighting is what we call “neutral” the whites will appear as white. However, when the scene has a light cast that goes towards the red (yellow, orange) or towards the blue than whites won’t look like white anymore, but reddish or bluish respectively. So depending on the light of a scene, its color temperature will vary. Let’s see it with some examples

5500K: white or neutral. Correspond to the midday light

How to adjust the color temperature of your photos directly in your camera
This photo has 5500 K. As you can see, the white parts of the shell are white. When color temperature is different than 5500 K, whites turn yellowish or bluish.

Less than 5500K: more yellow, red

How to adjust the color temperature of your photos directly in your camera
I modified the previous photo to show you the look it has when its temperature is lower than 5500K. As you can see, it takes a yellow cast. The whites are not totally white but cream-yellow.

More than 5500K: towards the blues

How to adjust the color temperature of your photos directly in your camera
If the same photo would have had a temperature higher than 5500K, it would have a blue cast.

Some useful numbers that are good to keep in mind are:

1000K: candle light (they are towards the yellows)

2000K: sunset (yellows-reds)

2500K: light bulbs (they usually have a yellowish tint)

6000-8000K: cloudy day (they are towards the blue and gray colors)

So, in different situations, our light emits different color temperatures, which in turn give our photos different hues. This can be used to make beautiful photos. However, this also causes complications. As I said before, our human brains are able to detect and adjust the images we see with our eyes so we understand what is the true color of the object we see. Our cameras are not able to do it and unless we tell them what is the color temperature of the scene.

Fortunately, we have ways to correct the hues of our photos. We can do it in post-processing using Lightroom for example, but usually, I prefer doing it through the camera itself.

How to adjust the color temperature on the field: white balance

Most cameras (even point and shoot compact cameras) have an option to set the white balance, using this option you are telling the camera what type of lighting you are in. Here I will talk in general, but take a look at the manual of your camera to check specifications.

Auto white balance: This is the easiest way and it actually works in most of the cases. I am not the biggest fan of auto modes (I even shoot most of my photos in Manual mode!!), but I had to admit that Auto White Balance does a decent job. You just need to set your camera on Auto WB and it will make the best adjustment according to the measurements it does when the photo is taken. However, in some cases, the AutoWB is not working well (it usually happens more with artificial lights) and then you need to use other settings.

Semi-automatic white balance: In the more basic cameras, you can choose between a few preset defaults. The most common are Cloudy, shade, tungsten, fluorescent and flash. Each one of these presets try to compensate the light temperature in each situation and bring the hues closer to neutral lighting. Let’s see it with some examples:

Photos from cloudy days are usually looking quite gray. The Cloud setting will warm them up already in your camera. The shade preset is doing something similar, but adding a bit more of yellow than the Cloudy preset.

Color temperature
Cloudy days are usually quite cold in their color temperature because they have a lot of blue and gray in them


Color temperature
The Cloudy preset is adding a bit of warmth to the scene by increasing the yellows in the image

For indoors and night photography, fluorescent and tungsten can be really handy. Fluorescent lights are quite cold, so using their preset will warm the image. On the other hand, tungsten lights are usually warm, so their presets will cool down the image.

Color temperature
I took this photo indoors, under a tungsten light. You can see the photo has a yellow cast


Color temperature
The tungsten preset corrects the yellow color cast by adding blue to the image

When you are using a flash, your photos might look a bit cold. The Flash preset will also warm the image a little.

Presets change from camera to camera so have a look to your manual and get to know the presets of your camera and play with them in order to understand the effect they have on the image.

Tell the camera a value in Kelvin:  In the more advanced cameras in addition to the auto WB and the semiautomatic presets,  you can also define the light balance yourself by telling the camera the Kelvin value of the light of the scene.

If you took a photo with a color cast you don’t like, don’t worry! You can change it on your computer! However, I highly recommend you to have the files in RAW format and not jpg. Although it is possible to modify color temperature in jpg format, the loss of quality will be so high that it won’t be worth it. With RAW, the process will be easy and your image will keep its quality.

You can adjust color temperature in post-processing using different software. My colleagues wrote about how to do it in  Lightroom, Camera RAW, and Photoshop.

Use color temperature creatively

Now that you have an understanding of color temperature and white balance, you can use the color temperature in order to express what you want in your images. Do you want to give a sense of warmth to your image by adding a bit of yellow? Use the Cloud setting even if it is not cloudy and you will have a yellow cast in your photo! Do you want to add a bit of blues to add a sense of coldness? Try with the Tungsten preset! Experiment and have fun with WB!

Color temperature
I took this photo of a dandelion in the sunlight. It has a pretty neutral color temperature.
Color temperature
This is the same photo, but using the Tungsten preset. This preset added a blue cast to the photo that I find interesting. It might not be the “correct” white balance. I think that when you are being creative, there is not such a thing as “Correct”. If you think that a different WB can express better the way you saw the scene when you took the photo- go for it!!

Happy shooting!!!

Flower portrait ideas: Adding nature to your images

Over 7 years ago, I discovered photography for the very first time and instantly fell in love with everything it had to offer. Inspired by the spectacular array of self-portraits I had stumbled upon, I grabbed a hair clip with a flower on it and stepped outside for my very first shoot. If you were to see the results now, you wouldn’t be impressed. However, my younger self-was beyond delighted because of the creativity a single flower decoration provided. Without the crimson hair clip, my photographs would’ve lacked vibrancy. Such a seemingly insignificant addition pushed me to experiment with all types of adornments, especially flowers.

Natural and artificial flowers possess a beauty capable of enhancing any portrait. Though they’re often used in weddings, flowers can also serve as perfect floral headdresses, foregrounds, and backgrounds for any kind of shoot. Including them in your portraits, whether they’re of yourself or of your clients, will add a pleasant and natural touch to your portfolio. Since spring is just around the corner, here are a few tips on how to use flowers to take visually appealing pictures.

//

Simple portraits can be enhanced with the help of a simple bouquet of flowers. If for whatever reason, you’re running out of ideas for a client shoot, blossoms of any kind will instantly transform your portraits into stunning works of art. If natural flowers aren’t available (or if your client is allergic to them) don’t stress. Artificial flowers can possess a touch of beauty akin to natural ones. However, if the ones you own happen to look too artificial, you can use them as foregrounds. Blurred foregrounds add mystery and a striking splash of color to portraits. Since you can’t really see them due to the depth of field, you needn’t worry about unnatural looking details. (General photography tip: any type of object, when placed right in front of your lens without covering it entirely, will serve as an interesting foreground which will compel your viewers to wonder how you achieved such an effect. Try it!)

Flowers can also serve as perfect resources for diptychs. If a portrait of your client holding a lovely bouquet of flowers seems to be missing something, combine that image with one of the blooms alone (or a closeup of an individual petal, for example). This will tell a more powerful story about your subject and provide you with an opportunity to experiment with photo combinations. Since not every photo combination is appealing, experimenting with them will help you acquire your own unique style as well as a great storytelling technique. Diptychs are particularly useful for wedding photography because of this fact, though using them in your (self) portraits will boost both your portfolio and your creativity.

//

//

Golden hour is a photographer’s best friend. Almost everything it touches acquires an indescribably stunning glow. Thus, it’s ideal for portraits, especially ones which include flowers of any sort. As you can see in the photo below, golden hour illuminates plants in a seemingly magical way, perfect for those who love capturing light at its best. Combine golden hour with a happy client holding flowers and you’ll both be beyond pleased with the results.

//

For those who photograph children, flowers are perfect for moments of distraction and play. Children are drawn to nature and its exquisite colors; let them interact with nature or, if possible, give them a daisy chain to wear. Spontaneous photos of children enjoying their natural surroundings or laughing at their floral headdress will produce incredibly delightful results. Additionally, you won’t finish your shoot feeling stressed and discouraged.

Perhaps the most magnificent gift flowers give us is diversity. There are so many flowers and as a result, there are just as many themes to work with. Flowers vary in shape, size, pattern, color, etc., allowing artists to work with them in an abundance of ways. Even better, these unique features can be used to reflect emotions, situations, and stories. For example, Forget-Me-Nots could be used to positively enhance your subject’s innocence. Lilacs, on the other hand, could give your images a more romantic atmosphere. Gather or buy flowers before a shoot and study them. What do their appearances remind you of? Take notes and plan a shoot using your observations; rest assured, the results will be more than impressive. If you’re in an experimental mood, start a flower portrait project focusing on the beauty of flowers and the stories behind them.

//

//

//

Whether you’re in a mood to start a tremendous project, or if you simply wish to enhance the quality of your client work, take the time to experiment with flowers. Their natural beauty will inevitably provide you with many, many invaluable photo ideas.

Good luck!

How to take cozy outdoor portraits in the winter

Warmth is often associated with gorgeous beaches, palm trees, and the sea; freezing weather is the epitome of winter and indoor coziness. Thus, it’s natural to presume that these two elements never go hand in hand. However, snow casts a spell on the outside world, providing us with flawless and picturesque landscapes. Challenging as the winter months might be, this winter spell is as perfect for nature as it is for photographers. Using nature and your subject’s enthusiasm will allow you to naturally add warmth to your snowy portraits. Here are tips on how to achieve such warmth (and how to stay toasty in the process).

Bring something warm (and include it in your photos)

Preparing for a shoot in the winter can be a fun and cozy experience for you and the people you’re working with. Make sure you have comfortable and photogenic clothes which won’t let your subject freeze. The drinks and snacks you prepare could serve as pleasant photo additions, so remember to include them in your shots. Fun props like sparklers could also add both warm colors and a cheerful feel to your images. Take photos of everyone in your team, even if they’re assistants (or pets!). A happy team which feels accepted will warm any type of coldness, and this will inevitably add a heartwarming touch to your photographs. Make sure to take advantage of bright colors and happy smiles to create a stark contrast between your subject and their snowy surroundings.

//

//

A spontaneous behind-the-scenes snap of your subject sipping a cup of warm tea might find its way into your portfolio; a group shot of your friends staying warm and having a fun time could do the same. When it comes to inner warmth and great chemistry between you and your subjects, the time of year doesn’t matter. Remember to interact with your team, enjoy your snacks, and keep your hands and feet comfortable!

Prepare a warm location (be it a tent or a café)

When you scout for locations, make sure there’s a place within walking distance which could serve as a warm temporary refuge for you and your subject. If you’re in a deserted area, acquire a tent to stay toasty in during breaks. (If a tent isn’t an affordable option, grab a few blankets!) This will ensure that you remain toasty no matter how cruel the weather gets. Photographing your subject next to a tent, or in a café, with a stunningly snowy background will create the coziest photo atmosphere. Again, make the most of the spontaneity; if you plan to relax in a tent for a while, photograph each other in it. A tent + snow = perfect atmosphere + perfect photos.

//

Take advantage of the sun

If possible, shoot during a time when the sun is present. If you live in a place which rarely sees the light of day in the winter then use artificial light (even a torch would be enough) to create the illusion of sunshine. Either method will create interesting photo opportunities that’ll open and challenge your creative mind. The combination of (artificial) sunshine and snow will give your photos a welcoming atmosphere, a feeling of acceptance during the coldest of times.

//

Let your subject blend in with nature

Regardless of the season, nature infinitely inspires those who pay attention to it. It’s particularly attractive in the winter due to its graceful way of holding snow. Nature, when adorned with snow, is a force to be reckoned with. Not only do branches heavy with snow and perfectly white trees serve as fantastic backgrounds, but they make ideal subjects, too. Ask your subject to enjoy their surroundings and discuss what they like most. Photographing them next to the things they find most appealing will result in breathtaking images. Even visiting a park with your subject and asking them to interact with their surroundings will lead to great photo opportunities the results of which you’ll love.

Embracing spontaneity, making sure everyone is comfortable, and staying warm are the most important parts of a successful outdoor shoot in the winter. Be open to new ideas, make the most of the weather, and know that achieving warmth is possible no matter how cold it gets.

//

//

Good luck!

Finding the Perfect Backgrounds for Your Photographs

There is always an element in photography that you have to think about with every subject, and that’s background. This is true in still life, product, fashion, portraits, and even landscape. There are a few background choices for each of these different types of photography. A background can be a wide array of buildings, walls, floors, color, landscape, greenery; the sky is the limit (literally.) It is always a good idea to know what to look for while location scouting as well.

Finding Backgrounds

A lot of your background detail also has to do with your depth of field. You can either control your background with a blurred or sharpness by a shallow or deep depth of field, depending on your subject matter. A shallow depth of field is popular in portraits, so your subject is your main point of focus. You can use a deeper depth of field though to enhance your background clarity and texture. Keep your subject away from the background and not right up against a graffiti wall and tree, this is because these textures and colors can be too distracting. Shooting your subject in wide open spaces with a shallow depth of field and will give you the ability to have a subtle background of light colors and textures. Graffiti is a great example for this because it is a popular choice for a fun and colorful background but can also become a little distracting to your subject so by shooting your subject away from the background you can still gather the color and design without too much detail. Other background choices that you can use the subtle color, texture, and pattern are brick walls, wallpapers, and colorful doors. Think about the landscape in your image too and the great environment you are located in.

Finding Backgrounds

finding backgrounds
finding backgrounds

A variety of angles can also help your background choices. If you are shooting down on your subject you can use various lines on the road, grass, or any other greenery around or even just the texture. Shooting forward onto your subject will give you space and environment area that you are in. Shooting up on your subject can make you a viewpoint of the sky, clouds, or anything else above your subject matter.

finding backgrounds

Finding Backgrounds

Food and still life photography gives you an excellent array of choices with colors, textures, and backgrounds and offers a great way to be creative. You can even make your backgrounds using various woods and papers. Another background choice for smaller subjects is scrapbook paper from your local craft store where you can purchase paper patterns that look like wood, marble, and other surfaces that you enjoy.

finding backgrounds

There are some things you will want to avoid in your background. By using these guidelines, it will help you avoid distractions from the subject of your image. You usually want the brightest point of your image to be your subject; this means that you will want to avoid brighter highlights in the background or colors that could be distracting such as bright oranges, neons, etc. Poles and tree branches are common objects that can get in the way of a great photograph and something you want to avoid, especially when shooting portraits.

If you are having a difficult time finding the right kind of background texture and color you can always Photoshop out your background and replace it with a new background. There are many Photoshop actions, and Lightroom presets to help you achieve this. This is also where green screen photography comes in handy. A green screen can help you knock out the background easier to replace it later on. This color is used because Photoshop can read the color much better to separate from your subject in post editing.

Finding backgrounds

When we are talking about the background, you always want to consider foreground as a factor in your photography. The foreground is a great way to bring depth into your image and also a good use of framing. You can achieve this by setting objects in front of your still-life images. Use trees or greenery in the foreground with a shallow depth of field, or any other creative factors to frame your image. If you find your foreground is too sharp in your image and becomes a distraction you can always blur this in post-production.

finding backgrounds

Mastering golden hour: Setting your path to success!

Golden hour, also known as magic hour, is a particular period shortly after sunrise or before sunset when the lighting conditions are ideal for photographers, cinematographers, and anyone who appreciates the breathtaking light. During this time, light possesses an ethereal quality to it, softening any harsh shadows that may have been present when the sun was higher in the sky.

Summer was at its peak when I first discovered photography. The Golden hour seemed happy to go on forever; as a beginner, I cherished this significantly. While artistic limitations allow our creative minds to grow rapidly, moments which are easy to photograph teach us the importance of embracing every type of season and weather. When the colder months arrived, I was satisfied enough with the hundreds of golden images I owned to challenge myself in more elaborate ways. My portfolio, which had significantly grown thanks to the opportunities the magic hour provided, was ready for new atmospheres, lighting conditions, and emotions. Had it not been for a golden hour, my photographic journey would’ve been hindered much more intensely. Because of this, I’d like to share the many ways in which photographers, especially beginners, can master and enjoy the golden hour.

//

Practice daily

Every day after school, I’d eagerly run home in hopes of creating another set of magic hour photographs. This was an emotionally and artistically fulfilling experience as it prevented me from sitting in front of the laptop for the rest of the day. Dedicating half an hour to nature and photography gave me a chance to take a break from reality and to focus on my creative needs. Turning such a positive experience into a routine played a large part in my growth and discipline as a photographer.

When the golden hour is at its strongest during the year, try to make the most of it as often as possible. Even a 5-minute shoot will allow you to stretch your creative mind and come up with impressive ideas. No matter where you are if you sense golden hour approaching, grab your camera and shoot something you’ll love.

//

Find a safe place

In addition to creating a healthy daily routine for myself, I discovered a beautiful corner in my garden where I could shoot daily. It was filled with cicadas and cheerful flowers in the hot summer months, a combination which made me feel safe and accepted. Because I felt safe, my images didn’t look forced, and my emotions were void of discomfort.

It’s important to find a spot where you won’t have to worry about strangers approaching or vehicles passing by. When it comes to developing a daily routine, especially a creative one, a feeling of safety is key. If golden hour enters your room, remain in your room and shoot; these indoor shots will be nothing short of beautiful. If the sun doesn’t reach your home at magic hour, go out with your friends for a shoot; this will create a stronger bond and provide you all with memorable, stunning images. No matter what, make sure to stay safe; safety will preserve your life and add a sincere touch to your images.

//

//

Include other elements in your shots

In the image below, I used a garden hose to create my summer rain. The raindrops, lit by gorgeous sunshine, created an absolutely cheerful summer atmosphere. With this in mind, make the most of your outdoor possessions, be it a garden house or a bucket of water. Hair looks absolutely wonderful when illuminated by the sun. Raindrops look breathtaking during golden hour; their shine is akin to the glow of stars, an effect which enhances any image. Make the most of these elements, and you’ll discover a brand new world of creative ideas.

//

//

Photograph everything

Photographing everything is ideal for both beginners and experts. As a beginner, it can be tough to find the type of photography you’re most drawn to. Because of this, it’s important to experiment with all genres of photography; this is when the golden hour comes in. Since the lighting conditions are close to perfect during the magic hour, you can completely focus on your subjects without worrying too much about light. Use this opportunity to photograph all kinds of things: animals, nature, landscapes, people, objects, and so on. The experience will increase your confidence as a photographer and allow you to appreciate every genre out there.

Experts who focus solely on one genre, be it portraiture or landscapes, can benefit from this opportunity in much the same way as beginners. If you wish to grow artistically and deepen your creative knowledge, try out something you’ve never taken the time to focus on before. The further you go from the knowledge and skills you’re familiar with, the more you’ll grow as a different photographer. Once you familiarize yourself with another genre, you’ll go back to your original genre with confidence, valuable information, and an open mind.

//

Golden hour, a seemingly short period, will significantly challenge you, compel you to come up with quick yet great photo ideas, and provide you with a pleasant daily routine. These newfound abilities and experiences will help you grow not just as an artist, but as a person.

Good luck!

Taking Creative Photos Through Windows

A lonely figure sits in a coffee shop, observing passing cars with a ghost of a smile. Next, to the figure, a girl speedily takes notes, her hand a messy blur of movement. The scene is a delightful one, enhanced by the ever-changing window reflections: loneliness and busyness placed together, one giving in to the world it doesn’t fully know, the other creating one of its own. It feels like a film – or better yet, a cinematograph – a moment that seems to possess an indestructible eternity. If you were a witness to this fleeting moment, would you photograph it? If you would, your image’s atmosphere would stand out partly due to the aforementioned window reflections. Had you shot the scene in the coffee shop itself, the effect would’ve been vastly different?

Windows do not simply serve as passages to a person’s soul, as the famous quote says. Windows are also a brilliant way to enter the world different to your own, a way to empathize and reflect. Photographing through windows provides viewers with a personal look into someone else’s realm of thoughts, teaching them the importance of compassion and open-mindedness. Even nature, when photographed through a window, gains a quality unlike any other. Photos of this sort seem to be whispering a story as if listening closely could teach you spectacular things. And indeed, such stories do teach fascinating and eye-opening things.

//

It wouldn’t surprise me if you’d call window photos cliché. In fact, had you mentioned this even a year ago, I would be tempted to agree with your musing. However, in the very depths of failed shoots and impatience, I have discovered a beauty and originality in what many of us often render cliché. The world cliché, by definition, is something that is mindlessly repeated over and over again until its very existence is officially deemed useless. Approaching useless objects from new angles might reveal to you a helpful piece that was ignored by everyone else, a piece that is perhaps helpful to you only. Using this in your art will enable you to add your own usefulness to the techniques and projects that seem to have lost their value long ago. Thus, windows can be approached in ways unique to you and your creativity.

Here are a few tips on how to take compelling photos of people and nature through windows.

Portraits

Taking photos of people through windows is a fun process as it gives the photographer unpredictable reflections on working with. If it’s a rainy day, the effects will be impressively abstract, since blurred foregrounds often make for stunning photo elements. Spraying water on a window could also work. In fact, the contrast between a droplet-stained window and a summery backdrop will give your photos uniqueness unlike any other. Covering parts of a window with paint or fabric could also work in your favor.

//

//

Some of the best photos taken through windows are spontaneous ones. A subject lost in their own thoughts combined with a reflection of a field tells a captivating, yet peaceful, story. Even a couple of silhouettes observing a cityscape could work. Don’t be afraid of including abstract shapes and lights in your images – these will enhance your style and make your images stand out. Literally reflecting your subject’s emotions and thoughts with the help of a window will strengthen the impact your work has on others. Your photographic courage will push other artists to reassess their own work and find new ways to challenge themselves.

Nature

Working with nature is almost effortless because it’s always around, it’s always waiting to be found. If you don’t have anyone to photograph when your inspiration is at its highest, use your surroundings instead. Look out of your window and try to find something you’ve ignored before – perhaps an exquisite little flower is growing right next to your window, waiting to be documented by you. Look near and far and find a story you could tell using everything that’s right in front of you. You could even document the view out of your window during various times of day, or throughout the year.

//

//

Working with emotional storytelling techniques will give you a brand new world to use in your art. Writing stories before a shoot might also boost your creativity and present you with an abundance of artistic possibilities. Regardless of the potential absurdity of your ideas, experiment with them and see where the results take you. It’s the unpredictable shots that end up becoming the most spectacular pieces of art.

There are a plethora of journeys you could take as a photographer. All you need is a window and a willingness to keep your eyes open, no matter what.

Good luck!

//

Posing Models Part 4: Facial Posing Tips for Stunning Portraits

The face is important in photography, whether you’re looking for a beautiful close-up portrait, or just the right expression for a full-body fashion shot. The only thing that will consistently land you professional shots is practice. This is especially true when it comes to photographing the human face, but a little basic knowledge can help anyone improve the quality of their pictures.

When it comes to facial posing, light and shadow become very important. The shape of the face is largely going to be determined by how the shadows fall in the final photograph. Too much light will blend the features, while too little can obscure them in shadows. You have to work the angle of the face with the lighting to get it right, all while getting the model to convey the right emotion. It sounds complicated, but some simple tricks will have you well on your way to better pictures in no time!

Decide What Kind of Lighting to Use

You should have some idea of what you want to convey with your photograph, along with some good lights for studio portraits. Are you taking a professional portrait, fashion photograph, or moody art piece? The overall mood will be determined by the model’s expression and your lighting choices. You should use the lighting to work with the basic shape of the models face as well.

For instance, a wider face can by narrowed by shadowing the side of the face angled towards the camera:

shadowing faces

The reverse is true as well. A narrow face can be widened by lighting the side of the face angled towards the camera:

lighting faces

Research different lighting methods and techniques before you begin the shoot, and make notes of what to experiment with based on what kind of shot you’re going for.

Make Sure Your Model Knows the Basics

Take a minute to see what your model knows about moving her own face in the shoot. While looking through your camera, ask her to shift her angle and expression slowly. Pay attention to the following, and work with her until she is comfortable with these basics:

  • How far she can turn her head before her nose breaks the line of her cheek in profile;
  • To follow her nose with her eyes so that the whites are not showing too much;
  • To angle her chin out and slightly down for a well-defined jawline, but to do so without looking strained;
  • To express the appropriate emotion with her eyes;
  • To keep the lips slightly parted to create a relaxed jawline—especially true for fashion;
  • More than anything, make sure your model is comfortable!

posing faces

Once you’ve spent a few minutes ascertaining how well your model understands the basics of getting a good close-up, coach them as you see fit. Instruct them to turn their head by degrees until you see an angle that works for them, ask them to hold it. Tell them why it works. Continue to do this throughout the shoot and you’ll see increasingly better photographs as you progress.

A Handy Trick to Avoid Dead Eyes

Sometimes a picture still falls flat, even though the model had the perfect expression! How does that happen? Something goes wrong with the eyes. Even if the feeling reaches them, without enough light they will simply look dead. There a simple trick that will help you correct this: make sure the angle of the camera and the face work together with the angle of the lighting, allowing you to capture a reflection of a foreground light in the eye of your subject. This will add a little sparkle to an otherwise dark eye, enhancing the feeling behind any type of mood.

facial posing tips

Experiment, Experiment, Experiment

It bears repeating: the only way to learn to take truly stunning close-ups is to practice. That’s how you’ll learn when to use butterfly lighting, or go for a standard loop lighting. Butterfly lighting is created by placing the main light source above and slightly behind the subject, resulting in a butterfly-shaped shadowing effect on the face. Loop lighting requires the light to be eye level, angled at 30 to 45 degrees from the camera depending on the subject. The only way to learn what kind of lighting will work for what kind of face, and what style of shot, is through experimentation.

Next time your friend needs a new professional photograph, why not bust out a light and your camera? With the above tips, and little experimenting, you’ll probably be able to make them look gorgeous! But first, check out the other tips in our posing series. They are full of advice that will help you make your friends and family look better than runway ready! The practice will have you well on your way to landing perfect studio shots with ease.

A Photographic Journey around San Felipe, Mexico

I have had the opportunity the past four months to live and photograph around San Felipe, Mexico. San Felipe is located in the Baja California and located about 2-3 hours south of the border along the side of The Sea of Cortes. San Felipe is filled with color, culture, great food, and beautiful desert land. Pack all of the correct gear for your travels and take an adventure to gather some great photographs. San Felipe SignOn your way to downtown San Felipe, you will first spot The Arches, a very popular monument of San Felipe. They call the arches “The Gateway To The Sea” The arches offers many angles. However, the only problem photographing the arches are all of the distractions around such as signs and wires, which you can Photoshop out later. Around and past the arches you will also find a hillside where you can explore to gather some more cultural photographs of the areas. This area is where you will find all of the best authentic food with local taquerias and is always a great photo op in itself by practicing your food photography. Down at the end of San Felipe is The Malecon, which sits next to The Sea of Cortes. The Malecon is lined with restaurants, shopping, and with a great view of the sea. This is where all of the events happen in towns such as food festivals, music festivals, and parades. This is a great place to take some iPhone street photography. San Felipe ArchesSan Felipe Culture

San Felipe Food Truck

San Felipe TacosSan Felipe TortaSan Felipe DowntownSan Felipe MaleconSan Felipe MaleconSan Felipe Shrimp FestivalSan Felipe is also a great place to gather some night photography. One of the best spots for night photography is down at The Shipyard, which you will find at the end of The Malecon. The Shipyard used to be a marina but was flooded, and they could not move the ships, so they are left there are part of a San Felipe gem. Up on a hill, you will find a building, The Boom Boom Room, a place that has also been abandoned and a very interesting location to photograph during the day or evening. Up on a mountain, you will find a little yellow chapel that looks over the town of San Felipe and right next to it is the lighthouse, which you can shoot from ground level or up at the top where the prayer building is. This is a great place to work with your angles. If you are in town during the full moon make sure to catch the moon rise over The Sea of Cortes: I was there for supermoon, and it was an incredible experience and a really good opportunity to try my moon photography skills and also work with some post editing. San Felipe Tampico ShipSan Felipe BoomBoom RoomSan Felipe MexicoSan Felipe ChapelSupermoon in MexicoThere are many smaller day trips you can take from San Felipe for some great opportunities including more water and desert land. On a note of transportation, you will need some form of 4-wheel drive out in the desert. It is a famous landmark in the area is The Valley of The Giants and a photo opportunity you will not want to miss. The valley holds cardon cacti that stand nearly 50 feet high. You can also drive further south to Percebu where you will find a little more surf in the water and also a great location to find treasures along the beach. Along the way, you will find more abounded buildings and interesting homes and land to photograph. The desert land has a lot of beauty to offer, and San Felipe is surrounded by beautiful desert land. You can take a drive out west closer to the mountains for some more variety in your desert landscape. The desert also offers some interesting finds such as bones, rocks, and maybe even a carcass or two. If you are going out in the middle of the day, you will have problems with harsh lighting in your landscapes, but you can always enhance your lighting in post production with landscape Photoshop actions or Lightroom Presets and Brushes. Valley of the GiantsValley of the GiantsPercebuSan Feipe DesertSan Felipe Mexico DesertSan Felipe Mexico DesertI hope you have the opportunity to visit San Felipe in your future travels or even Baja California to discover color, culture, and beautiful desert land by the sea or ocean side. As they say in the Baja “No Bad Days!”

Tips for low light photography without flash

Have you ever found yourself in a situation where you had to shoot low light photography without flash? It happened to me in some events, one of them was a night wedding in the countryside.

Wedding in low light
Weddings at night are beautiful…but they are difficult to shoot!

These challenging situations of having to shoot low light photography without flash usually happen at events when the flash is annoying some of the participants and guests or when babies are involved. On those occasions, I feel as if someone tied my arm behind my back (only one of them, the other is holding the camera). With these limitations, I have to change the way I shoot photos. I am happy to share with you a few things you can do if you find yourself in situations of this kind.

External lights
It can be frustrating not being able to use external flashes (on the left) or LED lighting devices (on the right). Take these situations as challenges that will make you grow as a photographer (yes, optimism is a good approach here).

Use a wide aperture

The first thing you can try to nail that low light photography without flash is to open your aperture wide. If you know about your predicament in advance, you should choose a lens with a wide aperture that you are comfortable to work with (keep in mind that not all wide aperture lenses will be good for you, there is a tradeoff and you need to compromise over things). When you work with this low f stops (wide apertures), you should keep in mind that they are usually making the background blurry. This is great for isolating your subject and making it pop in the photo, however, if you forget about this, you might lose important parts of the image that you wanted sharp. Just try to remember and take care.

Shallow depth of field
This photo was taken with an aperture of f1.8. As you can see, the depth of field was so narrow that the only thing in focus is the megaphone of the little guy on the right.

Although fast lenses (the ones that can get really wide apertures) are great for low light photography without flash, they are also quite expensive. I have just one of them, a 35mm. This is a great lens and it is affordable. It is pretty good for newborn photography, when you get close to your subject and you usually have time to react or even set a little the scene. However, for situations where you have to react fast I think using a zoom lens can be more useful. The problem is that those are much more expensive! I have never been able to get one. If you are in my situation, keep reading because I developed strategies which solve low light situations without getting expensive equipment.

good lens for low light
This is my only lens that can get to f 1.8. It is a 35mm and I love it!!

Increase the ISO…and fix it later in post processing (Lightroom)

I am not the biggest fan of using high ISO values because the images get noisy. But extreme situations like low light photography without flash call for extreme measures! A high ISO value of 800 or higher will be helpful in this case. It is always good to know that you can reduce the noise in post-processing. And good news: using Lightroom for dealing with noise is easy. In the Develop module, under the Detail section, you will find several interesting slides dedicated to Noise reduction: Luminance and Color Noise slides.

low light photography

low light photography


The Luminance Noise is the general noise caused by the brightness of the image, Color Noise is the color dots you see when you zoom in on an image that you shoot at high ISO. You can see them easier in the shadows of an image. Before starting to work on reducing the noise it is better to zoom in on the image by clicking the 1:1 in the Navigator and selecting on it the area you want to focus in.

low light photography

First thing to do is to reduce the Luminance Noise. A good value will be 30-40.

low light photography
These are the original image settings.
low light photography
By setting the Luminance Noise Reduction slider to a value of 40, we managed to reduce the noise a lot while keeping details in the image.

Keep in mind that when you decrease noises, you also lose definition. Everything has a price! Photos can get a painted look, so you aim to find the sweet spot where you reduce enough noise but still keep enough detail.

low light photography
This paint look produced by a too high Luminance Noise Reduction makes the Buddha figure look unnatural.

Once you are done with the Luminance Noise Reduction slider, you can adjust a little bringing some detail with the Detail Slide. Increasing the detail brings noise back though. You can also increase the contrast a little, but this one also brings noise back. In summary, The Luminance Noise slider is the one that you have to use to do the first Noise reduction and then you can tune it finer with the Detail and Contrast sliders.  It might be tricky at the beginning, but it gets better with some practice.

low light photography

Now you need to do the same with the Color Noise Reduction Slide. The default value is 25. If you don´t have a lot of noise, this value might be good, but if your image has a really high ISO value, you will need to increase it quite a lot. Try 50 and adjust accordingly. Then you can fine-tune it by increasing the detail, but remember that this will bring back the noise. You can also play a little with the Smoothness slide. I usually leave Detail and Smoothness on their default values.

low light photography

And finally, if you can’t beat the enemy, join him. Add a grainy effect. It might seem like you were looking for it! The trick here is to make the photo look clearly grainy, to let the viewers see that this effect is intentional.

low light photography
You can add a grain effect by increasing the amount of grain and its size in the “Effects” section (Develop mode).

Use a tripod or alternative stabilization methods

To increase the amount of light going into your sensor, you can also decrease the shutter speed. There is a limit where the speed is so low that the slight movements of your hands cause the photo to be smudged and blurry. This limit depends on the lens you use (more zoom, more evident is the shaking) as well as your personal abilities. Usually, the limit is around 1/80 sec. You can avoid it by simply using a tripod.

Tripod, great tool for low light situations

I find tripods really useful in low-light situation when you can stick to a spot and take photos of objects or places. However, if you need to be mobile, or you are in a busy event, the tripod can be uncomfortable and sometimes even impossible to use. In that case, you can use alternative stabilization methods, that might not be so efficient, but they can solve your situation. If you have money to spare, you can buy equipment such as monopods, or wearable chassis. Alternatively, you can use any surface you find to stabilize your camera (like tables, closets, chairs…anything can work). You can lean on a wall and shoot with the elbows tight to your sides to avoid shaking. You can also sit or lean forward with your elbows on your knees while shooting.

If you still get people blurry because they move all the time, you can try to ask them to freeze their movement for longer than usual (“excuse me, could you just not move for three seconds”). Try to make it sound fun and people will usually be fine with it.

I hope these tricks will help you in low light situations. Do you have any other strategies to handle it? Please, share it with us. We are always happy to learn new things. Have a happy shooting!

Tips to improve your outdoor portraits

(Though this article mainly focuses on portrait photography, almost all of the following tips can be used by other types of photographers, too.)

Outdoor photos can often end up looking dull and uninteresting. To avoid that, it’s important to seek nature, come up with stories which mean something to you as an artist, and be cunning when it comes to challenging lighting conditions. Like anything in the art world, outdoor photography requires curiosity, sharp observation skills, and patience. These three elements will enable you to take better photos outside, no matter what (or who) your subject is.
Here are ways in which your outdoor portraits can thrive.

Look for nature

It’s no surprise that humans, when given a chance to spend time in a tranquil place, feel warmth and acceptance in their natural surroundings. Even a small park at the very center of a bustling city can serve as a refuge for many. Signs of nature in any location create both hope and admiration – reflecting that in your photographs will give your work an air of familiarity. If you feel that your photographs are too simple, find a peaceful area brimming with nature and shoot there. Allow your subjects to gracefully blend in with nature and let your creativity do the rest. For example, branches can be great blurred foregrounds, and flowers in the form of bokeh can add vibrancy to a photo. No matter how insignificant a detail seems to be, challenge yourself by attempting to use it in your photograph. You’ll be surprised to notice what a tremendous difference simply adding an element can make. Sometimes, the things that are ignored by most people are the things which deserve our attention the most.

Outdoor

Outdoor

(Un)favorable lighting conditions

If portrait photography is new to you, try experimenting with soft natural light first. In the warmer months, golden hour is your best creative friend; its light will make any photograph stand out. It addition to being the perfect backlight, golden-light will illuminate your subject’s face beautifully, making it easier to enhance your results during the editing process.

If you’re willing to experiment a little more fearlessly, work with artificial light at night. Nighttime light is very flattering when it directly hits half of a subject’s face. In addition to being visually appealing, this composition creates mystery and originality. Add a few more elements to it, like a mysterious foreground or a freelensing technique, and you’ll discover an exciting world of creative possibilities. Most importantly, don’t be afraid of experimenting with light – if used properly, it will reflect your ideas in the best possible way.

If you find the lighting conditions unfavorable on a very sunny day, take photos in the shade. Nature is ideal when it comes to blocking harsh sunlight or creating interesting light patterns. If it’s a gloomy day, create your own light or use a reflector – even mild reflected light can add an attractive glow to your subject’s face. If, however, a shoot doesn’t go as planned, don’t be afraid of trying over and over again. You’ll achieve your desired results sooner or later.

Outdoor

Outdoor

A story, or two

The outside world is perfect for storytelling. While homely photos are ideal for creating cozy feelings in the viewer’s heart, images taken outdoors are wonderful for telling more elaborate stories. Photos taken in a busy crowd could reflect your subject’s fish-out-of-water feelings, while a beautiful field in the countryside could be a terrific opportunity to add a sense of belonging to your photographs. Whichever location you choose to take photos in, you can find a fitting story to keep in mind throughout your shoot.

If, for any reason, you feel you’re running out of ideas, read a book or watch a film before your photo session to give your creativity more resources to work with. There’s an abundance of themes you could work with, from isolation to exhilaration, to fascination, and the list goes on. The outdoor world, filled with unpredictable situations and all kinds of elements, can make those themes come to life. Keep your artistic eyes open at all times, and your mind will soon be filled with all kinds of ideas worth revealing.

Outdoor

Once you become more comfortable with lighting, strengthen your nature-finding skills, and become adept at coming up with photo-related stories, you’ll find your portfolio blooming rapidly. A thorough knowledge of lighting will help you find potential in all kinds of weather situations, while strengthened storytelling skills will allow you to feel more confident as a photographer. These skills will be reflected in your work, making all of your portraits, outdoors or indoors, stunning and full of meaning.

Outdoor


How to Photograph Drinks in Studio

The food and beverage industry is always looking for good photographers to capture the essence of their brand through amazing product photos. Do you have what it takes to capture impactful image of drinks? Can you capture those little droplets of water as they condense on the edge of the glass?

As it turns out, you don’t have to. Many beverage photographers use a spray of glycerin mixed with water to create the effect of condensation on the outside of the glass. Throw in a few fake ice cubes, and you’ve got yourself a pretty picture. Okay, so it takes a little more than that! Here’s some advice to get you started.

Typical Lighting Rules Do Not Apply

Normally, you would light your subject from the front. This allows your camera to capture the light that’s bouncing off the subject. The combination of glass, ice, and liquid can create a strange glowing effect when you use the traditional methods.

drinks photo 1

Instead, when shooting drinks, your primary lighting should come from the back of the shot. The light should pass through the liquid. This will prevent the glow effect while perfectly illuminating the contents of the glass. Obviously, you’re still going to need additional lighting. You’ll end up with dark image otherwise.

You don’t want to completely neglect illuminating the foreground. If you want a stronger light, use a strobe with a softbox. For a softer light, use two strobes in the background and place a reflector at the front. Use your strobes in combination with the natural lighting of the room.

It’s Time for the Snoot

A snoot is a simple piece of equipment that you can place over the strobe to make strong directional light. You can make one out of a thick, dark piece of fabric. Simply drape it over the strobe in the background so that it frames the bulb and directs a strong beam of light through the drink.

Since you’ll be using two lights, and possibly a reflector, be sure to watch for double shadows. You can prevent this when you’re using a light in the foreground by ensuring the backlight is brighter.

Don’t Be Afraid to Play Around with Settings and Lighting

You’re probably going to be making a lot of little adjustments to the lighting angle and intensity throughout the shoot. This will help you capture different moods and angles. If you want to save yourself some time, use a tripod for your camera. That way, you don’t have to reframe the shot every time you tweak the lighting.

drinks photo 2


A handy way to balance out the shot, especially when you’re lighting from the front and the back, is to adjust each one individually. Get your initial shot set up, then turn off your foreground light. Snap a couple of test shots, play with your camera settings so they pick up the background light just right. Then switch to the foreground and use test shots to make sure the light is falling properly. Turn your background back on and you’re ready to go.

Timing is Everything

Working with drinks can be more difficult than working with food, especially if you decide to work with real ice or condensation. Okay, so not everyone uses glycerin! It is a good trick, especially since there are some complications to shooting with real condensation. You will only have a small window of time to snap pictures before the condensation begins to drip. While this may work for your shot, most photographers prefer the rounded beads of liquid on the glass.

drinks photo 3

If you’re using real ice, but you don’t want condensation formed on the glass, then you should wait to put ice in the beverage until right before you’re ready. Fake ice in a room temperature beverage would be better. That way, you can take shots from multiple angles without worrying about condensation.

Don’t Forget About Mood

Like any promotional photography, you want to capture what the company wishes to convey. You’ll need to play around with form and composition to create different moods. For instance, lighting an image from the back without a strong foreground light will create a dark and moody composition. Colorful liquid splashing out of the glass against a white background would look cheerful and fun. Remember the aim of the shoot when you’re setting up your props and your lighting. Take the images above and below this paragraph into consideration. They feature similar subjects, but a change in scene and lighting renders a completely different mood.

drinks photo 4

One Last Thing

The last bit of advice for photographing drinks may seem simple, but it’s very important:

Don’t touch the glass.

No one wants to get that perfect shot only to find that they left a big smudge on their subject. Try using gloves, especially if you have to move the drink around during the shoot. No matter what, remember to have fun! Drink photos are usually bright and happy, so why not have a good time while you’re taking them?

4 Easy Tips for Working with Surfers

Surf photography is a technically and physically demanding field. It can be as dangerous as it is exhilarating. You share the risks with your subjects, the surfers themselves. Getting the perfect shot of a surfer riding through the barrel of a wave is nothing like regular sports photography. Shooting with surfers requires a unique partnership with the athletes you photograph, and that teamwork will invariably impact the quality of your photos. While it’s always important to work with your subjects, it’s vital to establish a good working relationship with surfers before you try to photograph them hitting the waves.

1. Make Plans with the Surfers

As we already warned you, surf photography is vastly different from regular sports photography. Photographing sports requires good timing, but you shoot from the sidelines as a spectator. Surf photography often requires photographers to join in the action themselves. It’s usually a struggle to get in the right place at the right time to capture that perfect image. A surfer skimming along the bottom of a barreling wave is a beautiful sight, but it’s also a short one. You cannot get these images alone.

surfers-1

It’s imperative to work with the surfers from the very beginning. Explain what techniques you’re planning, and encourage the surfers to ask questions. If surfers know where you’ll be, they can help you get the best image by speeding up or slowing down as they approach. By involving surfers in the planning process, you also decrease potential sources of frustration. Surfers have to be patient in order to learn their sport. By integrating timing requirements and setting up a plan before hand, it’s easier for surfers to see your needs as a surfing challenge rather than outside interference.

2. Be Flexible

Having a plan is great, but be ready to go with the flow. You never know what the weather may do later in the day, and even if certain beaches usually have great waves, even the ocean has quiet times. Surf photography encompasses more than just shots of surfers on cresting waves. Surfers still have a distinct presence on land, and they make great subjects when they’re just sitting on their boards and waiting for a wave. Surfing is all about patience. Although it’s punctuated by flashes of intense action, surfing has many quiet moments. You should take these opportunities to add variety to your portfolio.

surfers-2

Allow yourself to be creative, especially between major shoots or on slow days. Just because your camera is out of its water housing doesn’t mean it’s time to stop working. Experiment with candid photos or ask your subjects to show you their favorite local areas. You may be surprised how many great surfer shots you can get on land.

3. Ask for and Listen to Their Suggestions

Surfers know the best places to surf. They know where and when waves will be at their highest. They know which beaches are crowded and where the surf is just too tough for tourists. Take advantage of this information. Surfers are more than just the subjects of your photographs. They can be your guides if you let them.

surfers-3

They may even offer some new ideas for composition and lighting. Even if they aren’t professional photographers, chances are they’ve snapped some pictures of their friends in action and recorded great views to show off later. More importantly, they can offer valuable safety advice. For example, if there’s an area of the beach with particularly strong riptides, they can warn you away from that risk.

Depending on your arrangement with the surfer(s), your preferences may come second. Sometimes surfers hire photographers to get pictures they can use when entering competitions or submitting profiles. You can still expand your portfolio, and your subject will likely listen to your professional advice, but remember that the relationship works both ways. Be willing to experiment. Your images can benefit everyone. Even if you are not hired by the surfers themselves, take time to see what images excite them, and plan future shoots accordingly.

4. Have Fun

Photography and surfing are both serious business, but always remember to have fun. Surfers risk their lives for the rush, and you wouldn’t be attempting surf photography if you weren’t happy to get in the ocean with them. You’ll have a lot of missed opportunities and inevitably get frustrated at times. Remembering to enjoy yourself can prevent that frustration from destroying a productive shoot. You may not get what you want today, but there’s always tomorrow. So long as you have fun, you’ll never see a day as wasted.

surfers-4

Once you’ve set up your plan and actually gotten in the water with your subjects, everything changes. Surf photography is stunning because it captures moments of intense, rapid action. The waves are breaking, the surfer is moving, and that’s just the action on the surface. Working with surfers is challenging because the pictures you’re trying to take are extremely difficult to capture. That only makes the final images all the more rewarding.

How to use a reflector to enhance your photography: a beginner’s guide

One of the most important elements of photography is, of course, light. If you like taking photos outdoors, one of the challenges you will face is that you can’t adjust the light sources so much. The sun and street lights can’t be moved, so you need to find the way to make their light work for you. Sunlight is also influenced by the time. For example, if it is high noon our light is coming from right above us and it is a very hard light. But if we are taking a photo at sunrise or sunset, the light will come at an angle. Light intensity also varies between sunny days and when the sky is hazy, foggy or cloudy.

Light variance allows us to take spectacular and diverse photos. However, sometimes we want to have a bit more control over the lighting. One of the simplest and most efficient means to do it is by using a reflector.

What is a reflector?

In my opinion, the best photography equipment that I ever got is my reflector. It took me several years into photography to get one. I guess that I always saw reflectors as something that only professionals use. In fact, reflectors are one of the most affordable pieces of equipment a photographer can have. Mine have cost me around 14 euros in Amazon.

reflector
The reflector I’m using. The envelope is made up of four pieces, the gold and the black are sewn together back to back, and so are the white and silver. A zipper connects the two pairs. this enables one frame to have 4 different colors. Together with the diffuser, it really is a 5 in 1!

A reflector is basically a surface which redirects the light towards a desired subject. You can even make one yourself with a cardboard and aluminum foil. There are many variations and kinds of reflectors available on the market. The most common and affordable ones are the collapsible round reflectors with multiple colors. They consist of a foldable frame with a translucent cloth stretched over them. These frames come with a reversible envelope which offers four different surfaces (usually white, silver, gold and black). Don’t repeat my mistake, get (or make) yourself a reflector soon. You will see how easily your images improve.

How to use a reflector

Using a reflector, you can bring in light from additional angles and lighten shadows. In other words, you use them to change the direction of the light sources in order to add light to dark areas that make your image look bad. Using a reflector is very similar to what we did when we were kids and we played with the light beams from mirrors, but in a more delicate way.

A common use of the reflector is for portrait photography in the middle of the day, when the light is coming from above the model’s head. In this situation, the model’s face will be full of shadows and hard lights. In addition, the eyebrows cast a shadow under the eyes, making him/her look a bit like a raccoon. By using our reflector, we can bring light from a lower angle and lighten the model’s face, this way we avoid the “raccoon effect”.

You can set the reflector on a stand or hold by yourself. However if you are holding the camera it can get really complicated. You can also ask an assistant or a friend to hold it. Another option is that your model holds it. A good option is to let your model sit and put the reflector on top of his/her knees. In some situations you might need to use your imagination and have the reflector standing on walls, cars, columns or even lying on the floor. Don’t be shy and try different options until you get the results you want. This is part of the fun of a photo session!!

Gold and silver sides of the reflector

Keep in mind that both the silver and the gold colors are metallic and reflect a lot of light. For that reason they should be used from a certain distance (that will vary according to light conditions). If you are using it to reflect light on a person or animal, it might be even blinding. Take care and if you need it, ask the model to close the eyes until you adjust the light reflection to an intensity that will be comfortable for him/her.

sleeklens-43-4
The metallic colors reflect the light almost like a mirror, be careful when you aim it at people.

As the silver side reflects the light without softening it, besides being a good option for greater distances, it is also great for weaker lighting conditions. Silver is also a good one to start getting used to reflectors because you can see the effect very vividly, making your life easier at the beginning.

sleeklens-43-13
In the first photo I didn’t use the reflector, the middle one was taken with the reflector too close to the model, the last one was taken with the reflector set at a greater distance. See how the light is much more delicate in the last photo in comparison with the others

The gold is very much like the silver except that it is giving the reflected light a warm yellow shade, similar to the golden hour light. It can be great for emphasizing sun tan, or if you want to bring out a certain color in the photo. But take care, because the yellow light can be overpowering.

sleeklens-43-6
In this photo you can see how the golden-yellow light reflected from the gold emphasizes my friend Nita’s sun tan. you can also see how the shadows articulate her muscles

White side of the reflector

The white side reflects a very soft and delicate light, you need to place it very close to your subject in order for it to have an effect and it won’t work if the lighting is bad (like at dusk, or if it is cloudy), but the result will be a very warm and soft photo, which is great for portraits (family, children, pregnancy photos, flowers).

reflector
Here you can see how the different colors affect the photo: in the top left I didn’t use the reflector, in the top right I used the silver and you see that the illumination is almost equal on both sides of Porky, the bottom left photo was taken using the white and you can see how the light on Porky is softer, the bottom right photo was taken with the golden reflector and you can see Porky has here a much warmer light.

Black side of the reflector

Finally, a reflector can be used as a light blocker too. If you have a light coming from an undesired direction. For example, if you have light reflecting from a window,  you can reduce the reflecting light by placing the reflector with the black side towards your subject.

refector
Here you can see the effect of the black side of the reflector, on the left I didn’t use a reflector and on the left photo I used the black. Do you see the difference?

Using the reflector’s frame as diffuser

Besides reflecting the light, the reflector’s frame (the one with a semi opaque cloth) can be used as a diffuser. Diffusers soften the light coming directly from a light source and make the shadows less hard..

sleeklens-43-14
These two photos were taken in the same spot moment one after the other. In the upper photo I took the photo when Inna was subjected to the hard mid day light, in the lower photo Inna was “sheltered” from the harshest light by the diffusing inner frame of the reflector.

I want to thank my friends Inna and Nita for being my models and also my nephew for letting me use Porky to illustrate this article. Now that you have the basic information about reflectors, it is time to grab yours and start experimenting with it!

Enjoy and have a happy shooting!!

Tips for learning photography when you have no free time

I started photography just six years ago. At that time I already had a professional career as a Biologist. I moved from Barcelona to France and then to Israel for work reasons. Now I just moved back to Barcelona because I found a new job in a private laboratory. I work there 40 hours/week. Besides that, I need to take care of some things for my family while still trying to do yoga and sport to keep healthy. I also cook my meals, I need to go to the supermarket…. Well, let’s say that I am quite busy in my daily life, and I guess that if you are reading this article, this sounds familiar to you.

learning photography
I am Biologist and I spend 40 hours each week working in a laboratory analyzing the microbiological quality of water samples.

Photography is one of my passions. For that reason, although I don’t have a lot of free time, I still want to develop myself as a photographer. The biggest challenge is to combine my everyday life with my more artistic side. Along the years I have developed some strategies that help me to organize myself better and keep learning photography even during busy times.

learning photography
Time is gold… Nowadays we have extremely busy life. But if you organize yourself well, you might find some time to invest in your passions!

Take profit of the trips to and back from work

Maybe you are lucky and you live a 5 minutes walking distance from your workplace. But if you need to invest time every day going and coming back from work, I have good news for you: your photography might benefit from these traveling times. Taking photos on your way to work might not be convenient or at all possible, but you can still use this time by learning the theory or feeding your creativity with some resources.

If you are using public transportation, you can invest this time in reading photography or art related books. An electronic format might help you to travel lighter (this is extremely important when you are already carrying your meals and some other things you might need throughout your day). If you don’t want to carry a book with you, using the phone is an excellent alternative. You can use a RSS reader application to make lists of interesting photography articles that you can later read on your way to work.  I am using one now that I like a lot and it is called “Feedly”. Another thing you can do for taking advantage of your trips to work is searching; for new photography resources or courses, doing some networking with other photographers…

learning photography
It takes me 40 min to get to work by subway. I like investing at least one of the two trips I do each day in photography related activities. Doing so, I get at least 200 minutes of catching up on photography each week. At the end of the year, I managed to accumulate a lot of learning time.

If you drive or walk to work, you can listen to photography broadcasts. You might also listen to some TED talks about photography or creativity. You just need to plan ahead which information you would like to listen to. Sometimes you can even download the broadcasts/talks.

Learn in baby steps

I don’t know about you, but when I decide to learn about a new subject, I get excited and I want to learn everything about it right now! But if you are a busy person, this way of thinking can lead you to frustration: since you are busy, you never have what you think is the right amount of free time for learning the subject properly. You wait until you have enough time to learn a particular photography subject. After some time you get mad with yourself because you didn’t manage to learn anything because you just can’t get a whole afternoon off two times a week… If this happens to you, it is time to change your learning strategy! Divide the subject you want to learn into small lessons that will require less time to finish or just decide on an amount of time you can invest each day on the subject.

For example, you might decide to read 3 pages of a book each time you have a chance, or read one photography article each time, or invest 15 minutes after dinner each day in learning something.  It might not seem a lot at first, but if you are consistent, you will notice improvement in your learning curve along time. If you do this, I recommend you take notes or write a summary of what you learned. That way, when you have the time, it will be that much easier to catch up on what you read already but might have forgotten a little.

learning photography
Learning step by step might take you far.

Take photos with what you have at the moment

I wish I could always take photos with my DSLR camera, lenses, and tripod. However, because of my everyday obligations, it is quite difficult for me to carry my gear everywhere I go. I used to think that if I don’t have my DSRL camera, then I can’t practice photography. Nowadays I know this is not true. We don’t leave the house without our phones. And all of them have a camera. Depending on your phone, you might not have the best camera, but it is still a camera!  For example, I have a simple camera on my phone. I can’t set it’s aperture or shutter speed and when there is not a lot of light, the photos can turn out quite noisy. But I can still take photos with it to practice my composition or storytelling skills. I’d rather practice photography with my phone than not at all. When I have the chance to take my DSLR and gear with me, I practice all the other things that my phone doesn’t allow me to do.

learning photography
If you can’t carry your camera, you can always use your phone.

Join a photo challenge

You can decide to take upon yourself a challenge and take one photo every day/week/month. One photo a week might seem  an achievable goal even if you are busy. But to be honest, I find it quite difficult if I am doing it alone. One alternative is to join a photo challenge. It is usually easier to accomplish things every week if others are doing it too, because you feel encouraged.  You can find several online. If you are a busy person, I recommend you to have a look at 52frames.  Each week there is a subject and you need to submit one photo. I recommend this challenge because the community is really welcoming and the policy is about enjoying your photography and improving by being consistent. You don’t need to submit a masterpiece each time, but you need to submit something. And by doing so, you assure a bit of creativity in your life every week!

learning photography
I joined recently 52frames because I think it will keep me motivated even in busy times. This is the photo I submitted in Week 2. The subject was “Rule of thirds”.

Be patient with yourself

There is a tendency in our society to do a lot of things and do them fast and now. This trend is somehow making us less patient with ourselves.  As we love photography, we might have the feeling that we need to take great photos  NOW. However, there is a learning process. And this process takes time. If you are a busy person, you have to understand that you can invest just a bit of time on photography every day/week and in consequence, it will take you longer to improve your craft, but if you are consistent, I assure you that you will improve. Whatever you do, don’t turn photography into something stressful. If you are extremely tired one day, you might consider skipping your practice and rest. The same goes for times when you have an unexpected event that changes your entire schedule and miss your photography plan of the day. These things happen and it is OK to skip your photography practice. Just make sure you come back to your practice routine as soon as you can if you want to develop your photography skills. Patience and persistence will take you far on a long road.

learning photography
Our society is leading us to have a maybe too busy lifestyle.

Do you have any other strategy for learning photography during busy times? I would love to hear about them and include them in my list. Have a happy photography learning!

Make your photographs stand out with Strike A Pose Lightroom presets

An exquisite day beckons to you, asking you to leave your house and shoot outside. You gather your equipment, find a location that catches your eye, and photograph for as long as your free day allows. Confidently shooting in RAW mode, you aim to make use of every precious pixel. Contentment eventually fills your creative mind and you return home, eager to view your new works of art, your potential magnum opus. However, when you import your images into Lightroom, you notice flaws that weren’t noticeable in your camera. The tingles of excitement you had initially felt somewhere in the pit of your stomach no longer exist. Certain colors don’t stand out as dramatically as they did in your camera’s LCD screen and to make it worse, Lightroom reveals your desired effect for a few seconds before teasingly neutralizing the colors and dulling your images.

img_7538

This sudden transition is due to your camera company’s default settings. Chances are that Lightroom’s default settings don’t match that. As a result, any RAW file is slightly adjusted during the rendering process because of Lightroom’s different interpretation of the image data. Is Lightroom, then, attempting to sabotage your work or hinder your artistic progress? No – this matter is easily fixable. One of the benefits of shooting RAW is that the resulting images can be rendered in many ways without being destroyed. Thus, altering photos is easy.

Manually adjusting the contrast and temperature of your image can prove to be effective. However, there’s an easier and far more creative method to get the best results possible. Dreary photos can be fixed easily with a handy tool called a Lightroom preset, a color enhancer which automatically makes an image pop. In most cases, such presets can be adjusted to fit the photographer’s taste and needs (i.e. fixing clarity, saturation, temperature, etc.). Once you obtain a preset, you can use it on several images at once, making the editing process quick and straightforward. If finding the perfect colour combination isn’t within your skill set, you can work with presets to make the most of your images.

img_3814
Edited with “All In One – Sunset Portrait 3”

Sleeklens offers a variety of mesmerizing Lightroom presets for any kind of shoot. The Strike A Pose Lightroom presets are a diverse collection of instant, adjustable portrait enhancers. From richly golden tones to cooler shades, this collection will suit any artist’s taste. Here are a few previews and tips to make the best of these resources.

1. All In One Presets

Strike A Poses’ All In One Presets are instant photo boosters. If you wish to transform your image into something you’ll be proud to share with others, then experiment with these. Hovering over them will allow you to see a preview of what your image will look like. Allow yourself to fearlessly experiment with each one. You never know when a new color combination will lead you to a more experienced version of your artistic self. Remember that presets are instant photo enhancers, not instant photo “perfectors.” Consider them the foundation of your image. One that has the intention of being adjusted and used based on your taste. The more adjustments you make, the closer you’ll get to discovering your own style.

(If, however, the all in one presets don’t strike your fancy, check out the next section for an alternative editing method.)

img_3560_29285232553_o
Edited with “All In One – Golden Shadow”
screenshot-2017-01-02-18-27-17
You can do almost anything with your image – presets just act as helpful color guides. Don’t limit yourself to the “Basic” section. Play with color tones, hues, and sharpness. Make the most of Lightroom’s practical features.


screenshot-2017-01-02-18-11-24
The color section is ideal for playing with hues and saturation.
img_2952_29286324013_o
Edited with “All In One – Beach Glow”

2. Base Presets

The All In One presets are quick fixes, but the second part of the collection has a far more controlled environment for photographers to enjoy.You can neatly place base layers on top of each other to create a noteworthy image. Just imagine the many layers of a cake. The chance to adjust each section as you move from one step to another creates a more open environment for you as a photographer. There are 6 bases in total, all of which contain assorted subcategories; combining these in any way or order will result in outstanding photographs.

img_7538
The editing process for this was:
1: Glow Baby Glow
2: Brighten
3: Reduce yellows
4: Golden Glow
5: High contrast
6: Black dreamy

When an exquisite day calls you to leave your house and shoot again, you don’t have to worry about the editing process. Having confidence in your photos will give you more room to create and grow. This will result in a happier, freer, and more developed photography life.

Good luck!

img_0027_28022987216_o

not

7 Useful Tips for Photographing Celebrities at an Event

If you’ve always dreamed of being a fly on the wall at a celebrity event, maybe it’s time to grab your camera and use your photography skills to get your foot in the door. The following tips will help you get amazing photos of celebrities that fit with the specific event and sell.

1. Do your Research Beforehand

If possible, you’re going to want to know about the layout of the venue before you arrive to take photographs. Do as much research as possible, and even visit the place if you can. This ensures that you will already know where you can frame the best shots, and it will help you feel at ease during the event. This will also help you to blend in to your surroundings better.

2. Learn How to Blend In

If everyone knows you’re taking photographs, then you’re not going to get those shots of celebrities interacting naturally. When you research, take note of the expected attire and dress accordingly. Look like you belong and you won’t be as noticeable. Additionally, it is a good idea to always keep your camera in hand. Not only will you be ready to quickly capture a moment, you also won’t draw attention to yourself by grabbing your camera to do so.

photographing-celebrities-1

3. Carry the Right Equipment

You’ll need a good camera that works well in all types of light, especially low-levels of light. You should have extra batteries and SD cards to ensure you’re ready to keep snapping pictures until the lights have faded and everyone has gone home. Make sure you use a camera you are very comfortable with, and know the settings well.

4. Work with the Scene

The point of researching the venue beforehand is to know where you’ll be able to get the best frames for shots. Take note of this and use it to your advantage. Are there some interesting decorations that would make for a stunning photograph? Is a celebrity wearing something that pops against a certain background? Knowing the scene and how to set it will take you very far.

You also need to know what kind of lighting you’ll be working in so you can have your camera settings ready. It’s a good idea to avoid flash as this can take the guests out of the moment, leading to photographs that fail to capture the natural flow of the evening. If you’re light is low, take a step back and zoom out to capture the most light without using your flash.

5. Take a Variety of Shots

You should capture a mix of action shots, posed pictures, and photographs that set the scene by focusing more on the wide view than an individual subject. It’s a good idea to get there before the party starts and get some general pictures of the overall setup before people arrive. This will not only please the venue, it will help you to better frame photographs later.

photographing-celebrities-2

6. Frame Photographs According to the Event

You’ll need to keep the event in mind to know what kind of photographs to focus on. At a red carpet event, you’ll want to strive for up-close individual shots where the celebrity is looking directly at the camera. Once inside, you’ll need to widen the view to include the action. Is someone having an emotional reaction to what’s happening on stage? Try to capture the reaction and the event that caused it within the same shot. At a film festival or more social event, you’ll want a mix of individual shots with group action photographs.

7. Be Respectful of the Guests and the Venue

Don’t focus on one person or a group of people for most the evening. Remember that, while celebrities profit indirectly from a good photograph through publicity, they are also there to enjoy themselves. If they feel like they’re being stalked, that’s not going to be possible. It may even give you a bad reputation, which will only hurt you down the road. Respect the venue as well by blending in and being polite. A venue will not invite you back if you someone feels harassed by your attempts to get the right shot.

photographing-celebrities-3

If you need some practice, consider covering non-celebrity events until you feel more comfortable with your skills and abilities. It’s not going to work out well for you if you don’t know the basics of how to use your camera. You need to be quick, and you need to know how to play with the settings to get the perfect shot. You’d also do well to remember that celebrities want to be photographed at events because it increases their publicity, so there is no need to feel nervous or intrusive.

If you feel like you’re ready, it’s time to grab a camera and hit the red carpet!

Tips for Post-processing Forest Images in Lightroom

If you like nature and landscape photography you probably take photos of forests, your local wood or even parks. I can teach you how to install presets if you want. In Mark Jones’ article you will find nice tips for forest photography. I take a lot of forest photos in autumn, so in winter I usually find myself with a bunch of photos to post-process. In today’s article, I am going to give you some tips that will help you on the post-processing in Lightroom of all the forest images you already collected. This is a lot different from editing a macro photography in Lightroom.

forest images

Decrease shadows and increase blacks

When you take photos of trees, with the light coming from up and going through leaves you usually get the upper part of the image with a nice exposure but the soil remains in the shadow.

forest images
This is the non edited photo. As you can see, the leaves are well exposed, but the earth is way too dark.

You can improve your photo by opening the shadows (moving Lightroom preset Shadows slider to the right). Maybe this will make you lose a bit of contrast, but you can fix it easily by darkening the Blacks (moving the Blacks slider slides to the left). With these two adjustments you will make appear the details in the shadows without losing contrast in the blacks.

forest images

If you want to open the shadows a bit more, you can do it using the brush tool. Select a brush with the shadows slider towards the right and “paint” the area you want to work with.

forest images
You can “paint” areas of your image with a brush that will brighten the shadows even more (Shadow slider towards the right side). If you check the box that says “Show Selected Mask Overlay” you will see in red the area you are painting in.

With these adjustments you can improve a lot a photo with a combination of light and shadow

forest images
On the left, the non-edited photo. On the right the image after brightening the shadows and darkening the blacks. I will probably work a bit more in this image (color, highlights…), but as you can see, just with these simple adjustments you can improve a photo a lot.

Adjust the highlights

When you take photos of forests you will end up with images that are well exposed in some areas, but others are quite overexposed. It happens for example when you take photos of a tree from its base.

forest images
This is the non edited photo. The sky and some of the higher branches are clearly overexposed.


The tree is well exposed, but some branches and the sky can get quite overexposed. In these cases, adjusting the highlights might help you. You can do it in the whole image.

screenshot-tree-1
As you can see, in the non edited photo the Highlights have a value=0.
screenshot-tree-4
Once you slide the Highlights to 100, you will see that you recover detail form the overexposed area.

Or you can do it in just some areas by using the brush tool.

screenshot-tree-2
As before, you can “paint” areas of your image with a brush. This time its setting will affect the Highlights (slider towards the left side).
screenshot-tree-3
This is the final edited image.

Adjust colors

Colors are an important element in forest photography. The way you adjust the colors will depend on what you want to communicate with your photo, so it is quite subjective. With forest photography, increasing the intensity of the colors might work quite well. To do that, you can increase the vibrance and/or the saturation by moving its sliders to the right.

forest images
Here the non edited photo. The values of both vibrance and saturation are 0.
forest images
You can increase both vibrance and saturation, but take care because too much color might look unnatural. Try to find a balance.

You can be more selective by adjusting individual colors in the HSL/Color/B & W section. You can see that each color has its own slide of hue, saturation and luminance. I usually modify just the saturation.

forest images
In autumn forest photos, increasing the saturation of just red and orange might be enough.

Highlight the main subject of your photo

You can highlight the main subject of your image by making it a bit lighter or a bit sharper. This is easily achieved by adding a circular filter.

forest images
This is the original photo. I would like to highlight a bit more some of the leaves in the foreground.
forest images
If you add a circular filter, to make adjustments inside the circle you need to check the box “Invert Mask. A Feather value of 100 makes changes in exposure and sharpness (in our particular case) look smooth.

Add a dreamy look

If you are looking for a dreamy mood, you can achieve it by blurring some parts of the photo and adding a matte effect.

forest images
I made some little adjustments in this image (exposure, highlights…). Now I would like to add a more dreamy look.

To blurry some parts of the photo you can either use the brush tool or the circular filter tool. In both cases, you need to decrease the sharpness and/or clarity.

forest images
Here I applied a brush to decrease both the clarity and the sharpness of just the leaves.
forest images
You can see like the blurriness achieved by the brush give to the trees a more dreamy effect than when they are sharp.

To achieve a matte effect you will need to make some changes in the Tone curve.

forest images
This is the Tune curve adjustment panel. When you move the cursor on top of the curve it might appear as a little cross. If it does not, click on the little box mark here with a blue arrow.

You can select a point in the curve that it is around 30%-40% to anchor it. When you select it, you see a circle in the curve. This means that you can move any other part of the curve, but this particular spot will remain there.

forest images


Then you can drag up the left bottom of the Tone curve. You can try with 10% up and adjust it according to your taste.

forest images

Try some presets

If you need to post-process a lot of photos you might find useful to check some made presets as the Through the Woods Workflow. They will speed up your editing.

forest images
This original photo has potential, but it seems a bit dull right now.

The good thing of these particular presets is that they have been designed for landscape photography. You can stack several presets on one single image, giving you a lot of flexibility.

forest images
In the History panel you can see that I applied 5 presets and their effects stack on top of each other. The photo looks totally different now.

They also provide you with brushes.

forest images
Here you can see all the brushes provided for doing local adjustments In this case, I chose the one for Brighten the shadows and I applied in some of the trees.

Another thing I also like is that the names given to the presets and brushes are intuitive, so you can easily find the ones you need. And if they are not exactly fitting your needs, you can always adjust them a little. However, they already gave you a good starting point.

forest images
Final image. It took me to edit it just 2 minutes.

I hope you liked this tips for post-editing your forest photographs. Do you have any other tip? I would love to hear about it! Have a happy post-processing!!!

How to post-process your images according to your photographic vision

I like reading and watching all kind of tutorials and talks about photography. I have a list of photographers I admire but the one that has had more influence on me is David du Chemin. He is a world and humanitarian assignment photographer that promotes quite actively the idea of developing your own photographic vision. At first the concept of “my own photographic vision” sounded foreign to me. I am not a famous photographer and I don’t even have the best quality gear. How was I going to have a photographic vision?  Well, I was mistaken. We all have a photographic vision. The difference is that some of us are not aware meanwhile others work actively in order to develop it and express it.

sleeklens-37-1

The concept of photographic vision can be confusing. One of the reasons I like David du Chemin is for his way of making complicated things look achievable. He defined vision as the way YOU see the world. It is unique because it depends on how your eyes and mind filter the image you see in front of you. Thanks to this definition I understood that I also have a vision of life and I decided to work on discovering it (this will probably be a life-long job). I focused in the 2 big parts of my workflow: shooting and post-processing. Today I want to focus in the post-processing part and tell you the 3 things I started doing that are helping me to find and express my vision.

sleeklens-37-4
You won’t find your photographic vision one day and that’s all. Your vision will evolve and change along your life because it is the way you see things.

Make a personal list of how do you understand certain components of a photo

I found really useful to look other photographers’ works in order to understand my vision. This might seem a bit contradictory at first, but let me explain myself better. We all have a particular way to understand a scene. This is because we all have a different background, experiences, feelings… so we face things and react to them in unique ways. It is part of the beauty of being human.

mosaic-1
Which one of these 2 images do you prefer? This will depend on the things they make you think when you see it. One of them will fit your vision better than the other and just you can know the reason for that. Working on your vision means to study your reactions and thoughts, it is a kind of self-study.

I find really difficult to establish abstract connections between elements of an image such its color or sharpness and my feelings or vision. For that reason I decided to do a bit of research about myself using other photographer’s images at first. How I do it? I look for a photo that calls my attention and then I study the feelings the image awakes on me and the possible connection between the feeling and the  photo element. Writing my conclusions in a document or notebook is a good way to keep track of my thoughts.

I use this list to know myself and not to copy the style of the other photographers. You should check photos that you like and also the ones you don’t like too much (it is also good to know what generates this rejection feelings). For example, thanks to my research I know that sharp images for me are synonym of energy and strength.

sleeklens-37-5
This image is quite sharp and for me sharpness means strength.

Now, if I take a picture in which I want to express energy and strength I know that one option to achieve it is to sharpen the image in post-processing. Or after watching tones of photos of flowers I realize that I love when they look a bit blurry in the border of the petals because this gives them a delicate look.

sleeklens-37-6
Thanks to my study of photos I understood that I connect some blurriness with softness.

I let myself to growth the list slowly in order to enjoy the whole process of understanding the way I see things. Follow your own rhythm and try not pushing your vision.

Work on your photos thinking on the feeling you had when you were shooting

Ideally, I would recommend to post-process the photos as soon as you can because then you will have fresh in your mind the vision you had meanwhile you were shooting. Maybe you were happy, or melancholic, or taking some photos make you think in a particular subject. The idea is making this thoughts pop out in the post-processing. This will depend on your own way to see the world, but I will give you some examples using my vision just that you can understand what I mean:

For me happy moments are full of light and color, so a photo that expresses my vision of happiness will look something like this:

sleeklens-37-7

However, I relate nostalgic moments with a kind of dreamy mood, so if I want to express this in the same image, it will look like this:

sleeklens-37-8

In this case, the post-processing will depend on your way to understand happiness and nostalgia. For that reason doing some previous work on knowing yourself (previous tip) will be really helpful.

We can’t always post-process our photos right after shooting. We might be taking photos far from our computer and it will take us time to get there. Or maybe we are busy and we just find the time for post-processing after some days after the shooting (or even weeks!). In that cases I try to make a real effort of remembering my feelings on the shooting day or I even write in a little notebook some notes that will help me to fly back to the real scene once I am sitting in front of the computer.

Start by choosing just few post-processing tools that will help you to express your vision

There are a lot of post-processing tools you can use in order to better express your vision. However, it can be a bit overwhelming to do a self-discovery work about your vision and at the same time try to master all the Lightroom or Photoshop tricks. I would tell you to focus in few tools and once you feel comfortable with them, you can introduce more. Some tools that can be good to start with are both the Temperature (Temp), Tint and and Clarity slide in Lightroom.

With the Temp and Tint slides, you can modify the colors of the whole image to fit the vision you had when you took it. You just need to play around with the slide until you get to a point that fits you.

screenshot-1
Here a photo I took in Germany with its original values of Temp and Tint.
screenshot-2
When I was there I was amazed by the autumn look of the scene. For that reason, I moved the Temp slide towards the yellows and browns.I wanted to increase the autumn colors.
screenshot-3
But imagine that instead of autumn colors I want to show how cold it was over there and that the place was quite lonely. In that case I will move the Temp and Tint towards cold colors (blue for example) and grey. For some reason I always relate cold weather with blue and grey color. This is my particular vision of “Cold”.
mosaic-2
My vision of autumn in the left vs my vision of “cold” in the right.

Moving the clarity slide you can either make all the details of the image stand out or you can soften them.


mosaic-3
In the image in the left I moved the clarity slide to the left (decrease clarity) in order to give the leaves a softer look, that for me is synonym of being delicate. On the left, the clarity slide was moved towards the right (increase clarity). You can see the details of the leaves better. The image looks harder, that for me means that these leaves were quite tough.

I hope you liked this tips for starting working on your photographic vision. Do you have any other technique to do it? I would love to hear about it! Have a happy post-processing!!!

Black and White Lighting – How to Light a Black and White Portrait

Lighting is essential to photography, and this is especially true for taking black and white photographs. Depending on what kind of lighting you’re using, you can capture a flat image or silhouette, a dark image with textured portions of the foreground showing through the shadows, or a crisp image in which you get a clear portrait of the subject with all of the rich texture and dimensionality.

You need to know what style you’re going for before you determine what kind of natural or artificial lighting you’ll need. You should also take the subject of the photograph into consideration as different types of lighting work better on different subjects. Portraits will be our subject today, so let’s take a look at different lighting techniques for this type of black and white photograph.

Portraits and Lighting

When working with black and white portraiture, if you’re outdoors, overcast lighting actually works really well. While this will produce a pale image in color, in black and white it creates nice contrasts between the lights and shadows. You’ll also pick up the grayscales that add depth and rich texture to the image.

If you’re indoors, you’ll need to play around with main lights and fill lights until you create a rich tonality. Find a balance between the highlights, shadows, and mid-tones by playing around with the positioning and number of lights that you use. It can help to set your camera to preview the shot in black and white even though you will take the shot in color and convert it later using a computer program.

Strong directional lighting will create harsh shadows that may not look good in a black and white portrait, which is why overcast outdoor lighting works better than bright sunlight. Remember this when you’re playing with the lighting in your studio. Try using a strong backlight with soft foreground lighting to create strong contrasts without losing the mid tones that add depth and texture.

black-white-portrait-2

On the other hand, you may enjoy the look of harsh shadows created by hard, directional lighting in a black and white image. As shown in the above photograph, it can create some interesting contrasts. The only real rule is to discover your style, then set up your lights to reflect it.

General Rules to Follow, Bend, or Break

As with any form of art, it’s better to understand why something works than it is to follow a set of rules with the blind hope that you’ll get the shot you want.

With black and white photography, the name of the game is contrast. You want deep blacks and ultra-whites to stand out against each other within the image. At the same time, however, you don’t want to create such a stark contrast that you end up with a flat image – or maybe you do.

Black and white portraits, specifically, bring in another element to style. A black and white photograph is all about capturing mood and emotion with the image. When you are deciding what style of lighting to use, keep in mind what mood you wish to convey. Also, the eyes of the person are one of the most important parts of the image as the expression of your subject will also affect the mood of the shot.

black-white-portrait-3a

So, if you’re shooting indoors—whether your subject is a person or a still-life object—think about what you want the final image to look like before you set up the lights. If you are going for something two-dimensional, use hard lights in the background. You can choose to fill in the foreground with some soft lighting if you want to create a little more texture, but you don’t have to if a silhouette or flat image is what you’re going for.

Shaping Light

If you want something more three-dimensional and with all the detail, you may not need a hard light in the background. However, you will need to play around with more soft lights off to the sides and in the foreground. This will bring out more of the grayscale, creating a richer texture without losing the contrast. This creates a dark background wherein only the softly lit portions of your subject shine through.

Lastly, if you want a more even image that doesn’t focus as much on contrast, and captures all the detail of the shot, use a combination of hard backlighting and soft foreground lights. You’ll want to create a little deeper shadowing than a color image would require keeping the photo from falling flat but try not to create a harsh shadow unless you are going for a particular style.

Have fun playing around with lighting to see what kind of shots you get, and remember that bending the rules can sometimes result in a truly unique picture.

10 Tips that will help you prepare a yoga photo session

Yoga is an ancient eastern discipline that is getting more popular every day in western countries. Yoga combines physical, mental and spiritual practices that help to improve the well-being of the practitioner. My personal story with yoga started four years ago when I decided to take some classes. It was a life-changing experience, not just because of the benefits I got for my mind and body, but also for my career as a photographer. A friend that is a yoga professional asked me to take photos of her in different yoga postures (called asanas) because she needed them for her social media channels and accounts (to promote herself). This is how I got into yoga photography… and I love it!

yoga photo session
My friend Nita was the one who asked me to do my first yoga photo session. This photo was taken at our last photo shoot in Barcelona.

If you also want to get into yoga photography, first of all, you need to know how to get ready for the photo sessions. Most of the preparations I do for this type of sessions are the same as for another kind of portrait photography. You might be interested in checking my “A How-To Guide on organizing a portrait photo session” to learn in more detail how to get ready. However, there are some special things in yoga photo sessions that are handy to know beforehand.

#1 Get inspiration from yogis on social media

Some yoga professionals have a great social media presence. You can find them on Facebook, Periscope and of course…Instagram! In my opinion, Instagram is one of the best sources for yoga photography inspiration. If you follow some of the great yogis you will have an idea of the trends in the field. The list of yoga professionals you can find on Instagram is endless. Some of my favorite accounts:  kinoyoga, yoga_girl, beachyogagirl, nolatrees, carlingnicole, patrickbeach, dylanwerneryoga. And last but not least, the Instagram of my dear yogi friends: reinodenita and lilatotheworld.

Ask your yoga model if she/he has something in mind. Probably she/he is also following other yogis and can provide you a list of asanas she/he would like to try. However, do your own search to increase the variety of options.

yoga photo session

#2 Get familiar with the asana’s names

Asana is the name that yoga postures receive. They have names in Sanskrit, such as “Urdhva Mukha Svanasana”. But don’t worry. You won’t need to learn Sanskrit to be a yoga photographer. All the postures have translated names in English. For example “Urdhva Mukha Svanasana”  is also known as “Upward-Facing Dog”. Easier, right?

yoga photo session
This is how the asana “Upward-Facing Dog” looks like.

You will get familiar with these names while you are doing your inspirational searches. You can also make yourself a list of names with the corresponding asana posture and take it with you to the photo session. Having an idea about yoga terminology will make it easier for you and your model to communicate and convey your ideas during the session.

#3 Divide the asanas by categories

If you take the list of postures with you to the photo session (like I do), you should have them classified in a way that makes sense to you. This will help you to be more efficient. To find an asana in a big list can get really complicated, especially when your model is waiting for you to tell him or her what to do next!  I usually divided them by standing positions, sitting, inversions, bridges, arm balances and so on

yoga photo session

#4 Take photos from all the asana categories

Having the asanas organized in several categories has another advantage: you can make sure that you pick asanas belonging to each category and be certain that you have a good variety of photos. Your yogi model would love to have such a variety of photos!

yoga photo session
Diversity is always good in a yoga photo session and one way to achieve it is by taking photos of asanas from different categories: standing, bridges, and arm balances are just some examples.

#5 Get close

The whole body is included in the asanas. However, getting close to your model and take photos of just specific body parts can add new perspectives to your images. Hands, feet, back… play with your close ups and you will be surprised by your results!

yoga photo session
Feet are a photogenic subject in yoga photography.

#6 Clothes matters

Yoga is not about fancy clothes. However, clothes are important for the photo session. First of all, having several outfits will add variety to the photo session, so it is always a good idea. It is also possible that your model is promoting some brand. You should make sure to get photos of all the clothes he/she is interested to be photographed in.  In any case, you should include time for changing outfits when you plan the schedule of the photo session. You should also think how/where the yogi model will change the outfits. The solution for this will depend on the location of the photo shoot; if it is held in an urban environment maybe you should contact a local clothing store and ask permission to use their changing rooms if it is held outdoors perhaps you should bring with you a tent…

yoga photo session

I also recommend you to tell your models to choose the outfit wisely, especially the underwear. They are going to be moving all the time and sometimes they are going to be upside down. They need outfits that stay perfect in all these different positions. Also, the last thing you want in your photos is underwear coming out. Or if it does…it needs to be a beautiful one! If you don’t want to spend hours on Photoshop retouching clothes, take care of these details during the photo session.

yoga photo session
Underwear might show up especially when the model is upside down. Here you don’t see it because I clone it out using Photoshop. You can save a lot of editing time by taking care of the clothing during the photo session.

#7 Give the model time to warm up

Yoga asanas are demanding. It is dangerous for the model to start with the yoga positions without warming up. Make sure they have enough time to do it in order to avoid injuries right before or even during the photo session. You should also make sure your model doesn’t get cold during the photo session, especially in between postures. Remember, for them, it is also a workout, they sweat, and between postures they can cold really fast!

yoga photo session
Sun salutation is the name given to a sequence of postures that yogis often do at the beginning of the practice to warm up. Here one of the asanas that belong to this sequence.

#8 Decide when to do the complicated postures

Some asanas are more demanding than others for the models. It is always good to ask them when they prefer to do them. Some yogis prefer to do the hardest positions at the beginning of the photo session because it is when they feel fresher and stronger. Other prefers to leave them to the end either because they need to warm up and stretch first, or because after these hard asanas they won’t be able to do anything else. You need to adjust the photo session to their body requirements.

yoga photo session
No doubt this is a quite demanding posture!!

#9 Never push your client to do something (even if it seems easy)

Some asanas might seem easy when you look from the side, but they are not. In these cases, it is especially easy for you and/or for your model to get carried away in an attempt to get the perfect photo. You mustn’t let your model lose the awareness of their body and their limitations! If they push themselves too far it can end in serious injury. Be respectful and if they tell you that they can’t do something (even if it seems easy to you), believe them. The safety of your model is the most important thing, not the photos. Anyway, there are tons of other asanas, all of them are beautiful!

yoga photo session
This posture might seem easy but can end up in a back injury

#10 Go to a yoga class before the photo session to get a feeling

Participate in a yoga session! I’m not telling you to become a yogi now (it is entirely your decision), but yoga is easily available for everybody and there are a lot of yoga studios everywhere. You should attend a class in order to get the yoga feeling and understand where your model comes from and what he/she has to deal with. This will make you a much more empathetic photographer. It is always a good thing to improve the model-photographer relation!

yoga photo session

I hope these tips will help you on organizing your yoga photo sessions. Feel free to contact me with any question you might have. I will be happy to help you! I would like to thank all my yogi models for giving me the chance to become a yoga photographer! Nita, Ashley, Ami and Inna… you are amazing! Namaste!

Tips for editing your flower photographs in Lightroom

In a previous article I gave you some tips about flower photography. Today I want to talk about the editing of this type of photos. I always recommend doing your best in the moment of capturing the photo. Invest some time looking for the right perspective, work on the composition of your image, avoid cluttered backgrounds, focus on the right spot and aim for a good exposure.  However, there are some simple things you can do in post-processing that can make your flower photo even better.

sleeklens-29-final-sharp-1

I will show you some of my general post editing tips in Lightroom.  They are general, not universal. These tips will give you a good basis to start with, but they might not work in all the situations you might encounter. You will need to experiment with your flowers a little (this is part of the fun in photography, isn’t it?). The basic idea behind all my editings is to make my main flower/s pop out. So let’s jump to Lightroom Develop module and see how these tips goes!

Do some global adjustments first

This is a good tip for any kind of photography. First of all do the global adjustments, meaning the ones that affect the whole photo. For this tutorial I am going to use this straight of the camera photo:

Straight of the camera photo

The slides I like to work with are:

  • Exposure: You might need to adjust a bit the exposure (or a lot if you didn’t manage to adjust it at the moment of taking the photo). If your photo is overexposed, you need to move the slide to the right and if it is underexposed, to the left.

screenshot-2

  • Highlights: I usually try to recover some highlights by moving the Highlight slide to the left. This is especially useful if you have to deal with a background which is too bright because it will bring a bit of detail to the photo. By default, our eyes are drawn to bright things so they tend to focus on the lighter areas of an image. If the background is too bright it will draw our eyes to it and make us ignore the flower, and this is exactly what we don’t what want!! So if you can make the background less bright, it will be better. This doesn’t mean that you always need a dark background. You can use white backgrounds too. What I mean is that they should not be extremely bright.

screenshot-3

  • Shadows and blacks: If I see that my main subject has an interesting area too dark, I move the shadow slide to the right. You will see how details will appear in your image.

screenshot-4

However, the contrast of the area can get a bit weak. Increase a bit the blacks (moving Blacks slide to the left) and your problem is solved! By decreasing shadows and increasing blacks you give a higher dynamic range to your image.

screenshot-5

Add your personal touch with the clarity slide

I love the clarity slide! This is the point in the editing when you really need to decide which kind of final look you want for your flowers. Do you want to show all the little details of your flower? Then you should move the clarity slide to the right. This might darken your photo a little, so you might need to adjust the exposure again.

screenshot-6

screenshot-7

If you prefer a softer look, move the clarity slide to the left.

screenshot-8

In this case too, you might need to adjust the exposure. In the example, by changing the clarity I also causes the colors to stand out a bit too much, to counter this side effect, I moved the vibrance slide to the left in order to get a more natural look.

screenshot-9

When you decrease the clarity of a photo you get this blurry dreamy effect. However, you might like to keep the details in specific parts of the photos. For this, you can use a circular filter like in the image below.

screenshot-10
You can add a circular filter to do local adjustments in your photos. In this case I checked the “Invert Mask” because I wanted the adjustments to be made inside the circle. I wanted the center of the flower to be more defined, so I increased the clarity and the sharpness of the area inside the circle. Note that I feathered the circular filter quite a lot to make the adjustments gradual from the center of the circle to the outside.

So here you have the 2 versions of the same photo.

This is the final shraper version of the image
This is the final sharper version of the image
This is the final softer version of the image

Increase (or not) vibrance/saturation 

By increasing the vibrance and/or saturation you can make the colors of your flower pop out. However… if you increase them too much your flower’s color can get to a point it looks unreal. If you are doing some creative post-processing, this might be a good thing. But if you are trying to achieve a natural-looking flower image, too much vibrance and saturation will not be good.

screenshot-12
I did some general adjustments to this image, but I didn’t touch the vibrance and saturation slides yet.

I usually increase the vibrance little by little until I reach to a point that I like. Sometimes you won’t need to touch vibrance/saturation at all because your original picture has already beautiful colors.

screenshot-13
I usually increase the vibrance little by little so I could find a point where the colors stand out, but the flower still looks real

screenshot-14

In this image I increased both the vibrance and the saturation too much the so that you can see their effect on the photograph. You should be careful with these slides because you can reach an unnatural look pretty easily.

Highlight your subject

Imagine that you have a photo like the one below. The background is ok because it is quite dark, but your flower does not really stand out.

screenshot-15

In this situation you can use a circular filter to highlight your flower and make it the focus of your image. I usually add the circle, then I check “Invert Mask” so that all the adjustments will affect the inner part of the circle and I feather it at 100 to make the adjustments look gradual. You might need to play a little with your adjustments, but usually you will need to increase the exposure. I also like to add a bit of sharpness and clarity, but this is up to you!

screenshot-16
I use the circular filter to increase the exposure of my main subject/s and make them pop out from the darker background.

If you are using black backgrounds…make them really black!

If you are using black backgrounds for your flower photography, they might look a bit grey-ish in the original photo.

Straight of the camera photo
Straight out of the camera photo

Make them really black by using Lightroom brush tool. You just need to “paint” the background. I like to check the “Show Selected Mask overlay” because then I can see in red the places where I paint. Another tip: check “Auto Mask” and Lightroom will detect the edges and will help you to paint just the background (and not “stray” with the brush onto the flower).

screenshot-17
When you have the “Show Selected Mask Overlay” checked, you can see in red the places where you “painted” with your brush. Check also “Auto Mask” to make Lightroom help with not painting outside of the borders.

Once you have painted the background, adjust the brush by decreasing the exposure, making the shadows darker (slide to the left) and make it smooth by moving the Clarity slide to the left too.

screenshot-18

Last thing is doing general adjustments to the photo to make the flower really stand out!

screenshot-19

Now it is your turn to practice with your own flower photos and Lightroom! Do you have a tip I have not included here? Tell me about how it goes with your editing! Have a happy post-processing!!

Tips to improve your flower photography

I think that flowers are one of the most photogenic subjects in nature. Do you agree? Their big diversity of colors, shapes, and sizes offers endless possibilities. In addition, there is something attracting about the ephemeral nature of flowers.  I always think about the impermanence of things when I am taking photos of flowers. It’s as if they are telling me “Look at us, we are beautiful and we are not going to wait here for much longer, so bring your camera already”.  As Frida Khalo said: “I paint flowers, so they will not die”.  I am not good at painting, so I take photos of them instead! Today I am sharing with you some of the tips and tricks I learned along the way.

flower photogrpahy

Keep it simple

Flowers are beautiful, so they don’t need much more things in the frame beside themselves. I agree that this might be a matter of aesthetic preferences, but in general the most part of the flower photos that will make you go “Oooooh” have very few elements in the frame, if not just a single flower.

flower photogrpahy
Flowers are beautiful subjects that don’t need much more in the frame in order to show their beauty.

Eliminate distractions

Your main objective in flower photography is to highlight the main flower/s in your photo. This means that you need to eliminate from the frame as many distracting elements as possible. These elements can be other flowers, branches, anything you can find around gardens and parks… there are a lot of them! You can try to crop out distractions by doing a close up of the flower. You can also move the flower so that the distracting elements disappear from the frame. Another option is to move and change the perspective in which you are taking the photo.

flower photogrpahy
The sunflower field where I took this photo was a bit messy. To avoid distractions I change the perspective and instead of taking a photo with the other sunflowers I decided to use a single sunflower in my composition.

There is another way to make a background look less distracting: make it blurry. You can achieve this effect by using a wide aperture (low aperture number). f/5 or lower can work really well. It is also useful to keep in mind that a longer focal length will make the background blurrier. For example, if you shoot with a 150mm lens, the background will be blurrier than if you use 35mm. In conclusion, a good option (if possible) would be to combine a low aperture number with a long focal length.

flower photogrpahy
I took this photo with an aperture f/5 and a 70mm focal length. You can see that in this particular situation I managed to blur out the background. You might need to check the aperture and focal length that will work better for your photos. Wide apertures and long focal lengths will give you a good starting point.

Make sure that you are focused on the right place

This is especially important if you are using wide apertures. You might be so focused on getting blurry backgrounds that you might lose a bit of the focus of your camera. Think always which part of the flower must be sharp in your photo. Then, after taking the photos, check that you achieved what you want. A lot of times I realized that I didn’t focus on the right spot only when I was back home uploading the photos to my computer! Oops!!!

Create your own backgrounds

In some occasions, you can create your own distraction-free background. You can use a simple blackboard (or any other color you like) and just place it behind the flower. These photos lose the atmosphere that the surroundings provide them (because just by looking at the photo you can’t really tell where they were taken). But on the other side, by using a background you make sure to have at least some elegant images of your flower.

flower photogrpahy
Black backgrounds make the colors of the flowers pop up.

Be aware of the wind

When you are shooting at low shutter speeds the slightest movement of the flower will make it appear blurry in the photo. Be aware of that! You can try to block the wind or wait patiently to have a moment of calm. You can also increase your ISO and/or use a wider aperture (meaning lower f-number) to be able to use a faster shutter speed. However, this blurry effect can be beautiful too. It can give a unique and creative look to your photo. If you like this blurry style… go for it!!

Try different perspectives

Don’t be shy trying perspectives. Take photos of flowers from the front, the back, from up, from down, just a part of the flower, the whole flower… You might be surprised by your results.

flower photogrpahy
Changing the perspective I managed to get photos with a more abstract look

Allow yourself to be creative in the editing

Flowers are perfect for trying a more creative editing. You can use Photoshop filters to make them look like a painting, you can add a soft effect for a more romantic look… Have fun to experiment!! I will share with you some of my editing tips for flowers in my next article.

Flower photography
Flowers are a great photography subject if you like being creative in your editions

And now you just need to find some flowers and start practicing your flower photography! Do you have a tip I have not included here? Are you crazy about flowers as I do? Tell me about your experience! Have a happy shooting!!


Reading Body Language During a Photo Shoot (to make the studio a comfortable place)

Going into a small room with lights and cameras everywhere can make people feel a little ill at ease. You’ve probably heard it said that 2/3 of our communication is through non-verbal commands. Being able to read body language and react to it can not only help you get your model to feel more at ease, it can also help you capture better pictures that your client will be happy with. Learning how to identify discomfort and how to resolve the tension in a camera-shy model is the difference between a good photographer and a great one.

How to Identify Discomfort

If your model or client is feeling anxious or nervous about the photo shoot, they’re going to let you know. Even if they don’t tell you how they’re feeling with words, they will certainly let you know with their body. Blocking and pacifying gestures are something we all do unconsciously when we’re feeling afraid or nervous.

Blocking gestures allow us to put a boundary between ourselves and what we fear. Whether it’s crossing our arms over our chests, or holding a prop between us and the source of anguish, blocking gestures help us feel more comfortable with our surroundings.

body-language-1

Pacifying gestures allow us to calm ourselves without being as aggressive or ready to run as a blocking gesture. Blocking gestures say “I’m cautious of you and I’m putting this here to keep you back and give me an escape.” Pacifying gestures, such as playing with jewelry or rubbing one’s hands, say “I’m cautious of you but I’m trying to calm myself down.”

If your model is being fidgety before the shoot or starts holding props you give them directly in front of their bodies, they are probably uncomfortable with the photo shoot. The following tips will help you create a comforting aura and get the perfect pictures they want.

1. Lead by Example

When someone is standing in front of you and ordering you around on what to do, it can be quite scary and sometimes belittle. It’s even worse for a person’s anxiety if they’re trying to do what that the instructor asks them and can’t seem to get it done right. The best way to get your model in the right position is to show them how to do it yourself. Not only will you get them where they want to be, but by showing them and doing it first yourself, they’re more likely to trust you and be comfortable in your presence.

2. Be Confident

Being confident in a studio goes far beyond just being secure in your knowledge of the camera. Always be prepared to answer any questions the client might have about their poses or props. If you ask them to sit in a chair with their legs crossed, try to explain why you think that pose would work for them.

body-language-2

Most importantly, be calm and explanatory about any malfunctions that happen. It will happen to everyone at some point; a camera will stop working, a light will go off, a battery runs out. When this happens, don’t panic. Always be in control of the situation, even if you’re not sure what’s going on. Explain to your subject that there’s a technical difficulty. It can put a strain on someone to sit still with a stranger while they are frustrated trying to figure out something they don’t understand. Talking through your problem can help you bond and close the awkward gap. It can also help you figure out the problem by trying to explain it.

3. Use Their Anxiety to Your Advantage

Often being forced right away to let your guard down can be difficult. Instead, don’t try and immediately have your model open up to you. They’re going to be guarded with their body for a while until they feel comfortable. If your subject comes in with arms crossed, use that to create a powerful, confident image. Have them stand up straight with their head high and arms crossed. Move the camera so that they fill up the whole screen or even go out of the frame, even try getting a little lower and doing a superhero shot. These little actions allow them to get used to being a model while still generating powerful and useful images.

4. Get the Real Smile

It’s easy to tell a fake smile from the real smile. Real smiles engage the whole face, lips, cheeks, and eyes. Fake smiles often only engage the mouth. An anxious model trying to smile is going to create some awkward photos, no matter how great your technical skills are. Start a nervous subject off by doing some non-smiling photos. Let them look off into the distance thoughtfully. As you’re getting ready for some smiling pictures, try and make them laugh. Tell them a joke or a funny story, anything to get their whole face involved for the perfect picture.

body-language-3

Being able to identify body language and use it to your advantage is key to being a great portrait photographer. It’ll be hard and awkward at first, but the more you practice, the easier it will get. Soon you’ll be a master at body language and will be able to manipulate it in many ways to get your client the dream picture they didn’t even know they wanted.

6 Tips to Shoot Like the Pros

When you think of famous photographers, several names come to mind instantly. You have Annie Leibovitz who has photographed countless editorial shots of some of the world’s biggest celebrities. Or, Steve McCurry, who grabbed our attention with his photo of the ‘Afghan Girl’ that appeared in National Geographic.

Whoever inspires you, it’s important to look to these industry pros to learn from. They’re at the top of their profession and setting the bar for quality, innovation, and discipline. Below are a few tips and techniques to get you shooting like these famous photographers.

1. Your Camera is Merely a Tool

One thing that comes up frequently by many of the pros is how little importance their camera actually played in their photos. Many of them worked during a time when the film was prominent and you didn’t have an endless SD card of shots to work with.

photography-pros-1

Being a photographer means understanding your subject, knowing how to light your subject, and how that light interacts with your camera. Take advantage of its quirks and flaws. Find a way to be creative with what you hold in your hands. The best camera is the one that you will carry with you everywhere and feel comfortable using.

2. Follow Your Passion

Why be a wedding photographer if you really want to be out in the mountains shooting landscapes? If you’re shooting what you love, it will pour out into every photograph. Within your passion, you can find your niche. Some landscape photographers pick an environment they grew up in to shoot again and again. They may notice things others wouldn’t due to the time they spent there. Don’t follow trends or copy what other famous photographers are doing. If you chase your passion and just keep shooting, you will find your own way.

3. Be Patient and Persistent

Whatever you’re shooting, the most important tip many of the pros offer up is patience. As a nature photographer, you’re working in an environment you cannot control and spend much of your time waiting for the perfect moment. This may mean sitting through the elements or staying up all night.

photography-pros-2

The same is true for a street photographer. Much of your time is spent mingling and moving about. People need to be comfortable with you and with your camera. Stick to it and sooner or later you’ll get the shot you came for.

4. Pay Attention to the Light

Any successful photographer will tell you lighting is key for a great shot. It is vitally important in every avenue of photography. Whether you’re working with natural light or manipulating studio lights, you have to understand the role that it plays in your photography. Shoot at every time of the day and see how it impacts your subject. Pay attention to color temperature and what colors get reflected off of light. The biggest tip that comes up is to shoot at either dawn or dusk – during the Golden Hour. This is when the sun is low on the horizon and shadows are soft.

photography-pros-3

5. Don’t Be Afraid to Make Mistakes

As with any career, you’re going to make mistakes. The best thing you can do is learn from them and move on. If you’re afraid to make mistakes then you won’t be willing to take risks. It is those risks that have set photographers apart. Keep shooting and keep growing from your work. Look it over, share it with others, and accept constructive criticism.

6. Research and Know Your Subject

This is an extremely important tip from famous travel and photojournalist photographers. The best way you can prepare is to know what you’re getting yourself into. Research the local culture and how you can best become a part of it. Get involved with the natives and spend time with them. If you’re planning an excursion for great landscape shots, know what type of weather you might run into so you can pack accordingly. As with any line of work, most important is to know what you’re getting into.

Every photographer has his or her own personal style. The pros didn’t become famous just by sheer luck. Instead, it has been through hard work, perseverance, and dedication to their craft that they are able to inspire the rest of us. They’ve carved out a style that suits them while working with subject matter that they’re passionate about. Don’t be afraid to take risks and make mistakes while you search for what inspires you.

Photographing Celebrities: Tips and Techniques

While some dream of fame and fortune, others dream of capturing it. Behind every amazing photograph of a celebrity is a photographer who knew exactly how to bring out the confidence and personality of that particular person.

However, landing photography gigs to spend even a minute with high profile celebrities is no easy feat. When it does happen, you need to be prepared to be professional, work quickly, and be sure of your own ability. That goes for celebrity profile shots done in studio, music photography backstage and up close at concerts or event photography where you need special access.

If you’re looking to break into celebrity photography, here are a few things you should keep in mind to get you ahead of the game.

celebrity-photography-1
Mariah Carey by tpsdave @pixabay

Professionalism is Key

Celebrities are bombarded daily by screaming fans in person and on the Internet. Even if you find yourself wanting to gush about how much you love their work, hold back. Before you get to sit down face to face with a celebrity and capture their portrait, you will have to work through many others to get there. Acting calmly and displaying how professional you can be will gain you more entrance than others. Treat everyone with respect and give him or her the space you would any normal individual.

Along with being professional, you need to be confident in yourself and you work. Approach magazines and PR companies that you’re interested in working with. This may be the first step in getting big name clients.

celebrity-photography-2

Be Personable

You can’t take a good portrait if your subject isn’t comfortable. Celebrities are no different than other individuals in this regard. Your social skills and ability to connect with people on a personal level help land you gigs.

Your ability to be warm, welcoming, and personable will also help produce the best quality photograph. Find ways to engage your client in conversation. Read their body language and try not to ask anything uncomfortable or pry into their private life. Keep it lighthearted and use these conversations as a way to capture a relaxed side.

Be Prepared: Practice and Know Your Gear

With knowledge comes confidence. Before you approach any magazine or PR company to seek out high profile photography work, practice as much as possible. Take lots of pictures of everything—strangers on the street, friends, family, whatever you can.

celebrity-photography-3

You should know your camera and how to use it without a second thought. Lighting is also huge, whether it’s studio or natural. A celebrity should walk into a shoot with you and not question whether the lighting will highlight their best features.

If in a studio setting, everything should be ready to go before the person being photographed walks in there. Research who your client is, what their facial structure is like, and how to make them look their best. Have a game plan in mind of the type of message you’re trying to send through your photograph so your lighting is ready. You may only get a few minutes with a celebrity before they have to move on. This won’t give you much time to re-shoot if something didn’t go right the first time.

Find a Mentor and Start Small

One of the best ways to learn is to work alongside someone further along in their career than you. Reach out to other professional celebrity photographers and see if they need help editing, shooting, or even in administrative work. Through having a mentor, you’ll be able to learn the best way to market yourself to PR companies and magazines, how to carry yourself around high profile clients, and maybe even get on a first name basis through their own connections.

Kit Herington by Amy Sussman (http://asussman.tumblr.com/post/123474224867/in-studio-with-kit-herington)

Sometimes it’s easier to reach out to potential clients, up and coming celebrities, who are beginning their own career and offer portfolio building PR work. They need professional promotional material more than anyone and will be appreciative to have someone represent them. This, in turn, will provide you with more experience, portfolio pieces, and potential connections down the road.

Whatever your career goals are, aiming to be a celebrity photographer is a tough road. You will be up against the very best who have carved out a name for themselves. However, a professional attitude and a creative eye will get you far. Don’t be afraid to put yourself out there and promote your work. If you show you’re committed and persevere, you will land the jobs you want to and start earning money as a professional photographer.

How to handle photographer’s anxiety before a photo session

I don’t know about you, but I always feel anxiety before a photo session. It is a strange feeling because on one hand I love photography and I am happy about booking photo sessions. On the other hand I suffer because all kind of fears come to me: Am I going to do it well? Is the client/model going to be happy with my photos? Maybe I am not good enough! OMG!! Sometimes I feel like I am boycotting myself. Luckily my passion for photography is stronger than my fears and for that reason I looked for strategies that help me to handle my pre-photo session anxiety.

photographer’s anxiety
Learning how to handle your photographer’s anxiety is crucial for developing yourself as an artist and professional.

Invest time on preparing the photo session

There might be photographers over there that are able to do great photo session without or just a little of preparation. Not me. I know that if I don’t prepare the photo session in advance my anxiety will be unbearable and I won’t perform well as a photographer when the moment of shooting arrives. I found than investing some time preparing the photo session makes me feel much more confident and in consequence my anxiety diminish. The first time I prepared a photo session took me a lot of time. But then I developed a protocol and now I enjoy getting ready for a photo shoot and doesn’t take me so long.  You can have a look to my How-To Guide on Organizing a Portrait Photo Session to check how I prepare everything and get some inspiration.

photographer’s anxiety
Investing time preparing your photo session is a great way of reducing the photographer’s anxiety: when you know you are ready, things looks easier!

Do the must-have photos first

I always recommend working on the poses before the photo session. You can create a list of poses and have it with you in the photo session (printed or in your phone/tablet). Put first in the list the must-have photos. This is a great strategy to reduce anxiety because you won’t need to be all the time thinking if you took all the important photos or if you forgot something. You just do the important photos at he beginning and then you can relax and be creative.

photographer’s anxiety
I always do the must-to-do shots first. In this photo session my model needed to have photos with props (the necklace was one of them). We did first a series of photos with her props and then we moved to more creative images.

Learn from your previous mistakes

Yes, we all make mistakes, even the super pro. Understanding this simple statement was difficult for me. I don’t like making mistakes. Especially if my clients are involve on them. Just thinking about the possible consequences of our mistakes might paralyze us and make us fell self-conscious. This feelings won’t help when you are with your client/model and you need to direct them and look professional. They will notice you don’t trust on yourself and they will feel uncomfortable about it.  I needed to meditate a lot about mistakes. I finally understood that the best thing I can do in order to develop myself as a photographer is trying to do always my best (because my clients deserve it) and if a mistake happens, solve it with a professional attitude and learn from it. Mistakes will happen and they will be hard and painful. However, they are a natural part of any learning process. The important thing is that you learn from them and don’t repeat them again. Mistakes can help you to growth as a photographer and as a professional. Accepting this was a big step for me.

photographer’s anxiety
I had a lot of mistakes along the way. Some of them are big and other small. The important thing is to learn from them. In this yoga session I didn’t put much attention to the hair of my model (Nita from Nita’s realm) and it is difficult seeing her face. This was a mistake and I learnt. Now I am always checking that the hair is ok before taking the photo.

Schedule some relaxing activity the day before the photo session

I do all the photo session preparations enough time in advance to be able to relax a little. I know we are all busy. But I have found myself preparing my equipment for a morning photo session in the middle of the night and believe me…. This didn’t help me to diminish my anxiety at all. Since then I arrange my schedule in order to have my equipment ready early enough to be able to relax doing some kind of activity I like. Personally, I like doing yoga, meditation, running or going for a hike. But this depends on your taste. Maybe you prefer reading or meeting with a friend. It is up to you! But take this relaxing time seriously enough to include it in your schedule. It will help you to recharge your energy and clear your mind. You will handle the photo session with a more positive attitude and much less anxiety.

photographer’s anxiety
Meditating is a good way to reduce anxiety.

Eat healthy and don’t drink so much

Don’t misunderstand me. I love going out for a beer or a wine with my friends. But the night before the photo session I prefer drinking something alcohol-free just because I want to make sure that I won’t have any headache in the photo session. I also try to eat healthy because if I eat heavy food that is hard to digest I usually don’t sleep well and next day I feel deadly tired. If you are like me, the day before the photo session eat something light and drink alcohol-free beverages. You will notice that you wake up in a good mood and with energy to handle any photo session

photographer’s anxiety
Eat a good amount of fresh vegetables and fruit the day before the photo session is better than eating food that is difficult to digest

Sleep enough hours

This advice goes in the same than the previous one: if you don’t sleep enough hours you won’t have enough energy to deal with all the little problems that a photo session might have. In fact these little problems will look like huge problems because you will feel too tired to solve them. Make sure to sleep enough hours and be rested for the photo session.

photographer’s anxiety
Coffee can help you when you didn’t get a good sleep, but it is not the best solution because too much coffee can also increase your anxiety levels. Instead of drinking liters of coffee try to sleep enough hours the day before your photo session

Breathe

If  at any point during the photo session you start to feel too anxious and you start breathing to fast, try to slow down. Take a 5 minutes break in the photo session, go to a calmer place and breathe deeply. Breathing exercises (http://www.mindbodygreen.com/0-4386/A-Simple-Breathing-Exercise-to-Calm-Your-Mind-Body.html) can calm the nervous system and reduce anxiety.

Are you also feeling this photographer’s anxiety before a photo session? Do you have a technic to handle it? Feel free to tell me about your strategy or anything else in the comments below. Have a happy photo session!!

Tips for Photographing Dogs

Dogs are simultaneously extremely fun and extremely difficult to photograph. They’re quick moving, unpredictable, and almost impossible to tell what to do. With any other portrait shoot you have ample time to plan, light, and pose until you get things right. When it comes to photographing dogs, your best tool might be your patience. However, here are a few tips to get you moving in the right direction and hopefully make your next doggy photoshoot more successful.

How to Take Pictures of Dogs

Get on Their Level

This is a technique used for kids as well as animals. Most subjects don’t look as interesting when shot from above and don’t properly represent their own environment. If you want to get the best photo of your dog, get down on their level. Don’t be afraid to get your knees dirty as you scoot across the ground and practice your yoga moves.

photographing-dogs-1

It’s best to use a lens that allows you to zoom in an out. This way you’re able to get up close face shots while you’re on their level but also zoom out to capture the same scenery that they’re seeing. With that being said, even standing up and getting great overall environment shots with your pooch in it can be interesting.

Photograph Dogs in Their Natural Environment

dog5
If you want to know how to photograph dogs, you need to be aware that dogs are animals that love to run, chase and play. For this reason, many dogs enjoy going outside for a walk or a game of catch. During your photography session, why not plan a trip to the local park? It is a great way to get the pet owner and the dog excited and stay busy. It’s a good idea to bring toys or props for the pet owner and their dog to play and run around. This will create lots of opportunities for action shots. Anticipate where the pet will run and lock the exposure beforehand. Doing so will help reduce the shutter lag and increase the number of keepers from your action shots. Using a camera with a high burst fps is a good idea when taking action shots. It will increase your chances of capturing the photo that you are looking for.

Shoot Like it is a Sport

Just like when you’re photographing cars or football players, dogs are fast movers that would rather chase a squirrel than sit pretty for the camera. Don’t be afraid to capture their tongue dangling out and ears flying.

photographing-dogs-2

You can shoot faster in several ways. Some cameras, including cell phones, will have a sports mode that raises the shutter speed and also takes several photos continuously. Turning your camera to sports mode and using a faster shutter speed will allow you to capture action without the picture being blurry. Even if some elements, such as the legs blur, the primary goal is to get the face in focus.

Know Their Personality

As with people, every dog is different. if you want to know how to take pictures of dogs, you need to know how to get to know them. If it’s not your own dog then be sure to ask the owner questions pertaining the dog’s personality. When are they the most or least energetic in the day? During what activities are they happiest? What is the goal of your photoshoot and what type of feeling of the animal are you trying to capture?

All of these questions are important to have answered before beginning your shoot. You wouldn’t take a lazy bulldog to a field of sheep and attempt to get images of it herding. If it’s possible, spend a “day in the life” with the owner and the dog. Follow them on their routine walk and capture moments of them together. This will allow the dog to become more comfortable with you being around and also the click of your camera.

photographing-dogs-3

Be sure to also bring some treats. Photo taking can be a great training activity as you or the owner practice Sit, Stay, and Lay Down. This can be a great chance for a dog to show off any special tricks they have as well. Ask if they know Play Dead, Roll Over, or Sitting Pretty. If it’s your own dog, this can be extra motivation to teach your dog some new moves in preparation for photos.

Photograph Dog Owners Interacting With Their Pet

dog9

What makes pet dog photography unique from other types of photography is the interaction between dog owners and their pets. The unique bond that exists between them creates a sense of loyalty, love, and friendship. Creating opportunities for photographing dog owners and their dogs is not as hard as it may seem. Dog owners will naturally want to spend time with their dog. Going on a jog with their dog, playing fetch or petting their dog are some simple yet highly satisfying actions that dog owners like to do with their dog. It is a good idea to ask the pet owner what they enjoy doing with their pet before the photo shoot or on the way to the location. Then when you run out of ideas, suggest that the pet owner do one of the things that the pet owner said they enjoy doing with their pet. Be sure to look out for the inevitable interactions between the pet owner and their dog between sessions too. These candid photos usually turn out great.

Play Dress Up

dog3

Pet owners love to dress up their animals. This is especially true of dog owners. There are even shops dedicated to selling clothing solely for dogs to wear in some cities! Ask the pet owner if they have any clothing that they have bought for their dog and to bring it along. Otherwise, accessories such as scarves, hats, or glasses can also do the trick. There’s room to experiment and have fun here, so don’t be afraid to try something new. Dressing up a pet dog is a great way to mix it up and bring some creativity to the photo shoot. Dog owners are often fond of personifying their pets through dressing them up.

Be Creative

dog2

Take advantage of your surroundings, any props at your disposal, and interesting compositional angles to mix it up! There are many ways to be creative on a photo shoot. Don’t forget to look around and see how you can incorporate your surroundings into your next shot. For example, if you are at a park with a playground – try to see if you can get the dog to sit in a swing or slide down the children’s slide. You never know how the dog will react. Dogs like the adrenaline rush and the feeling of the wind on their face. Capture that emotion on their face while they play. Either the photographer or the pet owner needs to engage the pet and keep him active and happy. The photos you capture will reflect the dog’s happiness.

Practice, Patience, and Persistence

Generally, dogs are happy creatures without a care in the world. But even the happiest individual has days that they don’t want to cooperate. Be prepared that you may struggle to get the perfect shot the first time, or even the 100th time that day. The best thing you can do is make the activity fun! Before you engage in photo taking, get out a rope and play tug or entice a game of fetch. Burning some energy may allow the dog to relax and sit still for a frame or two.

photographing-dogs-4

As with any subject, practice makes perfect. Take your own camera out daily to photograph activities with your dog. They will enjoy the extra attention that they’re getting from you and it will help build your confidence for when you photograph someone else’s pet.

Persistence throughout the day will award you with better shots. Don’t get discouraged if you want a more somber photo but the dog just wants to run. Let them burn off the energy, capture a few action photos, and then wait for a moment of rest to compose the shot you want.

Dogs are a joy to spend time with and photographing them shouldn’t be a chore. Although their fast movements can be difficult, it can also help you grow as a photographer and push you to better understand how to use your capture to freeze action moments. Practice, practice, practice!

Happy shooting!

How to Shoot in Infrared

When we look around the world, we see things in the visual spectrum. We see things as our eyes have evolved to see them, but there is much more to see. One spectrum we can’t see without modern technology is the infrared spectrum. Seeing things in the infrared is actually really amazing, and it allows us to see things in a whole new way.

Many see infrared as a dream-like image, and it can change your entire perspective of an image. A lot of photographers, pro and hobbyist, shoot HDR to add an overly exaggerated color and get surreal images, but this is taking it to the next step. It can make your images stand out as something unique and wonderful.

infrared-photography-1

The question is, how do you create the image with your camera, without having to spend a lot of money on high-tech technology? Well, the good news is that you have a couple of options to help you get that cool infrared photo.

Infrared Filter

The first, and by far the cheapest, is to use an infrared filter. These filters are priced at about $30 to $50 and they will give you that unique perspective you were looking for without having to change anything with your camera. All you do is attach the filter and start taking those photos. It should be noted that these do work great, but they won’t give you as crisp and clear infrared photos as you would get if you took the pictures with the next option.

A good infrared filter is the Hoya 52mm RM72, which will give you the effect you’re looking for.

infrared-photography-2

Convert Your Camera

If you have a spare camera, or you just want to do infrared photos, you can convert the camera permanently to only take infrared photos. This is done with an infrared cut filter and the installation of an infrared filter into the camera.

You should only do this option if you want to convert to infrared permanently, and you want to specialize in that style of picture from this point on. One reason for this is that your camera will shoot with fast shutter speeds and a low ISO. This is very useful if you are getting action shots in sports and you want to use the infrared.

Another point to think about is that there are companies that handle infrared conversions, so you should actually send your camera off to them so that you can make sure that the conversion is done properly, and that you will continue to get great and crisp photos but in the infrared spectrum.

Why Shoot Infrared?

infrared-photography-3

You may be asking why you would send your camera off to have it converted to infrared when you could just take normal pictures. This is a very good question, but it comes down to the fact that you will get stunning photos that offer drastic contrasts and create an otherworldly look to the pictures. The light focus is in a different wavelength, and your photos will be something that truly catches the eye.

Tips

Shooting in infrared does take some practice, but these tips can help you get the best photos with the infrared conversion.

First, shoot with small apertures and make sure you do a bunch of test pictures to ensure that everyone is in focus. Second, when you can you should always get the pictures during the midday sun, so about noon to 3 p.m., to get the best look for the photos. Lastly, when you are shooting portraits, you should use a flash to fill out the shadows and help to define the subject and enhance them at the same time.

Post-Production Tips

When you are working in post-production following the photo shoot, you should make sure you change the white balance of the picture to give the sky a look of being more red than usual, and that will also give the skin tones of your subject a bluer feel to it. You can also swap out colors through the Channel Mixer in Photoshop, which will once again create very interesting photos.

infrared-photography-4

Have fun with the photos and really play around with the infrared look. You can get some stunning photos with infrared filters, and you can take something that would seem boring in natural light, and create a photo that is out of this world with infrared filters.

Simple Tips for Amateur Photographers to Improve Your Photography

Everyone can call themselves a photographer, but there are photographers, and then there are photographers. As an amateur, you may think that you are not in the same league as someone who makes a professional living at it. This doesn’t need to be the case. You can be just as good as a professional photographer, and all it takes is knowing how to take advantage of your own skills and the environment around you.

In order to become a better photographer, there are several tips to get you to that next level and help you begin your career as a better photographer:

tips-amateur-photographers-1

Get Criticism

As an amateur, it can be very difficult to get the criticism of another. It can be soul crushing in some ways, but it doesn’t have to because criticism can make us better and can make us be more than we are. That is why you should get feedback from others. Feedback can be harsh, but it can be good, and no matter which way it takes, it will help you become better as a photographer.

Shoot Less

I don’t mean go out less; I mean get out there and shoot but really concentrate on what and how you’re photographing. It can be hard to shoot less when you want to get plenty of pictures, but this can be really good for you.

tips-amateur-photographers-2

In the past, a photographer had to be very selective with the pictures they took because there was often only so much film in their pocket. In the days of digital media, it is easy to take 1,000 pictures. If you take 1,000 or 10,000 pictures, you are going to have at least one to 10 that are simply stunning. Does this mean you are a better photographer, or is it just the law of averages getting good photos? This is why you should put more pressure on yourself to get the right pictures by being selective. It will sharpen your skills and make you a better photographer as a result.

Don’t Go Automatic

It can be easy to just use the automatic setting so that you don’t have to worry about shutter speed, aperture, light metering, etc., but this does not make you a better photographer. You need to get using M mode because that will force you to use aperture, shutter speed and ISO to make very unique photos but to also give you an understanding of how you can use the environment around you to create stunning photos.

Be Inspired By Others

As a photographer, there is nothing wrong with becoming inspired by someone else and using their own methods to make you a better photographer. A good artist will emulate another artist to start with. This may seem like copying but by doing this, you will begin to learn more and more about yourself as a photographer and in time your own style is going to develop as well.

tips-amateur-photographers-3

Take a look at other photographers online. What do you like? What do you dislike? Find the style that inspires you, a certain picture that you really like and try to capture the same thing.

Keep It Simple

It can be tempting to have a lot of camera equipment at your disposal but that can get you bogged down and make things very difficult when you are trying to get the right photo. Instead, just keep things simple and keep it down to basics. Just have one camera and one lens, and use the combination to its full potential. Think outside the box to get the photos you want with just a small amount of equipment.

Know The Rules

To be a better photographer, there are composition rules you can use to get the image you want. One of the best is the Rule of Thirds, which places points of interest on intersections on the camera screen. You can also use leading lines to lead a person’s eye to the picture. The use of diagonal lines will create the image of movement, and be sure to use framing as well. Framing can use doors and windows to create natural frames for the picture.

tips-amateur-photographers-4

Using patterns and repetition is very important, and symmetry is very pleasing to the human eye. Use those things to your advantage.

We all have the potential to be great photographers, and using these tips can help get you on the path to becoming the great photographer you always wanted to be. Just remember to keep it simple, keep it natural and don’t force yourself to be the type of photographer you are not.

How to Deal with Difficult Clients – Photographer’s Edition

In a creative field like freelance photography, it’s not uncommon to encounter difficult clients and have to deal with their strange requests. Don’t start pulling your hair out. Instead, consider the following when a challenge arises.

Smile

Yes, that’s right. The first thing you should do is smile. Whether it’s in person or on the phone, start on a positive note and don’t get emotional. Don’t criticize, condemn, or complain. This will only make the situation worse. This alone is likely to make them like you, and consider the situation handled without even knowing why. If they feel positive about you, they’re less likely to be difficult.

Difficult clients

Show that you care

Listen to what they say, repeat it back to them, offer a solution, and then ask them how their son’s graduation was. Becoming genuinely interested in people and talking in terms of their interests is important with any client, difficult or not. Showing that you’re listening to them is crucial here, even if you disagree. Proving your points about how wrong they are will not get you anywhere good. Tell them that their issues will be taken care of and take care of them. After doing this, encourage them to talk about another subject like something personal you know they care about. Their kids, an article they posted on Facebook, or simply ask them how everything else is going. This is likely to clear the air and leave them feeling happy.

Difficult clients

Don’t over-communicate with clients

Difficult clients are known to be creatures that harass you all day long with their requests. Consider that if you engage in this, you are using valuable time (typically unpaid) that you could instead allocate towards finishing the job or working on something else. Selectively ignoring your clients can be useful here. If your client tends to write you lengthy emails about what they want, do not reply to them with the same level of detail. If you understand what needs to be fixed, replying with “will do” is enough. I very often write emails using only the subject line. Putting “Updated images are in Dropbox” in the subject line and clicking send will take a few seconds, instead of writing a novel about your thoughts. If they interrupt you with many emails throughout the day, consider waiting until the end of the day to go over and reply to all of them at once. If they like to get on the phone and play personal therapy session for an hour, let them leave a message and let them know you have received their notes.

Finish the job

Don’t get immersed in the drama of it all. If you get frustrated, focus on finishing the job. Even if there are many disagreements, consider that it could be best to put money and creative differences aside, and just do what they ask. You can always introduce new terms for the next job you do for them. Doing this will show that you provide excellent customer service, something that may be seen as more valuable than getting an extra dollar or providing your best creative work.

When to fire clients: The 80/20 rule

If things get really frustrating, it’s important to consider whether you want to work with your client again. In the Four Hour Workweek, Tim Ferris explains that in any trade, 20% of the work equals 80% of the income. This means that 80% of what your time could be spent on things that are not efficient or effective for you and your business. Instead, it is better to focus on the 20% that you know brings you income. If this client is taking up a lot of emotional space and time, maybe they are not in your 20%. Consider saying goodbye and instead of generating new leads and focusing on jobs from other clients who are a better fit for you.

Difficult clients

Suggested Readings:

How To Win Friends and Influence People by Dale Carnegie

20/80 Rule explained by Matt Bodnar

Travel Portrait Photography Tips

A great image tells a story. A great portrait can be one of the best story telling images you can take. We’ve all seen Steve McCurry’s “Afghan Girl“. What makes this image stand above the rest? I’ve broken down the key elements to creating a strong travel portrait, outlined below.

indian-1119236_1920

Do Some Research

Look at other travel photographer’s works and how they shoot portraits. This will give you an idea of how to compose the image, options for lenses and other gear, and how to look for the emotion. There is usually a fun story to go along about how the picture came to be. Make an inspiration board, whether at home or on Pinterest. Pull images you feel encompasses emotion, technical skill, and a story. Isolate the key elements to each and incorporate them when you shoot. This is especially helpful when traveling to a new place. You can simultaneously research portraiture and examples from this place.

Look for the Light

Time of day is so important while shooting outdoors and this also goes for travel portrait photography. We all know about Golden Hour, the hour after sunrise and the hour before sunset, as the best time of day to shoot. Follow this schedule when you are traveling as much as you can. Go for an early morning walk before breakfast. This is a great time to see daily life, locals getting ready to start their day. During the day when the sun is right overhead, focus more on shooting indoors or shaded areas. Still, have your camera on you at all times, just be aware of where the best light will be. In the evening before dinner, go out for another walk around town. This is my favorite time of day to shoot. The light is beautiful and there is so much energy. Shooting at night is possible with the right lens and lighting, be it natural or artificial. Using a flash can be invasive but possible when you ask for permission. Using an off camera flash is more versatile because you can change the location of the light source.

indians-1086437_1920

Use Tools

Being a natural light or minimal equipment photographer is great for travel portrait photography. You won’t have the opportunity to carry around a lot of equipment so you’ll need to be mindful of what you bring. A useful tool which takes up very little space is a reflector. Reflectors are called a photographer’s secret weapon for a reason. They are lightweight, versatile, and a can add dramatically and professional lighting to a portrait. A good size for ttravel portrait photography is 12″ because you can hold it yourself while you shoot. Smaller reflectors are stronger in their lighting, so be aware of distance placed from the subject. Off camera flashes, neutral density filters and a good tripod are other essential tools you may want to have on you at all times.

Engage/Look for Emotion

In a 2013 interview with Steve McCurry, he mentions the key to shooting strong travel portraits is to convey the story of the subject. You want the viewer to understand what life is like for this person. If you want to take stunning portraits, you need to be close to your subject. This means approaching them and starting a conversation. Be respectful of their culture and if they say no to a picture request, move on. There are plenty more people that are perfect for travel portrait photography. If they allow it, get close and frame the image. You should have already decided how to compose the image, so now you can just take the shot. Do take your time here. You’ve just asked for permission, so don’t rush the image now. Move around if you need to. Ask your subject to move if they can to better lighting if the lighting where you are is bad. This ties to the previous tip of finding the best light. You should have good light because of the time of day of your travel portrait photography. After you have the shot, thank them and show them the image. Offer to send it to them if there is a way.

indians-642055_1920

Tell A Story

In a 2013 interview with Steve McCurry, he mentions the key to shooting strong travel portraits is to convey the story of the subject. You want the viewer to understand what life is like for this person. To do this, you’ll want to engage with the subject as mentioned above. Try and learn what their life is like, so you can better portray this through the portrait. If it benefits the image, include some background and make it an environmental portrait. Think about the overall story you are conveying with your trip to this place. You want your images to be strong enough to stand on their own but also think about a photo essay or even a book.

The Road Less Traveled

With the expanse of photography in the world, there are not many areas which are still untouched. However, you can venture off the beaten path to explore some less photographed towns during your trip. If needed, find a fixer or someone who can show you around and ensure you are safe. This is especially valid for solo travelers, you want someone on your side who speaks the language. While it could be challenging shooting in more remote areas, you will be sure to get a unique image showing the true emotion of the place. Make sure you smile, engage with the subjects and show them the images you’ve taken. People love to see a great photograph of themselves. If needed, it might also be a good idea to carry some small change with you to offer in exchange for a travel portrait photography.

human-613601_1920

While “Afghan Girl” portrays all of these qualities in one image, it is not easy to create a strong travel portrait. Use these tips as a guide and be sure to practice as much as possible before traveling to another country. You can walk around your hometown shooting portraits of the locals. Offer to send them the images. You’ll get some great practical experience and be able to nail down your accessories and settings before traveling. You don’t want to spend all that money just to be in another country practicing portraiture for the first time or you’ll be greatly disappointed.

Cat Photography: How To Take Street Cats Photos

I always thought that cats are fascinating animals. These little felines have such a strong personality that I can’t do anything else but admire them. However, I never had the chance of having a cat as a pet. I really wanted one when I was a little girl. My mom always said that cats are beautiful animals…from a far! So as you can guess, she was not inclined to share our place with one of them. Four years ago I moved to Israel. Even today I am still surprised by the amount of street cats that you can find here. There are some that even adopt you as “their human” and come every day to check on you and see if you can give them some food. I started to take photos of them.  I really love these little wild animals. Today I want to share with you some of the things I learned about street cat photography.

Have your camera always ready

Street cats are not going to wait for you to take the camera out of your bag and adjust the settings. I missed a lot of shots because I was not ready. Although you think you are fast, you won’t be faster than them. Remember that after all, these little guys are felines! Which are the best settings? You will usually need to use a fast shutter speed. So in order to get photos with enough light (not too dark) you will need to adjust the aperture and the ISO.

Cat photography
This little cat was next to our car. Luckily I had the camera with me and ready to shoot. If I had gone home to look for the camera, I would have missed him.

Don’t use the flash

I am almost certain that if you use the flash to take a photo of a cat he will be so scared that he will run away and maybe he won’t come close to you in a while.

Increase your ISO if needed

I prefer to take cat photos with low ISO (100-200) because then I avoid noise that can distract the viewer’s attention from the animal. However, if in order to take a photo I need to choose between increasing ISO and decreasing shutter speed, I don’t think twice: I increase the ISO. I have been working a lot of years with a camera that doesn’t handle well high ISOs, but even then it was better to have a picture with noise than a totally blurry photo. Good news for cat lovers: new cameras handle pretty well high ISO values. You can check at which ISO you start having noise with your camera. You can do it shooting at a black surface and comparing the results using different ISOs. Once you know your ISO threshold, try to keep under it. But I wouldn’t obsess with it. If you need it: increase the ISO. Also keep in mind that you can decrease some of the noise in post-processing.

Cat photography
In order to take a photo of this kitty I needed to increase the ISO. I still got his paw a bit blurry. In this case, I think that it adds to the image, but too much blurriness can make you lose the shoot.

Get to know them

After a while living in Israel I started recognizing all the street cats of the neighborhood. Cats are quite territorial, so they like to be inside the borders of what they consider “mine”. If you pay attention, after a couple of weeks you will realize that you always meet the same cats. From time to time you see a new one, but the main group keeps the same week after week. Each cat has his own personality. Knowing them well will help you to take decisions about the lenses you need or how to approach them.  For example, some of them are bossy. These guys are usually bigger than the others. They are quite self-confident so they don’t run away so easily. For them you don’t need a tele-lens, but you will need something more than 50mm because they won’t allow you to get too close (around 100mm should be fine). Remember, they think that you are a simple human under their mandate. They could attack you if you get too close. Others are fearful and the closest you can get to them is 50m. You will need a lens that will allow you to zoom from far because they will run away as soon as they see you. Others are a bit more naive and you can get really close to them. With them you can use a 50mm or even a 35mm.

Cat photography
This cat came every day to my place for the 4 years I was living there. He adopted me as his Human. He is the total boss of the neighborhood. We established a pretty convenient unspoken agreement: he was protecting my home from other cats and I was providing him milk. We understood each other. However, not even once I was able to touch him. Lucky me, I was allowed to get close enough to take photos of him.

Study their habits

The most part of the cats have habits. They have a favorite place to sleep, they visit a garden at certain time of the day, they go  to the house of that neighbor to eat second breakfast… when you recognize a pattern, you can anticipate there moves and be ready to shoot. You can even hide somewhere as if you were a National Geographic photographer (I love doing this, I always have a lot of fun!!)

Cat photography
This cat likes one of my garden’s chairs. He comes almost every day. I just needed to wait for him hiding behind a blind to take this photo.

Be patient and don’t get mad at them

You can’t tell cats to pose or do what you want, so be patient with them. You will probably need to take a lot of pictures before you get one you like. Keep your mind open. Maybe the cat is not doing what you expected, but probably it will do something good. Or maybe he will run away and leave you frustrated and wanting… If this happens, just accept it. Don’t get mad at the cat. You will have more chances in the future.

Cat photography
Cats rarely do what you want or expect from them. Be open minded and appreciate any chance they give you, even if they decide to look to the other side.

Take advantage of the fact that cats are curious

Cats are curious by nature. And this is good for photography. Some of them are already curious for the noise that the DSRL’s mirror does when you shoot. You take a photo of them and they just stare at you as if wondering “What is this noise?”. This is your chance to take a good picture. Other cats need a bit more. But usually if you play with something in front of them or if you make some subtle noise they will look at whatever you are doing.

Cat photography
This kitty was so curious about the noises coming from my camera that he was staring at me for several minutes (enough to take a photo)

Focus on their eyes  

When we are looking at a photo we usually pay attention to the eyes, so try to keep them sharp.

Cat photography
Cat’s eyes are quite impressive. Try to focus on them and keep them as sharp as you can.

Do you have any experience photographing street cats? Tell me how it was and if you tried some of these tips. I would love to know about your experiences! Have a happy shooting!!

Lighting and Posing Tips for Beautiful Wedding Photos

One of the most highly stressful photography jobs out there is the wedding photographer. You have to capture a person’s happiest day, and you only get one shot at it. If things don’t go well, there is no do-over. Making sure you get the lighting and posing right is crucial, but don’t despair or begin to worry, we have the tips you need right here to make the great pictures possible.

Create the Portrait

wedding-photography-tips-2

Sure, shooting the wedding details is super important and can make for some great photos, but the most important part of the wedding is the portrait. This is what is going to hang on the wall of the couple in their home. It is vital you capture the right image, and there are a few steps to getting the image that you want with the couple:

1. Posing is extremely important when it comes to the portrait. You want it to be fun, but also to show the couple in love. Make it a bit edgy, and even make it a bit sexy. Have fun with it. This is a happy day for them, so show it in the pose.

2. Before you take a picture, you make sure you got your exposure right. You don’t want to find out your exposure was off after 20 minutes of taking pictures.

3. Don’t be afraid to compose the scene. You may think it is better to have things natural, but composing the scene takes out the variables and the risk factors and allows you to create something truly memorable. Have fun with it.

4. Never, ever forget about your lighting. You want the lighting to be right, so make sure you have some portable lights and that you play with the lighting around you. Failure to do this can make a great looking photo look horrible.

5. In post-production, don’t be afraid to lighten things up just a bit as well.

What about Posing?

wedding-photography-tips-3

So, posing is one of the most important parts of any wedding portrait. What should you consider when you do this? There are a few factors that can really make your image pop. The biggest factor is the background. You don’t want it to be too busy, but you don’t want it to be too bland either. You want your background to incorporate itself into your photo. Use it to your advantage, don’t ignore it.

You should also pay attention to your curves. These are your C-curves and S-curves, and they will help to accentuate the bodies of your subjects, and it will help bring more of an interest to your photo. Never ignore these because they can be your best friend when it comes to getting an amazing photo.

The lighting once again is crucial. You can use natural light, or artificial light, but make it work to your advantage. Don’t leave things to chance. You make the light flatter the people you are taking, not take away from them. The importance of lighting cannot be understated, so make sure you get the lighting just right.

If you are shooting with artificial light, do it when things are dark because you can have more control with your studio lights than with the fluorescent lights above you. It is all about controlling the lights and making them work for you. Don’t be afraid about being a bit creative with the lighting as well.

wedding-photography-tips-4

Keys to Success

If you want to make the most of the posing and the lighting, and the wedding in general, then you need to keep these things in mind:

1. Be professional because that is incredibly important in a wedding setting.

2. Always be consistent with your subjects and what you want from them.

3. Educate your subjects on what you want so they know what you are doing as well.

4. If they’re camera shy, try a few things to make them comfortable. Take your time and provide lots of direction.

5. Look for inspiration around you.

6. Never be afraid to get ideas from your subjects. It is their day after all, so why not listen to them and find out what they might like out of the pictures. You won’t be sorry you did.

If you are going to be at a wedding, don’t be nervous, don’t be uptight. Have fun because if you do that the subjects around you are going to have fun. When you are taking portraits of the happy couple, work with them and have fun with them. Sometimes the best photos are the ones that happen spur of the moment, without planning, and sometimes you need to plan things out a bit more than you would have thought. The important thing is to be flexible and to adjust to the circumstances around you. You never know, you may get a portrait that gets you more business. The main thing is the couple’s happiness, and if you follow these tips, they will be very happy with the work you provide.

How to Reduce Noise/Grain in Photography

Image noise is defined as the presence of pixels in an image which does not represent the scene being photographed. Also known as grain, it’s recognizable by the appearance of what looks like dust, spots or speckles over the chosen photograph.

Needless to say, this is very undesirable for a professional photographer, so today we’ll be looking at how you can reduce and even eliminate its appearance in your work.

Causes of Noise

Noise is caused when you take a photograph where the camera could not accurately capture all of the pixels correctly, representing the true colors they should be. Low light levels can cause this because the camera won’t be able to actually pick up the real color properly, causing some of the pixels to be inaccurately represented.

reduce-noise-2

This is easy to spot for the human eye, but not so easy for your camera to pick up on as it takes the shot, although modern technology sometimes offers ‘noise reduction’. With this technology the camera attempts to pick out pixels that are differently colored and surrounded by non-matching pixels, then eliminates them. It works well for getting rid of a lot of the specks but isn’t 100 percent foolproof.

Slow shutter speeds can also cause increased noise for similar reasons, as it allows more light to be pulled into each pixel and can thereby cause distortion in the final picture. Putting the camera into a high sensitivity setting also has the same effect, since the camera can’t actually add more light to the picture than what is naturally present. These settings can instead magnify and increase the likelihood of noise when it might not otherwise have been present.

reduce-noise-3

ISO speeds are another cause of photo noise. ISO is a setting which marks how sensitive to light this particular shot will be and is usually available on an auto setting with modern cameras. The auto setting isn’t perfect though and might not be ideal for either what you’re shooting, or the style you want to shoot it in.

For that reason, many photographers will use a manual setting instead, adjusting the ISO based on how much light is available for their shot. Additionally, lower ISO settings are usually considered to give higher quality pictures, though higher ISO settings are needed if the lighting levels are low, so it’s a tricky balance to strike and there are no hard and fast rules here, other than trying to capture your shots with the lowest ISO settings possible.

Reducing the Presence of Noise in Your Shots

We’ve already covered ISO settings

and how you should be using the lowest possible setting to retain the best possible photo quality. Shutter speeds can often be adjusted in a similar way to make them faster, though this might not always be possible depending on the situation, just as you might need to use a higher ISO setting than you would like to.

reduce-noise-4

The light levels present are one of the hardest things to adjust in many situations, since you can’t ruin a shot of a landscape at sunset by adding a variety of bright lights – this just destroys your photo subject instead.

Protecting your camera from heat and also ensuring there’s no heat or mist between you and whatever you’re photographing can also help to reduce noise, since it reduces distortion. This even extends to storing your camera at a reasonable temperature since heat can distort its sensors and how it captures the details of images.

If your camera has the option to shoot using the .raw file format instead of .jpeg it can be an advantage to switch to that mode instead. Jpeg images already have compression applied to them in order to keep file sizes down and save space, something that can actually increase noise. Raw formats do not do this, not to mention that they are often more flexible when it comes to editing with the use of computer software.

reduce-noise-5

Speaking of software and editing, this is another great tool for getting rid of unwanted noise. Good software will allow you to manually remove noise and match pixels to those that surround them, giving you much smoother finishes when required. This is especially great if the noise is on areas that should appear close to uniform in color, and works very well to get rid of lesser amounts of noise when combined with the previous techniques.

It can be quite time consuming if you ignore the above tips and try to do it all at the editing stage though, so try first to prevent the noise from occurring with our suggested techniques. This way you can get rid of the stray bits using editing software and save yourself a lot of time and hassle.

Lighting for Still Life Photography Tips

As a photographer, you know how important lighting is to any photo. It is incredibly important to ensuring that the image you get it crisp, sharp and truly stands out. It can take a bit of work to get it right, but when it works it usually always comes down to lighting.

There are several things to consider when you are using lighting for still life, to the backdrop, to the lights used, to how everything interacts. Just like a rug that ties the room together, the lighting needs to tie everything in the picture together.

Back in Black

When you are shooting black objects on black backdrops, it can be hard to know how to make them stand out from each other. This is where lighting comes in. A great tip is to use a silver panel to reflect the light and fill the image with that light but in a softer tone. You don’t want things so bright they wash everything out. A softbox is great for this type of lighting situation, so don’t be afraid to use one.

still-life-2

An important part of this is creating a sheen off the objects to give them definition off of the black background. That will help make the picture really stand out, and it will make the black on black juxtaposition something people immediately notice.

Think about the Shape

With still life, the shape of the object is one of the most important aspects of it. There are several ways to bring out a shape. One way is to have a clear rim of light that brings the shape out in the photo. This is especially true for shiny objects that are against a dark background.

still-life-3

A great tip is to cut out a piece of black paper in the shape of the object. You then place that under the object. This gives just a tiny bit of extra black around the object and it also helps to create a wonderful graduated lighting effect.

One thing to remember as well is the hotspot. This is the distance of the light. If you have a hotspot too far off the surface, you will get the object that has even lighting on it. If you move it closer to the surface, you get a strong hotspot, which creates more condensed light and sharper shadows.

Use the Lens Hood

We often use the lens hood for its intended purpose, blocking out the light to create more even tones of our subject matter. The great thing about the lens hood, or shade, is that it can be used in other ways as well. You block the amount of light from a flash going into the lens to create really clean images, especially of black objects on black backgrounds. It is a neat little trick that can really go a long way in making your images stand out.

Multi-Position

When you are using lighting, try using multi-position setups. This means that you have lights not just from one angle, but from many angles. You want light from the front, the sides and even above. This can create some really fantastic shadow art for your photo, but it can also give you a very clean look to your images. With the use of diffusers, you will prevent the subject from being washed out. Using a gold diffuser will also give your photos a nice hue that is calming and reminiscent of sunlight, something we all love.

still-life-4

Another tip is to use a room with a window. In this regard, you can have a couple of lamps set up but you also have the natural light coming in from the window. This will then give you a cool look to your photos where you combine the artificial and the natural to great effect.

The Best Still Life Backdrop

Lastly, you want to make sure you get the right backdrop. With still life you typically want a blank backdrop rather than a natural one that will be busy and cause your objects to blend in. Keep your backdrop nice and simple and you will have greater control over how the lighting impacts your subject.

still-life-5

That is all there is to creating great still life images with the proper lighting. Take some time, stage things right and you will have some excellent looks to your images that will really make things stand out and look awesome. Never be afraid to experiment with your images and your lighting to achieve some stellar results out of something as simple as still life.

Batch-Process Cleverly on Lightroom

So, remember all those times when you come back home from a shoot with a hundred shots with varied light set-ups? Remember, struggling and pushing to process all those beautiful shots one by one? Will I make your day better if I told you how to cleverly batch-process these images? Maybe, yes.

So, the easiest way to processes your images without consuming too much time would be to split them into batches. When you go for a wedding shoot, or some indoor event, you end up with over hundreds of images in varying light set-ups. So what you can do is split these images into batches of 5 or batches of 10 and apply a setting/edit common to all these selected photographs.

Ideally, a “shoot” indicates that you’ve used various lenses, applied different ISO speed settings, etc. And different images look different depending on the kind of light that got reflected in that moment or depending on the kind of colours that got captured in that particular moment. So how do you cleverly segregate these images into different batches? How do you figure out which ones to group together?

The fundamental idea is to choose a set of photographs where you can apply a group of similar settings. Follow the steps below to make your work progress a lot faster, easier, and a lot more efficient.

Step – 01

Choose a set of photographs (it can range from a set of 4 photographs to almost 20 photographs), this is what we call a “Batch”. Start correcting the first photograph in that set – adjusting Exposure, White Balance, Tint, Tone curve, Sharpness, etc. Remember, you’re going to apply all these settings later to the rest of the batch, so make sure that your corrections will apply similarly for the remaining images as well.

Screenshot 2016-07-19 13.37.35
The first three images are the ones I’ve combined into a batch for similar processing.

Tip: Do not make major adjustments with the local correction tools, as this might vary from one image to another. What you correct for one image might not apply to the next, even though you’ve grouped them all in the same batch.

Step – 02

The next step is to copy the develop settings from the first photograph, and paste them to the rest of the images in that particular batch. Or alternatively, select the first image, press and hold the ‘Shift’ key and select the remaining photographs. Then, click on the “Sync Settings” button that appears on the lower right bottom of the Library Module.

Batch Processing – Synchronize settings.

Tip: Shortcut to Sync settings is Command + Shift + S

Once you click the sync settings button, a dialog box will open asking about the settings which you would like to copy to the remaining photographs. Make sure that you deselect all the local corrections, and select everything else. Remember, local corrections vary from image to image. So it is advisable to work on the images individually for those changes.  

Step – 03

Repeat the above steps 1 and 2, until you are done with all the photographs in the batch. 

Step – 04

This is the stage that takes up considerable amount of time. True, it depends on the number of images we’re dealing with and the kind of correction it requires, but this stage also calls for some care and concentration so we don’t go wrong.  All the local correction tools namely Crop tool, Adjustment brush tool and Spot removal tool shall be applied manually to each and every photograph in that particular batch. And there we go, you’ve now learned how to speed up your work process while cleverly using the batch process method.Just like how you copy paste the settings from one image to another, you can copy paste noise correction settings as well. The trick is to filter out your images based on a particular ISO setting. Use the filter tool, and filter out images with similar ISO settings. Let’s look at an example. Say, I’m looking for images with an ISO of 1600. Use the filter tool, and filter out all the images in my collection with similar ISO settings. Let’s say Lightroom provides me with a set of 80 images. What do I do no? Pick one image, apply noise-correction changes to this one image, and sync these settings to the remaining 79 images. Tada!

So, use the batch process method effectively, and reduce stress, time-consumption and make your work a lot more fun. We hope this article helped you out, and if yes, let us know about our experience in the comments below.

Photographer, Does Your Perfectionism Help You or Block You?

Being a perfectionist seems like a good thing to be. What is wrong about aiming always for the best? Well, I am a perfectionist myself and along my life I learnt that perfectionism is a double-edged sword: it can either take you to greatness or it can paralyze you.

Being a perfectionist helped me to get good grades and finish my PhD in Biology. It pushed me to be a good worker because I care about everything a lot. It also helped me as a photographer because I always try to do things well. I even read my entire camera manual because I wanted to understand my new Nikon D7000 perfectly. Being a perfectionist is motivating. It pushes you you forward.

Perfectionist
Being a perfectionist can lead you to great things. When you achieve them, you feel like having fireworks inside your head. However, perfectionism can also paralyze you or make you dismiss your own work as “not good enough”.

However, trying to achieve perfection also increases my stress level. I always live with the slight fear of making a mistake or that I am not good enough. This is what I called “the perfectionist’s course”: you can do awesome things but you won’t appreciate them because you are too busy thinking that you were able to do it better.  Taking it to an extreme, perfectionism can even block your creativity. It happened to me. I have always been fascinated about composition. Now that I feel confident with some of the basics, I decided that it is time to try new things. I started reading about more complex composition techniques. I saw some tutorials. I wanted to understand everything perfectly because I wanted to create the perfectly-composed photo. I read everything once again and I re-watched the videos. I did it one more time, then another time, and again…. Time passed and I didn’t take a single photo. Perfectionism blocked me. I didn’t want to take photos because I was scared they will suck. I know it might seem silly, but this is how a perfectionist’s mind can work sometimes. You can feel so scared about failing that you don’t even try.

Perfectionist
The rule of thirds is one of the first things I learnt. It works really well in a lot of situations because it gives balance to the image. But composition is not synonym of  rule of thirds. You can achieve nice compositions following other approaches.

I understood that if I wanted to keep growing as a photographer I would need to handle my perfectionism issues better. If, like me, you get to the point that perfectionism is not helping you any more, keep reading, I have good news for you. With a bit of effort you can change this negative behavior. Totally worth it!

Work on the concept that perfection might not really exist outside your mind

What you can see as perfect might not be perfect for me or vice versa. Aiming to such a subjective concept is like building castles in the air. As Salvador Dali said: “Have no fear of perfection, you’ll never reach it”.

Perfectionist
I wanted to learn more things about composition because although the rule of thirds is useful, I didn’t want all my photos to be based on it. After reading and studying a lot about composition I got a bit paralyzed because I thought I will never be able to get the perfect composition. Result: I spent several weeks thinking about compositions instead of taking pictures and practicing what I learnt. How did I overcome my crisis? I decided to practice small things, like for example playing with lines. Well aware that my first photos are not going to be perfect, but at least I learn.

Accept that “the best I can do” is enough

This can be hard but it is important to work on. In the moment of taking/creating a photo there are a lot of things to consider: location, model, time of the day, using filters or not, tripod…. Then you have all the post processing decisions: enhancement, cloning out… If you are a perfectionist, all these factors become a long list of things to be worried about. This will slow you down so much that it will get tedious or you might even get blocked. If you see that this might happen, make the decision of aiming for the best you can do in that particular moment. Take the photo and learn from it. Remember that photography is a craft. Learning is what will make you better. You improve by taking photos not by worrying about everything all the time.

Perfectionist
When I was taking this photo I adjusted the aperture, shutter speed and ISO to get the best histogram I could. I used a tripod. I worked on the leading lines of the composition. I edited it thinking what I was feeling when I was there. I didn’t want to take a perfect photo. I wanted to take a photo about summer. And I think that I achieved what I aimed for. Practice is what moves you forward, not perfection.

Break down your progression in small steps

Letting go a bit of perfectionism doesn’t mean that you give up on improving on quality. It just means that you adapt to factors that are beyond your control. Do you want to become a landscape photographer? Great! Instead of just deciding that you need to take the best landscape photos ever, try to set a series of smaller goals. First you can learn about the best apertures for landscapes. After that you can learn about using a polarizer filter, then about ND filters…. This strategy works better because you can really reach the goals. This will make you feel much better than just aiming for a perfection that is impossible to reach.

Perfectionist
One of my little steps about improving my landscape photography is learning how to use a polarizer filter. I started practicing in the Dead Sea (Israel). The polarizer emphasizes the colors of both water and sky.

Give value to your effort

Nobody was born knowing everything about photography. You need to advance step by step. We are all a bit impatient these days. We compare ourselves with other photographers and we want to be like them, and we want to be like them NOW. We take pictures and we want them to be perfect NOW. But we forget about the learning curve. Stop thinking that you need to be perfect NOW and enjoy your learning process. You should be proud of all the efforts you are doing to improve.

Focus on the creation process and not on the result

When you are not so worried about the final results or thinking that you must be good in photography, then magic happens. You can enjoy the simple act of taking photos, just because it brings joy to your heart. You probably started photography just because you liked it. Try to keep this light-hearted spirit. It will do well to your health.

Perfectionist
I always wanted to try to do this shaped-bouquet effect. The process of getting the shapes was really fun, but it took A LOT of trials and errors. Totally worth it!

Let me know if you tried some of these tips. Do you have your own strategies for handling perfectionism? I would love you to share them with me.  Have a happy shooting!!

Local Correction Tools – Lightroom

Color correction is an art form that relies on your perception, experience, and interpretation of the image. We can do this correction if we have an installed Lightroom presets. The fundamental difference between Global & Local correction tools is simple:Global edits are the enhancements we make to the whole photograph.Global correction does apply the changes across all the pixels in the frame. Global editing shouldn’t be used to correct one part of an image, to the detriment of the remainder.Too often I’ve seen people adjust the white balance of an entire photo to try to achieve “perfect” skin tones. Not only is this quite difficult, it frequently makes the rest of the photo look strange. Good global edits are essential, but they don’t negate the need for local editing. Well-executed local edits are the difference between a nice photo and a great one.Whereas local correction tools apply the changes only based on the areas we choose to apply. Some of the Basic Lightroom tools and Photoshop’s Shadow/Highlight act locally and do not treat all pixels with the same brightness values as identical. Some of the Local correction tools in Lightroom  Presets are:
Crop tool(R)
Spot removal tool(Q)
Red eye removal tool
Graduated filter(M)
Radial filter(Shift+M)
Adjustment brush(K)

Local Correction Tools - Toolbar
Local Correction Tools – Toolbar

These tools are available only in develop module and are placed right below the histogram on the right side.

  • Crop tool ( R)
    Crop tool helps us to recompose the photograph that we have taken, to make it aesthetically better or to simply make it more pleasing to the eye. The kind of cropping we do, without a doubt, will vary from one photograph to another. Some might require minor corrections on the horizon while some others might require vertical alignments. Regardless, the crop tool provides the photographer with an opportunity to play around with the proportions, perspective, and the way a photograph looks ultimately. This tool plays a vital role in the post-processing of a photograph.

    Click the Develop tab at the top of your workspace. Locate and select the Crop & Straighten tool icon in the toolbar, which opens the options for the tool. Alternatively, press “R” on your keyboard to open the Crop & Straighten tool options. 

    The Crop & Straighten tools are often the first step many photographers use when editing photos in Lightroom. Use these options to crop a photo for Instagram, straighten crooked photos, or prepare photos for printing.

    Crop Tool features
    Crop Tool features
  • Spot Removal (Q)
    In the Develop module, select the Spot Removal tool from the tool strip, or press Q.

    The Spot Removal tool in Lightroom lets you repair a selected area of an image by sampling from a different area of the same image. It helps us remove dust speckles, insignificant or unnecessary elements from the photograph, remove skin blemishes, etc. On an advanced level, the spot removal might also help to us to remove certain elements from the photograph, like a person, overhead electrical wiring, etc. 
    The two spot removal techniques are Clone and Heal.

    Heal matches the texture, lighting, and shading of the sampled area to the selected area.
    Clone duplicates the sampled area of the image to the selected area.
  • Spot removal tool - features.
    Spot removal tool – features.
  • Red eye removal tool
    Red Eye will remove the red discoloration of a person or a pet’s eyes that can result from a camera flash going off. Unfortunately, there aren’t any shortcuts available for this particular Lightroom feature, but this is yet another vital tool when it comes to post-processing photographs. To remove a red eye from an eye on a photograph, you can use this tool to remove the red eye and to enhance the eye.
  • Spot removal tool.
    Red-Eye Removal Tool.
  • Graduated Filter Tool
    Graduated Filter Tool
  • Graduated filter (M)
    In the Develop module, select the Graduated Filter tool from the tool strip, or press M.
    The Lightroom Graduated Filter is a versatile tool for making local adjustments to your photos.This tool is a huge help for landscape photo retouch as it can be used to enhance the details from the foreground and the skies.
  • Radial Filter (Shift + M)
    The background or elements surrounding the primary object of your photograph can distract the viewer. To draw attention to the subject, you can create a vignette effect. The Radial Filter tool enables you to create multiple, off-center, vignetted areas to highlight specific portions of a photograph.

    In the Develop module, select the Radial Filter tool from the tool strip, or press “Shift + M”.
  • Radial Filter Tool
    Radial Filter Tool

    Adjustment Brush (K)

    The Adjustment Brush tool, literally, works like a brush. The changes or corrections get applied to those regions that you select or brush over. This is one the major advantages of this particular tool – make changes to specific areas or regions of the photograph. The Adjustment Brush tool lets you selectively apply Exposure, Clarity, Brightness, and other adjustments to photos by “painting” them onto the photo.

    In the Develop module, select the Adjustment Brush tool from the tool strip, or press K.

Adjustment Brush Tool

The adjustment brush tool combined with the graduated filter tool are a deadly combination. These two tools together have the power to create/produce magical outputs even out of the most simple photographs.

Lightroom is great for processing your photos and understanding how its tools work will help you use it more effectively. Use these features, play around with the tools and tell us about your experience in the comments below. 🙂 

11 Tips for handling camera-shy models

The photo session day has arrived. You organized everything carefully. You feel confident. Everything is going to work well. You are going to rock it! You meet with your client at the scheduled time. It is a couple session. You have been talking with her these last 2 weeks and got everything set. But you don’t know him. And it is right now, just some minutes before the photo session starts, that you discover that he is camera-shy and he hates photos!! Oh no!!! He is not cooperating… he looks as lively and happy as a salted fish and his skin tones are even paler… Your confidence vanishes. How are you going to take nice photos when he doesn’t even want to be there? You are supposed to take photos of the couple showing that they are happy!! What can you do now? Sessions including camera-shy models can be challenging, but they are not impossible. Keep in mind these tips for handling camera-shy models. They can truly change the mood of the photo session.

Handling camera-shy models
This is Avraham, my husband. He agreed to be my model for this photo session.

#1 Don’t jump the gun (or the camera)!

Spend some time talking with them before you get down to business, even before you take out the camera, if possible. Get to know them a little before taking the camera out of your bag and let them to get comfortable with you. Try to ask them about things that put them in a good mood: what they like to do in their free time, about travelling, their favorite restaurant… As a photographer your responsibility is to keep a relaxed atmosphere along the photo session. In fact, the best thing for you to do is to make the photo session not to feel like a photo session at all. It should be more like a friendly meeting.

#2 Explain to them how the photo session is going to be

Shy people usually don’t like the feeling of not knowing what is going to happen next. Give your client an explanation about the photo session. Make them feel like they don’t have to worry about anything. Let them understand that the experience should be fun and that they are not being judged by anyone and that they are not obligated to do anything they don’t want to do.

#3 Ask them not to look at the camera

Looking straight at the camera can be intimidating, and it is not necessary in order to get great photos. They can look to the infinite or at somebody else and the results will be awesome.

Handling camera-shy models
Looking at the camera can be intimidating. For that reason I always tell my models that they don’t have to do it all the time. Photos like this one of Avraham looking at the side have a more candid look and they are also interesting. What was he looking at?

#4 Take out stress about posing

Tell them that you have a list of poses (even better if you show them the poses briefly using a tablet, a phone, or even a folder with prints) and they don’t have to be imaginative or creative about the poses. Even if they don’t know how to do, you can rescue them with your poses list. However, make clear that they don’t have to copy the poses. They are just an inspiration and they can adjust them to their taste. This is kind of magic. You will see that they check the poses’ list at the beginning, but soon they won’t need them anymore. It is like a placebo. If they get to the point of proposing you some poses, let them do it, even if you don’t like their ideas. First of all this will bust their confidence and second, you might be surprised of the result. Never underestimate the ideas of your clients.

#5 Pose with them

I do the poses with them and I tell them my experiences posing. I like trying the poses I prepare for my clients because then I can understand what they will feel. Honestly, there are some poses that look awesome but you feel pretty stupid while you are doing them. Have you ever tried posing? It is not so easy! Do it and you will have an insight of your client’s perspective. Joke about this. Make them understand that you relate with them.

#6 Start the photo session with easy poses

Make it easy at the beginning and keep more complicated poses for when the client feels at ease. Easy poses are those in which they are doing something (fixing their clothes, talking with somebody, and holding a prop they like…), sitting or leaning on something (a tree, a wall or a fence). There is nothing worse than leaving a camera-shy person posing doing nothing in the middle of an empty space. They will feel like running away from you and your camera.

Handling camera-shy models
If you just tell your model to stand in an empty space, in front of the camera without anything to do, they will feel uncomfortable for sure. Look at Avraham’s face in this photo. I was sure he was going to tell me that he was done with the photo session.
Handling camera-shy models
If you give the model something to do, things will get better. Here I just told Avraham to sit down and the improvement from the previous photo is clear, isn’t it?

#7 Make them move

This tip is related with the previous one. Standing still can feel awkward. But tell people to start walking towards you or far from you and good mood will start flowing again. A fun one is making them walk away from you and at some point you tell them: Look at me!! This is the moment when you take the photo. People usually like this strategy: easy, they don’t have to be looking at the camera (or you) for long and have good results.

Handling camera-shy models
Tell your model to move. Just a simple walk will give them something to do that feels natural.

#8 Make them do something silly and do it with them

There are a lot of silly things you can make them do. The idea is to take photos of all the process and especially of the laughs after! Some things you can try are: make them show emotions like happiness, sadness, madness, disgust… You can have a list ready and go from emotion to emotion fast. The faster the better. At some point they will start laughing and here you will have your best shot! You can also make them fake their laugh. This will make them laugh a lot after it.  Remember you are making them being silly. It is important that you will be silly too!! Making one person to look silly meanwhile you look wonderful is not fair. You are all in the same boat!

Handling camera-shy models
I told Avraham to be silly! And he did!! Here he was exaggerating his facial expressions so much that even I was laughing. Is this picture good? Of course not!! But I was not aiming for having this photo. I was aiming for the photos after the silly face.

Handling camera-shy models

After doing some silly faces, models can’t hold their laugh any more. You can see here Avraham laughing after all the silly things he did. He is showing a beautiful and natural smile. Note that he is kind of blurry. I was laughing so hard from the silly faces that I was not able to hold the camera without shaking it. Be aware that this can happens and wok with fast shutter speeds!

#9 Encourage them along the photo session

Show them the photos you are taking and tell them how well the photo shoot is going. Positive feedback encourages people and keeps them in a good mood. Let’s face it. We all like to know how well we are doing!

#10 Create an ice breaker

It can be useful to have something ready to make people laugh and relax. If you are good telling jokes, go for it!! I am not so good on that, so I use a toy as an ice breaker. Yes, you read well: I use a toy. It is mostly for family sessions, but I use it for both kids and adults. My toy is not a common one. Besides being a photographer, I am a biologist. For that reason, a friend gave me a plush Herpes Virus doll as a birthday present. It is in fact lovely Herpes. For kids it looks like a sun. Adults can’t stop laughing when I explain to them the story of the toy “A friend gave me Herpes for my birthday” and I say things like “Eihhh everybody…look at my Herpes”. I guess it is so unexpected that it is fun. You don’t need specifically a Herpes toy, but it is good to have something that will make your clients relax a little”

Handling camera-shy models
Here is my Herpes. Isn’t it lovely? It is great for kids because it looks like a sun and also for adults because it gives a humoristic relieve.

#11 Ask in advance if there are camera shy people in the photo session

Knowing if you will need to work with a camera-shy person will help you to organize a more appropriate photo session.

I hope you find these tips useful. Although they are mostly for camera-shy people, I admit that I use them on all my clients. They are helpful even just to create a good vibe. They also help when your client is stressed (for their own problems) or tired. Making your clients feel relaxed and laugh a little is always a good thing. It doesn’t matter if they are camera-shy or not.

Let me know if you tried some of these tips and how it turned out! Have a happy shooting!!

The Evolution of Mobile Photography

The term “Mobile Photography” has gained more popularity since the past 2-3 years as technology continues to advance in smartphone cameras. Back in time we held smartphones from Nokia/Siemens/Sony Ericson or may be Samsung that had VGA cameras or even basic cameras. In those times, having a camera in itself was a big deal for us. As it gave us the advantage of capturing moments and keeping those memories. Today, our cameras have advanced tremendously that we can even earn some money from Mobile Photography.

The term “Photography” was slightly restricted and specific to only Digital Cameras and DSLRs has now evolved into Mobile. Many photographers who are used to carrying their heavy DSLRs have started to use more and more of their iPhones or other smartphones to shoot.

India Gate - Nokia N97 India Gate – Nokia N97 Yellow Rose - iPhone 3GS Yellow Rose – iPhone 3GS

The quality seen in images today in comparison to olden days is huge. Sometime in April, an instagram account and app @doyouskrwt asked a question on Instagram “Mobile Photography is shifting – more and more people are going for a bigger camera. Do you think mobile photography will be a thing the next years or is it going to decrease drastically in near future?” Many people including myself agreed that it definitely will keep increasing considering, “technology advances – smartphones advances – camera in smartphone advances” (Jonathan @kennedyirl). The responses also discussed the quality of images. There is no denying that the DSLRs quality still reigns far superior to smartphones but, having a smartphone nowadays for those who enjoy photography is an asset. Like Florian @flori_anz_enk put it nicely saying “I guess it will be a combination of a great smartphone and an advanced camera. I am using two Sony Alpha 7/a7s for portraits, events, and weddings and for everything else my iPhone 6s. Smartphones are so versatile and you can go into stealth mode when it comes to discrete street photography. I love both and use it for completely different styles of photography.”

Hongkong - iPhone 3GS Hongkong – iPhone 3GS Flower Market Hongkong - iPhone3GS Flower Market Hongkong – iPhone3GS

Taking photos with our mobile phones has not just become a matter of passion but a trend. Although, many times our Instagram feeds are filled with unlimited and unnecessary selfies and a display of personal activities. Keeping aside the unnecessary, we come across many talents with wonderful feeds not forgetting the various hubs that have cropped up to expose Mobile Photography. Many of these photographers have started a business, gained partnerships with famous companies and achieved recognition. However, this creates a tough competition between Photographers using DSLRs. The popularity of mobile photographers can remain inconsistent as many times their interest in photography is only for a short time span or to gain fame.

Seattle - iPhone 4S Seattle – iPhone 4S by Bridgette Shima (@bridgette.xo)

Personally for me, having the iPhone handy to capture whenever I like has made me enjoy capturing moments even more. I do use a semi-pro-Canon camera which allows me to use manual controls and gives more satisfaction in terms of image quality. The availability of various apps with impressive editing features allows me to capture, create and instantly share on social media platforms. Some platforms like Eyeem allow us to sell our photos which are a great feature for budding photographers.

Fresh Vegetables - iPhone 5 Fresh Vegetables – iPhone 5 Landscape - iPhone 5 Landscape – iPhone 5

There is a vast difference in the quality of photos that can be seen through the Nokia N97 to iPhone 6S. You will notice with the Nokia N97, the image captured was pretty crisp and clear. The iPhone 3GS has improved the quality of images with more details in the capture. In some instances, the clarity depends on the lighting and exposure. For macro shots simply using iPhone 3GS, as you can see in the Yellow Rose above, it has a perfect composition defining the rose beautifully without needing any major edits. The image quality and composition balance continues to evolve with every iPhone (mobile phone). What I have noticed is from iPhone 3GS to iPhone 6S some of the elements in the camera are stable but, crisper and the noise is far lesser in the current iPhone 6S. Zooming was not encouraged in previous smartphones, however, as you see below, the zoom feature in the current iPhone 6S works well for a mobile phone as it doesn’t compromise the quality of the photo.

Museum Proklamasi Indonesia (Jakarta) - iPhone 6S Museum Proklamasi Indonesia (Jakarta) – iPhone 6S

Over the years, the pixels have increased to improve image quality and to allow larger size printing. The noise has been reduced to a greater extent enabling us to create spotless images. This allows photographers to be able to have the convenience of capturing without having to carry their heavy gears. Currently, smartphone companies are starting to create smartphone cameras with dual cameras whereby one camera would have higher specifications enabling to take even greater quality photos. Some mobile phone companies also use Carl Zeiss Lens like the Nokia Lumia. The Nokia Lumia is known to have a very good camera despite its limitations as far as editing apps are concerned. An article on Nokia Lumia was written by a good friend Bridgette Shima can be read here.

Raindrops - iPhone 6S Raindrops – iPhone 6S

In conclusion, I would say it has been quite interesting to see how mobile photography has progressed and continues to evolve. I wouldn’t say it can reach DSLR quality in a short span of time but having the option of using a smartphone is a big deal for all photographers. Photography is not just a passion or hobby but a profession for many people. Hopefully, mobile photographers can also walk hand in hand to learn from Professional Photographers and inspire all photographers everywhere to keep clicking.

Adobe Lightroom’s Rating System Guide for Beginners

When you have hundreds, maybe even thousands of images you need a way to sort through them that’s both quick in practice and set-up. Lightroom gives the photographer several methods of tagging / attributing images ready to be put into collections and you may find you have a preferred method or actually find them all useful. Whatever the outcome, this Lightroom’s Rating System tutorial will talk you through the various tagging methods as well as give you tips on why rating your images is important.Lightroom offers three different rating systems – star ratings, flags and colors. Star ratings are usually used to record the quality or value of the photo, with 1-star photos being poor, and 5-star photos being the best you’ve ever taken. Grading the photos gives you more information to help you find the best photos again later. The downside is if you’re indecisive, you could spend ages trying to figure out whether a photo deserves 2 stars or 3, and as your photography improves, your older 3-star photos might only count as 2-star photos now. But, you can always change the rating on a photograph, so you don’t have to worry about it much, now. Flags are much simpler, having just 3 states – flagged, unflagged or rejected. It’s quicker to decide whether you like the photo or not, so if you find yourself dithering between 2 and 3 stars, flags might be the ideal system for you.Colors are kind of open to interpretation. This gives you a lot of flexibility, but it also means that in order to get the most out of color labels you will need to develop your own system. For example, when you are finished with a photo and it is ready to export you could mark it as green. When there is a photo that you know you want to print you could mark it as red. Photos that need more work could be set to yellow. The colors can mean whatever you want them to mean, you just need to decide on the system that will work for you.These three options are collectively referred to as “Image Attributes”.

Why would you need this feature?

The answer to this question is simple. You need to use these features too:

  1. Keep your workspace organised.
  2. Easily sort through your library.
  3. Save a lot of time.
  4. Make your work a lot more friendly, neat and easy.
  5. Easily separate and tell the difference between specific shots in various ways.

How do you effectively use this feature?

First you have to install the Lightroom preset.  When you are in the library module of Lightroom presets, if you look near the bottom of the screen you should see the controls for flags, stars, and colors.Screenshot_2

Star Rating in Lightroom

Like I said before, an image can be given a star rating ranging from 0-5, with 0 being the worst and 5 being the best. It’s best to apply the theory that the more stars an image have the better you believe it is. This will speed up your work-flow and stop things becoming confusing when you’re looking back through your images. Rating stars can be set or displayed in any view of the Library module (Grid view, Loupe view or Survey view). There are multiple ways to provide star rating to your image(s):

  1. Select the photo that you want to rate, then choose Photo > Set rating and select a number from the drop-down list.  
  2. Alternatively, select the image you wish to rate and press a number from 1 – 5 on your keyboard to rate the picture.
  3. Hover your mouse cursor over a thumbnail and to the bottom left you will see 5 dots appear. Clicking on these allows you to apply a number of stars to the image. But please note that this method works only in the Grid View.

Tip 1: You can select photos and press ] to increase the rating or press [ to decrease the rating.Tip 2: You may find the Compare View useful when applying stars as this will allow you to compare two similar shots side-by-side so you can decide which one deserves the higher score.

How to Flag Photos in Lightroom

The main purpose of flagging photos is to help you know which ones to keep and which ones to reject. When it comes to flags each photo will be in one of three states: it can be marked to keep, marked to reject, or unmarked.

  1. The quickest way to pick or reject an image is to use the keyboard shortcuts:
    P – to pick an image.
    X – to reject an image.
    U – to mark an image as unflagged.
  2. Alternatively, you can select an image in Grid view or Loupe view, and mark it as any of the three ( Flagged, Rejected or Unflagged). Choose Photo > Set Flag > Choose any of the options from the drop-down list. This method works in any of the views (Grid, Loupe or Survey)

Note: Marking a photo as “Reject” will not remove it from the Library. They will simply be grouped as rejected photographs.

A flagged image.


A rejected image would have a flag icon with a cross over it. (top left of the cell)

Colour Labelling

Labeling photos with a certain color is a flexible way to quickly mark a large number of photos. Like I mentioned before, colours are open to interpretation. They can mean whatever you want them to mean, and you just have to identify a system that works best for you. Like the other two attributes, the colour rating can be done in a number of methods:

  1. Select the photograph that you want to rate, choose Photo > Set colour rating and choose a colour from the drop-down menu.
  2. Alternatively, you can also use the keys 6-9 to select a particular colour.
    the “6” key for red
    the “7” key for yellow
    the “8” key for green
    the “9” key for blue

Unfortunately, the colour purple does not have a keyboard shortcut. Press the same number key again to remove the colour rating. Once applied, the colours will be visible around the images.

An example of what a colour-rated cell would look like.

That covers three of Lightroom’s most powerful features for keeping your photos organized. The key is to decide on your own system and then actually use it by tagging your photos.

We hope this article is helpful in guiding you to maintain a clean and organized workspace. Leave a comment below and let us know about your experience. And if you’re interested about lightroom’s features, check our post about Lightroom Masterclass in Clarity.


70-200mm Lens – How to Avoid Blurring?

It’s very common among the professional Canon users to grab our 70-200mm lens for indoor as well as for outdoor shoots. The lens is one of the top choices for portraits and product photography due to its versatility and interesting zoom range.

Lens Overview

Speaking of this versatile and powerful Canon lens, we can start to say that it was launched in 2010 as an update of the EF 70 – 200 mm F2.8 L IS USM from 2001. With a gap of 9 years and considering the advances in the technology of DSLR cameras, Canon redesigns this powerhouse by improving both the stabilization and optics, as well as autofocus and its design.

Optics consists of 23 elements in 19 groups, including more than 5 of them with the Ultra-Low Dispersion technology (UD), plus one with Fluorite Coating. The reason? Reducing the Chromatic Aberration of the lens.

Canon_Zoom-Lens_EF_70-200_F2.8L_IS_II_USM-01a_

Built-in metal, we are not talking about a light lens; however, it compensates for the weight with its excellent image quality and enhanced protection in regards to dust that can enter our camera, in addition to being weather sealed.

The Autofocus motor belongs to the technology of Canon Ultrasonic Motor (USM), being extremely agile while maintaining a silent profile.

27358305815_713c7db69e_k

Photo courtesy of Eric Schaffer

The price is something to consider in this lens since we are talking about high-end equipment for what should not amaze us that its initial price is higher than $1500.

The only difficulty that photographers face while using the lens is its weight. A Canon 70-200mm [ f 2.8 IS II ] lens weighs approximately 1600 gms. So, this lens when mounted on a full-frame camera like Canon 5D Mark III weighs almost 2.5 kilograms.

When weight matters

So, how do you take a sharp photograph while holding so much weight in your hand? You might use a tripod to bring in the extra support, balance, and stability. But do tripods work during all circumstances? Not really. How far does ‘Image Stabilisation’ in your lens, help? Not very much. True, it provides the minor stabilization features that you need and but that’s not all.

canon-ef-70-200mm-f-2-8l-is-ii-usm-lens

The way you hold your lens plays a major role. It can sometimes be the ‘break-it’ or ‘make-it’ factor for your photographs.

We are assuming here that you will be using the kit (Canon 5D MK III + Canon 70-200mm f/2.8L IS II lens) handheld and not by tripod mounted. The first thing to do is to rotate the tripod collar from the bottom side of the lens(while mounted with the camera) towards the top side. This way, the tripod collar won’t obtrude and disturb your grip with the lens.

Kindly note: Indoor shoots are tripod-mounted most of the time. So this article may not be applicable to you. But for those who shoot by hand-held devices, this article might be helpful.

A quick but effective solution

So, like I mentioned earlier, the way you hold the lens while shooting may affect your photograph, for good or for worse. Most of the time, we tend to hold the lens somewhere on its collar ( really close to the body of the camera). I used to do this too in my earlier days as a photographer. This helps us control the zoom ring better while composing the photograph. True, but it also indirectly affects the balance in your focus. This sometimes results in blurred images and lesser sharpness. This is because of improper positioning of your palm by the lens. By supporting the lens at the collar location by your palm you are letting more weight towards the front side of the lens which leads to improper balance and with blurred photographs.photographer-1191562_1920This can be overcome by slightly shifting your palm position towards the front side of the lens, which means you need to place your palm almost on the zoom ring. As soon as you shift your palm towards the front end of the lens, you immediately feel the perfect balance of weight while holding. But this situation restricts the zooming ability immediately before you press the shutter button. You have to be prepared in advance, as you cannot zoom as you used to before. Get your frame right, compose what you need and then click away!27010607034_afe1fb94d0_k

Photo courtesy of Pengcheng Pi

We hope this article helped ease your discomfort while shooting using the 70-200mm lens.

Please leave your comments below and let us know about your experience. 🙂

Header photo courtesy of Francesca Pippi

Shortcuts for Lightroom’s Develop Module

Knowing some key shortcuts makes one’s job a lot easier and faster. It makes your work process faster and your job a lot more comfortable. In our previous article, we had discussed some key shortcuts to know while working in the Library module of Lightroom. So naturally, this article will focus on the next module- the one with a lot of action- the develop module of Lightroom. So, what is the Develop module? It is the part of Lightroom that lets you, literally, develop your image into one that looks magical and enticing. It is the part of Lightroom that allows you to process your image into something much better. So, knowing a few key shortcuts for this module will help you a lot in the long run.

View All Lightroom Develop Module Shortcuts

Like in the Library module, “Ctrl + Alt + /” on the Windows or “Command + Alt + /” on the Mac will take you to a window that shows all the shortcuts applicable for the Develop module only. This is helpful when you quickly want to refer the shortcut for a particular process.

Develop Module shortcuts.

Display Options

Some people don’t like the hindrance of a hundred panels on the left and right, while processing an image. So, is there a way to hide all those panels from view? Yes. TAB 

: Press the Tab key on your keyboard to hide the side panels from view. Press the Tab key again to view the panels.

: Press the F key to enter full-screen mode. Now, work without any disturbance!

: While working on the image, press the L key to dim the lights surrounding the image. This highlights the image area and helps you to view your progress better. Press the L key again to remove light completely from the surrounding area. And press the L key again, to bring the lights back on.

Dim lights . These settings can also be changed in Preferences.

Adjustment shortcuts for Basic Panel

If you are in the habit of using your keyboard in Develop module, then you should know some of these keys to control the entire basic correction panel only.
1. Press period (.) or comma (,) for selecting a slider (e.g., Exposure)
2. Then press plus (+) to increase the value and press minus (-) to decrease the value of the same.
3. Now press period (.) to go to the next.

Basic Correction Panel

Tip:

You can save any of the local adjustment tool settings as a preset which can be used for any of the tools. For example, if you are a portrait retoucher, you may want to save your favorite skin-softening settings as a preset. You can do that by clicking “Save as a preset” at the bottom of the local correction tool set. Likewise you can save any kind of settings which you may use often.


Save settings as Preset shortcut.

Auto Tone & Auto White Balance

Most of the time, you start with and finish with the Auto Tone in Lightroom specially if the photos are family or friends photo or even vacation documentation collections. When you don’t want to spend a lot of time setting your WB and retouching:

  1. To set Auto WB:”Ctrl + Shift + U” on Windows ; “Command + Shift + U “ on Mac
  2. To set Auto Tone:”Ctrl + U” on Windows ; “Command + U “ on Mac

Cropping And Straightening

The Straighten Tool within Crop tool can be used to straighten out a photo by drawing a line across the horizon that should be a straight. The crop will automatically adjust itself so this line. This is useful if the horizon line is not leveled or you want to straighten against a pillar or vertical line. If you have many photos that need leveling or straightening, you can speed up the process by using this shortcut: Just press R to go to the crop tool. Now to straighten with the keyboard rather than accessing the Straighten Tool by clicking on the icon in the panel, just hold down the Command (Mac) / Control (Win) key and the straighten tool will appear. From there just draw the line and the crop will adjust. This is a quick way to straighten a photo without needing to click on the tool itself.

Cropping and straightening.

Tip:

O : Show Cycle Crop grid overlay.

Shift + O : Show Cycle Crop grid overlay orientation.

Create Virtual Copies

For those of you aren’t aware of what virtual copies are, read our previous article on the significance of virtual copies in Lightroom, to know more about their uses. Now, for those of you use virtual copies regularly, did you know that “Ctrl + ‘ “ on Windows or “ Command + ‘ “ on Mac will create a new virtual copy? Yup, it’s that easy. You don’t have to right click the image and select “Create Virtual Copy” every time. Make work faster, use the shortcut!

Create a new virtual copy.

Paste Settings from one image to another

Shortcut: “Ctrl + Alt + V” for Windows or “Command + Option + V” for Mac. Transfers all the adjustment settings from the selected photo onto the current photo. When you have images that require similar processing, this is the most valuable and time-saving shortcut!

Screenshot 2016-06-27 16.57.28
Paste settings from one image to another.

Export your Image

So, the easiest way to export your image is to press “Ctrl + Shift + E” for Windows or “Command + Shift + E” for the Mac.You can export photos using the same settings from the most recent export session that was set manually, including modified presets. Use “Ctrl + Alt + Shift + E” or “Command + Option + Shift + E” and export the image with the previous settings saved. Easy!

Now, need to mail the image to the client for approval? Need to show your boss before printing? What do you do? Use “Ctrl + Shift + M” or “Command + Shift + M” to email the image directly from Lightroom to the recipient.

Export settings.
Export settings.

We hope this article was helpful to you. Please share your comments below and let us know if we have missed out on any other interesting shortcut.


A How-To Guide on Organizing a Portrait Photo Session

Do you need to organize a portrait photo session? If it is your first photo session or if you want to improve the organization of your photo shoots, keep reading. At first it might seem a bit overwhelming. But if you establish a good workflow, things will become easier. You will feel more confident organizing your portrait photo session and you will even enjoy the process!  Along the article, just for simplification purposes, I will refer to the model as “client”. You can apply these tips to friends or models. The photos I am sharing with you today are from two photo sessions that I did for my friend Nita. As she is a yoga teacher, all the photos in this article are somehow yoga related.  But these tips are good for any portrait session.

A How-To Guide on organizing a portrait photo session
This is Nita, my yogi friend. She needed photos mostly for her social media and blog so she became my client.

Talk with your client and discover for what does he/she wants the photos

This first tip is a general one and it might seem pretty obvious. However, what your clients want to get from the photos will determine the whole organization of your photo shoot. Deciding about poses or locations will be easier if you know what you want to achieve in the photo session. It is important that you talk with your clients before the photo session and you ask them a series of questions. Some of them will be quite practical and to the point: how many photos they need, if they need them in landscape or portrait orientation, do they need some negative space (empty space) to add text in the photos, if the photos are meant for printing or just for using on the internet, if they will need to change clothes and so on. Other questions are not so easy to answer but are extremely important: what do your clients want to express on the photos? Do they want to look serious? Friendly? Strong? You can talk face to face with your client, by phone or even send them a questionnaire. I strongly recommend you to keep record of everything your client answers.

A How-To Guide on organizing a portrait photo session
Nita wanted to look friendly and approachable, so we made sure to take pictures of her smiling.

Decide on location and session length

The information your clients would provide you is precious because it will help you to set the perfect photo session for him/her. I would start thinking on what the client wants to express. From this information you can have a first idea about the location of the photo session. Maybe your client has a location in mind, but as the photographer, I think you should offer your opinion regarding the choice of location. Offer your client a plan but also listen to what they have to say about it. For example, in our yoga photo session, Nita wanted to look friendly, approachable and strong. We decided to do the photo session in several outdoors locations, mostly in the beach. Beach portraits can convey this playful mood that would add to the friendly, approachable look. In addition, Nita loves being outdoors, so she feels comfortable in this type of locations. Think of the comfort of your clients. Happy and relaxed clients mean better photos and will increase the chance that they call on your services again!

A How-To Guide on organizing a portrait photo session
Beach photos have this playful atmosphere that can help in creating a friendly and approachable look

She also decided that she needed people to know that she is good doing asanas (asana is the name of the yoga postures) and that she also gives importance to meditation. We made sure to include pictures that show these two sides of Nita.

A How-To Guide on organizing a portrait photo session
By combining the right environment with the correct pose, you can emphasize different traits of your clients. This photo of Nita in a bridge pose shows us how flexible she is and in the same time reveals her sculpted muscles, indicating a combination of agility and strength, this effect is emphasized by the banana plants standing on either side of her, bringing out Nita’s image thanks to their symmetry, shape and color.

A How-To Guide on organizing a portrait photo session

The undisturbed sand that Nita sits on, together with the clear, blue sea and the wide horizon help to convey the tranquility and openness that Nita achieves through her meditation and breathing exercises.

Now that you know the location and the number of photos your client needs, you can do a better estimation of time you need to book for the photo session. Don’t forget to add some extra time if your client needs to change clothes.

Think about the poses

I found it really helpful to have a set of ready-to-use poses. I usually do some research online looking for poses that will help the client to express what they want: poses looking strong, or relaxed, or approachable…. You can ask the client to show you photos they like too. I even prepare a power point of photos that I will bring with me on the day of the photo session (I like to bring my tablet to the photo sessions, but you can also print them or show them on the phone). This doesn’t mean that I want to copy the poses I saw online. I just have them to give some inspiration to the client. I notice that when I show clients these power points, they feel more confident. I guess they feel like they can always have a look at the power point if they run out of ideas. I have to admit that many of my clients take only one or two looks in the power points I make for them. But even if they don’t use it a lot, just for the blast of confidence it provides, it is worth to have it. The photos I take usually don’t look at all like the ones in the power point.

A How-To Guide on organizing a portrait photo session
Here we had a moment where we ran out of ideas, we already did the bridge pose and with this vibrant and sporty outfit we wanted another photo that will scream “I’m strong!”, after a quick look to the power point Nita came up with this pose.

Check if you need to practice some techniques

Think about the techniques you will need in the photo session. Would you need to use a flash? Do you need a reflector? Or maybe you need to use a circular polarizing filter. Make sure to practice before the photo shoot. You don’t want to make any beginners mistakes in front of your client.

A How-To Guide on organizing a portrait photo session
: Here we needed to use a reflector to add some light to Nita’s face. It seems like a simple and straight forward tool (Just aim the beam of light and that’s all, right?), well, it is a bit more complicated than that. To start with, if you are not careful you can blind your client, another issue is the angle at which the light hits the model (for example, some angles can help to bring out features such as muscle lines). In short- practice with a reflector (or any other equipment) before the photo session.

Make a list of the equipment you need for the photo shoot

I love checklists. I have one made with all the equipment for the photo sessions: memory cards (formatted!), batteries (charged!!!), reflector, filters, lenses (clean!!!), camera (of course!)… The amount of equipment you need might be a lot, so having it listed will make your life easier. It is terrible to realize that you forgot something once you are in the photo session. I also add to the list things that might help the client: something to tie the hair with in case it is windy, make up, some water bottles…

Make a list with the kind of photos you need to take

Your client already gave you all this information. Just make sure you remember how many and the type of photos you need to take: portrait, landscape orientation, with a lot of negative space…

A How-To Guide on organizing a portrait photo session
Nita needed some photos with negative space so she could add some text to them if she wanted to. We used the beautiful Mediterranean Sea to add some interesting negative space to the photos.

Prepare the equipment

The photo shoot is approaching!! Take your equipment list and prepare everything you need. Do it the day before or at least with enough time to charge the batteries in case you need to replace them (even if you are certain you have enough power in the battery, it’s always good to have spares).

Meet with the client a bit in advance

I recommend meeting with the client a bit before the photo session to have time to relax, check your camera settings, prepare your equipment, talk a little and show them the power point with the photos. Starting a photo session in a rush is never a good thing.

Enjoy the photo session

You prepared a great photo session, so you’re gonna rock it! Now it is time to have fun with what you like the most: taking photos!

I have some specific tips for yoga/sports photo sessions: If your client needs to do some physical effort, think that she might need to warm up. These kind of sessions might be exhausting for your client. Talk with him/her and decide if you want to make the complicated and tiring photos at the beginning of the session or towards the end. Everybody is different, so it is important that you know how they prefer to organize these high demanding photos.

Last but not least… tell your clients to choose their clothes wisely, including their underwear!! If you don’t want to spend hours in Photoshop removing marks, folds and underwear that shows up… tell them to pick photo-session suitable clothes. And don’t hesitate in helping them to adjust their clothes during the photo shoot. It might seem like a joke, but believe me; you can save a lot of time and headaches here!

A How-To Guide on organizing a portrait photo session
Tell your client to choose their clothes wisely, especially if they are going to be upside down and underwear can show up easily.

Tell me if you find these tips useful or if you miss something. I would love to know.

Happy shooting and until next post!!

Lightroom Library Module Shortcuts

One of the simplest and most important ways to speed up your photo editing is by using shortcuts. Lightroom has hundreds of shortcuts, and it would be nearly impossible to memorize them all. But by learning a key few, you will be able to save hours over the course of your lifetime.We are going to focus on some key shortcuts that every photographer/image processor should know while working on the Library module in Lightroom.

View All Shortcuts

Lightroom provides us with a number of shortcuts to make our jobs a lot easier and less time-consuming. But what most people do not know is the pop-up window that gives you a list of all these existing shortcuts for your reference.

Ctrl + / on the windows or Command + / on the mac will take you to the shortcut window. Not all of us can remember the keys and codes for all processes, so this one is handy for those of us who need to refer to the shortcuts guide once in a while to brush up our memory. More specifically, using the keys “Ctrl + Alt + /” or “Command + Alt + /” while in a particular module will show you the shortcuts window for that particular window that you’re operating on.
For example, using the keys “Ctrl + Alt + /” or “Command + Alt + /” while in the Library module will show me the shortcuts applicable for the library module only. Screenshot 2016-06-24 16.37.34

While in the library module, use Ctrl+Alt+/ or Command+Alt+/ to view the shortcuts applicable for library module.

Rotating Images

Sometimes, we’d like to rotate images to view them from a different perspective – either portrait or landscape. But do we always have to open up the image in Loupe view to rotate it clockwise or anticlockwise, or do we have to press the little rotate icon every time? No. To rotate your images to the left, hit “Ctrl + [”. To rotate your images to the right, hit “Ctrl + ]

To rotate multiple images at once, go to the Grid View (“G”). Once you are in the Grid View, select your images by holding down “Ctrl” while clicking on your images and rotate by using the same shortcuts.

An image thumbnail showing the clockwise and anticlockwise rotate icons.

Flagging, Unflagging And Rating

P: For picking images to be flagged.

X: For rejecting images that are already flagged.
U: For unflagging images.
Numbers 1 – 5: For star rating
Numbers 6 – 9: For color labelingTip: If you want to delete all the rejected images from Lightroom, use “Ctrl + backspace” or “Command + backspace”. A separate dialogue box will pop asking if you want to either delete it from Library or from harddisk itself. Dialogue box pops up upon deletion of a rejected image. A dialogue box pops up upon deletion of a rejected image.

Caps Lock For Auto-Advance

Whether you use stars, flags, or colors, rating your photos is an important step in Lightroom workflow. Going through and rating every photo accounts for a significant amount of time. You can cut down on some of that time by using the Caps Lock Auto Advance. Within the Library Module, turn on the CAPS LOCK key (or go to Photo -> Auto Advance). After rating a photo, rather than using the arrow key to advance to the next photo, Lightroom will automatically do it for you. This trick works for stars, flags, and color labels.

Use the auto-advance feature to complete your flagging and rating process in a jiffy!

Use the auto-advance feature to complete your flagging and rating process in a jiffy!

To Toggle Between Different Modules

There is a total of 7 Modules in Lightroom and each corresponds with numbers from 1 – 7. To switch to a Module, hit “Ctrl + Alt + 1-7” or “Command + Option + 1-7

.“1” is the Library Module, “2” is the Develop Module, “3” is the Map Module, and so on. For example, if you want to go to the Develop Module, hit “Ctrl + Alt + 2.”

Alternatively, press the key D on your keyboard while in the Library module to move to the Develop module quickly. Saves time and works best.

The different Lightroom modules. The different Lightroom modules.

Stacking 

Stacking is an important tool that all photographers use to maintain an organised and neat workspace. If you don’t already know about stacking, read our article on the significance of stacking in lightroom.For those who already know about stacking, here are some shortcuts to help you out.

Group into stack :
Ctrl + G / Command + G
Unstack : Ctrl + Shift + G / Command + Shift + G
Collapse / Expand Stack: S key
Move to top of stack: Shift + S
Move up in stack: Shift + [
Move down in stack: Shift + ]Image stacking in Library Module

Image stacking in Library Module

Import / Export Files

To import images into Lightroom, hit “Ctrl + Shift + I”. This will bring up the Import Dialogue Box. Hit “Ctrl + Shift + E” to bring up the Export Dialogue Box to export your images out of Lightroom

We hope these shortcuts prove helpful to you. Let us know in the comments below if we’ve missed you out on any other interesting shortcut, so we can make our jobs a lot easier too.


Creating Virtual Copies in Adobe Lightroom

What are Virtual Copies?

Let’s say you’re working on an image for a client, and you want to present them with an original color copy, a B&W copy and one with your creative effects on them. How do you go back to select the file that you finalize? Do you retrace your steps all the way back to reach the first version of the image? No. This is where virtual copies come in. Virtual copies literally mean creating copies of a particular image to choose from at a later stage. You get to make a copy of every new instruction that you create for the image without affecting the original file. Creating a virtual copy allows you to have fun experimenting and not worry that you won’t be able to find your way back to the image edit that you loved before. Didn’t you know virtual copies existed? And you want to create multiple versions of the same image to fuel your creative experiments? Well, what might keep you from doing that is having to duplicate a high-resolution file each time you wanted to try a different look because it would eat up most of your hard drive space and RAM. But, guess what? Virtual Copies don’t take up any disk space. Okay, maybe some space, but very, very, little. Far less than what an entirely new image would take up. The reason is that they are virtual. Technically speaking, all they really are is another preview of the image and some metadata determining the edit. They don’t really come to life until you export them.  That’s when the file is actually created.

So, How do you create a Virtual Copy?

You create a virtual copy by just Right-clicking on the original photo and then choosing Create Virtual Copy from the pop-up menu, or using the keyboard shortcut Command
+ ‘ on the Mac and Ctrl + ‘ on a windows system. These virtual copies look and act the same as your original photo, and you can edit them just as you would your original, but here’s the difference: it’s not a real file, it’s just a set of instructions. A virtual copy doesn’t copy the original file rather only the instructions from the original file and displays the visual changes being made. Hence, it doesn’t occupy any hardware space. The instruction files are merely in Kilo Bytes. This way, you can have as many of these virtual copies as you want, and experiment to your heart’s content without filling up your hard disk.How to create a virtual copy.

How to create a virtual copy.

How do you Differentiate between the original file and a Virtual Copy?

That’s a good question. So you’ve created a number of virtual copies and you rearranged the order of your images on the filmstrip, and now you don’t know which one is the original file and which one is the virtual copy that you made? Here’s a tip – your virtual copies will have a little icon on the bottom left of the image. Something that looks like a folded page.Screenshot 2016-06-17 19.24.50

How do you delete a virtual copy?

So how do you get rid of them?  Very easy.  Right click (or hold the Control key on a Mac and click) on the Virtual Copy and select Remove Photo. This will bring up an option to remove the virtual copy.  Select remove, and it’s gone. OR, Just select the photograph you don’t need and hit “Delete” on your keyboard. While you can remove Virtual Copies in basically any order, you can not remove Master photograph and keep the Copies. Master photograph refers to the original imported image. If you remove it, all associated Virtual Copies will be removed as well. But, you can change which Virtual Copy acts as the Master photograph. Go to your Library module, select the Virtual Copy you want to set as Master, choose “Set Copy as Master” from the “Photo” drop-down menu. Upon removal of Master photography, Lightroom will ask whether you want to remove it from Lightroom catalog only or delete it altogether from your hard drive.So there, you have now successfully deleted the image you didn’t like.

Can you compare the images that you’ve edited?/Can you compare the Virtual Copies?

Yes, you can. Lightroom allows you to compare various images in order for you to decide better. If you created a Virtual Copy using an already edited image as a starting point, and now you want to compare the two versions before finalising on one, simply press the key “Y” on your keyboard and it’ll take you to a Before/After window. The image on the left is the Before picture – either an image with the previous edit or the raw, unedited one-  and the image on the right is your After image – the image with the latest edits and adjustments. Moreover, pressing “Y” with Master photograph selected will show how an image looked like upon Import in comparison to how it looks with current adjustments.Kindly note that these shortcuts work only when you’re in the Develop module.

Comparing two images.

But the above shortcut works only when you want to compare two images.

What if you have ten versions of the same image and you want to compare all them? Don’t worry. Lightroom has a feature for that as well. Go back to the Grid view, select your original photo and all the virtual copies, then press the letter “N” on your keyboard to enter Survey view. This allows you to view all your virtual copies at once, so now you can just pick the one you like the most and get rid of the rest.

Survey mode.
Survey mode.

Virtual copies are an excellent way to create, edit, and crop an image without affecting what you have already done to the image. It is one of the most flexible and easy ways of comparing and/or exporting different image looks within Lightroom. They are also highly useful when working on new presets, because you get to see subtle changes to the image and compare them without having to cancel out any settings. It makes your job that much easier.

Photography as a Stress Relieving Tool: 5 Tips to a Calm Mind

Go to work, take care of your family, go to the gym, pay the bills, attend social meetings, take care of the house, try to be healthy… the list of things we do every day is never-ending. We didn’t even realize and stress already took over us. Luckily there is something we can do about it. As photography-lovers we have a great stress management tool in our hands: our camera. We can use photography as a stress relieving tool.

We are all similar: we all suffer stress at certain degree.

Photographing sea landscapes always makes me feel calmer.

Stress is a normal reaction of our body to get adapted to changes. It allows us to react in dangerous situations preparing out body to react: faster heartbeat and breath, muscles get ready to action… our body is ready for everything. Certain levels of stress are OK because our body is able to handle it. In fact stress help us to wake up in the morning, prepare meetings, etc… But when the stress is kept for long time or it is too much, then it can have the negative consequences that we are all familiar with: depression, anxiety, hypertension…

Photography as a stress relieving tool

We are all similar: we all suffer stress at certain degree.

We all suffer stress at different intensity levels. There is a big diversity of behaviors in front of the same situation. We don’t need a really stressful situation to enter into anxiety mode. Our mind is able to make something not stressful for the most part of the people in something really stressful for us. This means that we are in great part responsible of our suffering.  This is a good new: if we are the responsible ones, avoiding stress is in our hands. Well, we all know it is not so easy. There are as many ways to handle stress: meditation, breathing techniques, do sports… and also photography!

Photography as a stress relieving tool

Differences in the way we react to a situation (as moving to another country) is what makes us to experience it as a negatively stressful period  or just as exciting times.

I use photography as a stress management tool because it helps me to focus my attention outside my mind and distract me from the stress and anxiety I might be feeling. It is a great way to stop negative thoughts. It helps me to relax. As you are reading this article, I understand that you like photography. If you have not use photography to relive stress, I recommend you to give it a try. Here you have some tips I hope will help you:

Don’t care so much about the final product

Remember that you took the camera to relieve stress, not to take the best shoot of your life. Take the photos just to have fun, for yourself. Don’t care so much about composition.  Leave the perfectionism and inner criticisms at home. Don’t hold expectations. It is all about enjoying the process.

Photography as a stress relieving tool

This is not my best composition but I still remember how much fun I had taking this photo. I was lying on the floor in that bed of leaves feeling happy.

Turn on the camera and turn off the phone

Phones can be a huge stress factor. They provide us with a lot of little tasks that divide our attention and distract us. If you want to relieve stress, try to turn off the phone (or allow just the entry calls) for the time you are taking photos. Forget about Whats App, email and other applications. If you are using the camera of your phone, try to ignore all the notifications for a while. It will help you to focus your attention in just one thing: taking photos. Give your brain a bit of resting time.

Do a photo-walk

Walk slow, breath deep, pay attention to the details, take photos. The idea is that you become mindful about your surroundings and that you enjoy everything you see.

Photography as a stress relieving tool

Paying attention to details helps me to focus my mind and find little hidden treasures.

Practice gratitude

We humans have a tendency to see easily all the bad things. This behavior is pretty negative and doesn’t help to relieve stress. Practicing gratitude can help us to switch our point of view. Try focusing on the good. You can start small: look for the good on the things you see. Take photos of them. Be grateful you can enjoy them. This will give your brain a positive input that will help you to handle negative situations in a better way.

Photography as a stress relieving tool

I found this extravagant leave close to my home. It made me feel grateful about nature.

Pick a photographic subject

If you feel so stressed that your brain jumps from one thing to other like a crazy monkey, you will need to help it to calm down. It can be useful to give your brain just one thing to focus: pick a restrictive project. You can make your brain to look after one shape or just one color: circles, squares, blue, red…  Or you can choose a location or a camera setting. Just pick one subject and take photos respecting the limitations. You will see like the crazy monkey starts to calm down after a while taking photos because you will need to use all your creativity skills. No room for anything else.

Photography as a stress relieving tool

I did a photo session about circles. I usually don’t restrict myself so much, but it was really useful to help my mind to stop wondering and focus in just one thing.

In conclusion, photography can be a great stress management tool. First of all, it is a way to treat yourself: enjoy some time doing something you love will bring a bit of  balance to all your responsibilities. Taking photos always helps to focus on what you have in front of your eyes NOW. This is especially important because a lot of us (meaning stressed people) are not living in the present moment. We are constantly thinking about the past or worrying about the future. But photography can slow you down and can bring you to a more peaceful mindset that will help you to deal better with all your obligations.

Comparing Photos without Becoming a Bitter Photographer

I am going to share something I am not proud of: comparing my photos with the ones taken by other photographers makes me a bitter person. Yes, I too, have these moments in which I hate all the photographers in the world. OK, I am exaggerating. I don’t hate them all. I just hate the ones that are better than me. When I come to this realization, I feel even worst. I will give you a real example.

The other day I went to take photos of a valley close to my home. It is one of my favorite landscapes. I know that sunsets are beautiful in this area. And now is already summer, so everything turns golden. I was feeling happy and inspired. I found the perfect spot, set the tripod and my camera and I was shooting until I got what at that point I considered the perfect picture. I ran home and first thing I did was to transfer the photos to my computer. I searched for “THE PHOTO” and I did some post-processing using my best photo edition skills and Lightroom tools.  When I saw the final picture I thought:  “This is a great landscape photo”. I felt happy and proud. Such a great moment!

Comparing photos
This place is right next to my home. I was feeling so happy when I took this photo! I emphasized the summer mood of the scene in post-processing and I was proud of the result. Until I started comparing myself with other photographers.

I decided to share it in a photography community to see if people like it. I usually post my photos in 500px. In case you don’t know it, 500px is an online community that encourage photographers to share their best work. It is a good place to connect with other photographers and get some inspiration. At that point I just needed to wait for the “likes” and the comments. I decided to have a look at what other photographers posted in the landscape category. I started comparing my photos with all the others. And so I entered into what I like to call the “negative criticism spiral”.  I am so familiar with it that I can even describe it by stages.

Stages of the negative criticism spiral

  • First 30 seconds: everything looks amazing. I like all the pictures. They are so BEAUTIFUL!! I love the colors, and the composition. Everything!!
  • From second 31 to 1 minute: Insecurity. Would I ever be able to take a photo like this? And I thought that my picture was good!! Next to these beautiful landscapes my photo looks so bad!!
  • Second minute: Hate. “I am sure that these photographers have a better camera and better lenses“. “I am sure they are  having fun all the time! They just travel to these wonderful places and they have all the time of the world for finding the perfect composition”. “I hate them!”
  • Third minute: Sadness. I go into a very negative mindset: “I am not good enough. I should quit photography”.
  • Fourth minute: Comfort. I feel desperate and I try to cheer myself up. “Let’s see the pictures of the beginners. I am sure there are going to be worse than mine” (recognizing that I can think in this way is kind of embarrassing)
  • Fifth minute: Deep sadness. I realized what just happened in the last minutes and I conclude that I am a bitter photographer.
Comparing photos
When I start comparing myself to others I am like a cactus: I put barriers between me and anything that can come from the outside.

Can you relate? In just five minutes I went from having a positive mindset (I was happy and enjoying my photography) to a deep sadness. I was either putting myself down or putting others down in order to feel better. Why do I do it? I guess that the answer is simple:

I compare myself with others because I am human.

I was not getting any benefit out of these comparisons. They were just making me sad and angry. I was losing my passion for photography too. These comparisons are destructive, so instead I decided to turn them into something constructive. I want to share with you my 3 ways not to become such a bitter photographer:

Put yourself in the shoes of the other photographer

For some reason I tend to think that these photographers are not making any effort. I just see their final photo and I forget that it is the result of their work. You can’t know just by looking at one photo how many books they read about composition or how many years it took them to find their photographic vision. They might be travelling all the time. But you can’t know what they left behind. Maybe they did a big sacrifice in life in order to become a landscape photographer. Maybe they feel lonely. Maybe they took 10000 photos that day in order to get this one outstanding photo. Maybe they also feel that other photographers are much better than them. Now when I see that I start hating some photographer, I take a deep breath and I imagine all the efforts that this person might have done for taking the photo. It also helps to appreciate the picture even more.

Comparing photos
I took this photo in Australia. You might think that I spent months travelling to the other side of the world and living great adventures. But the reality is totally different. I couldn’t afford travelling to Australia. I did it because they send me to a Biology conference (I am also a biologist. I spend most of my day working inside a laboratory). Instead of going to the good recommended hotels, I went to hostels. In that way I saved some money that I spent travelling around for just 2 weeks because I needed to come back to work in the lab. The stories behind the photos are not always what we thought.

Instead of comparing yourself with these photographers, use them as inspiration

Now every time I see a photo that I find great I add it to a gallery. This way I can come back to it at any time I want. I study them. I try to figure out what I like in them so much. Is it because of the composition? Or maybe it is the mood of the photo? When I focus on the photo and not on the photographer, I go into a positive mindset and I feel like I want to learn from the guy (or girl). I end up following them as a fan.

Comparing photos
I was never modifying my backgrounds. But I saw the awesome work of other nature photographers that were doing it. I decided to give it a try and in my next hike I took with me a black cardboard. The cardboard allowed me to isolate this gorgeous Gilboa Irus (Iris haynei) from the messy background.

Compare your pictures from now with the photos you took some time ago

If still feel like I need to compare myself with something, I do it with one of my old photos. That I can see how I evolved and improved. I would like to go over all the learning process and take awesome pictures NOW. But photography doesn’t work like that. You learn, you practice, you make mistakes, you keep learning… and you improve. Slowly but surely. Put a new and an old photo next to each other and feel proud of yourself. Then comparing your photos can become something positive.  Be aware of your strengths and keep learning to improve. Enjoy the journey. Love your photography. Appreciating yourself is the best way to keep motivated!

Comparing photos
I took this photo 5 years ago. I am not sure what I wanted to show here. The only thing I see is a flat sand landscape that doesn’t talks to me.
Comparing photos
I took this photo the last weekend. I wanted to show how summer looks like for me. It is not the best landscape photography ever. But if I compare it with the previous photo, I can see my progression. Now I put more of myself into each photo.

Each time you feel you are entering into a negative spiral of comparison, take a breath and apply one of the tips I told you. Think that it is all about mindset. My strategies are focused on promoting a positivity. When you’re looking at photos with a negative mood you close your mind, you don’t want to learn or to see any more good photos. On the other hand, a positive mindset will keep your mind open, You will learn from others and this will lead you to good places!

Become a More Creative Photographer Through Restrictive Projects

There are many ways to become an excellent photographer. Though some begin their practice through formal education, such as high school or college classes, many modern photographers are completely self-taught. Ultimately, how you acquire your photography knowledge is of little importance compared to the results you achieve. However, through my own experience and education, I have learned that there’s one technique that is guaranteed to improve your creativity as a photographer: restrictive projects.

While most photography classes wisely make heavy use of restrictive projects, this learning method is not necessarily the most intuitive nor the easiest for self-taught photographers. The basic idea is to impose strong constraints on a key element or variable within photography, then take loads and loads of photographs within those constraints. When first starting out, restrictive projects often focus on technical elements, like only using f/2.8, setting all exposures to over one second, or the eternal first assignment: manual focus and exposure only. While these are excellent ways to get to know the ins and outs of your camera, the same principals can be applied to creative thinking to bring your photography to the next level.

© Nate Eames
© Nate Eames

My absolute favorite restrictive project, one that I inevitably return to when I feel my creativity slipping, is location restrictions. As you can probably guess, this just means deciding to spend a large chunk of time only shooting in one area. It’s important to choose an area that’s the right size, has enough visual material to work with, and is different from your usual locations. The size and challenge of your area should be chosen depending on your own aesthetic, skill, and experience, but it’s best to keep the area size to something you can see all at once, not an entire town or the like. It’s also important not to intermingle a restrictive project with your regular work, but to focus all of your creative energy on this singular location for as long as you can.

Recently, I took it upon myself to only shoot on one small, industrial block in Brooklyn for a weekend. I was shooting film (both color and black and white) with an Olympus XA, a very simple, compact rangefinder that further limits my freedom and forces me to think laterally. The photos throughout this article are all from that weekend project.

© Nate Eames
© Nate Eames

You probably won’t like all of the images you shoot during your restrictive projects, and you may not like any of them. However, that’s just a sign that you really are challenging yourself. That challenge is what makes restrictive projects so effective. With this type of exercise, you aren’t after fantastic results, you’re going for self-improvement and growth. Professional photographers often get bogged down by their work from taking the same sort of images over and over because clients expect a certain aesthetic from them. While a long-time wedding photographer is likely very good at taking outdoor group portraits thanks to years of practice, that type of repetition can also stymie the creative flow and ultimately cap one’s potential. Usually, the reaction to a creative rut is to free yourself from any limitations and go take photos of whatever you fancy when you get the chance. While this kind of exploration is also important, developing the ability to see subject matter in multiple ways can free any practice from monotony.

Creating limitations for yourself isn’t always the easiest thing to do, so below are some ideas for potential restrictive projects that you may find helpful, organized thematically. If one of them sounds easy, don’t do it. If one of them sounds extremely boring, don’t do it. The best restrictive projects are the ones that are intriguing and intimidating at the same time.

© Nate Eames
© Nate Eames

Example Restrictive Project Assignments:

  • Locations:
    • Only shoot on one city block
    • Only shoot within reaching distance of your own house
    • Only shoot facing towards the sun
  • Subjects:
    • Only shoot objects smaller than your shoe
    • Only shoot the ground
    • Only shoot photos with the sun in them
    • Only shoot manmade objects that are green
    • Only shoot people without photographing their faces
  • Camera settings:
    • Only shoot with the aperture wide open
    • Only shoot with something in the foreground out of focus
    • Only shoot at the minimum focusing distance for any lens
    • Only shoot a telephoto lens while indoors
    • Only shoot vertical panoramas
  • Physical techniques:
    • Only shoot without looking through the viewfinder/screen
    • Only shoot crouched down
    • Only shoot from the hip
© Nate Eames
© Nate Eames

Hopefully, one of the above “assignments” will trigger your intrigue while still feeling difficult to accomplish. Regardless of what restriction you choose, the most important part of this practice is determination. It’s not enough to take photos of one city block until you can’t think of any more good shots to take. In fact, that’s precisely when the project begins. The goal is to take photos past the point of creative exhaustion; when you can’t possibly think of anything else to take that wouldn’t be either repetitive or terrible, keep shooting. Eventually, you will always get a second wind and find new perspectives or personal aesthetics that you never thought existed, and that is when you truly grow as a photographer.

Finding the Goldilocks Zone of Megapixel Count

This one’s too big. This one’s too small. This one’s just right. Photographers constantly make compromises in everything we do. Whether it’s choosing an ISO that will allow fast enough shutter speeds without introducing unpleasant noise; setting sharpness to give clarity without a fake look; or simply setting the size of your JPEGs, there’s something gained and something lost in each decision.

Deciding how many megapixels you need is no different. While most of the choices above can be made by simply looking at your image, megapixel counts take a bit of technical knowledge and foresight. Ultimately, your ideal sensor resolution is a matter of choice like any other, but knowing what’s at stake and what options are available can make this important decision much easier. Before we begin, you may find it helpful to read our article on choosing the sensor size that’s right for you, which is a separate issue to consider altogether.

3 Bears
Momma Bear, Papa Bear, and Baby Bear

The name of the game is image size versus file size. While there are many other consequences to consider, this balance is the heart of what’s at stake when choosing a megapixel count. More megapixels means higher resolution, but much larger files. But what exactly is necessary when it comes to resolution and what is superfluous? The answer to that question depends on your needs. For example, a good quality physical print is usually 300 dpi (dots per inch), meaning if you wanted to print an image 8 inches wide and 6 inches high, you would need a resolution of 2,400 x 1,800 pixels or 4.32 megapixels. So if you use every pixel of a camera, you only need a 4.32-megapixel camera to make a good quality image of this size. However, if you know your photo will be viewed on the web, where resolution is locked at 72 PPI (pixels per inch), then the same 4.32mp camera could be viewed on a screen that’s 33.3 inches wide by 25 inches high. That’s a pretty big computer screen.

But some high-end cameras have resolutions of 50mp or higher. While this seems completely ridiculous at first, it’s not as crazy as you’d think. Because the number of pixels needed to make a larger print increases exponentially, a 50.3mp image is actually a resolution of 8,688 x 5,792 pixels. That yields a 300 dpi print of 29 inches wide and 19.3 inches high, a lovely size to the frame on a wall. But with an increased print size comes and exponentially increased files size as well. If you’re taking photos in high-quality RAW format (which you usually should), each of these 50.3mp files is up to a whopping 75.5 MB (megabytes) as compared to the 6.5 MB of the 4.32mp camera. To put the high-res file size into perspective, if you spent an afternoon shooting  200 photos, you’d have 15.1 GB (gigabytes) of images. That kind of data builds up fast. Most people never consider the cost and difficulty of storing large files when buying a camera, but it’s definitely important to keep in mind. If you’d like to see what file, print, and web size results from different image resolutions, I’d suggest using this megapixel calculator tool.

computer-767781_1280

Some other considerations to make when picking a resolution size is how this impacts the camera overall. A camera’s megapixel count interacts with its sensor size. More megapixels in a smaller sensor means each individual pixel is smaller and therefore absorbs less light for any given photo. This tradeoff will typically result in a noisier image, though modern camera software goes a long way to resolving this. So if low light performance is important to you, you may want to stick with not only a larger sensor size, but also a lower megapixel count. It may be counterintuitive, but in many cases having fewer megapixels creates better images. There are of course other factors that relate to a camera’s mp stat, such as battery life, price, and ISO range, but the print/web dimensions, file sizes, and low light performance are the most direct results of any given megapixel count.

To wrap things up, we’ll briefly look at three major megapixel groups, discuss their capabilities and limitations, and give some example cameras.

Canon 5d Mark I, 12mp

1. Low-Res (Less than 16mp)

Typically, cameras in this range are 12mp, which not too long ago was very impressive. If your photos are only ever going to be seen online, then this is plenty big enough. However, if you want to have decent sized, decent quality prints then you’ll want more than this, but honestly, this is more than enough resolution for most people. Cameras in this category include the full-frame Canon 5D Mark I, the full-frame, mirrorless Sony a7s II, and the iPhone 6s.

12mp camera yields:

  • 300 dpi prints of 13.3 x 10 inches
  • RAW files up to 18 MB
  • JPEGs up to 2.5 MB

Nikon D3200, 24mpNikon D3200, 24.2mp2. Medium-Res (16-30mp)

While there are many excellent Micro Four Thirds cameras that have 16mp sensors, the staple size in this segment is 24mp, though 20mp is also common. These offer plenty of detail to meet almost anyone’s needs without going overboard or being too expensive, which is probably why it’s such a popular resolution. Some medium-res cameras include the Sony Alpha a6300, the Canon Rebel T6i, and the Olympus EM-5.

24mp camera yields:

  • 300 dpi prints of 20 x 13.3 inches
  • RAW files up to 36 MB
  • JPEGs up to 3.6 MB

Sony a7R II, 42mp © Dongheon ShinSony a7R II

, 42mp © Dongheon Shin

3. High-Res (30-50mp)

These are professional grade. There aren’t too many different cameras sold at this level of resolution, though the ones that offer it are extremely popular. This amount of detail is only necessary for pros who need to make large prints (or sometimes just impress clients) and who have the equipment and know-how to manage large files. Cameras like this include the Canon 5D SR, the Sony a7R II, and the Pentax K-1.

42mp camera yields:

  • 300 dpi prints of 26.5 x 17.7 inches
  • Raw files up to 63.3 MB
  • JPEGs up to 4.4 MB

Anything above high-res is considered ultra-high-res and is only available in medium format cameras. That kind of resolving power is only necessary for the rarest of occasions, but it can certainly make for some amazing shots. While these cameras can easily make prints over 3 feet wide, they can also take raw photos over 150 MB in size. Like every other camera decision, the megapixel count you choose is a matter of taste and should be decided based on your individual needs. But if you keep in mind the tradeoffs between maximum image dimensions, files sizes, and the rest of the camera’s performance, you’ll be able to find the resolution that’s just right.

Shooting Wedding Details: A Comprehensive Guide

Effectively capturing details is essential to communicating the atmosphere and emotions of your clients’ wedding day. Formal shots and group photos are essential, but often times it’s the little things that really bring back memories.

First, let’s clarify exactly what is meant by the word “detail.” In this case, “detail” refers to two things: smaller articles that are particularly valuable to the couple (wedding rings, especially), and things that do not necessarily carry any sentimentality, but aid in expressing the spirit of the celebration. Adequately documenting these particular elements requires that the photographer adheres to a few simple guidelines.

The Basics

Regardless of what you are shooting, it’s important to pay attention to angles and composition. When I’m working on details, I always shoot directly above or directly in front of my subject. Usually, any other angle detracts from the image and makes the photograph appear unbalanced.

bouquet-of-roses-1246490_1280

If you’re shooting small details, using a macro lens is imperative. It’s impossible to photograph a multifaceted diamond without one. Again, I’m emphasizing wedding rings, but this applies to any tiny object that would otherwise lose detail without a lens that lacks the ability to focus closely.

Furthermore, lighting plays an extremely important role in sufficiently enhancing smaller features. Position your subjects next to a window or another source of natural light. Artificial light typically comes from above and casts harsh shadows (just as if you were shooting outdoors at high noon).

Photographing Sentimental and Essential Details

Valuable objects directly related to the wedding must be captured clearly and thoughtfully. Jewelry, clothing, decorations, the cake, etc. are the unique accessories that showcase the couple’s personalities and will thus be some of their most treasured photos. The goal here is to highlight each item without complicating the image and detracting from the subject. I like to add outside elements that complement the subject. This is really a great way to augment shots of jewelry or other accessories that are very small. If you have the opportunity to work outdoors, you can use sticks, leaves, rocks, and so forth to give the image a rustic, nature-inspired vibe.

20151004-175926-2_mini

If you can’t go outside, simply find ways to add eye-catching textures or patterns to the shot, or incorporate something else that is special to your clients to add interest.

20150711-142947-478_mini

The bride’s dress is equally important. The same rules apply, but it can sometimes be difficult to get a creative shot of the gown. Again, incorporate textures and patterns when you can.

20150711-135407_mini

Creating a unique dress shot requires a little artistry and sometimes, improvisation. At one of the weddings I worked last summer, we had been having a tough time finding a nice place to photograph the dress. The hotel was beautiful, but the circumstances just weren’t quite right. We ended up taking the dress down to the lobby and asked the concierge if we could hang it from their chandelier. Surprisingly, they agreed, and it looked perfect. Then, as I stepped back through the automatic doors to get a wider shot, I ended up with this:

dress_mini

The point is, you can always find creative ways to work around seemingly impractical or unappealing situations. Keep in mind, too, that when you’re shooting wedding dresses, it is important to get wide shots of the entire dress as well as close-ups of the fabric and details.

dress2

Photographing Non-essentials

After you’ve covered the necessities, you can really get creative with the more obscure details. These are particularly important, though, because they really help convey the feel of the entire day. Not to mention, this is really a lot of fun during the reception or whenever you have some downtime. I also take a lot of pride in images like these because they sincerely express my unique photography style.

painting_mini

I try to choose things that will evoke strong feelings in the couple long after the wedding. They may forget little things like what they were eating while getting ready, details in the room where the bride prepared, and so forth. When they look back at these photos in years to come, all of the emotions of the day will come flooding back, and that is really the fundamental goal of quality wedding photography.

makeup_mini

chandelier_mini

To further enhance your wedding day details, Sleeklens offers a wide array of Lightroom presets and Photoshop actions.