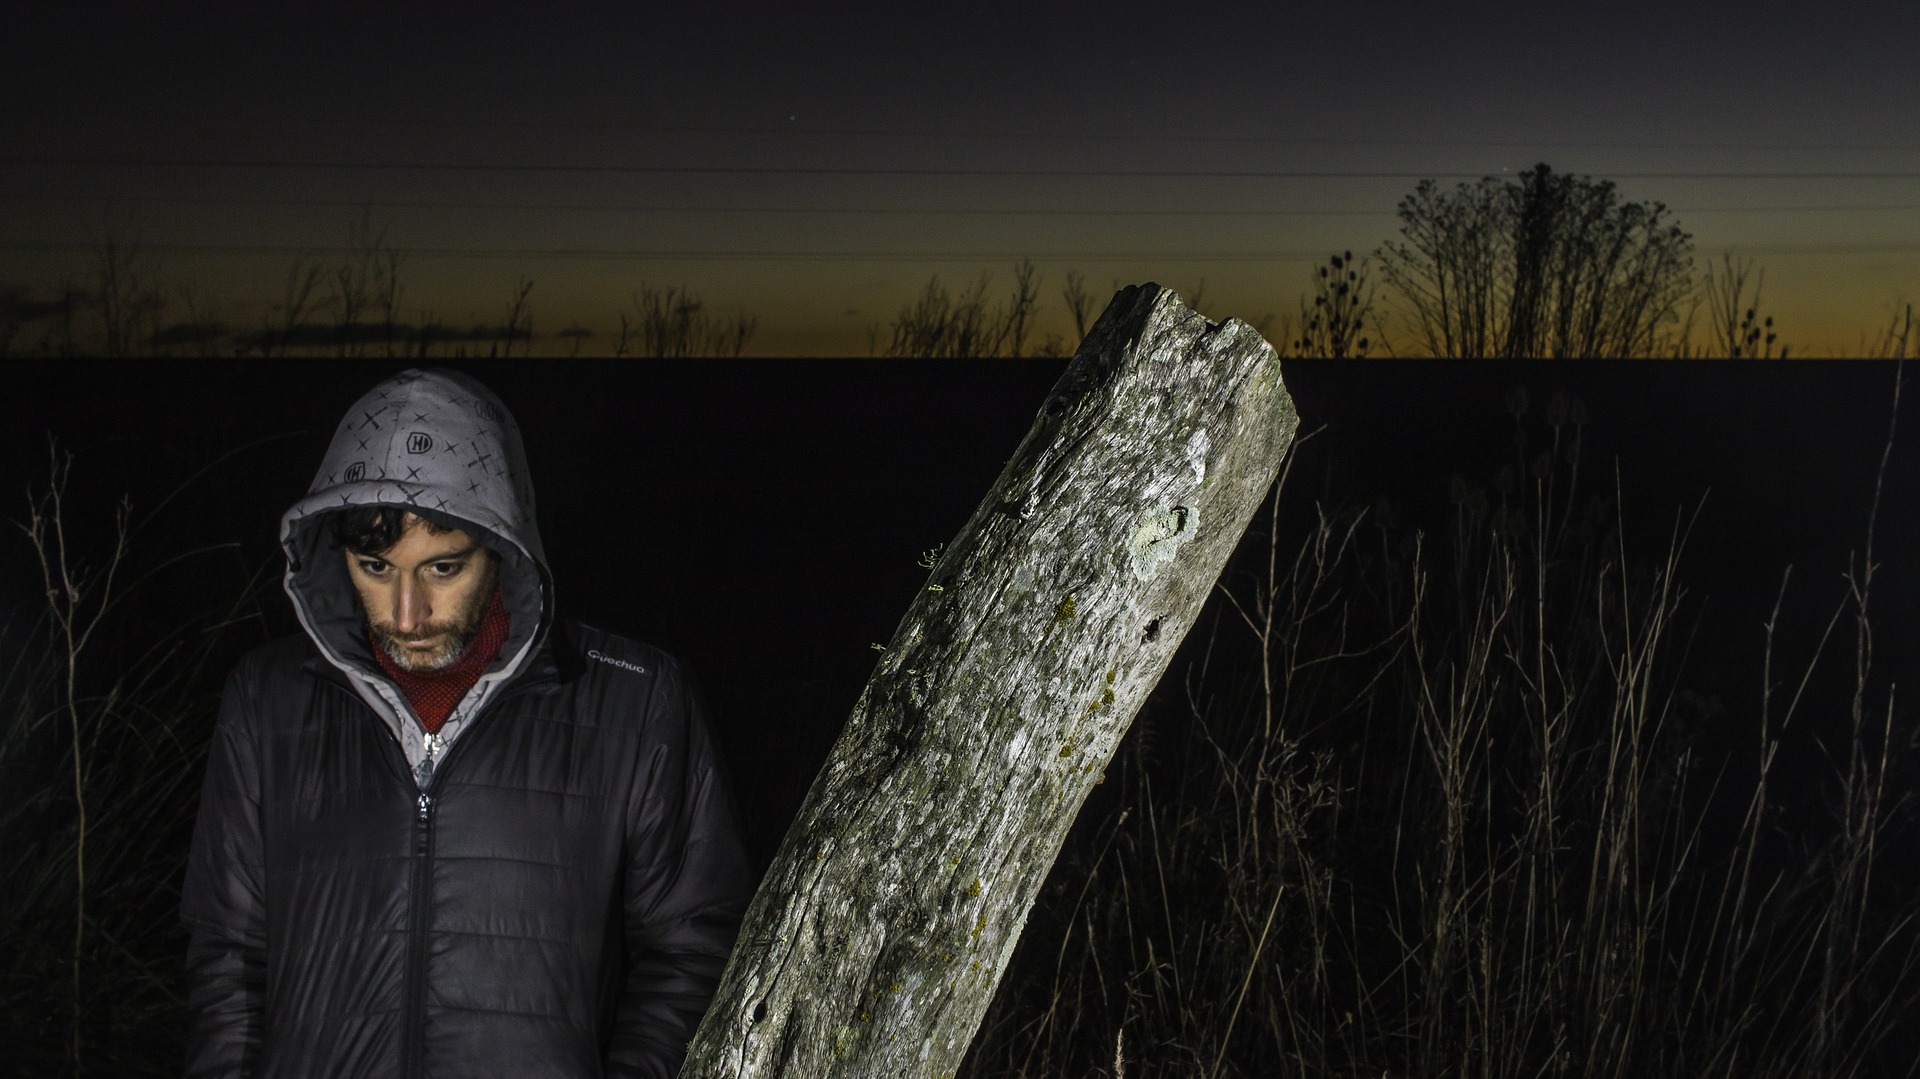
For new photographers, using flash can be something that is relied upon far too heavily. Many amateur photographers will use it when they shouldn’t, and that can lead to pictures that don’t reach their full potential. Don’t get me wrong, there is always a time for a fill flash, but you also have to know when not to use it. Knowing when and how to use flash is important for becoming a better photographer.
Flash photography has the potential to create beautiful light and alter the color of the image on the camera screen, but it also has the potential to wash people out, focus on the wrong thing, and ruin what could have been a wonderful image.

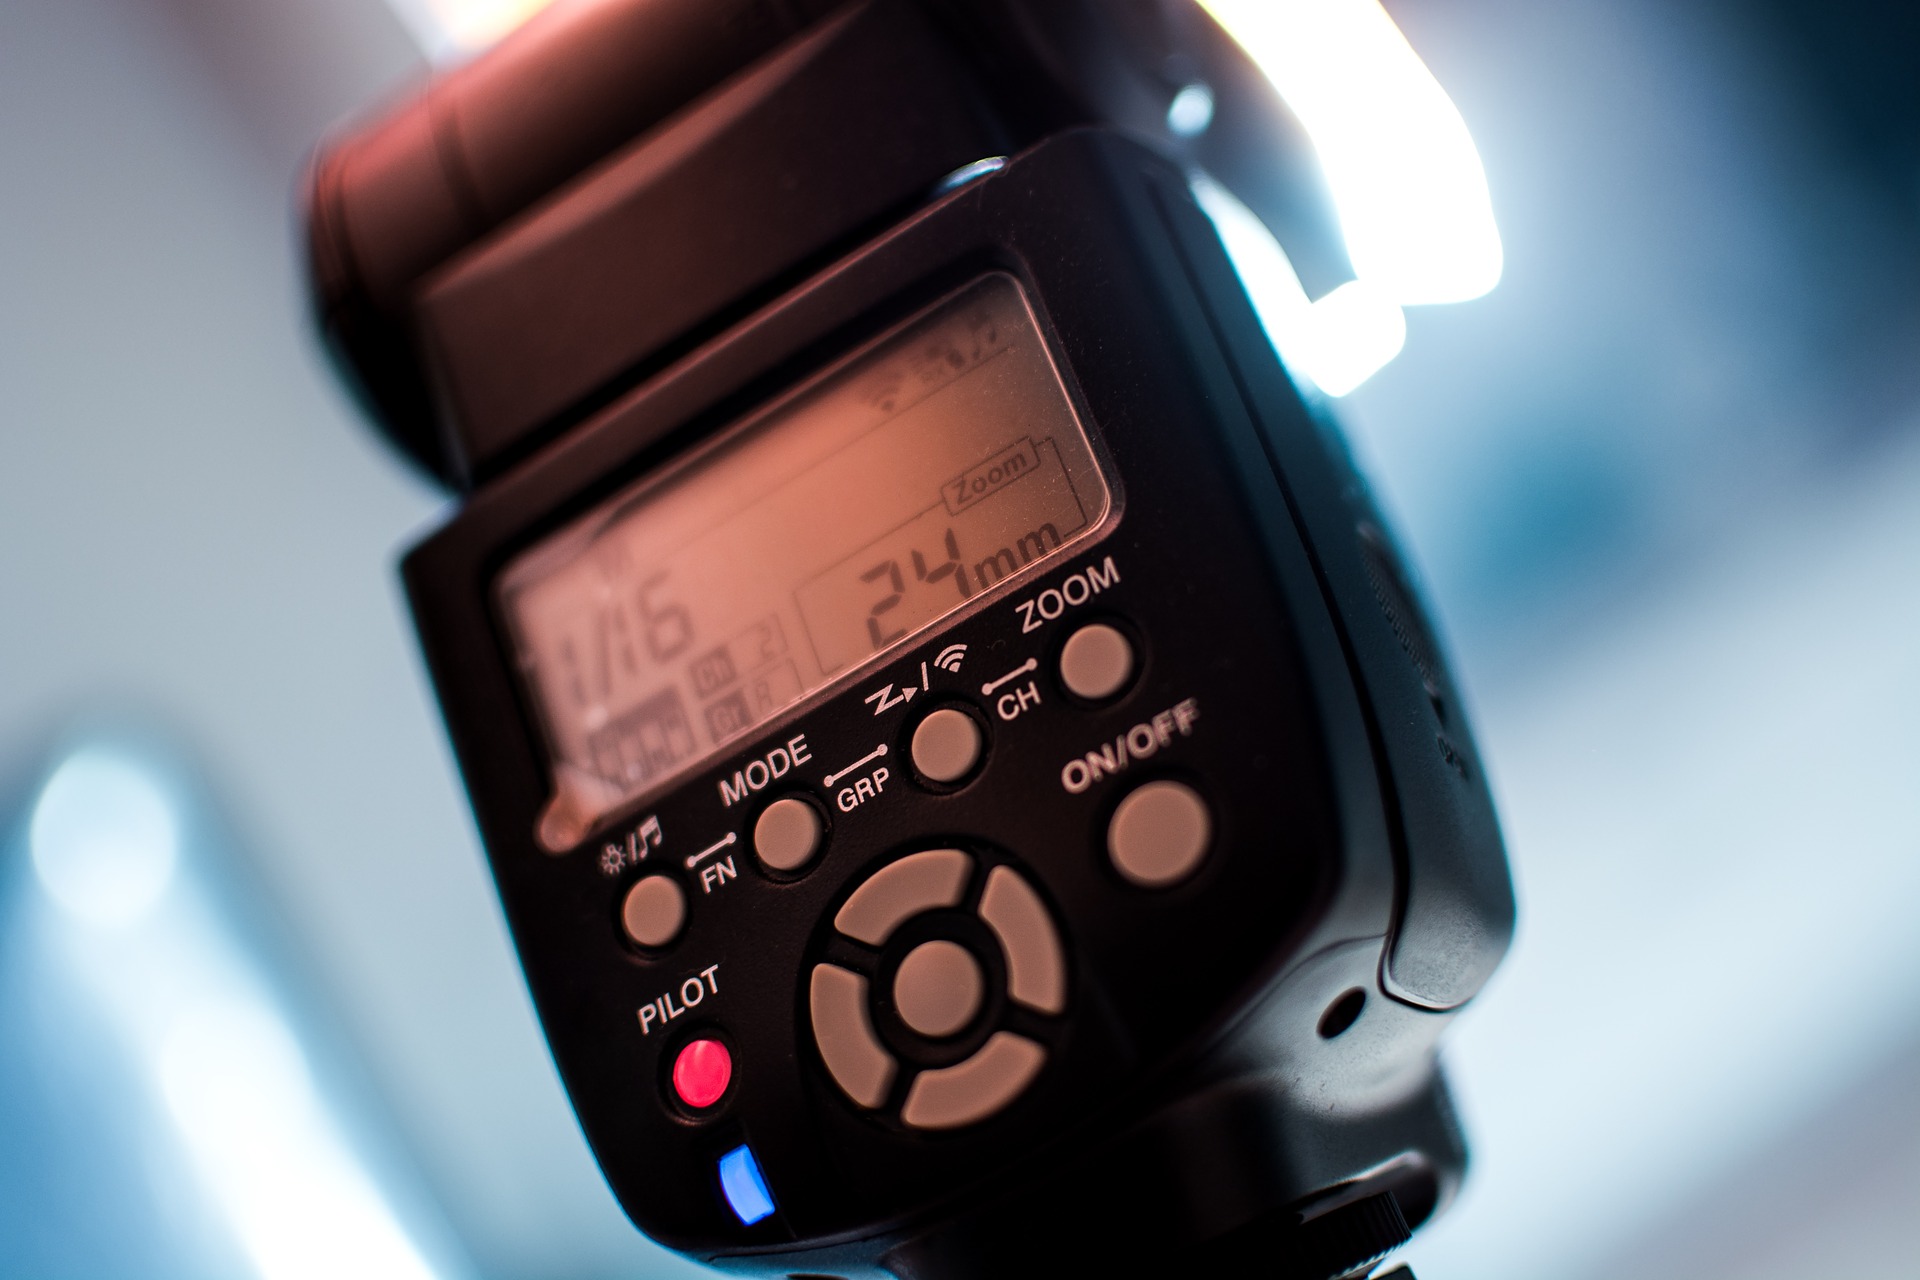
What is Flash Photography
Flash photography refers to a technique where the photographer uses an external flash to improve the lighting of the photograph. Many cameras come with an internal flash light that can be turned on in the camera settings, but you can also buy an external flash, also known as flashguns, that connect to the hot shoe of the camera. Flashguns can also be used when they are disconnected from the camera to for more flash control.
Flash photography is helpful for low light situations or when harsh shadows are present. It’s also useful for achieving the right exposure, so that there is less to fix during post processing.
When to Use Flash Photography
In order to learn how to use flash photography, you need to learn which situations are most appropriate for using it. Here are five times when you’ll want to use a fill flash when taking photos:
To Add Light
Use a camera flash when you need to control the lighting in a low light situation. You want to get that extra flash control to ensure that the picture is not too dark and that the subject can be clearly seen.
To Bring in the Right Amount of Light
When you are taking a picture, you need to control the amount of light you have. You will want to fill the existing light, or enhance the existing light to add a little ambient light. You may also need to expose only the subject in a dark scene to provide extra contrast, or you may want to overpower other light sources—whether it is a lamp or the sun itself.
To Control the Direction
When you have your subject exposed to the light, that light may not be enough or it may not be flattering to your subject. When that is the case, you will want to control the direction of the light. Poor light direction can lead to not enough light on your subject and a flash with a reflector can add that extra bit of light to give a more natural light to the image. In addition, if the light direction does not flatter your subject, you can add flat light direction by changing the light direction with the camera flash.

Improve Light Quality
The available light is not always quality light. There are times when the natural light that is in a scene is just not working with the person or subject you are photographing. With a flash, you can do a great deal to create really wonderful photos, including:
– Creating a hard flash for portraits and other effects
– Creating ambient light for amazing effects and style
– Creating diffused light to improve the natural light that is already in the scene
– Creating soft light and reducing harsh shadows for better portraits
These are just some of the things that an external flash can do for you when you want to improve the light quality of the scene.

Controlling the Light Color
With getting those perfect images, sometimes you have to actually play with the color of the light itself. A little ambient illumination can take a scene and make it dreamlike, but it can also take a scene and give it a soft and earthy glow. There is so much you can do with colors and flash—the sky truly is the limit.
Every light source is going to provide a different color, from fluorescent lighting to lamps to the sun itself. Every light source produces its own color, and that color can impact your picture in ways you may not want.
A good flash will help you modify the color temperature of the light. This will create very creative and stylized photographs. You can actually fix the color of the photos with the flash as well.
When you are using a flash, it can be your best friend, but also your worst enemy. The trick is knowing when and why you should use the flash. By having this firm understanding, you can ensure that the image you capture is going to look great, and it is going to show that you are a professional who knows how to use the flash properly.
How to Learn Flash Photography
There are always different aspects of photography that some of us shy away from, especially if it seems a bit difficult. This is common among all photographers, as there is always at least one aspect of photography that we don’t feel completely confident doing.
Flash photography is one of the most difficult aspects of photography to master. If I’m being completely honest, I was once scared of flash photography as well. It seems so complex and technical, and I was just getting comfortable with my camera as a beginner.
However, I had a project coming up that would require me to use a flash unit, and boy, I was panicking. But after doing a few trial and errors photoshoots, I became more familiar with how the flash head works, and how it can be used to enhance my photographs.
Learn at Your Own Pace
Learning flash photography as a beginner is not very difficult, but I would recommend taking your time and doing some research on the tools and settings that will help improve your flash photography. One can describe flash photography almost like riding a bike, if that’s not to cliche. You can’t always get flash photography right on the first try, but once you master it, it will become an important tool in your
Light travels in a straight direction and as a result, can be manipulated in many ways. You learn about the different ways as you get more familiar with the flash you have. There’s no rush unless you’re trying to meet a deadline to complete a project but apart from that take your time. I promise you won’t get a headache but will be more amazed as to what you can do with a flash light.
Get the Tools You Need
Once you’ve learned the foundation of flash photography, you can begin to research and expand your knowledge on the topic. Flash photography will become more intricate and interesting as you grow to understand the techniques and more. These tricks come with the help of some very special tools that can be used in the field or in a studio.
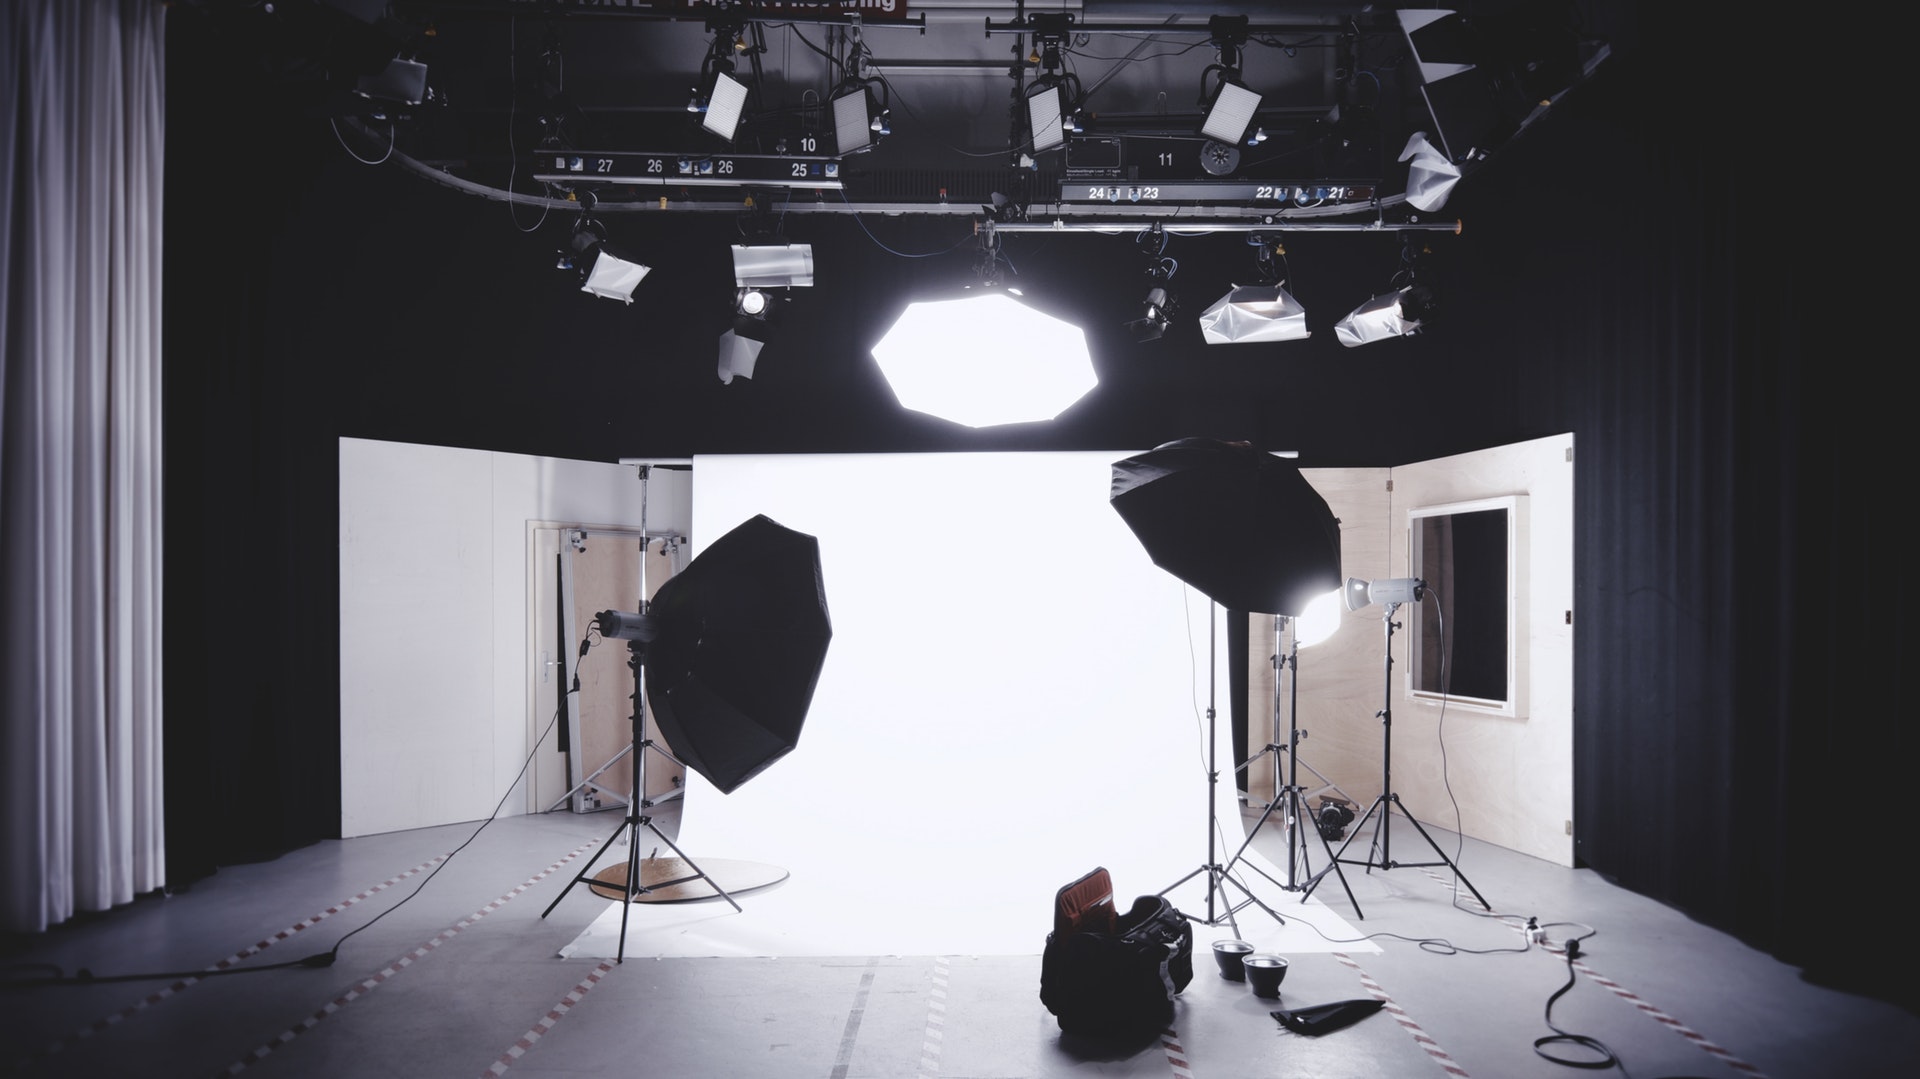
Studio photography, in regards to flash, is a much more controlled and predictable environment than being in the field. For example, during a studio portrait photography session, you can position your lights and direct them in such a way that the result is always the same and there is no external force or natural elements to disturb it. In the field, you often have to shoot and adjust depending on the natural light around you. You might not always end up with the same result for all your images, but depending on the consistency of the natural light, you will get a majority looking the same. These tools will help you improve your flash photography game.
Sometimes it can be hard to gauge the flash output, especially while working in situations with varying light. Investing in a TTL flash (also known as a through the lens flash) can help in these situations, as a TTL flash uses the camera’s light meter to automatically determine the correct flash exposure needed for the situation. Once you start to master the TTL flash, you can start experimenting with manual flash settings to hone in on the exact flash intensity, flash power, and flash duration that you need.
Get Confident
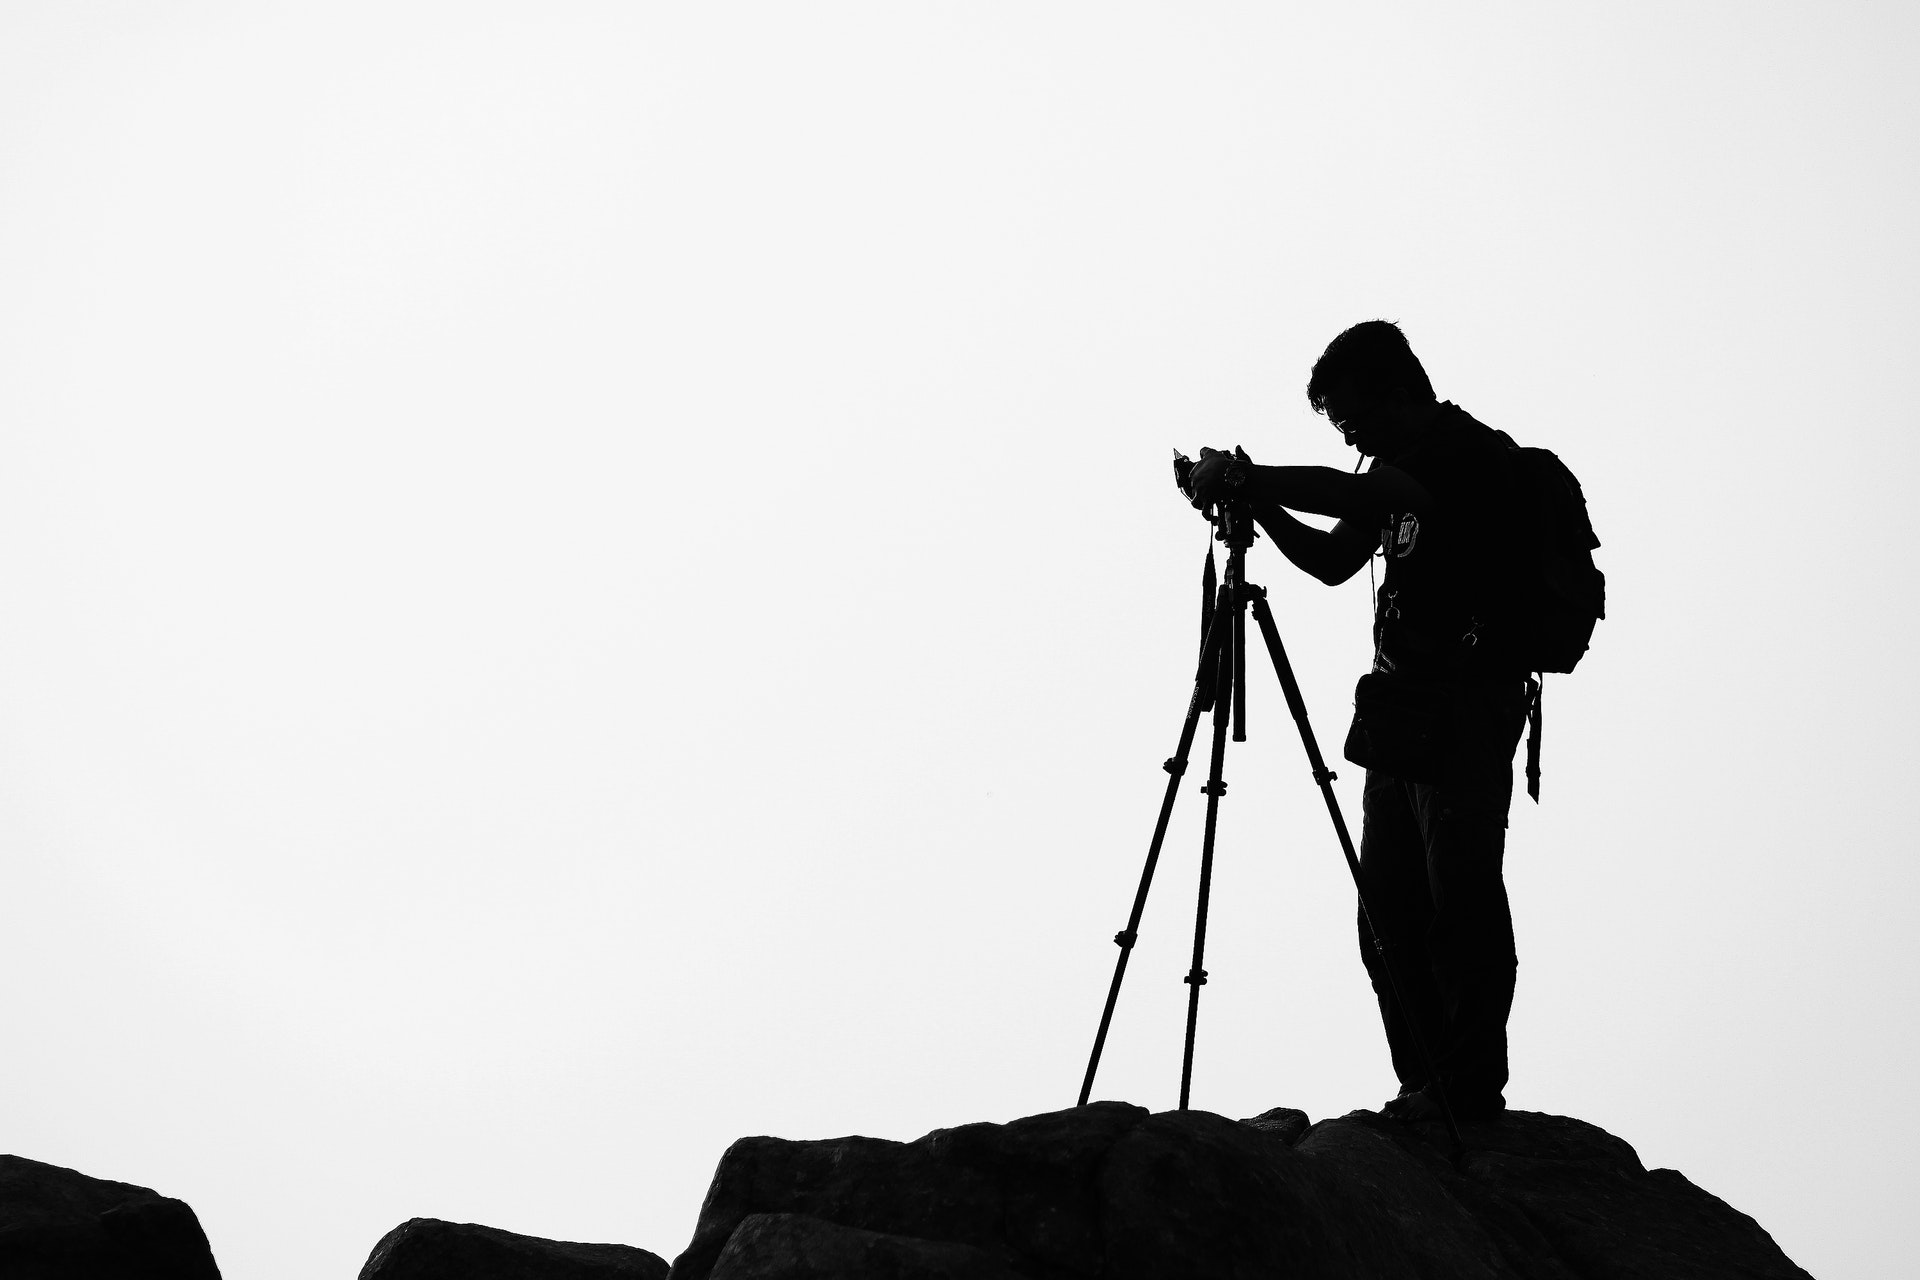
Now that you’ve learned the foundation of flash photography, along with finding the tools you need, it’s time for you to play around and try some new things. You now know how flash works and how the tools surrounding flash photography can help enhance your images, so what are you waiting for?
I would always tell my friends and fellow photographers that nothing tried, nothing done. So, don’t scared now to pack up some equipment and hit the road to create something that will blow your next viewer or client away. Photography is an art that can be seen as fragile and personal for many reasons. It is a channel through which as a photographer we can express themselves. If you lack confidence in your work, this can present itself on your images. Be confident in what you’re doing, and never be scared to fail. It is through failure that we realize how great we actually are.
I hope this article has helped you to overcome your fear of flash photography in ways more than one. We never really know everything so learning something new or looking to make improvements is never a bad thing. With that said, I hope you guys create some magic with flash photography and thank you for stopping by!


 Facebook
 Google +