Tag: how to

How To Sell Your Fine Art Photography

I’ve been selling my fine art photography prints for a few years. The first few of which were spent experimenting, looking to see what works and what doesn’t. Lucky for you, I bring you the ins and outs of the where and how so you can get directly to work!

Is your work sellable? Finding your market

Before even looking to sell, ask yourself: “Is my work even marketable?” Whether you shoot landscape photography, professional nude photography, or make surreal photo manipulations, it’s always healthy to be aware of the demand. Even if your work is marketable, finding the right clientele might take some time. You could start off by making a small batch of prints. Then asking those around you if this is something they would want to put on their wall. Consider offering them at low prices, or even give a few away to those who are interested. Your mom will always love your work, now it’s time to make personal connections with experts like gallery owners and art buyers. When I say personal connections, I mean to meet them in person. These people are too busy to take cold calls from a stranger. Ask them if they know of the right platforms for your work. Remember that not all art types will have a same marketing strategy.

Sell your photography online

Selling prints online are becoming more and more common. The advantage to this is that you can sell artwork directly from your studio. One obvious element to selling more work is to get more people to visit your website. Consider getting your work on other art related websites with a link to your own website. This could increase traffic to your website.

Automated Online Stores

curioos gallery

There are websites you can upload your prints to that do most of the work for you. Customers can buy prints, and products made automatically from the uploaded artwork in the form of mugs, t-shirts, laptop and cell phone skins, clothing and so on. This can be a great source of passive income. A percentage of sales is paid to the artist automatically once products are sold. The disadvantage is that these sites typically sell open edition prints at cheaper costs, decreasing the value of your photography. The percentage the artist makes this way is much smaller than selling independently (around 10%) so even if your products sell in large quantities, you’re not making millions here. My recommendation is to create or choose work from your inventory especially for these websites in addition to your limited edition prints which you can sell using other platforms.

Some examples of automated art print stores are Curioos, Society 6, Zazzle, Red Bubble, Cafe Press, Threadless, iCanvas, Eye Buy Art, 500px, and Art of Where.

Curioos

Curioos specializes in producing gallery-quality prints designed by graphic artists. A quick glance at their selection of wall art will show you a range of styles that would fit very well in a Bohemian gallery in SoHo. Shoppers can choose from canvas, aluminum, acrylic glass, and even aluminum disks, integrating unique and stylish textures with grassroots artistic expression.

Curioos also makes it very easy to browse through artistic themes and genres that you like, with an alphabetical sidebar menu ranging from abstract to vintage and everything in-between. For artists and photographers, it just takes a few minutes to set up a free and mobile friendly shop.

Society 6

Society6 is one of the names in the print on demand marketplace that has been established for years. Artists and photographers will be amazed by the wide range of different products on which their design can be printed, from furniture to laptop cases to throw pillows to rugs.

One of the best features of Society 6 is that artists can choose the markup, allowing them to balance out pricing with royalties in order to maximize sales and profit. On the homepage Society 6 features some of their favorite artists, which of course can bring additional traffic to their shops. Setting up a free online store just takes a few minutes. Artists should keep in mind that different items have different file requirements in terms of quality and size for uploading.

Zazzle

Zazzle has also been around for a number of years and has a slightly different business model than many custom printing shops. Zazzle will pair artists with independent manufacturers. Another great thing about Zazzle is that they have partnered with many large companies in entertainment and media along with sports teams to create collections that vendors can also sell, such as Disney (however, there are specific rules you have to follow if you’re selling this merchandise).

Of course, if you’re mainly interested in selling your own art or photography, there are dozens of different products. Zazzle claims that there are over 300 million different unique products on their site.

Red Bubble

RedBubble is a publicly traded Australian company. Some of the artists on there have sold parody material with envelope pushing content, leading to a somewhat edgy reputation in the past. But RedBubble has certainly moved on from that controversy and become a venue where artists can sell their art around the world.

There are 70 different products from shirts to mugs, allowing artists and photographers to put their creativity out there in a way that appeals to almost any online shopper. Shoppers can also filter art by category, price, and medium, which can make it easier for potential customers to find your work.

Cafe Press

CafePress is America’s largest customized product marketplace. Founded in the San Francisco Bay Area (like many other tech companies) it has since moved its headquarters to Kentucky, and become highly rated in the world of ecommerce vendors selling their own merchandise.

For graphic designers who are not so savvy with their own software, CafePress has a tool that can help layout designs for the variety of products they offer. Although artists can set up their own shops, CafePress also partners with retailers like Urban Outfitters, which can bring some foot traffic to your own offering of printed fine art.

Threadless

While many artists and photographers who view their work as falling into the fine art category would like to focus on prints, they should not overlook the market value of selling their creativity on wearable products!

Threadless is probably the best venue for selling apparel. The prices are good and the selection is very broad, with dozens of different shirts, sweatshirts, and other types of clothing that come in a variety of colors and fabrics. Threadless also has periodic contests, and also allows artists to submit work for Threadless to sell as featured designs. Threadless also doubles as a sort of social media platform where other creators can become potential buyers, if you like their products and follow their store.

iCanvas

iCanvas is the best place to buy art prints and works on canvas. While a number of automated art print stores sell a variety of products, and some even focus on other types of products like home decor and apparel, iCanvas is truly dedicated to two-dimensional displays of your best work. Customers can enjoy a very easy shopping experience, browsing by topics, themes, and genres like pop culture, motivational art, and scenic landscapes. Another great benefit for customers and for those looking to start a photography business is that shipping is free, making a purchase more enticing.

Eye Buy Art

With a name that has such an avant garde spelling, you can be sure that Eye Buy Art is the venue into which you will want to put your photography and artwork if you want to build a reputation as an artist. Unlike some of the other venues listed above, you Eye Buy Art is not a dropshipping or print on demand type venue selling a variety of products. This is, rather, a true distributor of fine art from both up and coming and established artists.

Eye Buy Art has been featured in PopSugar, Architectural Digest, Fashion, and InStyle, in addition to other industry publications in the art and design space. Marketing fine art photography can be a challenge for some creative spirits, so a venue like Eye Buy Art as an established name in the fine art photography space can go a long way toward getting your fine art photos out there.

500px

500px is a venue for stock imagery, which may not strike you as appealing as putting your photography or artwork onto a print or canvas or merchandise – but in many ways, is an even better way to get exposure and monetize your work. One of the struggles of freelance photography is the fact that sometimes your hard work can be appropriated by website builders and bloggers without your approval. Putting your images on a venue like 500px can watermark them so that anyone using them will have to pay, which means you collect royalties. You can also build up a reputation in stock photography via commercial licensing.

Art of Where

Art of Where may not be the best place for selling stunning landscapes or nude photography, but it’s a great venue for monetizing photos turned into patterns via lots of consumer friendly products…shirts, backpacks, and masks, for example. Art of Where integrates with Etsy, Shopify, Squarespace, WooCommerce, and other online ecommerce platform options. It also facilitates the creation of customized shipping labels, allowing you to create an immersive purchasing experience. Turning your photography into a print pattern or something fitting for home decor might be a little out of the box for you, but ultimately you could find it very rewarding creatively and financially.

Limited Edition and Online Art Stores

foxsly

Unlike the stores above, these are stores that sell limited edition prints, typically at a higher price point. The sales are often handled by the artist, meaning that when an item is sold, you are is responsible for printing, framing, packing, sending, and handling client requests. You can set your own pricing, edition number, and keep a larger percentage of the sales.

Some examples of Limited Edition print websites are Etsy, Saatchi Art, 20 x 200, and Art Fido.

Etsy

Etsy is the name in art online. It’s a sort of art fair and art show combined, where everything from digital art to homemade crafts is available to a potential collector. Artistic photography certainly falls into the categories of items sold on Etsy. Etsy does not do any printing or fulfillment for you, so if you are turning your fine art photographs into something like framed prints or a gift card set, you will have to manage that yourself. However, Etsy does integrate with some sites that can take your photo prints and put them on merchandise or a fine art print, the most popular one perhaps being Printful.

In terms of selling fine art photography, Etsy can also be a very useful tool because it’s one of the largest and most popular marketplaces for art. Because it’s not a print on demand venue you can sell specialty items like a limited edition print that you sign and ship. Another great thing about Etsy for fine art photographs is that reviews are applied to your entire store and displayed by every product, making it much easier to accumulate a positive look for your beautiful fine art photography.

Saatchi Art

Saatchi art is a sort of combination of the fulfilled-for-you platforms and the curated online art exhibits. The look of the site is very much like Fine Art America (another venue for purchasing established pieces of artwork by famous artists) but it’s free for anyone to sign up and collect 65% royalties on each and every fine art photograph or piece of art you sell.

If you are doing fashion photography, nature photography, or street photography, for instance, this can be a great venue to display your work in a context that positions them as a fine art photography print. This is because the layout and look of Saatchi is much less geared toward merchandise seeking consumers or those looking for commercial photography, and more towards those looking to engage in the purchase of art or art photography.

20 x 200

The minimalist look of 20 x 200 makes it clear to browsers from the get-go that they are engaged with a curated collection of a particular aesthetic…modern, sleek, simple, and possessing a touch of the Bohemian.

At the time of this article, a fine art photographer or artist might be disappointed to learn that the website is not currently accepting submissions, but it would not be a bad idea to periodically reach out and see when they are.

Art Fido

Art Fido is more than a place to buy or sell fine art photography online. You can buy and sell artwork by communicating in the forums. Often, the transactions are auction-style. It is actually also a sort of curated museum space with articles and interviews and engaging content about the world of contemporary art and photography, and the artists and photographers who make it. It’s also very much a sort of social media posting and blogging space for creators, which can translate into building a following through the greater community of artists and photographers. Art Fido is less about making direct sales and more about marketing fine art photography.

Your website

You should always have the option for clients to purchase from your website. There are many website templates that allow you to build an online store, like the Squarespace E-commerce store which looks great and is easy to set up. Whether you choose to have an online store page or a contact page about prints depends on what works for you and your photography. It should be clear to your customers that the photography on your website is for sale.

Sell your photography at Art Exhibitions

Art Fairs

One of the best ways to sell your work is through different Art Fairs. You can start locally and perhaps expand internationally if and when you see there’s a demand for your work. Art Fairs are different than gallery exhibitions because they are typically a few days long, have more traffic, and are held at a large public space like a square or a convention center. There are Art Fairs exclusively for galleries, and others dedicated to individual artists. The summer season has the largest amount of outdoor art fairs for individual artists, and the outdoor shows are typically cheaper to sign on to than indoor ones. One advantage to Art Fairs is that after paying the booth fees, 100% of the sales go to the artist. These shows could be attended by just about anyone: art buyers, gallerists, artists, and much more. This makes Art Fairs a great way to get connected to people in the art scene. You never know who is going to walk into your booth. Furthermore, longevity pays off in this situation. Showing up year after year can help legitimize your work, showing buyers that you are consistently making art and that purchasing from you is a good investment.

I strongly recommend researching Art Fairs in your city and even contacting participating artists who have similar work to yours, asking about their experience.

Alice Zilberberg Photography

Commercial fine art Galleries

Commercial gallery representation is often the first thing artists think about. Finding a commercial gallery can be a long process, and there are many things to consider before signing a contract. Having a source that sells your art for you is certainly an advantage. The gallery could an increase the exposure to your work by showcasing it in auctions and Art Fairs for galleries. However, galleries take a large percentage (typically 50%) of the sales. With additional costs like printing and framing, this leaves the artists with even less at the end. This model can work if the gallery sells a large volume of work. Some galleries have exclusive contracts, meaning that clients can only purchase work from them and not from the artist directly. Non-exclusive contracts allow artists to continue selling work independently or through other galleries in addition to the work sold at the gallery.

Choosing a gallery is a completely individual process and can take some trial and error. Remember that reading the fine print, keeping control over sales, and understanding legal issues are your responsibilities when partnering with a gallery.

Individual art dealers

Aside from galleries who have a physical gallery space, there are also individual dealers who may represent your work and put you in different spaces like group shows. They may also sell to clients of their own. Sometimes they take a smaller percentage of the sales than commercial galleries do.
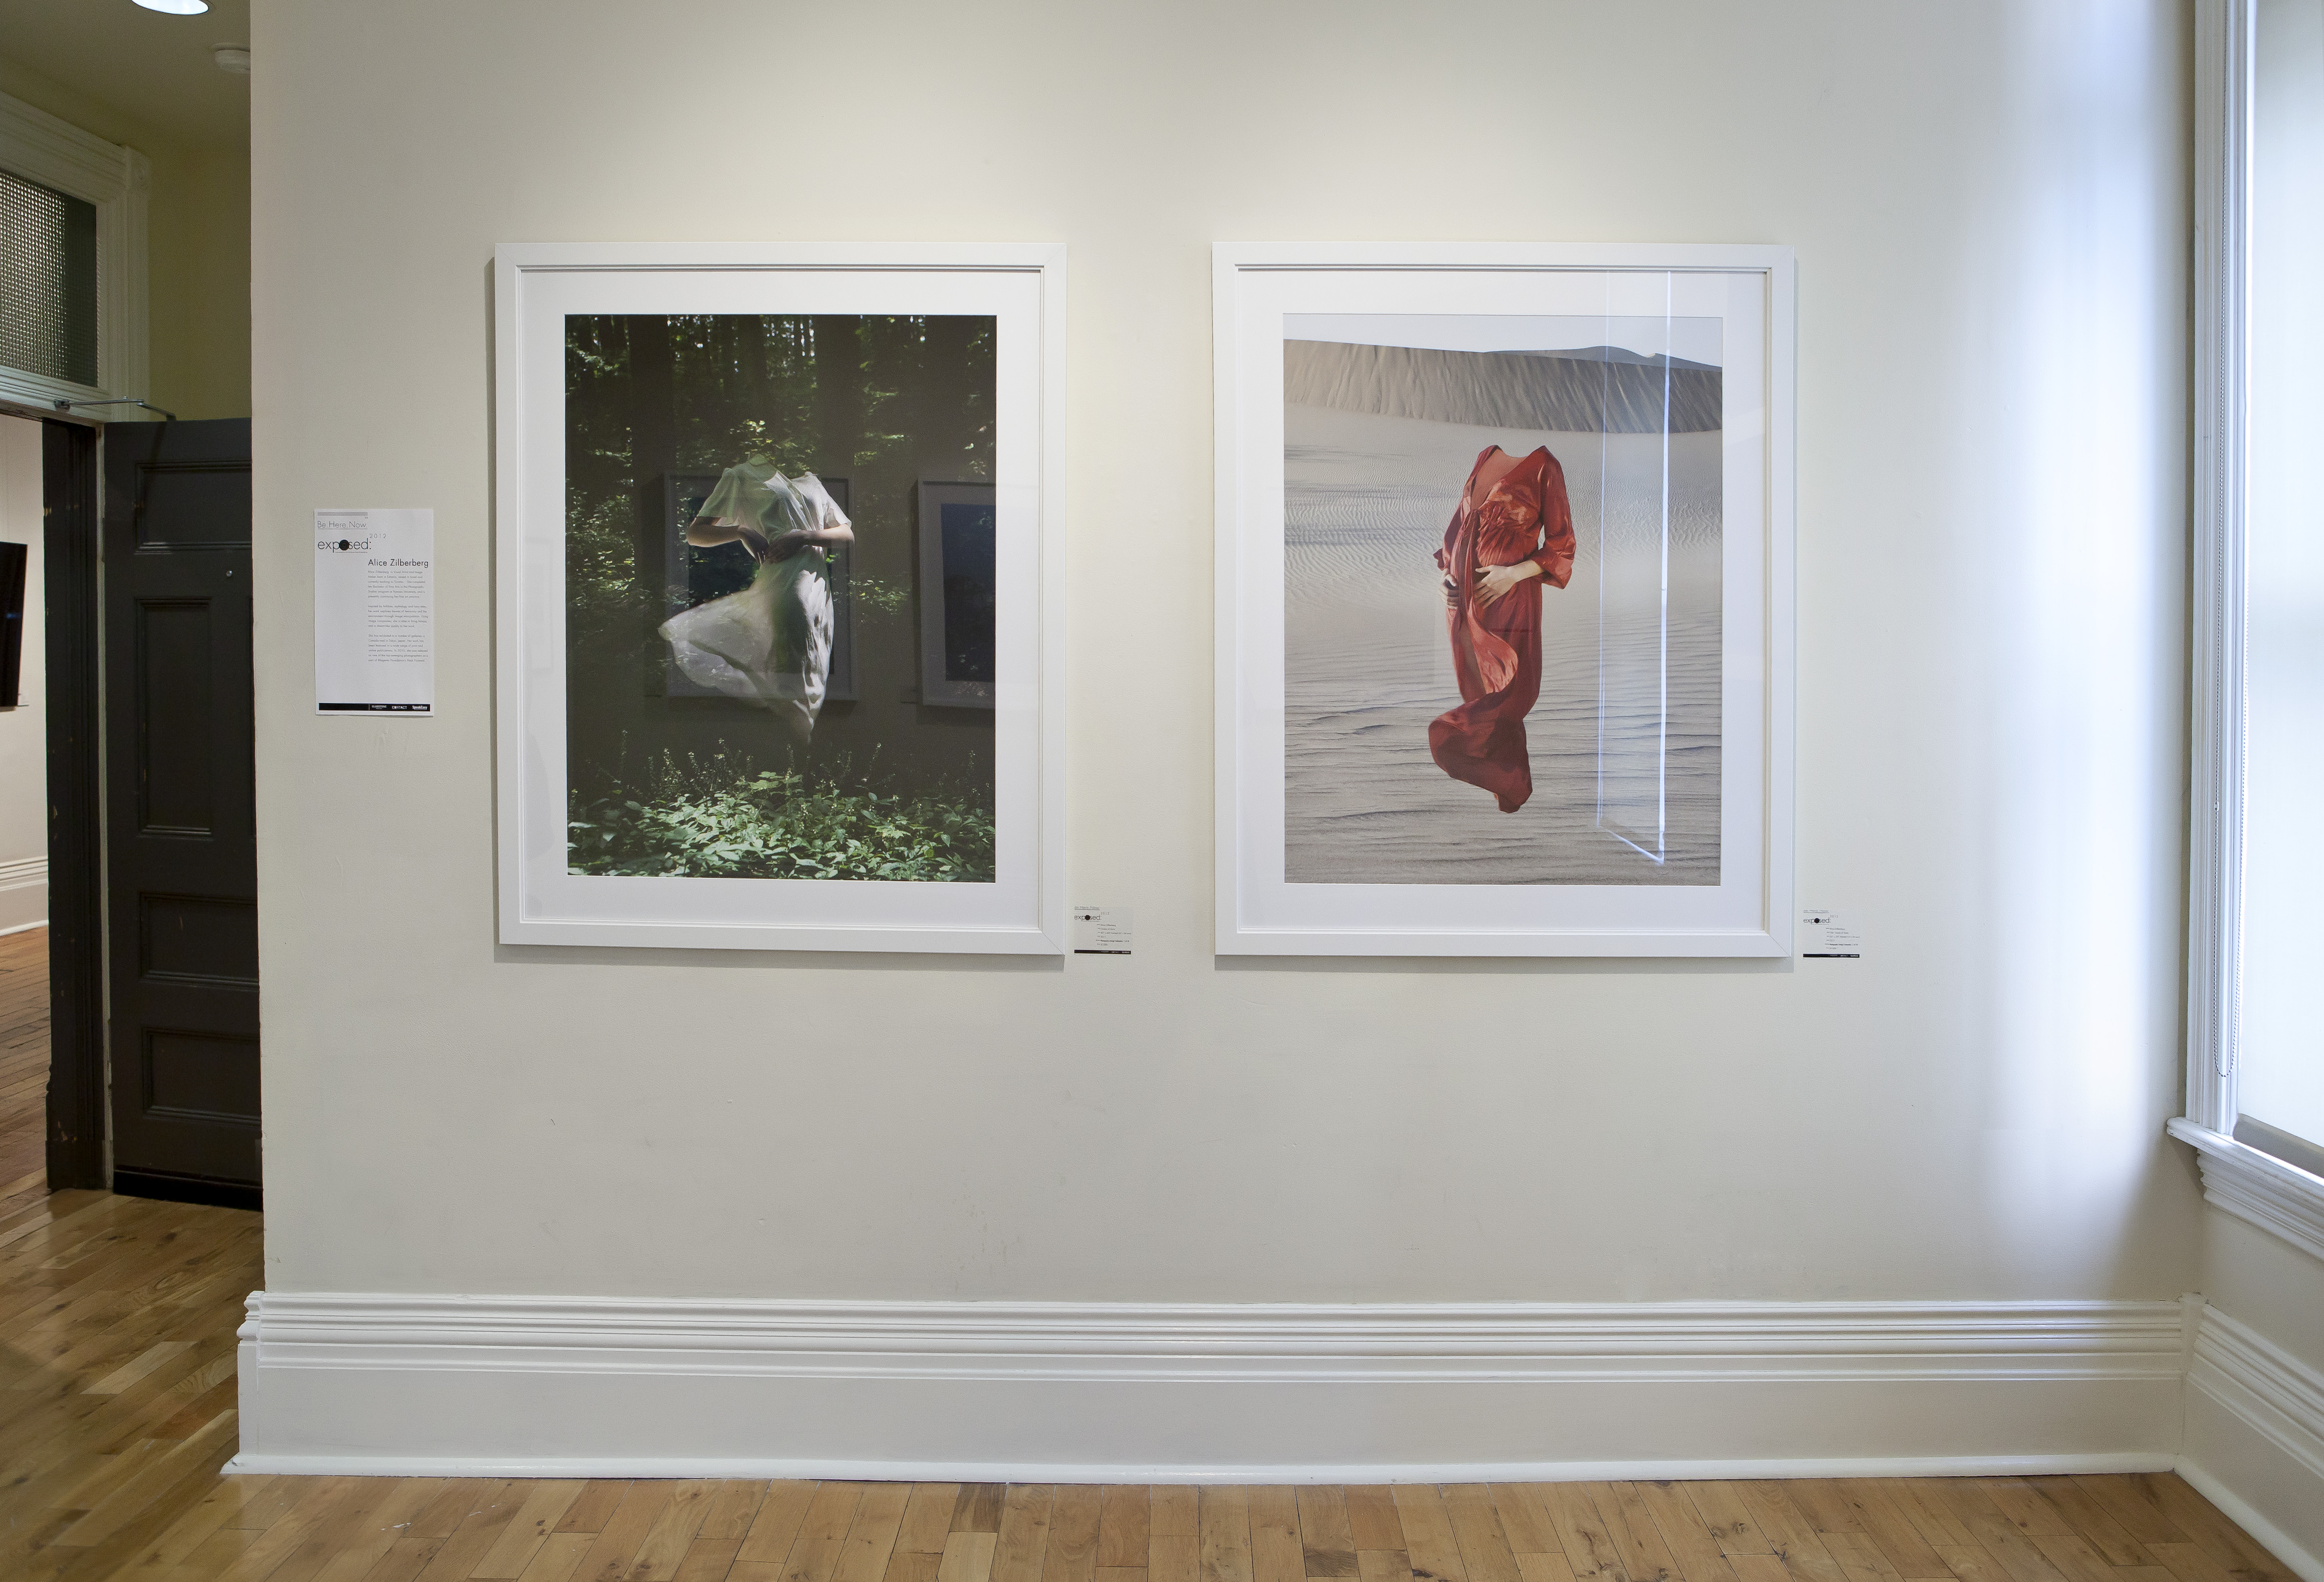
art gallery
Alice Zilberberg Photography

Auctions

Auction houses and charitable auctions are a good thing to try. Some ask artists to donate a piece of art, or take a percentage of the sale. An advantage of auctions for photographers is that if your print sells, the losing bidder might come directly to you to purchase the next available print in the limited edition for that piece.

auction

Think Outside the box

You’re not confined to the platforms above. Be innovative! think of other ways to sell your work. Is your work tied to women’s issues? Maybe you can contact a women’s hospital to see if they’re interested in buying your work for their space. Do you shoot travel photography? Maybe a travel related company is interested.

Better Sharpness and Focus: A Guide on Photography Improvement

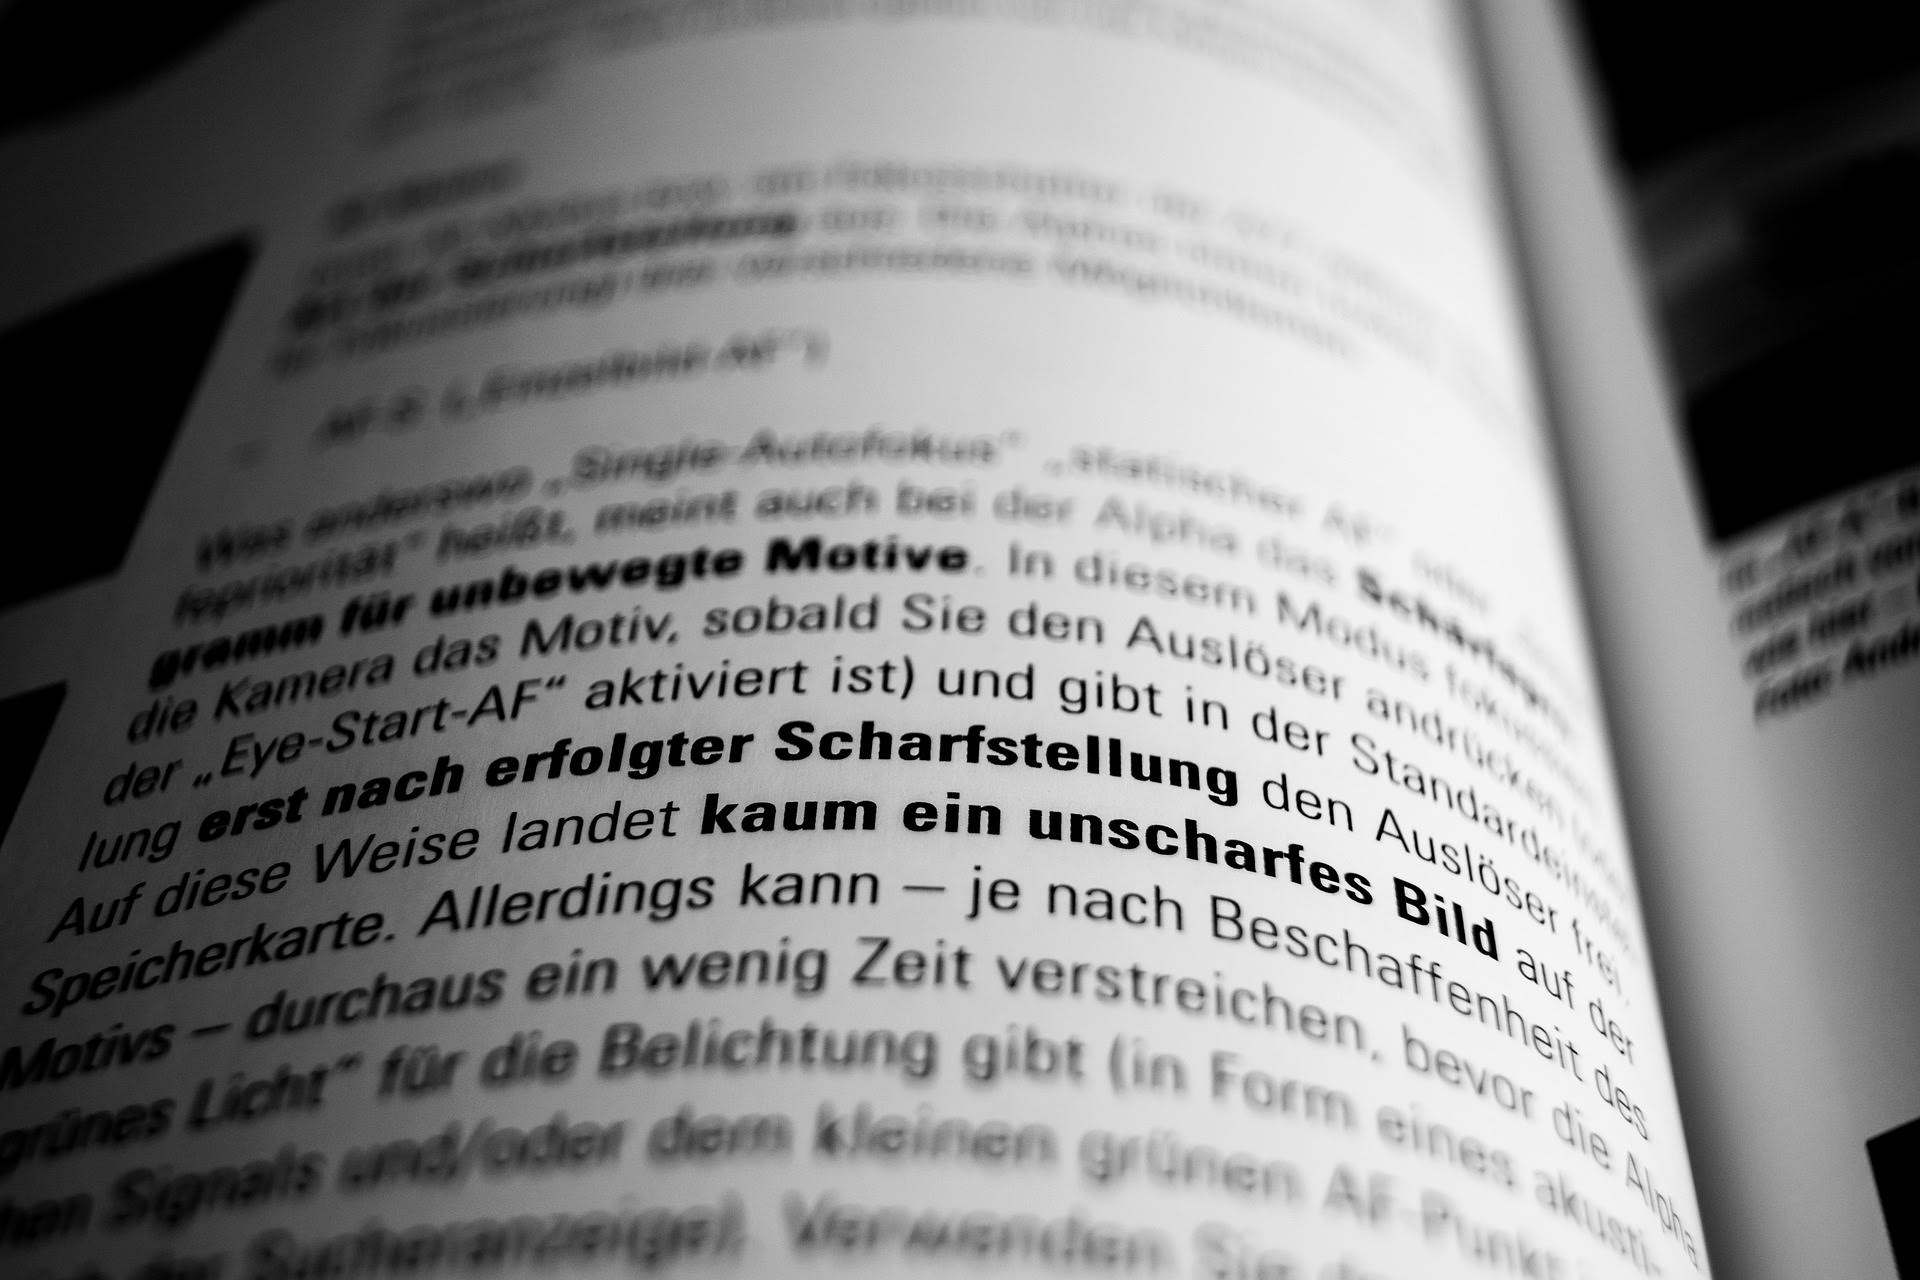
Have you ever found an image that is not sharp at all or an image that is out of focus or even focused on a wrong section? Because of my work as a web builder, besides as a photographer, this is a common problem for me. I’m going to give you some tips and tricks that I’ve learned as a photographer and as a web builder.

Sharpness is the key for professional photography. Not all of you will notice the difference between a crystal clear and fairly clear photography. But if you a professional and if you are about to make a big print from some photo you will see the difference too.

To achieve crystal clarity of your photos you will have to shoot like a sharp shooter. Those sniper shooters are not fools for using firm foundation. So, therefore, use a tripod, monopod, or even a bench just to stabilize whenever possible. If you have used a moment to think about composition and aperture think for a minute about how to improve your stability. If you don’t have a tripod, just buy one.

Better focus and sharpness

Don’t zoom to the maximum. If you are shooting with 55-250mm. lens the best focus and for super sharp photos you should not go above 230mm. I am quite sure that there are exceptions from this rule, but I’m talking about average lenses, not the professional the most expensive ones. Test your equipment; for example, shoot a text from newspaper hanged on the wall with different focal length and you will see the difference of the sharpness you will get.

Just as zoom makes the difference to the sharpness so it does the aperture. Most of the photographers learned that the sharpest image is somewhere between f/7.1 and f/8, and this is true in general but it depends on the lens also. As I question everything I also question this rule. So I have tested my equipment and it makes a difference from type to type of lens. For example, a wide angle lenses are sharper at a little higher aperture. I did a little research on the net, and the result was that this is because they are made that way.

Decrease your ISO. Photographers know that with higher ISO you are getting more noise to your image. But you also need to know that with increasing your ISO you are reducing visible details on the image dramatically. So if you are in a situation to increase ISO sensitivity, I highly recommend that you use flash or move to a better-lighted area to get a sharper image.

Sharpness is the key for professional photography.

Also, you need to be gentle with your camera and stop hitting the shooter button like it did something wrong to you and it needs to be punished. Hitting hard the shooter button adds a torque to the camera in that critical moment when you are recording the scene. The proper way to treat the shooter button is to roll your finger back across the button. Additional to this if you are the owner of a less expensive DSLR your shooter button is either plastic or metal. Don’t get me wrong this kind of a button does the job, but the expensive cameras come with squishy shutter buttons with a rubber coating on top so that the press of the button does not create vibrations on the camera. So if your camera is not so squishy you can always buy a rubber pad for the shutter button which will solve this problem and it will cost you a few dollars.

About the focus… first you have to make a difference if you are shooting a moving or a still object. If it’s a moving object choose continuous focus (AI servo on Canon or AF-C on Nikon). If it’s a standing object choose AF-S on a Nikon or Single Servo on a Canon. Always, and I mean always choose focus point manually. Don’t let the camera choose instead of you. Practice using the four-way selector on the back of your camera. If we are talking about portrait photos always focus on the eyes on the person. And if we are talking about landscape photos focus on one-third up from the bottom of the frame. Now that you have focused on the scenery be careful not to move forward or backward at all. And if we are talking about macro photography never focus too close to the lens because each lens has a close focus distance. I usually find that if I focus at the closest point the result is a blurry image. Give it up a little space and back up a little bit from the closest you can be and you will improve the result.

So that’s it for focusing and sharpness, I hope that you have enjoyed reading this article and that you have learned something new. Until the next time, I’m wishing you all the best.

How to Shoot Professional Portraits: A Detailed Guide

Those pro portraits you had watched on the net and in the magazines do not need extraordinary gear and special knowledge. In fact, there is nothing that you can’t do. I will prove that in this article, with a focus on the lighting for indoor and outdoor portraits.

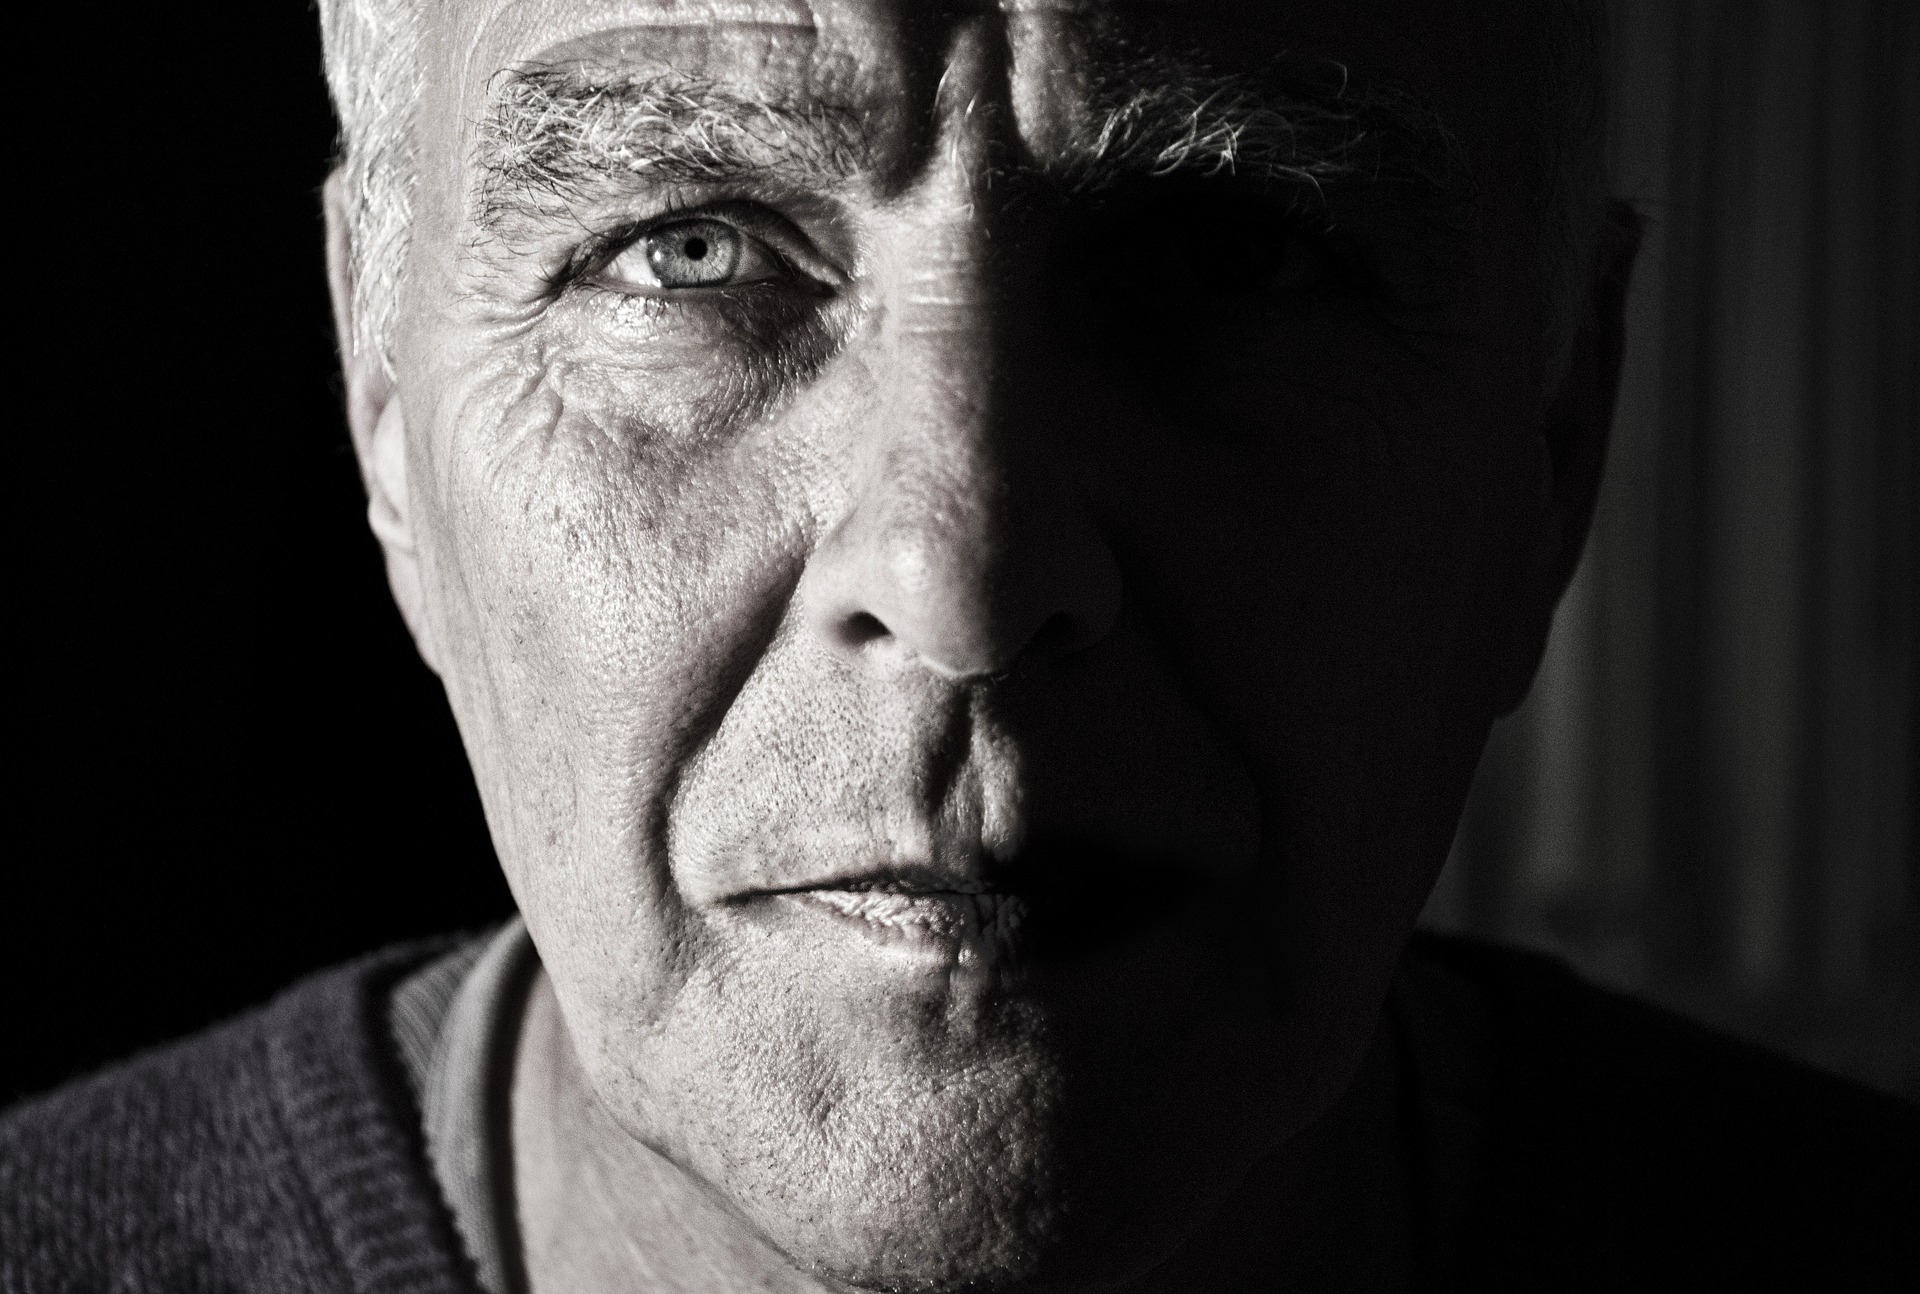
A good portrait with interesting expressions, composition, and proper lighting has more power than any other kind of photography. Why? Because of the power of the emotions on a face broth in just a part of a second frozen in time forever.

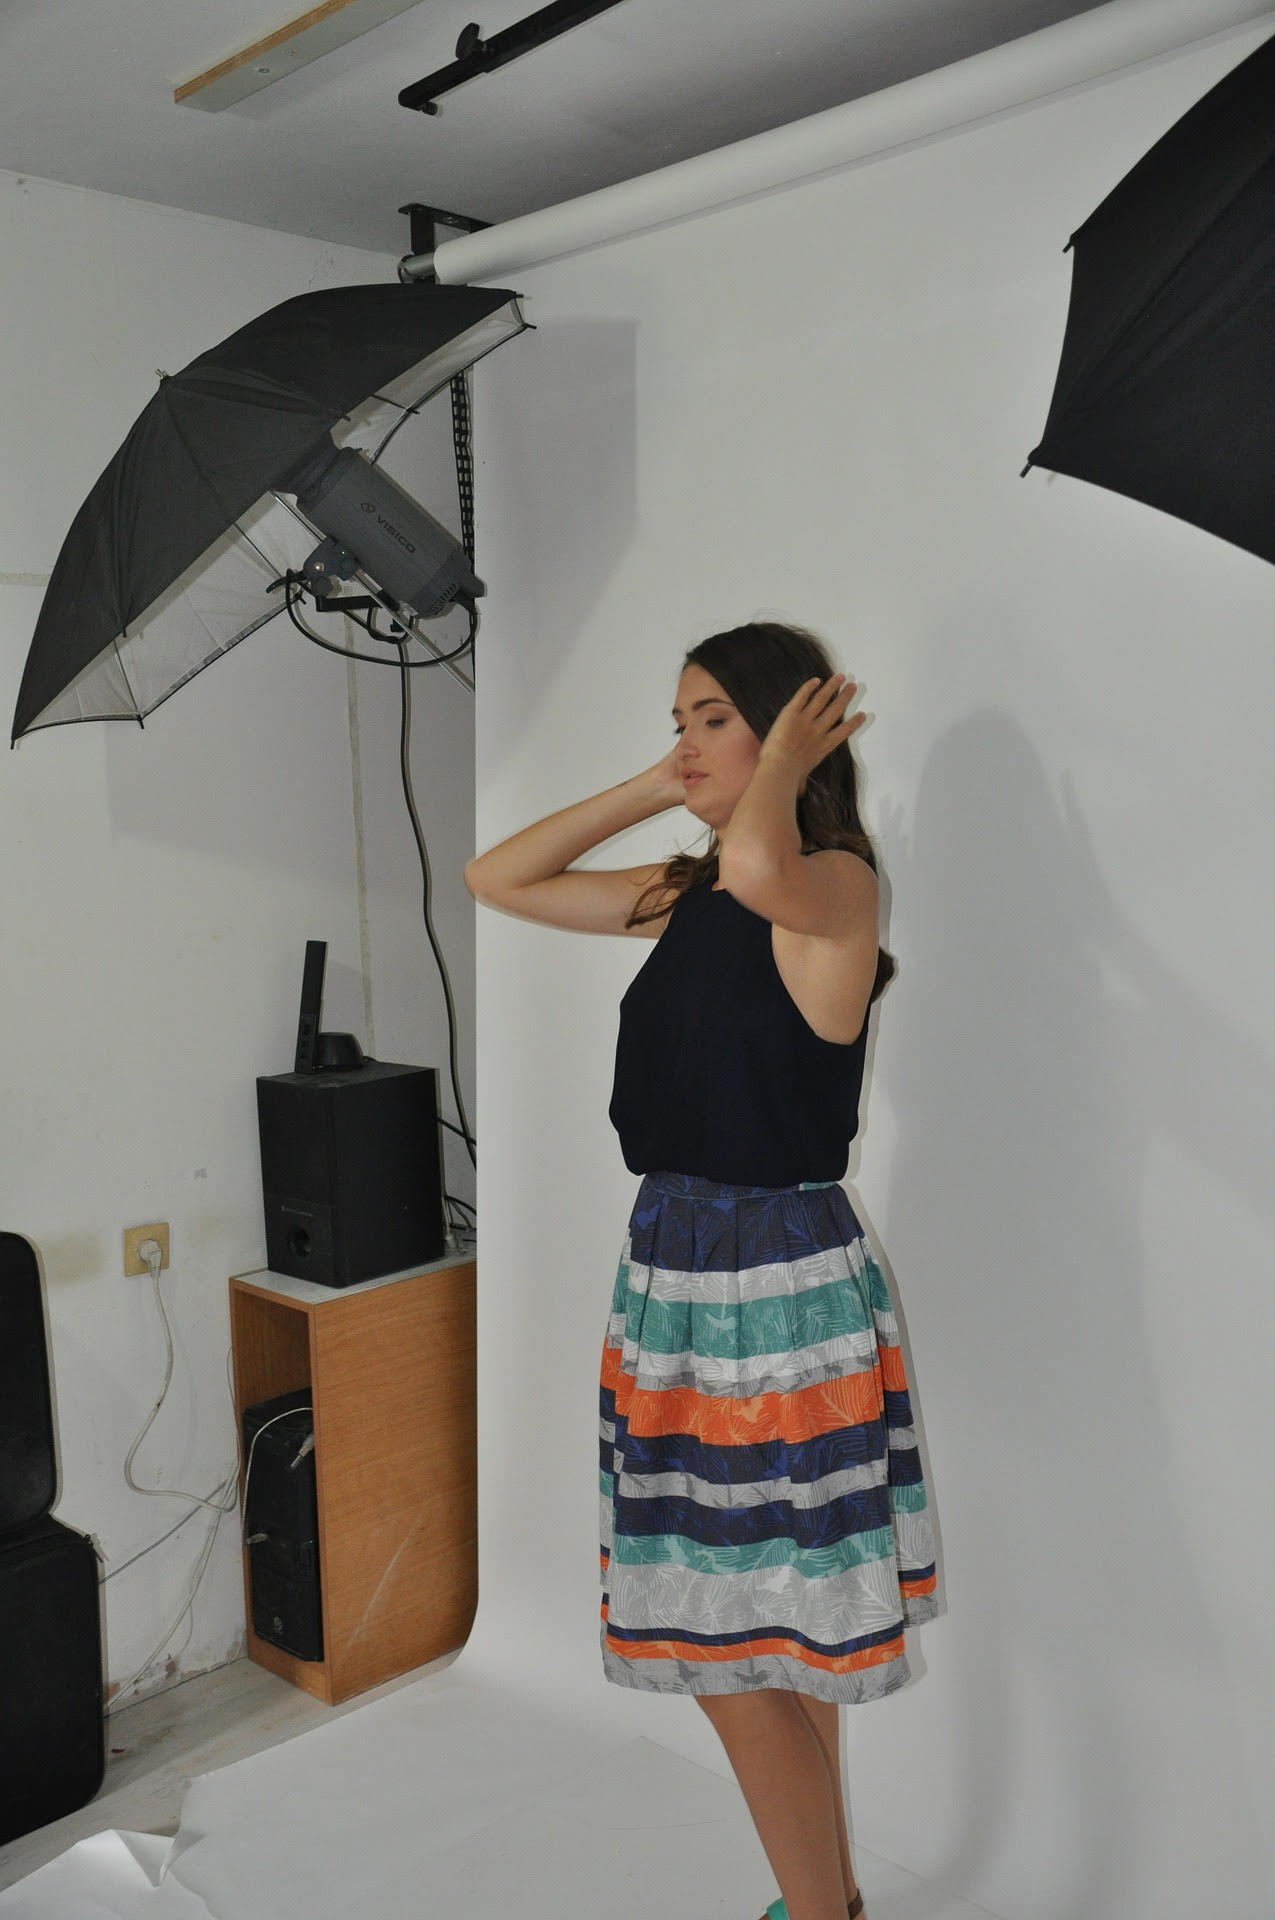
Professional photographers use multiple flashes with as many as four strobes. At first, you must know why there are four strobes, and what is every one of them doing to your image. It’s simple because each and every one of the strobes is having only one function.

How to shoot pro portraits

The MAIN LIGHT- is supposed to be of the camera. You and nobody else wants red eyes on the photos. Red eyes occur when shooting with on camera flash, so that’s why we will get it off the cam. With this kind of position of the main light, we can create shadows and highlights to the face bones, skin or other face parts. If the flash is on the cam we cannot be creative and dance with the shadows, simply there are limits. The newest DSLR models have the feature to trigger the flash unit wireless, if not then we going to have to buy a long enough cord.

Now that we positioned the main light left or right of the object, depends on the side that we choose the FILL LIGHT (also known as diffuser light) should be on the opposite side. The fill light is used only to soften the shadows that occur from the main light. This kind of light is optional but it’s good to have one in direction of creativity. In case you are not able to have one you can use a white cardboard from the opposite side of the main light to reflect the light beams from the main light. In case it’s not good enough you can wrap the cardboard in an aluminum foil for a better reflection. Additional to this you can play with the distance of the cardboard to get a better effect.

The third source of light is the BACKGROUND LIGHT. This kind of light is used only to show what is behind your object, and of course it’s optional only if you need one in a current situation. The light is positioned behind your object lighting up the background. In case your background is black or in the very dark color you can skip this. If you are improvising you can hang a black bad sheet behind your object and you are done.

Portrait: The power of the emotions

The fourth light is called KICKER LIGHT (also known as hair, rim, or edge light). This light is used to make a distinction between the object and the background or it’s kicking the object in front line. It is placed above the object facing the back of the head. But if you place the main light correctly you can forget about this source of light.  In my opinion and from my experience it is good to have one but you can make more artistic photos without the kicker.

If you are shooting portraits outdoors my advice would be to use wide angle lens. At wide focal length, you can make beautiful distortions such as creating illusions of the length of the arms (for example), and you will catch some of the surroundings. Also, the background can add drama to your portrait and can change the whole context of the photo. Consider that all of us are stuck with the meaning of the orientation or the layout of the image. Don’t stick to a portrait orientation; you can shoot portraits with landscape orientation. Mix your framing up in each shoot that you do and you’ll add variety to the type of shots you take. Play with the expressions and emotions of the person that you are photographing- don’t be a boring photographer.

After we are clear with the positions of the lights it is up to your taste how you going to dose the amount of the light. Remember that you can play with the distance between the object and the source of the light. These would be my general advice for indoor and outdoor portraits. You can combine additional lights for outdoor photography. Also, the article does not mean that lights are only for in the studios. Practice, practice, and experiment with lighting and composition. The greatness of your work comes with the experience.

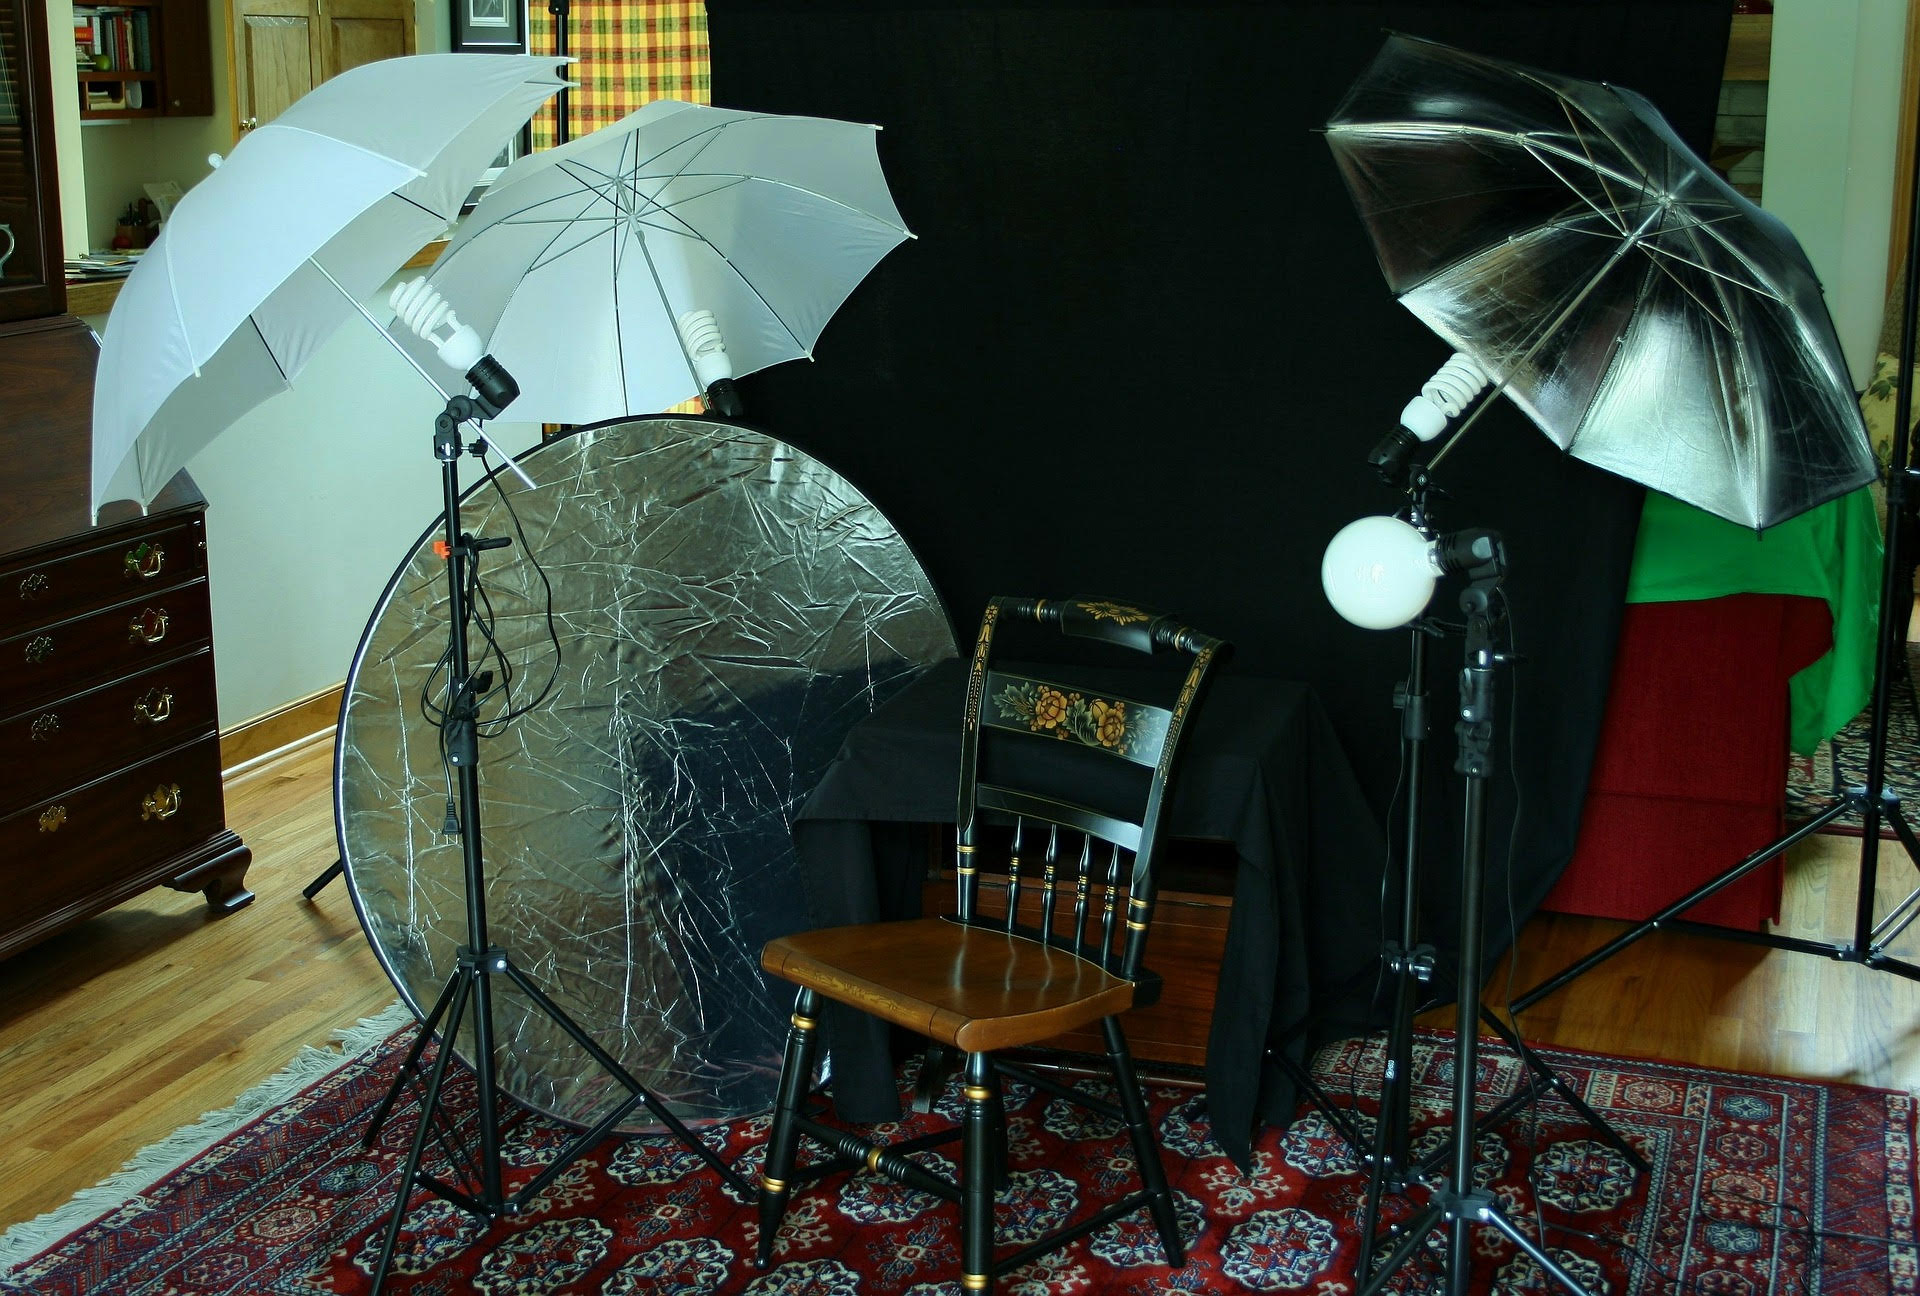
How to create your very own home studio in 2 days

Have you ever wonder how much of your precious time and even more of your precious money will you need to create your own home studio?

Well, this went thru my mind couple of weeks ago after I needed to rent one. I started an online research, and I created one, and believe me it was not difficult and it did not cost much.

How to create your own home studio

So let’s get started. First, you need space, extra room in your home, a garage, or a basement. Sure, if you don’t have extra room things get tricky, the cheapest solution, in this case, is to use your home.

  1. Go to a furniture store and by two coat hooks. They have to be only useful, not expensive pretty or something fancy. Put them on the both end sides of your studio’s back wall.
  1. Next, you will need a sheet that is wide and long enough. The longer and wider, the better. I guess that you will figure that this is the backdrop.

Also if your space is wider, you will need a rope between the hooks and clamps so that you can stretch the sheet evenly. Don’t worry about the clamps because they will stay out of the photos.

  1. You will need a continuous lighting kit set, speedlights, stands, umbrellas or other light diffusers. If your studio has windows with direct daylight, you may consider buying light reflectors also.

If you have constant lights facing your object, you will instantly see how is the light falling on. But these kinds of lights are showing a lack of power and brightness. Therefore, you will need additional light. Speedlight’s are compact and easy to operate on the set. The best way to use these lights is in conjunction with radio triggers and receivers. This allows you to use them off the camera and you can move the speedlights around the studio. But the best of the best is to have professional studio strobes. These are a dream come true when compared to the speedlights and constant lights, but they come with the highest price tag. They are seriously powerful, and they have very fast charging time that will never slow you down. But strobes are professional equipment and don’t consider them if your plans are a studio for a hobby.

Create your own home studio

Umbrellas are here in the studio to spread light. This is a nice choice if you are trying to light a bigger area or a group of people. In the stores, you can buy different types of umbrellas, but for a home studio stick with a white umbrella or a silver reflective umbrella. These are highly portable and very cheap depending on what you get.

Now all of these things should be put in their own space. You don’t want somebody to trip over your equipment and make a mess of it. Having this dedicated space is also important because you don’t want your clients to feel like they have just invaded your personal space. Also, your clients, kids, or friends-models will appreciate the comfort in your studio, and this additional will influence the quality of your final product and to the will to collaborate with you.

  1. Consider leaving a room to zoom in the studio. The perfect studio should be a least 6 meters long so that you can make a standing portrait with a 50mm lens. You can shoot standing portraits in the shorter studio with wide angle lens, but you will find out that you have distortion on the photos and that is not good when we are talking about portraits.

Also if the ceilings are low, they will bounce of the light making the ceiling a big reflector board. If your photos show unwanted light, then consider putting a black piece of fabric on the ceiling only to suck the light.

After you are done with your studio preparations, you should practice a little bit, and find your perfect set up, depending on the object that you are shooting. Your photos will look very professional and if it is your first time at a studio you will be amazed of your final product. Don’t forget to hang some of your best photos on the wall. Probably your clients have already seen some of your work somewhere on the social networks or your web page, but seeing a printed photo is something else. Printed photo it’s an entirely different experience and really brings the photo to life.

As for the answer to the question, it takes me 2 days and 307$ (2x speedlights 96$, 2x Stands 76$, 2x umbrellas 60$, 1x reflector (5 in one) 45$, 1x sheet 20$, Clamps and hooks 10$) to create my own studio.

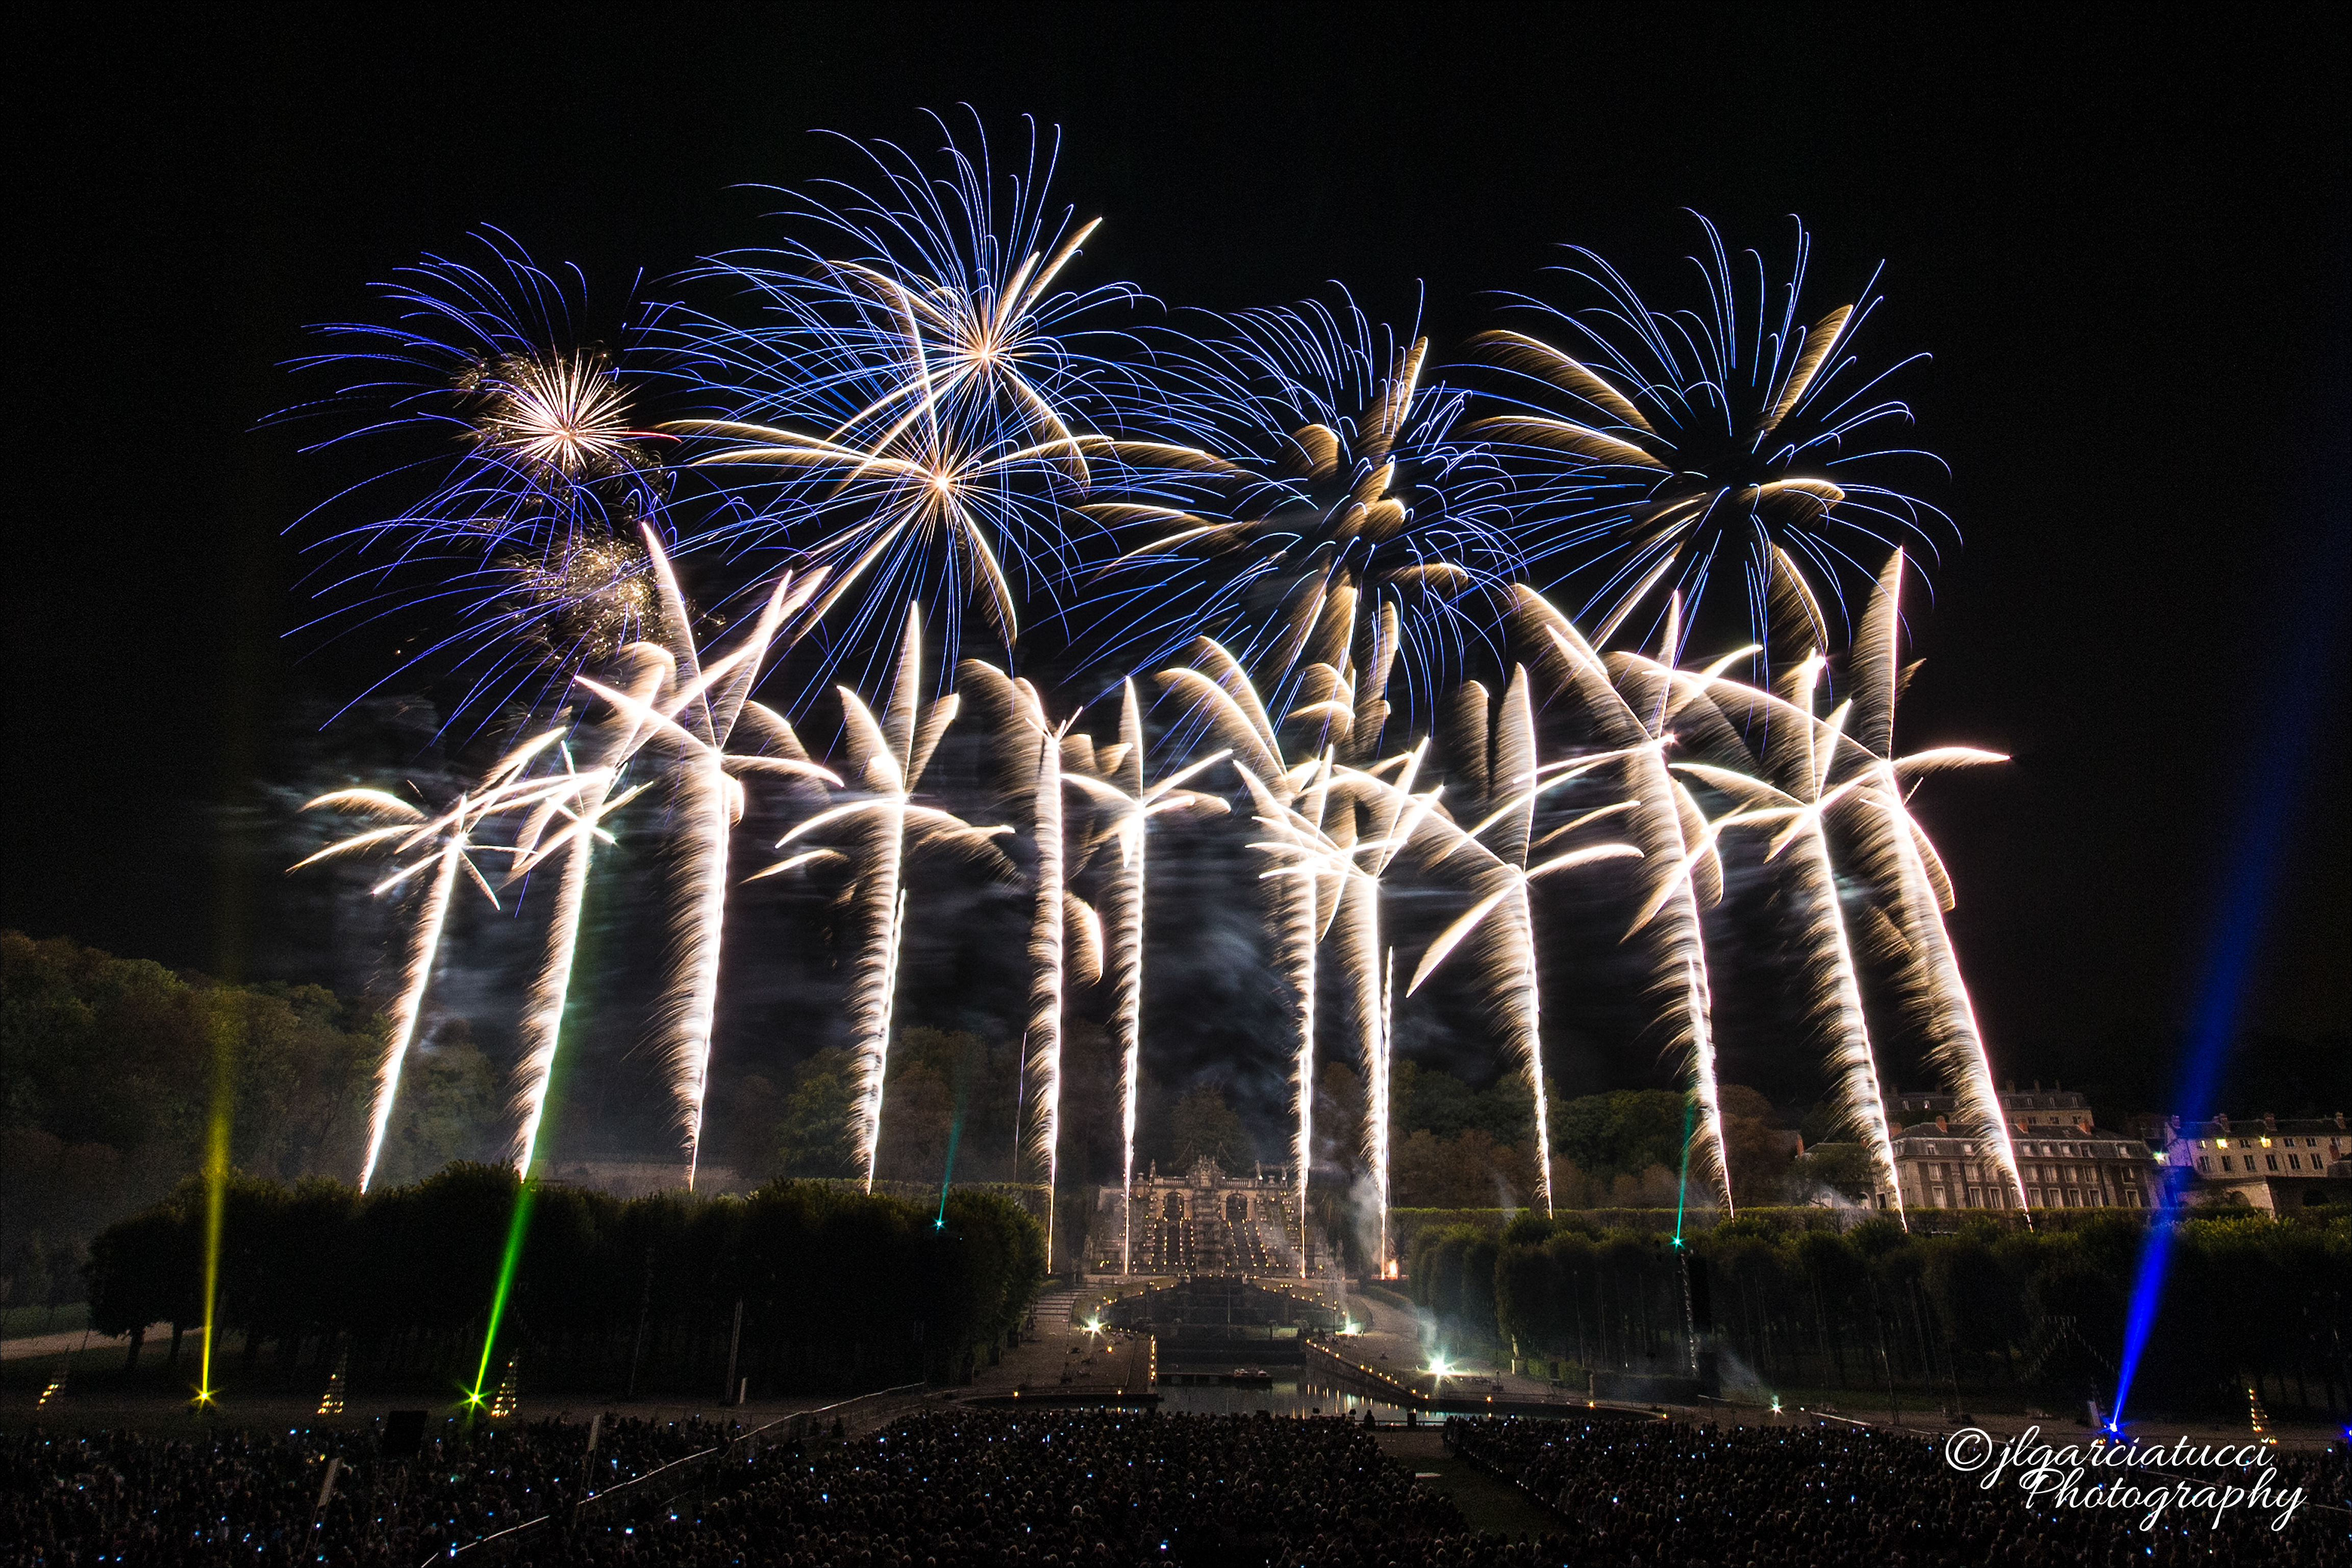
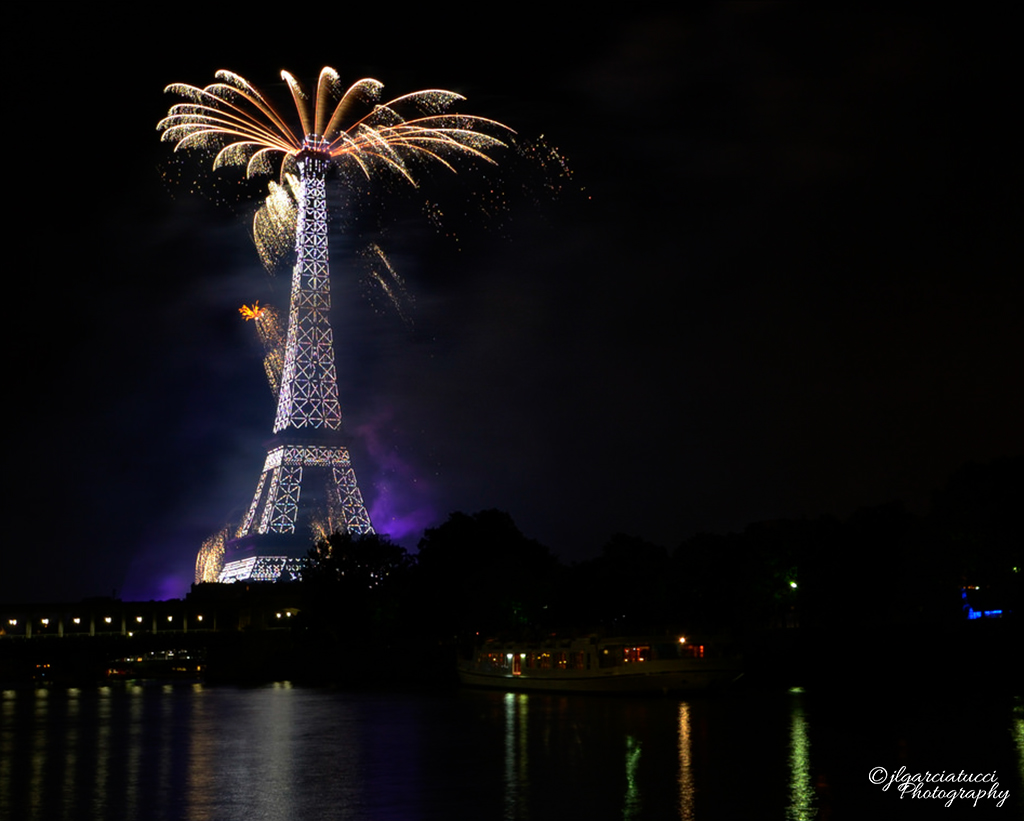
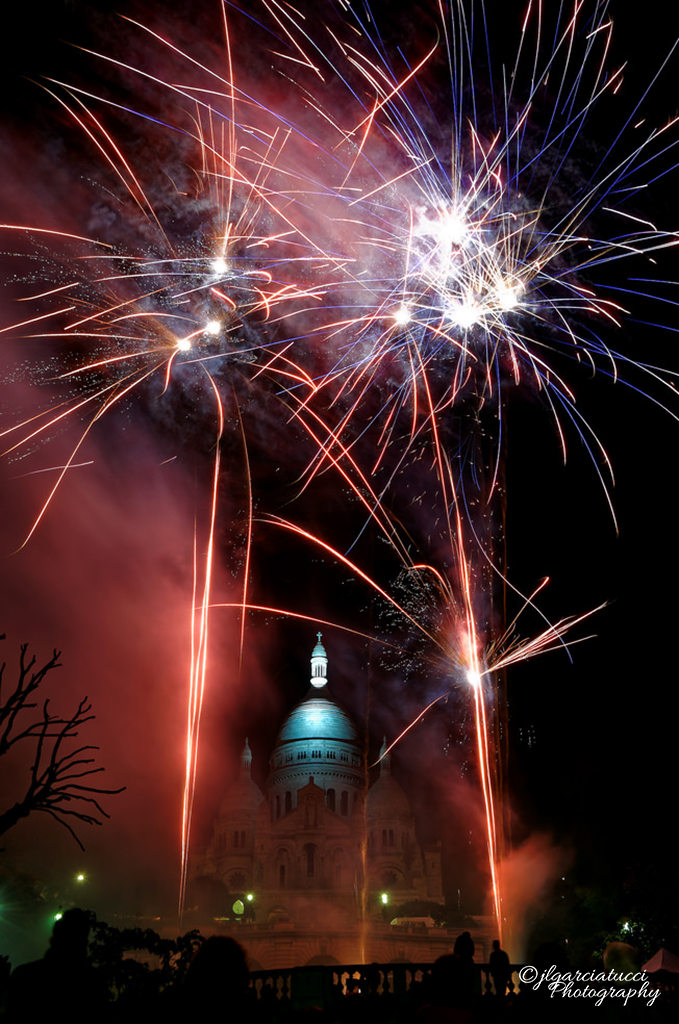
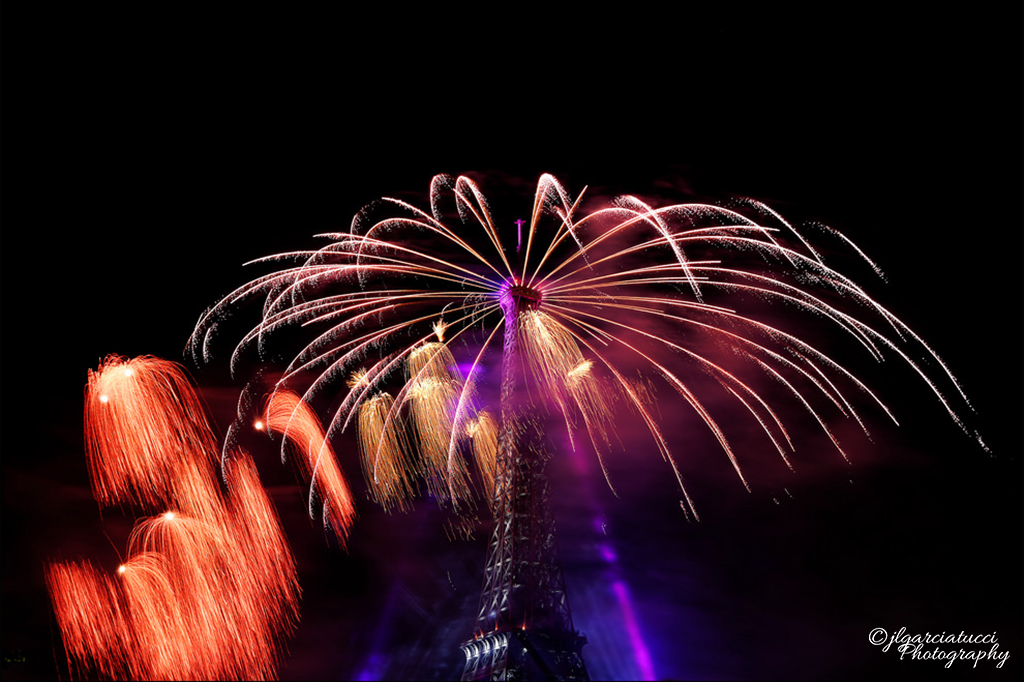
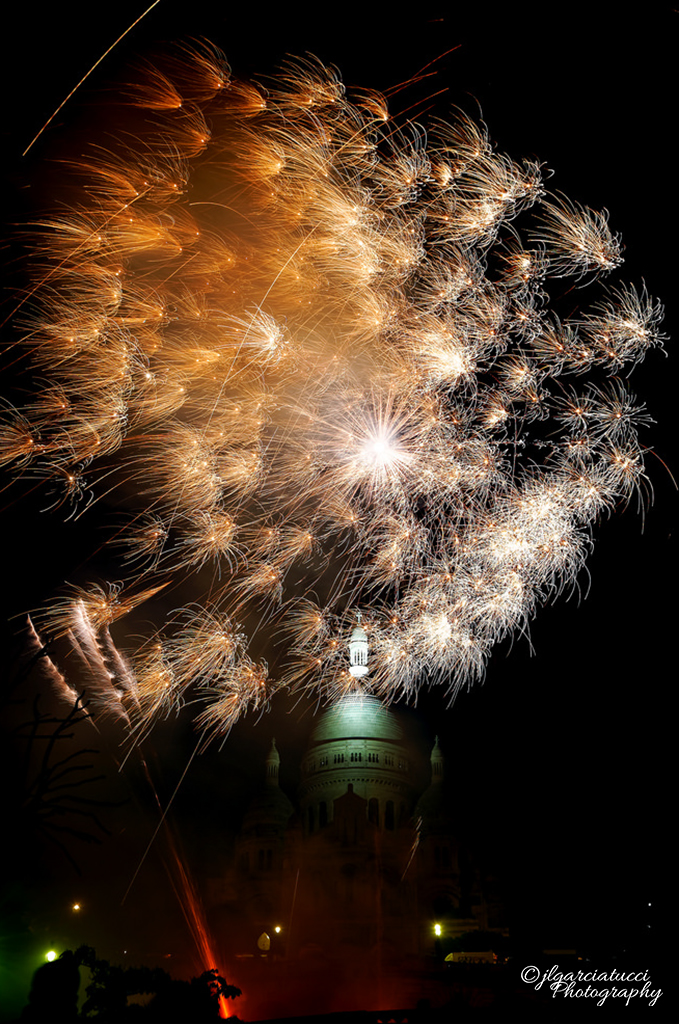
How to Capture Fireworks Photography

Throughout all history, humans have been fascinated by Fireworks, we all like the feeling of watching this combination of colors and explosions. This is not different for photographers, any photographer at one stage or another, dreams of shooting a great firework celebration, and who wouldn’t, so how to master Fireworks photography? This task for many of you that have not tried it might sound cumbersome and difficult to achieve. But don’t believe this myth with a few tips I will discuss in this article you will be set to go out there and start shooting Fireworks with great results.

This task for many of you that have not tried it might sound cumbersome and difficult to achieve. But don’t believe this myth with a few tips I will discuss in this article you will be set to go out there and start shooting Fireworks with great results.

fireworks photographyNikon D3100 ƒ/10 Sigma 10-20mm 1:4-5.6 EX DC HSM t:2s  ISO200

As many of other photographers when starting trying any technique, we try to think the more and more expensive equipment we get, we will get better results, this is not true. Is possible to get great results with non-high-end equipment.

For shooting fireworks you will need just the basics:

So Fireworks Photography How to?

Let’s start by discussing one by one the basic equipment required to go out there and start shooting.

15268271246_029310f947_bNikon D3100 ƒ/10 Sigma 10-20mm 1:4-5.6 EX DC HSM t:10s  ISO200

What Lens to use?

Most of the cases over 90% of the time I would recommend going wide, use a wide angle lens anything from 14mm~28mm.

Unless you plan to shoot the firework event from a really long distance (like a mountain or hill) to get the city skyline, but this brings other difficulties and this would require better and more expensive equipment.

The main approach of this article is based on the basis of shooting fireworks events from mid to close range distance, so go wide.

fireworks photographyNikon D3100 ƒ/8 Sigma 10-20mm 1:4-5.6 EX DC HSM t:4s  ISO200

Believe me, after you are stuck in the crowd looking for a good spot you will need to anticipate how high the fireworks will go over your subject, and you will need a wide angle lens for sure.

There are many wide angle lens that offers great quality for the price and performs great for fireworks photography and also other low light conditions. The first that comes up, if you are on a budget but want to get wide angle lens here are two I have used:

  • Sigma 10-20mm f/3.5 EX DC HSM (Good wide angle lens, fair quality and good results. Not for full frame sensors, Price range 450€)
  • Samyang 14 mm f/2.8 Aspherical AE AS IF ED UM (Very Good Lens for the price, Strongly recommended if you want also to do some astrophotography. Not AF, Price range 400€)

There is no need to have large aperture lenses used for low light photography.

Is wrongly believed that a large aperture lens f/2.8 or less is needed for fireworks photography this is why most of my fireworks photos are shot in the lens sweet spot aperture around f/8~f/11.

frieworks photography

Nikon D610 ƒ/8 Nikkor 28-300mm f/3.5-5.6 ED VR t:4s  ISO200

Tripod

Off course you will need a tripod, but which one? There are many good tripods out there. If you are into long exposure photography, night photography or any other that will need the use of a tripod, I suggest you buy from the beginning (if possible) a good carbon fiber tripod, because these tripods are really light and easy to carry around.

Look for versatility when looking out for a tripod, the different settings that will let you use it in different types of photography. For example, I use a Benro Carbon Fiber tripod that also can be set up as a monopod and different positions.

If you are on a budget any tripod will be good to start shooting fireworks events, remember is most likely that you will be moving around crowds and going light is the best way to go.

fireworks photographyNikon D610 ƒ/8 Nikkor 28-300mm f/3.5-5.6 ED VR t:10s ISO200 (not so good location due to crowded show)

Shutter Release

For remote shutter release, as many long exposure photographers will tell you to keep in your bag a wired shutter release. And why is this? from experience many of the wireless shutter release I’ve tried they tend to fail at one moment or another. In fireworks shows is critical you get your camera ready to shoot as soon as you want.

So if you like to carry around cordless shutter release is ok, but soon enough you will know the importance of taking your old fashion wired shutter release.

There are many white brands for any camera cheap shutter release you can choose from.

fireworks photography

Nikon D610 ƒ/8 Nikkor 28-300mm f/3.5-5.6 ED VR t:4s ISO200 (not so good location due to crowded show)

Camera Settings

Contrary to what you might believe, for fireworks, there is not need to have a fast lens (great aperture), you will always try to shoot on the sweet spot of your lens, this is usually f8-f11.

All photographers have their own tricks and you will get yours with practice, here are my favorite settings for shooting fireworks:

  • Always shoot in manual mode
  • Set your aperture in your lens’s sweet spot. I usually use f8 (as you can see in the examples)
  • Use low ISO settings 200-400, don’t go too high usually most bright fireworks with lots of white will tend to blow your exposure.
  • Set your focus to manual and focus at the subject distance, since you will be using a fairly good depth of field focus won’t be a problem.
  • Use your shutter release as soon you see the fireworks go up and hold the exposure until they have exploded.
  • Avoid shooting smoky parts of the show when you get too much smoke mixed with the fireworks is usually a blown out exposure not so easy to manage in post-production.

You can’t go wrong with these settings. Remember always to get really early to fireworks shows to get a good place and plan your shoot. So get out there and start shooting!.

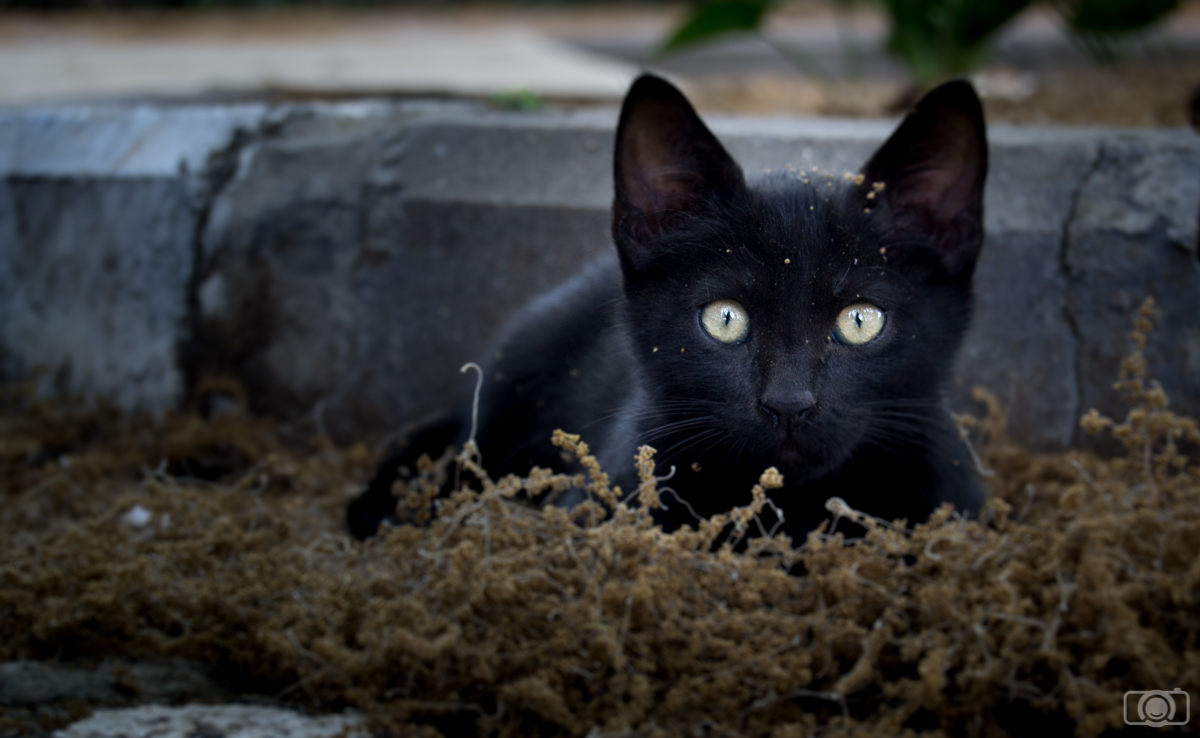
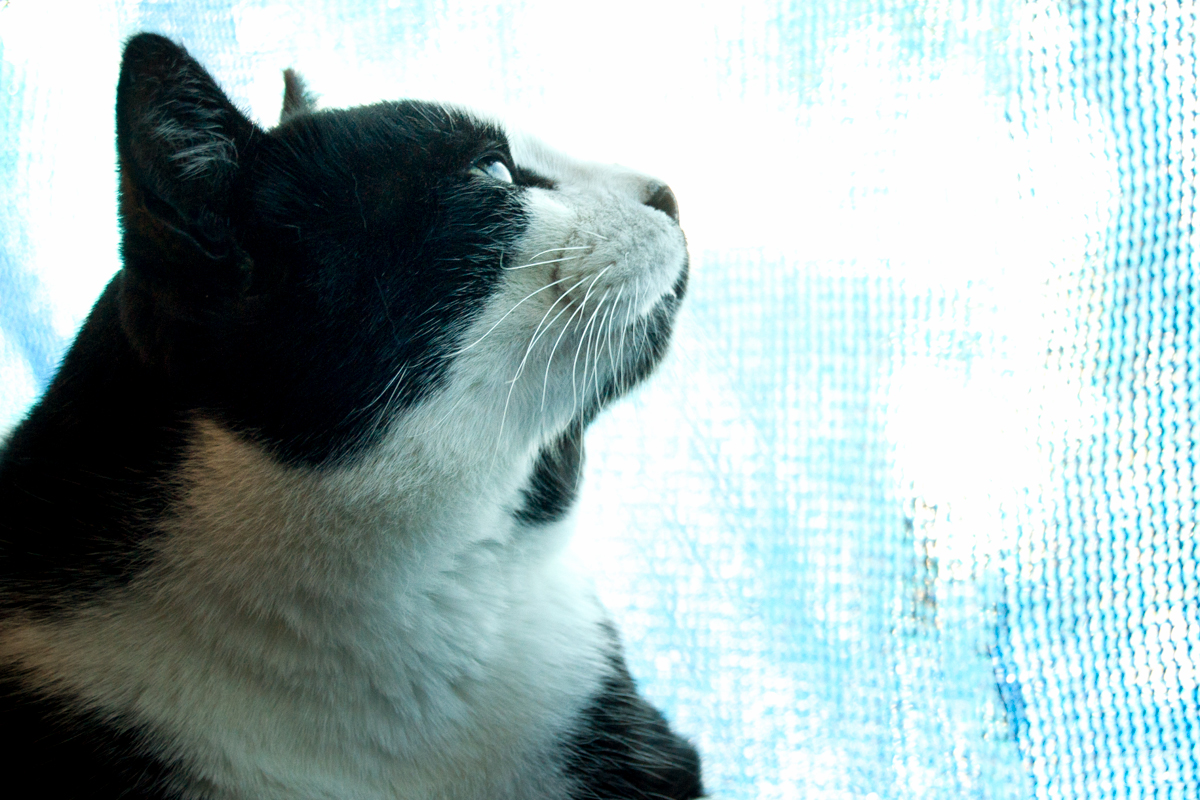
Cat Photography: How To Take Street Cats Photos

I always thought that cats are fascinating animals. These little felines have such a strong personality that I can’t do anything else but admire them. However, I never had the chance of having a cat as a pet. I really wanted one when I was a little girl. My mom always said that cats are beautiful animals…from a far! So as you can guess, she was not inclined to share our place with one of them. Four years ago I moved to Israel. Even today I am still surprised by the amount of street cats that you can find here. There are some that even adopt you as “their human” and come every day to check on you and see if you can give them some food. I started to take photos of them.  I really love these little wild animals. Today I want to share with you some of the things I learned about street cat photography.

Have your camera always ready

Street cats are not going to wait for you to take the camera out of your bag and adjust the settings. I missed a lot of shots because I was not ready. Although you think you are fast, you won’t be faster than them. Remember that after all, these little guys are felines! Which are the best settings? You will usually need to use a fast shutter speed. So in order to get photos with enough light (not too dark) you will need to adjust the aperture and the ISO.

Cat photography
This little cat was next to our car. Luckily I had the camera with me and ready to shoot. If I had gone home to look for the camera, I would have missed him.

Don’t use the flash

I am almost certain that if you use the flash to take a photo of a cat he will be so scared that he will run away and maybe he won’t come close to you in a while.

Increase your ISO if needed

I prefer to take cat photos with low ISO (100-200) because then I avoid noise that can distract the viewer’s attention from the animal. However, if in order to take a photo I need to choose between increasing ISO and decreasing shutter speed, I don’t think twice: I increase the ISO. I have been working a lot of years with a camera that doesn’t handle well high ISOs, but even then it was better to have a picture with noise than a totally blurry photo. Good news for cat lovers: new cameras handle pretty well high ISO values. You can check at which ISO you start having noise with your camera. You can do it shooting at a black surface and comparing the results using different ISOs. Once you know your ISO threshold, try to keep under it. But I wouldn’t obsess with it. If you need it: increase the ISO. Also keep in mind that you can decrease some of the noise in post-processing.

Cat photography
In order to take a photo of this kitty I needed to increase the ISO. I still got his paw a bit blurry. In this case, I think that it adds to the image, but too much blurriness can make you lose the shoot.

Get to know them

After a while living in Israel I started recognizing all the street cats of the neighborhood. Cats are quite territorial, so they like to be inside the borders of what they consider “mine”. If you pay attention, after a couple of weeks you will realize that you always meet the same cats. From time to time you see a new one, but the main group keeps the same week after week. Each cat has his own personality. Knowing them well will help you to take decisions about the lenses you need or how to approach them.  For example, some of them are bossy. These guys are usually bigger than the others. They are quite self-confident so they don’t run away so easily. For them you don’t need a tele-lens, but you will need something more than 50mm because they won’t allow you to get too close (around 100mm should be fine). Remember, they think that you are a simple human under their mandate. They could attack you if you get too close. Others are fearful and the closest you can get to them is 50m. You will need a lens that will allow you to zoom from far because they will run away as soon as they see you. Others are a bit more naive and you can get really close to them. With them you can use a 50mm or even a 35mm.

Cat photography
This cat came every day to my place for the 4 years I was living there. He adopted me as his Human. He is the total boss of the neighborhood. We established a pretty convenient unspoken agreement: he was protecting my home from other cats and I was providing him milk. We understood each other. However, not even once I was able to touch him. Lucky me, I was allowed to get close enough to take photos of him.

Study their habits

The most part of the cats have habits. They have a favorite place to sleep, they visit a garden at certain time of the day, they go  to the house of that neighbor to eat second breakfast… when you recognize a pattern, you can anticipate there moves and be ready to shoot. You can even hide somewhere as if you were a National Geographic photographer (I love doing this, I always have a lot of fun!!)

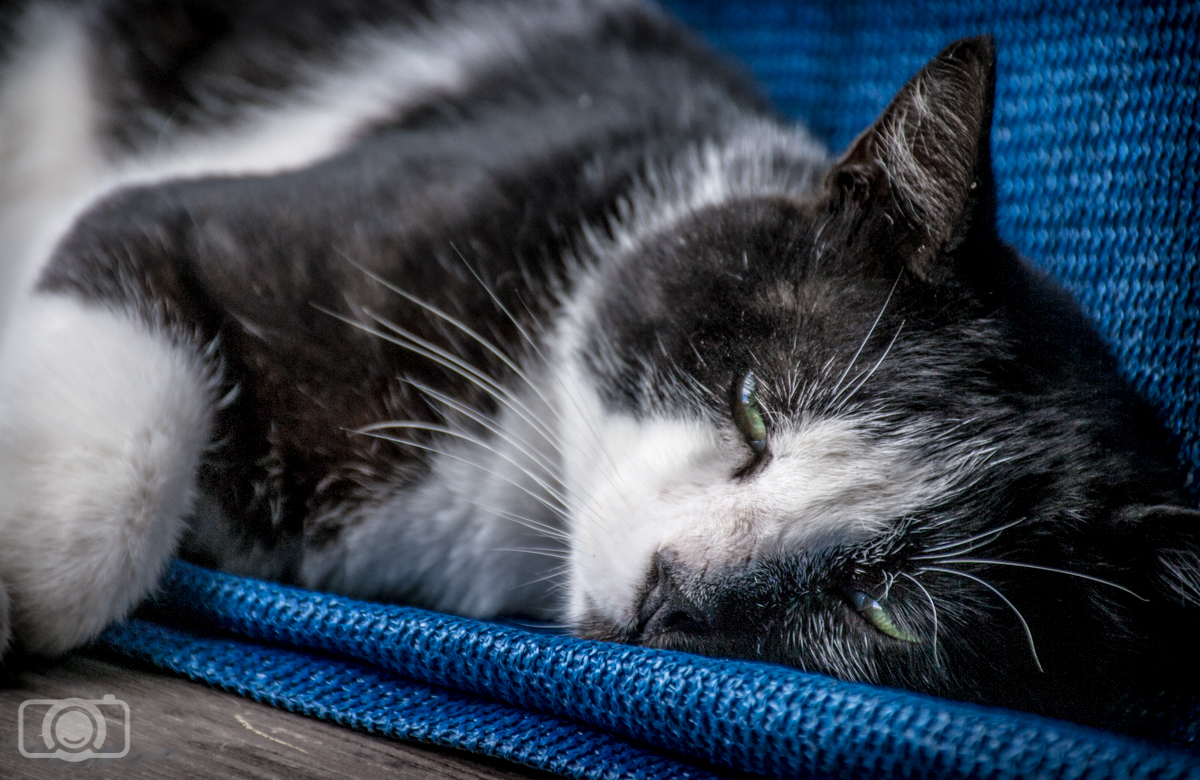
Cat photography
This cat likes one of my garden’s chairs. He comes almost every day. I just needed to wait for him hiding behind a blind to take this photo.

Be patient and don’t get mad at them

You can’t tell cats to pose or do what you want, so be patient with them. You will probably need to take a lot of pictures before you get one you like. Keep your mind open. Maybe the cat is not doing what you expected, but probably it will do something good. Or maybe he will run away and leave you frustrated and wanting… If this happens, just accept it. Don’t get mad at the cat. You will have more chances in the future.

Cat photography
Cats rarely do what you want or expect from them. Be open minded and appreciate any chance they give you, even if they decide to look to the other side.

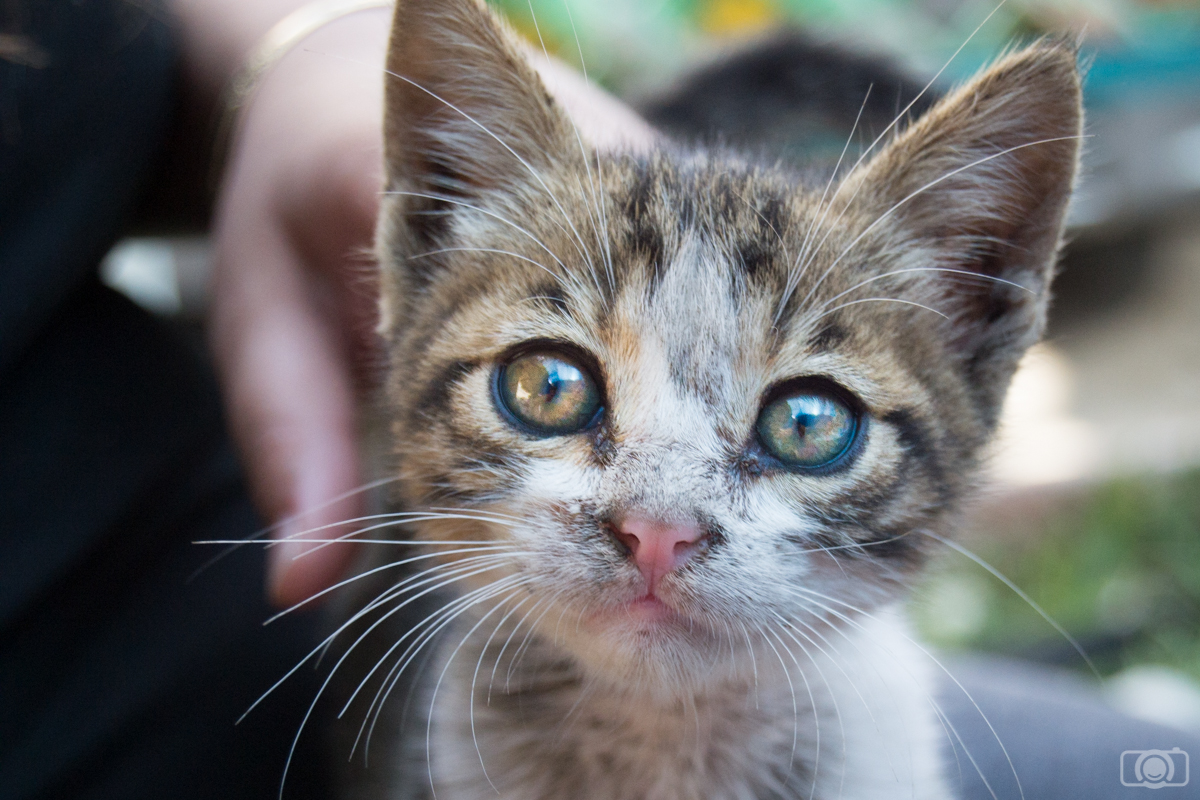
Take advantage of the fact that cats are curious

Cats are curious by nature. And this is good for photography. Some of them are already curious for the noise that the DSRL’s mirror does when you shoot. You take a photo of them and they just stare at you as if wondering “What is this noise?”. This is your chance to take a good picture. Other cats need a bit more. But usually if you play with something in front of them or if you make some subtle noise they will look at whatever you are doing.

Cat photography
This kitty was so curious about the noises coming from my camera that he was staring at me for several minutes (enough to take a photo)

Focus on their eyes  

When we are looking at a photo we usually pay attention to the eyes, so try to keep them sharp.

Cat photography
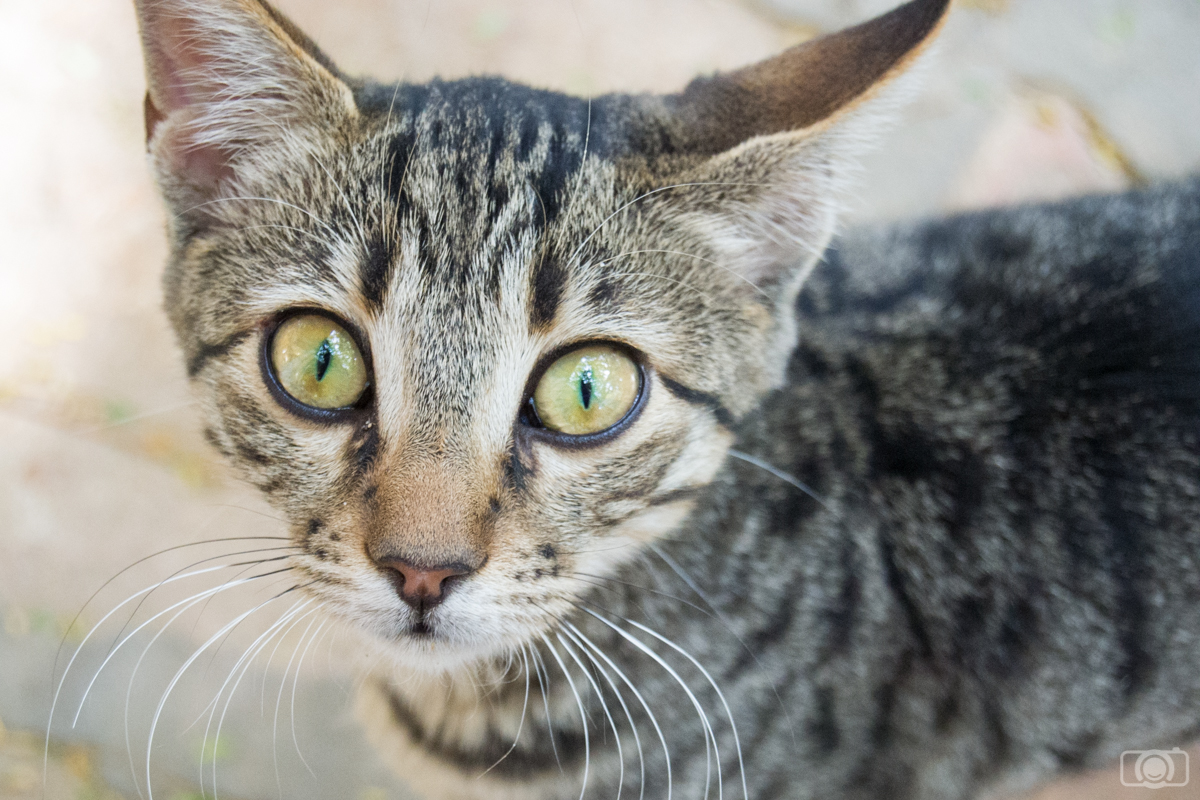
Cat’s eyes are quite impressive. Try to focus on them and keep them as sharp as you can.

Do you have any experience photographing street cats? Tell me how it was and if you tried some of these tips. I would love to know about your experiences! Have a happy shooting!!

A How-To Guide on Organizing a Portrait Photo Session

Do you need to organize a portrait photo session? If it is your first photo session or if you want to improve the organization of your photo shoots, keep reading. At first it might seem a bit overwhelming. But if you establish a good workflow, things will become easier. You will feel more confident organizing your portrait photo session and you will even enjoy the process!  Along the article, just for simplification purposes, I will refer to the model as “client”. You can apply these tips to friends or models. The photos I am sharing with you today are from two photo sessions that I did for my friend Nita. As she is a yoga teacher, all the photos in this article are somehow yoga related.  But these tips are good for any portrait session.

A How-To Guide on organizing a portrait photo session
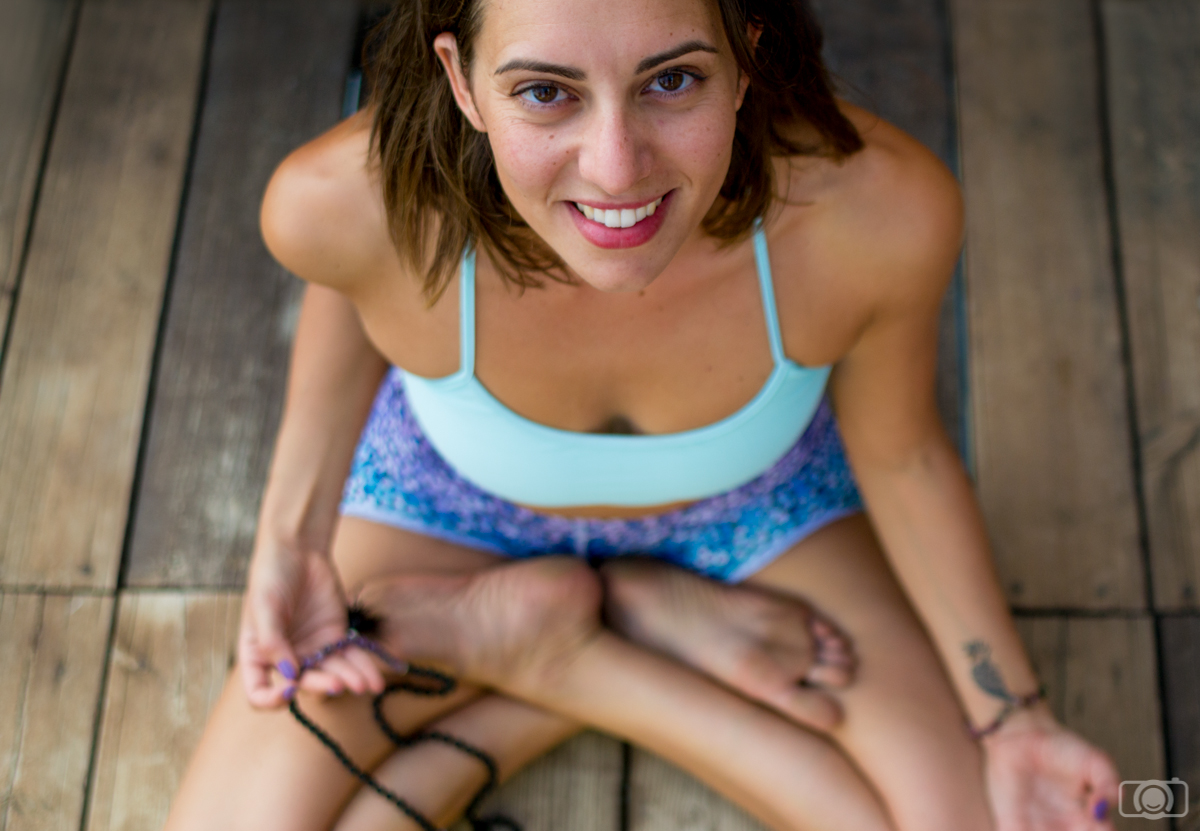
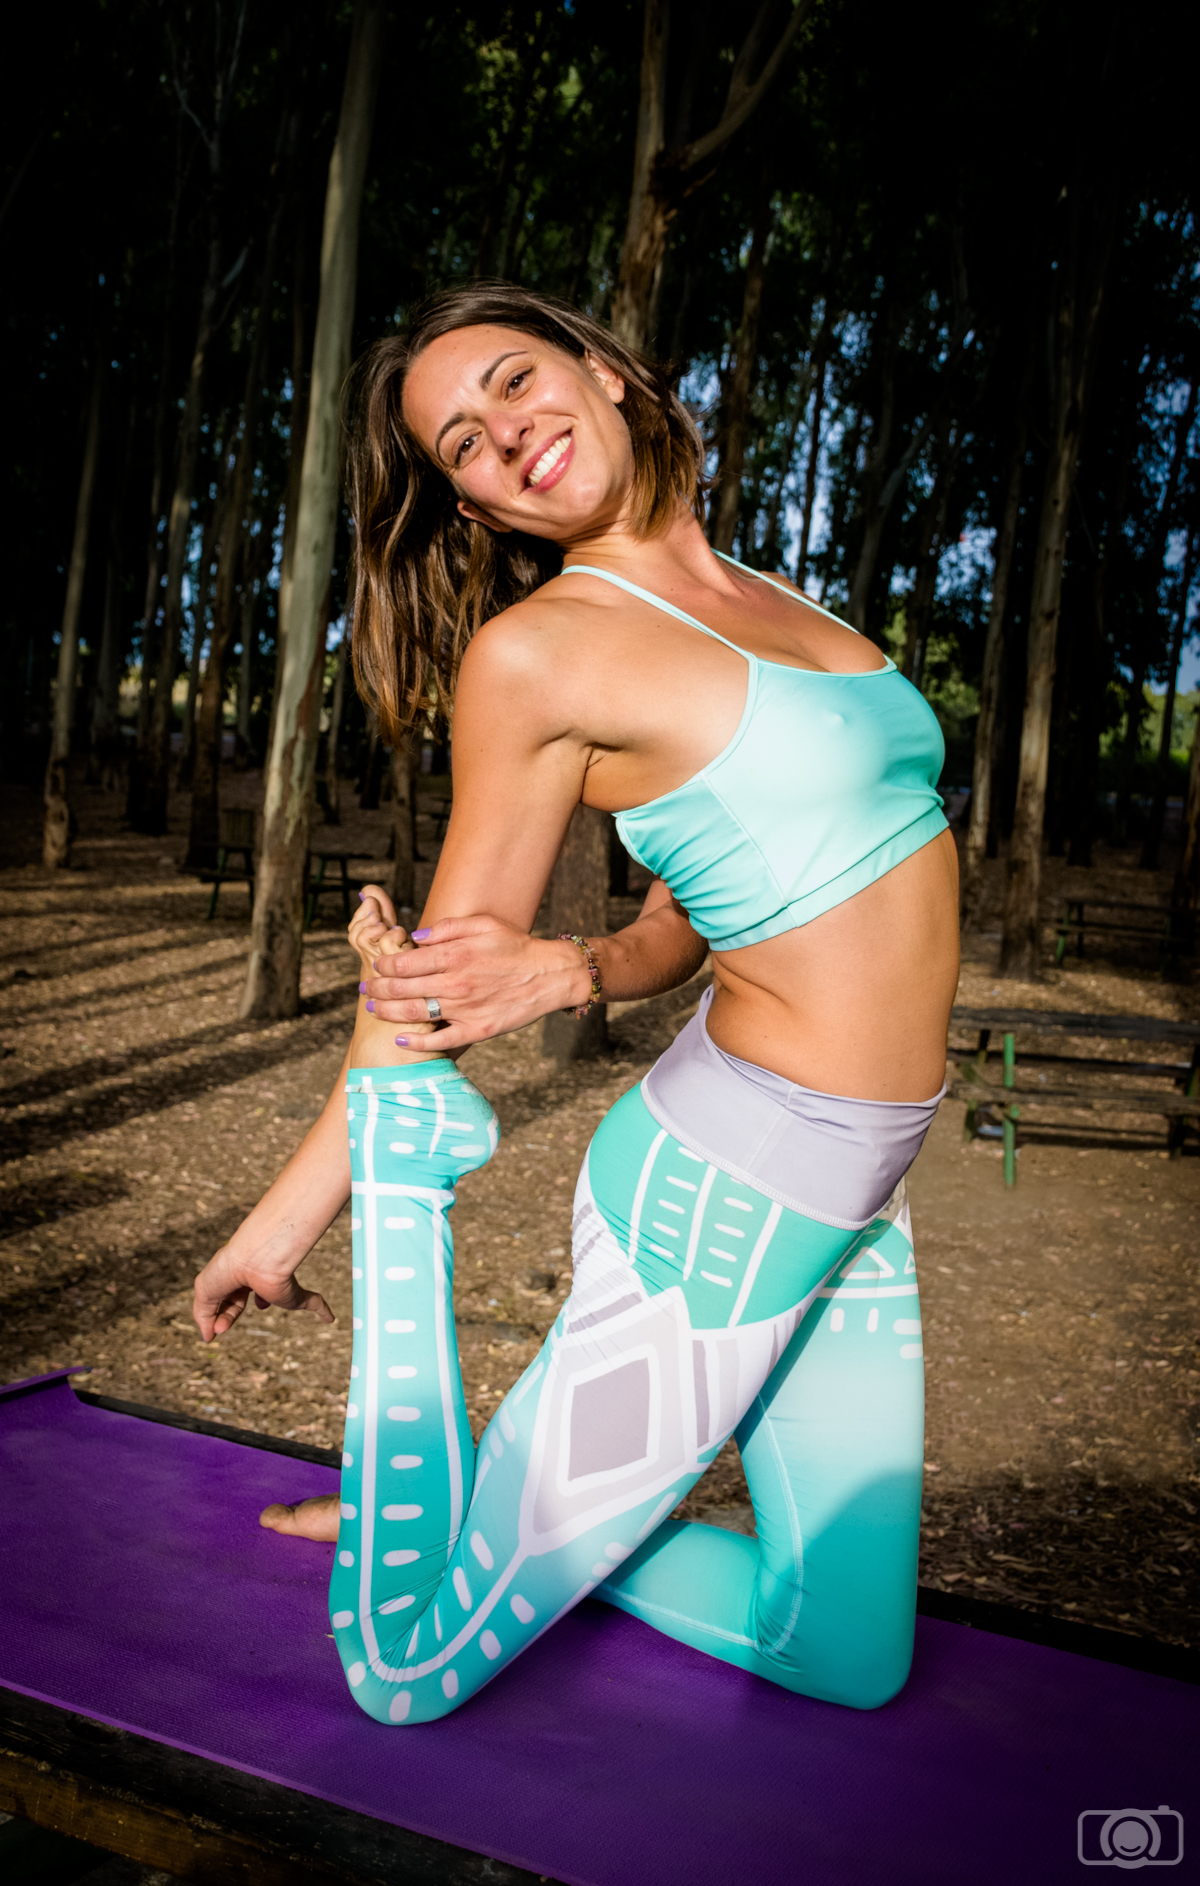
This is Nita, my yogi friend. She needed photos mostly for her social media and blog so she became my client.

Talk with your client and discover for what does he/she wants the photos

This first tip is a general one and it might seem pretty obvious. However, what your clients want to get from the photos will determine the whole organization of your photo shoot. Deciding about poses or locations will be easier if you know what you want to achieve in the photo session. It is important that you talk with your clients before the photo session and you ask them a series of questions. Some of them will be quite practical and to the point: how many photos they need, if they need them in landscape or portrait orientation, do they need some negative space (empty space) to add text in the photos, if the photos are meant for printing or just for using on the internet, if they will need to change clothes and so on. Other questions are not so easy to answer but are extremely important: what do your clients want to express on the photos? Do they want to look serious? Friendly? Strong? You can talk face to face with your client, by phone or even send them a questionnaire. I strongly recommend you to keep record of everything your client answers.

A How-To Guide on organizing a portrait photo session
Nita wanted to look friendly and approachable, so we made sure to take pictures of her smiling.

Decide on location and session length

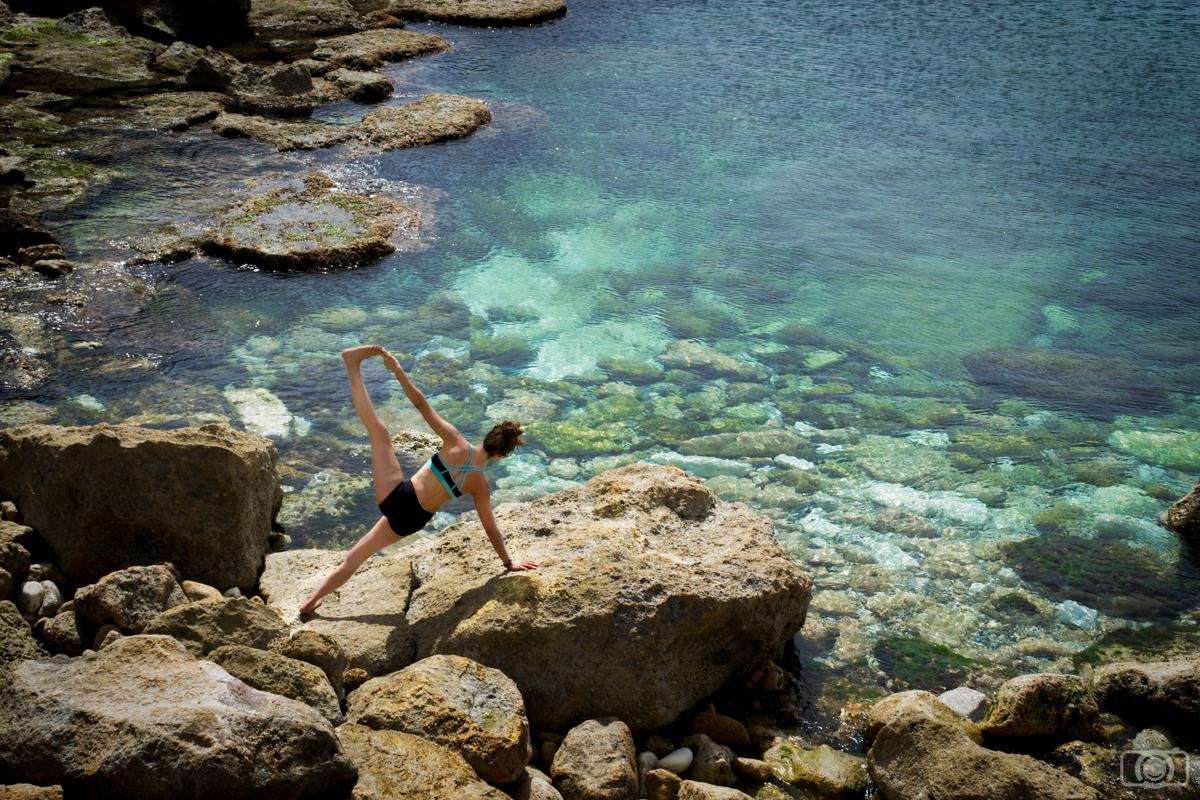
The information your clients would provide you is precious because it will help you to set the perfect photo session for him/her. I would start thinking on what the client wants to express. From this information you can have a first idea about the location of the photo session. Maybe your client has a location in mind, but as the photographer, I think you should offer your opinion regarding the choice of location. Offer your client a plan but also listen to what they have to say about it. For example, in our yoga photo session, Nita wanted to look friendly, approachable and strong. We decided to do the photo session in several outdoors locations, mostly in the beach. Beach portraits can convey this playful mood that would add to the friendly, approachable look. In addition, Nita loves being outdoors, so she feels comfortable in this type of locations. Think of the comfort of your clients. Happy and relaxed clients mean better photos and will increase the chance that they call on your services again!

A How-To Guide on organizing a portrait photo session
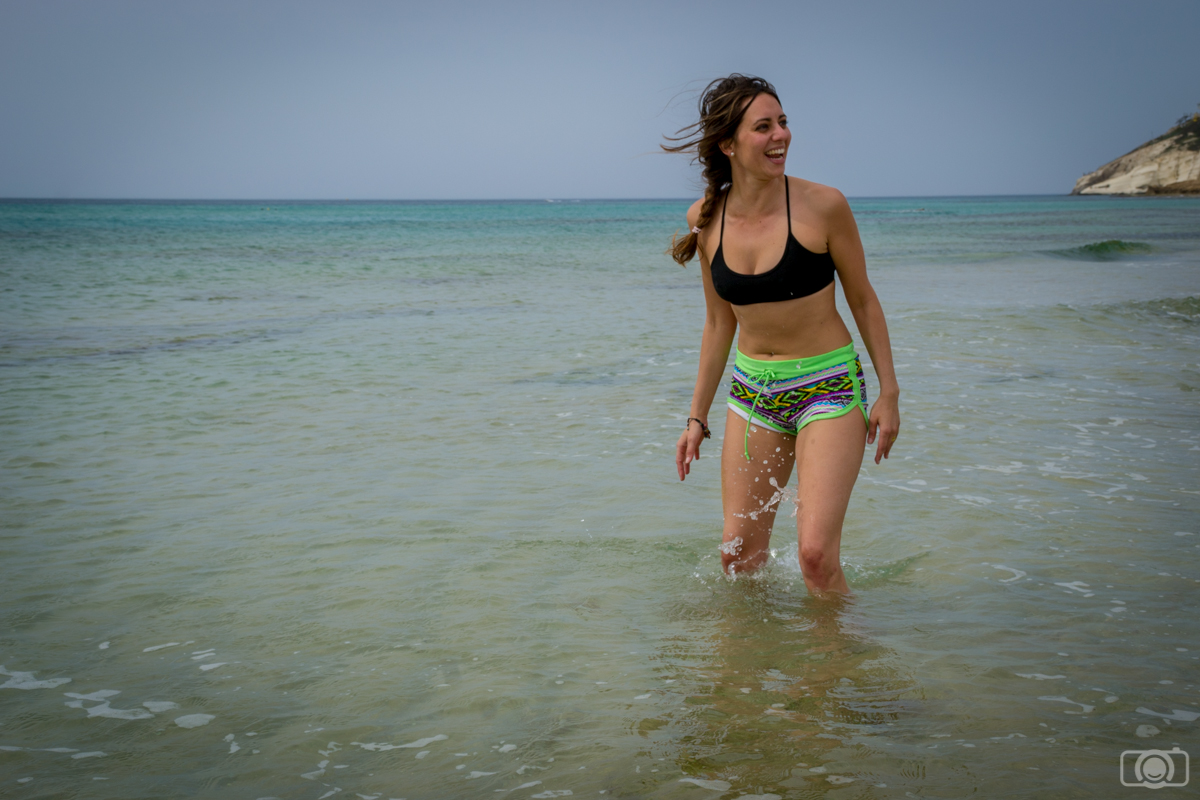
Beach photos have this playful atmosphere that can help in creating a friendly and approachable look

She also decided that she needed people to know that she is good doing asanas (asana is the name of the yoga postures) and that she also gives importance to meditation. We made sure to include pictures that show these two sides of Nita.

A How-To Guide on organizing a portrait photo session
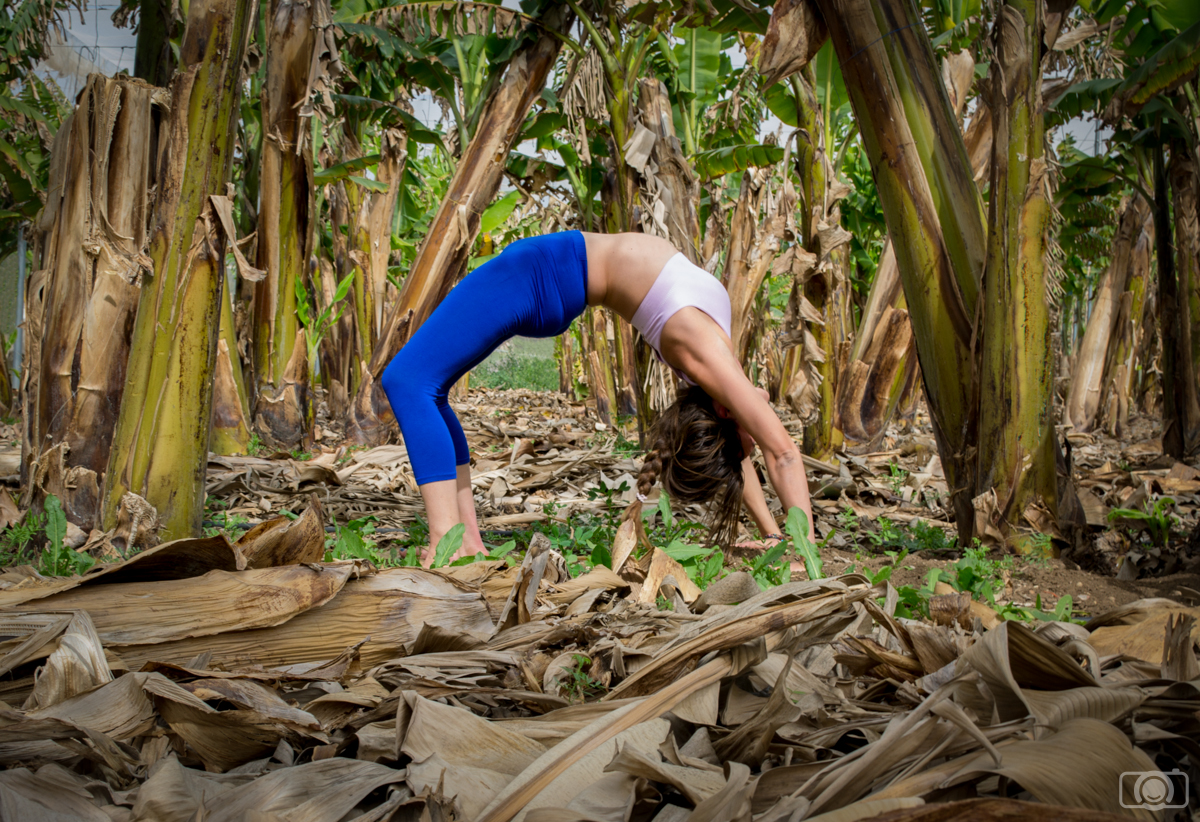
By combining the right environment with the correct pose, you can emphasize different traits of your clients. This photo of Nita in a bridge pose shows us how flexible she is and in the same time reveals her sculpted muscles, indicating a combination of agility and strength, this effect is emphasized by the banana plants standing on either side of her, bringing out Nita’s image thanks to their symmetry, shape and color.

A How-To Guide on organizing a portrait photo session

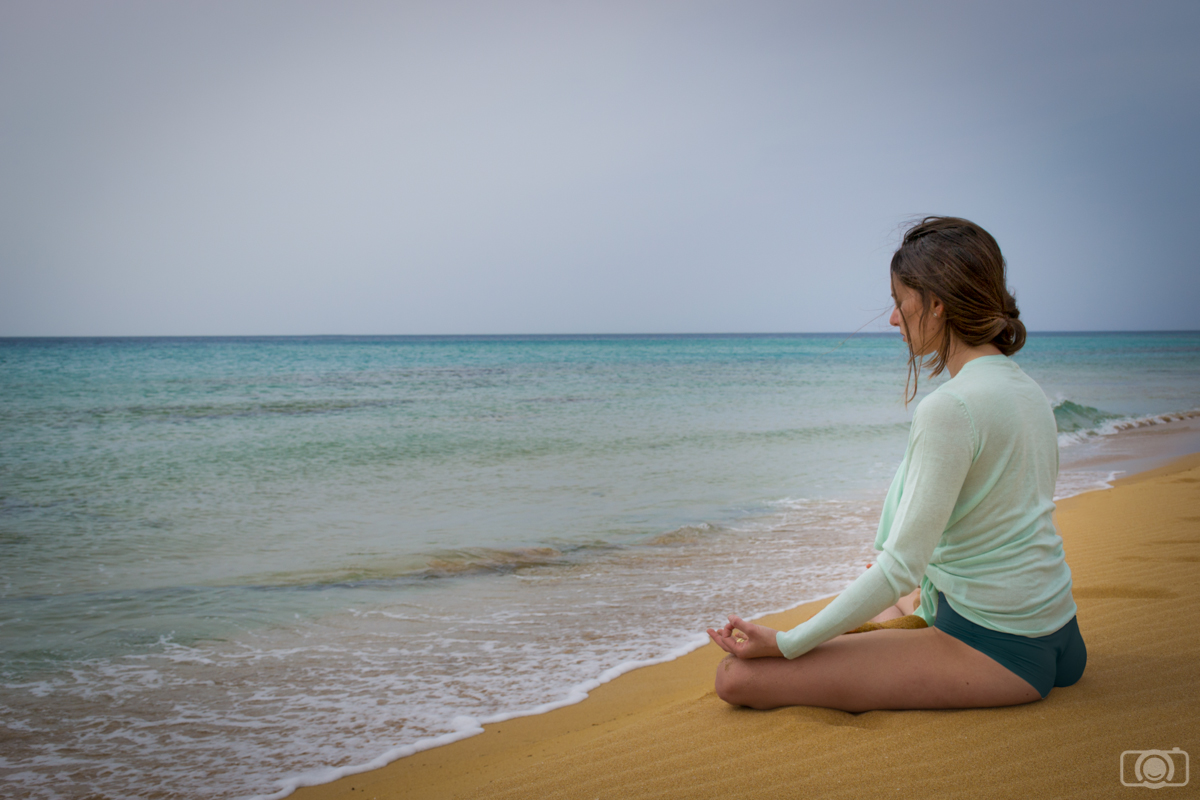
The undisturbed sand that Nita sits on, together with the clear, blue sea and the wide horizon help to convey the tranquility and openness that Nita achieves through her meditation and breathing exercises.

Now that you know the location and the number of photos your client needs, you can do a better estimation of time you need to book for the photo session. Don’t forget to add some extra time if your client needs to change clothes.

Think about the poses

I found it really helpful to have a set of ready-to-use poses. I usually do some research online looking for poses that will help the client to express what they want: poses looking strong, or relaxed, or approachable…. You can ask the client to show you photos they like too. I even prepare a power point of photos that I will bring with me on the day of the photo session (I like to bring my tablet to the photo sessions, but you can also print them or show them on the phone). This doesn’t mean that I want to copy the poses I saw online. I just have them to give some inspiration to the client. I notice that when I show clients these power points, they feel more confident. I guess they feel like they can always have a look at the power point if they run out of ideas. I have to admit that many of my clients take only one or two looks in the power points I make for them. But even if they don’t use it a lot, just for the blast of confidence it provides, it is worth to have it. The photos I take usually don’t look at all like the ones in the power point.

A How-To Guide on organizing a portrait photo session
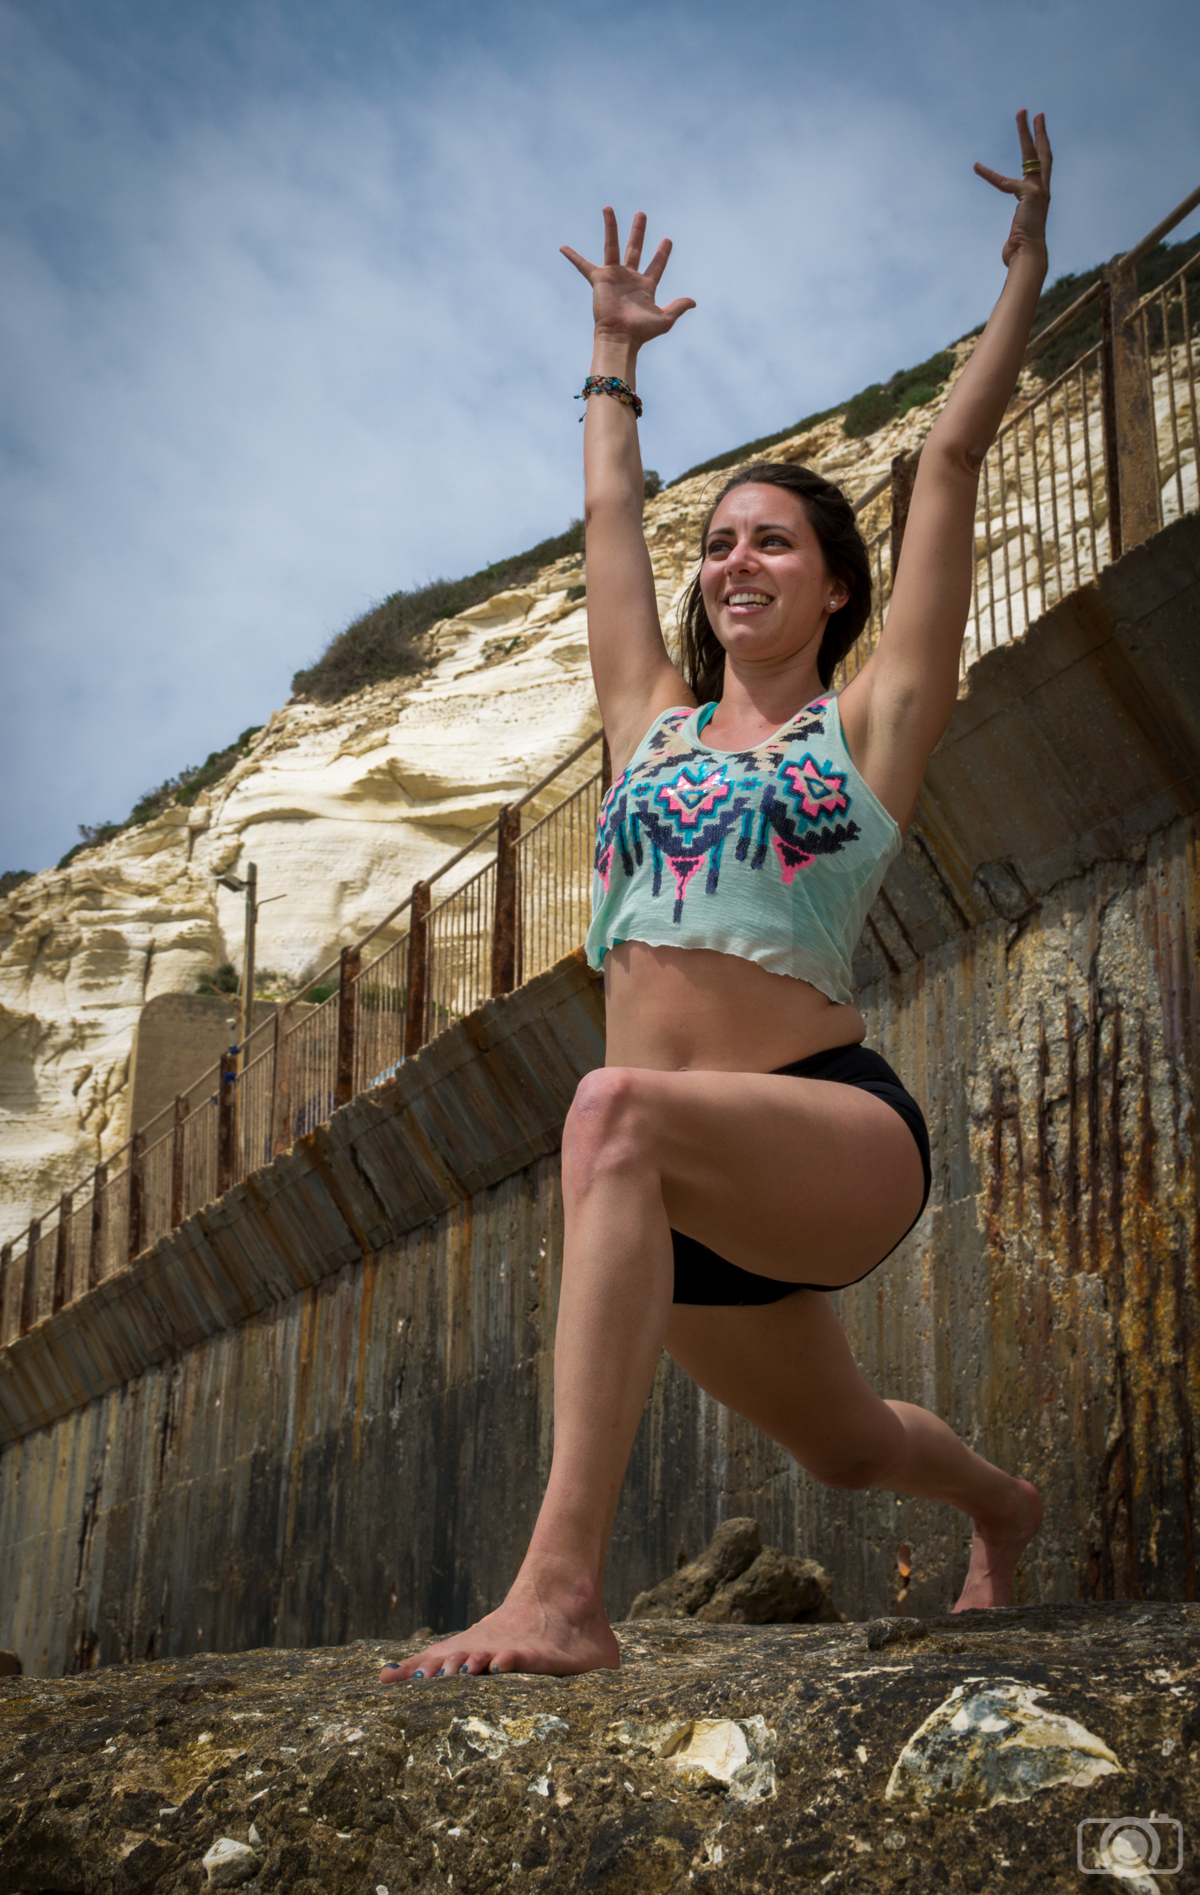
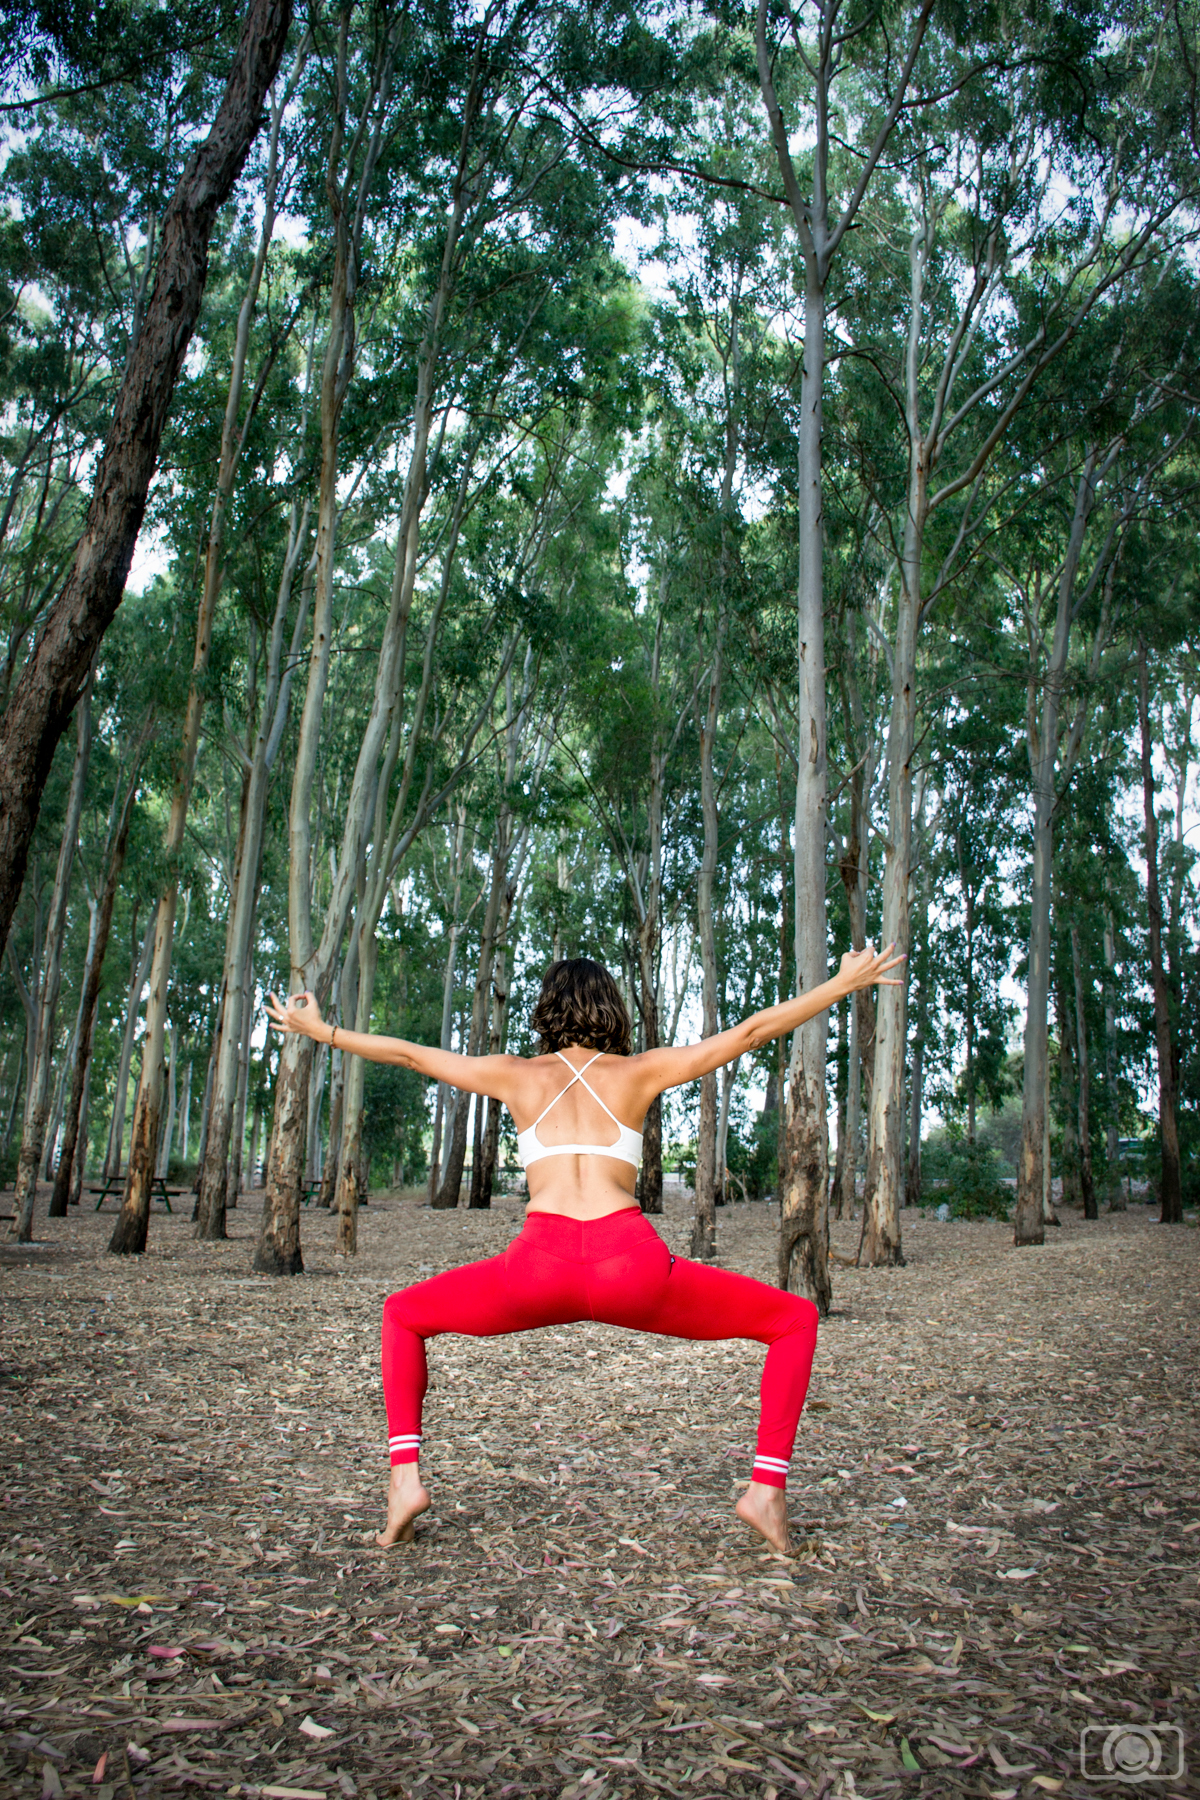
Here we had a moment where we ran out of ideas, we already did the bridge pose and with this vibrant and sporty outfit we wanted another photo that will scream “I’m strong!”, after a quick look to the power point Nita came up with this pose.

Check if you need to practice some techniques

Think about the techniques you will need in the photo session. Would you need to use a flash? Do you need a reflector? Or maybe you need to use a circular polarizing filter. Make sure to practice before the photo shoot. You don’t want to make any beginners mistakes in front of your client.

A How-To Guide on organizing a portrait photo session
: Here we needed to use a reflector to add some light to Nita’s face. It seems like a simple and straight forward tool (Just aim the beam of light and that’s all, right?), well, it is a bit more complicated than that. To start with, if you are not careful you can blind your client, another issue is the angle at which the light hits the model (for example, some angles can help to bring out features such as muscle lines). In short- practice with a reflector (or any other equipment) before the photo session.

Make a list of the equipment you need for the photo shoot

I love checklists. I have one made with all the equipment for the photo sessions: memory cards (formatted!), batteries (charged!!!), reflector, filters, lenses (clean!!!), camera (of course!)… The amount of equipment you need might be a lot, so having it listed will make your life easier. It is terrible to realize that you forgot something once you are in the photo session. I also add to the list things that might help the client: something to tie the hair with in case it is windy, make up, some water bottles…

Make a list with the kind of photos you need to take

Your client already gave you all this information. Just make sure you remember how many and the type of photos you need to take: portrait, landscape orientation, with a lot of negative space…

A How-To Guide on organizing a portrait photo session
Nita needed some photos with negative space so she could add some text to them if she wanted to. We used the beautiful Mediterranean Sea to add some interesting negative space to the photos.

Prepare the equipment

The photo shoot is approaching!! Take your equipment list and prepare everything you need. Do it the day before or at least with enough time to charge the batteries in case you need to replace them (even if you are certain you have enough power in the battery, it’s always good to have spares).

Meet with the client a bit in advance

I recommend meeting with the client a bit before the photo session to have time to relax, check your camera settings, prepare your equipment, talk a little and show them the power point with the photos. Starting a photo session in a rush is never a good thing.

Enjoy the photo session

You prepared a great photo session, so you’re gonna rock it! Now it is time to have fun with what you like the most: taking photos!

I have some specific tips for yoga/sports photo sessions: If your client needs to do some physical effort, think that she might need to warm up. These kind of sessions might be exhausting for your client. Talk with him/her and decide if you want to make the complicated and tiring photos at the beginning of the session or towards the end. Everybody is different, so it is important that you know how they prefer to organize these high demanding photos.

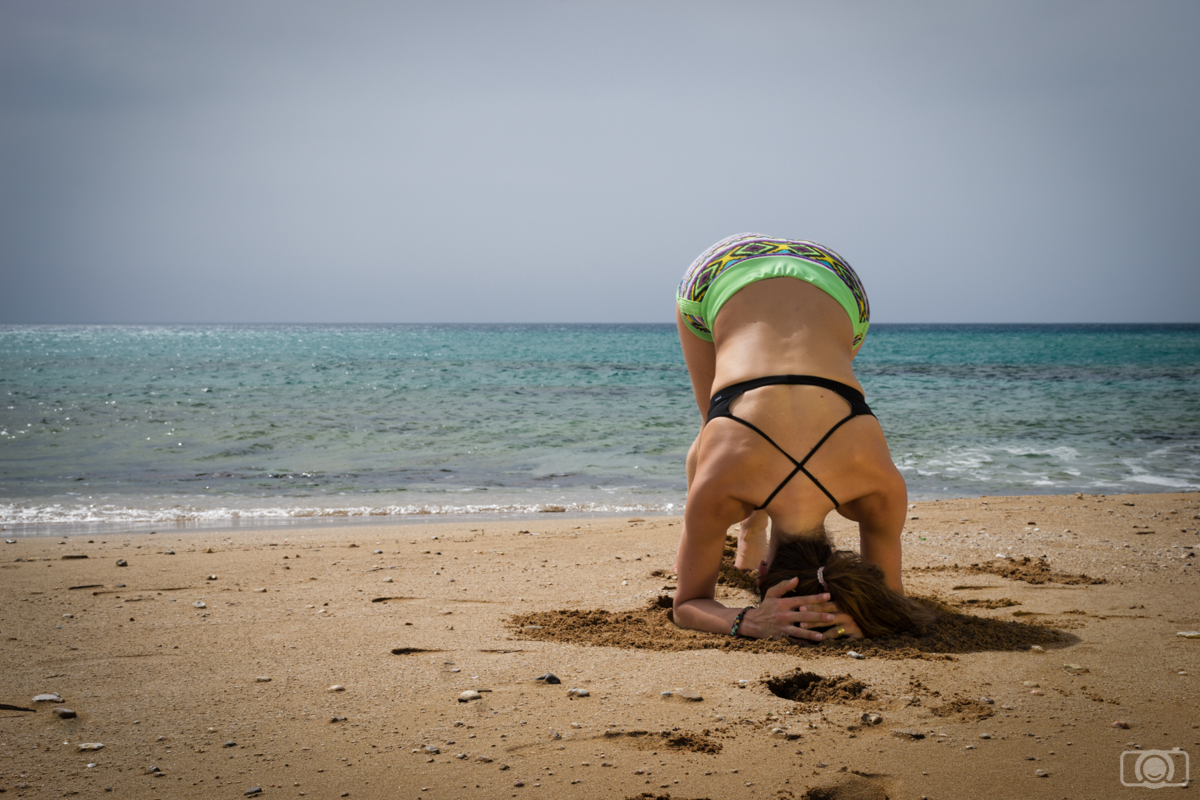
Last but not least… tell your clients to choose their clothes wisely, including their underwear!! If you don’t want to spend hours in Photoshop removing marks, folds and underwear that shows up… tell them to pick photo-session suitable clothes. And don’t hesitate in helping them to adjust their clothes during the photo shoot. It might seem like a joke, but believe me; you can save a lot of time and headaches here!

A How-To Guide on organizing a portrait photo session
Tell your client to choose their clothes wisely, especially if they are going to be upside down and underwear can show up easily.

Tell me if you find these tips useful or if you miss something. I would love to know.

Happy shooting and until next post!!