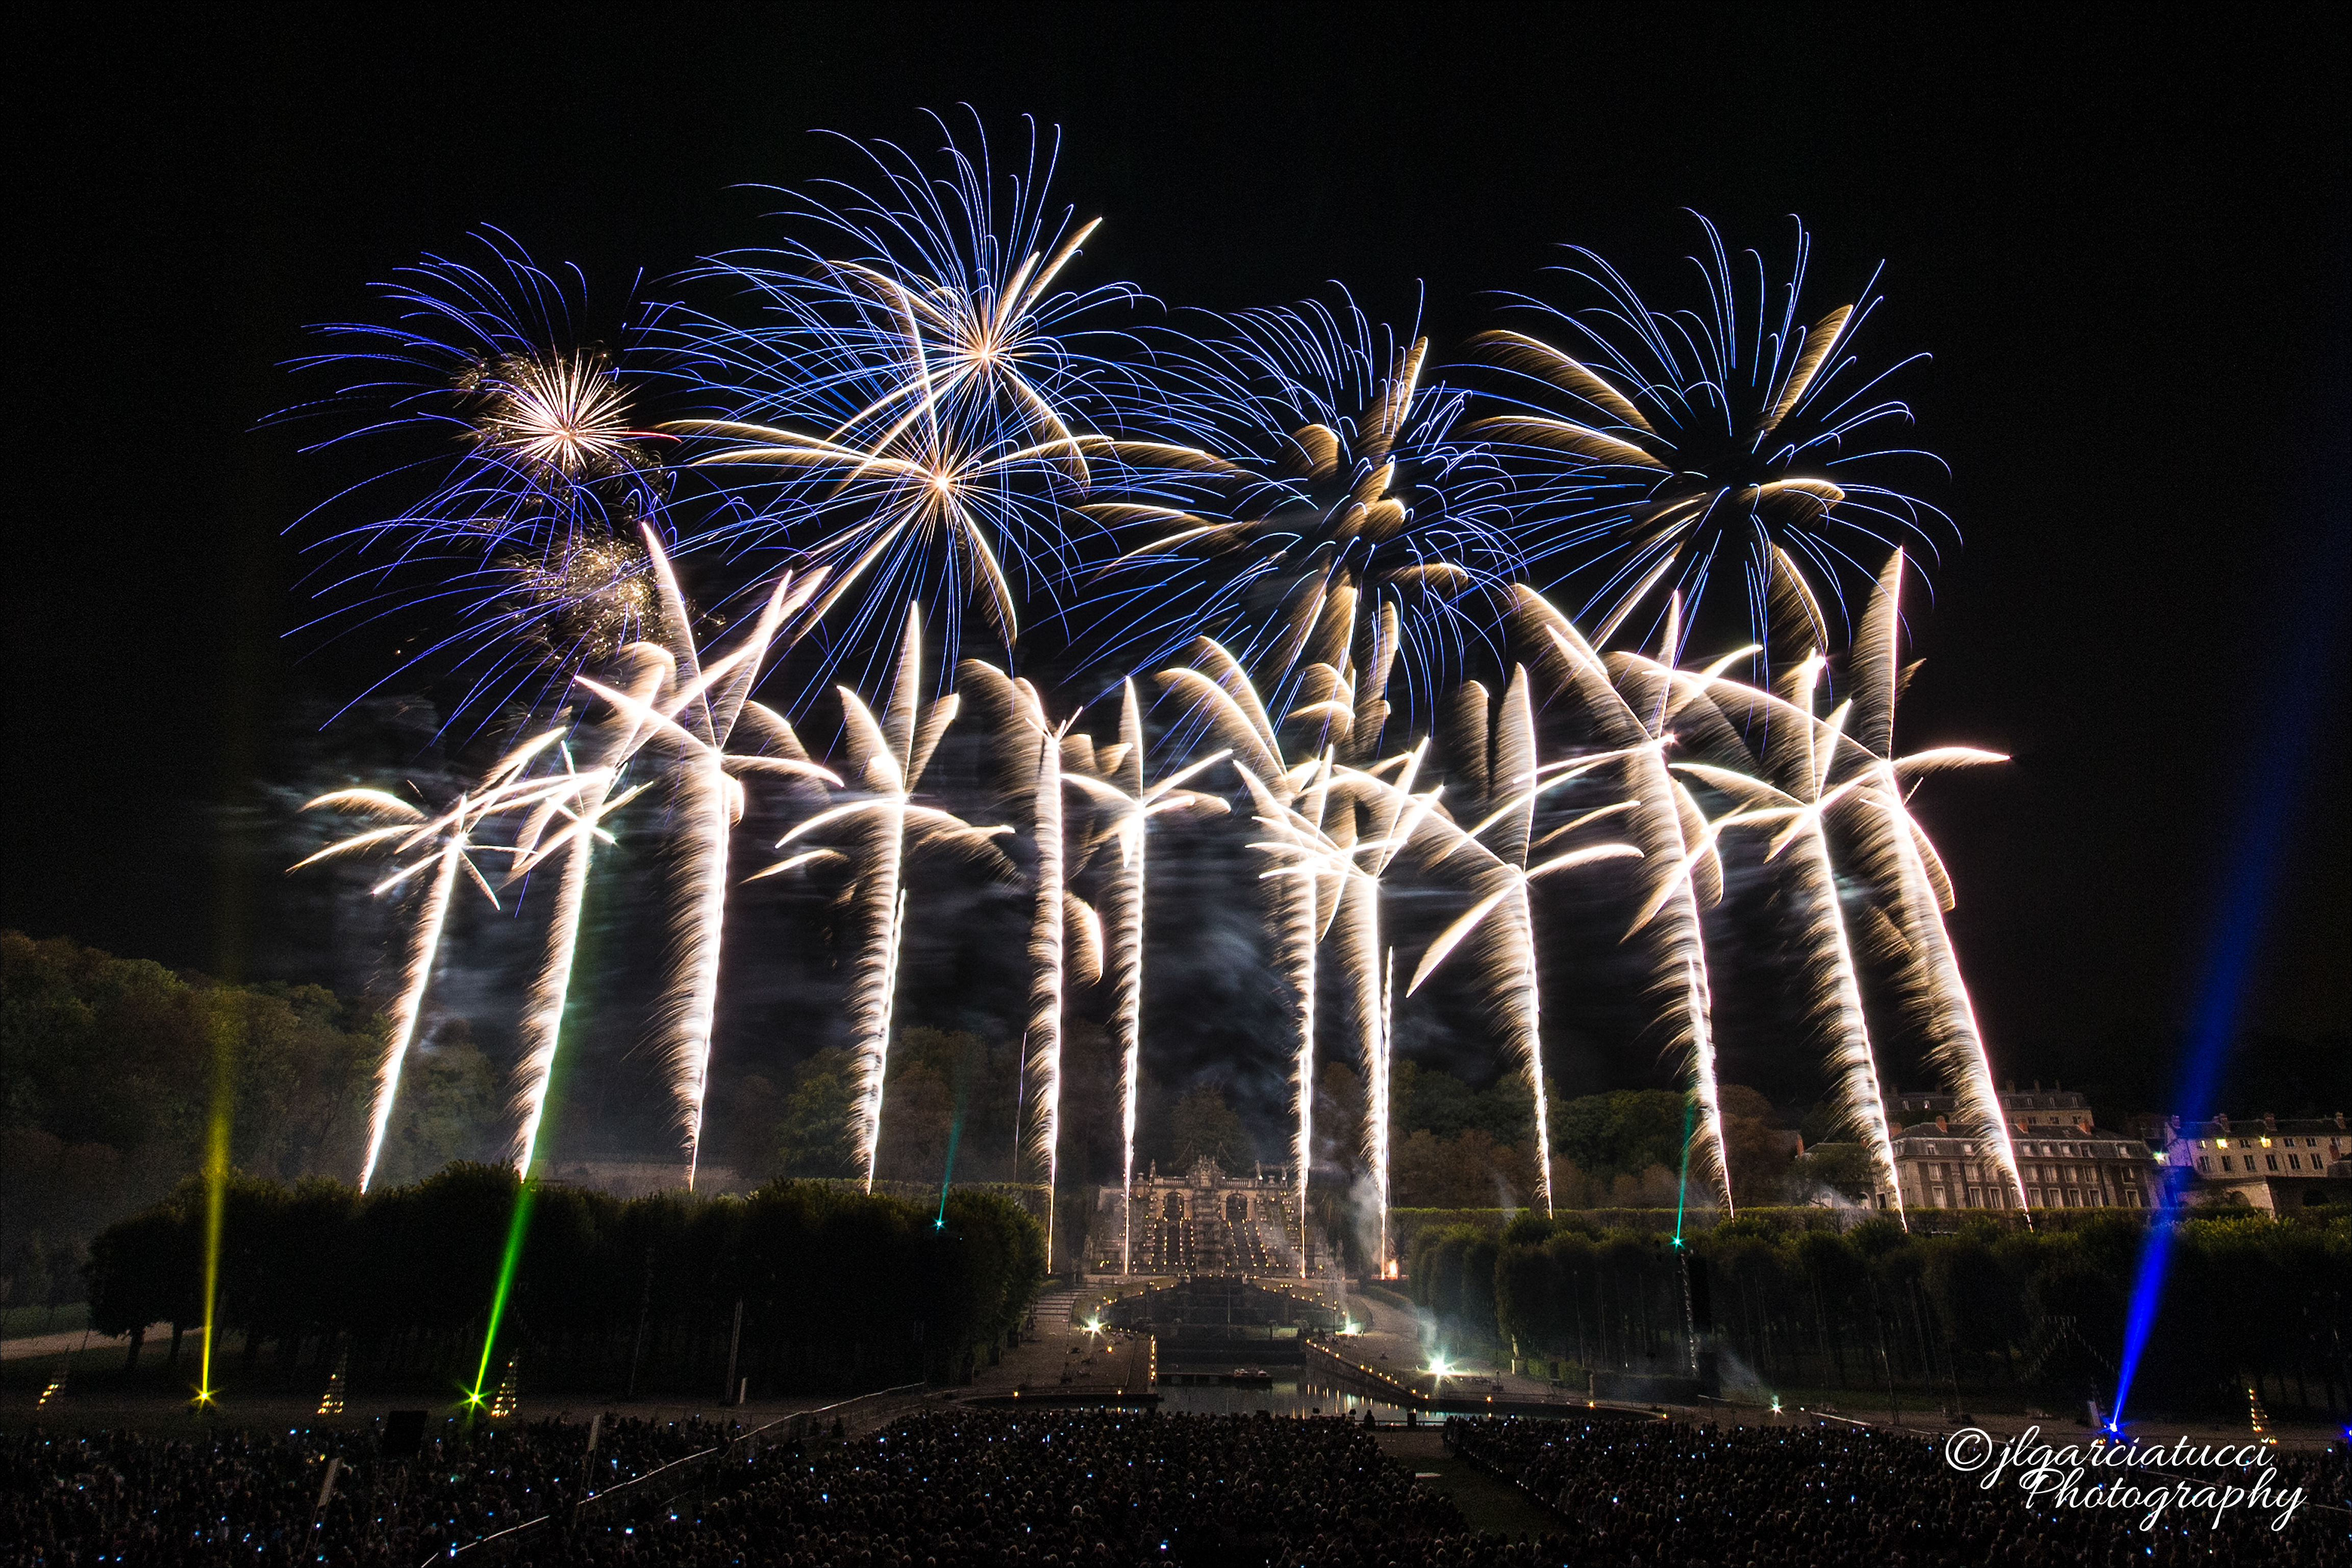
Long exposure photography
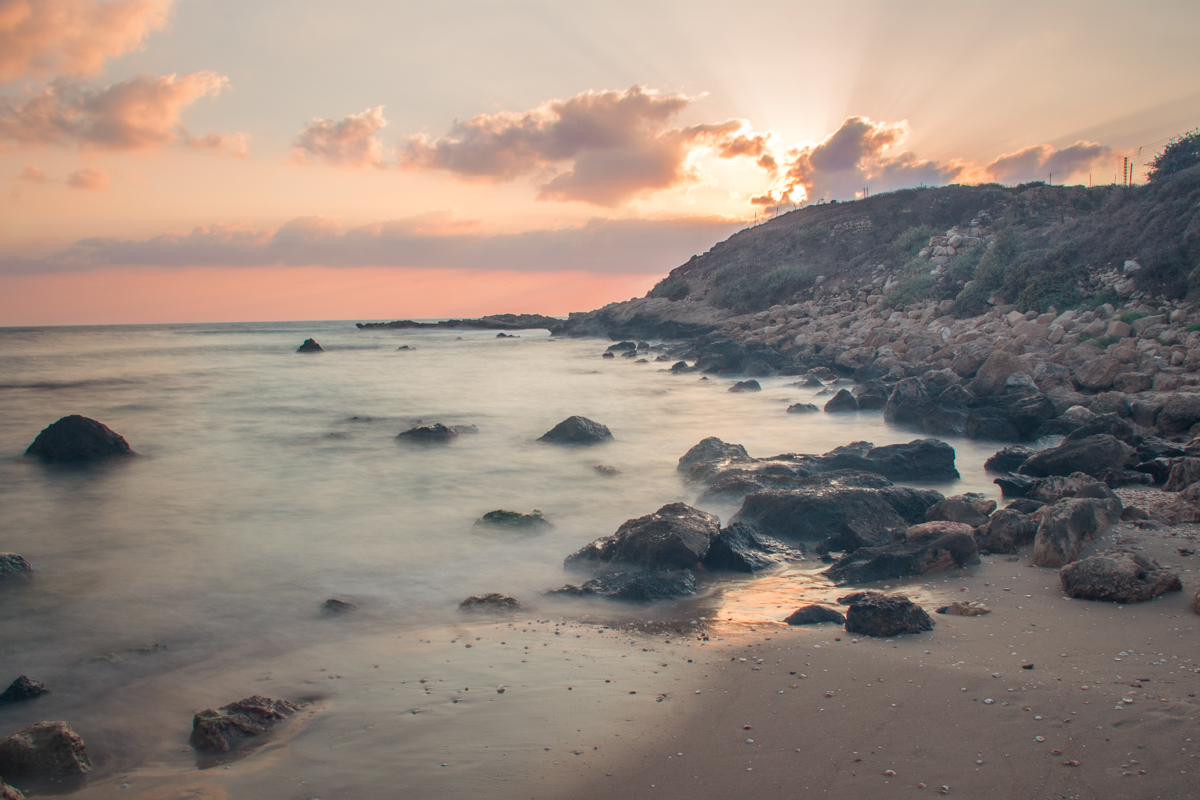
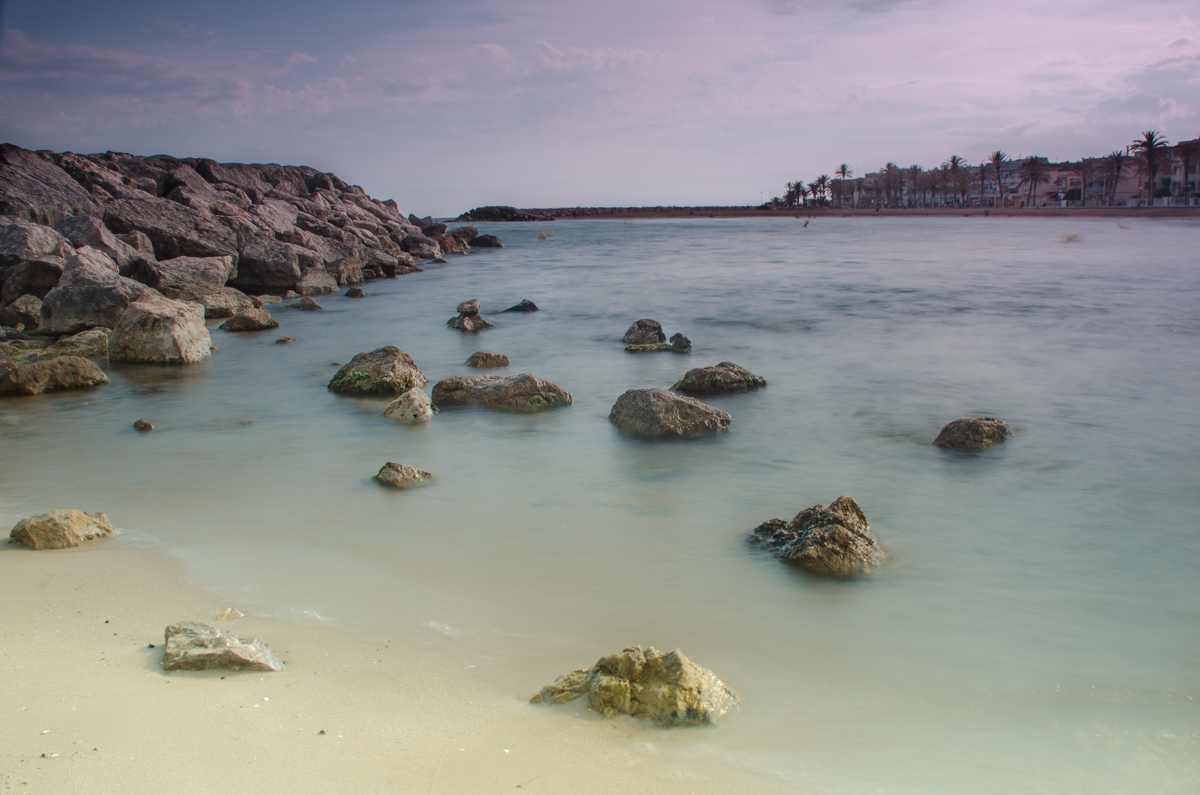
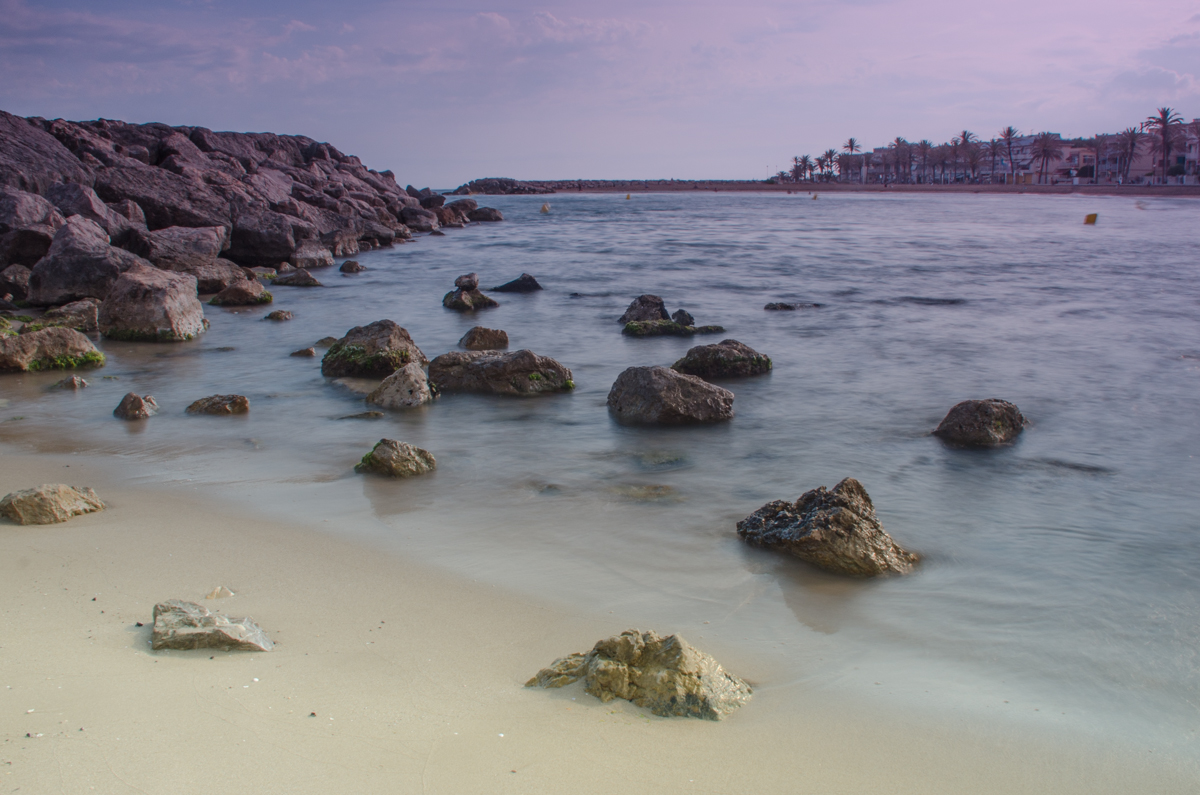
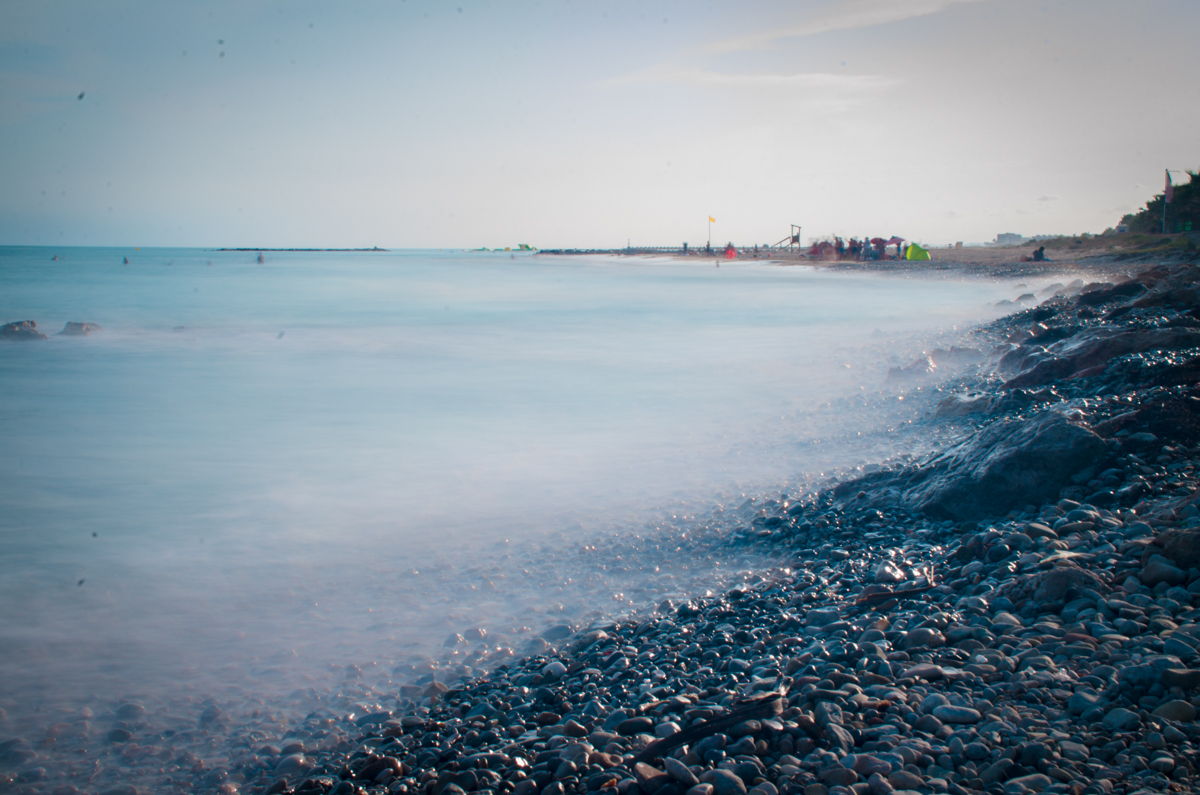
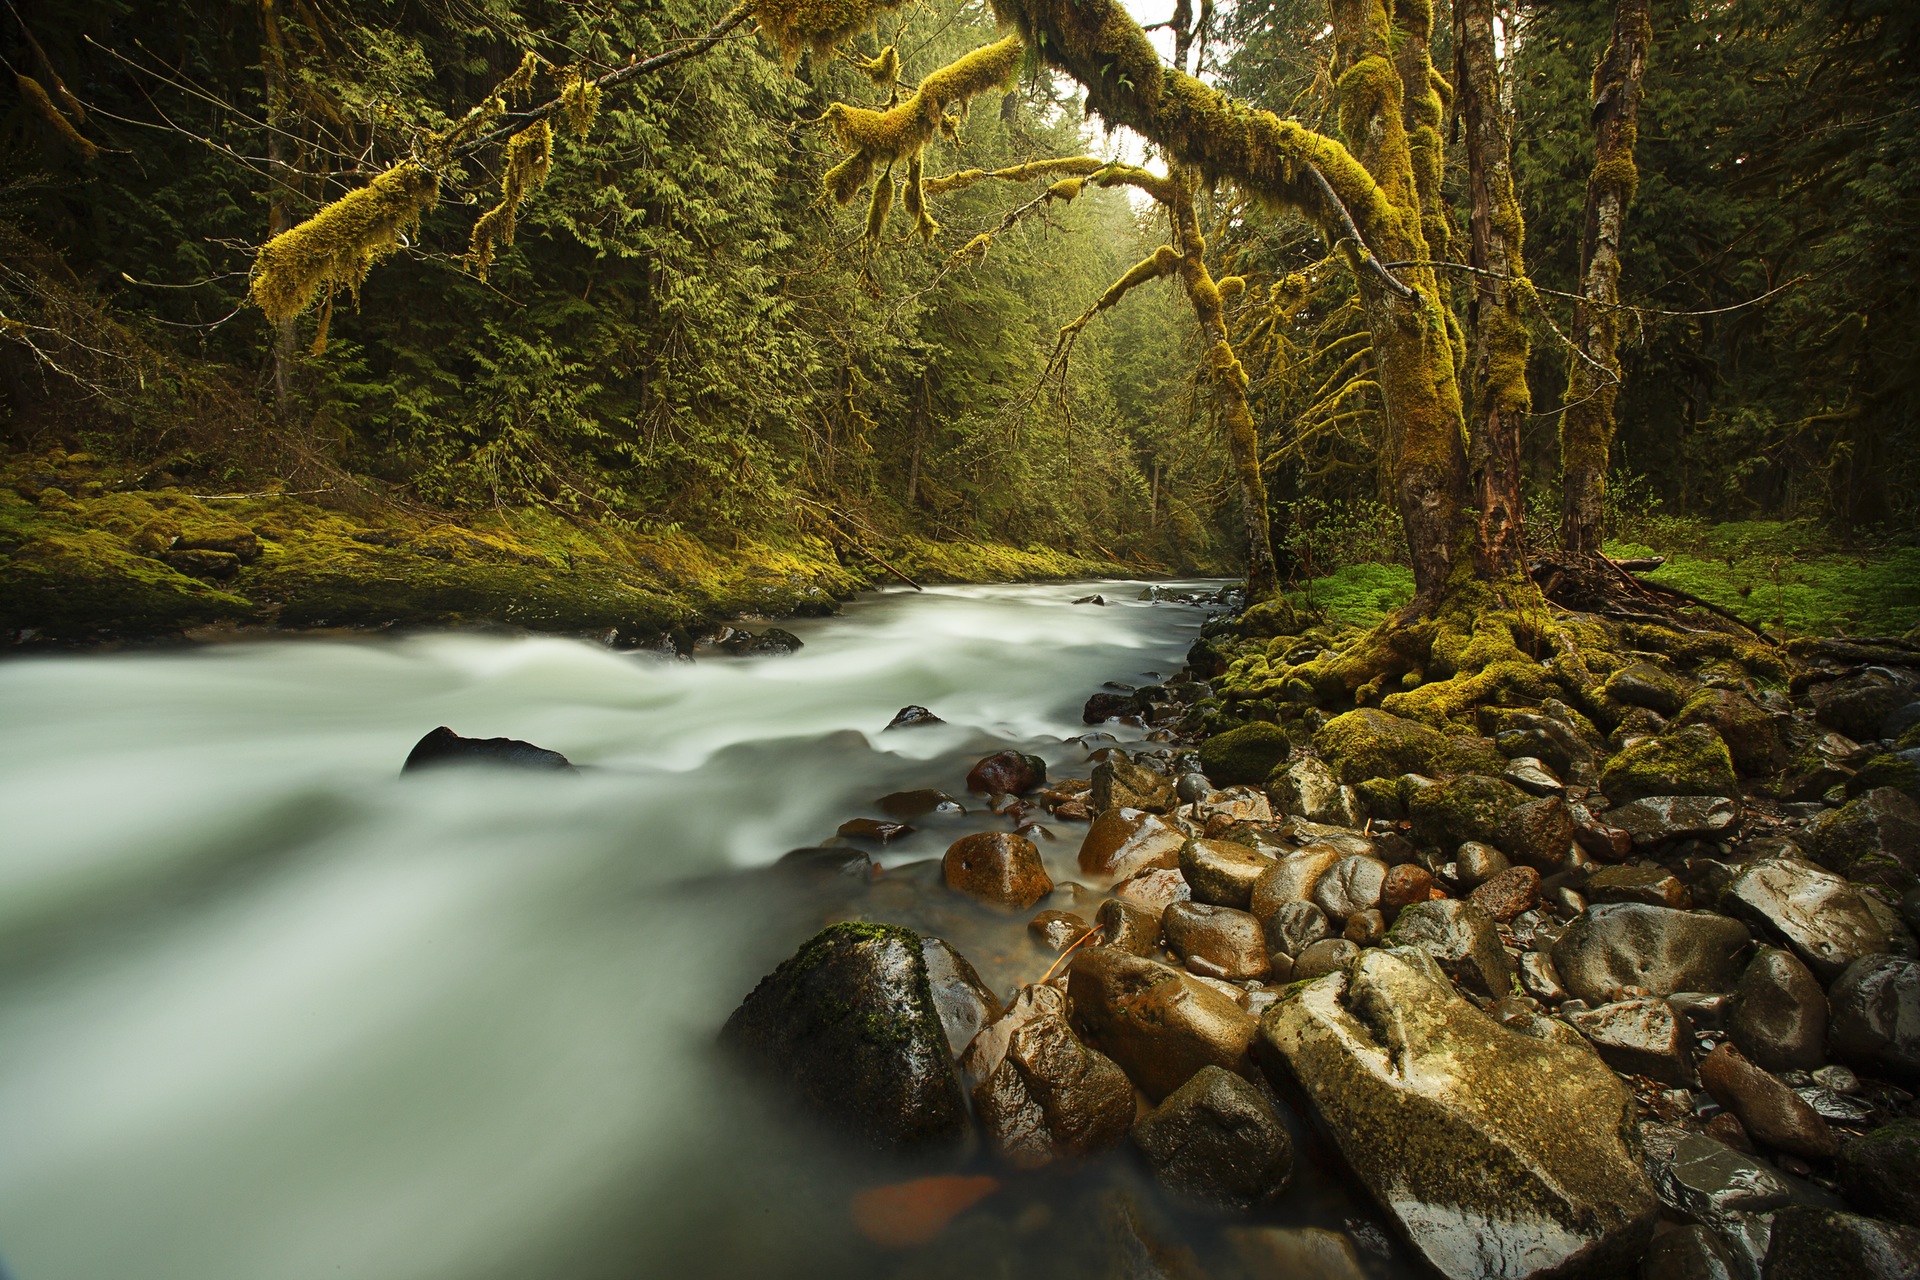
is a technique that makes slow-moving elements (such as waves or the light trail of cars) appear in the photo mist like, blurry or elongated, while still, objects remain sharp and defined. The key factors for achieving this effect are low shutter speed and having the camera extremely stable. Using long exposure photography you can give a totally new dimension to your nature photos. I think you will love this technique and the photos you will achieve by using it. In today’s article, we will show you how.
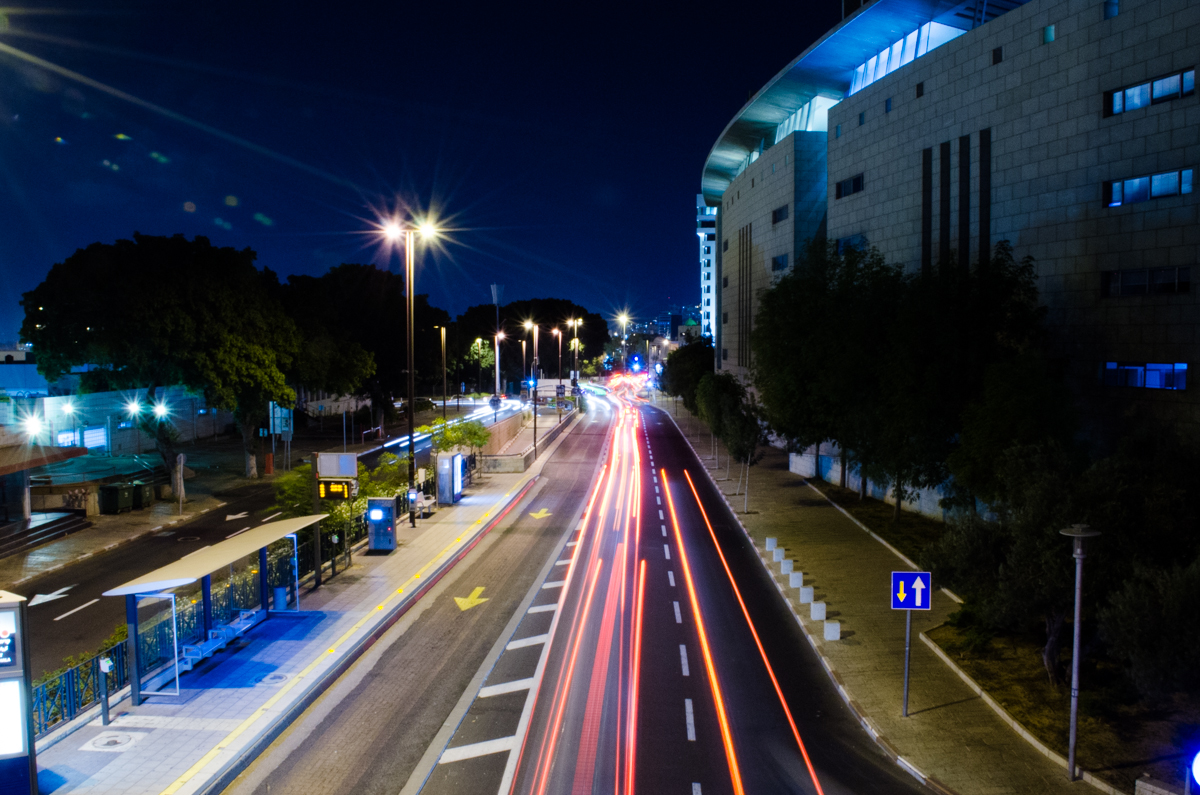
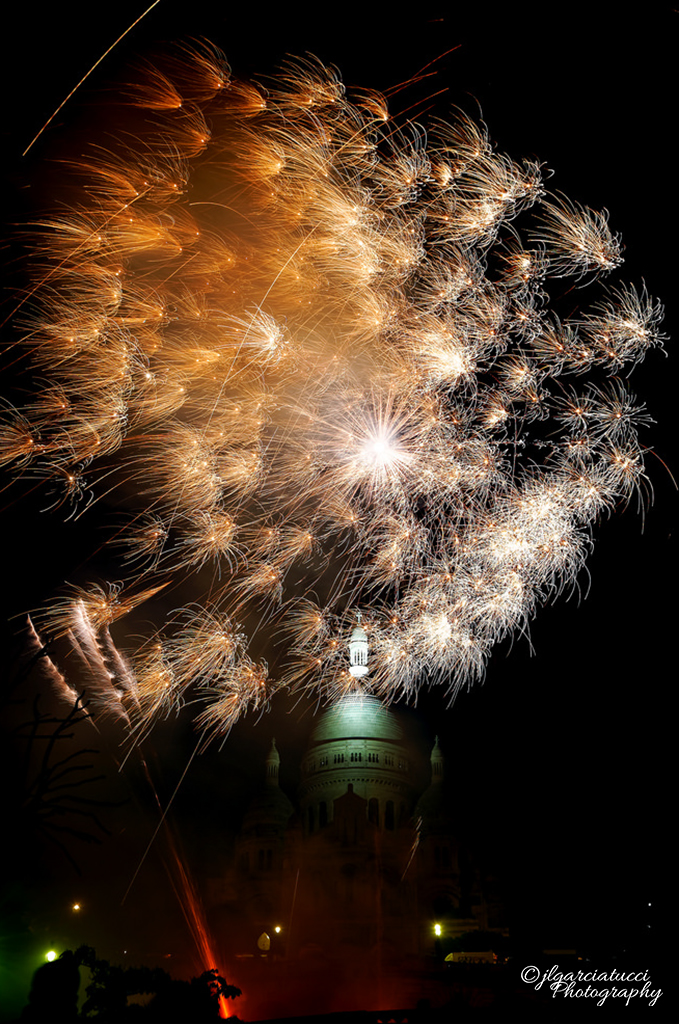
#1. Use long exposure photography when you have moving elements in the frame
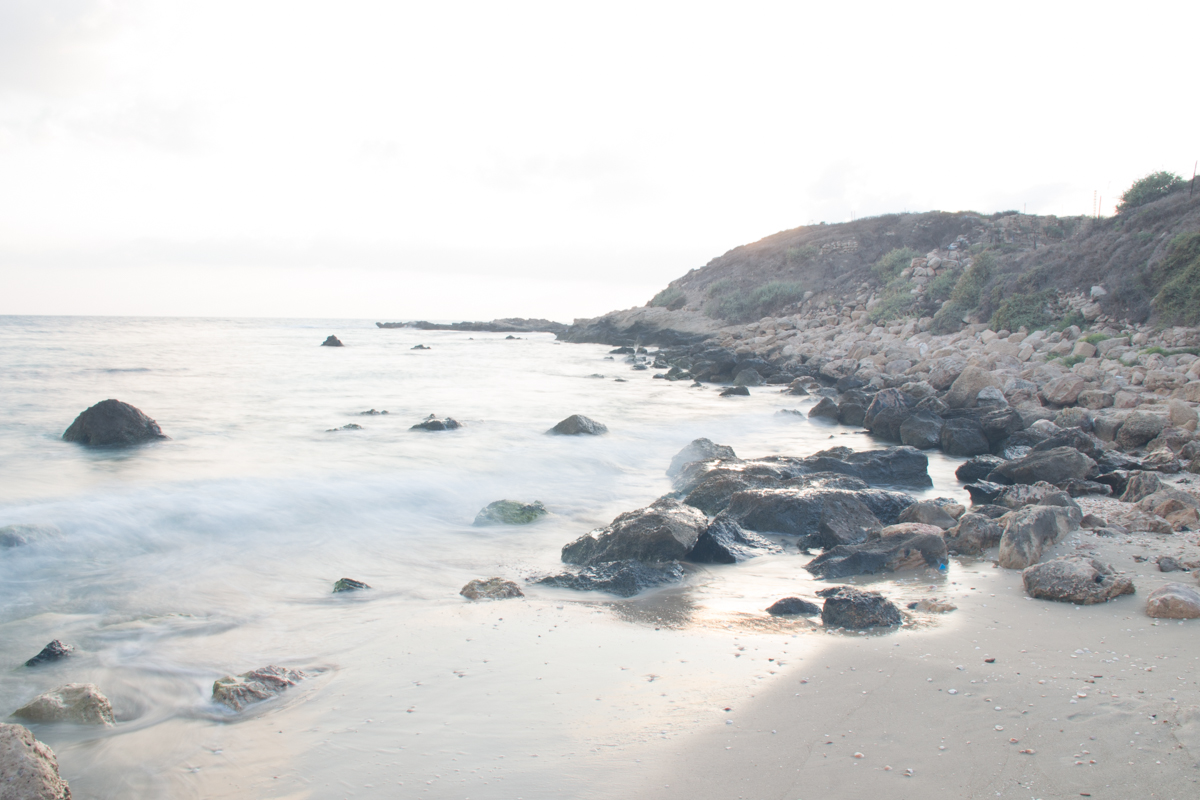
The effects achieved by long exposure are created because the moving object is captured by the camera many times during the time the shutter is open. We can achieve different effects depending on the amount of light the object is giving and its manner of movement, For example, a passing car at night is giving off light from its headlights and is moving relatively fast in a specific direction, so the effect we get is that we see the headlights as streaks of light outlining the path of the car the car drove through. On the other hand, waves, which do not give off the light, move back and forth on the shore and so they would make the water at the beach look like mist or a thick fog.
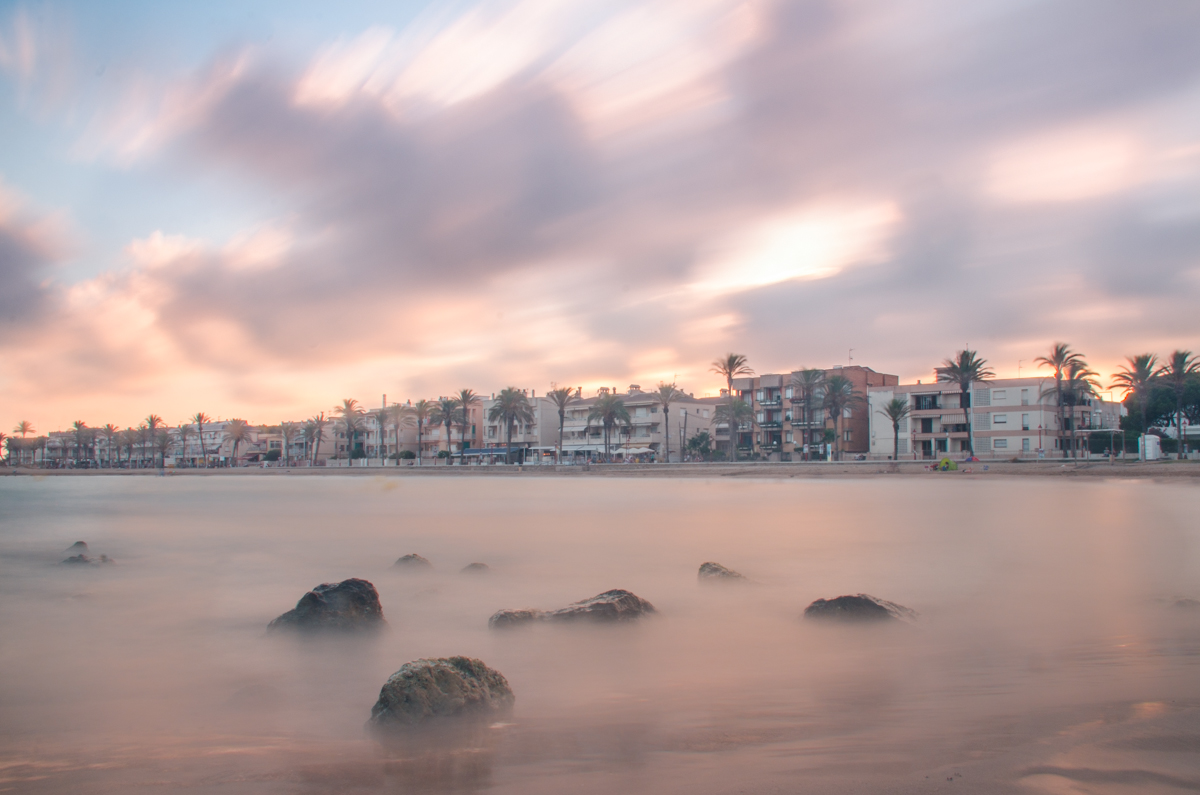
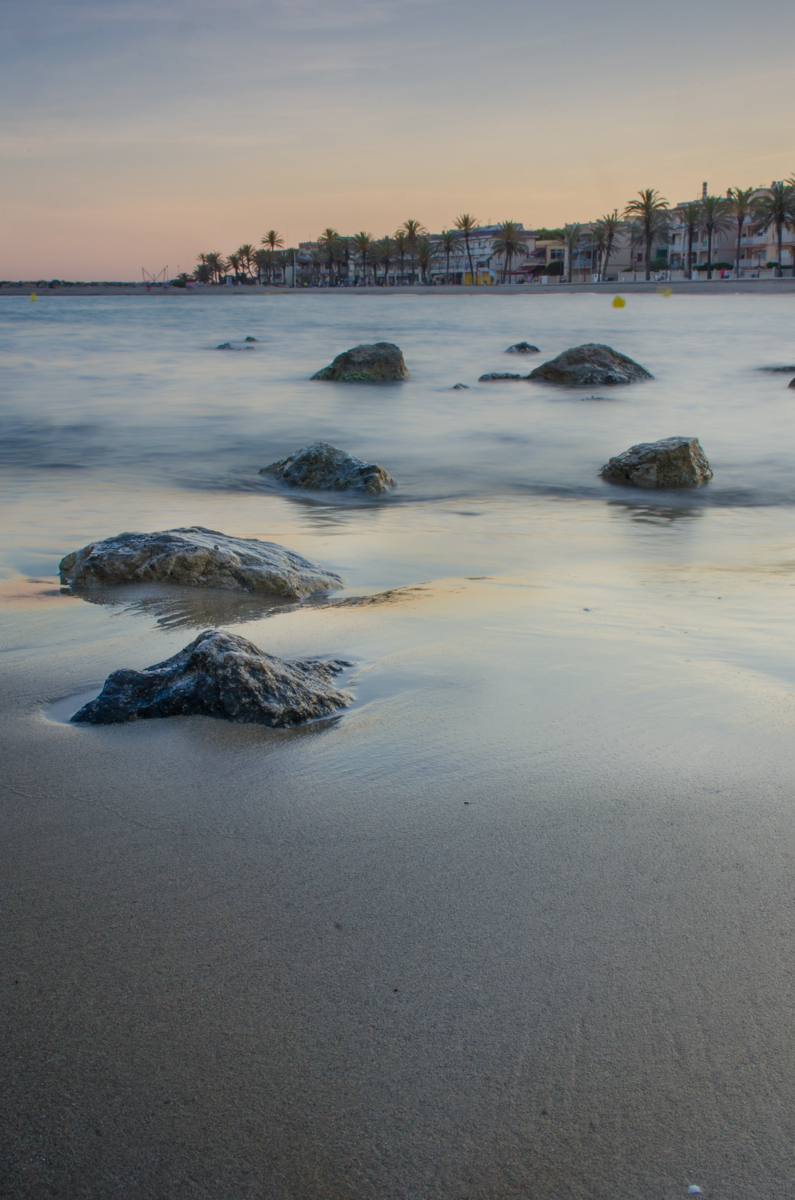
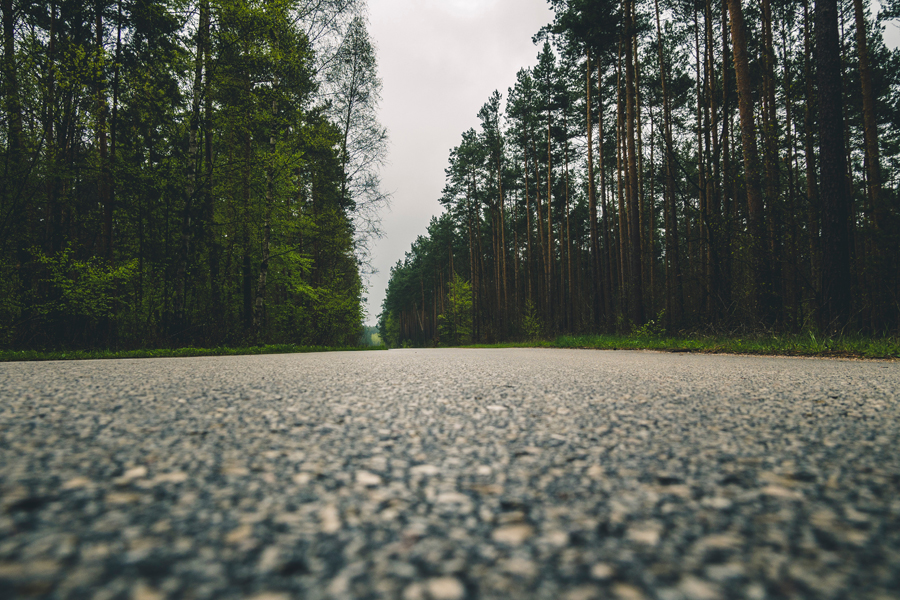
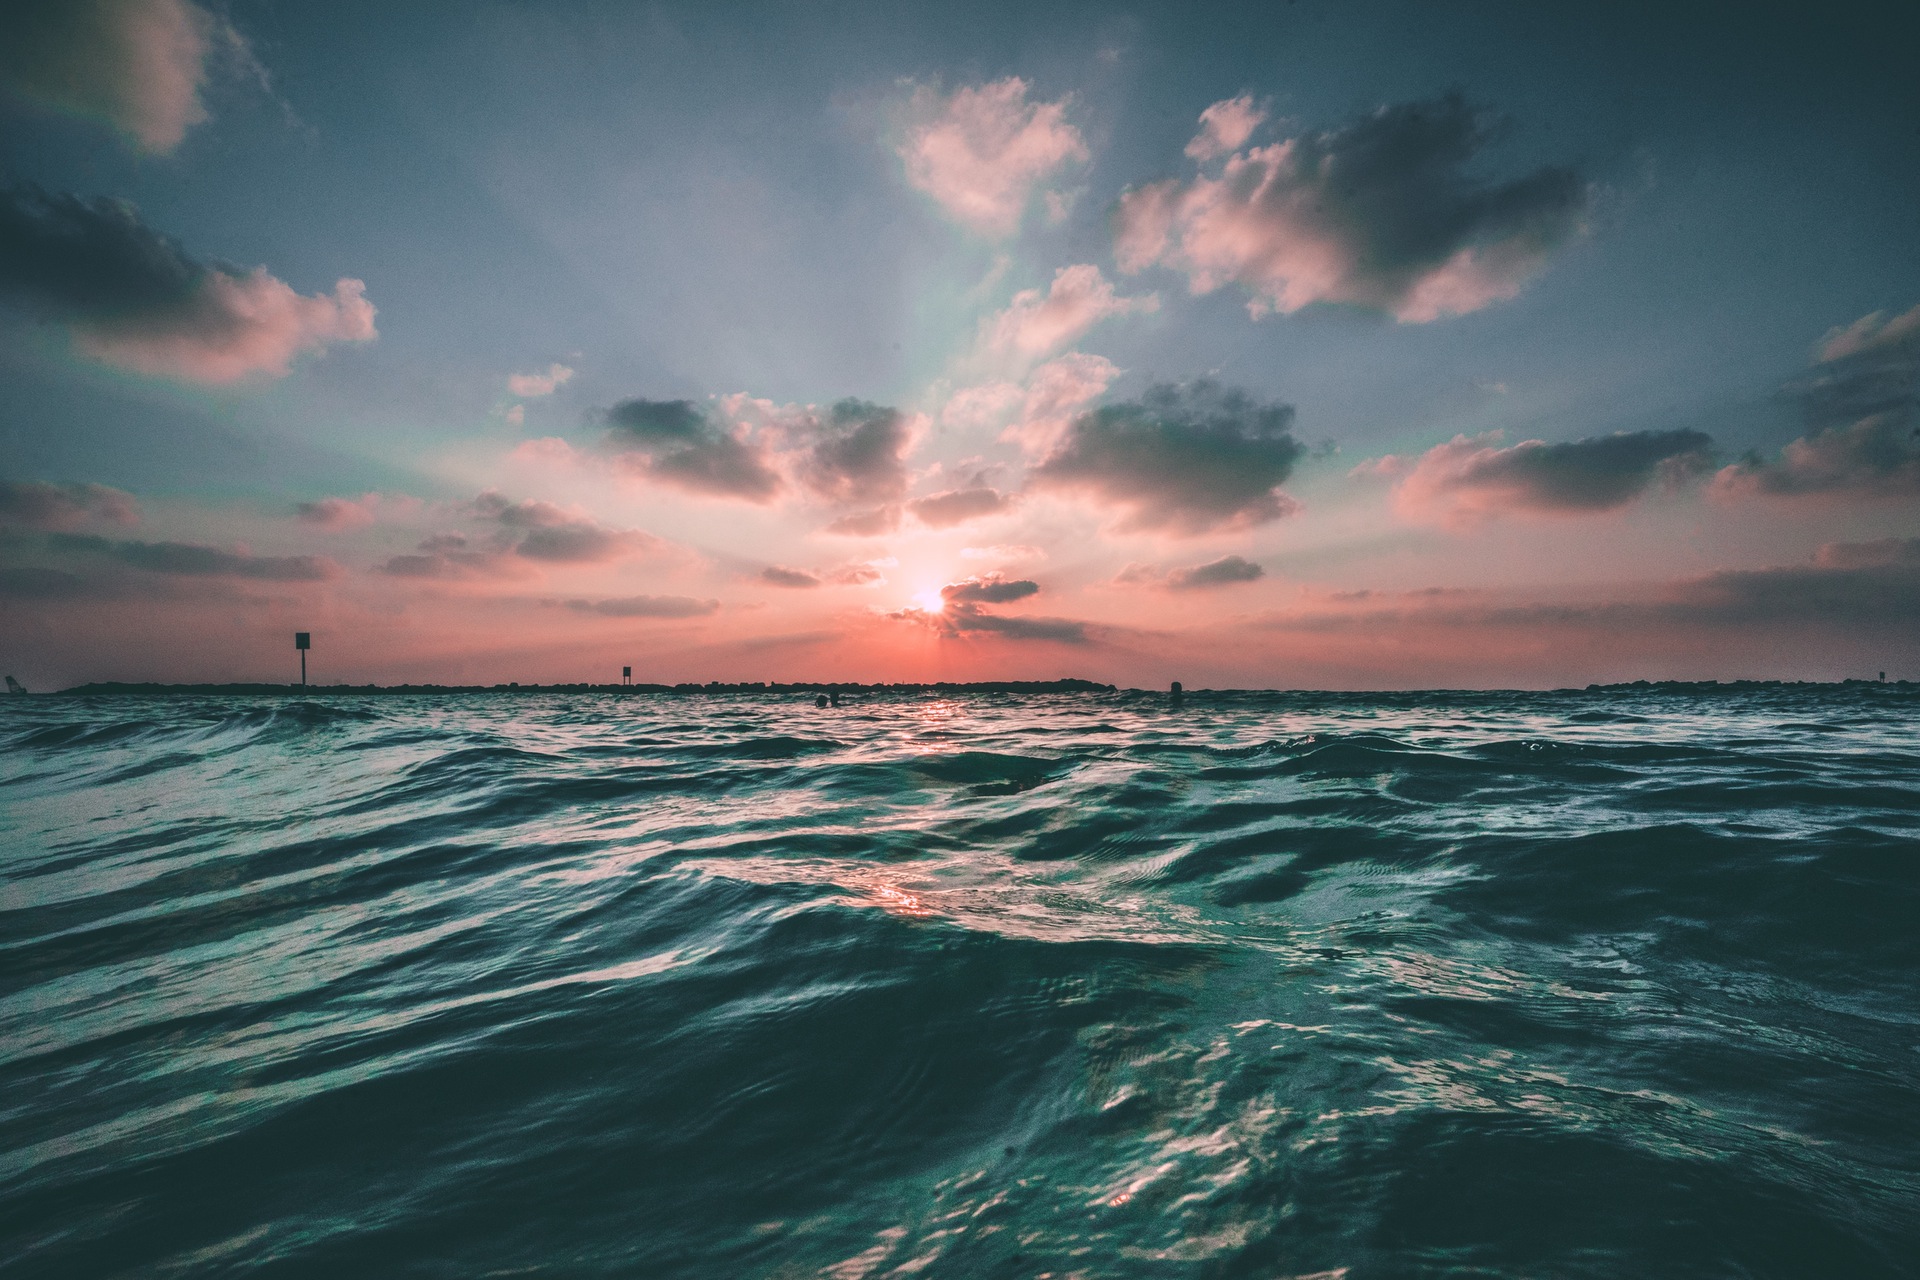
#2. To get a well-balanced image, add static elements in your composition
If everything in the frame is moving, you can end up producing photos with a dizzying effect. Unless you want this effect for creative purposes, I recommend you to include in the composition of the image at least one static element that will provide the viewers a point to rest their eyes. The contrast can also enhance the effect and make the image more balanced. A static object can be a rock, a tree, a house, a path… anything that does not move when you are pressing the shutter.
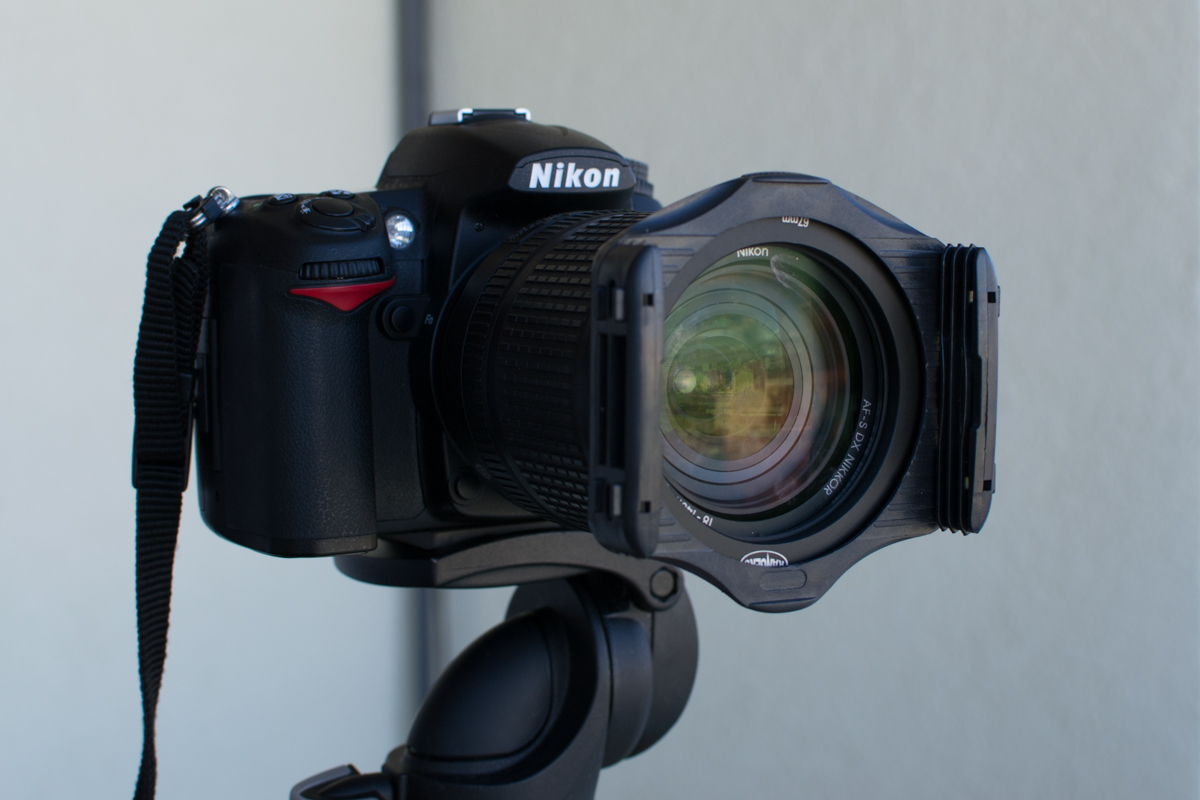
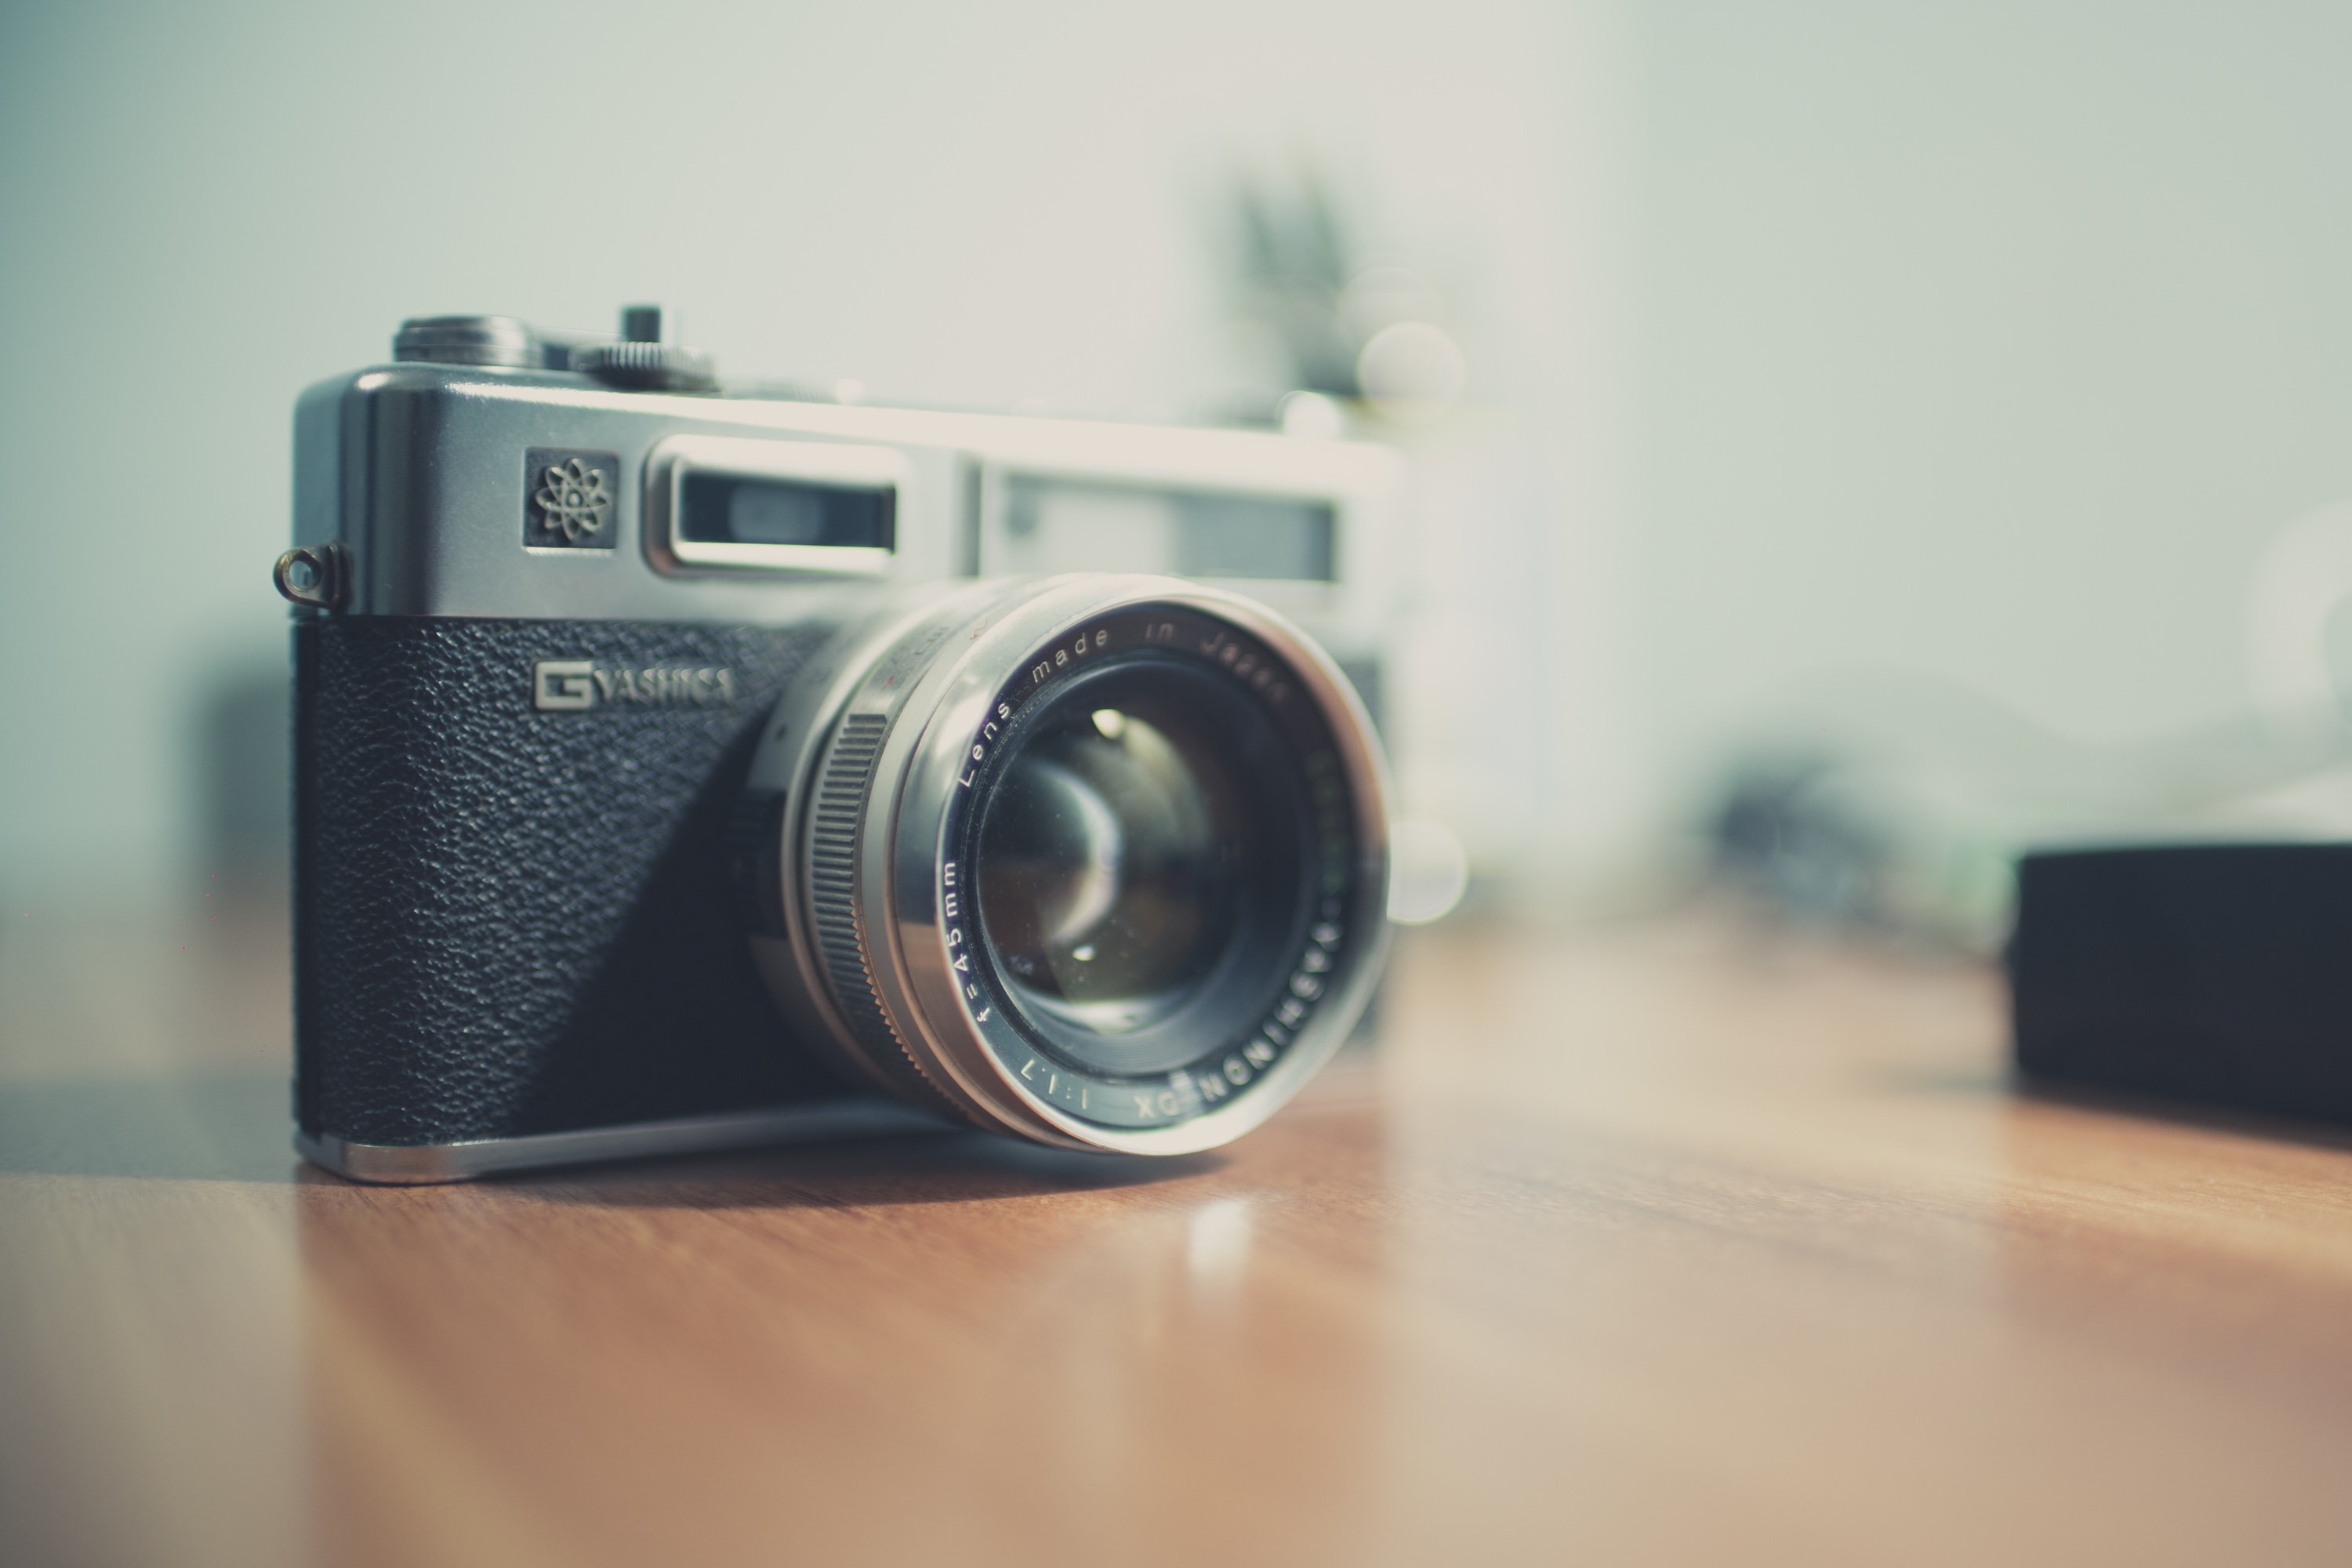
#3. You will need a tripod to avoid camera shake
As you will be shooting with low shutter speed, you will need to stabilize your camera somehow. One of the best option is to use a tripod. There are a lot of tripod models in the market. I recommend you to get a stable one which will fit your budget.
The tripod by itself won´t give you 100% stability. If you have a lens with image stabilization (also known as vibration reduction), it will be better than you turn it off when you have the camera on the tripod. I know this last tip might seem contradictory, but these stabilization systems are meant for hand-holding situations and if you are using a tripod, they might cause shaking instead. Another tip is to avoid touching the camera or tripod while you take the photo. I recommend using the timer delay options of your camera to avoid the shaking due to the pressing of the shutter release. You can also use a remote control and avoid touching the camera altogether.
#4. Use filters to avoid overexposure
Nature photography many times takes place during daylight. If you want to take a long exposure photo, the first problem you will face is the overexposure. Sometimes even with the aperture closed as much as it can be and the ISO set to the lowest value, you might still have burnt photos. How to solve this problem? By using filters to reduce the light that gets into your camera.
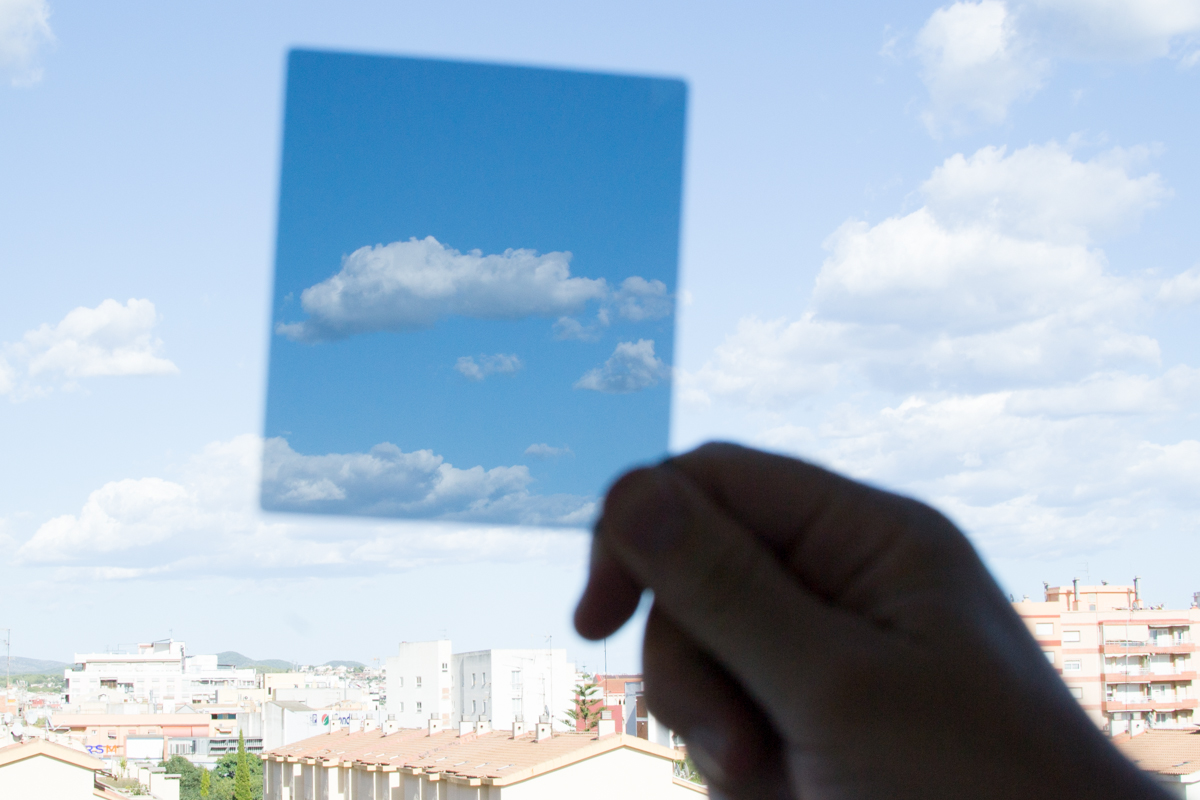
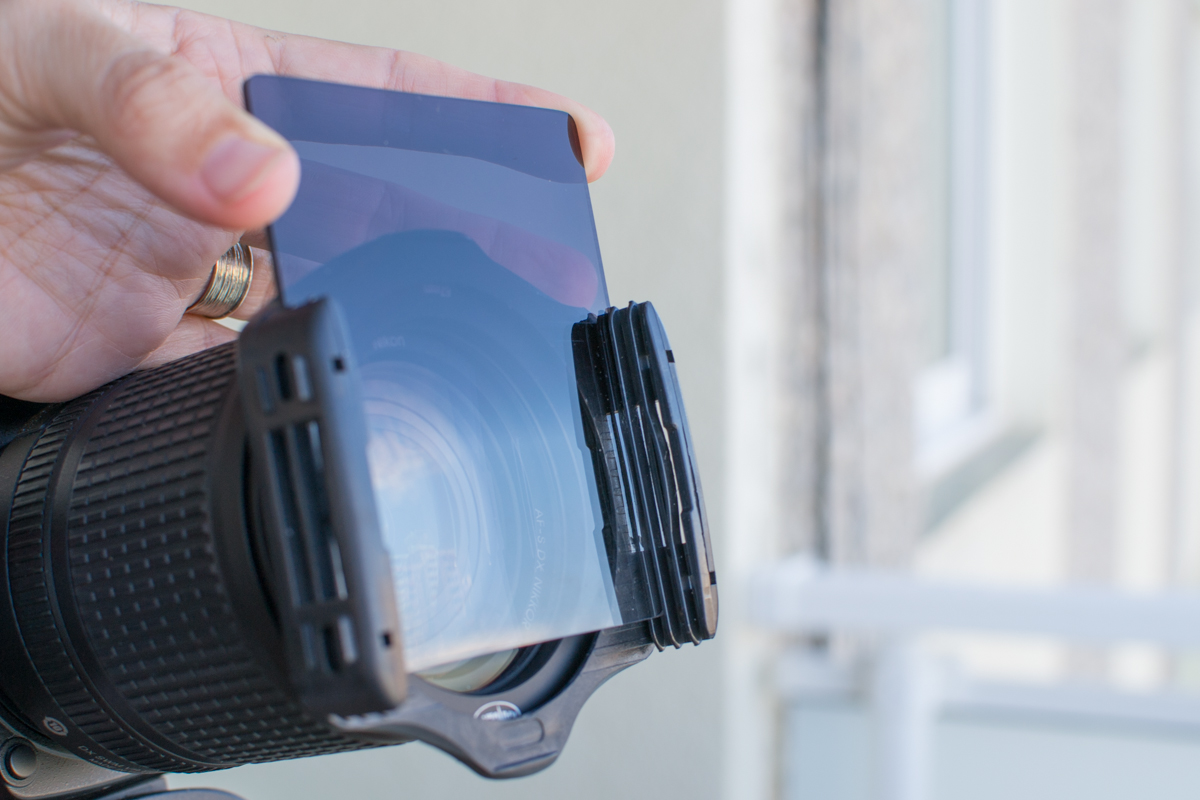
There are many different filters, but two types are especially interesting for long exposure photography: Neutral density (ND) and graduated filters. The first one is basically a uniform dark filter. There are different dark intensities. The more intense is the light in your frame, the darker your filter should be. The darkness of a filter is measured by the stops of light that they don´t get into your camera. The highest its stop number, the darker the filter is. Graduated filters are a variation of the ND filters. Their darkness is not uniform but increases progressively in a gradient.
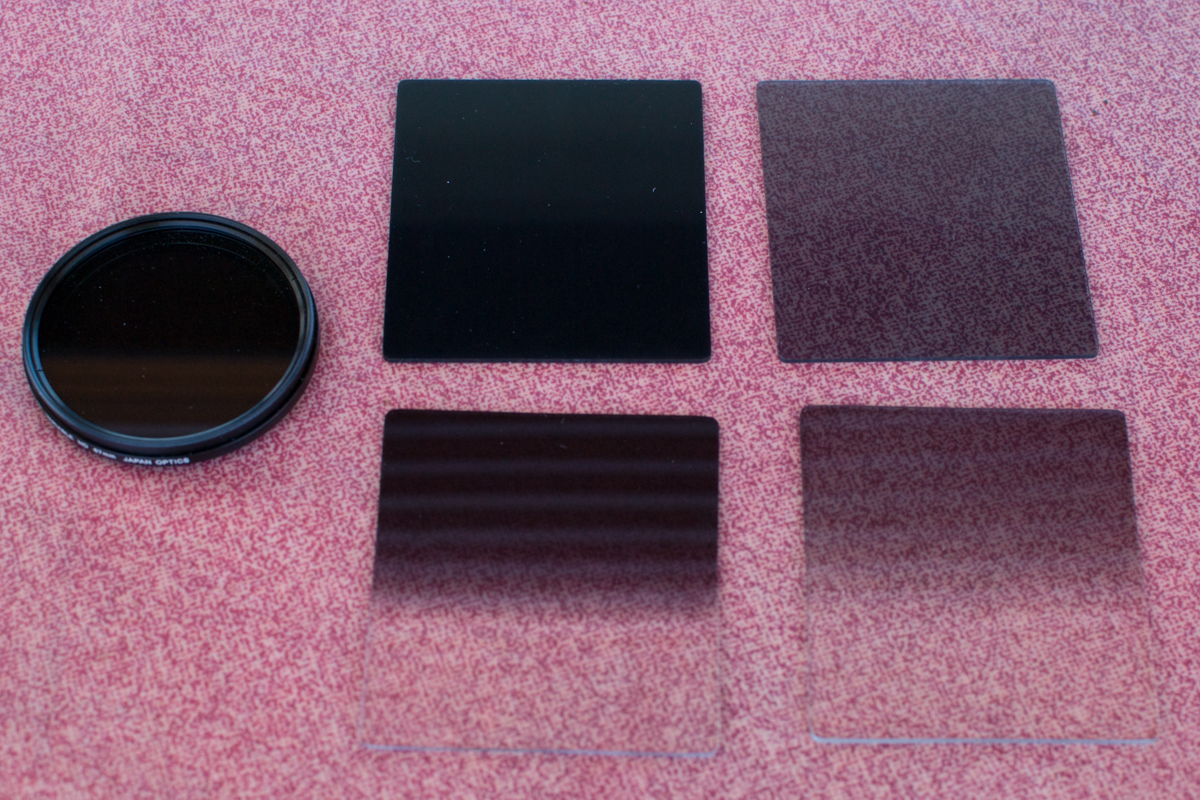
You can use one filter or stack several ones on top of the other. For example, you can use several rectangular filters in the filter holder or you can use one round filter on your lens and then add one or more rectangular filters using a filter holder.
Once in the field, I set the camera to the shutter speed I want in order to get the desired effect. Then I set the ISO to 100 and the Aperture that will give me the Depth of Field I want. I usually go with Apertures 8.0 or higher. To decide the filter or filters I need, I have to admit I do it by trial and error. I believe there is a formula, but when I am in the field, trying filters comes to me much more naturally. I start with the least dark filters and I progressively move to darker ones.

#5. You might need to crop your image a little in order to delete the filters borders
When you use filters, and especially when you use several filters stacked, black halos or shadows it might appear in the corners of the photo. This is more evident if you are using a wide-angle lens or low numbers of mm. This can be solved easily. Just plan ahead and take a photo knowing that you will need to crop it afterward. I recommend you to how a look to Navanee Viswa´s tutorial to learn how to crop a photo using Lightroom.

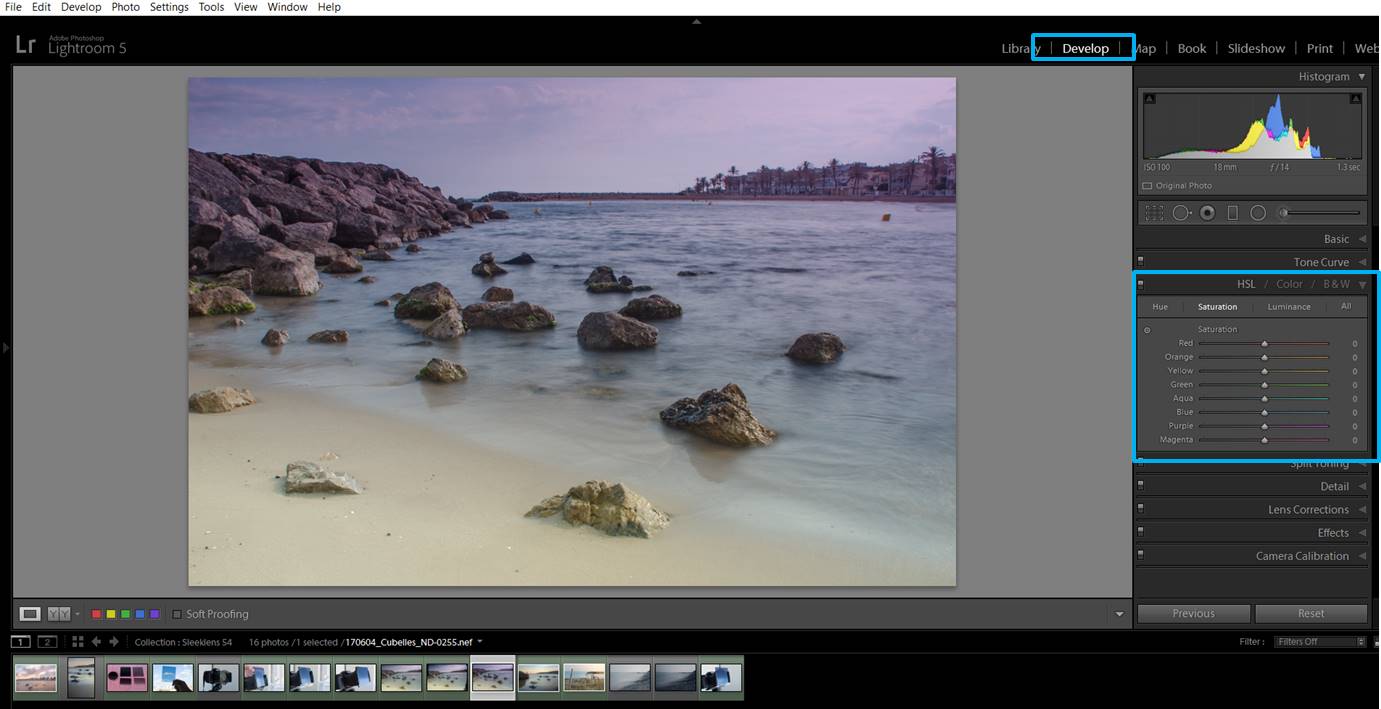
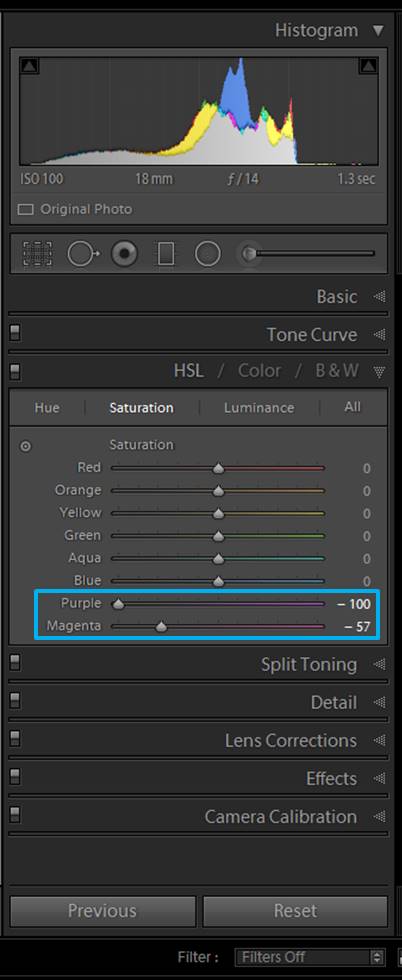
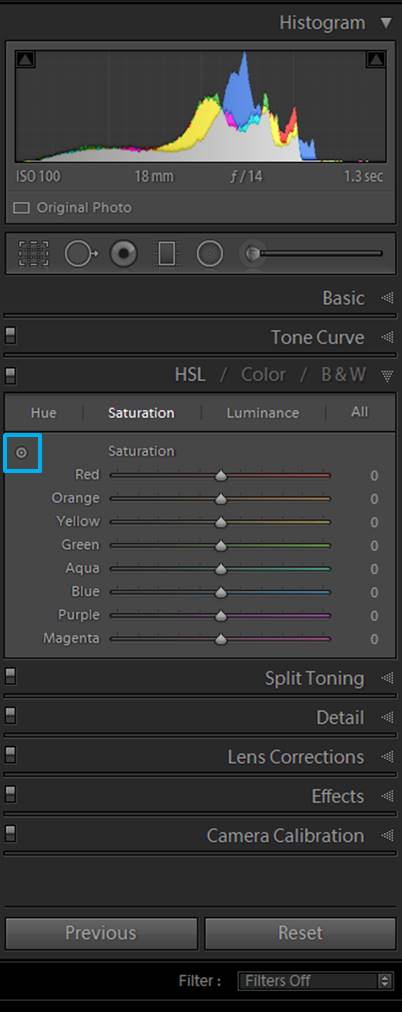
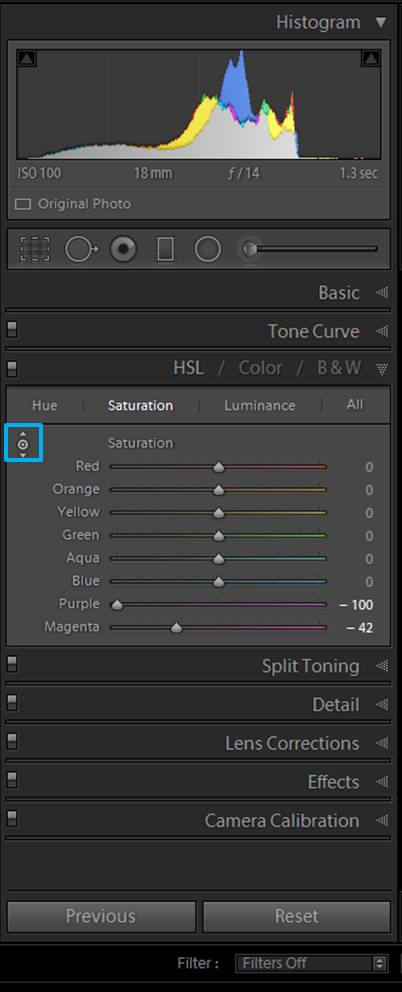
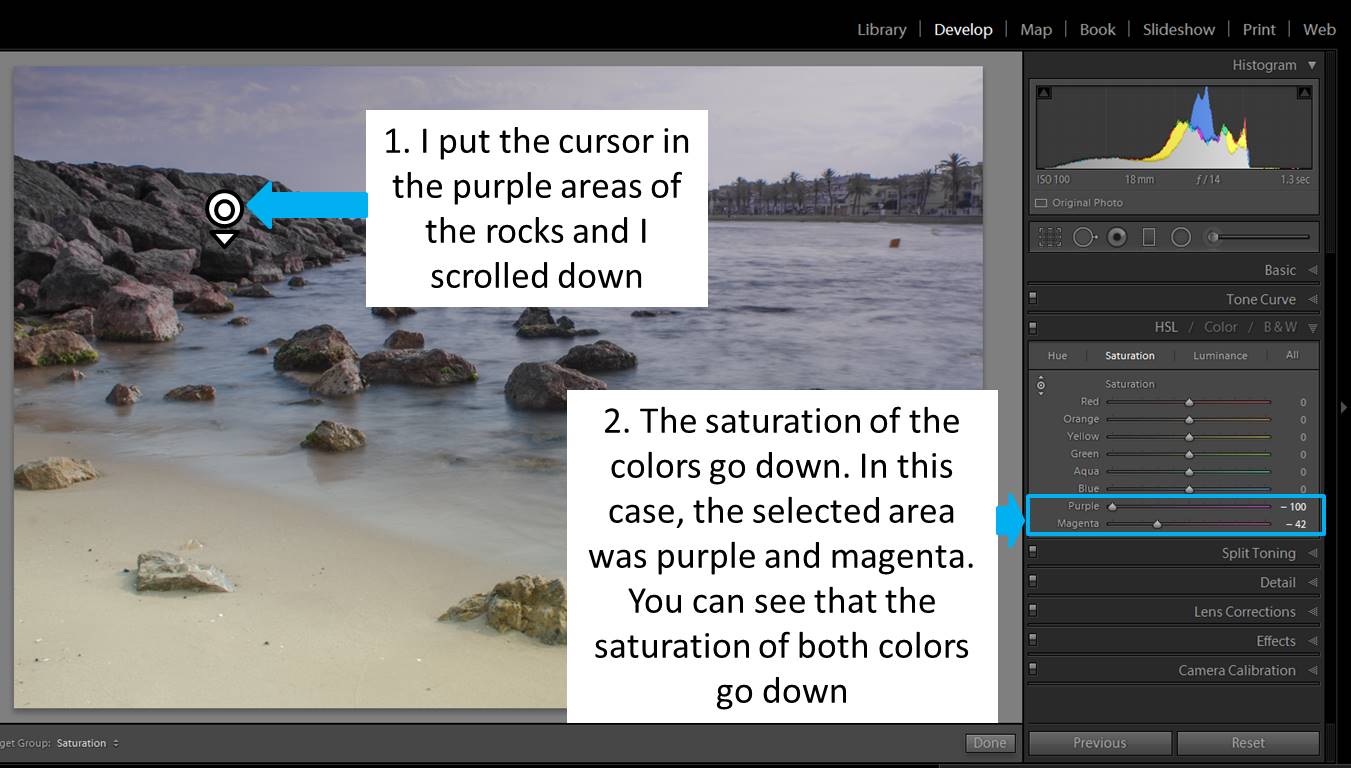
#6. You might need to deal with some color cast correction
Depending on the quality of your filters, they might add a color cast to your photo.
I am quite new to long exposure photography. When I decided to give it a try, I was not sure about spending a lot of money on my first filters. I got a filter kit that included a wide variety of filters in a really good price. Of course, they are not of the highest quality, but they still allowed me to experiment and discover that I do like this type of photography. As I use them quite a lot, I can think about investing in better ones in the future. For now, however, I stay with my cheap filters and I solve the color cast issue using Lightroom.
If you prefer Photoshop, you can also use it to remove the color cast. Julian H explains how to do it in his article “How to remove color cast using Photoshop”.
#7. Keep your filters clean if you don’t want to spend a lot of time removing spots
Your filters might seem clean,but when you see the photo on your computer you might discover it is full of spots of dust or drops…
I remove them with Lightroom using the spot removal tool.
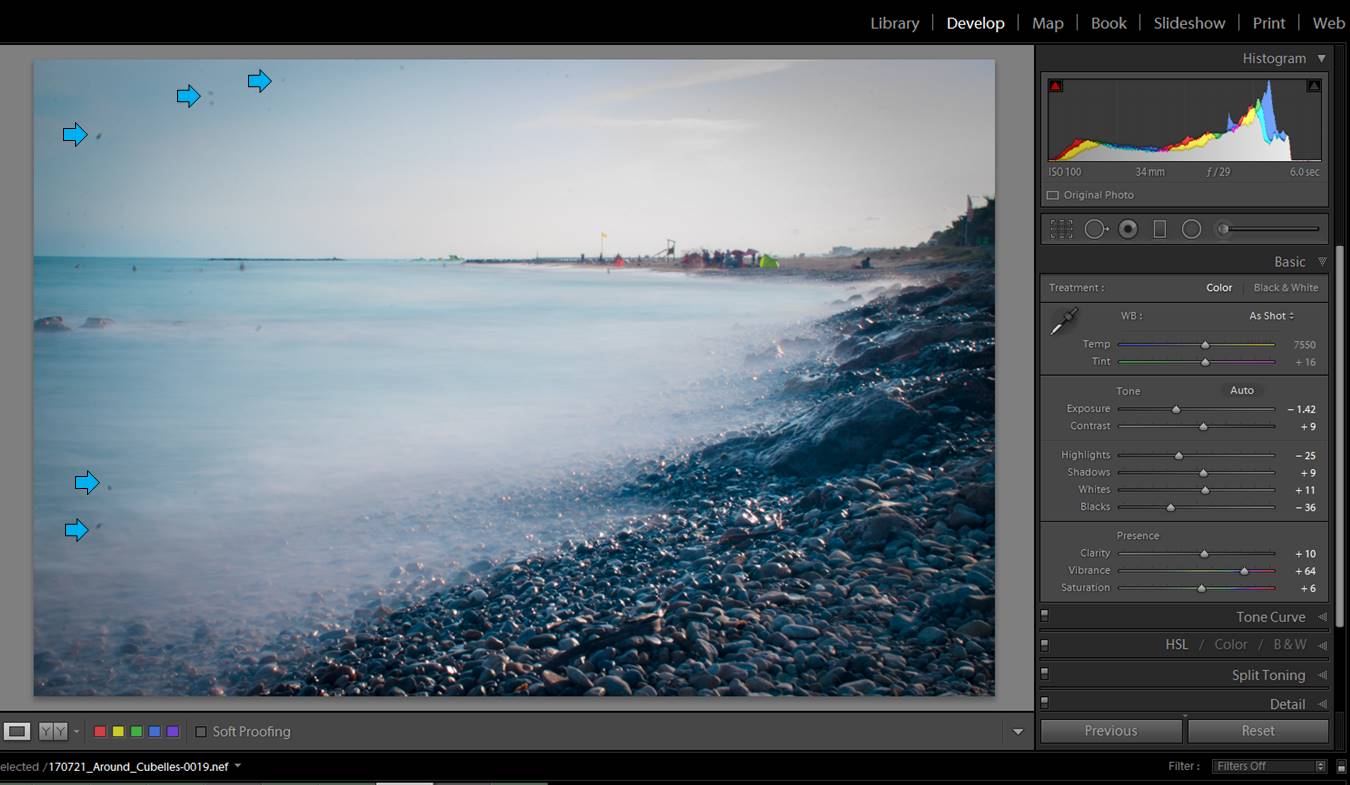
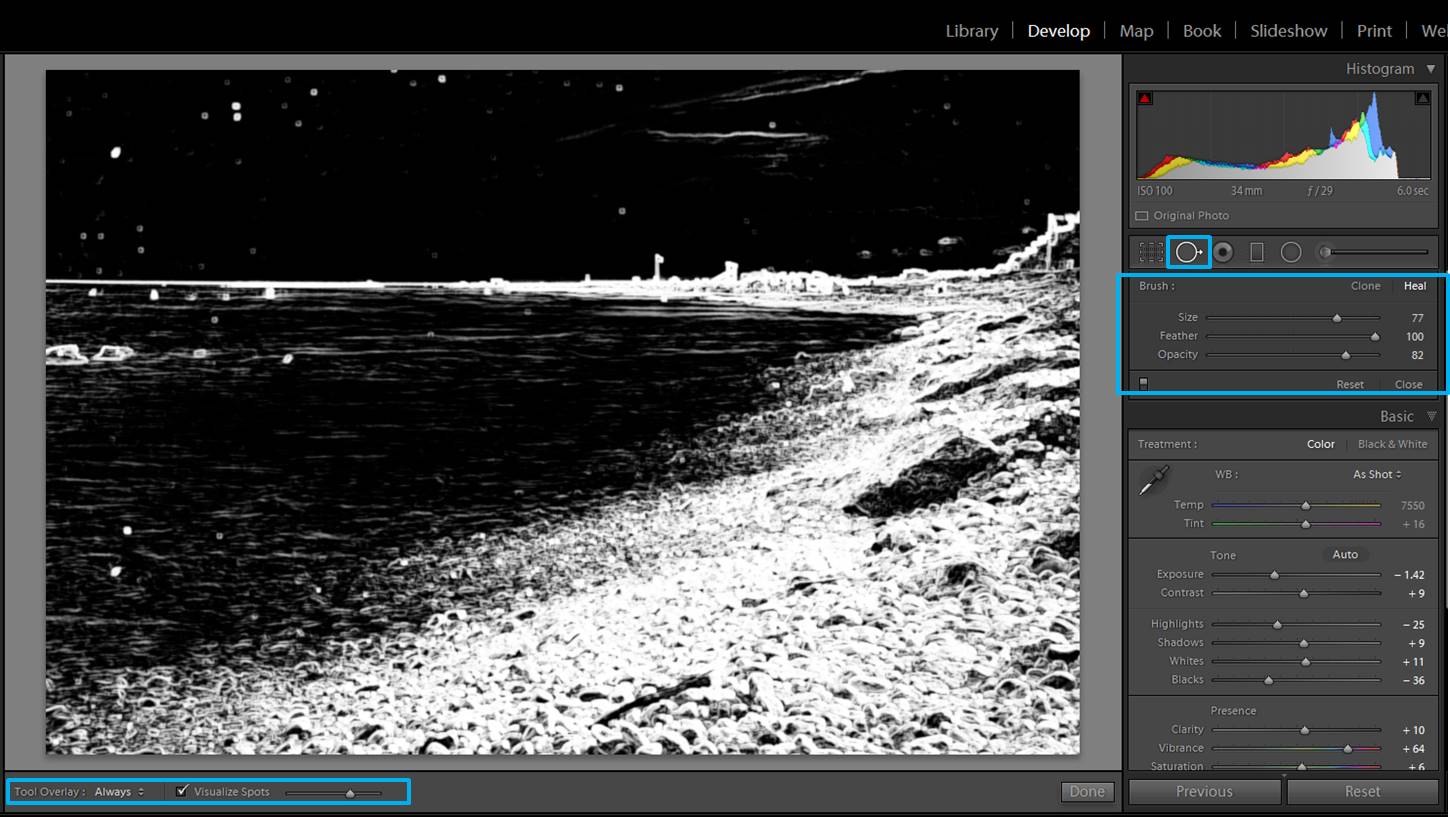
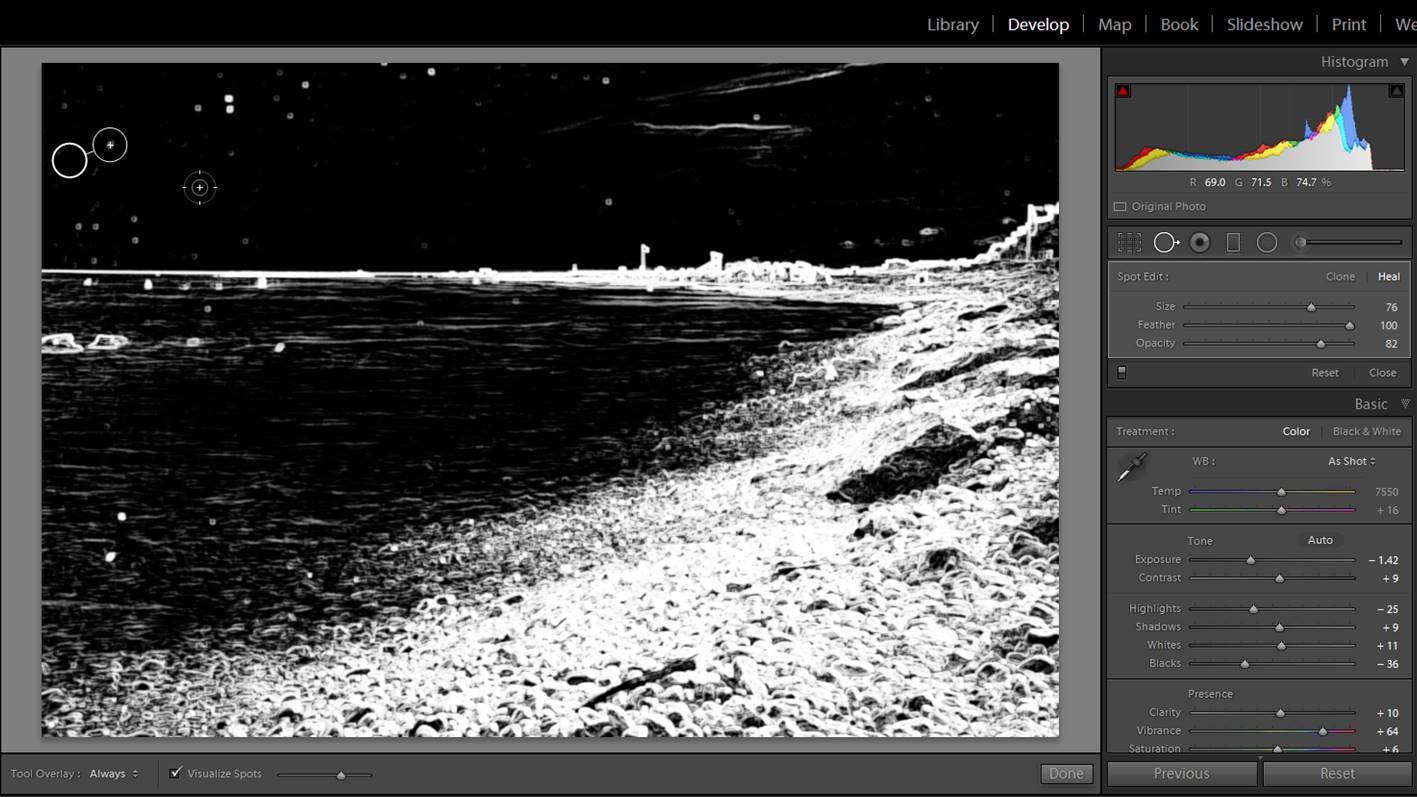
Believe me, if you have a lot of them, it can get really tedious. Look how crazy it can get!:

I have learn that it is better to keep a cleaning cloth with your filters and spend some time cleaning them before using (even when they seem quite clean). A minute of cleaning in the field could save you hours later (depending on how many photos you have) in front of the computer.

#8.Take your time and enjoy nature
Long exposure photography is not fast photography. You need to set your tripod, choose filters (clean them), experiment different settings… I recommend you to take it as an opportunity to relax and enjoy nature. Sit down, bring something nice to eat and/or drink and have fun!
I hope you liked this article, please write me any questions or comments and have a happy shooting!


 Facebook
 Google +