Based in Ningbo, Haida is a company established in 2007, specializing in researching particularly the filters used on the photographic lens, and also other camera accessories.
Haida filters are among the best on the market and one of their best features is the great price-quality evaluation.
And as I’ve tried the new nano-coated products for months, and they survived many travels and extreme environments (like iced rocky beaches, deserts, salted water) I’ve been even more satisfied with the new stuff of the industry from Ningbo.
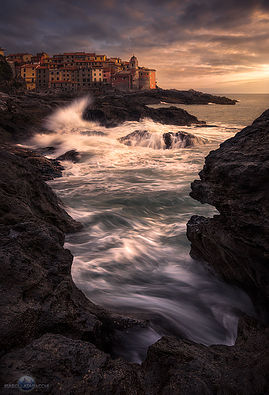
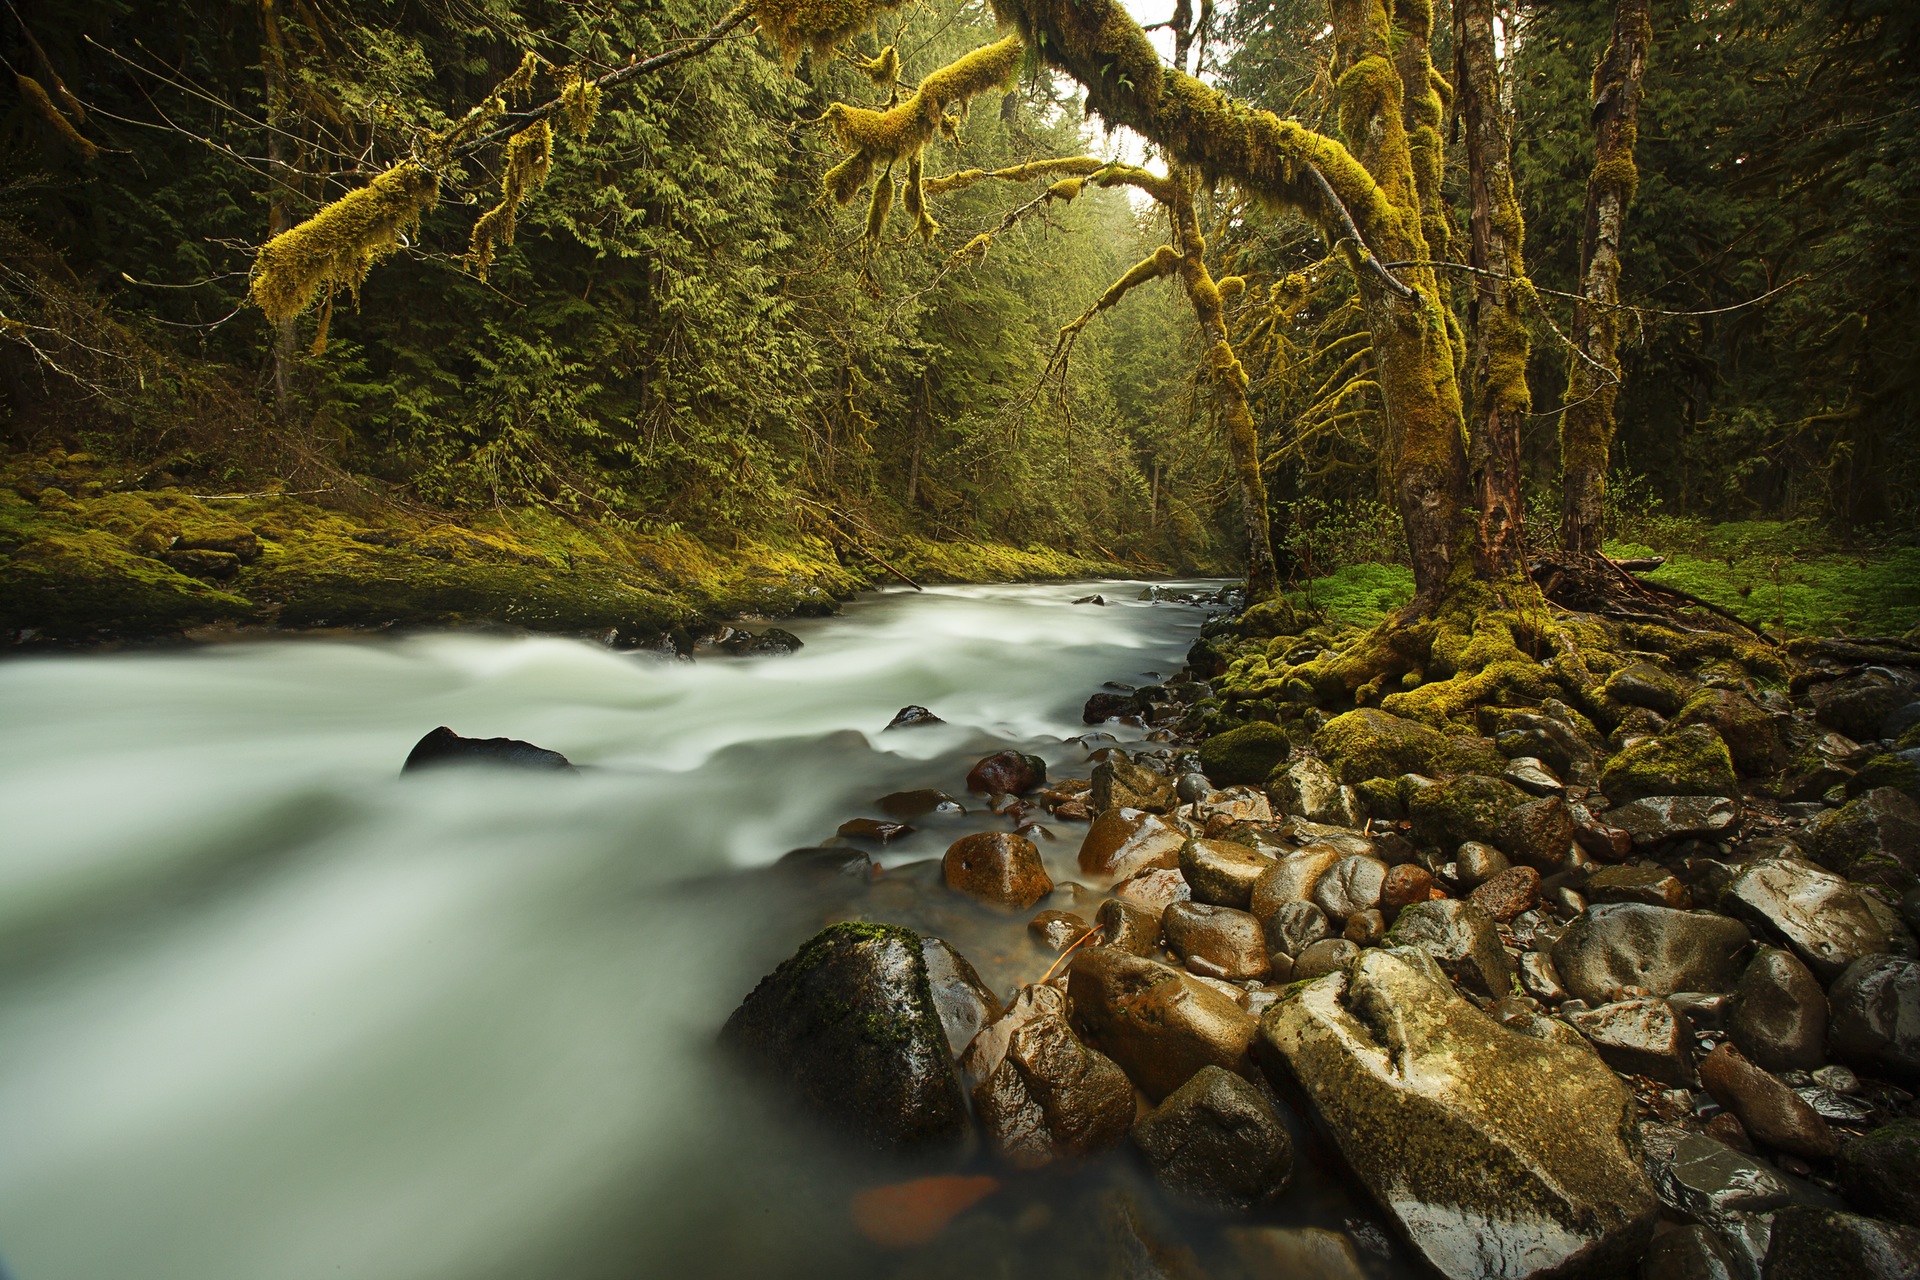
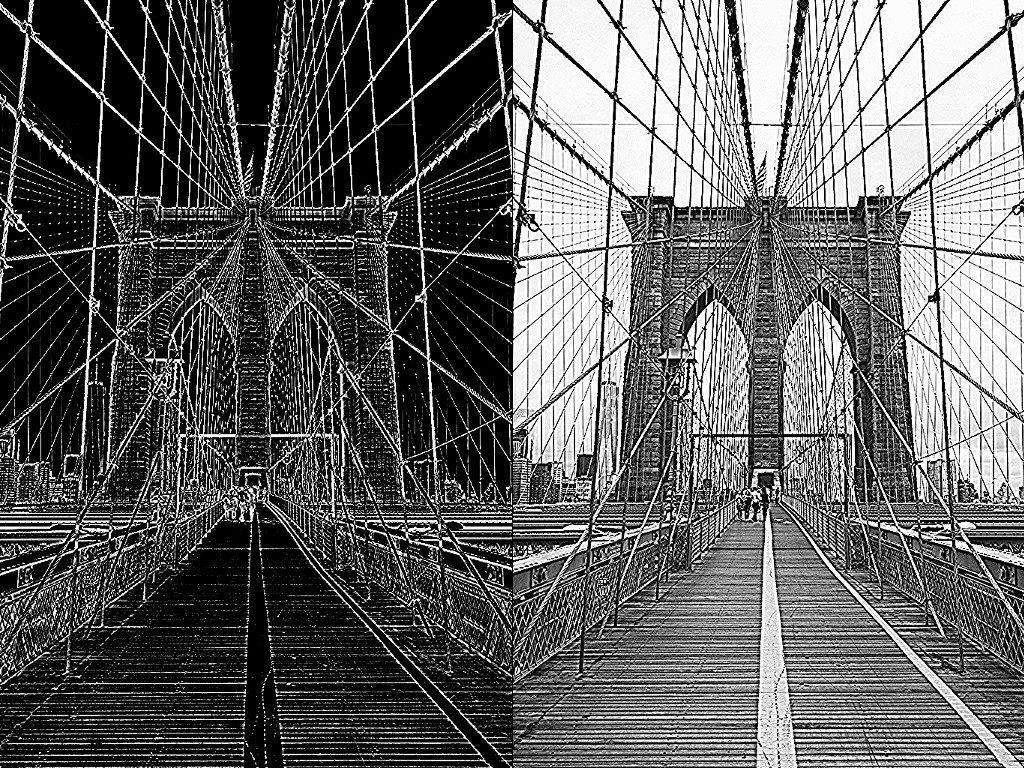
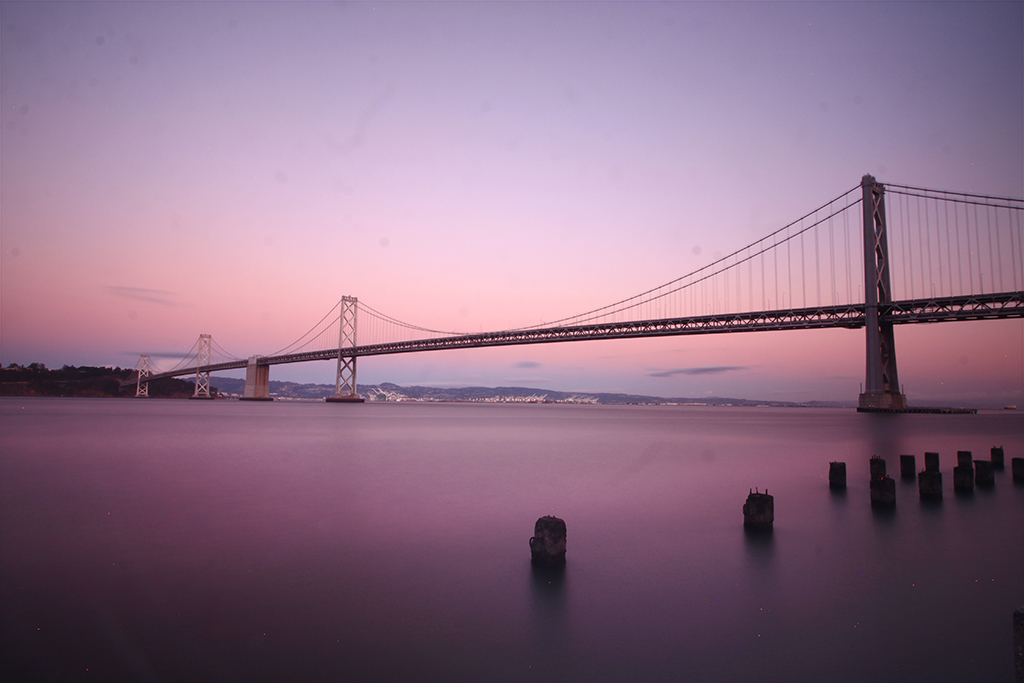
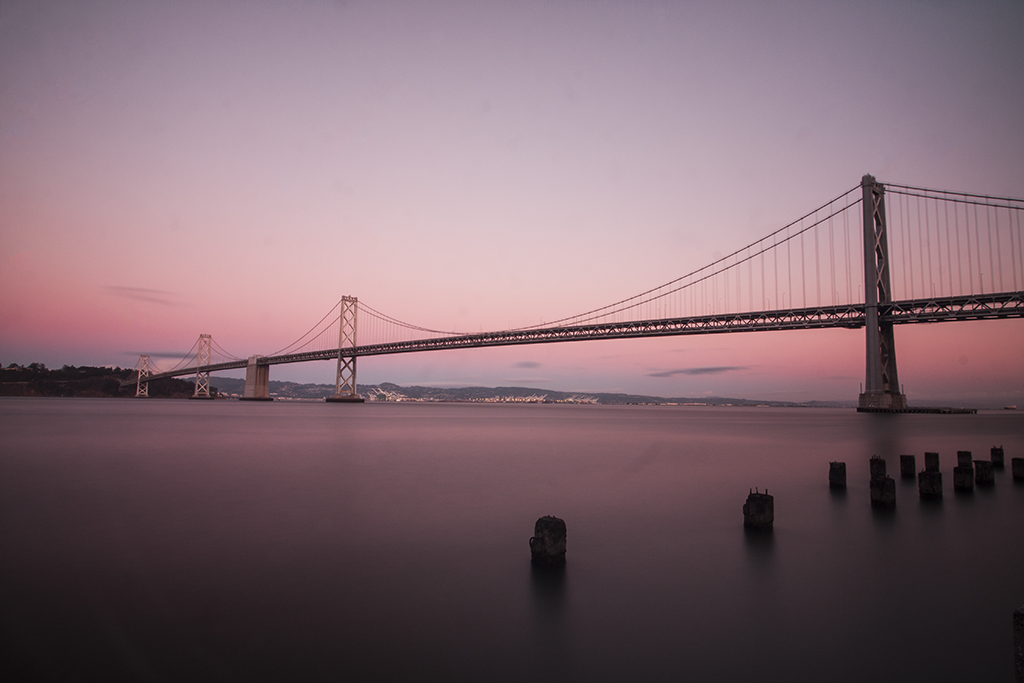
Here is some image I took with the new Haida filters.


Now to the main characteristics of the products I tested: Nano Pro MC ND 3.0 (1000x) 150×150 and Nano Pro MC Soft GND 0.9 150×170 filters.
The Nano coat
What does “Nano Pro” mean? Well, it’s the extremely thin, nano, a coat which covers the glass surface of the filter.
This is the great innovation of this new product line that makes the difference in comparison to the previous series. It gives resistance to dirt, reflections, and scratches.
Thanks to this coat, my filters fantastically survived sandy, earthy, rocky, icy places.
Furthermore, as a landscaper, I often take shots to waterfalls and rocky beaches where the waves move on the reefs and splash some water on the filter. Thanks to this coat I have just to clean lightly with a towel cause the drops come away very easily.
The holder
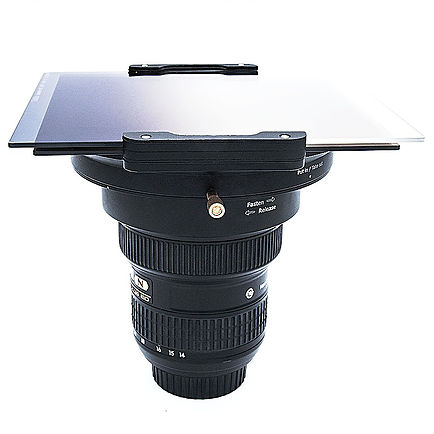
You have to put the filters in the grooves of the holder to use them. I own the 150 series holder for my Nikon 14-24mm f/2.8G ED wide-angle lens.
The support system is steel and very steady and resistant. It consists of the universal holder that supports the filters, the front adapter ring and the rear adapter ring that sustain and connect the holder to the lens.
A little gold nut enables to remove or rotate the holder on the rings to position better the filter, especially if it’s a GND.
There are also two rubber plates (superior and inferior) on the holder surface, near the grooves; they prevent the light to come into the space between the lens and the holder, so the nuisance reflections don’t appear on our shots. You can find also some replacement rubber plates in the holder pack.
I also took many very long exposure shots with ND, GND and both filters and I never saw that horrible reflection (similar to crowns) that appear every time the light goes under the filter; so I’m really satisfied with this holder.
The filters
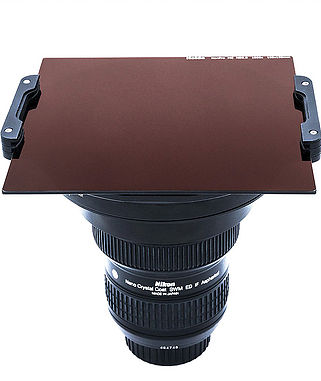

The glass filters are stacked in the grooves of the holder that I described previously.
The sharpness of these filters is excellent and also by the absence of color dominant even if they appear colored at the first sight.
Also, the management of phenomenon like flares and vignetting is great, also because my wide angle already creates some of those.
I also tried to take pictures with GND and ND both mounted and the results are great. But remember to insert the ND always on the first groove nearer the lens to avoid strange light reflections.
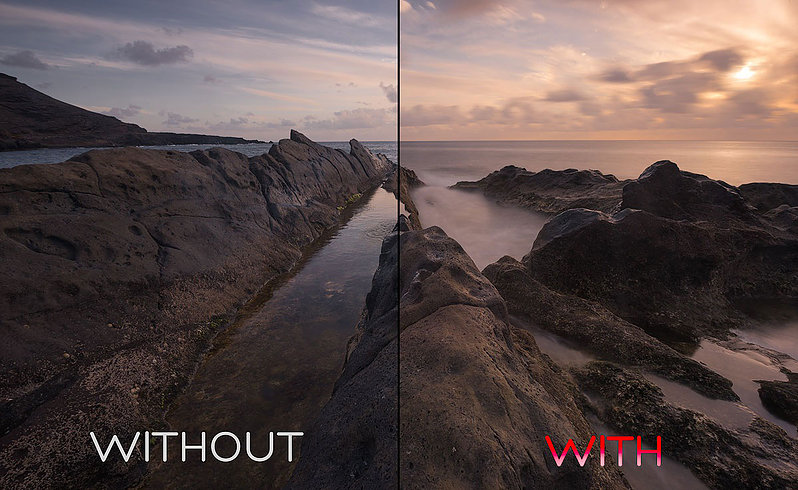
Comparisons
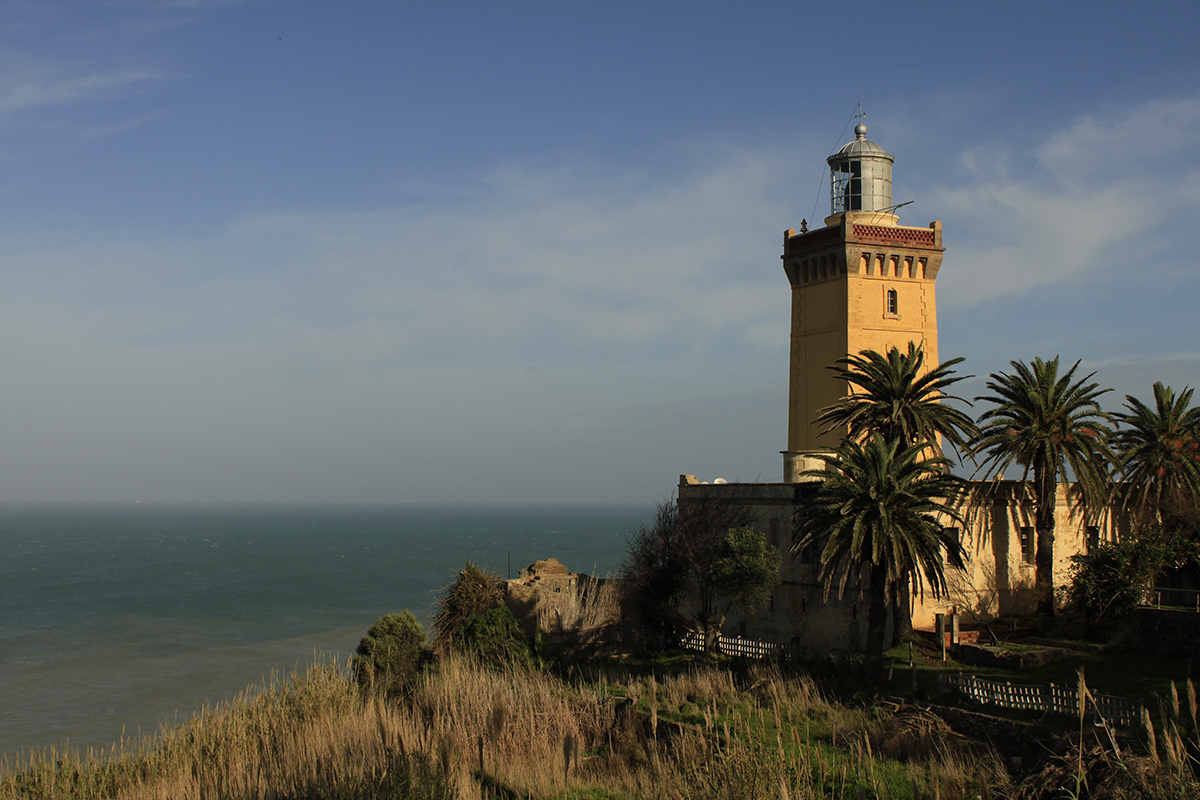
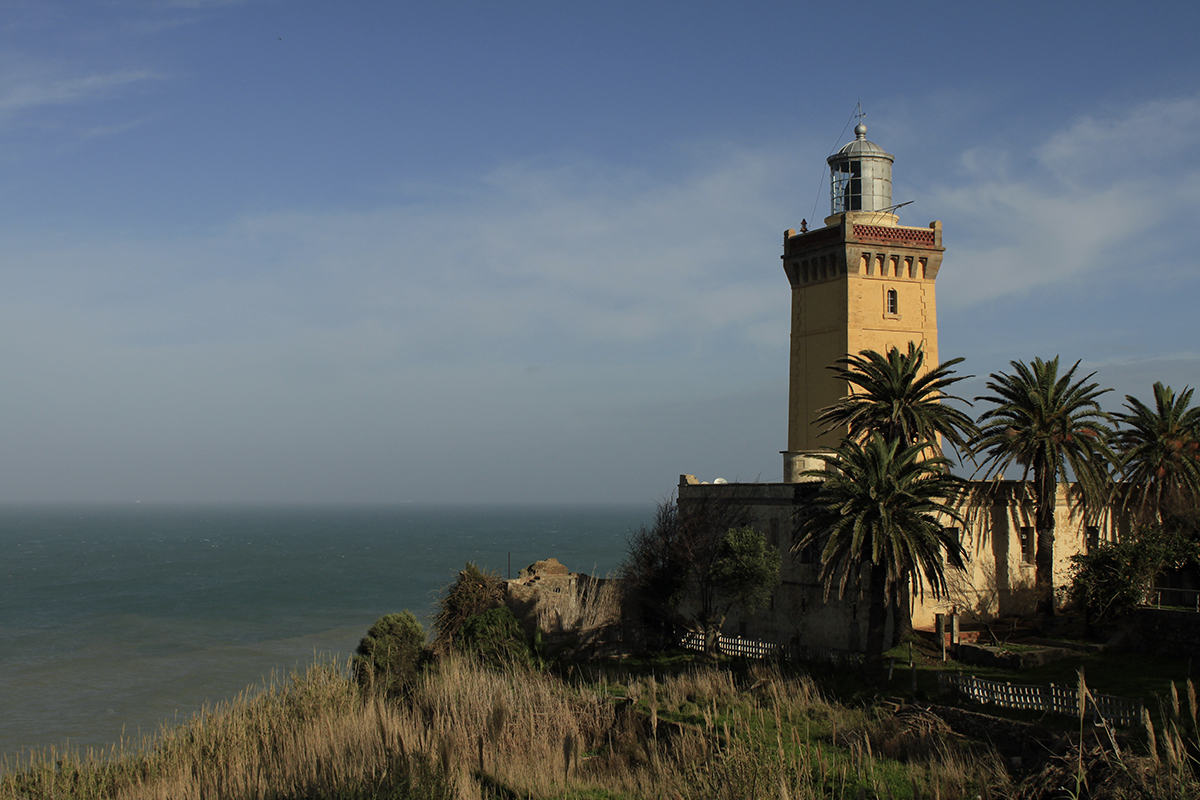
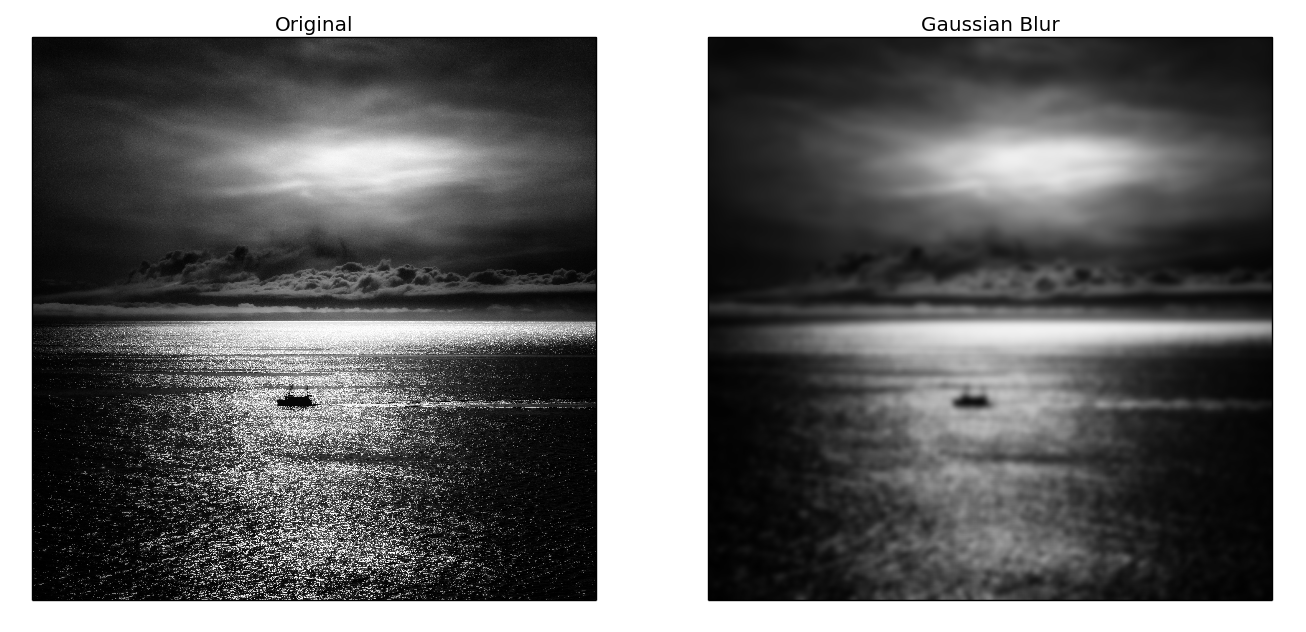
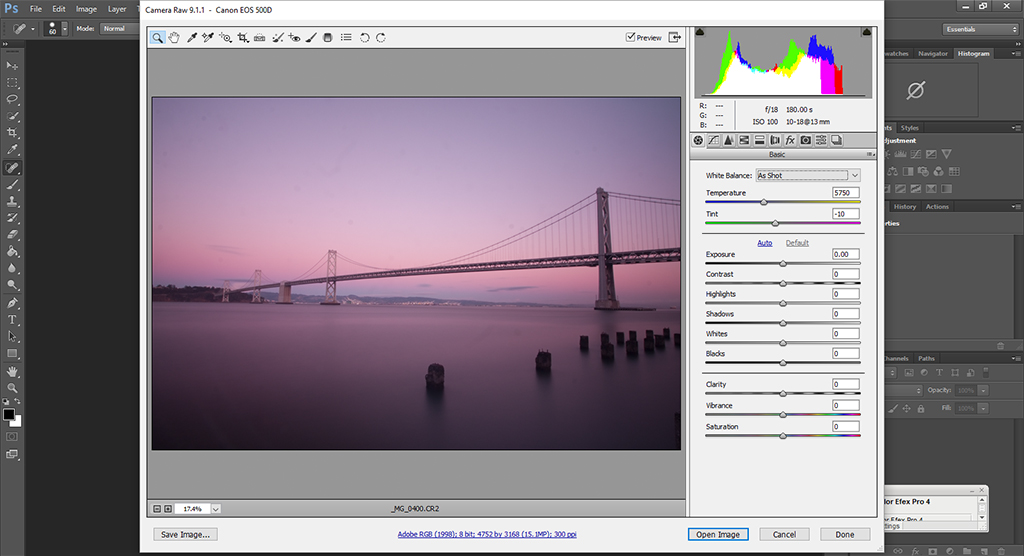
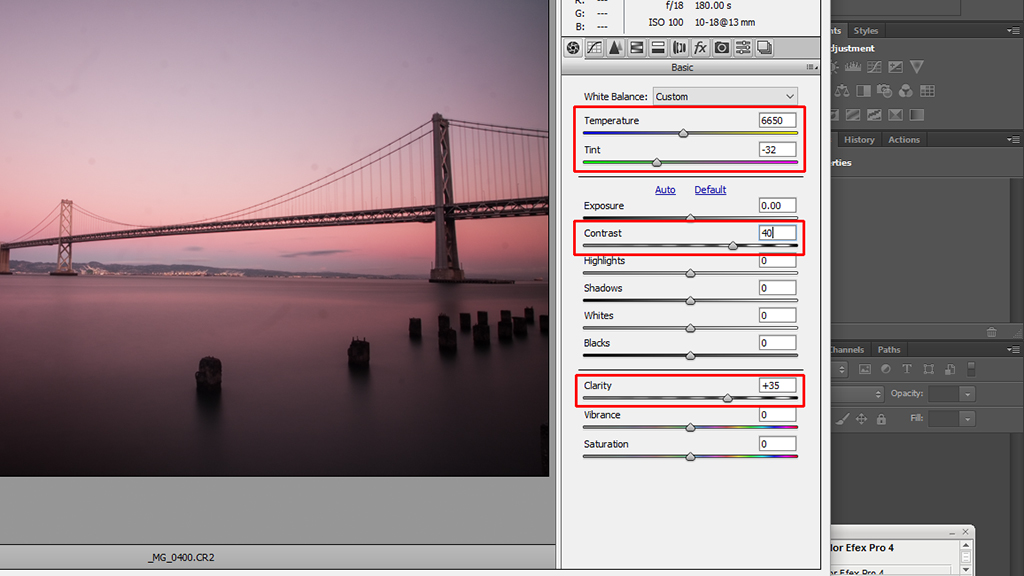
Here are following two “with-without” images that consist of not post-processed shots.
In the first, taken in Lanzarote, I used the Nano Pro ND 3.0 (1000x) filter.
You will notice how, in the “WITH” half, the sea water looks like a thick fog and seems velvety. Besides, the clouds are blurred.
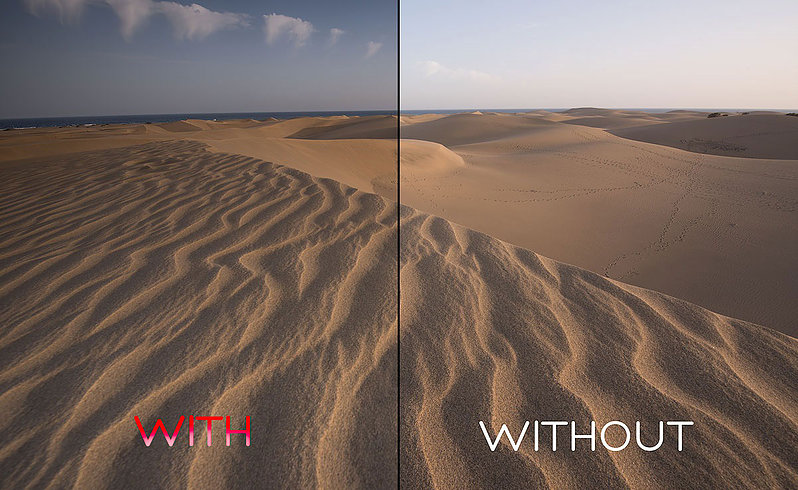
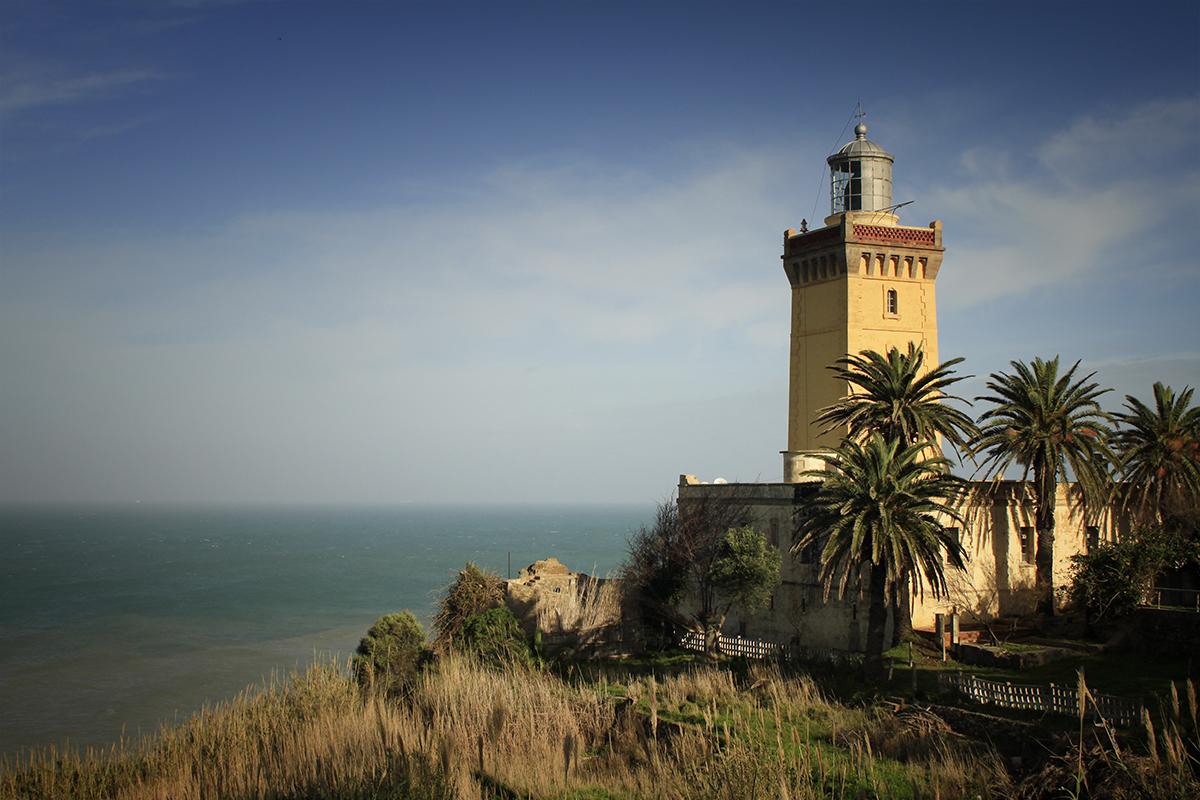
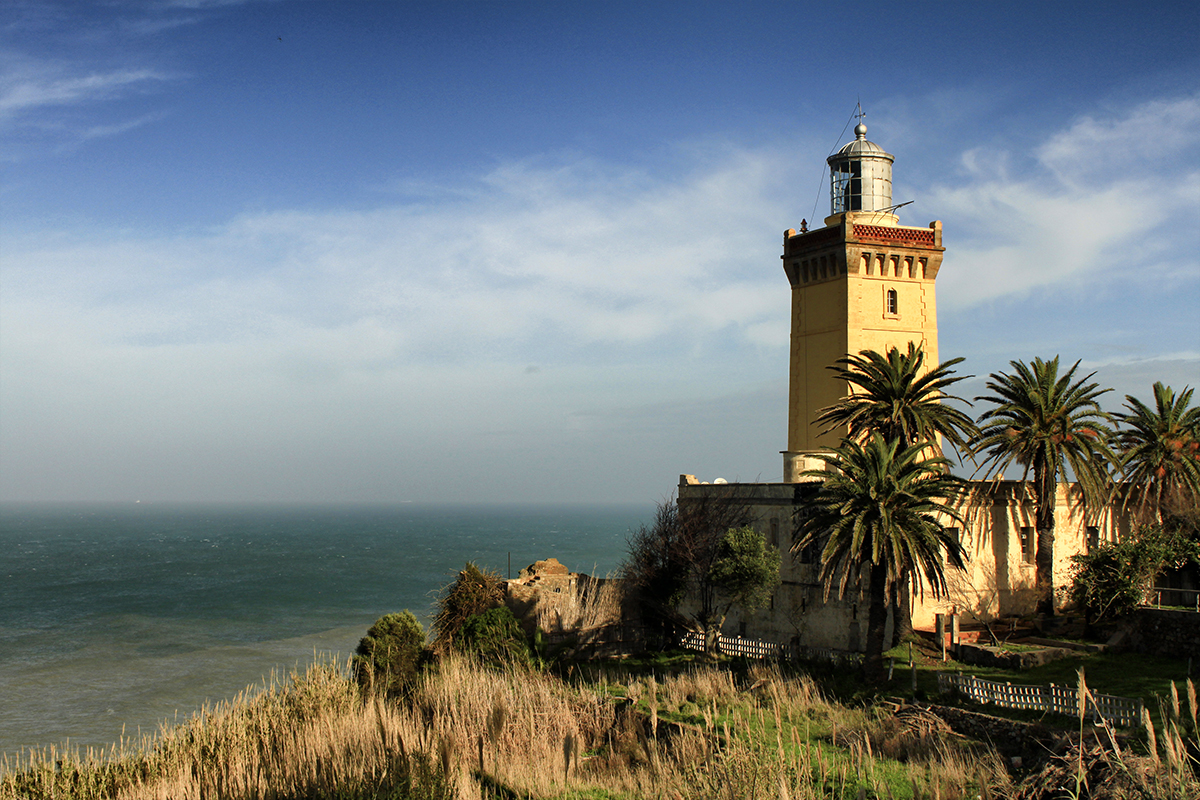
In the second, taken in Gran Canaria, I used the Nano Pro Soft GND 0.9 filter.
You will notice how the sky and the upper part of the image are darker, even if the foreground has almost the same brightness and contrast in both the halves. This allows a better managing in postprocessing.
Where can you buy them?
The new Nano Pro filters will be soon buyable in Amazon distributed from Pro-photoshop.
If you live in U.S.A you can visit the HaidaUSA online store.
If you are a Swiss customer, you can also visit the official distributor in Switzerland Fotichaestli.com.
In conclusion…
The quality of the Haida Nano Pro filters is excellent. The strength and the stability of the holder impressed and helped me during my adventures. Even if I often explore extreme and wild locations, my filters are already intact and not damaged.
For instance, I went, as you read, in the desert; there is a lot of sand there; if the glass would be of poor quality, would have a lot of scratches now.
But thanks also to nano coat on it, I was able to clean it without stress.
Many photographers could have some hassles taking shots, for example, to waterfalls. Indeed the water goes frequently splash on the ND filter used on these kinds of shots. But the nano coat permits to clean the glass very easily.


 Facebook
 Google +