Tag: tips and tricks

Finding the Perfect Backgrounds for Your Photographs

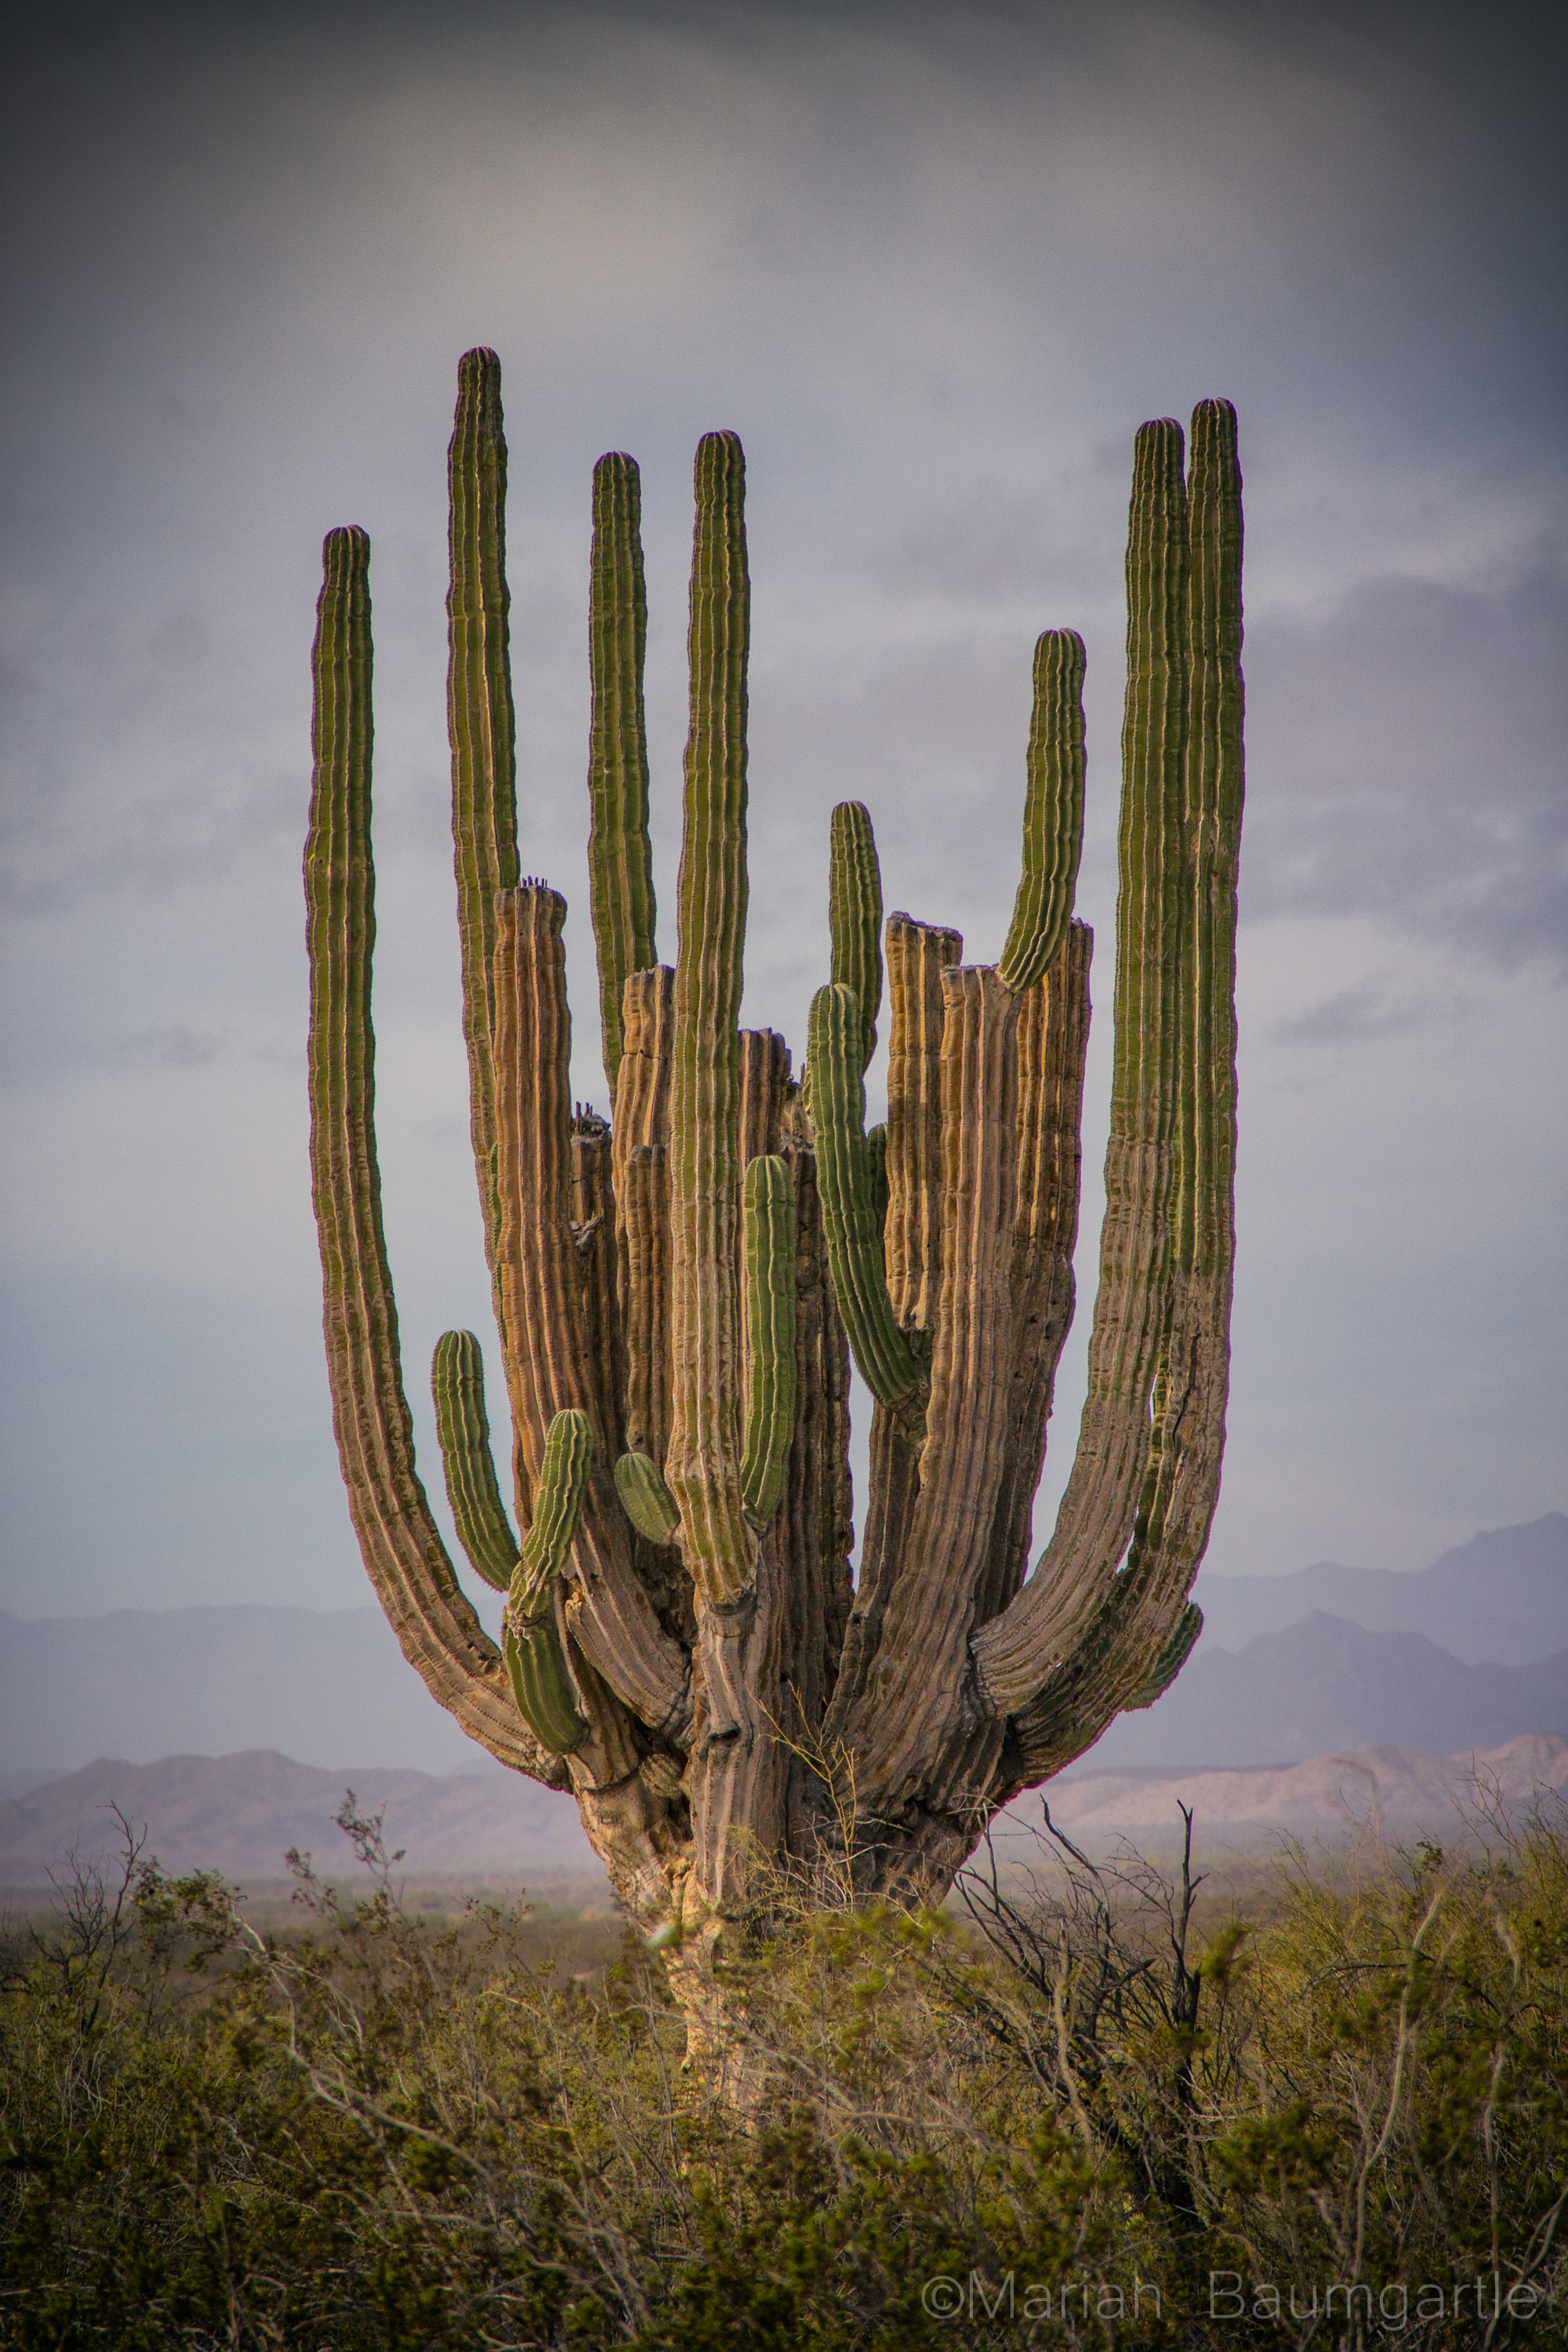
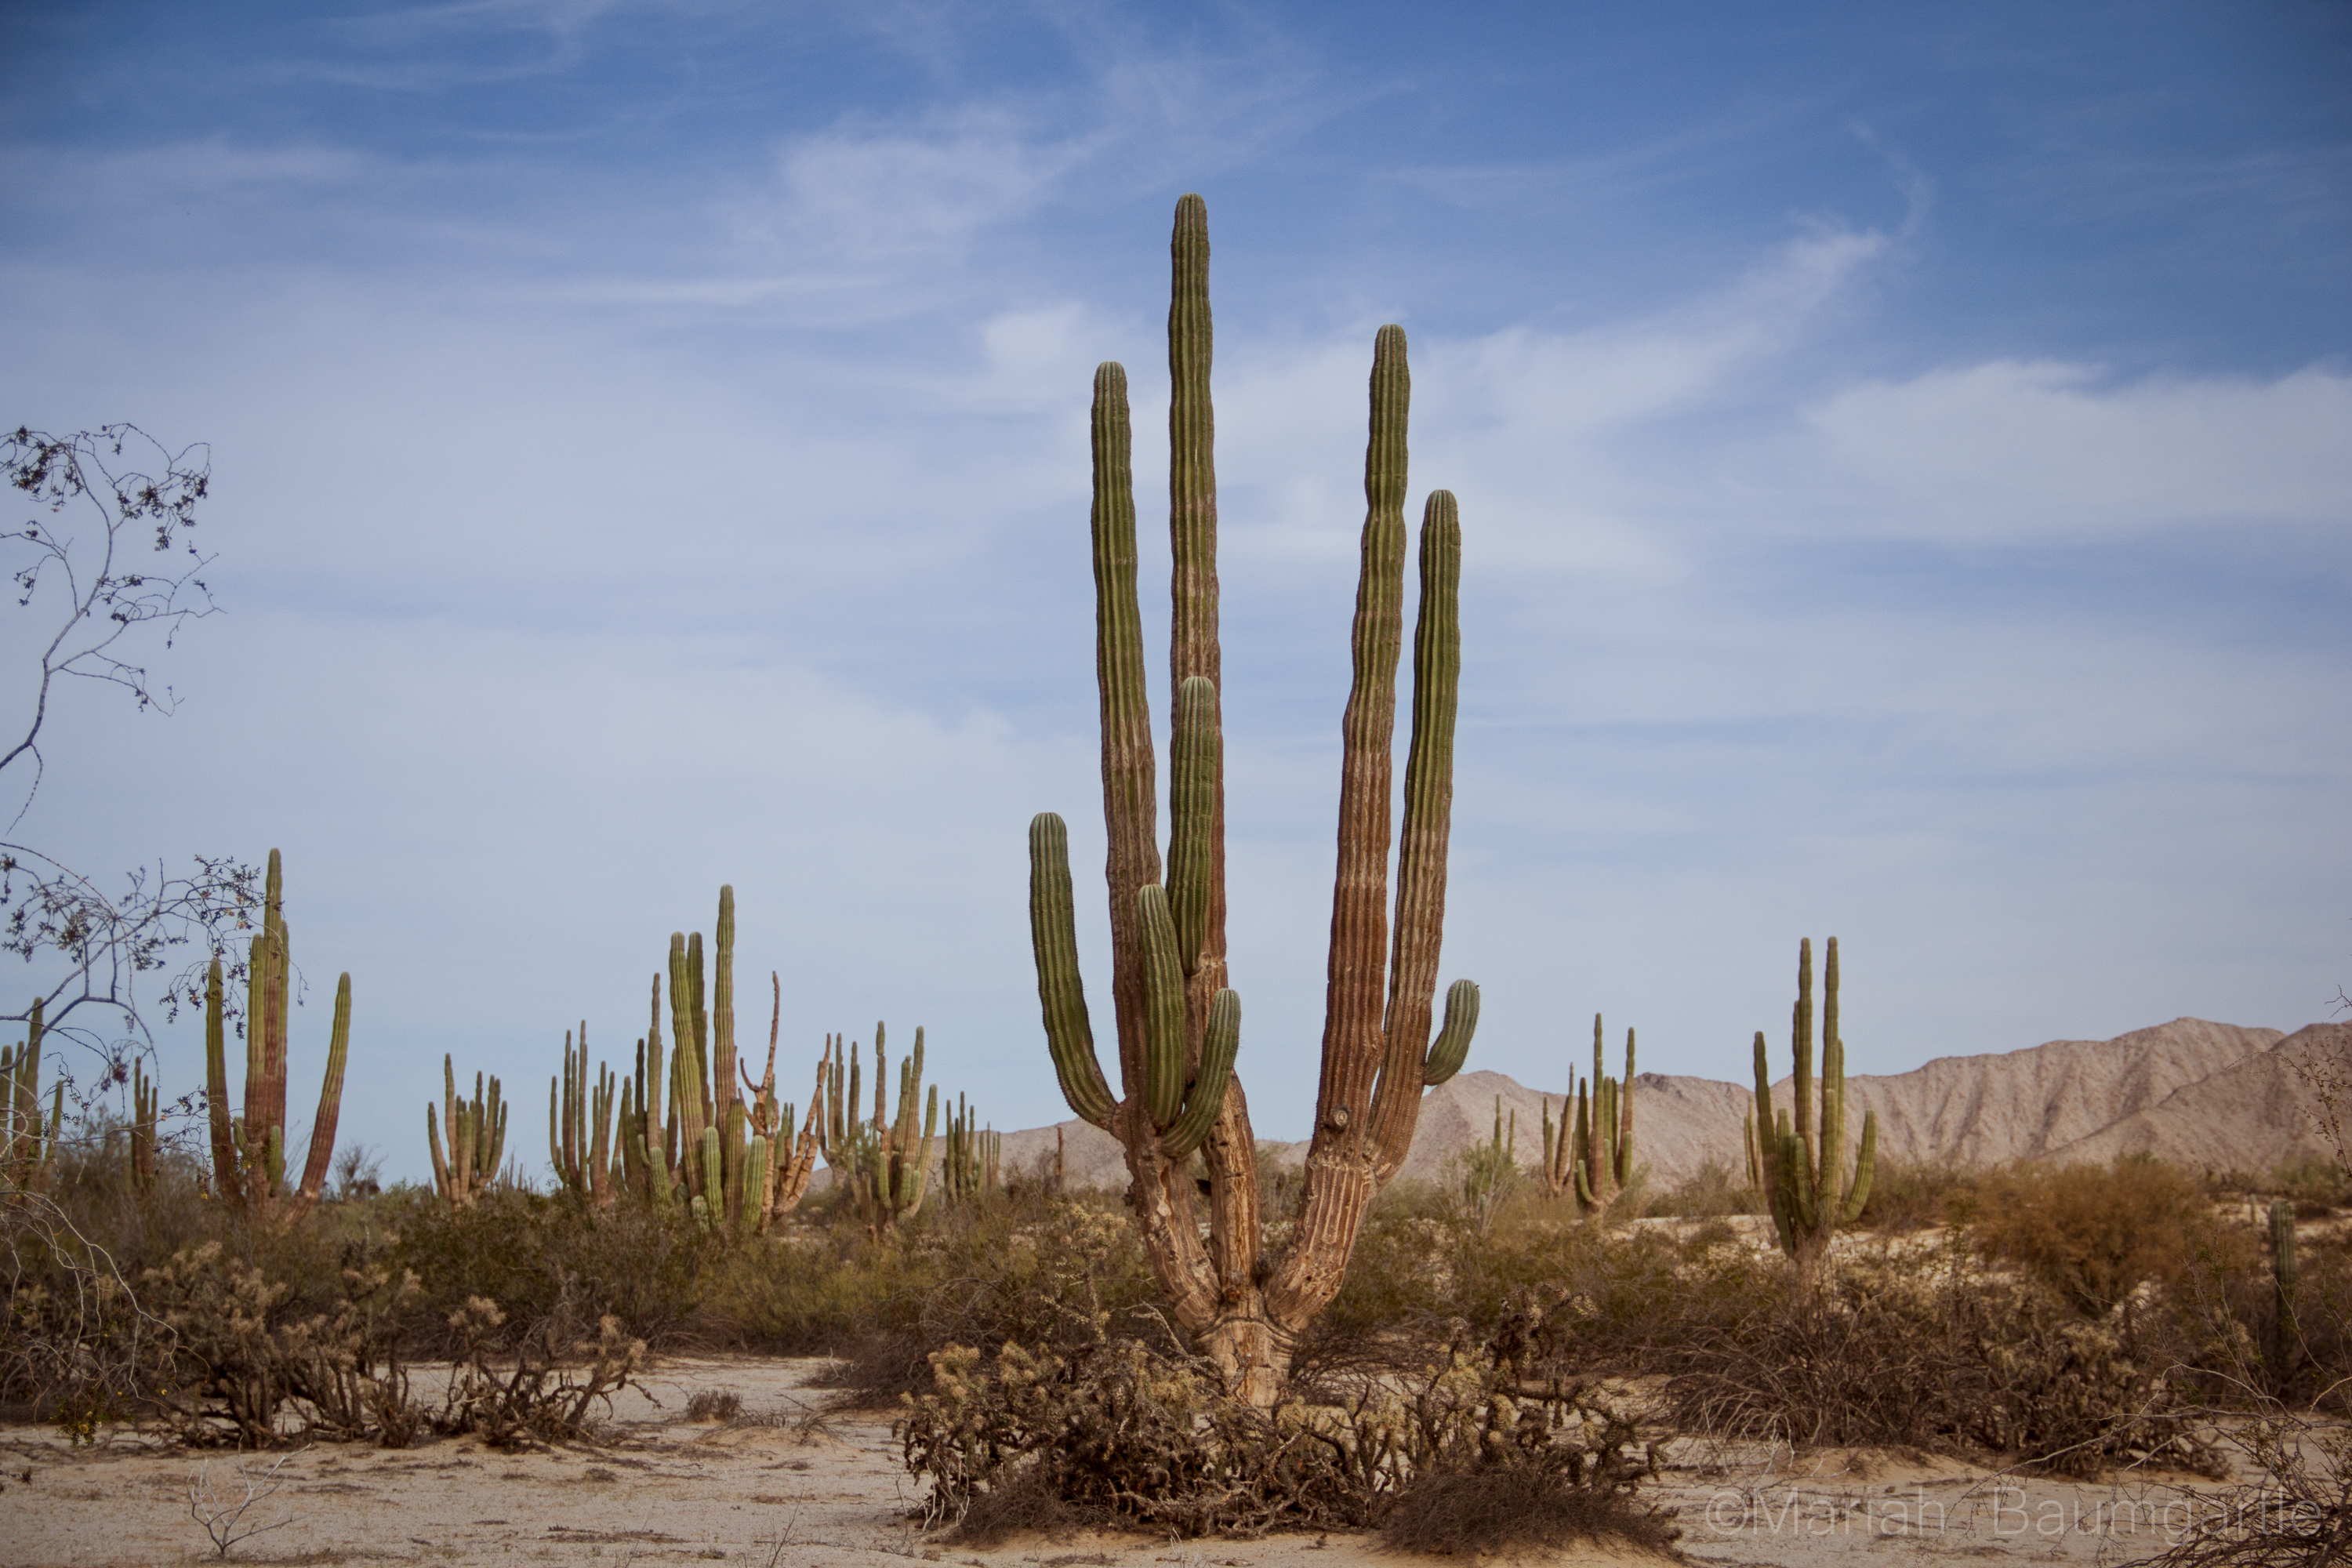
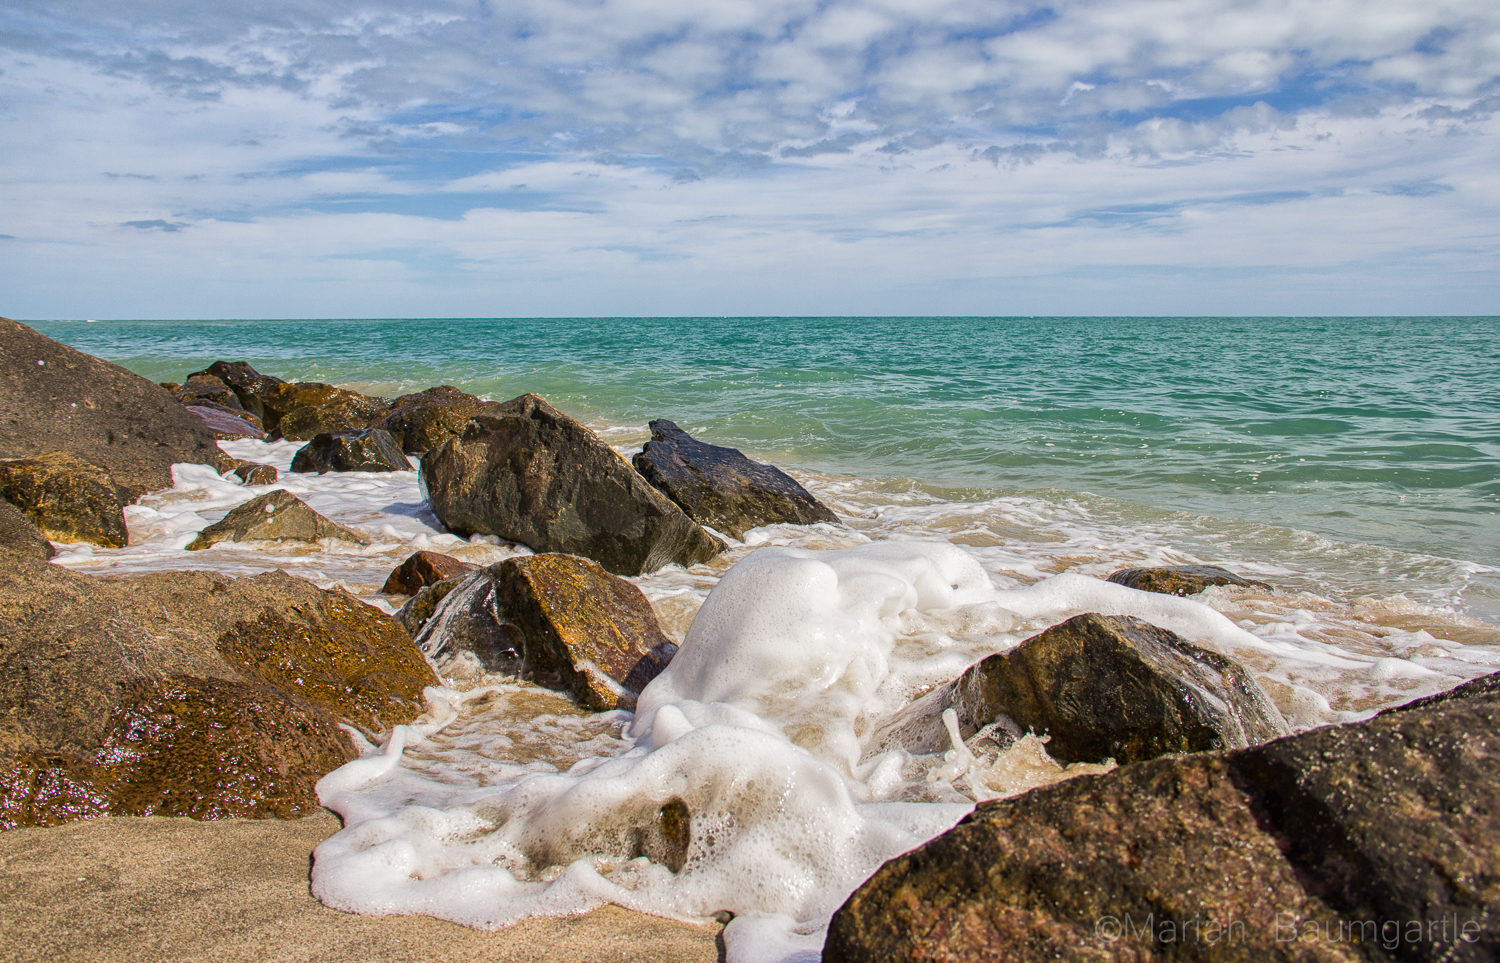
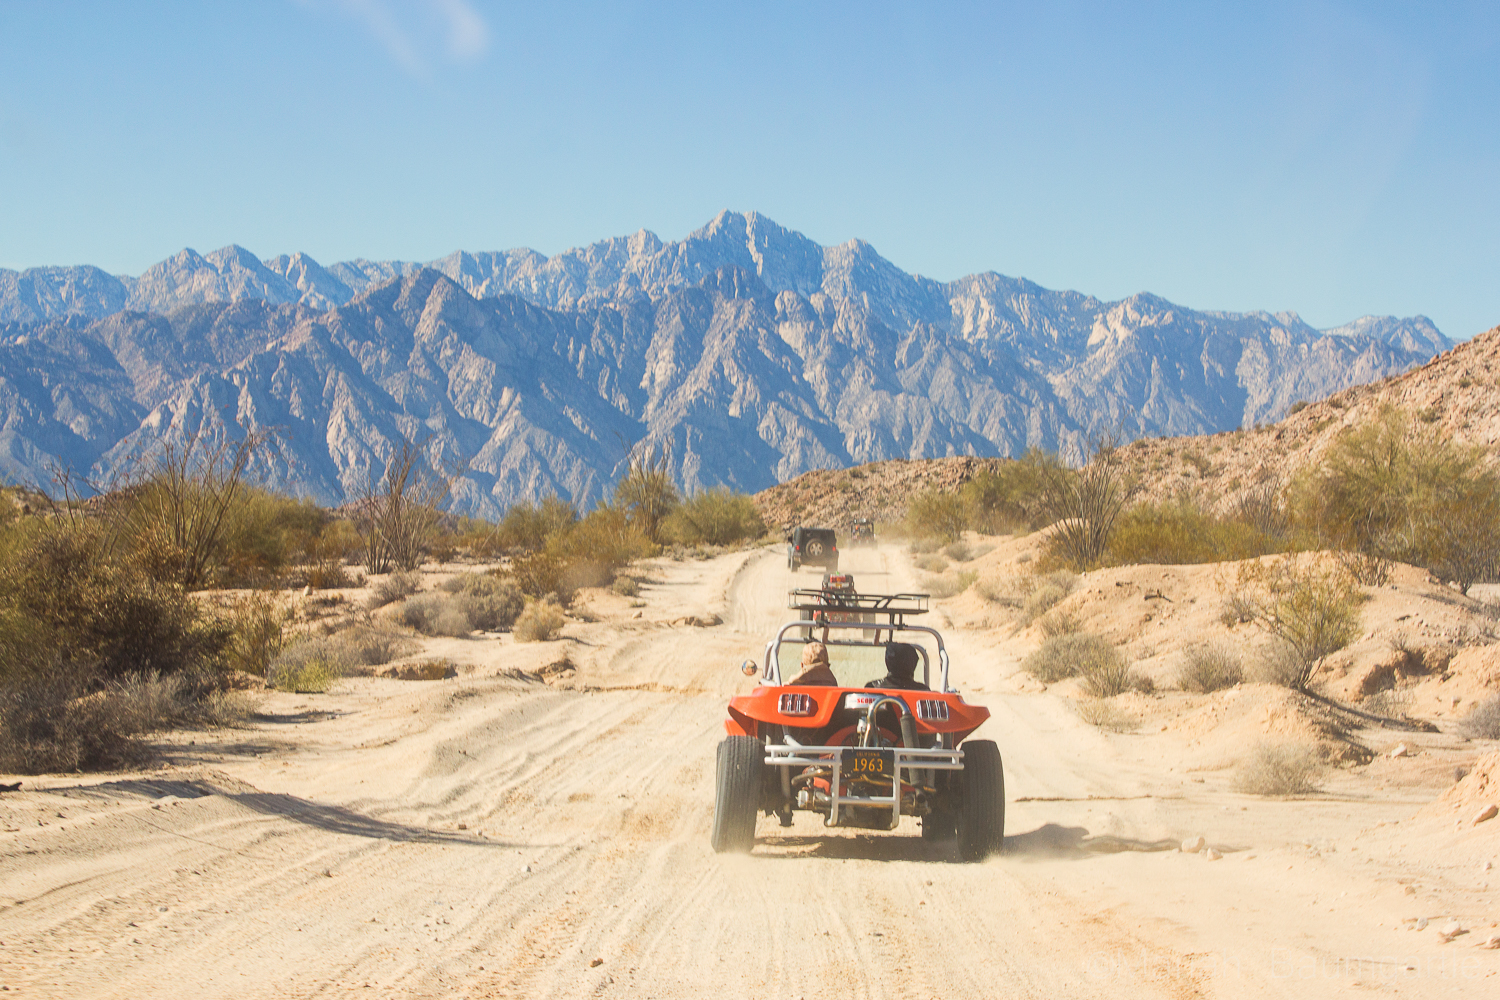
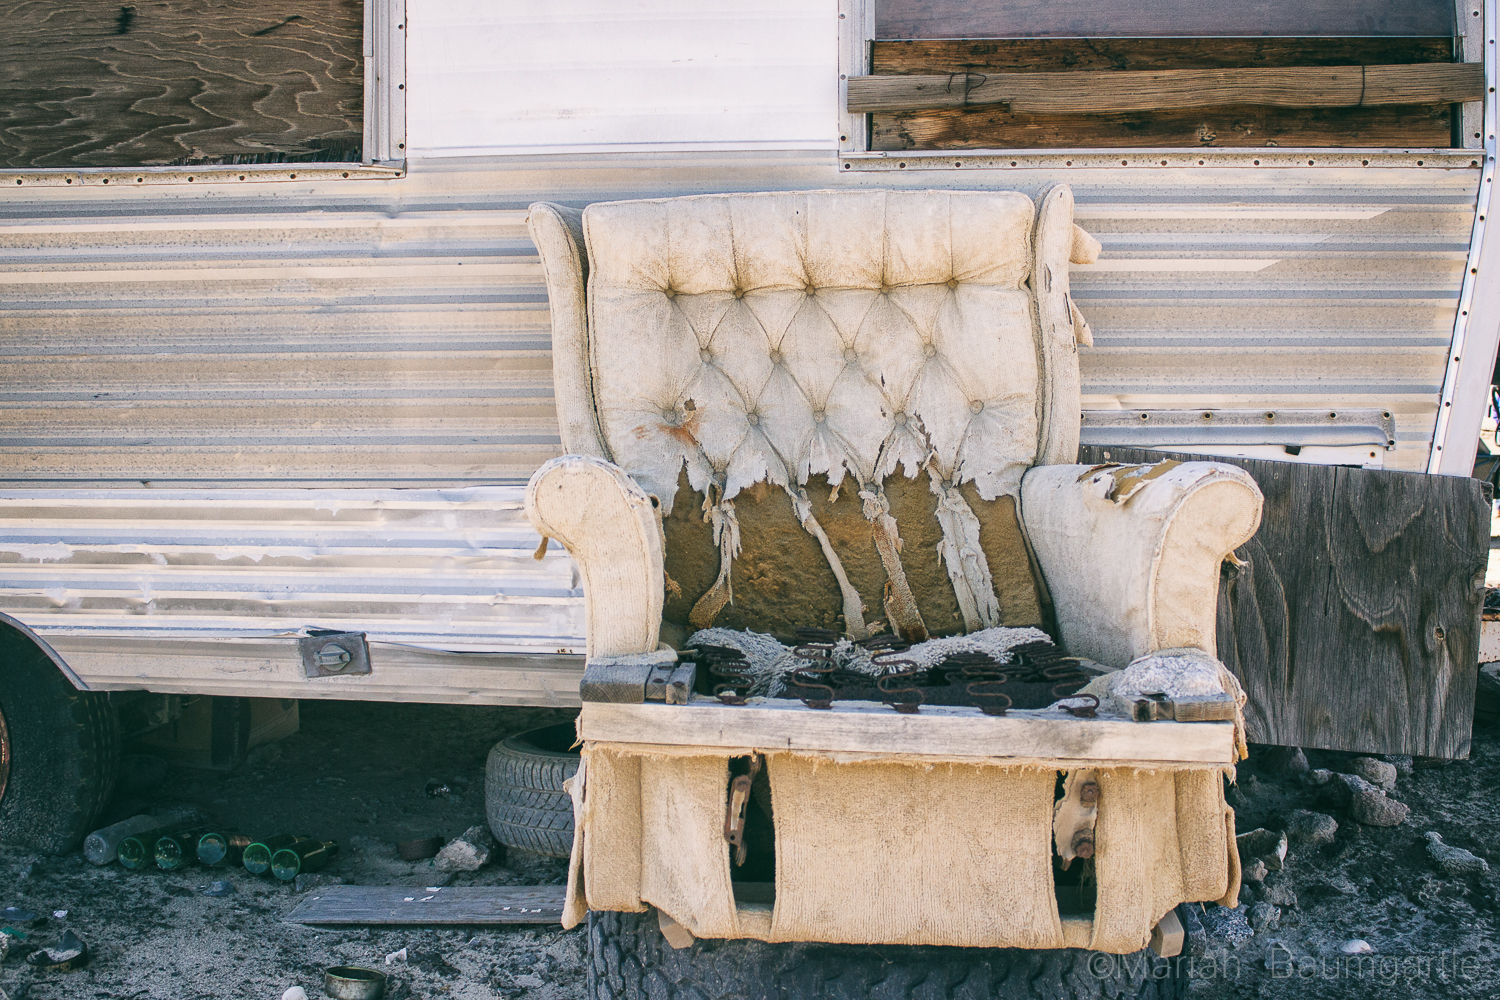
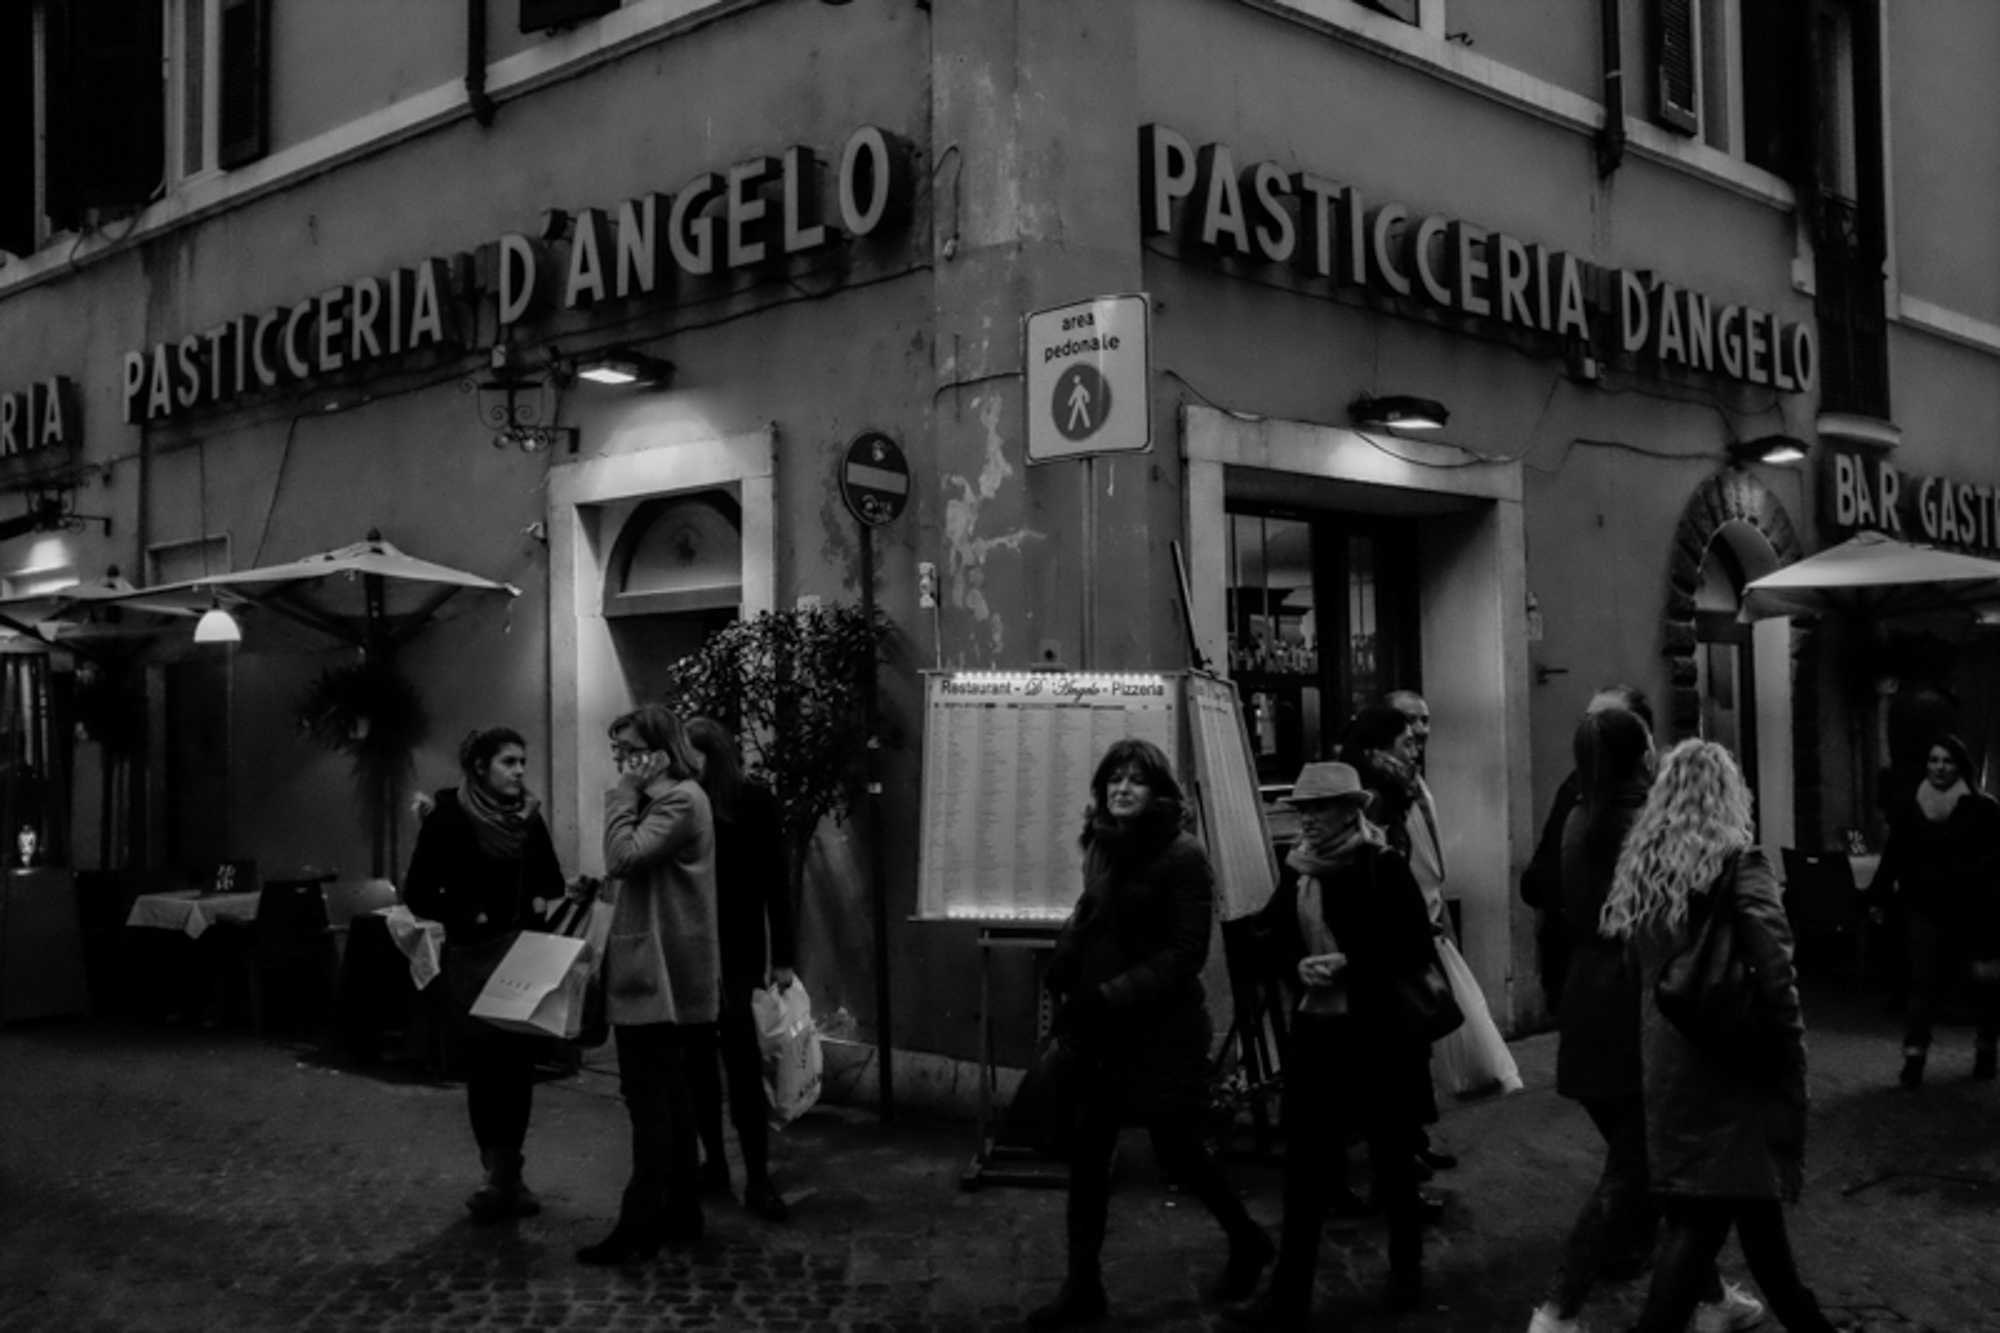
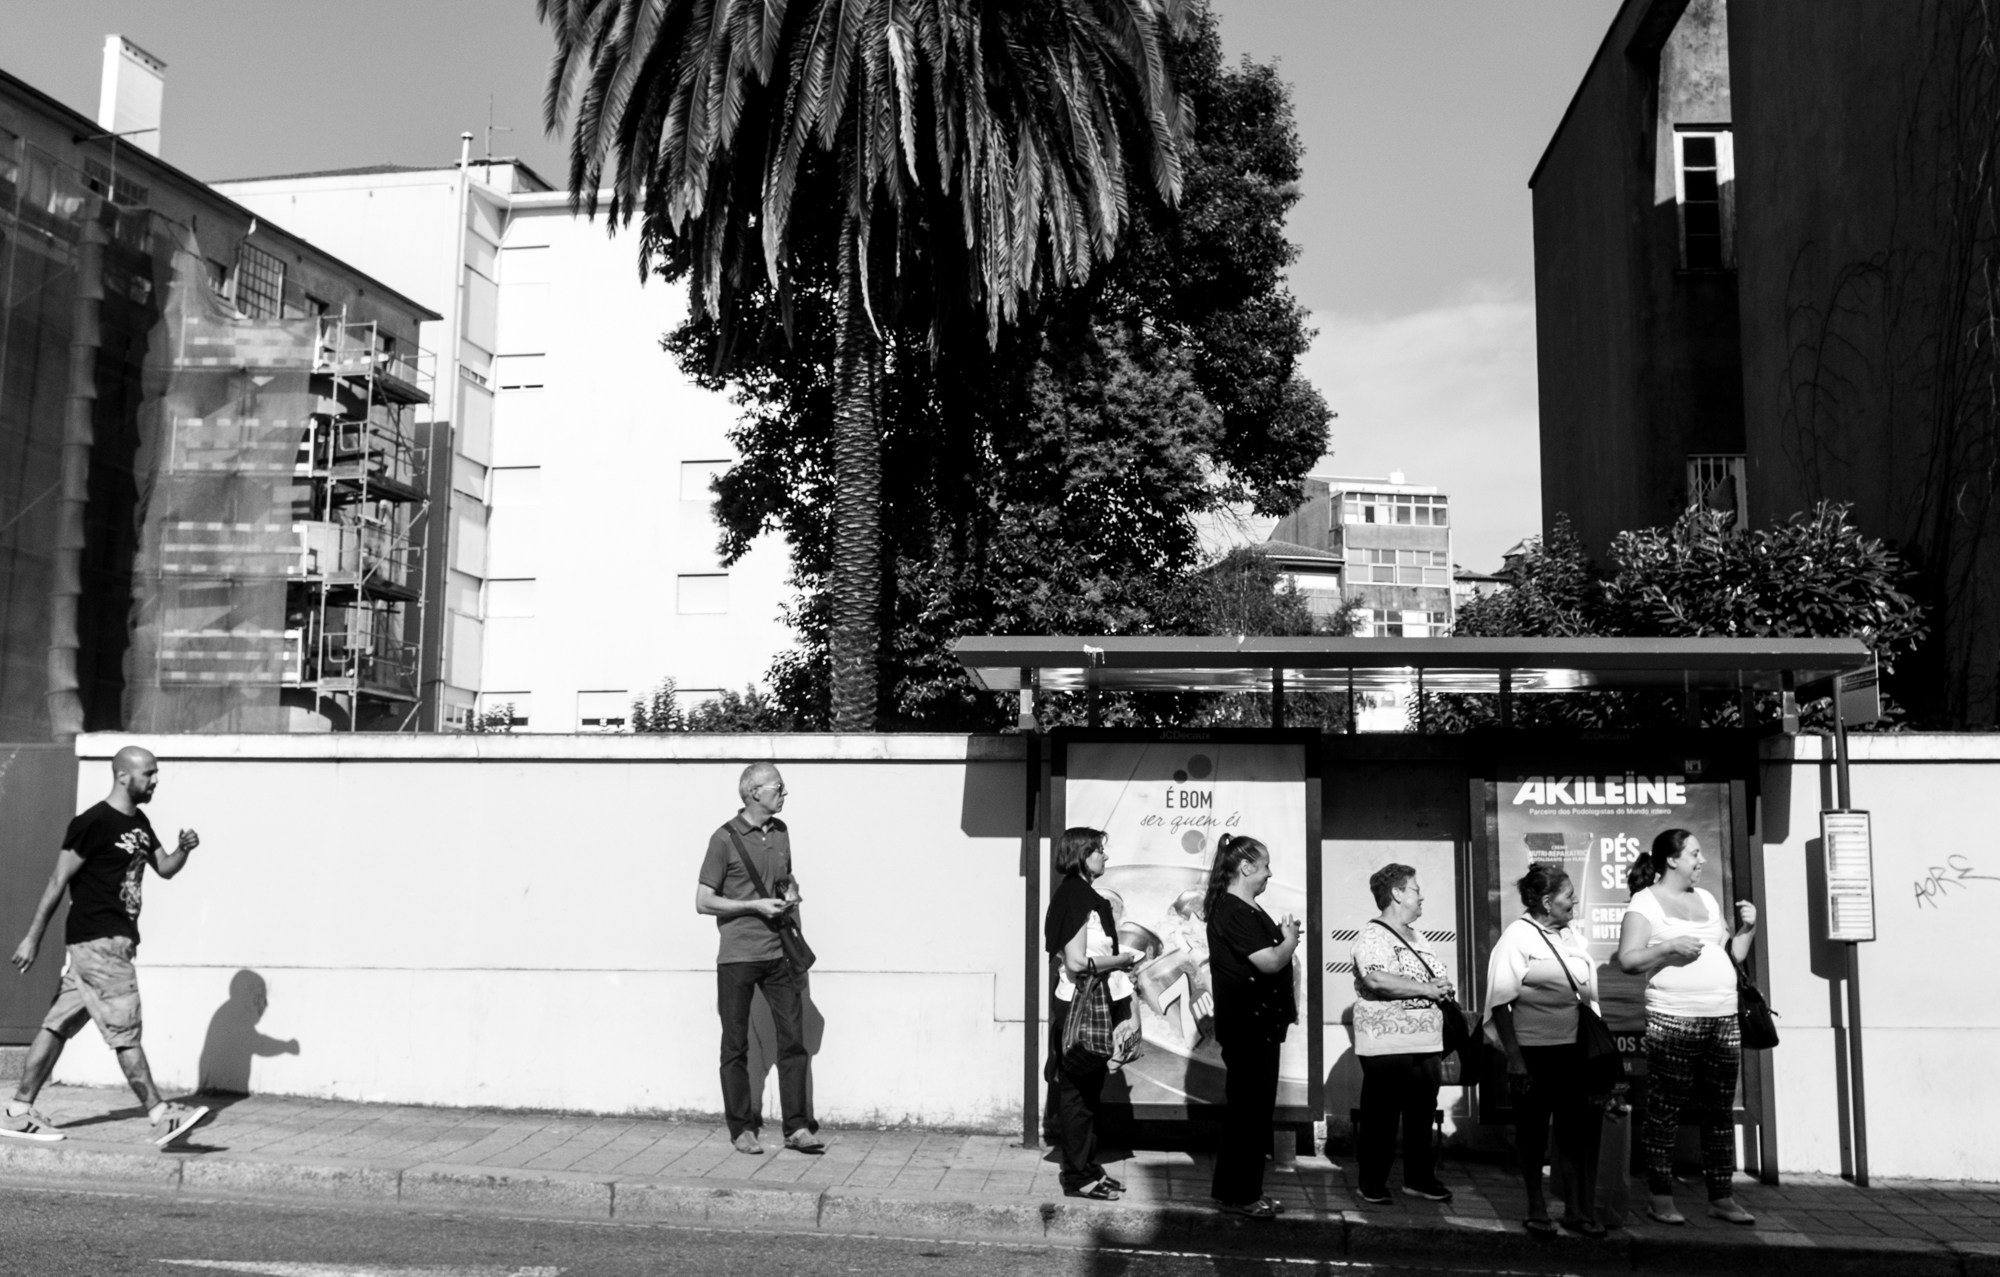
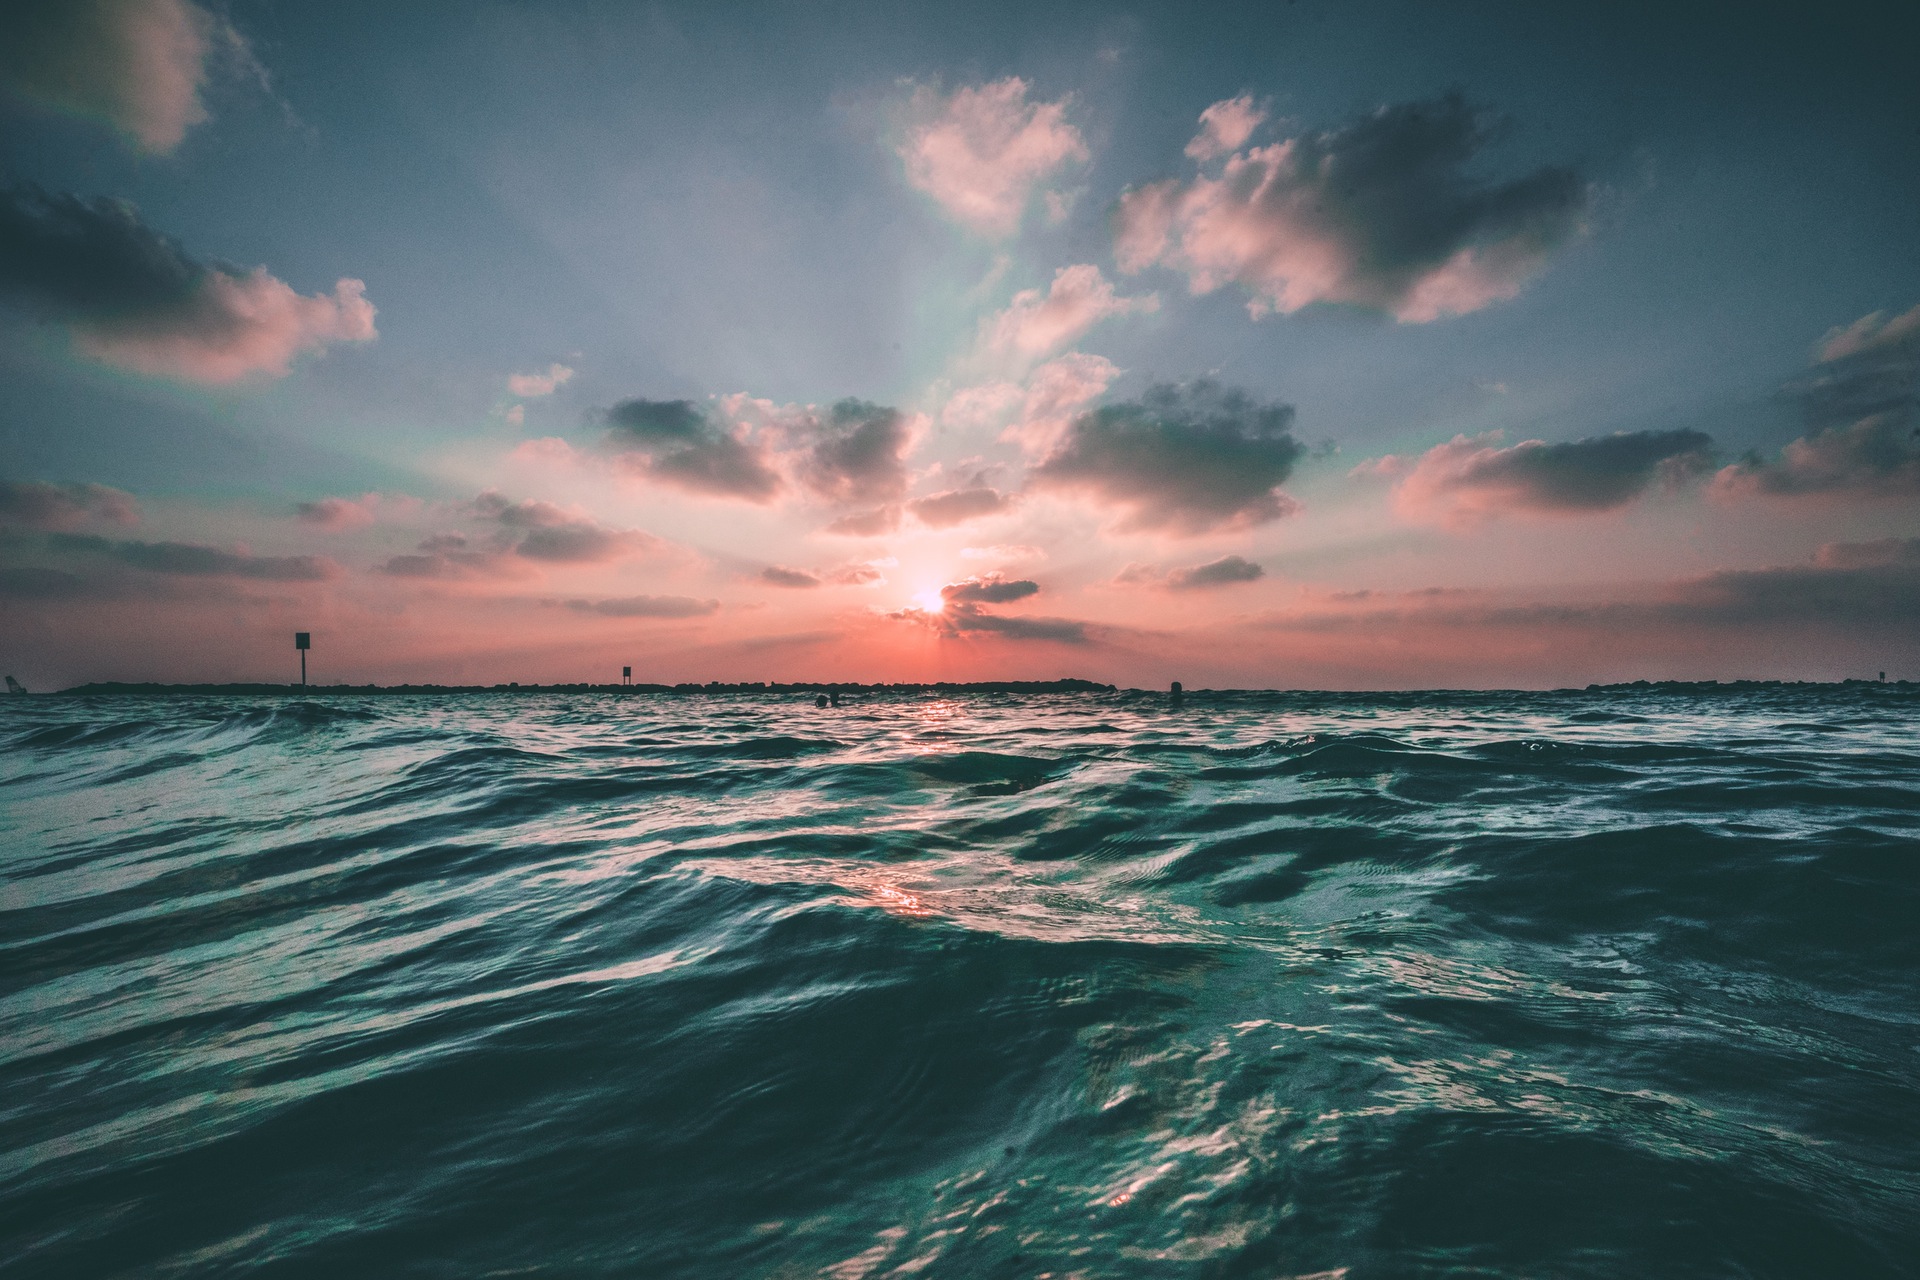
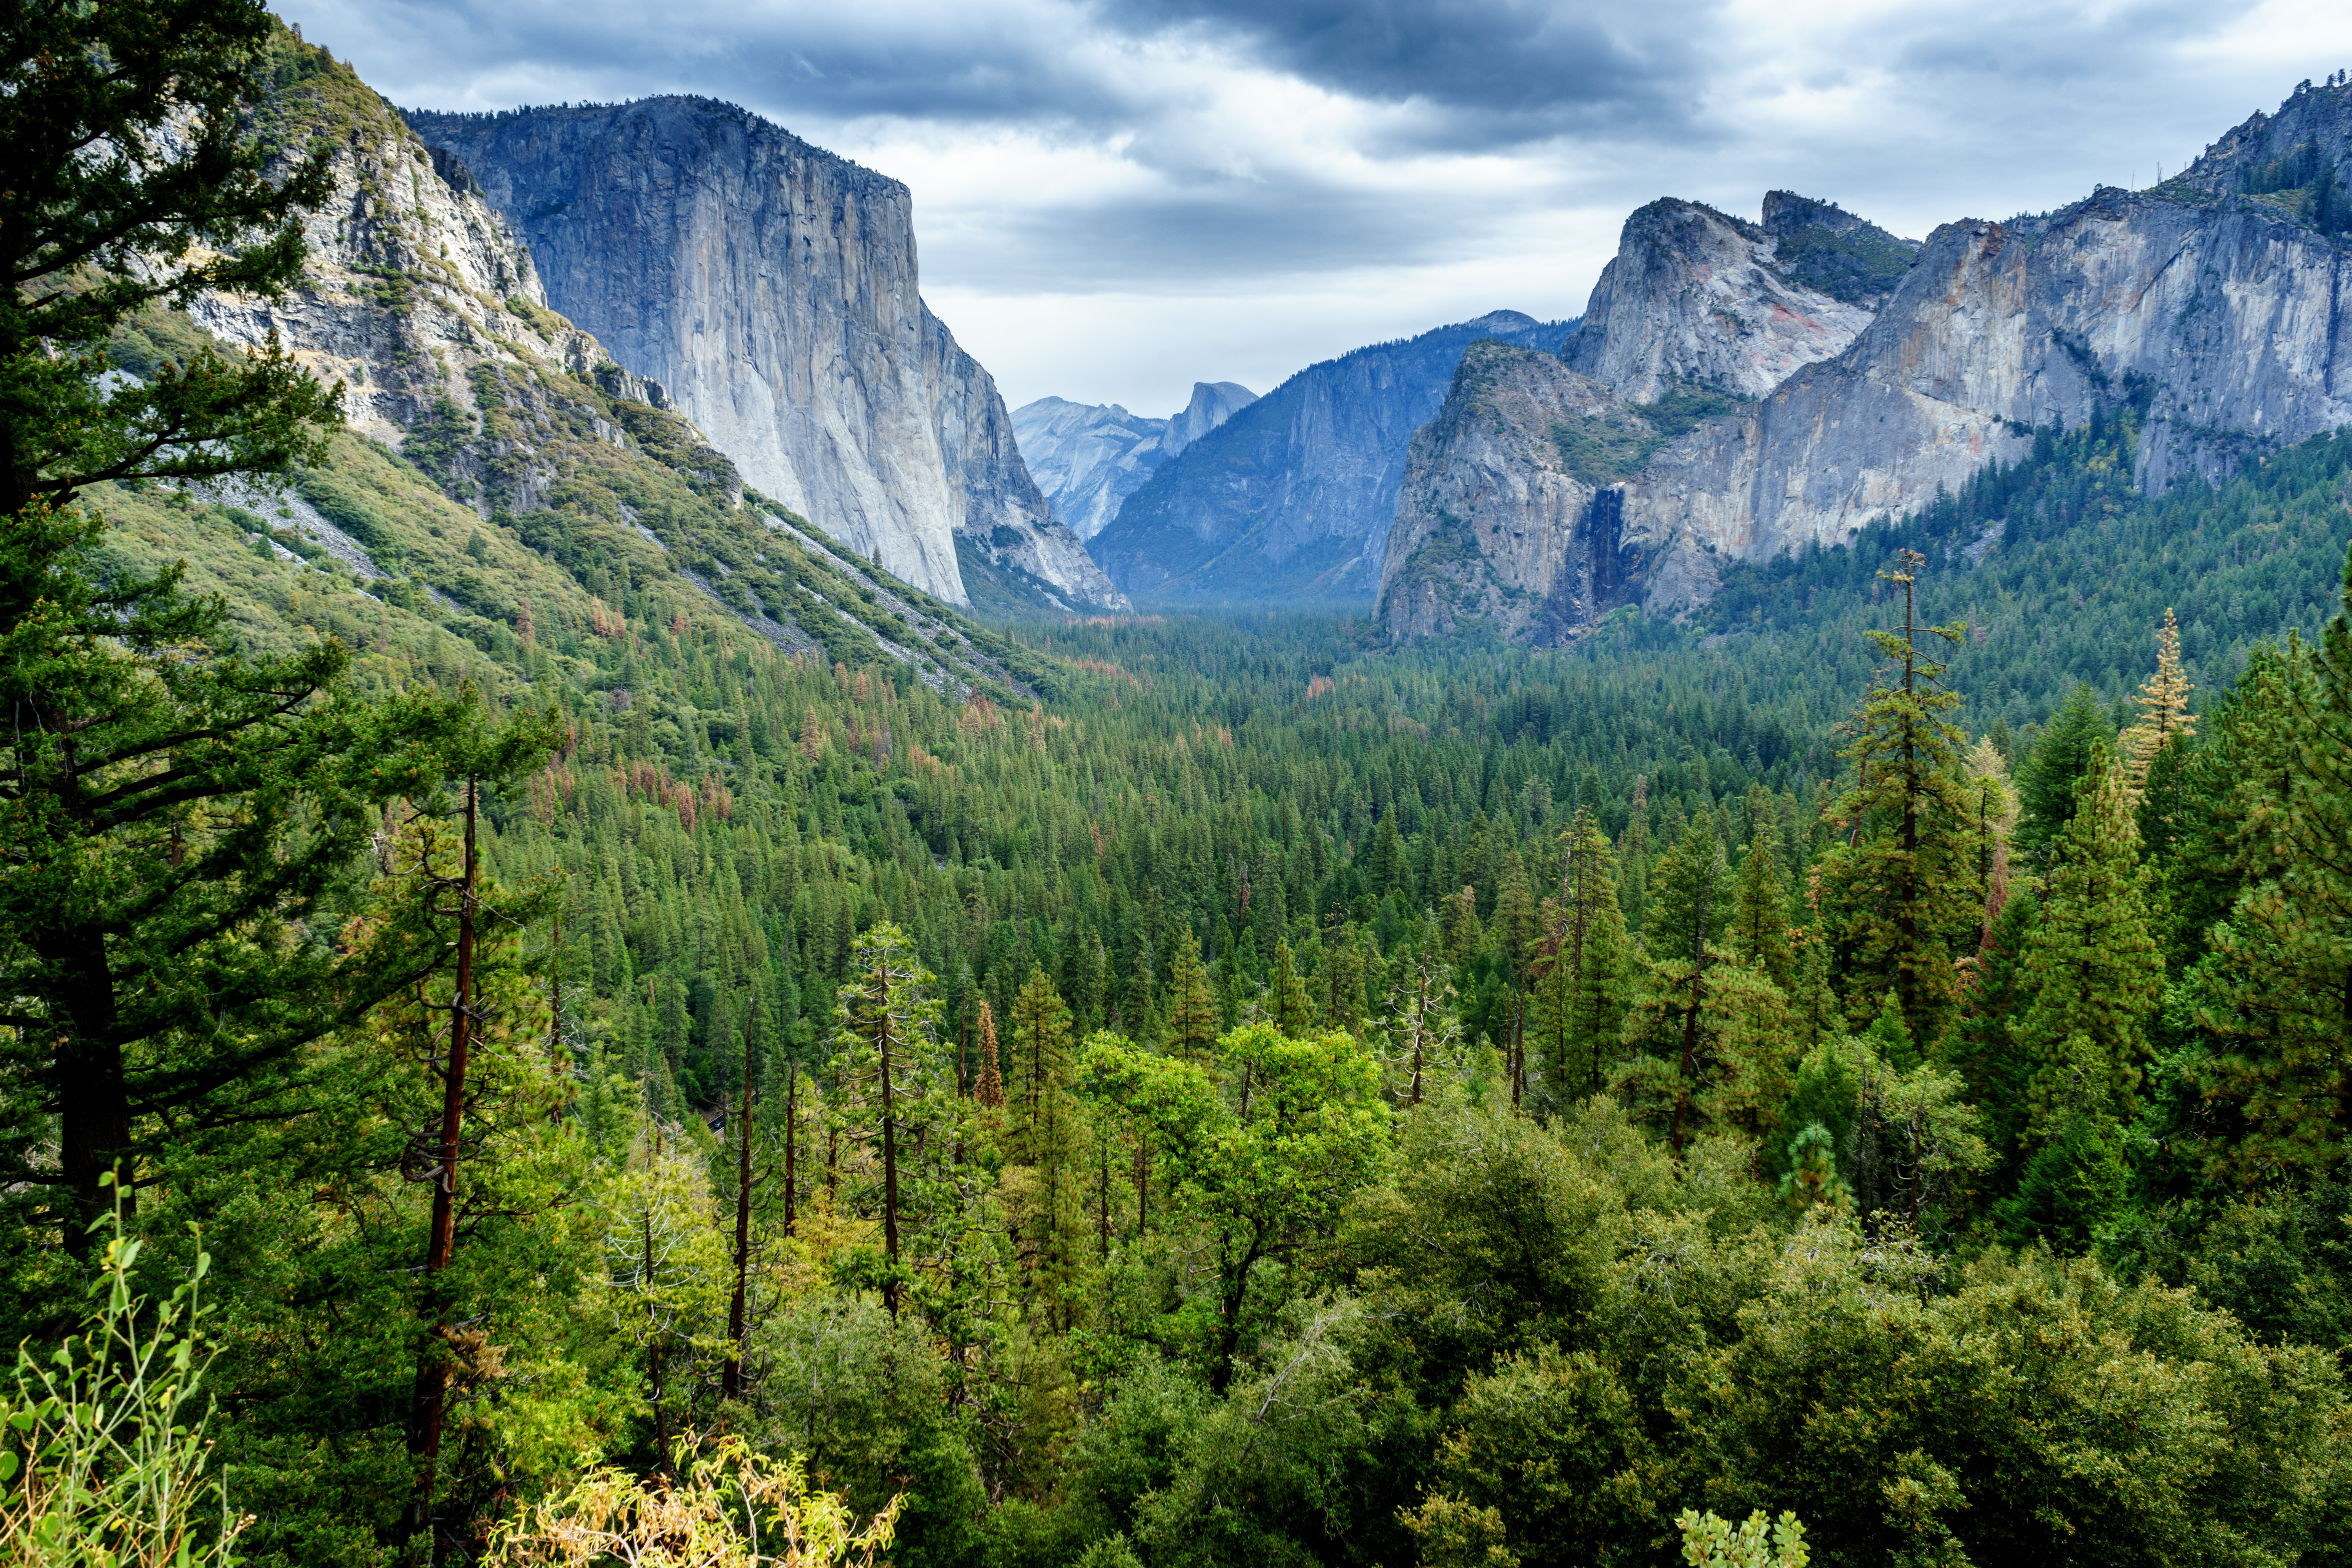
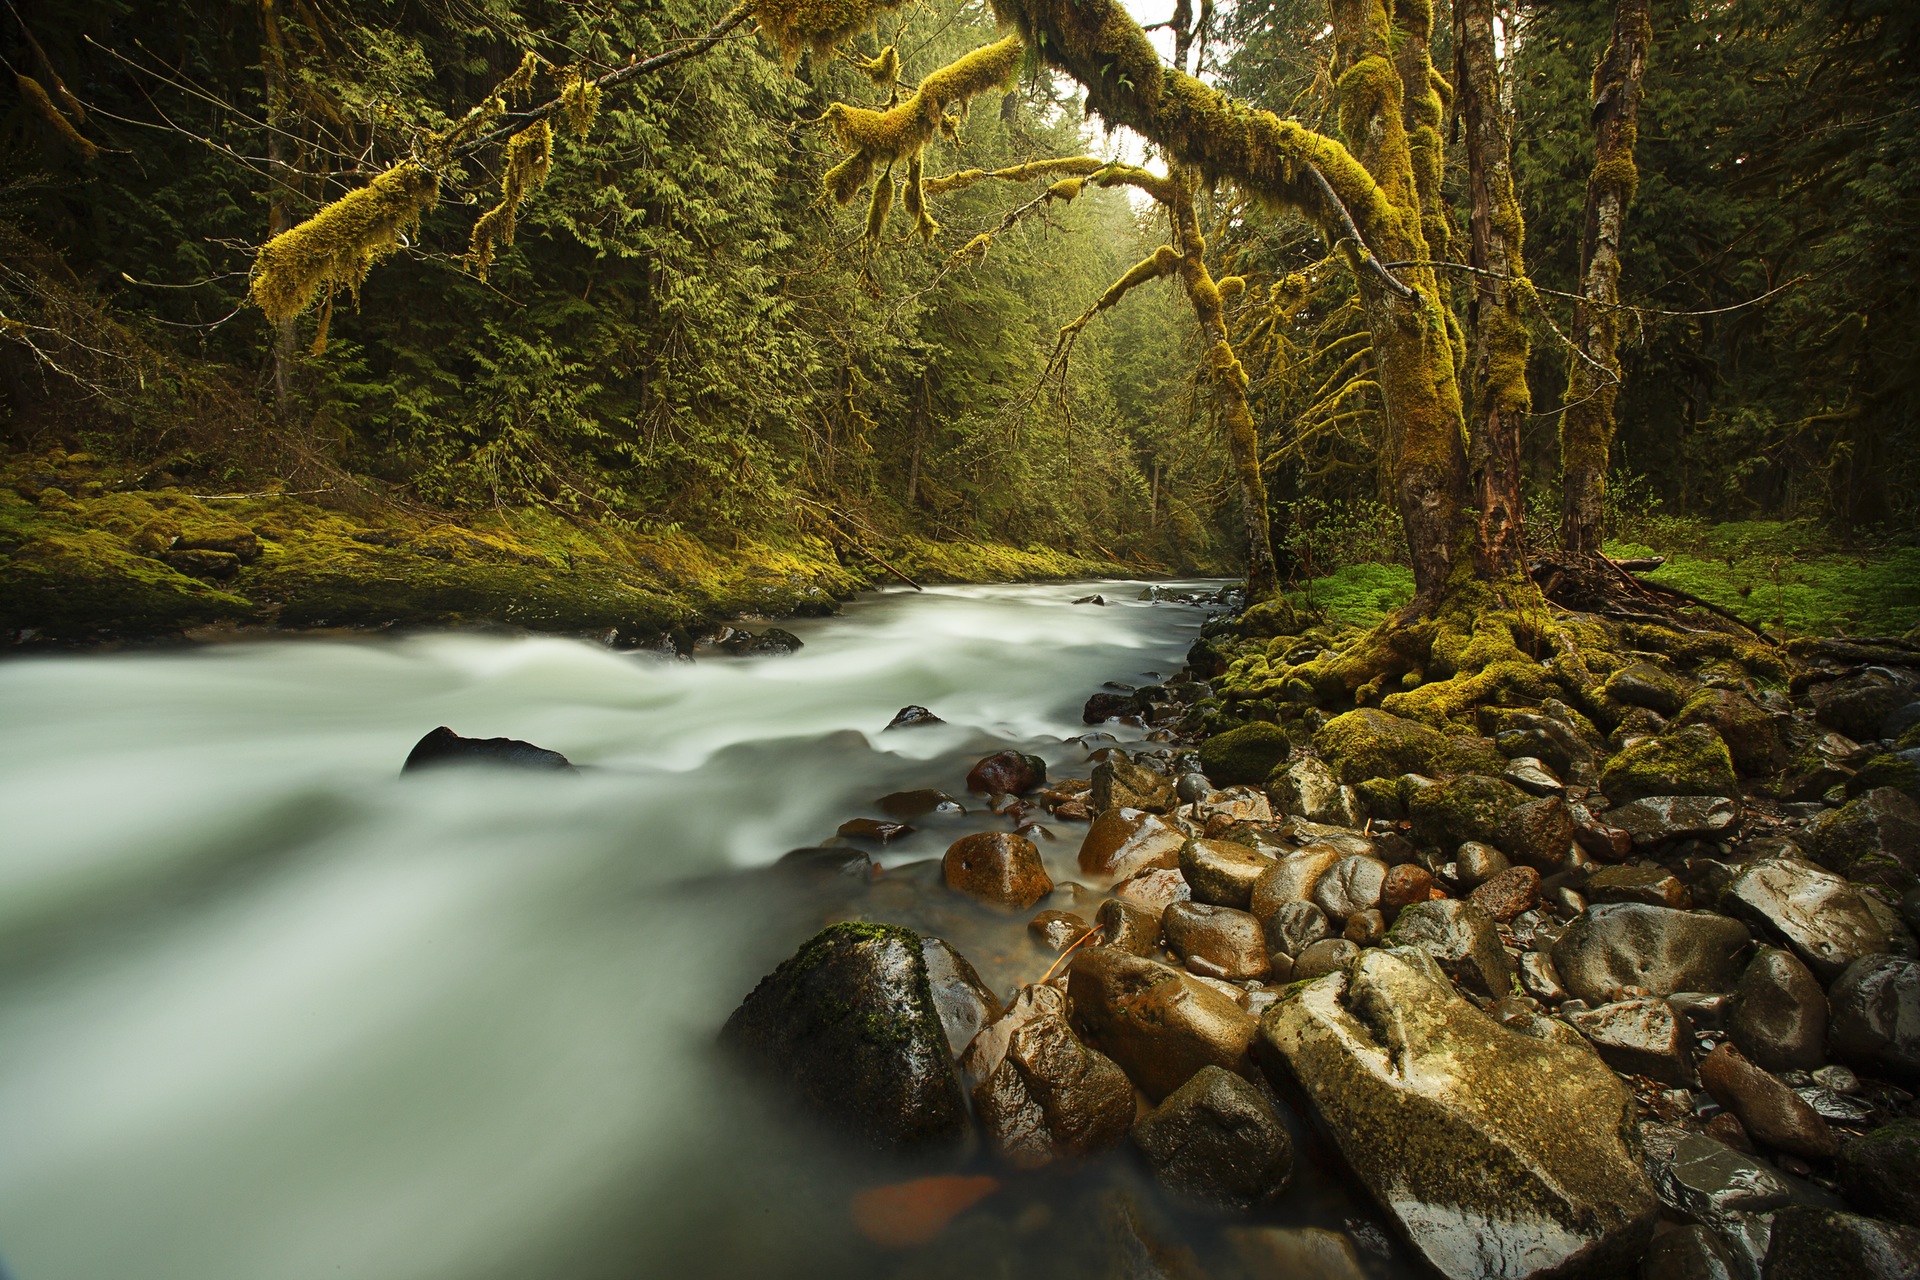
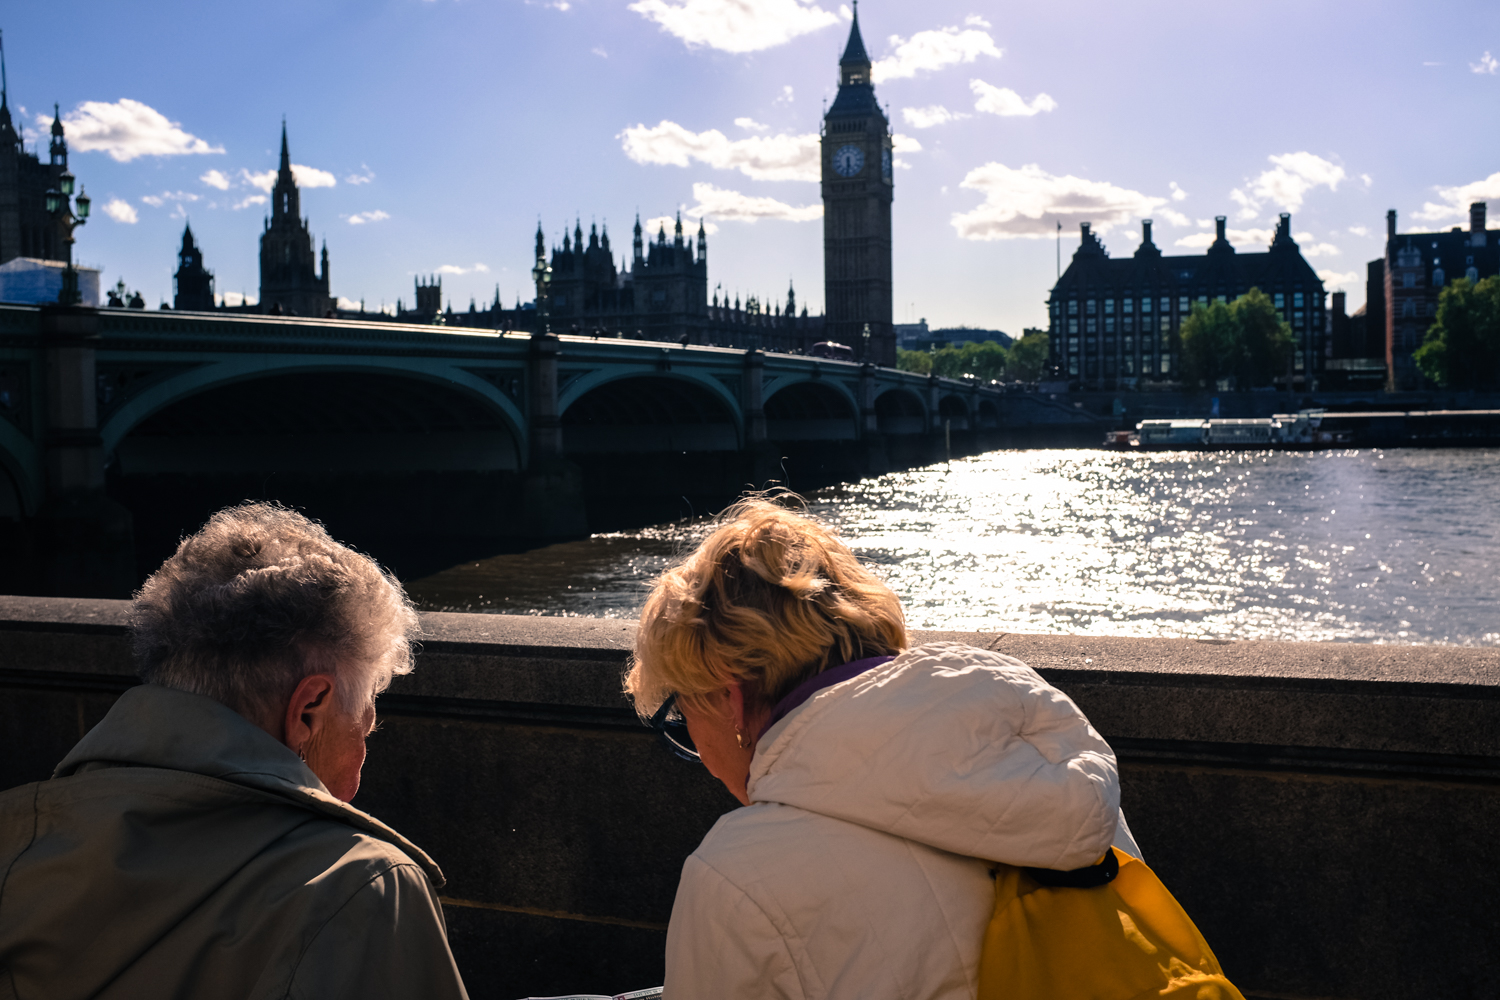
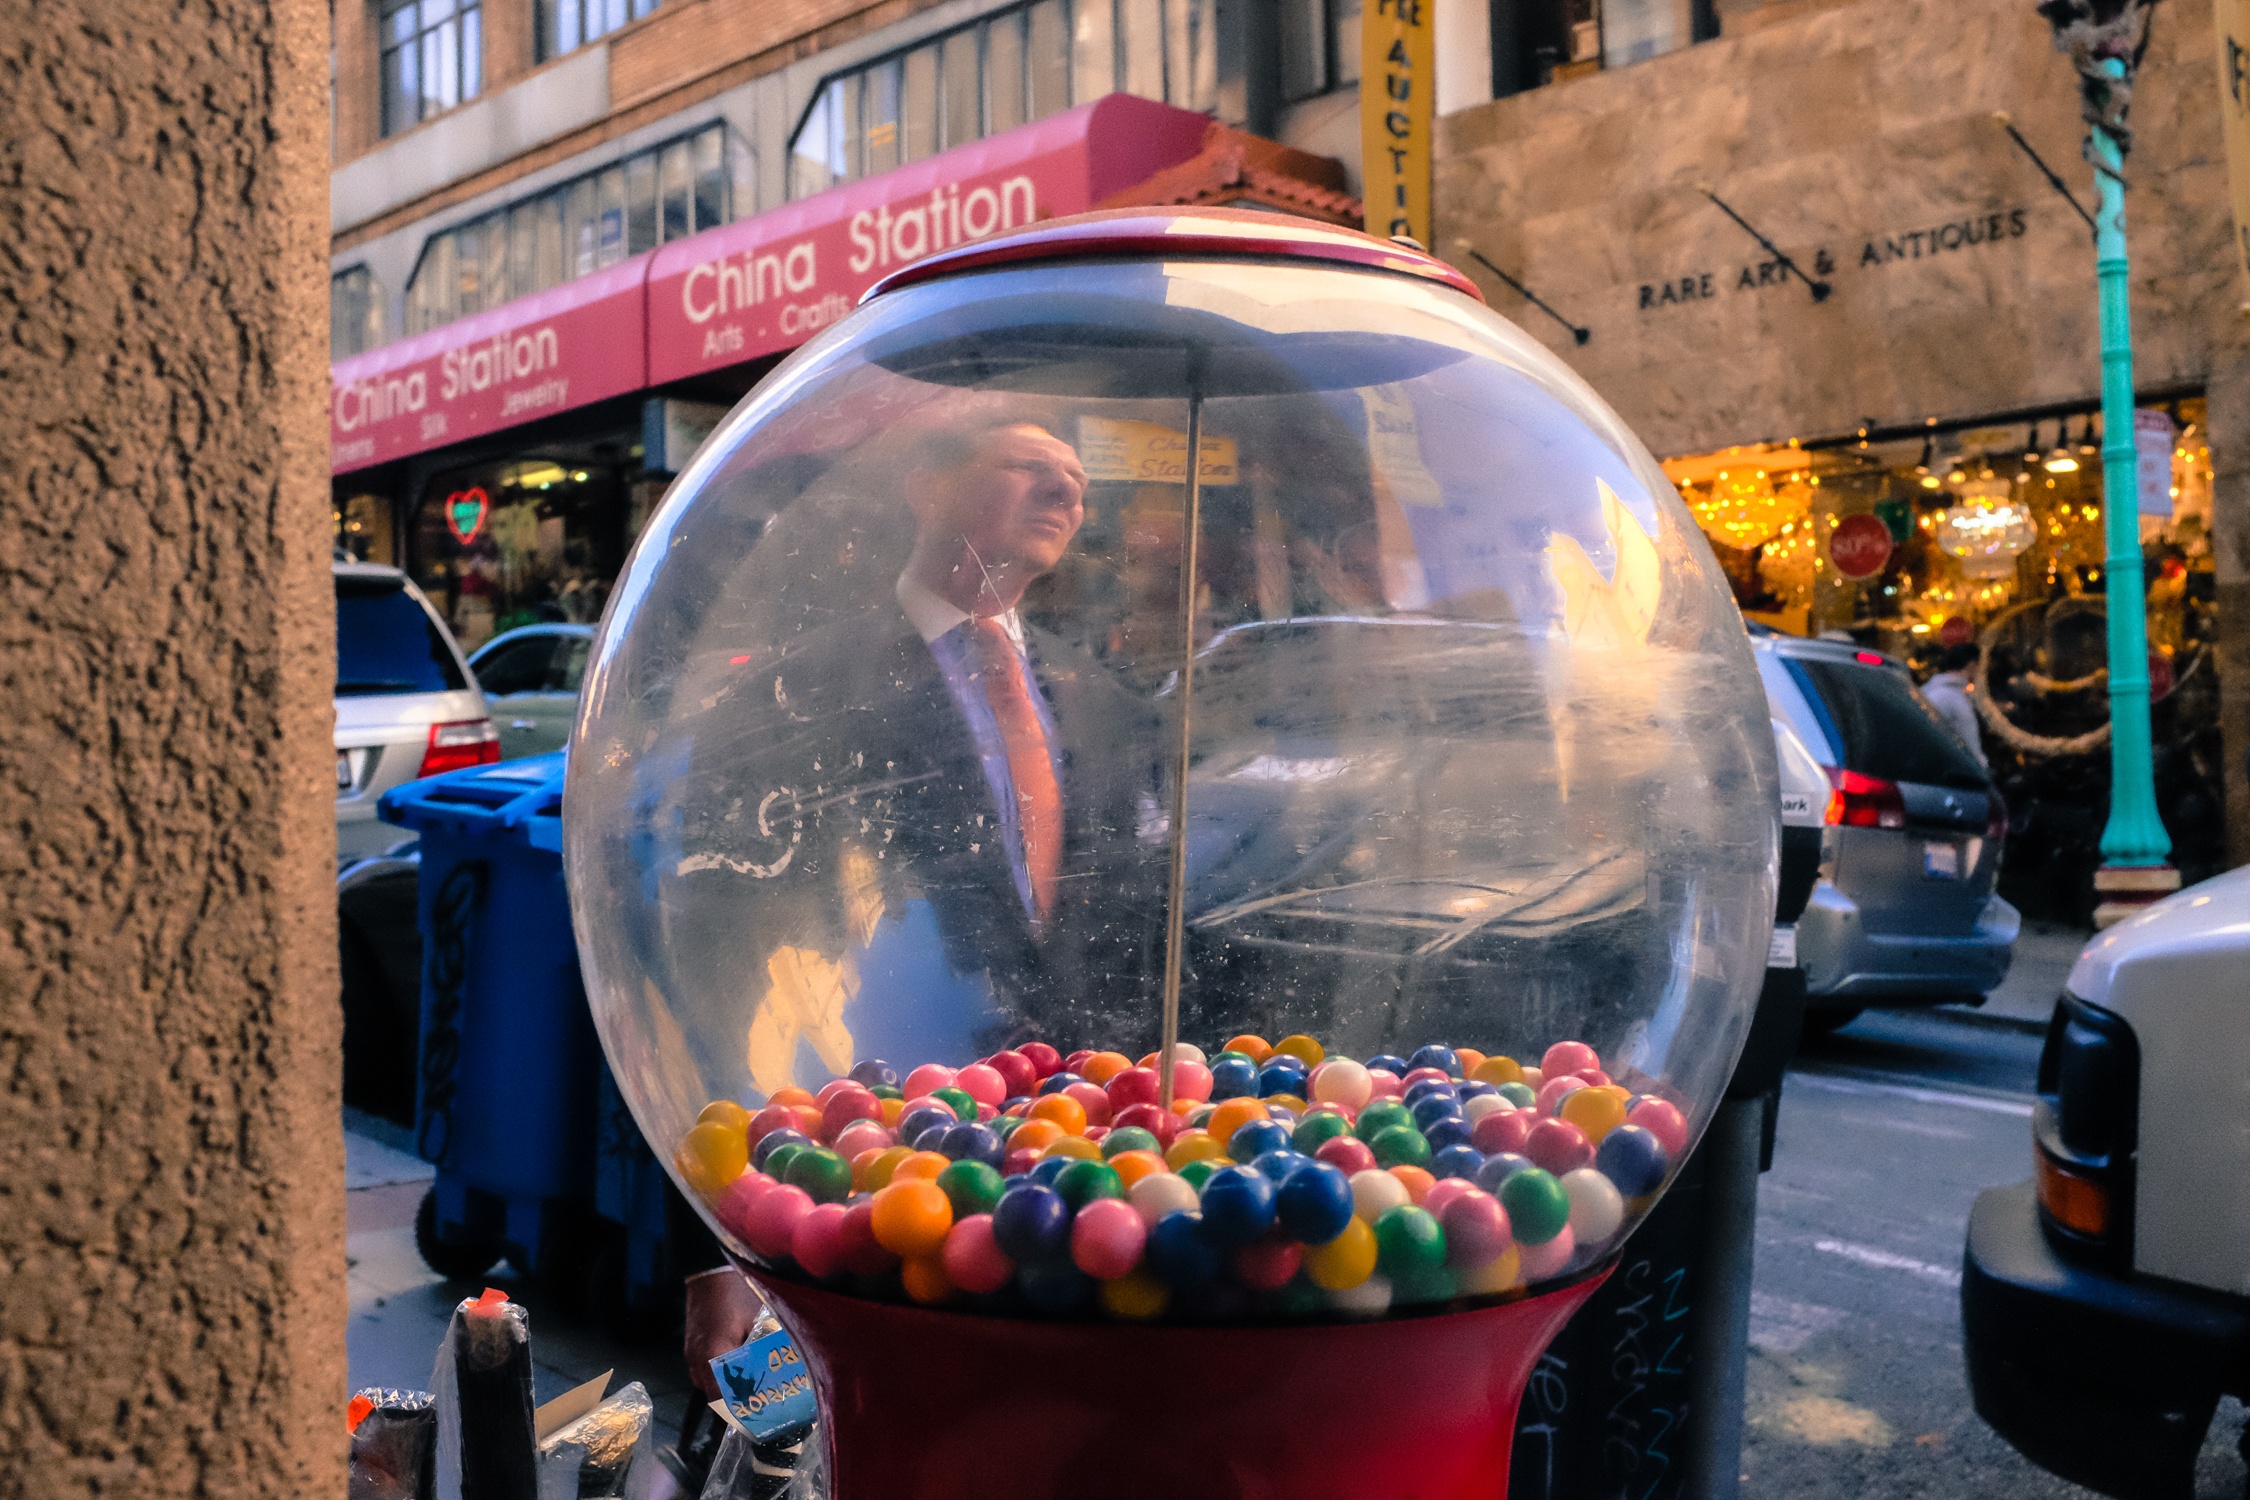
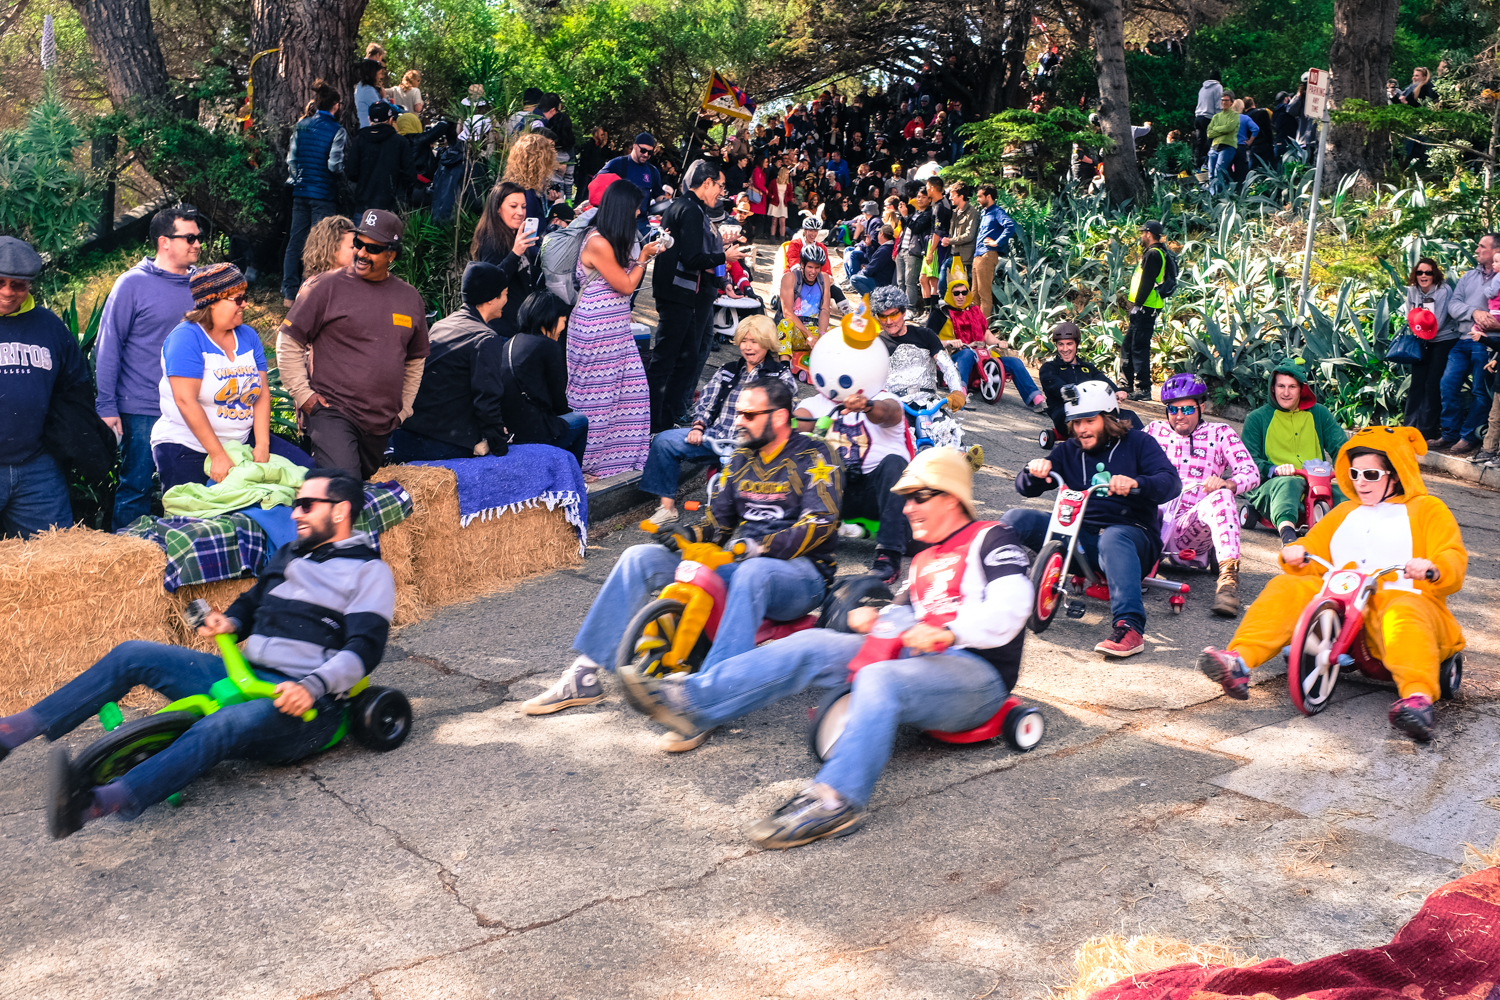
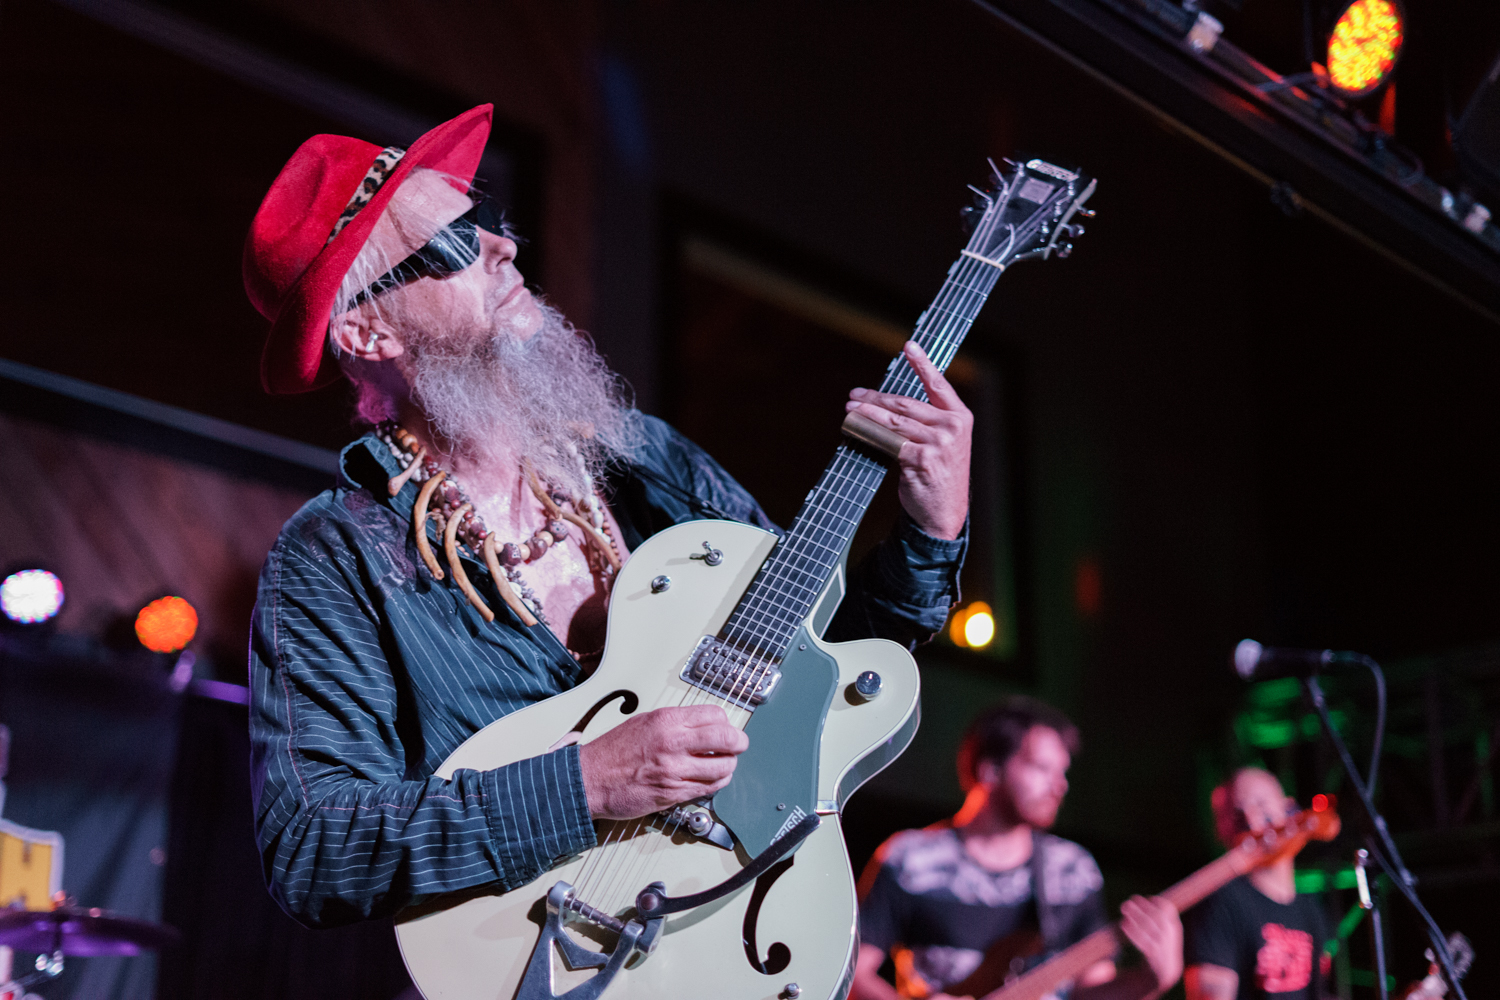
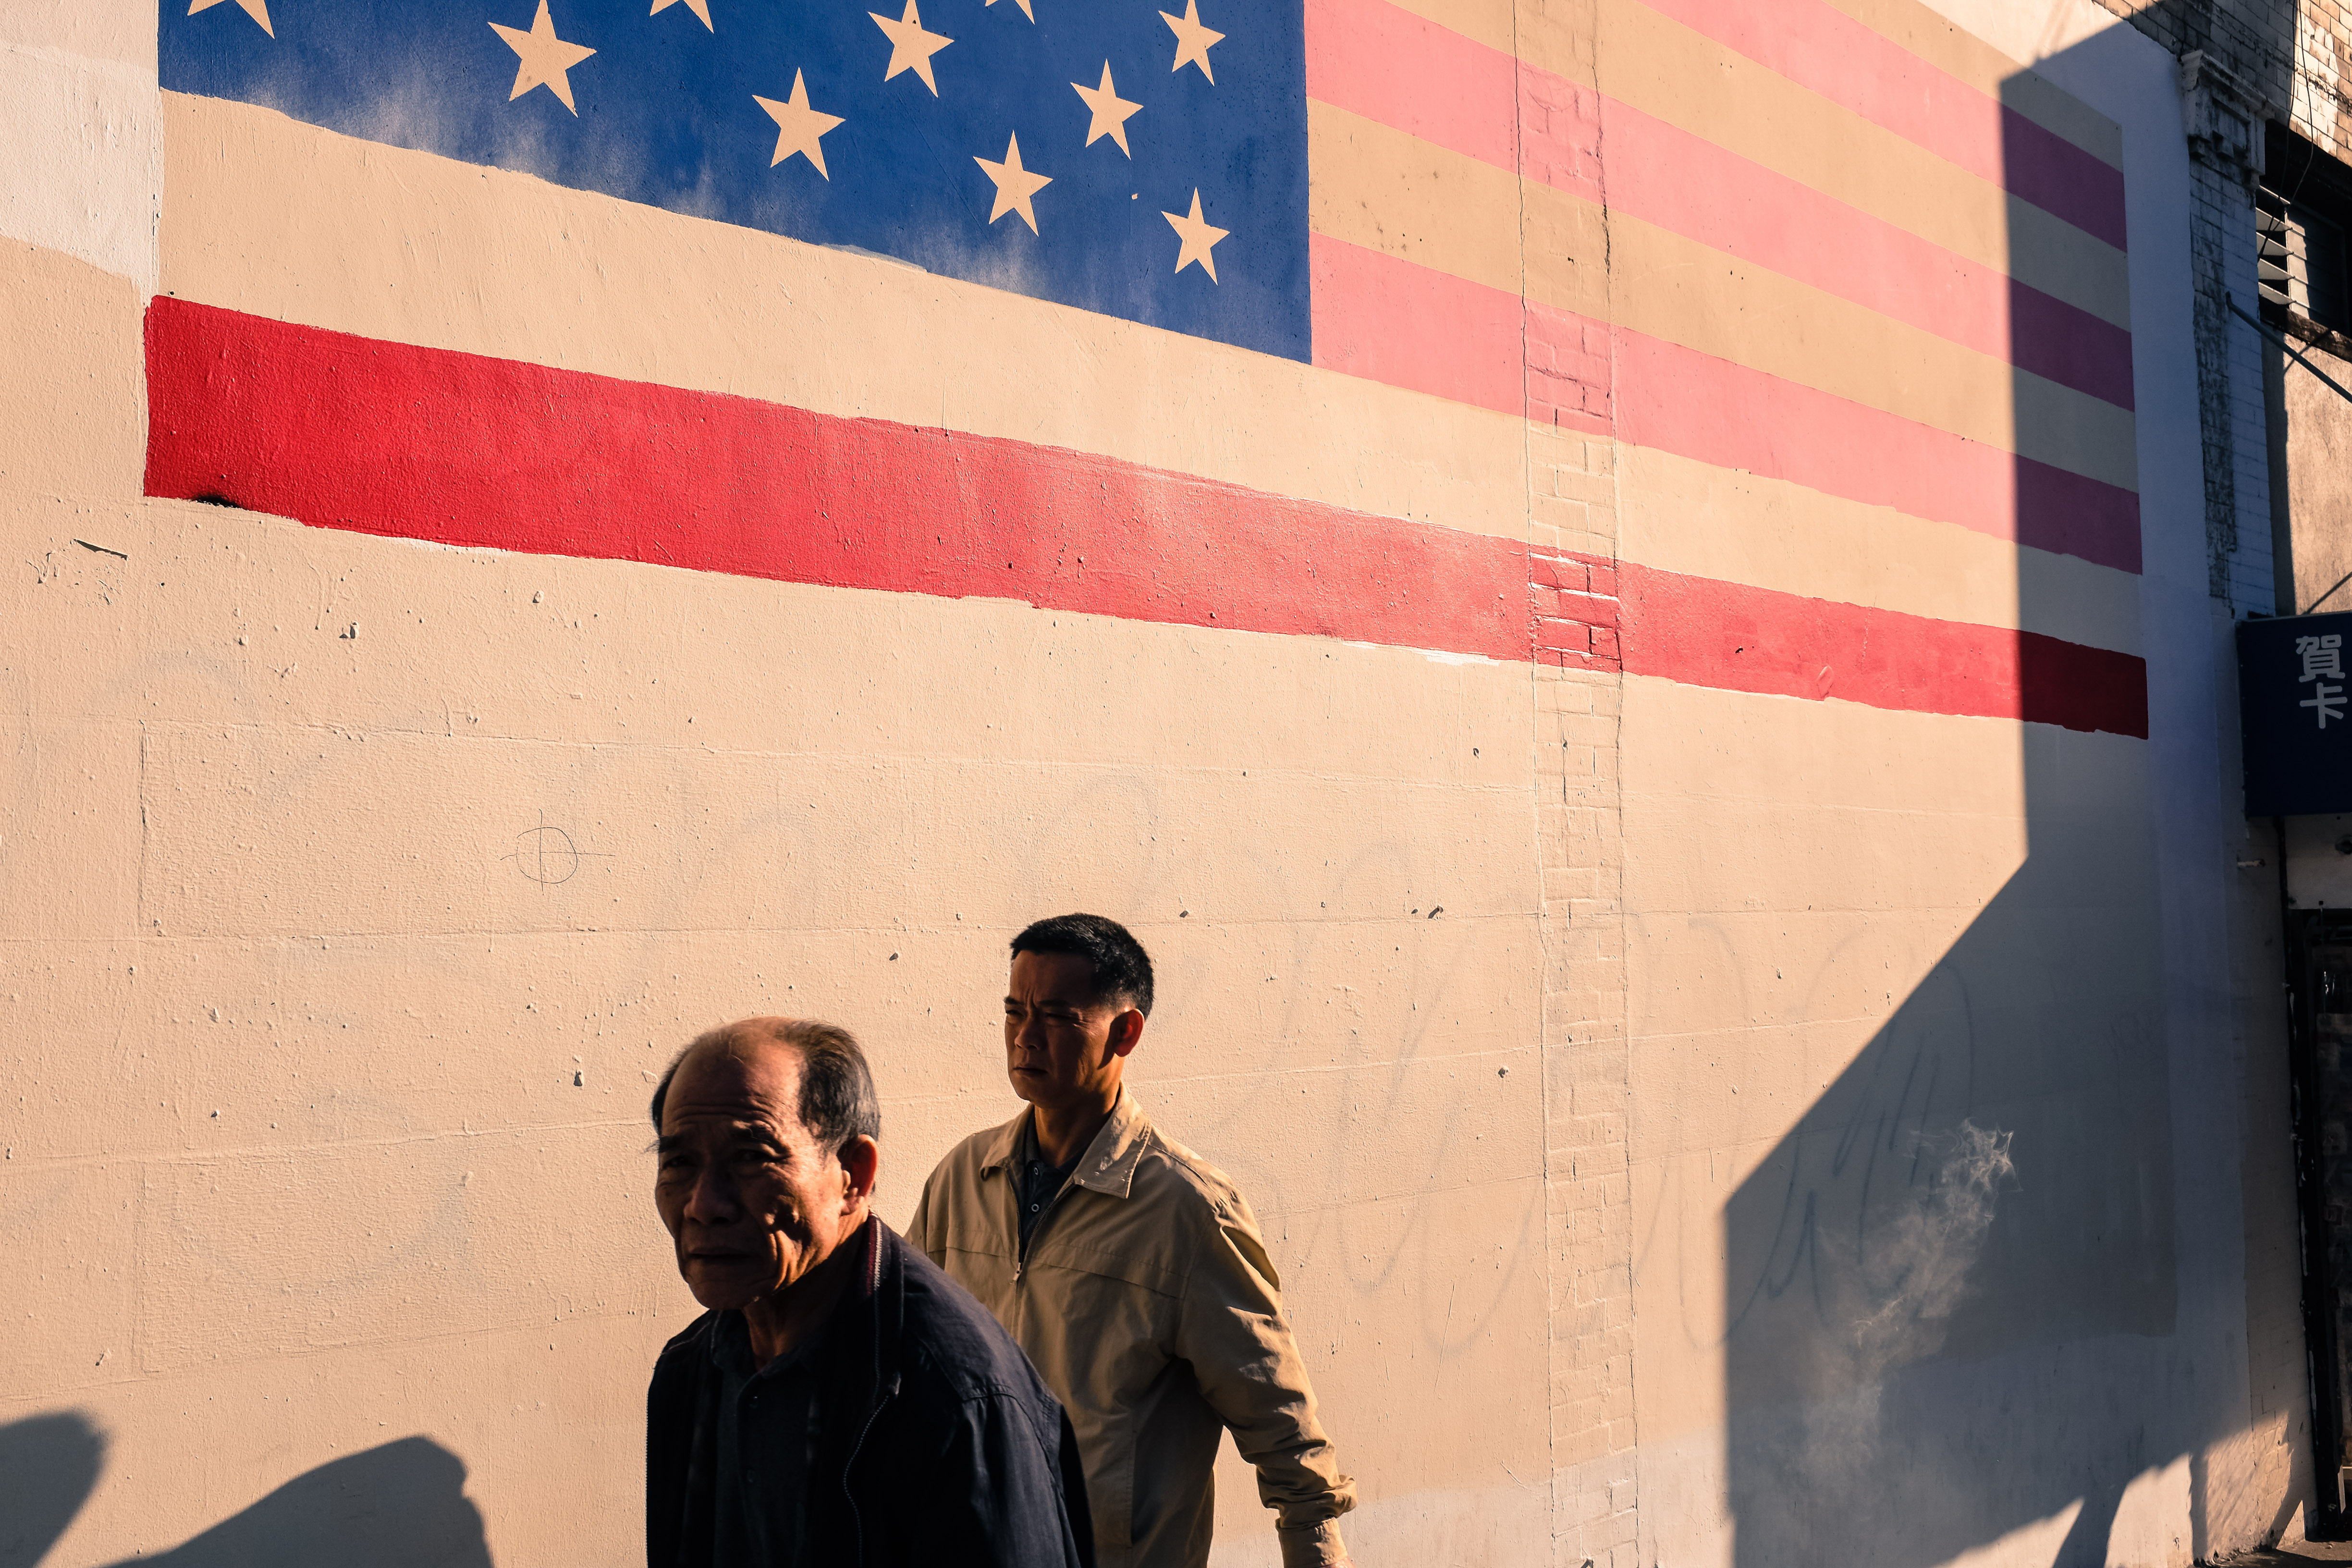
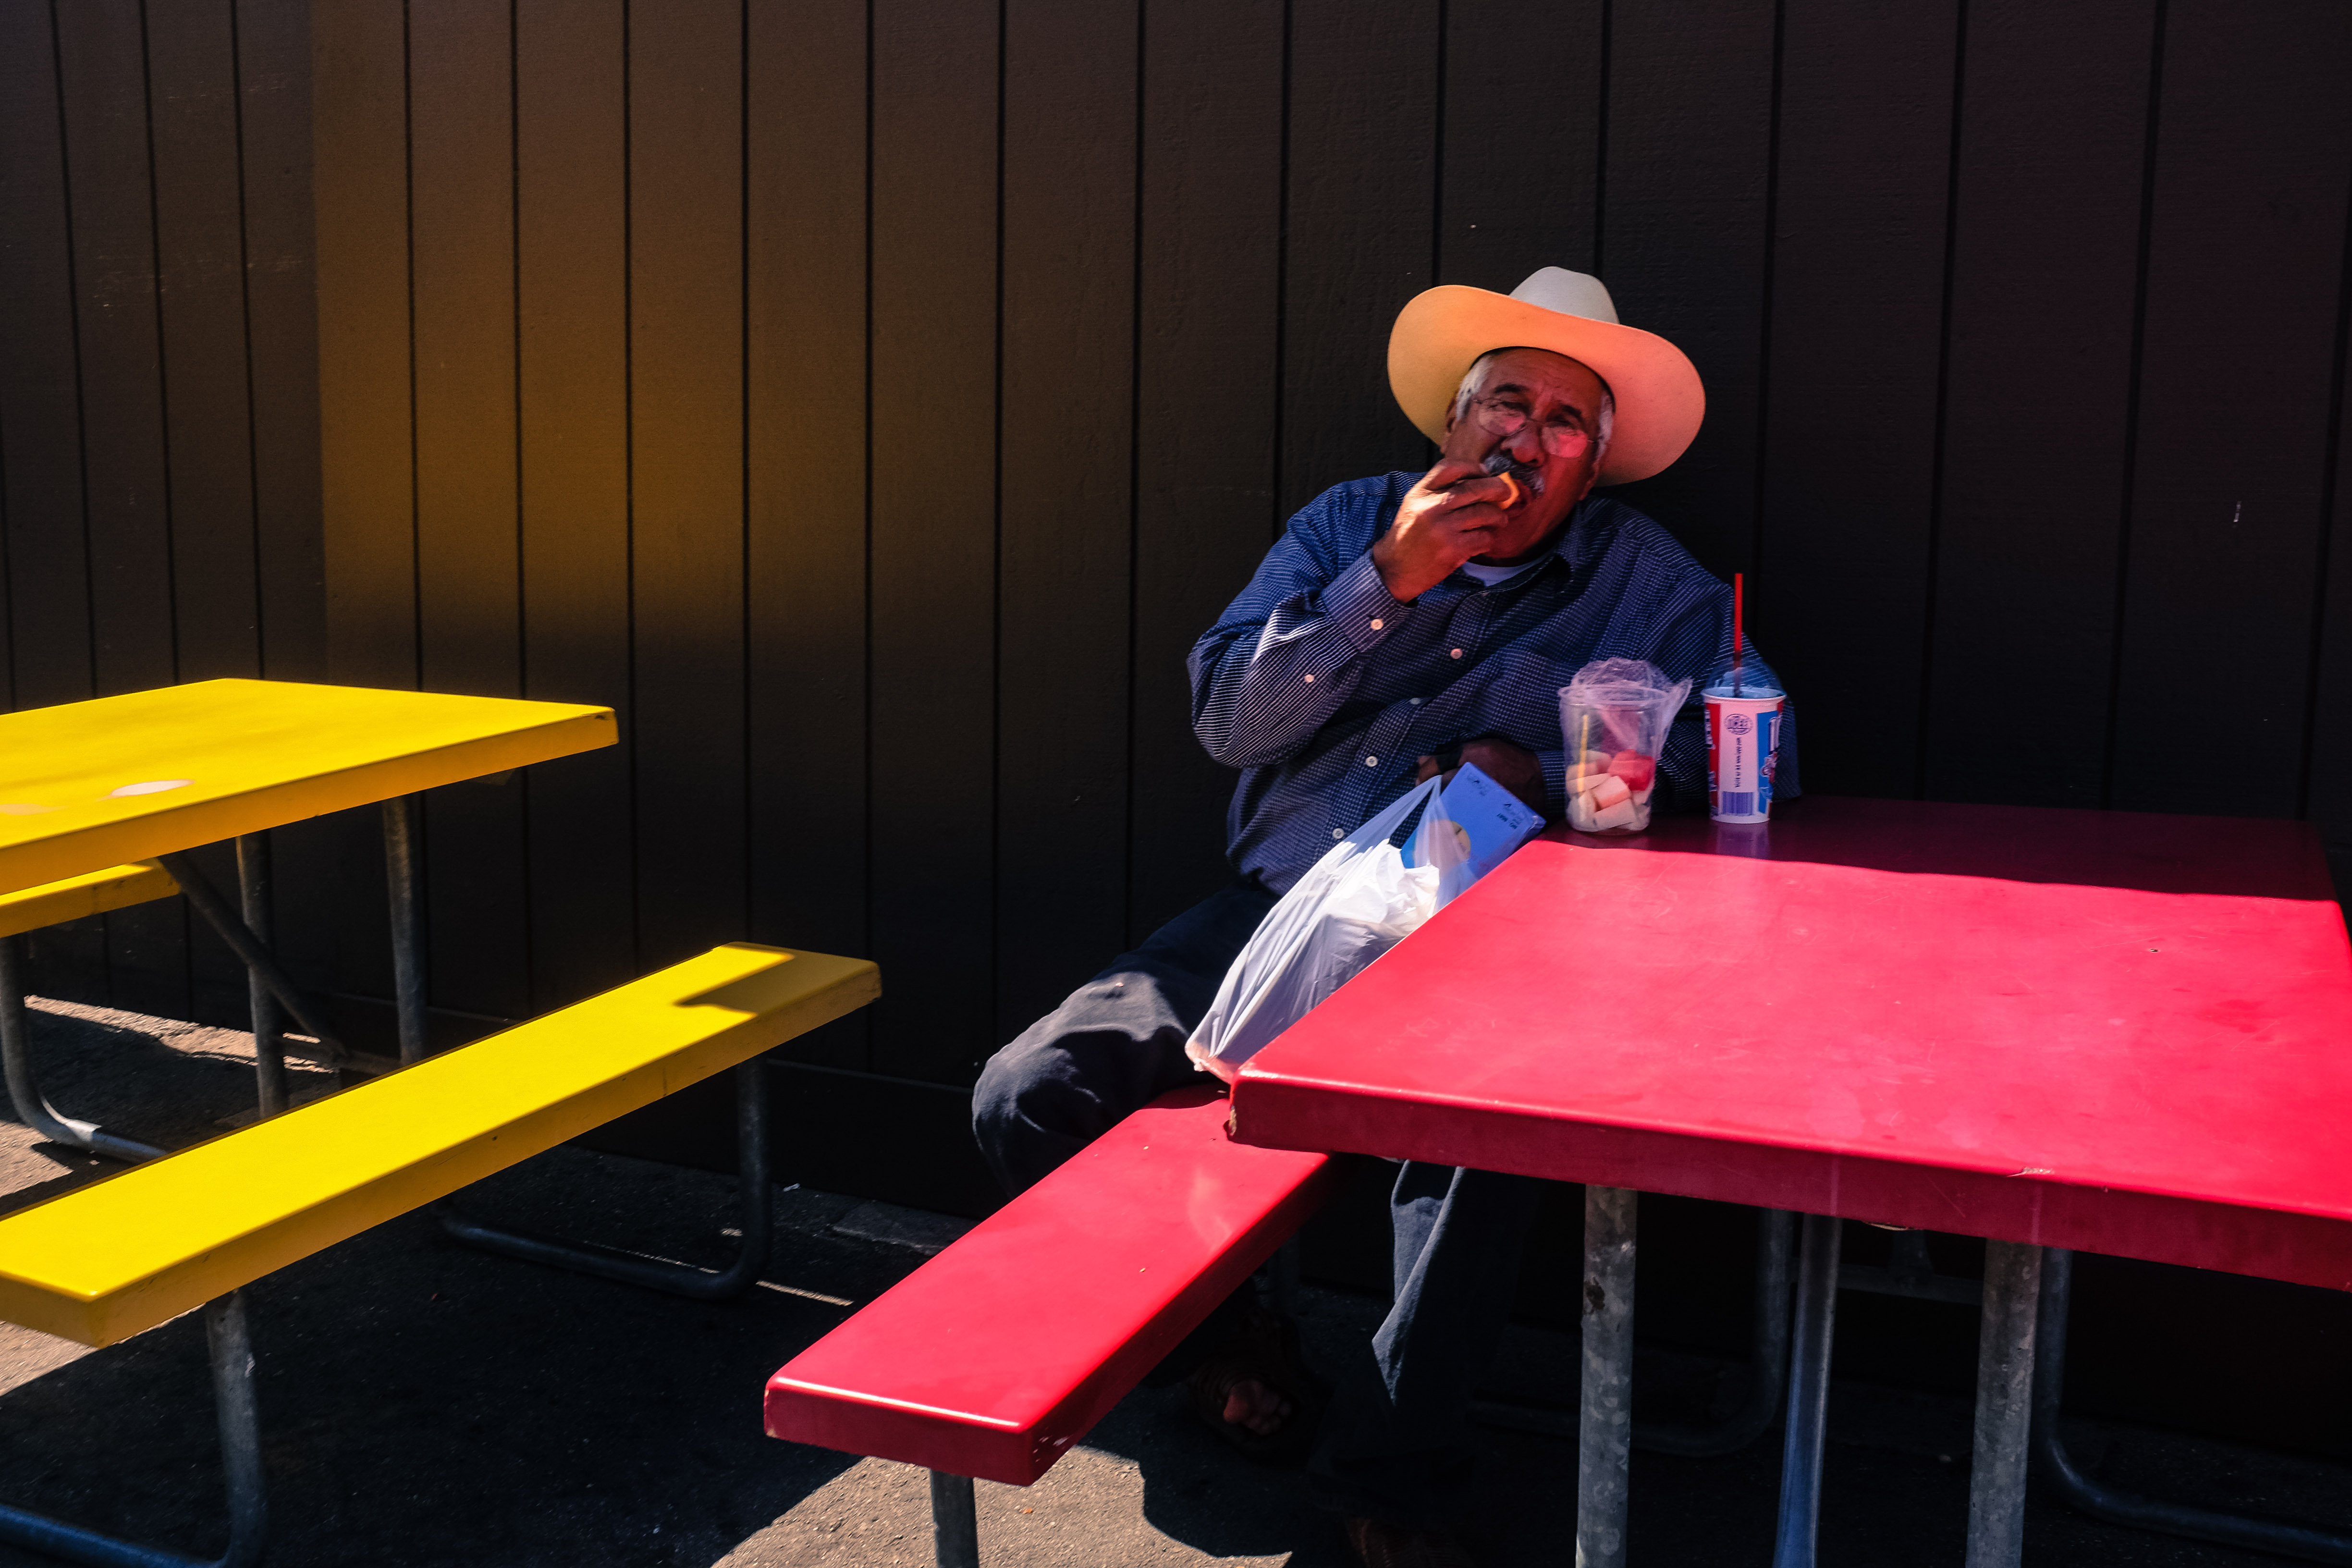
There is always an element in photography that you have to think about with every subject, and that’s background. This is true in still life, product, fashion, portraits, and even landscape. There are a few background choices for each of these different types of photography. A background can be a wide array of buildings, walls, floors, color, landscape, greenery; the sky is the limit (literally.) It is always a good idea to know what to look for while location scouting as well.

Finding Backgrounds

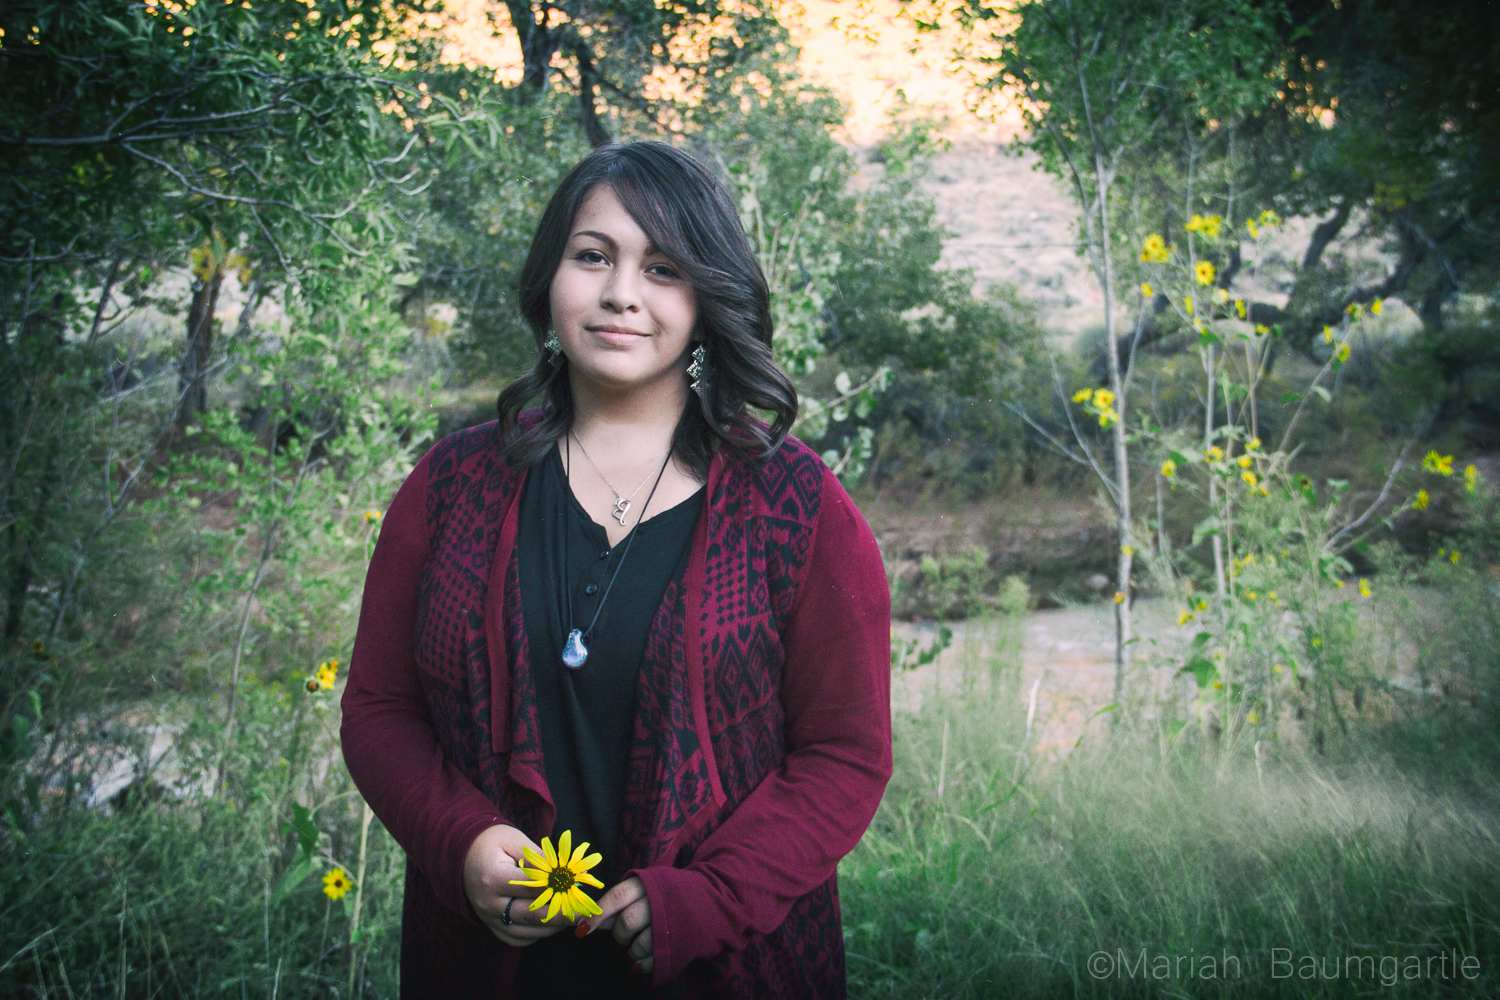
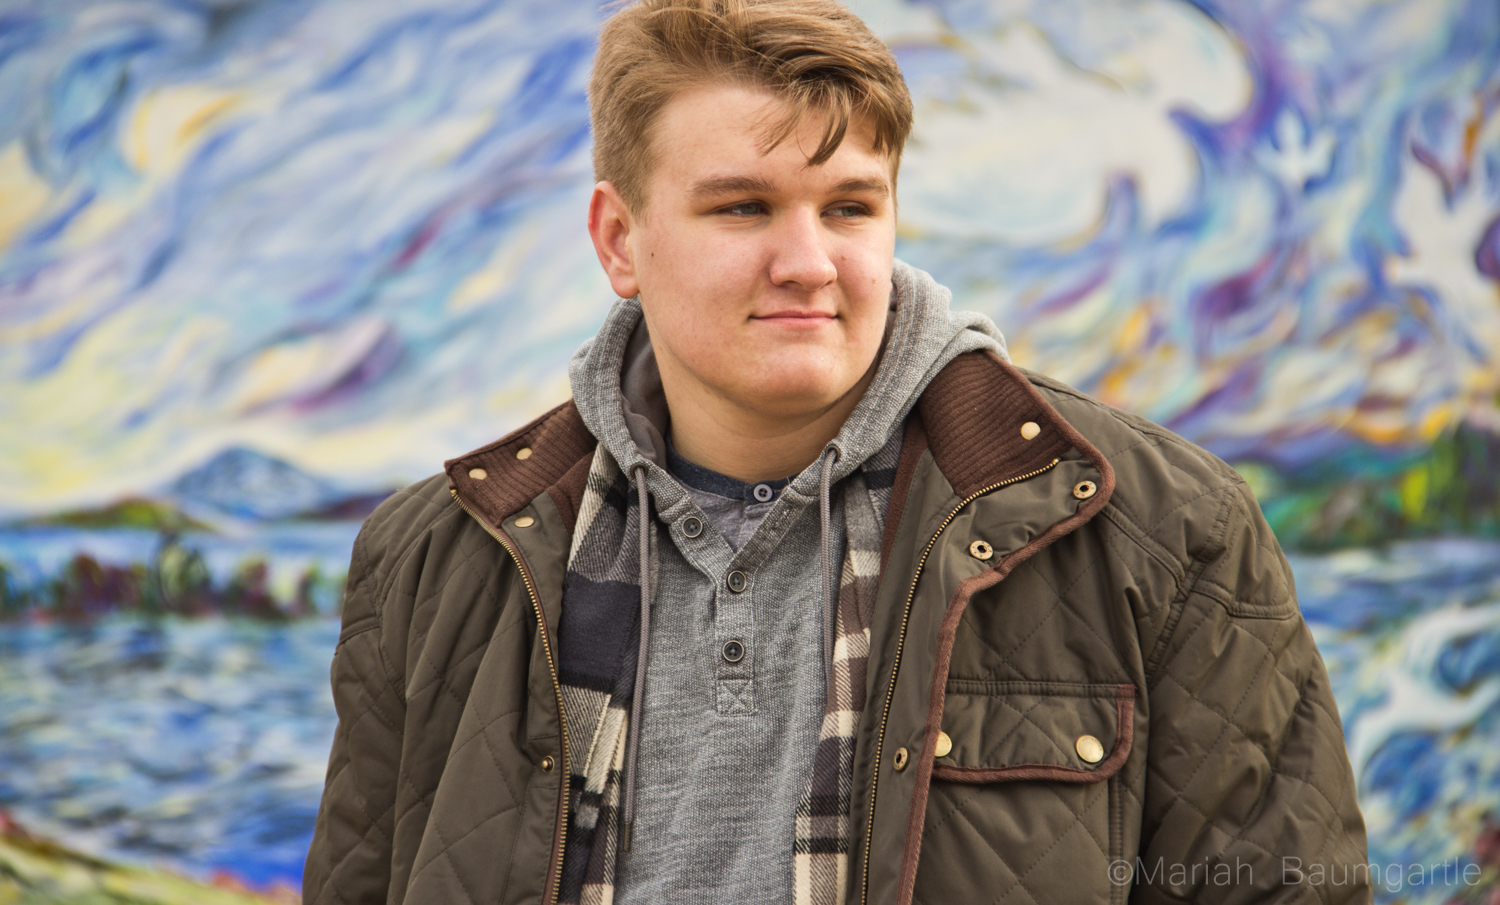
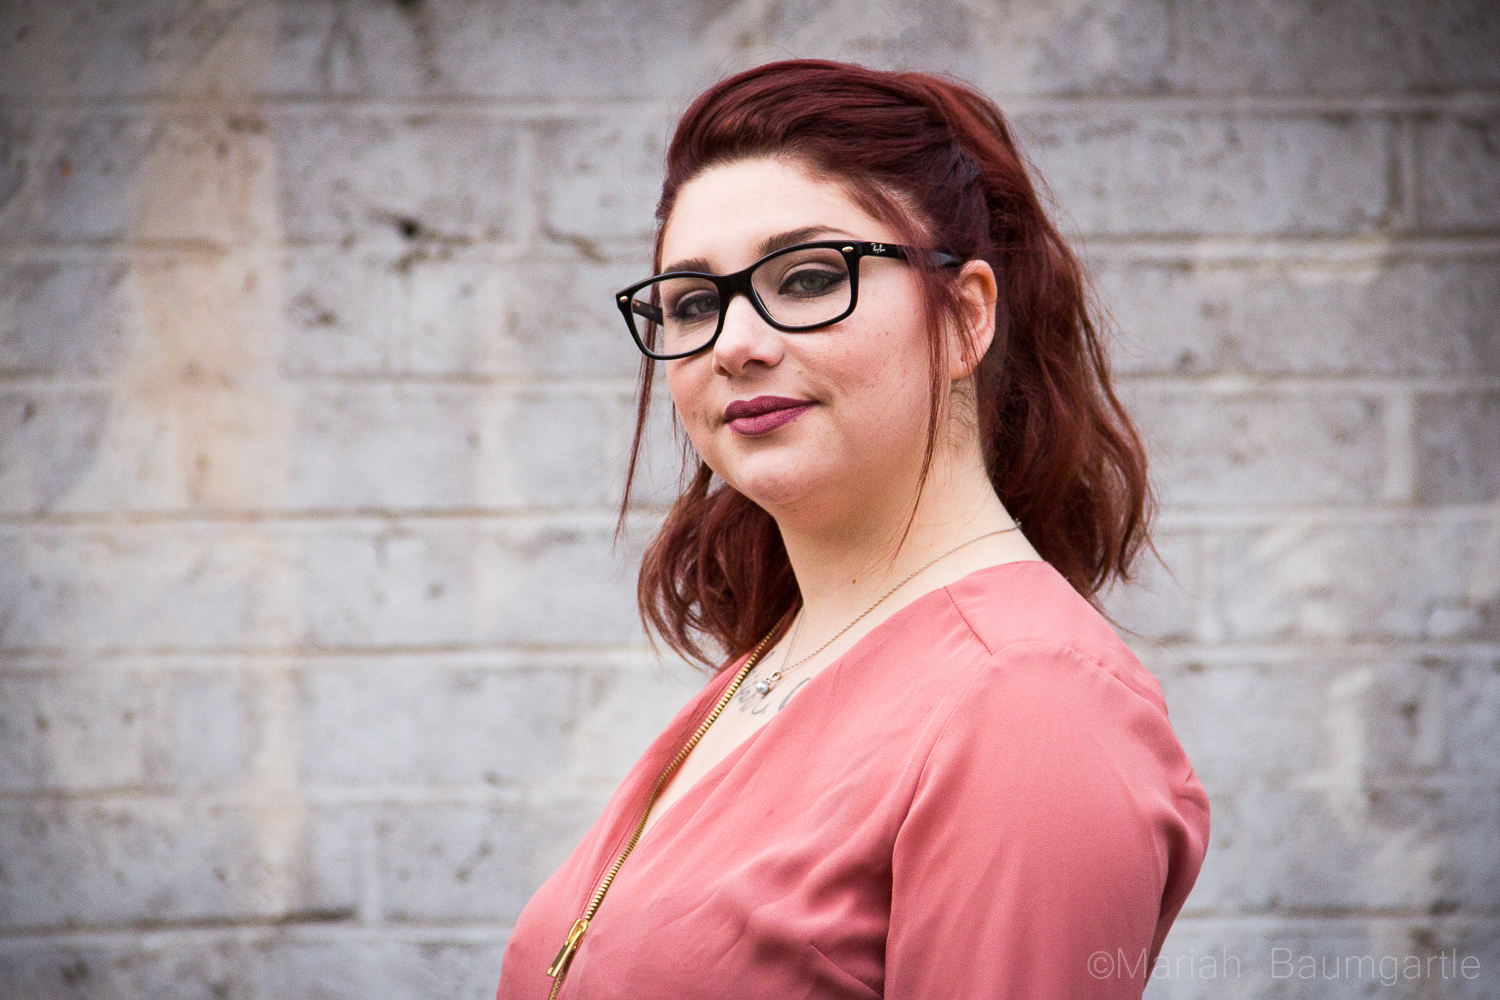
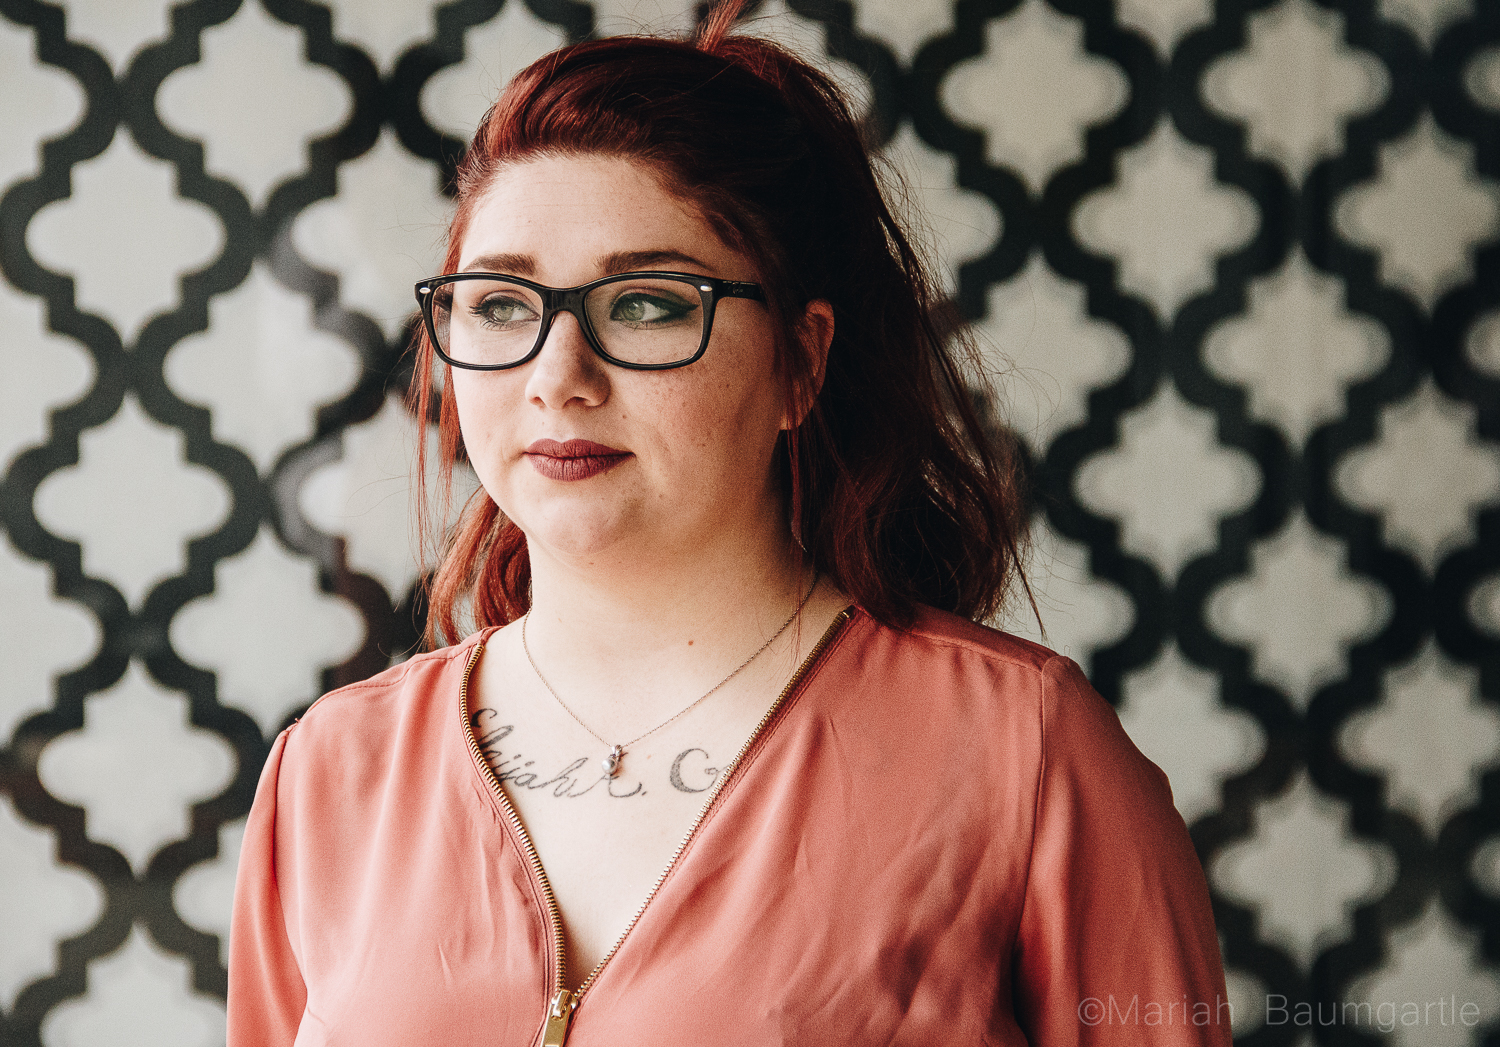
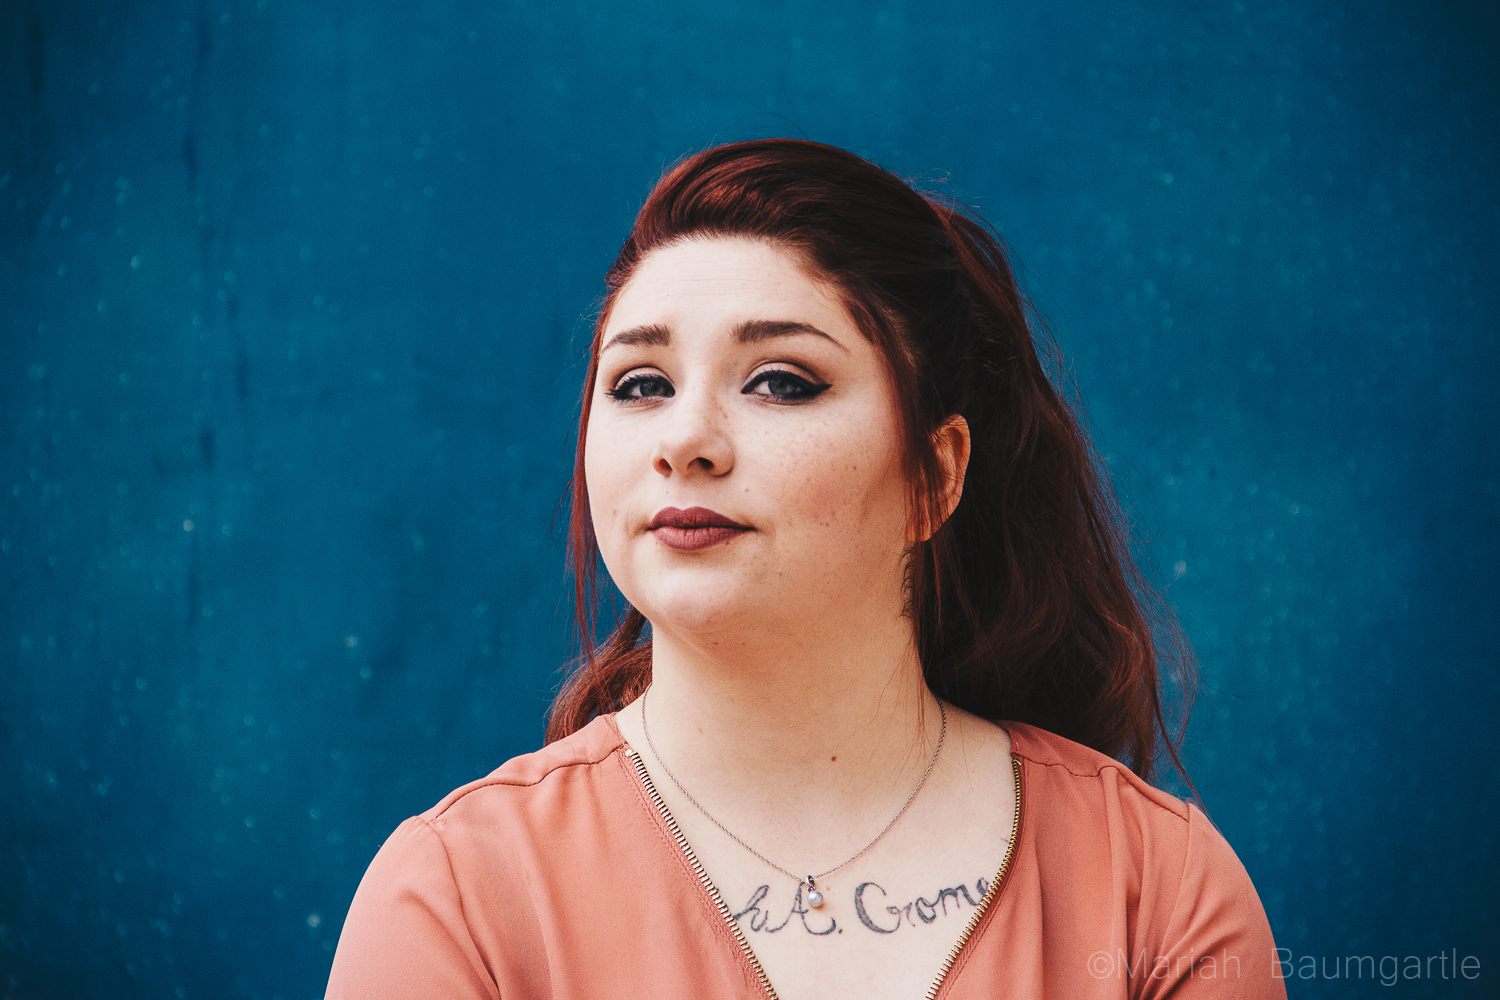
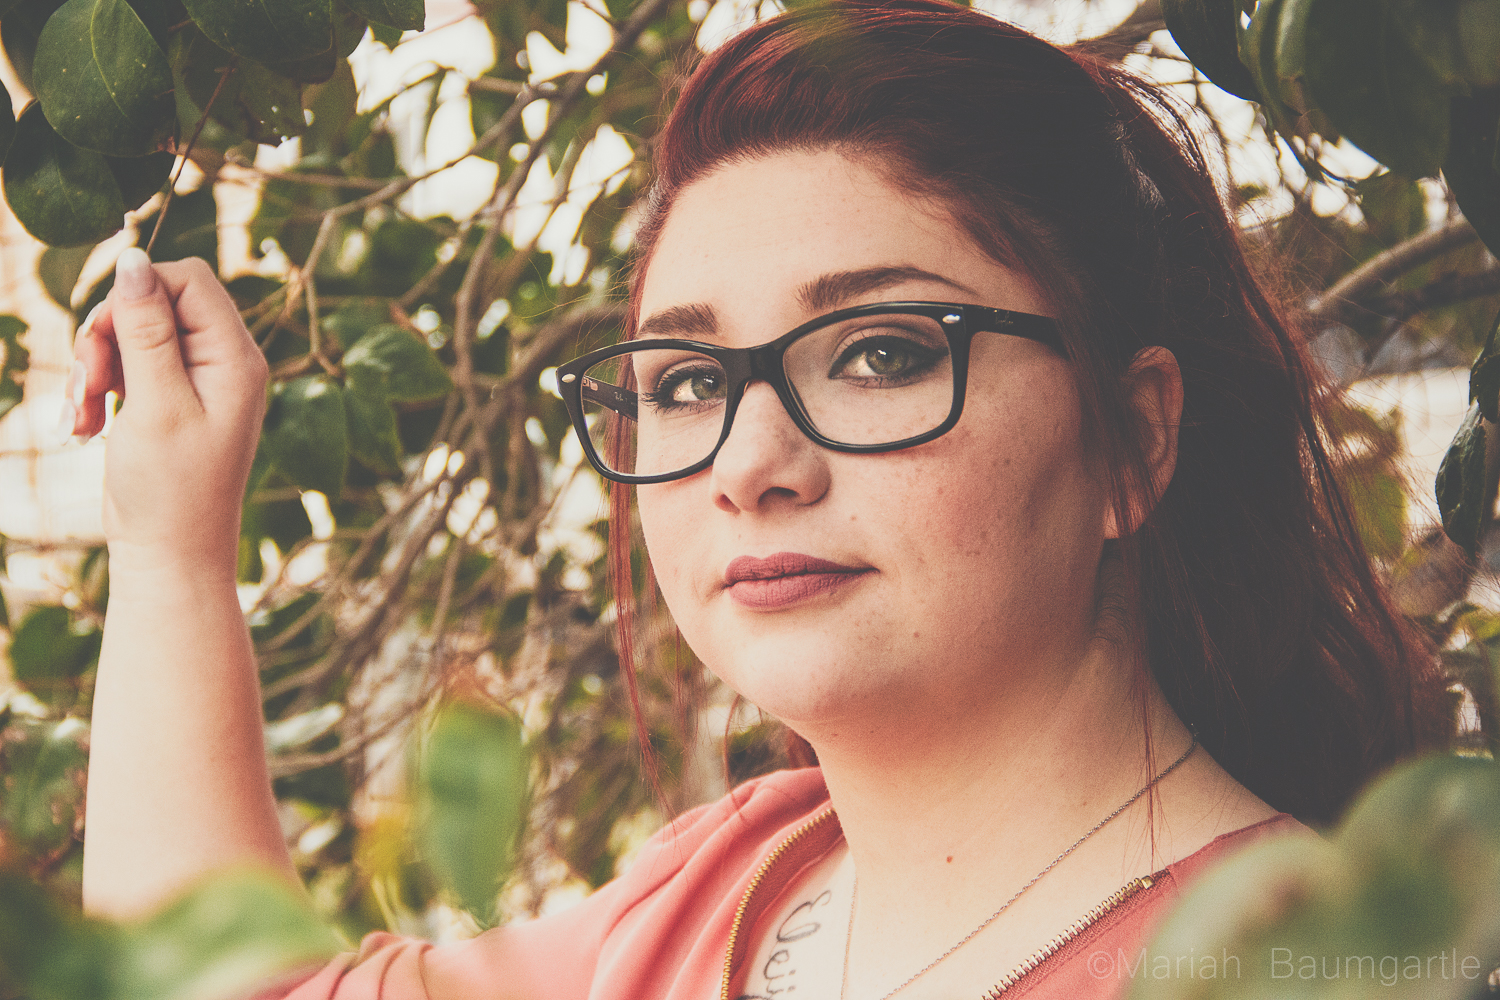
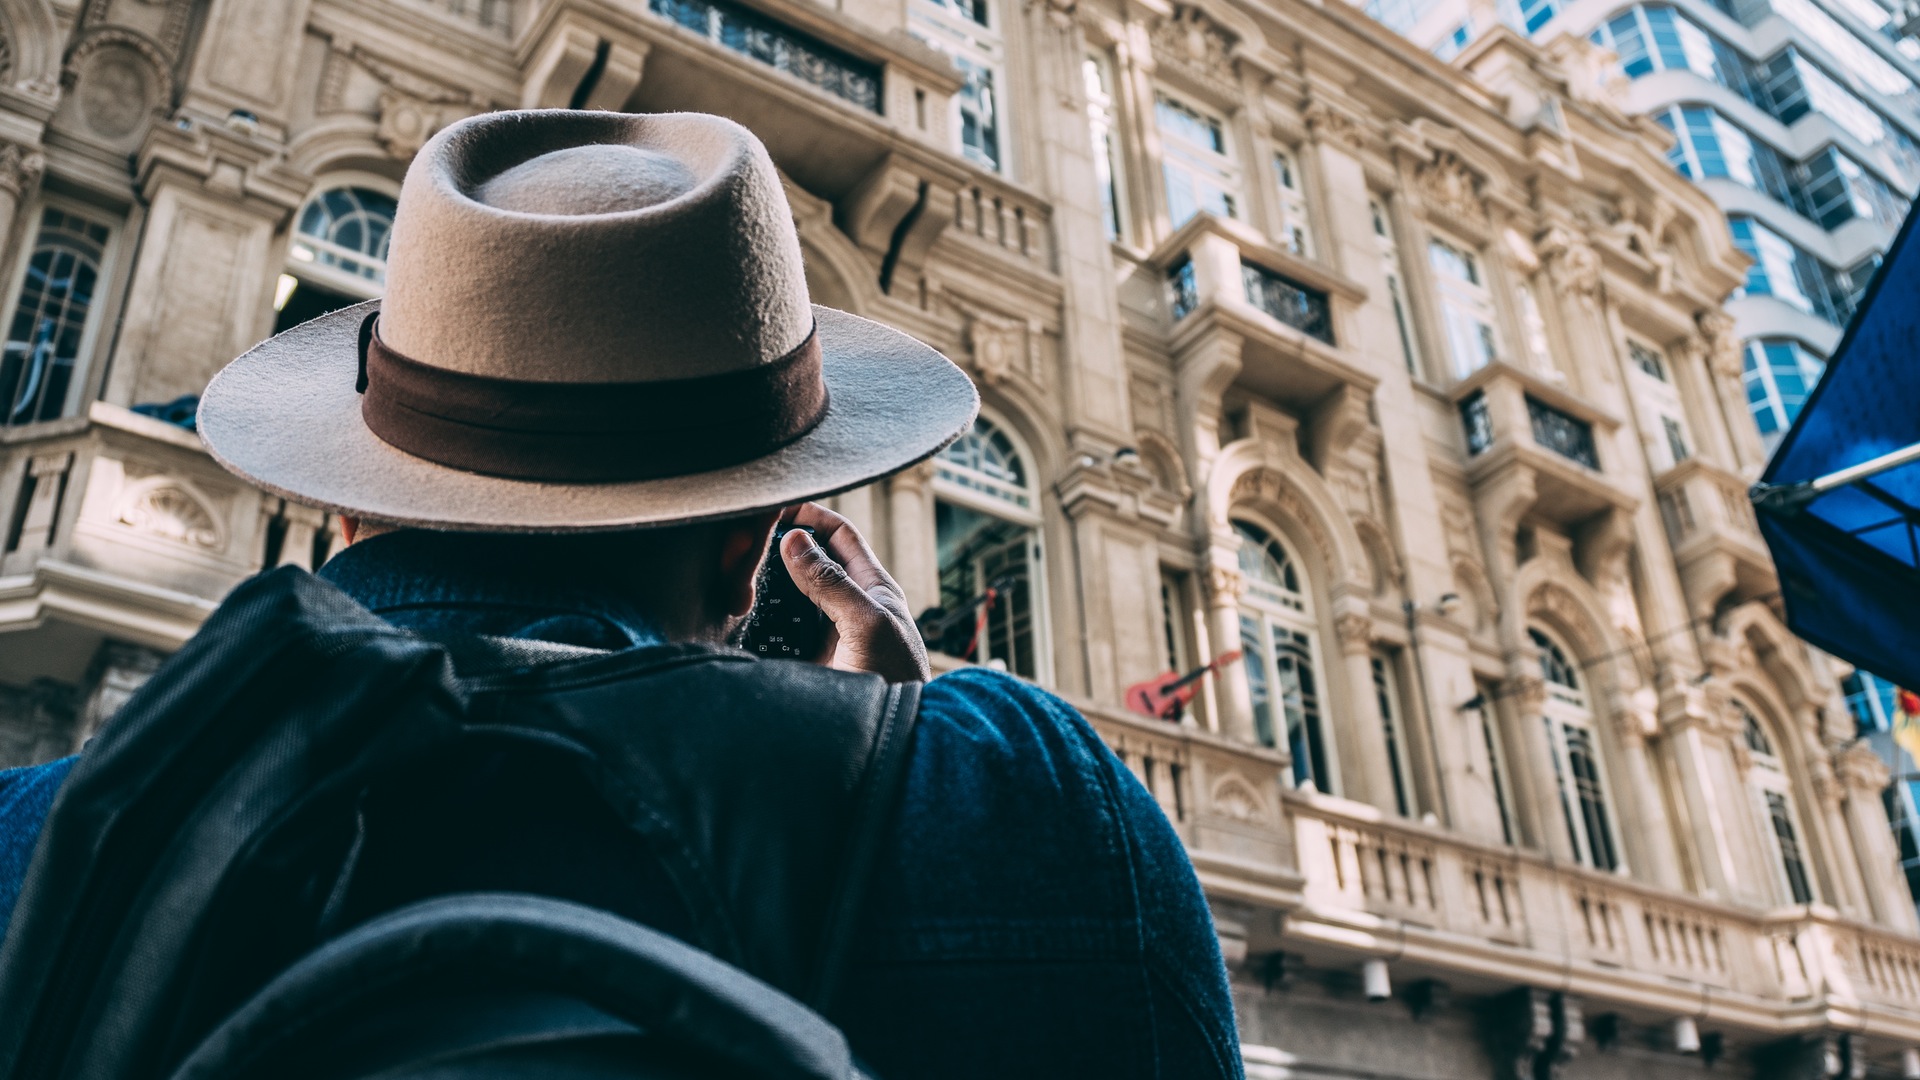
A lot of your background detail also has to do with your depth of field. You can either control your background with a blurred or sharpness by a shallow or deep depth of field, depending on your subject matter. A shallow depth of field is popular in portraits, so your subject is your main point of focus. You can use a deeper depth of field though to enhance your background clarity and texture. Keep your subject away from the background and not right up against a graffiti wall and tree, this is because these textures and colors can be too distracting. Shooting your subject in wide open spaces with a shallow depth of field and will give you the ability to have a subtle background of light colors and textures. Graffiti is a great example for this because it is a popular choice for a fun and colorful background but can also become a little distracting to your subject so by shooting your subject away from the background you can still gather the color and design without too much detail. Other background choices that you can use the subtle color, texture, and pattern are brick walls, wallpapers, and colorful doors. Think about the landscape in your image too and the great environment you are located in.

Finding Backgrounds

finding backgrounds
finding backgrounds

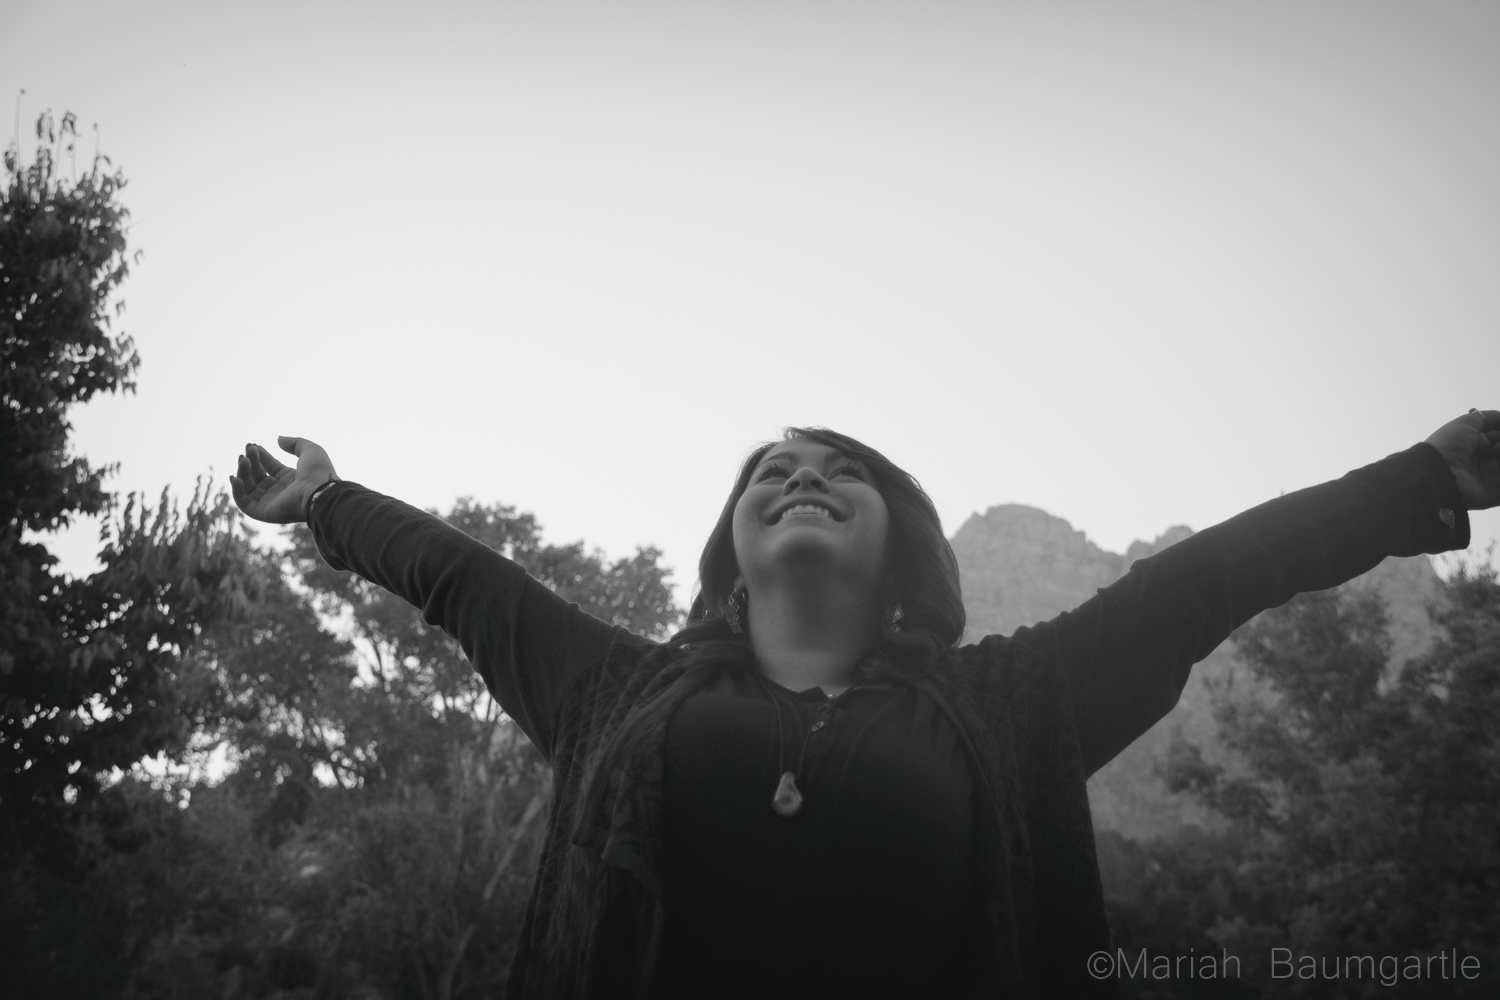
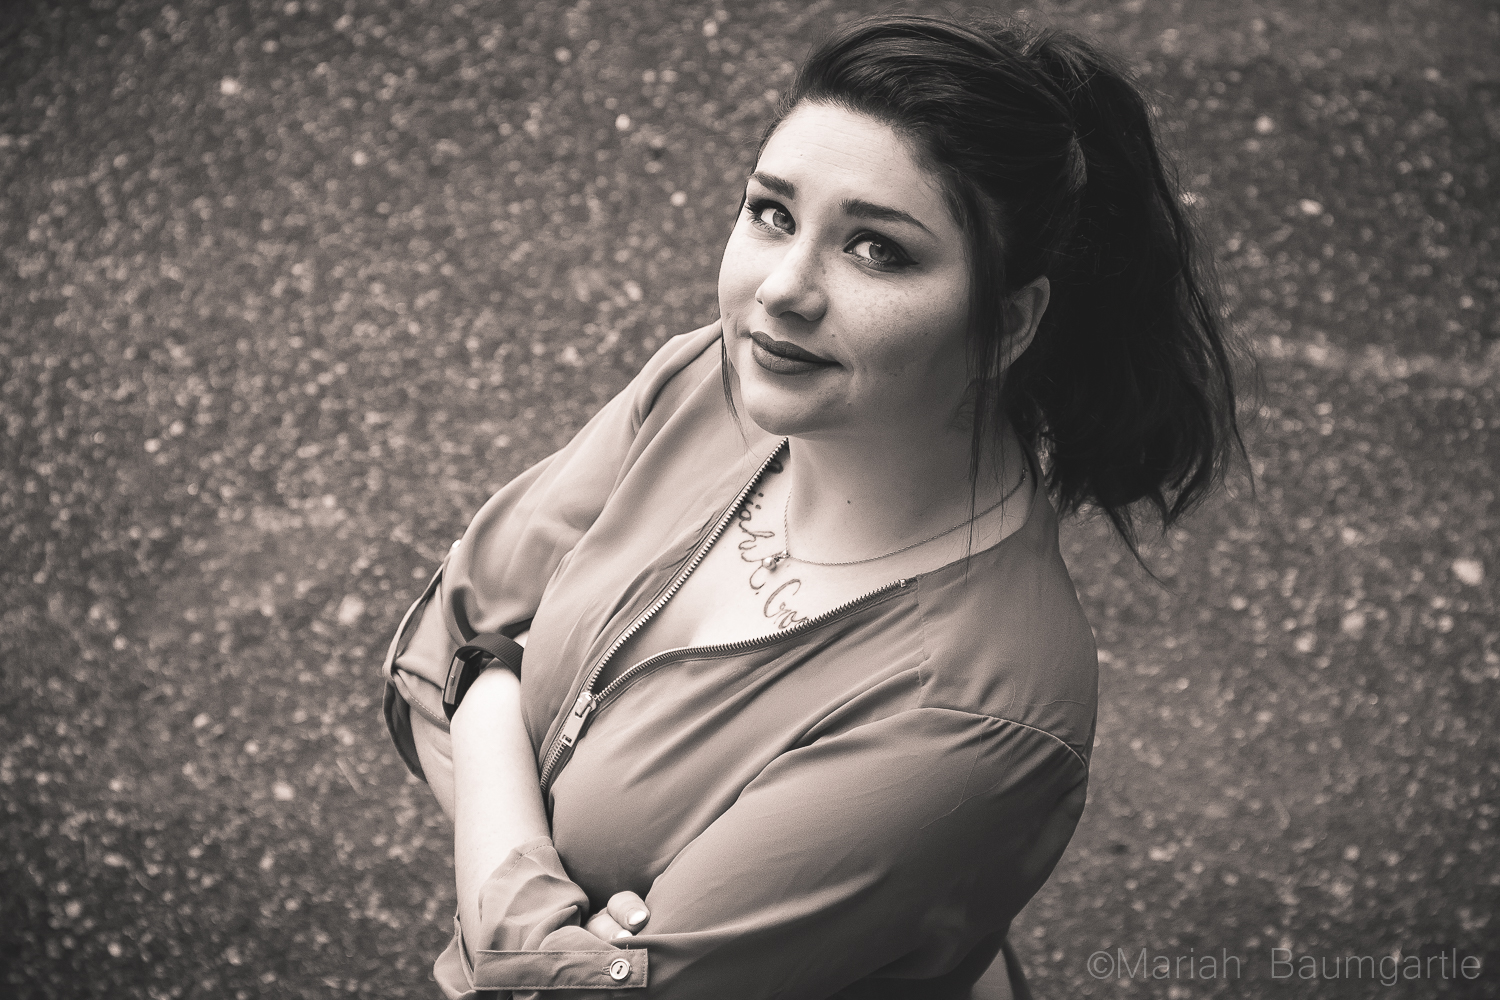
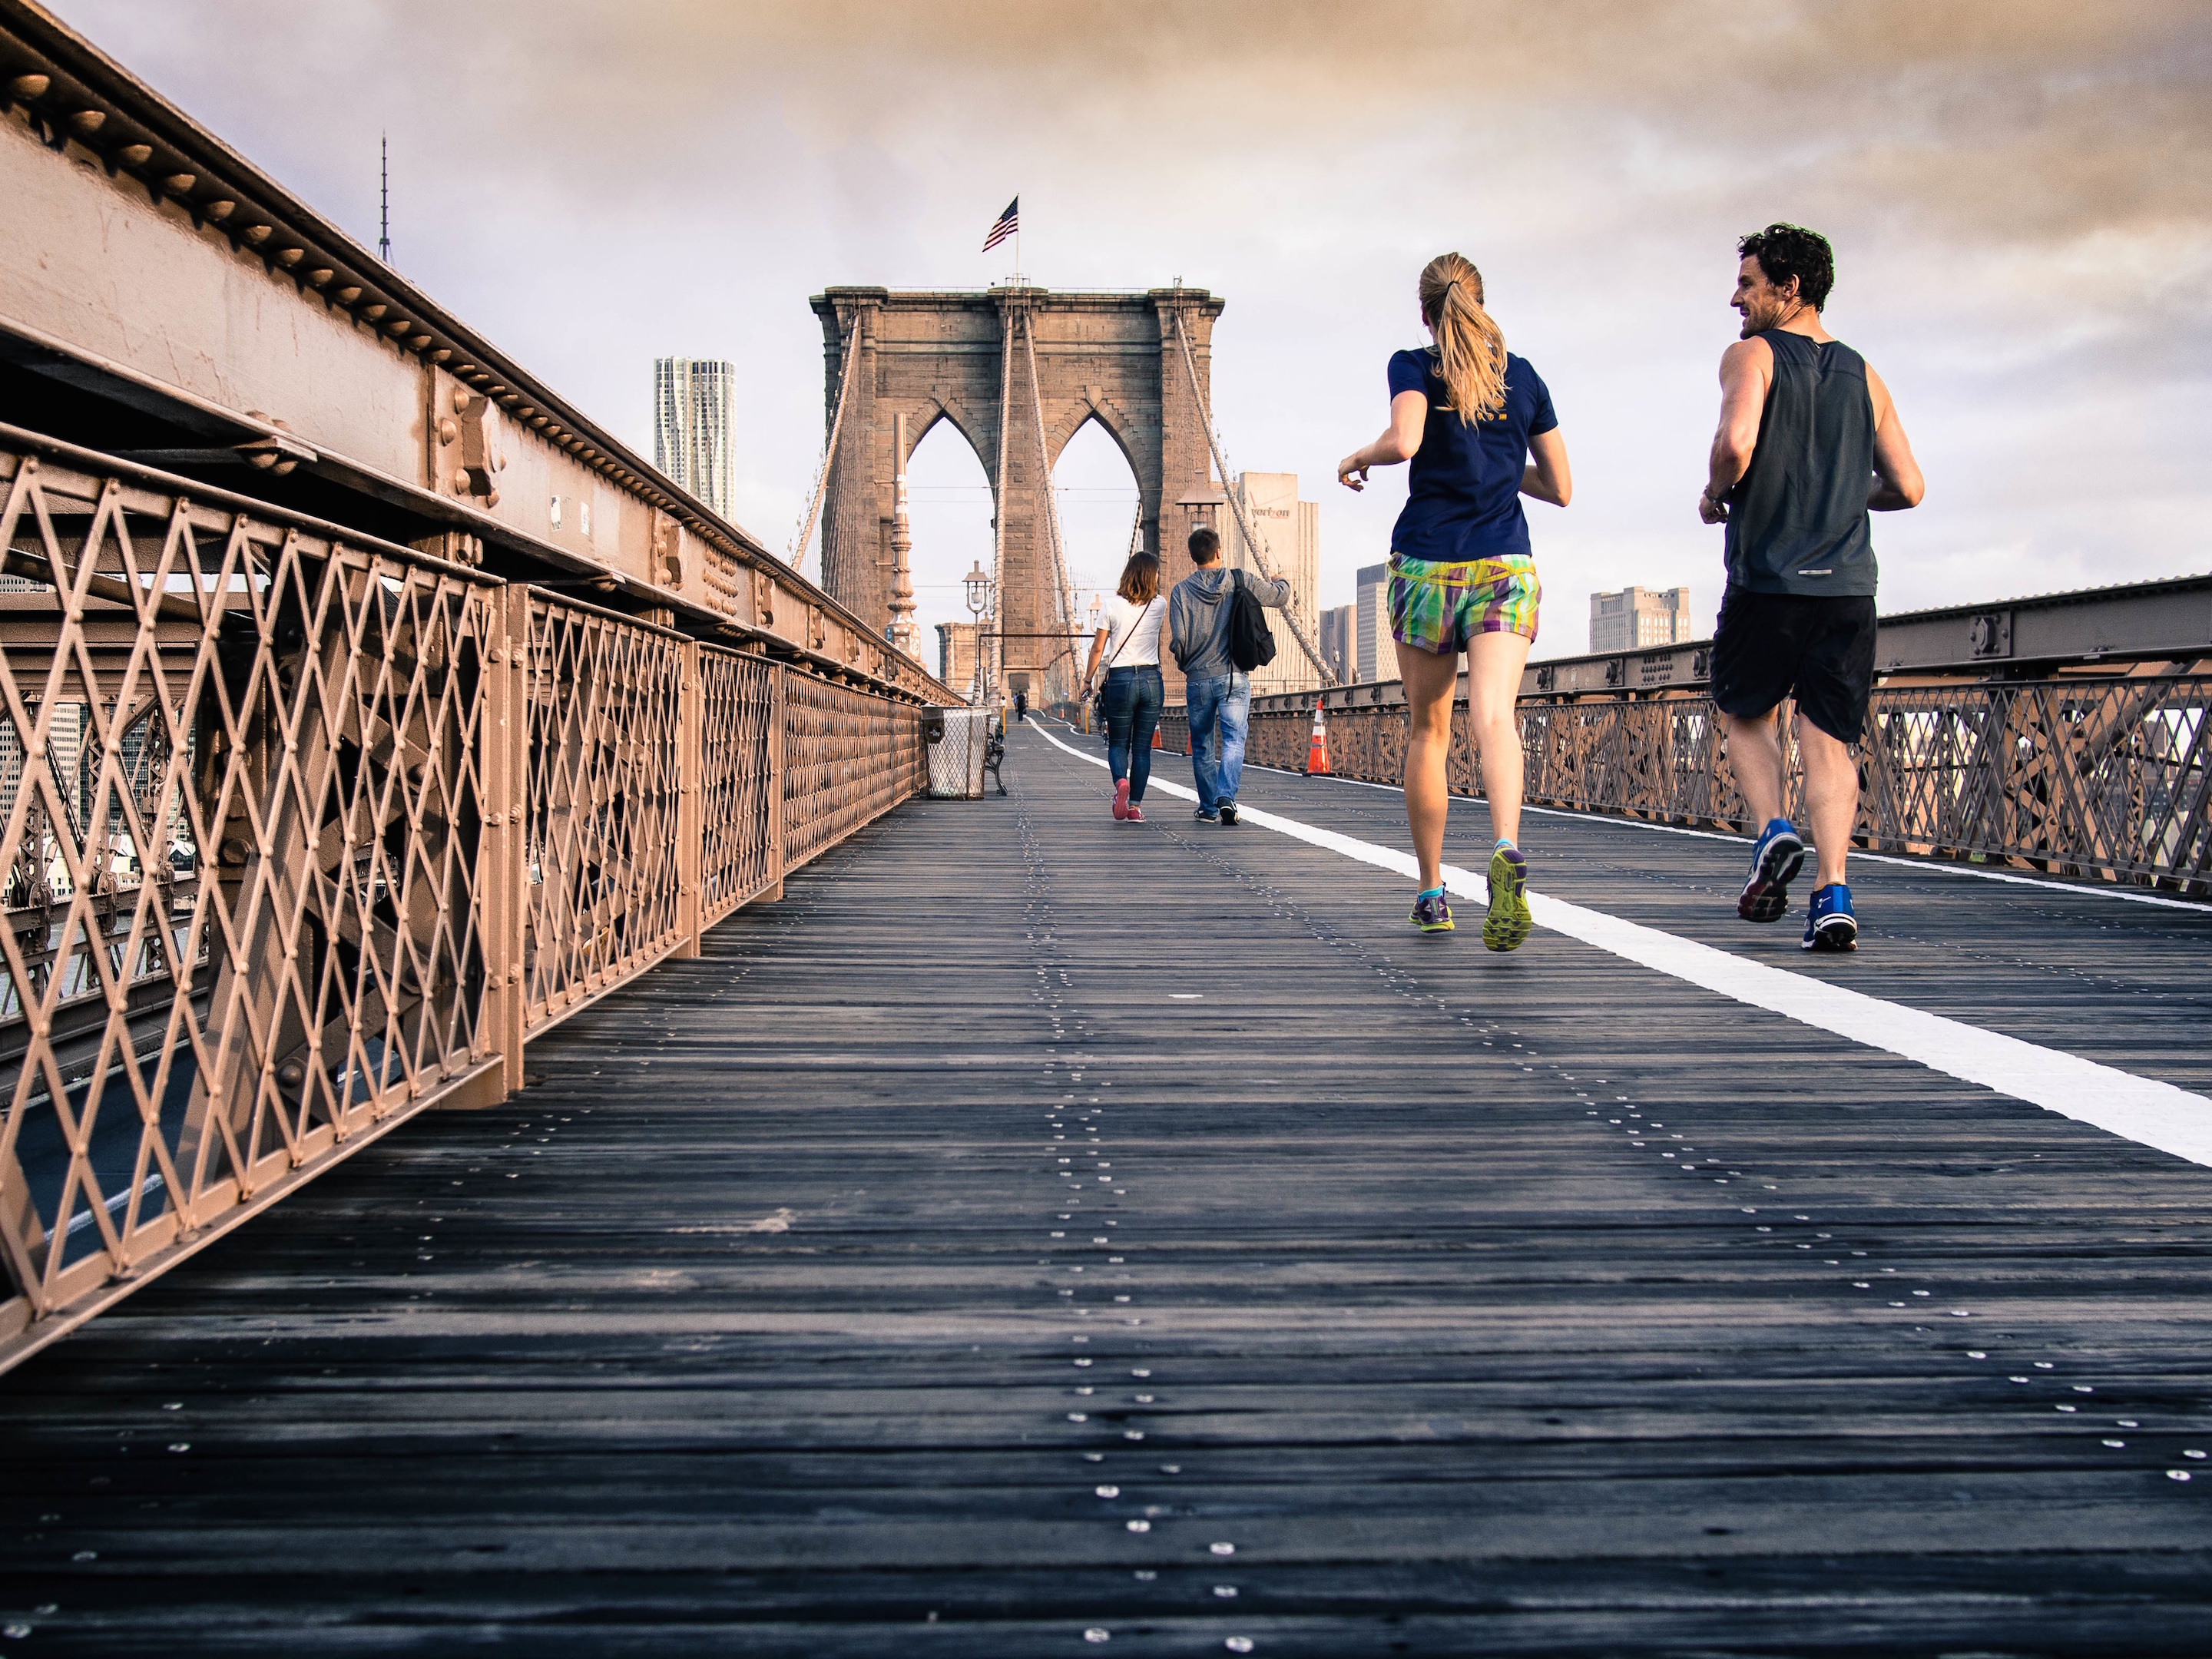
A variety of angles can also help your background choices. If you are shooting down on your subject you can use various lines on the road, grass, or any other greenery around or even just the texture. Shooting forward onto your subject will give you space and environment area that you are in. Shooting up on your subject can make you a viewpoint of the sky, clouds, or anything else above your subject matter.

finding backgrounds

Finding Backgrounds

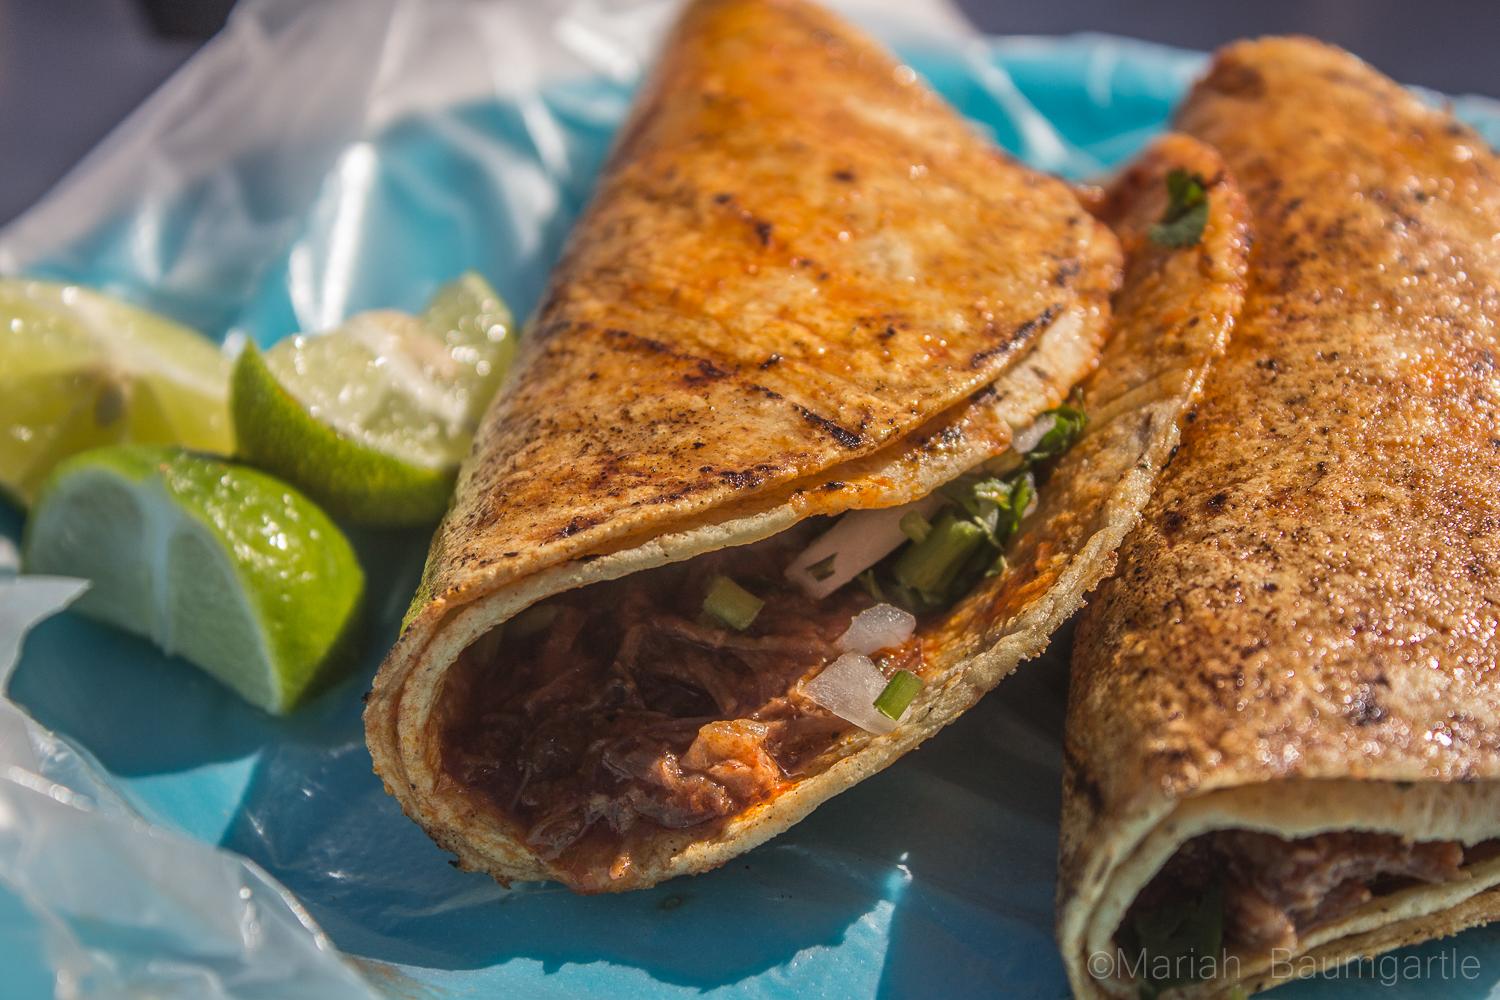
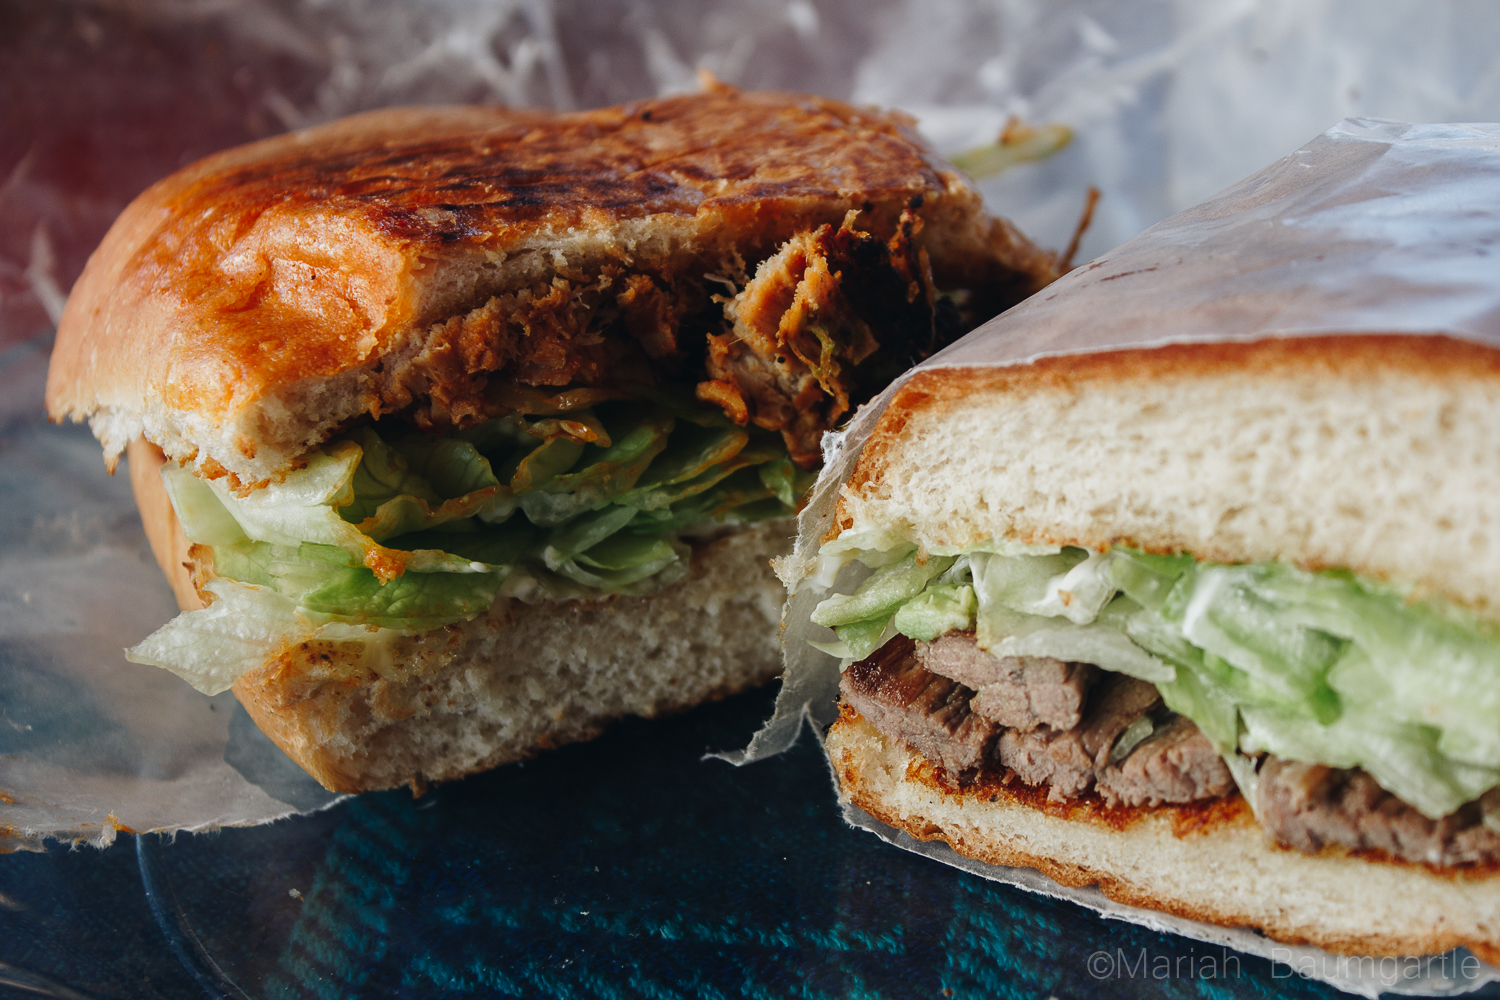
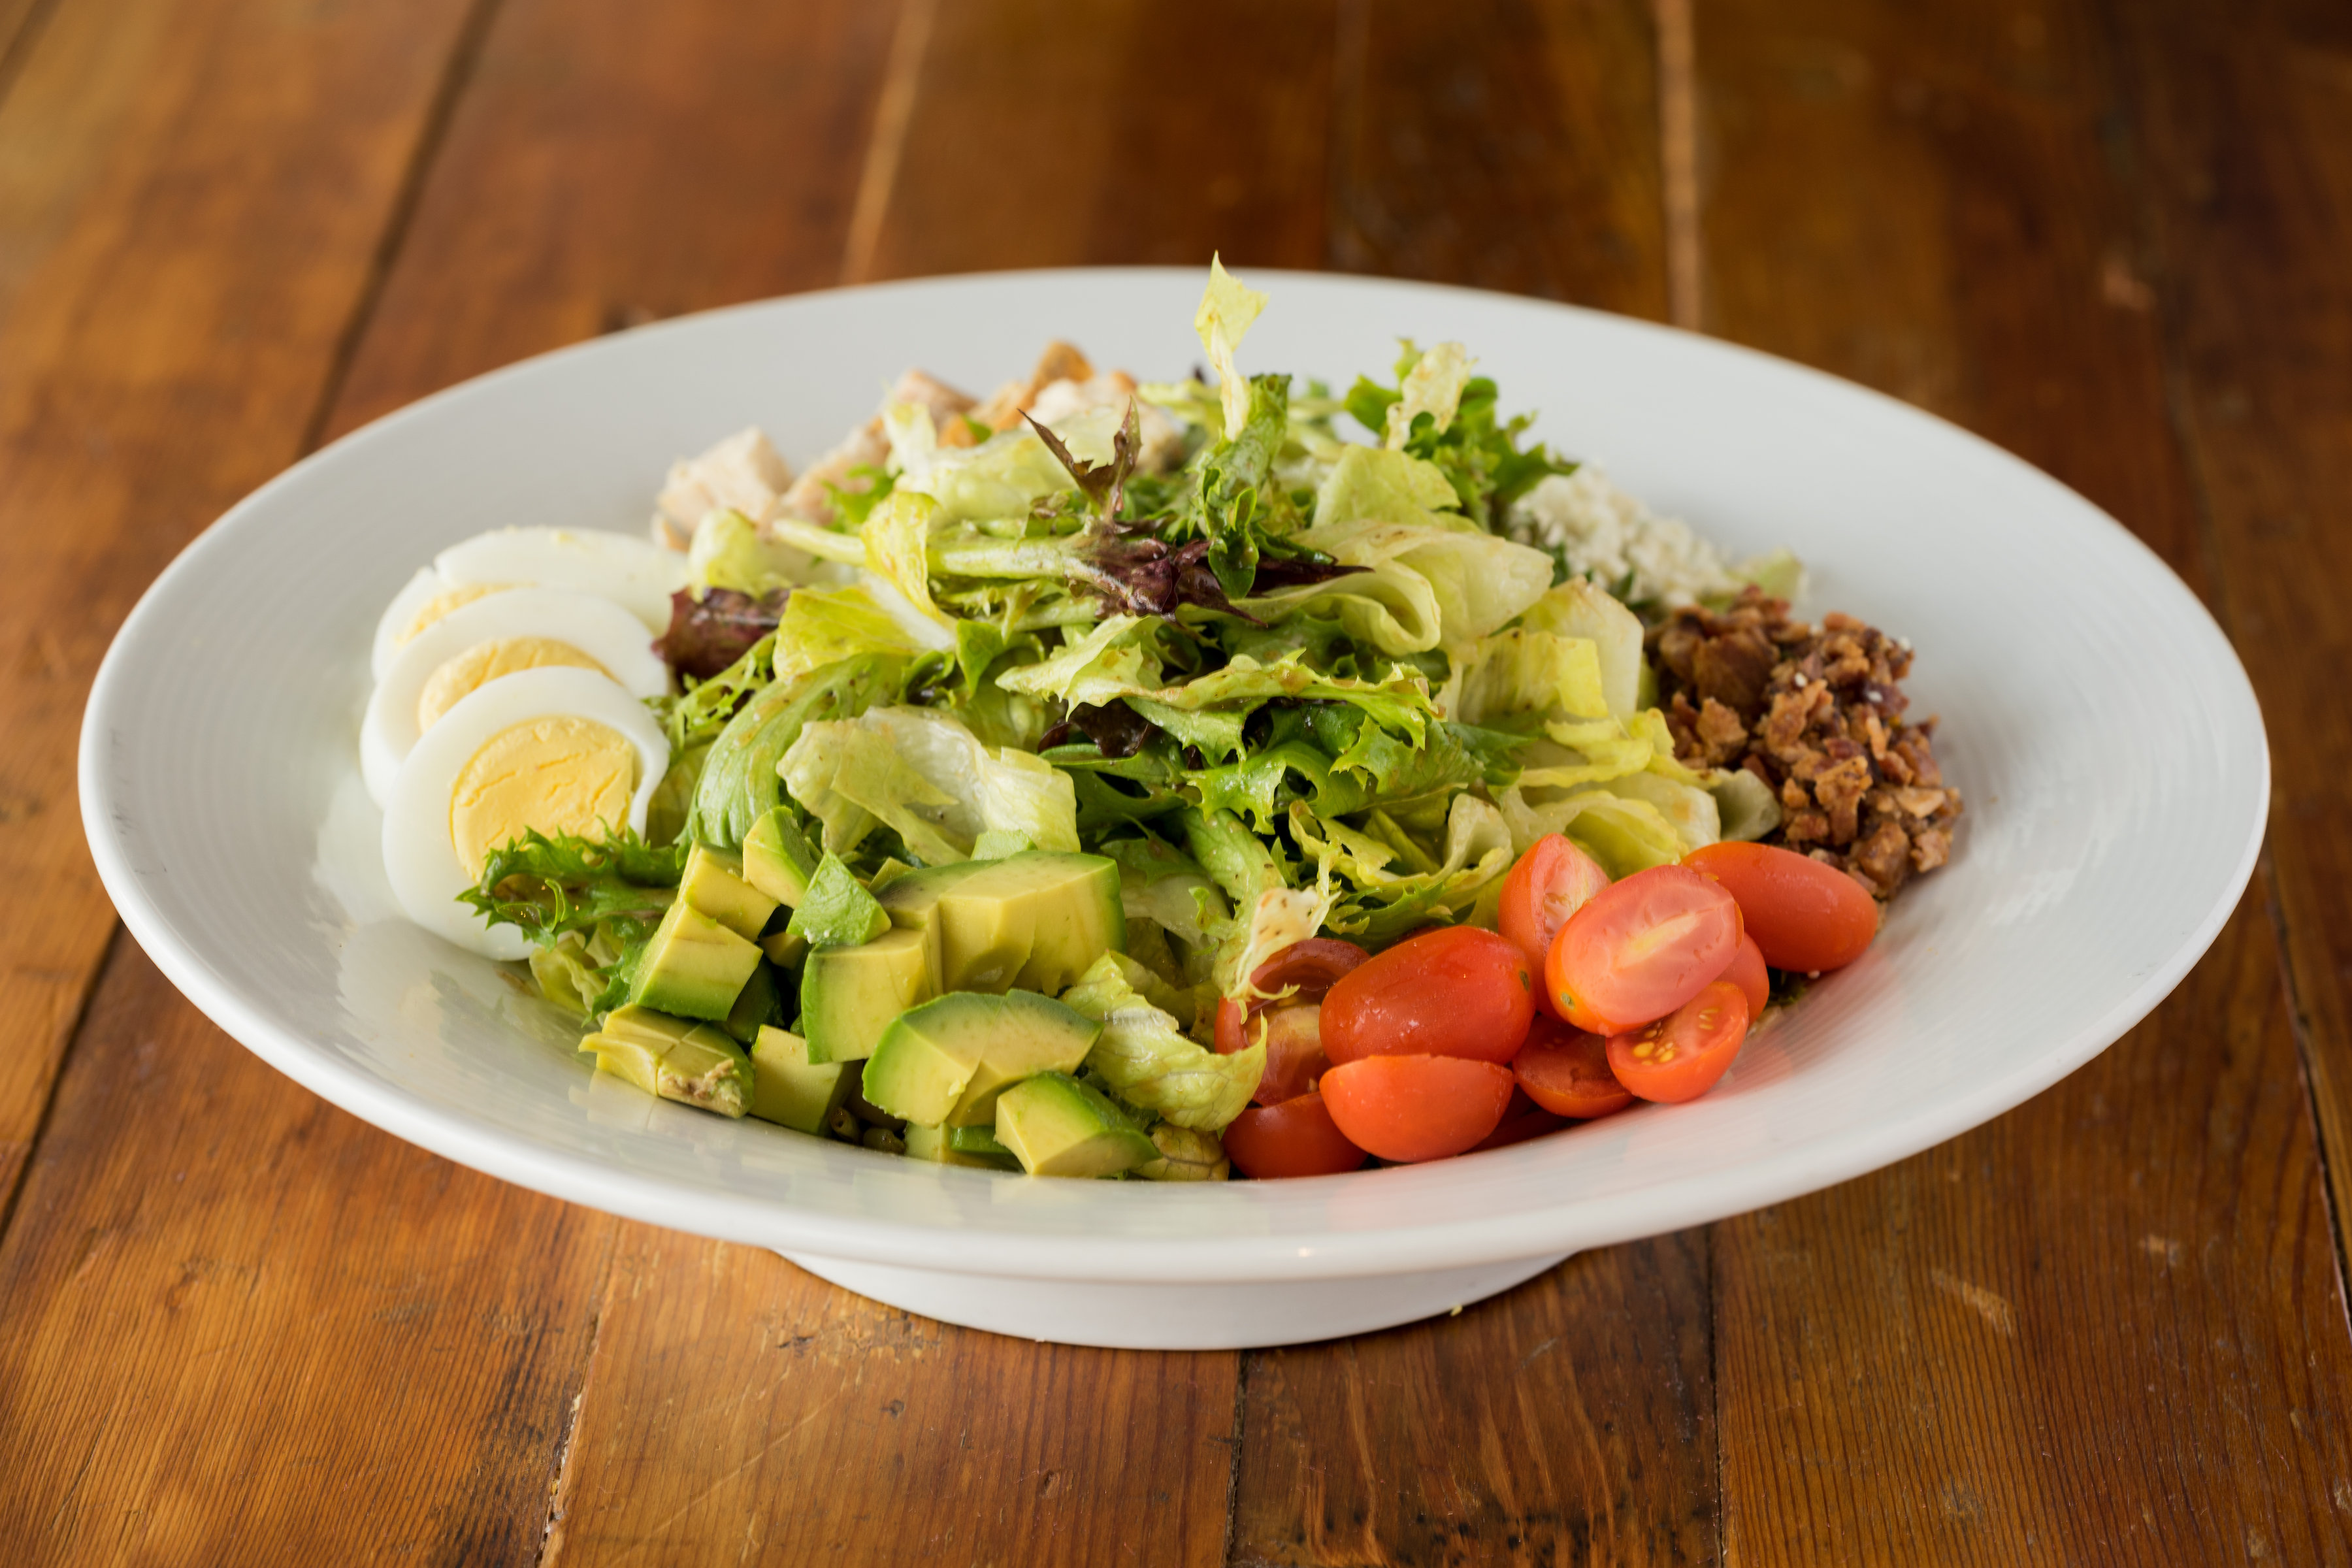
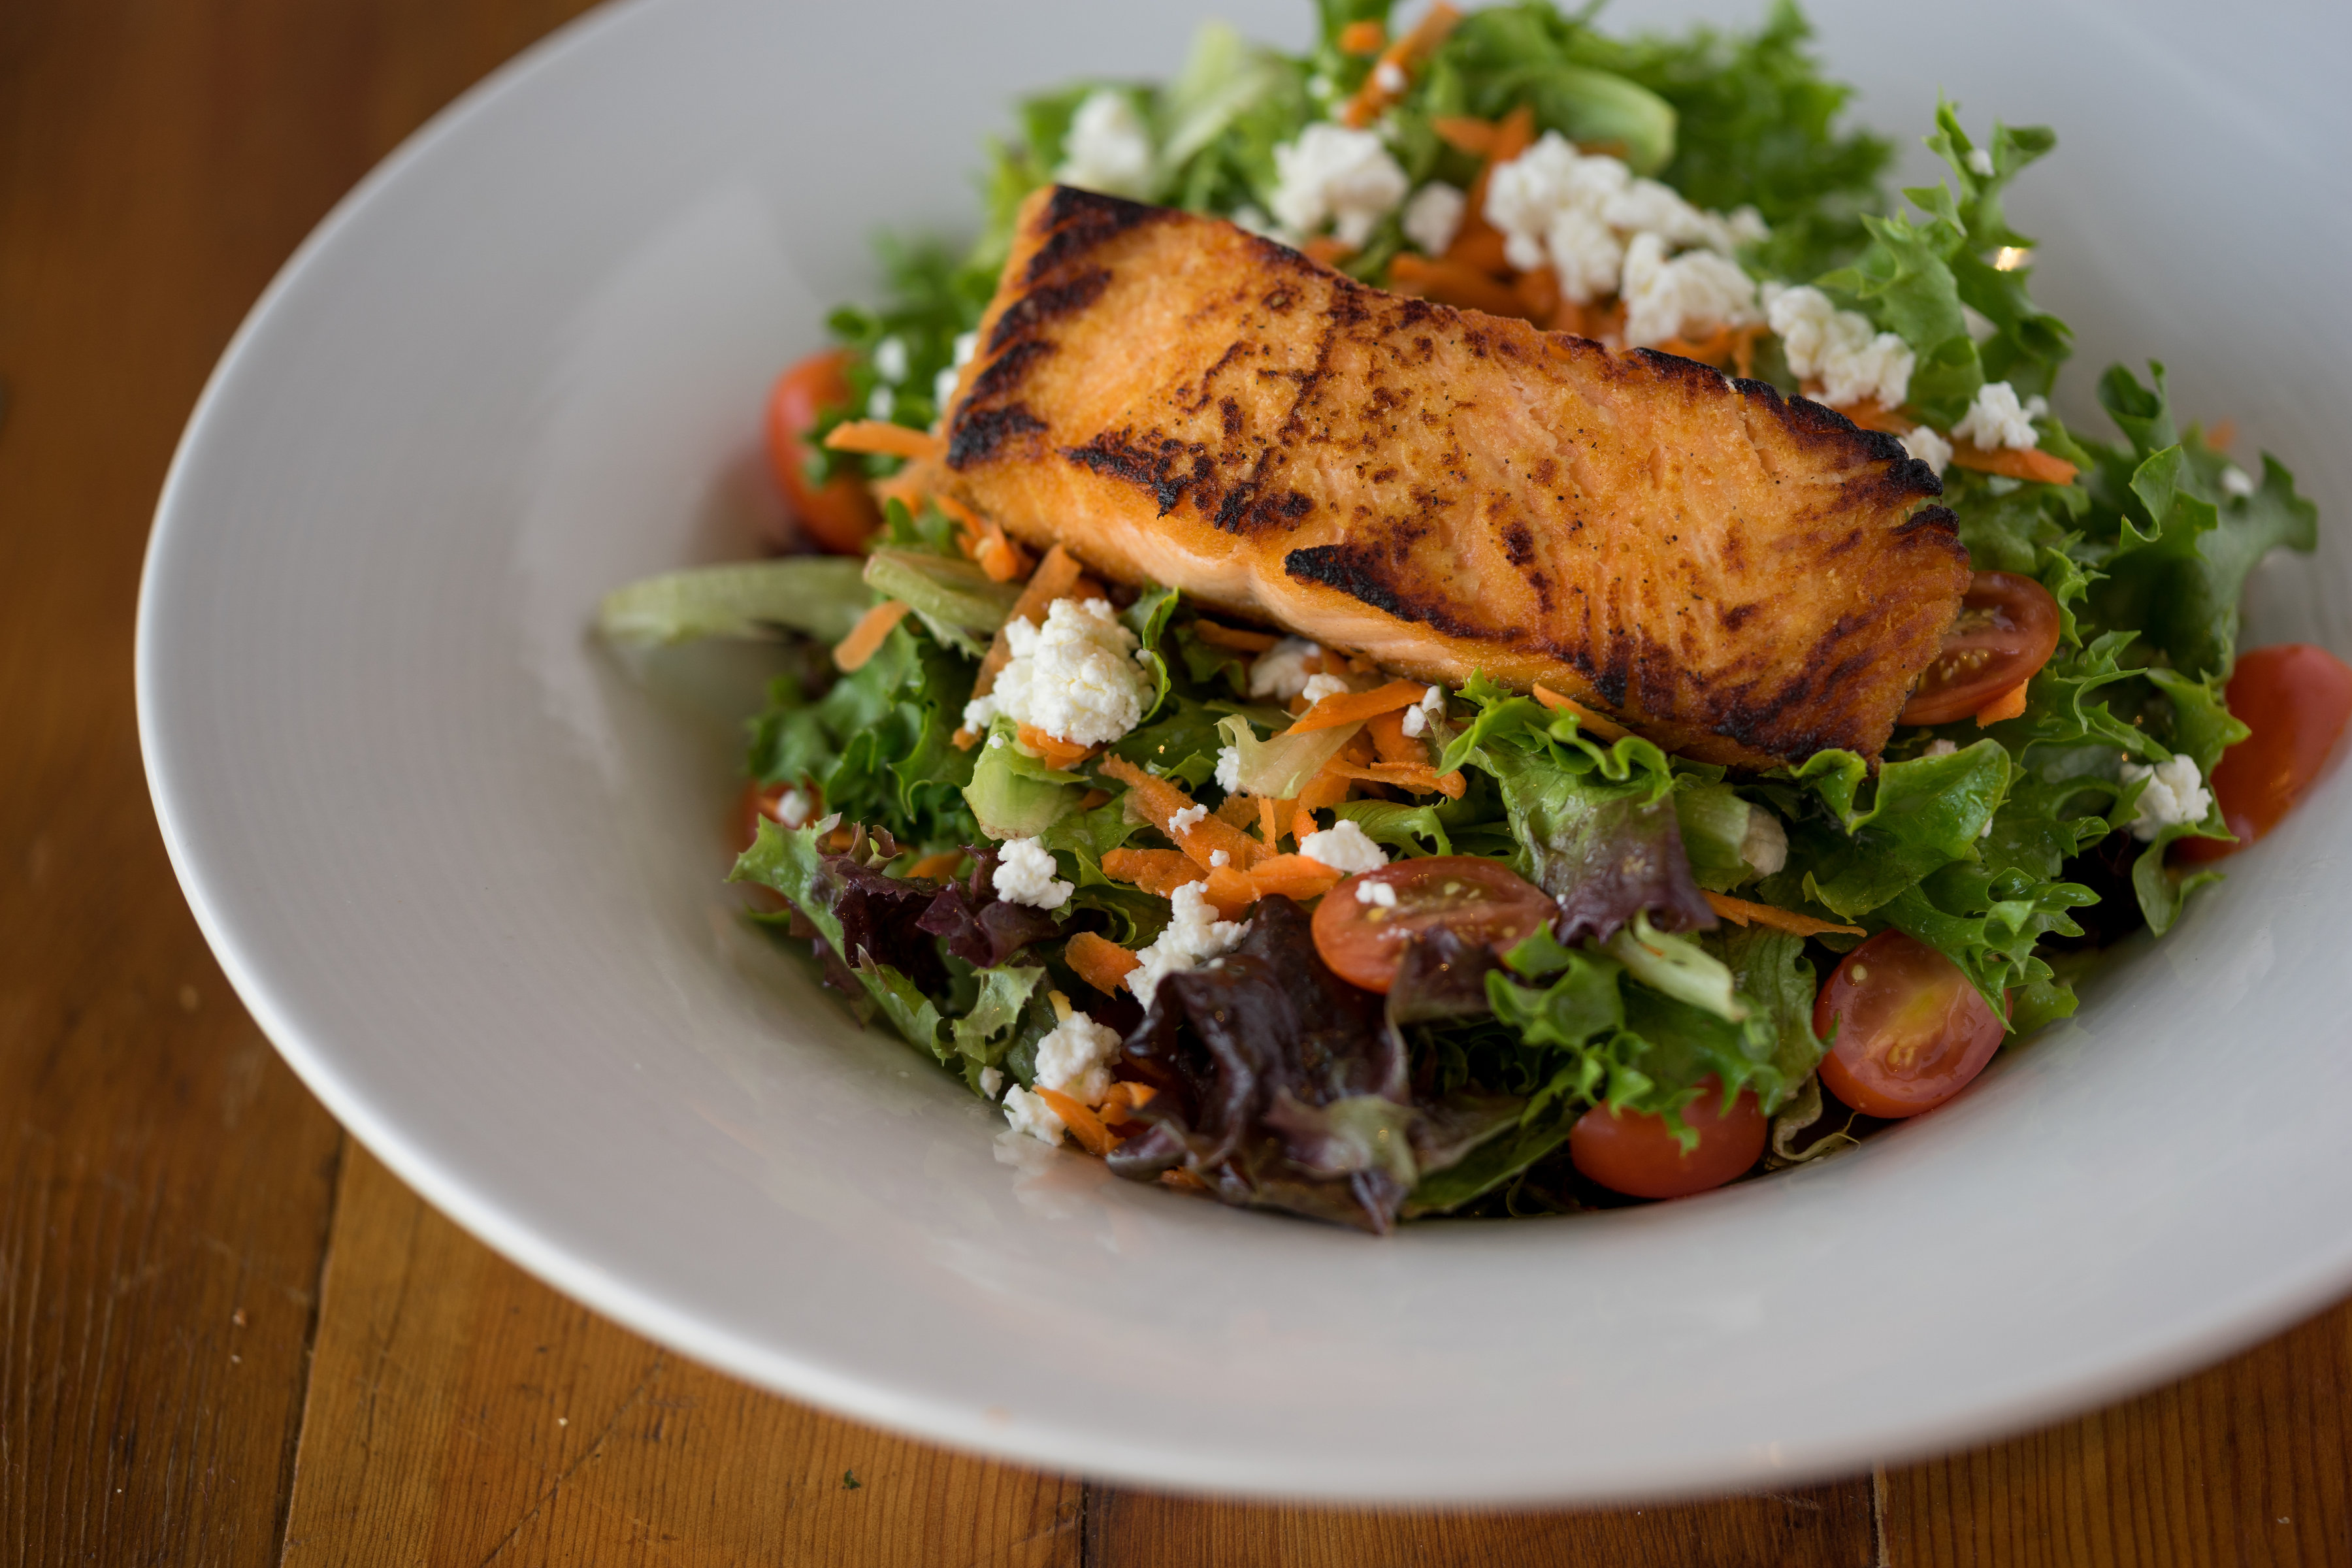
Food and still life photography gives you an excellent array of choices with colors, textures, and backgrounds and offers a great way to be creative. You can even make your backgrounds using various woods and papers. Another background choice for smaller subjects is scrapbook paper from your local craft store where you can purchase paper patterns that look like wood, marble, and other surfaces that you enjoy.

finding backgrounds

There are some things you will want to avoid in your background. By using these guidelines, it will help you avoid distractions from the subject of your image. You usually want the brightest point of your image to be your subject; this means that you will want to avoid brighter highlights in the background or colors that could be distracting such as bright oranges, neons, etc. Poles and tree branches are common objects that can get in the way of a great photograph and something you want to avoid, especially when shooting portraits.

If you are having a difficult time finding the right kind of background texture and color you can always Photoshop out your background and replace it with a new background. There are many Photoshop actions, and Lightroom presets to help you achieve this. This is also where green screen photography comes in handy. A green screen can help you knock out the background easier to replace it later on. This color is used because Photoshop can read the color much better to separate from your subject in post editing.

Finding backgrounds

When we are talking about the background, you always want to consider foreground as a factor in your photography. The foreground is a great way to bring depth into your image and also a good use of framing. You can achieve this by setting objects in front of your still-life images. Use trees or greenery in the foreground with a shallow depth of field, or any other creative factors to frame your image. If you find your foreground is too sharp in your image and becomes a distraction you can always blur this in post-production.

finding backgrounds

A Photographic Journey around San Felipe, Mexico

I have had the opportunity the past four months to live and photograph around San Felipe, Mexico. San Felipe is located in the Baja California and located about 2-3 hours south of the border along the side of The Sea of Cortes. San Felipe is filled with color, culture, great food, and beautiful desert land. Pack all of the correct gear for your travels and take an adventure to gather some great photographs. San Felipe SignOn your way to downtown San Felipe, you will first spot The Arches, a very popular monument of San Felipe. They call the arches “The Gateway To The Sea” The arches offers many angles. However, the only problem photographing the arches are all of the distractions around such as signs and wires, which you can Photoshop out later. Around and past the arches you will also find a hillside where you can explore to gather some more cultural photographs of the areas. This area is where you will find all of the best authentic food with local taquerias and is always a great photo op in itself by practicing your food photography. Down at the end of San Felipe is The Malecon, which sits next to The Sea of Cortes. The Malecon is lined with restaurants, shopping, and with a great view of the sea. This is where all of the events happen in towns such as food festivals, music festivals, and parades. This is a great place to take some iPhone street photography. San Felipe ArchesSan Felipe Culture

San Felipe Food Truck

San Felipe TacosSan Felipe TortaSan Felipe DowntownSan Felipe MaleconSan Felipe MaleconSan Felipe Shrimp FestivalSan Felipe is also a great place to gather some night photography. One of the best spots for night photography is down at The Shipyard, which you will find at the end of The Malecon. The Shipyard used to be a marina but was flooded, and they could not move the ships, so they are left there are part of a San Felipe gem. Up on a hill, you will find a building, The Boom Boom Room, a place that has also been abandoned and a very interesting location to photograph during the day or evening. Up on a mountain, you will find a little yellow chapel that looks over the town of San Felipe and right next to it is the lighthouse, which you can shoot from ground level or up at the top where the prayer building is. This is a great place to work with your angles. If you are in town during the full moon make sure to catch the moon rise over The Sea of Cortes: I was there for supermoon, and it was an incredible experience and a really good opportunity to try my moon photography skills and also work with some post editing. San Felipe Tampico ShipSan Felipe BoomBoom RoomSan Felipe MexicoSan Felipe ChapelSupermoon in MexicoThere are many smaller day trips you can take from San Felipe for some great opportunities including more water and desert land. On a note of transportation, you will need some form of 4-wheel drive out in the desert. It is a famous landmark in the area is The Valley of The Giants and a photo opportunity you will not want to miss. The valley holds cardon cacti that stand nearly 50 feet high. You can also drive further south to Percebu where you will find a little more surf in the water and also a great location to find treasures along the beach. Along the way, you will find more abounded buildings and interesting homes and land to photograph. The desert land has a lot of beauty to offer, and San Felipe is surrounded by beautiful desert land. You can take a drive out west closer to the mountains for some more variety in your desert landscape. The desert also offers some interesting finds such as bones, rocks, and maybe even a carcass or two. If you are going out in the middle of the day, you will have problems with harsh lighting in your landscapes, but you can always enhance your lighting in post production with landscape Photoshop actions or Lightroom Presets and Brushes. Valley of the GiantsValley of the GiantsPercebuSan Feipe DesertSan Felipe Mexico DesertSan Felipe Mexico DesertI hope you have the opportunity to visit San Felipe in your future travels or even Baja California to discover color, culture, and beautiful desert land by the sea or ocean side. As they say in the Baja “No Bad Days!”

Food Photography Setup: How to Shoot Food Photography with Minimal Equipment

Food photography may seem daunting to some photographers. Beginning photographer’s may have the assumption that you need tons of equipment and props just to make good photographs. In reality, this is not always true. In fact, there are only a few essential pieces of equipment you need to produce fantastic food photography images. Check out our tips for food photography setup and how to shoot food photography.

DSC06051

Lenses

The style of food photography you want to produce will determine which lens you will need. For the most part, getting a long macro lens works great for food photography. A macro lens around 90-100mm is great for getting in very tight and isolating the food. See the below image as an example. It can also be nice to have a standard 50mm lens or something similar for process shots or of the venue, kitchen or chef as an overall profile of a restaurant. Even if you think you may not need this, it’s always best to have a few lenses you are comfortable with on hand for different perspectives.

DSC06252

Tripod

A tripod is essential for food photography when using a macro lens. This is because of the slow shutter speed you will get when using a larger aperture. In food photography, it is nicer when all of the frame is in focus, so you need to use an aperture like f8 or wider. On a 90mm macro lens for example, when at ISO 100 and f8, the shutter speed will be somewhere near 1/2 second, far too slow for hand holding. The rule of hand holding a camera is that the shutter speed needs to be at least the same as the focal length. So for a 90mm macro lens, that’s 1/90, which is tough even at f3.5. Using a tripod and remote shutter release will solve this issue.

IMG_4734

Remote Shutter Release

Another essential piece of equipment is the remote shutter release. Without this, you will have to rely on smaller apertures and less of the frame in focus. This is exactly what happened to me on this shoot because I forgot my remote shutter release. You will notice all of the images are not fully in focus for this reason. In food photography, when some of the frame is not in focus, it can be very distracting. Bringing a remote shutter release will ensure you don’t have to face the issue of sacrificing creativity and aesthetic for an in-focus image.

DSC06285

Reflector

You’ll need a piece of equipment to be able to bounce light. Personally, I only shoot with natural light because I don’t have access or experience using big soft boxes and staged lighting in my shooting. But all you really need to produce beautiful images is a nice natural light source and something to bounce the light off of. For this, you can opt for a proper reflector, which usually comes in a circular shape and offers sides with multiple color reflective surfaces, from white to gold to darker colors. If you don’t want to spend the $45 on a small reflector, you can also use simple white foam core board bought from an office supply store. I’ve even seen photographers use napkins and even crumpled aluminum foil from the restaurant kitchen. The below shoot was done using a simple foam core board bought at Staples.

IMG_4731

Basic Settings

Food photography does require some basic camera settings which are somewhat universal. The trend now in food photography is for the entire frame to be in focus. This requires a larger aperture, at least f8 or higher, to get the shot. In some cases, if you want to focus on something very specific, a smaller aperture is best. You’ll also want to shoot at ISO 100, which will help make the image as clear as possible. You want to avoid any grain in your images, and with the lighting needed to produce good images of food, ISO 100 is your best choice. Shutter speed is not necessarily a concern in food photography, so best to shoot in Aperture Priority Mode, then you can quickly switch back and forth from small to large apertures as you shoot, without having to worry about shutter speed. And if you are on a tripod with remote shutter release, you won’t have to think about shutter and camera shake at all.

After a day of shooting, there’s nothing like sitting outside, reviewing images, and enjoying a cold beer.

IMG_4739

5 Photography Assignments To Become a Better Photographer

I’ll be the first to admit, I hated school. I hated the structure and the monotony. I would have much rather completed the work on my own time, preferably outside. In any case, I actually do miss school now. I’ve since learned, thanks to Gretchen Rubin’s Better than Before, that I respond best to external accountability. I do need a certain structure and accountability partner to keep me on track, otherwise, I will easily fall off and walk away from the challenge. This is why I am constantly taking classes or reading books which layout assignments in photography.

160815PhotoPlaybook

One of the more fun resources I’ve found for this is Aperture Foundation’s The Photographer’s Playbook, which outlines 307 assignments and ideas from photographers around the world. Some are concrete, some are conceptual. But they all will make you think and look at a subject in a different way. I understand it is not new, but I often refer back to this book, either when I feel a lack of motivation, or just as a source of inspiration as I begin a new project. Below, I’ve outlined 5 of my favorite assignments, for those who have not had a chance to read the book or are simply looking for a fun project. I feel my photography has improved, I’d love to hear how the assignments work for you.

selfie-portrait-picture-photo

Photography Assignment #1: Take 1 Photo/Day for 7 Days

This assignment is based on Michael C. Brown’s assignment in The Photographer’s Playbook. He urges the student to take one photograph per day for 7 days in a row. The exercise will leave the student with not only a better understand of their week, but of themselves. They will learn what is truly important to them, and what they should be focusing on. In photography, we often take assignments that have us telling a story which is not our own. Here, the only story we tell is our own. Our own experiences of the past 7 days, and we can understand what stands out as important to us. Do this assignment, and see if another photographer can join you. After completing, get together and review the images. Offer critiques. You will learn a lot about the other photographer from these images.

pexels-photo

Photography Assignment #2: Take A Trip

This assignment is based on Todd Hido’s assignment in The Photographer’s Playbook. He tells students to take a trip, somewhere new, whether close or far and just go. Don’t plan anything out, just buy the flights. See where the character and emotion of the city take you. Start to brainstorm story ideas as you spend time there. Don’t worry, the ideas will come to you. What do you notice? What draws your attention above all else? This is what truly interests you, and this is what you should explore, both on your trip and back home. Turn the photos into a story. Even better, add some writing to it, and you’ve just created your first travel piece. This can be submitted to local publications, and once picked up, you’ll have your first published writing and photography piece!

150124RomeCorner

Photography Assignment #3: Find Your Passion

This assignment is based on Ed Kashi’s assignment in The Photographer’s Playbook. He urges the students to discover and explore subjects which they are passionate about. This means having a general interest and the willingness to spend hours, weeks, years with the subject. He spent eight years photographing aging in America, a subject which he felt passionate about, and which he’s maintained interest in, even after moving on to other projects. Your assignment is to find your passion and explore it deeply. This means to spend hours with the subject, asking questions and having a true interest. This will show through in the photograph, if the passion is not there, this will show as well. Be patient with this, as it will not come quick or easy. Over time, you will be able to find an interesting perspective which is yours alone. This is another element of a strong photographic story.

150512LondonPolice

Photography Assignment #4: Get Close

This assignment is based on Alexis Lambrou’s assignment in The Photographer’s Playbook. She recalls a professor who was inspired by the famous Robert Capa quote “If your picture isn’t good enough, you’re not close enough”. He had them reach out in front of the camera and focus on their hand. Afterward, they had to tape in place the focus and walk around shooting. It would force them to get closer to their subject than they might previously get. This is such a great assignment and it really changes how you approach shooting, soon finding yourself getting more comfortable approaching a subject and getting in close.

150717PortoBusStop

Photography Assignment #5: Think Bigger

This assignment is based on Gus Powell’s assignment in The Photographer’s Playbook. He lays out six street photography assignments which will make you think twice next time you are on a photo walk.

  • Wait at a bus stop and photograph the other people waiting. Don’t get on the bus, but stay and continue shooting. Move on to another bus stop if needed.
  • Pick a color and focus all your shots on this color. Start big, like a blue sky, and work down to a very small subject like a piece of trash on the ground.
  • Whenever you find something interesting, shoot the image but then turn completely around and take an image of what is directly behind you.
  • Pick someone out of a crowd and follow them. Don’t shoot any images and don’t be a total creeper. But just see where they go and experience the journey of where they are taking you.
  • Learn to visualize the way people move by trying to shoot two people walking past, right at the moment when they cross planes. Do this multiple times and then move on to shoot three, even four people in this way.
  • Take some images which you think are bad, and print them out pocket-size. Carry them with you and reflect on them as you are out shooting. Notice what you like or don’t like and if that translates in any way to what you are currently shooting.

Gus’s assignments teach us a different way to see the subject, and to look out for things which can be easily overlooked. Pick one of the above, and try it out next time you are out with your camera.

pexels-photo-109917

These may not be innovative, life-changing assignments, and they may not even work for you. They were designed to force your perspective to adjust, slightly or drastically, and look at a subject in a different way. Doing this is essential to improving as a photographer, and even to just maintain skill level. You may not think these assignments have helped you in any way, but next time you stop to think about a shot or project idea, it may surprise you how these have altered your way of thinking. I urge you to purchase this book, look up similar assignments online or sign up for a class, online or in person. Continuing to challenge your thinking and skill set will be vital to your development as a photographer. There is always something new to learn.

Must Have Accessories For Landscape Photography

Imagine you’re standing at Glacier Point, shooting the beautiful morning sun as it rises behind Half Dome. Sipping on hot chocolate, you adjust your settings accordingly to the flooding light. The air is wet and there’s a faint vanilla scent from the surrounding Jeffrey Pines. You screw in your Graduated Neutral Density filter and take a couple shots. The sun is rising slow and you are in no rush, savoring each moment you have, just you and the camera this morning. Nothing else matters.

Landscape Photography

Compare this to someone who ran up, took a shot, and then ran back to their computer for post-processing. They don’t care about crafting the perfect image in the camera, they know they can fix it in post. No hot chocolate for them, no smell of the Jeffrey Pines. No memories other than the photograph.

Where would you rather spend your time? Perfecting the image in camera on location, or spending the majority of your time behind a computer trying to fix the image in post? This answer should not be difficult. What draws photographers to landscape photography is the promise of long afternoons hiking up to the perfect spot and setting up the camera, the sole focus for the next few hours is to get the shot, nothing more.

To ensure you can maintain this lifestyle, you will need a couple accessories in your camera bag. While you can find lists of up to 30 must have accessories, you really just need a few essentials to get started, the rest is up to your creative vision. You cannot buy that, nor can you buy experience. So get out there!

Landscape Photography

Landscape Photography Filters

Polarizing Filter

A polarizing filter is great for stopping down the entire image. It will reduce glare from reflective surfaces, like water or even from leaves, by stopping down up to 3 stops, depending on which filter you purchase. A polarizing filter will also help to increase saturation in an image. While you may think these are easily replicable in post-processing, there are certain aspects of reducing glare that will be difficult to adjust in Lightroom, requiring more advanced knowledge of the program.

Neutral Density Filter

While you may be able to get away with not carrying a polarizing filter in your bag, a neutral density filter is a must. These filters are offered anywhere from 3-10 stops on average. What’s great about a neutral density filter is it’s ability to block out light, which will allow you to adjust one or more of you camera settings to more of an extreme. You can see this in an image of a waterfall or river, where the water is blurred, the result of a long exposure. The neutral density filter allowed for the slow shutter speed, while still maintaining proper exposure in the image. This is something you could not achieve in post-processing.

Landscape Photography

Graduated Neutral Density Filter

A graduated neutral density filter works in much the same way as a neutral density filter, but as the name suggests, the filter intensity fades from one end to the other. The purpose of this is for scenes where the sky is too bright when exposed for the landscape. We’ve all seen images like this, where the sky is blown out. Just having a graduated neutral density filter can make the difference between an ok and mind-blowing landscape photograph. While this can be applied in post processing as well, getting it right in camera will ensure the most natural looking image, while allowing for more time in the field and less at your computer. Where would you rather process your image? In front of a beautiful landscape or inside on your computer. Again, not a hard choice to make.

Landscape Photography

Other Must-Have Accessories

Tripod

An essential accessory for landscape photography, a tripod will allow for those beautiful long exposure shots of star trails and blurred waterfalls. Even if you are shooting a classic landscape image, a tripod is essential to have, in case exposure requires a slow shutter speed. This will happen often, when you want the entire sweeping landscape in focus. The wide aperture requires a slower shutter speed, and increasing ISO introduces more noise into the image. When shooting blurred water to create a dreamy landscape, you’ll need to pair your neutral density filter with a tripod, otherwise there’s no way to achieve this look. When deciding which tripod to get, first confirm what you need. Does it need to be lightweight? Will it get wet? Does it need to hold up heavy lenses? Once you know what you are looking for, then you can narrow down your options and decide which to buy based on price point. There are options at every price point now.

Landscape Photography

Remote Shutter Release

Pairing well with a tripod, a remote shutter release will ensure there is no camera shake when taking long exposures. Even with a camera on a tripod, the act of pressing the shutter can cause unwanted blur. Remove shutter releases are inexpensive and small, not taking up much space in your bag. It really adds no extra bulk to carry one along with you, you’ll be happy to have it. It could even force you to become more creative with your shooting, trying multiple long exposure options where you normally would shoot handheld. It could add a new dimension to your photography.

Landscape Photography

While there are more accessories you can carry in your landscape photography, these are the essentials. Don’t get bogged down thinking you need a ton of gear just to get a good image. You can take beautiful photographs without even using the above. The most important is to get out there with what you have and start shooting. Buying more accessories will not make you a better photographer if you don’t know your camera. As your skills grow, so too can your equipment, but for now, keep it simple and enjoy the journey.

How to Conquer the Creative Photography Slump Effectively

We all face it. One day you’re producing great work with ease. The next, completely gone. Poof! Now, just picking up your camera is a dreaded task. And the idea of shooting seems so daunting! What happened? Where did the excitement go? We can’t determine when this will happen or what triggers the descent. But we all have been here, more times than we’d like to admit. But it’s normal, and happens to everyone. Though there is no cure, you can prepare and set in place the proper treatment plan. Below I’ve outlined a few tips I’ve found have helped me when I feel a slump coming on.

DSCF4039

Study the Greats

I often find when I’m in a slump, I need to walk away from the camera. But, I still need to spark that desire to pick the camera back up. For this reason, my go-to spark generator is to watch videos on photography. Whether this is a documentary on a specific photographer or a general video on a type of photography. There are some great documentaries on Netflix. And endless inspiring videos on YouTube. I love the site CreativeLive. They offer live video classes ranging from basic settings to advanced post-processing.

This is also why I keep photography books in my creative space. If I’m having a slump moment, I’ll grab a book and just flip through it. After a quick flip through The Americans, I’m running for my camera.

Kim_Suarez_01

Change 1 Thing

Whether you plan for it or not, we all get into habits with our photography. It could be shooting the same locations or falling back to your go-to settings. Or even specific post-processing behaviors. An easy fix for a creative slump is to pinpoint one area to switch up. This may mean driving to another location to walk around with your camera. It could also mean adjusting a setting you usually set and forget. For example, if you shoot in Aperture Priority Mode, switch to Shutter Priority. Focus the afternoon on freezing or blurring your subjects. Or better yet, practice your Manual Mode skills and spend some time learning about manual ISO. I find a simple change, like shooting all day in f4, will result in some images I wouldn’t have otherwise taken.

DSCF2323-2

Get Involved in Your Local Community

Photography is everywhere. So chances are you live in a photography community. Even small towns seem to have photography groups or local classes available. Search sites like Craigslist or Meetup for these opportunities. It may surprise you how many there are around you. Take a class at your local community college. Or find a local store and check out their calendar dates. When I lived in San Francisco, I took a class on film photography and print-making at Rayko Photo Center. It got me in the darkroom every Wednesday night making prints with other photographers. I met so many great people and learned so much.

DSC00961-2

Explore Another Art Form

All forms of art share the same basic skeletal structure. We follow a similar series of events to arrive at the end destination, be it a photograph, painting, etc. What I’ve found to work for me is to explore other forms of art to get over a photographic slump. This may mean practicing or just observing. I may focus on writing for a few hours or do some sketching. I’ve found that going to a museum or gallery produces the best spark. Looking at paintings and sculpture, particularly Surrealist and Pop Art, are so inspiring. If you have a nearby museum, spend time there. Maybe even volunteer there to get free admission and behind the scenes access.

DSCF2130

Get Critiqued

I find this the best practice for beating a creative slump, and in general. Getting your work critiqued by a photographer you respect, can be so beneficial to your work. Even if you’re not in a creative slump, you should be doing this as often as possible. A good critique will be able to provide feedback, whether good or bad, you wouldn’t gather on your own. To be clear, a critique is not a “Nice Photo!” on Flickr or Facebook. Find a fellow photographer who can speak to structure and aesthetics of the photograph. You’re looking for the information you can act on to better your work.

DSCF2793

Start a Project

If you haven’t already, read through my previous post on starting a photography project. A project can be a great way to spark some motivation. Start small if you need to. Plan the logistics so you know the timeline as well as the desired outcome of the story you want to tell. A project will give you purpose when you go out shooting and will get you thinking long term.

DSCF1310

Travel

Travel does not have to mean hopping on a plane bound for Paris. Though how nice does that sound? Travel can mean driving a few hours away or even just exploring an unfamiliar part of town. When out walking, switch up your route. Drive 2 hours and see where you end up. Make a day of it with your family and turn it into a mini photo project. I did a mini photo project on an afternoon spent at a flea market I had never been to, it was great. As long as you’re in a new area, that creative spark will activate. I am fortunate to be able to travel for my day job around the world. So, I make sure to take few extra days to wander around with my camera. It’s great for my portfolio and is of little cost to me. If you are able to travel for work, take advantage. Spend as much free time as you can out with your camera.

DSCF3005-2

DON’T Buy Gear

We all know GAS (Gear Aquisition Syndrome) by many various naming conventions. As photographers, we love gear and gadgets. That sort of comes with the territory. But, it’s when we think that only more gear will make us better, that we need to be careful. When in a creative slump, it’s easy to say “Well, all I need is a new lens and that creativity will come racing back”. Or “If only I had the newer model, then I would be a better photographer”. Don’t fall for it! You’ll only realize once the excitement fades that you are right where you started. And poorer. So make sure to follow the above steps first. As long as you have a camera that can take a picture, you have all you need to get out of a creative slump.