Tag: natural light

How to Shoot Portraits at Home

In this text, I talk how to do home portrait photography when without proper studio gear. I once faced a situation where I was asked to take a profile photo of a professional with short notice and I had no studio equipment available. Here is my workflow for that kind of situations. It is basically by the book, i.e. I follow the basic guidelines with no secrets or magic here, or maybe just a little with post-processing.

1. The Light

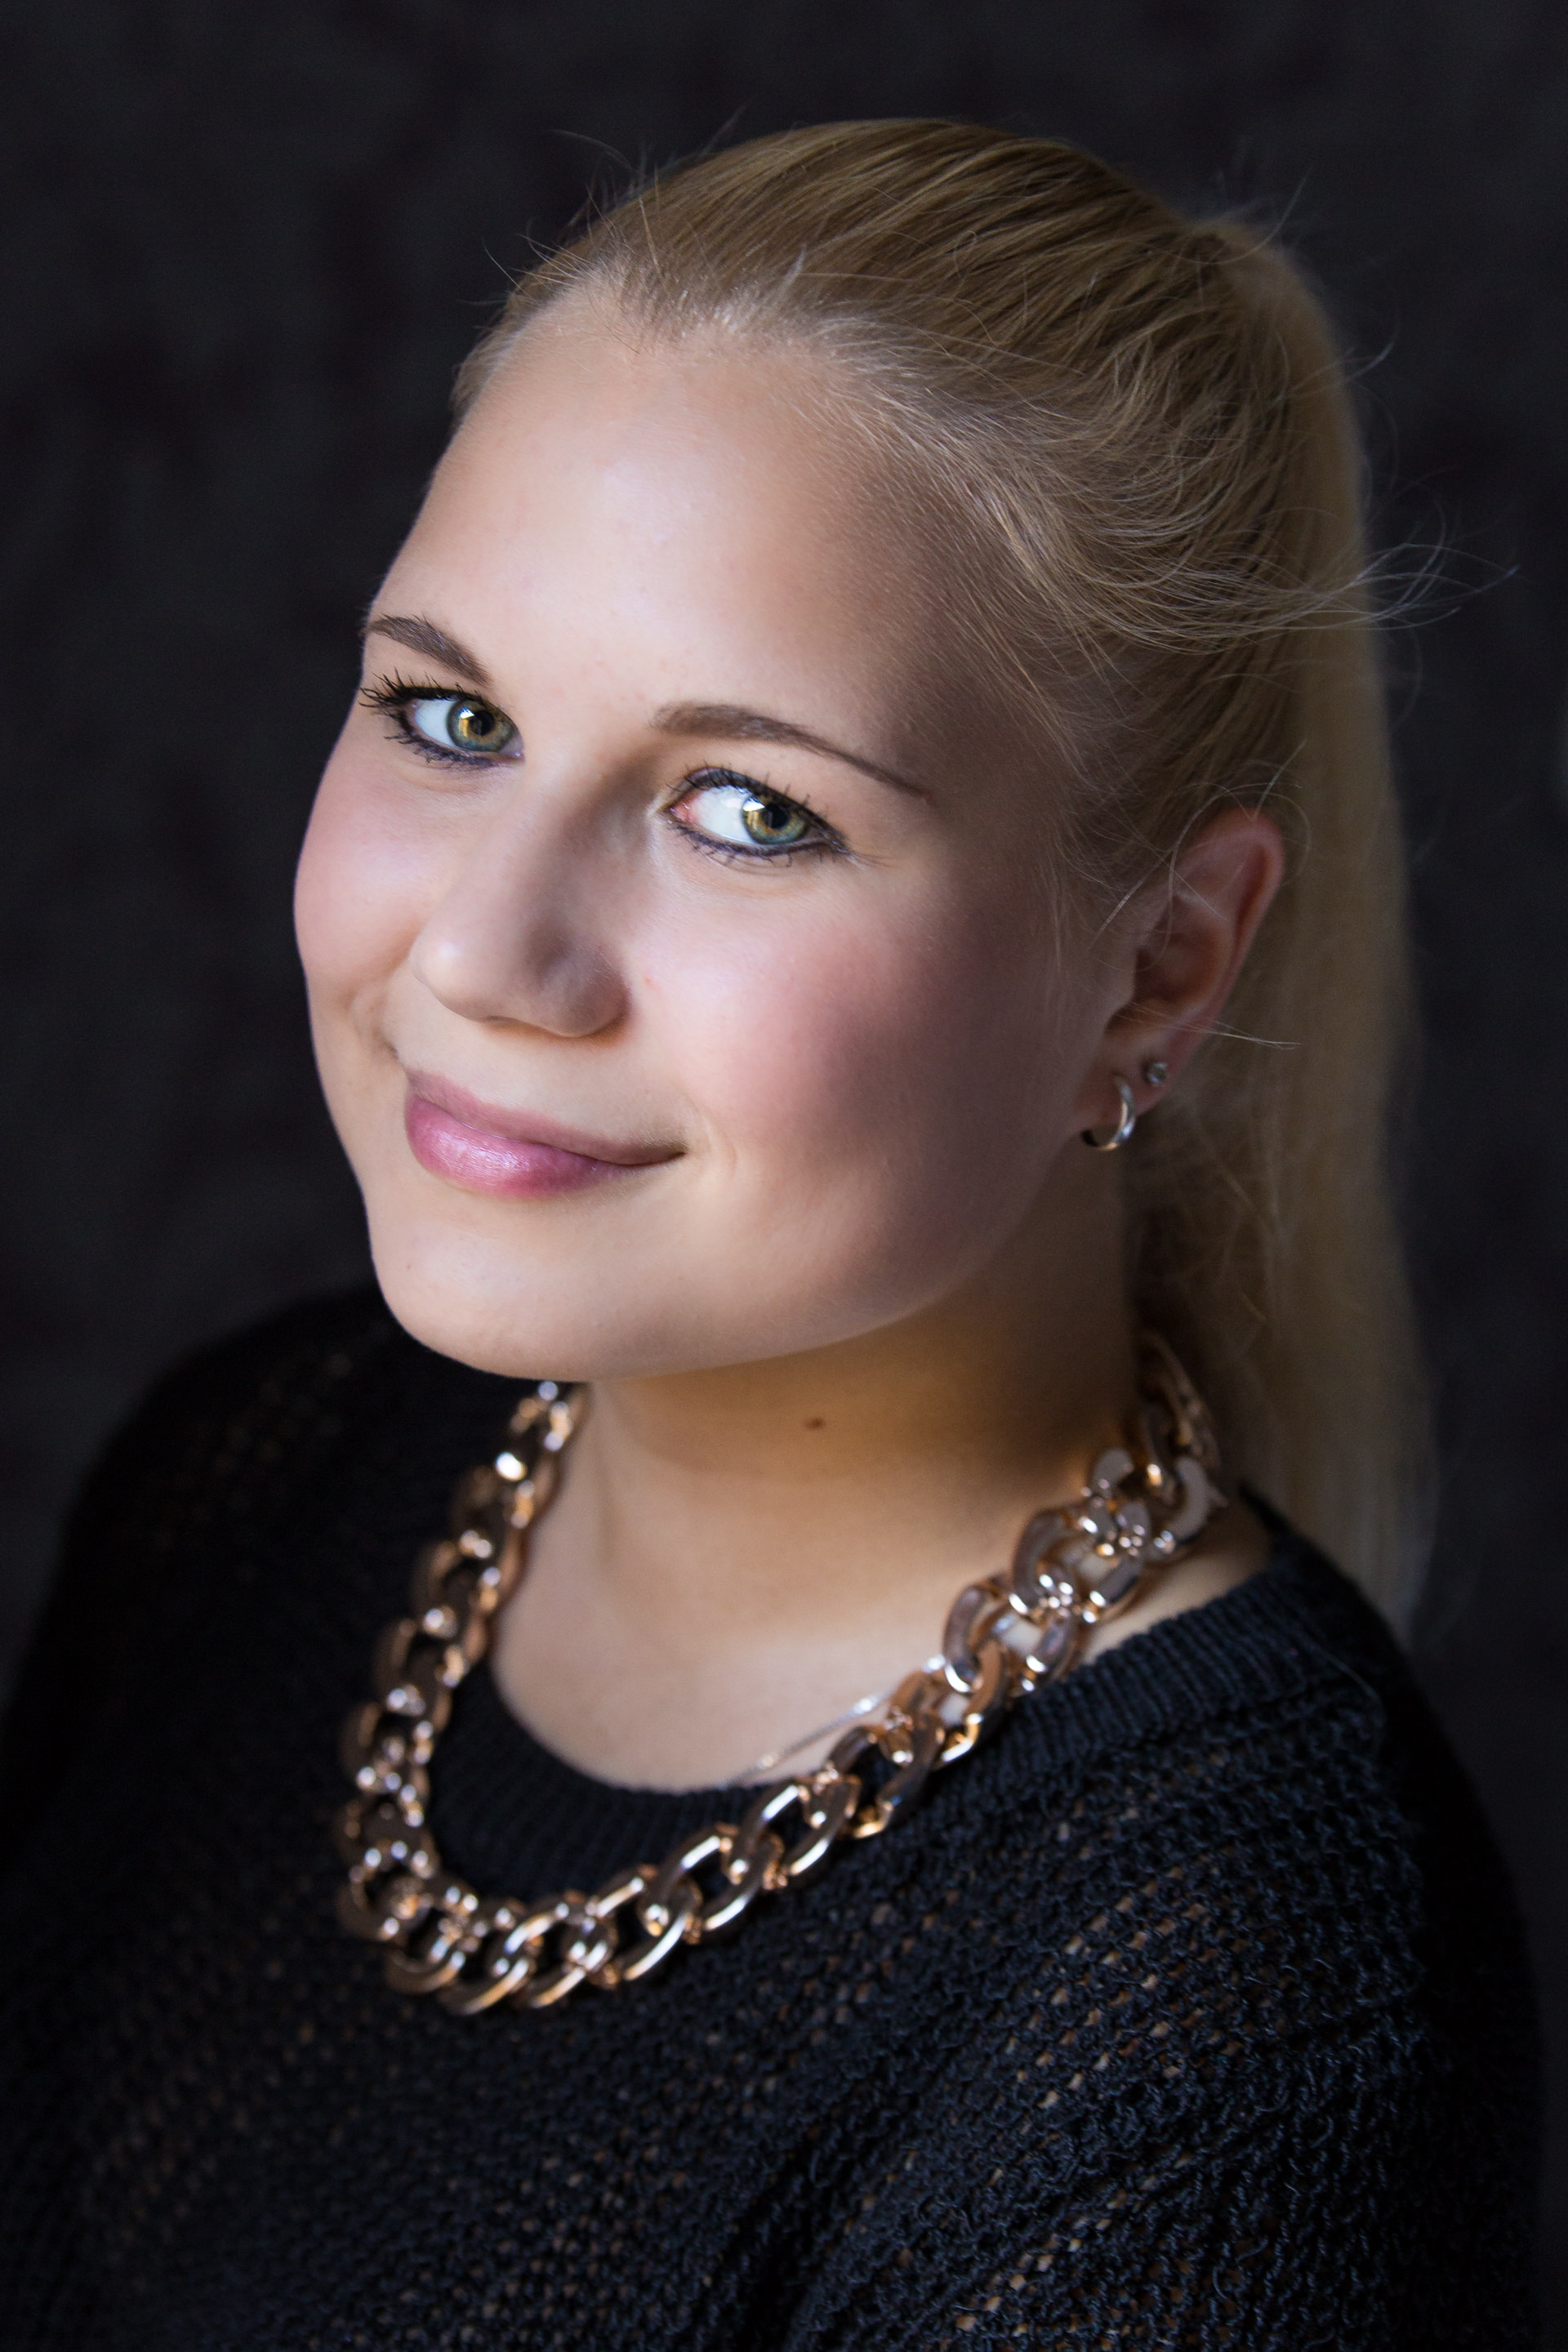
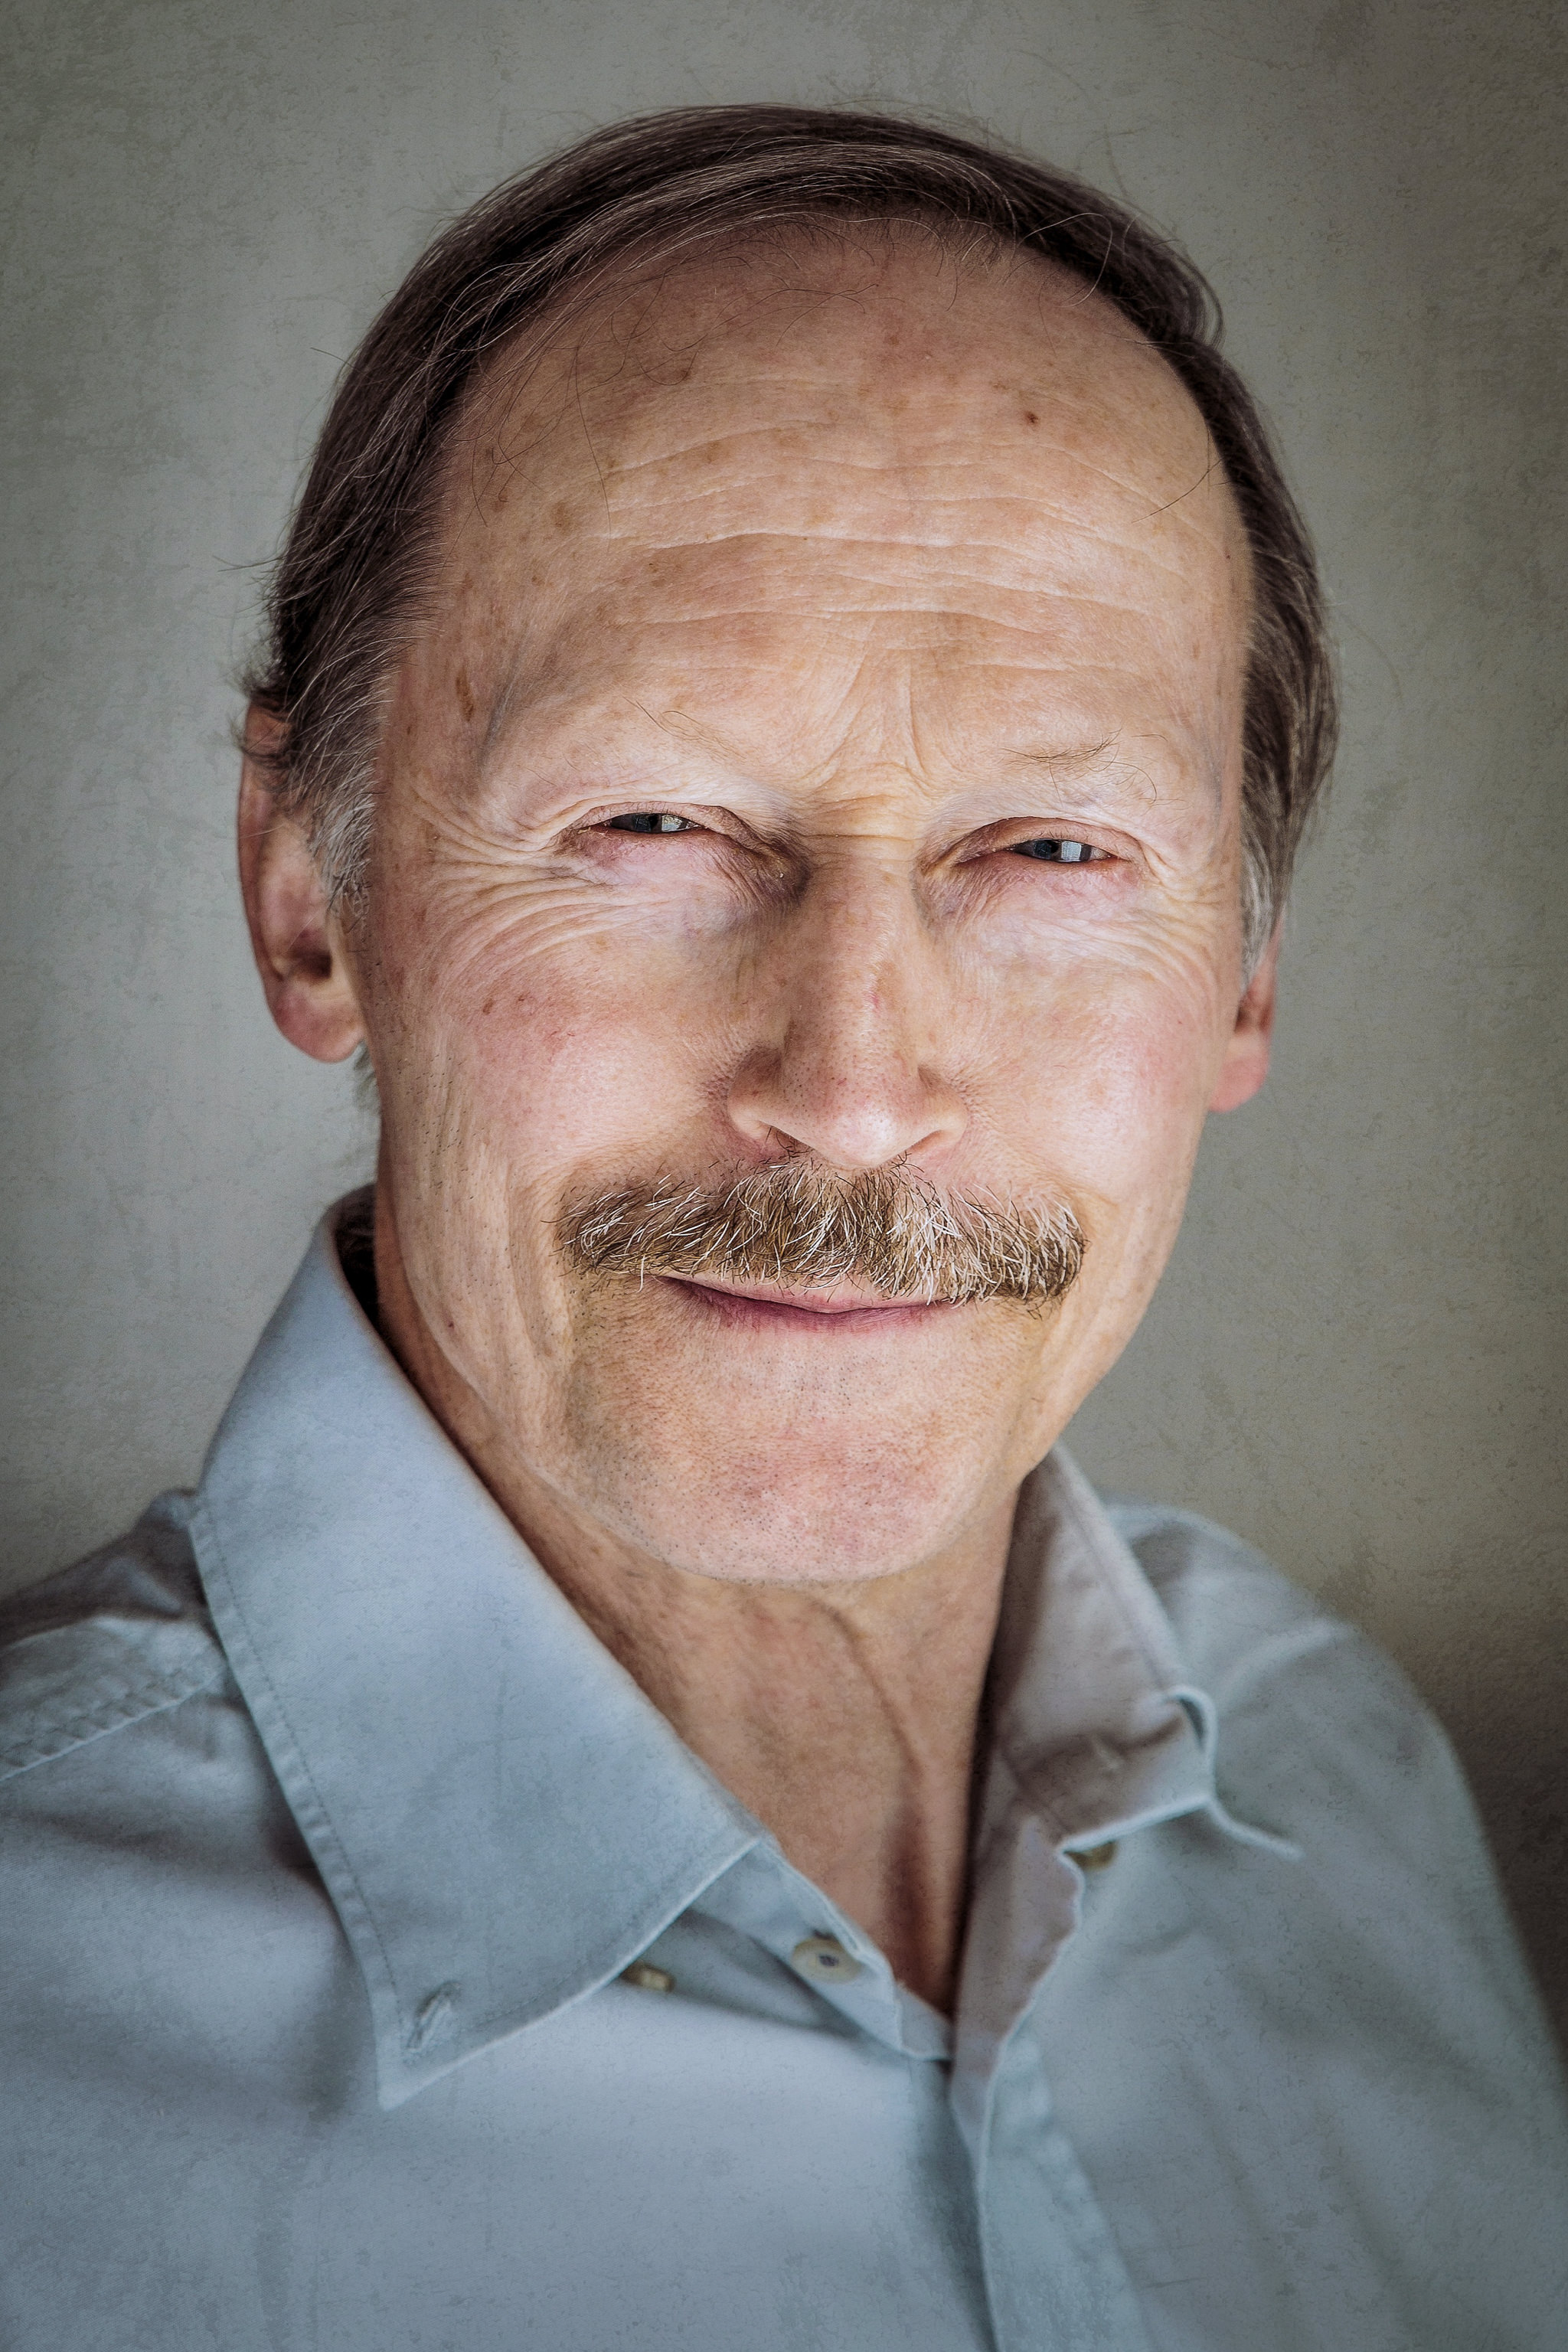
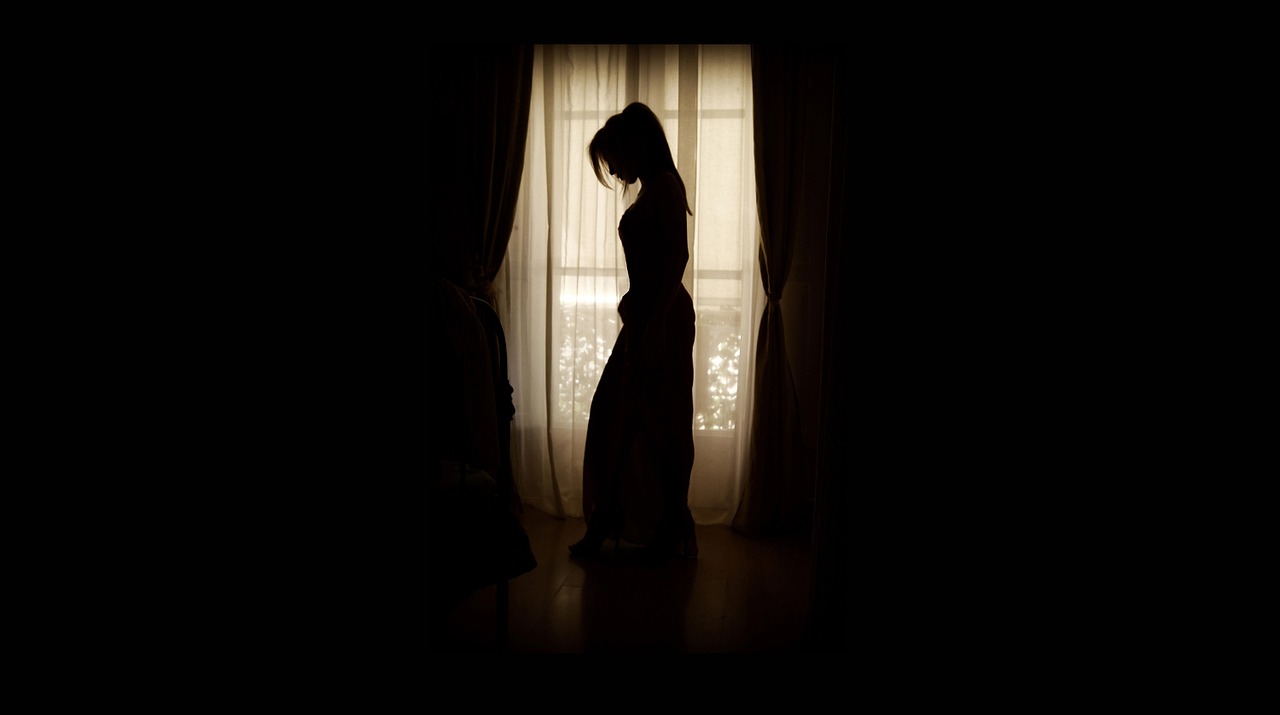
First and the last thing everyone talks when teaching photography is lighting. It is so important that some photographers even first look to find a great light and after that, they start looking something to take a photo at. In order to take a great photo, you need great light. So, at home, you need to look for the best light available, and that will be the big window on the sunny side. If you live in the Nordic country and it is a period of polar night approaching, you need to use that window when the sun is up that brief moment, if any. There are lots of setups how to use light, but in a standard setup, you set your subject sideways by the window so that the window is mostly on the front side of the face. You may want to achieve the “Rembrandt triangle” on the shadow side of the face. If window light is too harsh, you may move your subject further away or use some diffusor on the window. In the example photo below I had white almost transparent curtains covering the window to soften the light during home portrait photography.

Natural Light Portrait Example 2

The window light may be enough, but if you are not looking for too dramatic shadows, you can improve the quality by filling the shadow side with some light. This can be achieved in multiple ways. Some reflector can be used. If you do not have a proper photography reflector you can use any white surface; cardboard, white sheet or anything. In the example photos, I used a reflector with silver coating. Silver coating seemed to match the light coming through the white curtains better than reflector with gold or half gold. I set the reflector right next to subject as close as possible to reflect the light from the window to the shadowy side. You need to have the reflector in front of the subject and not totally on the side or otherwise you will lighten the ear and the back of the head. We did not have any assistant available so I set the reflector leaning against a chair that was standing on the bed.

If you have off-camera flash available with some diffusor or softbox you can, of course, use that to fill the shadow side. But be subtle not to flatten the image too much. You can also use on-camera flash if you are able to turn it backward or sideways to reflect via the walls. But this depends on a lot on the room and you need to be careful not to create extra shadows.

2. The Background

A good photographer always checks the background first before concentrating on the actual subject of the photo. To get good portraits at home you need to find a good background, which usually is a plain wall without anything on it. The tricky thing is that you need that background to be near to the best light. I have two good windows for indoor portraits at home and to utilize the other one, I need to remove one painting from the wall. The background is an important factor that makes professional photographers different from beginners. For each and every photo, you need to check the background and get as little distraction there as possible. The color of the background matters also, but that is a discussion of its own.

Natural Light Example 3

3. The tricky part: the right pose and facial expression

It depends a lot on the person how easy it is to get a good facial expression. For some people, it is just “smile” and “click” and that’s it, but for most of the people you only get that awkward Chandler-smile (check from Google or YouTube). If you are not working with a professional model that can make a good face with minimal guidance, this will be the tricky part. What kind of expression you want depends also of course on your goal and your subject. For a company executive photo, you need to get that trustworthy smile, for heavy metal guitarist, you may want to get that murderous look. A teenage girl may want that (in?)famous duckface look.

I usually start with getting the pose right. For normal home portrait photography, you want to turn the shoulder line a little bit diagonal towards the camera. Then you need to get them sit straight and bear their head up. If you take the photo lower than their eyes they look more majestic and more authoritarian. If you take the photo little higher than eye level you get their eyes look bigger and there is a bigger change to diminish the possible double chin. This is also the right position if you are taking that duckface photo. If you get your subject to lean little bit forward you can get more attentive and personal looking photo. Leaning forward also diminishes possible double chin.

When I get the pose right I take a couple of photos without asking for any facial expression. This is also the time to check that your camera settings are right and that you get the correct exposure. Then I ask the subject to smile and I take a couple of photos regardless how awkward the smile is. Do not tell them! At this point praise how good photos you are getting. At this point, they usually get more relaxed and confident as they think that you already have the photo. Do not tell them if you do not have the perfect one yet. Then I usually use a little trick: I ask them to do something crazy. Stick tongue out, roll their eyes or anything crazy. If you get a smile as a reaction to your suggestion, capture that! If you get that crazy look, capture it. (That may be priceless.) And be ready to take a photo right after the crazy face when they usually do that natural relaxed smile. That is the one I am aiming for. The crazy face exercise is just a distraction to get them relaxed and to trigger the smile. There are of course other strategies to get the right expression, like the one the famous Cartier-Bresson is said to have: just wait until there is the right expression.

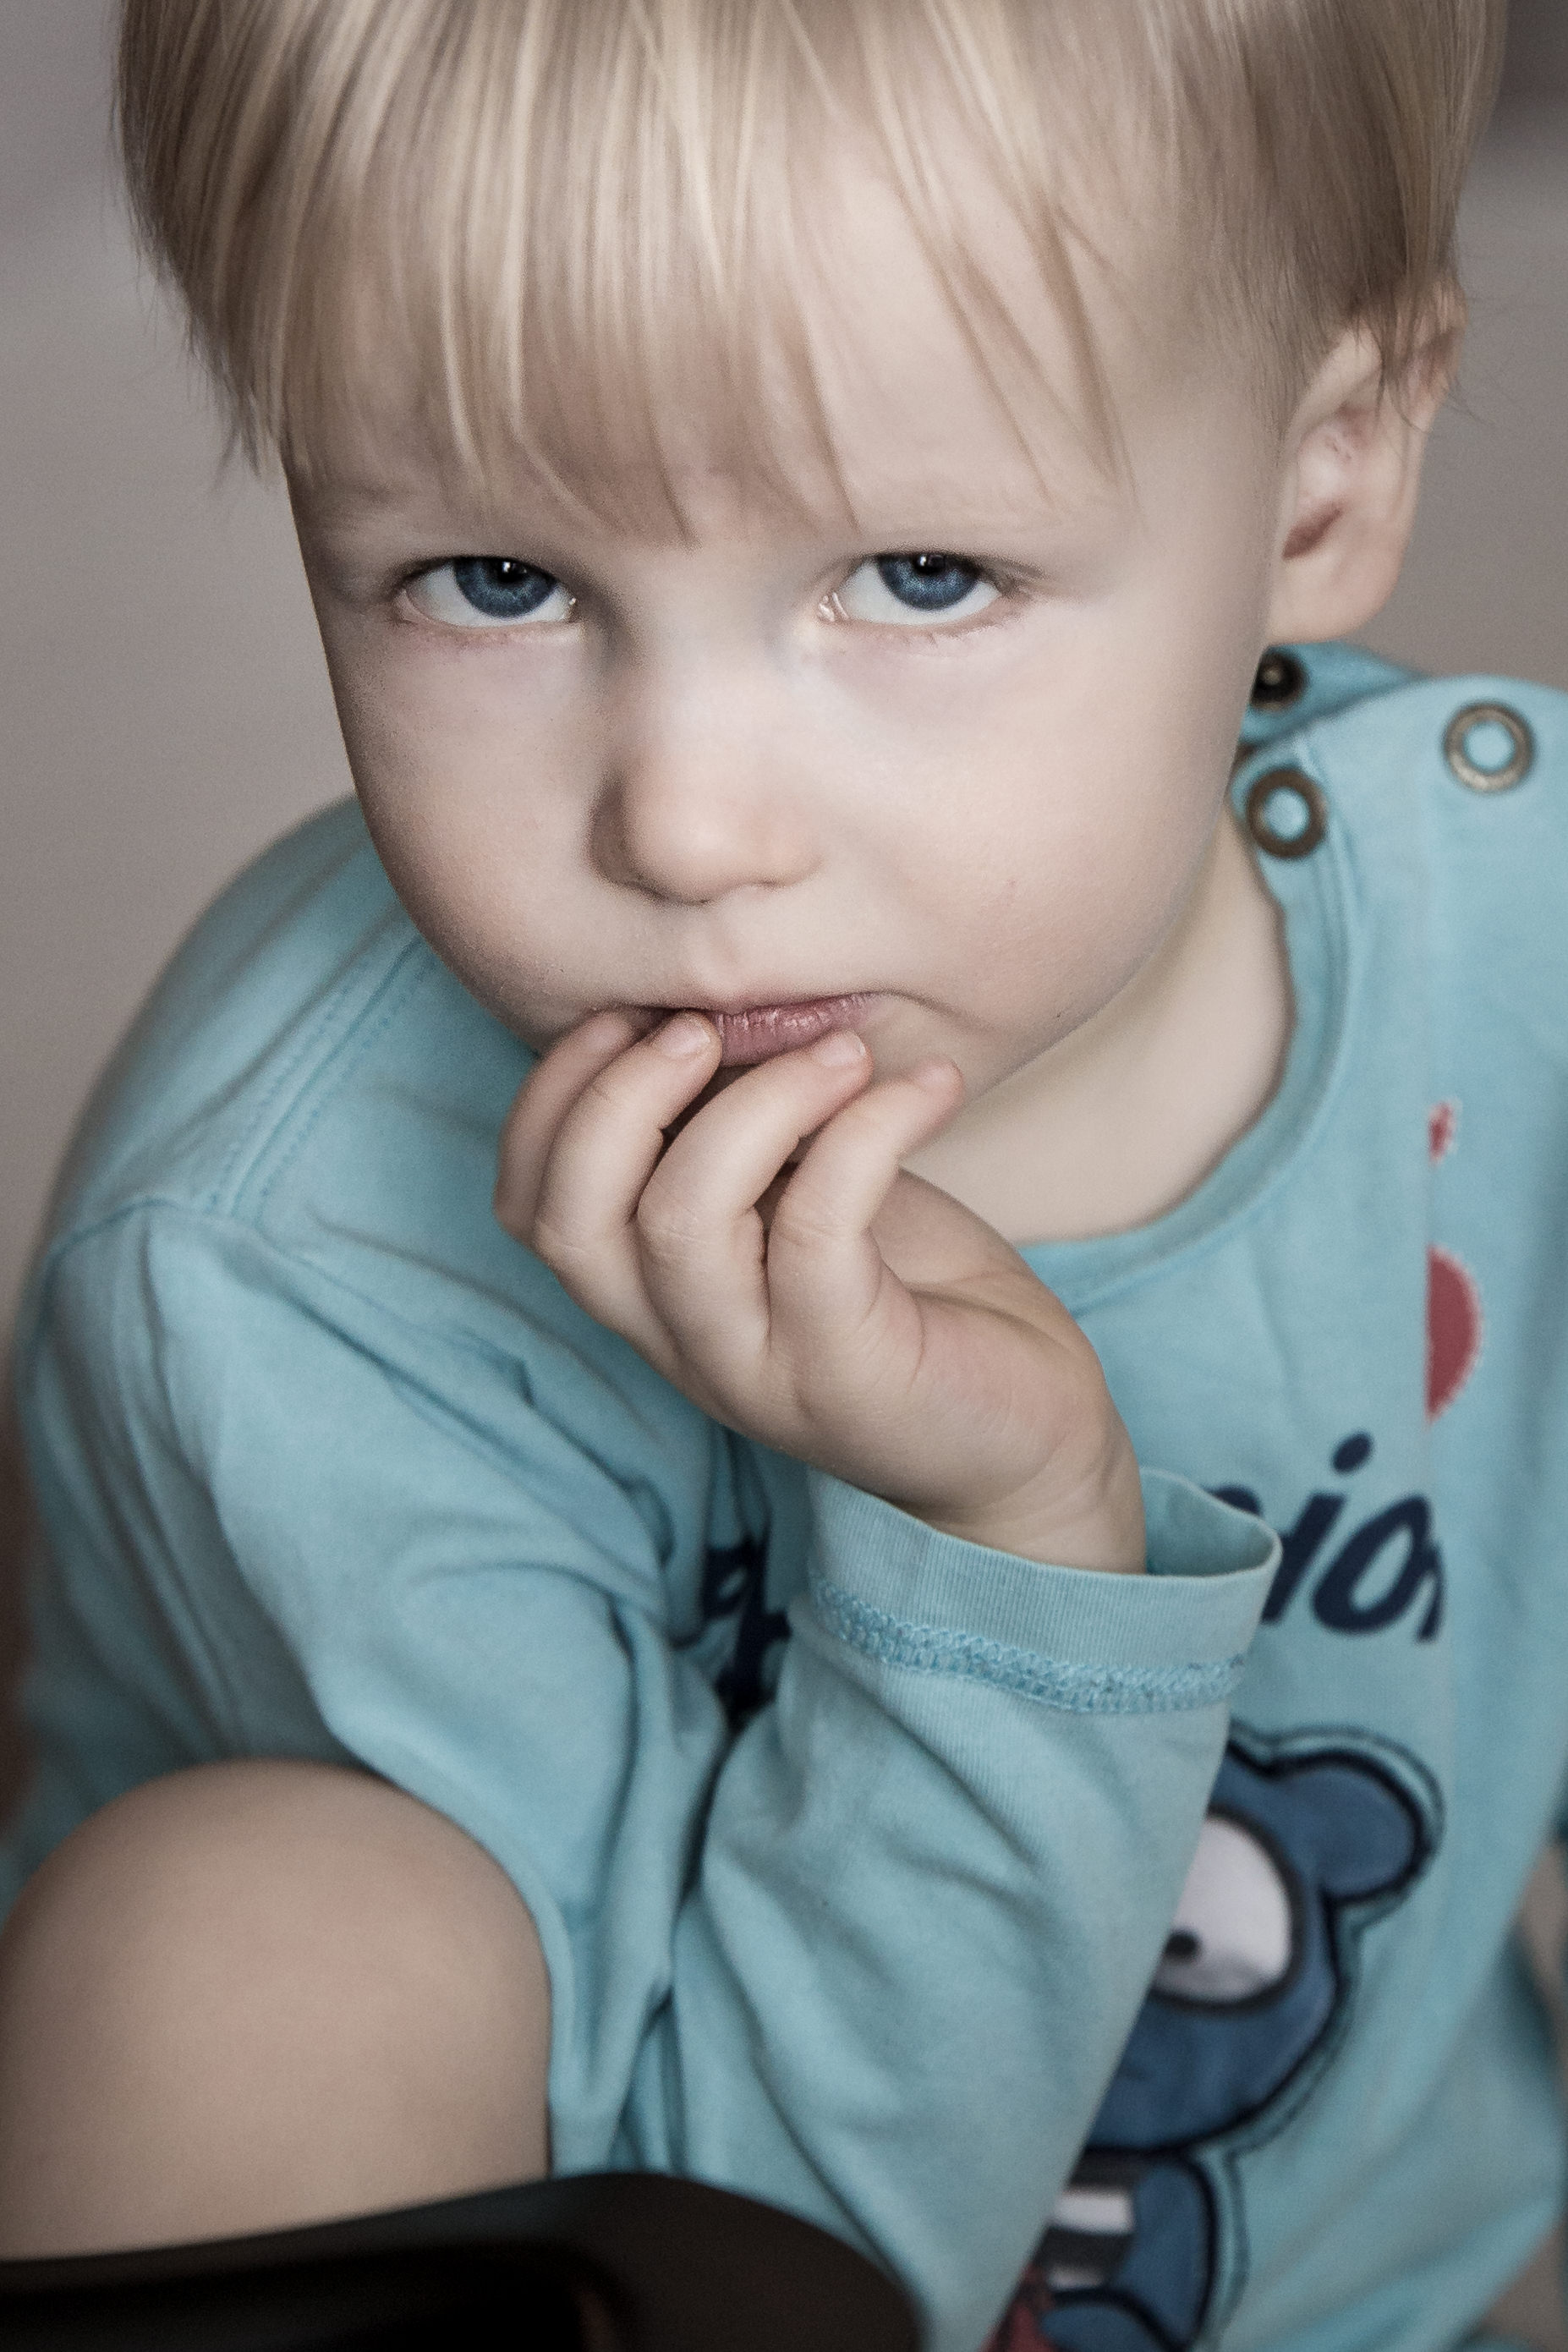
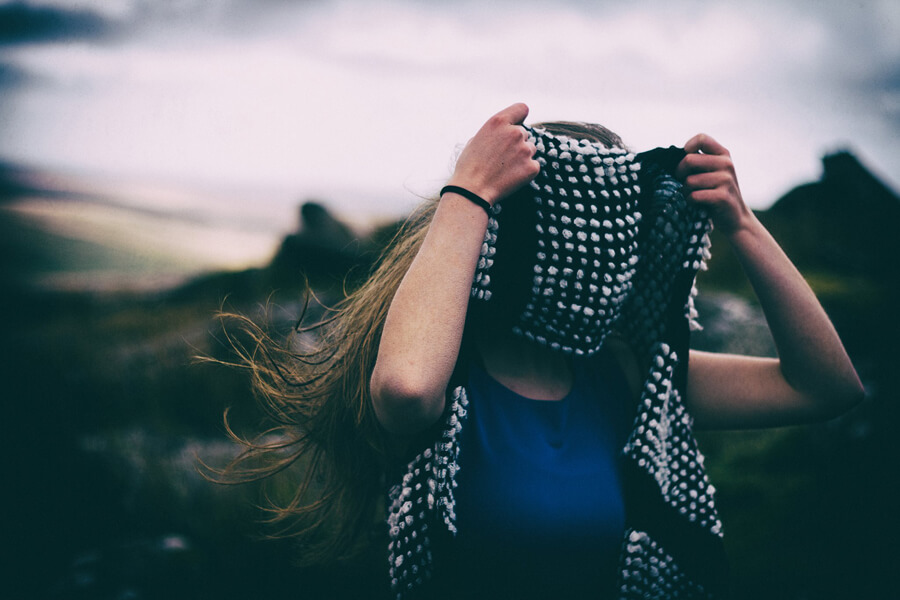
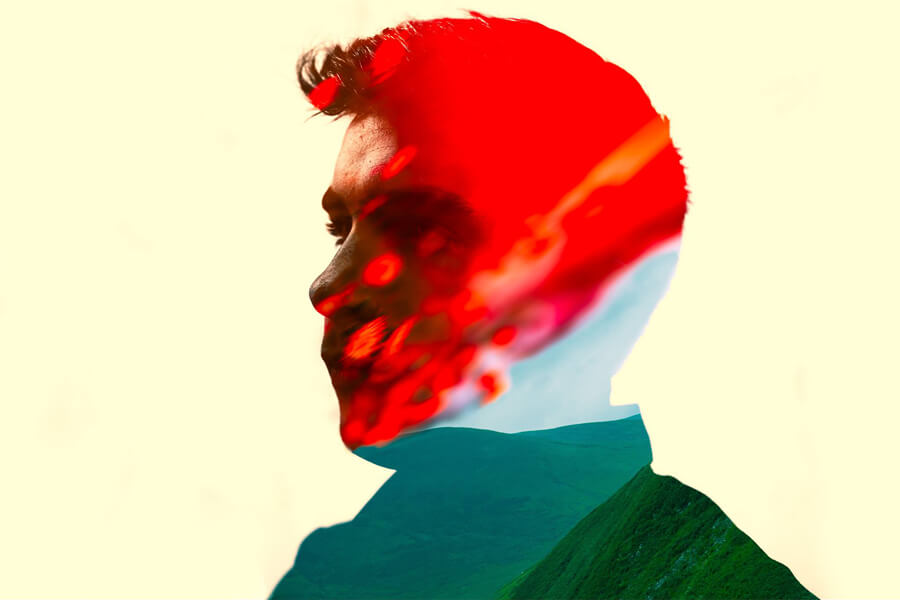
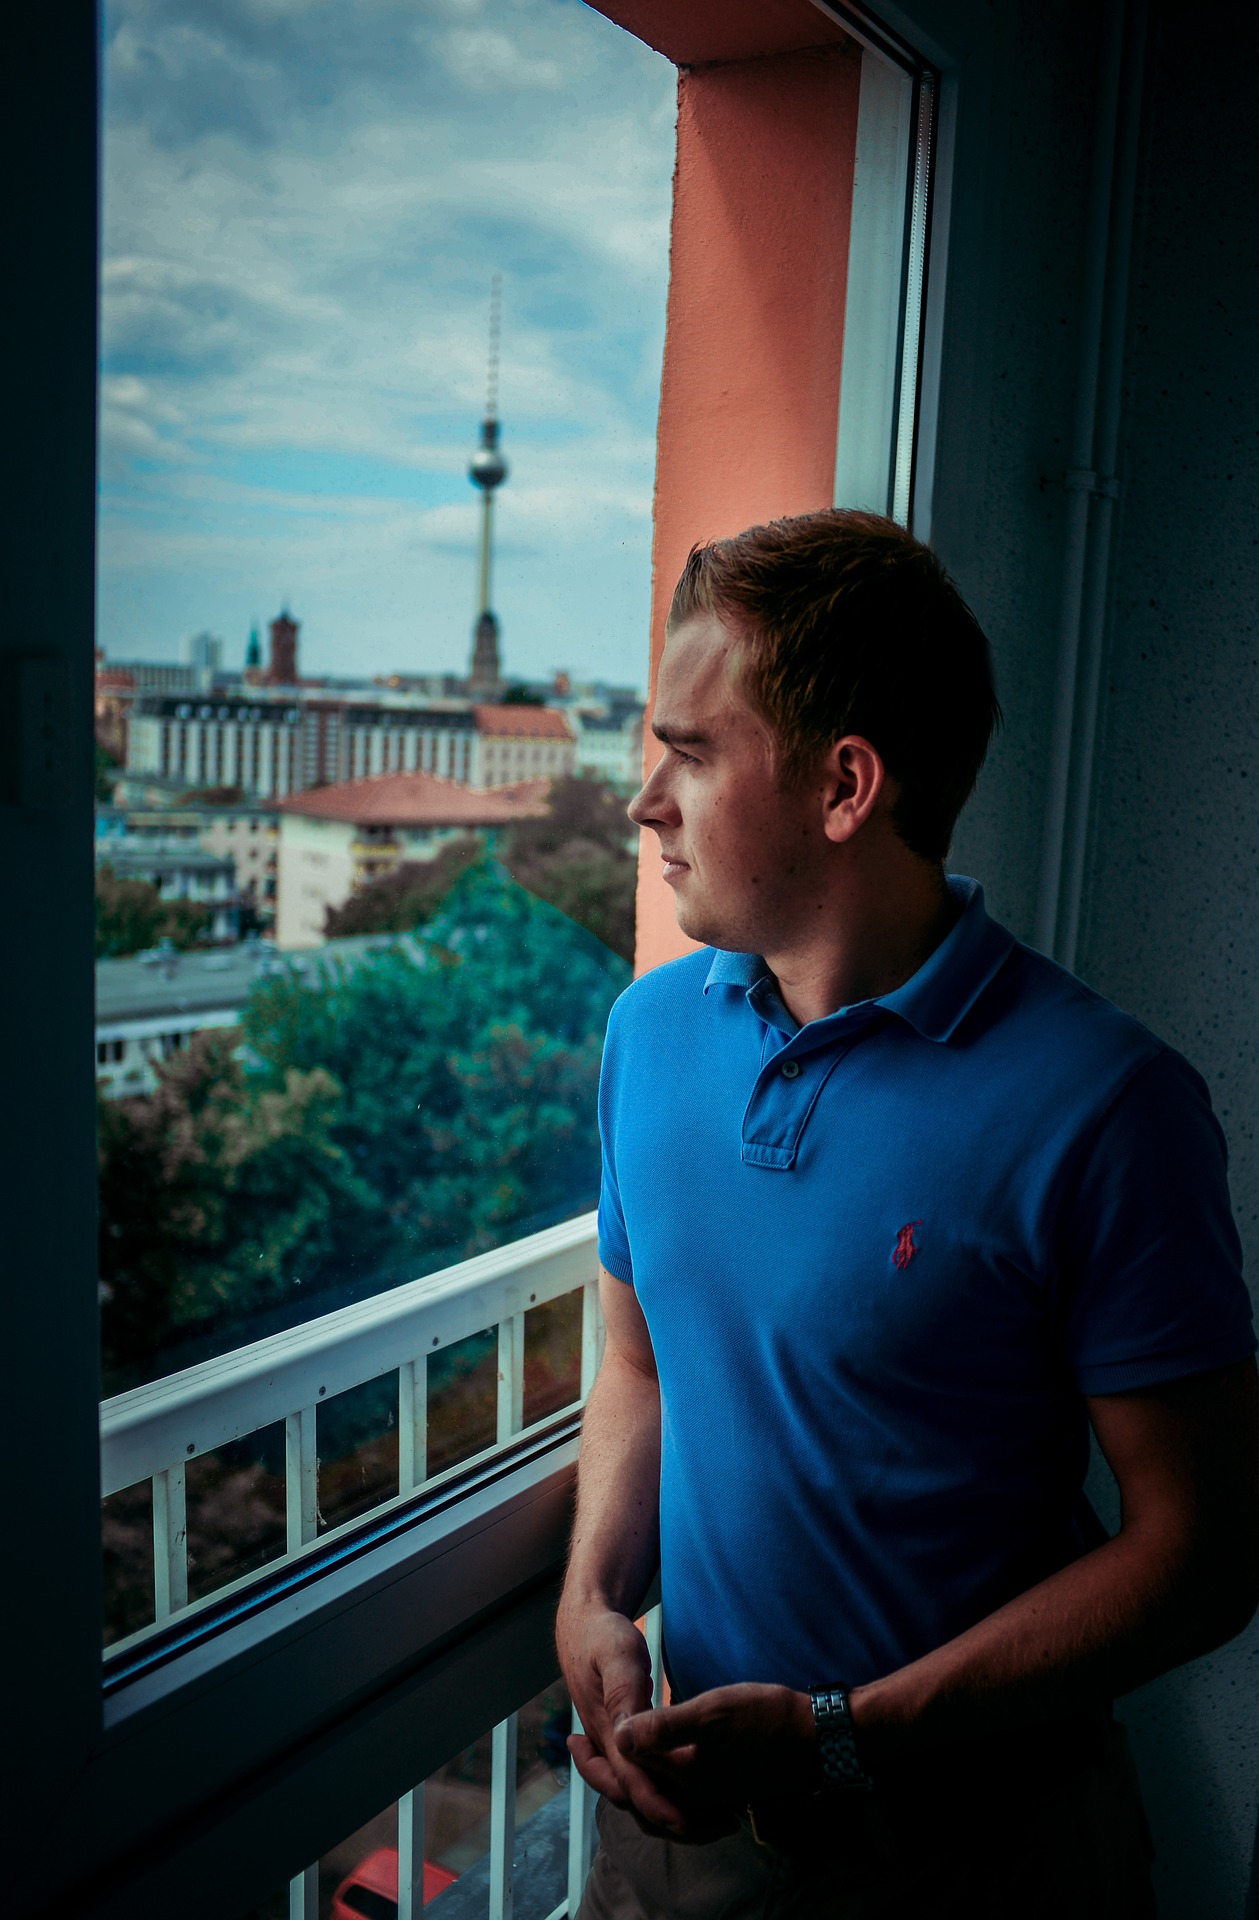
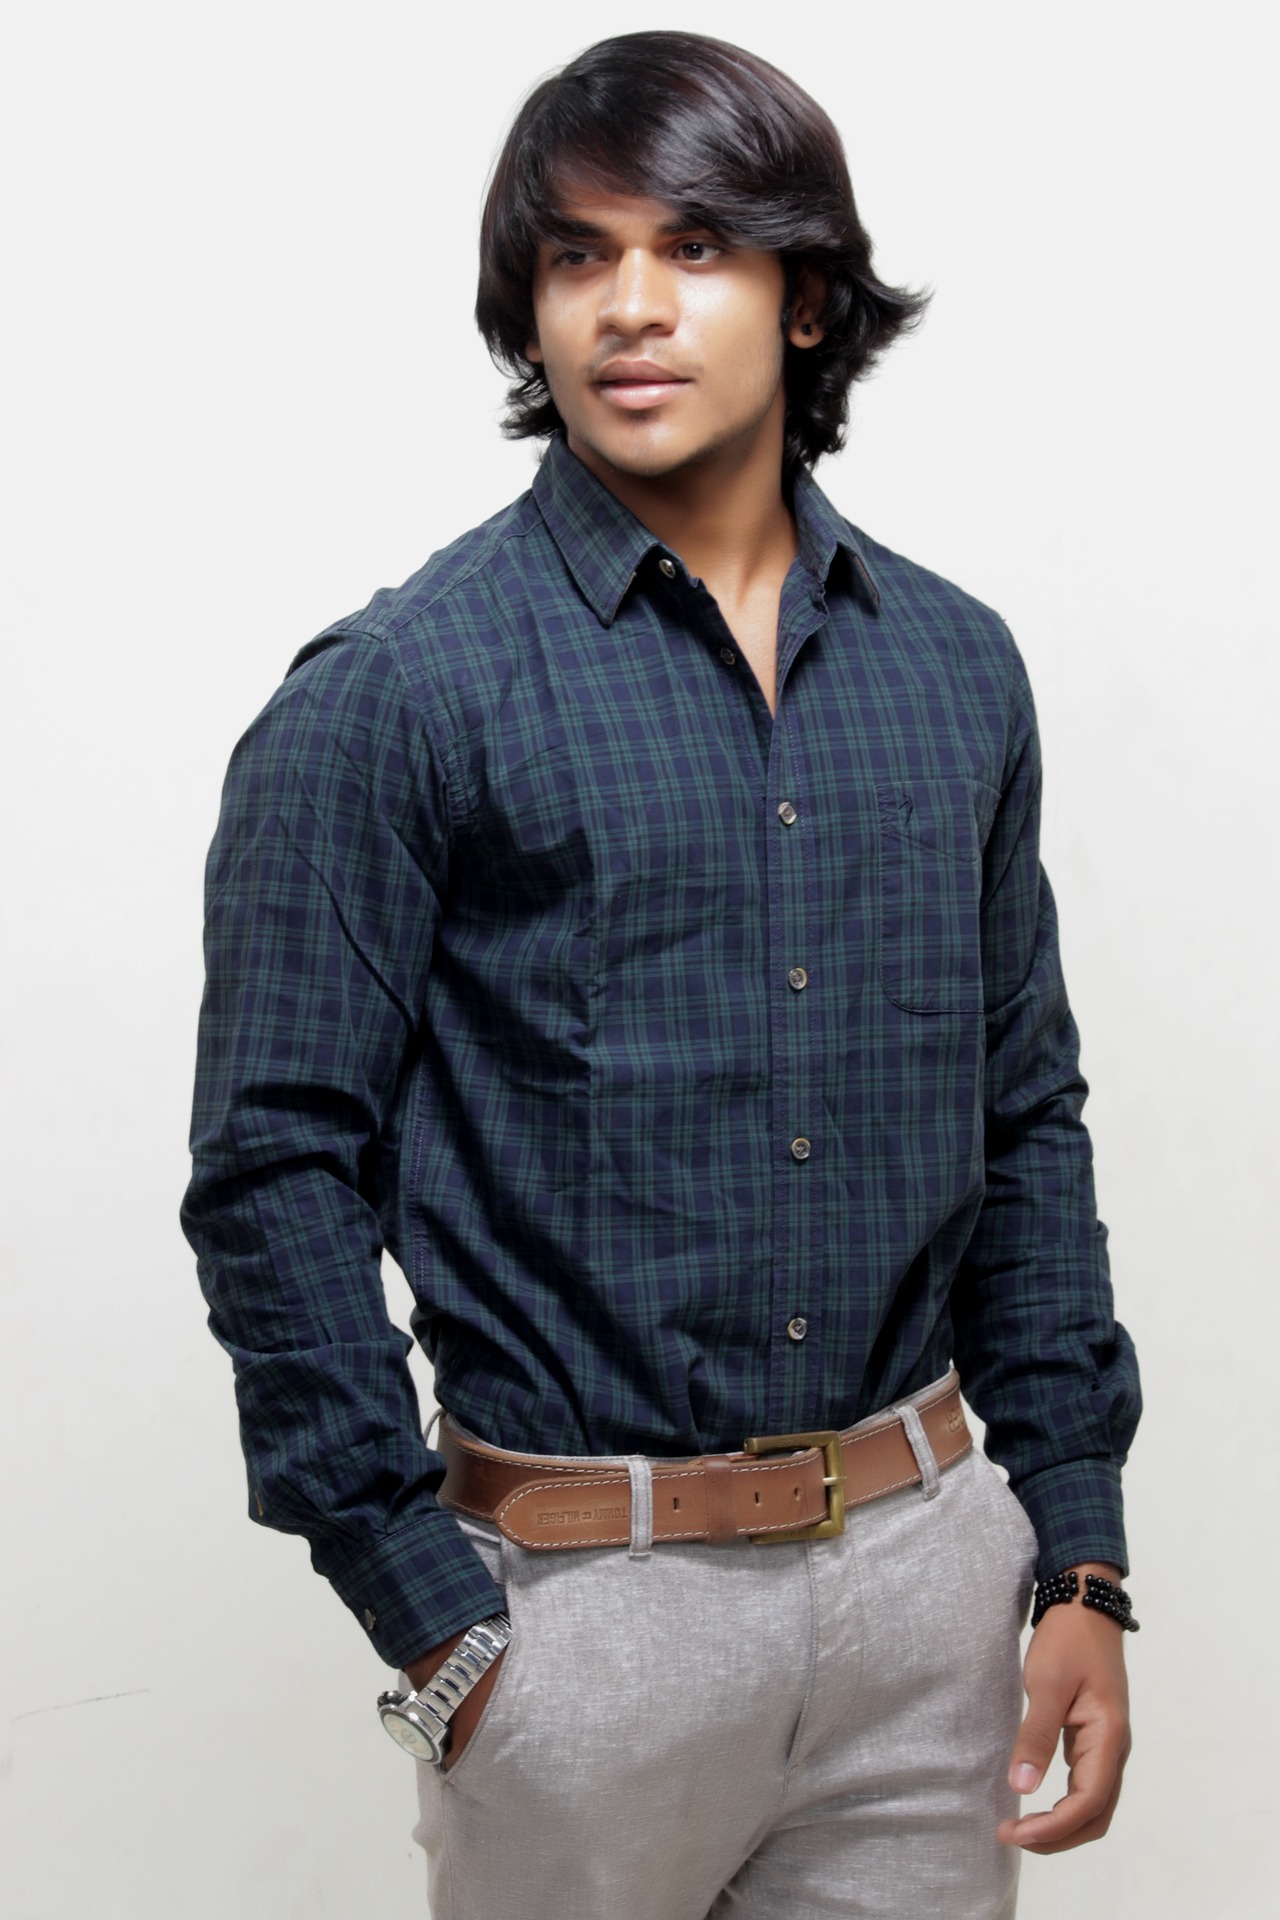
It is also a good advice to take photos when the subject is actually not posing for a photo. Like the leftmost example in the beginning of this text. Some people are just natural talent, like the boy below.

Natural Light Example 3

4. Post-processing – where the magic happens

Something which non-photographers may not realize is that nowadays almost every photo published by professionals are processed with a computer. There are zillions of great photos on Internet and people are so used to see processed photos, that if you want to make your photo pop-out, you need to get the final edge via post-processing it with the computer. Post processing is where you update a good photo to a great photo. Nowadays the skills on post processing are one essential factor that makes the difference between just ok photographers and the great ones.

The amount of processing depends on your goal. For beauty magazines and advertisements the amount of processing seems to be nowadays unnatural. For normal portrait photo without any artistic effect, you want to do only some subtle adjustments so that the person in a photo does not even realize what kind of tricks you have done with the computer. There are lots of tutorials how to retouch your portraits and how to do e.g. some facial contouring. You may sharpen and brighten the eyes or even do some more advanced enhancing of eyes in Photoshop. You may also smooth the skin a little, adjust color vibrance, lighten the shadows if needed, add some clarity to the hair, check the lip color, whiten the teeth (but just little if you are not doing a Pepsodent ad).

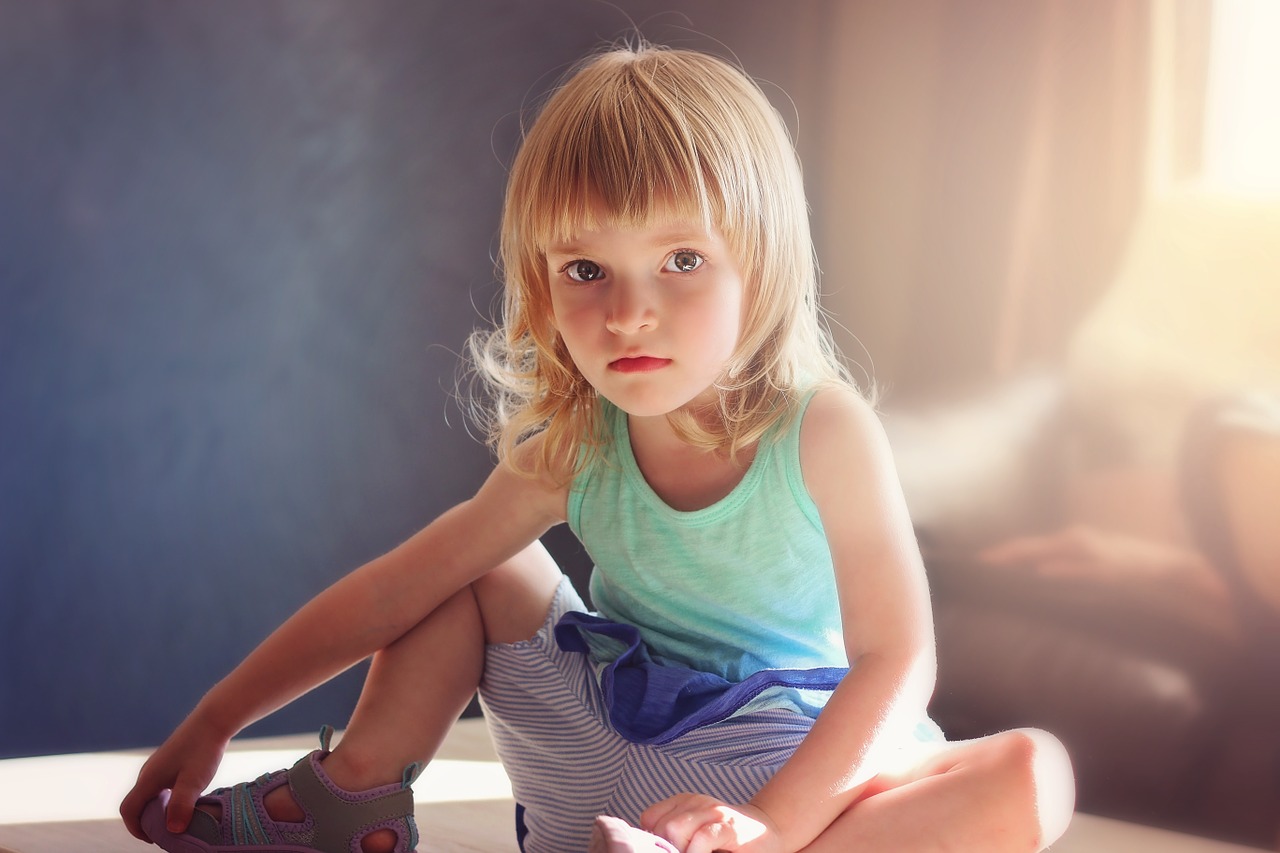
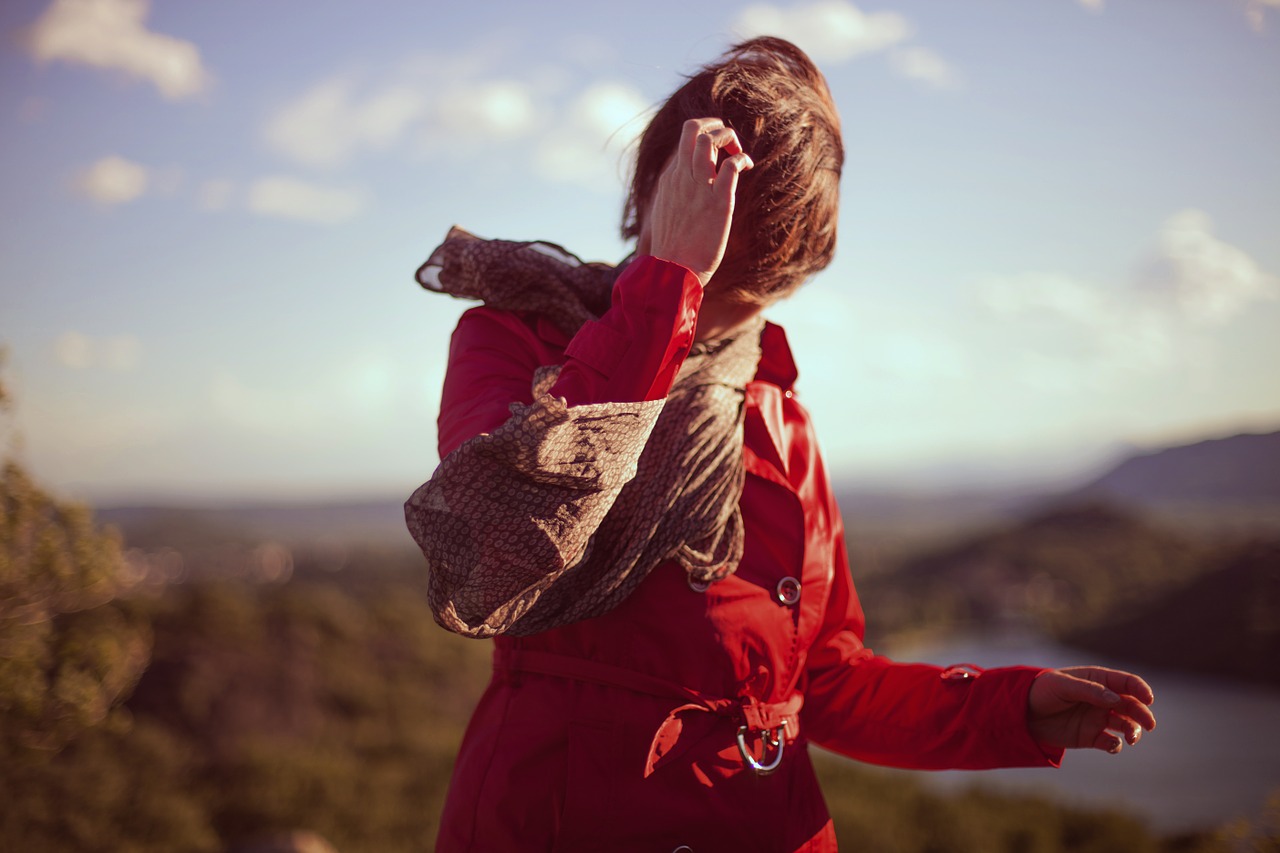
If the photo is going to Internet, nowadays the trend seems to go towards the more high key type of photo, i.e. you may want to brighten the highlights and shadows quite a lot compared to a normal natural looking documentary photo. You may also want to add some vignetting to the background. You also need to crop the photo. This is actually one of the most important things in post processing. You want to have the position of the subject within the frame to be perfect and that is done by cropping. I usually take the original photo too wide framed to have more room for post processing decisions about the final crop. There is an advice around that if you want to improve your photos, go closer. That applies to post processing also; It usually helps to crop tighter. If I have the feeling that there is something wrong in the photo, or something is missing, is usually try to crop tighter. Nowadays it is completely ok to cut off the top of the head. That gets a more intimate feeling on the photo, just like leaning forward. See the rightmost example photo.

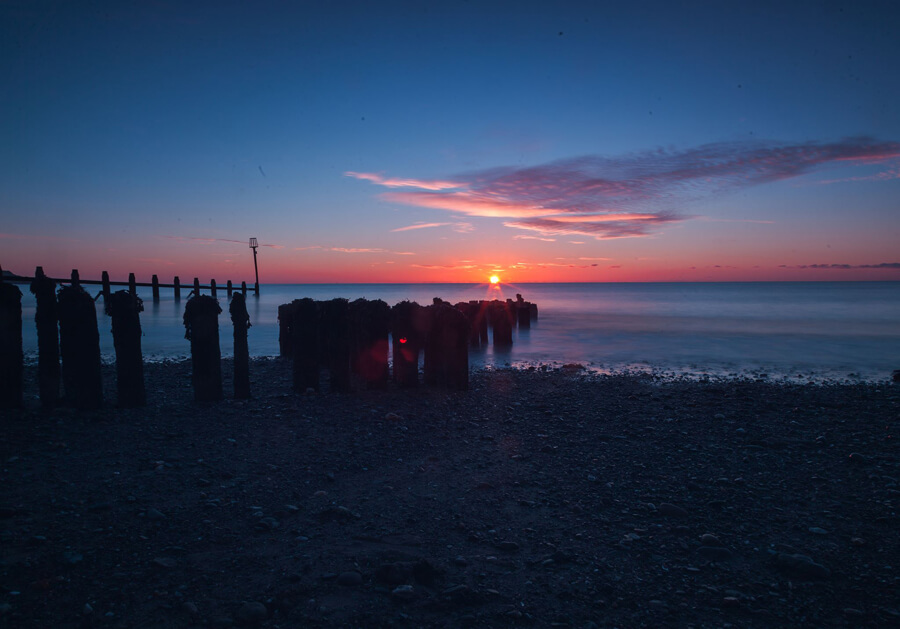
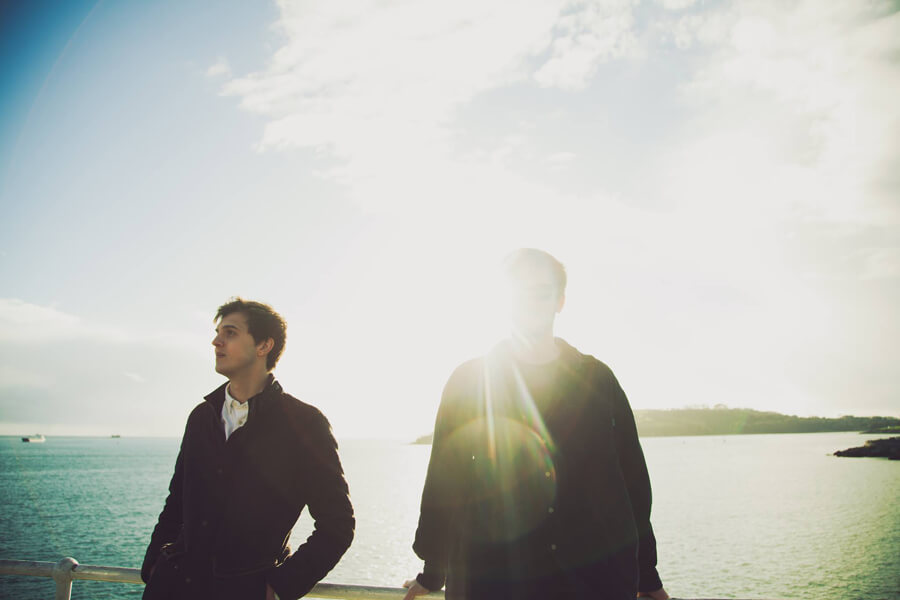
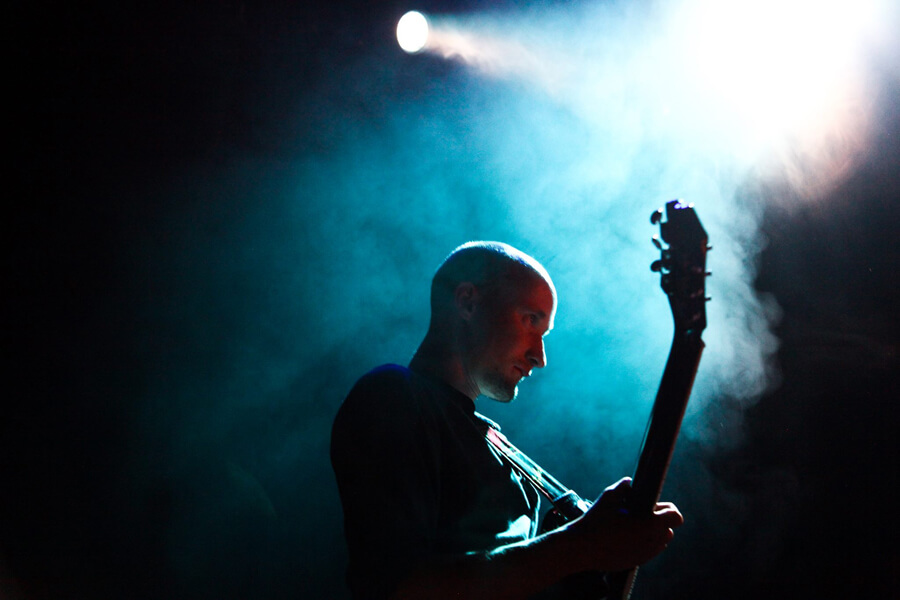
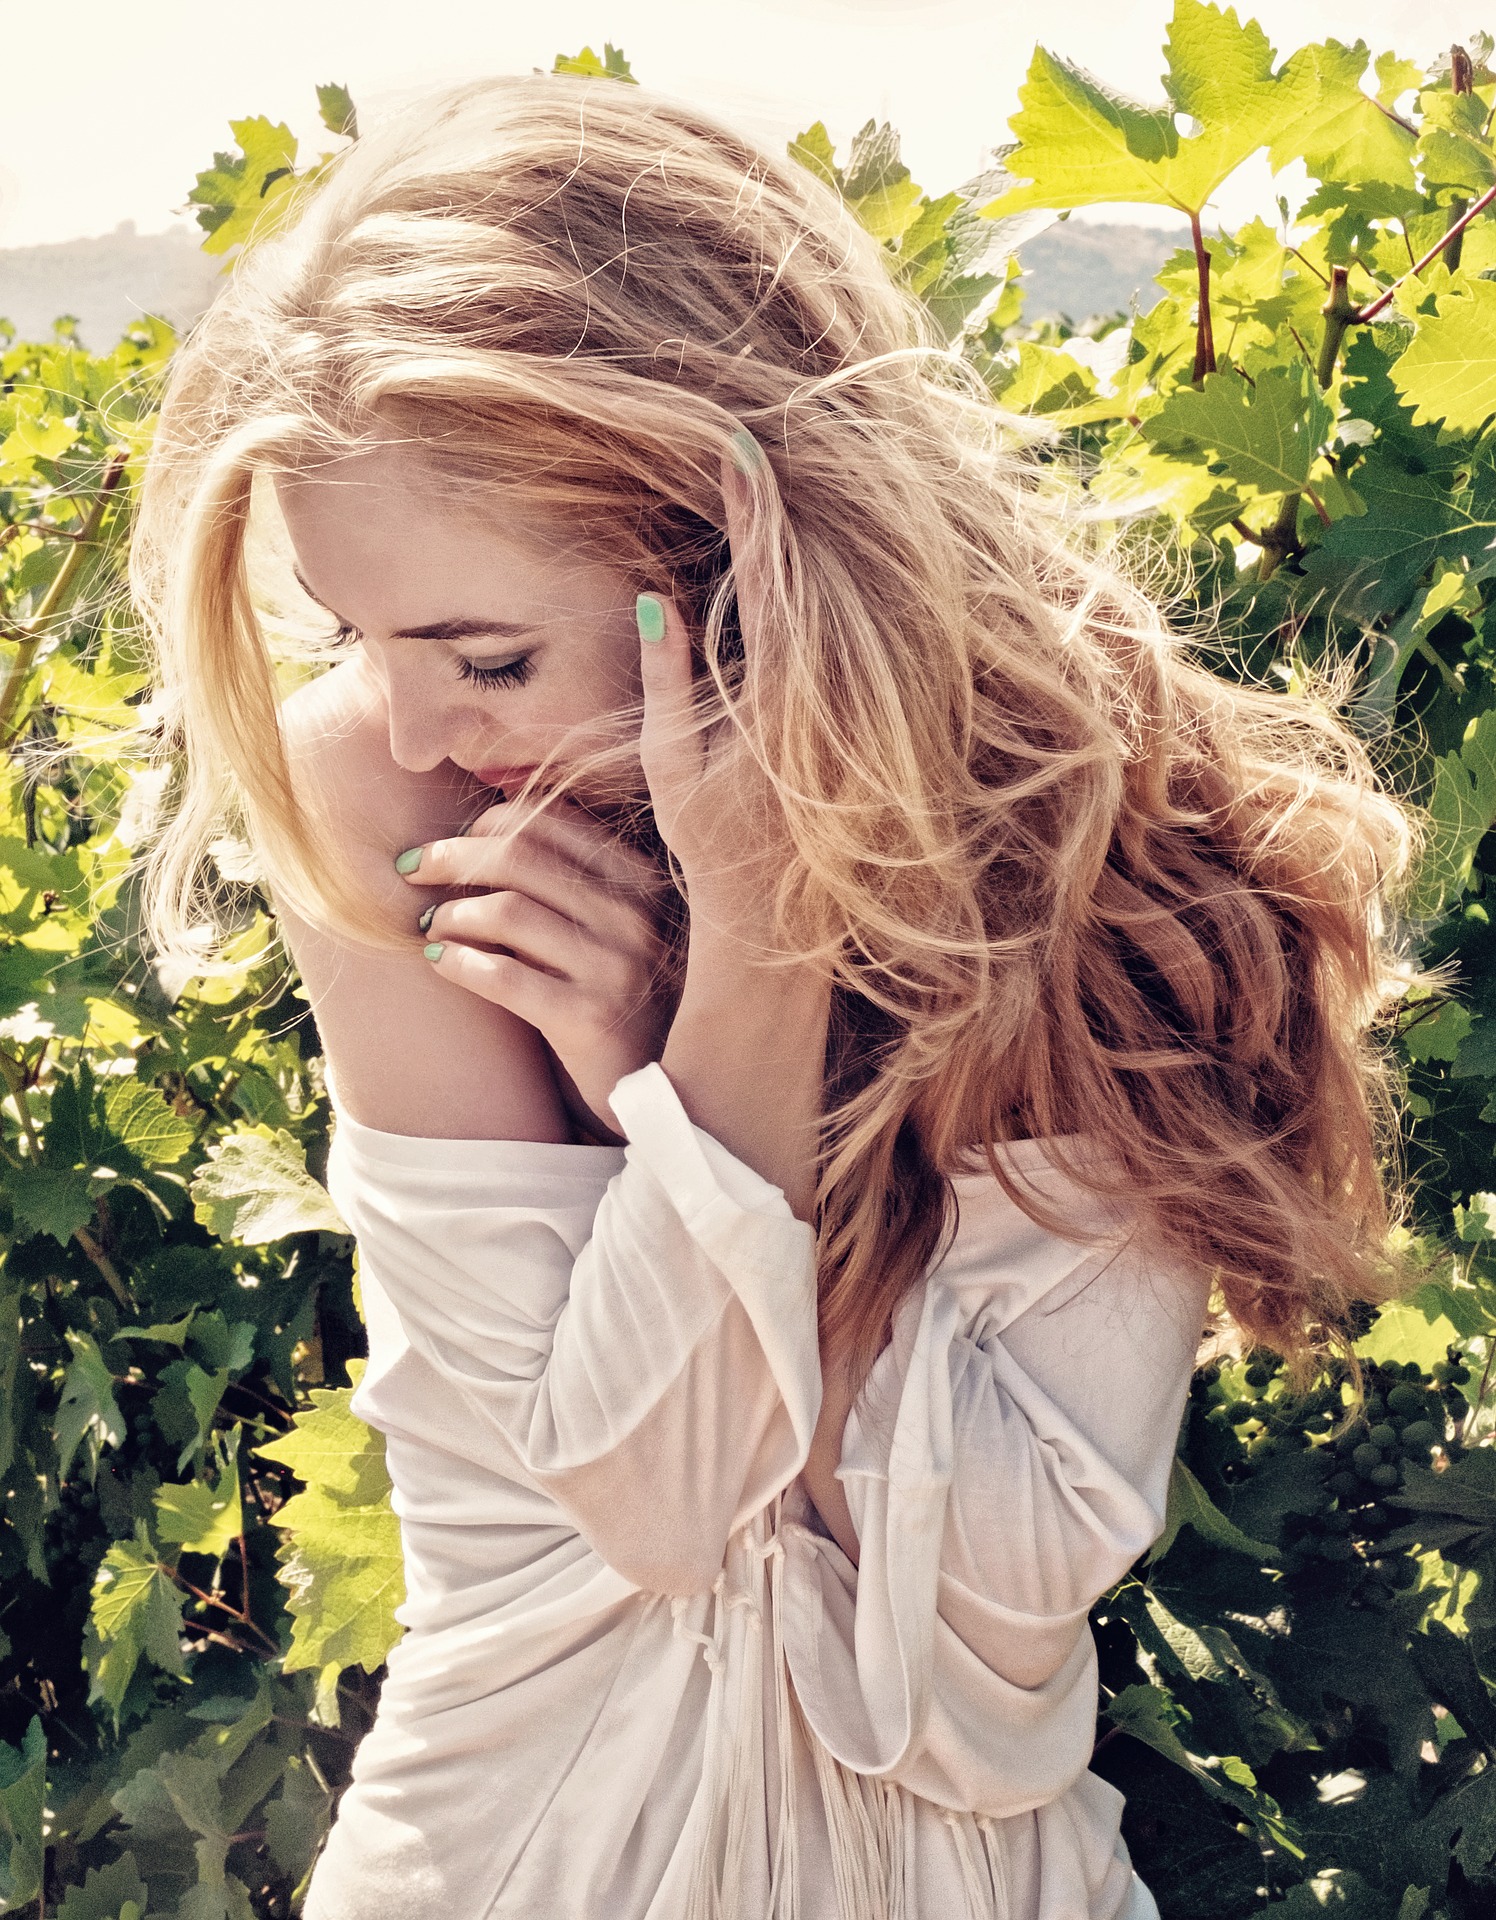
Below is the final photo, which was taken according to the original request. The three photo series on the beginning of the blog text is my own vision, which we took right after the photo below was taken. Other photos in this article are more of my examples of photos taken in front of a window without artificial flashes.

IMG_2608_mini

Portrait Photography Tips and Tricks

Need some tips for your camera settings? Ok, here you go. Use as low ISO as possible. If you want to have whole head sharp, use something like F11 and adjust shutter time accordingly. If you are shooting without a tripod you do not want to go to longer than 1/80 or 1/60. I usually do the portraits without a tripod to be able to adjust the position and angle quickly. If you do not have enough light or if you want to get more focus on eyes, and blur ears little, go to lower F value. You can even go to 2.8 or lower if your lens allows. I usually set ISO to 100 and start with aperture priority mode with F8-2.8 depending on the light and the effect I want. If I want to have more control and do more adjustments then I switch to manual mode.

How about focal length then? That is really a topic of its own. Some people prefer 200mm. Sometimes 80mm is referred as portrait lens. If you check portraits on Peoples magazine or similar you may be surprised to see that there is more and more portraits taken with wide angle, something like 24mm. So, to be on safe side, use anything between 70-200mm for normal portraits. For beauty photos go towards 200mm. If you want to get more character out, go towards wider angle.

The Value of Window Light in Portrait Photography

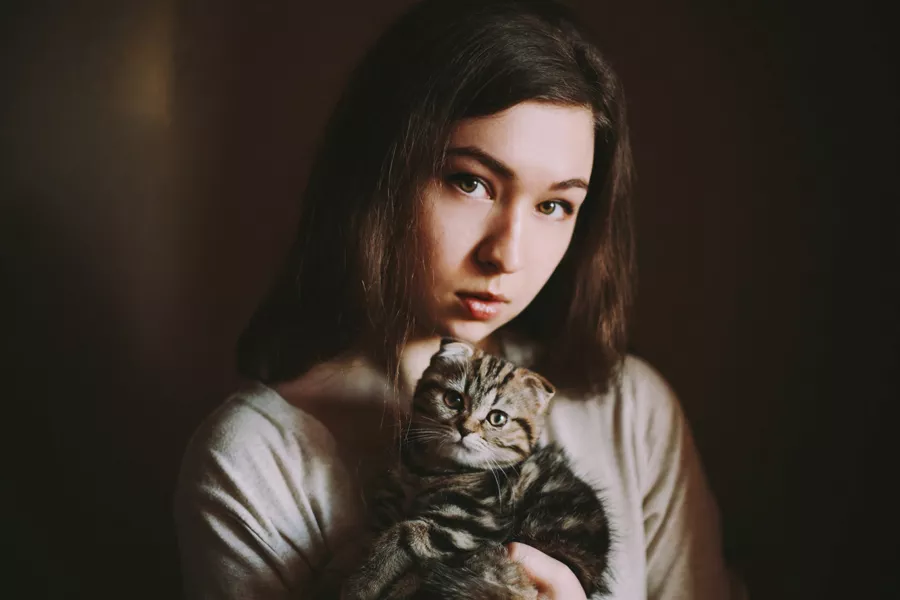
The concept of light can be intimidating, especially for beginners. Even if artificial light isn’t in the picture, the natural light might seem exceedingly difficult to work with. If you look at it from another point of view, however, then you’ll see the beauty of light’s many personalities. No matter where you are, be it in the safety of your home or out in nature, you’ll encounter countless opportunities to work with unique lighting situations. Throughout a single day, it’s possible to find a plethora of photo-worthy spots where fantastic, well-lit portraits can be taken.

Window light is especially useful for beginners in the photography world. It can be very uncomfortable to openly shoot outdoors when you’re not confident in your new found interest. When I discovered photography, I didn’t dare to photograph in public for fear of being thought of as an unfit artist. Though my fears were irrational, they were also an understandable reaction to a lack of skills. If you can relate to this or any other form of shyness, anxiety, or overthinking, then you’ll find much comfort in knowing that shooting great images indoors is very possible. Once you familiarize yourself with your creative skills, your confidence will naturally increase.
//

You might think that windows are too simple. Though they may be limiting to a certain degree, working with them right at the beginning of your photography journey will help your imagination thrive rapidly. The more challenges you face as a beginner, the easier it’ll be to find ways out of seemingly impossible artistic situations. If your mind gets used to finding solutions no matter how large an obstacle is, you’ll gracefully navigate through potential future difficulties such as unsuccessful photo shoots and technical issues.

In addition to strengthening your patience, experimenting with window light will allow you to appreciate the power of limited light. Oftentimes, we seek open locations and perfectly lit spots which guarantee beautiful results. Finding comfort in a lack of light will allow for interesting compositions, which will, in turn, allow for even greater portraits when you do shoot in locations with more light.
//

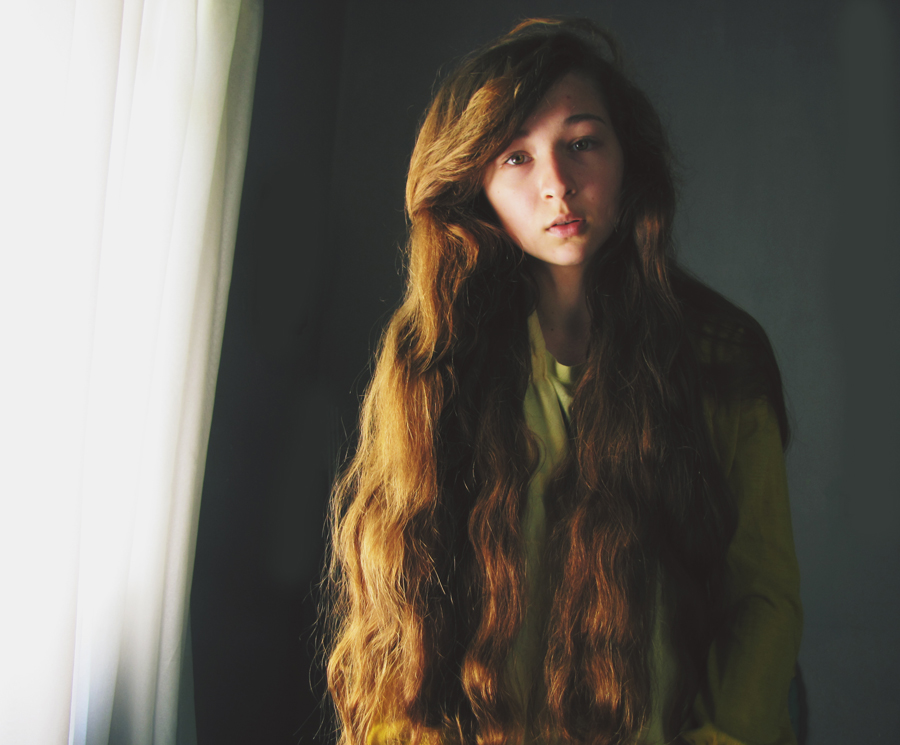
If you don’t know where exactly to start, simply stand in front of a window. If you’d like to take photos of someone else, it would greatly help to have a test shoot with yourself beforehand. A test shoot will allow you to understand the way light embraces facial features from different angles. Simply take photos of yourself from different positions and angles; this will strengthen the relationship between you and your camera. When you have a shoot with a client or a friend, you won’t be overly confused about light’s interesting ways of working. Furthermore, you’ll be more familiar with self-portraiture, a wonderful genre that encourages self-reflection, vulnerability, and creativity.
//

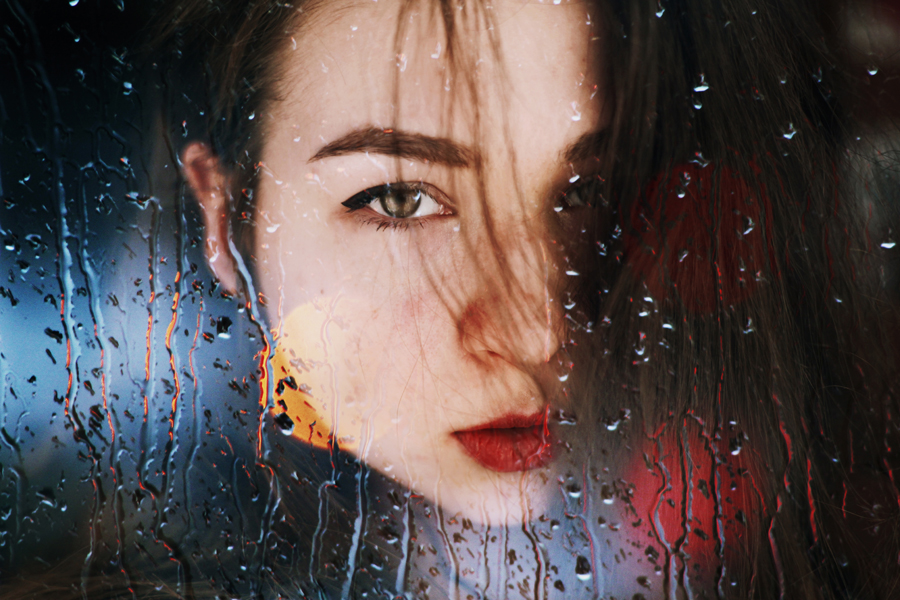
On days when the weather isn’t at its kindest, window light can be just as useful. While harsh midday light will compel your subject to squint, milder light on overcast days will provide a mild glow. If you want to make window light stand out even more on such days, use a reflector. This will serve as an extra source of light, brighten your subject’s face, and give their eyes an extra sparkle. My favorite kind of light is one that hits half of a subject’s face, creating a portrait that is reminiscent of 18th-century paintings. Windows make this effect very easy to achieve.

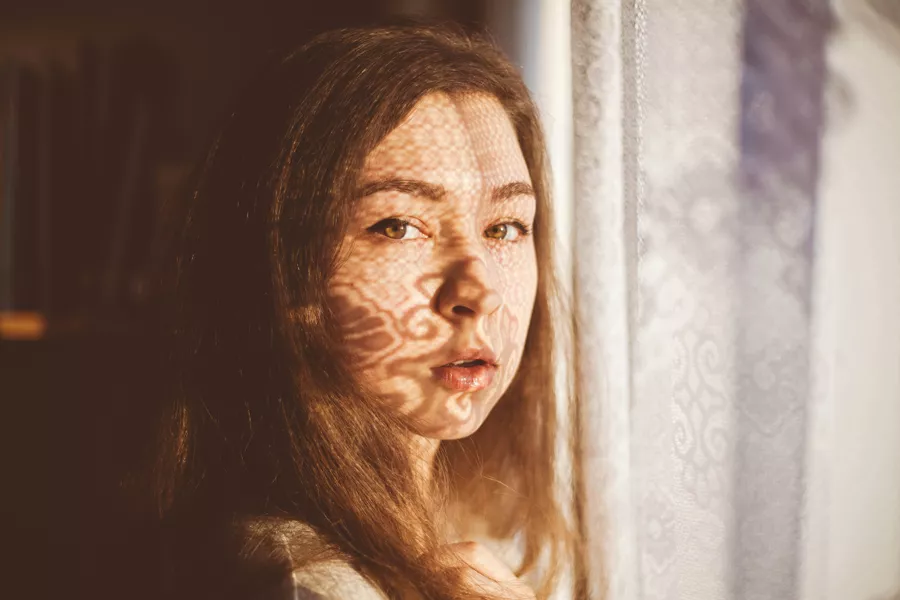
If you’re shooting indoors on a particularly bright day, curtains will come in handy. In addition to softening the harsh light, curtains will cast stunningly intricate shadows on your subject’s face. This will not only give you many ideas to work with, but it will also provide you with refreshing and dreamlike decorations. In portfolios, such photographs stand out beautifully. Don’t be afraid of using other kinds of fabric for creating shadows, too.
//

Window light possesses far more potential than most people imagine. Its versatility can satisfy photographers with all kinds of preferences. Whether you’re in the mood for a soft, harsh, or dreamy light, a window will provide you with the ideal environment for your shoot. If you take advantage of this easily accessible light, you’ll be one step closer to being a more open-minded artist and thinker. If you make the most of your imagination, you’ll find yourself thriving along with your photographs in no time.

Happy shooting!

Photographer interview: Elliot Tratt

Elliot Tratt is a fine art, portrait, and event photographer who cherishes meaningful ideas and fascinating concepts. Despite his very young age, he has worked for several bands and has successfully captured the many dramatic sides of event photography. His desire to learn, improve, and endlessly persist is inspiring to photographers and other artists alike. I hope this interview opens your eyes, pushes you to try out new photography genres, and motivates you to keep going.

What inspired you to start taking photographs?

I grew up in the household of a photographer, so I must’ve picked up a camera first when I was very young. I always remember spending time with my granddad and him not having a camera on him. So I guess I live with a similar philosophy, always have a camera with me. He first gave me a DSLR on the Christmas of 2014, and from there I have discovered and learned myself to make the best images I can.

//

Your gallery is filled with inspiring conceptual images. How do you come up with ideas for your shoots?

Ideas for my conceptual shots can come from anywhere, from reading a line in a book to a line in a song, to really mundane things like the weather around me. When I am walking home from school, I find inspiration in the smallest and biggest things. I take inspiration from other images and combine ideas and manipulate them to try and tell the best story I can.

What has been your most challenging creative obstacle so far, and how did you overcome it?

My most challenging creative obstacle is inspiring myself regularly with an idea that tops my last idea. I want to develop and I want to grow, so I feel bad when I produce an image and the following image is sub-par. So, I fight mentally to make every single shot I take a bit better than the last.

//

You shoot in many stunning locations. What’s your favorite shooting place and why?

My favorite location is a beach where I shot the band Pattern Pusher. It’s a beach and cliff on the north coast of Cornwall called Strangles. It produces so many perfect different shots and angles. It has large cliffs, a nice beach, a rock arch, and a sea mist which is truly mystical.

You’ve photographed many great musicians. Which band, famous or not, would you love to take photos of one day?

I feel I have already shot the band that I always wanted to shoot most. In fact, I will be doing a promo shoot with them soon. The band is Tiny Folds. They truly captivated me with their music right away and I just had to take photos of them, so when they invited me to shoot their EP release show last year, I went out of my way to make sure I could! This year I have some big acts lined up to shoot, but I feel none of them will have quite the same rush as photographing Tiny Folds.

//

//

Is there a photography genre you’d like to experiment with more?

I have always dabbled with the conceptual portraits, but I have never felt I have truly become involved in the genre. I wish to be able to create such arts like that of David Talley and Kyle Thompson.

What lighting advice would you give to aspiring photographers?

Almost all of my light that I have ever used is natural, with nothing to modify it. I just play with the light that I am given. I love shooting portraits at sunset because the glorious light just before sunset and the light just after it create some of the most incredible back drops.

//

Who are your favorite artists at the moment and why?

When it comes to photographers, people like you, Alexandra Bloch, Emily Moy, David Talley, Kyle Thompson, Adam Elmakias. They all produce the most incredible art in images.

Musically, a band called Pattern Pusher, whom I am good friends with, consistently produce art in their songs. With their new EP coming out soon, I can’t wait to see what art they produce and how they set it out on stage (hopefully with my help). They are planning to make their live shows as artistic as their music, which I’m very excited for.

Your images are very cleverly edited. What’s the best editing advice you’d give someone?

Keep practicing. Practice, practice practice…. and watch Youtube tutorials, they teach A LOT! If you keep editing and pushing yourself each time and keep doing things that are a little out of your comfort zone, you get better. You just have to keep going at it, even if it does get a little hard or it doesn’t look right.

//

What, in your opinion, is the most important thing a beginner photographer should know?

Similar to what I previously said, practice is the key thing. Sometimes images will not come out as you imagine and sometimes they will just look bad. But you need to keep going, even through the hard and bad images, because eventually, you will make gold. It will make you proud and keep pushing you to make gold time and time again, and that will always keep you going. Strive to produce the best you can and you can’t go wrong!

Check out more of Elliot’s work on his Facebook and website.

Window Lighting Photography: Using Window Lighting for Beautiful Portraits

Windows are the ultimate free light source for shooting indoors. Their natural light makes for great portraits with minimal gear. Windows allow you to capture your subject perfectly without the bother of a lighting rig or the inevitable blur of ridiculously long exposures. Whether you want a dramatic shot with deep shadows and highlights or a softly lit portrait you can enjoy with little to no editing, windows provide the light you need.

Shooting with window lighting is all about angle. A regular window provides opportunities for backlighting, side lighting, and soft, natural, direct light. Many lobbies and atriums also use skylights to create soft lighting and also cut back on electric bills. These overhead windows create the best, soft lighting you could ask for. Look for rooms with multiple windows, too. Just as professional photographers use multiple light sources in their studios, you should take advantage of all the natural light offered.

Portrait Types

Windows make traditional portraits easy. You can take shots that require little to no editing or capture the kind of overexposed shots many editors prefer to manipulate. Unlike a studio, however, a window requires you to move your subject rather than your light source.

window-lighting-1

A fast shutter speed paired with backlighting makes for excellent silhouette shots. Using windows for classic silhouette shots allows easy framing. Window light also prevents the chromatic aberrations photographers deal with when shooting directly into the sun. A less common but no less intriguing portrait type is the semi-silhouette, which windows are particularly well-suited to light. Adjusting your aperture creates images with more color, deep shadows, and bright highlights.

Camera Settings

Since the light from a window is steady, you can use your camera’s manual mode to get the perfect shot. First, try your cameras presets. See what ISO and/or shutter speed your camera chooses to use when you select the aperture priority setting. Once you’ve seen the flaws in the preset results, you can try adjusting exposure with +1EV or +2EV.

window-lighting-2

Window light depends on position and time of day. As the sun moves, so do the shadows, and although indoor natural light is always softer than outdoors, you’d be surprised how harsh afternoon lighting becomes in a west-facing window. Be ready to play with your aperture settings. Like any portrait, you must balance field of depth with exposure, and although window light makes great portraits, no two windows provide the exact same light levels.

Although window light is soft and steady, the color may be tinted by your surroundings, your backdrops, or by the windows themselves. Carry a card for white balance. This helps your photographs now and later, in editing.

Additional Tools

Taking time to test and adjust your camera settings is the simplest way to get beautiful portraits with natural window lighting, but there are a few tools that can help you get the perfect shot. Chief among these is a reflector. If you find yourself shooting in a room with a single window, and you just can’t get your settings to deliver the image you need, a reflector allows you to create an artificial light source without employing actual artificial light. You may be tempted to use a flash. Ignore this urge. It spoils the softening effect of natural light from the window. A reflector can chase away problematic shadows or simply brighten a scene without undoing all of your previous work.

window-lighting-3

We mentioned bringing white balance cards with you earlier, but it’s worth repeating here. It doesn’t matter if you use small cards for reference while editing or large panels to balance onsite. This is the best way to get the perfect white balance every time.

Adjusting for Cloudy or Sunny Days

Depending on your window and the time of day you shoot, you may need to take longer exposures than you planned. Cloudy days don’t destroy window light, but they do limit it, and if you took test shots on a sunny day, you may need to rethink aperture and shutter speed. A tripod may feel like a burden, but it makes all the difference in long exposure images. You may be able to create a makeshift prop to help steady your camera in a pinch, but nothing will allow you to take steadier, clearer shots than an actual tripod. Be prepared for bad weather and shady corners. Keep your tripod with you.

window-lighting-4

Just as outdoor photographers need to base shots around natural lighting, so do indoor portrait photographers. Windows allow natural light in while keeping glare out. It’s a great chance to develop your manual settings skills, play with different portrait styles, and master the use of white balance cards. Additional tools are optional, and unlike outdoor shoots, window lighting allows you to make use of natural light regardless of the season. Focus on your subject rather than the weather forecast.

Studio Vs. Natural Light: When You Should Use Each

When taking someone’s photograph, whether professionally or just for fun, lighting is the number one problem you’ll run into. It can be difficult to get natural lighting to work with your vision, but buying all the equipment necessary for a studio can be extremely costly. There are pros and cons to each, but usually, the decision comes down to the photograph you want to create. So before you spend hundreds of dollars on lights or start religiously tracking storms and cloud movements, ask yourself these questions:

What’s the Style You’re Going For?

When doing a photo shoot, it’s important to keep in mind what you’re trying to portray in your final images. Do you want the photos to be fun and light? Or are you going for more of a serious photo someone might use as a headshot or business photo? Different styles of photographs will require different settings to make them work.

studio-vs-natural-light-1

If you’re going for something serious that will be used in a professional setting, then it makes more sense to move into your studio. This way you’ll be able to control the lighting to make sure that it looks perfect; plus, photos with a solid color background are generally considered to be more professional than ones taken in front of a bunch of foliage.

But, if you’re going for something more fun, then head outdoors. Let’s say your friend wants a cute picture to put on social media, natural light will give a nice effect. The sun tends to give photos an airy quality. The bright and fun backgrounds found in real life are hard and expensive to reproduce in a studio setting.

studio-vs-natural-light-2

How Much Time Do You Have?

This question has two sides to it. One, what is your timeline? Does your client need the images today, or is it something that can wait a week or two? Two, how long do you have during the photo shoot? Is your client only booked for an hour, or do you have all day? Timing can play a big part in deciding where you want to take your photos.

If you’re crunched for time in either of the scenarios, it’s best to use studio light. It may not bring out the full style you wanted in your picture, but with enough setup time beforehand, you can come pretty close to re-creating the outdoors. Because Mother Nature doesn’t always play nice, being on a time crunch will make getting the perfect outdoor shot difficult.

studio-vs-natural-light-3

However, if you’ve got a lot of time on your hands, you can easily try for that great outdoor shot. It might take a couple of days to find the perfect location. And you may have to wait for weather and great natural light, especially where the sun is in the right position for the background you want to use, but if you’re patient enough, you can find that sweet spot. Check the weather and be prepared to stand around and wait for your model until the moment is just right.

How Much Control Do You Need?

When you’re outside, you’re at Mother Nature’s mercy. When you’re in your own studio, you have full control. Part of this issue comes down to the type of person you are; the other comes down to the photo you want and the amount of time you have to get it. If you’re the kind of person who likes to be in control – who wants to get in, get that shot, and get out – then it’s best to use a studio setting.

studio-vs-natural-light-4

However, if you’re comfortable waiting around and letting the sun and clouds do all the work, then as long as the photo style calls for it, head outdoors.

Other Factors for Shooting in Studio or Natural Light

Of course, there are other factors that are less a stylistic choice and more a force you can’t control. Money, for one, is a big contender. Creating good studio lighting means buying a lot of different parts, not just one big spotlight. Don’t get me wrong, you can create some pretty dramatic scenes with just one light, it just needs to be the right one.

Simply going outside with a model and a camera doesn’t cost anything extra than what you spent on your camera. Other things to keep in mind are the weather, the environment, and the space of your studio.

Being cramped in a tiny little room with lots of hot lights pointed at someone can make any shoot uncomfortable. At the same time, the weather isn’t always certain so good natural light isn’t always guaranteed, and sometimes you may have to drive long ways out to get to a nice location that will suit your client’s needs (and that can eat up a lot of time and money).

Food Photography Setup: How to Shoot Food Photography with Minimal Equipment

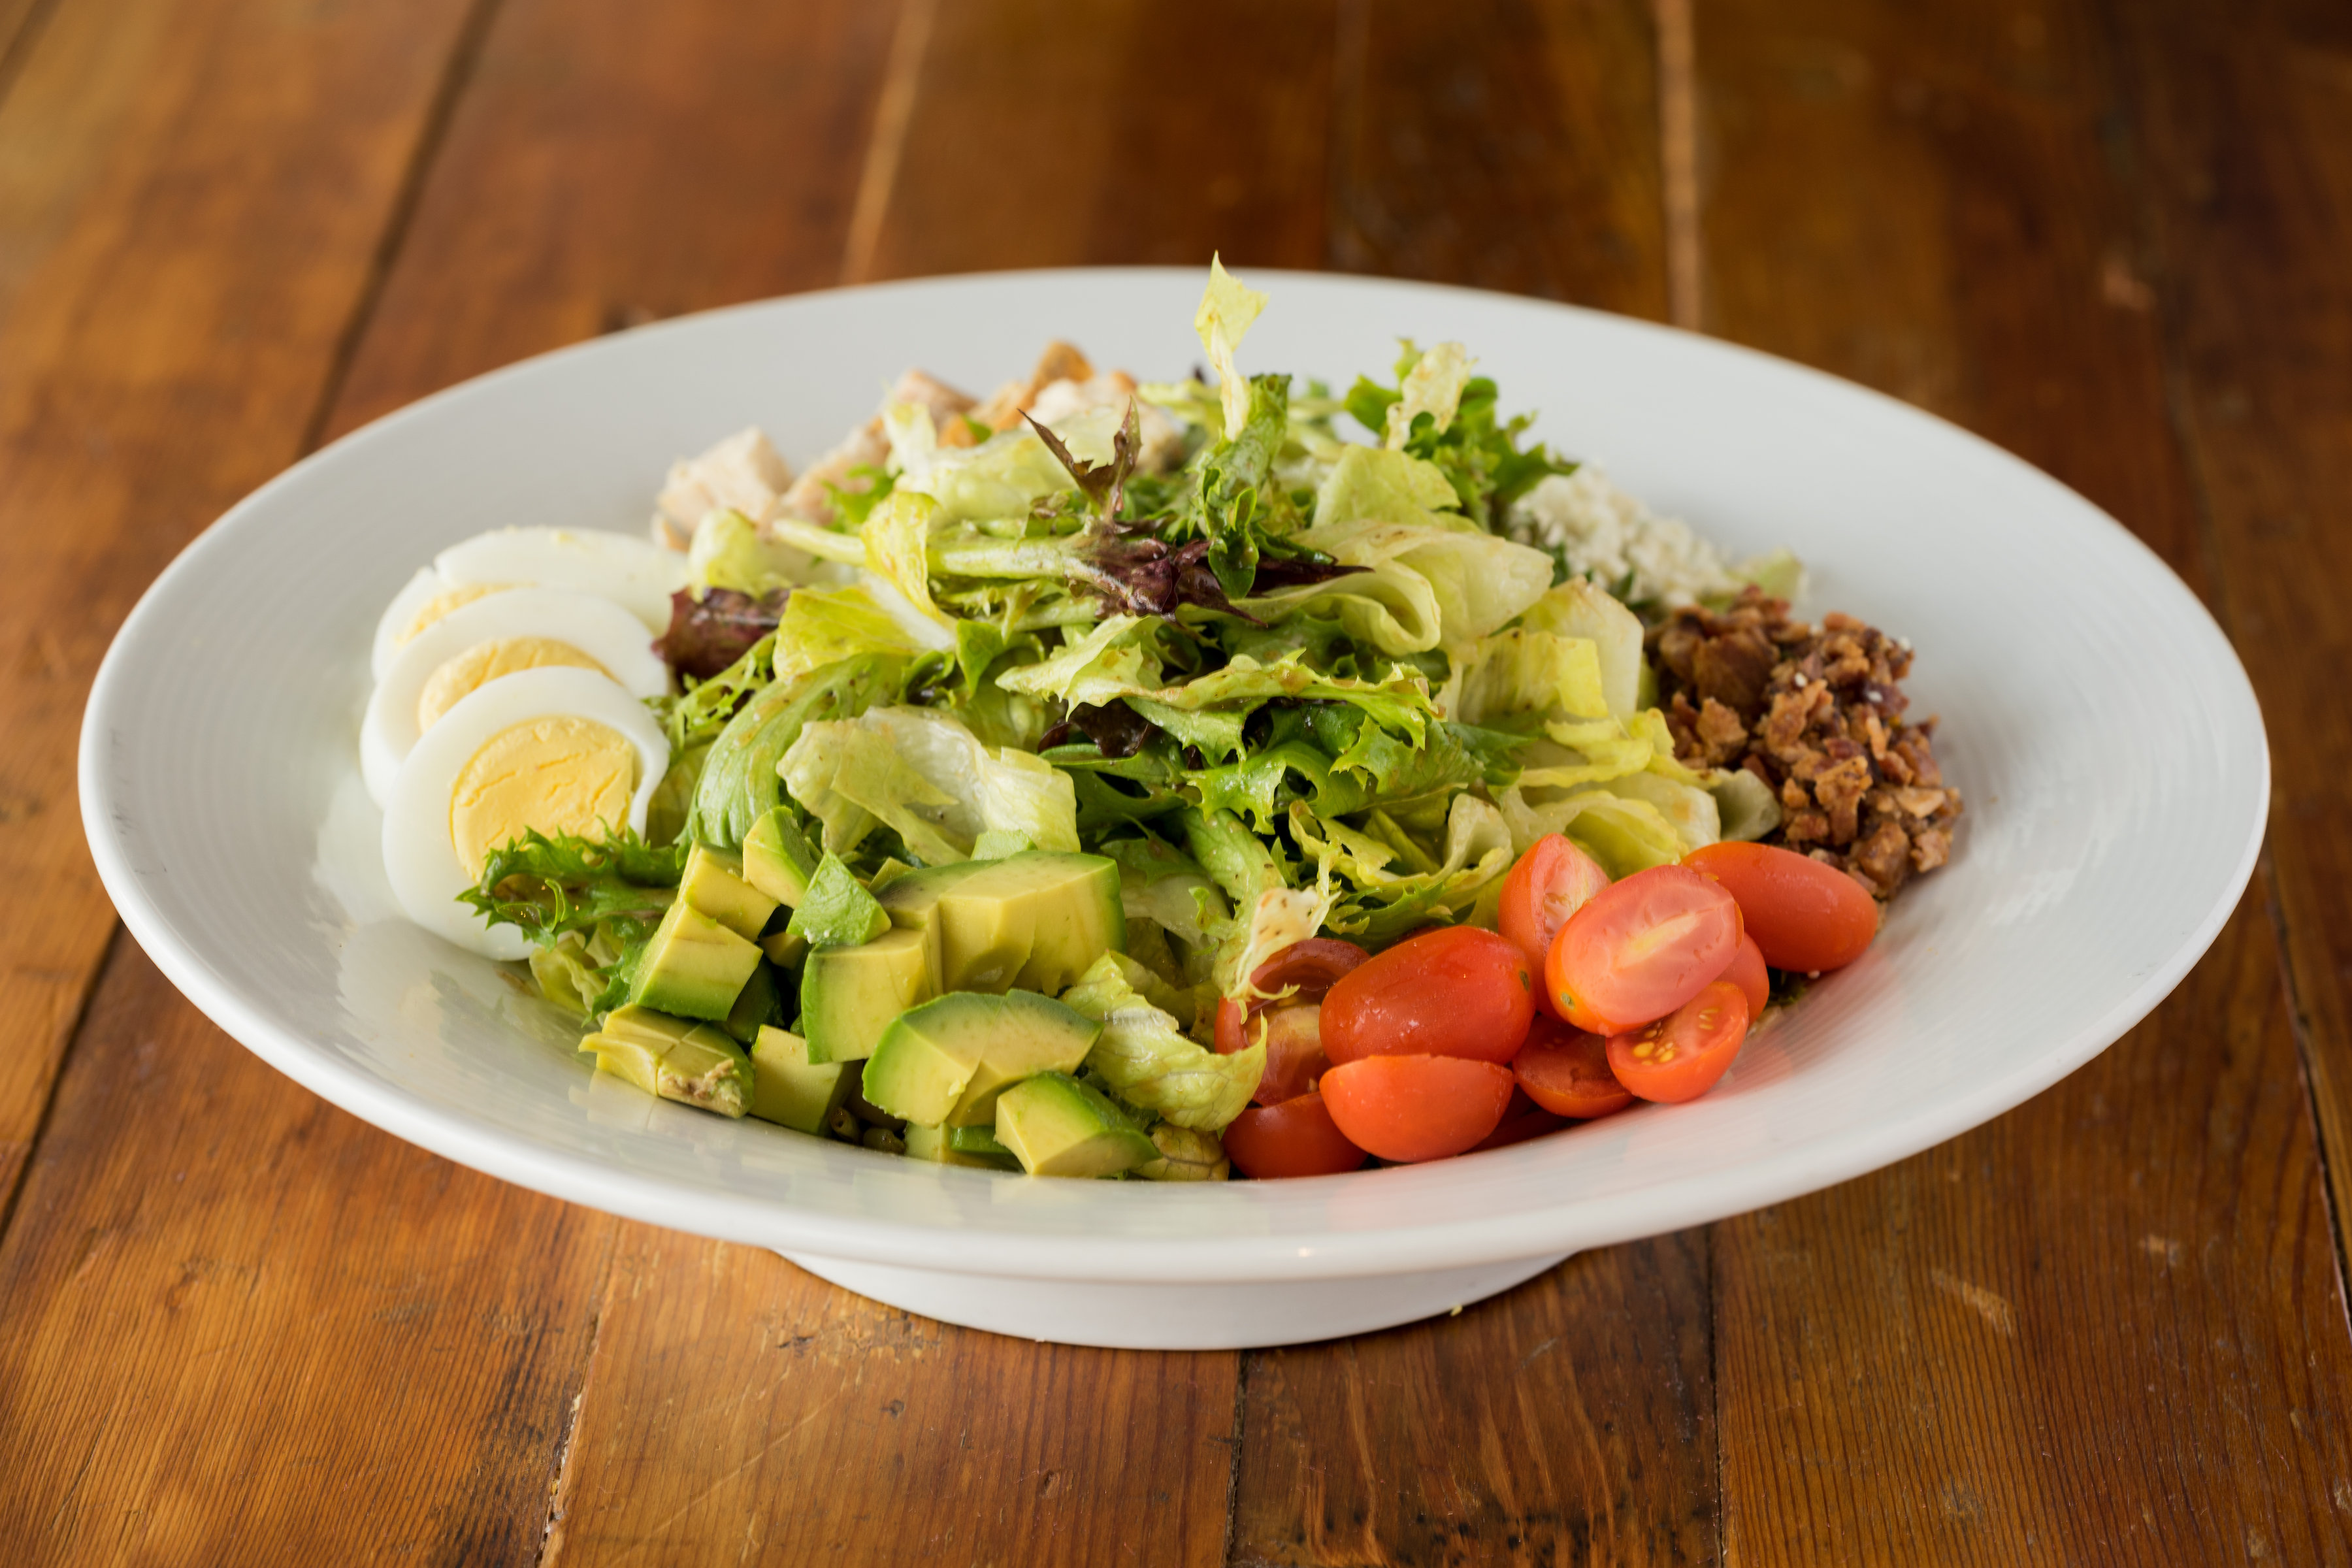
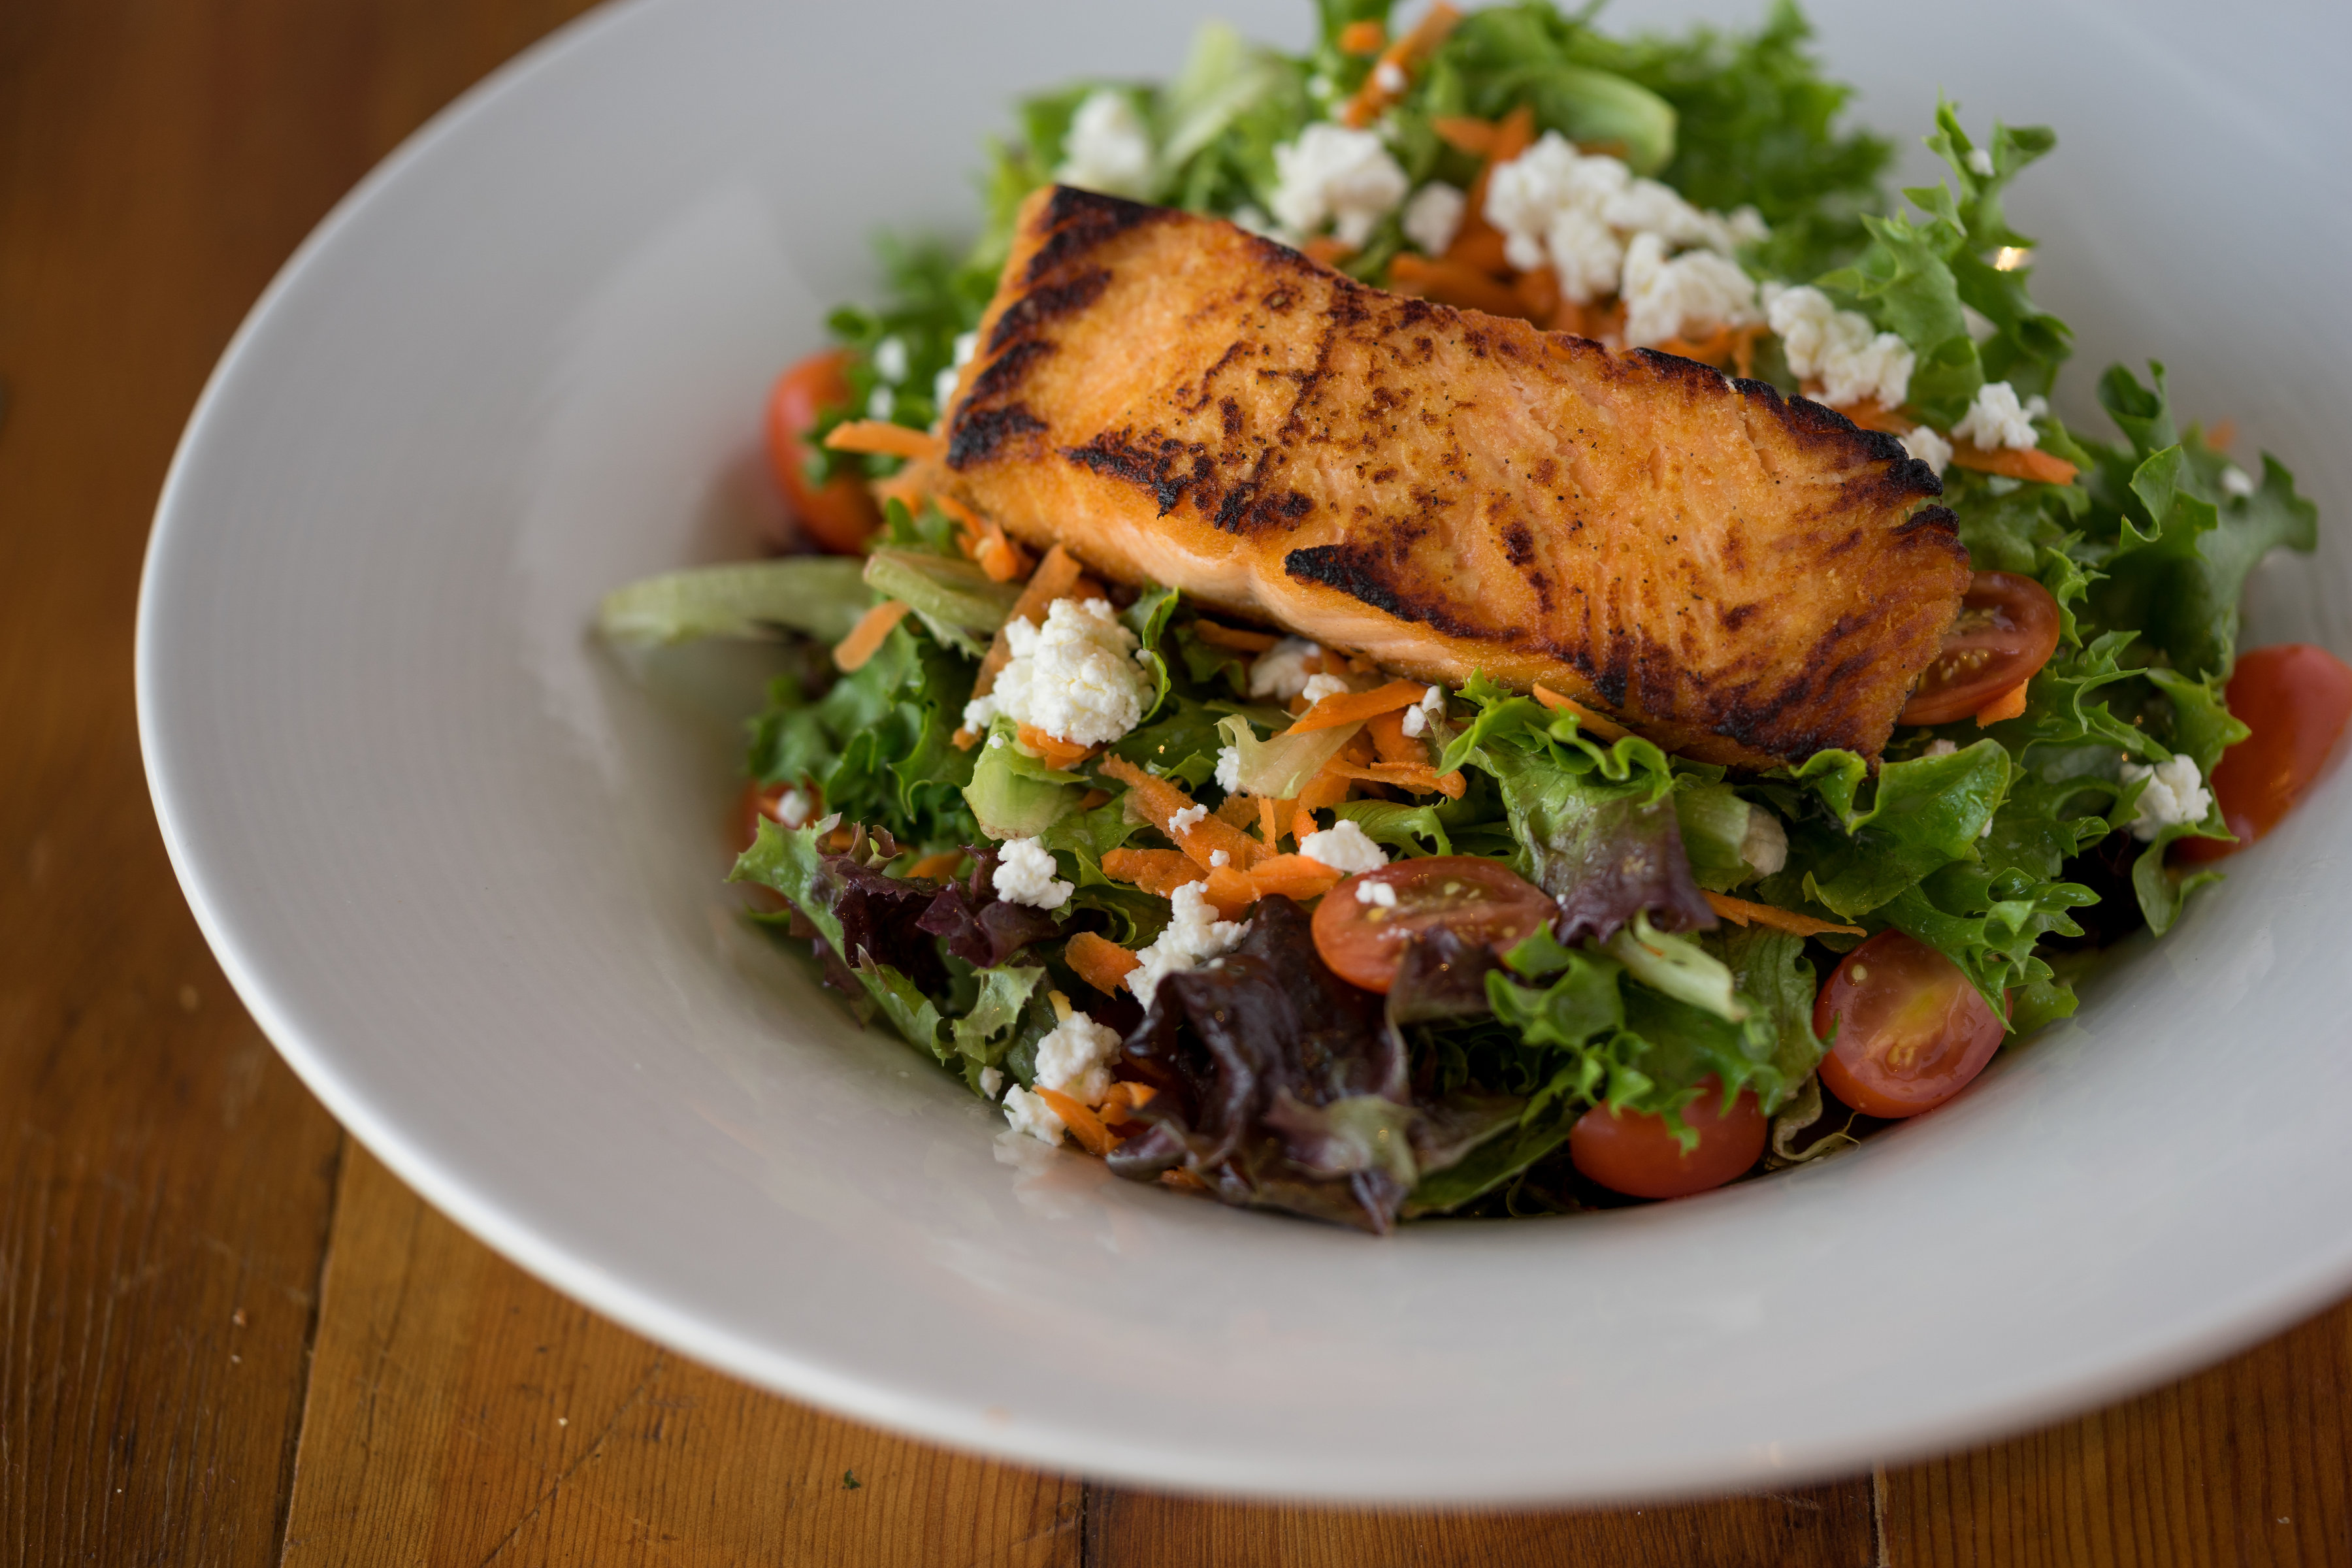
Food photography may seem daunting to some photographers. Beginning photographer’s may have the assumption that you need tons of equipment and props just to make good photographs. In reality, this is not always true. In fact, there are only a few essential pieces of equipment you need to produce fantastic food photography images. Check out our tips for food photography setup and how to shoot food photography.

DSC06051

Lenses

The style of food photography you want to produce will determine which lens you will need. For the most part, getting a long macro lens works great for food photography. A macro lens around 90-100mm is great for getting in very tight and isolating the food. See the below image as an example. It can also be nice to have a standard 50mm lens or something similar for process shots or of the venue, kitchen or chef as an overall profile of a restaurant. Even if you think you may not need this, it’s always best to have a few lenses you are comfortable with on hand for different perspectives.

DSC06252

Tripod

A tripod is essential for food photography when using a macro lens. This is because of the slow shutter speed you will get when using a larger aperture. In food photography, it is nicer when all of the frame is in focus, so you need to use an aperture like f8 or wider. On a 90mm macro lens for example, when at ISO 100 and f8, the shutter speed will be somewhere near 1/2 second, far too slow for hand holding. The rule of hand holding a camera is that the shutter speed needs to be at least the same as the focal length. So for a 90mm macro lens, that’s 1/90, which is tough even at f3.5. Using a tripod and remote shutter release will solve this issue.

IMG_4734

Remote Shutter Release

Another essential piece of equipment is the remote shutter release. Without this, you will have to rely on smaller apertures and less of the frame in focus. This is exactly what happened to me on this shoot because I forgot my remote shutter release. You will notice all of the images are not fully in focus for this reason. In food photography, when some of the frame is not in focus, it can be very distracting. Bringing a remote shutter release will ensure you don’t have to face the issue of sacrificing creativity and aesthetic for an in-focus image.

DSC06285

Reflector

You’ll need a piece of equipment to be able to bounce light. Personally, I only shoot with natural light because I don’t have access or experience using big soft boxes and staged lighting in my shooting. But all you really need to produce beautiful images is a nice natural light source and something to bounce the light off of. For this, you can opt for a proper reflector, which usually comes in a circular shape and offers sides with multiple color reflective surfaces, from white to gold to darker colors. If you don’t want to spend the $45 on a small reflector, you can also use simple white foam core board bought from an office supply store. I’ve even seen photographers use napkins and even crumpled aluminum foil from the restaurant kitchen. The below shoot was done using a simple foam core board bought at Staples.

IMG_4731

Basic Settings

Food photography does require some basic camera settings which are somewhat universal. The trend now in food photography is for the entire frame to be in focus. This requires a larger aperture, at least f8 or higher, to get the shot. In some cases, if you want to focus on something very specific, a smaller aperture is best. You’ll also want to shoot at ISO 100, which will help make the image as clear as possible. You want to avoid any grain in your images, and with the lighting needed to produce good images of food, ISO 100 is your best choice. Shutter speed is not necessarily a concern in food photography, so best to shoot in Aperture Priority Mode, then you can quickly switch back and forth from small to large apertures as you shoot, without having to worry about shutter speed. And if you are on a tripod with remote shutter release, you won’t have to think about shutter and camera shake at all.

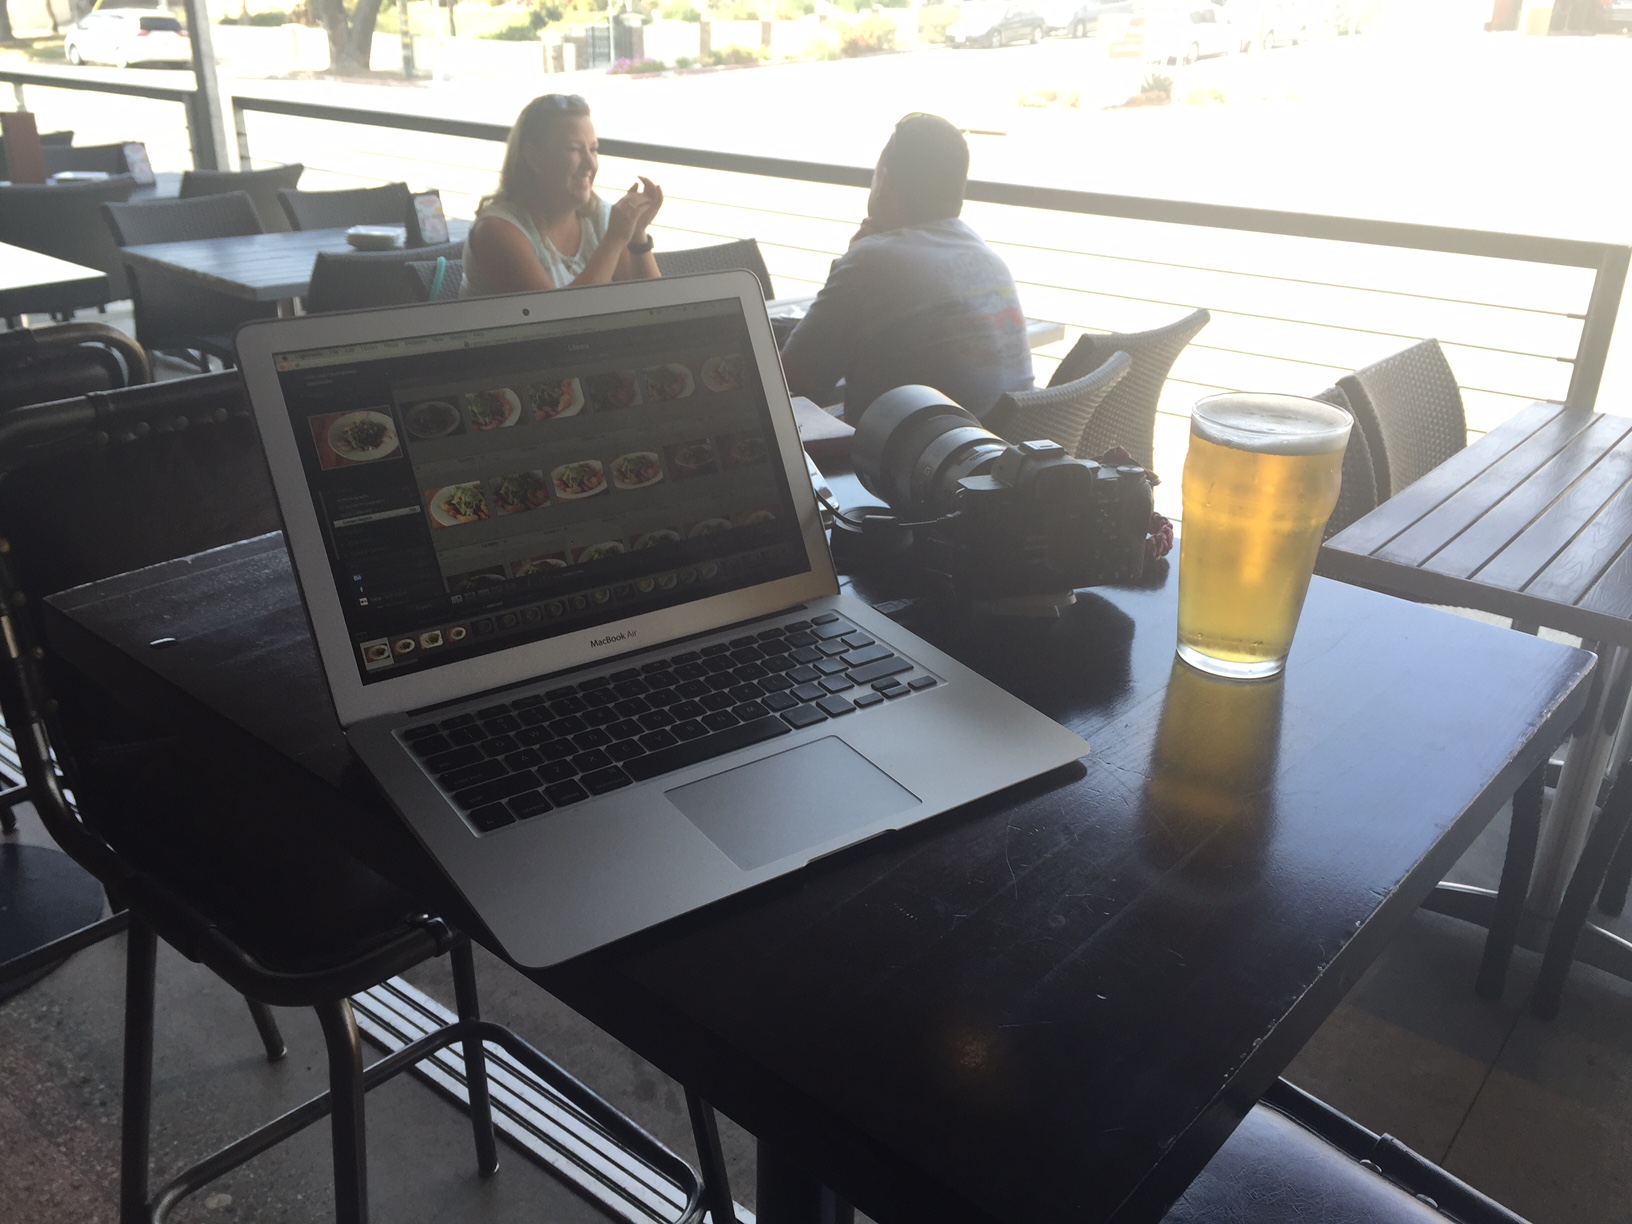
After a day of shooting, there’s nothing like sitting outside, reviewing images, and enjoying a cold beer.

IMG_4739