Tag: indoors

How to Shoot Portraits at Home

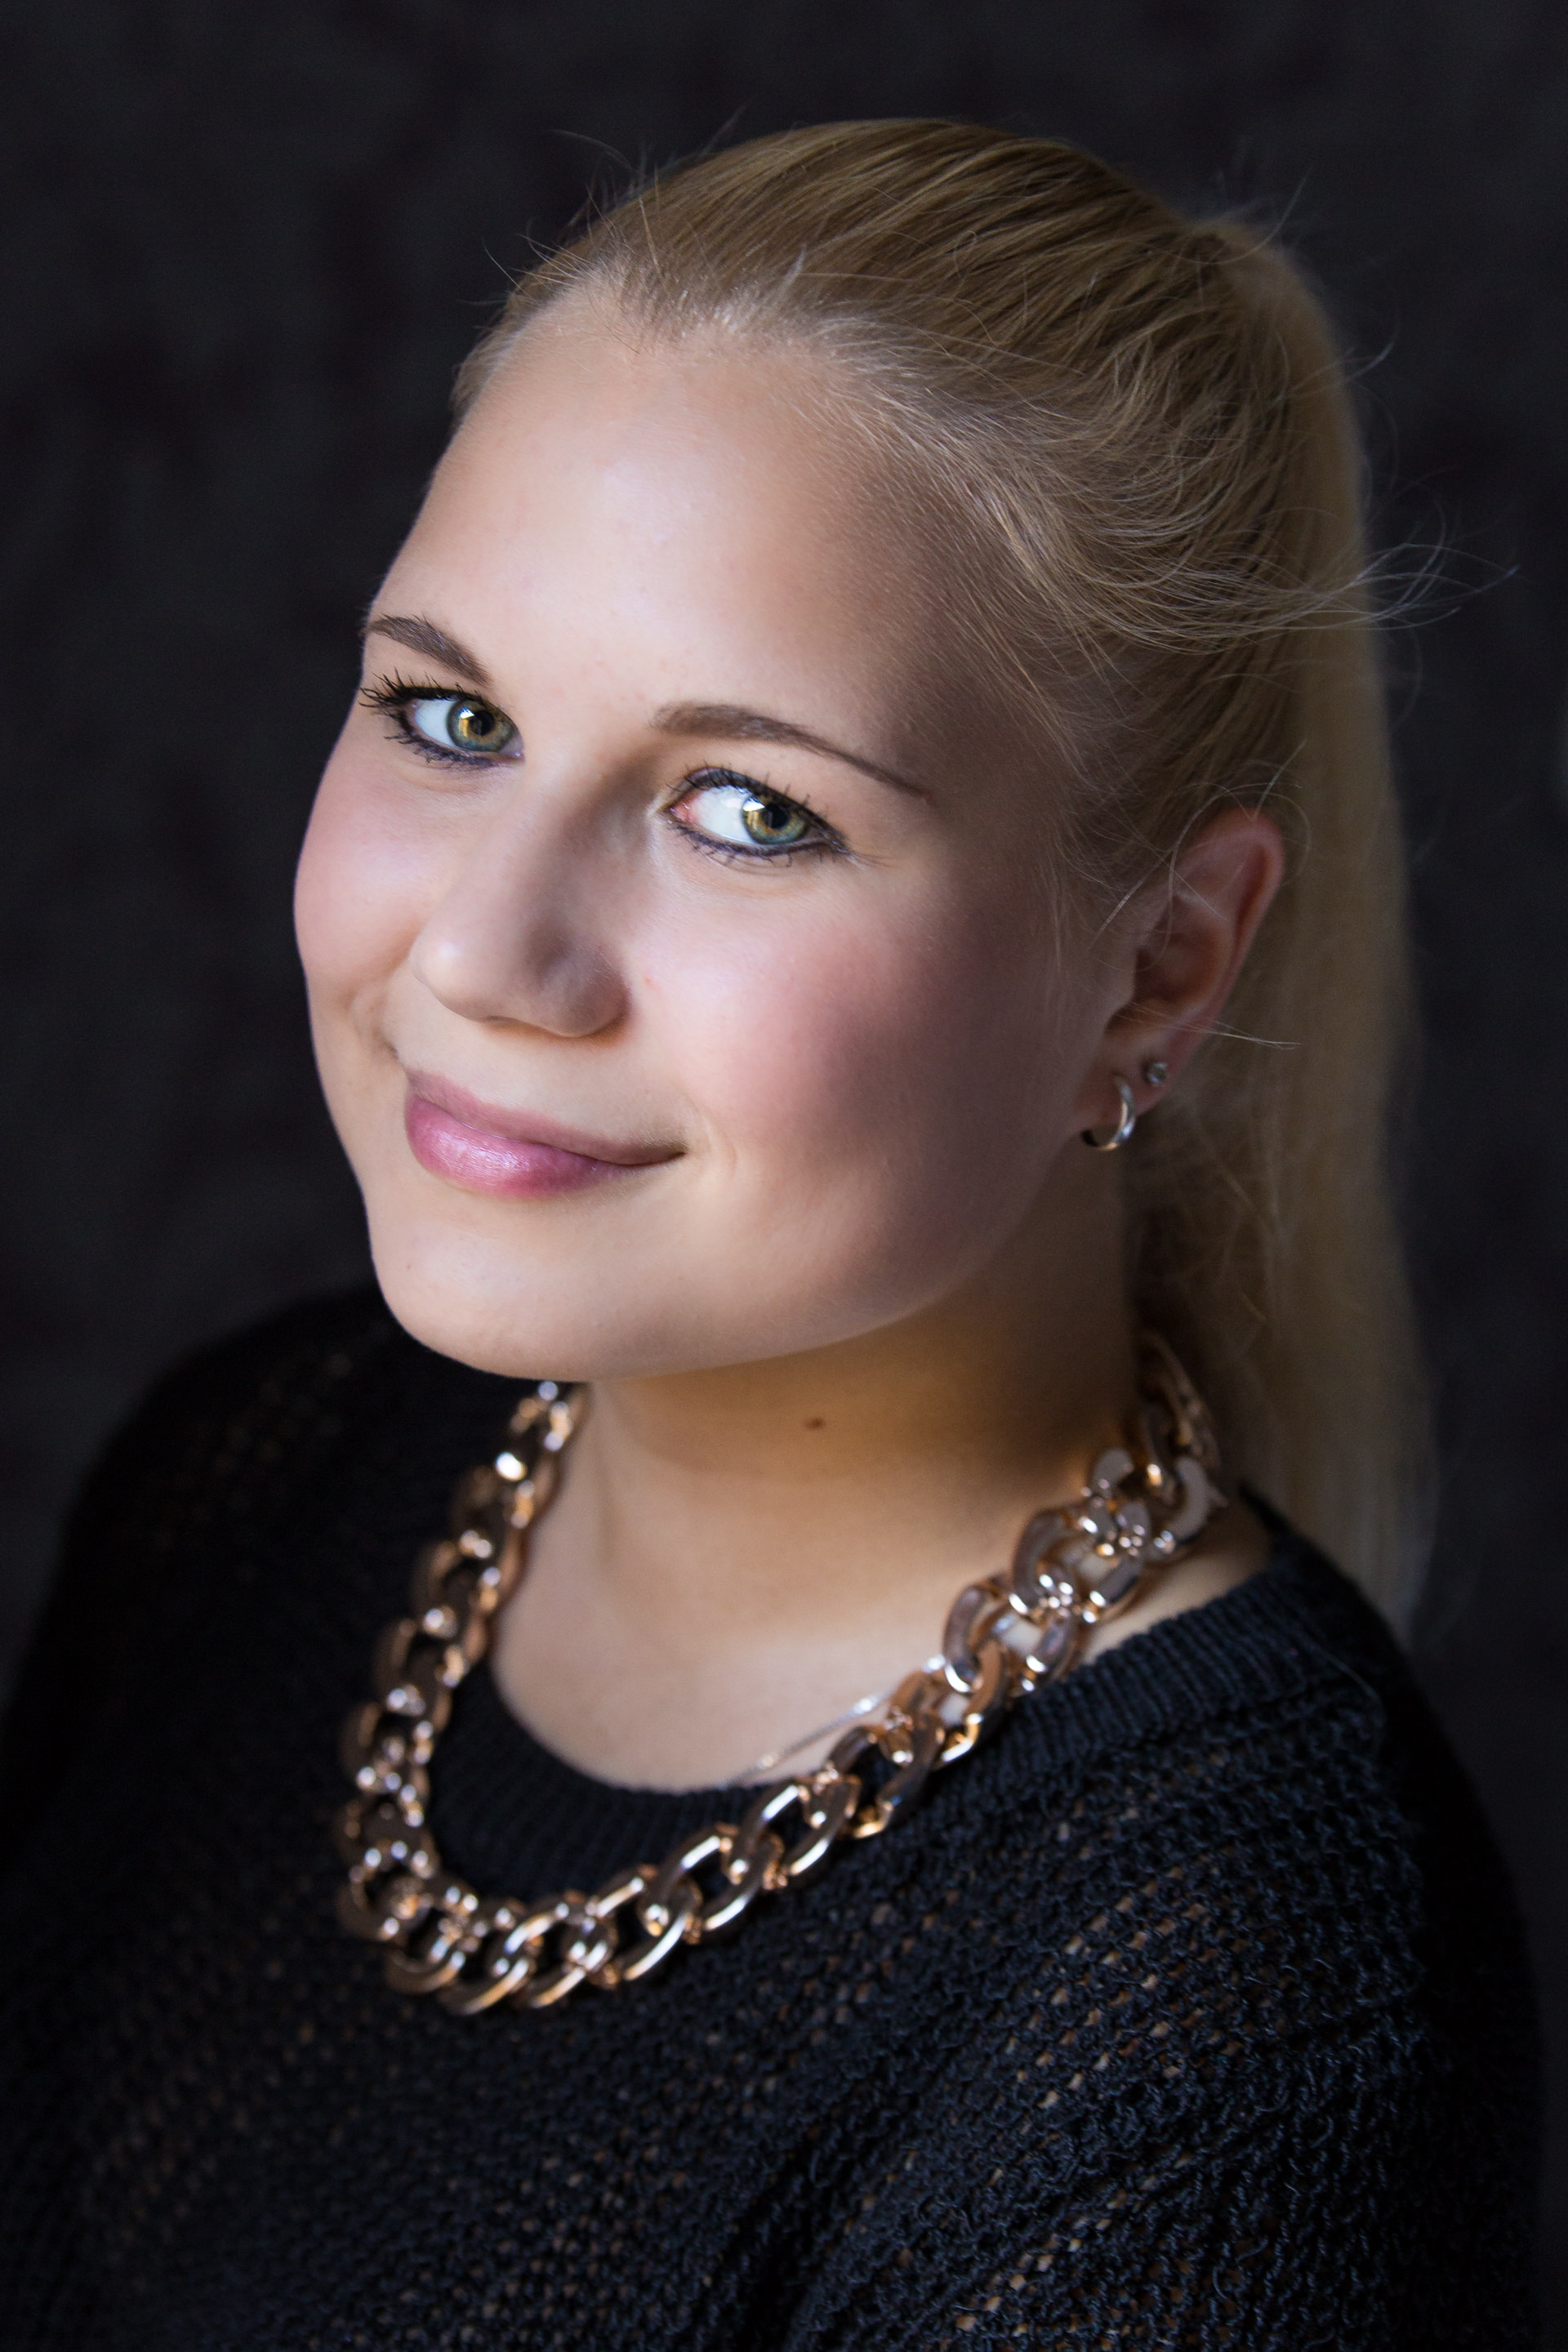
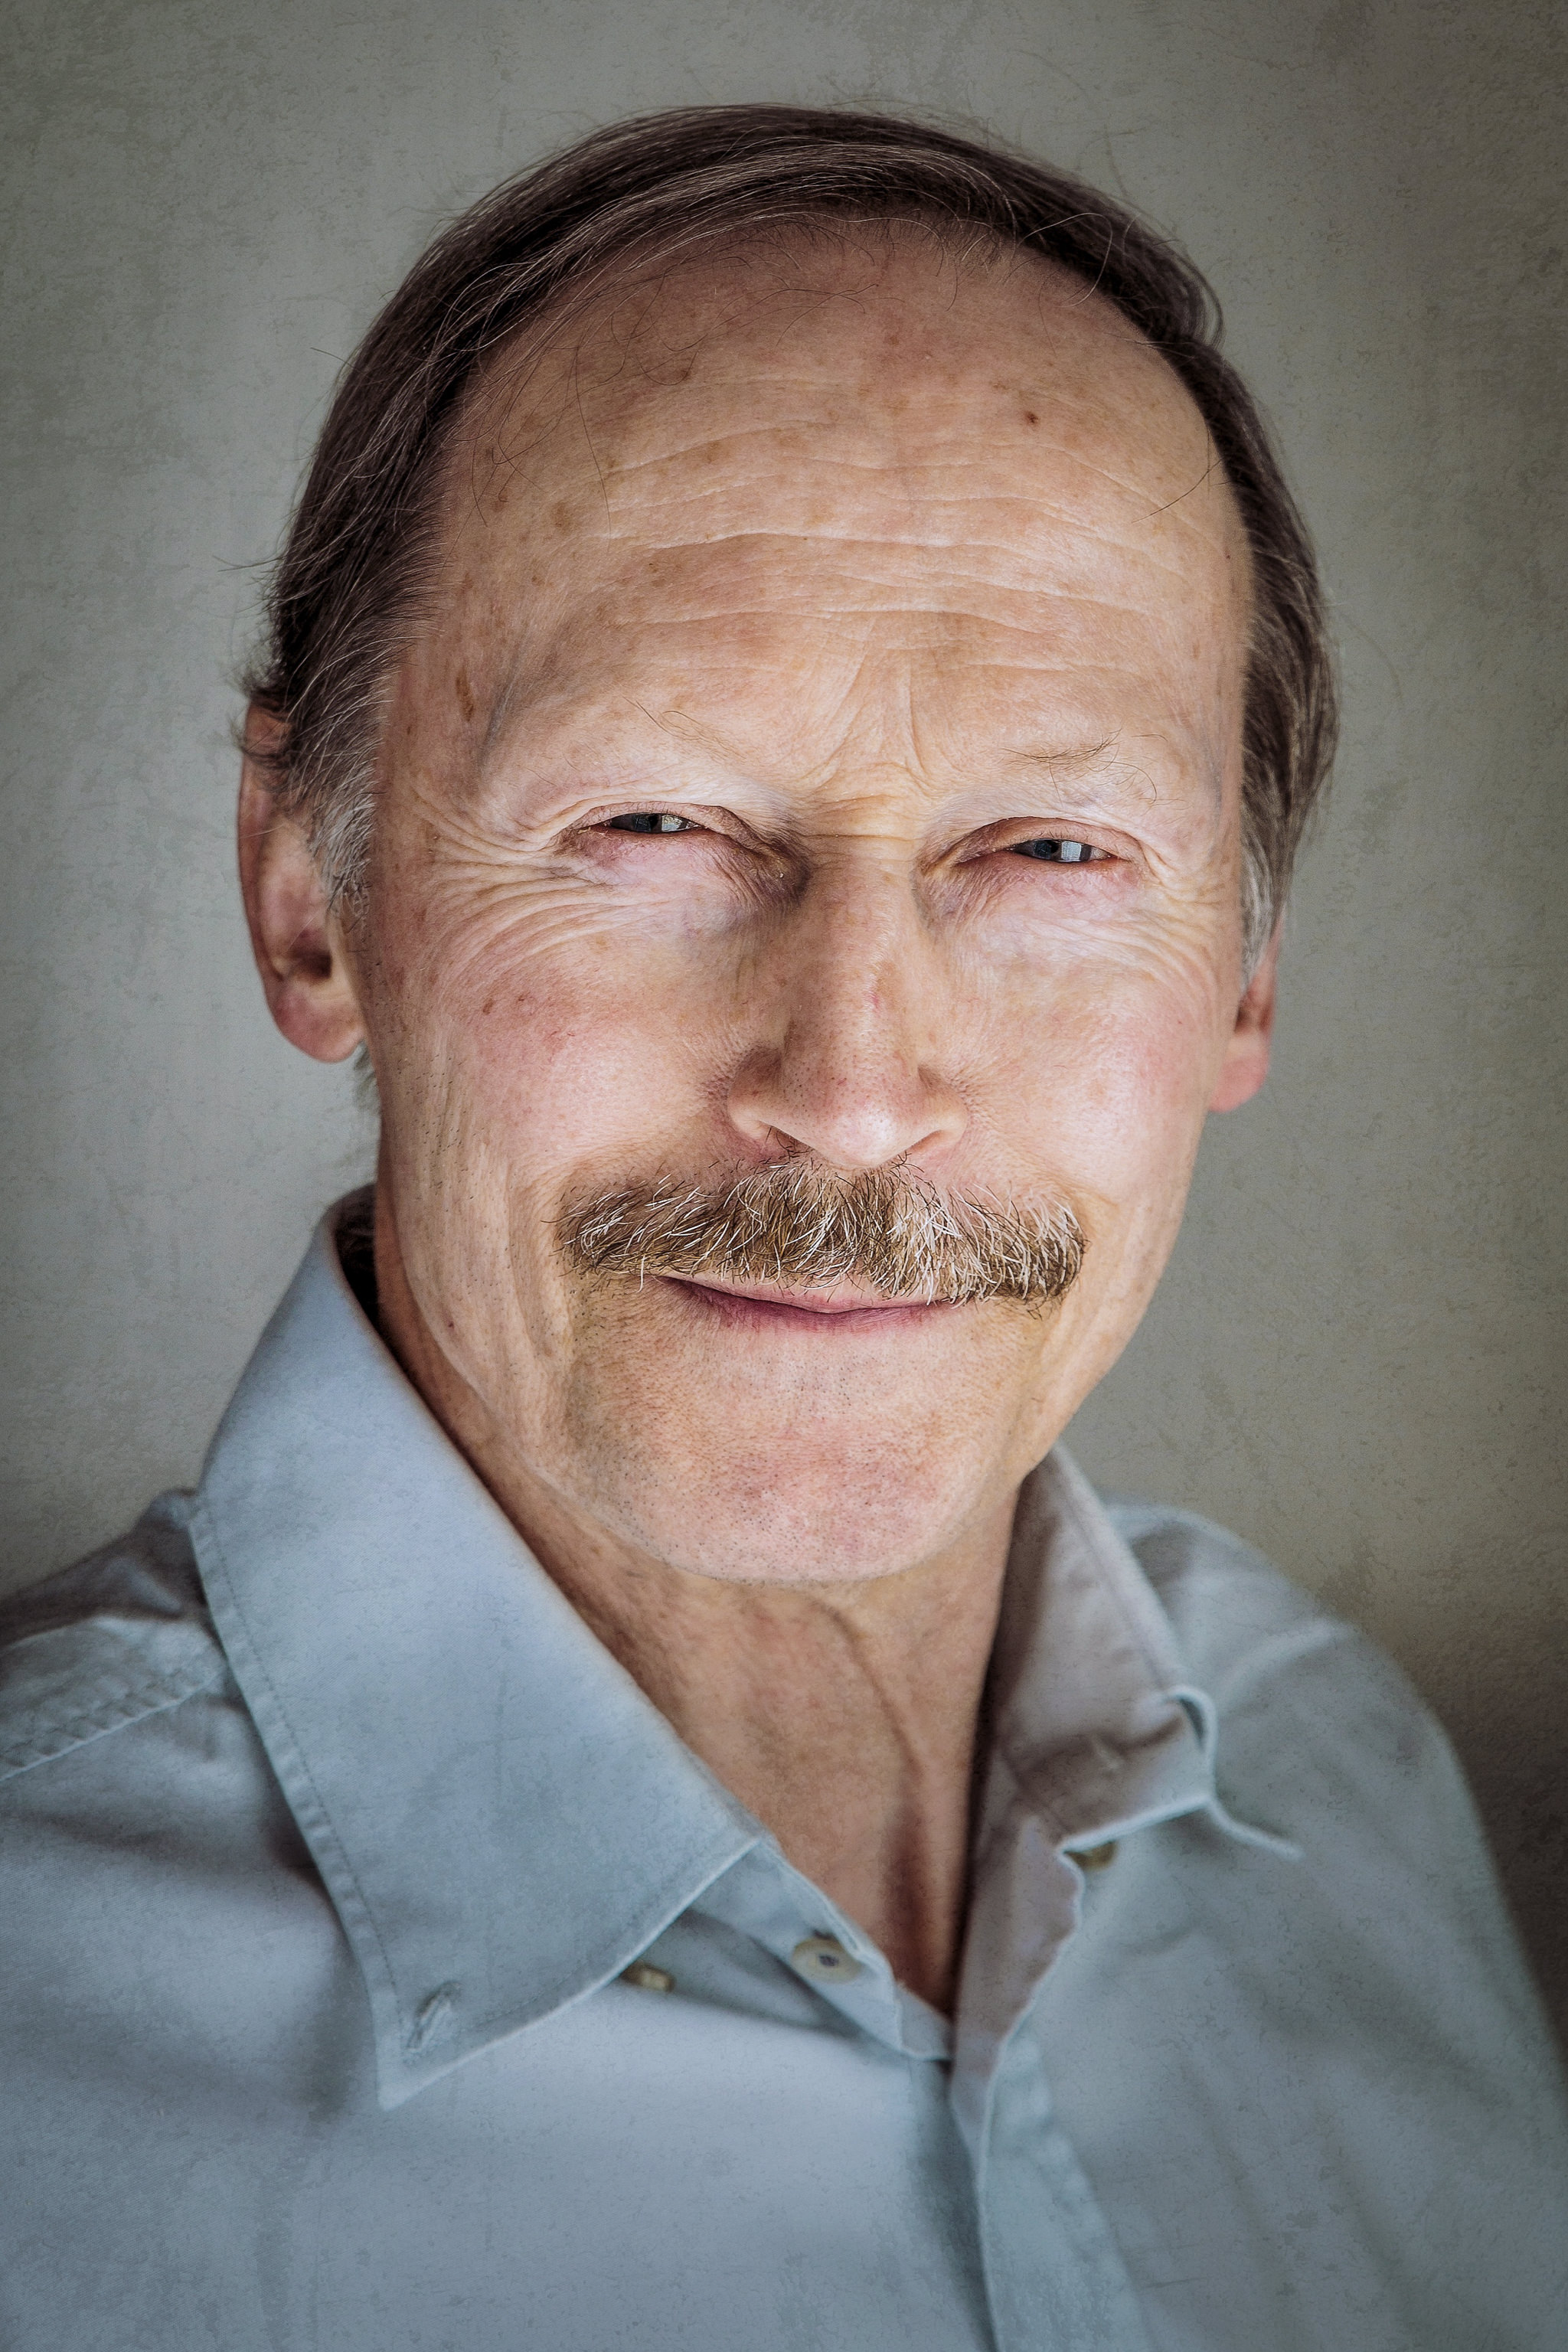
In this text, I talk how to do home portrait photography when without proper studio gear. I once faced a situation where I was asked to take a profile photo of a professional with short notice and I had no studio equipment available. Here is my workflow for that kind of situations. It is basically by the book, i.e. I follow the basic guidelines with no secrets or magic here, or maybe just a little with post-processing.

1. The Light

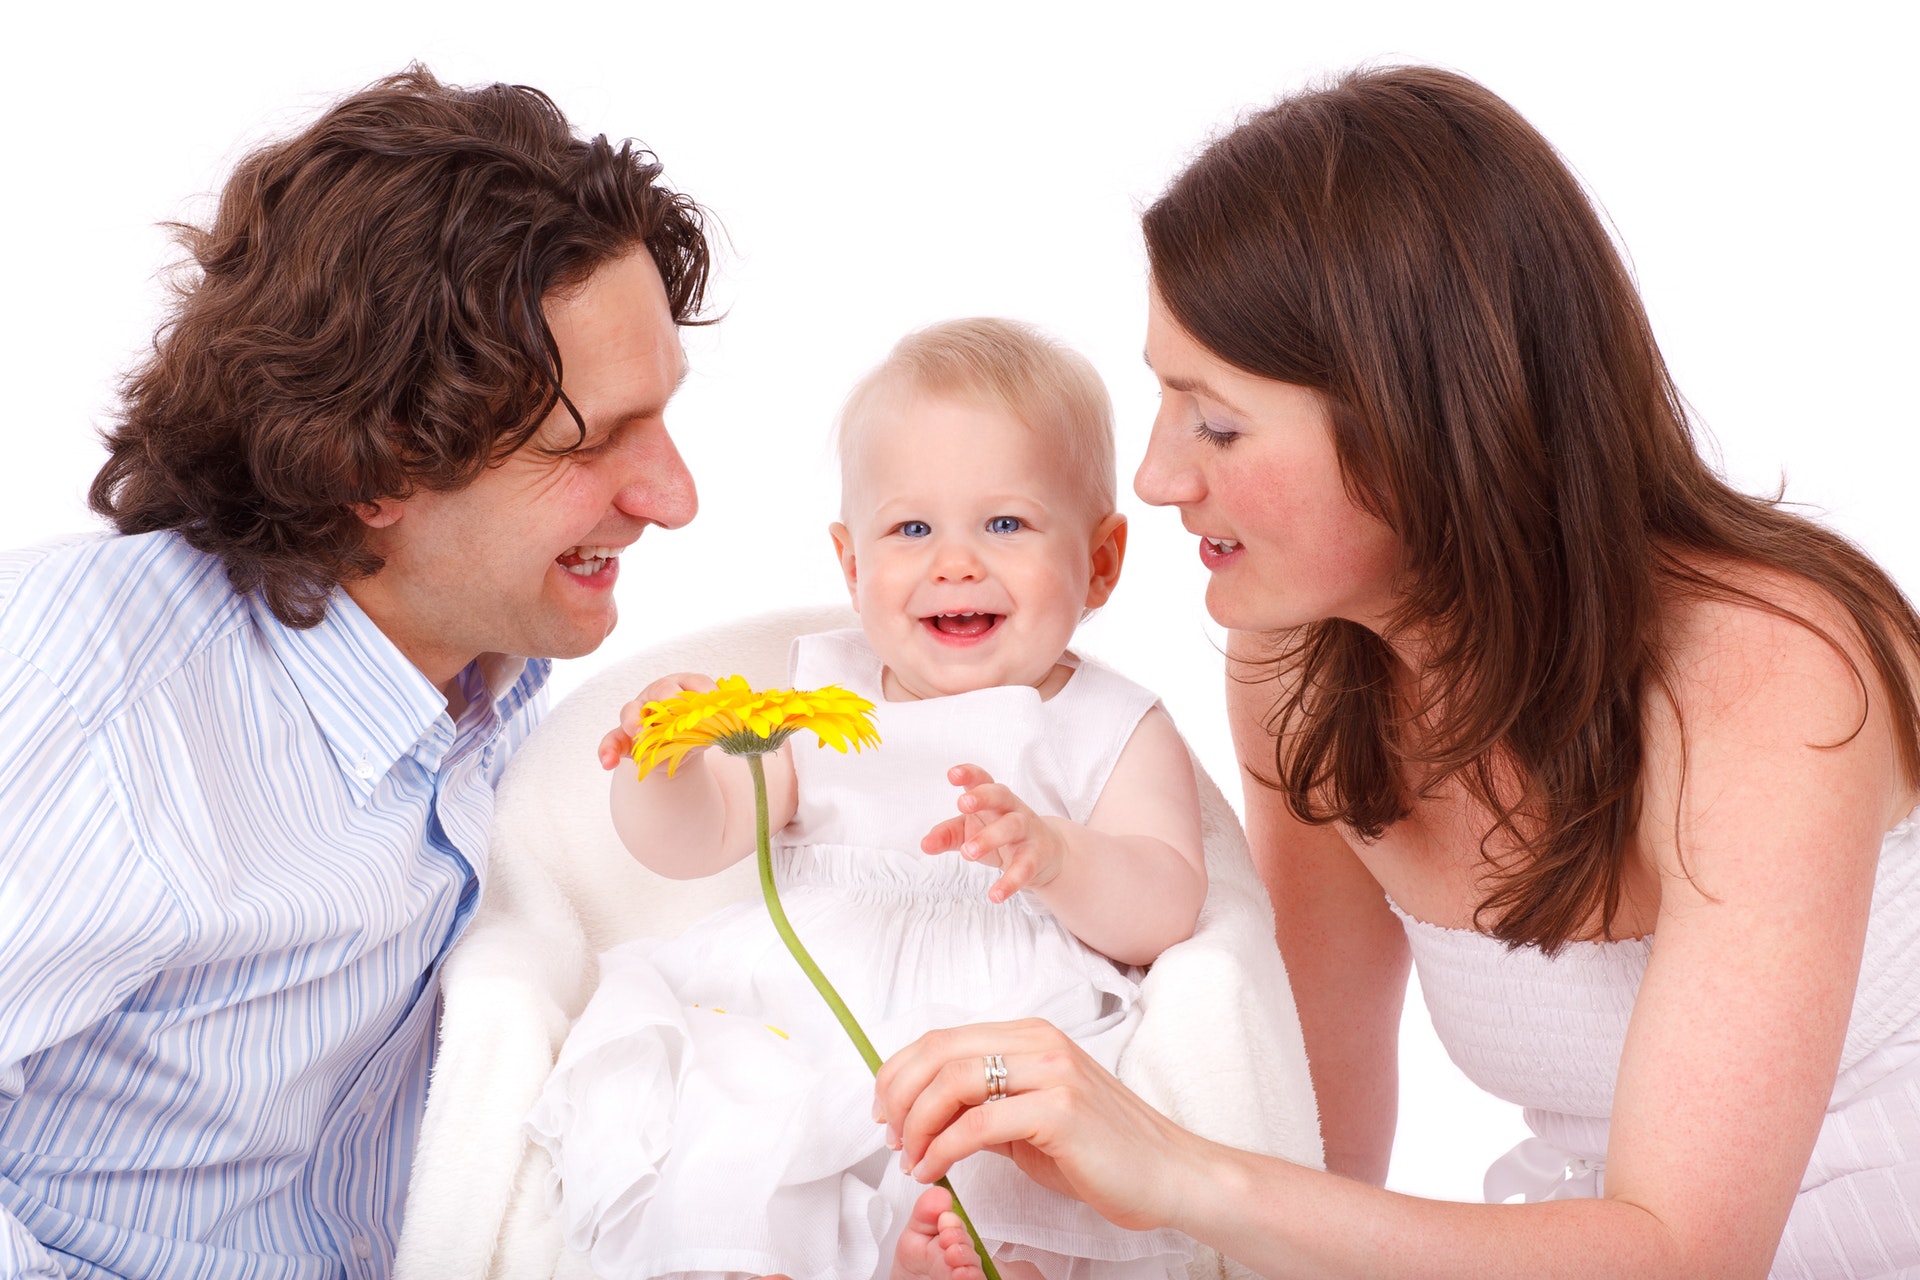
First and the last thing everyone talks when teaching photography is lighting. It is so important that some photographers even first look to find a great light and after that, they start looking something to take a photo at. In order to take a great photo, you need great light. So, at home, you need to look for the best light available, and that will be the big window on the sunny side. If you live in the Nordic country and it is a period of polar night approaching, you need to use that window when the sun is up that brief moment, if any. There are lots of setups how to use light, but in a standard setup, you set your subject sideways by the window so that the window is mostly on the front side of the face. You may want to achieve the “Rembrandt triangle” on the shadow side of the face. If window light is too harsh, you may move your subject further away or use some diffusor on the window. In the example photo below I had white almost transparent curtains covering the window to soften the light during home portrait photography.

Natural Light Portrait Example 2

The window light may be enough, but if you are not looking for too dramatic shadows, you can improve the quality by filling the shadow side with some light. This can be achieved in multiple ways. Some reflector can be used. If you do not have a proper photography reflector you can use any white surface; cardboard, white sheet or anything. In the example photos, I used a reflector with silver coating. Silver coating seemed to match the light coming through the white curtains better than reflector with gold or half gold. I set the reflector right next to subject as close as possible to reflect the light from the window to the shadowy side. You need to have the reflector in front of the subject and not totally on the side or otherwise you will lighten the ear and the back of the head. We did not have any assistant available so I set the reflector leaning against a chair that was standing on the bed.

If you have off-camera flash available with some diffusor or softbox you can, of course, use that to fill the shadow side. But be subtle not to flatten the image too much. You can also use on-camera flash if you are able to turn it backward or sideways to reflect via the walls. But this depends on a lot on the room and you need to be careful not to create extra shadows.

2. The Background

A good photographer always checks the background first before concentrating on the actual subject of the photo. To get good portraits at home you need to find a good background, which usually is a plain wall without anything on it. The tricky thing is that you need that background to be near to the best light. I have two good windows for indoor portraits at home and to utilize the other one, I need to remove one painting from the wall. The background is an important factor that makes professional photographers different from beginners. For each and every photo, you need to check the background and get as little distraction there as possible. The color of the background matters also, but that is a discussion of its own.

Natural Light Example 3

3. The tricky part: the right pose and facial expression

It depends a lot on the person how easy it is to get a good facial expression. For some people, it is just “smile” and “click” and that’s it, but for most of the people you only get that awkward Chandler-smile (check from Google or YouTube). If you are not working with a professional model that can make a good face with minimal guidance, this will be the tricky part. What kind of expression you want depends also of course on your goal and your subject. For a company executive photo, you need to get that trustworthy smile, for heavy metal guitarist, you may want to get that murderous look. A teenage girl may want that (in?)famous duckface look.

I usually start with getting the pose right. For normal home portrait photography, you want to turn the shoulder line a little bit diagonal towards the camera. Then you need to get them sit straight and bear their head up. If you take the photo lower than their eyes they look more majestic and more authoritarian. If you take the photo little higher than eye level you get their eyes look bigger and there is a bigger change to diminish the possible double chin. This is also the right position if you are taking that duckface photo. If you get your subject to lean little bit forward you can get more attentive and personal looking photo. Leaning forward also diminishes possible double chin.

When I get the pose right I take a couple of photos without asking for any facial expression. This is also the time to check that your camera settings are right and that you get the correct exposure. Then I ask the subject to smile and I take a couple of photos regardless how awkward the smile is. Do not tell them! At this point praise how good photos you are getting. At this point, they usually get more relaxed and confident as they think that you already have the photo. Do not tell them if you do not have the perfect one yet. Then I usually use a little trick: I ask them to do something crazy. Stick tongue out, roll their eyes or anything crazy. If you get a smile as a reaction to your suggestion, capture that! If you get that crazy look, capture it. (That may be priceless.) And be ready to take a photo right after the crazy face when they usually do that natural relaxed smile. That is the one I am aiming for. The crazy face exercise is just a distraction to get them relaxed and to trigger the smile. There are of course other strategies to get the right expression, like the one the famous Cartier-Bresson is said to have: just wait until there is the right expression.

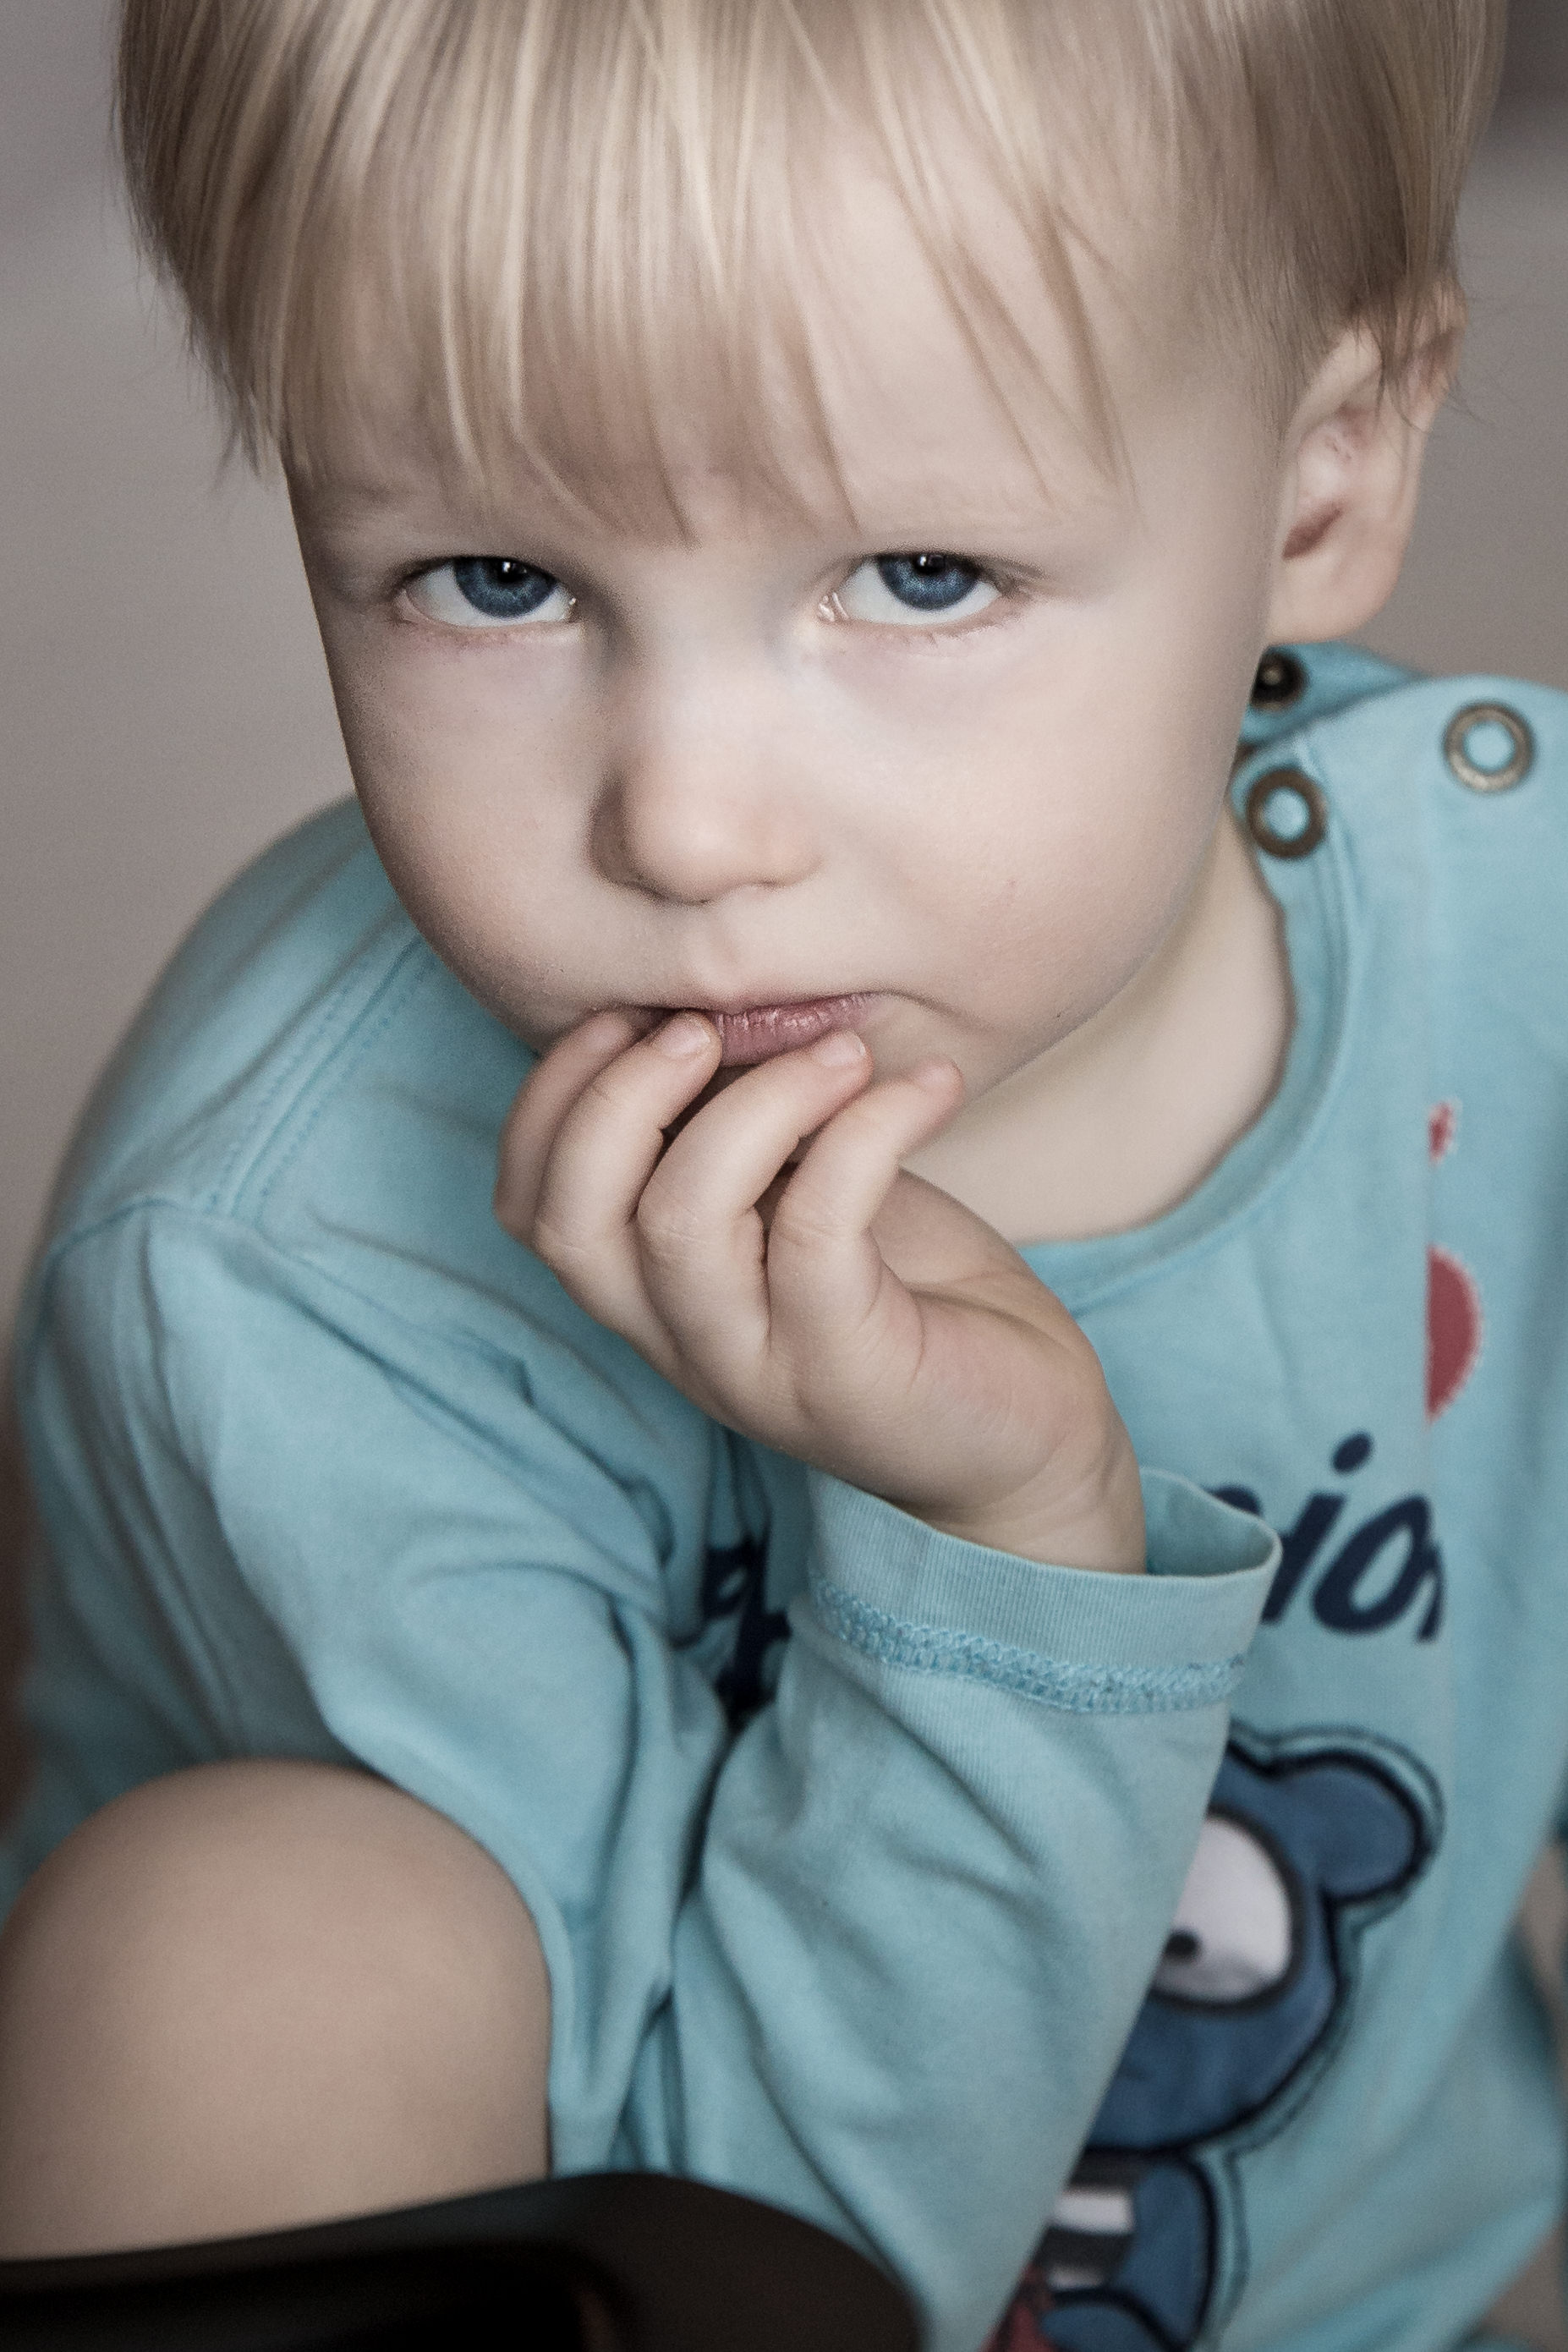
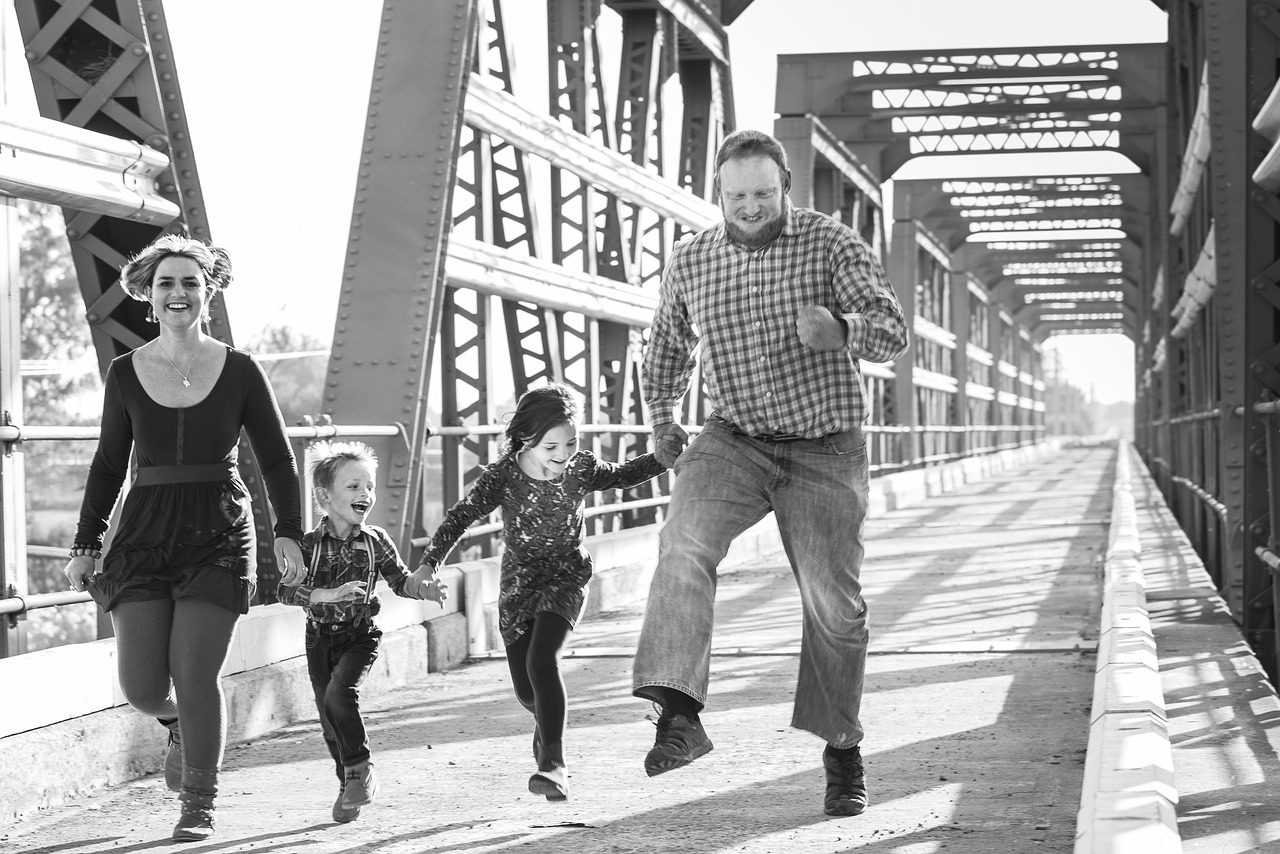
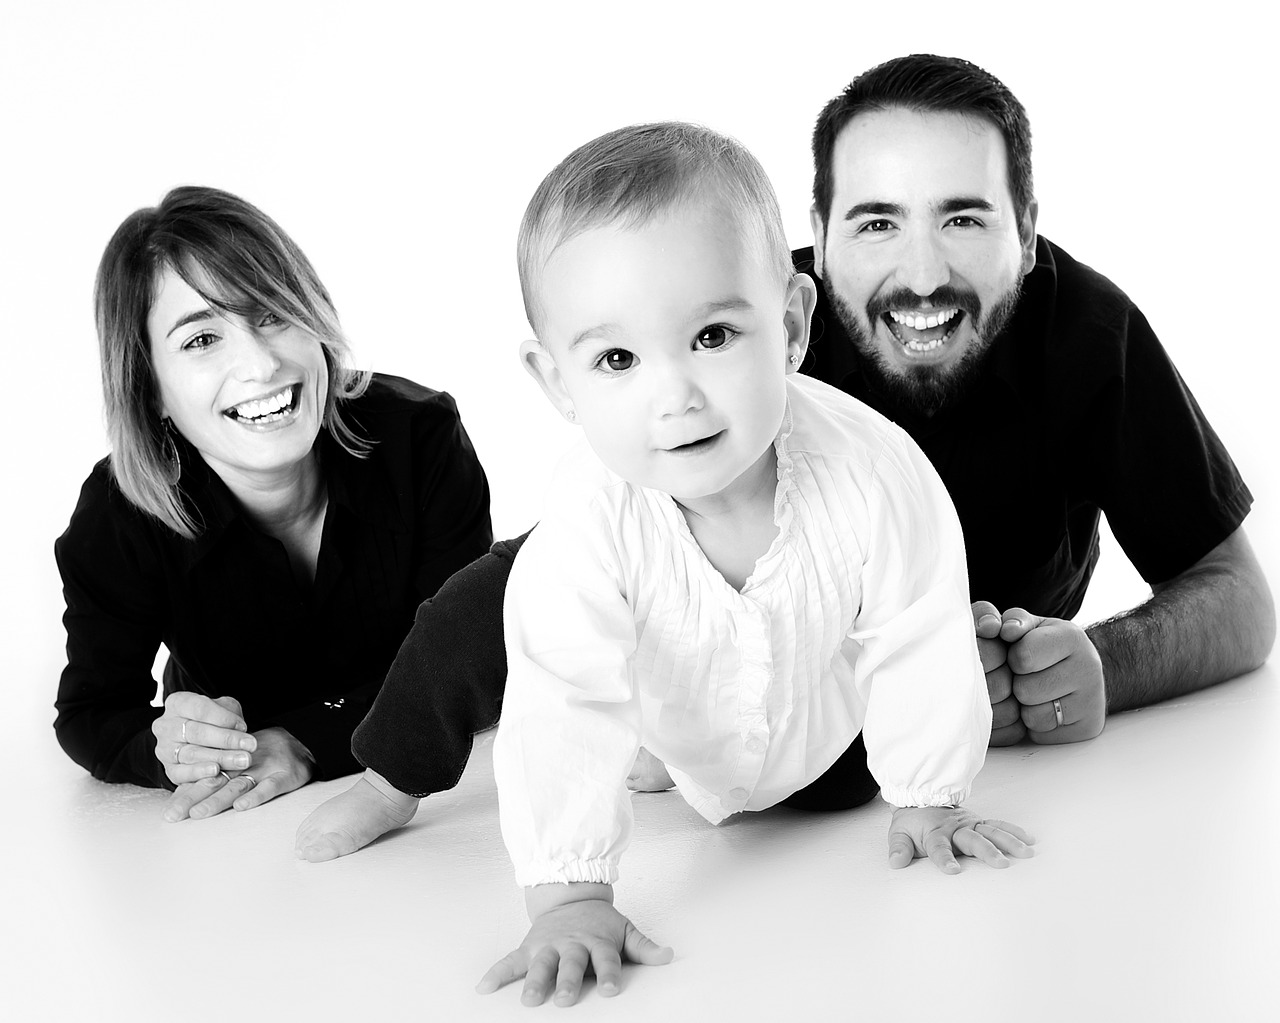
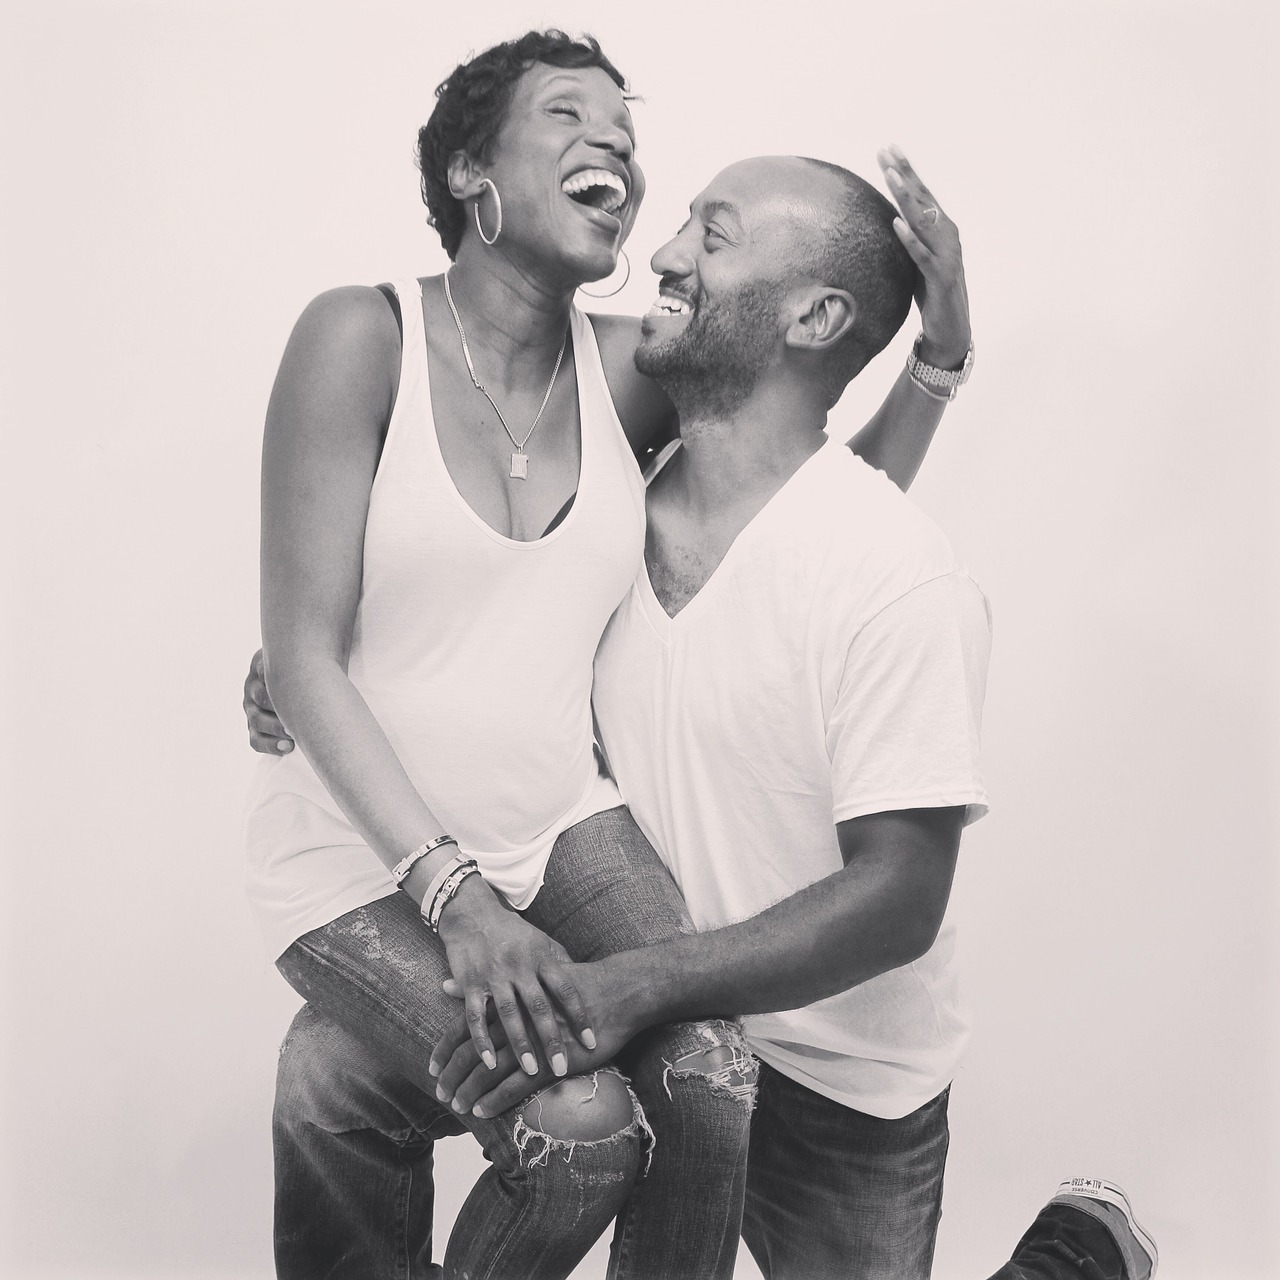
It is also a good advice to take photos when the subject is actually not posing for a photo. Like the leftmost example in the beginning of this text. Some people are just natural talent, like the boy below.

Natural Light Example 3

4. Post-processing – where the magic happens

Something which non-photographers may not realize is that nowadays almost every photo published by professionals are processed with a computer. There are zillions of great photos on Internet and people are so used to see processed photos, that if you want to make your photo pop-out, you need to get the final edge via post-processing it with the computer. Post processing is where you update a good photo to a great photo. Nowadays the skills on post processing are one essential factor that makes the difference between just ok photographers and the great ones.

The amount of processing depends on your goal. For beauty magazines and advertisements the amount of processing seems to be nowadays unnatural. For normal portrait photo without any artistic effect, you want to do only some subtle adjustments so that the person in a photo does not even realize what kind of tricks you have done with the computer. There are lots of tutorials how to retouch your portraits and how to do e.g. some facial contouring. You may sharpen and brighten the eyes or even do some more advanced enhancing of eyes in Photoshop. You may also smooth the skin a little, adjust color vibrance, lighten the shadows if needed, add some clarity to the hair, check the lip color, whiten the teeth (but just little if you are not doing a Pepsodent ad).

If the photo is going to Internet, nowadays the trend seems to go towards the more high key type of photo, i.e. you may want to brighten the highlights and shadows quite a lot compared to a normal natural looking documentary photo. You may also want to add some vignetting to the background. You also need to crop the photo. This is actually one of the most important things in post processing. You want to have the position of the subject within the frame to be perfect and that is done by cropping. I usually take the original photo too wide framed to have more room for post processing decisions about the final crop. There is an advice around that if you want to improve your photos, go closer. That applies to post processing also; It usually helps to crop tighter. If I have the feeling that there is something wrong in the photo, or something is missing, is usually try to crop tighter. Nowadays it is completely ok to cut off the top of the head. That gets a more intimate feeling on the photo, just like leaning forward. See the rightmost example photo.

Below is the final photo, which was taken according to the original request. The three photo series on the beginning of the blog text is my own vision, which we took right after the photo below was taken. Other photos in this article are more of my examples of photos taken in front of a window without artificial flashes.

IMG_2608_mini

Portrait Photography Tips and Tricks

Need some tips for your camera settings? Ok, here you go. Use as low ISO as possible. If you want to have whole head sharp, use something like F11 and adjust shutter time accordingly. If you are shooting without a tripod you do not want to go to longer than 1/80 or 1/60. I usually do the portraits without a tripod to be able to adjust the position and angle quickly. If you do not have enough light or if you want to get more focus on eyes, and blur ears little, go to lower F value. You can even go to 2.8 or lower if your lens allows. I usually set ISO to 100 and start with aperture priority mode with F8-2.8 depending on the light and the effect I want. If I want to have more control and do more adjustments then I switch to manual mode.

How about focal length then? That is really a topic of its own. Some people prefer 200mm. Sometimes 80mm is referred as portrait lens. If you check portraits on Peoples magazine or similar you may be surprised to see that there is more and more portraits taken with wide angle, something like 24mm. So, to be on safe side, use anything between 70-200mm for normal portraits. For beauty photos go towards 200mm. If you want to get more character out, go towards wider angle.

The Value of Window Light in Portrait Photography

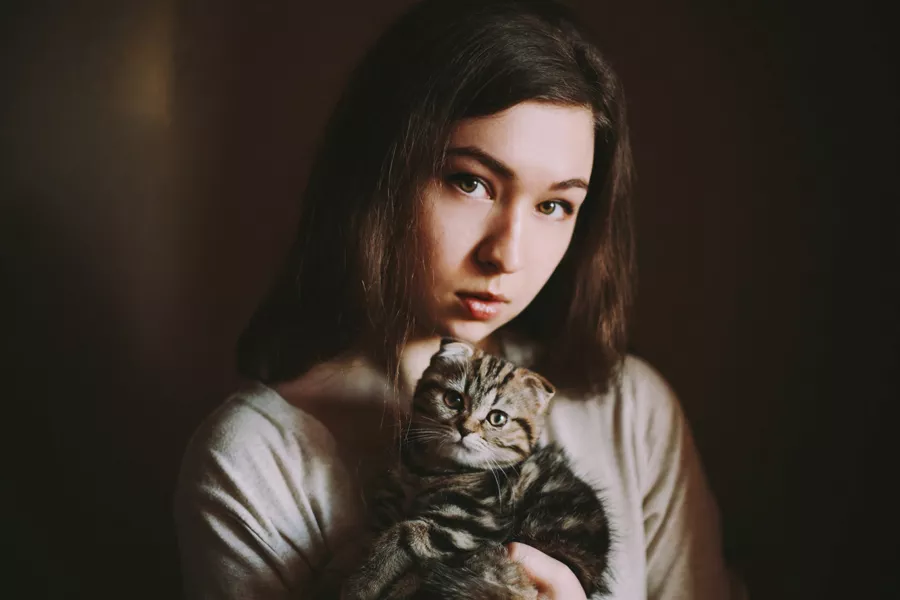
The concept of light can be intimidating, especially for beginners. Even if artificial light isn’t in the picture, the natural light might seem exceedingly difficult to work with. If you look at it from another point of view, however, then you’ll see the beauty of light’s many personalities. No matter where you are, be it in the safety of your home or out in nature, you’ll encounter countless opportunities to work with unique lighting situations. Throughout a single day, it’s possible to find a plethora of photo-worthy spots where fantastic, well-lit portraits can be taken.

Window light is especially useful for beginners in the photography world. It can be very uncomfortable to openly shoot outdoors when you’re not confident in your new found interest. When I discovered photography, I didn’t dare to photograph in public for fear of being thought of as an unfit artist. Though my fears were irrational, they were also an understandable reaction to a lack of skills. If you can relate to this or any other form of shyness, anxiety, or overthinking, then you’ll find much comfort in knowing that shooting great images indoors is very possible. Once you familiarize yourself with your creative skills, your confidence will naturally increase.
//

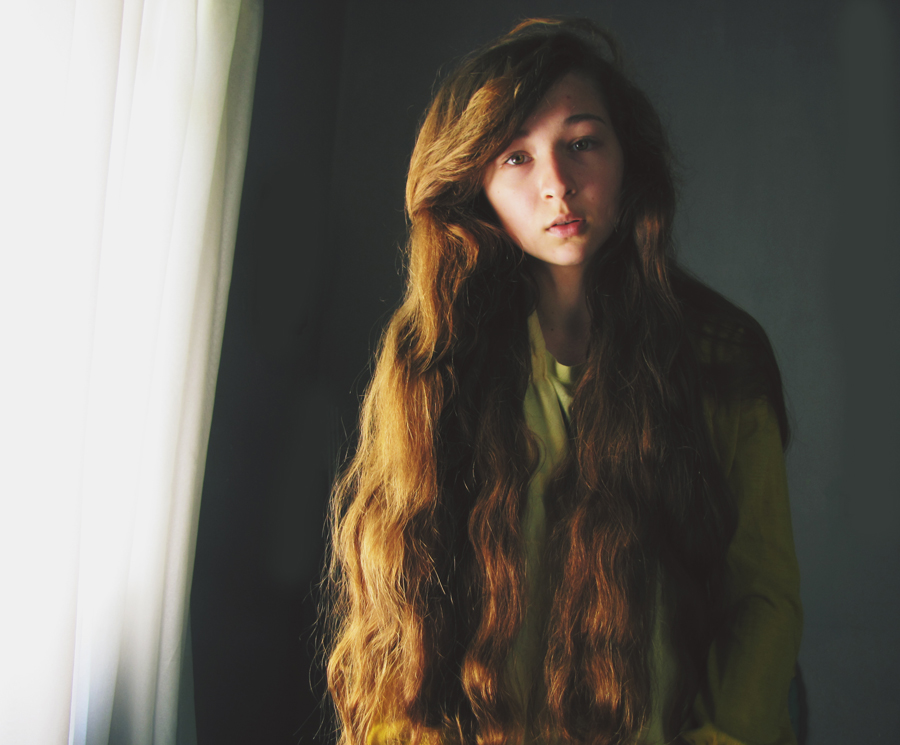
You might think that windows are too simple. Though they may be limiting to a certain degree, working with them right at the beginning of your photography journey will help your imagination thrive rapidly. The more challenges you face as a beginner, the easier it’ll be to find ways out of seemingly impossible artistic situations. If your mind gets used to finding solutions no matter how large an obstacle is, you’ll gracefully navigate through potential future difficulties such as unsuccessful photo shoots and technical issues.

In addition to strengthening your patience, experimenting with window light will allow you to appreciate the power of limited light. Oftentimes, we seek open locations and perfectly lit spots which guarantee beautiful results. Finding comfort in a lack of light will allow for interesting compositions, which will, in turn, allow for even greater portraits when you do shoot in locations with more light.
//

If you don’t know where exactly to start, simply stand in front of a window. If you’d like to take photos of someone else, it would greatly help to have a test shoot with yourself beforehand. A test shoot will allow you to understand the way light embraces facial features from different angles. Simply take photos of yourself from different positions and angles; this will strengthen the relationship between you and your camera. When you have a shoot with a client or a friend, you won’t be overly confused about light’s interesting ways of working. Furthermore, you’ll be more familiar with self-portraiture, a wonderful genre that encourages self-reflection, vulnerability, and creativity.
//

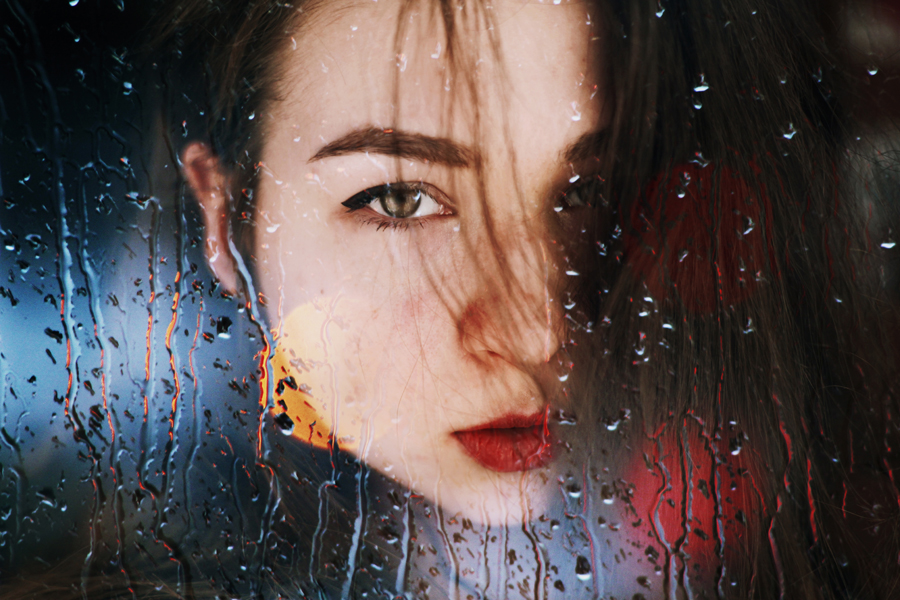
On days when the weather isn’t at its kindest, window light can be just as useful. While harsh midday light will compel your subject to squint, milder light on overcast days will provide a mild glow. If you want to make window light stand out even more on such days, use a reflector. This will serve as an extra source of light, brighten your subject’s face, and give their eyes an extra sparkle. My favorite kind of light is one that hits half of a subject’s face, creating a portrait that is reminiscent of 18th-century paintings. Windows make this effect very easy to achieve.

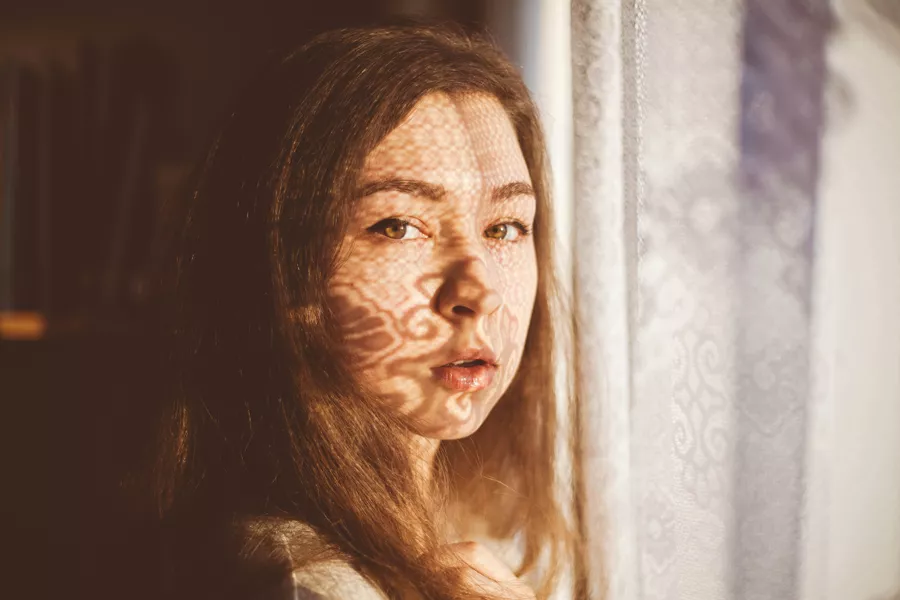
If you’re shooting indoors on a particularly bright day, curtains will come in handy. In addition to softening the harsh light, curtains will cast stunningly intricate shadows on your subject’s face. This will not only give you many ideas to work with, but it will also provide you with refreshing and dreamlike decorations. In portfolios, such photographs stand out beautifully. Don’t be afraid of using other kinds of fabric for creating shadows, too.
//

Window light possesses far more potential than most people imagine. Its versatility can satisfy photographers with all kinds of preferences. Whether you’re in the mood for a soft, harsh, or dreamy light, a window will provide you with the ideal environment for your shoot. If you take advantage of this easily accessible light, you’ll be one step closer to being a more open-minded artist and thinker. If you make the most of your imagination, you’ll find yourself thriving along with your photographs in no time.

Happy shooting!

Getting the Perfect Family Portrait

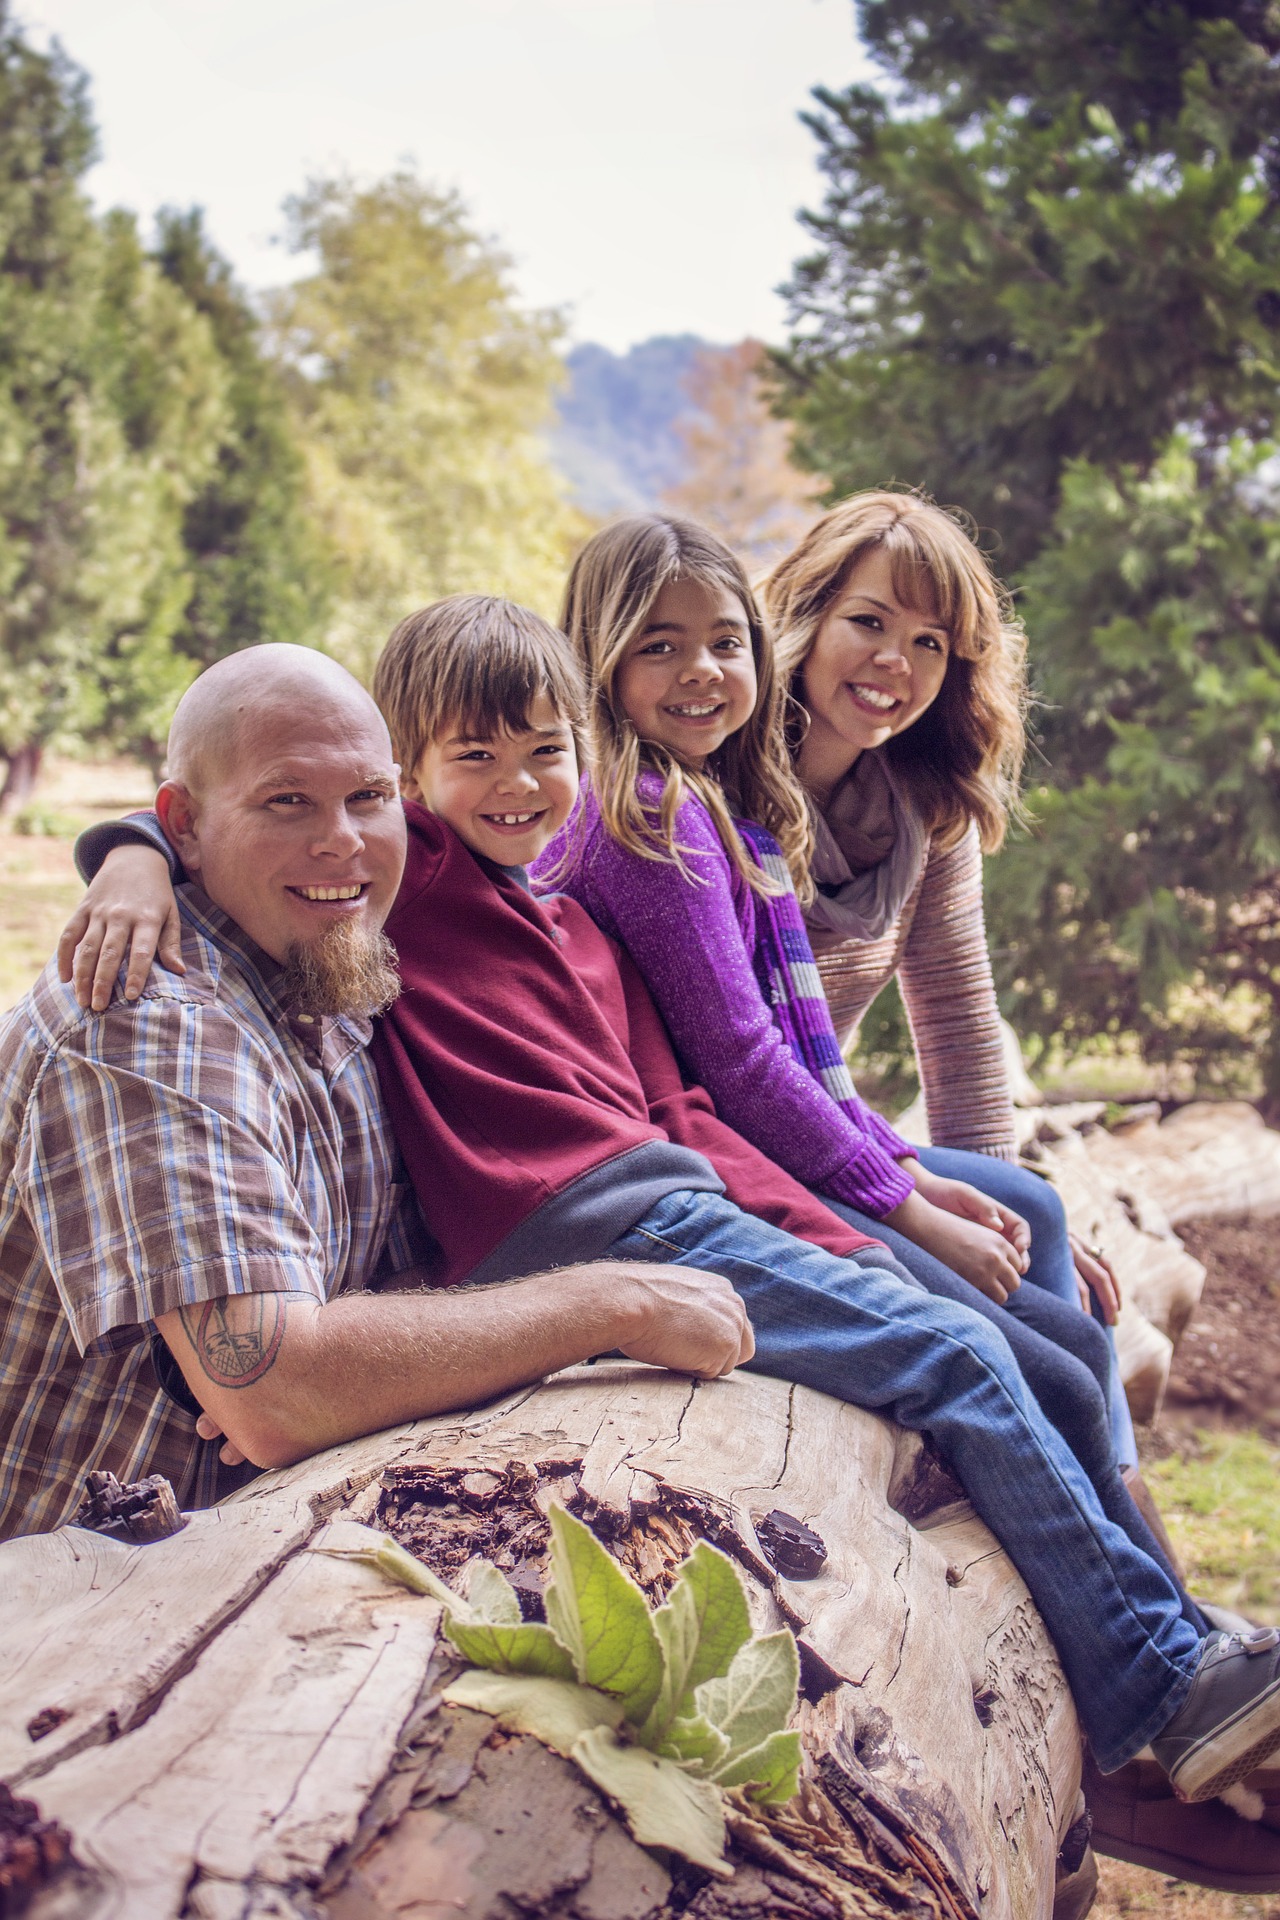
One of the most profitable occupations a photographer can have is shooting portraits. Everyone wants to get beautiful portraits to keep around for memories. Specifically, professional family photography is in high demand. However, working with families can be difficult. Trying to find the right setting and mood for each family takes a bit of time and understanding. Working with younger families and their children can be especially tiring. But, creating a lasting memory doesn’t have to be a bad day at the ‘office’. By following these tips, you can capture the beauty and individuality of each family in a picture that will last generations.

12 Tips for Getting the Perfect Family Portrait

  1. Plan Your Aesthetic in Advance
  2. Pick the Right
  3. Outside or Inside
  4. Get to Know the Kids
  5. Use a Tripod
  6. Lens of Choice
  7. Set Manual Exposure
  8. Keep the Focus Steady
  9. High Shutter Speed
  10. Props are Important
  11. Work from the Top Down
  12. Don’t Get Frustrated

Family portraits are pictures that tend to be cherished for a lifetime. Additionally, the significance of why the family is all together should also be taken into consideration and captured through the images taken.

There are a few things that create a distinguishing difference between a good family portrait session and a great one, This includes:

How to Capture the Perfect Family Portrait

1. Plan Your Aesthetic in Advance

If you’re working with professional models, you’ll likely be providing the props and wardrobe from the company you’re working with. However, if you are not supplying the wardrobe, you need to make sure the subjects of your shot have a dress code. You don’t want to take a group shot where everyone is wearing bold and clashing colors! It would be hard to keep the focus of your final image on the subjects. Know what you’re going for, and make sure everyone involved in the shoot has a thorough understanding of the dress code.

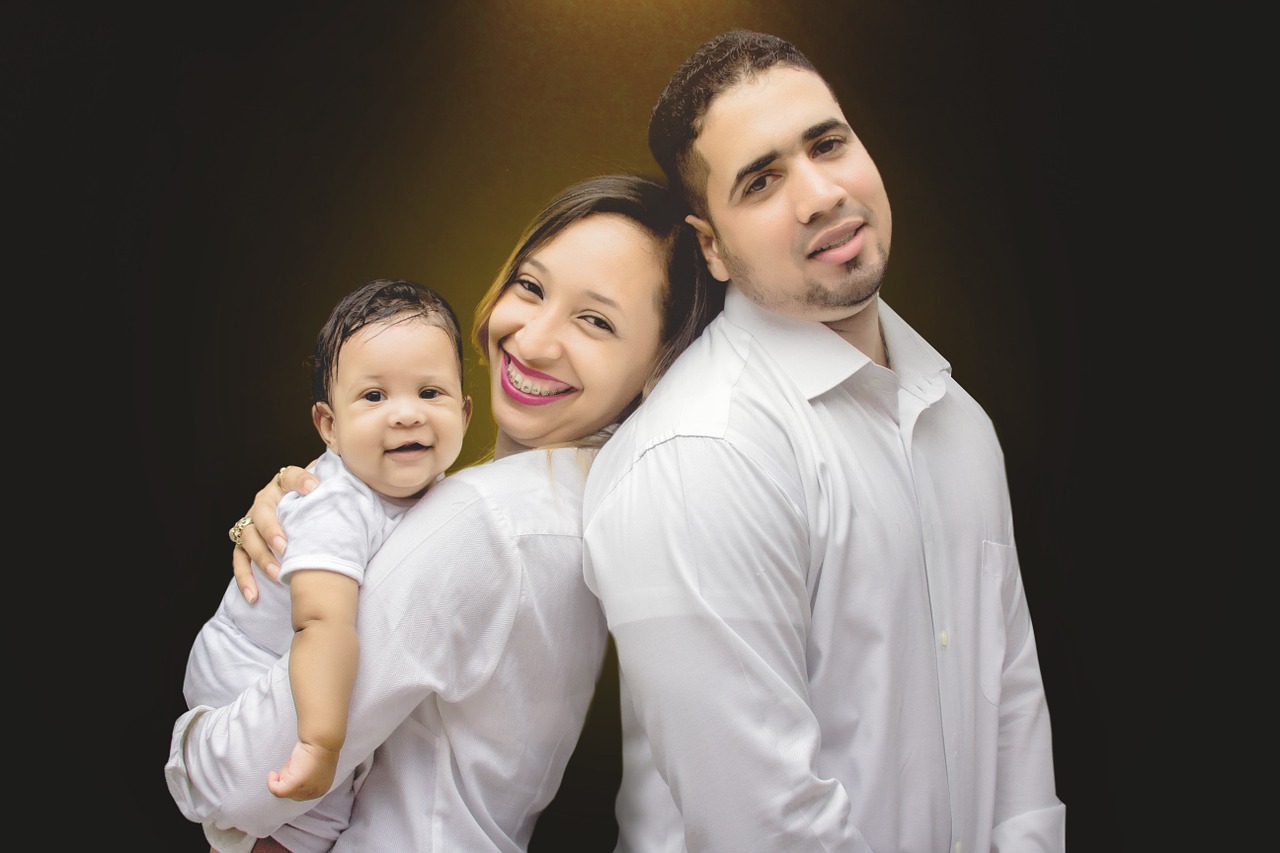
outdoor family portrait

2. Pick the Right Setting

Are you planning a wedding portrait session? Get to the venue early and scout out the right places for good framing and lighting. Are you working in the studio? Set up your lights according to the nature of the group shots. Is it a still photo session, are your subjects going to be moving? What time of day are you creating with your lighting? Know these things going in, that way you can focus on posing and minor corrections the day of the shoot.

natural family portrait

3. Outside or Inside

If you’re working in a portrait studio, you may not have a choice in this matter. But if you’re freelancing or have a studio that has outdoor space, you need to decide which is better. Sometimes you can let the family decide, but a lot of clients can be indecisive about their photos. This is where you need to come in and show them the way. Decide beforehand if you’re going to shoot indoors or outdoors and have everything set up and ready to go.

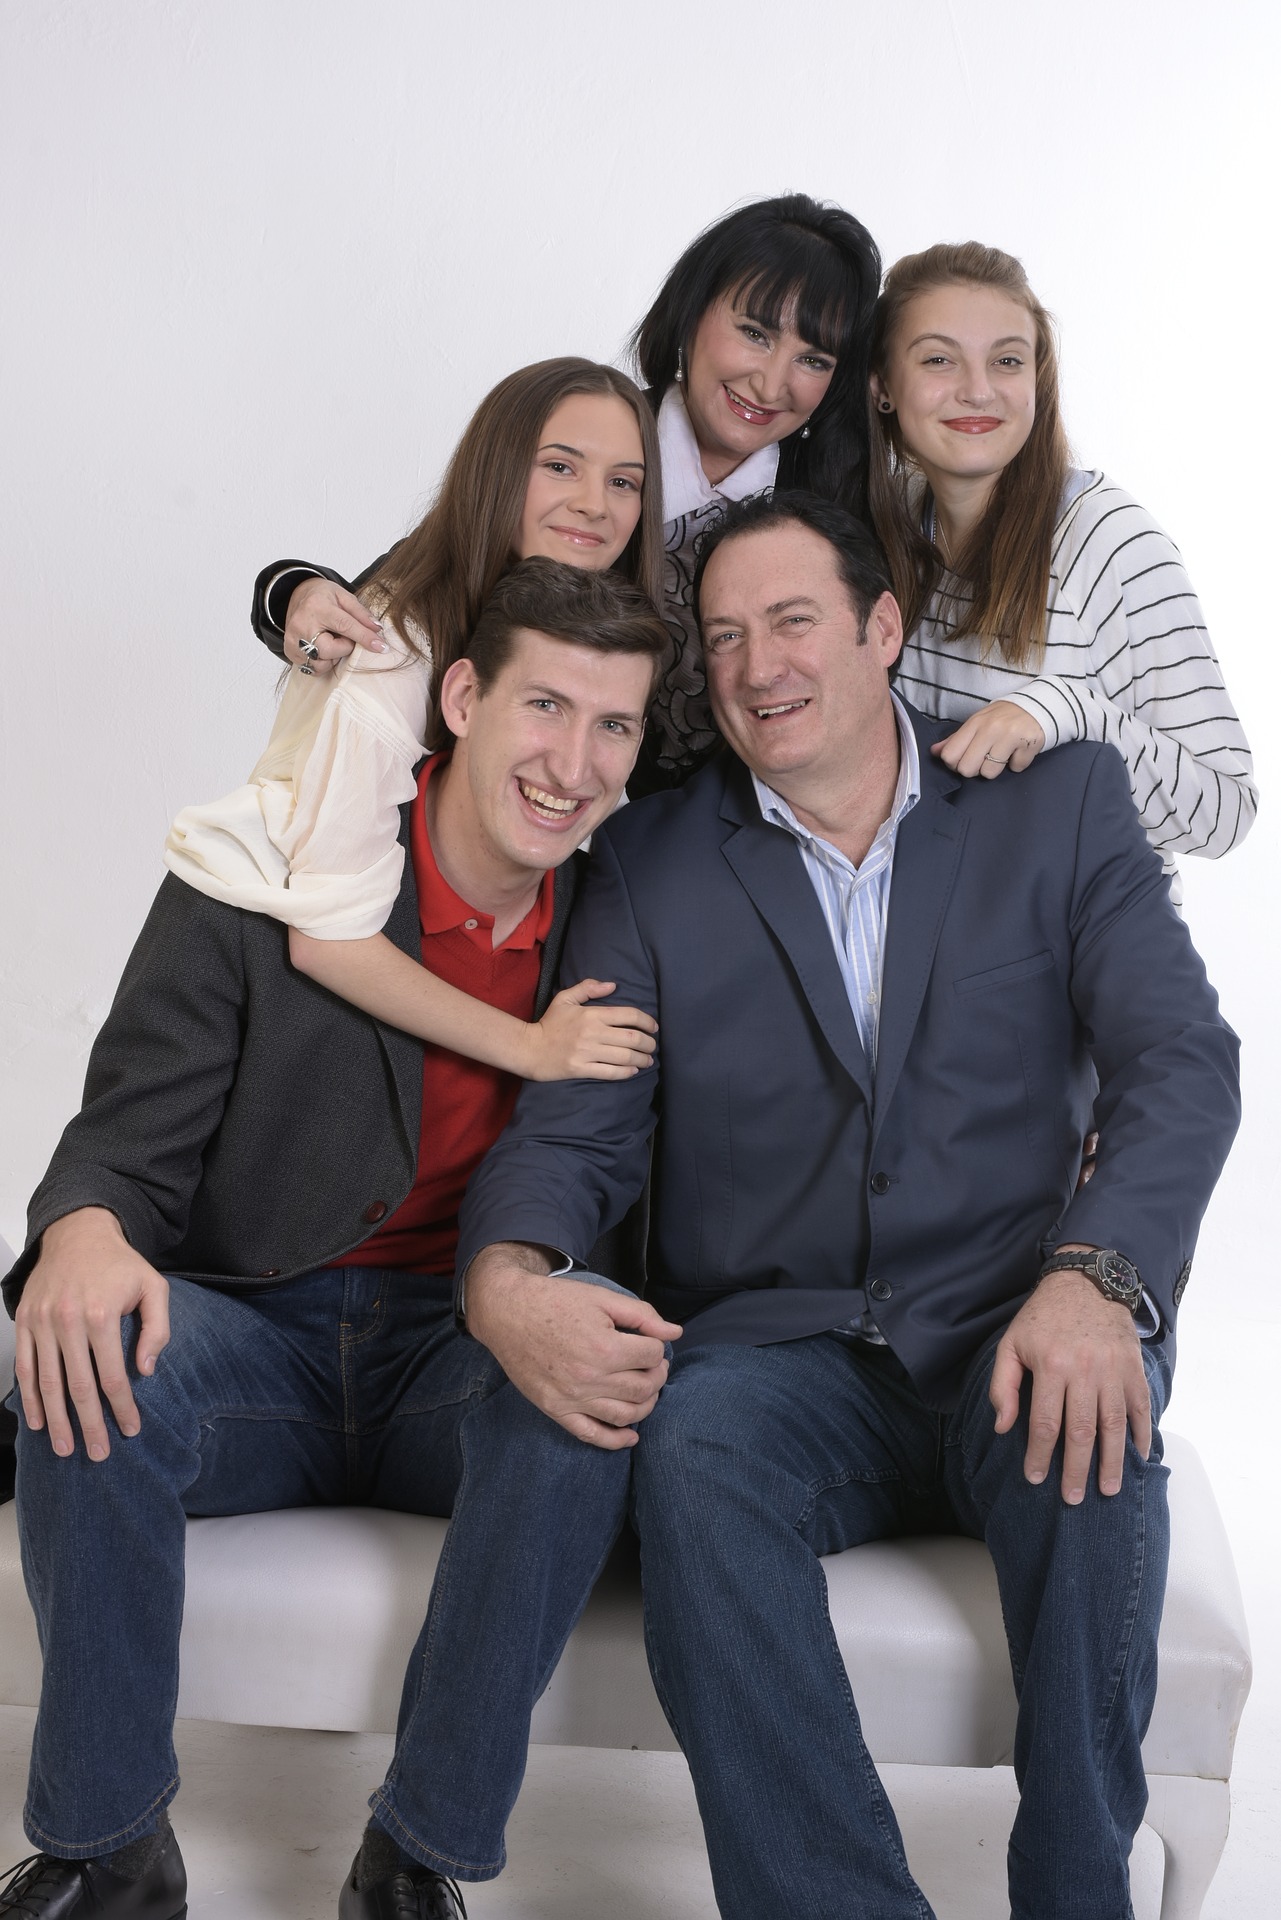
family portrait in-studio

In-studio portraits are actually perfect for younger families with small children. They are also great for families with grandparents. The confining space allows you and the parents to keep track of the youngsters. You won’t have to worry about anyone falling in dangerous terrain. Keeping everyone happy and safe is easy to do in your indoor studio.

Shooting outside can also be a great advantage. Generally, an older family with children who are 10+ years old do great outdoors. The natural sunlight can give your pictures a beautiful glow and enhance the portrait. Taking a family portrait outdoors is especially great for unique shots. Get creative here when posing your models. These are the kinds of photos that families will be able to enjoy long into the future.

outdoor family portrait

4. Get To Know The Kids

If there are kids involved, you should make it your duty to learn something about each of them before you take your camera out. Once the little ones are comfortable being around you, then everything after that tends to be smooth sailing for the most part. It often helps when I carry prize or prop I can give away to each kid so I can get their attention. If this little prize fits into the theme of the shoot, then that would be a plus as well, but always keep in mind that kids are a bit tricky and not all the same. Do your best to gain some knowledge from the parents, as well as interact with the child, and watch your shoot become a lot easier.

family

5. Use a Tripod

The desire to be on the move with your camera is hard to overcome. This is especially true if you are shooting outside or trying to capture natural moments or movement in the portrait. But there are a lot of advantages to keeping still and using a tripod to shoot your portraits. First of all, it allows for more open communication between you and your client. When you always have your camera to your eye it’s hard to be aware of anything else. By making eye contact with your clients and talking to them, you’ll find out more things about the family that you can incorporate into your shoot. By not being constantly on the move, you also ensure that you have the time to check your settings before each shot. There’s nothing like getting the perfectly framed picture on the wrong settings to ruin a whole photo shoot.

6. Lens of Choice

I personally don’t recommend traveling with too many lenses for various reasons. The first of all these reasons are you don’t want to be swapping out your lenses too often on a family portrait session. Swapping out lenses is great and all but always keep in mind that the time spent doing that at various intervals can often lead to you missing amazing shots as well as take a huge chunk out of your time to get creative. A second reason that can also be considered is, are you going use all of the lenses you decided to pack your camera bag with? For the most part as photographers, we sometimes end up carrying a lot of excess loads we don’t really need. Pick the perfect lens for your shoot beforehand and save time as well as having a load on your back.

7. Use Manual Exposure

This is something that is true for all kinds of portrait shots, not just the family portrait. When shooting a consistent subject in a consistent location, it only makes sense to keep your settings consistent. After you get your settings settled, you don’t want them to change. Having different exposures for each photo will make processing and editing a whole lot more difficult. When you set your camera on the shutter or aperture modes it can change the settings without your knowledge. Be sure to shoot on manual to keep all of the settings consistent.

manual settings portrait

8. Keep the Focus Steady

Another consistency issue can be the focus. If you don’t lock in the focus or have it on the manual setting, it can shift during the shoot. For example, if your focus is set to the shutter setting and someone moves, the focus could fix on the background instead of the family’s faces. Sometimes a picture that was perfectly framed and posed can come out looking fuzzy and blurred. By keeping your focus setting locked or on manual mode you can make sure that your family is always the focal point of the picture.

fun family portrait

9. High Shutter Speed

You will more than likely be doing continuous shooting and as a result of that, it might be best to have your shutter count at least 1/250 if not more. If there is room to go higher on your shutter speed they do so to avoid any possible blurred shots. Kids are always moving pretty fast and as I mentioned earlier, you need to shoot continuously to catch them in their pure actions. If you find that the kids are moving faster than expected, for exampling running or jumping then 1/800 might end up being a more suitable shutter speed.

10. Props are Important

Try to travel with props fitting for the theme or holiday if possible. A lot of photographers overlook the importance of having good props and the impact it has on your photos. For example, a few empty wrapped gifts or even some Christmas tree decorations go a far way toward creating the perfect family holiday card photo.

11. Work from the Top Down

Once you have everyone at the shoot, dressed and ready to go, begin by organizing where everyone should be situated within the shot. You want to work with the heights and body shapes of your subjects to create an image that is visually appealing overall. Make sure everyone understands the parameters they can move within while staying in the frame of the shot. You can even mark the outlying boundary of this with tape so that it doesn’t appear in your photographs, but it does let people know not to step outside of those lines!

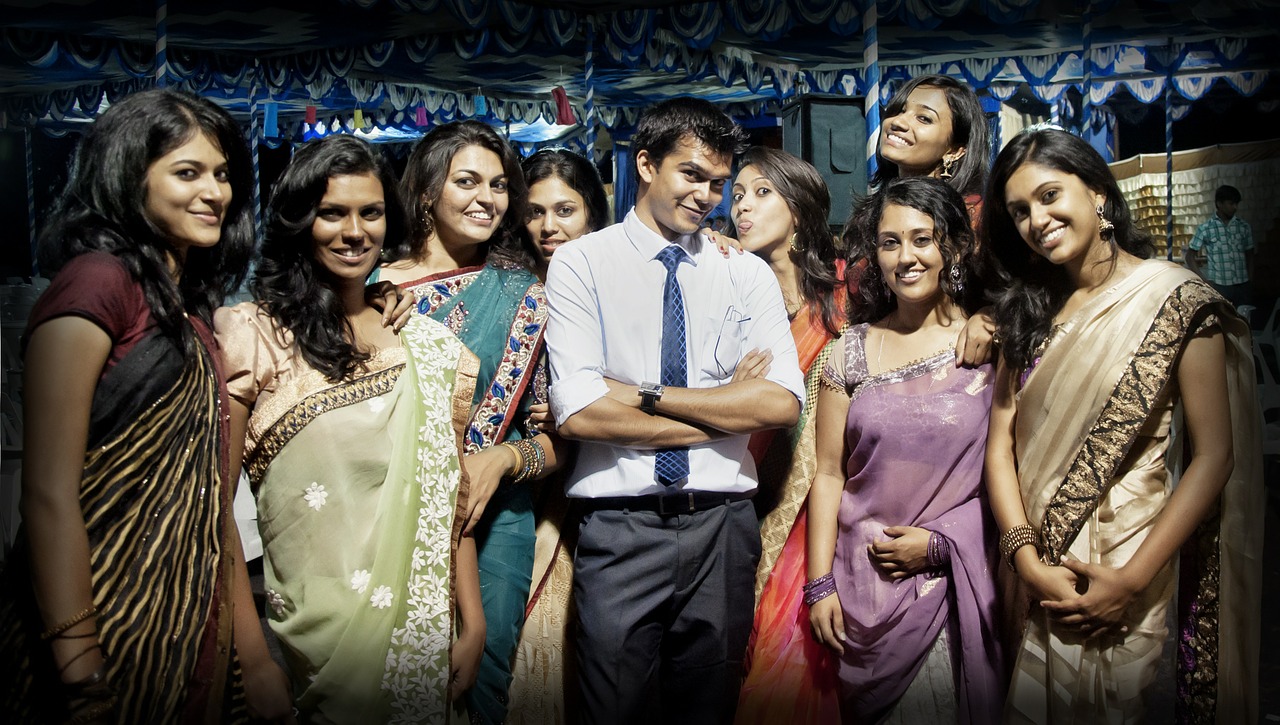
big group shot

From there, work with each person on their individual poses. Remember to adhere to the final tone. If you want joyful and energetic, people should either be moving or creating the illusion of movement with their poses. If you want a standard professional portrait, everyone should be looking towards the camera. If you are selling a product, the focus should be on the product. For a family portrait, you have to make sure everyone is equally represented.

First, you set the basic structure by determining where people are going to stand within the picture. Then you work with each individual on how to pose. The individual poses should work together so that the subjects are not fighting for attention within the image. If you’re shooting for fashion, your group portraits should tell a story and focus on the product. If you’re shooting for family portraiture, your final shot should capture a moment in time while focusing on the subjects.

12. Don’t Get Frustrated

Obviously, it can take a lot to organize a group shot. If you become frustrated, your subjects will mirror this in their facial expressions. If you have to walk away for a minute, do it. If you’re having trouble, just tell everyone to have fun and experiment with their posing. While they do this, snapshots off quickly.

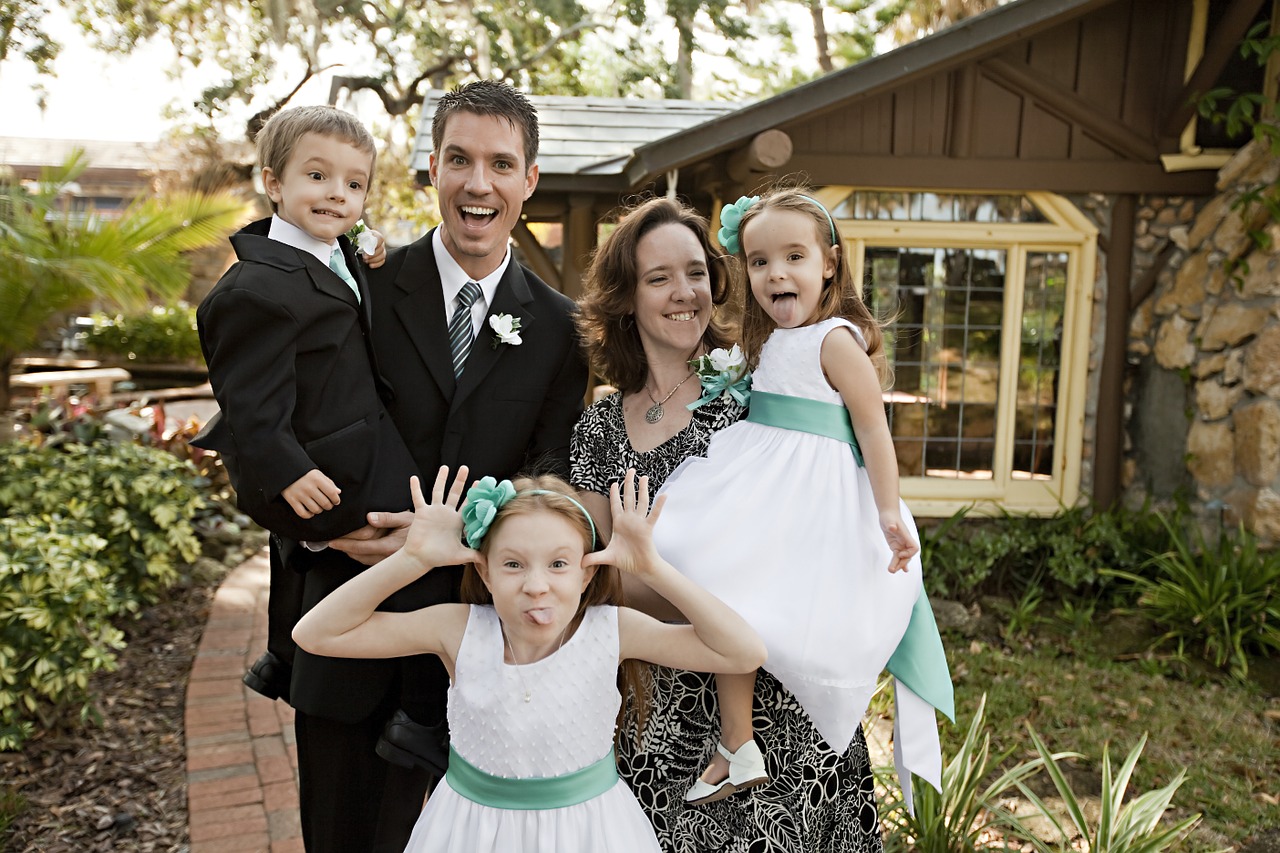
family wedding photo

Family Portrait Pose Tips & Tricks

Sometimes when a family, especially one with young children, goes into a studio, there’s an air of nervousness and stiffness, and that creates some unnatural and forced pictures. No one wants to look back at their pictures and see strained smiles and stiff poses. Getting natural family photos is all about having fun and capturing emotion.

Top 10 Family Portrait Pose Tips

  1. Bend It
  2. Capture the Reaction
  3. Get the Lighting Right
  4. Break Out the Props
  5. Use Flattering Poses
  6. Sit Close
  7. Tell Someone a Secret
  8. Hold Hands
  9. Have Fun
  10. Embrace

Poses themselves often intimidate unprofessional models. People want to look like themselves in their family albums. Individuals of all kinds want to own heartwarming photographs that their children will treasure in the future, not awkward snapshots of their parents looking out of place. Similarly, couples want photographs that they can proudly share with their friends on social media.

Fortunately, poses don’t have to be awkward. They can make your subjects feel comfortable in your presence. Certain poses can actually strengthen the client-photographer bond.

1. Bend It

A good way to remove the stiffness of any pose is to get the family to move and bend. Sitting or standing perfectly straight is not natural. Make good use of a person’s joints and have them bend at the elbows, knees, and hips. People can hook fingers in their belts or pockets to loosen up their arms. Have the family turn slightly with one knee bent and hips pushed out toward the camera. If they’re sitting down, let them lean forward a bit, or turn to their side and extend one leg while the other stays bent.

natural-family-photos-1

2. Capture the Reaction

Most of the time when you’re shooting a family photo you won’t be capturing the action, but rather the reaction. If you want natural family photos, tell the family to do something, and wait for the moment after it happens. Have one person whisper a secret in the other’s ear and capture the two of them laughing afterward. Get the kids to surprise attack the parents and capture the family dissolving into laughter after. Whatever you ask the family to do, you want to shoot the aftermath, when the family is having fun and their smiles are real. Capture a true happy family moment.

natural-family-photos-2

3. Get the Lighting Right

Unlike shooting an intense fashion shot or a light and airy nature shoot, you want to get the family in a soft and fun light. Use a light colored background, white is best, and use either a large window with natural light or just one light. Make sure that the light isn’t pointed directly at them or coming from directly overhead. It’s best to have a very bright studio and to use a flash to help add contrast. Set the flash up at a 45-degree angle to avoid odd shadows.

4. Break out the Props

Especially when it comes to photographing toddlers or young children, you want to give the family something to help focus their attention on. Not every photo has to be the family in a straight line staring into the camera. It’s okay for them to let their attention wander to an object, and sometimes even creates the family’s favorite picture. Ask the parents to bring one of the children’s favorite toys or books. Encourage the family to simply play with the child and capture their reactions. If you have your own props, let the children choose what they want to play with, and shoot their play time. Let the kids be kids and have fun.

natural-family-photos-3

5. Use Flattering Poses

People tend to be self-conscious about their body. Maybe someone is concerned about their weight, or someone else has a large birthmark they can’t cover up with makeup. It’s easy to pose people in ways that flatter them and make them comfortable with the end result. Study your family as they are in the studio and notice blemishes or anything they are uncomfortable with. Then change your poses to match.

If a family member is worried about their weight, have them lie down on the ground facing the camera. Having the kids climb on top of them creates a natural pose and helps hide their body. Also, in other poses, try to angle the camera so it looks slightly down on them, this will hide any double chins and help slim the body.

natural-family-photos-4

For any blemishes, have that person’s face or turn a specific direction. If they’ve got a pimple on their chin, for example, simply have them turn their head slightly so that that side of the face is always facing away from the camera.

If you’re working with a couple where there is a huge height difference, have the couple sit down. In standing poses, get the taller of the two to stand with their legs apart a bit to help bring them down.

When shooting a single parent and young children, encourage the parent to lift the children into their arms. You can also get great natural family pictures by having the parent kneel on the ground and hug the children from behind.

6. Sit Close

At the beginning of your photoshoot, take simple photographs. This way, you’ll have a good variety of photos to share with your clients, and you’ll get to know what kind of posing style they’re most comfortable with. You’ll also have a chance to make them feel at home in your presence without immediately diving into complicated instructions.

If your clients sit close to one another, you’ll have lots of opportunities to take spontaneous photographs that accurately represent their relationship. Encourage them to sit somewhere picturesque and interact with one another. You’ll get lots of great photos of smiles, hugs, and silliness.

As the photo above suggests, you can take photos from any angle. If some of your clients feel shy at first, take photos of their backs. Even faceless portraits can be joyful!

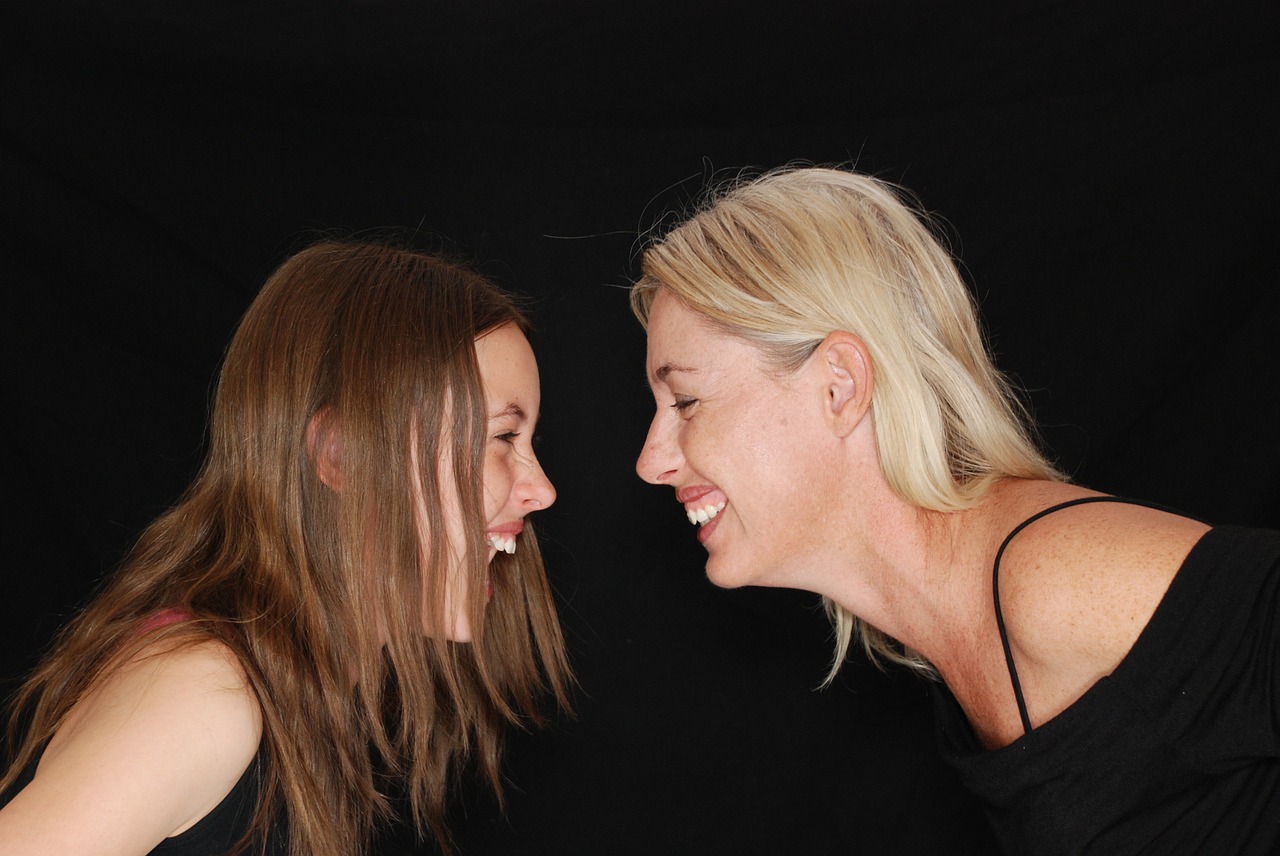
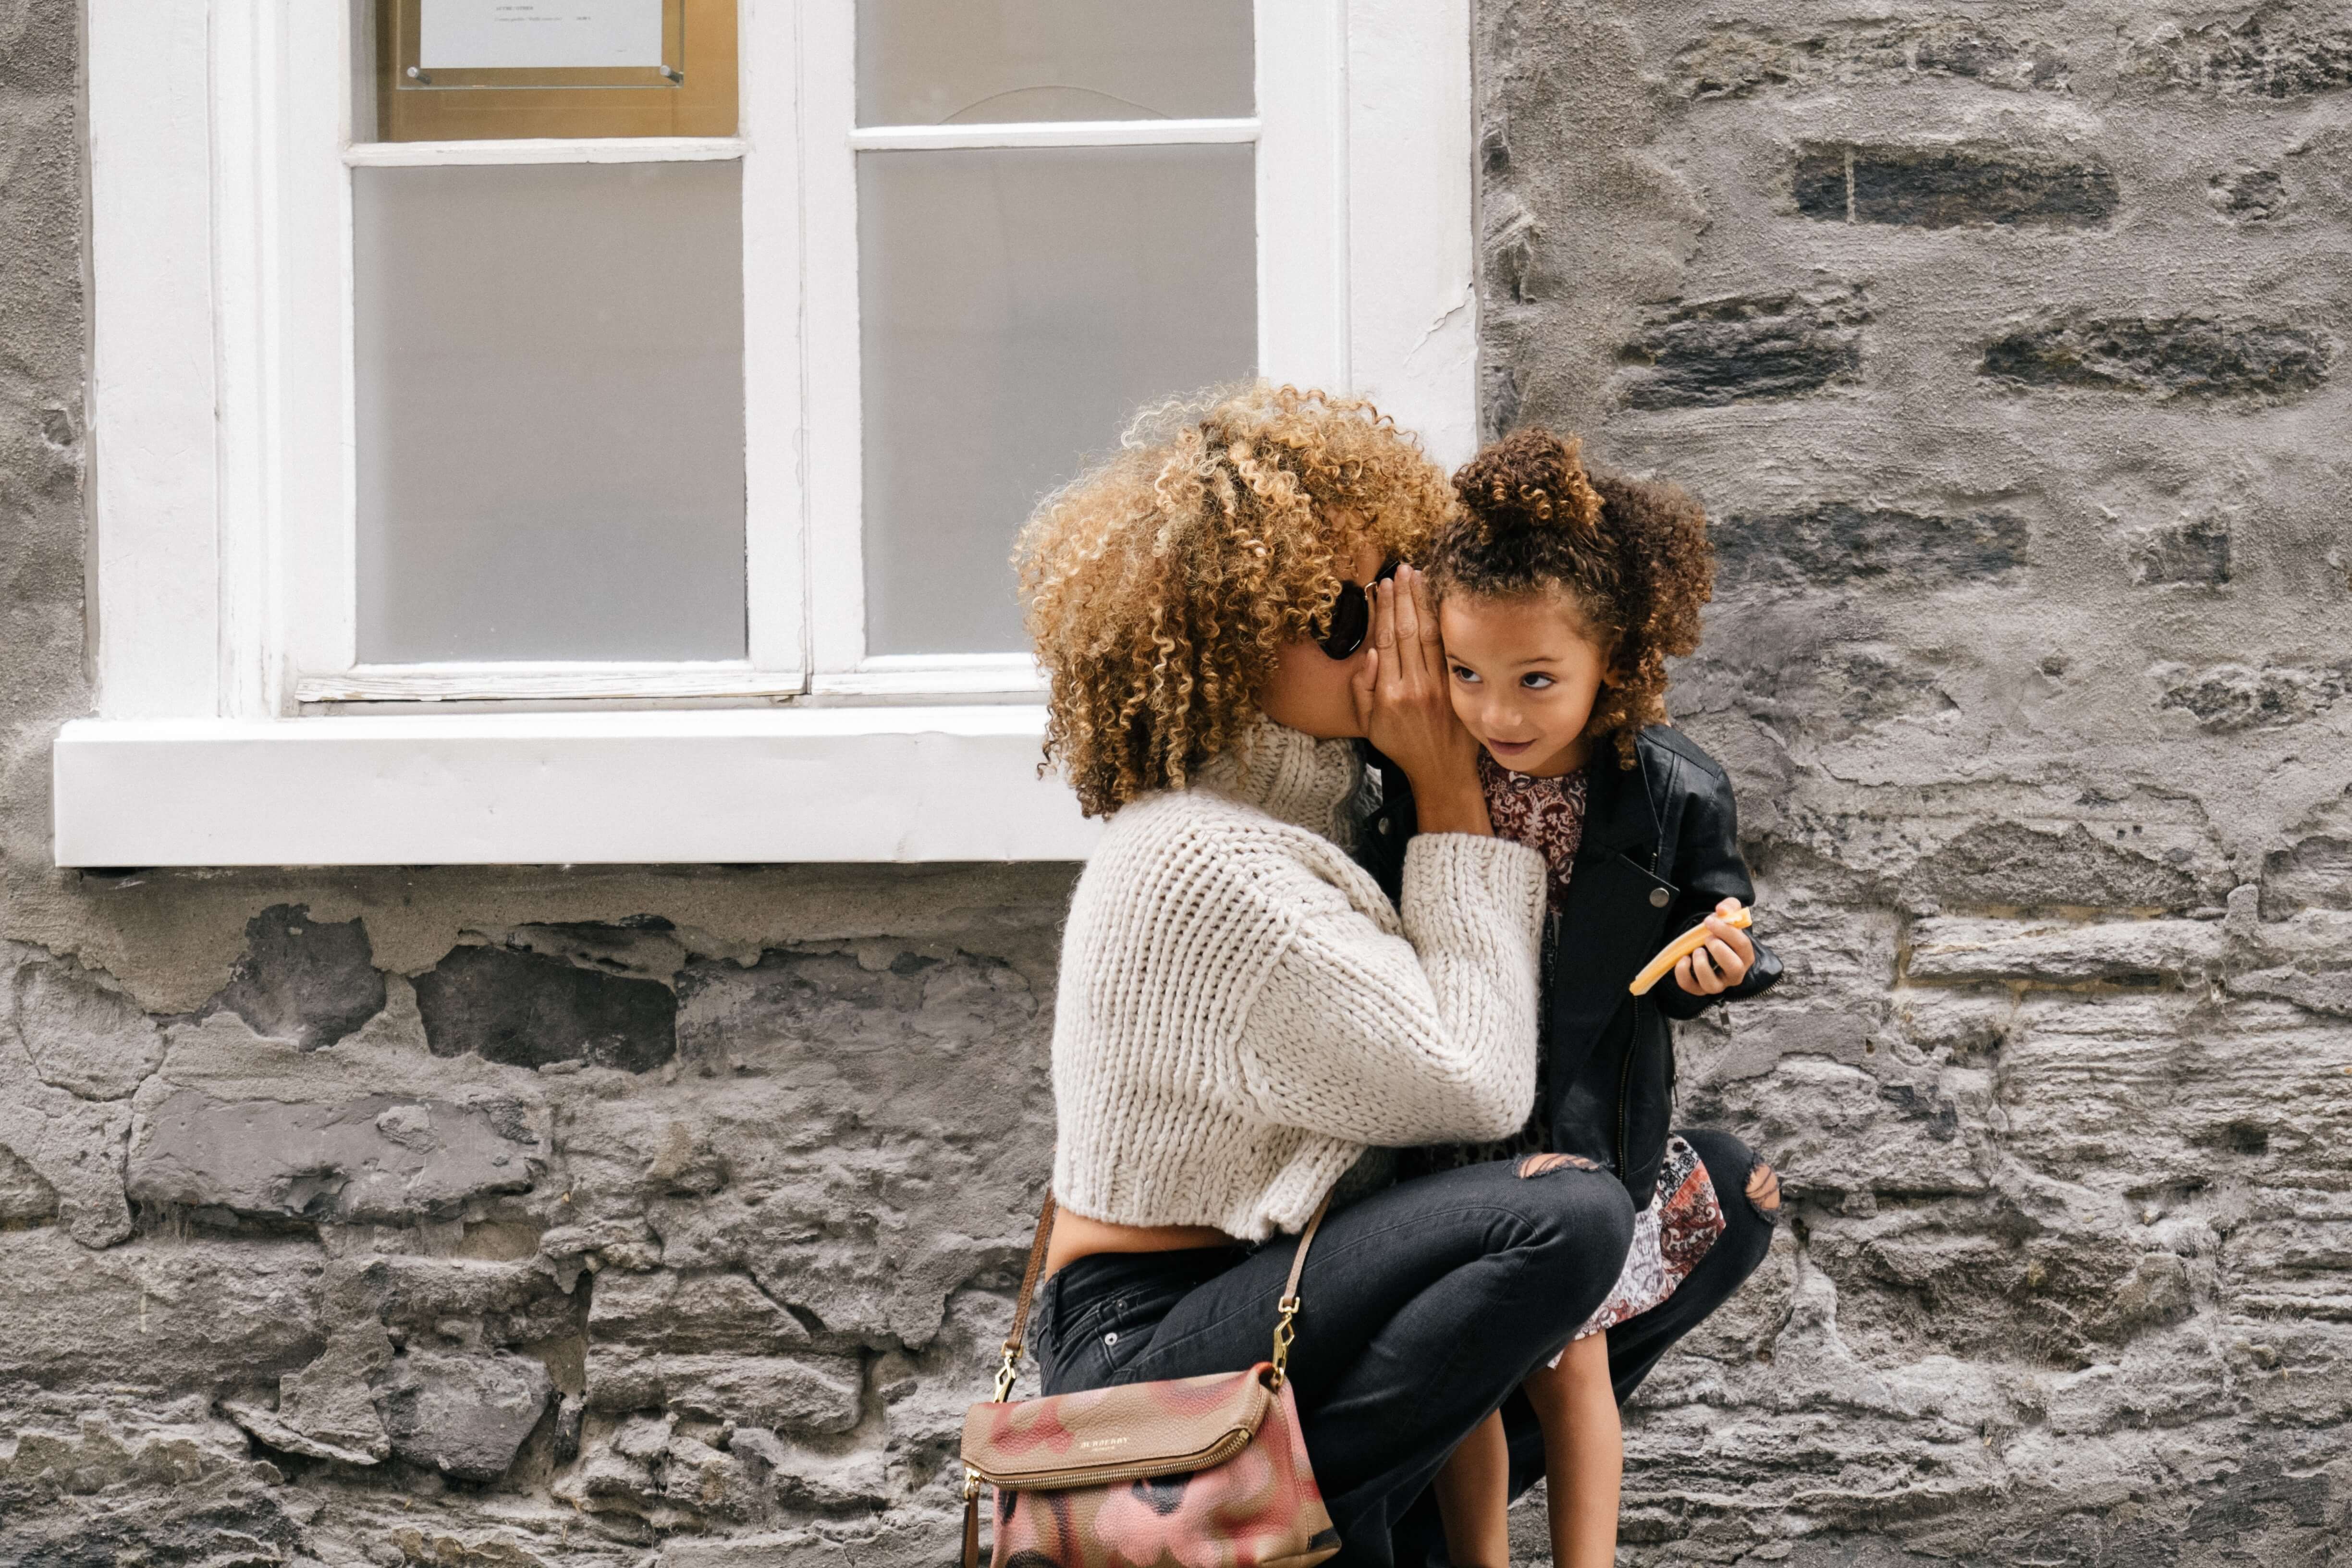
mom & daughter telling secrets

7. Tell Someone a Secret

An effective way to highlight a family’s bond is to photograph them trusting each other with secrets.

Ask your clients to tell their family member a secret, joke, or story. They don’t have to be real, but they should be entertaining. This will inevitably lead to funny reactions, great poses, and photogenic expressions.

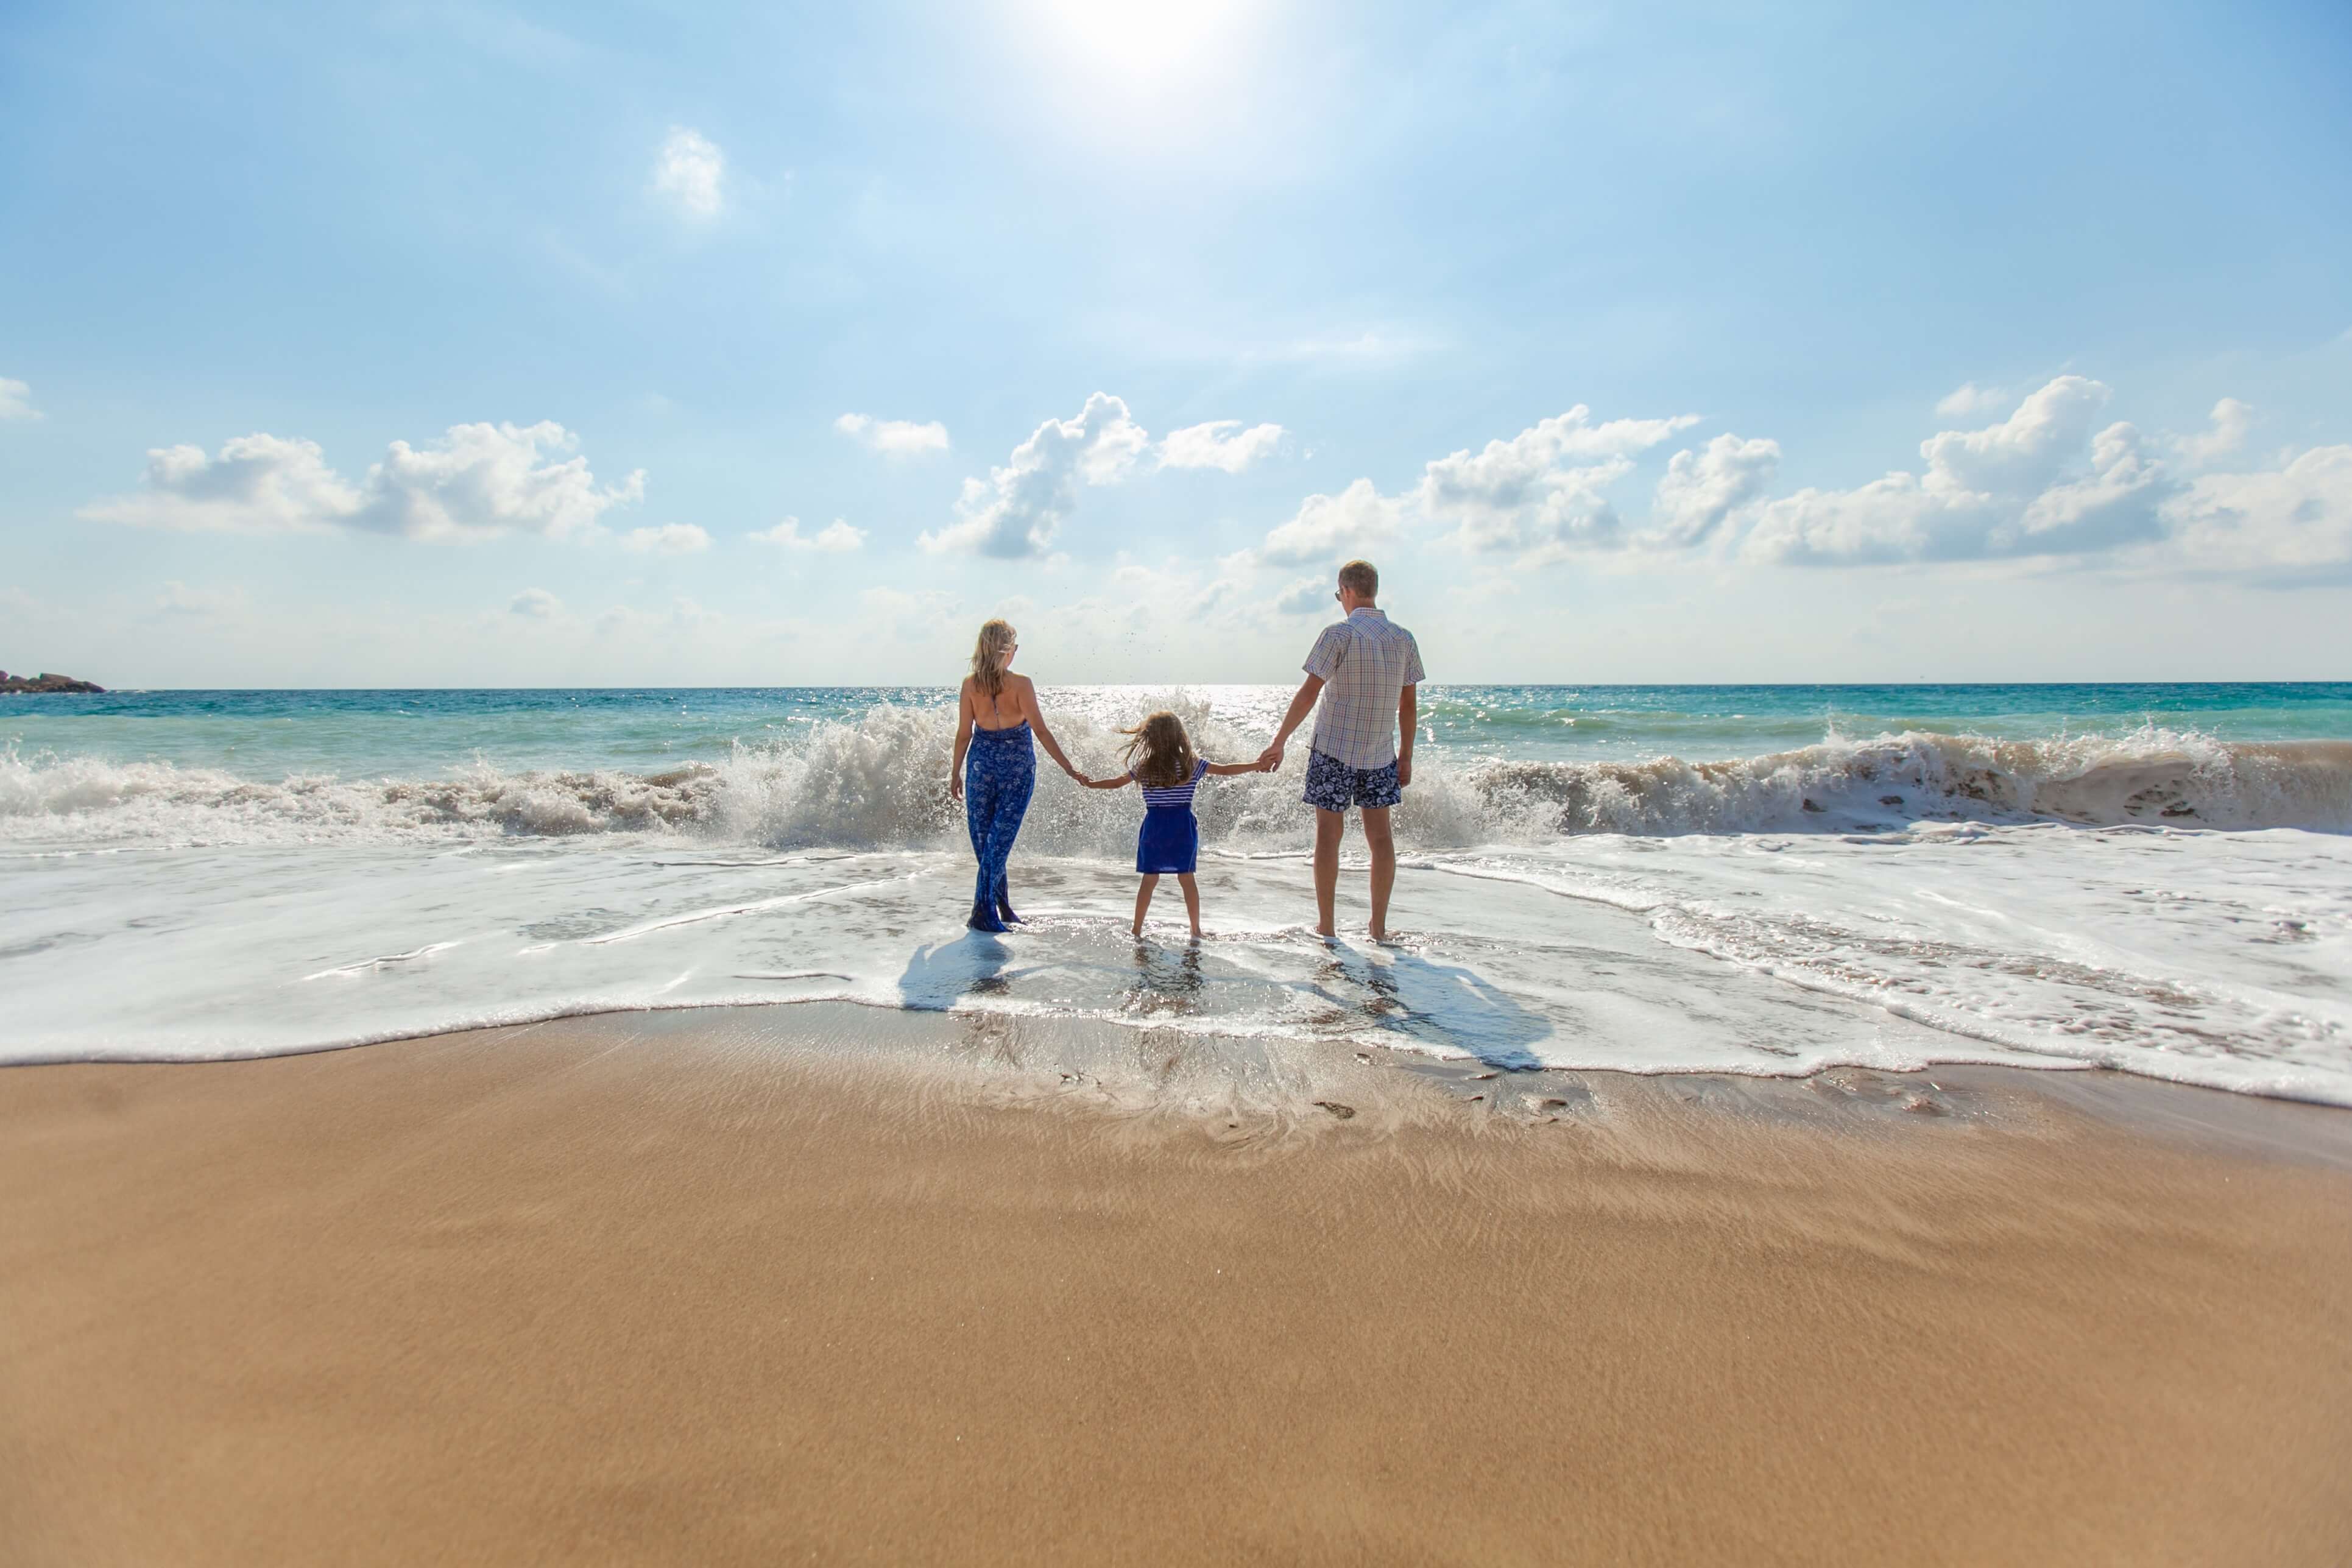
family holding hands on the beach

8. Hold Hands

Photos of loved ones holding hands may be very common, but that shouldn’t stop you from experimenting with them. Hands are a great way to express bonds, friendships, and familial strength. Here are ways you can use them in your photographs:

  • Take photos of your clients walking somewhere while holding hands. This will give your photos an air of spontaneity and warmth.
  • Take photos of your clients’ hands only. This could be while they’re passing something to each other, playing a game, or simply comforting each other.
  • Ask your subjects to stand in a line or circle and hold hands. If this feels unnatural, play a game such as Holding Hands: players have to pass peanuts to each other without breaking the hand-holding chain. An activity like this will distract your clients, allow them to have fun, and give you lots of time to take great photos.

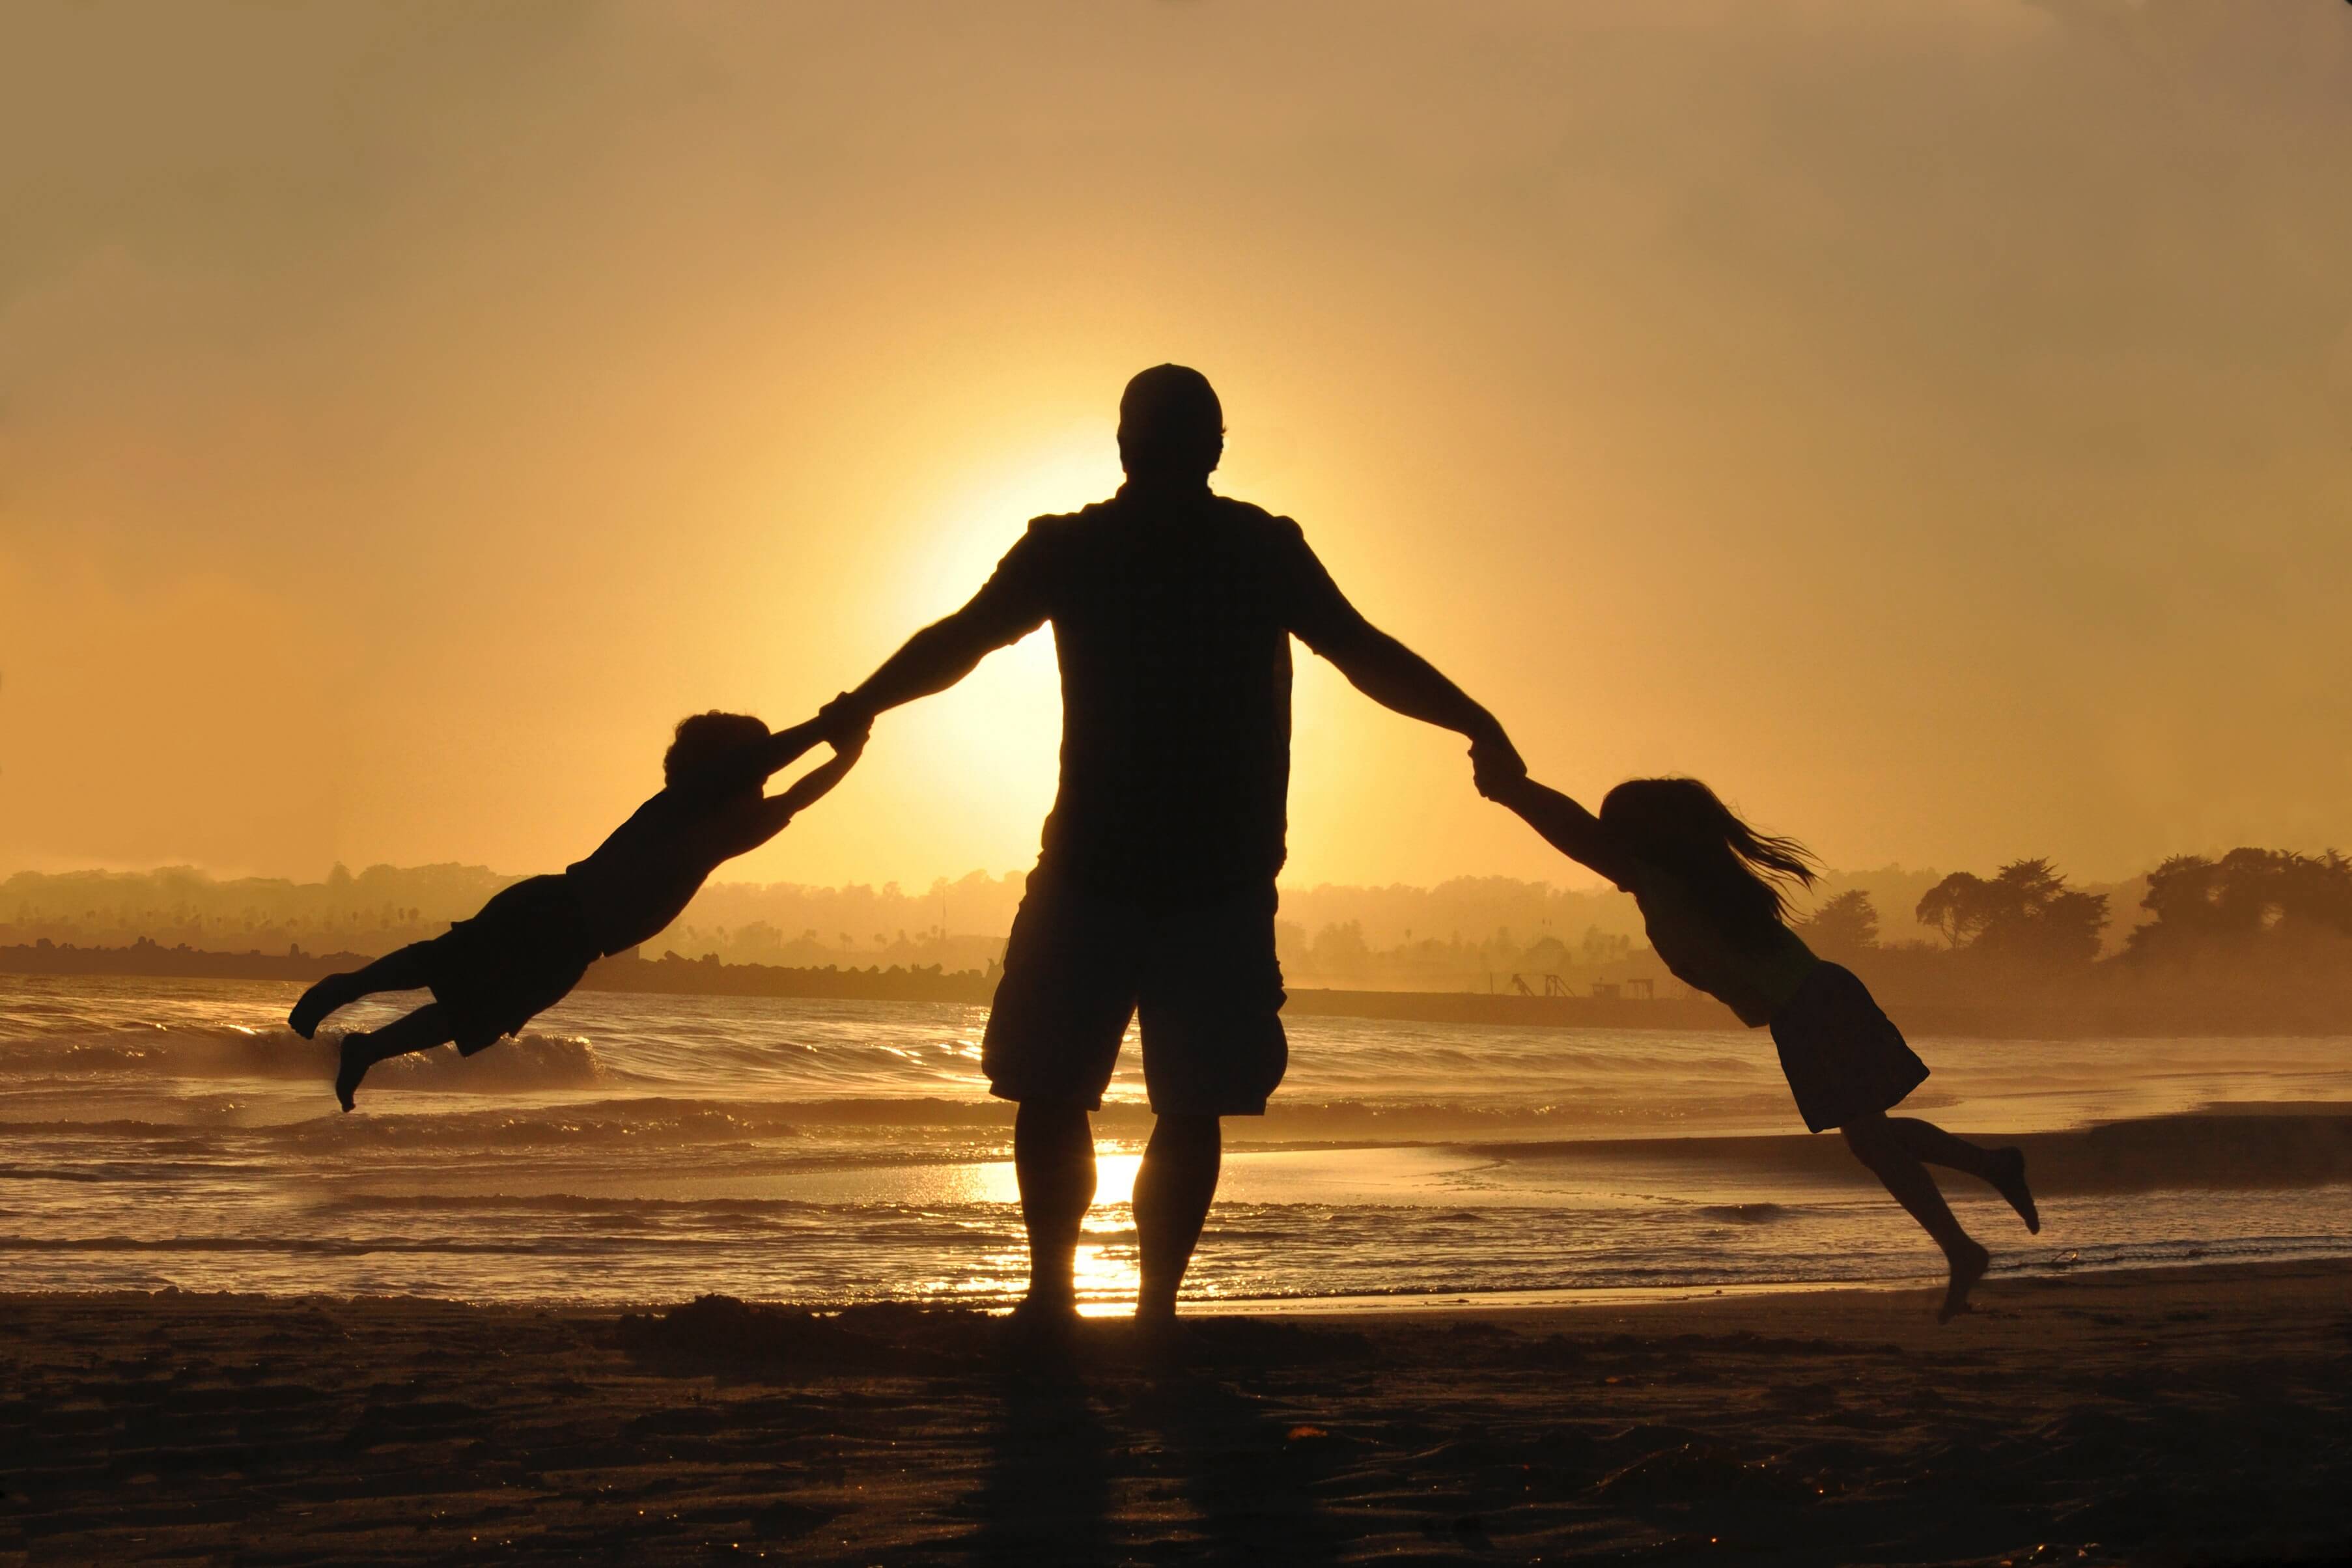
having fun at sunset

9. Have Fun

This is probably the most exciting instruction your clients will get. Though having fun isn’t a pose, it’s an opportunity for many posing ideas to emerge.

Bring a few toys that your group could play with. Come up with a game similar to Holding Hands that could entertain, excite, and distract subjects. Alternatively, simply tell your models to have fun on their own. Children are experts at games; the more comfortable they are with you, the easier it will be for them to have fun together.

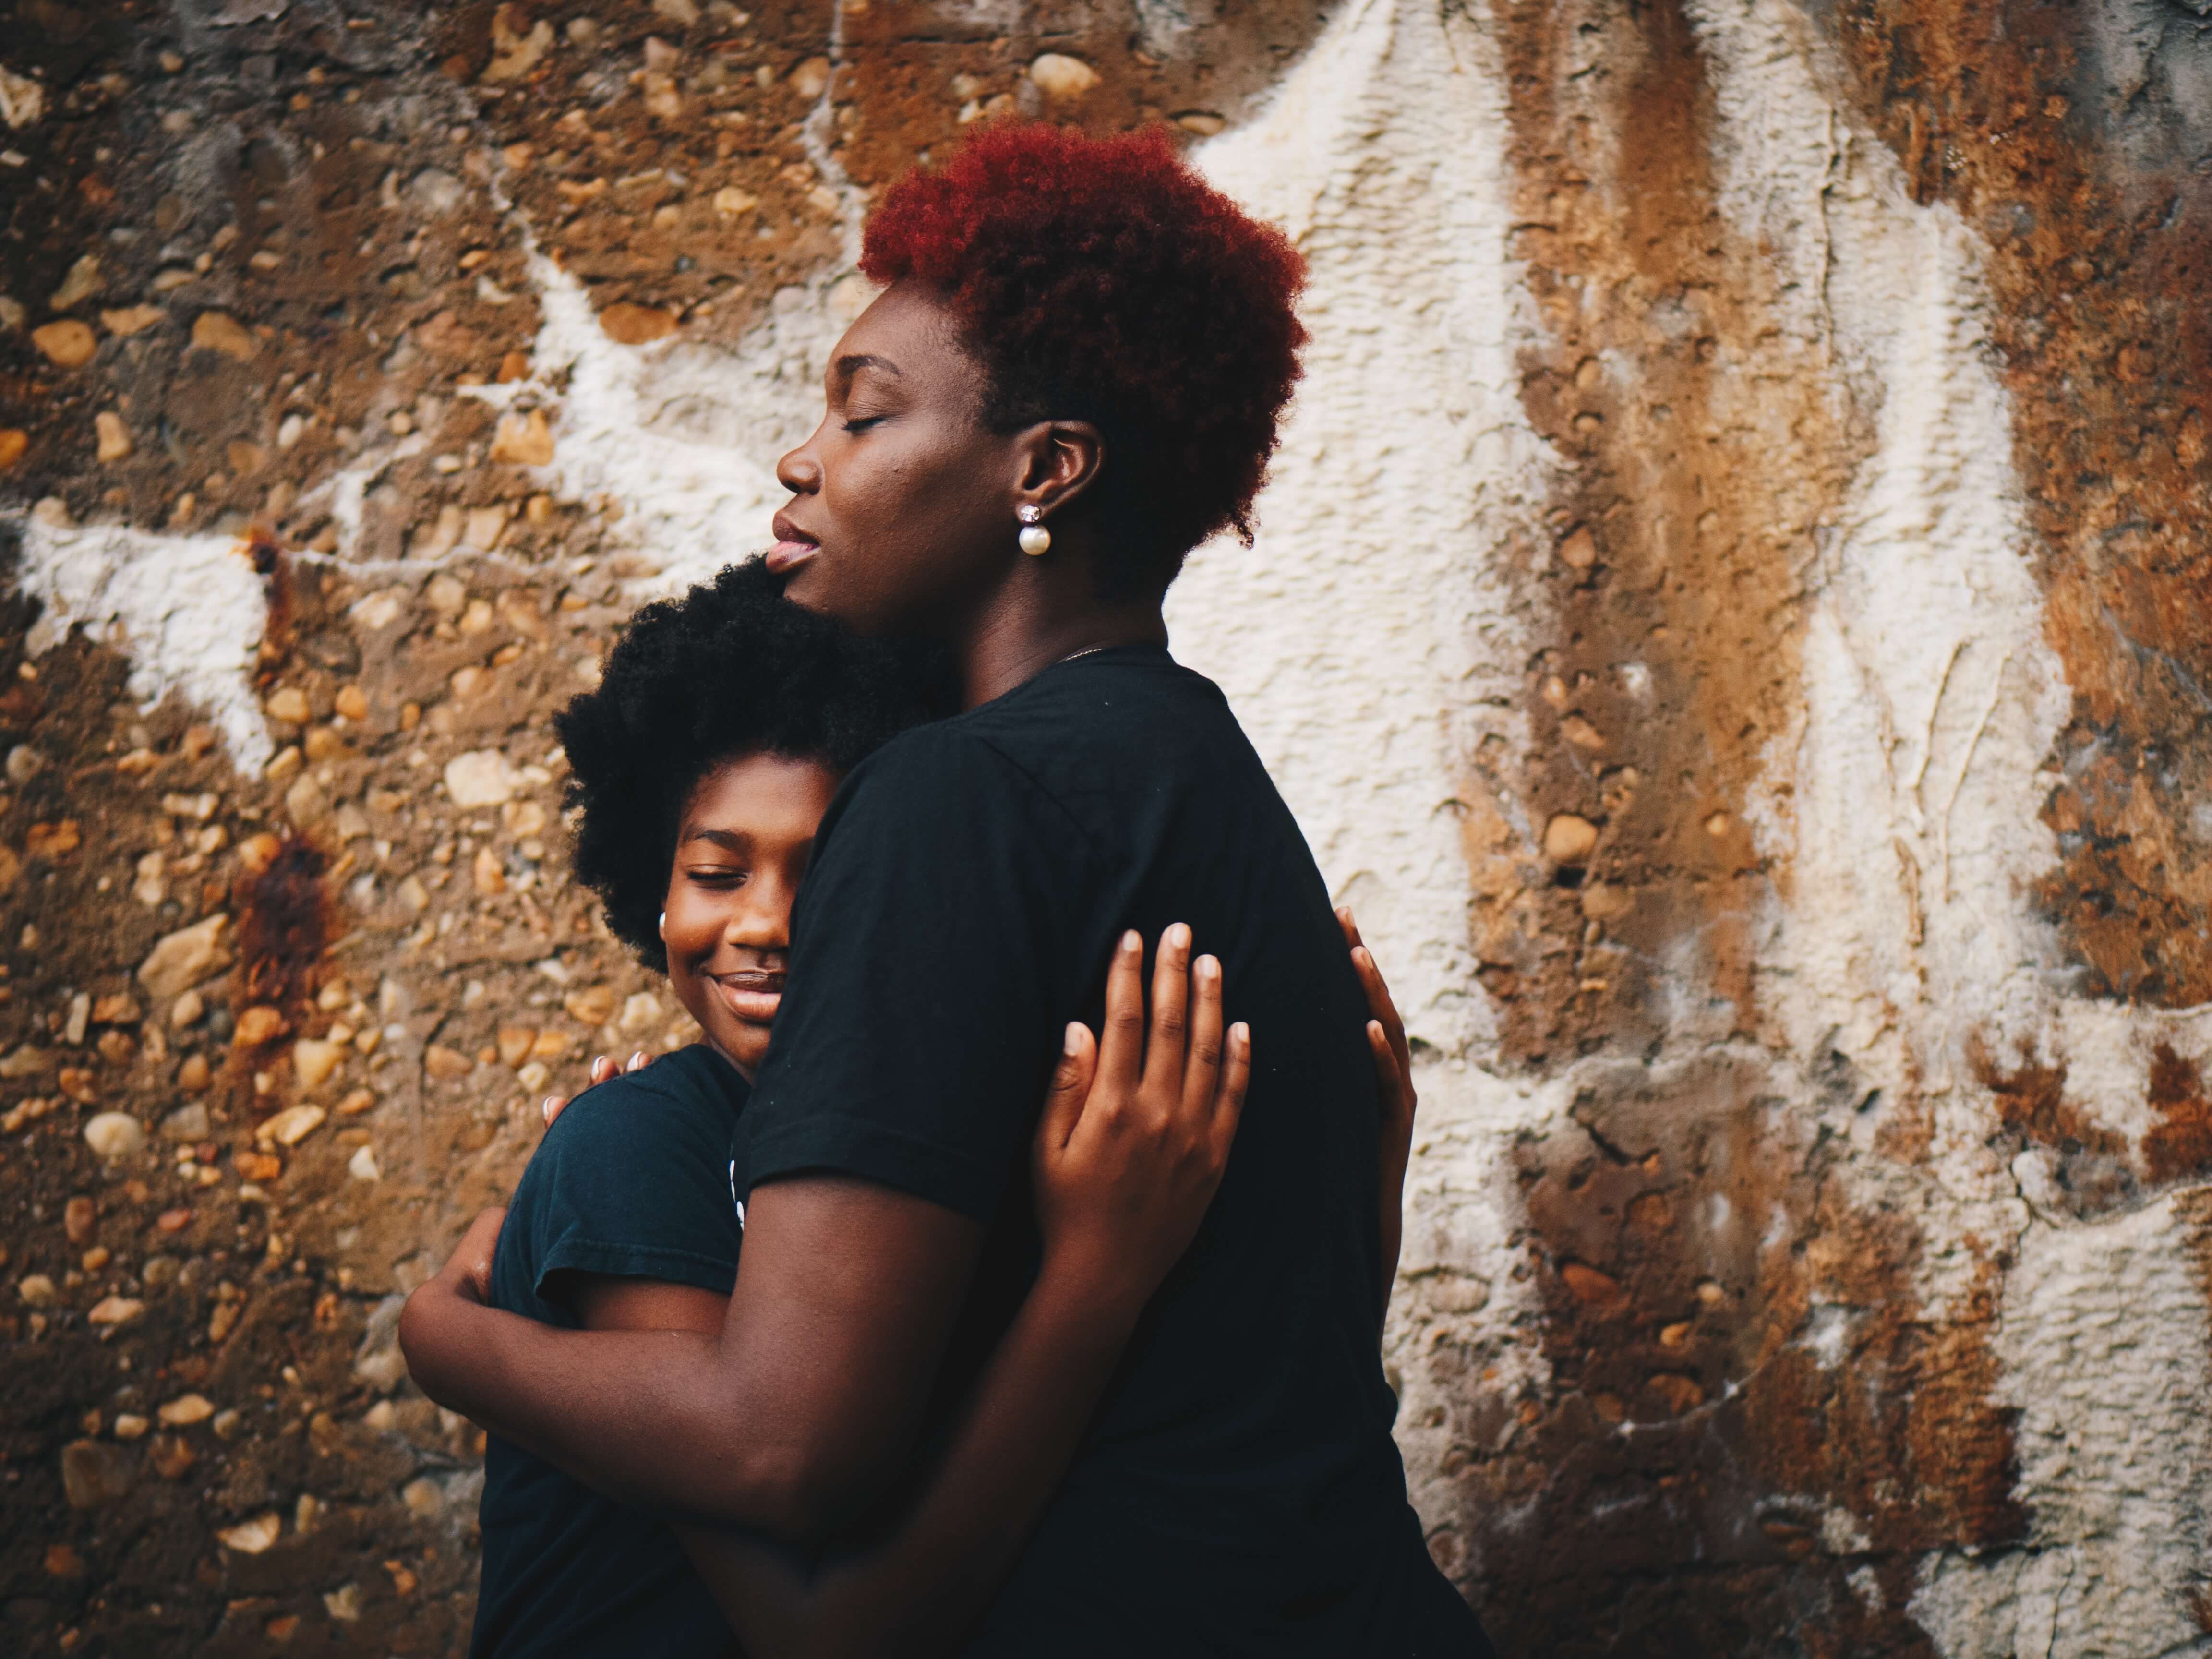
mother and daughter embracing

10. Embrace

Photos of the group hugging will beautifully emphasize their bond. They’ll also make for gorgeous album photos.

Since hugs are often very personal, you have to make sure your subjects want to embrace one another in front of you. Once they feel more comfortable in your presence, gently ask them for permission.

If you don’t want to ask, notice how open they are to public displays of affection. Observe them as they pose for you. Do they enjoy hugging each other, or are they more reserved?

If this doesn’t feel right to either you or your clients, don’t worry. The aforementioned poses will give you lots of interesting results.

Creating Family Portraits that Last a Lifetime

Families are always on the lookout for a great photographer to make lasting memories for them. Once you’ve made a name for yourself a family portrait photographer, there will be no end of clients wanting to work with you. You can create a beautiful family portrait by getting the proper camera settings and encouraging the family to have fun and act natural.

Keeping a steady hand and using a tripod will help your photos come out looking solid. But most importantly, remember to help your family have fun. By following these tips you’ll create amazing family portraits.