A softbox is one of the most versatile tools at your disposal as a photographer. It can give you the light you need for your photos, while preventing harsh angles, deep shadows and more. It will ensure that everything in your photos is balanced. There are many options for what you can do with a softbox; all it takes is knowing some great techniques to get the right amount of light for your picture.
Here are 10 fantastic lighting effects that you can achieve with just one softbox at your disposal.
Table of Contents
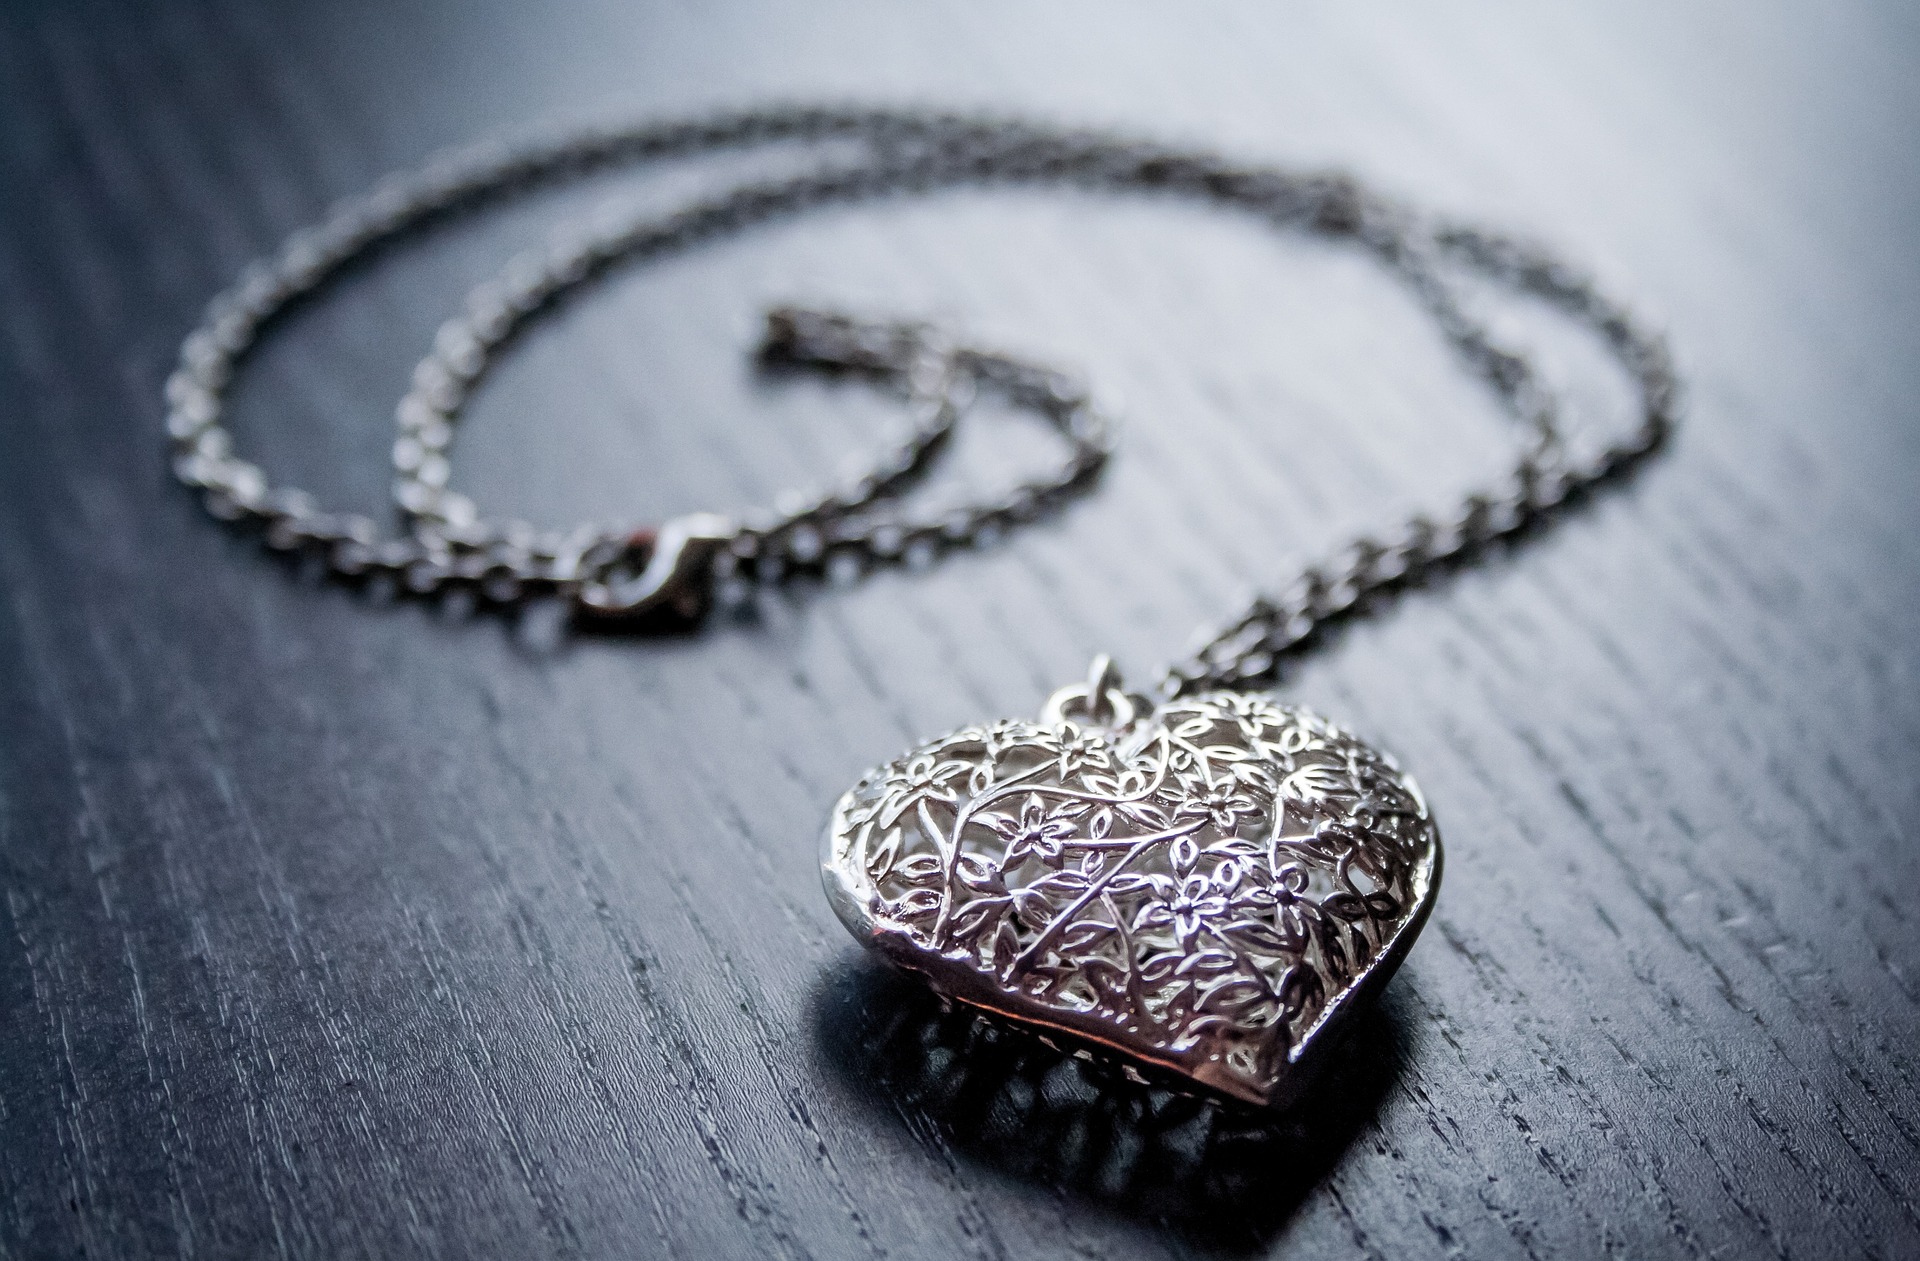
A great jewelry shot is all about the lighting. To get a wonderful picture that reflects the beauty of the jewelry, all you need is one softbox, the jewelry itself, along with a shiny surface and some white poster board. Place the piece of jewelry on the surface, with the poster board off to the side at an angle. Place the softbox to the side as well. Once everything is shining and reflecting, take the picture.
Take translucent silk and have it in front of the softbox. About five feet in front of that silk, opposite the softbox, have the model sit facing the light. This will give the light a feel of coming in through a window, and it can make for some very unique photos.
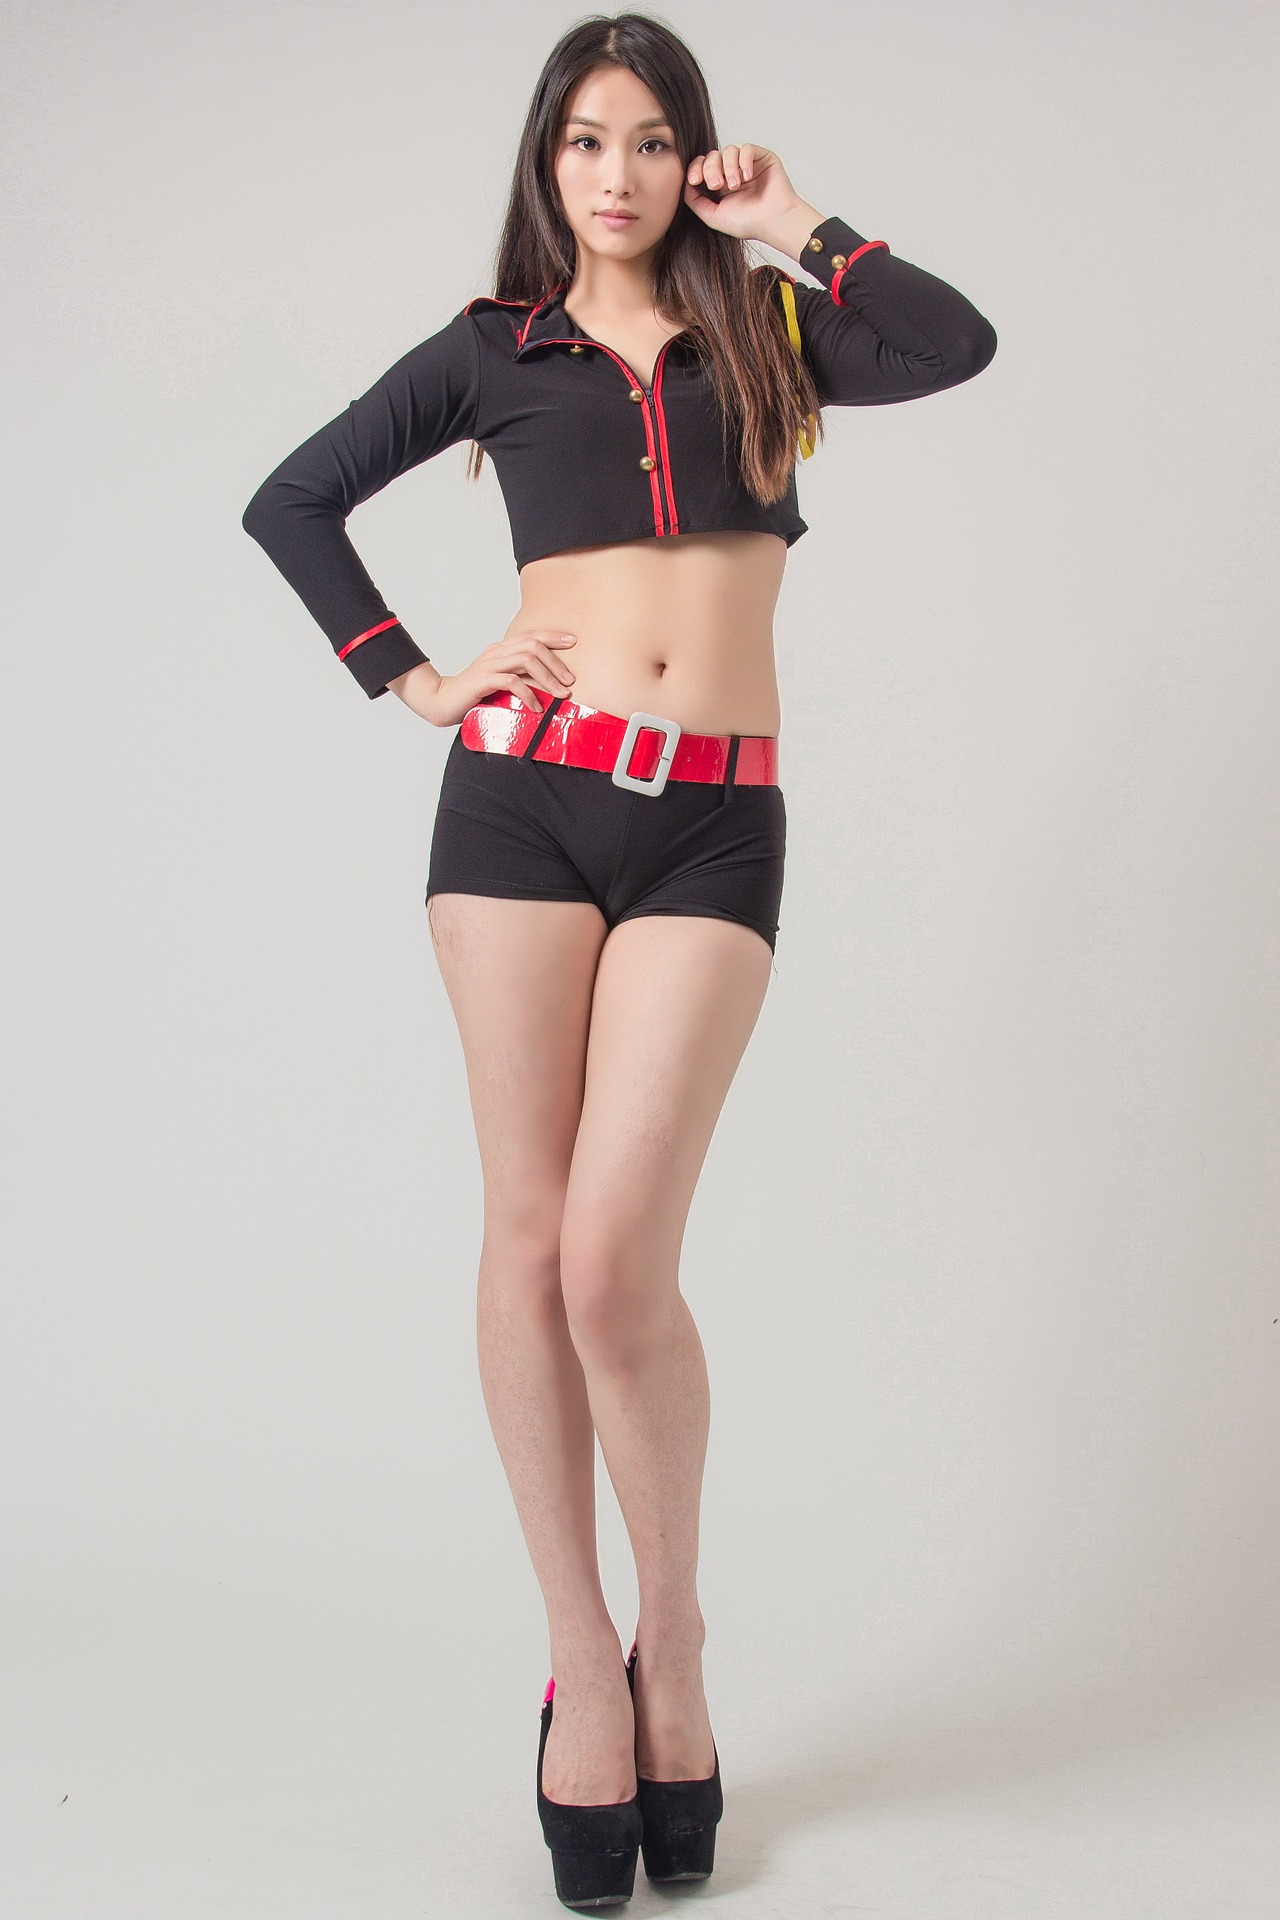
If you want to give equal light on the person you are photographing and the background itself, this is quite easy to do with a softbox. Just have the subject stand at an angle to you facing the light. The softbox should only be about one foot from the subject, and at nearly a 90-degree angle from them.
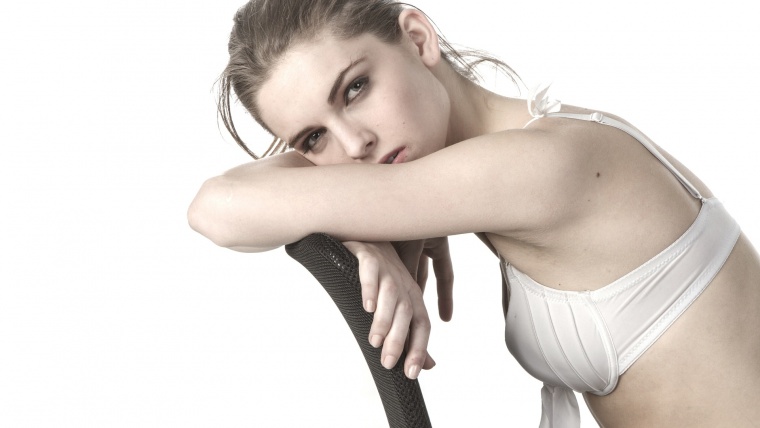
A softbox is a great way to highlight a model’s beauty. The simple and slight light can add to the features without making them harsh on the subject. All you need is one softbox with one reflector. The reflector should be down below to catch the light, and it will fill out the features of the face. Have a plain background behind the subject.
When you are doing a profile picture, you can have a front profile and you can have a back profile. With the one softbox, just place it at an angle behind or in front of the person you are getting a photo of to create that rim light and to provide a slight light on the subject.
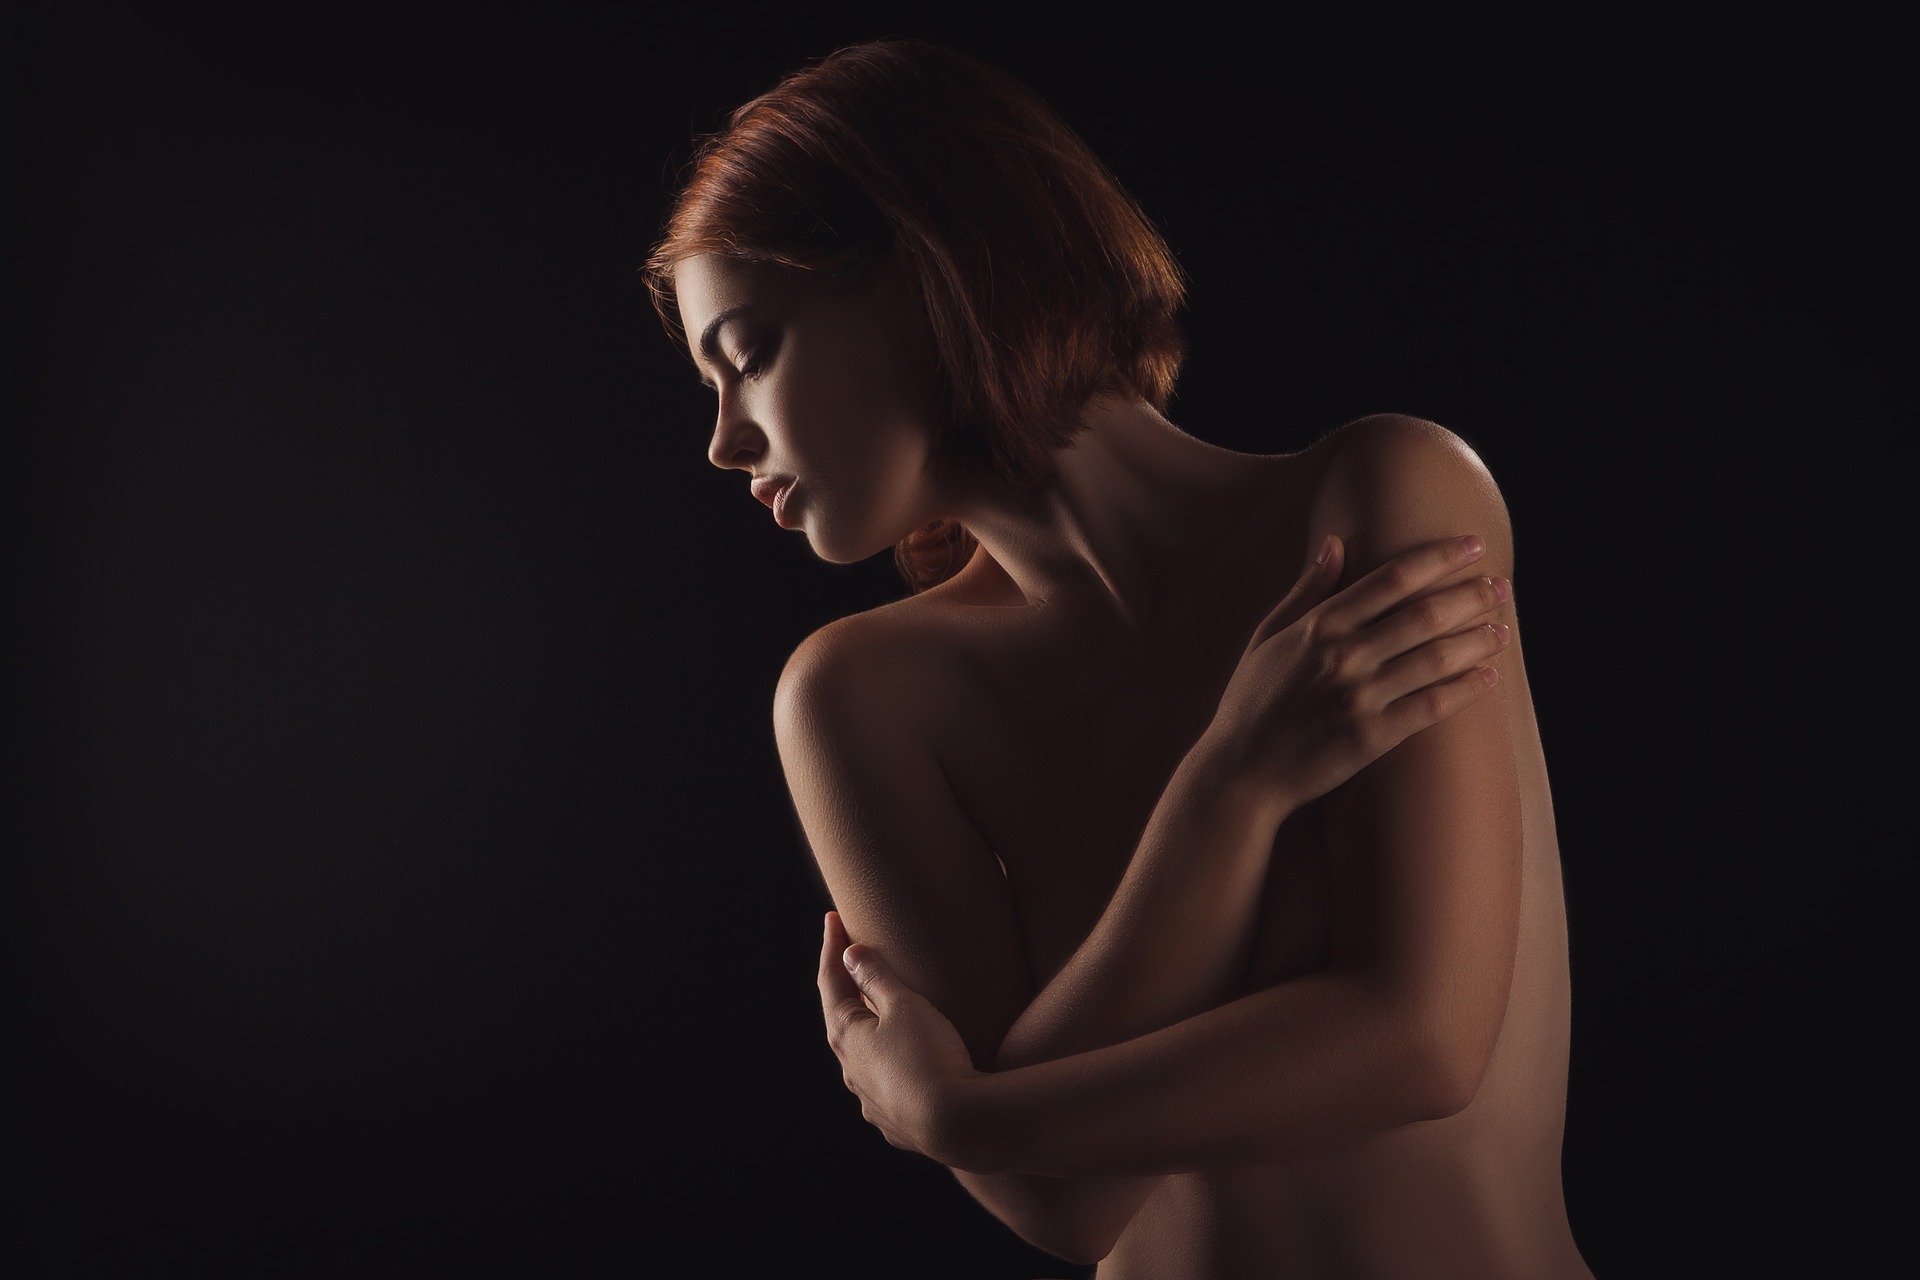
Using a softbox, have it lower than the person you are photographing and off at an angle from them, about 45 degrees. The person looks down at the light as you get the picture. This will highlight their features, provide some deep shadows, and darken their back area.
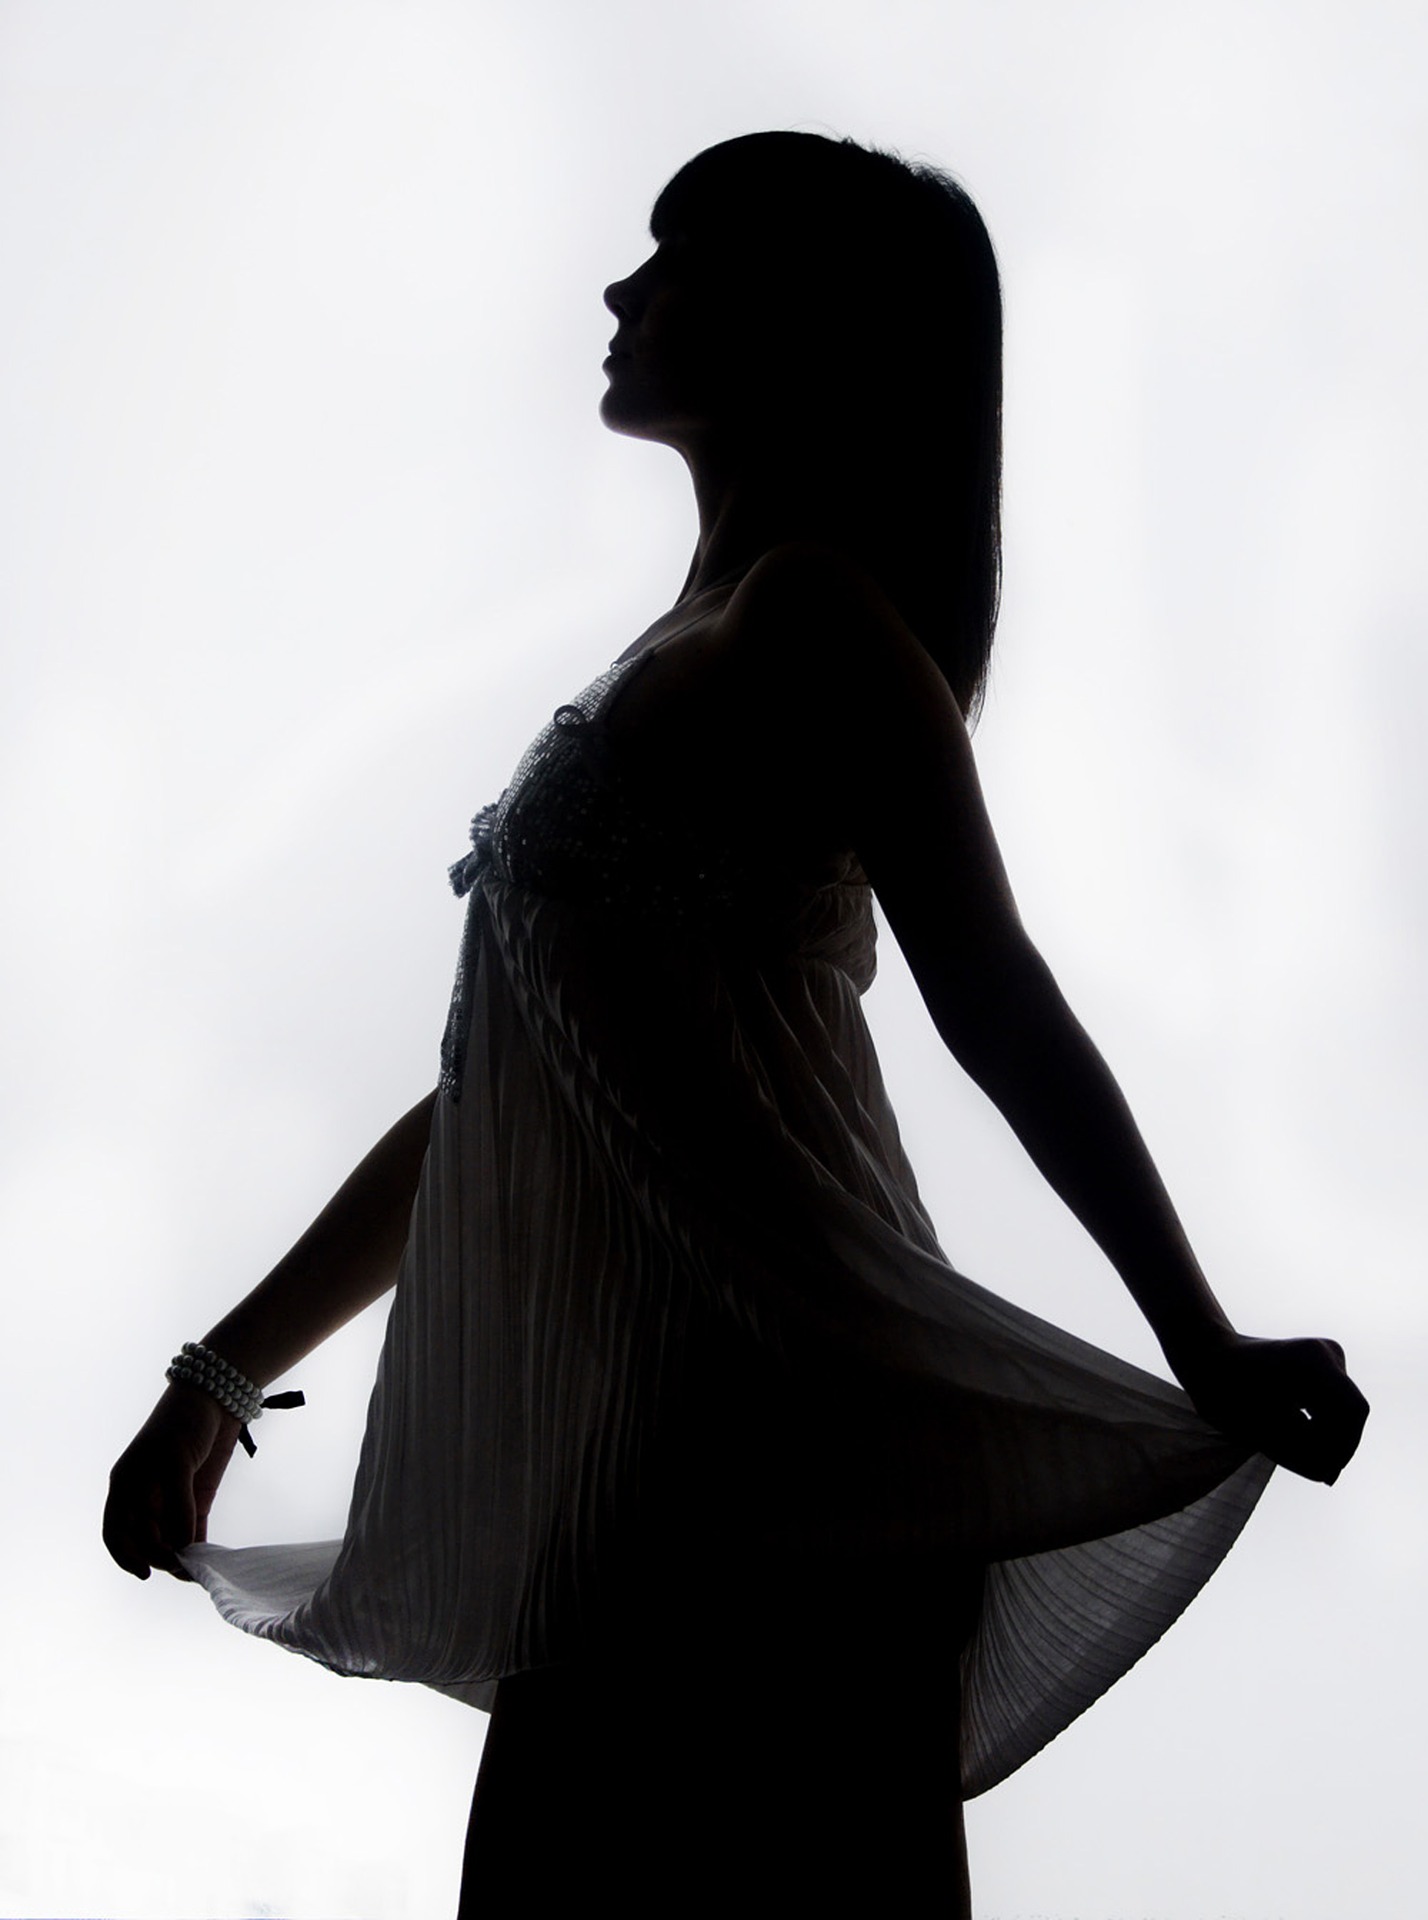
To get an amazing silhouette all you need to do is have the model stand in front of the light source itself, about one foot in front. Then take a picture of the model with the light behind them so you get clean, crisp silhouettes.
In order to increase the light you have with only one softbox at your disposal, you can bounce the light off a white wall. Have the model stand in front of the camera, with the softbox next to you pointing towards a wall. This will provide a great deal of extra light as it reflects off the surface to give a lot of definition on the model, especially on the side facing the white wall.
If you are taking a picture of an object, have the softbox off to one side facing towards a reflector on the other side with the object in the middle. Set your camera up between the softbox and the reflector (a foam core reflector works) and back about five feet. You will get some great light from this, especially with reflective products like bottles or glasses.

If you only have one light and you want to get a group of people evenly lit, it may seem very difficult but, really, it’s not. All you need to do is have everyone stand in a line and turn the light source horizontal. At this point, you move the softbox down the line, taking one photo of each individual person as they’re lit perfectly. In post-production, you can put it all together and you will have an evenly lit photo of a group of people. It is actually multiple photos together, but with the editing it will look like it was taken with everyone all at once.
These tips will help you get the most out of your softbox, without having to buy another one, or any other form of light source. Great for photographers on a budget or just starting out.


Please verify your software version before proceeding.
 I’ve verified my software version


 Facebook
 Google +
Comments (0)
There are no comments yet.