Tag: outdoors

How to Create Panorama in Lightroom CC

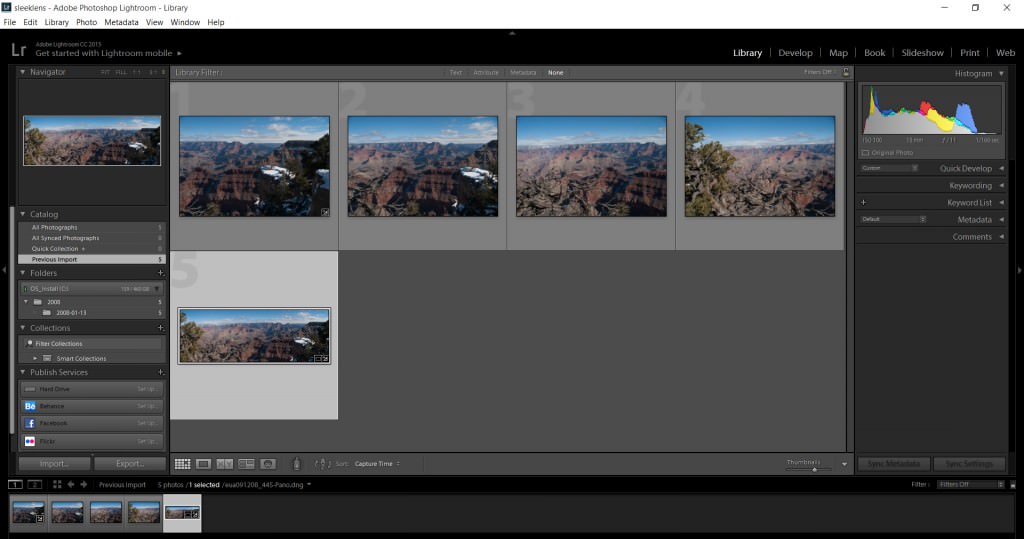
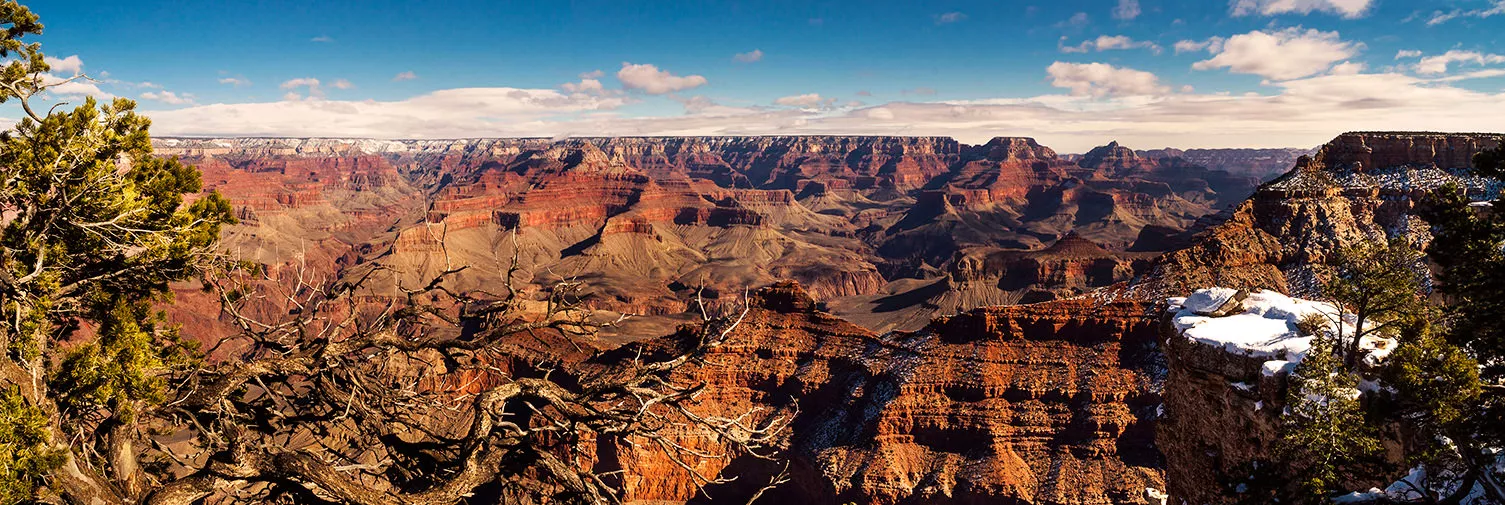
Have you ever desired to take a panoramic photograph and your camera doesn’t have the panorama feature? Do you want to do panoramas without switching to Photoshop or other specialized software? Have you forgotten to take your wide angle lens with you on your vacation? Do not give up on the amazing scenery that is in front of you. Following this tutorial, all you will have to do is photograph some parts of the scene and the software will process your images to produce a panoramic image within Lightroom CC (2015).For those who are not familiar with Panoramic Photography, it is a technique of photography that captures a series of images using a photographic camera and aligns them all together, to make a single photograph with a wider aspect ratio than a commonly used photograph.

Before Lightroom CC (2015) came out, in order to stitch together multiple images, you needed to switch between Photoshop or use other specialized software. Even though there are some cameras that have the panorama feature built into them, but most professional DSLR cameras do not.

Recently, after the latest update, you can create your panorama images inside Lightroom CC itself. The best part is that after the software process all the images, it will create a brand new seamlessly stitched RAW file from the images without rendering the images in pixels, with this new raw file, you will be able to retouch the panorama preset in Lightroom as you would any other image. So, you have to know first how to install Lightroom preset and once it has been installed, you can now create your panorama images inside the Lightroom CC.

Panorama is a feature that has been missing for a long time in the software. In order to create breathtaking panoramas, just follow the simple steps below.

Step 1 – Take multiple shots with your camera

  • With your digital camera take multiple pictures from left to right or from bottom to top, depending on the scenery you have chosen.
  • After the first shot is taken, while shooting the subsequent photos, make sure to get a little bit of the scene of the previous image so that Lightroom has data to render them together.
  • If you are using a DSLR or a camera that can manually change its settings, do not change the aperture of the camera. For example, if you use an aperture opening of F11 make sure you use it in every single shot.
  • I did not use a tripod to shot the images used in this tutorial, although it is not crucial, the use of a tripod is recommended.

import

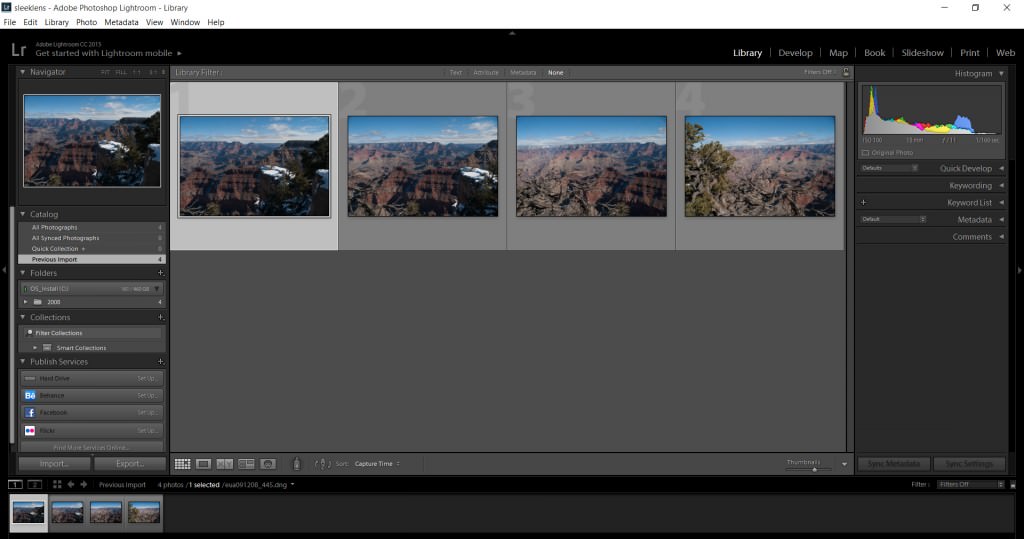
Step 2- Import your images into Lightroom

Import the images that you have photographed.

File/Import Photos and Video 

import_select

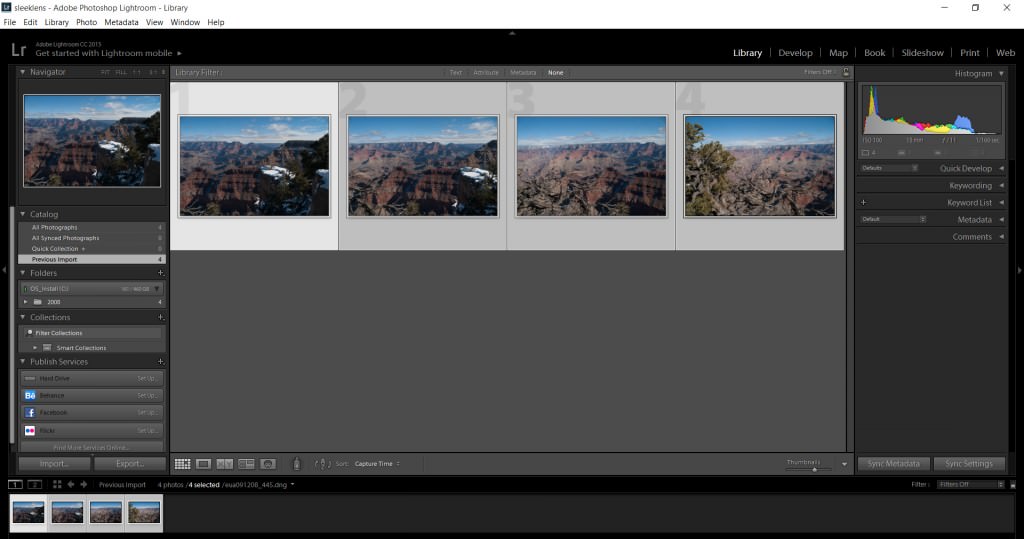
Step 3 – Select the images

Select all the images that will be used. Shift+click the first image and click on the last image in order to select all the images.

If your images are not in sequence, (cmd+click on the mac or ctrl+click on the PC) on each image to select them.

There is no need to adjust your images on the Develop Module at this stage. We will do it afterward, on the final image.

photomerge-panorama02

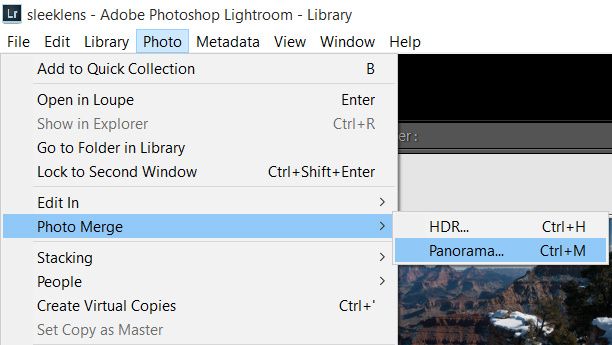
Step 4 – Merge the images 

After selecting the images, go ahead and merge them together.

Photo / Photo Merge / Panorama (cmd+M on the Mac or ctrl+M on the PC)

pano_autosphe

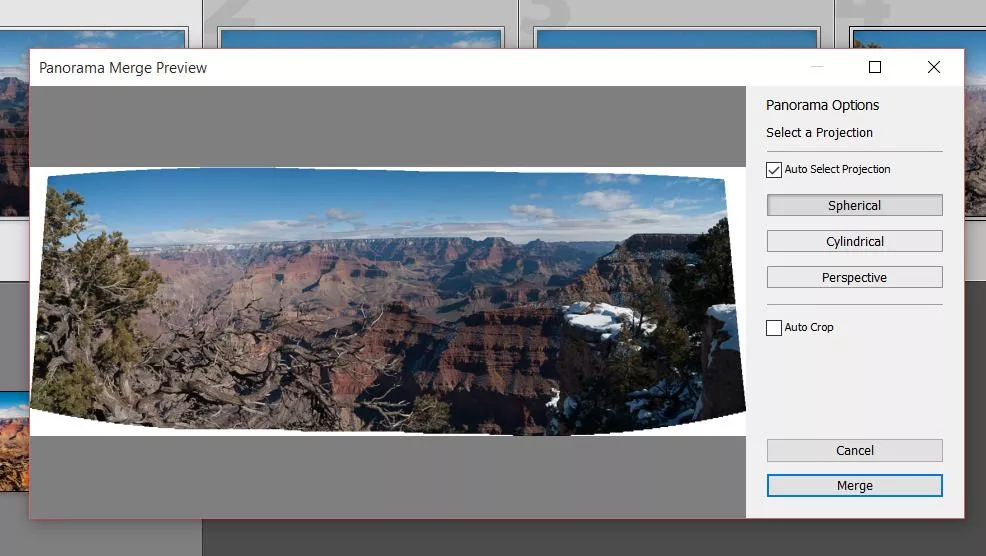
Panorama Merge Preview box will appear.

  • Auto Select Projection: Lightroom will choose automatically which projection fits better.
  • Spherical: The images will be aligned and transformed as they were inside a sphere. Best for wider or multi row panoramas.
  • Perspective: The images will be aligned and transformed as they were mapped to a flat dimension. Best for architectural photography.
  • Cylindrical: The images will be aligned and transformed as they were inside a cylinder. Best for wide panoramas, but with straight lines.
  • Auto Crop: The white edges will automatically be cropped. You can also crop it later on even crop it inside Photoshop, that way you can recover these white areas.

click Merge after the best settings are chosen.

After that, Lightroom will render all the images together. Depending on your machine it may take some time to do the renderings.

newpano

Step 5 – Adjust the final stitched image

The neat thing is that Lightroom creates a brand new RAW file, that means that you will end up with the maximum capability to edit your image.final01

Select the new file and adjust it on the Develop Module as you would normally do in any other image.

In the end, you will end up with a nice panoramic picture.  So, did you enjoy our tutorial?  You may want to check on other tutorials such as How to Correct White Balance in Photoshop and let me know if you find it helpful.

final02

You can watch this helpful video to learn how to make a panorama photo in Adobe Lightroom. This feature has been there for quite a while much like the HDR feature and they were kind of added at the same time. The feature is super easy and does a very good job of stitching together all the images no matter how many you have.

As we begin, you can see that we have eight images at the bottom which I took. These are almost 180 panorama and this was handheld since I did not have a tripod with me. As such, it’ll take a little bit more work for the program to go ahead and stitch them together. This is also a very tricky scene since as I was taking the image, the waves were constantly moving so it’ll also stitch those as well.

To get the panorama, I will highlight on all the images, right click on them, and then choose “Photo Merge” and then Panorama. This gives us a final rendering for the preview and it is clear that this is a little bit low quality and this is just to give Lightroom a little bit easier time to mess with it since it has many pixels to play with especially with eight photos.

We have several projection options to work with including spherical, cylindrical and perspective. The spherical was great for a wide panorama especially that transitions into objects that are kind of in the frame and so it’ll be the best one for the image we have because of the sphere that we have on the bridge. Cylindrical is kind of has the same effects as spherical but does a better job in making vertical line stay straight. However, we are interested more in the horizontal lines than in the horizon of the image, as this makes spherical much better. On the other hand, perspective is mainly suitable for real estate and architectural stuff as it seeks to do a lot of distortion.

We will, therefore, stick with the spherical projection. We have a couple of features such as auto crop which takes away the white space and kind of automatically crops it in so you don’t have to do it later. We also have boundary warp which is a new feature in Lightroom and kinds of take all the white features and stretches the image to try and fill out spaces in the image. We will use the boundary warp and increase the cover size to 100 and this fills in space very easily thus giving us an image that is perfectly fitting in the available space. We can opt to reduce the numbers and then do some cropping but this will mean going back into Photoshop to try and fill in the spaces.

With all the white spaces filled, we will click “Merge” and wait for the program to put all the images together. Once done, we will have an extra image on top of our initial eight. This is the panorama image which looks great and everything is stitched together perfectly.

The next step will be to fix some of the distortions which arise when we shoot panorama images especially if you have them handheld. To fix some of these distortions we will go to Lens Collection and enable for Profile Collection and then go to Transform and try auto to see whether it’ll collect things for us. However, this only does some minimal collections and therefore we will need to play around with the distortion. We will, therefore, go back to Lens Collection and try playing around with the distortion so as to get some straight line. We will need to change things such as scale, aspect, and the rest until we get the best results possible.

This done, we can go ahead and do the fun bit of changing the effects including the shadows, highlights, vibrancy, clarity and temperature to make it look like a sunrise. Once this is done, we will have our panorama image which includes all the eight images combined into a single image. If we want a large image, we will have a lot of data to play with. We can even crop this image to make it narrow one or crop parts of it to make different size photo print if we want to. All these will come out looking perfect since we have all the data to play with which is a combination of the eight images we had. This is the beauty of making panorama images since you have different cropping aspects and know that your image will come out very clear because of the data you have.

You can check more of our Lightroom tutorials as well as Lightroom Presets and Photoshop Actions to help you do your post-processing edits in an easy and remarkable way.

Getting the Perfect Family Portrait

One of the most profitable occupations a photographer can have is shooting portraits. Everyone wants to get beautiful portraits to keep around for memories. Specifically, professional family photography is in high demand. However, working with families can be difficult. Trying to find the right setting and mood for each family takes a bit of time and understanding. Working with younger families and their children can be especially tiring. But, creating a lasting memory doesn’t have to be a bad day at the ‘office’. By following these tips, you can capture the beauty and individuality of each family in a picture that will last generations.

12 Tips for Getting the Perfect Family Portrait

  1. Plan Your Aesthetic in Advance
  2. Pick the Right
  3. Outside or Inside
  4. Get to Know the Kids
  5. Use a Tripod
  6. Lens of Choice
  7. Set Manual Exposure
  8. Keep the Focus Steady
  9. High Shutter Speed
  10. Props are Important
  11. Work from the Top Down
  12. Don’t Get Frustrated

Family portraits are pictures that tend to be cherished for a lifetime. Additionally, the significance of why the family is all together should also be taken into consideration and captured through the images taken.

There are a few things that create a distinguishing difference between a good family portrait session and a great one, This includes:

How to Capture the Perfect Family Portrait

1. Plan Your Aesthetic in Advance

If you’re working with professional models, you’ll likely be providing the props and wardrobe from the company you’re working with. However, if you are not supplying the wardrobe, you need to make sure the subjects of your shot have a dress code. You don’t want to take a group shot where everyone is wearing bold and clashing colors! It would be hard to keep the focus of your final image on the subjects. Know what you’re going for, and make sure everyone involved in the shoot has a thorough understanding of the dress code.
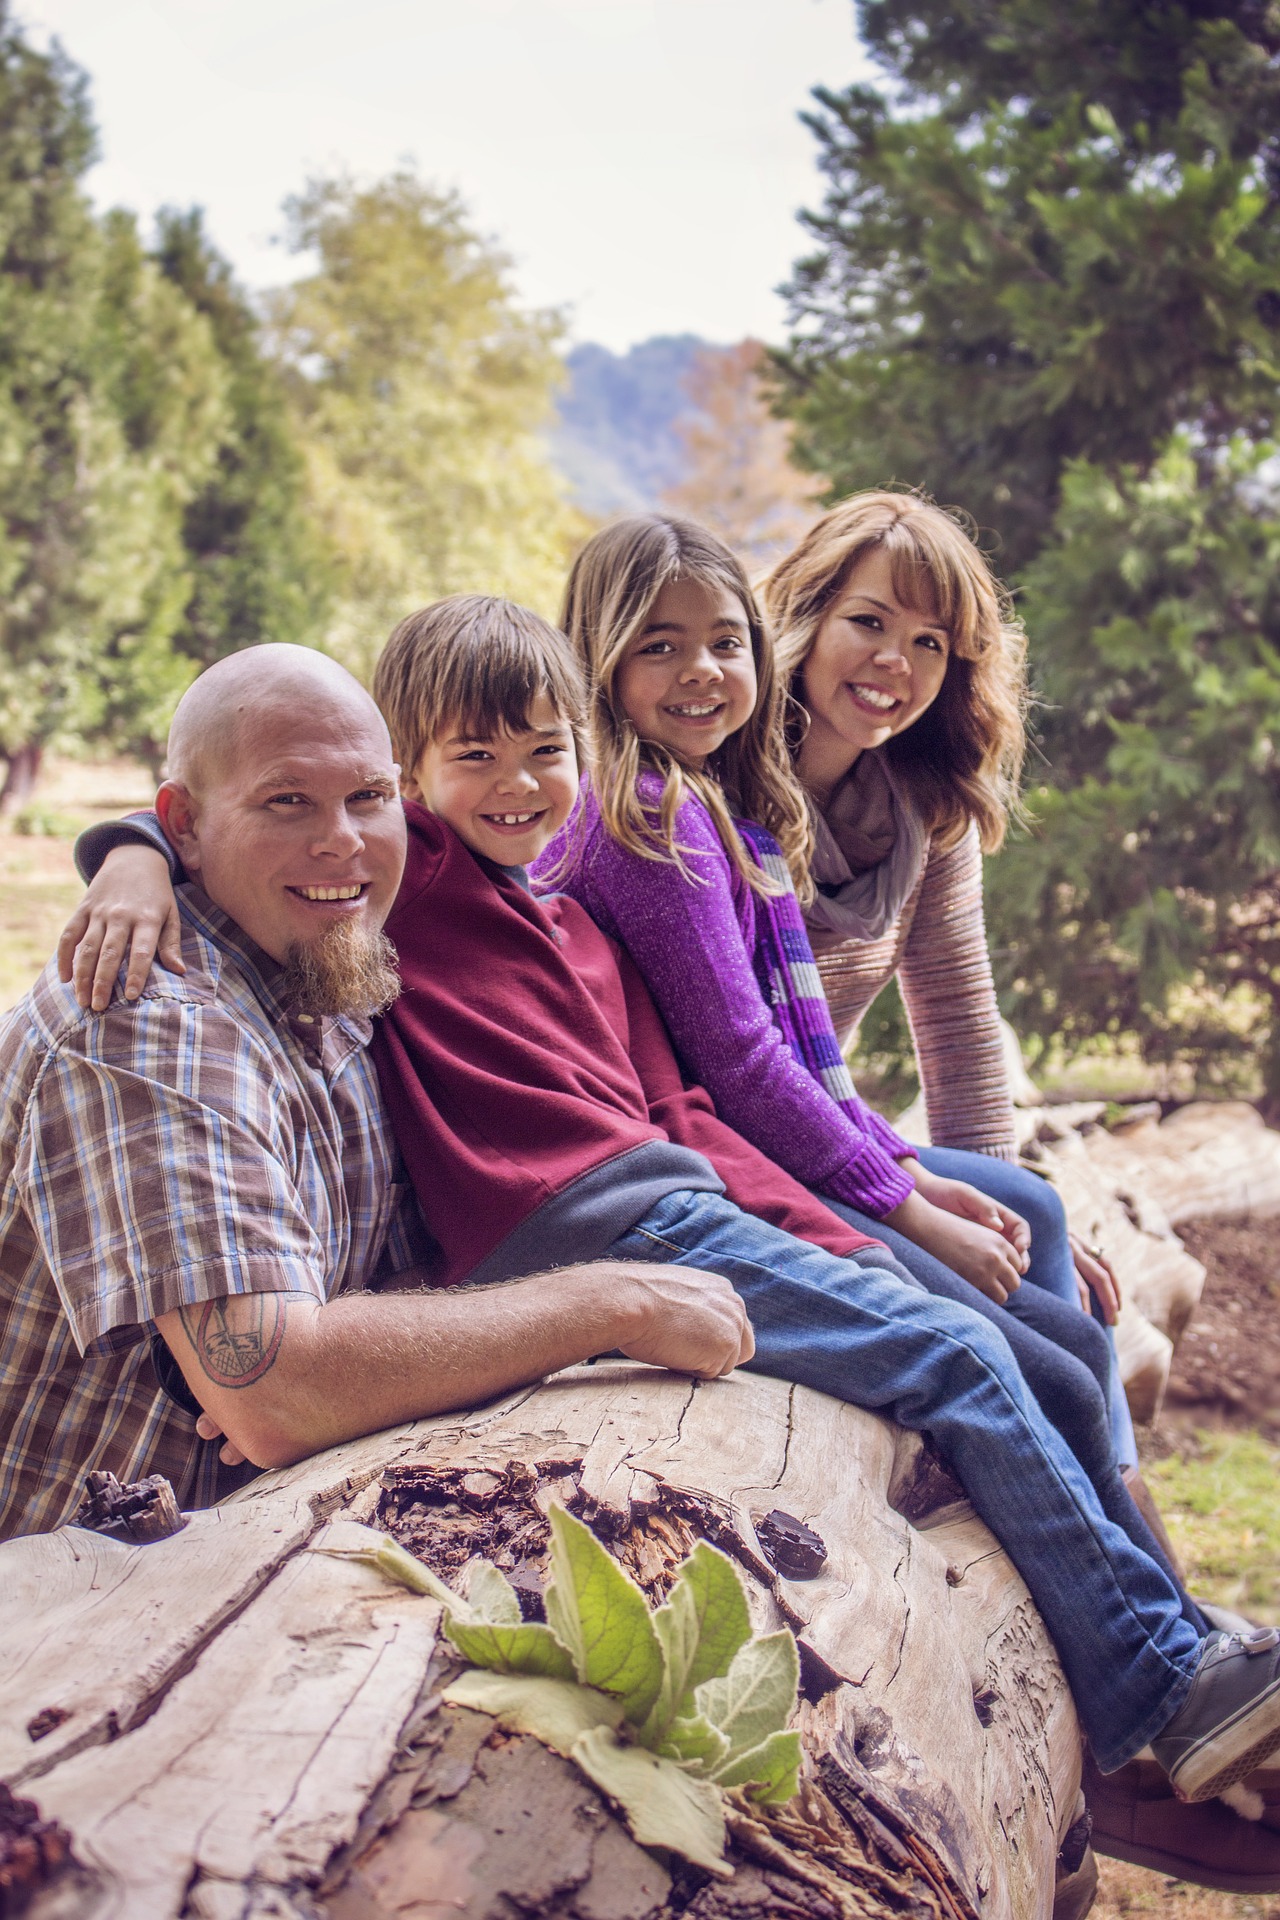
outdoor family portrait

2. Pick the Right Setting

Are you planning a wedding portrait session? Get to the venue early and scout out the right places for good framing and lighting. Are you working in the studio? Set up your lights according to the nature of the group shots. Is it a still photo session, are your subjects going to be moving? What time of day are you creating with your lighting? Know these things going in, that way you can focus on posing and minor corrections the day of the shoot.
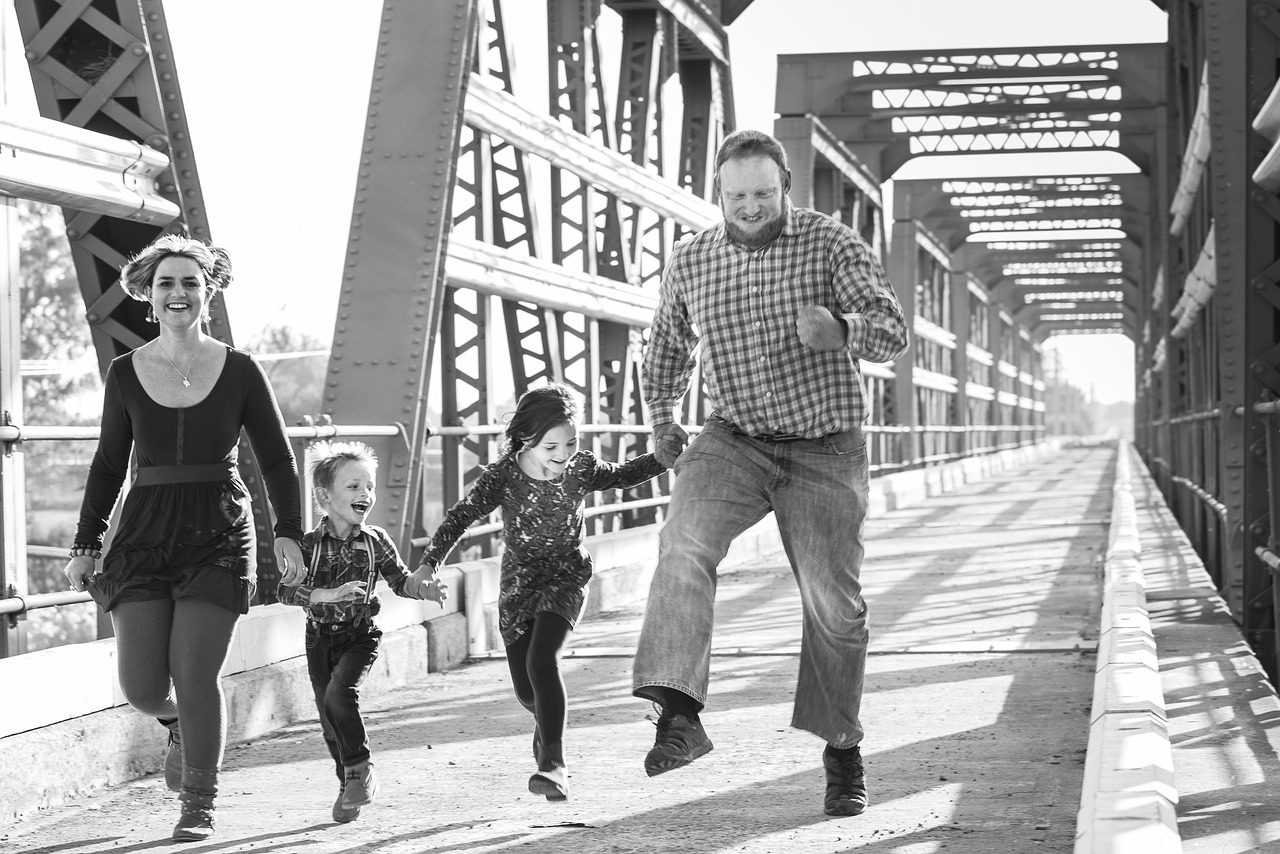
natural family portrait

3. Outside or Inside

If you’re working in a portrait studio, you may not have a choice in this matter. But if you’re freelancing or have a studio that has outdoor space, you need to decide which is better. Sometimes you can let the family decide, but a lot of clients can be indecisive about their photos. This is where you need to come in and show them the way. Decide beforehand if you’re going to shoot indoors or outdoors and have everything set up and ready to go.
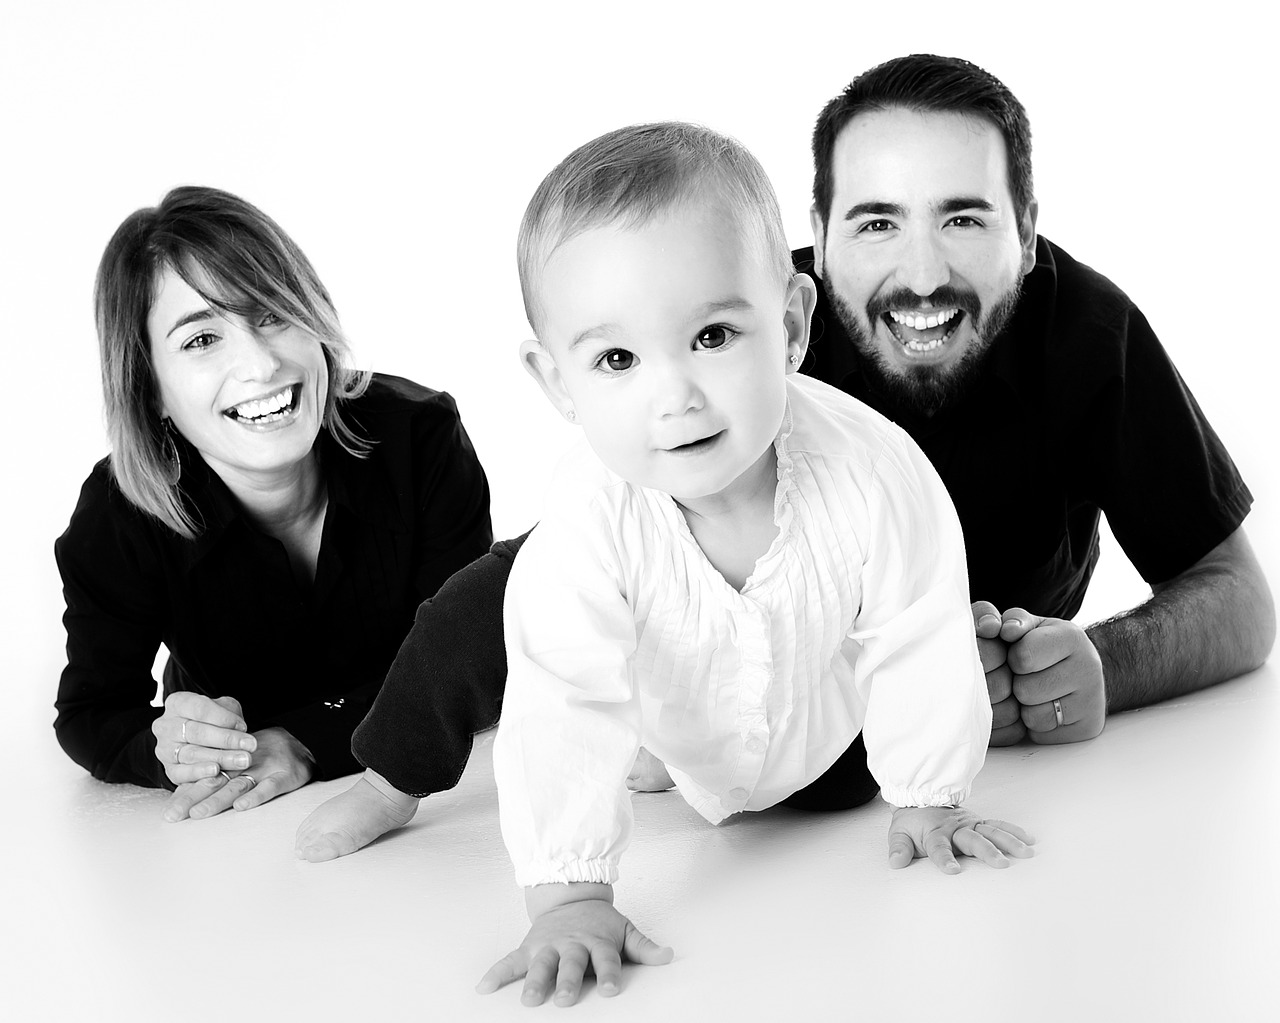
family portrait in-studio

In-studio portraits are actually perfect for younger families with small children. They are also great for families with grandparents. The confining space allows you and the parents to keep track of the youngsters. You won’t have to worry about anyone falling in dangerous terrain. Keeping everyone happy and safe is easy to do in your indoor studio.

Shooting outside can also be a great advantage. Generally, an older family with children who are 10+ years old do great outdoors. The natural sunlight can give your pictures a beautiful glow and enhance the portrait. Taking a family portrait outdoors is especially great for unique shots. Get creative here when posing your models. These are the kinds of photos that families will be able to enjoy long into the future.
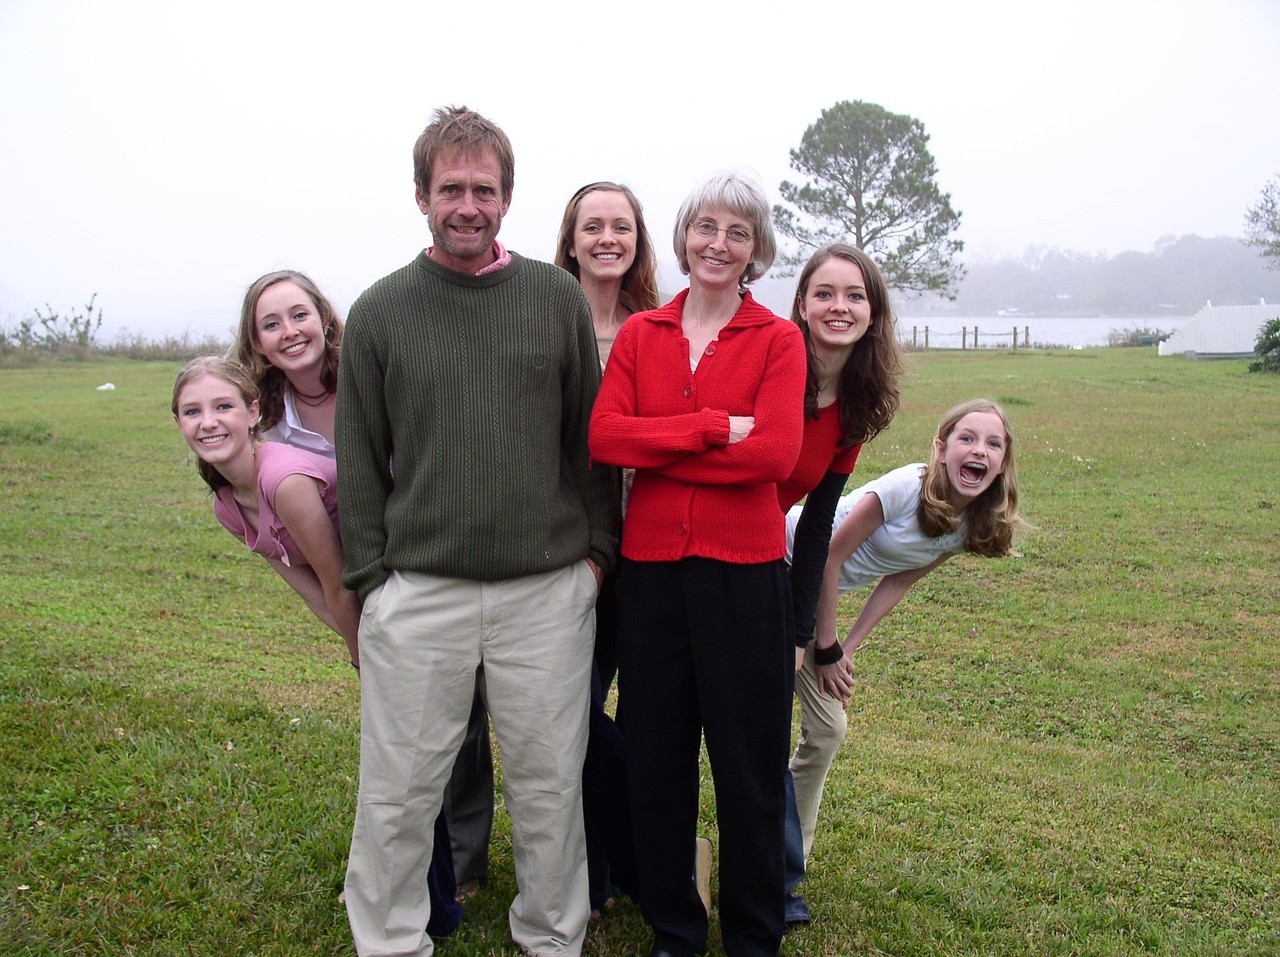
outdoor family portrait

4. Get To Know The Kids

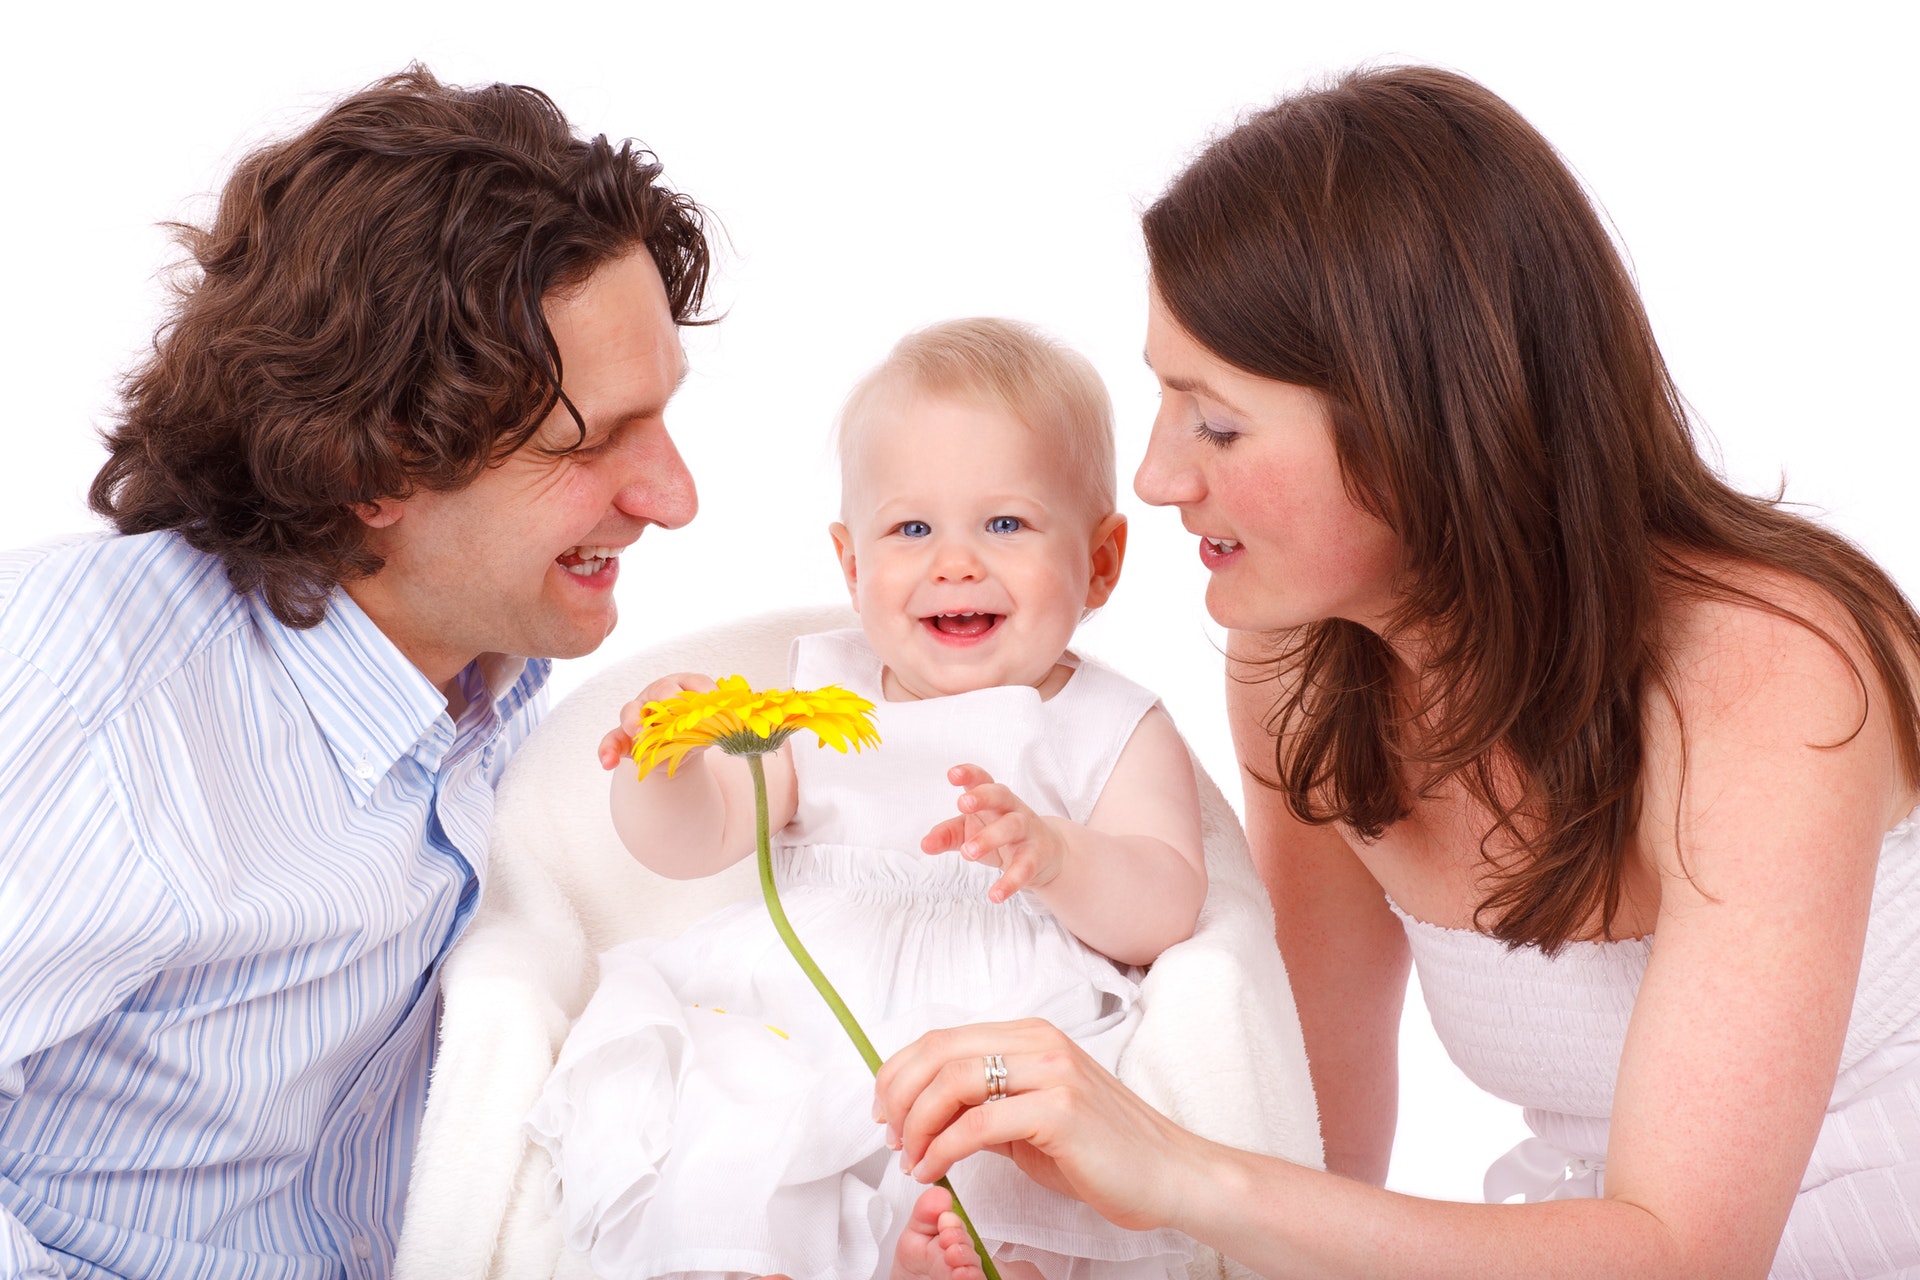
If there are kids involved, you should make it your duty to learn something about each of them before you take your camera out. Once the little ones are comfortable being around you, then everything after that tends to be smooth sailing for the most part. It often helps when I carry prize or prop I can give away to each kid so I can get their attention. If this little prize fits into the theme of the shoot, then that would be a plus as well, but always keep in mind that kids are a bit tricky and not all the same. Do your best to gain some knowledge from the parents, as well as interact with the child, and watch your shoot become a lot easier.
family

5. Use a Tripod

The desire to be on the move with your camera is hard to overcome. This is especially true if you are shooting outside or trying to capture natural moments or movement in the portrait. But there are a lot of advantages to keeping still and using a tripod to shoot your portraits. First of all, it allows for more open communication between you and your client. When you always have your camera to your eye it’s hard to be aware of anything else. By making eye contact with your clients and talking to them, you’ll find out more things about the family that you can incorporate into your shoot. By not being constantly on the move, you also ensure that you have the time to check your settings before each shot. There’s nothing like getting the perfectly framed picture on the wrong settings to ruin a whole photo shoot.

6. Lens of Choice

I personally don’t recommend traveling with too many lenses for various reasons. The first of all these reasons are you don’t want to be swapping out your lenses too often on a family portrait session. Swapping out lenses is great and all but always keep in mind that the time spent doing that at various intervals can often lead to you missing amazing shots as well as take a huge chunk out of your time to get creative. A second reason that can also be considered is, are you going use all of the lenses you decided to pack your camera bag with? For the most part as photographers, we sometimes end up carrying a lot of excess loads we don’t really need. Pick the perfect lens for your shoot beforehand and save time as well as having a load on your back.

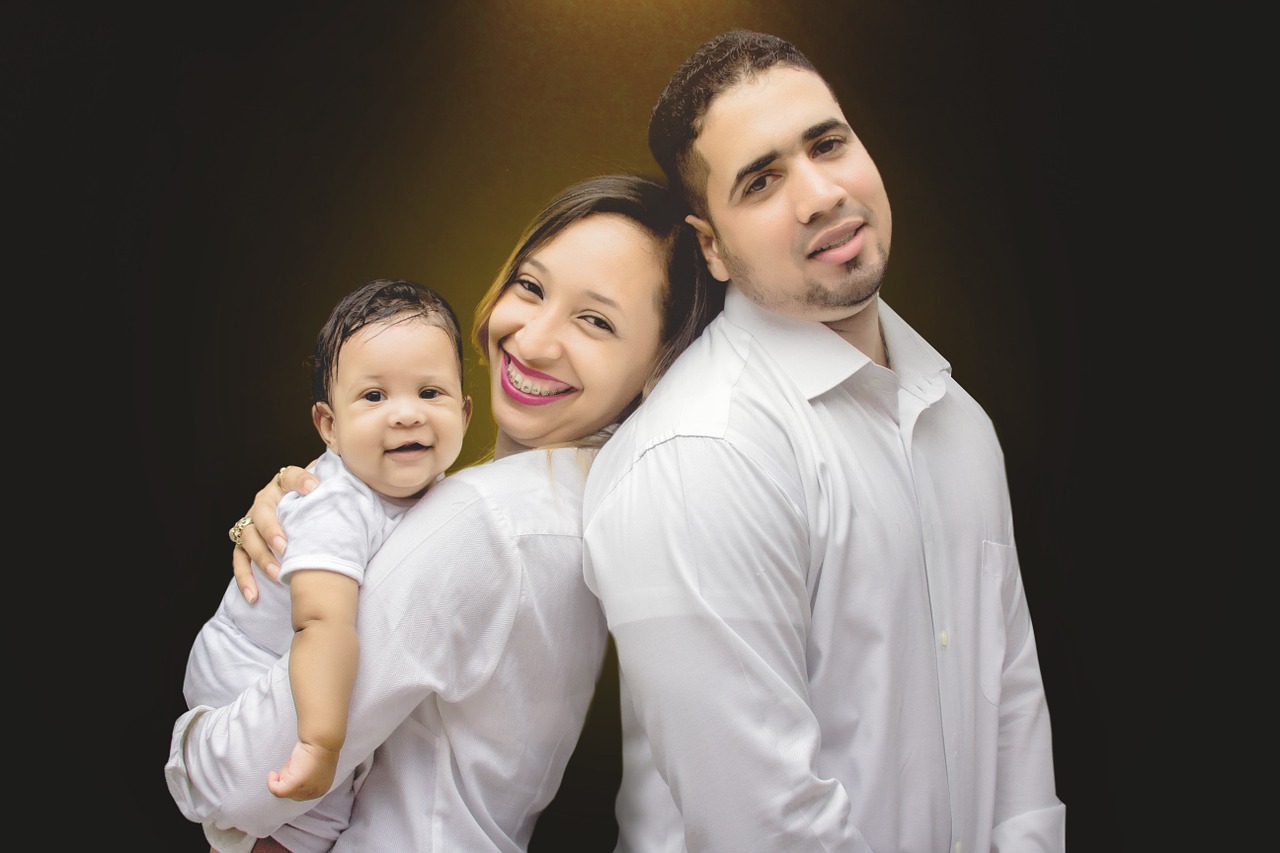
7. Use Manual Exposure

This is something that is true for all kinds of portrait shots, not just the family portrait. When shooting a consistent subject in a consistent location, it only makes sense to keep your settings consistent. After you get your settings settled, you don’t want them to change. Having different exposures for each photo will make processing and editing a whole lot more difficult. When you set your camera on the shutter or aperture modes it can change the settings without your knowledge. Be sure to shoot on manual to keep all of the settings consistent.
manual settings portrait

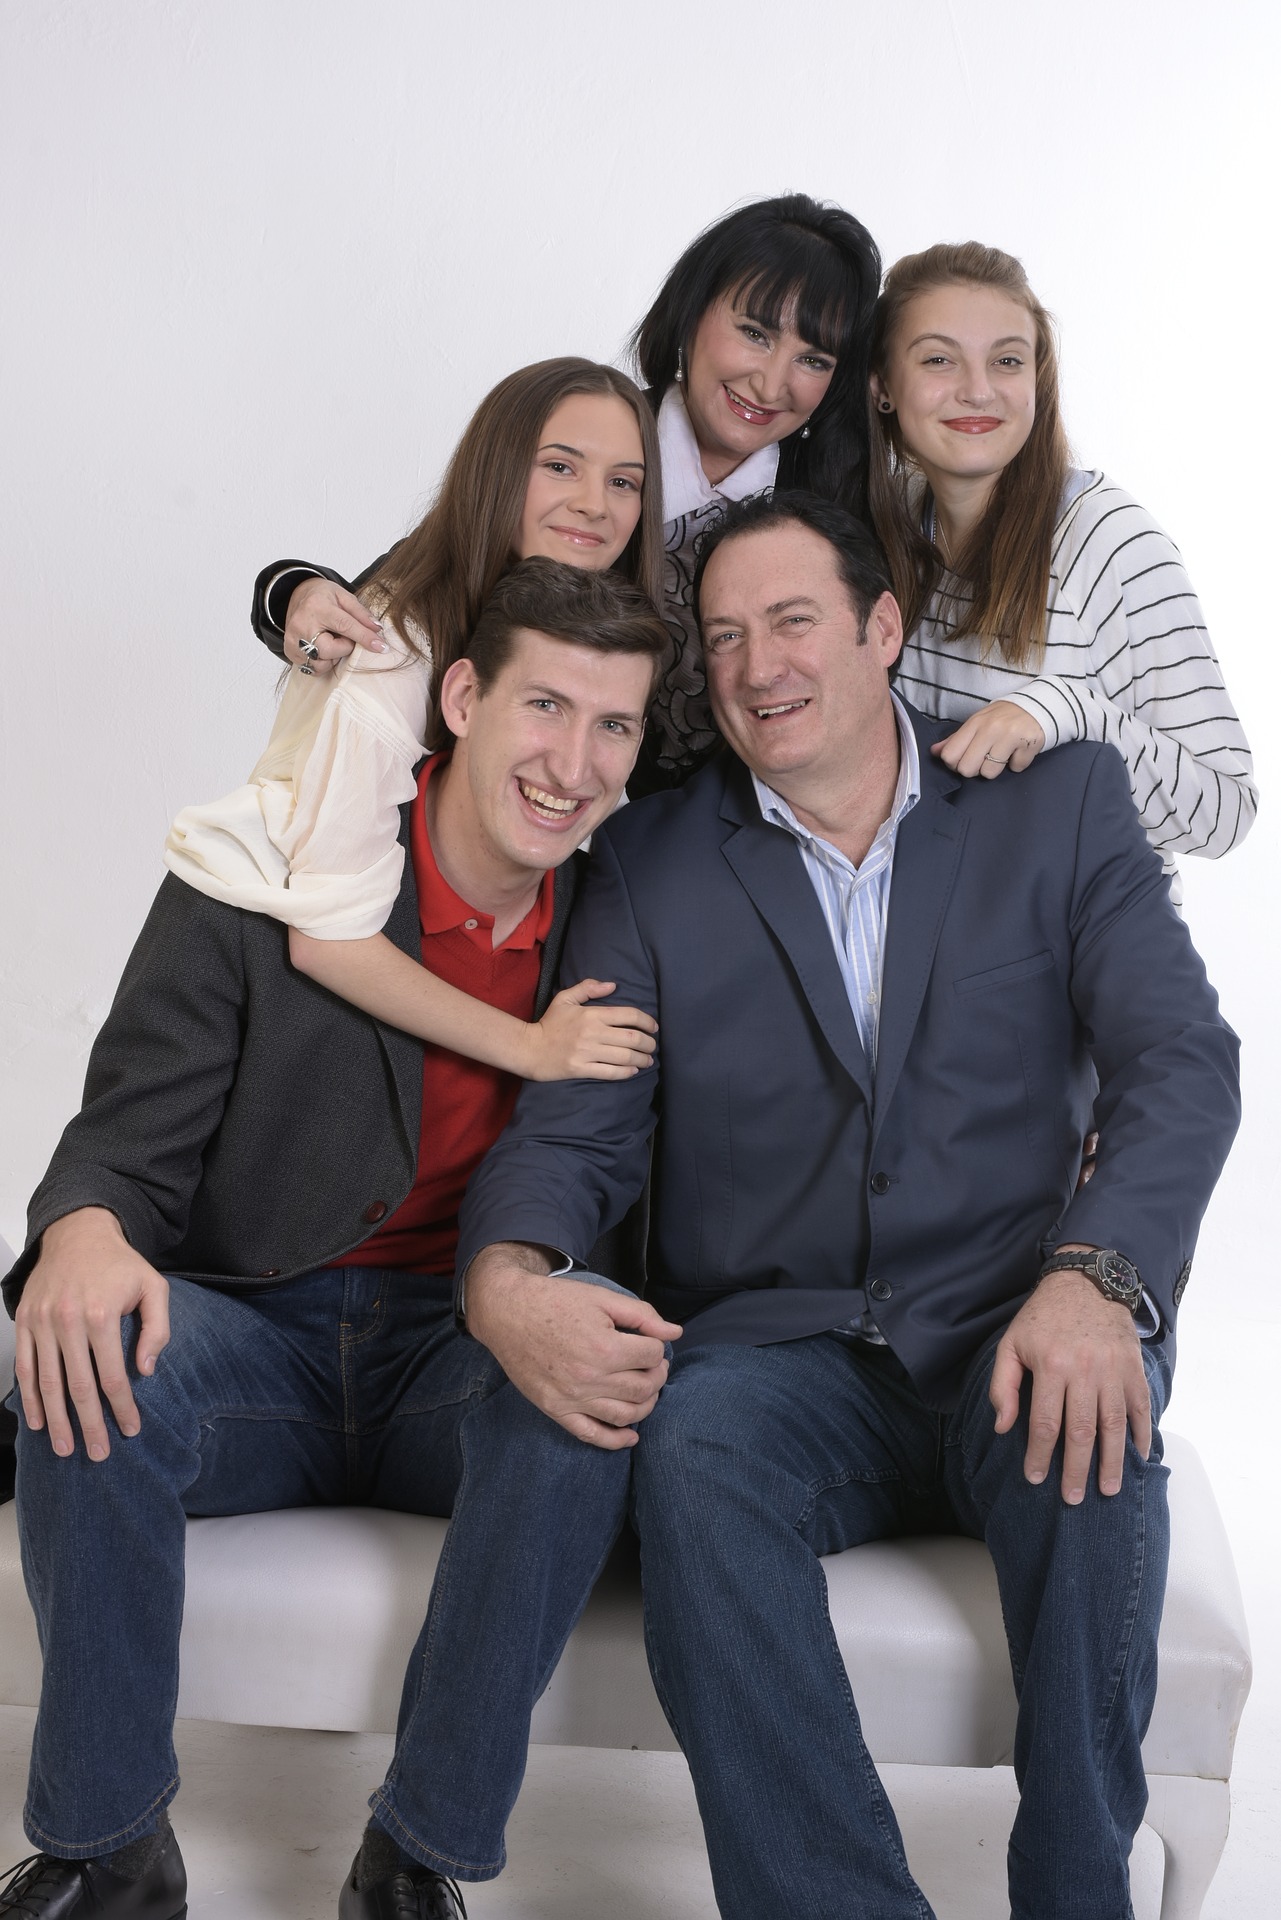
8. Keep the Focus Steady

Another consistency issue can be the focus. If you don’t lock in the focus or have it on the manual setting, it can shift during the shoot. For example, if your focus is set to the shutter setting and someone moves, the focus could fix on the background instead of the family’s faces. Sometimes a picture that was perfectly framed and posed can come out looking fuzzy and blurred. By keeping your focus setting locked or on manual mode you can make sure that your family is always the focal point of the picture.
fun family portrait

9. High Shutter Speed

You will more than likely be doing continuous shooting and as a result of that, it might be best to have your shutter count at least 1/250 if not more. If there is room to go higher on your shutter speed they do so to avoid any possible blurred shots. Kids are always moving pretty fast and as I mentioned earlier, you need to shoot continuously to catch them in their pure actions. If you find that the kids are moving faster than expected, for exampling running or jumping then 1/800 might end up being a more suitable shutter speed.

10. Props are Important

Try to travel with props fitting for the theme or holiday if possible. A lot of photographers overlook the importance of having good props and the impact it has on your photos. For example, a few empty wrapped gifts or even some Christmas tree decorations go a far way toward creating the perfect family holiday card photo.

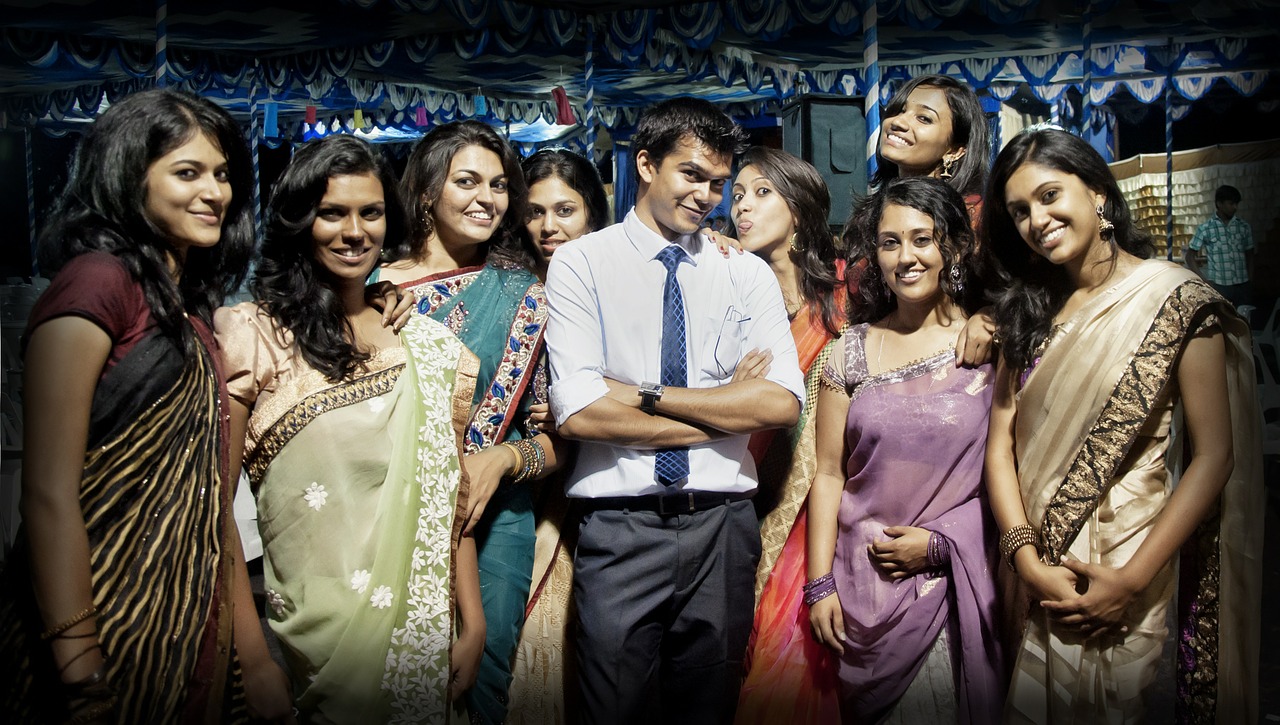
11. Work from the Top Down

Once you have everyone at the shoot, dressed and ready to go, begin by organizing where everyone should be situated within the shot. You want to work with the heights and body shapes of your subjects to create an image that is visually appealing overall. Make sure everyone understands the parameters they can move within while staying in the frame of the shot. You can even mark the outlying boundary of this with tape so that it doesn’t appear in your photographs, but it does let people know not to step outside of those lines!
big group shot

From there, work with each person on their individual poses. Remember to adhere to the final tone. If you want joyful and energetic, people should either be moving or creating the illusion of movement with their poses. If you want a standard professional portrait, everyone should be looking towards the camera. If you are selling a product, the focus should be on the product. For a family portrait, you have to make sure everyone is equally represented.

First, you set the basic structure by determining where people are going to stand within the picture. Then you work with each individual on how to pose. The individual poses should work together so that the subjects are not fighting for attention within the image. If you’re shooting for fashion, your group portraits should tell a story and focus on the product. If you’re shooting for family portraiture, your final shot should capture a moment in time while focusing on the subjects.

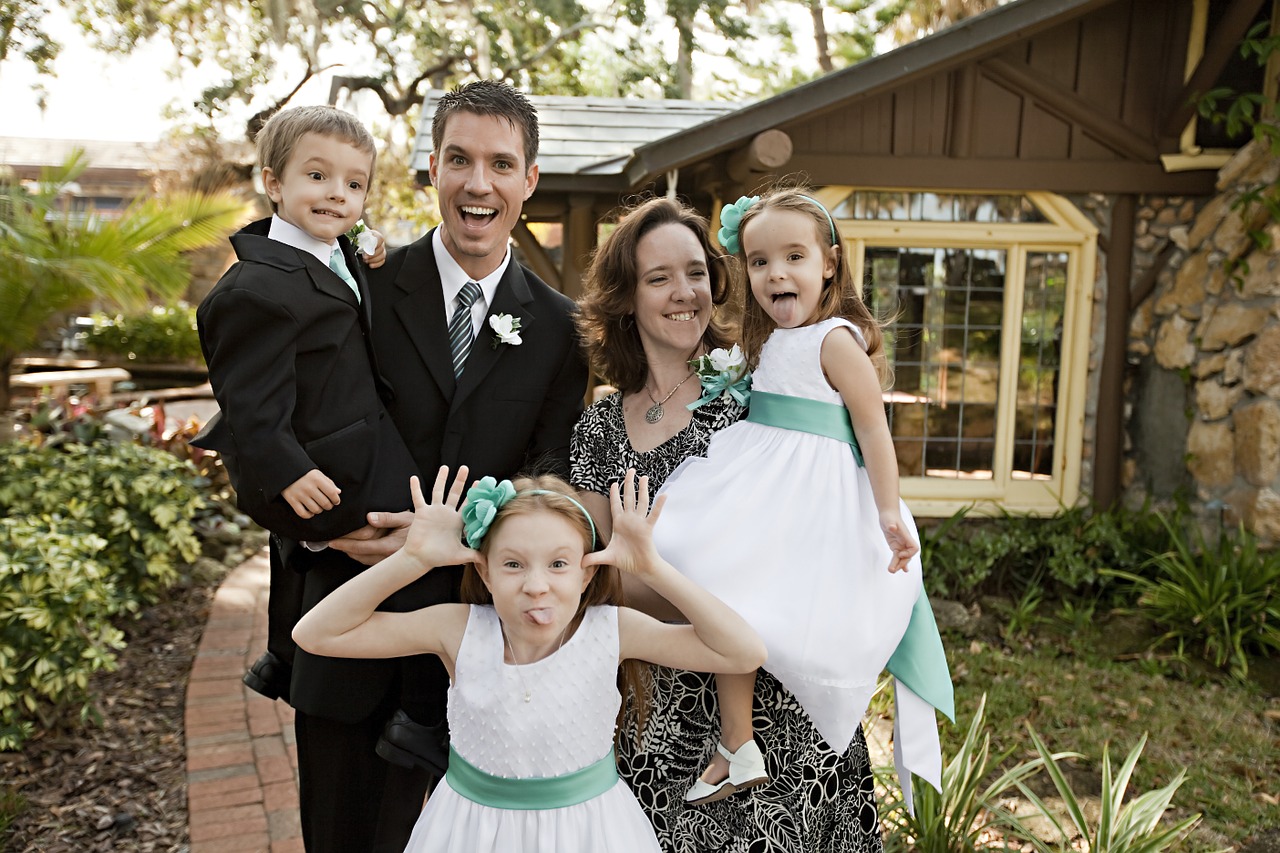
12. Don’t Get Frustrated

Obviously, it can take a lot to organize a group shot. If you become frustrated, your subjects will mirror this in their facial expressions. If you have to walk away for a minute, do it. If you’re having trouble, just tell everyone to have fun and experiment with their posing. While they do this, snapshots off quickly.
family wedding photo

Family Portrait Pose Tips & Tricks

Sometimes when a family, especially one with young children, goes into a studio, there’s an air of nervousness and stiffness, and that creates some unnatural and forced pictures. No one wants to look back at their pictures and see strained smiles and stiff poses. Getting natural family photos is all about having fun and capturing emotion.

Top 10 Family Portrait Pose Tips

  1. Bend It
  2. Capture the Reaction
  3. Get the Lighting Right
  4. Break Out the Props
  5. Use Flattering Poses
  6. Sit Close
  7. Tell Someone a Secret
  8. Hold Hands
  9. Have Fun
  10. Embrace

Poses themselves often intimidate unprofessional models. People want to look like themselves in their family albums. Individuals of all kinds want to own heartwarming photographs that their children will treasure in the future, not awkward snapshots of their parents looking out of place. Similarly, couples want photographs that they can proudly share with their friends on social media.

Fortunately, poses don’t have to be awkward. They can make your subjects feel comfortable in your presence. Certain poses can actually strengthen the client-photographer bond.

1. Bend It

A good way to remove the stiffness of any pose is to get the family to move and bend. Sitting or standing perfectly straight is not natural. Make good use of a person’s joints and have them bend at the elbows, knees, and hips. People can hook fingers in their belts or pockets to loosen up their arms. Have the family turn slightly with one knee bent and hips pushed out toward the camera. If they’re sitting down, let them lean forward a bit, or turn to their side and extend one leg while the other stays bent.
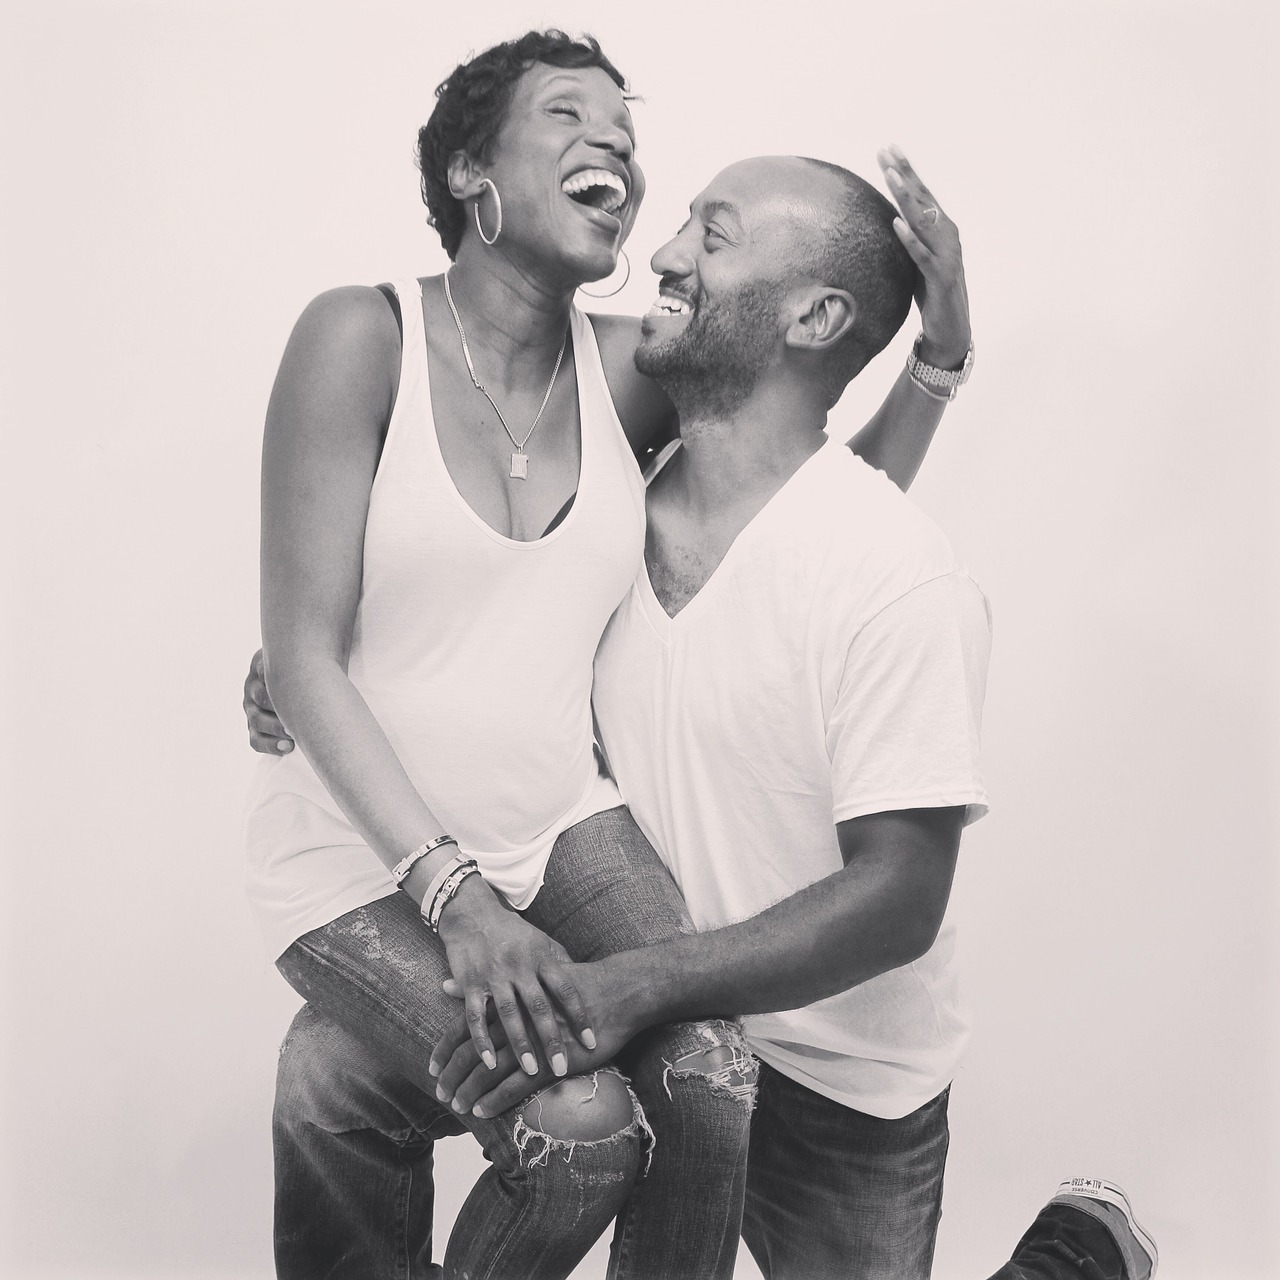
natural-family-photos-1

2. Capture the Reaction

Most of the time when you’re shooting a family photo you won’t be capturing the action, but rather the reaction. If you want natural family photos, tell the family to do something, and wait for the moment after it happens. Have one person whisper a secret in the other’s ear and capture the two of them laughing afterward. Get the kids to surprise attack the parents and capture the family dissolving into laughter after. Whatever you ask the family to do, you want to shoot the aftermath, when the family is having fun and their smiles are real. Capture a true happy family moment.
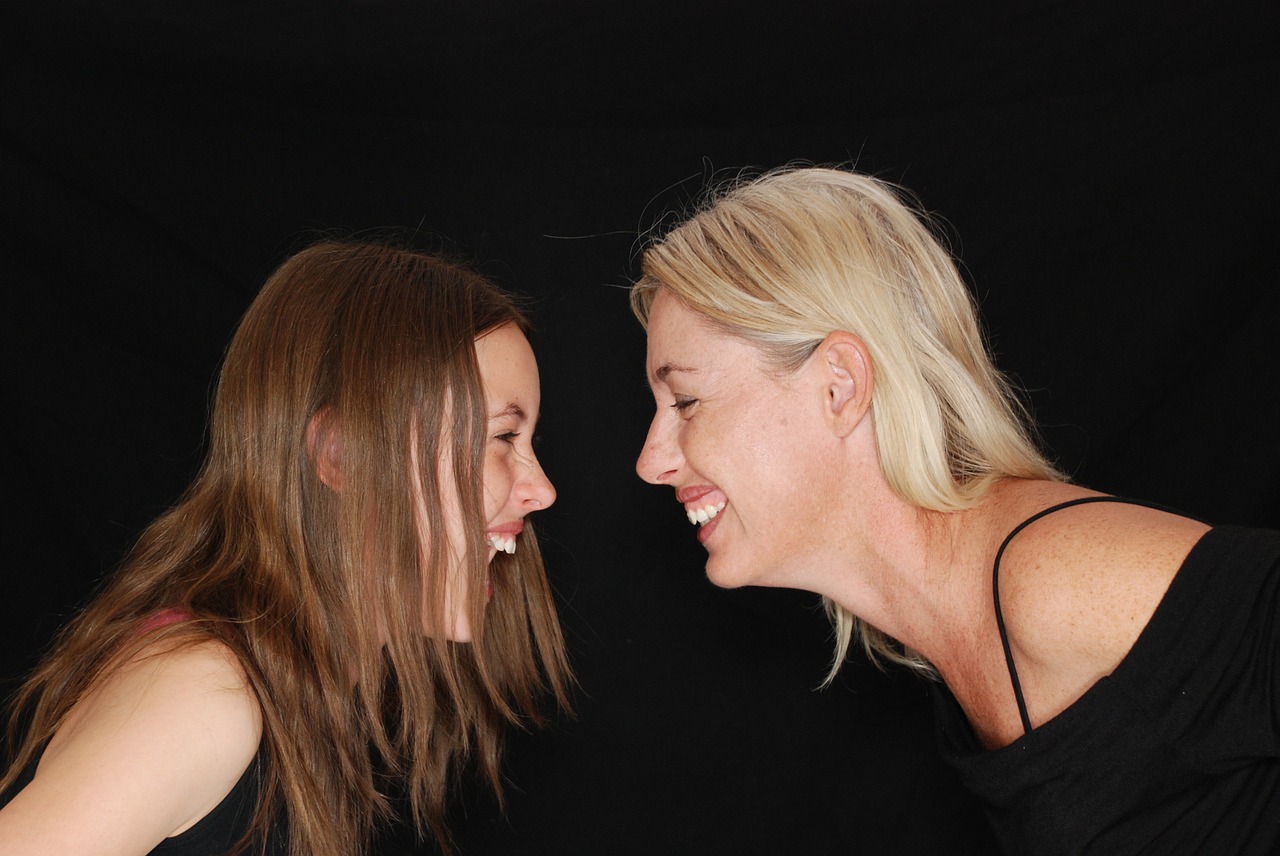
natural-family-photos-2

3. Get the Lighting Right

Unlike shooting an intense fashion shot or a light and airy nature shoot, you want to get the family in a soft and fun light. Use a light colored background, white is best, and use either a large window with natural light or just one light. Make sure that the light isn’t pointed directly at them or coming from directly overhead. It’s best to have a very bright studio and to use a flash to help add contrast. Set the flash up at a 45-degree angle to avoid odd shadows.

4. Break out the Props

Especially when it comes to photographing toddlers or young children, you want to give the family something to help focus their attention on. Not every photo has to be the family in a straight line staring into the camera. It’s okay for them to let their attention wander to an object, and sometimes even creates the family’s favorite picture. Ask the parents to bring one of the children’s favorite toys or books. Encourage the family to simply play with the child and capture their reactions. If you have your own props, let the children choose what they want to play with, and shoot their play time. Let the kids be kids and have fun.
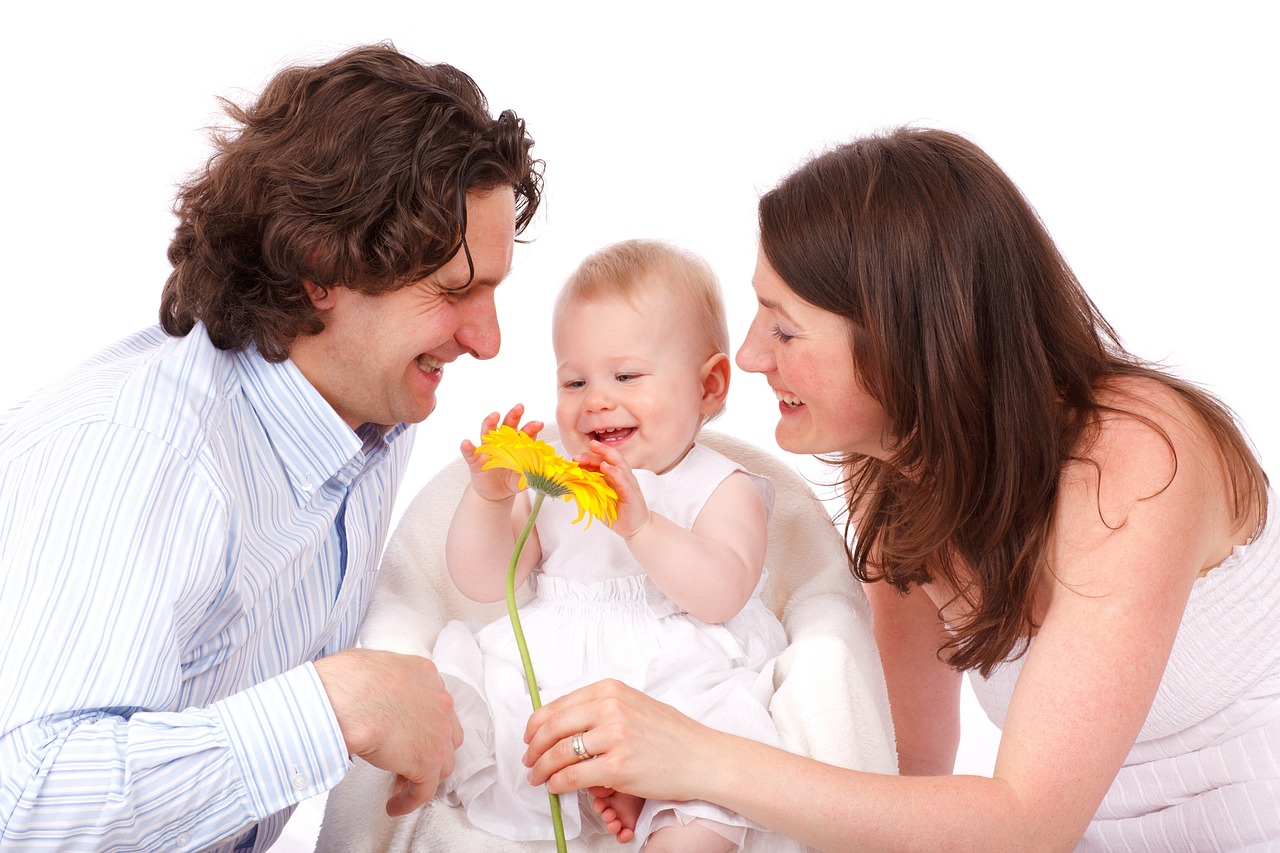
natural-family-photos-3

5. Use Flattering Poses

People tend to be self-conscious about their body. Maybe someone is concerned about their weight, or someone else has a large birthmark they can’t cover up with makeup. It’s easy to pose people in ways that flatter them and make them comfortable with the end result. Study your family as they are in the studio and notice blemishes or anything they are uncomfortable with. Then change your poses to match.

If a family member is worried about their weight, have them lie down on the ground facing the camera. Having the kids climb on top of them creates a natural pose and helps hide their body. Also, in other poses, try to angle the camera so it looks slightly down on them, this will hide any double chins and help slim the body.
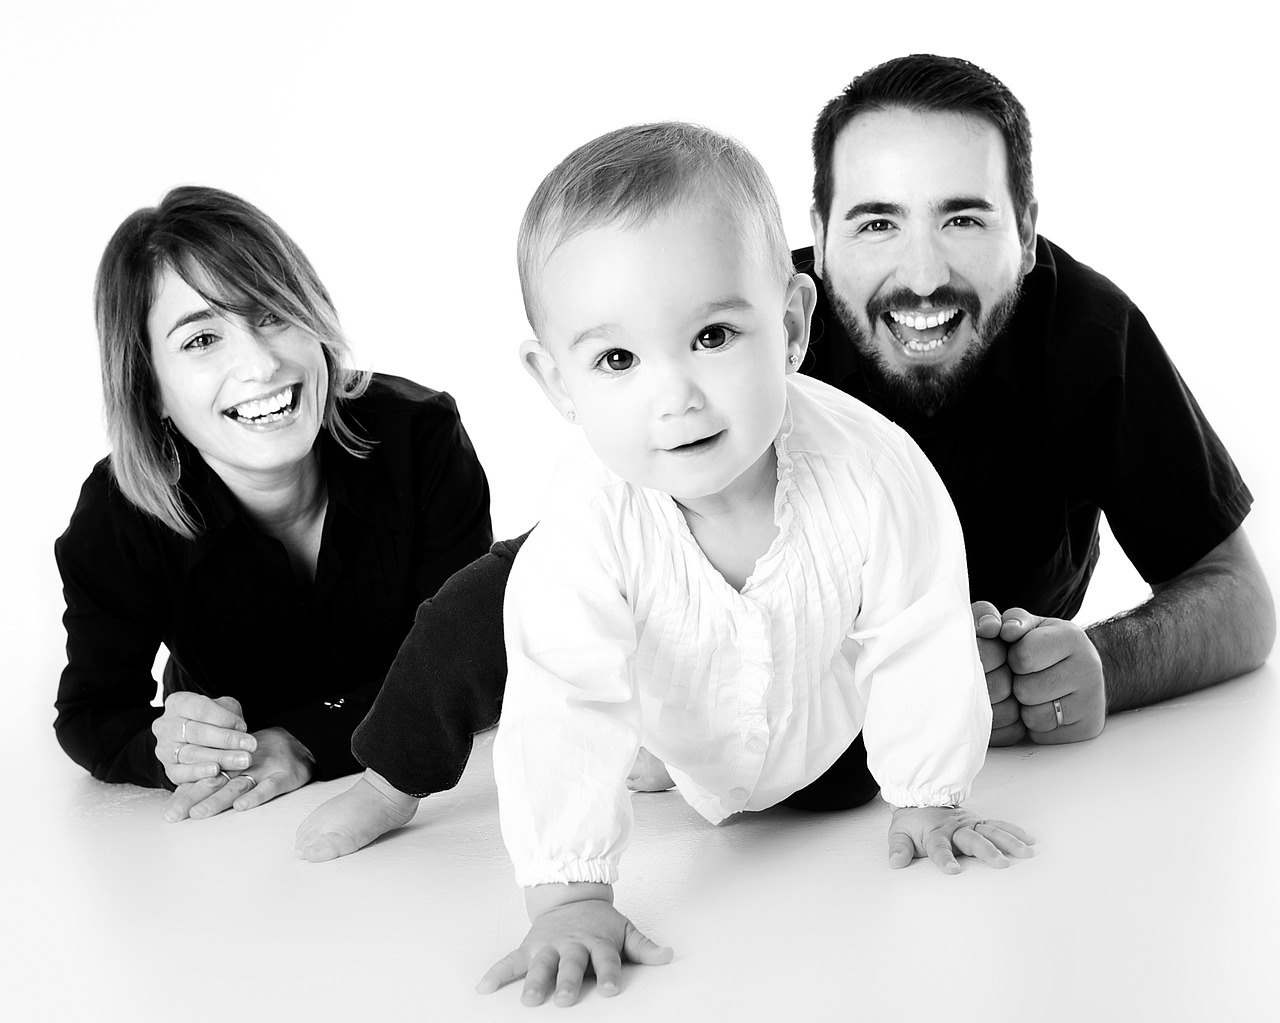
natural-family-photos-4

For any blemishes, have that person’s face or turn a specific direction. If they’ve got a pimple on their chin, for example, simply have them turn their head slightly so that that side of the face is always facing away from the camera.

If you’re working with a couple where there is a huge height difference, have the couple sit down. In standing poses, get the taller of the two to stand with their legs apart a bit to help bring them down.

When shooting a single parent and young children, encourage the parent to lift the children into their arms. You can also get great natural family pictures by having the parent kneel on the ground and hug the children from behind.

6. Sit Close

At the beginning of your photoshoot, take simple photographs. This way, you’ll have a good variety of photos to share with your clients, and you’ll get to know what kind of posing style they’re most comfortable with. You’ll also have a chance to make them feel at home in your presence without immediately diving into complicated instructions.

If your clients sit close to one another, you’ll have lots of opportunities to take spontaneous photographs that accurately represent their relationship. Encourage them to sit somewhere picturesque and interact with one another. You’ll get lots of great photos of smiles, hugs, and silliness.

As the photo above suggests, you can take photos from any angle. If some of your clients feel shy at first, take photos of their backs. Even faceless portraits can be joyful!
mom & daughter telling secrets

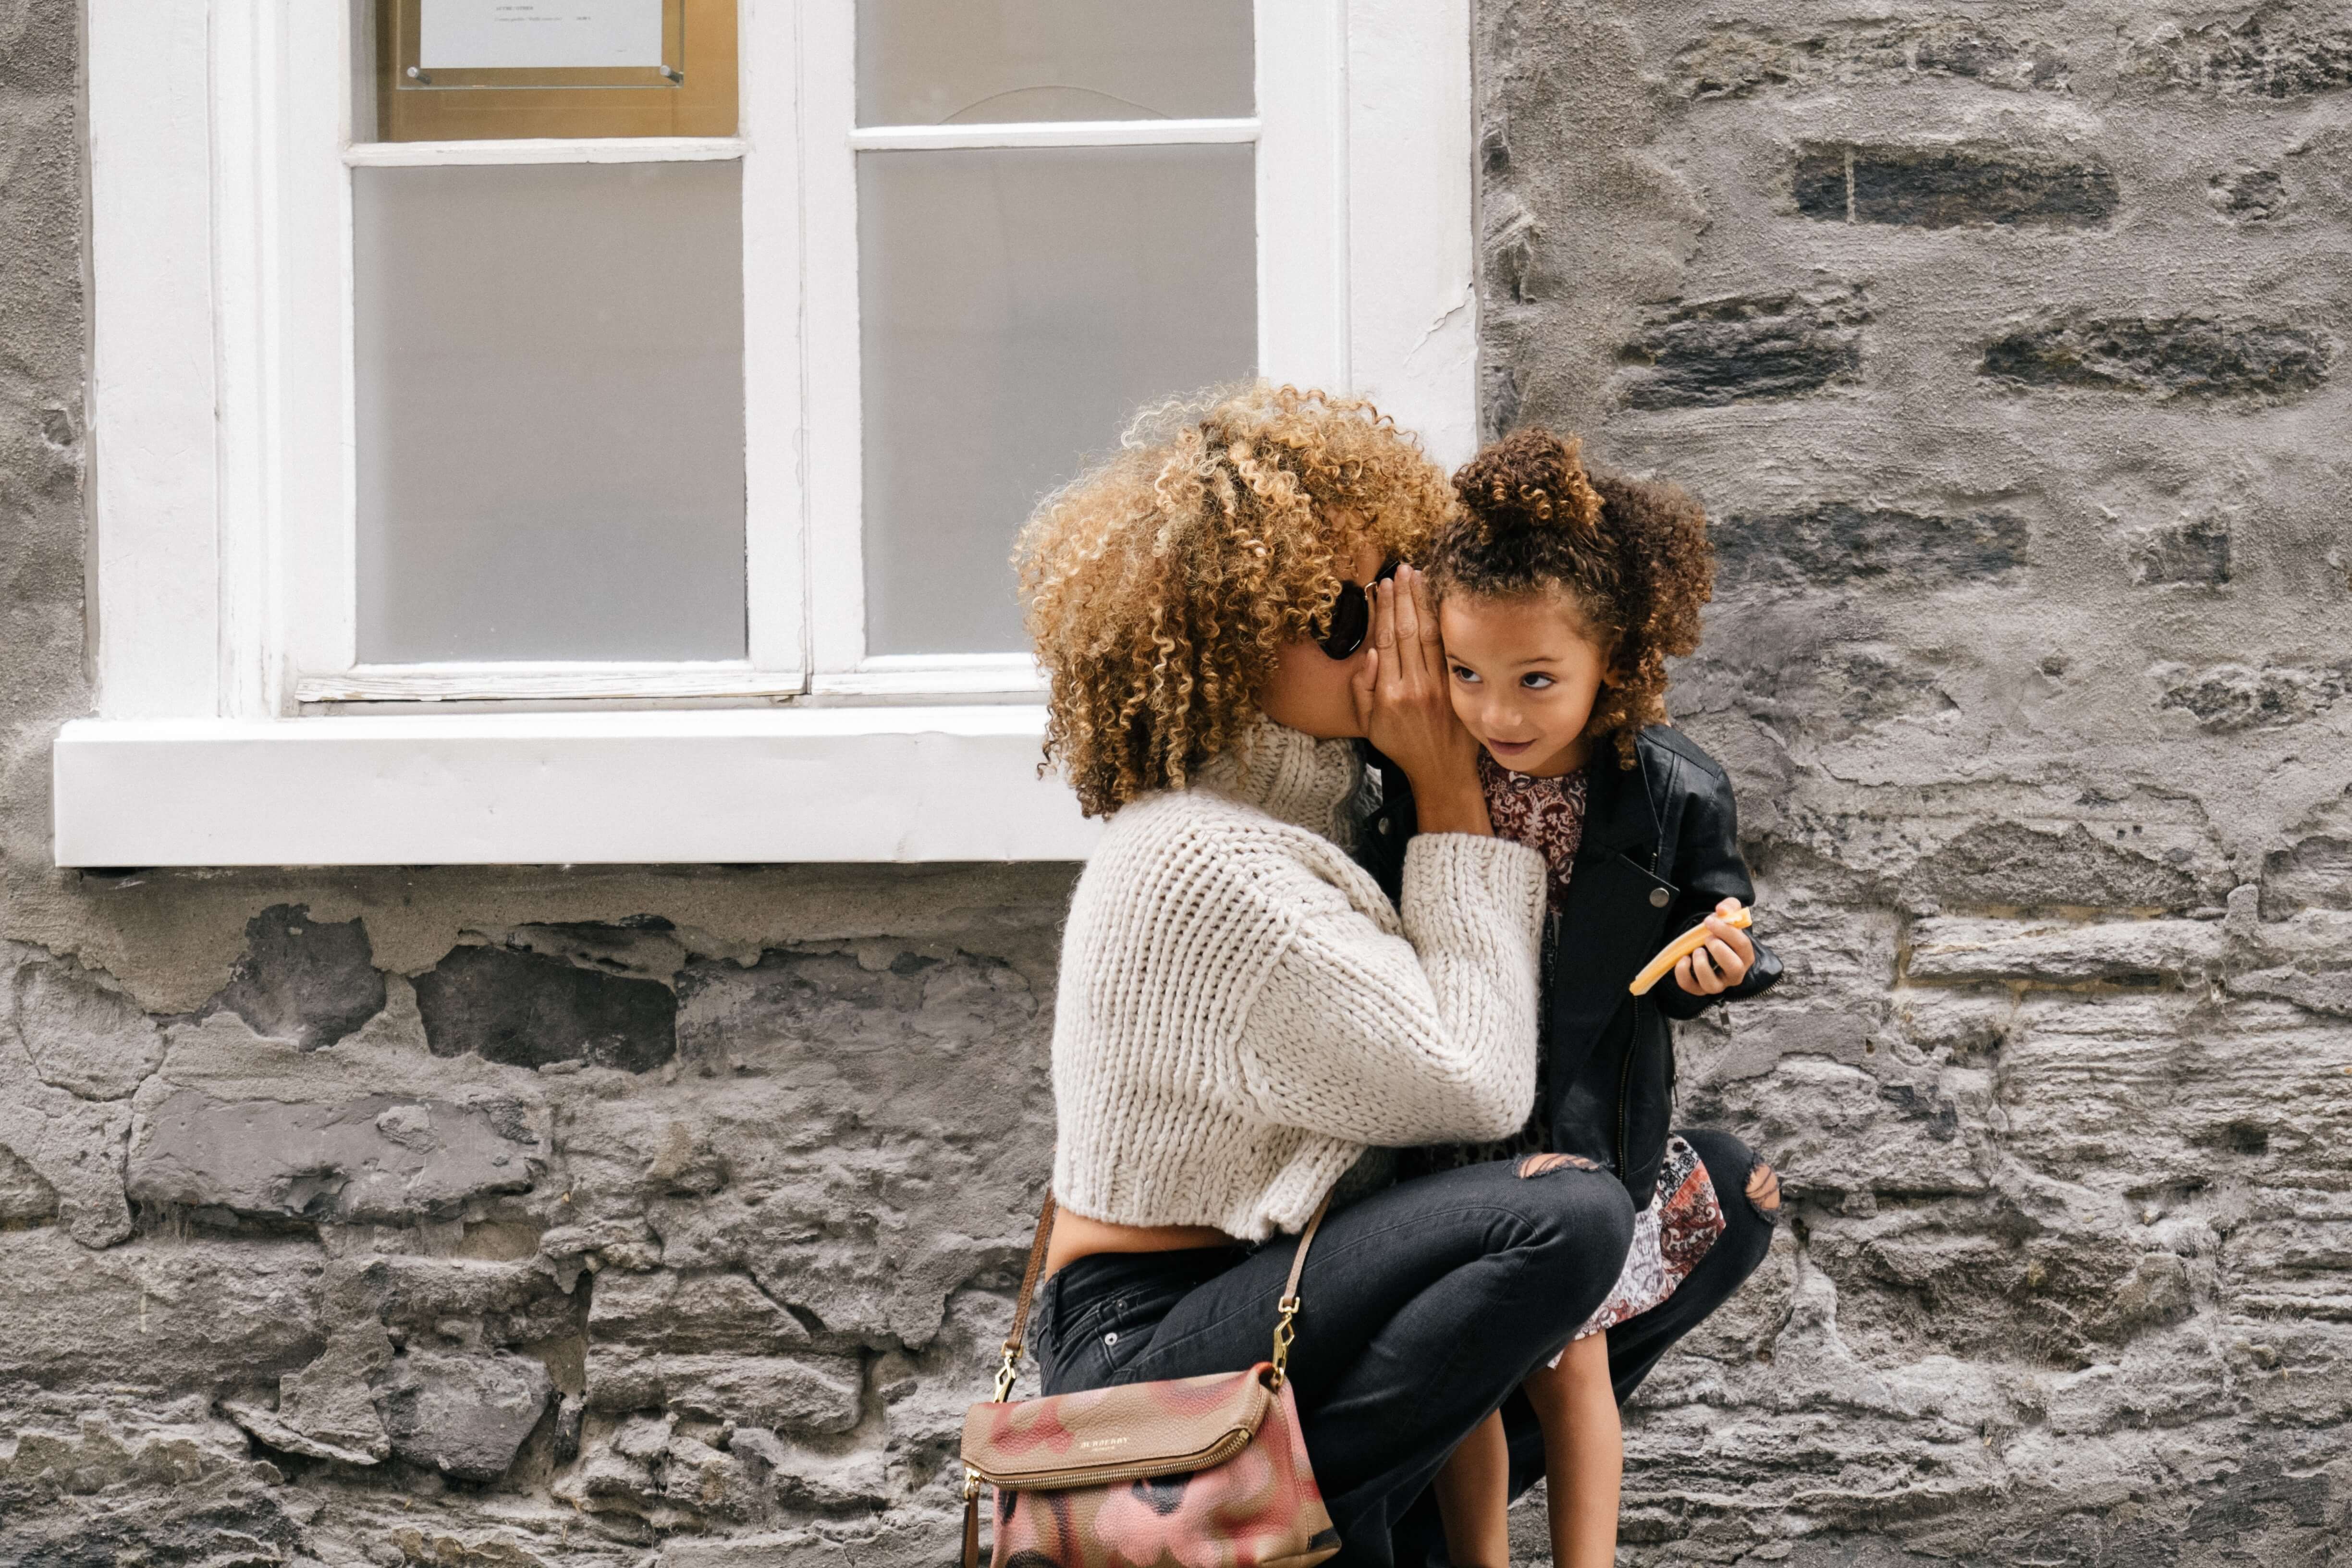
7. Tell Someone a Secret

An effective way to highlight a family’s bond is to photograph them trusting each other with secrets.

Ask your clients to tell their family member a secret, joke, or story. They don’t have to be real, but they should be entertaining. This will inevitably lead to funny reactions, great poses, and photogenic expressions.
family holding hands on the beach

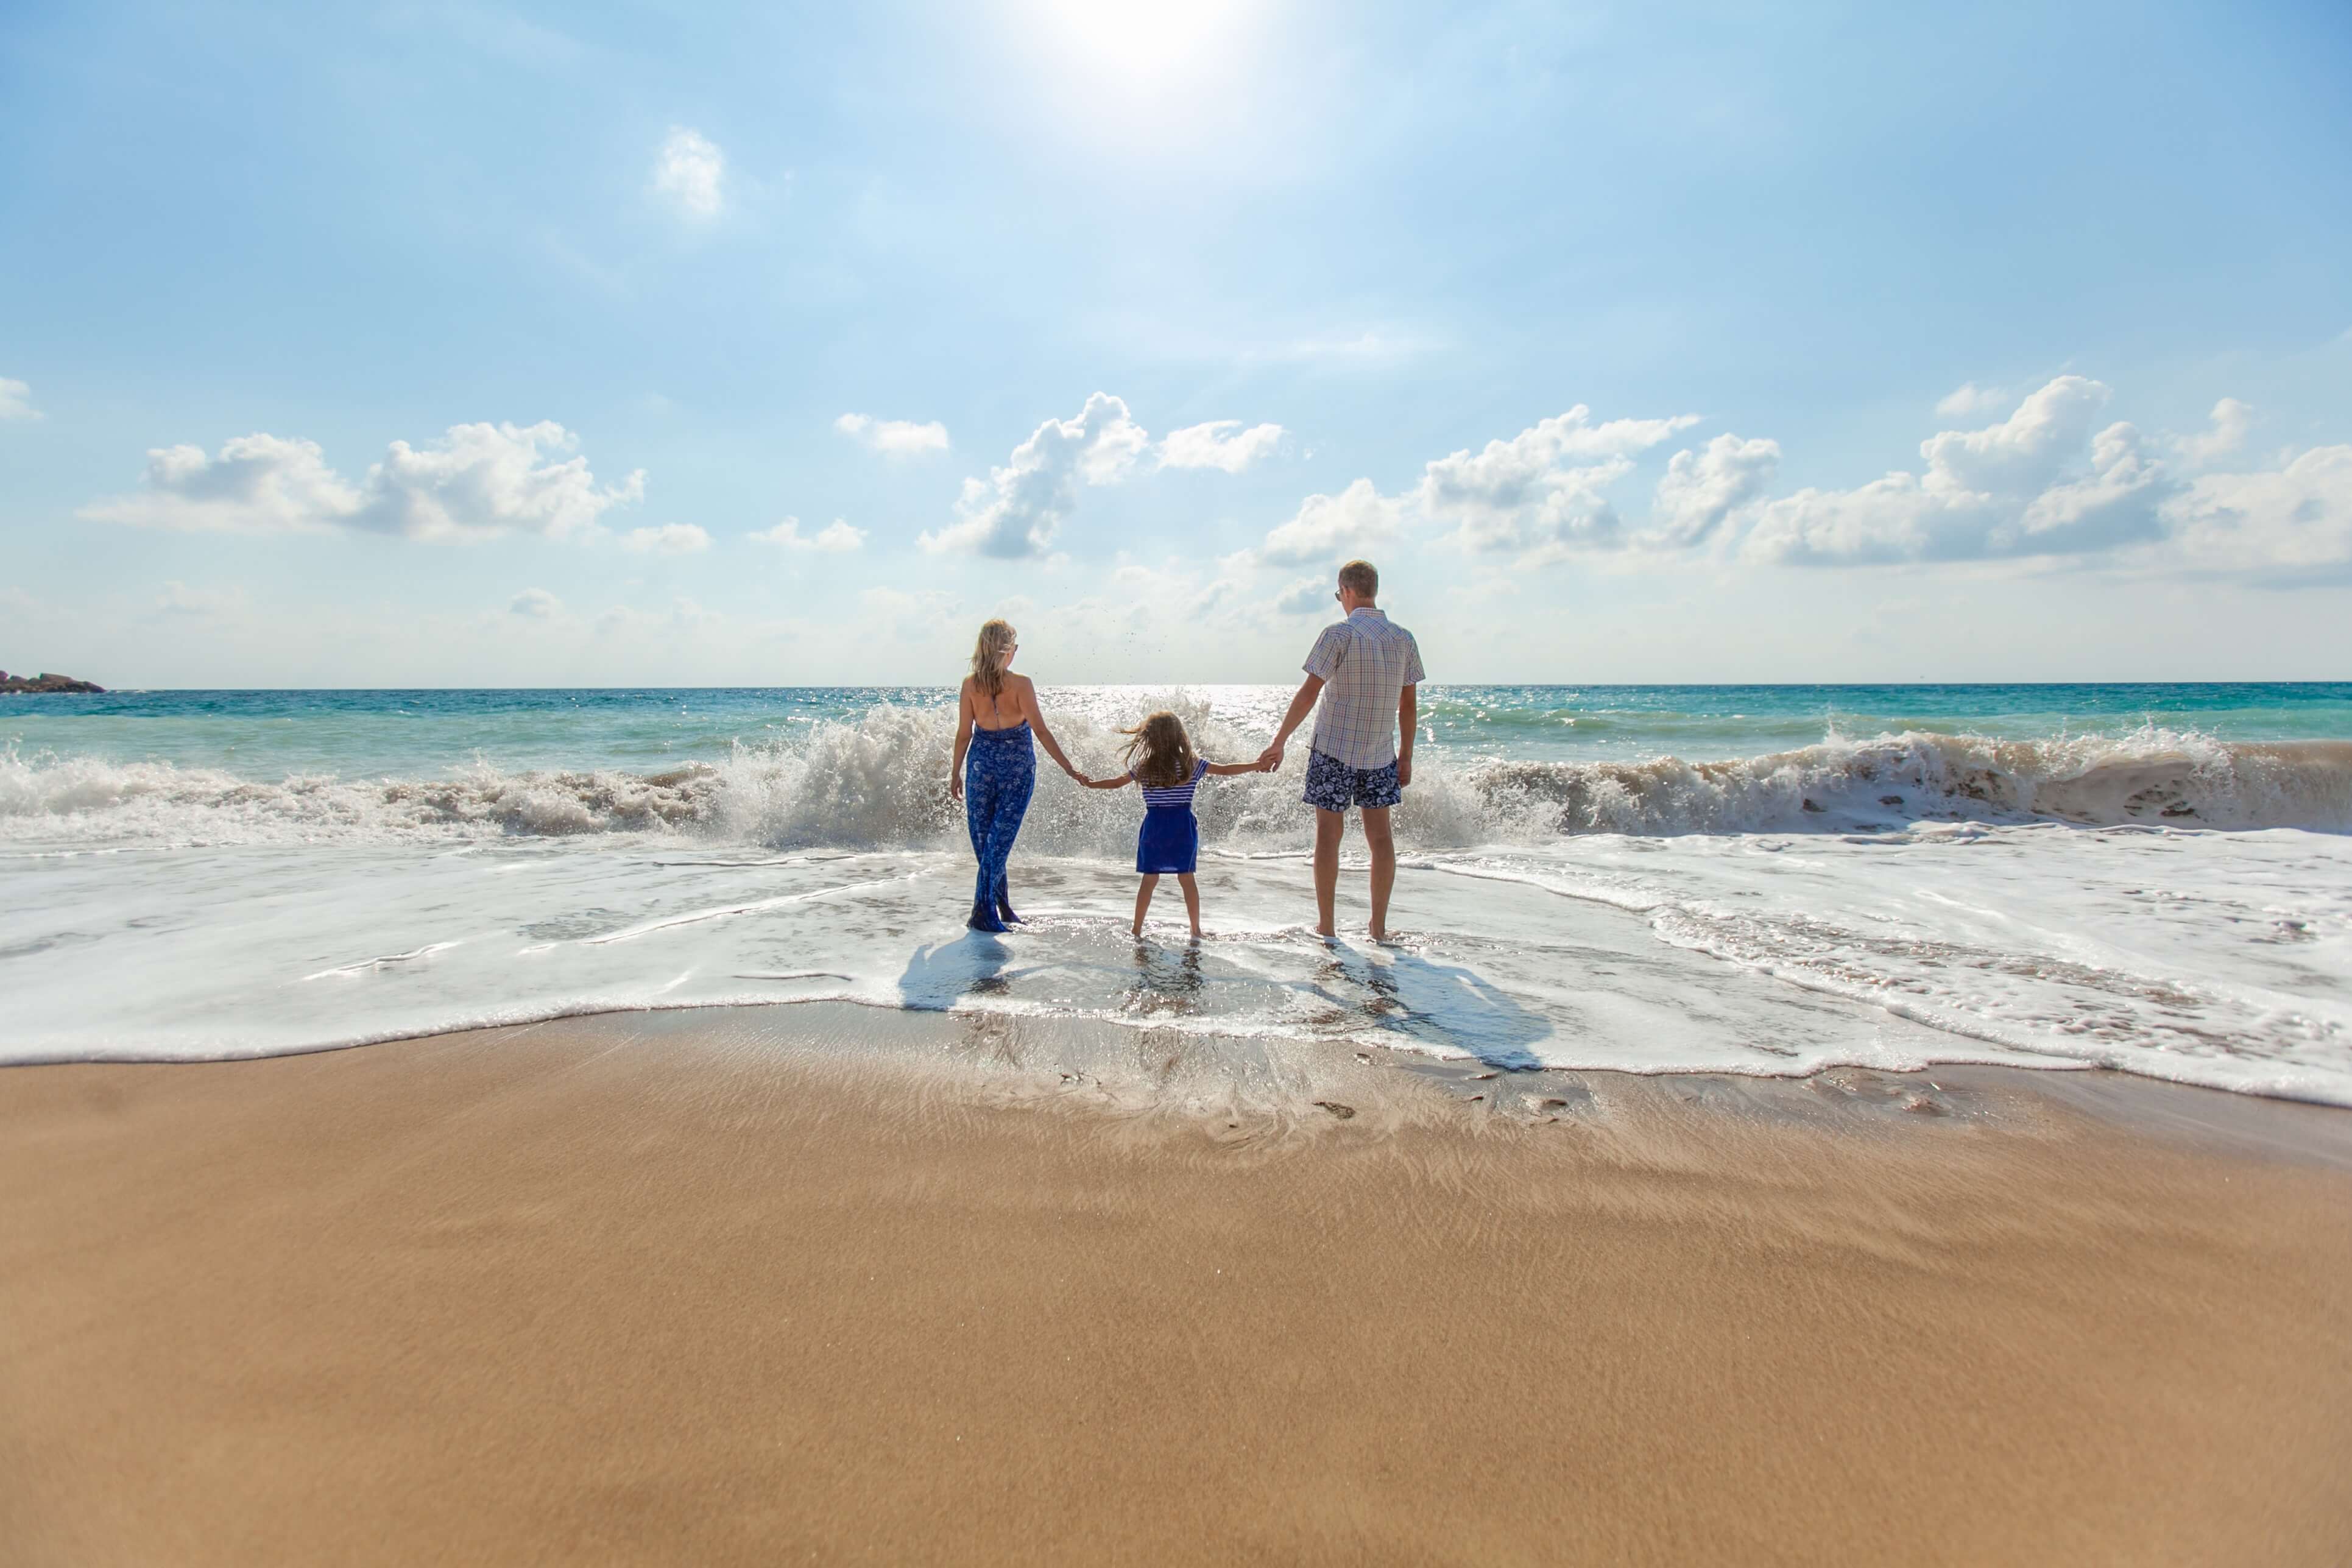
8. Hold Hands

Photos of loved ones holding hands may be very common, but that shouldn’t stop you from experimenting with them. Hands are a great way to express bonds, friendships, and familial strength. Here are ways you can use them in your photographs:

  • Take photos of your clients walking somewhere while holding hands. This will give your photos an air of spontaneity and warmth.
  • Take photos of your clients’ hands only. This could be while they’re passing something to each other, playing a game, or simply comforting each other.
  • Ask your subjects to stand in a line or circle and hold hands. If this feels unnatural, play a game such as Holding Hands: players have to pass peanuts to each other without breaking the hand-holding chain. An activity like this will distract your clients, allow them to have fun, and give you lots of time to take great photos.
having fun at sunset

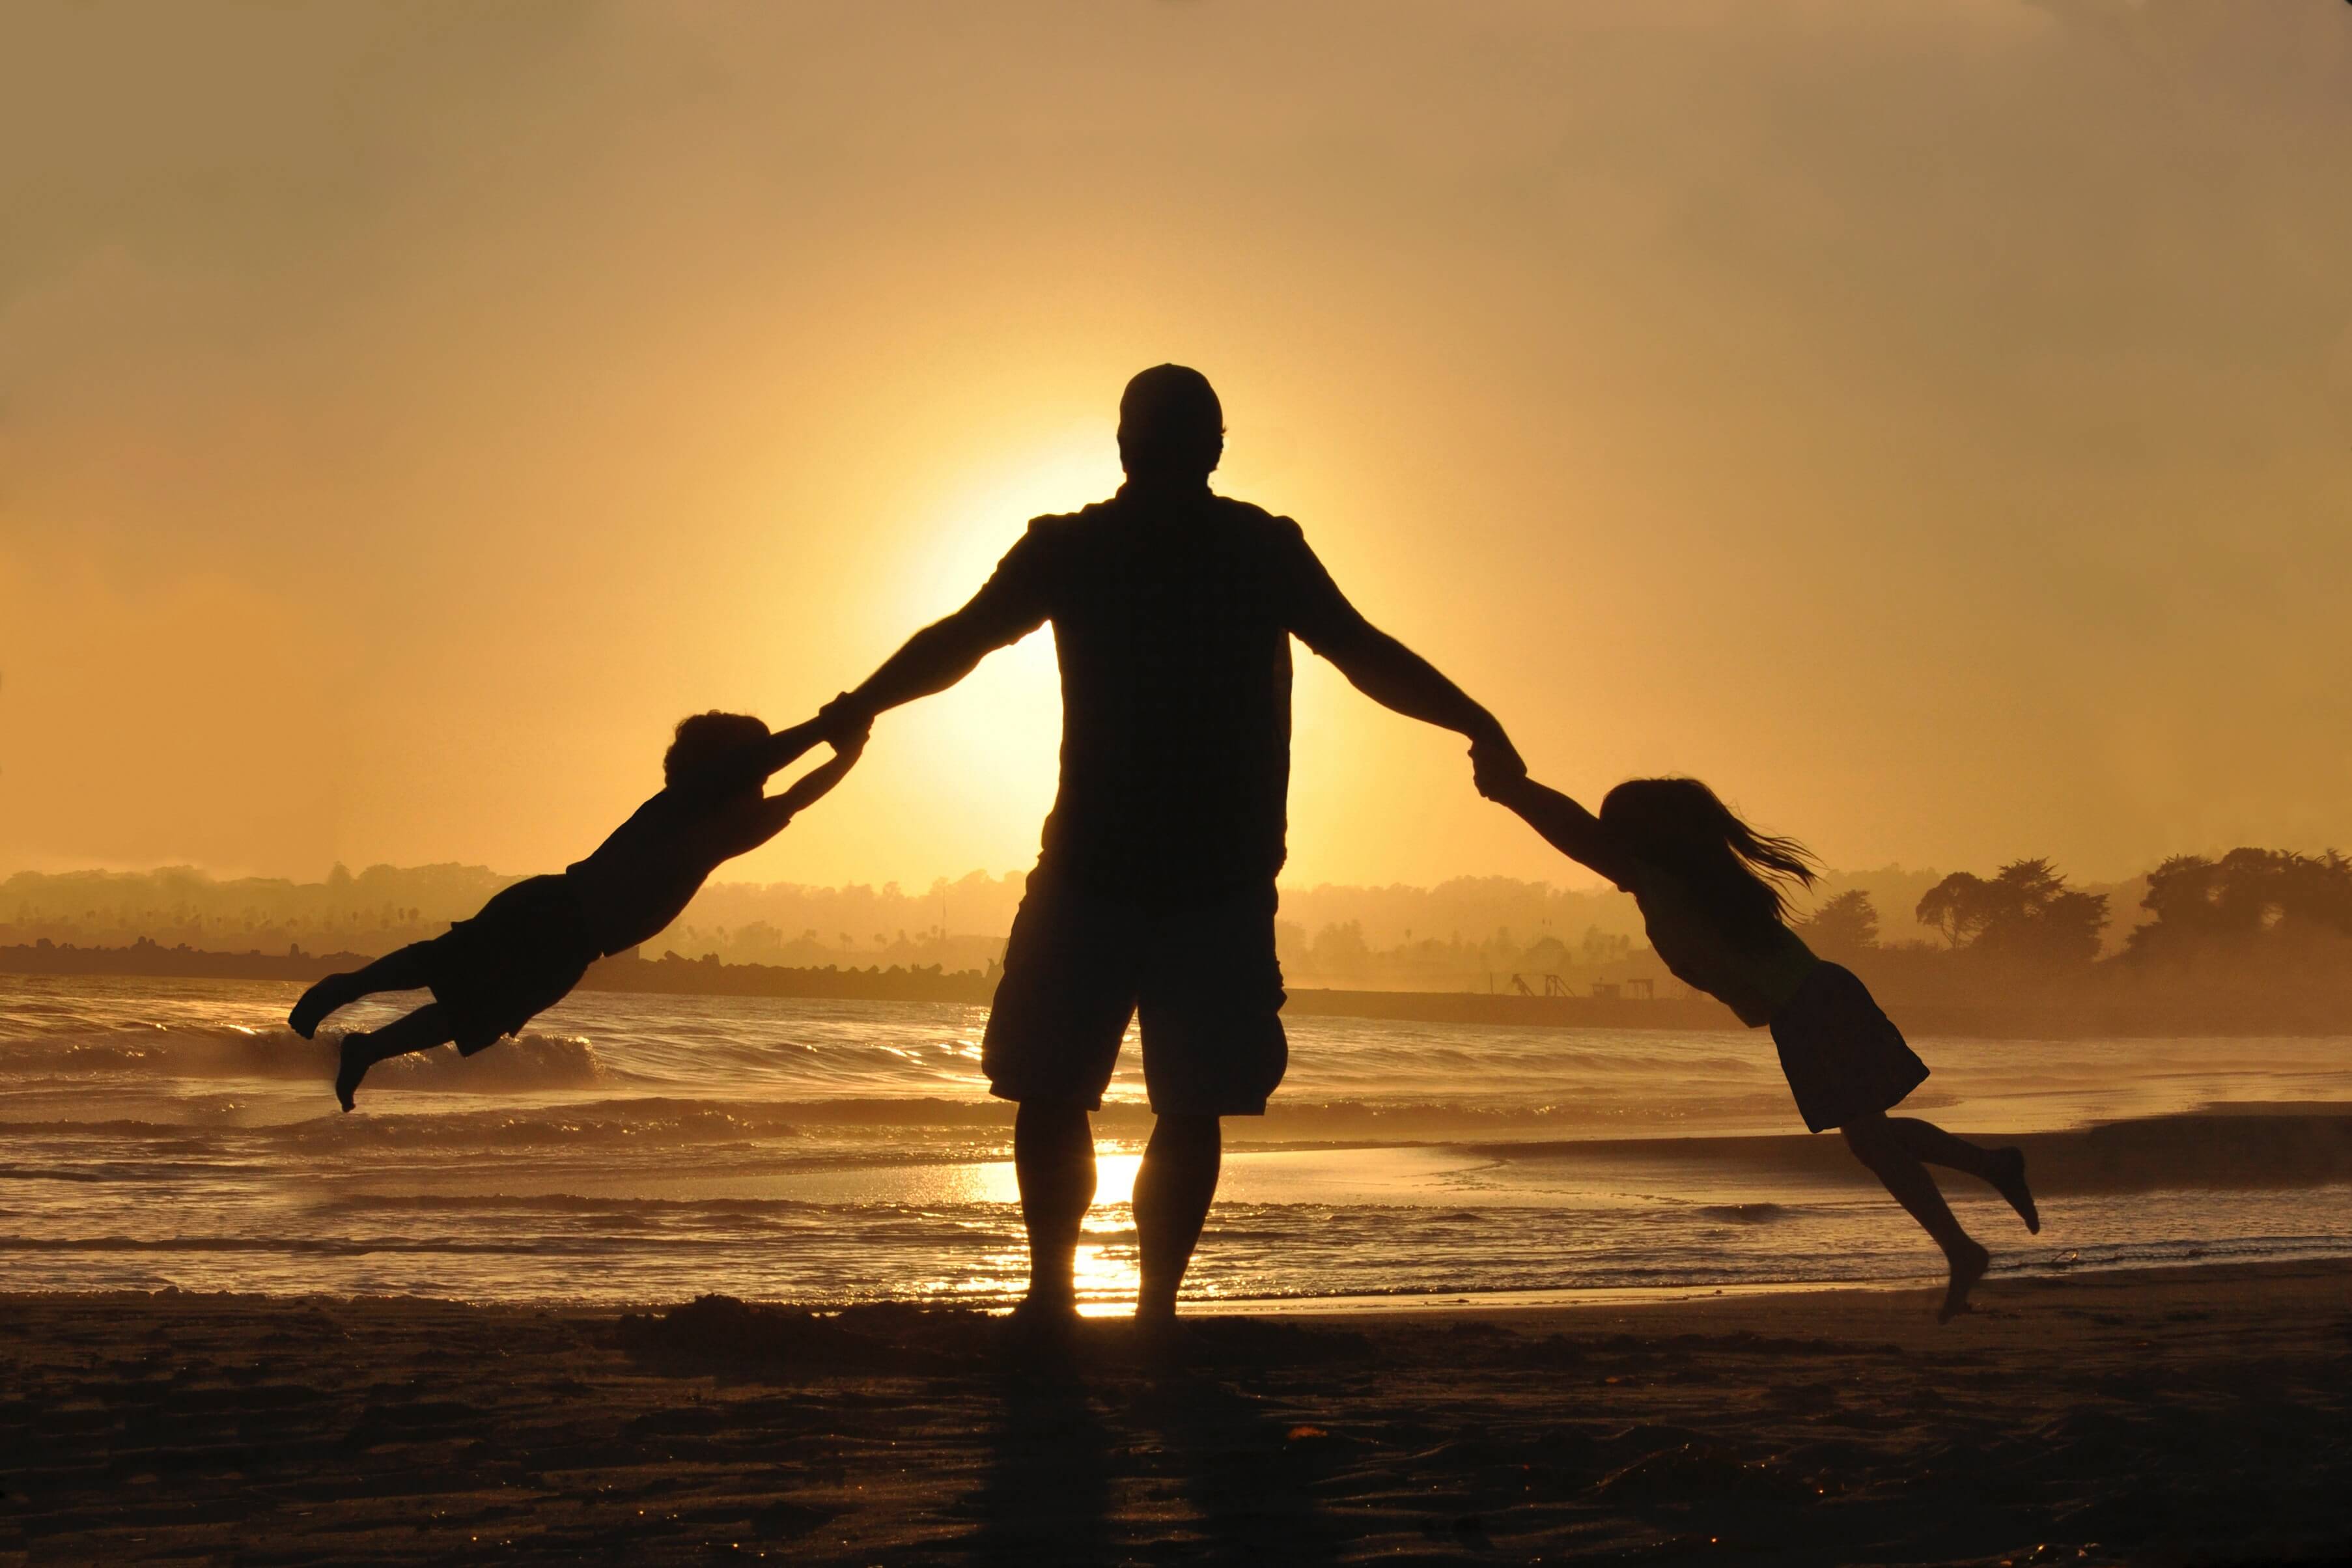
9. Have Fun

This is probably the most exciting instruction your clients will get. Though having fun isn’t a pose, it’s an opportunity for many posing ideas to emerge.

Bring a few toys that your group could play with. Come up with a game similar to Holding Hands that could entertain, excite, and distract subjects. Alternatively, simply tell your models to have fun on their own. Children are experts at games; the more comfortable they are with you, the easier it will be for them to have fun together.
mother and daughter embracing

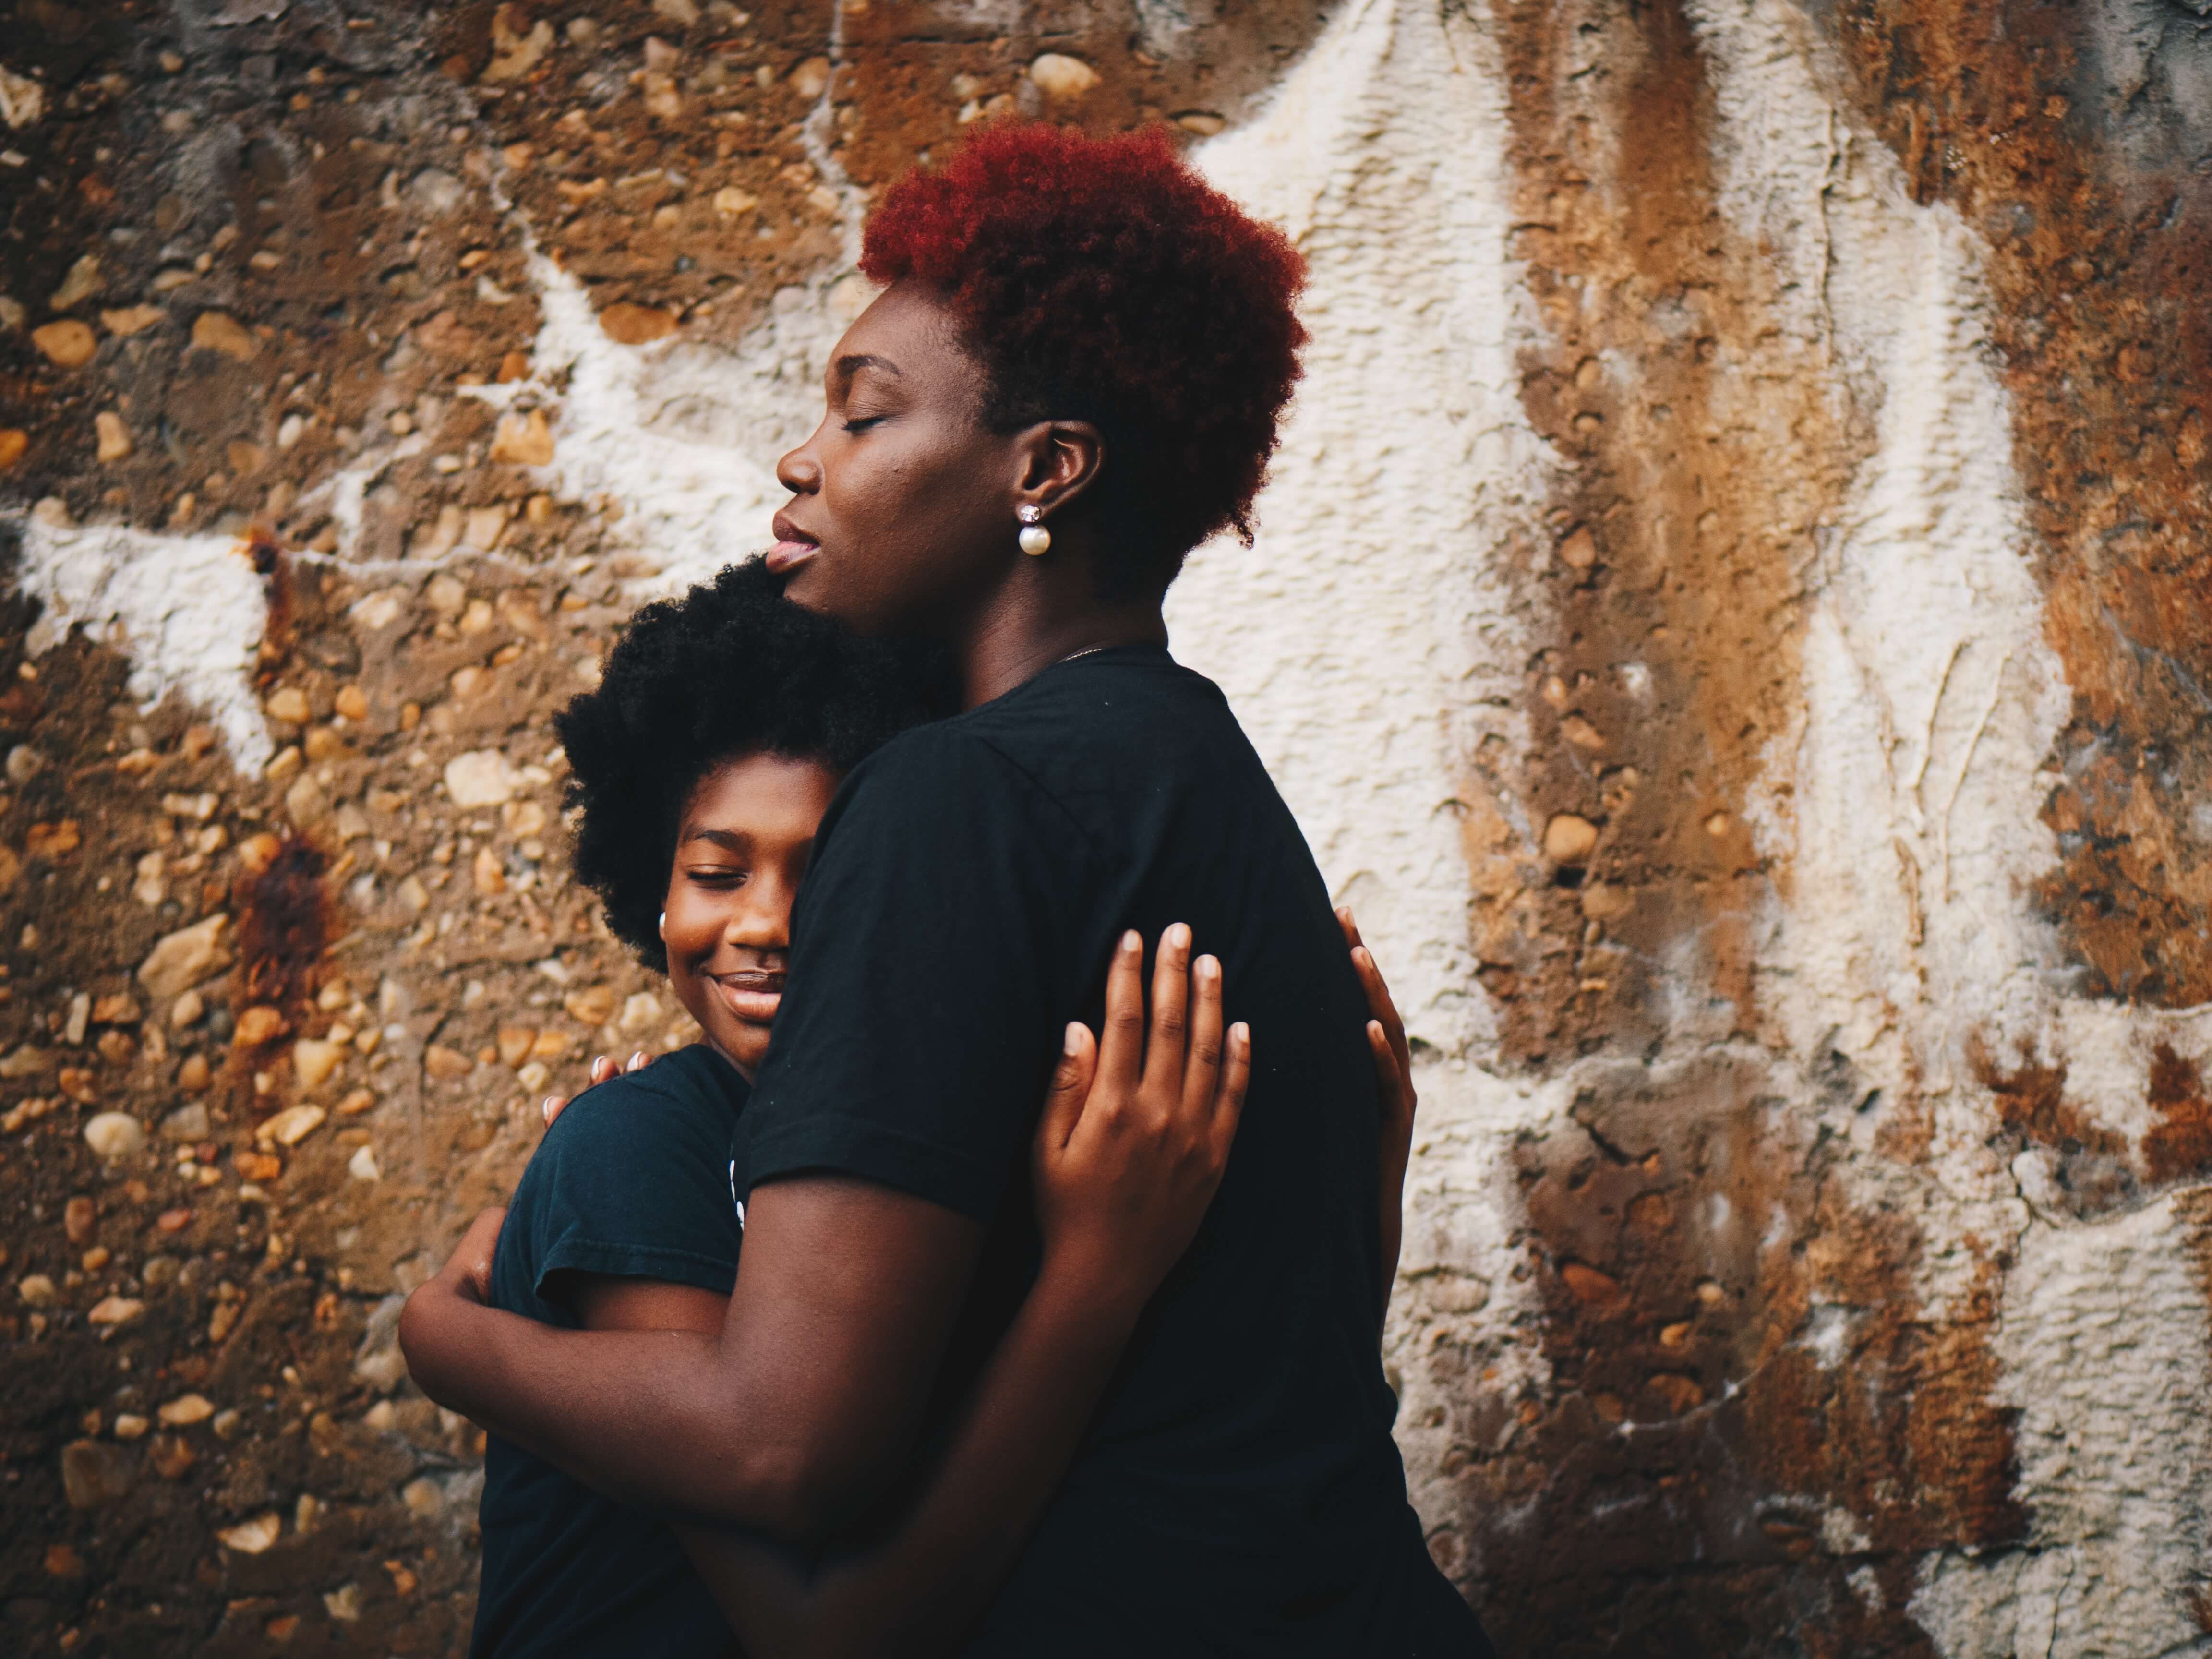
10. Embrace

Photos of the group hugging will beautifully emphasize their bond. They’ll also make for gorgeous album photos.

Since hugs are often very personal, you have to make sure your subjects want to embrace one another in front of you. Once they feel more comfortable in your presence, gently ask them for permission.

If you don’t want to ask, notice how open they are to public displays of affection. Observe them as they pose for you. Do they enjoy hugging each other, or are they more reserved?

If this doesn’t feel right to either you or your clients, don’t worry. The aforementioned poses will give you lots of interesting results.

Creating Family Portraits that Last a Lifetime

Families are always on the lookout for a great photographer to make lasting memories for them. Once you’ve made a name for yourself a family portrait photographer, there will be no end of clients wanting to work with you. You can create a beautiful family portrait by getting the proper camera settings and encouraging the family to have fun and act natural.

Keeping a steady hand and using a tripod will help your photos come out looking solid. But most importantly, remember to help your family have fun. By following these tips you’ll create amazing family portraits.
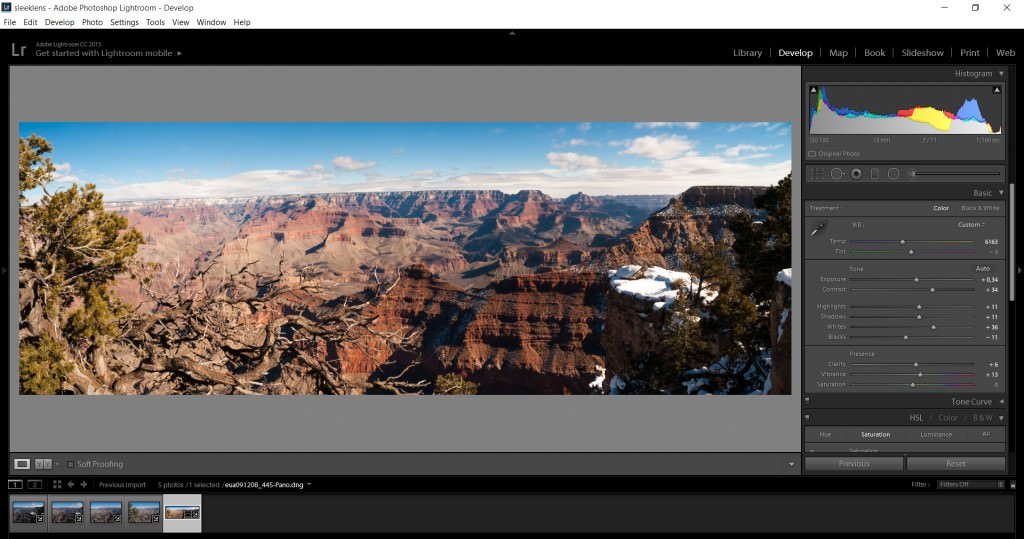
Photo Ideas for Field or Camping Trips for Artists on the Go

We still have over a month of summer left, which means there’s still time to go on exciting adventures, soak up the summer sun with your friends, and make the most of your free time. One of the best summer activities is going on a camping trip with your loved ones. This opportunity is ideal for bonding, spending quality time away from technology, and improving your photography skills.

Camping trips offer breathtaking surroundings and photogenic subjects. They’re great for photographers who want to experiment with a lot of different genres without worrying about the results. However, due to the sheer amount of things you can photograph, these trips can be a little overwhelming.

To save you from unnecessary stress, here is a list of photo ideas that will help you make the most of your travels.

camping trip wide shot

camping trip wide shot II

Wide Shots Featuring Your Surroundings – Landscape Photography

Give your future self a clear idea of where you were during your trip. Photograph your surroundings using a wide-angle lens. If you don’t have one, take several photos of one location and stitch them in an editing program; this will create a very eye-catching panorama.

Wide shots are perfect for capturing the general atmosphere of a location. They also look good in portfolios, on social media, and in art galleries. You might even end up selling your landscape photos to some very eager art appreciators. 🙂

camping trip details

Details – Macro Photography/Diptychs

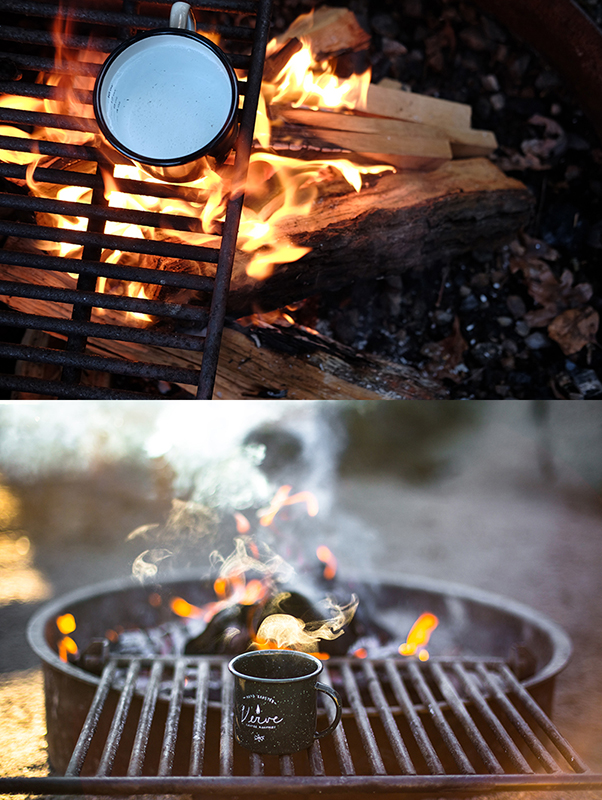
As appealing as details are, they’re easy to forget. This is why it’s very important that you photograph as many of them as you can. During your trip, this can be the mug you’re using, the food you’re eating, or the leaves on the tree that’s right above your sleeping bag. Every moment counts.

You might not use detailed snapshots in your portfolio, but you’ll definitely use them to go back in time to a very refreshing and fulfilling adventure. If you want to be extra creative, use these details to create two-photo collages called diptychs (pictured above).

camping trip candid portrait

camping trip campfire friends

Posed and Candid Photos – Portrait Photography

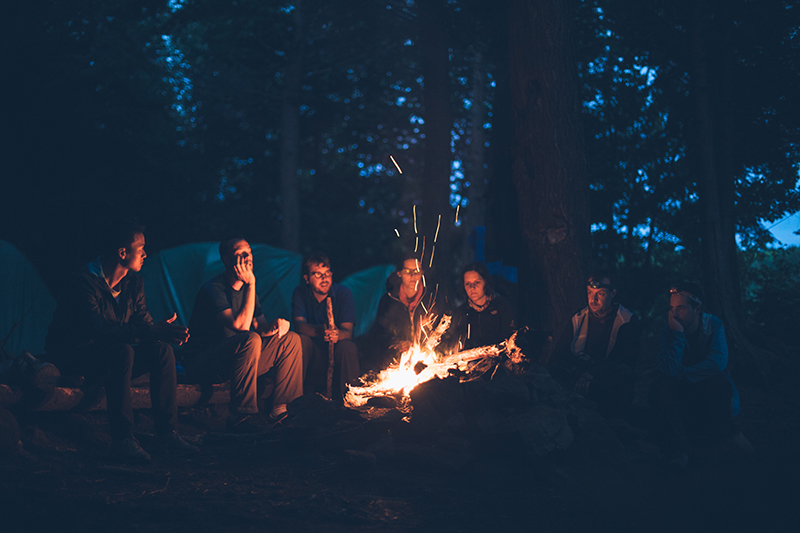
A camping trip is nothing without friends, so make sure you include them in your best shots! Make sure you take a combination of posed and candid portraits. Posed photos are great for social media and even your own portfolio. Candid photos, on the other hand, can be proudly added to family albums and cherished for years to come.
camping trip drone photography

camping trip drone photography II

Bird’s Eye View – Drone Photography

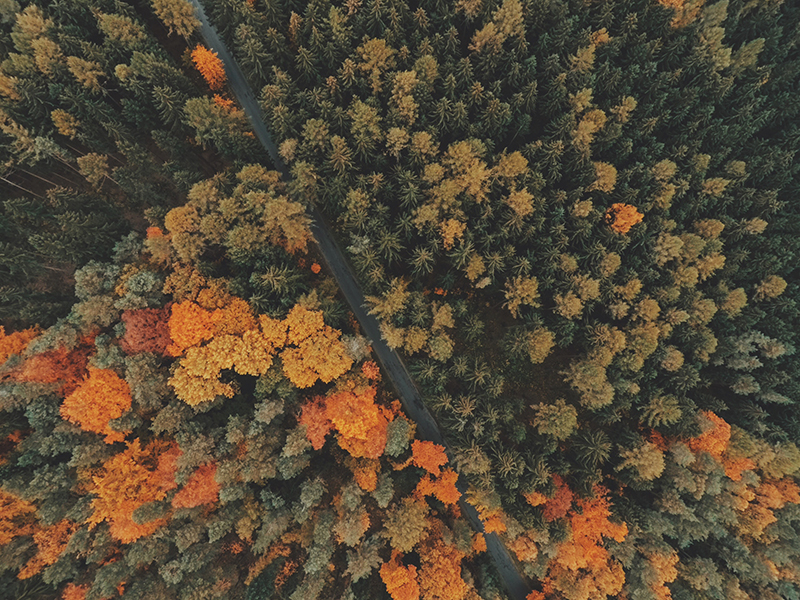
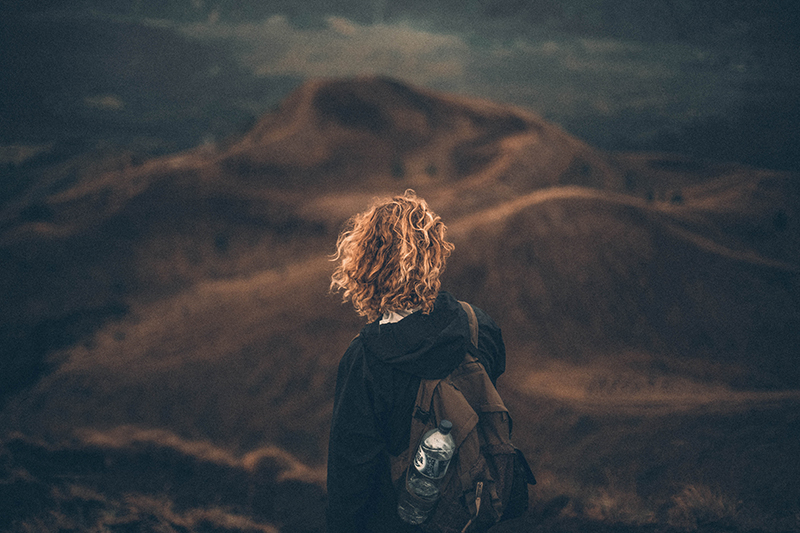
Even though drone photos are very, very popular, don’t let that stop you from appreciating your own surroundings from above. By photographing your experience from a unique angle, you’ll add to your rich collection of landscapes, details, and portraits. These visual memories are bound to make your trip unforgettable. (And if you really want to take it to the next level, film your journey!)
camping trip

camping trip

Different Times of Day

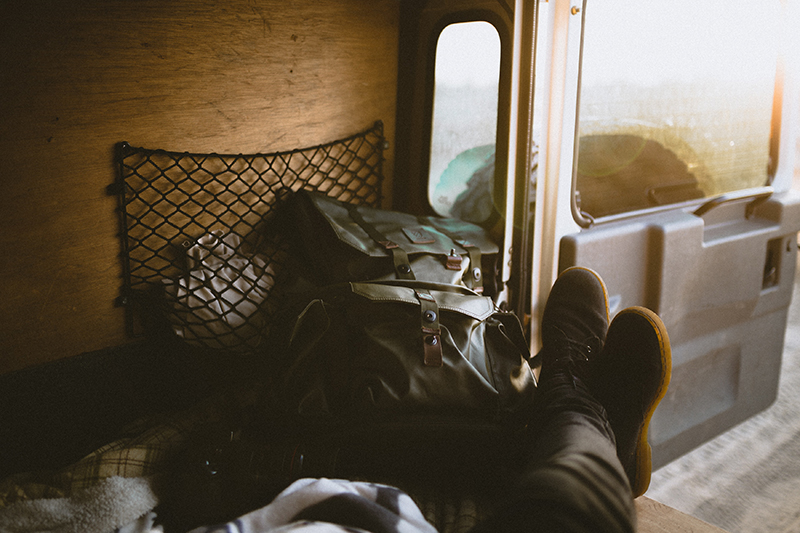
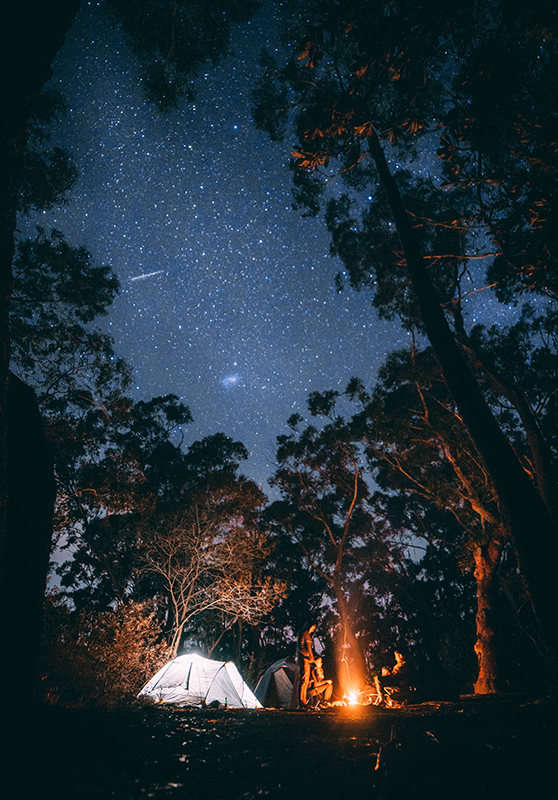
To really improve your photography skills, make sure you take photos at different times of the day. Daylight will help you take bright photos of your friends and surroundings; the golden hour will provide you with the perfect light for all kinds of photos, and the evening will give you the chance to sharpen your nighttime photography skills.

camping trip

I hope the ideas above help you make the most of your photography skills and your camping trip. I’m certain that by the time it’s over, you’ll be significantly more experienced as an artist.

Regardless of how much you love the world of photography, though, make sure you live in the moment, too. Trips are meant to be relaxing, fun, and eye-opening. As soon as you start to feel stressed, put everything down and just be there for yourself and your friends.

Now let’s go out and make some amazing memories. 🙂

Tips for Winter photography in a warm weather area

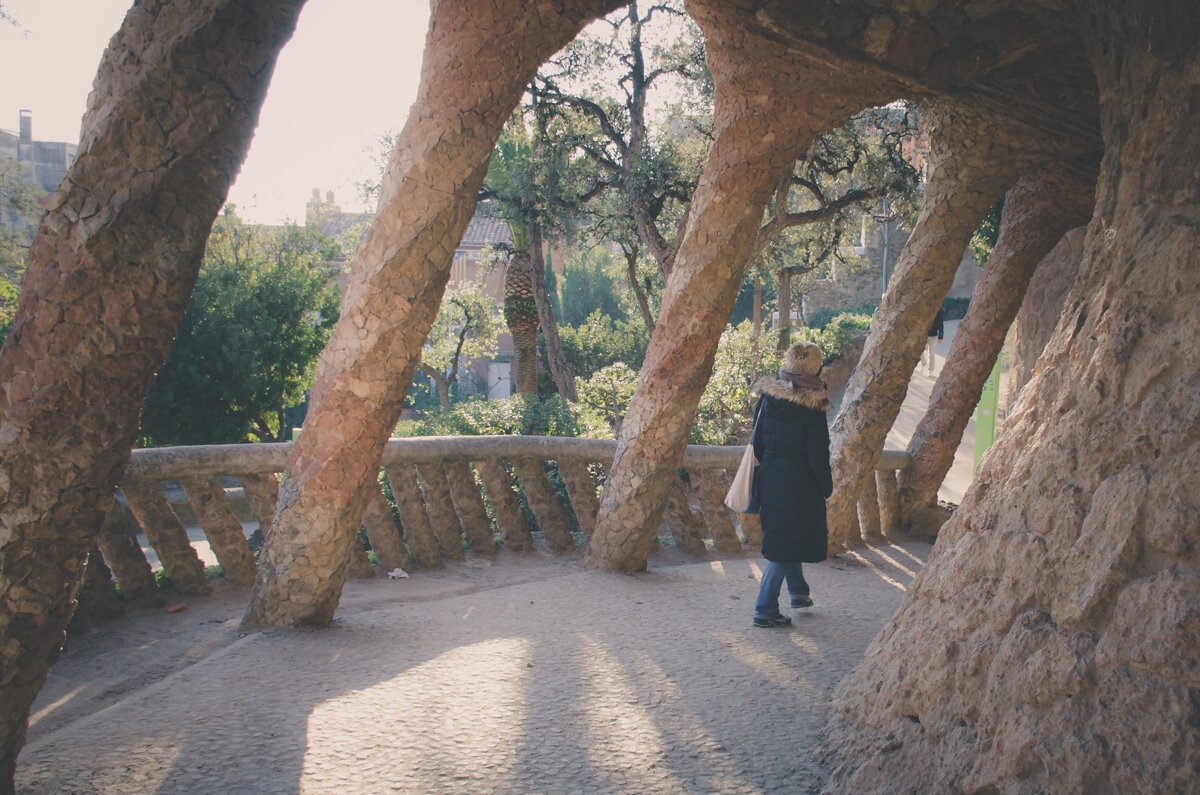
I love winter photos. There is something special in landscapes full of snow, people covered in several layers of winter clothes, animals with white fur… Unfortunately, I do not get many chances to take such photos because I live close to Barcelona, in a warm Mediterranean area. For me snow is something extremely unusual. It snows here once in 20 years and when it happens Barcelona just shuts down.

winter in Barcelona

Although our winter doesn’t look so wintery we still have it!! It is just different and not so hard as in other parts of the world. But we still notice a big difference between our summer and our winter: we have rains and cloudy days, temperatures are lower and it can get really windy. However, we still have quite a lot sunny days even in winter.

sunny winter

Winter photography tips are a bit different for areas with Mediterranean or any other warm weather. Unless we travel to some mountain, we won’t need special protection for our gear from low temperature or snow and even rain can be handled quite easily.On the other hand, we don’t have the typical image of the white winter people usually think of. Today I am coming with winter tips adapted to warm weather areas. Let’s check them out!

#1 Focus your photos in weather elements that represent winter in your area

Observe your winter weather, look for weather elements that represent it. It might be the wind, the rain or a gray sky. Try to include weather elements in your photos to give them a more wintery look. Trees moving billowing in the wind, heavy clouds, rain puddles in the streets…

winter storms

#2 Include nature elements in your frame

Nature has strong seasonal patterns, so you can take advantage of it! Trees without leaves, plants that are typically from winter, birds or other animals that are typical for winter.

tree in winter

#3 Take photos of winter events

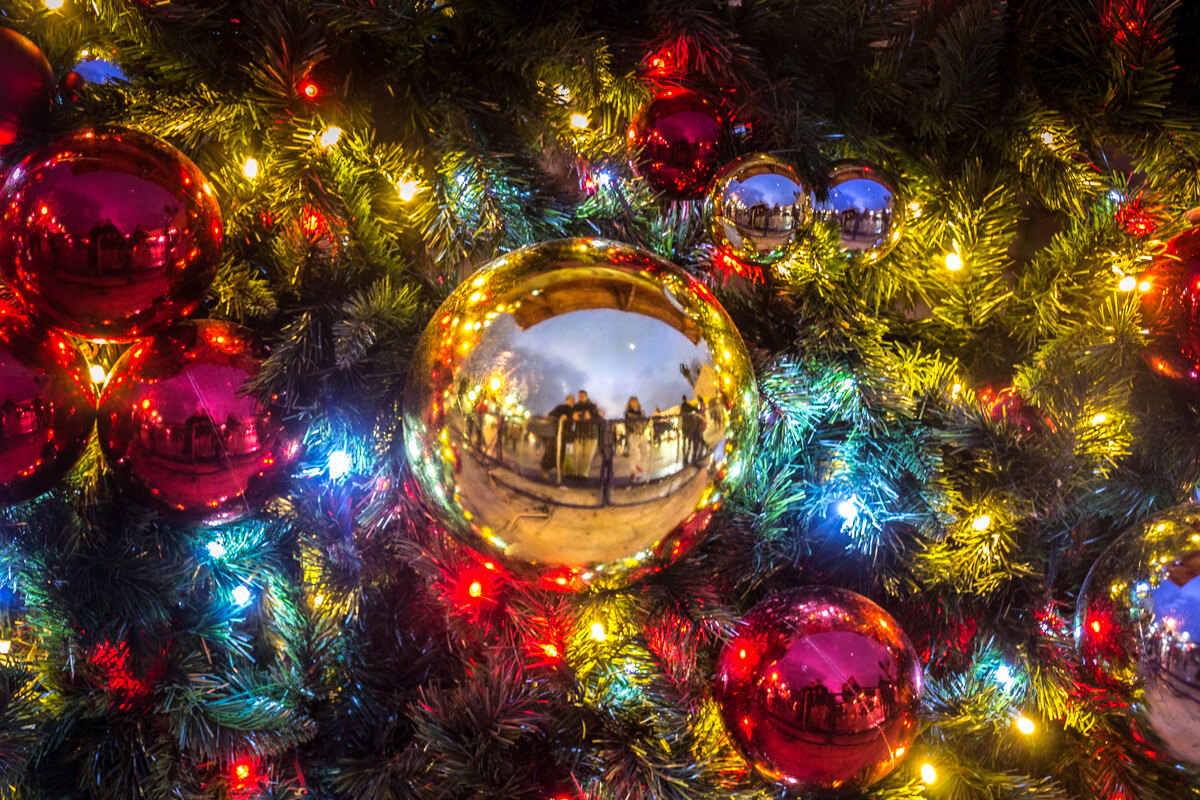
There are things that happen only in winter in winter. Well, known holidays such Christmas also got quite universal, so including Christmas decorations might also have a connection with winter ( if you are in the North hemisphere).

winter decorations

But there are a lot of other local events related with “winter”. For example, in some catalonian comarques such as  Garraf and Penedes,  we celebrate the “Xato Days”. The Xato is a typical dish that we eat just in winter. During the Xato Days, experts in xato meet for contests that will determine who is cooking the best Xato. These contests are held in the different municipalities, in a street event.  Here, we heard “Xato” and we think: Winter food! You can find local events around the world that are related to winter. Maybe not a lot of people knows about them outside your region. However, I think that sharing your local events through your photography is a great way to show a different and unique aspect of this season and to spread your local activities and traditions.

winter gastronomy

#4 Look for universal elements that we all associate with “cold”

In the last tip, I told you to go local. Another totally different strategy is to look for elements that everybody associates with winter. Photos of people with coats, wood hats, scarves billowing in the wind, cups with hot steamy beverages, burning fireplaces, all are associated with winter.

winter clothes

#5 Emphasize the wintery look of your photos in Lightroom

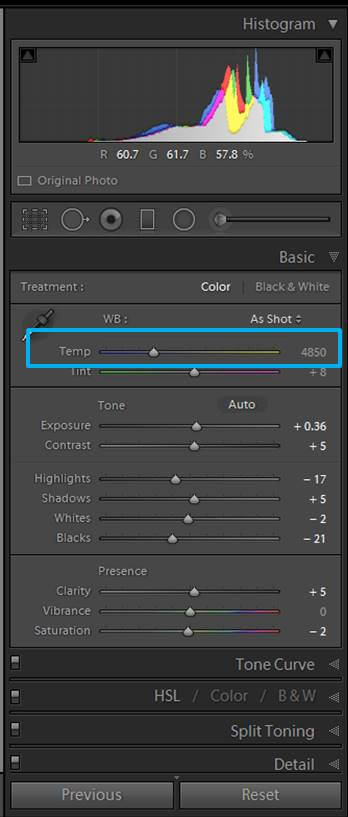
You can emphasize the wintery look of your photos using Lightroom or any other editing program. Color has a big association with the mood of your images. Increasing the blue colors by using the Temperature slider in Lightroom (Develop module) will give it a cooler look.

Cold temperature winter

You can check this article about Color and mood to learn in more detail how to modify the color of your photos.

nature in winter

Decreasing the saturation of your photos or using a matte effect might also help you to get a more wintery look. You can check the Masterclass about saturation to learn how the Saturation slide work. For winter look, the saturation should decrease (moving the saturation slider towards the left) because you want to lessen the colors instead of enhancing them. The matte effect is also a good resource for winter. I explained how to get this effect in Lightroom in my article about “Tips for post-processing forest images in Lightroom”. Scroll down to the “Add a dreamy look” for detailed explanations.

matte effect winter

Winter presets are also really helpful. Besides saving a lot of time in post-processing, presets provides you with a lot of new creative approaches.

winter presets

Finding the Perfect Backgrounds for Your Photographs

There is always an element in photography that you have to think about with every subject, and that’s background. This is true in still life, product, fashion, portraits, and even landscape. There are a few background choices for each of these different types of photography. A background can be a wide array of buildings, walls, floors, color, landscape, greenery; the sky is the limit (literally.) It is always a good idea to know what to look for while location scouting as well.

Finding Backgrounds

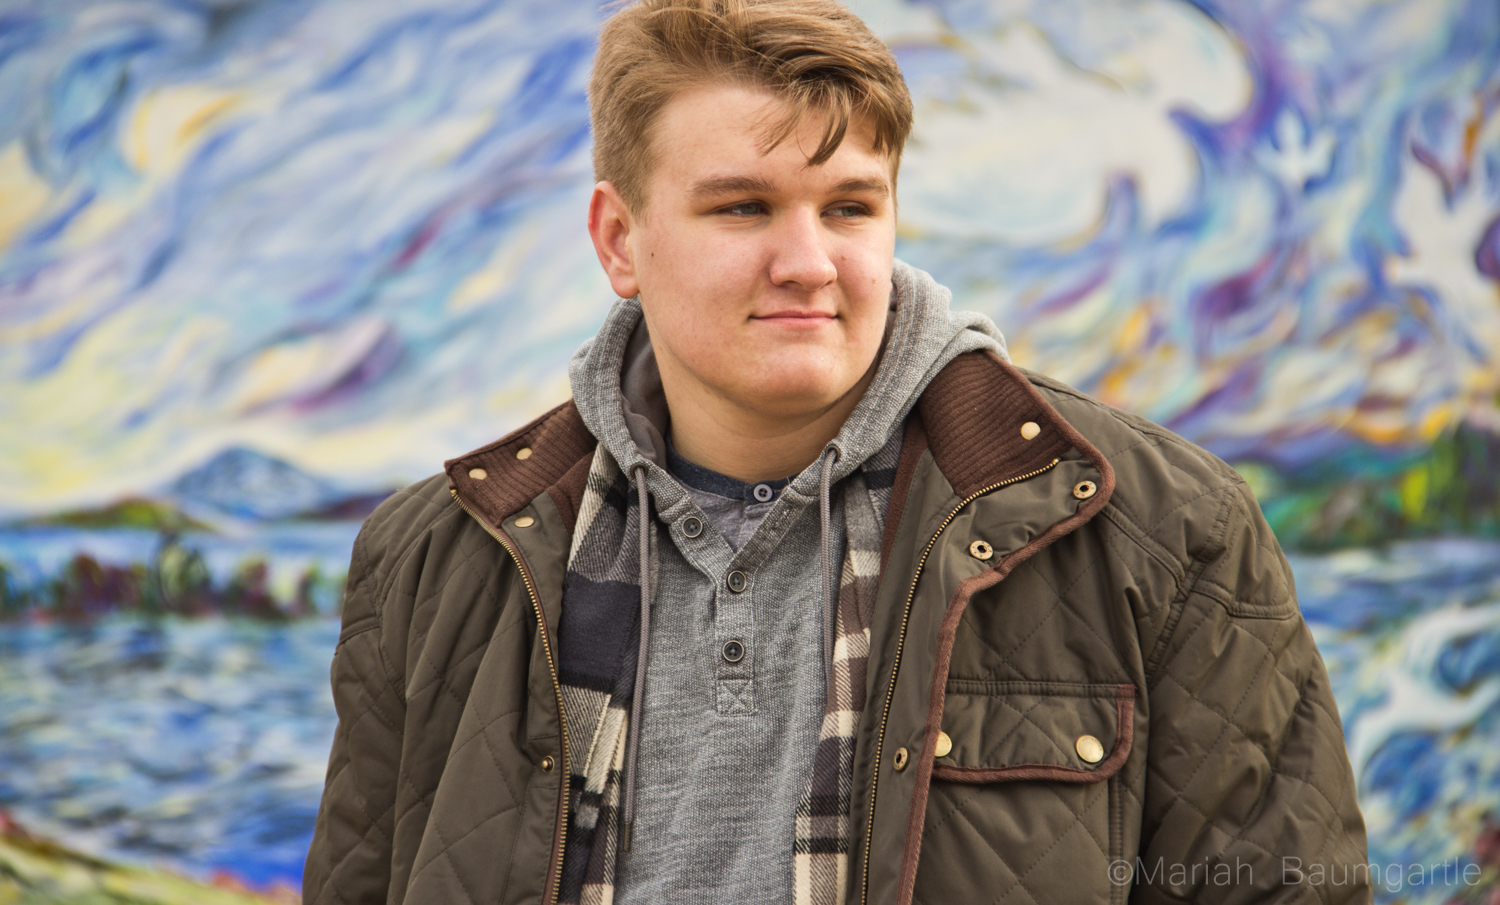
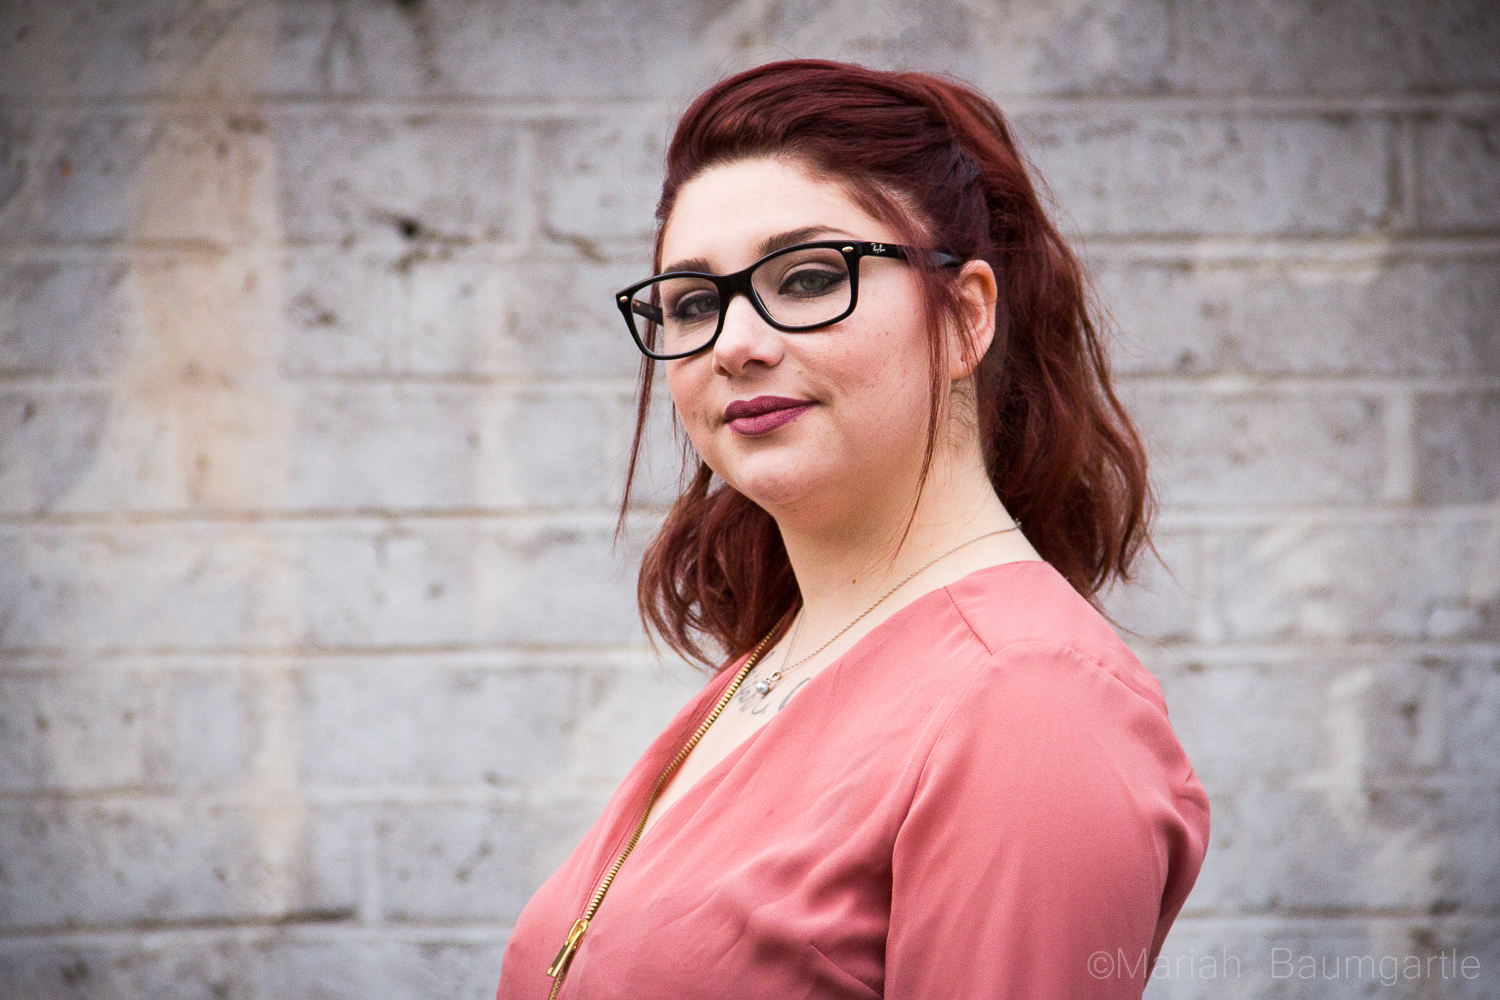
A lot of your background detail also has to do with your depth of field. You can either control your background with a blurred or sharpness by a shallow or deep depth of field, depending on your subject matter. A shallow depth of field is popular in portraits, so your subject is your main point of focus. You can use a deeper depth of field though to enhance your background clarity and texture. Keep your subject away from the background and not right up against a graffiti wall and tree, this is because these textures and colors can be too distracting. Shooting your subject in wide open spaces with a shallow depth of field and will give you the ability to have a subtle background of light colors and textures. Graffiti is a great example for this because it is a popular choice for a fun and colorful background but can also become a little distracting to your subject so by shooting your subject away from the background you can still gather the color and design without too much detail. Other background choices that you can use the subtle color, texture, and pattern are brick walls, wallpapers, and colorful doors. Think about the landscape in your image too and the great environment you are located in.

Finding Backgrounds

finding backgrounds
finding backgrounds

A variety of angles can also help your background choices. If you are shooting down on your subject you can use various lines on the road, grass, or any other greenery around or even just the texture. Shooting forward onto your subject will give you space and environment area that you are in. Shooting up on your subject can make you a viewpoint of the sky, clouds, or anything else above your subject matter.

finding backgrounds

Finding Backgrounds

Food and still life photography gives you an excellent array of choices with colors, textures, and backgrounds and offers a great way to be creative. You can even make your backgrounds using various woods and papers. Another background choice for smaller subjects is scrapbook paper from your local craft store where you can purchase paper patterns that look like wood, marble, and other surfaces that you enjoy.

finding backgrounds

There are some things you will want to avoid in your background. By using these guidelines, it will help you avoid distractions from the subject of your image. You usually want the brightest point of your image to be your subject; this means that you will want to avoid brighter highlights in the background or colors that could be distracting such as bright oranges, neons, etc. Poles and tree branches are common objects that can get in the way of a great photograph and something you want to avoid, especially when shooting portraits.
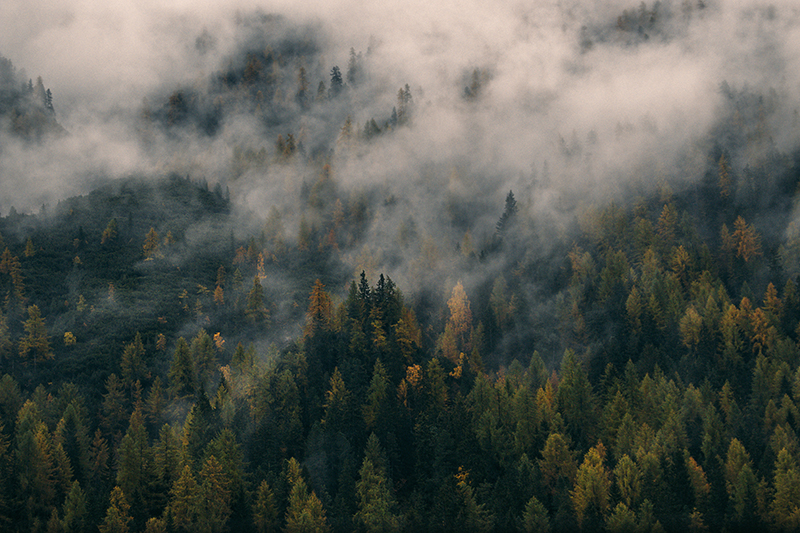
If you are having a difficult time finding the right kind of background texture and color you can always Photoshop out your background and replace it with a new background. There are many Photoshop actions, and Lightroom presets to help you achieve this. This is also where green screen photography comes in handy. A green screen can help you knock out the background easier to replace it later on. This color is used because Photoshop can read the color much better to separate from your subject in post editing.

Finding backgrounds

When we are talking about the background, you always want to consider foreground as a factor in your photography. The foreground is a great way to bring depth into your image and also a good use of framing. You can achieve this by setting objects in front of your still-life images. Use trees or greenery in the foreground with a shallow depth of field, or any other creative factors to frame your image. If you find your foreground is too sharp in your image and becomes a distraction you can always blur this in post-production.

finding backgrounds

Best use of foreground in your images: Enhancing your photos today

An important factor to photography is not only our background but also our foreground. Foreground can be used in many different ways in your photography by framing your subject, adding texture, and design to an image, which can all lead your eye to your main subject. Foreground can also tell more of the story in your image and pull you into the image.
To some of us photographers, foregrounds can become a little daunting and intimidating because we worry about distractions within an image. This is one factor that I think we can all grow and experiment with in our photographs. Making a foreground work in an image can really create a more artistic photograph altogether and also tell more of a story. Here are a few tips on how to create photographs with a great use of foreground.

Since photography is a two-dimensional art form you will want to add some depth into your image to let your viewer feel as though they can step into the image. Using a foreground will add some depth and dimension to your image. One of the simplest and also important ways to make a foreground work is your knowledge of the depth of field. You can use a shallow or deep depth of field depending on the subject you are trying to photograph. If you are photographing a landscape you will want to keep a deep depth of field if it is a wide-angle shot. What if it’s a telephoto photograph and your image is compressed, such as wildlife photography? In this case, a deeper depth of field could add a little bit of distraction. In this case using a shallow depth of field could frame your image and add some environment without causing distractions.

Foreground

Foreground

There are different ways to work with a foreground based on your subject. When you are photographing a landscape it can be as the reflection in a pond or body of water from your landscape or image. This is a great way to show mood in your photography. Getting lower in your image will help improve your vanishing point and bring some drama into your image. A popular landscape photography image is a road using the leading lines into your vanishing point and a simple way to show depth in your image.

Foreground

The foreground is most commonly used to frame your subject and works for people and landscapes.For example, if you set your subject behind a bush or tree you can use the leaves or greenery in the foreground to frame your subject’s face. This shows a sense of the environment that you are in, showing not only what is behind of your subject but also in the front. If you use a shallow depth of field this will show the environment without becoming distracting. One popular portrait idea that works with creative foregrounds is to have your subject hold an item out in front of them as a focus point.

Foreground

Foreground

Foreground

Foreground

Now that we have talked about foreground and background in our images we want to work all of these factors into one image. The easiest way to think of working with a foreground, middle ground, and background is if you can find three layers in an image. Your foreground doesn’t have to be far away from your subject either, it can be as simple as people walking in the foreground or a glowing sign in front of a building.

Foreground

Foreground

Some ways that your foreground could be distracting is if it’s sharper than your subject. You want to make sure that your focus is still the main point of your image and you have to remember the rules of backgrounds and incorporate that into foregrounds.When we talk about focus we are not only talking about the sharpness but what’s bringing the subject into focus. Make sure your focus point is the sharpest and also the brightest object in your subject. If you have a light background and foreground you can contrast that with a darker color. Objects that are brighter, lighter, or more saturated than your subject tend to become a distraction.

Foreground

Foreground

The foreground is not only a good technical skill to have in your photography but also a great way to boost your creativity and bring more oomph into an image.

Tips to improve your outdoor portraits

(Though this article mainly focuses on portrait photography, almost all of the following tips can be used by other types of photographers, too.)

Outdoor photos can often end up looking dull and uninteresting. To avoid that, it’s important to seek nature, come up with stories which mean something to you as an artist, and be cunning when it comes to challenging lighting conditions. Like anything in the art world, outdoor photography requires curiosity, sharp observation skills, and patience. These three elements will enable you to take better photos outside, no matter what (or who) your subject is.
Here are ways in which your outdoor portraits can thrive.

Look for nature

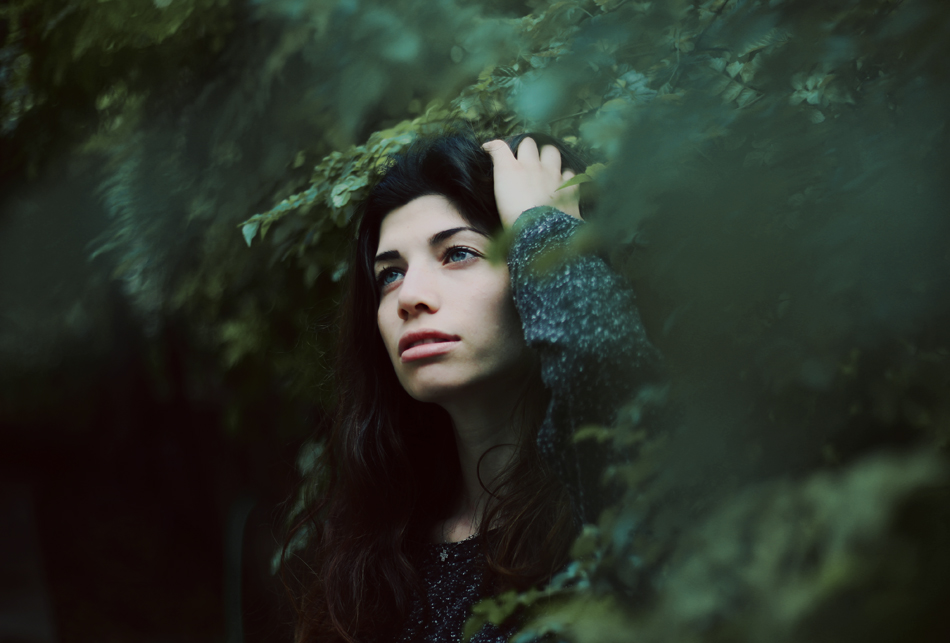
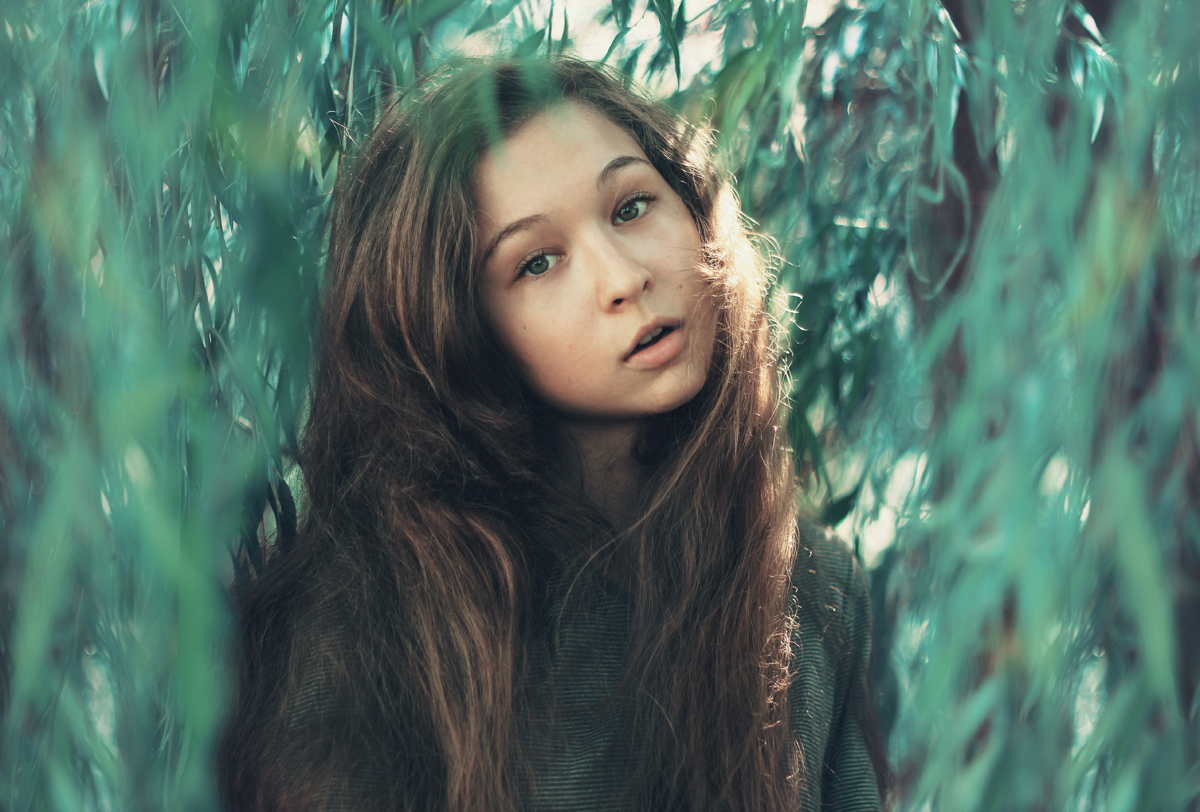
It’s no surprise that humans, when given a chance to spend time in a tranquil place, feel warmth and acceptance in their natural surroundings. Even a small park at the very center of a bustling city can serve as a refuge for many. Signs of nature in any location create both hope and admiration – reflecting that in your photographs will give your work an air of familiarity. If you feel that your photographs are too simple, find a peaceful area brimming with nature and shoot there. Allow your subjects to gracefully blend in with nature and let your creativity do the rest. For example, branches can be great blurred foregrounds, and flowers in the form of bokeh can add vibrancy to a photo. No matter how insignificant a detail seems to be, challenge yourself by attempting to use it in your photograph. You’ll be surprised to notice what a tremendous difference simply adding an element can make. Sometimes, the things that are ignored by most people are the things which deserve our attention the most.

Outdoor

Outdoor

(Un)favorable lighting conditions

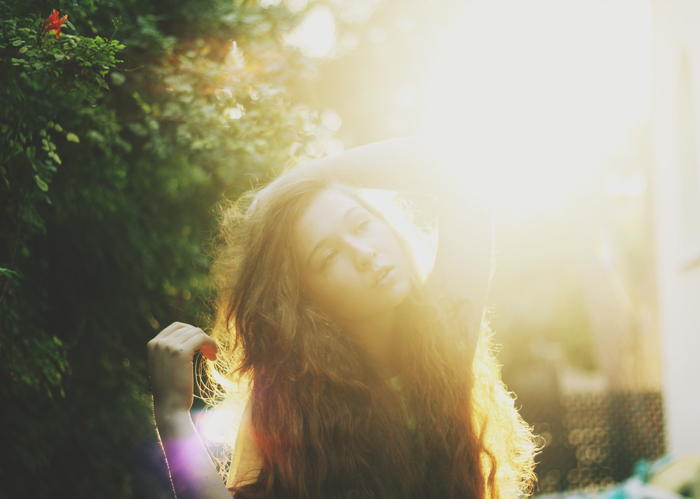
If portrait photography is new to you, try experimenting with soft natural light first. In the warmer months, golden hour is your best creative friend; its light will make any photograph stand out. It addition to being the perfect backlight, golden-light will illuminate your subject’s face beautifully, making it easier to enhance your results during the editing process.

If you’re willing to experiment a little more fearlessly, work with artificial light at night. Nighttime light is very flattering when it directly hits half of a subject’s face. In addition to being visually appealing, this composition creates mystery and originality. Add a few more elements to it, like a mysterious foreground or a freelensing technique, and you’ll discover an exciting world of creative possibilities. Most importantly, don’t be afraid of experimenting with light – if used properly, it will reflect your ideas in the best possible way.

If you find the lighting conditions unfavorable on a very sunny day, take photos in the shade. Nature is ideal when it comes to blocking harsh sunlight or creating interesting light patterns. If it’s a gloomy day, create your own light or use a reflector – even mild reflected light can add an attractive glow to your subject’s face. If, however, a shoot doesn’t go as planned, don’t be afraid of trying over and over again. You’ll achieve your desired results sooner or later.

Outdoor

Outdoor

A story, or two

The outside world is perfect for storytelling. While homely photos are ideal for creating cozy feelings in the viewer’s heart, images taken outdoors are wonderful for telling more elaborate stories. Photos taken in a busy crowd could reflect your subject’s fish-out-of-water feelings, while a beautiful field in the countryside could be a terrific opportunity to add a sense of belonging to your photographs. Whichever location you choose to take photos in, you can find a fitting story to keep in mind throughout your shoot.

If, for any reason, you feel you’re running out of ideas, read a book or watch a film before your photo session to give your creativity more resources to work with. There’s an abundance of themes you could work with, from isolation to exhilaration, to fascination, and the list goes on. The outdoor world, filled with unpredictable situations and all kinds of elements, can make those themes come to life. Keep your artistic eyes open at all times, and your mind will soon be filled with all kinds of ideas worth revealing.

Outdoor

Once you become more comfortable with lighting, strengthen your nature-finding skills, and become adept at coming up with photo-related stories, you’ll find your portfolio blooming rapidly. A thorough knowledge of lighting will help you find potential in all kinds of weather situations, while strengthened storytelling skills will allow you to feel more confident as a photographer. These skills will be reflected in your work, making all of your portraits, outdoors or indoors, stunning and full of meaning.

Outdoor


How to use a reflector to enhance your photography: a beginner’s guide

One of the most important elements of photography is, of course, light. If you like taking photos outdoors, one of the challenges you will face is that you can’t adjust the light sources so much. The sun and street lights can’t be moved, so you need to find the way to make their light work for you. Sunlight is also influenced by the time. For example, if it is high noon our light is coming from right above us and it is a very hard light. But if we are taking a photo at sunrise or sunset, the light will come at an angle. Light intensity also varies between sunny days and when the sky is hazy, foggy or cloudy.

Light variance allows us to take spectacular and diverse photos. However, sometimes we want to have a bit more control over the lighting. One of the simplest and most efficient means to do it is by using a reflector.

What is a reflector?

In my opinion, the best photography equipment that I ever got is my reflector. It took me several years into photography to get one. I guess that I always saw reflectors as something that only professionals use. In fact, reflectors are one of the most affordable pieces of equipment a photographer can have. Mine have cost me around 14 euros in Amazon.

reflector
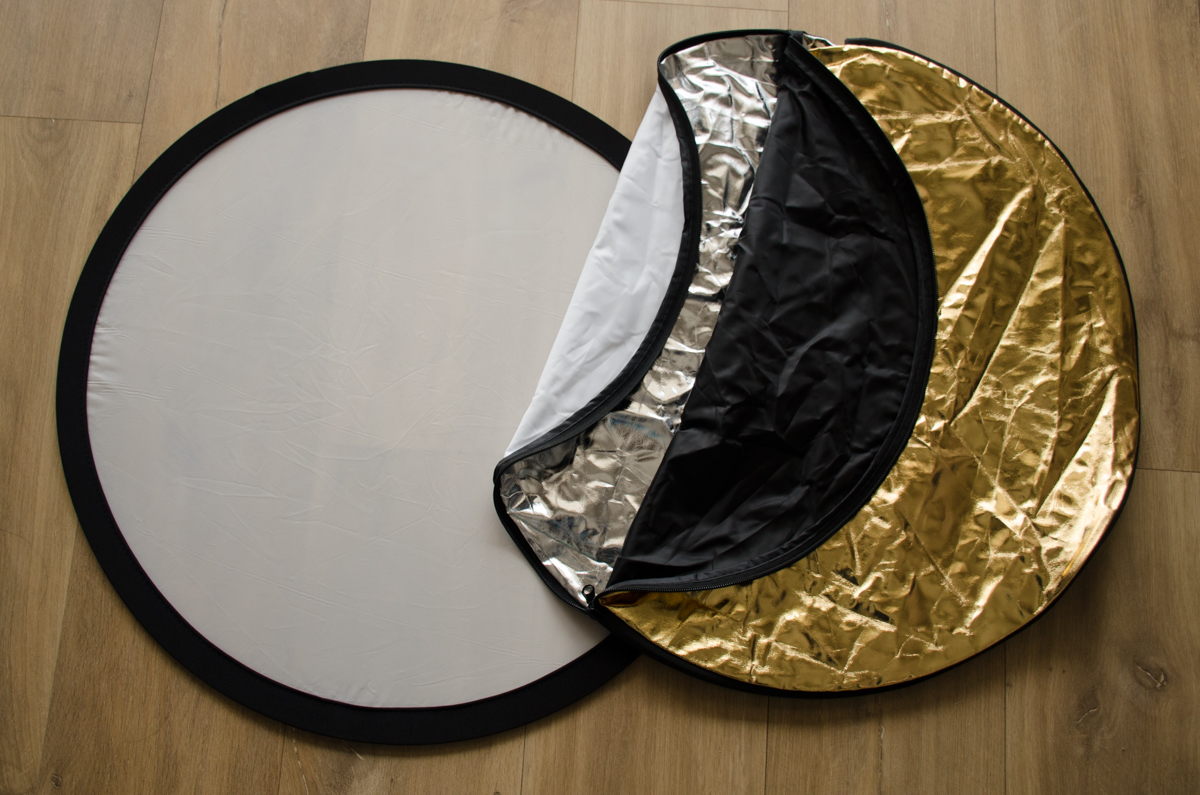
The reflector I’m using. The envelope is made up of four pieces, the gold and the black are sewn together back to back, and so are the white and silver. A zipper connects the two pairs. this enables one frame to have 4 different colors. Together with the diffuser, it really is a 5 in 1!

A reflector is basically a surface which redirects the light towards a desired subject. You can even make one yourself with a cardboard and aluminum foil. There are many variations and kinds of reflectors available on the market. The most common and affordable ones are the collapsible round reflectors with multiple colors. They consist of a foldable frame with a translucent cloth stretched over them. These frames come with a reversible envelope which offers four different surfaces (usually white, silver, gold and black). Don’t repeat my mistake, get (or make) yourself a reflector soon. You will see how easily your images improve.

How to use a reflector

Using a reflector, you can bring in light from additional angles and lighten shadows. In other words, you use them to change the direction of the light sources in order to add light to dark areas that make your image look bad. Using a reflector is very similar to what we did when we were kids and we played with the light beams from mirrors, but in a more delicate way.

A common use of the reflector is for portrait photography in the middle of the day, when the light is coming from above the model’s head. In this situation, the model’s face will be full of shadows and hard lights. In addition, the eyebrows cast a shadow under the eyes, making him/her look a bit like a raccoon. By using our reflector, we can bring light from a lower angle and lighten the model’s face, this way we avoid the “raccoon effect”.

You can set the reflector on a stand or hold by yourself. However if you are holding the camera it can get really complicated. You can also ask an assistant or a friend to hold it. Another option is that your model holds it. A good option is to let your model sit and put the reflector on top of his/her knees. In some situations you might need to use your imagination and have the reflector standing on walls, cars, columns or even lying on the floor. Don’t be shy and try different options until you get the results you want. This is part of the fun of a photo session!!

Gold and silver sides of the reflector

Keep in mind that both the silver and the gold colors are metallic and reflect a lot of light. For that reason they should be used from a certain distance (that will vary according to light conditions). If you are using it to reflect light on a person or animal, it might be even blinding. Take care and if you need it, ask the model to close the eyes until you adjust the light reflection to an intensity that will be comfortable for him/her.

sleeklens-43-4
The metallic colors reflect the light almost like a mirror, be careful when you aim it at people.

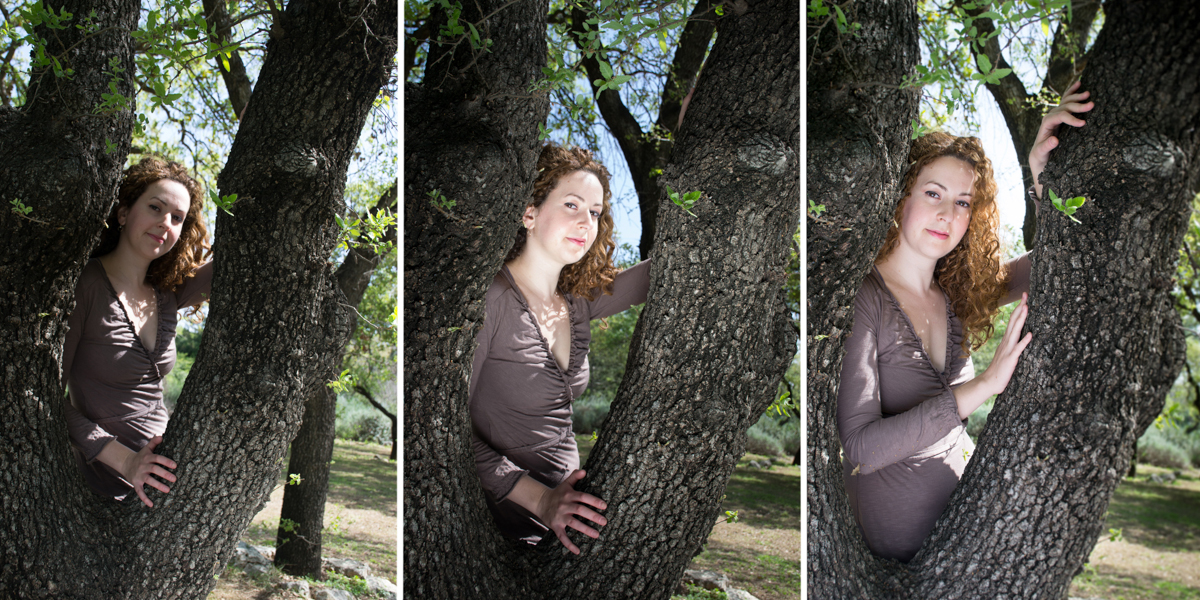
As the silver side reflects the light without softening it, besides being a good option for greater distances, it is also great for weaker lighting conditions. Silver is also a good one to start getting used to reflectors because you can see the effect very vividly, making your life easier at the beginning.

sleeklens-43-13
In the first photo I didn’t use the reflector, the middle one was taken with the reflector too close to the model, the last one was taken with the reflector set at a greater distance. See how the light is much more delicate in the last photo in comparison with the others

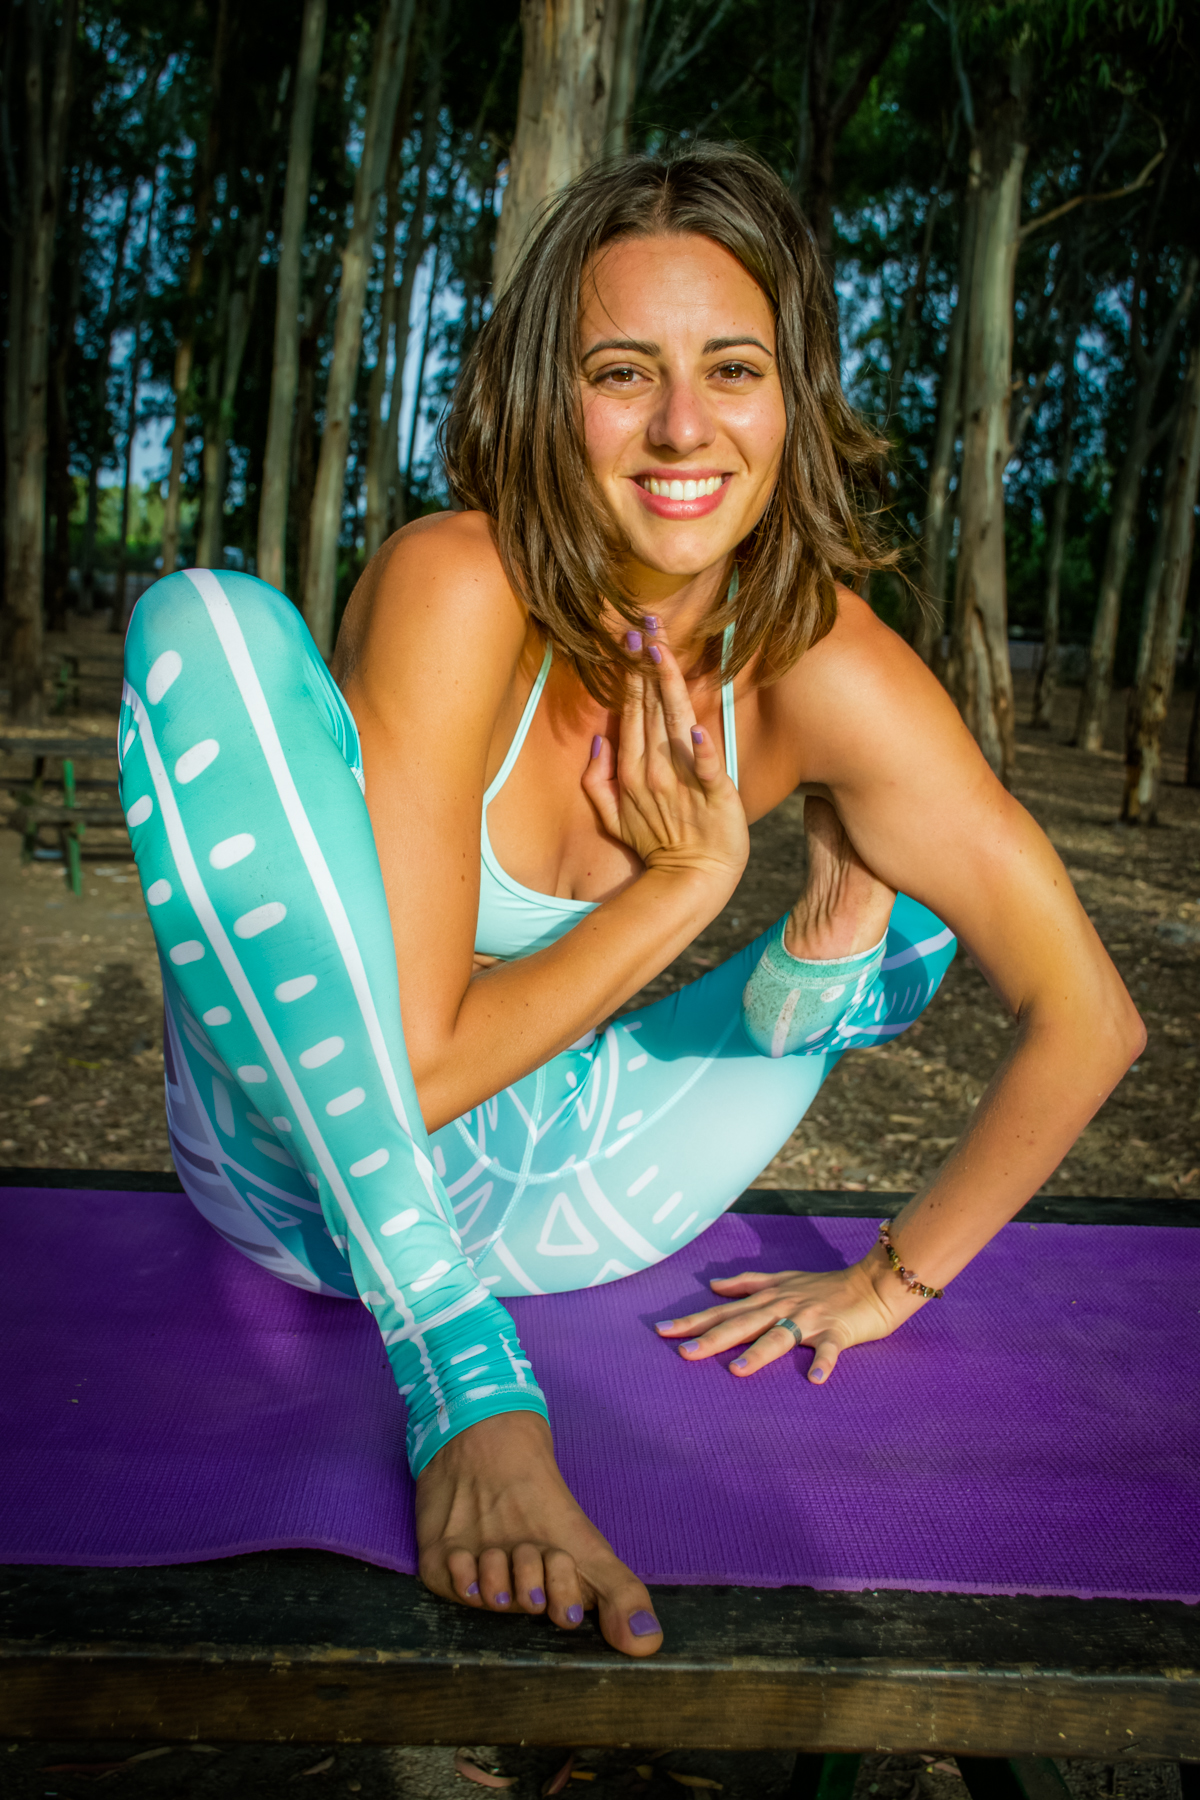
The gold is very much like the silver except that it is giving the reflected light a warm yellow shade, similar to the golden hour light. It can be great for emphasizing sun tan, or if you want to bring out a certain color in the photo. But take care, because the yellow light can be overpowering.

sleeklens-43-6
In this photo you can see how the golden-yellow light reflected from the gold emphasizes my friend Nita’s sun tan. you can also see how the shadows articulate her muscles

White side of the reflector

The white side reflects a very soft and delicate light, you need to place it very close to your subject in order for it to have an effect and it won’t work if the lighting is bad (like at dusk, or if it is cloudy), but the result will be a very warm and soft photo, which is great for portraits (family, children, pregnancy photos, flowers).

reflector
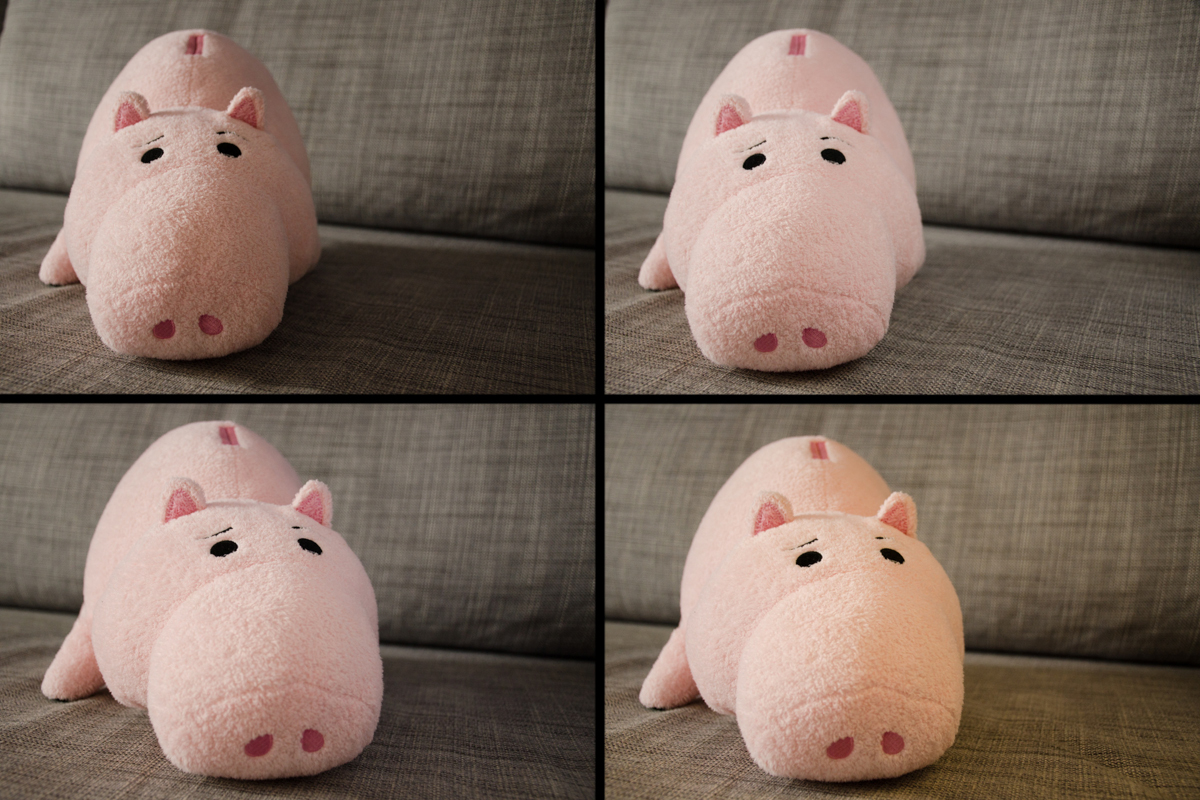
Here you can see how the different colors affect the photo: in the top left I didn’t use the reflector, in the top right I used the silver and you see that the illumination is almost equal on both sides of Porky, the bottom left photo was taken using the white and you can see how the light on Porky is softer, the bottom right photo was taken with the golden reflector and you can see Porky has here a much warmer light.

Black side of the reflector

Finally, a reflector can be used as a light blocker too. If you have a light coming from an undesired direction. For example, if you have light reflecting from a window,  you can reduce the reflecting light by placing the reflector with the black side towards your subject.

refector
Here you can see the effect of the black side of the reflector, on the left I didn’t use a reflector and on the left photo I used the black. Do you see the difference?

Using the reflector’s frame as diffuser

Besides reflecting the light, the reflector’s frame (the one with a semi opaque cloth) can be used as a diffuser. Diffusers soften the light coming directly from a light source and make the shadows less hard..

sleeklens-43-14
These two photos were taken in the same spot moment one after the other. In the upper photo I took the photo when Inna was subjected to the hard mid day light, in the lower photo Inna was “sheltered” from the harshest light by the diffusing inner frame of the reflector.

I want to thank my friends Inna and Nita for being my models and also my nephew for letting me use Porky to illustrate this article. Now that you have the basic information about reflectors, it is time to grab yours and start experimenting with it!

Enjoy and have a happy shooting!!

Shooting in Sun vs Shade: When is Best?

Have you ever been excited for a bright, sunny day to plan a portrait session only to find harsh lights, extreme shadows, and unflattering lighting? There’s a big misconception about the best time of day to shoot and what kind of weather to hope for. And it may not be what you’re expecting.

Shooting in the Afternoon

Between the hours of 10am and 4pm, depending on the time of year, the sun is at its highest points in the sky. This means your light source will be coming from one of three places:

1. Behind your subject, causing your background to be extremely bright and the subject to be dark

2. Above your subject, which will cast harsh and unattractive shadows on their face

3. Or in front of your subject, making them squint their eyes and scrunch up their face

If you want to make shooting in direct sunlight work, there are a few extra pieces of equipment you can carry with you. You can bring a reflector onto the field, which will allow you to fill in harsh shadows. This works by bouncing light back onto the subject and can give a more overall light. Another option is to use a fill in flash. Your camera may be equipped with a flash but you will get better results from an off-camera flash.

sun-vs-shade-1

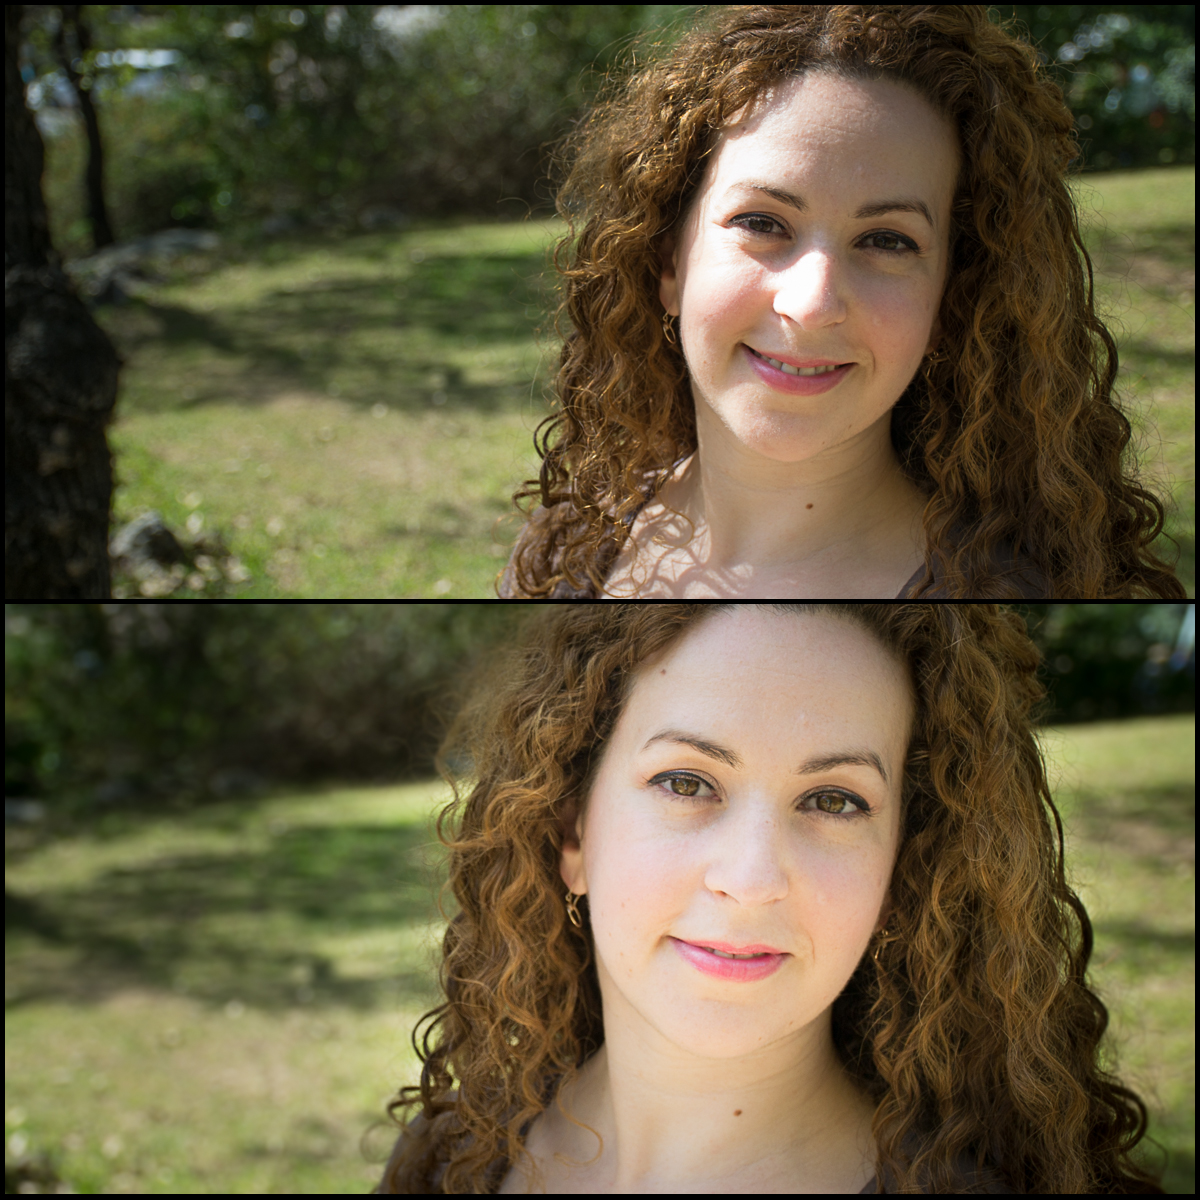
The best way to make shooting in direct sunlight work if there is no other option is to expose for the face and keep the sun behind the subject. This may mean your background is blown out but the most important part of the photo, the face, can be properly seen. You can also try shooting from different angles instead of straight on. Kneel down and shoot up or climb up high and shoot down.

However, if your subject is willing to move, there is a better option.

Shooting in the Shade

During your time as a photographer, you will hear the terminology “diffused light” coming up again and again. Diffused light is a soft light that spreads evenly across your entire subject. This does away with any harsh shadows or highlights and has an overall flattering look. When shooting outdoors, you don’t always have the luxury of controlling the light. Many times, the last thing you want to do is haul a bunch of gear out into the field. This is when shade can be your best friend.

sun-vs-shade-2

The tricky part to shooting in the shade can be getting the correct exposure. Your subject is now in a darker area so your exposure will have to be brought up. You can achieve this by opening your lens aperture (opening it up is the equivalent to smaller numbers) or slowing your shutter speed down. Another option is to shoot in Auto mode and allow the camera to determine the appropriate exposure.

Depending on where your subject is positioned in the shade, you may find your background getting overexposed or blown out. You can fix this by changing your position so that the background behind your subject is equally in the shade or allowing the bright background to be a creative addition. It can add highlights to the hair or a nice edge glow behind the subject.

sun-vs-shade-3

Best Times for Shooting

The best times of the day to plan your portrait shoots are actually early morning and late evening. These times of the day are referred to as the “golden hour”.  The exact times will depend on the current season as it impacts the position of the sun. Ideally what you’re looking for is the sun to be low in the horizon.

During this time of the day you will have the most flexibility for subject vs sun position and also creative lighting. With the sun behind you and in front of your subject, they will be cast in a warm tone and the low horizon light will reduce squinting. Or, you can try positioning your subject with the sun behind them to create an outer glow.

sun-vs-shade-4

Remember, the best time to shoot is when the light is diffused or low on the horizon. Try to plan for cloudy days or dusk hours. If you’re stuck in the direct sunlight, look for some shade to move your subject into. All is not lost however if you’re out on an afternoon with no clouds in sight. You can shoot into the sun by putting the sun behind your subject, expose for their face, and try to adjust the angle that you’re shooting from to reduce harsh lights and shadows.

Nature Photography Next To Your Home: Finding Beauty

I did a degree in Biology because I am in love with the environment. I needed to study plant and animal physiology, ecology, genetics… I was always surprised about the complexity of life.  As living beings, we are made by infinity of diverse molecules, each one with a specific function. Millions of chemical reactions are happening all the time to keep us alive. We interact with other living beings because we are all connected somehow by complex ecological networks. It is kind of a miracle that all these things are going on (and they actually work!!) without us even realizing.  Nature is wise.

Nature photography in pink
Even the smaller flower is much more complex that it seems at the first sight.


My fascination for Mother Nature combine perfectly with photography. I love taking photos of living beings such as trees, plants, flowers or animals. I do it all the time. Sometimes I go in trips to wonderful mountains, the desert or to the forests. These are all places that we usually recognize as natural. However, I don’t have the ability for travelling all the time. I work in a laboratory and I need to stay around it in order to accomplish my duties. Does this fact stop me from taking nature photography? Not at all. Because in my opinion, nature is not sitting only in faraway places. I am not the only one thinking that way. Emma Marris (environmental writer and reporter) redefines nature saying that it should not just be about pristine wilderness but also about the untended patches of plants growing in urban spaces. So here you have it.  Nature is next to us, even if we live in a city. Keep reading and I will give you some tips for finding nature photography opportunities next you your place.

Become a nature hunter

Do you think that your city is way to grey and full of cement? I am sure you are right. But I am almost sure that if you change your perspective about the place you will able to find some nature around you. Are there trees in the streets? Does your neighbor have some plants in the balcony? Is there any park nearby? Go out and try to look at the city with a new perspective. Become a nature hunter. You will find something. I will explain to you something that happens to me quite often: when I go out for a walk with some friends, I am always pointing out nature-related things. I ask them: “Have you seen this tree? And this flower? What about that cat?” The most part of the times their answer is “No, I didn’t notice them”. It is a matter of perspective. If you put your attention into nature, you will find nature.

Forgotten nature photography
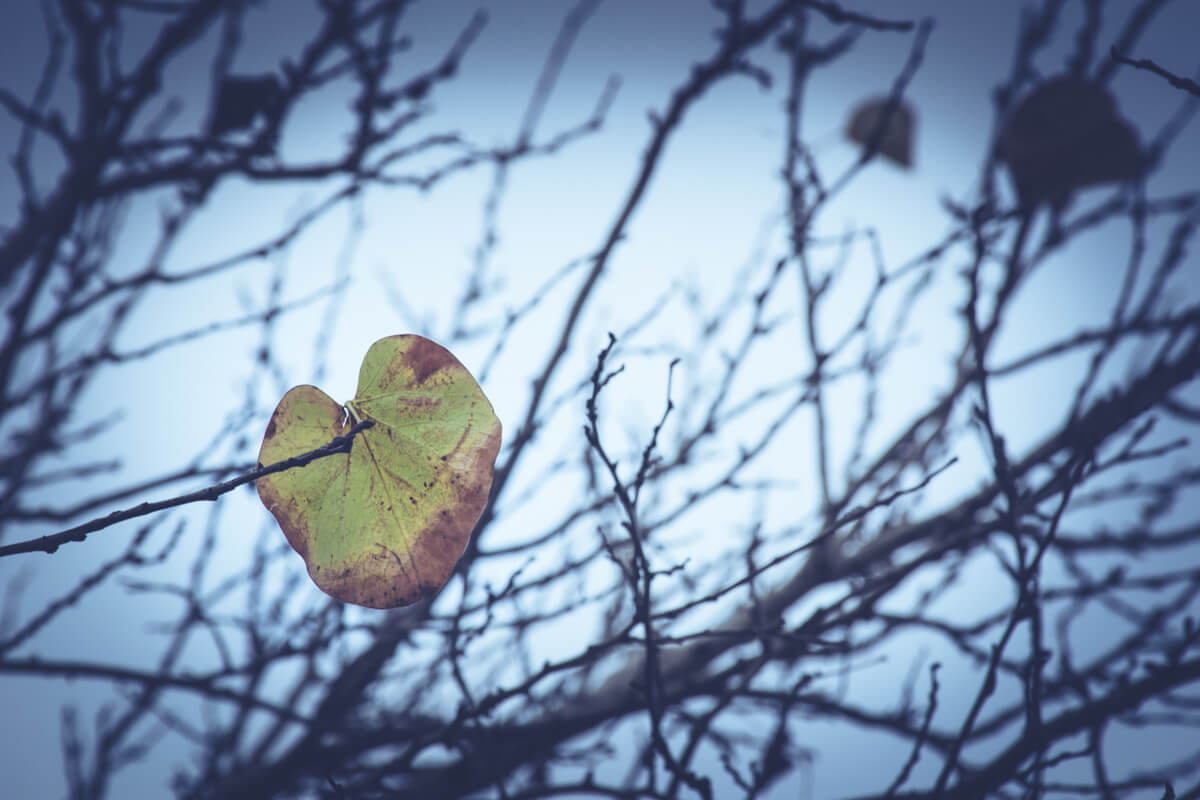
Nature is there. You just need to change your perspective. Lots of people walked next to this little leave and they ignore it. They were too busy, running to arrive to their destinations and talking in the phones. I saw the leave because I was looking for something nature related. And I found it.

Think in seasons: what can you find each time?

Nature is everywhere, but this doesn’t means that it always keeps the same. Nature follows the rhythm of the seasons. Each season you will find different things. Knowing what is it possible to find and when will be very helpful and will save you some disappointments.

Nature photography in autumn

Part of the beauty of season is that they are completely different between them. For example, autumn is a good time to take photos of fallen leaves. They are quite photogenic.


Nature photography in spring
Spring has a total different vibe. You might find flowers and even some fruits.
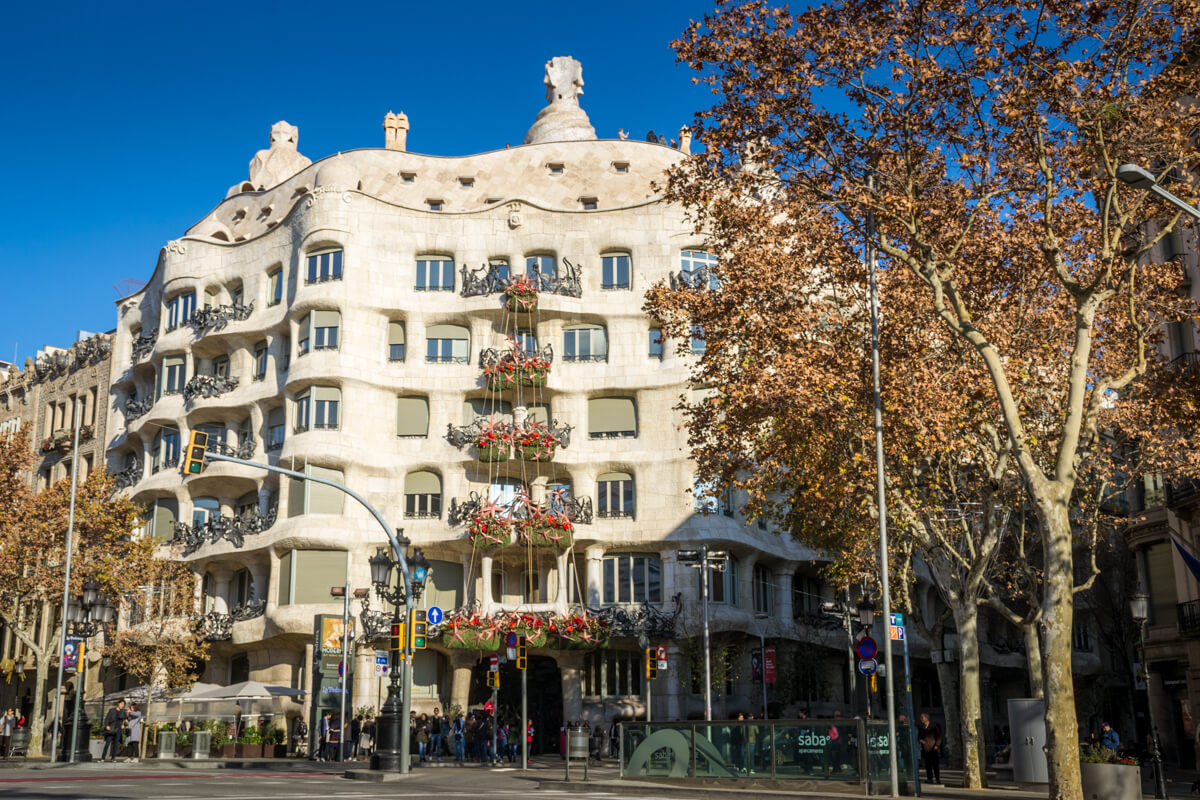
Focus in the small

When we look at huge buildings or roads we might get discouraged. But don’t worry!! Here we are not talking about landscape photography. Instead of looking at the big picture, try to look into the details. Are there any plants or trees? Maybe there is a flower hidden somewhere. You need to get close. If you like macro photography, go for it! But you don’t need it. I take my photos without going into macro lens and it works well for me.

Focused nature photography
If you just see the big picture you might be losing a lot of chances for a good photo. This is how the big picture looks like. Beautiful? Not so much. But have a look inside the red circle.


Hidden nature photography
This is what I saw when I switched from looking at the big picture into looking for details. Nature likes to hide the best shots.
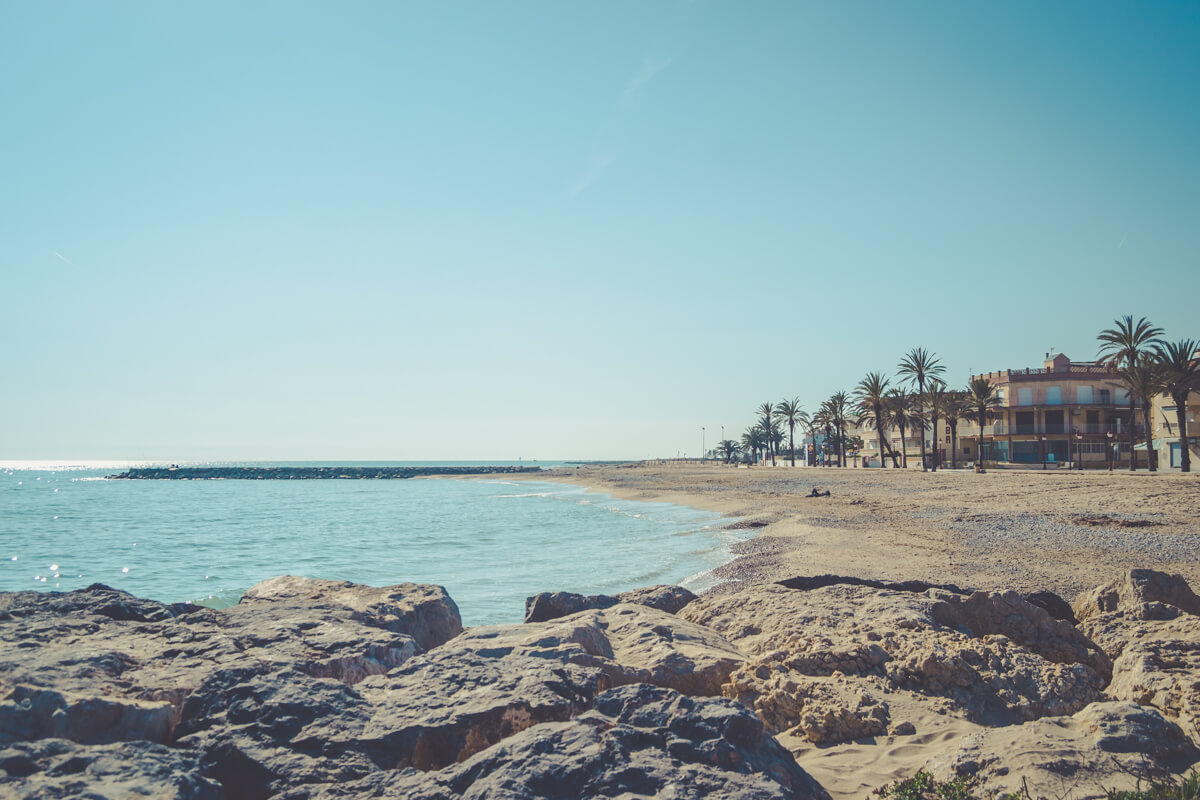
Keep it playful

Remember to have fun. When you are enjoying an activity you have more chances of success. I am always happy when I find nature in the middle of the city mess.
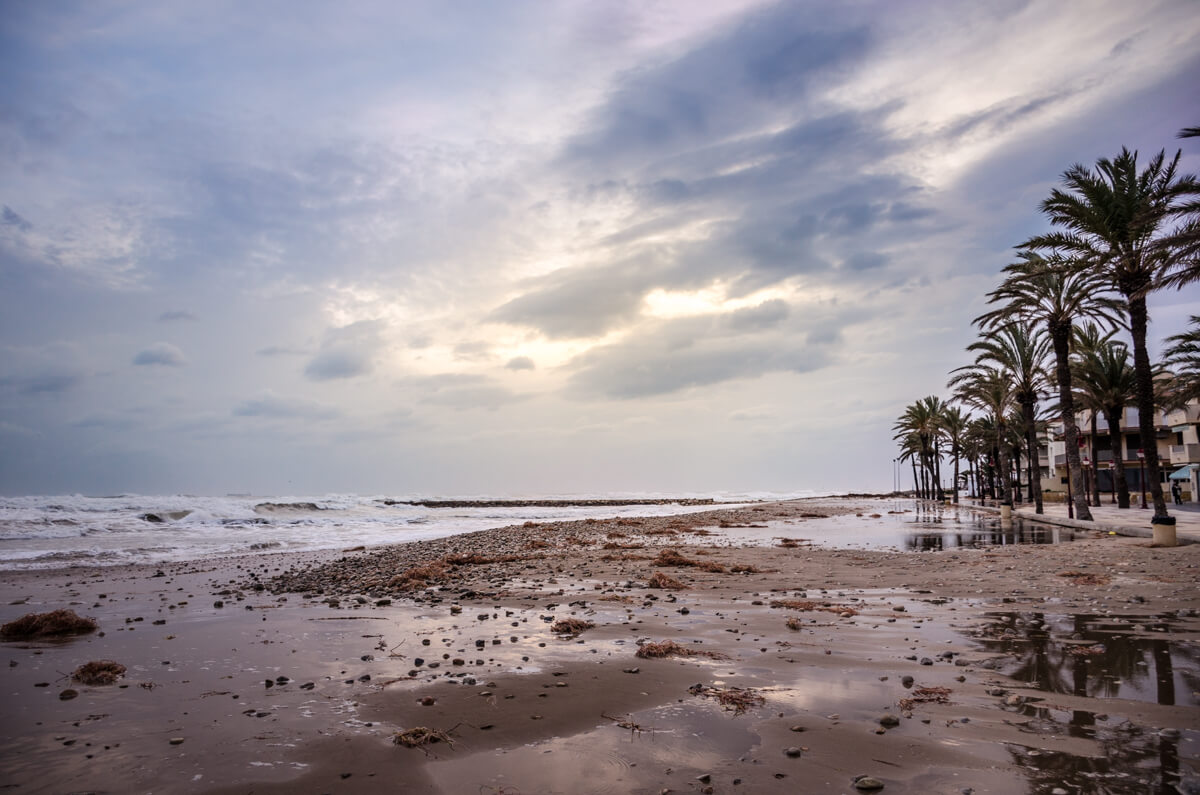
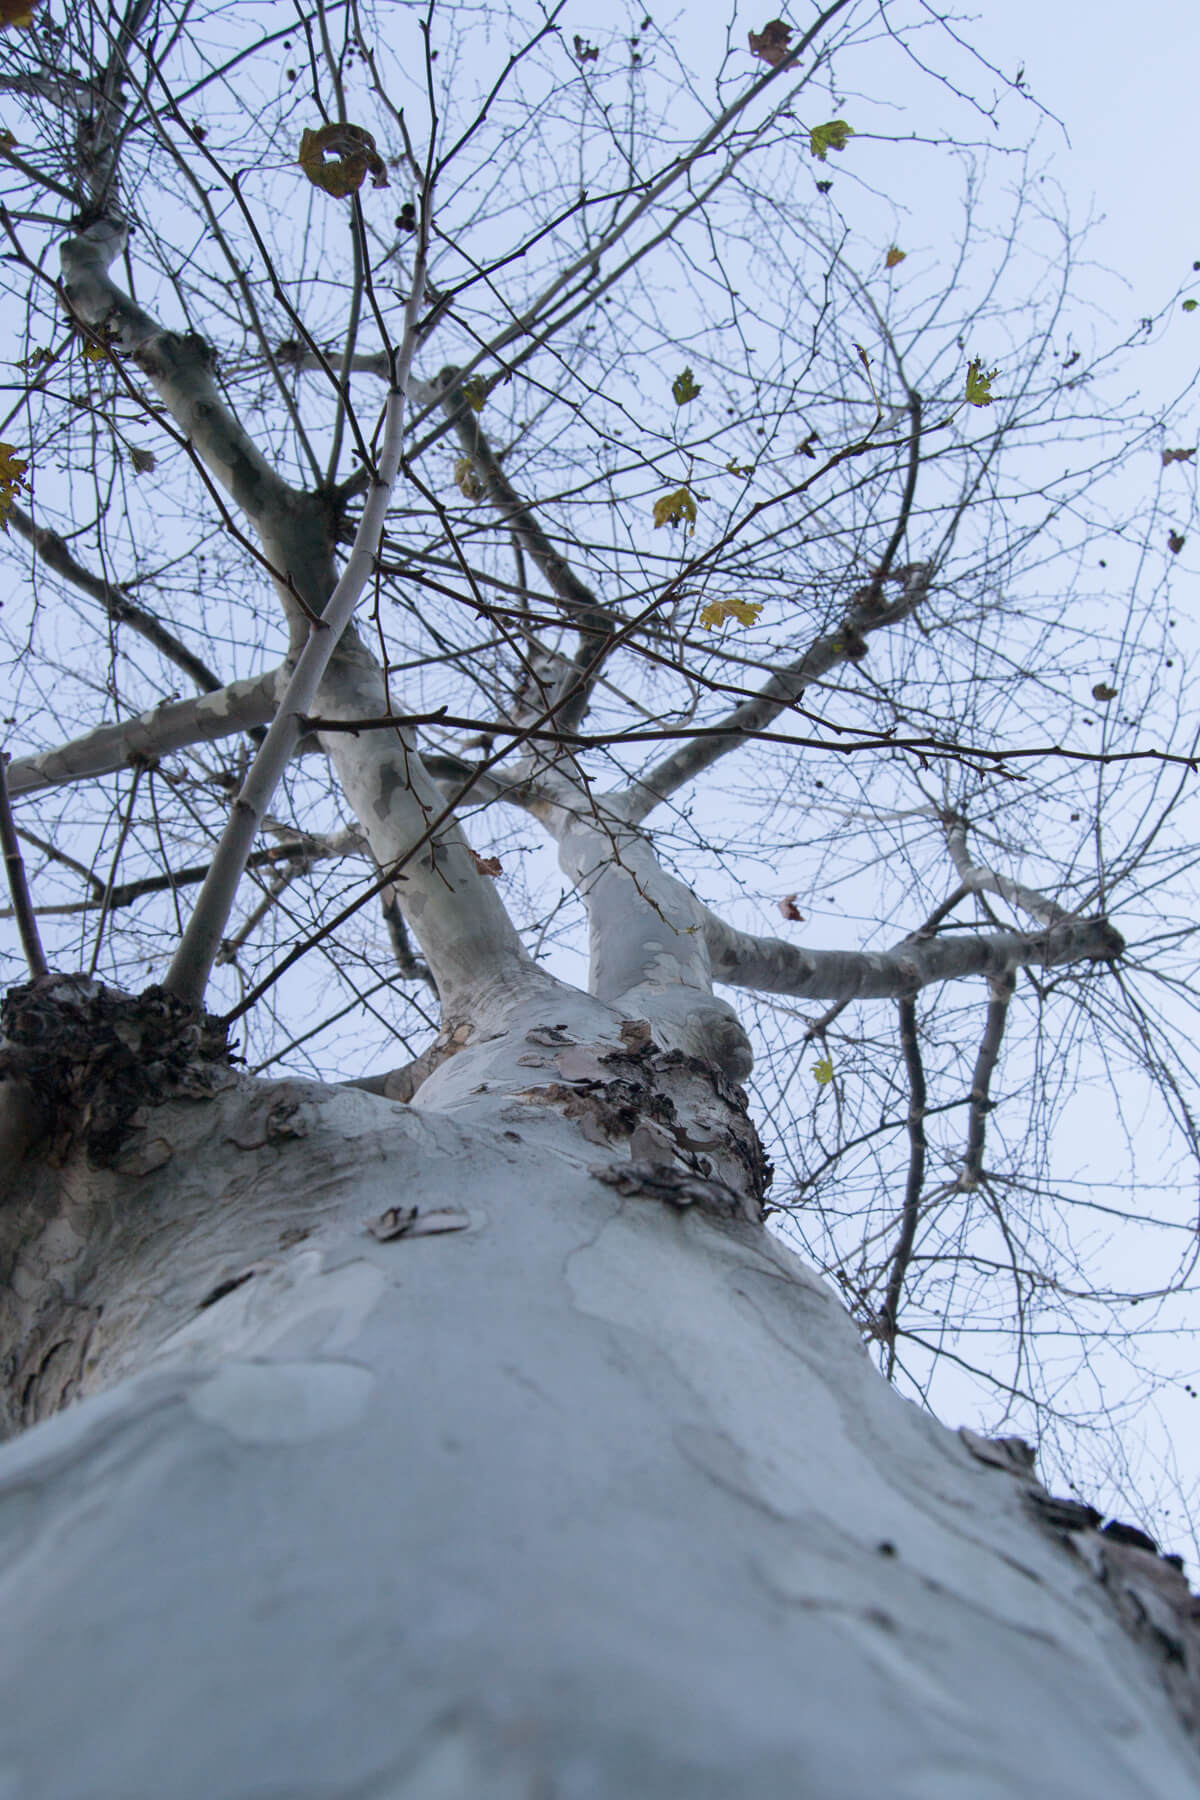
Nature photography close to your place
Taking nature related photos always makes me happy, especially when I am in the city. It might sound crazy, but when I get a nice nature shot in the middle of the city I feel that I still belong to some ecosystem and that not everything in life is made out of cement or metal.

I hope I encourage you to try some nature photos in your city!  I will be happy to know about your experiences. Feel free to share with me any suggestion about this type of nature photography! Have a happy shooting!!

Photo Walks: A Way of Improving Your Photography Skills

According to Wikipedia a photo walk is the act of walking with a camera for the main purpose of taking pictures of things that the photographer may find interesting. For me a photo walk is much more than just walking and taking photos. I see it as a way of improving your photographic skills. Photo walks are commonly considered group activities.  The groups might be formed by amateur photographers that organize themselves or they might be also activities offered by a professional that set some guidelines and teach along the walks. Although I like the idea of group photo walks, I didn’t have the chance to do it yet. I hope I’d get the chance to do it in the near future. For now I have a less communal approach: either I go by myself, or with a friend. In group or alone, I highly recommend you to try photo walks.

Photo walks partner
I usually go on photo walks alone or with one or two people. My husband is one of my photo walks partners (here is a challenge for you: can you find where I am in the photo?).

Theme photo walks help you develop your creativity

Choosing a theme for a photo walk is an interesting thing to do. You can choose any subject such as shapes (triangles, circles…), colors (yellow, blue..), numbers or things (windows, doors, traffic signs…). If that day I am unable to decide a subject, I just ask somebody to tell me either a color, or a shape. And whatever they say I do. I saw that this helps me to develop my creativity because it forces me to take photos of things that I wouldn’t choose by myself. Trying to take nice photos of things that you don’t find attractive at first sight might push you out of your common thinking box.

Thematic photo walks
I did a photo walk about circles. This subject pushed me to take photos that I wouldn’t usually take.

Photo walks help you to improve your composition

You can pick a composition subject and focus on it in your photo walk. You can work on finding leading lines, look for patterns, rule of thirds, symmetry… Practicing composition when you are enjoying a relaxed photo walk will take you to the point that you can create well composed images even under stress (as for example in the middle of a portrait photo session).

Composition and photo walks
Using leading lines is a technique of composition where you lead the eye of the viewer through different elements of photo by using lines. They also give a sense of infinity. I like doing photo session focusing on leading lines.

Photo walks give you the chance to experiment with new things

Have you been reading about a new photography technique that you would like to try? Go on a photo walk focusing on that technique and you could see how you get better at it along the walk. You can try night photography, macro,  HDR, long exposure photography

Night photo walks
I am not a night photographer. But planning photo walks at night took me out of my comfort zone and made me experiment with my camera.

Photo walks help you to find your photographic style

I learnt this from the photographer Marlene Hielema. When you photowalk, you don’t have to focus on the technical aspects of photography. You don’t have to take perfect photos. You can even set the camera on program mode (I know it can be hard to do it, but give it a try). What can you do if you don’t need to take care about the technicalities? You are left with just the creative side of photography.  Focus on the way you see things. Once you return home, check the results of your walk. Pick the photos that show better what you wanted to express and analyze them. Do they follow a pattern? Finding these patterns will help you to understand your style.

Photo walks are a great way of networking

If you are going in a group photo walk you will have the chance to meet new people. If you are going alone, you will have the chance to talk with the people you are taking photos of, and you will probably meet a few curious people who would want to know what you are doing. You can interchange details with these people (phone number, social media) and share your photo walk images with them.

Photo walks might improve your mood

A photo walk is a physical activity done outdoors (sometimes even in the sunlight and the fresh air!). Walking is good for your health and being outside will bring refresh your mind.

Outdoor photo walks
Going outdoors and enjoying the fresh air is always good for your mind.

And finally some tips:

Take only the essentials

You will be walking for a while, so if you carry a lot of gear and other stuff it will become heavy and will make the photo walk a not so nice experience. Be brave and take just one lens. Take out unnecessary things from your camera bag.

I do recommend to take with you water (and maybe a hat and sunglasses) and a small snack, just in case your walk turns a bit longer then you expected.

Be safe

When you are focused on taking pictures you can disconnect a little from the surroundings. But you should keep all the time a certain amount of awareness. Don’t walk into the road without looking for coming cars. Don’t walk into other pedestrians. If you are in a place with a lot of people, keep an eye out for possible thieves. If you are going alone on a photo walk, tell somebody where you are going and for how long. Although a photo walk can also be a great chance to disconnect for a while, evaluate the area you are going to be at before leaving the phone behind, on long walks, walks in the wild, or in unfamiliar neighborhoods, it might be better to have your phone with you (just in case).

Keep safe in your photowalks
If you are taking photos in a place with a lot of people and traffic, you need to take care to be safe and not to disturb the others.

Be respectful (with people and with the law)

If you are taking photos of people, it is important that you keep a respectful attitude. Remember that it is nice to ask people for permission to take their portrait (it is also an opportunity to meet new people). Depending in which places, you must do it. For that reason it is always good to know the laws regarding photographer’s right (They change in every country). You should know beforehand what you are allowed and not allowed to do with your camera. It can save you a lot of problems.

Sit from time to time

I know that the activity is called photo walk, but you can also sit from time to time to rest. Sitting is also good for observing. You can study the place where you are and take other kind of photos.

Sitting during your photo walks
I decided to sit for a while. It was then when this little bird came close enough for me to be able to take a photo. This wouldn’t have happened if I was walking and moving around.

Do you like photo walks? Have you ever tried them? Are you going alone or with a group? Share your experiences with us, we would like to hear form you! 🙂

Have a happy shooting!!

Must Have Accessories For Landscape Photography

Imagine you’re standing at Glacier Point, shooting the beautiful morning sun as it rises behind Half Dome. Sipping on hot chocolate, you adjust your settings accordingly to the flooding light. The air is wet and there’s a faint vanilla scent from the surrounding Jeffrey Pines. You screw in your Graduated Neutral Density filter and take a couple shots. The sun is rising slow and you are in no rush, savoring each moment you have, just you and the camera this morning. Nothing else matters.

Landscape Photography

Compare this to someone who ran up, took a shot, and then ran back to their computer for post-processing. They don’t care about crafting the perfect image in the camera, they know they can fix it in post. No hot chocolate for them, no smell of the Jeffrey Pines. No memories other than the photograph.

Where would you rather spend your time? Perfecting the image in camera on location, or spending the majority of your time behind a computer trying to fix the image in post? This answer should not be difficult. What draws photographers to landscape photography is the promise of long afternoons hiking up to the perfect spot and setting up the camera, the sole focus for the next few hours is to get the shot, nothing more.

To ensure you can maintain this lifestyle, you will need a couple accessories in your camera bag. While you can find lists of up to 30 must have accessories, you really just need a few essentials to get started, the rest is up to your creative vision. You cannot buy that, nor can you buy experience. So get out there!

Landscape Photography

Landscape Photography Filters

Polarizing Filter

A polarizing filter is great for stopping down the entire image. It will reduce glare from reflective surfaces, like water or even from leaves, by stopping down up to 3 stops, depending on which filter you purchase. A polarizing filter will also help to increase saturation in an image. While you may think these are easily replicable in post-processing, there are certain aspects of reducing glare that will be difficult to adjust in Lightroom, requiring more advanced knowledge of the program.

Neutral Density Filter

While you may be able to get away with not carrying a polarizing filter in your bag, a neutral density filter is a must. These filters are offered anywhere from 3-10 stops on average. What’s great about a neutral density filter is it’s ability to block out light, which will allow you to adjust one or more of you camera settings to more of an extreme. You can see this in an image of a waterfall or river, where the water is blurred, the result of a long exposure. The neutral density filter allowed for the slow shutter speed, while still maintaining proper exposure in the image. This is something you could not achieve in post-processing.

Landscape Photography

Graduated Neutral Density Filter

A graduated neutral density filter works in much the same way as a neutral density filter, but as the name suggests, the filter intensity fades from one end to the other. The purpose of this is for scenes where the sky is too bright when exposed for the landscape. We’ve all seen images like this, where the sky is blown out. Just having a graduated neutral density filter can make the difference between an ok and mind-blowing landscape photograph. While this can be applied in post processing as well, getting it right in camera will ensure the most natural looking image, while allowing for more time in the field and less at your computer. Where would you rather process your image? In front of a beautiful landscape or inside on your computer. Again, not a hard choice to make.

Landscape Photography

Other Must-Have Accessories

Tripod

An essential accessory for landscape photography, a tripod will allow for those beautiful long exposure shots of star trails and blurred waterfalls. Even if you are shooting a classic landscape image, a tripod is essential to have, in case exposure requires a slow shutter speed. This will happen often, when you want the entire sweeping landscape in focus. The wide aperture requires a slower shutter speed, and increasing ISO introduces more noise into the image. When shooting blurred water to create a dreamy landscape, you’ll need to pair your neutral density filter with a tripod, otherwise there’s no way to achieve this look. When deciding which tripod to get, first confirm what you need. Does it need to be lightweight? Will it get wet? Does it need to hold up heavy lenses? Once you know what you are looking for, then you can narrow down your options and decide which to buy based on price point. There are options at every price point now.

Landscape Photography

Remote Shutter Release

Pairing well with a tripod, a remote shutter release will ensure there is no camera shake when taking long exposures. Even with a camera on a tripod, the act of pressing the shutter can cause unwanted blur. Remove shutter releases are inexpensive and small, not taking up much space in your bag. It really adds no extra bulk to carry one along with you, you’ll be happy to have it. It could even force you to become more creative with your shooting, trying multiple long exposure options where you normally would shoot handheld. It could add a new dimension to your photography.

Landscape Photography

While there are more accessories you can carry in your landscape photography, these are the essentials. Don’t get bogged down thinking you need a ton of gear just to get a good image. You can take beautiful photographs without even using the above. The most important is to get out there with what you have and start shooting. Buying more accessories will not make you a better photographer if you don’t know your camera. As your skills grow, so too can your equipment, but for now, keep it simple and enjoy the journey.

Cat Photography: How To Take Street Cats Photos

I always thought that cats are fascinating animals. These little felines have such a strong personality that I can’t do anything else but admire them. However, I never had the chance of having a cat as a pet. I really wanted one when I was a little girl. My mom always said that cats are beautiful animals…from a far! So as you can guess, she was not inclined to share our place with one of them. Four years ago I moved to Israel. Even today I am still surprised by the amount of street cats that you can find here. There are some that even adopt you as “their human” and come every day to check on you and see if you can give them some food. I started to take photos of them.  I really love these little wild animals. Today I want to share with you some of the things I learned about street cat photography.

Have your camera always ready

Street cats are not going to wait for you to take the camera out of your bag and adjust the settings. I missed a lot of shots because I was not ready. Although you think you are fast, you won’t be faster than them. Remember that after all, these little guys are felines! Which are the best settings? You will usually need to use a fast shutter speed. So in order to get photos with enough light (not too dark) you will need to adjust the aperture and the ISO.

Cat photography
This little cat was next to our car. Luckily I had the camera with me and ready to shoot. If I had gone home to look for the camera, I would have missed him.

Don’t use the flash

I am almost certain that if you use the flash to take a photo of a cat he will be so scared that he will run away and maybe he won’t come close to you in a while.

Increase your ISO if needed

I prefer to take cat photos with low ISO (100-200) because then I avoid noise that can distract the viewer’s attention from the animal. However, if in order to take a photo I need to choose between increasing ISO and decreasing shutter speed, I don’t think twice: I increase the ISO. I have been working a lot of years with a camera that doesn’t handle well high ISOs, but even then it was better to have a picture with noise than a totally blurry photo. Good news for cat lovers: new cameras handle pretty well high ISO values. You can check at which ISO you start having noise with your camera. You can do it shooting at a black surface and comparing the results using different ISOs. Once you know your ISO threshold, try to keep under it. But I wouldn’t obsess with it. If you need it: increase the ISO. Also keep in mind that you can decrease some of the noise in post-processing.

Cat photography
In order to take a photo of this kitty I needed to increase the ISO. I still got his paw a bit blurry. In this case, I think that it adds to the image, but too much blurriness can make you lose the shoot.

Get to know them

After a while living in Israel I started recognizing all the street cats of the neighborhood. Cats are quite territorial, so they like to be inside the borders of what they consider “mine”. If you pay attention, after a couple of weeks you will realize that you always meet the same cats. From time to time you see a new one, but the main group keeps the same week after week. Each cat has his own personality. Knowing them well will help you to take decisions about the lenses you need or how to approach them.  For example, some of them are bossy. These guys are usually bigger than the others. They are quite self-confident so they don’t run away so easily. For them you don’t need a tele-lens, but you will need something more than 50mm because they won’t allow you to get too close (around 100mm should be fine). Remember, they think that you are a simple human under their mandate. They could attack you if you get too close. Others are fearful and the closest you can get to them is 50m. You will need a lens that will allow you to zoom from far because they will run away as soon as they see you. Others are a bit more naive and you can get really close to them. With them you can use a 50mm or even a 35mm.

Cat photography
This cat came every day to my place for the 4 years I was living there. He adopted me as his Human. He is the total boss of the neighborhood. We established a pretty convenient unspoken agreement: he was protecting my home from other cats and I was providing him milk. We understood each other. However, not even once I was able to touch him. Lucky me, I was allowed to get close enough to take photos of him.

Study their habits

The most part of the cats have habits. They have a favorite place to sleep, they visit a garden at certain time of the day, they go  to the house of that neighbor to eat second breakfast… when you recognize a pattern, you can anticipate there moves and be ready to shoot. You can even hide somewhere as if you were a National Geographic photographer (I love doing this, I always have a lot of fun!!)

Cat photography
This cat likes one of my garden’s chairs. He comes almost every day. I just needed to wait for him hiding behind a blind to take this photo.

Be patient and don’t get mad at them

You can’t tell cats to pose or do what you want, so be patient with them. You will probably need to take a lot of pictures before you get one you like. Keep your mind open. Maybe the cat is not doing what you expected, but probably it will do something good. Or maybe he will run away and leave you frustrated and wanting… If this happens, just accept it. Don’t get mad at the cat. You will have more chances in the future.

Cat photography
Cats rarely do what you want or expect from them. Be open minded and appreciate any chance they give you, even if they decide to look to the other side.

Take advantage of the fact that cats are curious

Cats are curious by nature. And this is good for photography. Some of them are already curious for the noise that the DSRL’s mirror does when you shoot. You take a photo of them and they just stare at you as if wondering “What is this noise?”. This is your chance to take a good picture. Other cats need a bit more. But usually if you play with something in front of them or if you make some subtle noise they will look at whatever you are doing.

Cat photography
This kitty was so curious about the noises coming from my camera that he was staring at me for several minutes (enough to take a photo)

Focus on their eyes  

When we are looking at a photo we usually pay attention to the eyes, so try to keep them sharp.

Cat photography
Cat’s eyes are quite impressive. Try to focus on them and keep them as sharp as you can.

Do you have any experience photographing street cats? Tell me how it was and if you tried some of these tips. I would love to know about your experiences! Have a happy shooting!!

Using a Mini Softbox for Awesome Outdoor Portraits

Shooting portraits in a studio can be great, but outdoor portaiture with natural light is just better. The problem is that when you try and take photos outside, the light doesn’t always cooperate, and you need to take matters into your own hands. This is where something like a mini softbox can really help you out when you need it.

A softbox is just a small light, used primarily in studios, but which can be adapted for use outside. The mini variety tends to be best in this regard since it is easy to transport around.

When you can control the lighting of the outdoors with a mini softbox, you can drastically change how your photos look. Subjects can really stand out, while also getting the natural setting around them. It is the best of both worlds. You have the studio and the outdoors, together in perfect harmony.

outdoor-portrait-2

The Advantages

So, why use a mini softbox for this? Why not use some other type of lighting? Why not use umbrella lights? There are several reasons why a mini softbox is just best for this situation.

The biggest advantage is the fact that these boxes are small and highly portable. You don’t need to haul your studio around, you just need to take a small box with you and you will get all the light you need. You can also use a light shaping tool to get the lighting that you want in your portraits outside. You can add definition through the use of shadows, or remove shadows to create a clean and elegant look on the subject.

outdoor-portrait-3

Why Not Regular Softboxes?

You may be asking why you can’t just use a regular-sized softbox, the type you use in the studio. After all, it is not like they are huge or anything. Well, you get all the features of the regular softbox, in a mini softbox, but without the extra space. So, there is no reason to add extra work for yourself in lugging around a large softbox.

How to Do It

Now that you know you should use a mini softbox, how do you go about using it?  It is actually very easy to use. The main thing to remember is that as you move the subject around for the photos, you may have to change the lighting depending on cloud cover, the position of the sun and more. This will allow you to get the right light for your subject with the softbox.

Don’t be afraid to try out multiple locations for your shoot as well. The light is going to be different everywhere and you may find a great spot for your photos just by random. Most mini softboxes run on batteries since you won’t be located near an outlet. Make sure that you always have batteries on hand so you don’t lose your lighting opportunities with the softbox.

outdoor-portrait-4

Use the Attachments

When you are taking your mini softbox out, make sure you use your attachments to get the most out of the mini softbox. There are many attachments that will be useful to you depending on the lighting conditions outside, and the needs you have as a photographer. These attachments, like diffusers, can be carried around easily by you and often come as part of the mini softbox. These diffusers will create many lighting effects for you, from creating very soft light to compliment the sunlight, or sharper and more focused light to create the shadows that you want.

One of the best types of diffusers to keep in mind is the gold-banded diffuser. This diffuser attaches with Velcro to the softbox itself and creates really beautiful and warm images in the outdoors. It can work great if you want a natural look on the subject but don’t want to add too much light. It is also very effective at creating the golden hour light, where the sun is setting.

outdoor-portrait-5

As a photographer, you want to get the most out of your photos, your light, and your subjects. You can leave everything to chance and allow Mother Nature to dictate the lighting, but what if it is a cloudy day and you want golden light on the subject? If that is the case, then you need to take matters into your own hands and get a mini softbox. It is highly portable. It is easy to use, and it will ensure that you get the most out of your pictures.
For incredible portraits, you should always take things one extra step. Mother Nature can be great for her lighting, but there is nothing wrong with a bit of a helping hand from technology. The mini softbox can do that for you.

70-200mm Lens – How to Avoid Blurring?

It’s very common among the professional Canon users to grab our 70-200mm lens for indoor as well as for outdoor shoots. The lens is one of the top choices for portraits and product photography due to its versatility and interesting zoom range.

Lens Overview

Speaking of this versatile and powerful Canon lens, we can start to say that it was launched in 2010 as an update of the EF 70 – 200 mm F2.8 L IS USM from 2001. With a gap of 9 years and considering the advances in the technology of DSLR cameras, Canon redesigns this powerhouse by improving both the stabilization and optics, as well as autofocus and its design.

Optics consists of 23 elements in 19 groups, including more than 5 of them with the Ultra-Low Dispersion technology (UD), plus one with Fluorite Coating. The reason? Reducing the Chromatic Aberration of the lens.

Canon_Zoom-Lens_EF_70-200_F2.8L_IS_II_USM-01a_

Built-in metal, we are not talking about a light lens; however, it compensates for the weight with its excellent image quality and enhanced protection in regards to dust that can enter our camera, in addition to being weather sealed.

The Autofocus motor belongs to the technology of Canon Ultrasonic Motor (USM), being extremely agile while maintaining a silent profile.

27358305815_713c7db69e_k

Photo courtesy of Eric Schaffer

The price is something to consider in this lens since we are talking about high-end equipment for what should not amaze us that its initial price is higher than $1500.

The only difficulty that photographers face while using the lens is its weight. A Canon 70-200mm [ f 2.8 IS II ] lens weighs approximately 1600 gms. So, this lens when mounted on a full-frame camera like Canon 5D Mark III weighs almost 2.5 kilograms.

When weight matters

So, how do you take a sharp photograph while holding so much weight in your hand? You might use a tripod to bring in the extra support, balance, and stability. But do tripods work during all circumstances? Not really. How far does ‘Image Stabilisation’ in your lens, help? Not very much. True, it provides the minor stabilization features that you need and but that’s not all.

canon-ef-70-200mm-f-2-8l-is-ii-usm-lens

The way you hold your lens plays a major role. It can sometimes be the ‘break-it’ or ‘make-it’ factor for your photographs.

We are assuming here that you will be using the kit (Canon 5D MK III + Canon 70-200mm f/2.8L IS II lens) handheld and not by tripod mounted. The first thing to do is to rotate the tripod collar from the bottom side of the lens(while mounted with the camera) towards the top side. This way, the tripod collar won’t obtrude and disturb your grip with the lens.

Kindly note: Indoor shoots are tripod-mounted most of the time. So this article may not be applicable to you. But for those who shoot by hand-held devices, this article might be helpful.

A quick but effective solution

So, like I mentioned earlier, the way you hold the lens while shooting may affect your photograph, for good or for worse. Most of the time, we tend to hold the lens somewhere on its collar ( really close to the body of the camera). I used to do this too in my earlier days as a photographer. This helps us control the zoom ring better while composing the photograph. True, but it also indirectly affects the balance in your focus. This sometimes results in blurred images and lesser sharpness. This is because of improper positioning of your palm by the lens. By supporting the lens at the collar location by your palm you are letting more weight towards the front side of the lens which leads to improper balance and with blurred photographs.photographer-1191562_1920This can be overcome by slightly shifting your palm position towards the front side of the lens, which means you need to place your palm almost on the zoom ring. As soon as you shift your palm towards the front end of the lens, you immediately feel the perfect balance of weight while holding. But this situation restricts the zooming ability immediately before you press the shutter button. You have to be prepared in advance, as you cannot zoom as you used to before. Get your frame right, compose what you need and then click away!27010607034_afe1fb94d0_k

Photo courtesy of Pengcheng Pi

We hope this article helped ease your discomfort while shooting using the 70-200mm lens.

Please leave your comments below and let us know about your experience. 🙂

Header photo courtesy of Francesca Pippi

Superselfie: Taking Better Self-Portraits

Sometime in the previous century, I was finishing up a 270-mile backpacking trip along a section of the Pacific Crest Trail in California. I was dirty, a little skinny and definitely ready for my close-up. Just as I was traversing along a mountain slope with the morning light in the perfect position to highlight what a greasy mess 15 days on the trail will do to one, I met some day hikers. I asked them to take a picture of me and though they seemed to not understand why I would want such a thing, they obliged.

Given this was the semi-crude days of film, I didn’t see the portrait in grime until the roll had been processed. The person who took the photo had placed my head dead center in the shot. There was nothing but sky behind me instead of the mountain scene. My grungy jeans were cropped off as was the trail itself. A potentially wonderful, story-telling moment—at least to me—was lost.

From then on, I decided I would be responsible for my own self-portraits as they were known back then. Or, so as not to take myself too seriously, I now call them selfies like everyone else.

I clamped a Canon 5DMII with a flash and warming filter to the front of my kayak and then went paddling off around sunset. I purposely used a slower shutter speed to get a little blur in the paddles.
I clamped a Canon 5DMII with a flash and warming filter to the front of my kayak and then went paddling on the Green River in Colorado at sunset. I purposely used a slower shutter speed to get a little blur in the paddles.

However, my idea of a selfie isn’t mugging the camera with a maniacal grin. We can do better than that.

For me, a selfie is a sometimes artful record of somewhere I’ve been or something I’ve done. It includes some context or maybe even shows a little action. I might be alone in the shot or with someone, often my wife. My kind of selfie has a candid quality to it that doesn’t even look in most cases like I took it myself. Very often, it only takes a few minutes to do.

Solo Selfies

This hiking shot took a little time. I first crossed the creek without my pack and set up the camera. Then I went back, put on my backpack and crossed. I set the wireless remote to take 10 pictures, one second apart so I would have enough different variations to choose from.
Yosemite National Park. This hiking shot took a little time. I first crossed the creek without my pack and set up the camera. Then I went back, put on my backpack and crossed. I set the wireless remote to take 10 pictures, one second apart so I would have enough different variations to choose from.

So let’s start with a common situation for me. I’m hiking alone in the mountains and come across a beautiful view from atop a ridge. This shot has potential, but it’s missing something, a storytelling element. It needs a model and I happen to have one: me! So I shrug off my pack and pull out a tripod. A small one, mind you. Just hefty enough to hold my camera.

I know, I know. A lot of people hate tripods, especially if they have to carry them any distance. But having those legs are absolutely necessary to precisely compose the shot. After all, have you ever tried to balance a camera on, say, a rock or fence? Too often, you’re composing based on the shape of whatever you’re using for support instead of getting the picture you really want.

This was more about adding a human element to the scene (Mt. Whitney trail) than showing my face.

So after I whine to myself about having to take the time to extend the tripod legs and attach the camera—true confession: I hate carrying tripods, too—I connect to the camera the second most important selfie tool, a wireless remote. True, just about all cameras include a self-timer but I really detest having to set it and then rush to get into position before the time is up. So I use the Vello ShutterBoss II. It has a claimed range of 250’—I’ve gone as far as about a 100 feet and it worked like a champ—and allows me to take multiple pictures at whatever interval suits me.

It comes in two pieces. There’s the receiver that attaches to the camera’s hotshoe with a cord for my Canon three-pin connection (it’s also compatible with several other brands). The other half is a transmitter I take with me to activate the camera. (Some cameras allow you to remotely take pictures with an app and smart camera, so check your options.)

In this particular scenario, I compose the picture to highlight the story I want to tell. I try to keep it simple. In this case, I just want to be hiking through the foreground with the wilderness scene behind me. Other times, my role as the model might be more static where I just supply a human element for the scene. However, I find just standing there often makes for a boring shot so I prefer to be doing something.

My wife, Gloria, and I hiking the Hoh River rain forest trail in Olympic National Park. This shot served the usual selfie purpose of simply showing us on our backpacking trip, but it also lent a human element to the scene.

There are many issues to consider as I go about this. Here they are:

  • Where do you want to be in the frame? I usually fall back on the law of thirds to keep it easy and put myself in a lower corner with the scene behind me. If I’m walking, I want to be entering the scene. If I’m standing still, I want to be facing the main part of the scene from the side of the frame.
  • What’s in the background? You don’t want to block an important element. Also, look for such pitfalls as trees or poles that potentially could spring out of the top of your head.
  • What’s the direction of the light? Generally speaking, you want the light source on your face. Make sure you’re not standing in a shadow when the rest of the scene is brightly lit.
  • What are you going to do in the shot? Moving? Standing still? Fiddling with something? Or just smiling at the camera? Plan ahead so you don’t come away with an indecisive look on your face. Know the story you want to tell, no matter how simple it might be.
  • Know where you want to be in the actual scene. That sounds obvious, right? But everything looks a little different from where the camera is opposed to when you place yourself in the scene. Look for some object in the viewfinder that’s close to the position you want to be in. Maybe it’s a distinctive rock, lamppost or crack on the pavement.

This is really the simplest of all super selfies, but it does tell a brief story about my solo trip on the Pacific Crest Trail through the High Sierras.

This is really the simplest of all super selfies, but it does tell a brief story about my solo trip on the Pacific Crest Trail through the High Sierras.

  • Take a moment to visualize yourself in the picture and how your presence contributes to the overall composition. Be prepared to reshoot if your imagination isn’t accurate.
  • I like to set the remote so it shoots after a three or four-second delay. That gives me time to stash away the transmitter in a pocket so I’m not pointing it at the camera when it starts taking pictures. This also adds to the impression of the shot being totally candid or unposed.
  • How many shots do you want to take? Sounds odd, but say you’re walking through the scene. Set the remote to pop off 10 frames at one-second interval. You’ll have a lot more variations to choose from. Even if it’s a more static shot, take several pictures at a time, varying your pose slightly for each frame.
  • Pre-focus and then set the lens to manual focus. This prevents the camera from re-focusing on the wrong thing when you hit the remote. Choose something as near as possible to where you’ll be standing and focus on that. If you’re a little unsure, set a smaller aperture for greater depth of field so you’re more likely to be in focus.
  • Manually set the exposure. Again, this prevents the camera from making decisions you might not agree with once you’ve walked away from it. For added insurance, take a shot while you’re still at the camera and examine the LCD version for proper exposure and focus.
As my friend and I were cross-country hiking to Thunderbolt Pass in the Sierra Mountains, I started to feel like I was carrying a pack for 10 people. So I set up the wireless remote to pop off 10 pictures and then I combined them in Photoshop using layers and masks.
As my friend and I were cross-country hiking to Thunderbolt Pass in the Sierra Mountains, the high altitude, and rugged terrain made feel like I was carrying a pack for a whole group. So I set up the wireless remote to pop off 10 pictures and then I combined the seven best ones in Photoshop using layers and masks.
  • Consider your shutter speed. If it’s too slow, you might be blurred. Of course, you might want that to suggest movement, but if you’re just standing there you’ll usually want to be sharp. Increase the ISO for a faster shutter setting if necessary. For walking shots, aim for at least 1/250, for more static poses, at least 1/30.
  • Be careful where you place the tripod. It should be on solid ground. Trust me, you don’t want to helplessly watch your camera topple over when it’s 20 feet away. If it’s windy, hang a weighted bag from the tripod hook on the center post, or lower the legs so the entire assembly is a bit more stable. Also, when you walk away from the camera on your way to pose, be careful not to knock into it. (I’ve done that, too.)
  • If you’re doing this where there are people passing by, be sure no one can trip over the tripod.
  • Always check the pictures you’ve taken to make sure they are what you intended. Reshoot if necessary. If you have time, try different compositions.
Canoodling at the Roman Coliseum. We got lucky because it was a rainy night which shined up the road. And then the headlights from a bus down the street illuminated out faces.
Canoodling at the Roman Coliseum. We got lucky because it was a rainy night which shined up the road. And then the headlights from a bus down the street illuminated our faces.

Canoodling Selfies

More often than not, I’m traveling with my wife and we like to do what we call canoodling pictures. We’re not mugging the camera. We’re interacting with each other one way or another, seemingly oblivious to the fact we’re being photographed. For my money, they make for far better travel pictures because, again, they tell a story about our trip. Also, instead of only getting a limited shot of the surrounding scene, dependent on how long my arm is for holding the camera, I can compose so there’s greater context. That shot of us in front of the Eiffel Tower actually has the entire icon in the picture.

And, oh, one more thing: our faces aren’t distorted like you see in a typical selfie. If the composition requires it, I can use a long lens with us off in the distance.

Half Dome, Yosemite National Park. Shot with the camera's built-in self-timer
Half Dome, Yosemite National Park. Shot with the camera’s built-in self-timer

Here are a few things to think about when doing a self-portrait with one or more others:

  • Pose the other person first. Set the focus on them.
  • Imagine yourself in the shot and determine if you’ll be in the same plane of focus as they are. If necessary, stop down the aperture for greater depth of field so you’ll both be in focus.
  • Beg, if necessary, for your selfie partner to ignore the camera and “act naturally.” Find something for them to do or have them interact with you. The nice thing about a wireless remote is you can always pop off pictures without getting up to reset the camera, which is distracting to the other person.
  • Make sure neither of you will be casting a shadow on the other’s face.
  • Always check the picture after it’s taken to be sure it worked as you envisioned it. My attitude is, we’ve traveled all this way, we might as well get great shots of ourselves, so take the extra time to do it right.
I was about to descend into LeConte Canyon on the Pacific Crest Trail when I realized I needed a really wide shot to get it all in. So I shot the several segments of this pano, going left to right. Shot several in a row of me hiking through the shot, and then one last picture for the end.
I was about to descend into LeConte Canyon on the Pacific Crest Trail when I realized I needed a really wide shot to get it all in. So I shot the first several segments of this pano, going left to right. I then shot several in a row of me hiking through the shot, and then one last picture for the end. The picture was stitched using Photoshop.

Pano Selfies

One variation of all of the above is do the selfie as a panoramic. This involves setting the camera in a vertical orientation on the tripod and taking all the pictures as you would normally do for a pano, overlapping each one by about a third, using manual exposure, focus and color temperature settings. Leave the last frame for you to be in the scene. Later, stitch the shots together with whatever software you prefer, choosing the best of the frames with you in it.

I have to admit that doing “super selfies” is a bit more challenging than simply extending a smartphone camera at arm’s length and firing away, but I’m convinced my selfies do more to record a special moment or scene.

Hope you guys liked this tutorial and before you ask, the header image happens to be a quick set up “super selfie” of my wife and me in a doorway on Avenue Junot in Paris during an early morning walk. I used a mechanical timer attached to a Bronica SQ-A medium format camera. See you next time!

Shooting a portrait in 15 minutes – Gear Overview

A new beginning

The wonderful people at Sleeklens have invited me to share my thoughts and experiences as a freelance photographer working in London. I will endeavor to do this several times a month, and for my first correspondence, I thought I would introduce myself so you will hopefully get an idea of what I love about photography and how my life as a working photographer unfolds.

My name is Matt Writtle and I’ve been working professionally for over twenty years. I have been seen quite a lot of changes, from bulk loading Ilford HP5 film and shooting with an old Nikon FM2, to shooting most of my work now on a Leica M (240) digital. I prefer digital now, controversial I know, but I have never been the most patient of people and the majority of my work is to shoot portraits and features for newspapers such as the Daily Telegraph and London Evening Standard.

To describe my work succinctly: I have to produce a studio quality portrait on location, in a venue I have never been to before, in less than thirty minutes.

Portrait of actress Andrea Risborough at the Mayfair Hotel, Piccadilly, London. PHOTO MATT WRITTLE Picture commissioned exclusively for the London Evening Standard. Use in another publication will require a fee.

Ninja Turtle

Nearly all portrait shots are time allocated and controlled by the public relations officer or “PR” for the subject. Consequently, time is tight and closely monitored. I normally get fifteen minutes, thirty if I’m lucky, so preparation is key. The best way to prepare is to correspond with the PR in advance of the shoot, and then arrive early. Thirty to forty-five minutes before the shoot is a good amount of time to recce the venue, mostly hotel rooms, lobbies or a theater, and ascertain how much available light there is and what set up to use.

Budgets are tight, photographic assistants on newspaper shoots are rare, and as technology has advanced so has the demise of manpower, so, I have to travel alone with all my equipment on my back. I wheel it all around in Think Tank Airport Security V2.0 and additionally, I now carry a 22inch beauty dish in an extra large drum cymbals case on my back, very useful case and vastly cheaper than photographic equivalents. I look like a Teenage Mutant Ninja Turtle going on holiday!

My two main light attachments are the dish and a Photek Softlighter II 46 inch. Presently, I use the dish as my key light, and should I need any shadow fill I use the Softlighter II (brolly box). I have to be mindful not to have too much darkness and contrast in the image as newsprint doesn’t reproduce blacks very well. I also have to consider house style: newspapers don’t want their images to be too moody and gloomy.

Commission May0066291 Assigned Portrait of former X-Factor contestant and pop star Fleur East at Sony BMG, High Street Kensington, west London. MUST CREDIT PHOTO MATT WRITTLE © copyright Matt Writtle 2015. Picture commissioned exclusively by the Telegraph Media Group. Use in another publication will require a fee.

War and Peace

On most shoots, I walk around the location and try to imagine how the subject will look in a scenario befitting of the angle of the interview. I tend to ask the PR to stand in for a light test. Exposure and mood created, I wait. Many people don’t consider how different each individual will look in the same light, and often, I have to modify the light to accommodate the star.

This was the case when I photographed actor Tom Burke (BBC’s War and Peace) recently for the Daily Telegraph. The shoot was at London’s Hampstead Theatre he was performing in, so, stairwell and lift lobbies were my backdrops. Ten minutes recce and he appeared. I keep things simple. The more complicated you try to make things, the more time you waste.

Set up one was at the top of some stairs with framed posters of previous actors who’ve starred at the theatre. I was thinking hall of fame and he was being inducted. Beauty dish key light, with a basic backlight to add mood and light the framed pictures.

Commission May0068723 Assigned Portrait of Actor Tom Burke who is appearing in Reasons To Be Happy at Hampstead Theatre, Swiss Cottage, north London. MUST CREDIT PHOTO MATT WRITTLE © copyright Matt Writtle 2016. Picture commissioned exclusively by the Telegraph Media Group. Use in another publication will require a fee.

Set up two was in a darkened lift lobby, but as Tom Burke is known for his brooding characters, I thought this quite fitting. Again, beauty dish key light, with a gentle amount of fill for shadows with the brolley box, all of which shot on my Leica M (240) with a 35mm f1.4 and 50mm f1.4 aspherical.

Commission May0068723 Assigned Portrait of Actor Tom Burke who is appearing in Reasons To Be Happy at Hampstead Theatre, Swiss Cottage, north London. MUST CREDIT PHOTO MATT WRITTLE © copyright Matt Writtle 2016. Picture commissioned exclusively by the Telegraph Media Group. Use in another publication will require a fee.

‘Goodnight Mommy’

In addition to the technical, you have to get a famous or notorious person inside to produce the image you want. I would say it’s a challenging and tense situation. For those fifteen minutes, I channel my adrenaline, whilst being friendly and keeping the subject happy. At the same time, I make sure the image is focused, composed, exposed and the lighting suits the mood of the character, all while a PR is standing behind you counting down how much time you have left.

It can be frustrating, but only because you have unique access and often not enough time to do it justice. But when there is a connection, the shoot sparks into life and that’s when the magic happens.

This was apparent when I photographed the Austrian actress Susanne Wuest who starred in a horror film “Goodnight Mommy’ which has received critical acclaim. We met at her penthouse apartment at the old Arsenal FC football stadium, now flats. Having modelled before, I was optimistic the shoot would be successful. She was as enthusiastic as I and we connected on what we both wanted to achieve, which took place on her terrace against a beautiful blue early spring sky.

Set up one was just natural light shot on my Leica with a 35mm.

Portrait of Austrian actor Susanne Wuest at her apartment in Highbury, north London. MUST CREDIT PHOTO MATT WRITTLE © copyright Matt Writtle 2016. Picture commissioned exclusively by the London Evening Standard and ESL. Use in another publication will require a fee.

Set up two was on my Canon 5d mark III with a 24mm-70mm zoom. I metered for the natural light and then placed two Elinchrom Quadra heads, one with the beauty dish, one naked, at 45° angles to her and boom! I got my favourite shot.

Portrait of Austrian actor Susanne Wuest at her apartment in Highbury, north London. MUST CREDIT PHOTO MATT WRITTLE © copyright Matt Writtle 2016. Picture commissioned exclusively by the London Evening Standard and ESL. Use in another publication will require a fee.

Hope this guide has been useful for you as a brief panorama of how do we photographers suit our gear to match the different scenarios we may come across during our daily job. See you next time!