Photography-related products don’t always have to be expensive. Sometimes, the cheapest and most beautiful props can be found in the most unexpected places. If you take the time to look for them, you’ll find priceless gems that will boost your inspiration and make you a more creative photographer. Being able to make unusual items look graceful in photographs will give you a chance to improve as an artist. Your skills will help you make the most of any photo shoot, regardless of your budget. This will attract clients to you, give you more room to think outside the box and make you stand out as a photographer.
If you want to be a more imaginative artist, you should expose yourself to more opportunities. What every person can benefit from is the ability to find affordable items that will help him or her create a masterpiece. These items can be found almost anywhere: in thrift stores, libraries, and more. Here is a complete list of places where you can find awesome props and boost your inspiration.
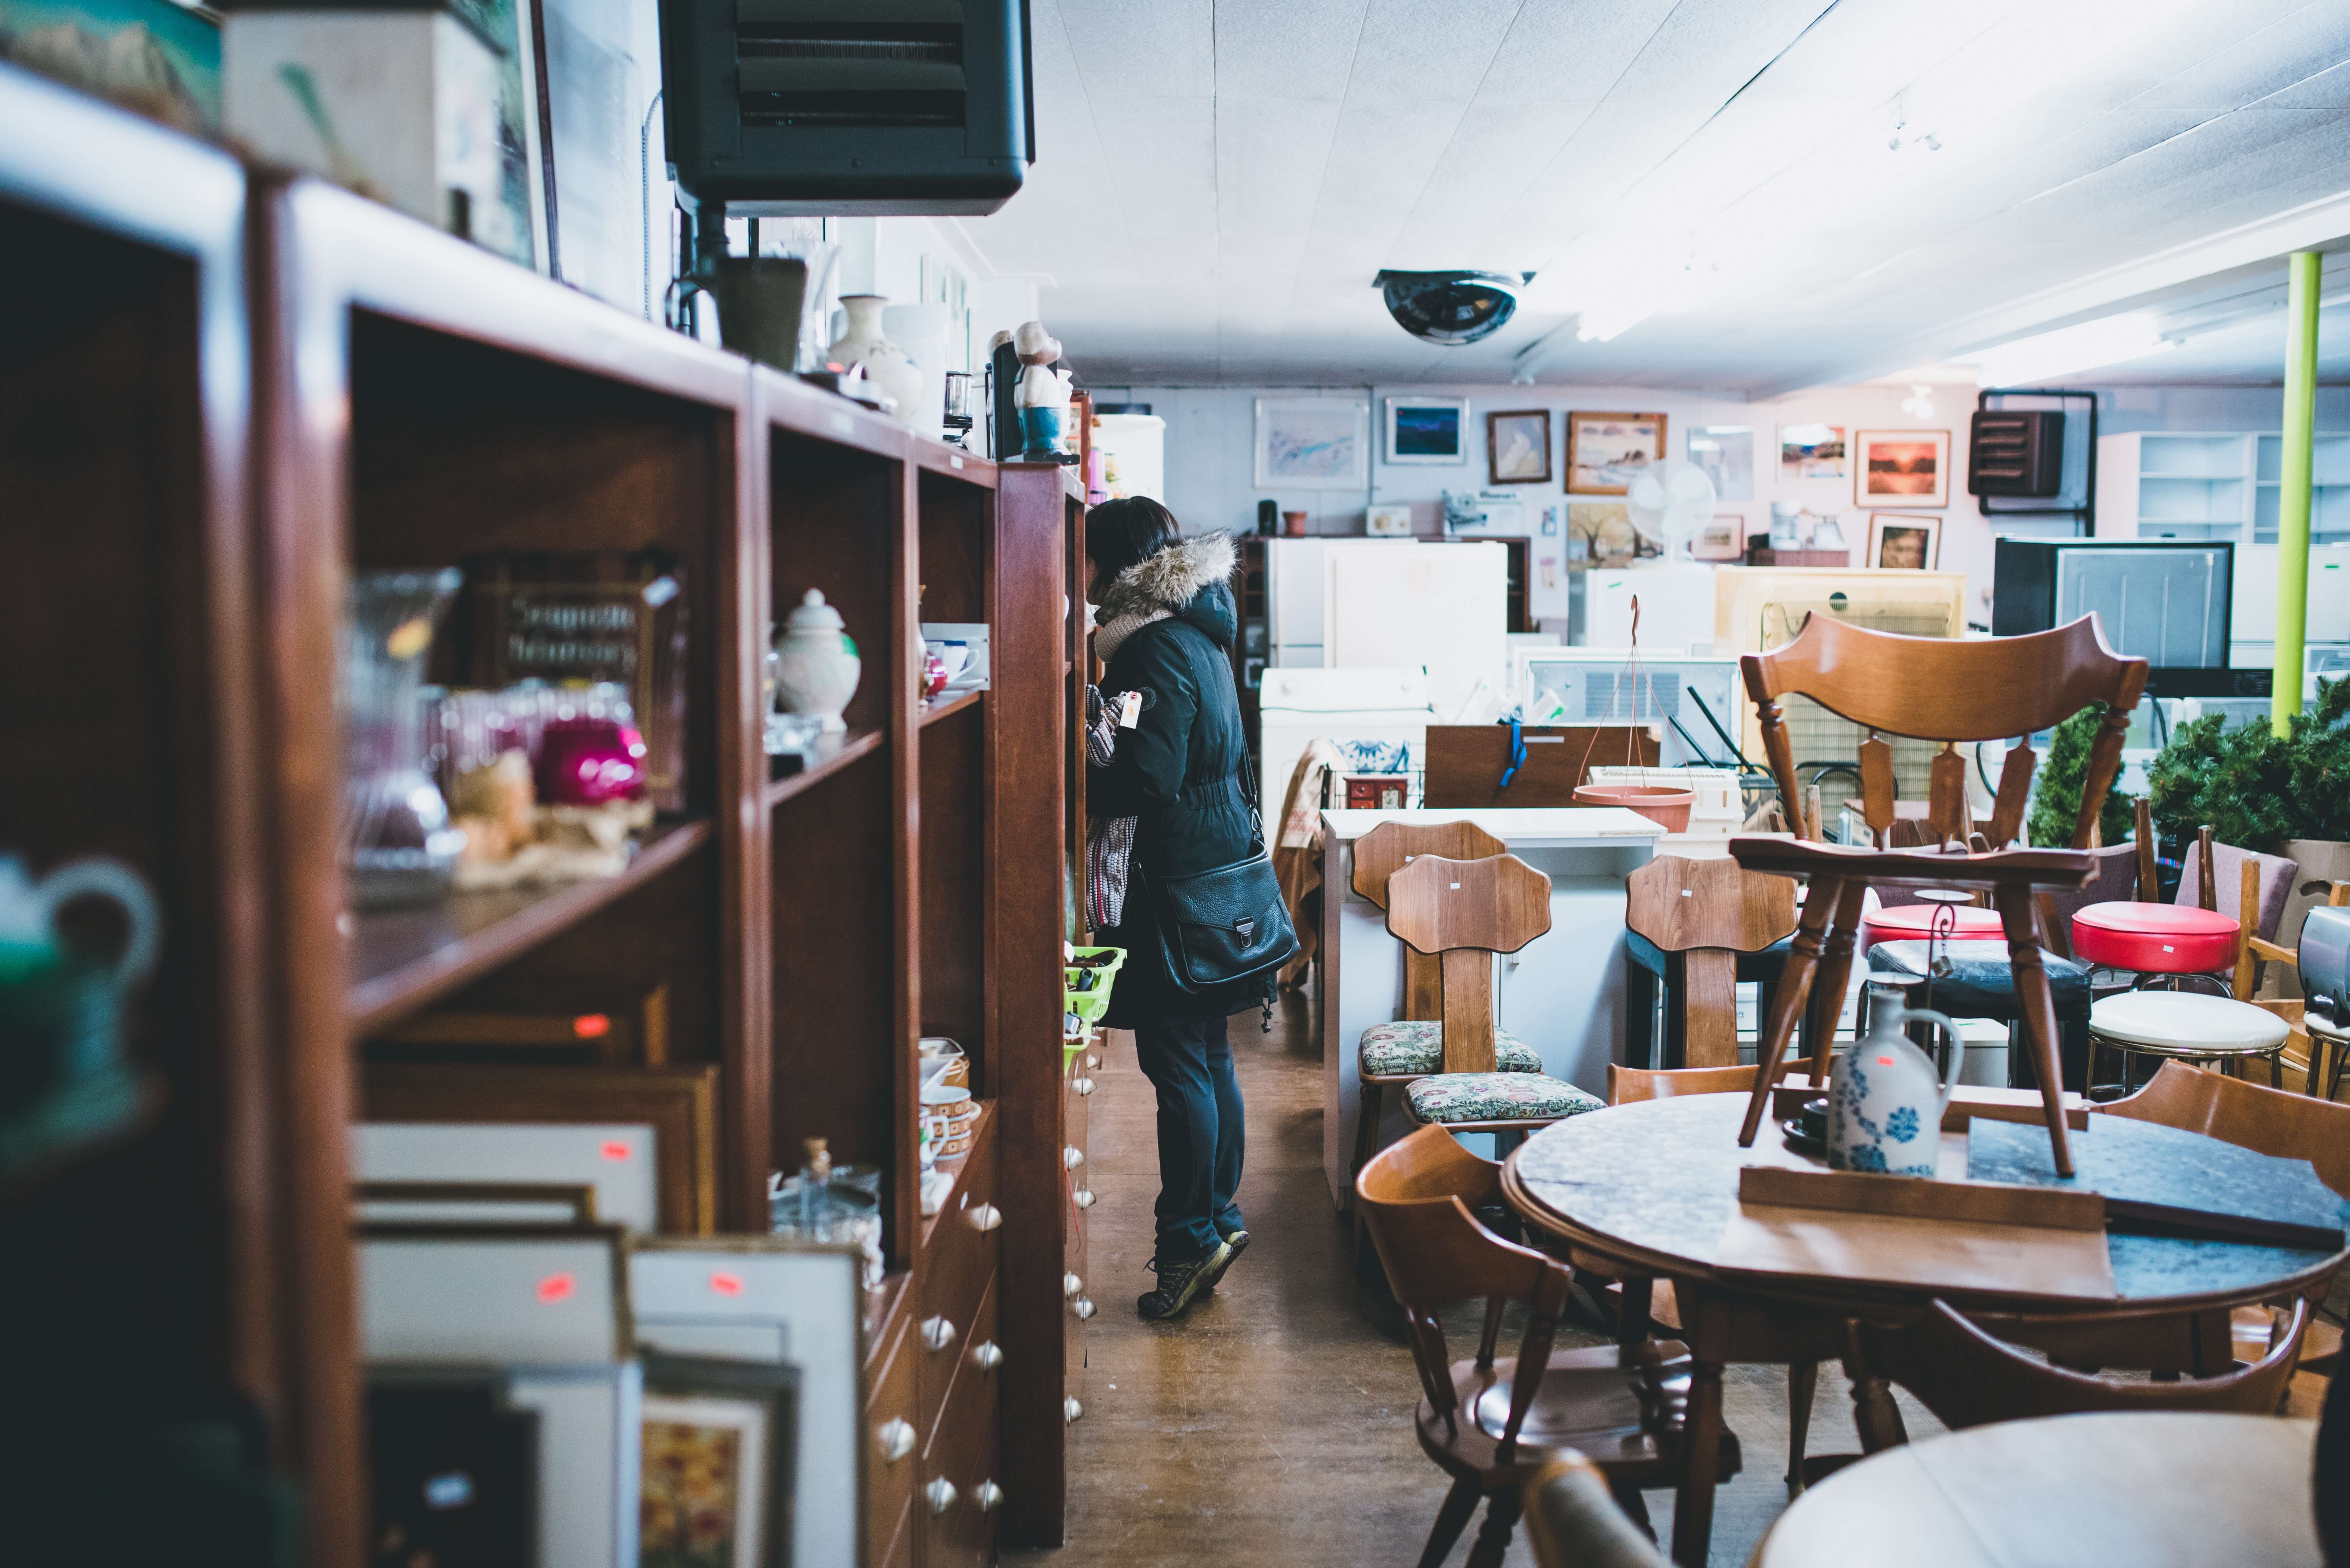
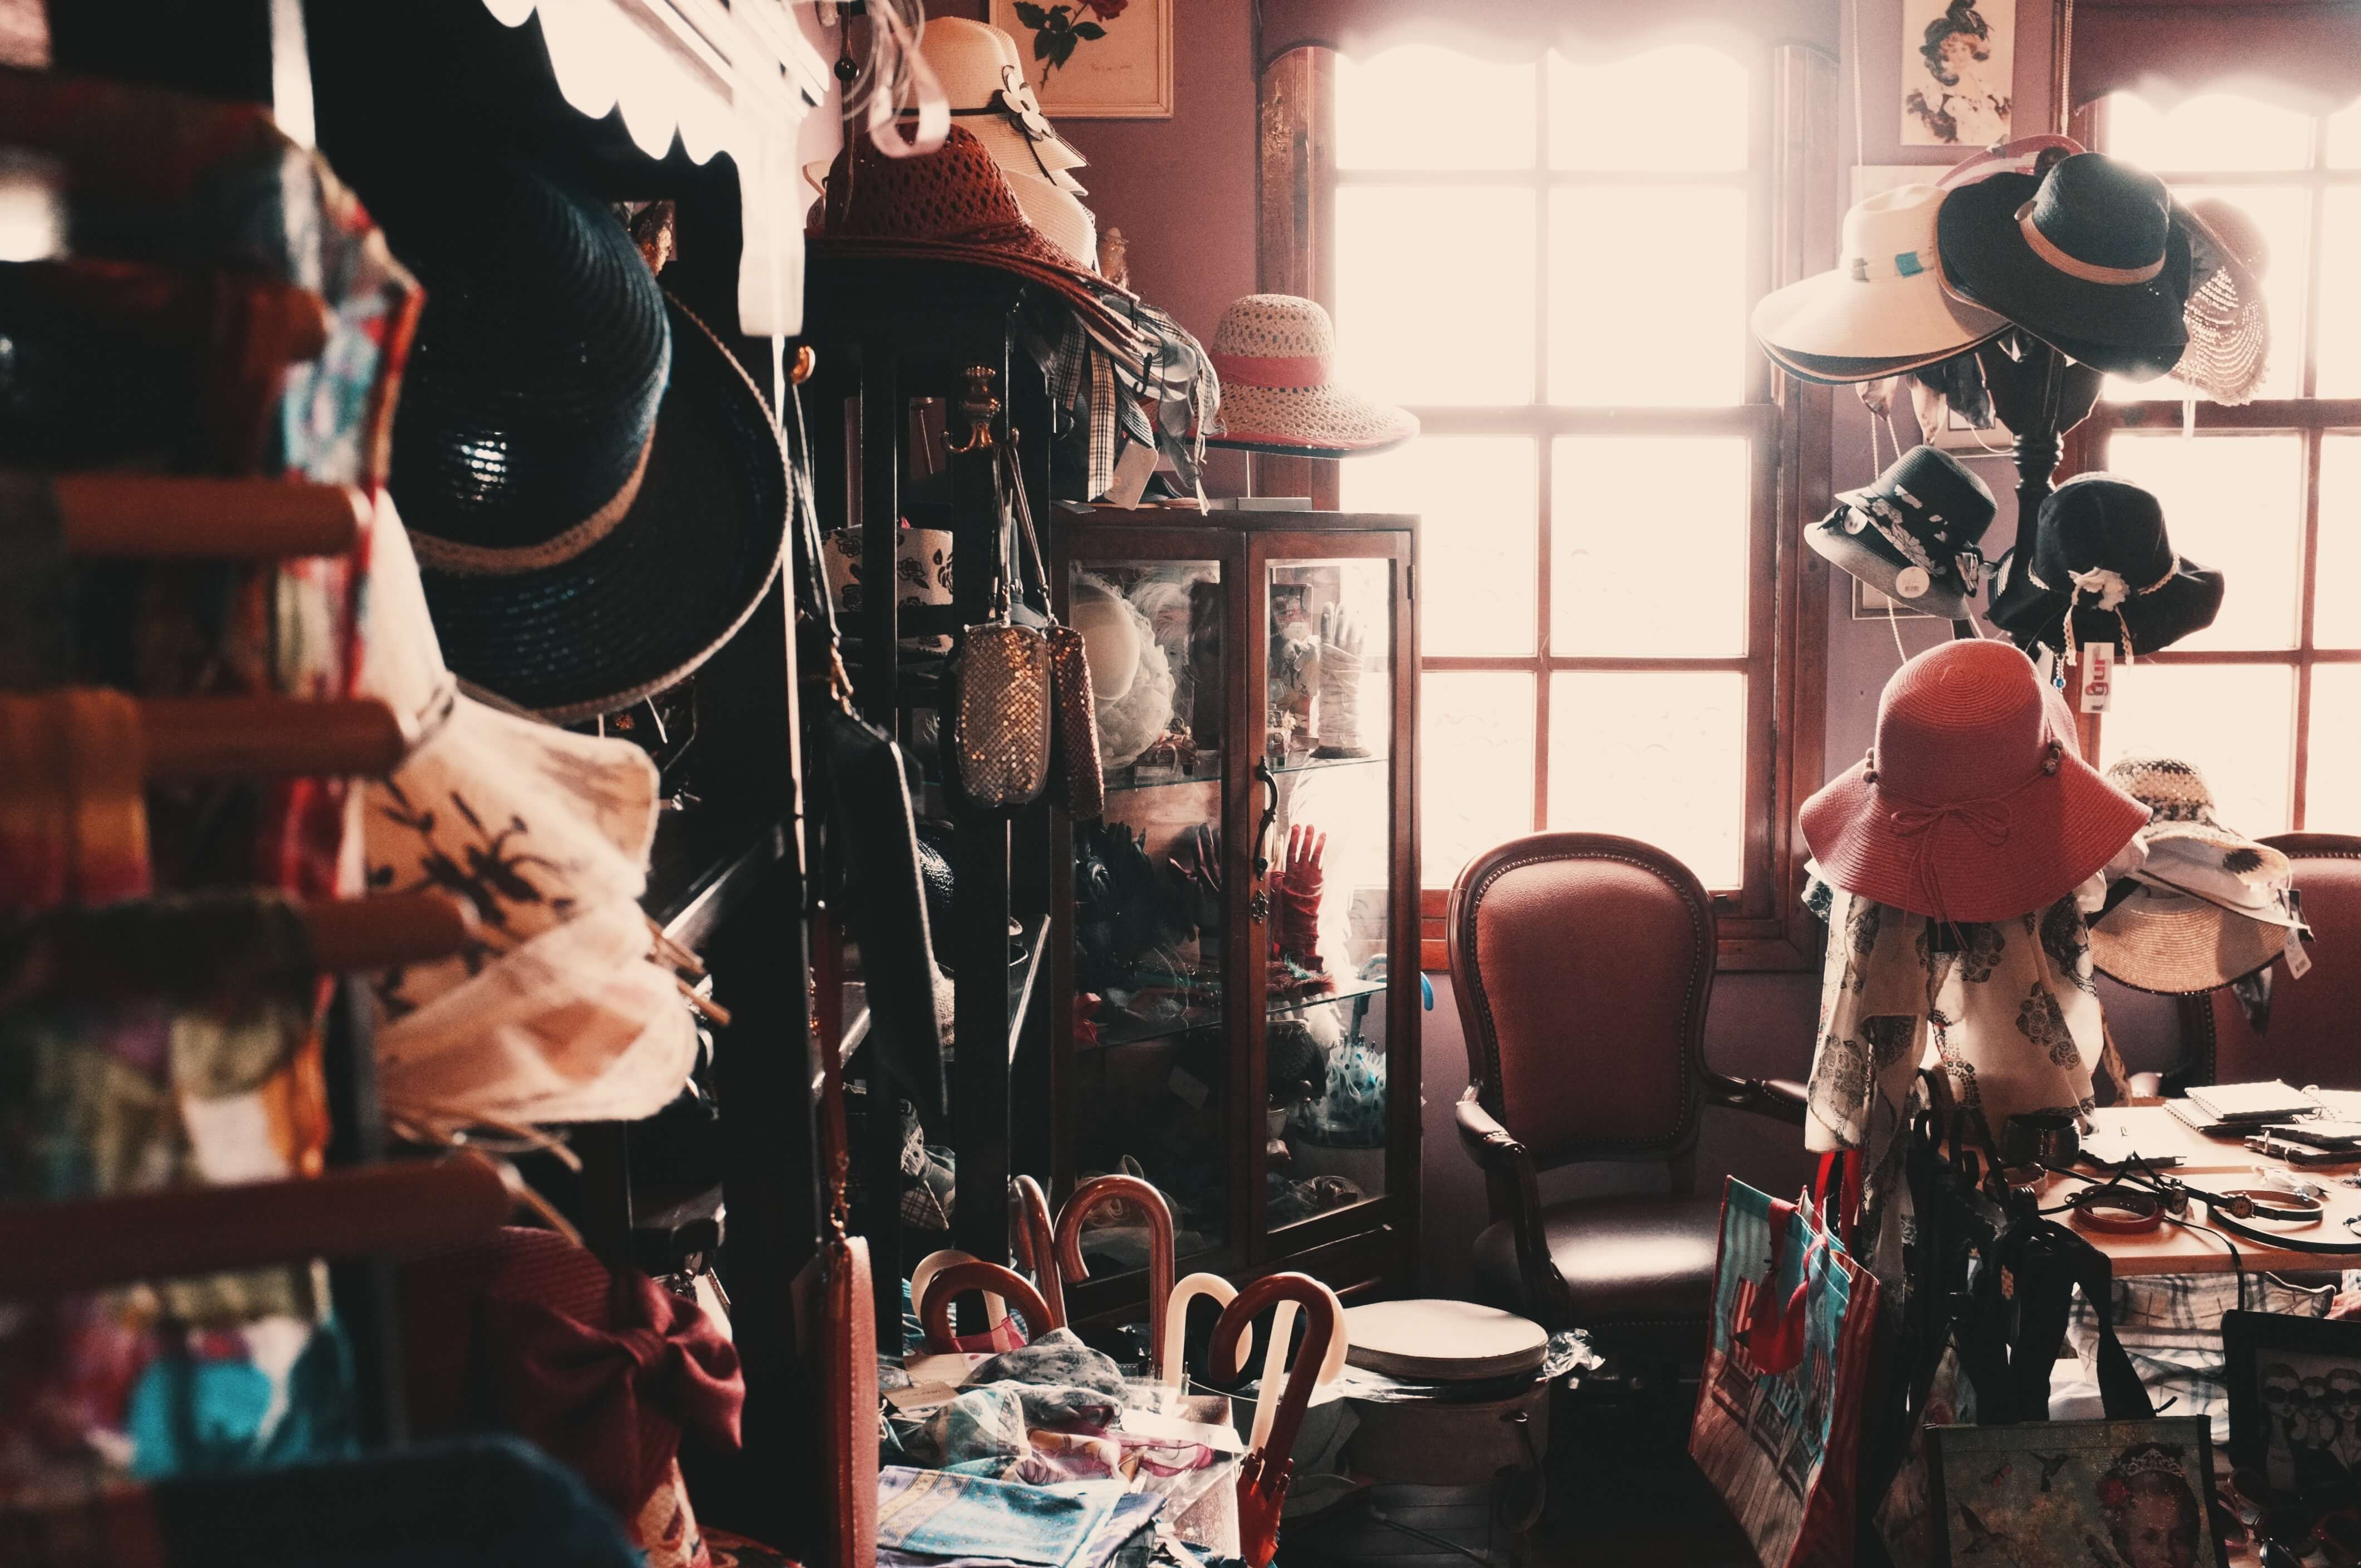
Thrift Stores
Some items simply don’t look good when they reach a certain age. Others go out of fashion, are passed down to unenthusiastic family members, or lose their spark. While these possessions may not appeal to their owners, they could catch your artistic eye. Clothing items like scarves, which may not look that beautiful on a neck anymore, can be turned into props and used as elegant backdrops, foregrounds, or materials for DIY projects. There’s no limit when it comes to the potential of used items like these.
Other things you might find in thrift stores are vintage gems ideal for conceptual photo shoots, interesting items of clothing, and materials you could use to create foregrounds/backgrounds. Such props may also inspire you to embrace photo manipulation; for example, obscure items like curtains can be transformed into mighty waves or extravagant gowns in Photoshop. If you’re a fan of editing, thrift stores will open a whole new world for you!
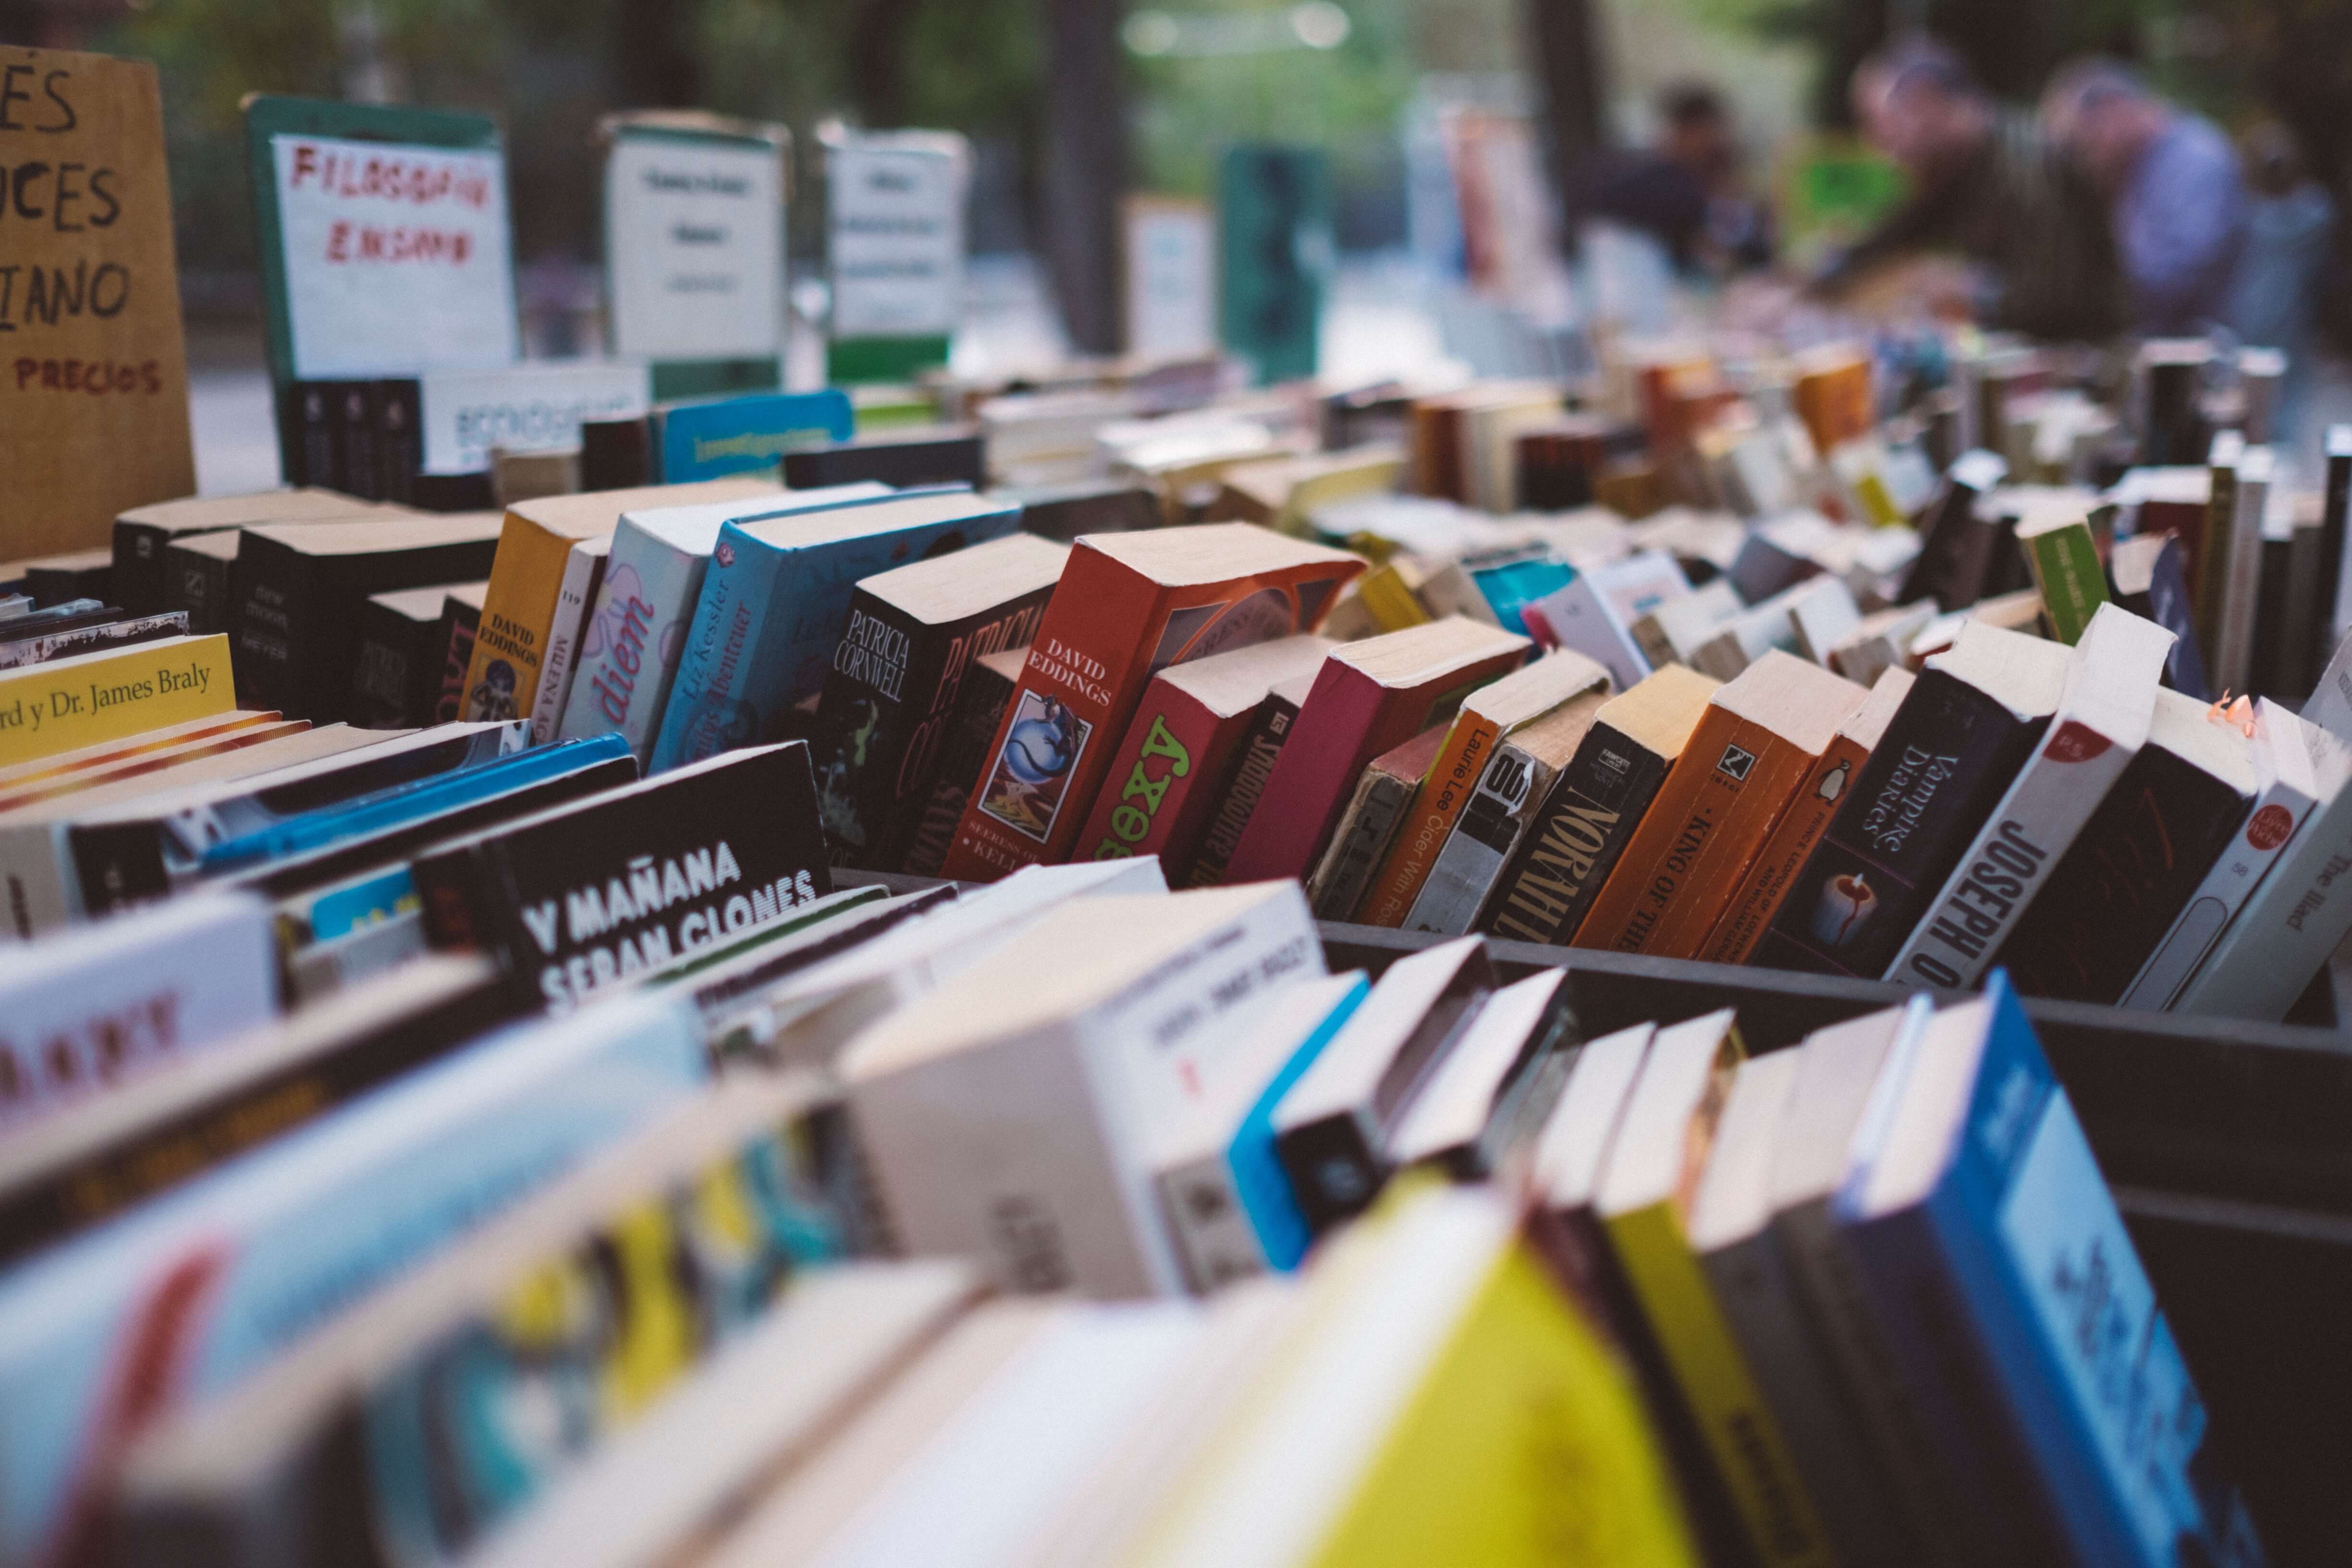
Second-Hand Bookstores and Libraries
Purchasing used books will open your mind, give you creative ideas, and encourage you to experiment with something new. A fictional character’s perseverance, for instance, may become a source of empowerment for you. If you’re into fiction, look for relatable stories and characters. Finding comfort in magical realism will provide you with an unquenchable thirst for meaningful photographs.
If you prefer non-fiction, keep an eye out for coffee tables books with inspiring visual references or how-to books related to art. These guides will teach you something new about your beloved hobby or simply give you the opportunity to find pure inspiration.
Online Stores
Websites like Amazon and eBay are filled with cheap props that can significantly improve your work. When you search for items, make sure you avoid products that might hurt you or damage your camera. Safe props include:
-
- Backdrops
- Wigs
- Costumes
- Accessories like glasses
The quirkier an item, the more striking your results will be!
![]()
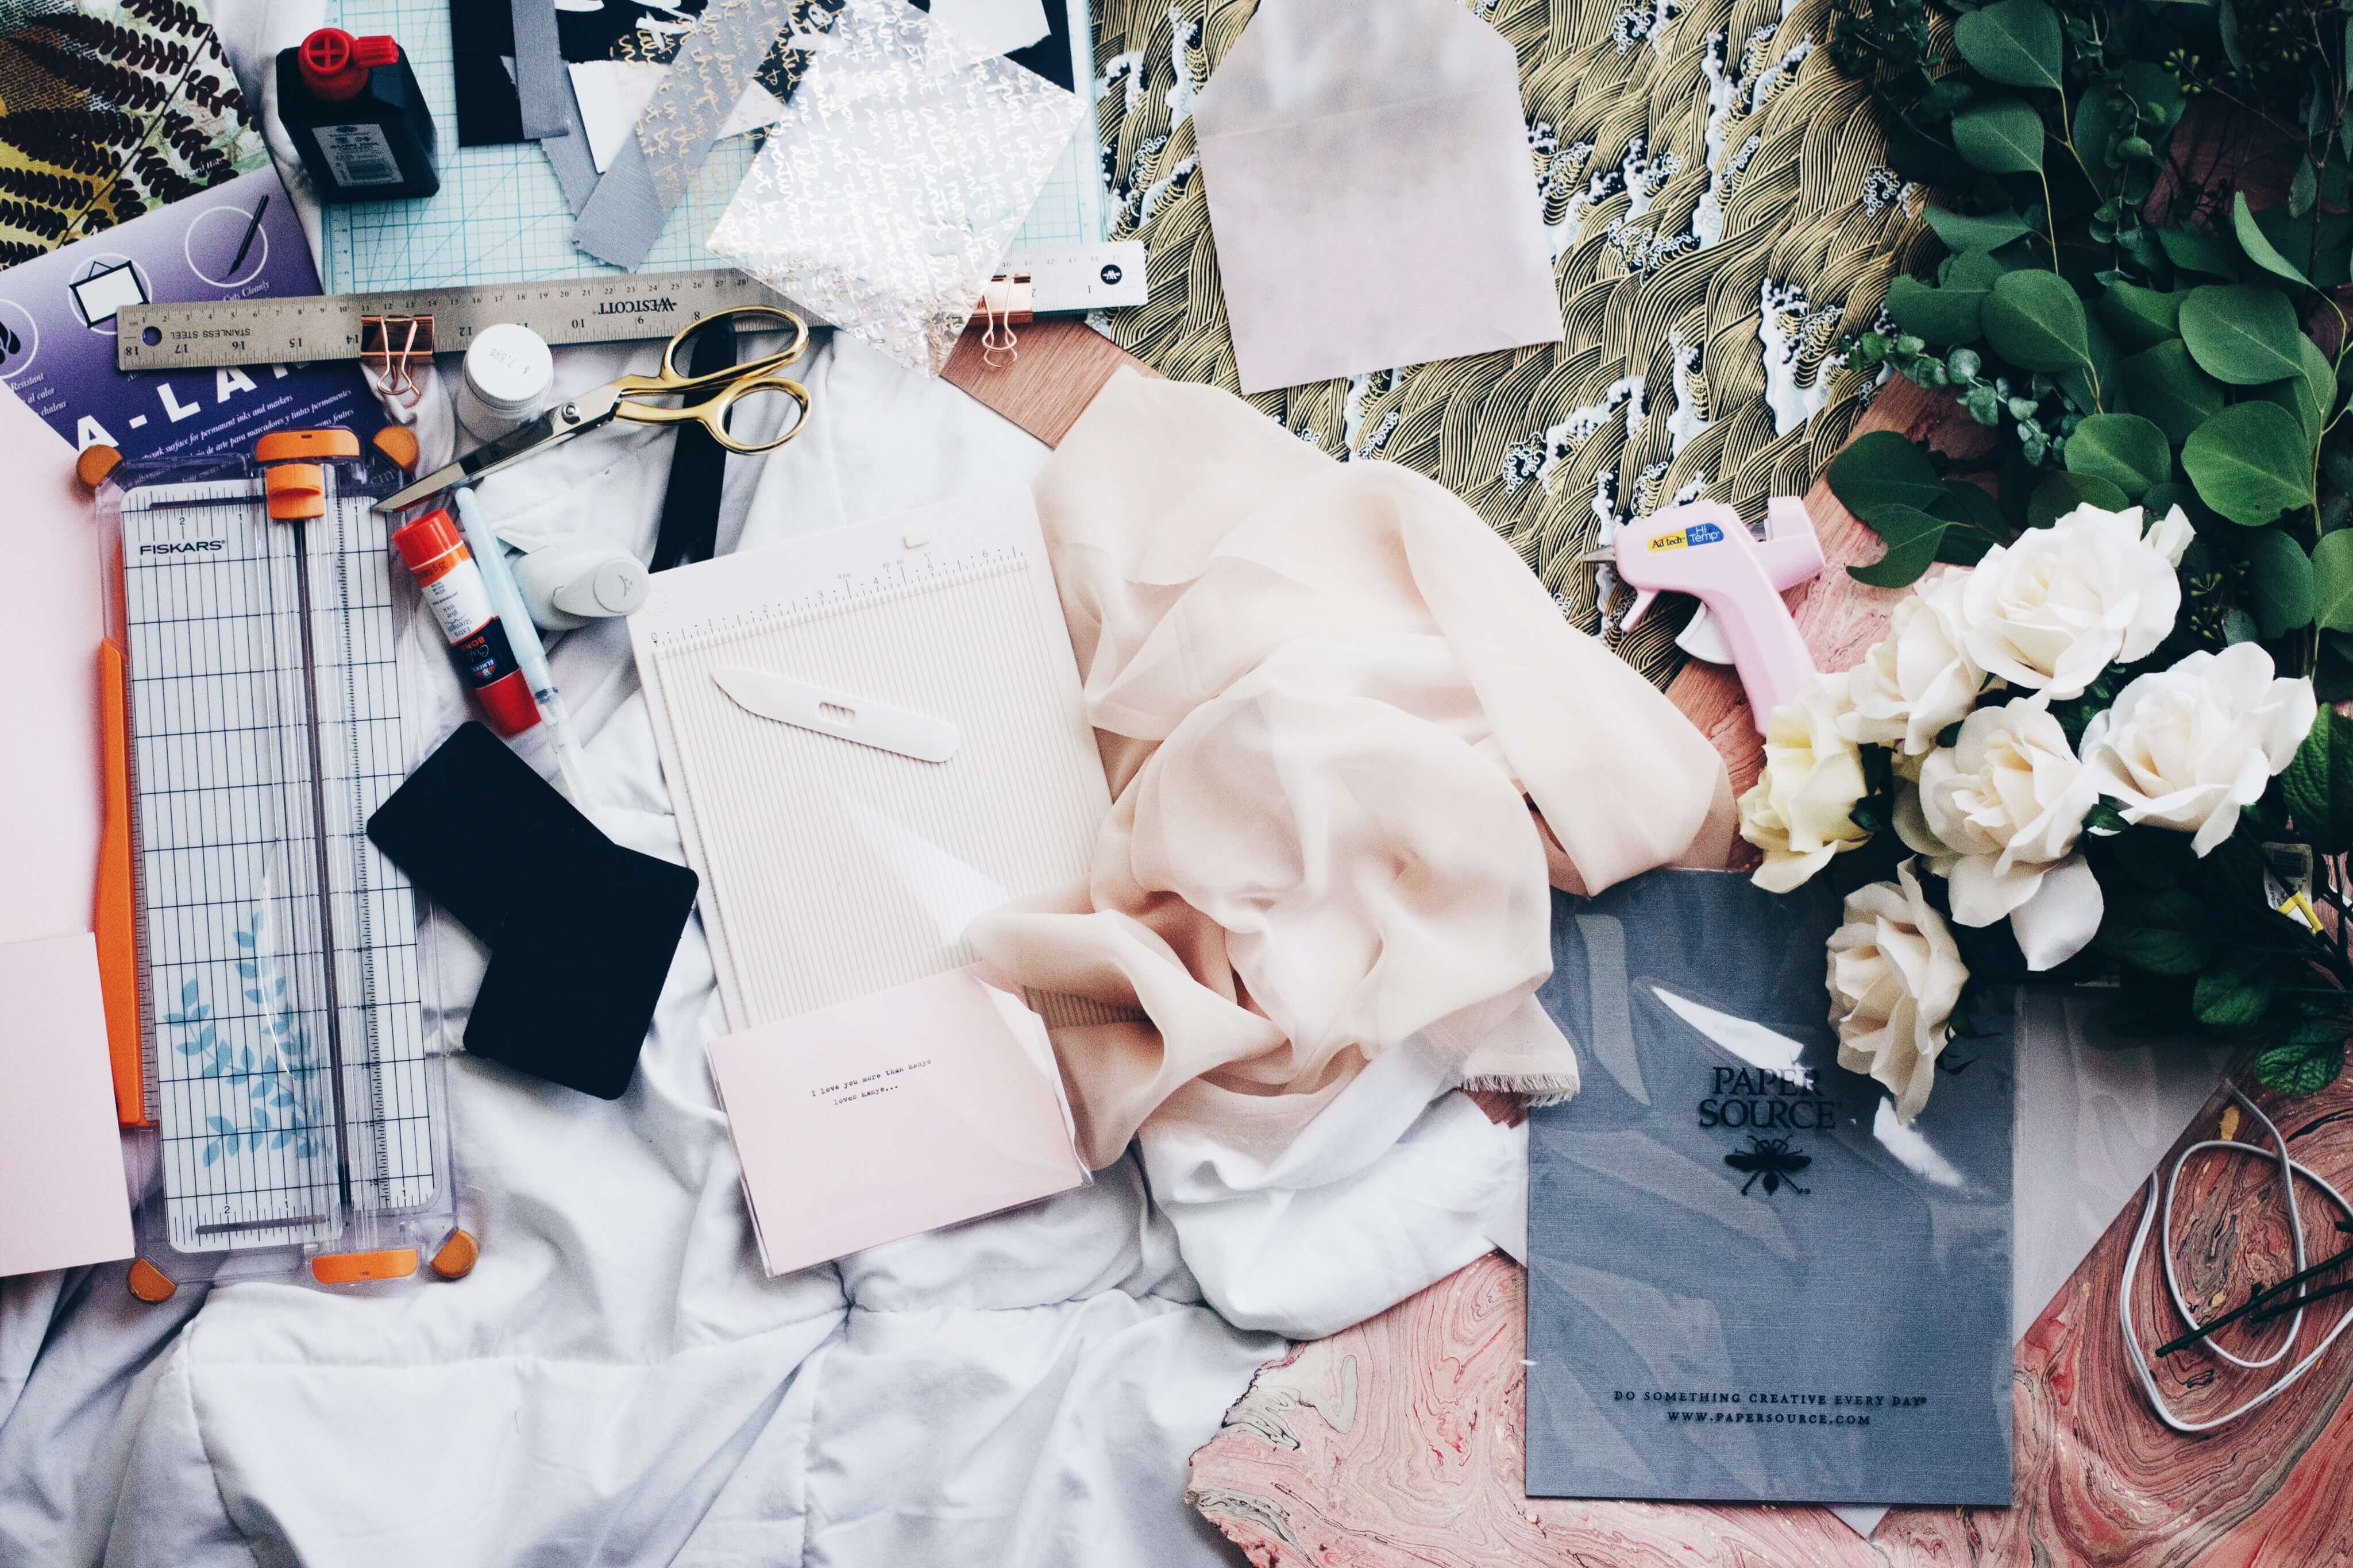
At Home
Confetti garlands, giant polaroid photo frames, flower crowns, chalk drawings, dreamy photo filters, and paper masks are all things you can make on your own. (If you have children, some of these DIY projects will keep them entertained and encourage them to pose for the camera!) DIY projects can be found almost anywhere online. The ideas are unique, affordable, and fun.
If you’re interested in any of these projects, let us know and we’ll make a separate tutorial for you! 🙂
Though investing in valuable photography equipment is necessary, you don’t have to do it all the time. Find used items, turn them into works of art, and show others how wonderfully creative you are. Once you’re happy with the results, donate your props; someone might find them just as inspiring and create incredible art of their own. It’s a beautifully organic process. Why not become a part of it today?


 Facebook
 Google +