Tag: portraiture

What to Do When Things Go Wrong During a Portrait Photo Shoot

Failure can’t always be avoided

. Crying children, uncomfortable models, and technical issues can all stop you from having a creatively fulfilling photoshoot. Even though people and situations are unpredictable, you can have control over what happens. There are things you can do to:

  • Fix any problem that occurs, no matter how impossible it may seem
  • Increase your model’s confidence because of your calmness during the incident
  • Attract more clients thanks to your problem-solving abilities

Below are five scenarios featuring different people and obstacles. Each scenario comes with a few solutions that will keep you grounded and make your subjects feel at home. With these tips in mind, you won’t have to panic the next time you bump into an intimidating problem. Just take a deep breath, remember what you learned, and act like the skilled photographer that you really are.
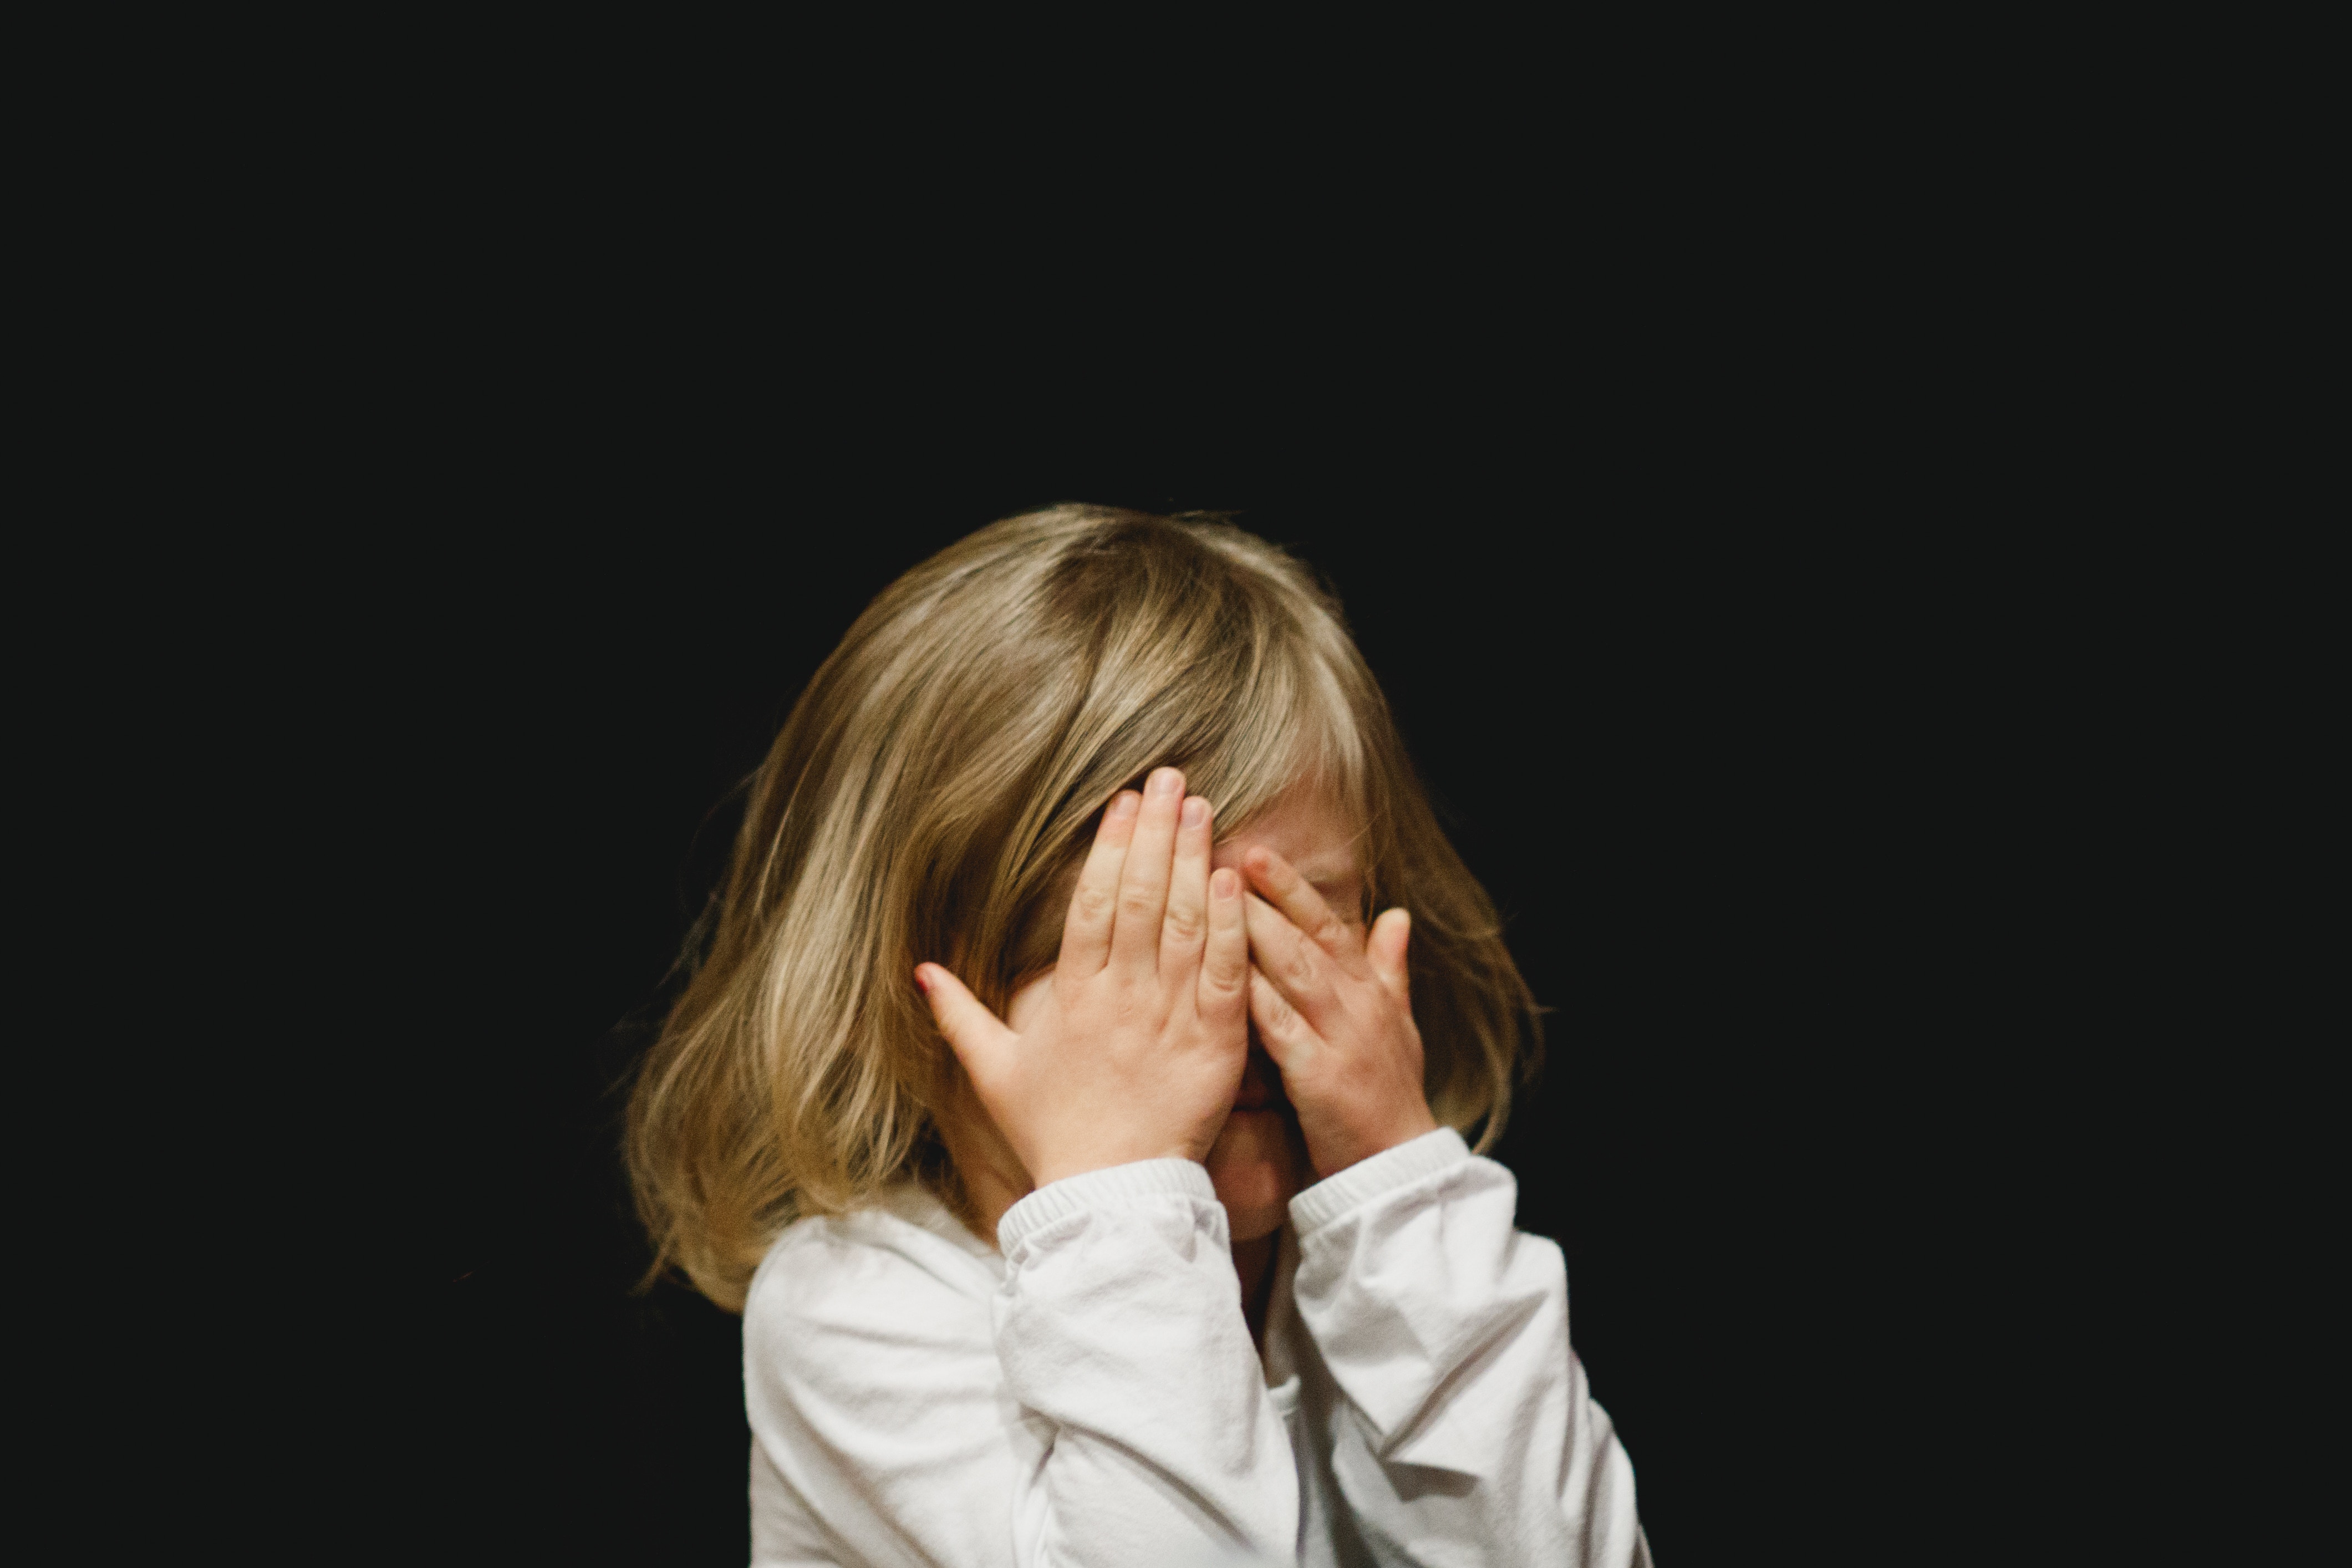
child hiding behind hands

Take a Break When the Kids Start to Cry

It’s easy for children to lose their patience, especially in the presence of a stranger. If your little model starts to cry or run around, don’t get frustrated. Most importantly, don’t show your frustration. Patience will clear your mind, allow you to find a solution quickly, and show your clients that you’re a tolerant photographer.

If your model is restless, let the entire family take a break. Even if this adds an extra hour to your session, it will be significantly better than continuing and getting highly unflattering results. Once everyone has relaxed (talking and eating always help!) you can safely continue your shoot. If you want to be very hospitable, have a few goodies ready for when your models get tired. They’ll appreciate your thoughtfulness.
two girls covered in blankets laughing outside

When Your Model Looks Uncomfortable, Be Supportive

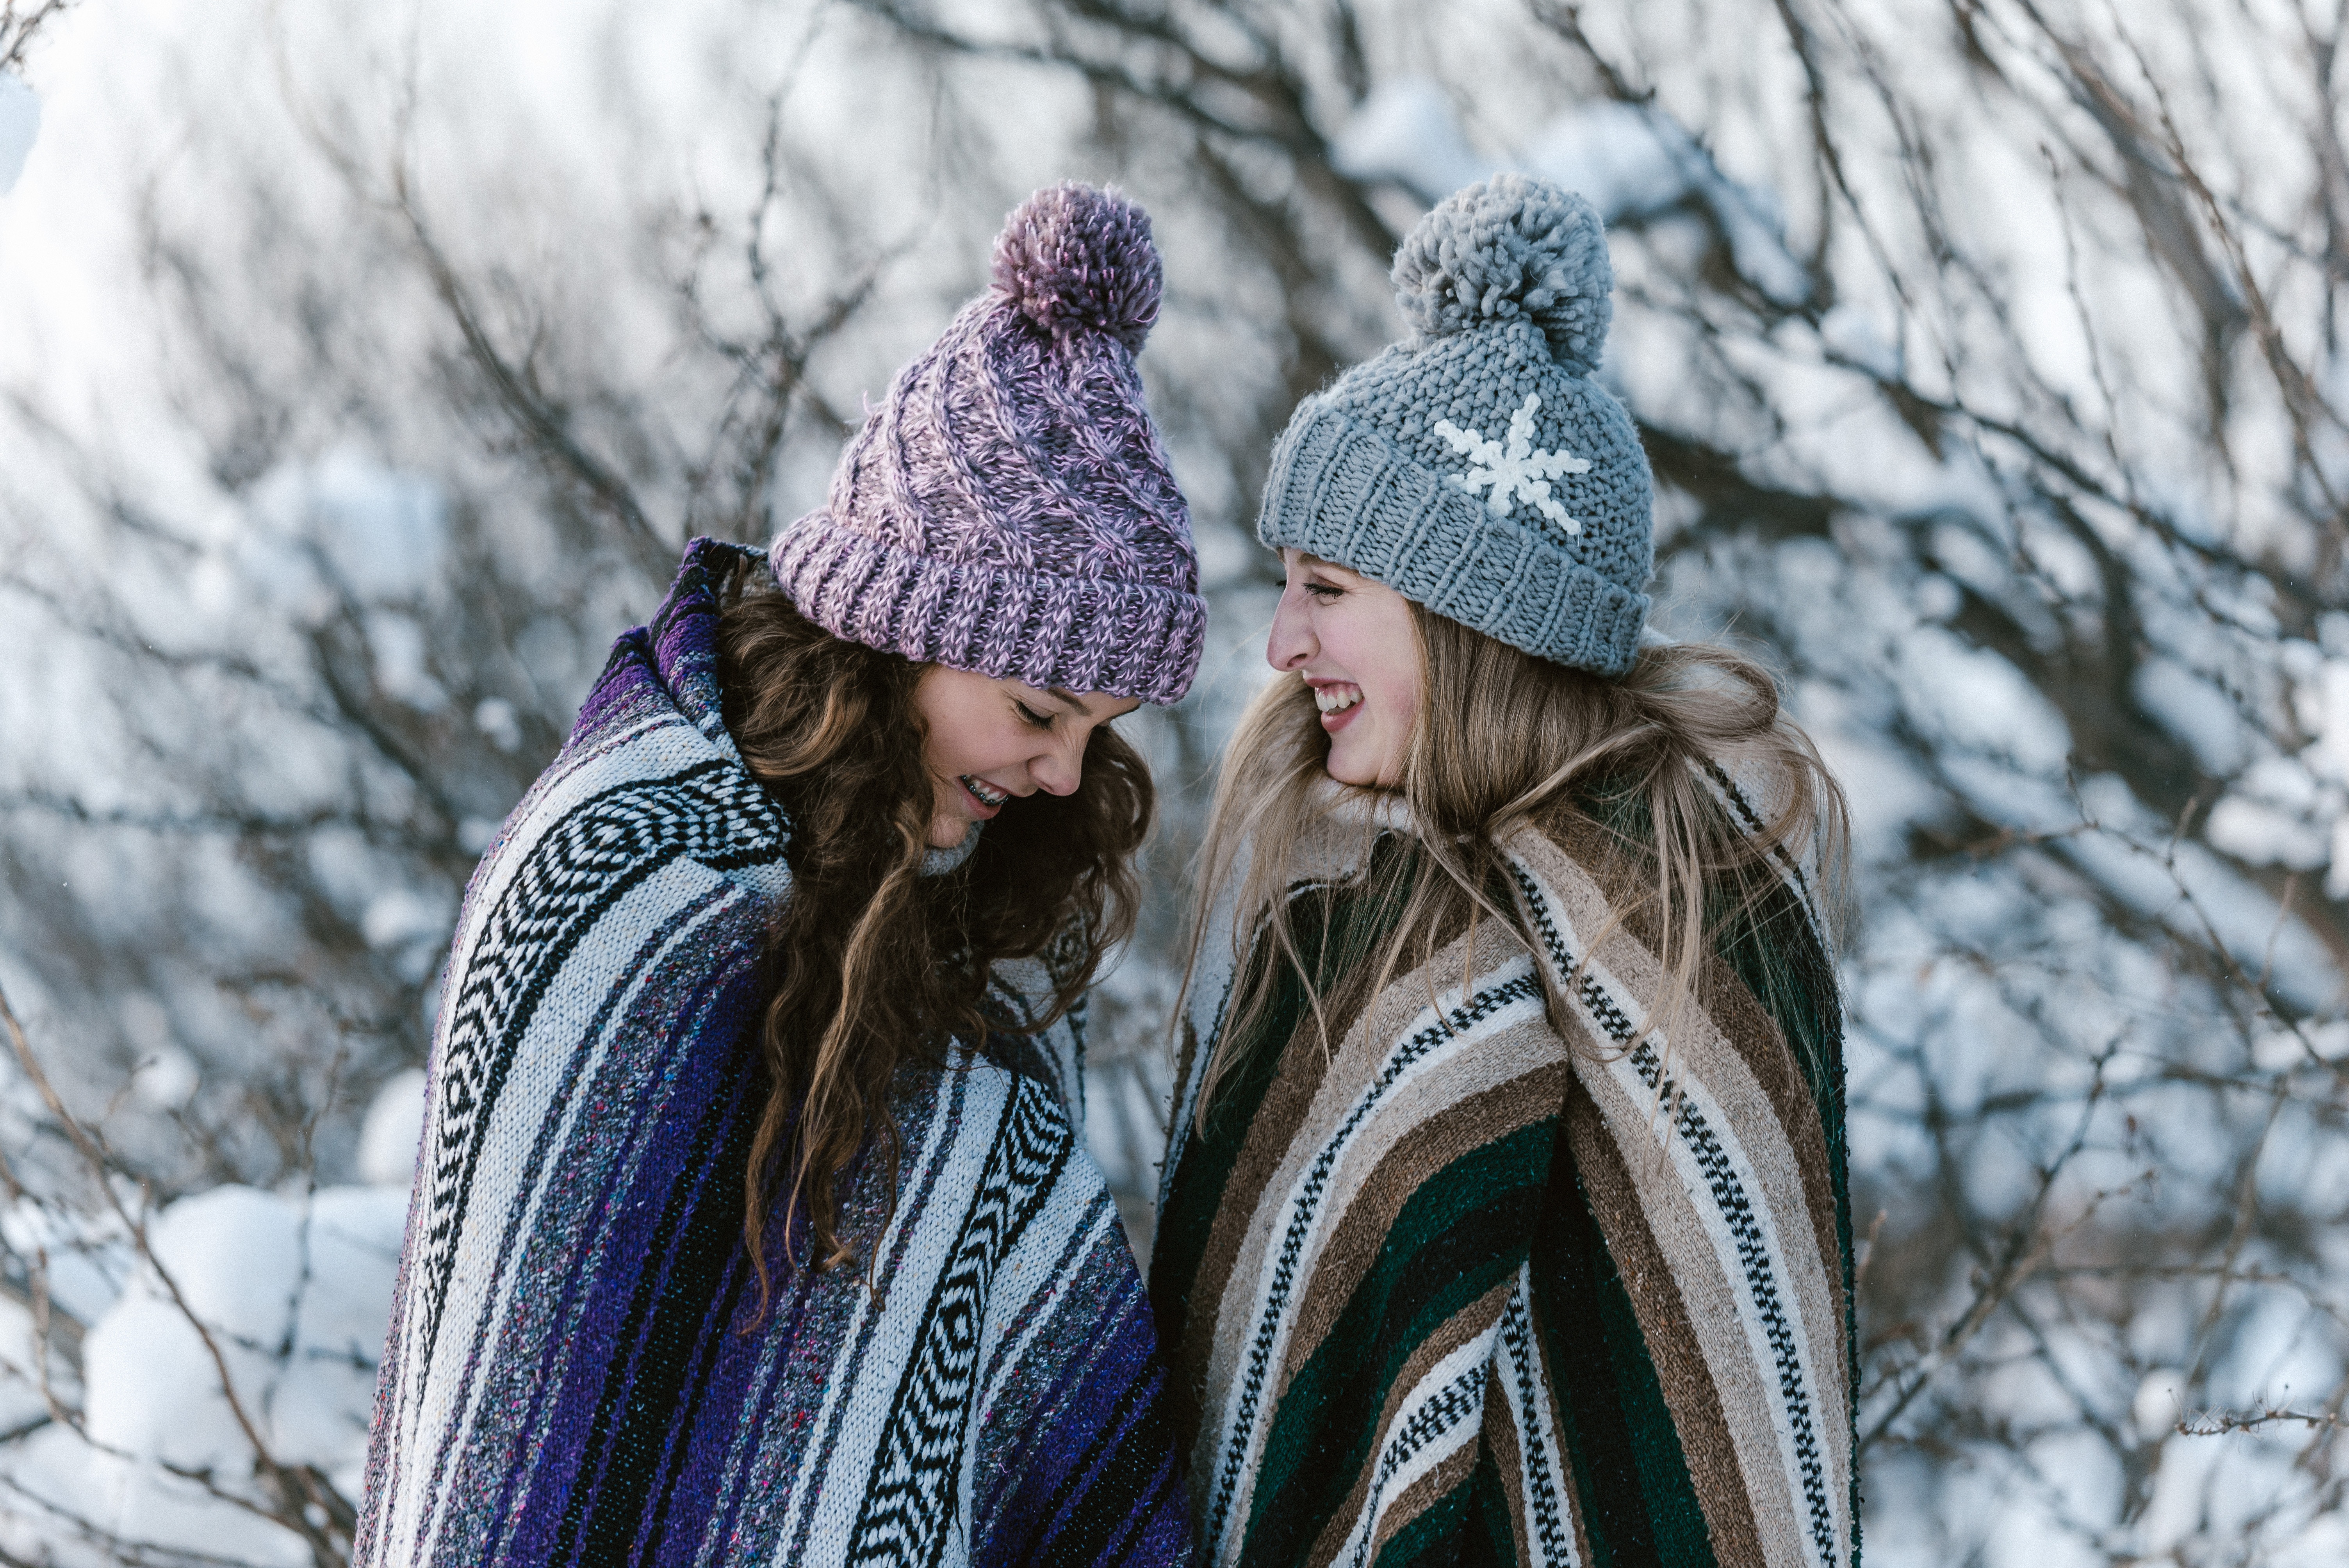
Feeling left out and incompetent can immediately ruin anyone’s self-confidence. To solve this problem, be open about your past experiences. Make sure your subject feels like a normal individual worthy of being photographed. Don’t let your models bring themselves down. Don’t make it seem like perfection is attainable. What you want is for them to feel their best. Once they do, everything else will fall into place.

Be kind, share funny experiences from the past, try to make them smile, and let them know that making mistakes is okay! If they get the idea that you won’t lose your temper every time they strike the wrong pose, you’ll gain their trust and boost their confidence.
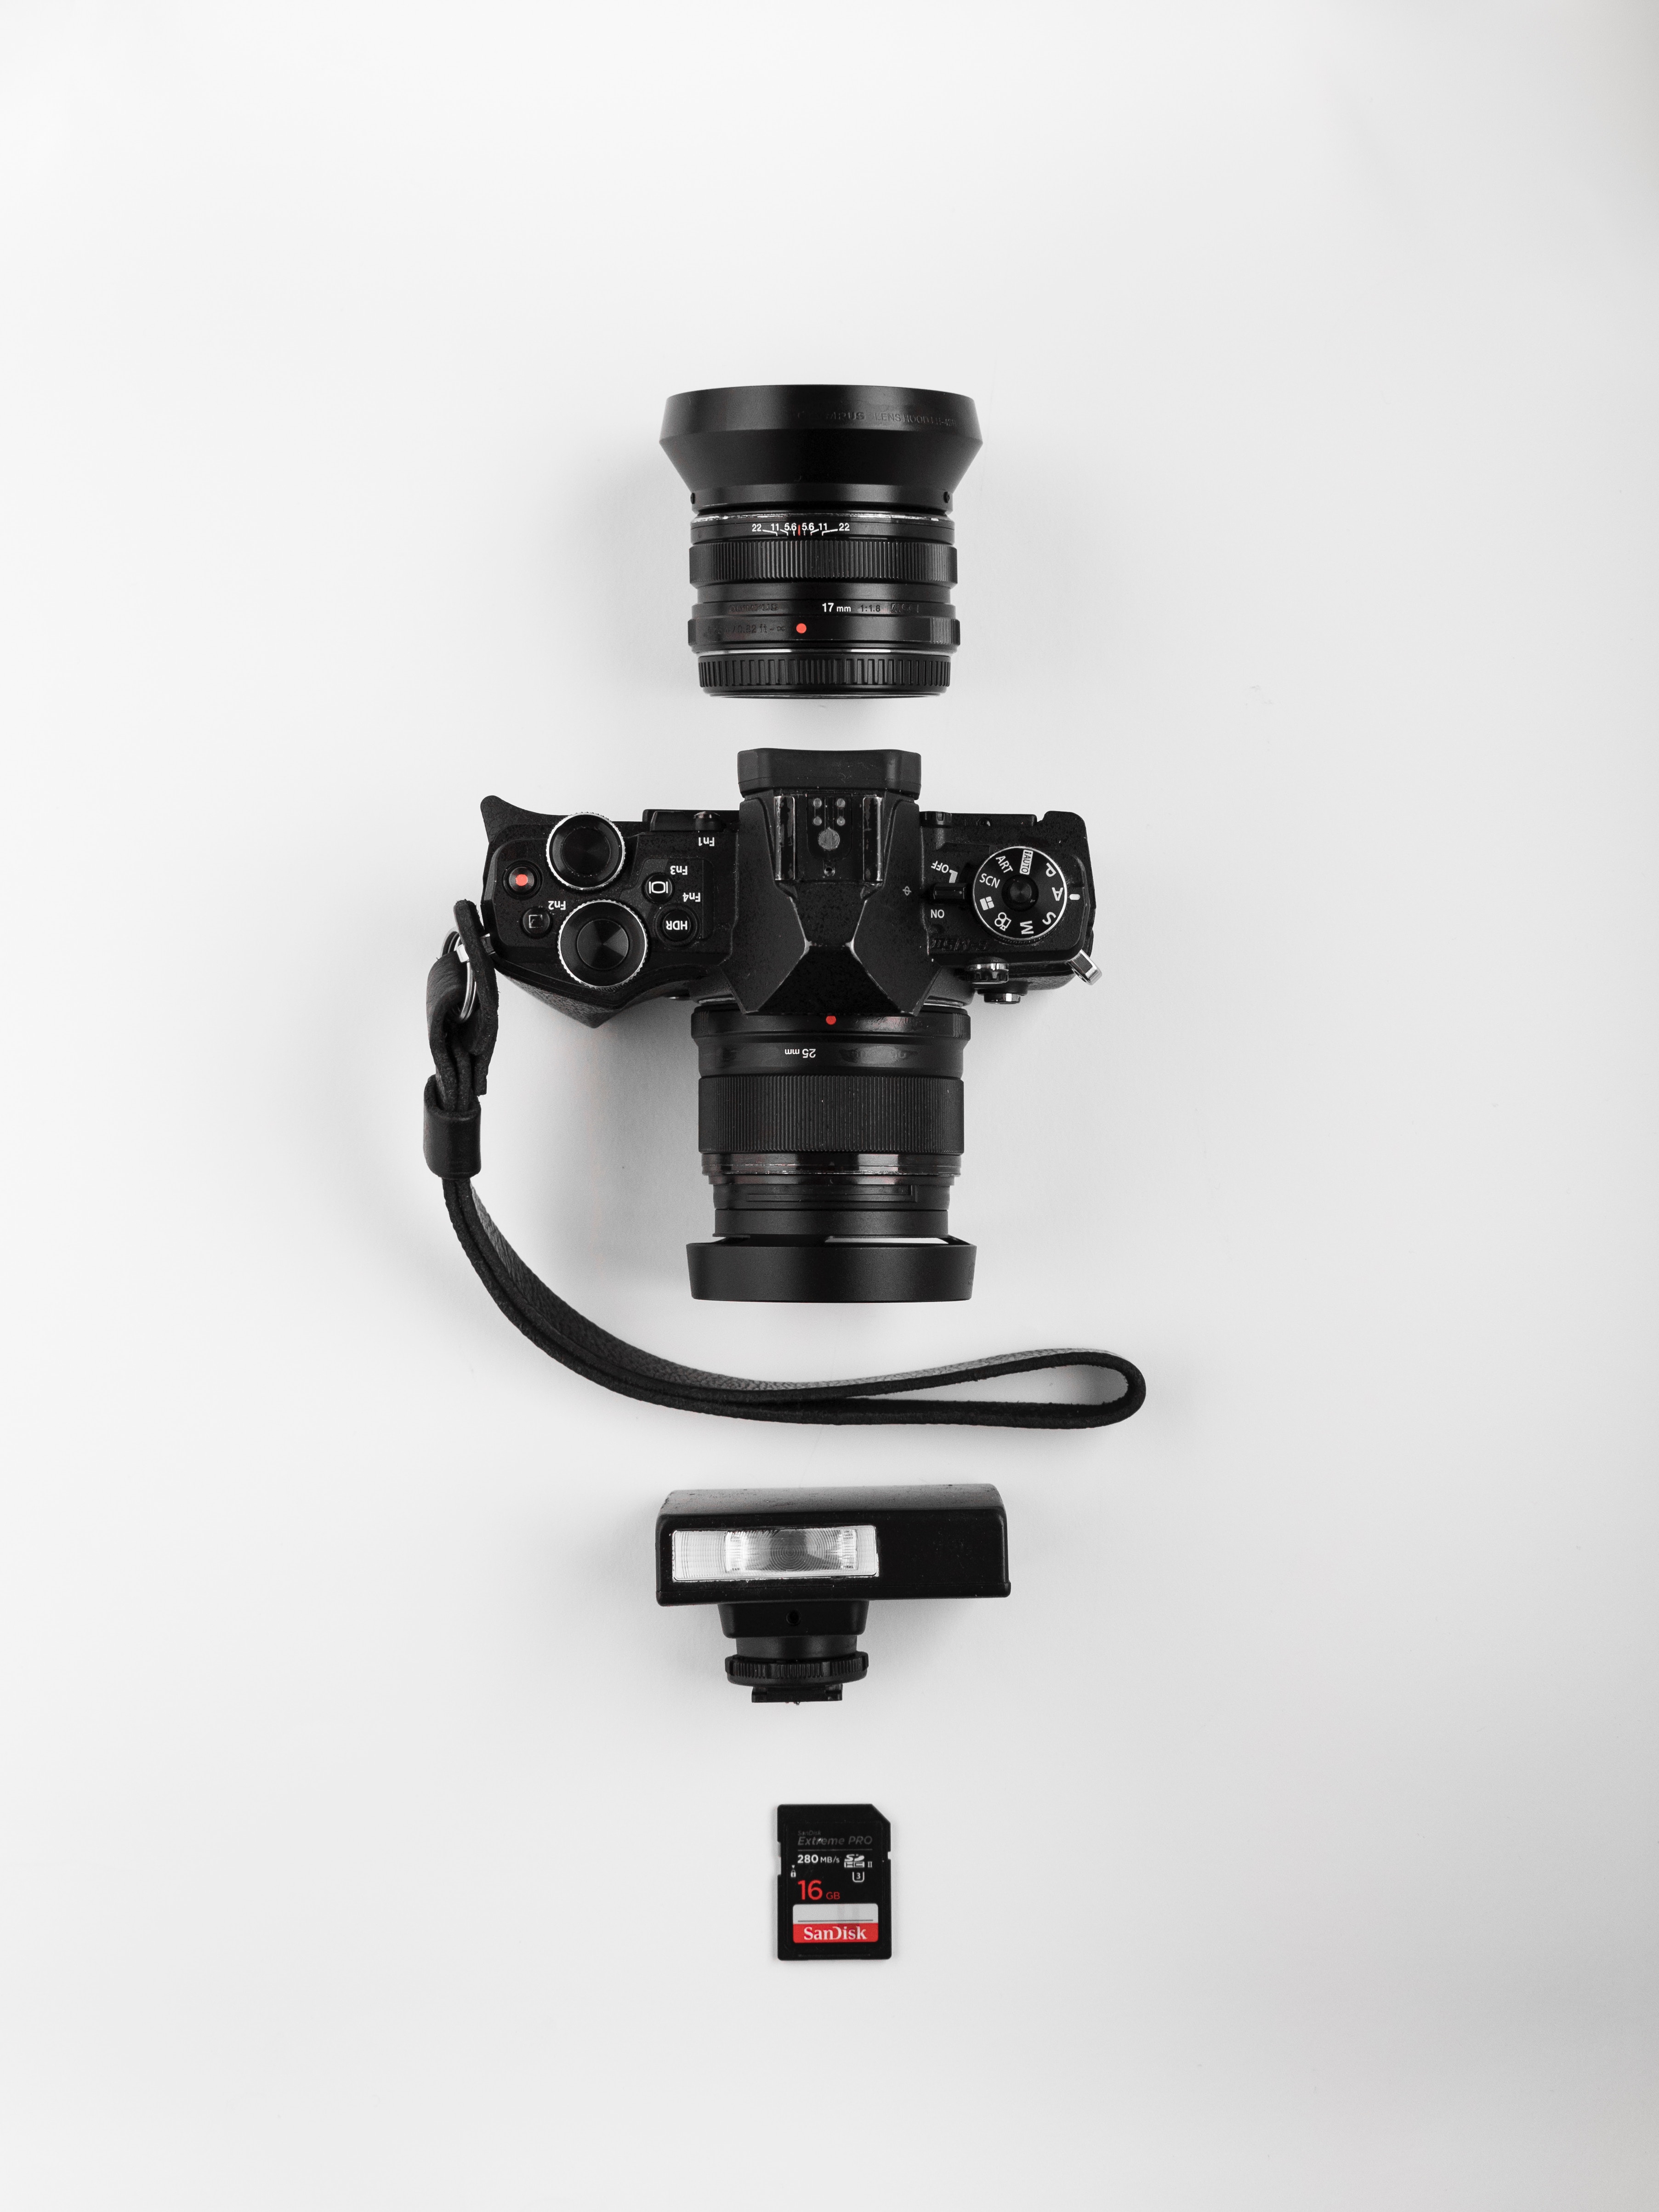
photography equipment flatlay

When There’s a Technical Issue, Make Sure You Have Backup Gear

Many wedding photographers stick to this rule like their lives depend on it. Without backup gear, a full-day shoot can turn into a photographer’s worst nightmare. Here are a few things you should have (in addition to your main equipment) in case something breaks:

    • Camera body
    • Batteries
    • Lenses
    • Lens filters
    • Memory cards

If you’d like to find out more about backup gear, check out this article.
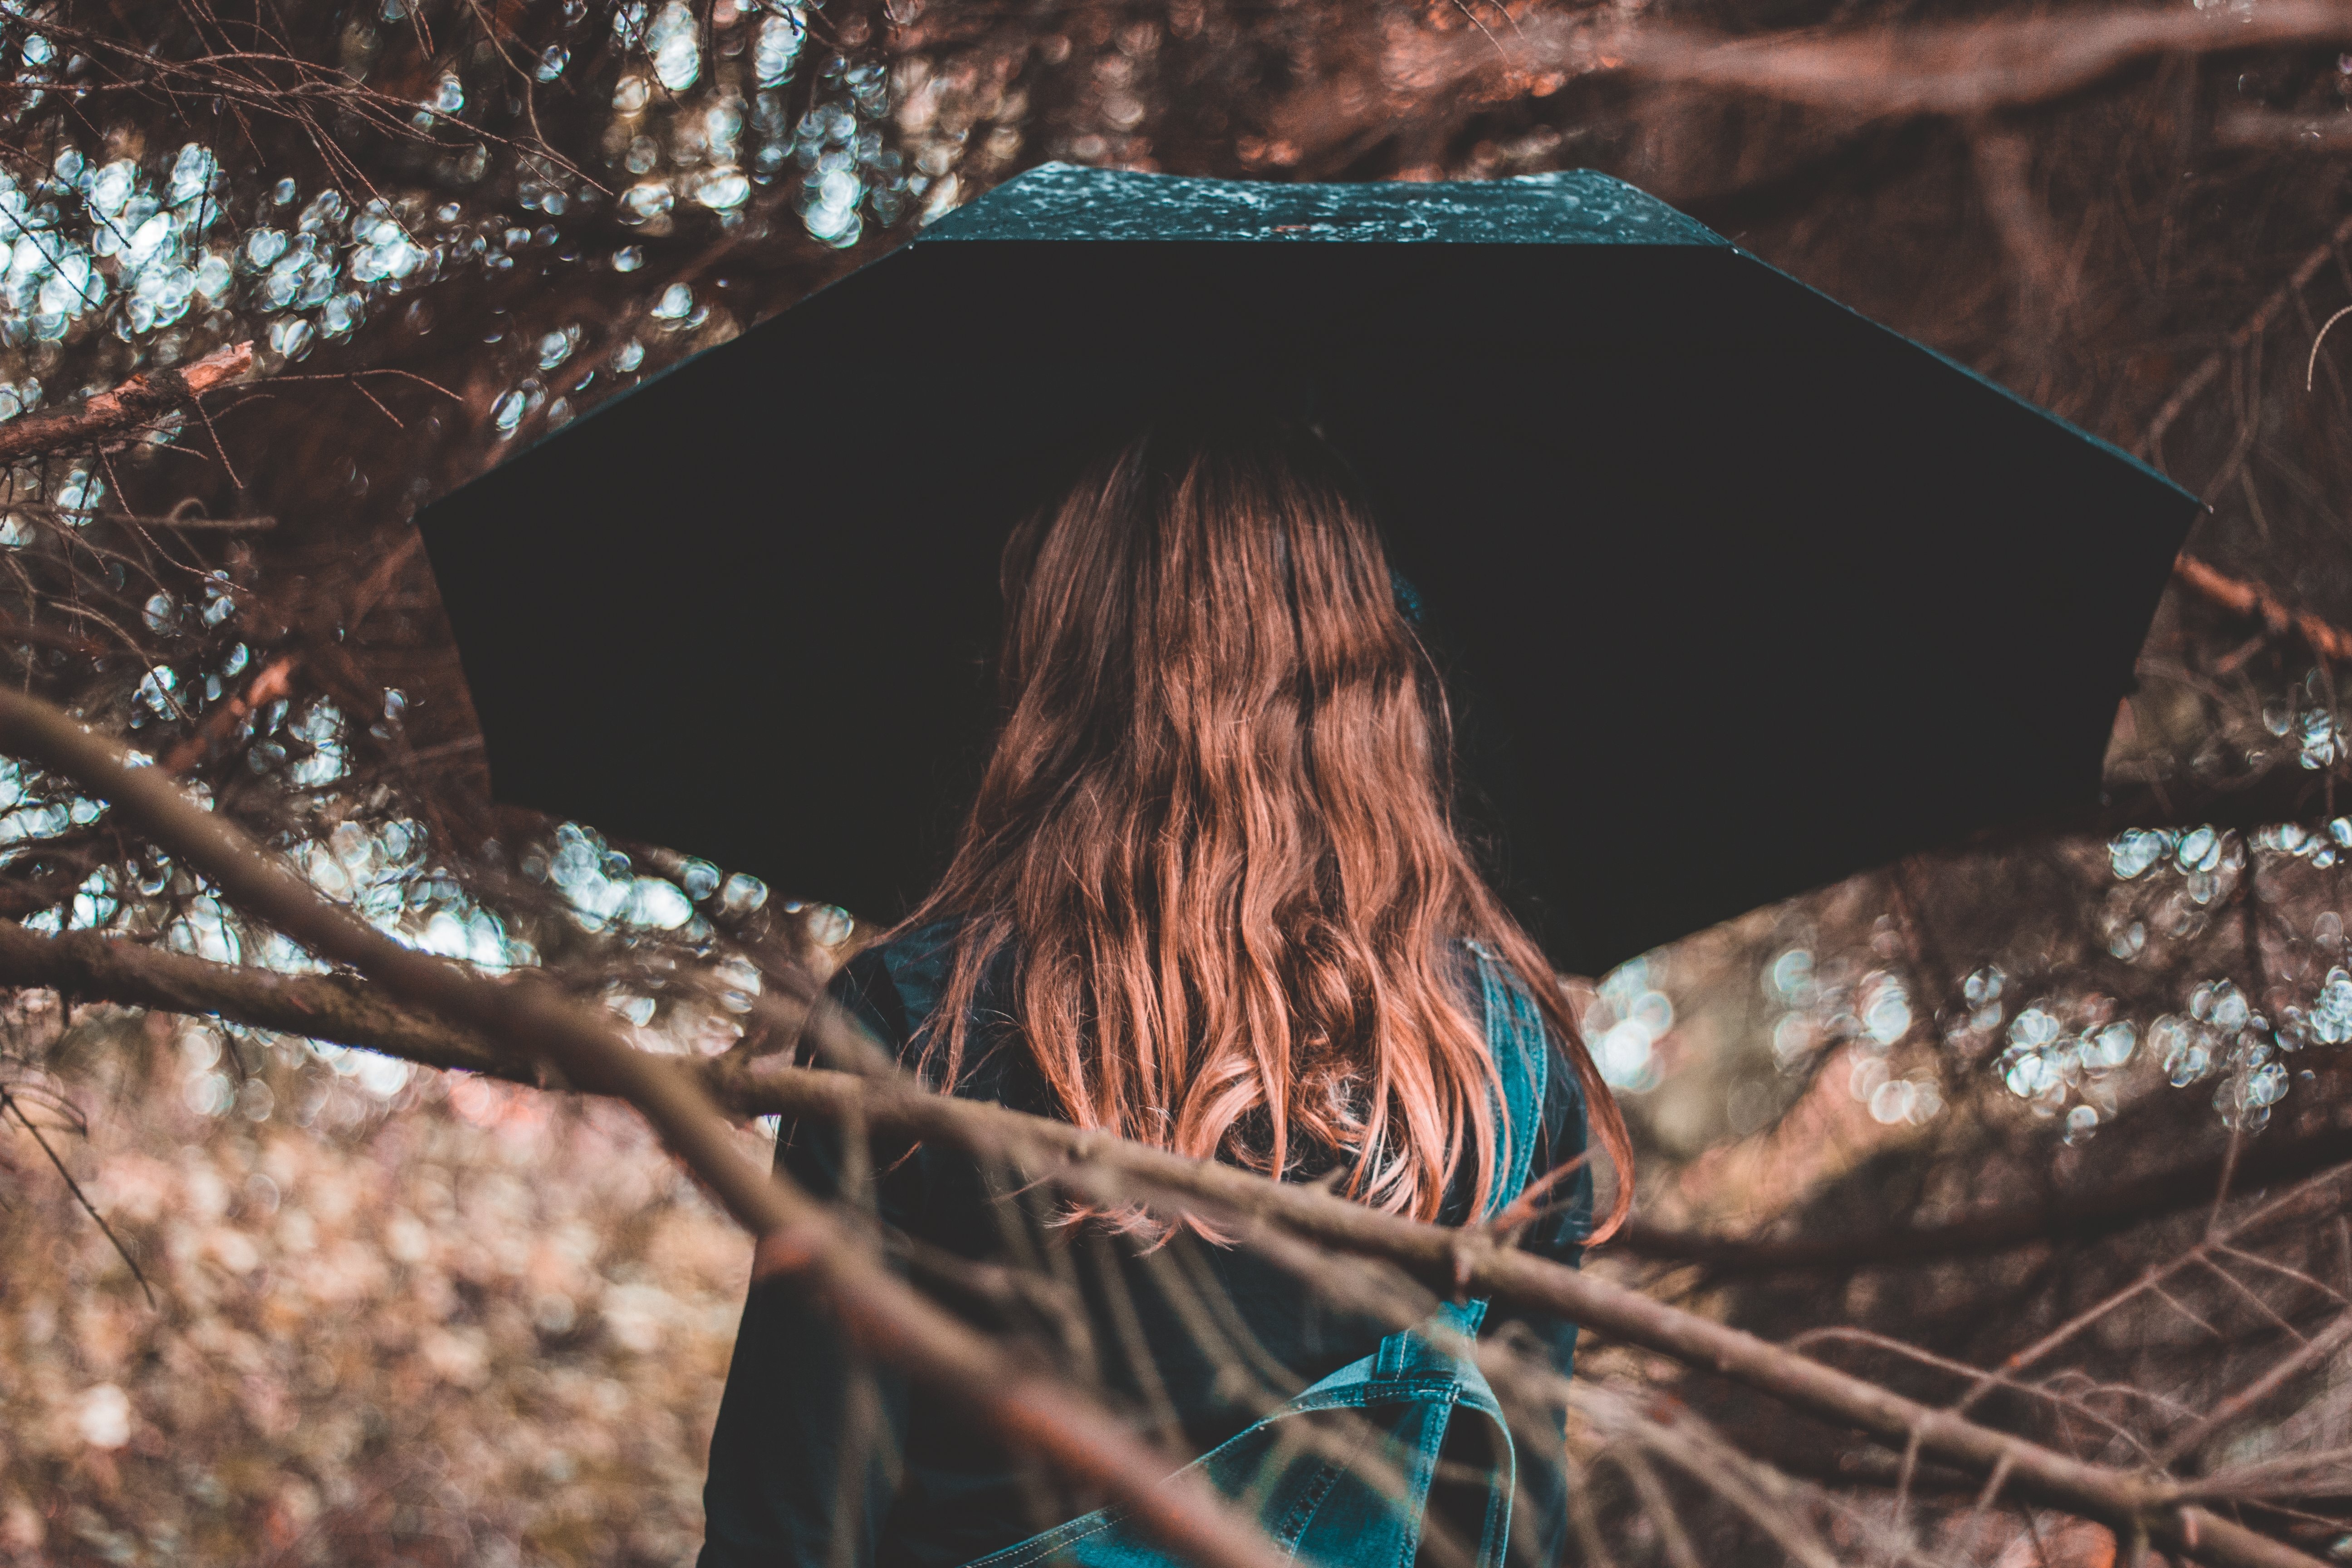
girl holding an umbrella

Prepare Lighting Equipment in Case the Weather Gets Bad

Make sure you check the weather forecast before you plan a shoot. If the weather isn’t promising and you can’t afford to postpone your shoot, bring an umbrella and a reflector to the location. An umbrella will keep you, your equipment, and your clients dry during an unexpected storm; a reflector will enhance your subjects’ faces on an overcast day.

In addition to bringing helpful equipment, make sure there’s a building nearby where you could stay during a storm. The last thing you want is to make your clients feel unsafe. Knowing what to do and where to go will save you from a lot of unnecessary misunderstandings in the future.
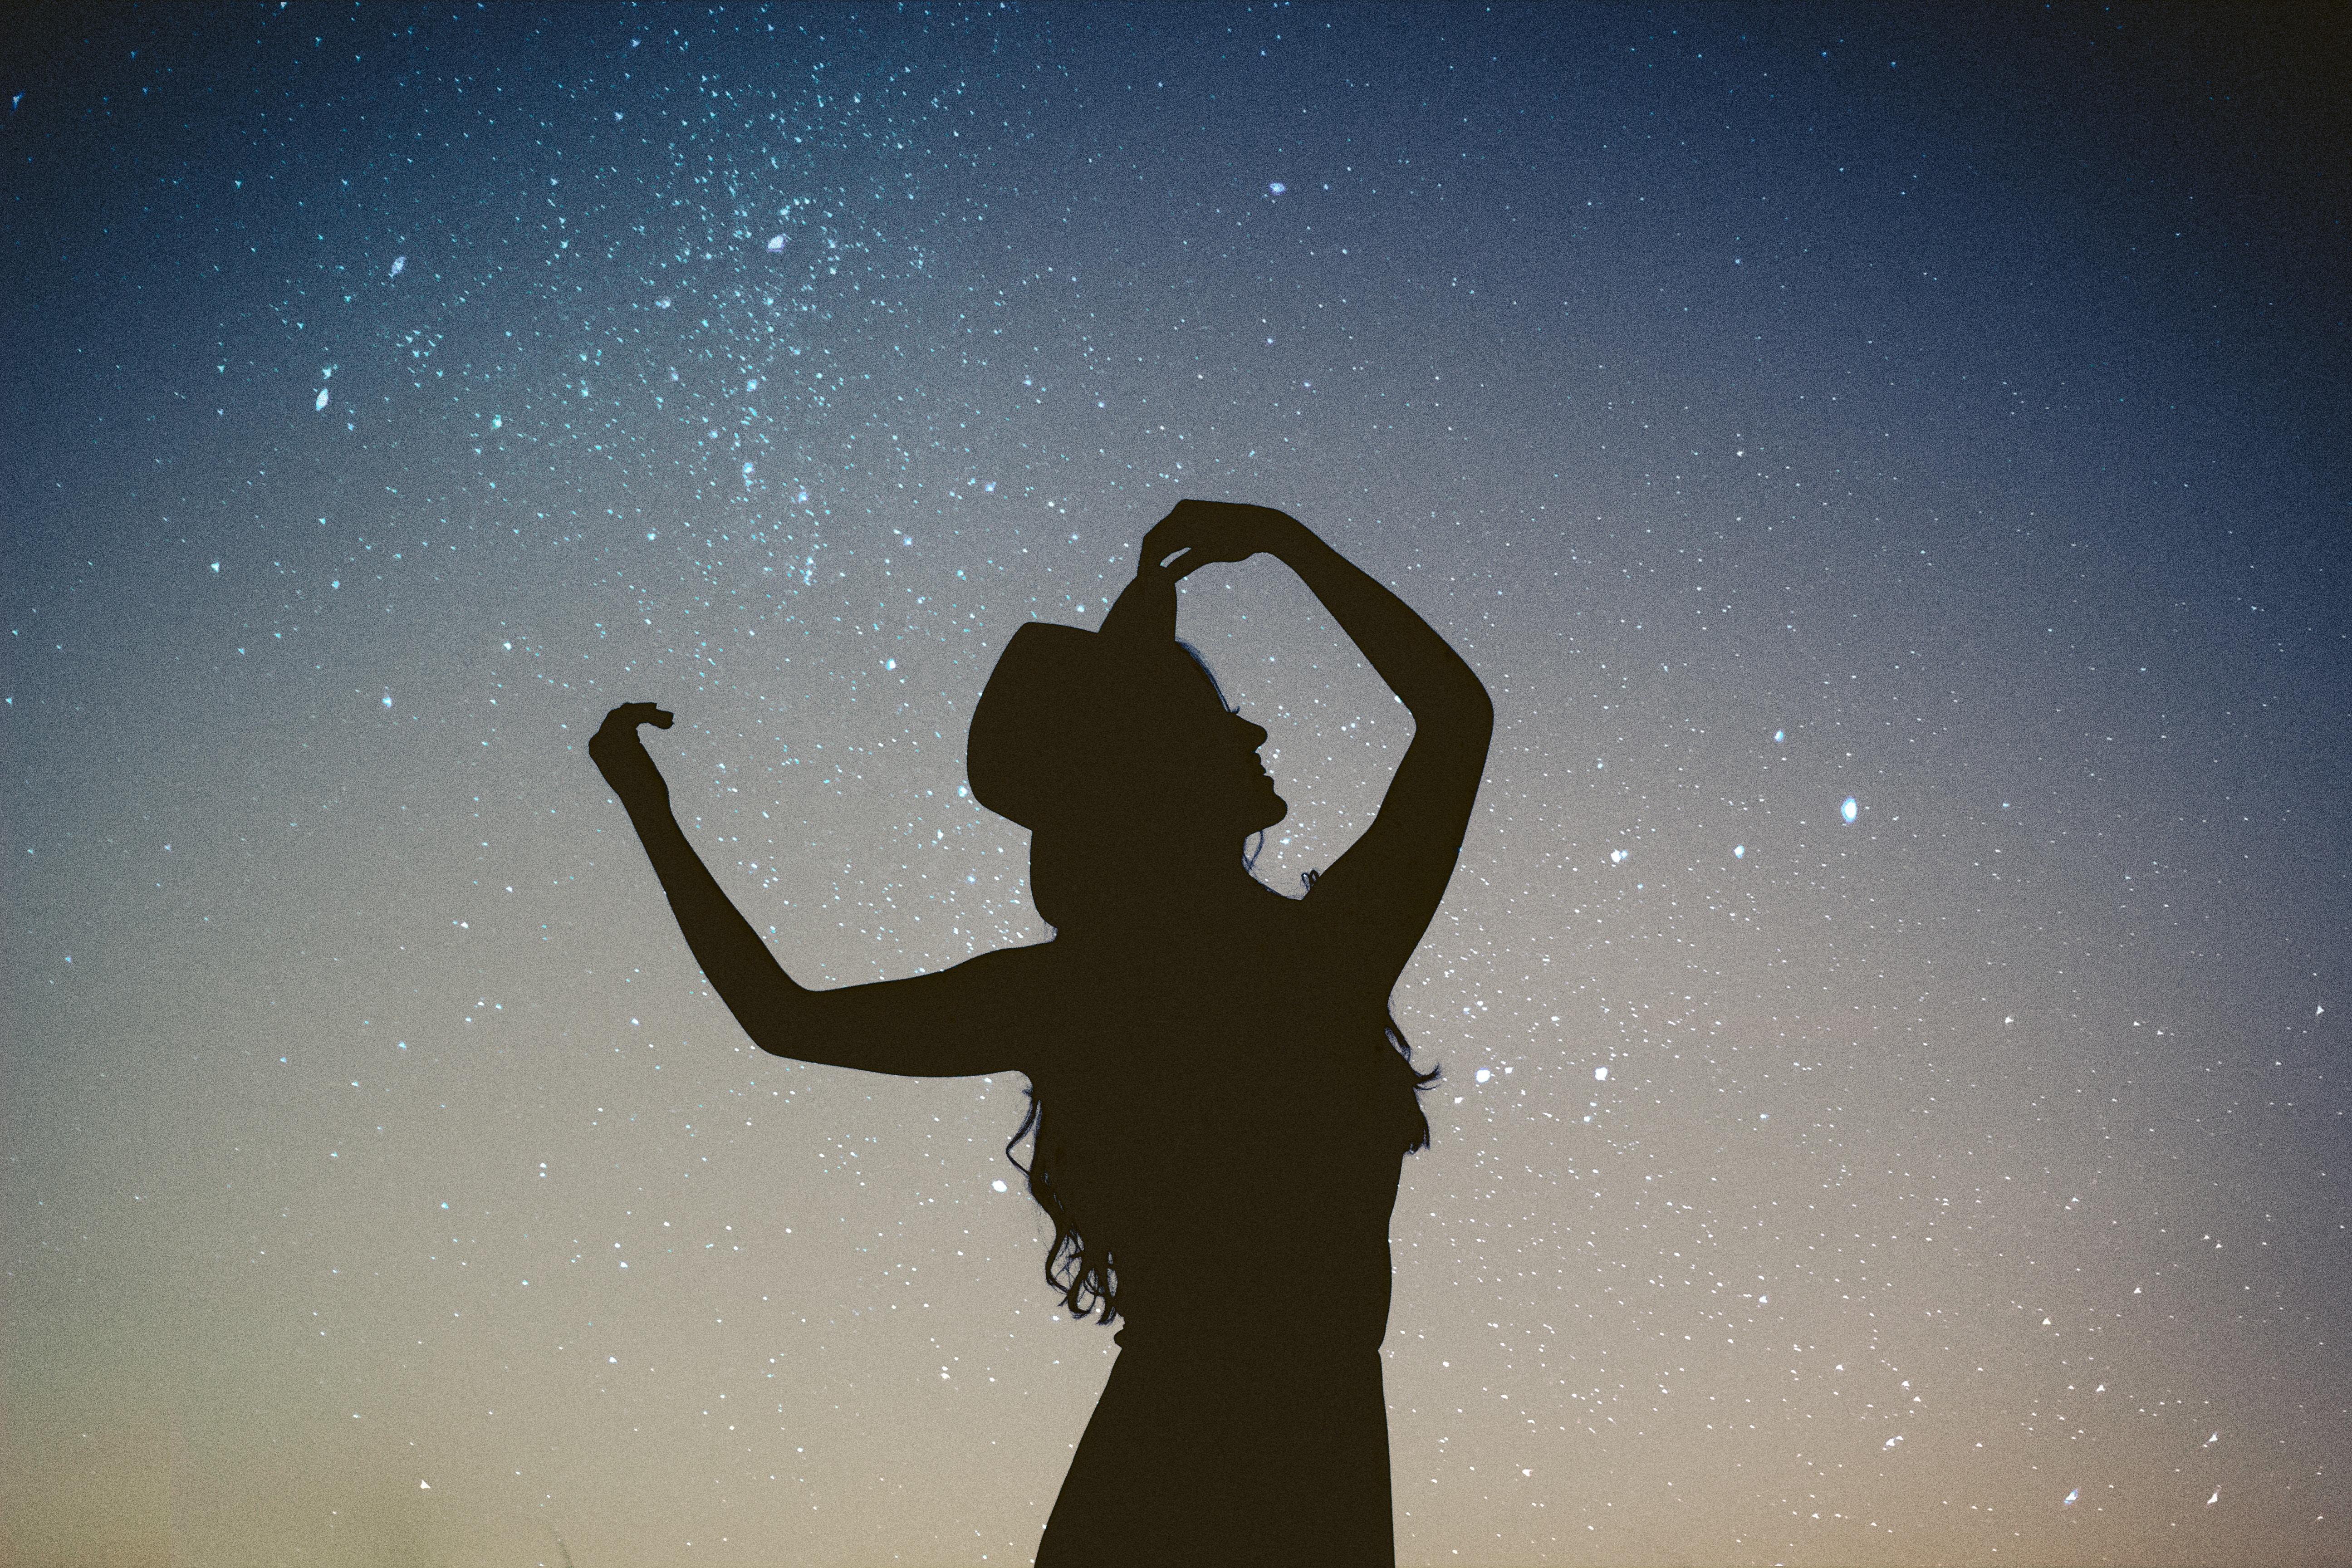
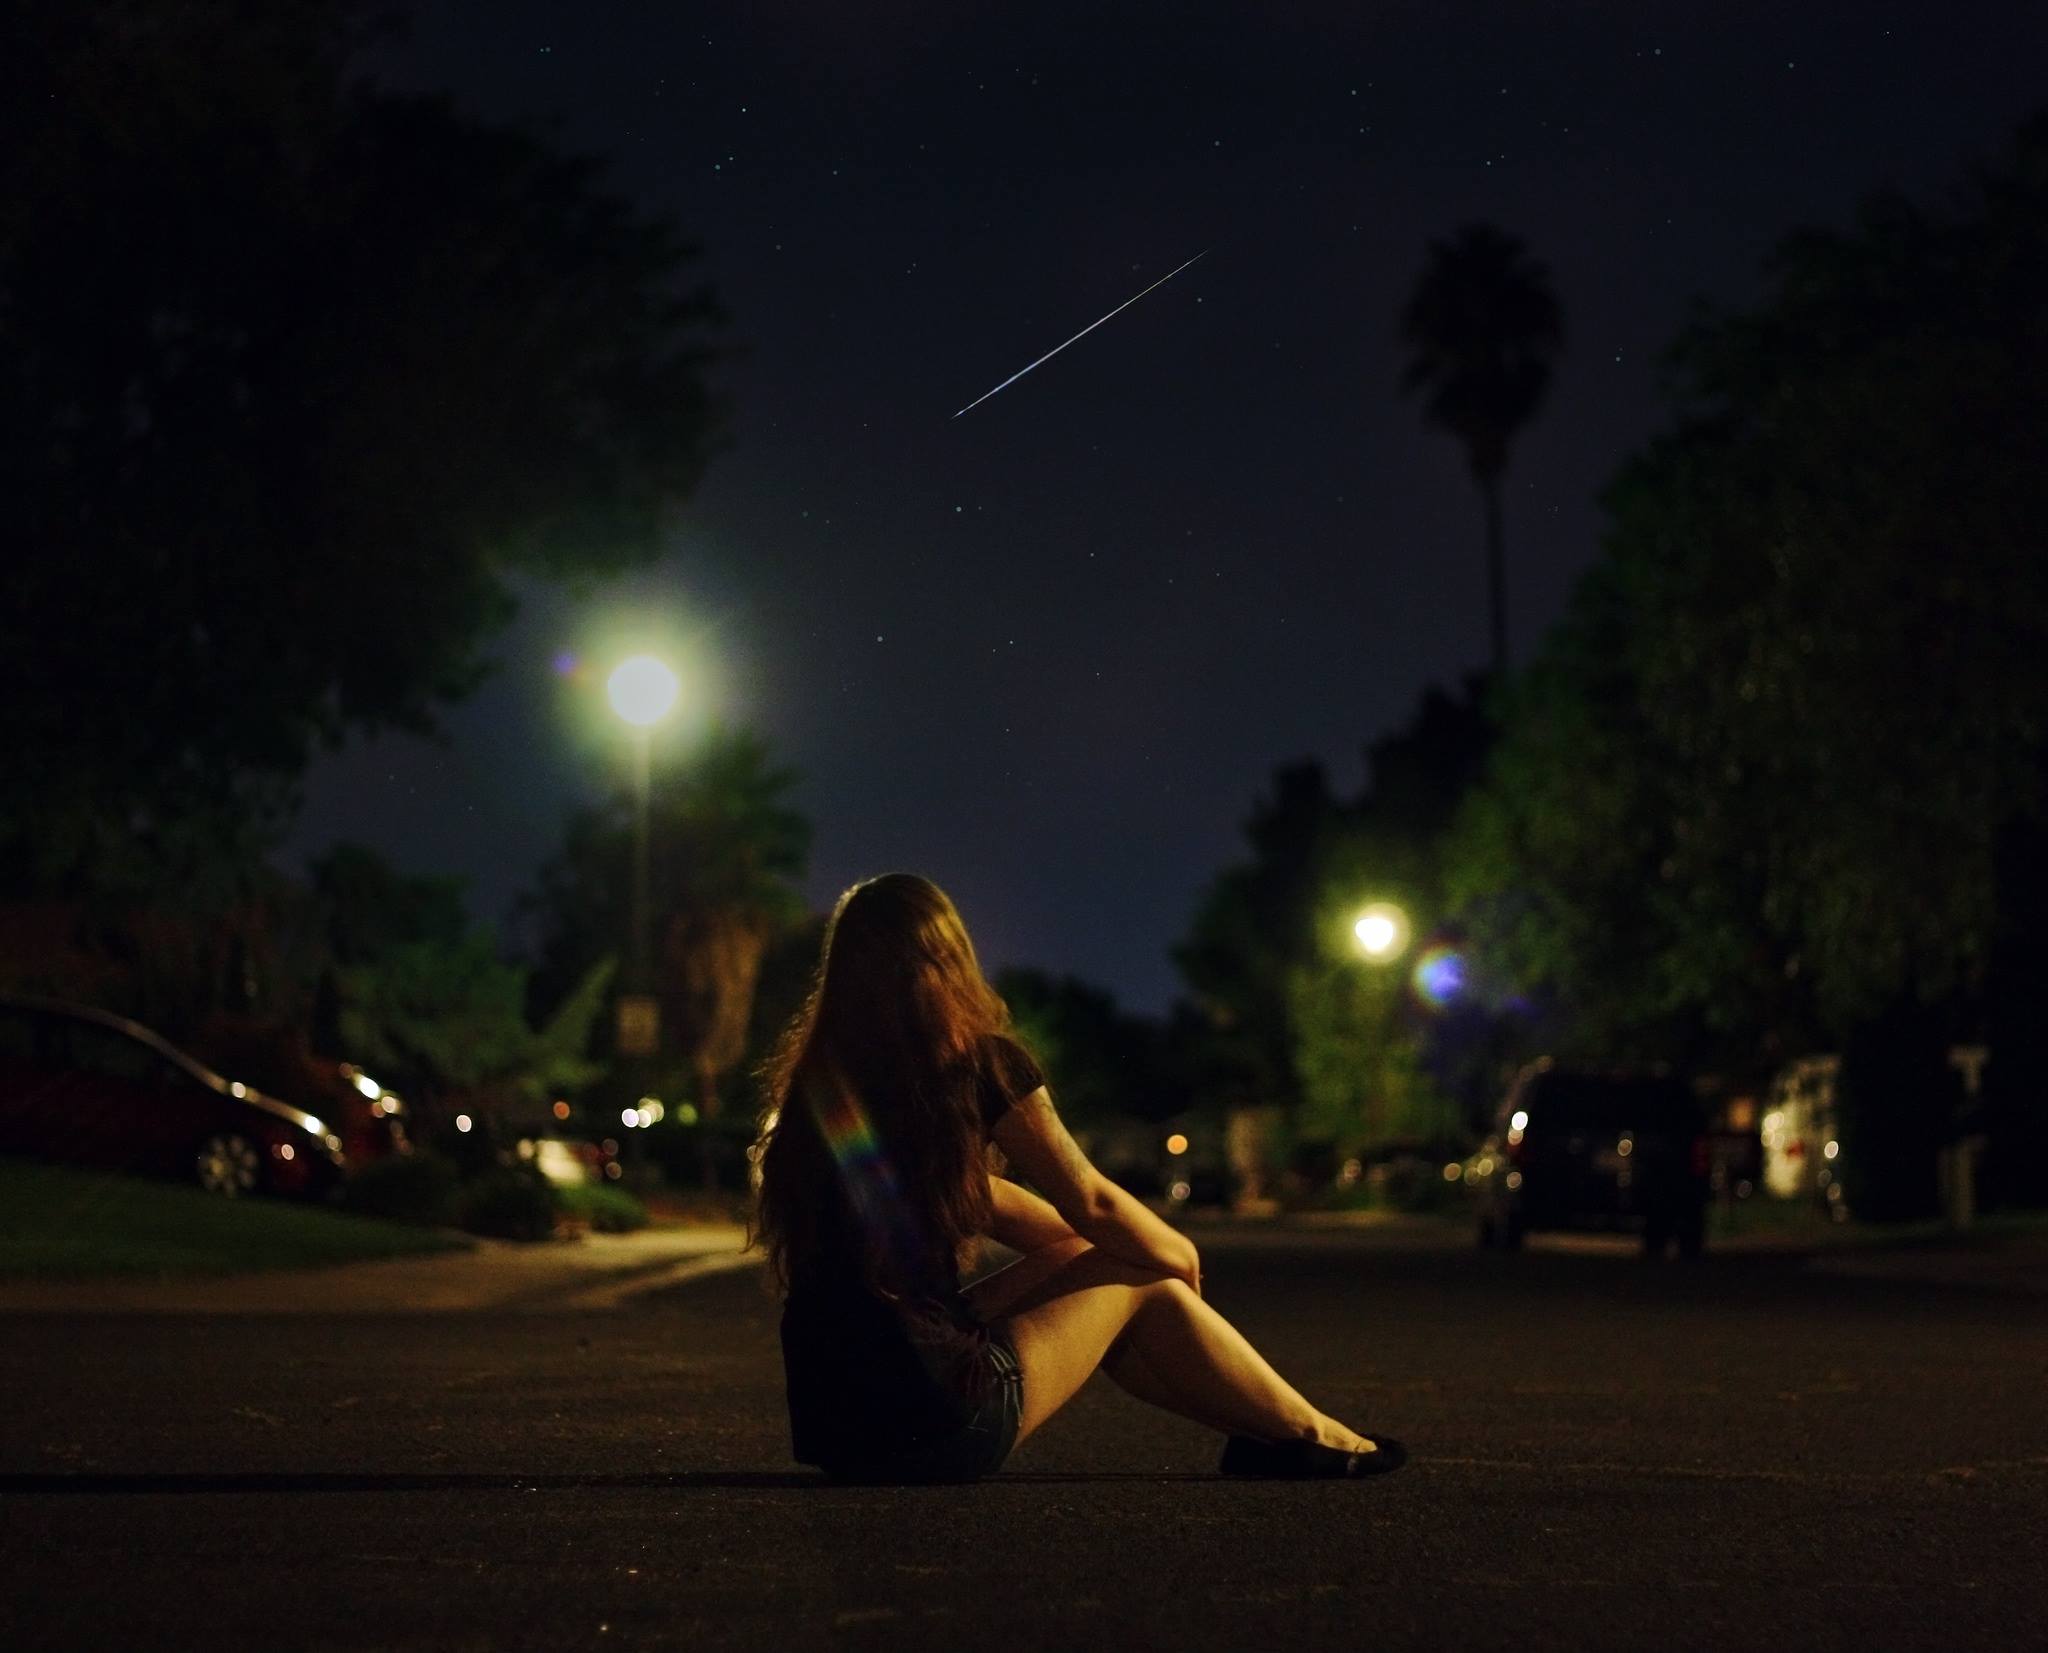
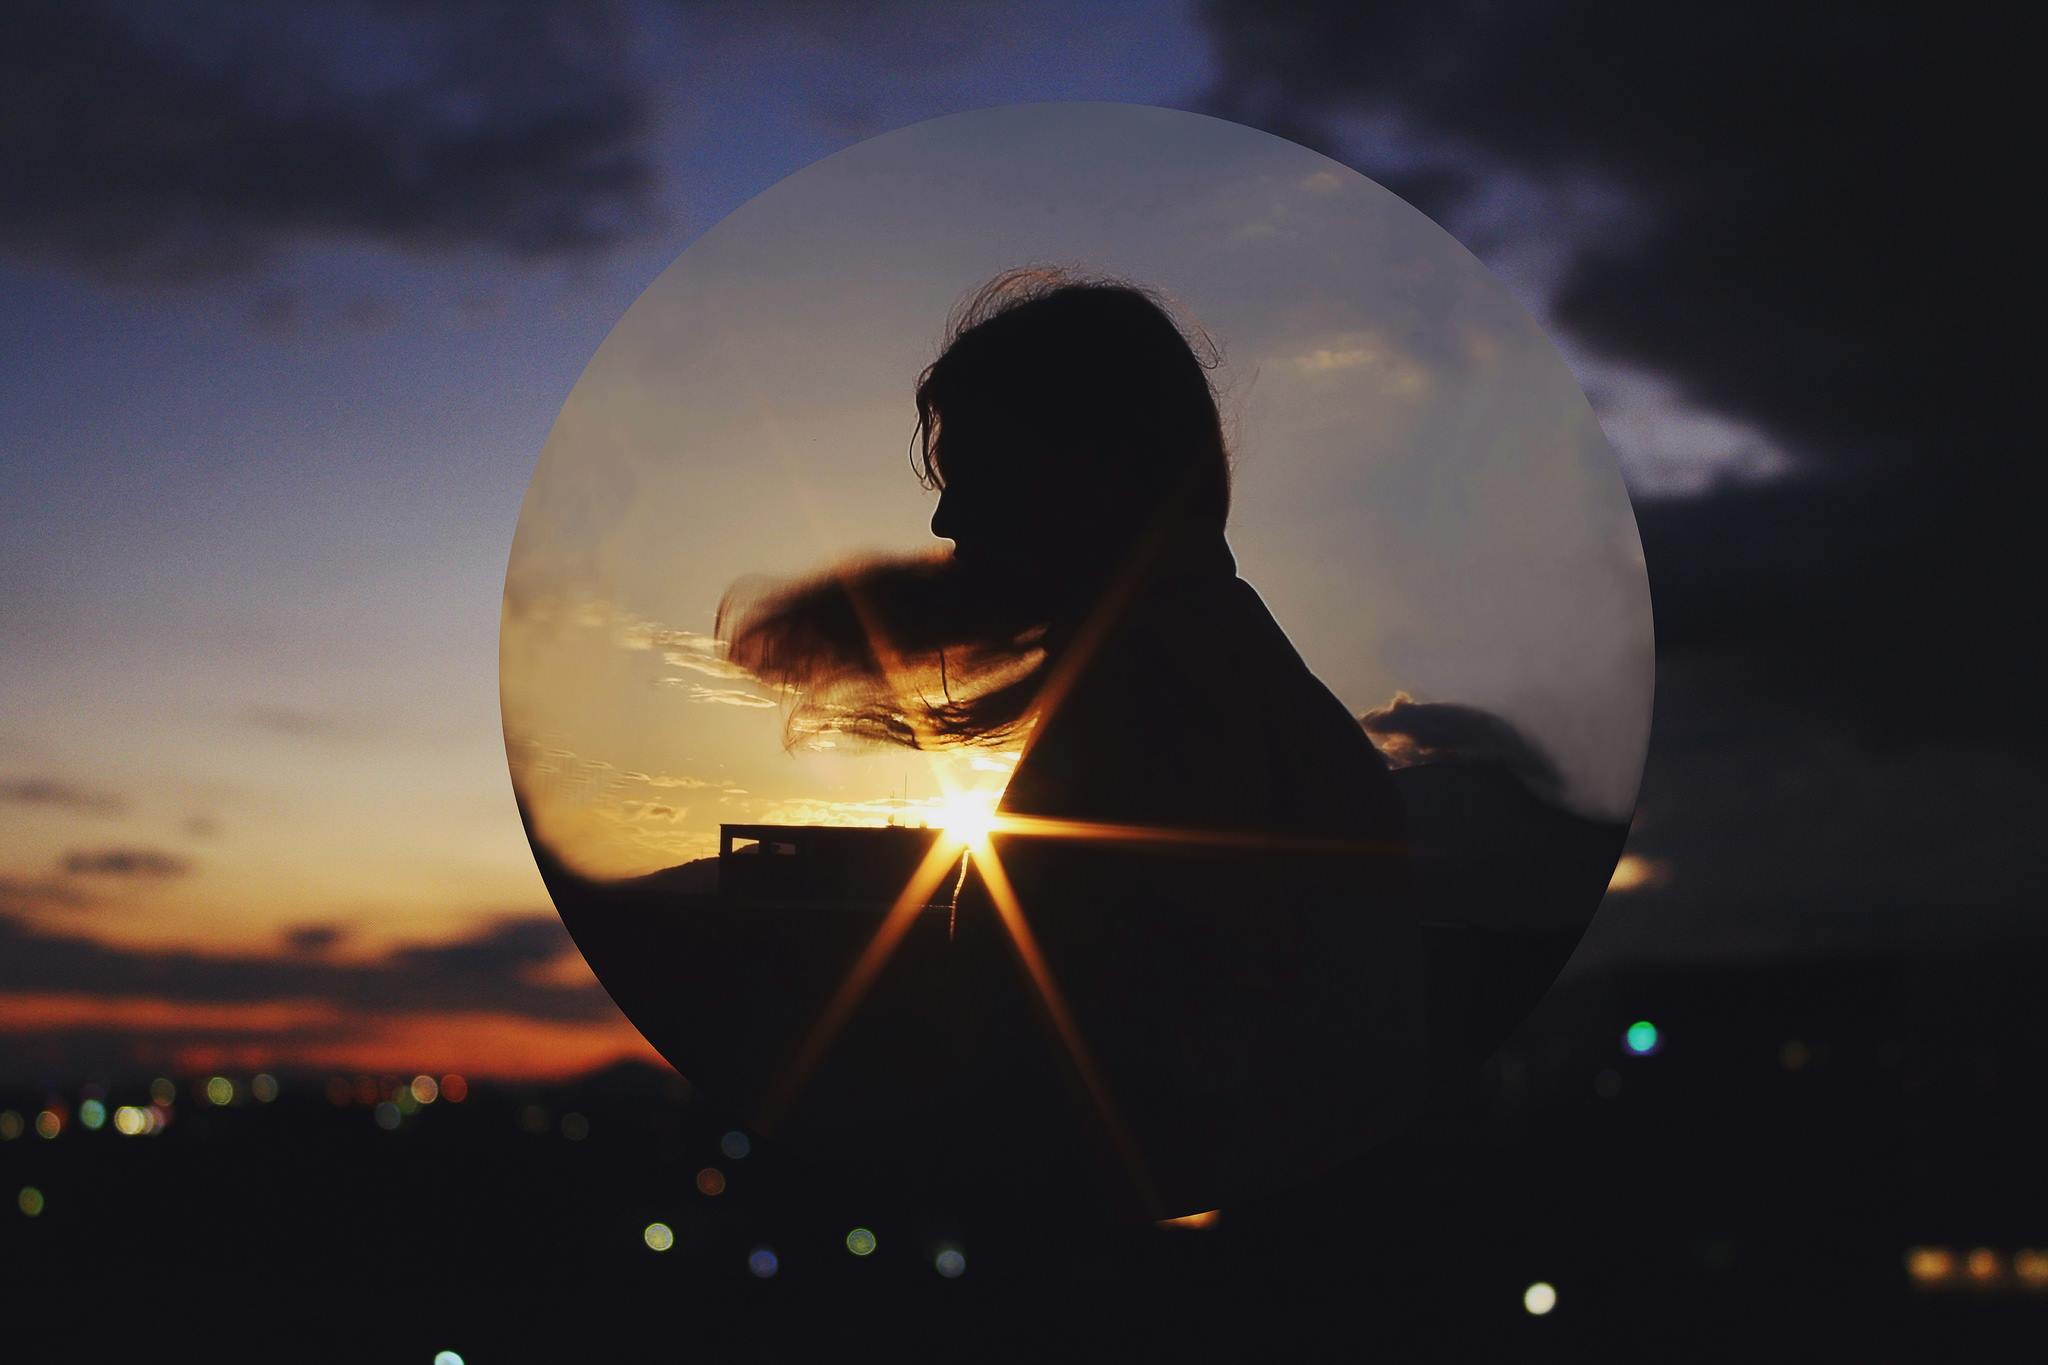
silhouette of girl against nightsky

Photography, like any other job, has the potential to throw you into a pit of annoying mistakes. Don’t let this trouble you. Knowing how to deal with problems will help you focus on what matters most: taking incredible photographs of incredible people. Being prepared may not completely eliminate failure, but it will definitely keep you happy, sane, and positive. That, dear reader, is how you deserve to feel.



What to Avoid When Posing Models: A Reference Guide

If you’re active on social media, you’re probably familiar with the perfect photo: a body-flattering pose, a breathtaking expression, and a look that speaks of pure confidence. It may seem like the models in such photos are naturally perfect and that nobody else can even dream of modeling the same way. The truth is that these individuals simply have a strong knowledge of posing which greatly contributes to their modeling success.

Certain angles can make even the most stunning models look unappealing. Every person has a variety of expressions and poses that can make or break an image. It’s up to you to help your subjects find these strengths. To do this, you can show them what not to do. The reason this approach works is that mistakes, unlike ideal poses, are universal; anyone can learn from them. Once your subjects know what to avoid, they’ll discover confidence-boosting poses that will not only make them look incredible in your photos but give you a chance to take your work to the next level. Let’s begin!

model posing out in nature

Don’t Make Them Uncomfortable

Awkwardness and posing don’t work too well together. An overload of compliments, criticism, or silence will make any model feel out of place. If you don’t want to try too hard and give the wrong impression, get to know your subject’s personality first. This will help you understand the kind of treatment they’d be happy with. Even a short conversation will reveal their personality and, in turn, allow you to reveal yours.

Don’t forget to talk about yourself, too. Opening up to people will make you appear relatable, charismatic, and friendly. You and your model may find mutual interests or acquaintances that will help you bond during the photoshoot. And even if you don’t perfectly click with someone, there will always be an opportunity to make them feel good in your presence.

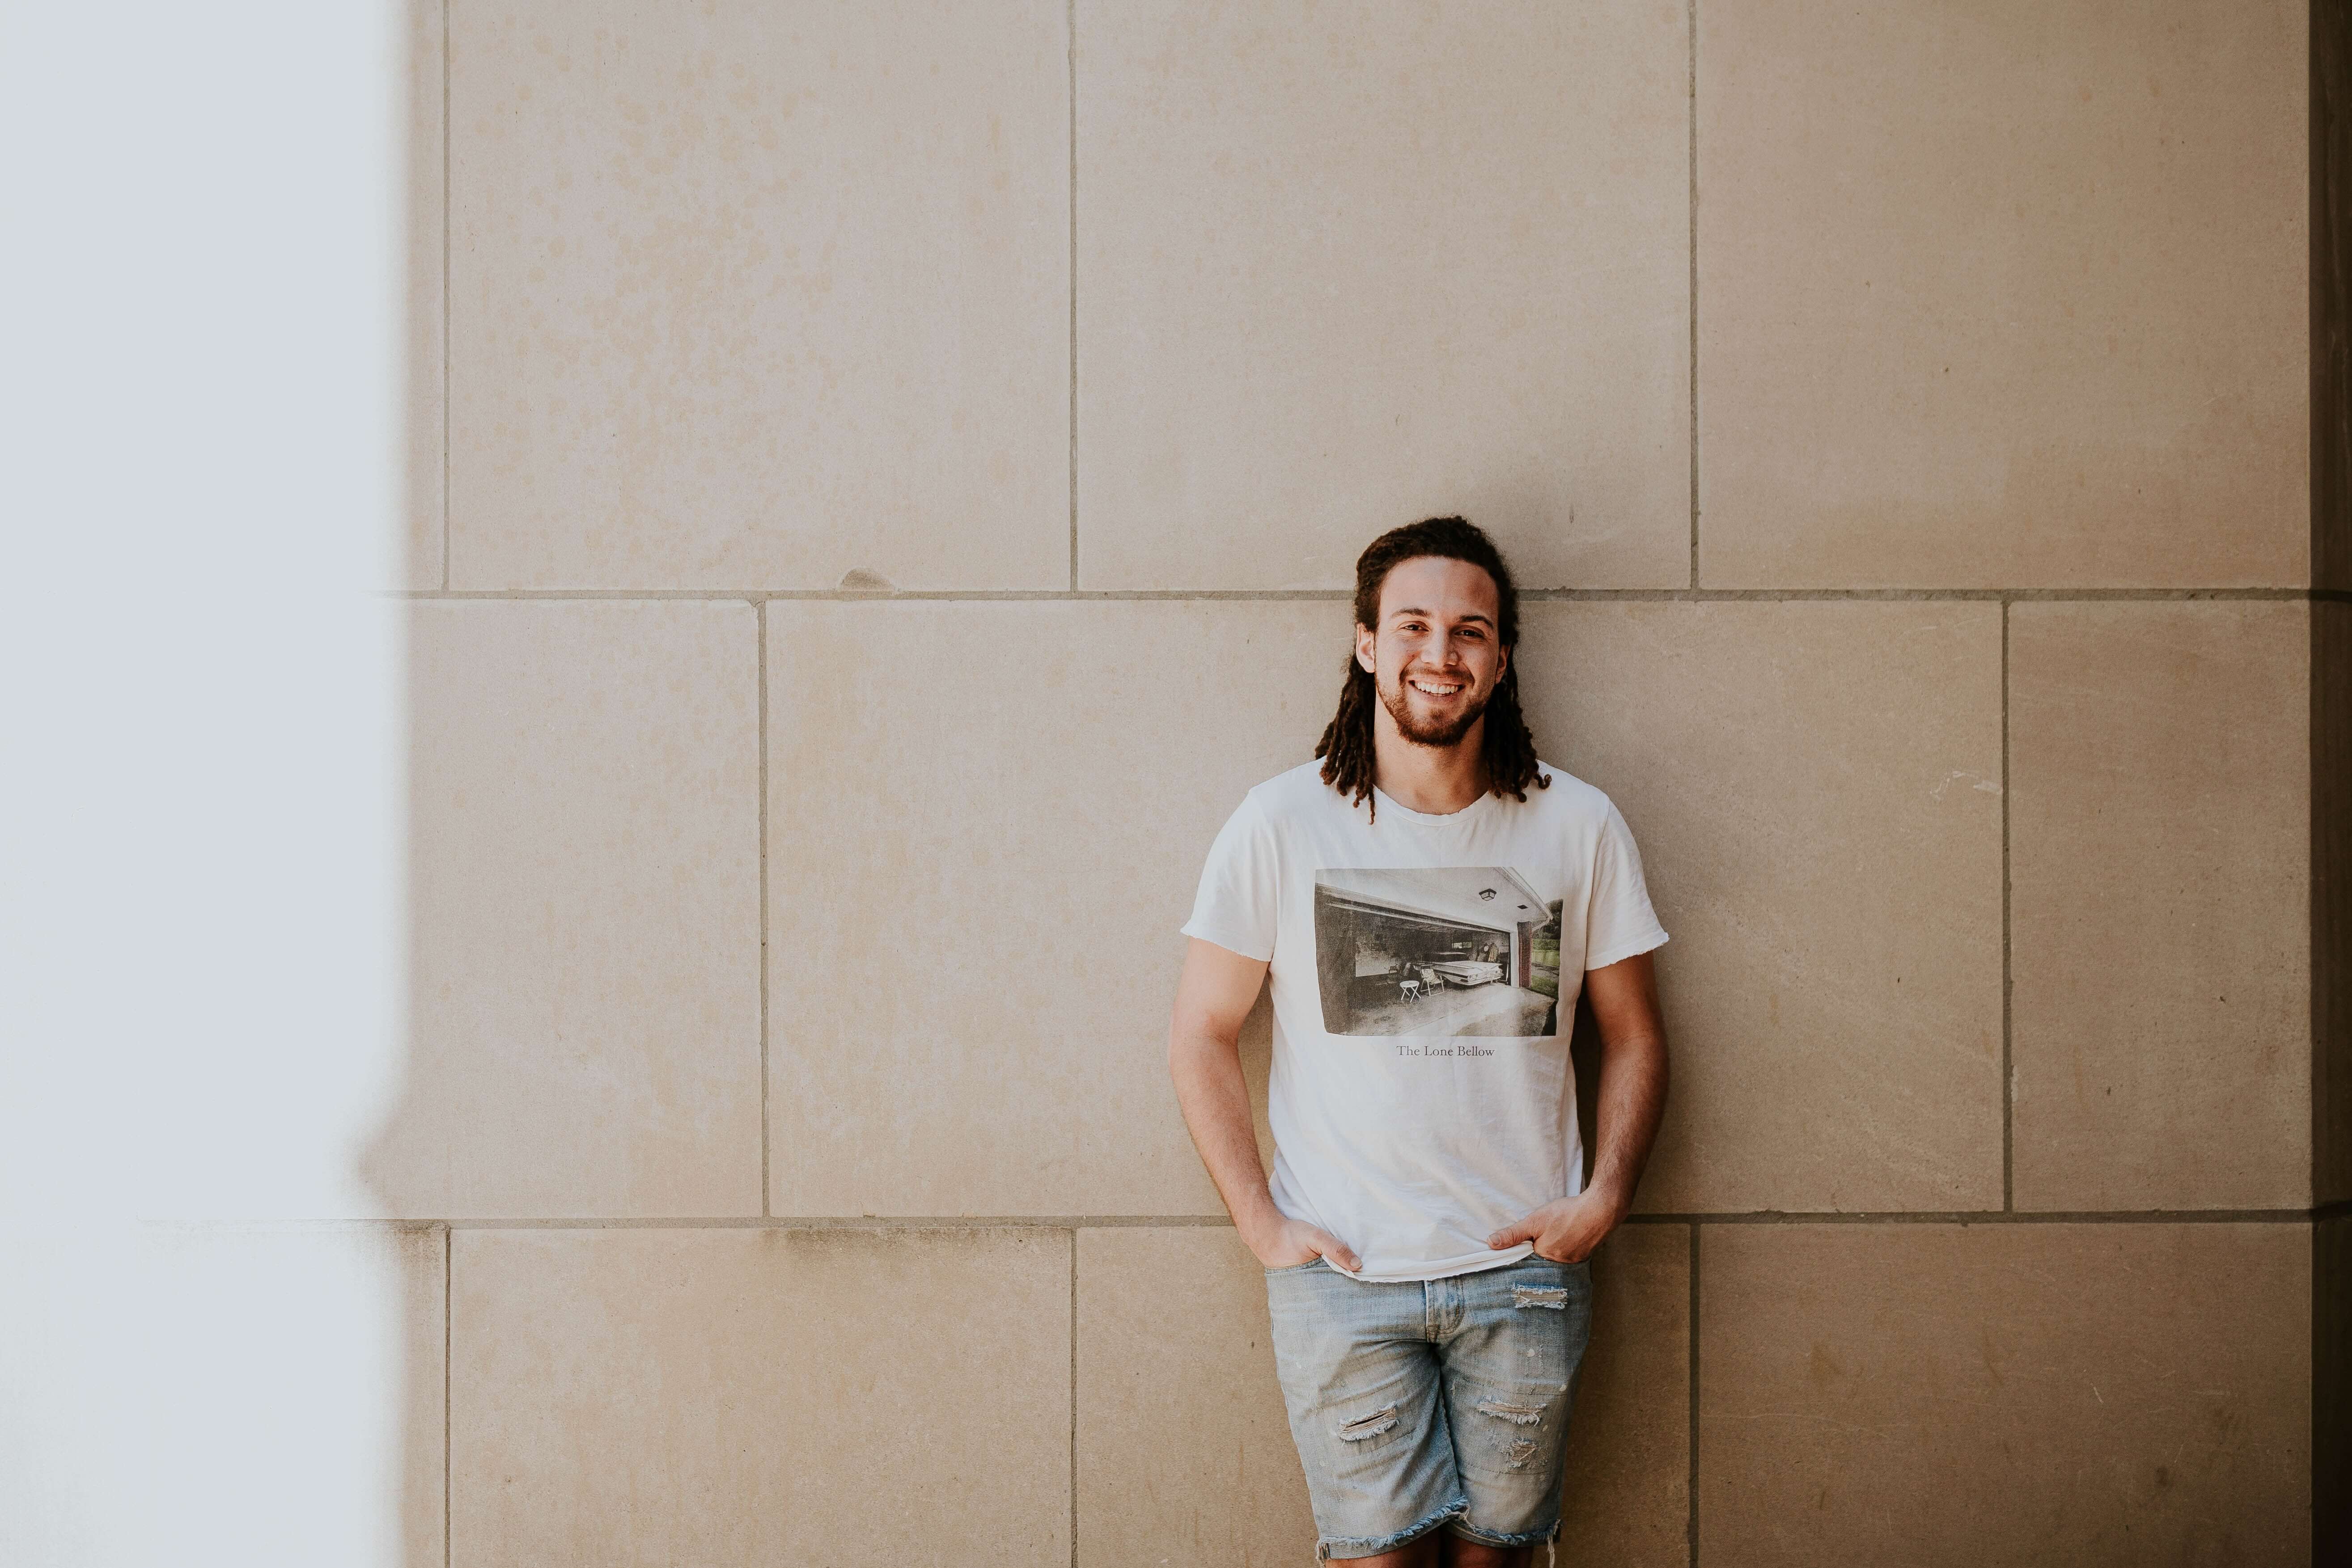
man standing in front of wall

Don’t Ask Them to Pose Immediately

Many photographers treat posing like acting. Instead of telling their models to strike a pose, they ask them to move around, interact with their surroundings, and visualize something specific. This may not appeal to every person you work with, but there’s something important you can learn from it: giving your models room for imagination will help them pose naturally. Spontaneity, in addition to a lack of strictness, will open up many creative doors for you.

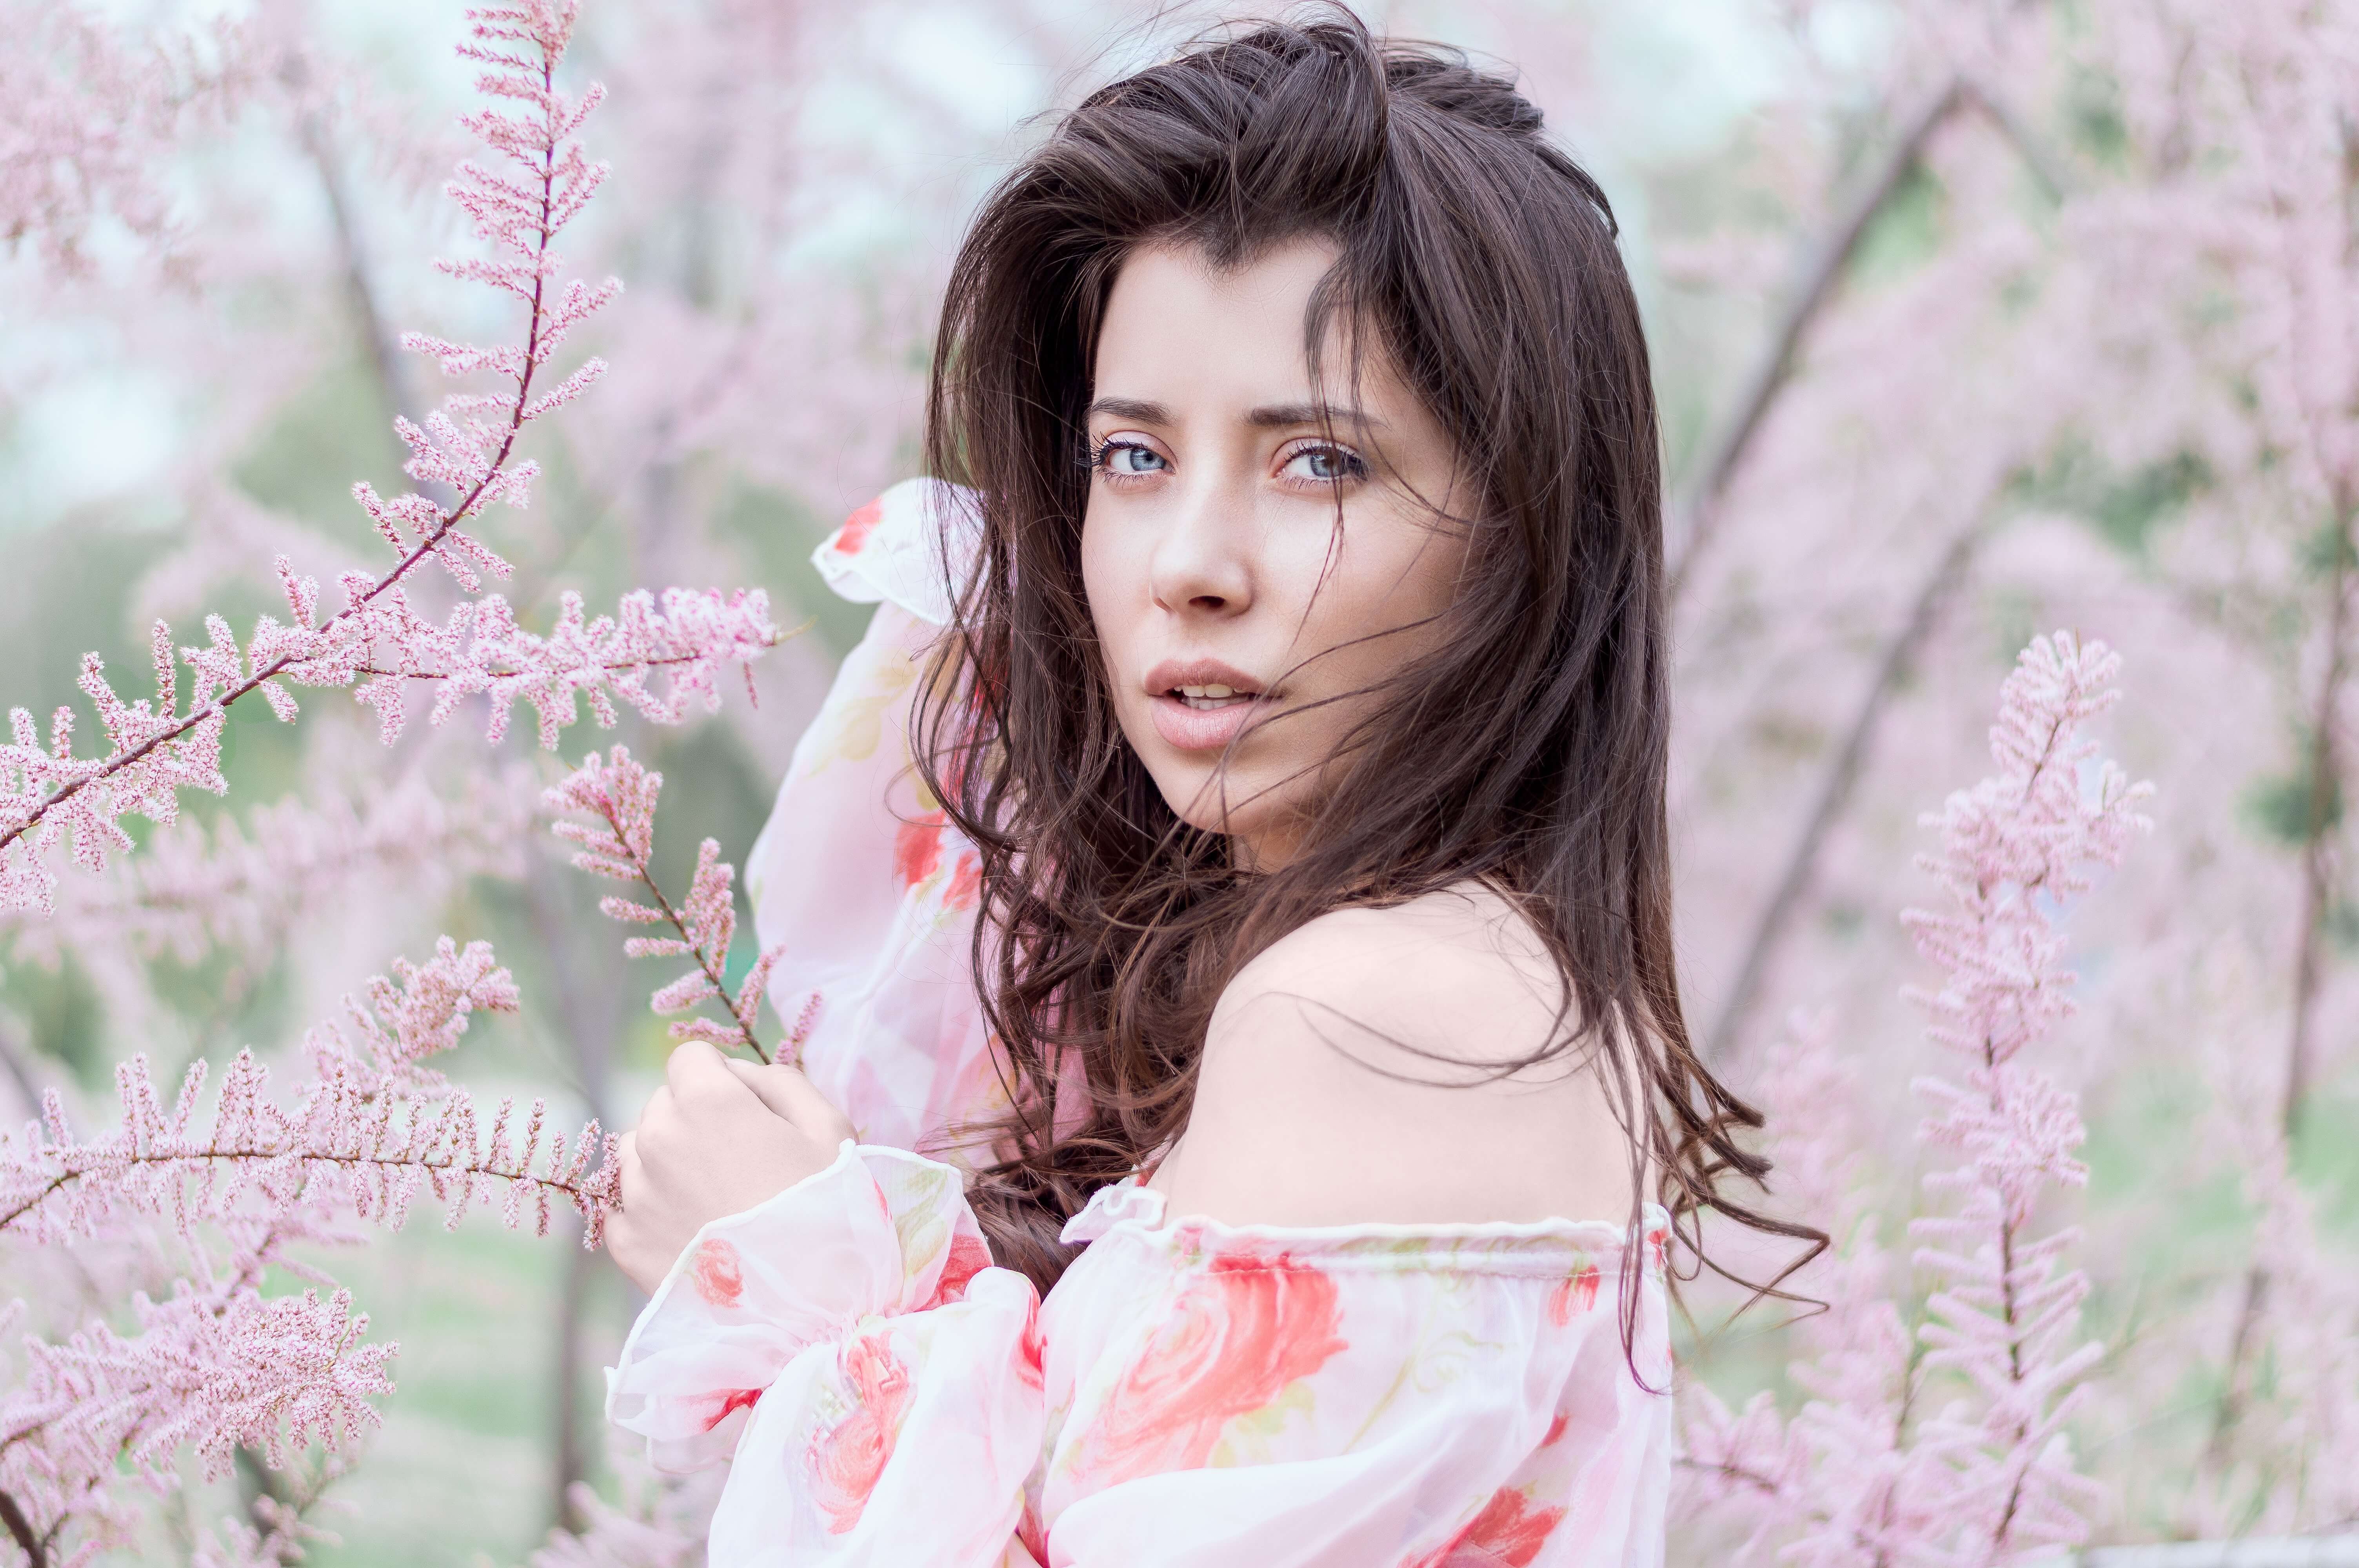
model posing outdoors

Avoid These Poses

Once your model feels comfortable in front of your camera, it’s time to let him or her know what to avoid:

  • Slouching: this is something many people do unintentionally. To avoid this, your models should straighten their backs, take a few deep breaths, and slightly turn away from the camera. This will instantly make them look relaxed and comfortable.
  • Entire body facing the camera: this will make your models look awkward and wide. Instead of facing the camera, your subjects can slightly turn their shoulders or put their hands on their hips.
  • Pressing arm against the body: this will flatten your subjects’ arms and make them look much bigger than they actually are.

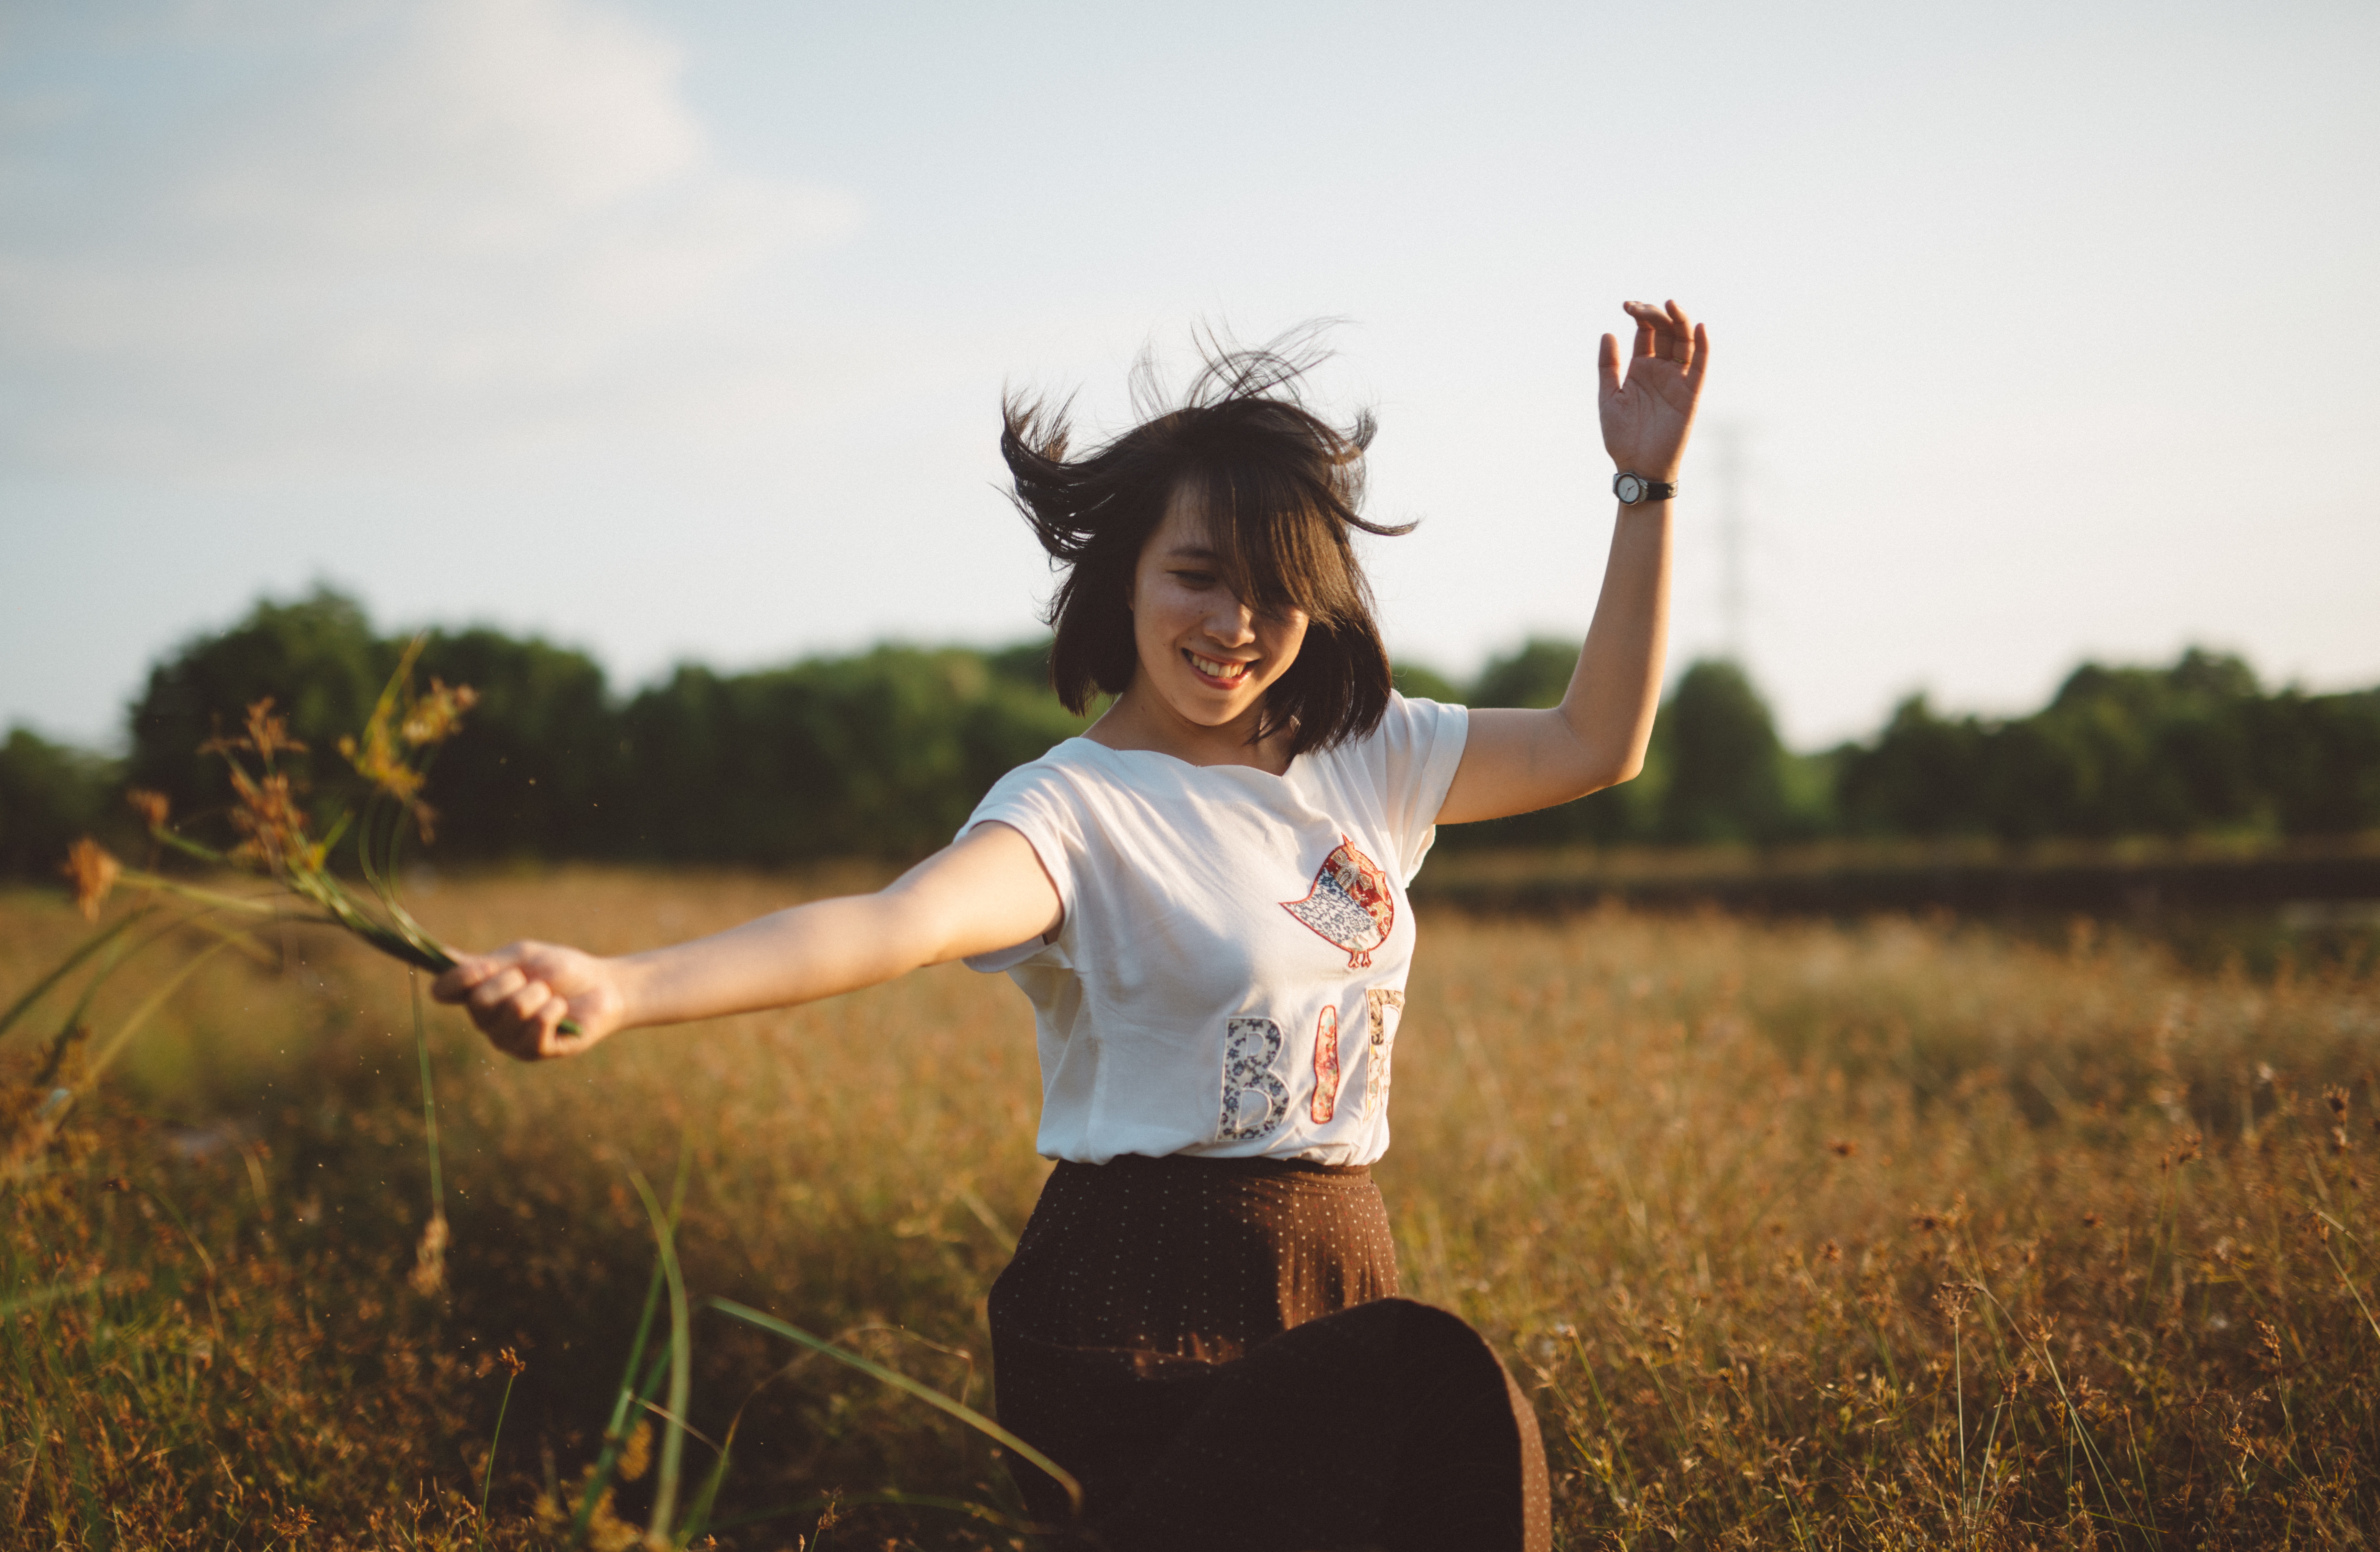
model laughing in a field

Don’t Forget the Hands

Awkward-looking hand poses can make a generally beautiful image look unnatural. Make sure your models’ hands are relaxed; their fingers should be slightly spread out and placed on their shoulders, under their chins, or wherever they decide. Give them freedom when it comes to their hands, but always make sure to correct them when they start to look too tense. A proper hand pose will give your photographs an air of grace. When your models see how elegant they look in your photos, they’ll feel even more confident in your presence.

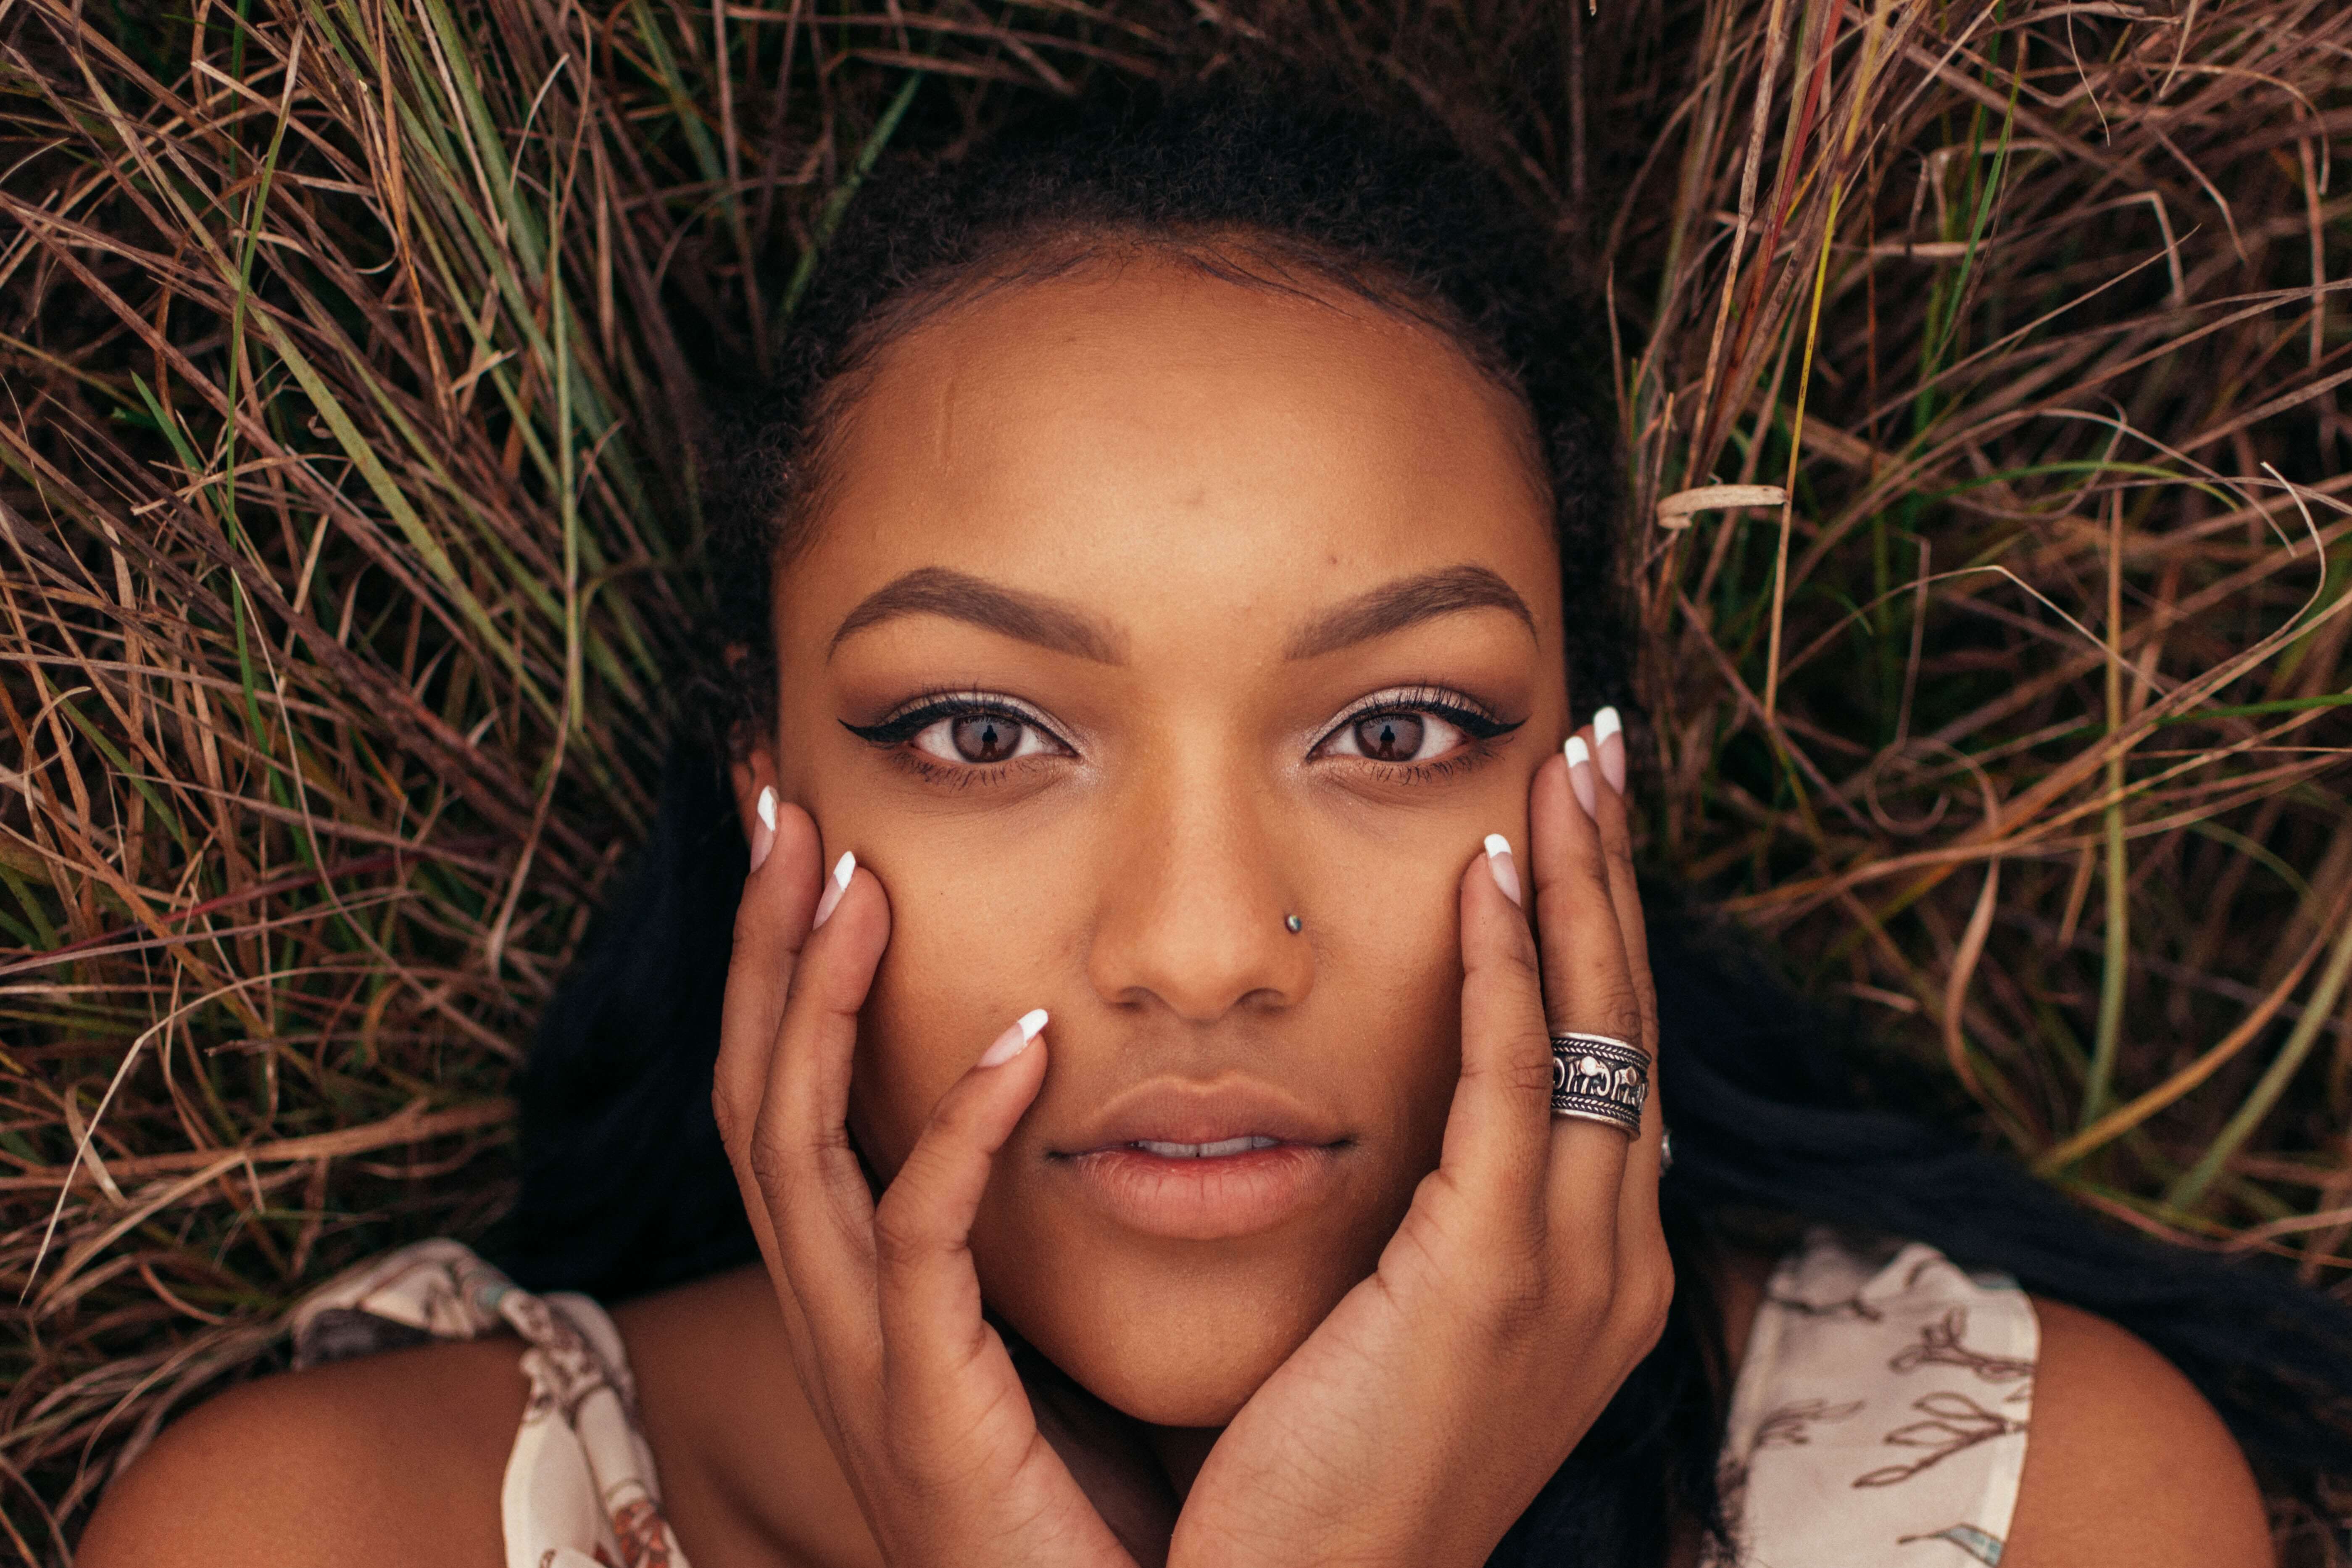
closeup of a model holding her face

Posing isn’t always a walk in the park. Even professionals need clear instructions when working with new photographers. If someone with years of experience needs direction, imagine what a struggle it is for non-models to feel comfortable in front of the camera! A small amount of patience and posing knowledge are all you need to create a healthy photographer-model relationship.

SaveSave

The importance of lighting and why you shouldn’t be afraid to experiment with it

The importance of lighting in photography is a well-known topic that’s been discussed for ages, by both professionals and amateurs. We can easily define light as endless, ever-changing, and infinitely majestic. Light can soak a location with heartwarming golden colors or simply dance with mist in a dark room. Because of its versatility, light is often feared.

Experimenting with light seems to be an intimidating idea; first attempts to master light are often met with failed results, which might discourage many artists. After all, it’s still possible to take visually stunning photos when there’s a plentiful supply of light available. Though unsuccessful shots are inevitable in any photographer’s life (regardless of their level of experience), befriending the many sides of light is highly important. Several failed shots are worth experiencing if the ultimate goal is a strong understanding of light.

The importance of lighting in limited light situations

Creative potential and light go hand in hand; if there’s even a small source of light somewhere, there’s a chance you’ll be able to use it to create fascinating shots. Dark rooms with limited light, for example, can be used to take mysteriously inspiring portraits. If you prefer to decrease your ISO number as often as possible, encourage yourself to get out of your comfort zone and use a high ISO number. In most cameras nowadays, a high ISO isn’t extremely damaging to a photograph, especially if you shoot in RAW mode. A combination of RAW, a high ISO, and a sturdy tripod will allow you to take photographs that would lose their mystery if more light were available.
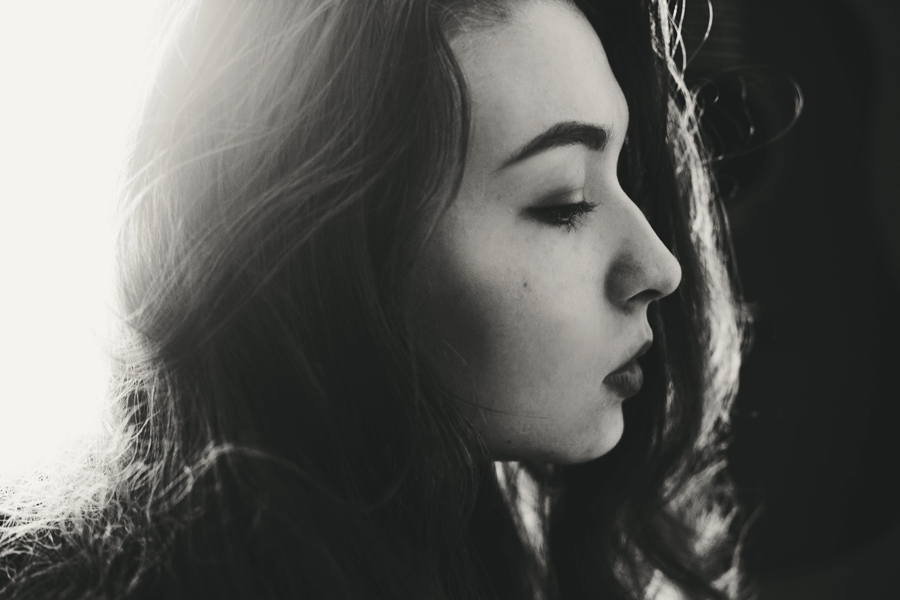
Limited light is also a great opportunity to take abstract photographs. Unclear portraits of people whose faces are slightly concealed often have the power to tell a deep story. Silhouettes or shadowed faces are great examples of photos that could instantly catch a viewer’s eye. If storytelling is something you’re interested in, limited light could help your stories come to life.

//

The manipulation of light

Light can be manipulated to make your photographs look like carefully crafted works of art. Find beautiful fabrics in your home (curtains are a great resource) to create intricate shadows on sunny days. If you’re a portrait photographer, this shadow play will help you take unique photos of people, photos that both you and the model will be proud to have. Interesting shadows can also be created using hands, trees, hair, grass, and more. Your imagination is the most important part of the equation, so make sure you nurture it whenever you have the chance. A big imagination will constantly give you peculiar and brilliant ideas, which will help you to continuously grow as a photographer. The more ideas you’ll acquire, the harder it’ll be to not make great progress.

//

/

Artificial lighting and its role in Photography

Though natural light isn’t accessible 24/7, artificial light is always there to help you take better images. This kind of light can be altered more easily than natural outdoor light, making it possible for you to have more control over everything. Artificial light can be moved, decreased, and covered in an endless amount of ways. Even everyday objects as simple as torches, desk lamps, and phone light can be used to take stunning portraits. That’s why it’s crucial to acknowledge the importance of lighting early on.

You might be repelled by the unflattering colors that artificial lights tend to create – yellowish or blue hues that alter skin tones dramatically. This, however, can be fixed by altering a camera’s white balance. If your camera’s white balance doesn’t fix the issue, don’t refrain from continuing to take photographs. Editing programs such as Lightroom can decrease an image’s temperature and gracefully fix any unwanted colors.

//

Confront your fears

Any creative fear can be changed by directly confronting the fear itself. If you’ve always avoided darkness for fear of getting blurred results, learn the power of high ISO numbers and strong tripods. If you’ve never been a fan of artificial light, research the works of talented studio photographers like Sue Bryce and give artificial light another chance. If you think your home is boring, notice the way light enters your room or the way your lamp makes your table shine. If you find too much natural light distasteful, dare to experiment with shadows. Open your mind to the beauty of light, no matter where you are, and you’ll get brilliant photographs in return.

Happy shooting!

//

Using backlight to create ethereal portraits

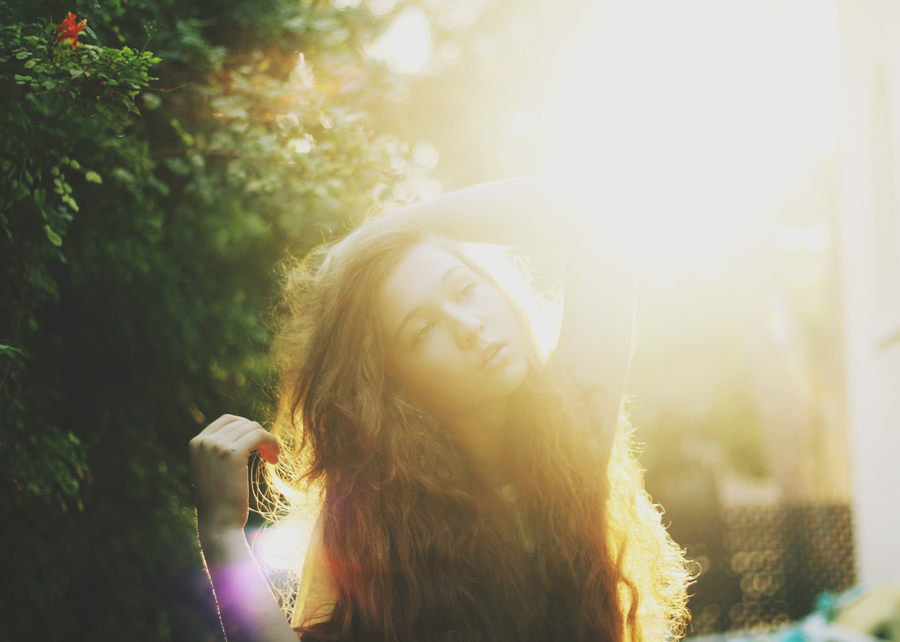
You’ve probably come across dreamy-looking portraits, ones which possess a warm glow without appearing too harsh. It seems that the photographers behind these shots mysteriously conjured up the perfect light, creating a composition so striking that you can’t imagine recreating something equally beautiful. The secret, however, doesn’t lie in light that requires an elaborate spell – the key to taking great backlit portraits is the right kind of light and the ideal location to complement that light. Though this might sound like a tough (or vague) challenge, don’t be discouraged. If you find yourself visualizing photographs even when your camera isn’t nearby, mastering the art of backlit photography will come easily to you. Below are a few important basics to get you started:

Finding a great location

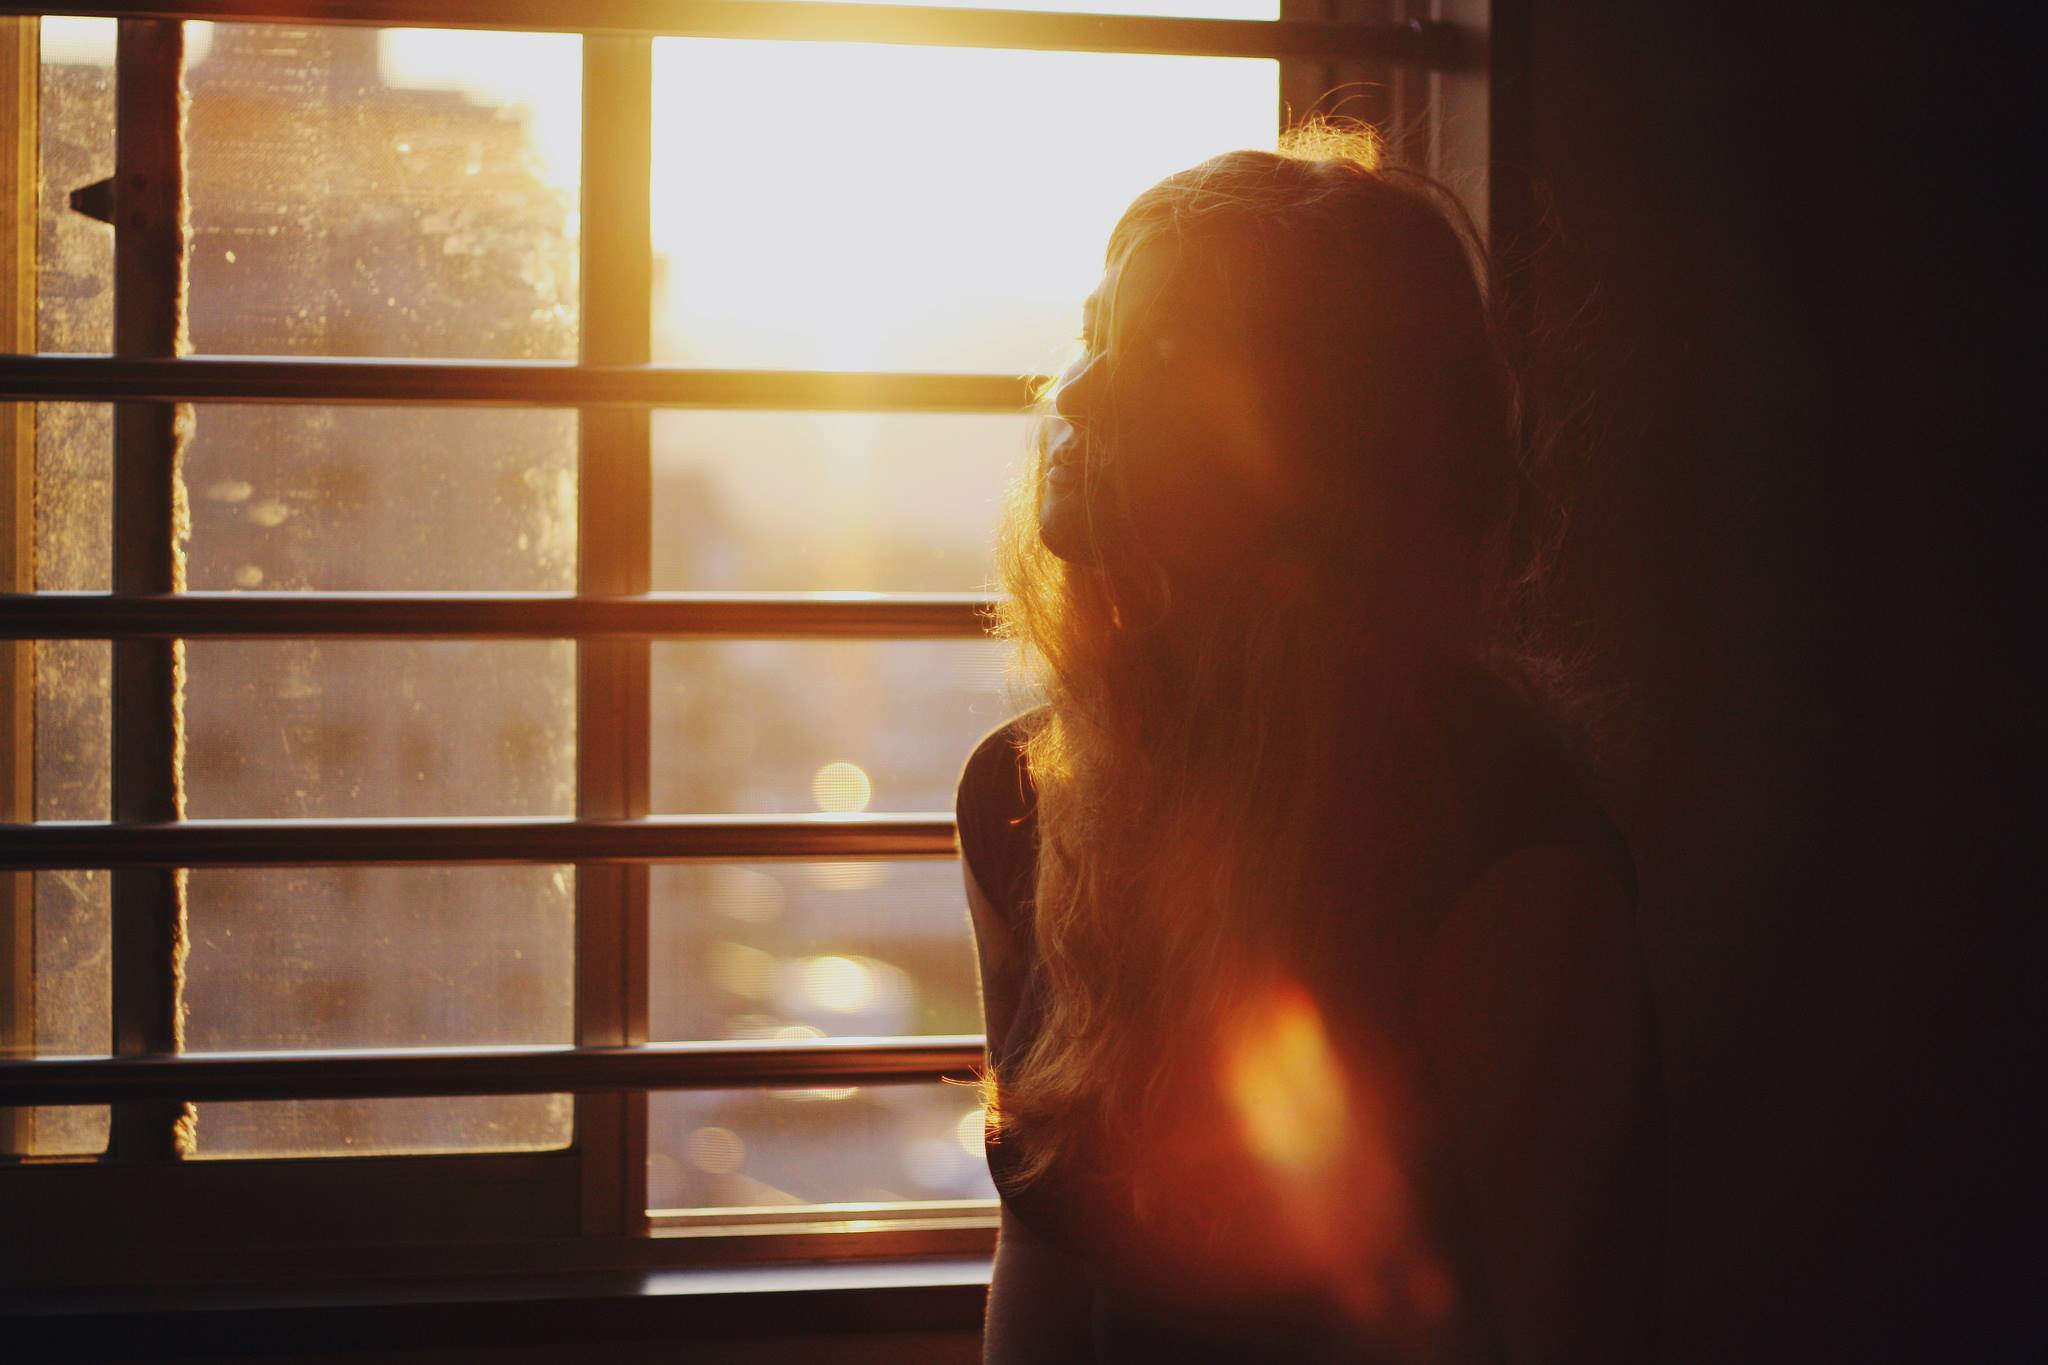
If you’d like to experiment with backlight, find a location where light roams freely. (Open spaces like fields are ideal for this.) If you live in a busy city filled with structures that block the sun, find a roof where you can safely photograph yourself or your subject. These locations will give you plenty of light to work with. (If you don’t have access to such places, shooting in front of a window on a sunny day will suffice.)
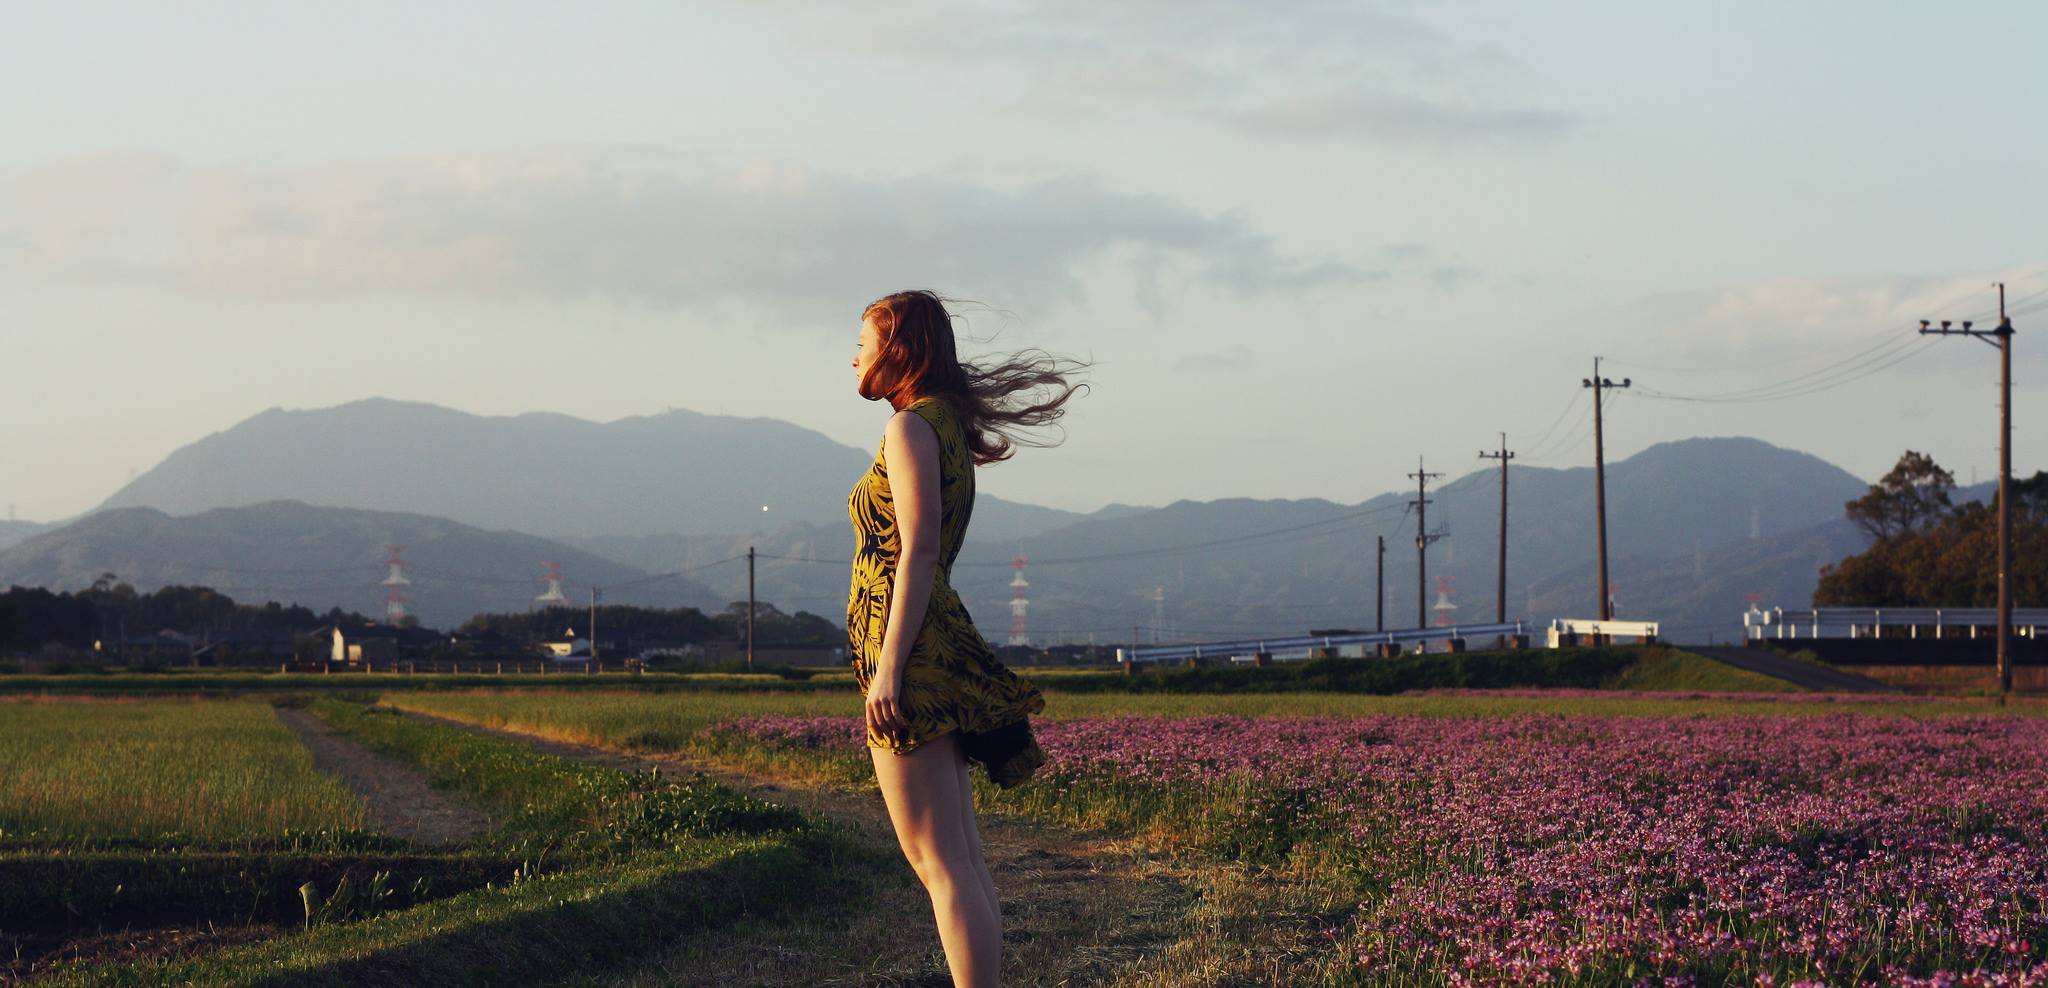
The backlight will light up not only your subject but everything surrounding your model. This is why shooting backlit portraits in a field of flowers, for example, will yield breathtaking results. If you’re shooting in a more urban location, add your own flowers and plants to enhance the composition. Challenge your imagination. When surrounded by objects which are beautifully lit, your subject will glow all the more. Furthermore, such small decorations will make the overall composition absolutely stunning.

//

//

The benefits of shooting during golden hour

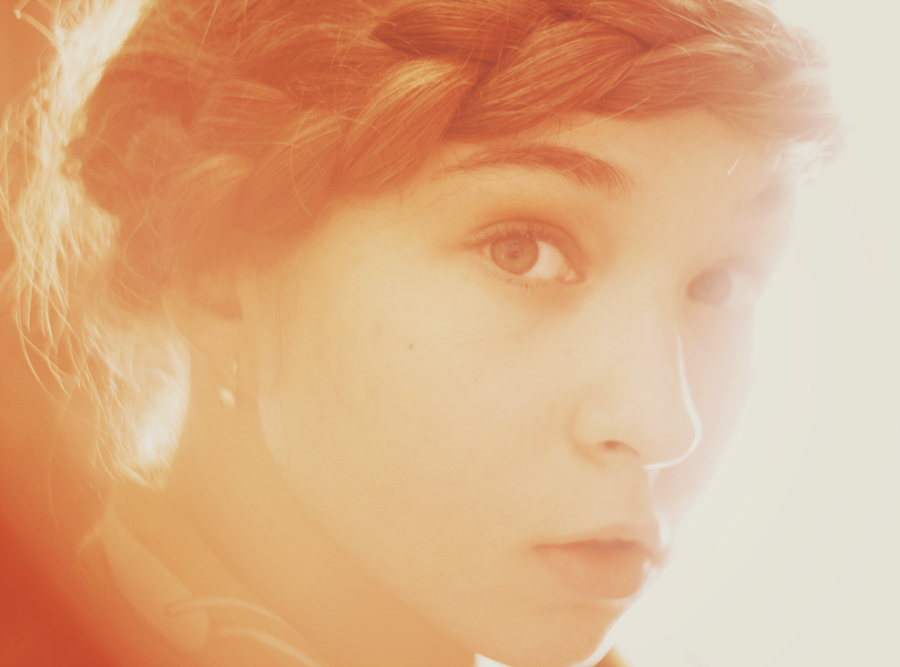
Before we get into the best ways to position a camera for backlit photography, let’s focus on every portrait photographer’s favorite time of day: golden hour. The magic hour comes into being shortly after sunrise or before sunset. This is a time when the light is, as most people agree, at its best. Everything takes on a soft and warm glow during the golden hour, creating an almost nostalgic feeling wherever you look. If you’re an absolute beginner, experimenting in an open space during golden hour will inevitably provide you with the best possible lighting conditions for a successful shoot. For expert photographers, shooting in all kinds of spaces during the magic hour will add a pleasant touch of warmth to their work. If you’d like to learn more about the golden hour, read this article.

Choosing the best time to shoot

To make the most of a backlit shot, you must control the amount of light that enters your lens. Direct sunlight will ruin your shot, while completely blocking it by placing an obstacle in front of it will make your results very dark (unless you’re shooting silhouettes, this method won’t work.) For visually appealing results, make sure light enters your lens from one side. This will create a pleasant light leak which will not only brighten your composition but add a beautiful texture to it.

//

Unlike golden hour, a backlight is rarely available in limited quantities. It can be found even on overcast days when soft light is present. If you find the light is too dull on a day when the weather conditions aren’t ideal, use a reflector; this will significantly enhance any available light and make your subject’s face stand out in a flattering way. If you don’t own a professional reflector, it’s very likely that you can find one in your home: a mirror, a white sheet of paper, kitchen foil, or a Tupperware lid.

Experiment persistently

Most importantly, experiment. Break the rules: create dark silhouettes, work with overexposed shots, and photograph whatever you desire during the magical hour. Enjoy the warmth of golden hour and the softness of duller days. If portrait photography is your niche, experiment with other genres using the same methods. Try out taking photos of flowers, buildings, and objects. Broaden your creative horizons. This will be very evident in your results; additionally, it will transform you into a better photographer and observer of the world.
Whatever you do, don’t stop shooting, and you will thrive in the most surprising of ways. Just remember to embrace spontaneity, listen to your imagination (no matter how bizarre it may seem at times), and find potential in seemingly insignificant details.

Happy shooting!

//

//

Getting creative with foregrounds: How to improve your portraits

When I first started taking photographs of other people, my portraits often ended up looking very similar and much too simple. Though I yearned to have inspirational and visually stunning shots in my portfolio, I couldn’t find a way to create them using the limited amount of equipment I had. Compelling self-portraits were especially difficult to make due to the fact that I had neither a remote nor a tripod at the time. Then, during a self-portrait shoot, I held an object in front of the lens for the sake of experimentation. This created a dreamy effect which slightly concealed parts of my face and highlighted others. The difference a single little thing could make a seemingly simple portrait astounded me. If I could place almost anything in front of the lens and create an interesting photograph, what would happen if I chose my foregrounds according to a theme, an item of clothing, and more?

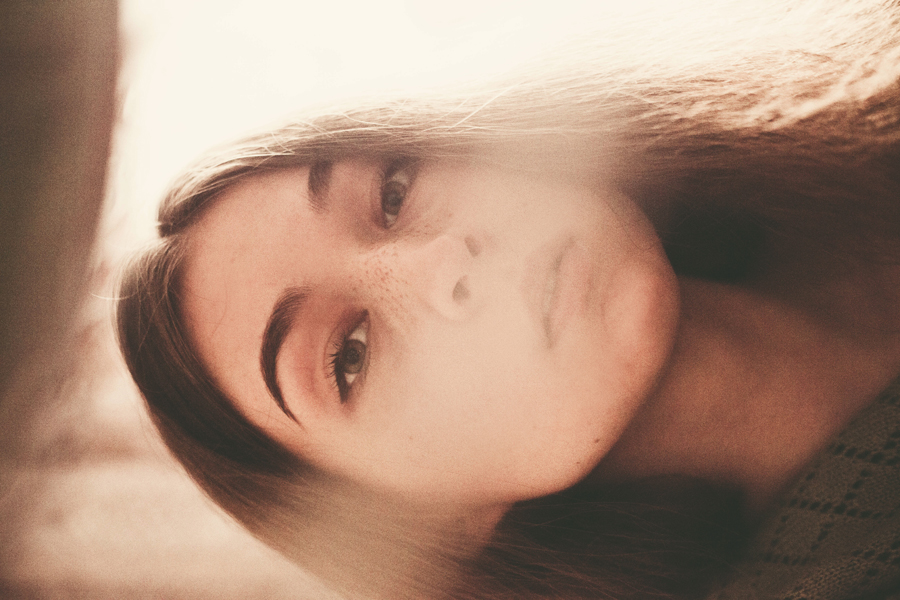
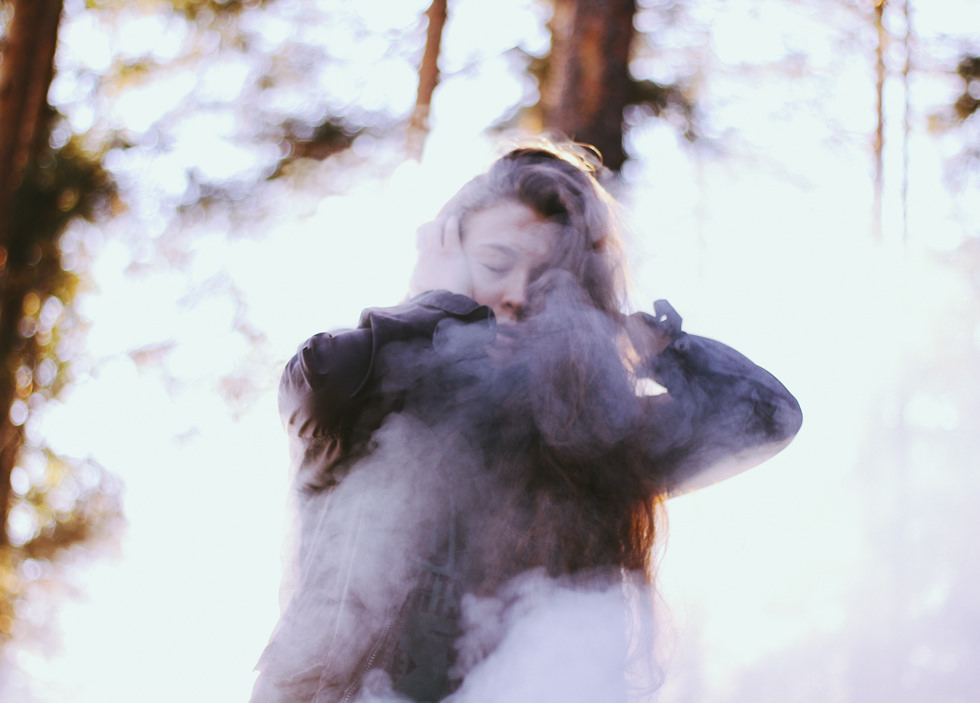
Even if you don’t own a professional DSLR camera, chances are that placing any item close to your lens will cause blurriness. It’s even possible to create such an effect with a tiny camera phone. This kind of blur is ideal for all kinds of photographs, but it’s especially eye-catching when portraiture is involved. Hiding part of your subject’s appearance using things like flowers, hair, and hands will allow the viewer to feel like they’re a part of the story. Like well written stories, photographs that make viewers feel included will glow with potential. Furthermore, these works of art will touch friends and strangers alike, drawing more people to your photographs. Eventually, you’ll find yourself discovering all kinds of ways to include simple things in your photos to create spectacular images. Here are a few tips on how you can get creative with foregrounds:

//

Finding foregrounds at home

Whether you live in a tiny apartment or in an extravagant mansion, you’re bound to find useful, foreground-worthy products in your home. Since foregrounds are barely distinguishable when placed very closely in front of the lens, don’t worry about experimenting with items that aren’t necessarily used in the photography world all that often. For example, reflective kitchen utensils like forks and spoons can serve as great additions to a picture, allowing for shiny-looking results that direct the viewer’s eye straight to your subject. If you’re a fan of animal photography, your pet’s toys could enhance your image’s composition; in addition to having a fun time with your pet, you’ll be able to capture a beautifully framed moment. Take some time to look at your possessions from a fresh perspective, giving everything a chance to become creatively useful.

//

Finding foregrounds in nature

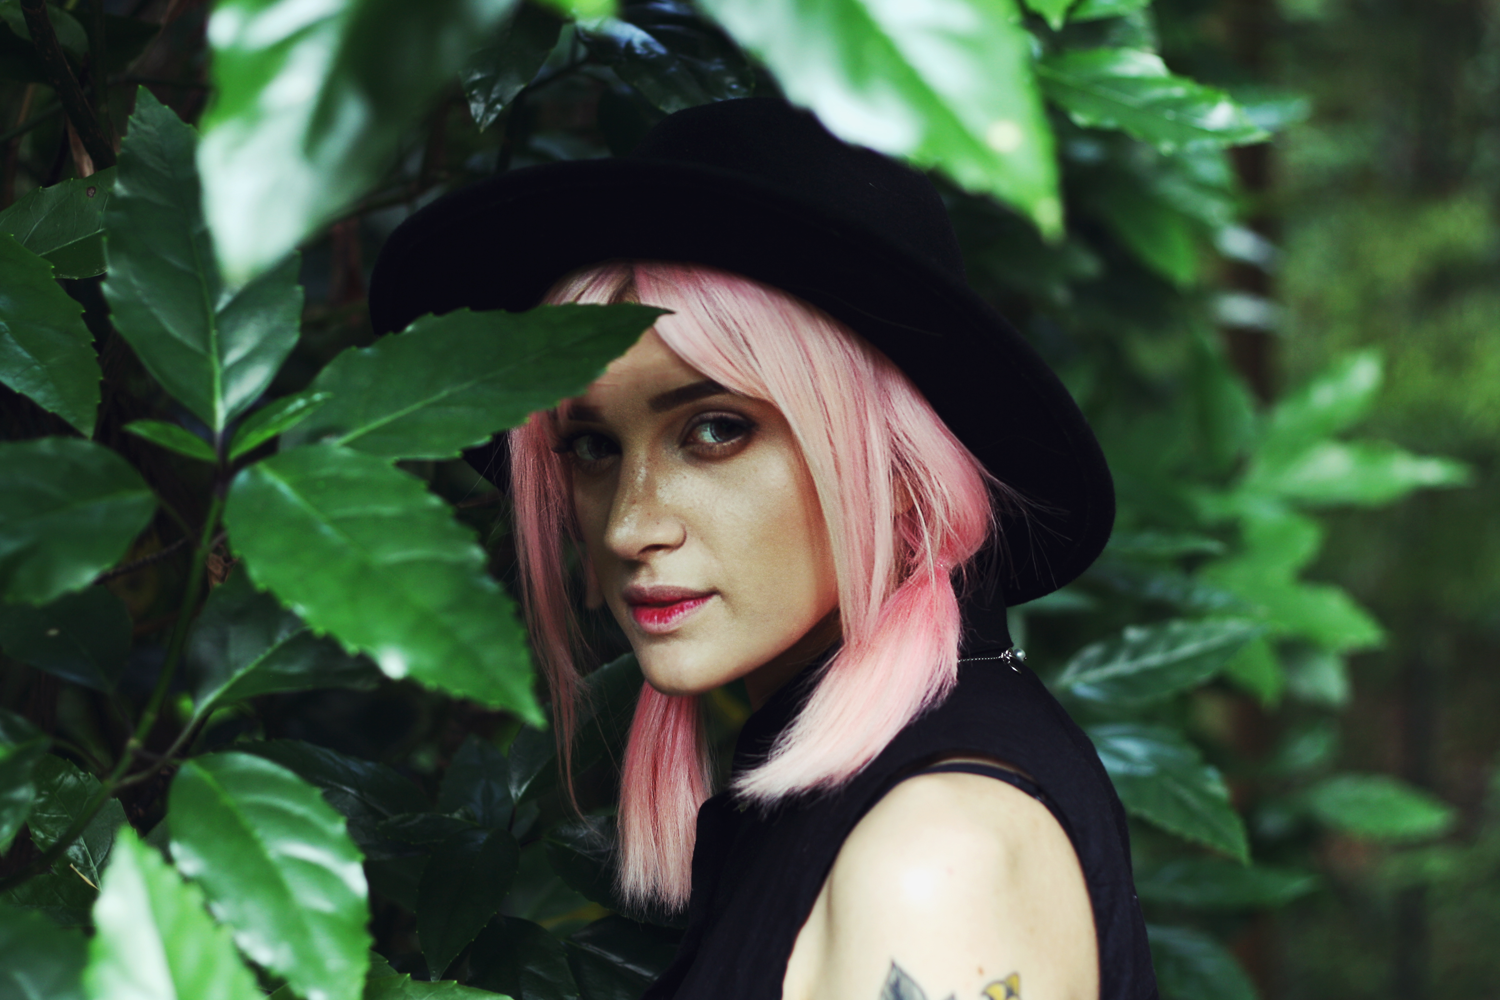
If your own possessions don’t spark ideas in your mind, take a walk. No matter the season, nature is always prepared to help you with your artistic endeavors. Branches, flower, grass, etc., can all serve as brilliant foregrounds. This is especially effective in the early autumn and all throughout spring when nature’s colors are at their most vibrant. Even shooting through a cluster of branches will add vibrancy and mystery to your shot. If you photograph a person using this technique, your results will be gracefully cinematic.

//

Instant foregrounds in portraiture

There are foregrounds which require little to no effort to create. If – during one of your portrait shoots – you’re out of both props and ideas, ask your model to place his or her fingers in front of the lens. By partially covering some of your subject’s facial features, this effect will make viewers wonder what the subject is hiding. Other easy foregrounds include hair and items of clothing.

//

Adding foregrounds in the editing process

If you already have a set of images you wish to enhance, you can do so by adding artificial foregrounds to your shots in editing programs like Photoshop. The Internet has an impressive amount of free texture packs. For instance, a free light leak pack will give you access to an abundance of stunning resources which will add vibrancy and brightness to your images. It’s also very likely that you already have the resources to create eye-catching photographs; look through your old work, especially your travel photos, and experiment with anything that stands out to you. Alternatively, you can look for great content on free stock photo websites; it’s very likely that you’ll find what you need there.

Working with foregrounds will give you a chance to appreciate the beauty in everything. Additionally, it will give you a chance to reinvent your style, discover new ways of photographing and find potential in the smallest details. In general, it’ll make you a better photographer. Always stay creatively curious.

Happy shooting!

How to take emotional and meaningful self-portraits

In today’s technologically advanced world, selfies exist everywhere. With the desire to take a photo of oneself comes the desire to look visually appealing. Subconsciously, many of us seek to look acceptable because we wish to feel accepted and welcome. I myself can relate to this desire, one that has often turned into an obstacle in my creative endeavors. Though this need, which is often desperate, makes many people feel like outcasts because of their insecurities, it mustn’t be chastised. A need for acceptance through photos of yourself doesn’t mean you should ditch the mirrors in your home, abandon the art of self-portraiture, and never look at yourself again. Rather than neglecting your appearance, embrace it in an honest way, finding inspiration in the things you often avoid thinking about. Self-portraiture, in its rawest form, is both honest and gentle, revealing the photographer’s strengths and weaknesses simultaneously. Here’s are tips on how to add more emotions and depth to your self-portraits:

Understand and embrace yourself

It can be very challenging to pick out an emotion and label it accurately. Instead of trying to chase and organize your feelings, remember a movie that really touched you. The movie may not have directly explained the actors’ troubles or joys, but what it did was present you with scenes which flipped a switch in your heart. Photography, like any meaningful film, possesses a similar kind of power. Use this to your creative advantage. Read books, watch films, and listen to stories. As you do these things, your mind will get filled with fascinating ideas and the knowledge that you’re not alone, no matter strange your emotions might seem to you. Storytelling will give you the necessary confidence to take self-portraits, and the heart of a creature belonging to someone else will fill you with inspiration. Watching an incredible film right before a shoot will be especially helpful, as your inspiration will eagerly wait to be used by you.

//

Use nature and objects to intensify your emotions

Weather, colors, movements, and light will all help you reflect your emotions better.
Though facial expressions can often speak for themselves, their effect can be enhanced using things in your home or out in nature. Weather, for instance, can be used either as a dramatic contrast or a direct reflection of the emotion you wish to convey. A self-portrait of a dancing silhouette against a daunting, stormy background has the power to express passion, perseverance, or an inner struggle. No matter how moody or sunny it is in your area, use it to your advantage – if the weather doesn’t match your desired mood, challenge yourself by finding ways to use the current conditions to your artistic advantage.

Other elements that can further highlight an emotion are colors, movements, and light. Colors are especially useful in the editing process, where they can be altered even more to perfectly elevate the image’s atmosphere. Movement can be used to express things like haste, impatience, longing, and fear; a portrait of a person looking frightened in a room filled with falling feathers could express the subject’s fear of moving forward in life. To complement all of these elements, light must be used wisely. Experiment with it as much as you can, even on a daily basis – soon enough you’ll naturally understand what kinds of shadows and highlights would look good in a certain composition. Once you befriend light, things like colors and movements will be bonuses, instead of hindrances, in your work.

//

//

Find yourself in other people

Oftentimes, the people and things we photograph are a direct reflection of ourselves. The famous portrait photographer Richard Avedon once stated, “Sometimes I think all my pictures are just pictures of me.” When we photograph others, we usually capture them in moments we ourselves can relate to. The angles and poses we prefer are often very much our own; even the editing process is a quietly personal one.

Since self-portraiture isn’t all about human faces, take photographs of the people or things you cherish most. If you do want to include yourself in the image, place a mirror next to your subject(s) to get an interesting reflection of yourself. Whatever you do, find details, objects, and colors which speak to you and use them during your shoot. Though the results may not necessarily feature you, they’ll contain the very heart of who you are, and that can certainly be considered a self-portrait.

There are countless ways to take photographs of yourself without prioritizing perfection; photography of all types can be celebrated no matter who or what the subject is. Accepting yourself in spite of your insecurities and worries through art will make you an endlessly empathetic individual. Again, this doesn’t mean that your entire portfolio must consist of very raw photographs; what it means is that when you do feel insecure, dare to embrace it, not conceal it.

//
Happy shooting!

Interview with Katherine Robbins: A Self-Portrait Artist

What inspired you to start taking photographs?

I started photographing at the tender age of seventeen, thanks to a high school friend. She’s an amazing artist who got me into deviantART, where she showed me her favorite photographers, and it all started from there. I remember admiring several artist’s photographs, and soon enough I started getting my own ideas for photographs that would not rest until I executed them.

You take the most exceptional self-portraits. What does a typical self-portrait shoot consist of?

For me, it takes a few hours because my camera is so old. I can’t use a wireless remote, so I always spend a lot of time preparing, making sure that I will be in focus. I really love the light, like most photographers, so I’ll wait until a certain time of day, put on some makeup, grab my reflector, put on some music and start shooting. It could be an initial idea I had or a completely random shot but when I start shooting I forget everything else. Actually, most of the time, the ideas I had in my head change when I’m shooting. I’ll choose a different pose or theme because I start to like it more as I’m getting inspired.

/

What has been your biggest artistic challenge so far, and how did you overcome it?

My biggest challenge so far has just been overcoming my fears and anxiety. I think a lot of artists have that mindset that their work isn’t good, and I am one of those people. So, it’s hard for me sometimes when I don’t get an idea quite right, or if I don’t have the right model or location, but it’s good to just breathe and learn from one photo at a time.

Is there anyone you dream of photographing one day?

I dream of photographing you, Taya. ;3 If it’s someone famous, I would love to photograph Marina Diamandis. I just love her style, and when I watch her music videos I start getting ideas for shoots with her in my head.

You often combine people and nature in your art. What would be your dream location to shoot in?

My dream locations vary so often depending on my mood. But, I’ve always wanted to shoot a model in Salar de Uyuni, Bolivia. The reflections on the ground from the sky and the light just give off the feel that you’re in heaven, floating above everything else. I would love to do a shoot with that kind of ethereal feel. It’s hard to decide though. Anywhere really; this Earth is so beautiful.
/

/

What advice, in relation to photography, would you give your younger self?

Do not doubt yourself, do not be afraid to put yourself out there, find and work with other artists and advertize. If you have a concept, no matter how silly other people might think it is, just do it. Don’t be afraid of your ideas, don’t be afraid of yourself.
What do you do when you feel insecure about your artistic skills?

When I am feeling insecure, I usually watch youtube videos from my favorite photographers, or I look at my favorite photographs. I try to pump myself up, and by looking at the art I admire it revamps my passion and drives me to better myself and execute my ideas better next time.

/

Where do you wish to be, art-wise, in 10 years?

I would love to be a professional photographer here in Japan. But, I also have so many artists I would love to meet and collaborate with. Not only to take photos, but to meet them because all of my photographer friends are the most lovely people. I would love to say that in 10 years I have met them all.

Your photographs are made up of such elegant colors. What is your favorite editing program to use and why?

I use Adobe photoshop cs5. Years ago, I used cs2, which is old now, but it still did the trick. I love photoshop because I can do so much to a photograph with it. I’ve only ever used photoshop, so I’m used to it and I know how to maneuver with it. I use windows, so all of my favorite curves and actions I use in photoshop too.

/

What is the most valuable thing that photography has taught you?

Photography has taught me how to live. How to express myself and my ideas through the lens, how to push the boundaries of my dreams. I wouldn’t be who I am today if I hadn’t picked up a camera. I am so grateful for it.

You can find more of Katherine’s work on Flickr.


Photographer interview: Isabela Mayer

Isabela Mayer is a talented portrait photographer from Londrina, Brasil. Using all kinds of creative techniques, Isabela gracefully captures her models’ inner and outer beauty. In this interview, we talk about inspiration, how she fits photography into her busy schedule, and more.

What inspired you to start taking photographs?

I’ve always liked taking pictures since I was a child, but I think what really inspired me to go after a photography career were book covers. I love reading and even though we’re not meant to “choose a book by its cover” I’ve always done that, the books with beautiful and interesting photos on the cover caught my eye every time.

//

You have a great variety of stunning portraits. How do you make your models feel comfortable in front of your camera?

I feel like I’m a bit of an awkward person, I’ve always been really shy so working with models was a big challenge for me in the beginning. Nowadays I try to relax, make conversation and get to know them. The shots always turn out to be a lot of fun!

Judging by your gorgeously edited photographs, you seem to be very familiar with post-processing. What do you love most about editing?

I love choosing the colors I’m going to use for each shot. I feel like that’s a big part of how I make my images look my own.

//

In relation to the previous question, what’s your favorite editing program?

If I could only choose one I’d say Lightroom, it is so versatile! But I don’t think I could live without Photoshop. I usually combine both.

Since your portfolio is rich with portraits, what’s one piece of advice you’d give to someone who’s about to have their first client shoot?

I’d say take your time. Don’t be nervous and rush things, check your camera a couple of times to make sure you are happy with your images, the important thing is the final result and not how fast you end the shoot!

//

What parts of the photo-taking process do you find most challenging?

Finding locations. I live in a region where everything is green and not that interesting and the buildings are not that pretty either… I have to improvise and choose my angles well to make it work.

What do you wish you had known when you first started shooting?

I wish I had known more about photography equipment. When I first started out I spent all my money on the wrong things and later had to change all my equipment so it fit my purposes better.

//

You’ve grown so much as an artist over the years. What has been the biggest obstacle in your journey so far and how did you overcome it?

Thank you! My biggest obstacle is definitely university. I study architecture full time, so it’s a struggle to find time for photography. I think I’ll only overcome it when I graduate, haha, but as of now, I do my best to fit shoots into my crazy schedule, even if it means not sleeping much!

Is there any type of photography genre you’d like to experiment with more?

I think wedding photography. I’ve started taking photos of couples lately and it’s so captivating! I like the idea of telling stories through my photographs and there’s nothing quite like a good love story. Also, I love capturing feelings.

//

And finally, what do you tell yourself when you feel insecure about your work?

When I feel insecure I usually just take a break, watch films, distract myself for a bit so I can start having ideas and getting excited to photograph again. I try to always keep in mind that photography is a never ending learning experience, you are always learning new things and improving and sometimes that involves making mistakes or criticizing your own work.

//

You can find more of Isabela’s work on Facebook and Instagram.

Photographer interview: Ines Rehberger

Ines Rehberger is a very talented portrait photographer from Germany. Her photographs possess raw beauty, honesty, and an infinite amount of stories. I had a chance to ask her about the value of lighting, her working process, and more. I hope Ines’ outlook on life motivates you to believe in yourself and look at life from a different perspective.

What inspired you to start taking photographs?

I grew up being an art-focused child. I loved to draw and paint. But it never fulfilled my aim to show who I am inside. I wasn’t able to make myself happy with what I did. So one day I grabbed my mom’s pocket camera and started taking pictures of friends and myself and since those days I never stopped. Photography opened a world of endless possibilities to capture my soul, to create worlds and transfer feelings.

//

Your portfolio is beyond stunning. Which photograph of yours is your favorite and why?

Thank you so much! Since I’ve been taking pictures for many many years it is really hard to pick a favourite. It also depends on my mood. But as I’m sitting here, feeling kind of Scotland-homesick I have to go with this one featuring my host mom Therèse:

//

The quality and creativity of your images are extremely impressive. What does a typical portrait shoot consist of?

You’re making me speechless! Thanks again! Well, usually I welcome the model at my home and we have a chat and maybe a tea and talk about ideas and choose some outfits. My shootings are very spontaneous. Whatever happens, happens. And most of the time I’m happy about it.

Every person you photograph possesses raw honesty and such touching emotions. How do you make your subjects comfortable during a shoot?

To me, it is very important to talk to the model like I talk to everyone else. I don’t treat them like clients. I want to get to know them and in the same way, I tell them about myself. Once there is a state of trust it is quite easy to tell someone what kind of emotion I’d like to have for a portrait.

//

Your relationship with light is phenomenal. What lighting-related advice would you give to an aspiring photographer?

I’d tell her/him to go and try as many light situations as possible. Natural light, as well as artificial light. There are so many ways to create beautiful light situations without having to spend money. I personally love to use mirrors to reflect light or use a flashlight through glass. Car lights and traffic lights also create amazing effects.

You’ve shot so many interesting people. Is there anyone you dream of photographing one day?

Sometimes I dream about taking pictures of celebrities like Lana Del Rey or Benedict Cumberbatch. Some people say: dream big, but at the moment I like to take pictures of the people I trust and love the most and in my opinion, they are just as interesting as celebs.

What has been the most challenging creative obstacle in your life so far, and how did you overcome it?

I actually just overcame it. I was really struggling with my work. I still like my old style of photography but it came to a point that I realized it wasn’t what I truly wanted to do. I felt like I was simply taking the pictures people expected me to take. I took a rather long break and came back as motivated as I used to be. Now taking pictures became a rare thing for me but it is more intense than ever before.

//

If you could visit your past self, what art-related advice would you give her?

Always trust in art. It will never let you down.

Most of your photos are accompanied by intriguing titles (such as “lumen” and “in winter when I bloom”) which deepen the value of your photos. How important are titles to you and why?

Titles can be important. There were times I wanted to title every series and every portrait I took. With time they became less important to me. Sometimes I want people to find their own stories and ideas for my pictures.

//

What 3 tips would you give to a beginner in photography?

1-> Believe in yourself
2-> Be yourself
3-> Take your camera and go outside and take pictures of random things and love the possibility to freeze anything you want in time. You’re a magician!

You can find more of Ines’ work on her Flickr and Facebook.

Hiding and highlighting facial features

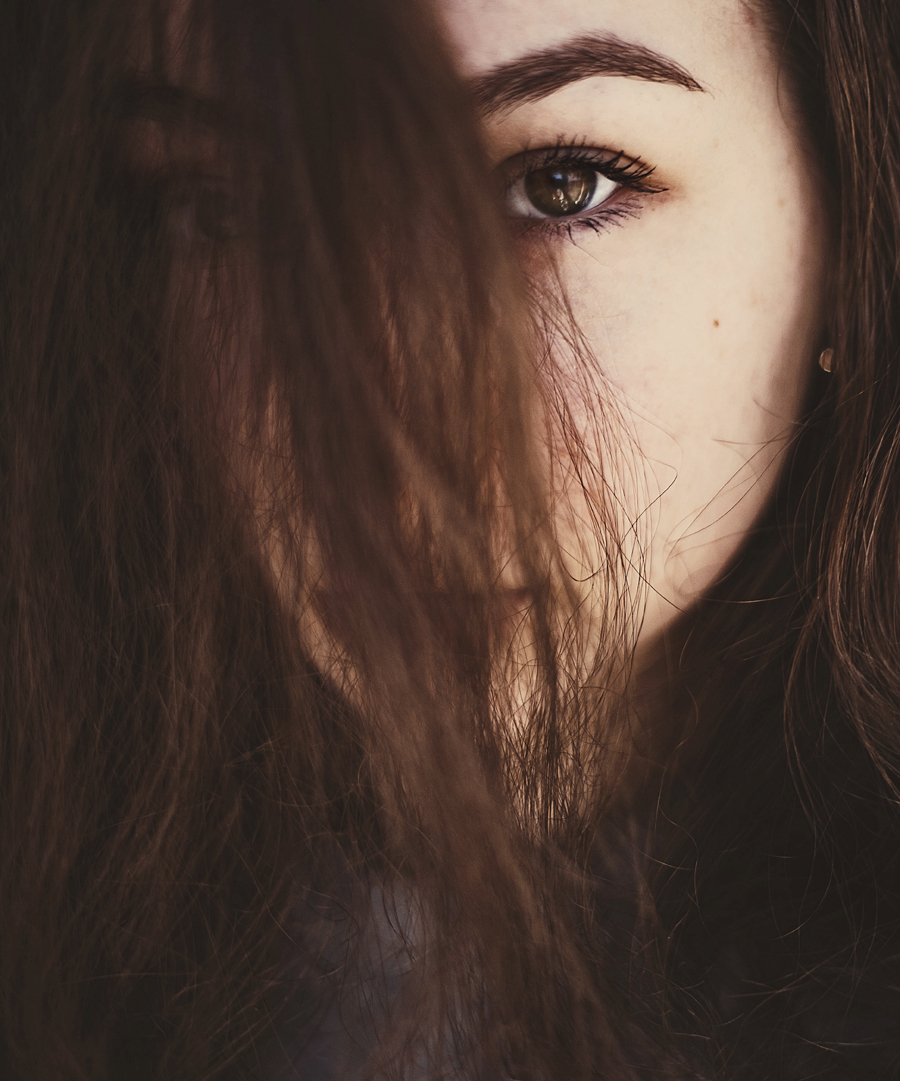
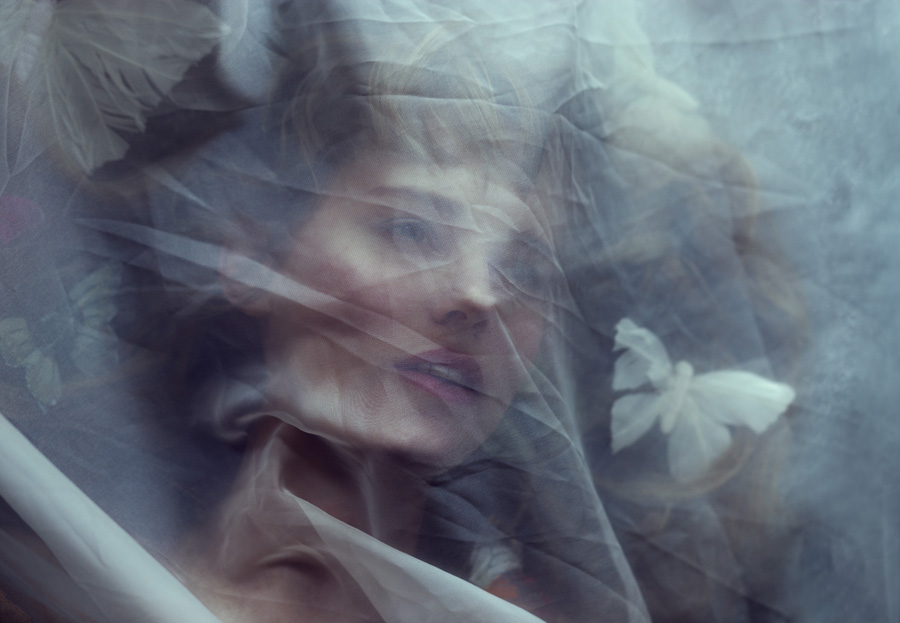
At times, the key to a unique portrait is a touch of mystery: hands covering an eye, windswept hair sheltering half a person’s face, a seemingly simple texture highlighting one’s lips. These subtle layers of obscurity create fascinating – sometimes even abstract – works of art, ones which amuse their viewers and make their creators beam with pride. Transforming simple portraits into creative, eye-catching ones isn’t as challenging as many artists believe. Even if you’re short on time during a shoot, you can still take gorgeous photographs which will please both you and your subject. Here are tips on how to do this.

Hair

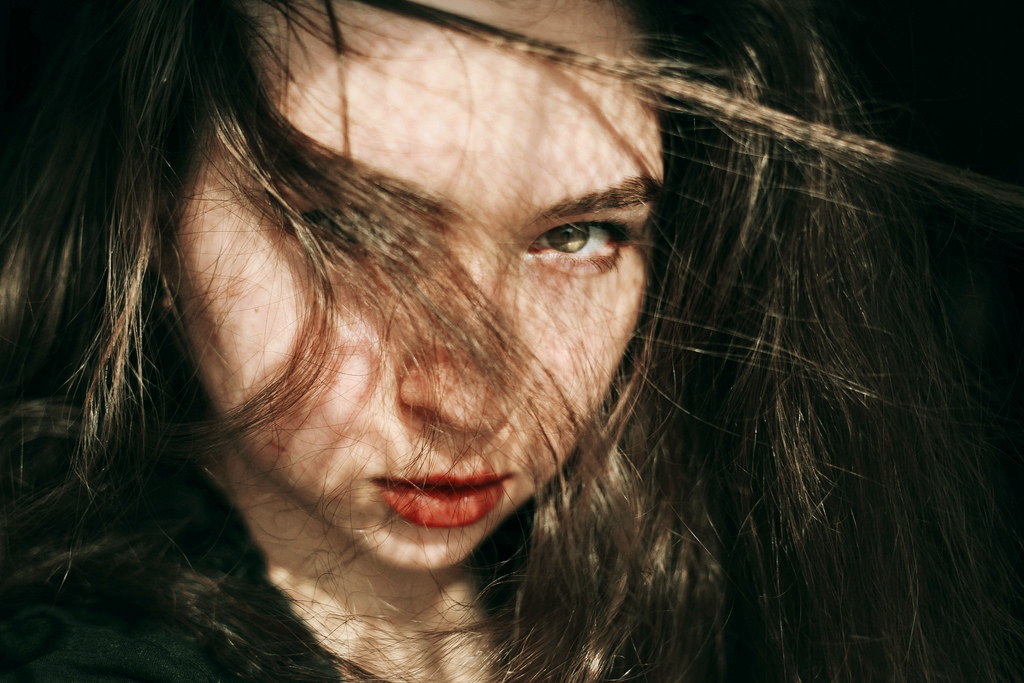
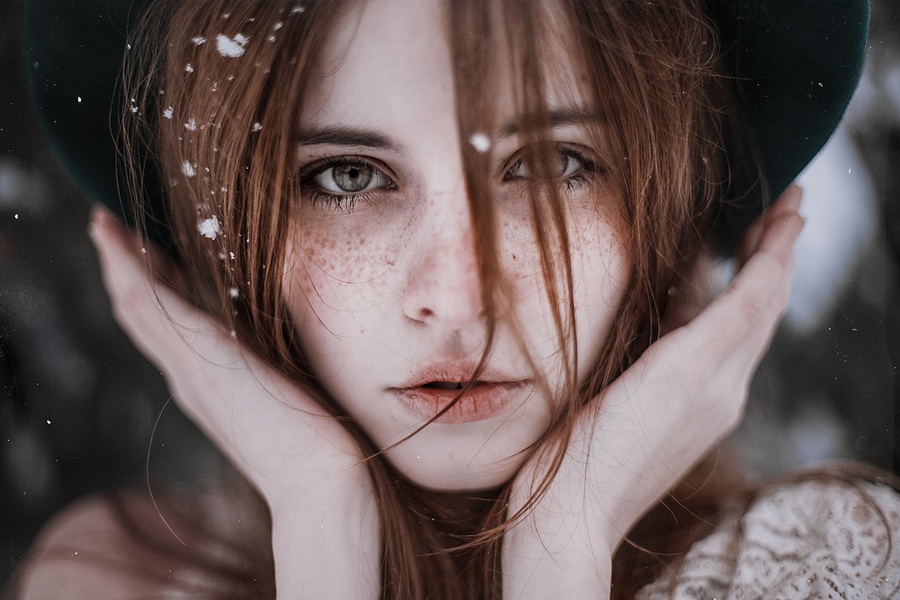
We’re all familiar with portraits in which the model’s face is hiding behind vibrantly colored locks. The impact such images have aren’t capable of losing their allure since there’s an overwhelming amount of hair textures and colors out there. No matter how cliché such images might seem to you, try covering your subject’s face with their hair and see if the results pleasantly surprise you. 🙂

//

//

Foregrounds

Foregrounds possess an infinite amount of creative possibilities because they can be almost anything, from a tattered curtain to a wrecked window pane in an abandoned house. These objects, visually appealing or not, will inevitably increase the meaning of your images and add a great creative touch to them. Foregrounds are blurred most of the time, so how they look shouldn’t be important to you. Experiment with shapes, sizes, and patterns, remembering to hide parts of your subject’s face at the same time. The results will impress both you and others.

Cropping

The cropping tool is perfect for creating mysterious photographs. If you find an image too dull and exposed, forget the rules for a moment and crop part of your subject’s face. Experiment fearlessly with this tool and see what looks right to you as an art-loving individual. Combining intriguing foregrounds and cropping half of your subject’s face to expose their eye, for example, will create an image the story of which others will want to know. Similarly, you could conceal your subject’s face with their hair and crop out their lips. Photos of this sort are a great way to experiment with compositions and to challenge yourself as a photographer and editor. Additionally, mysterious (yet at the same time, simple) photos like this are often used for book covers, a huge plus which will inevitably enrich your portfolio.

//

//

Hands

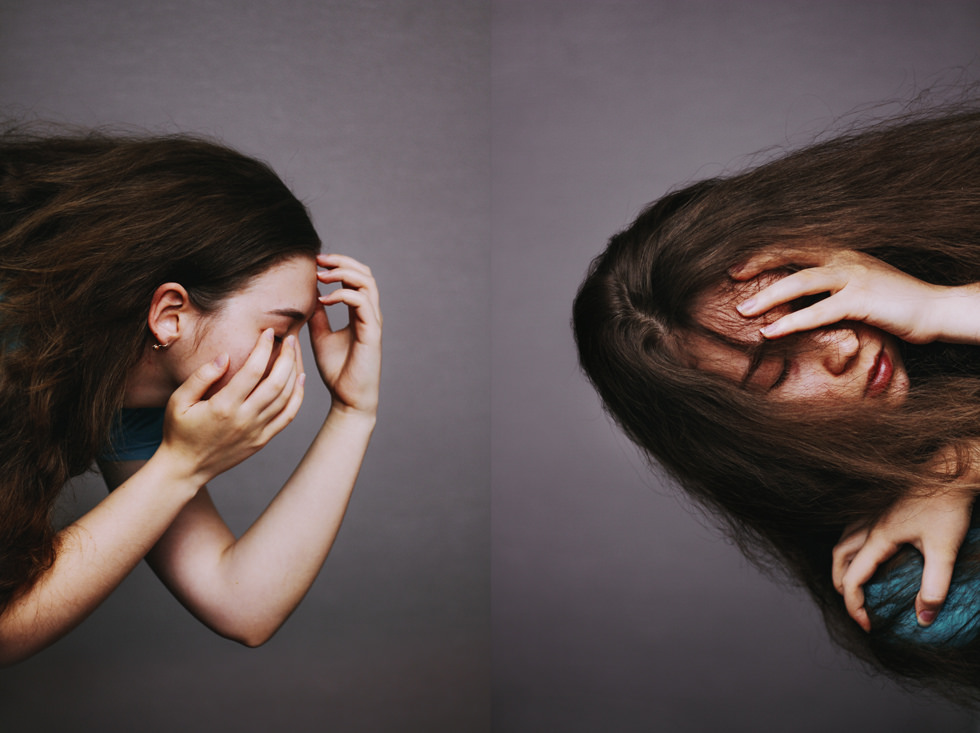
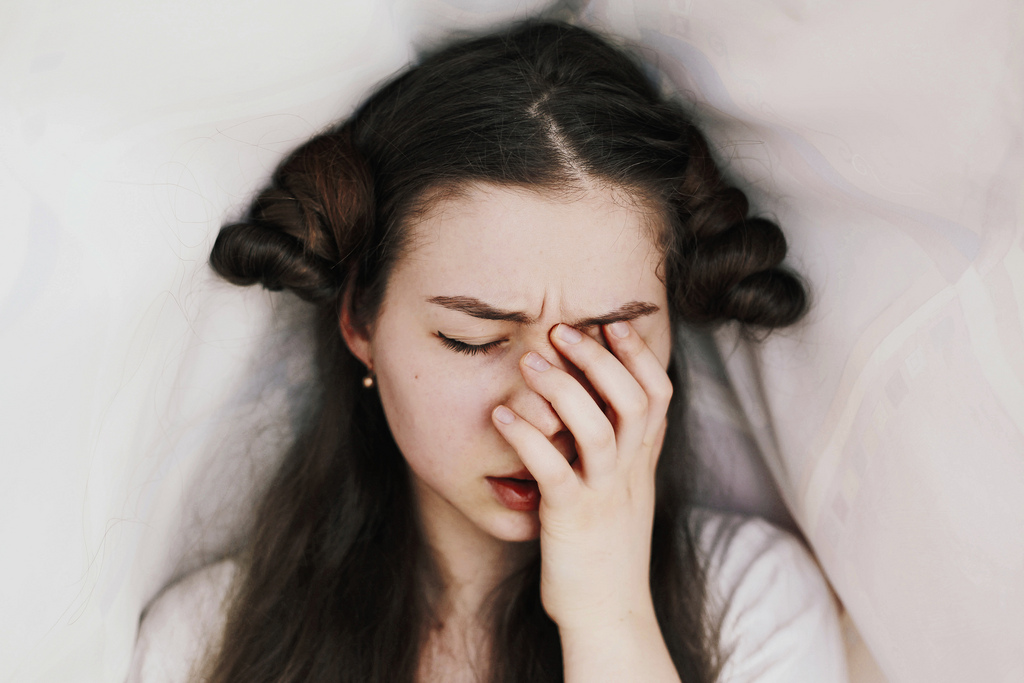
Since hands are capable of reflecting a plethora of emotions, adding them to your portraits will give them even more potential to touch your viewers. If you wish to give your photos a fragile touch, photograph your subject peeking at the camera through their fingers. If you want to achieve a feeling of inner strength, shoot your subject while they’re covering their mouth during a carefree moment of laughter. These interactions and “disguises” will add an interesting element to your photograph, something that’ll make your entire portfolio stand out.

//

Light

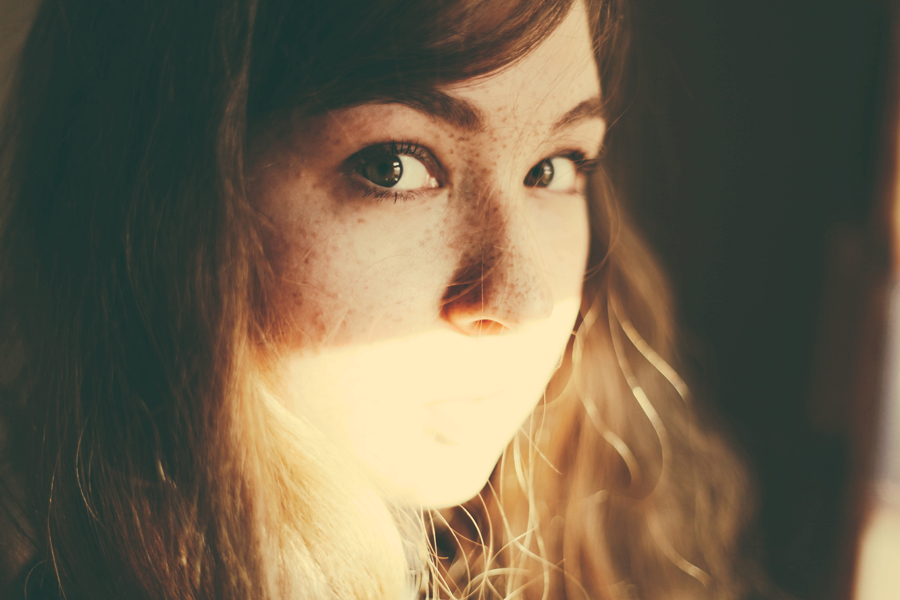
While overexposure is often looked down upon, it can prove to be a useful tool for photographers. In the image below, the lower part of the subject’s face is overexposed, giving a powerful idea of silence. Her surprised and almost pleading expression adds to the image’s quietening atmosphere, further strengthening the concept of silence. Thus, finding patches of light and concealing/highlighting certain facial features will not only make your images interesting to look at, but it will also intensify their meaning.

//

Objects

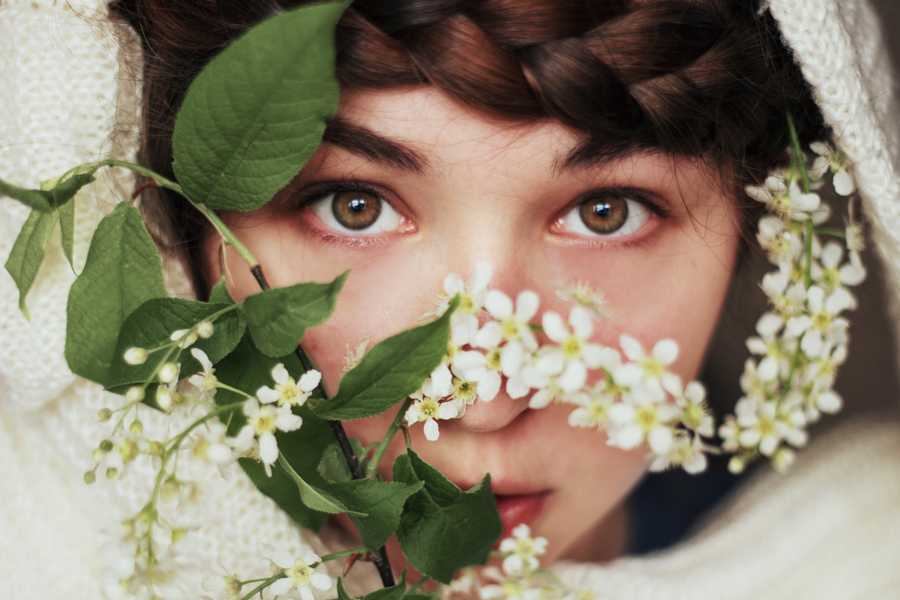
While foregrounds serve as composition enhancers, objects like plants can be used to both hide parts of a face and become a part of it. Flowers are ideal for this as they’re photogenic and capable of beautifully complementing a face. (For example, simple white flowers could enhance a natural makeup look.) If you’re having a (client) shoot outdoors, make the most of nature, especially branches and flowers. Hide certain facial features using nature to tell a powerful story. (If you don’t have a desire to strengthen your storytelling skills, this method will still work for you.)

//

Textures

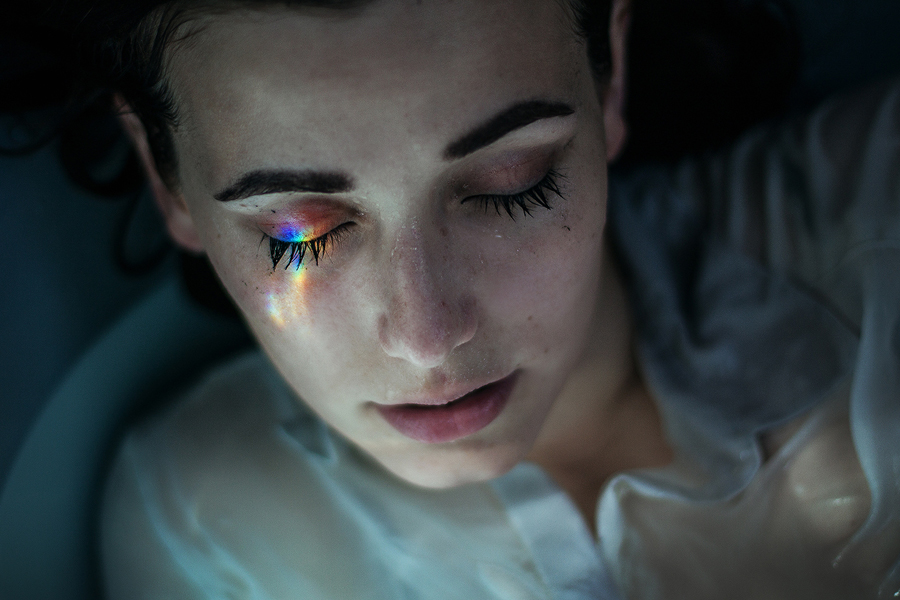
The Internet is brimming with textures of all sorts. Even if you’re not experienced in Photoshop, you can master textures within a few minutes thanks to the abundance of free tutorials out there. Textures are valuable to all kinds of photographers – they add gorgeous details to images that would’ve been too simple without them and are capable of concealing unwanted details. Furthermore, they just make your image look great. Use them to your creative advantage, whether it’s to cover an eye using a light leak or to hide everything saves your subject’s lips using a stock photo of water.

//

What story do you want to tell? Will hiding your subject’s eyes and focusing on his or her lips reflect your unique story? Will cropping half of their face make a strong point? Prepare ideas before your shoot, taking the time to consider your shooting location and your model’s features, and you’ll end up with impressive, incredible results.

Good luck!