Tag: posing

What to Avoid When Posing Models: A Reference Guide

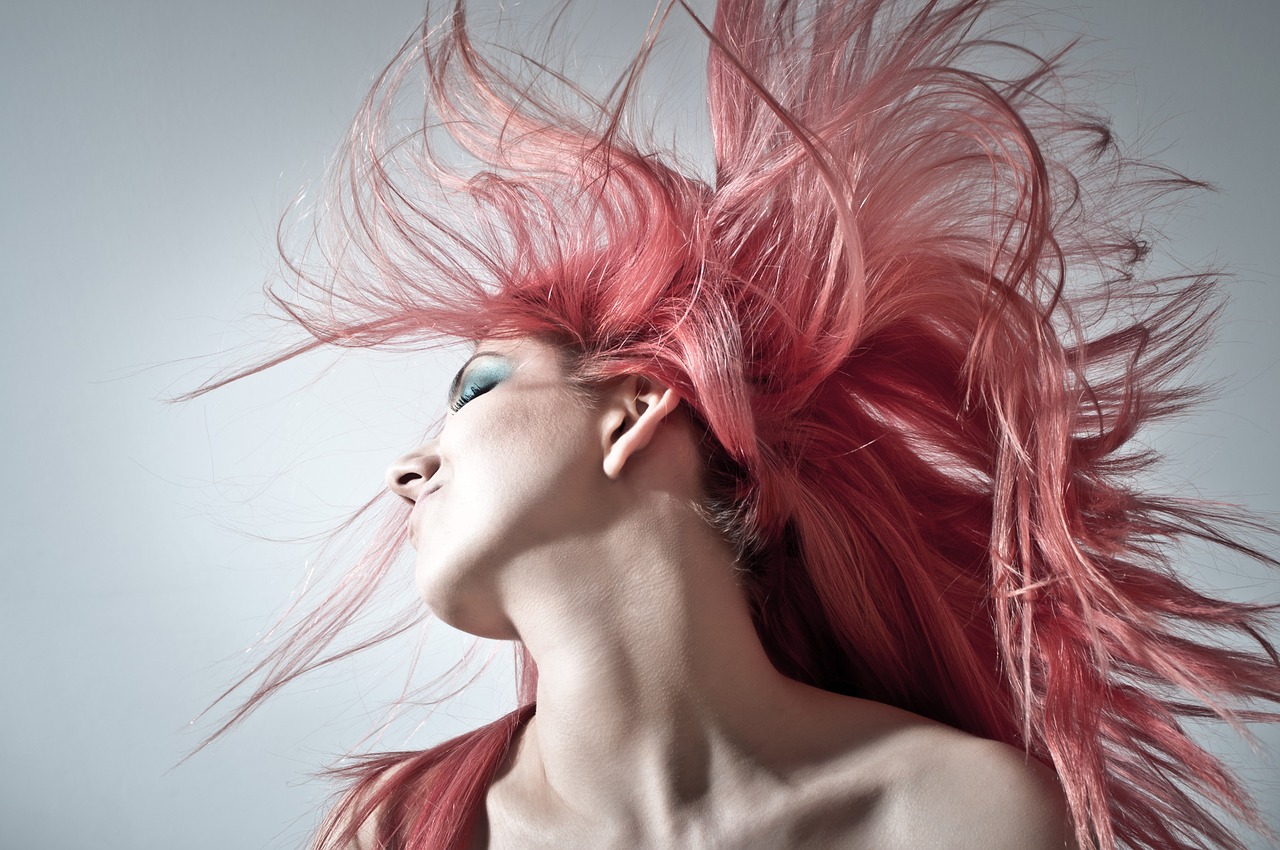
If you’re active on social media, you’re probably familiar with the perfect photo: a body-flattering pose, a breathtaking expression, and a look that speaks of pure confidence. It may seem like the models in such photos are naturally perfect and that nobody else can even dream of modeling the same way. The truth is that these individuals simply have a strong knowledge of posing which greatly contributes to their modeling success.

Certain angles can make even the most stunning models look unappealing. Every person has a variety of expressions and poses that can make or break an image. It’s up to you to help your subjects find these strengths. To do this, you can show them what not to do. The reason this approach works is that mistakes, unlike ideal poses, are universal; anyone can learn from them. Once your subjects know what to avoid, they’ll discover confidence-boosting poses that will not only make them look incredible in your photos but give you a chance to take your work to the next level. Let’s begin!

model posing out in nature

Don’t Make Them Uncomfortable

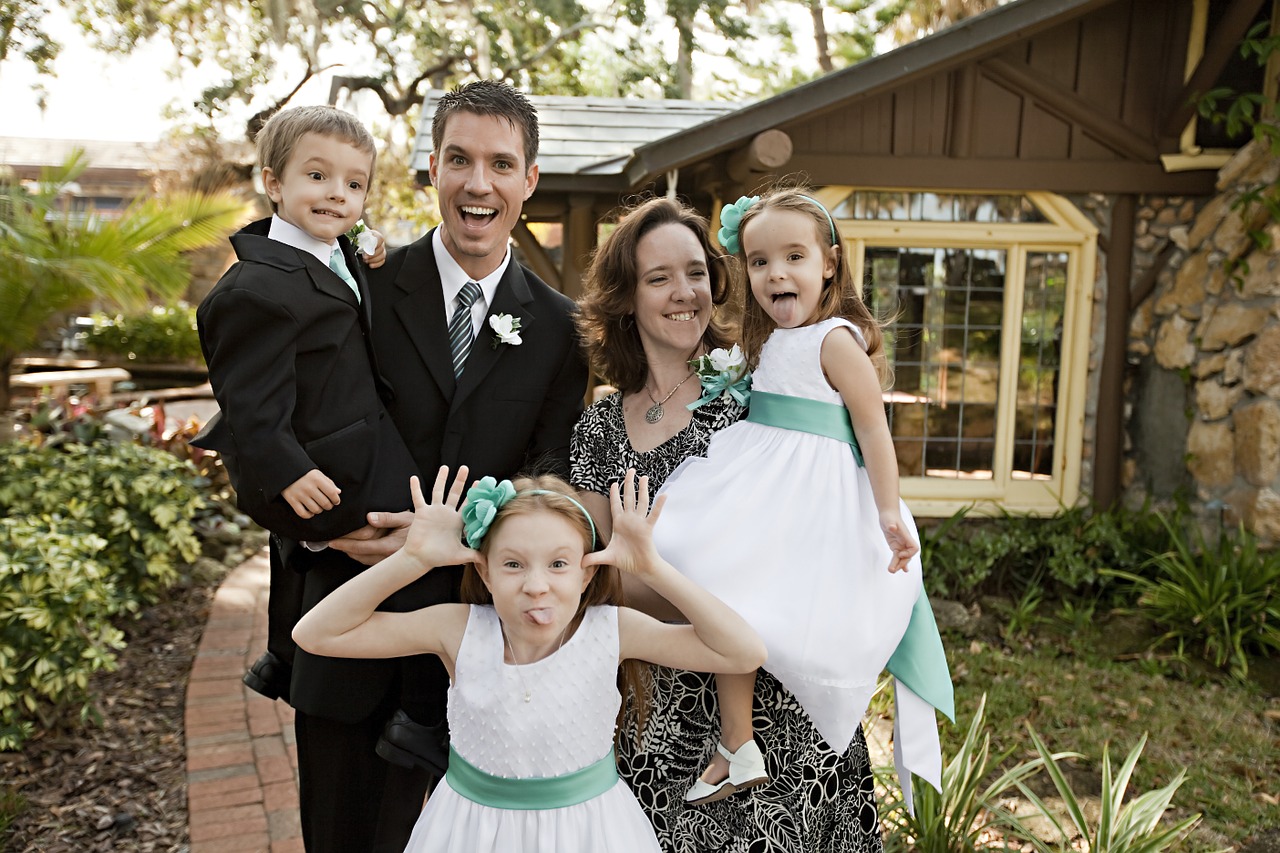
Awkwardness and posing don’t work too well together. An overload of compliments, criticism, or silence will make any model feel out of place. If you don’t want to try too hard and give the wrong impression, get to know your subject’s personality first. This will help you understand the kind of treatment they’d be happy with. Even a short conversation will reveal their personality and, in turn, allow you to reveal yours.

Don’t forget to talk about yourself, too. Opening up to people will make you appear relatable, charismatic, and friendly. You and your model may find mutual interests or acquaintances that will help you bond during the photoshoot. And even if you don’t perfectly click with someone, there will always be an opportunity to make them feel good in your presence.

man standing in front of wall

Don’t Ask Them to Pose Immediately

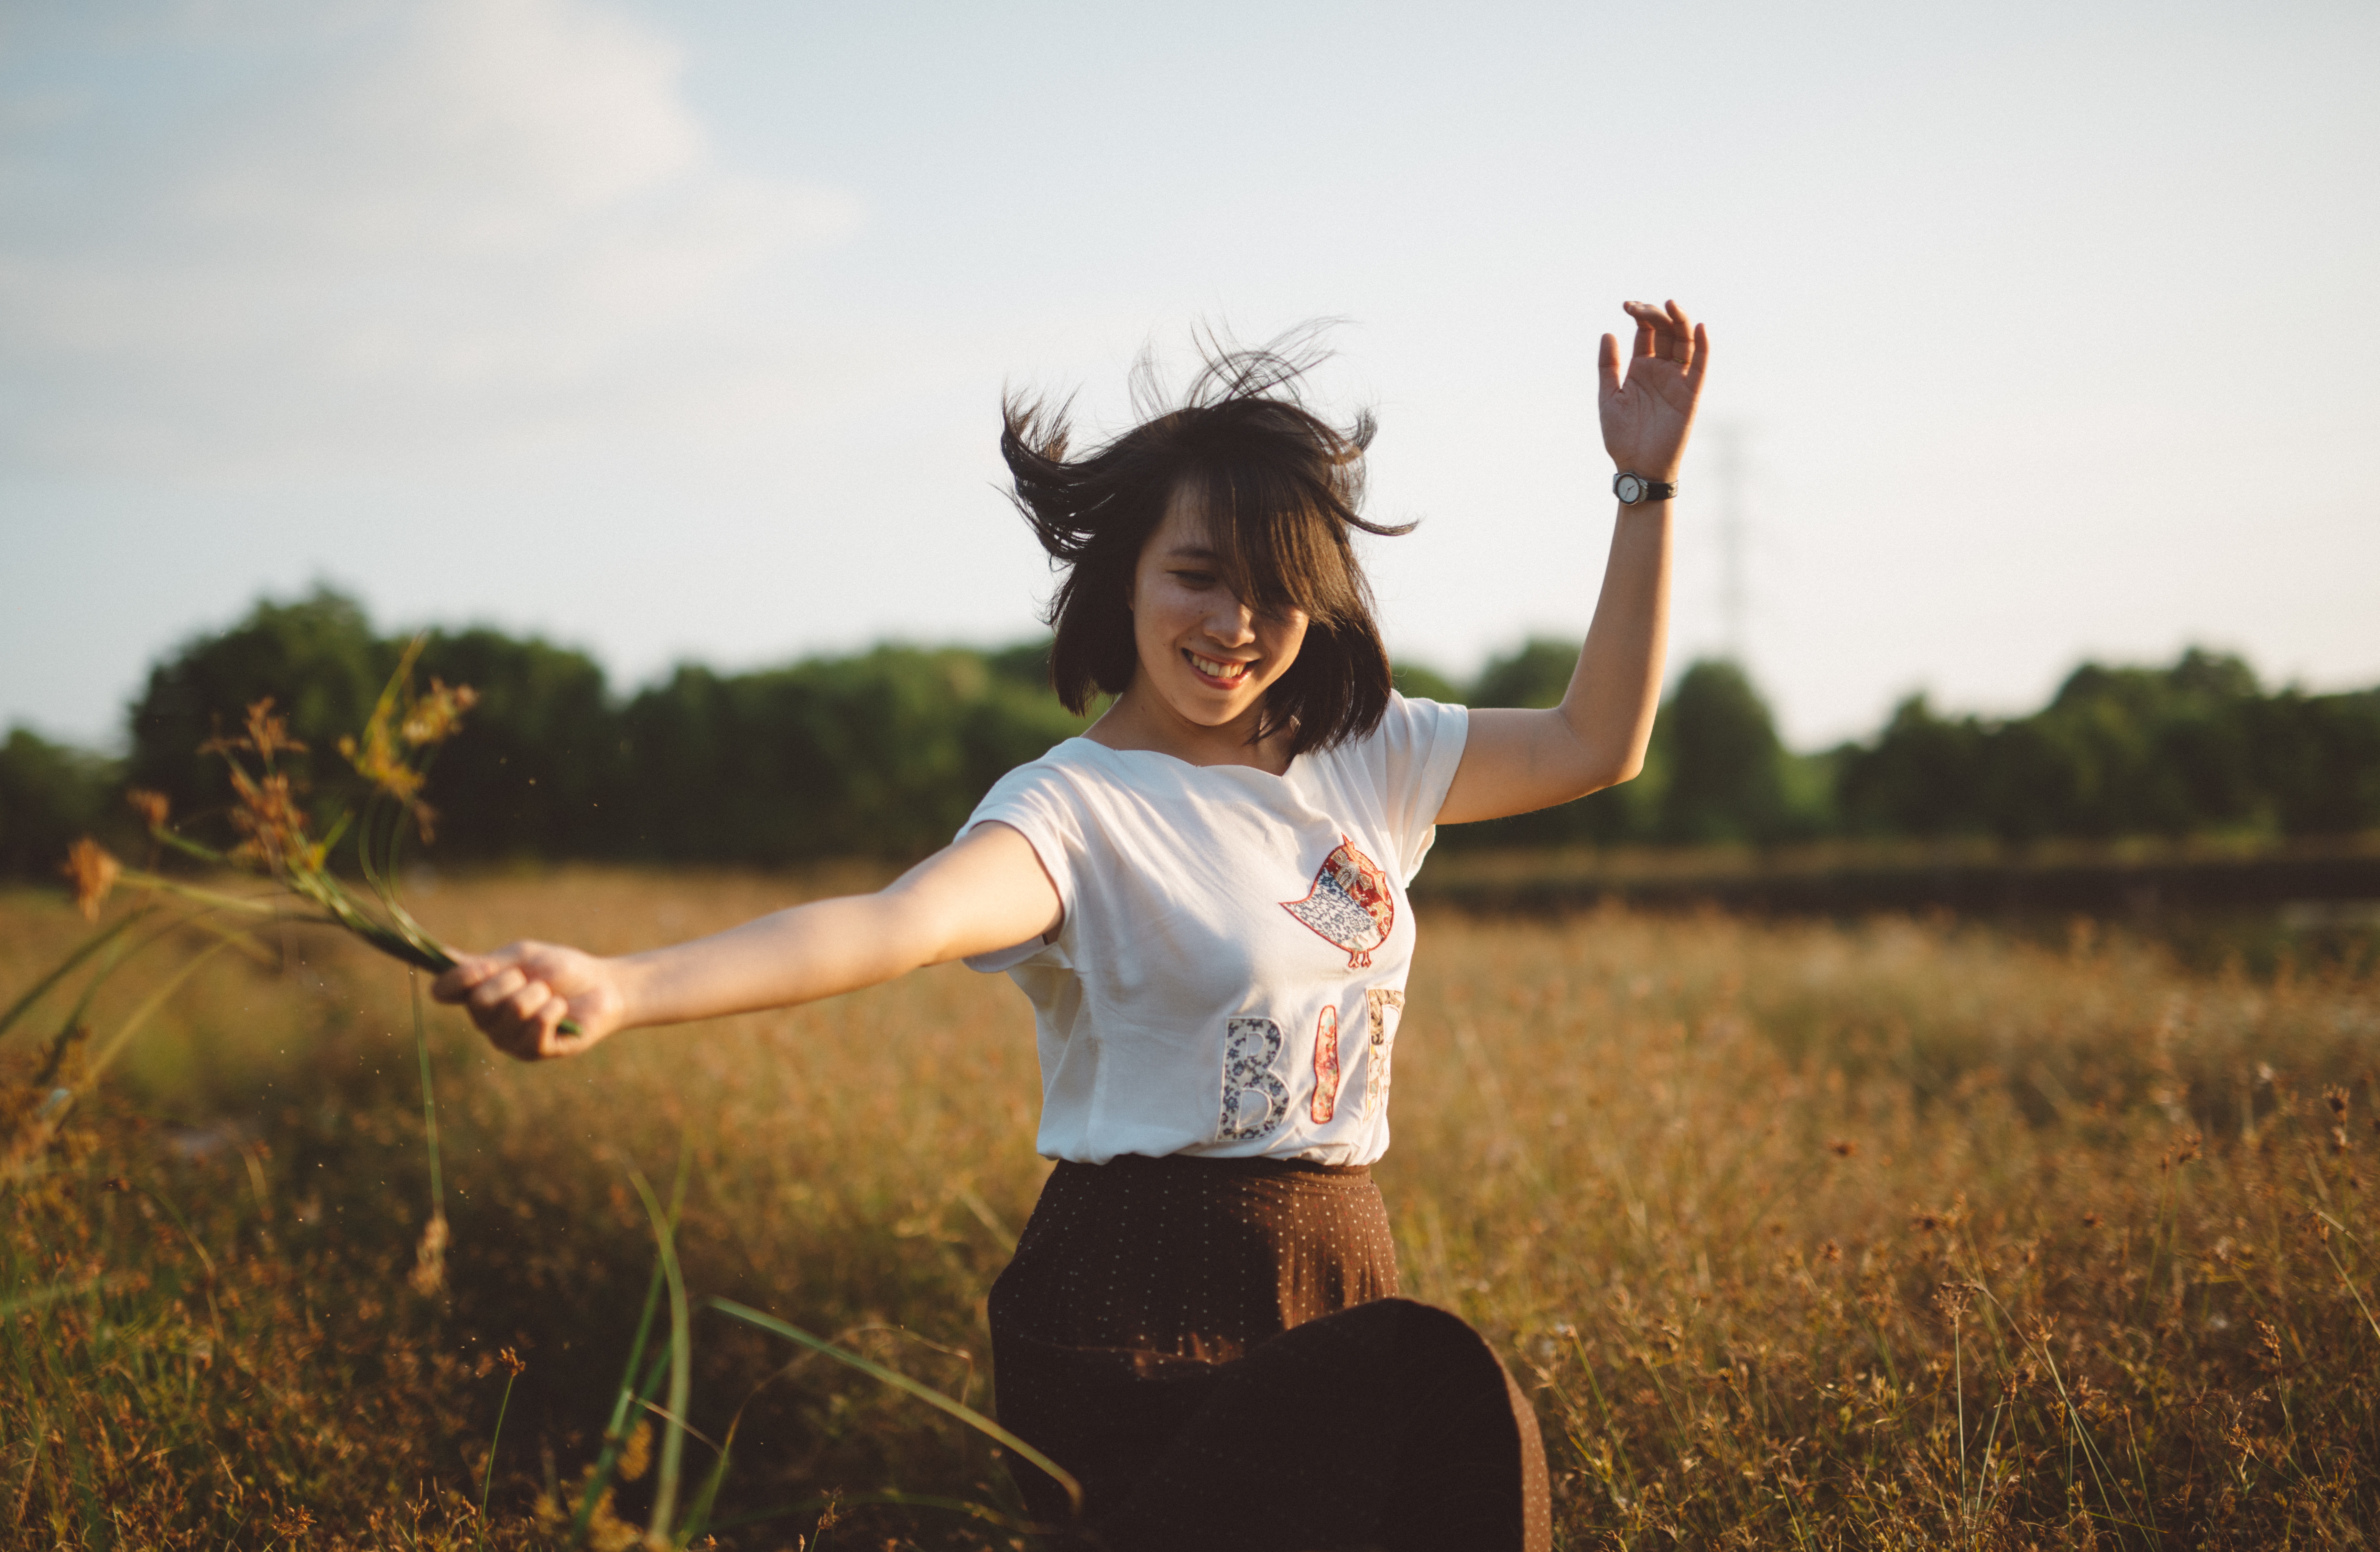
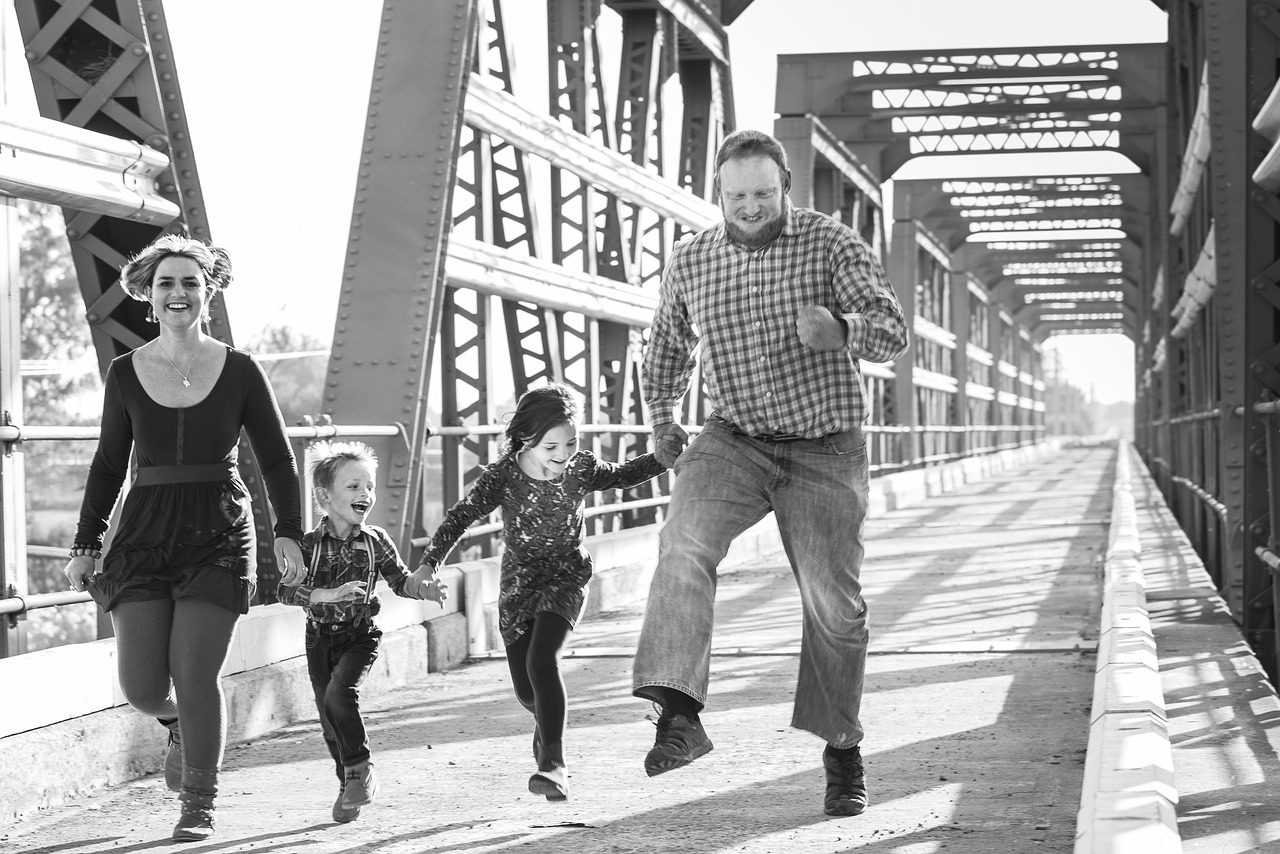
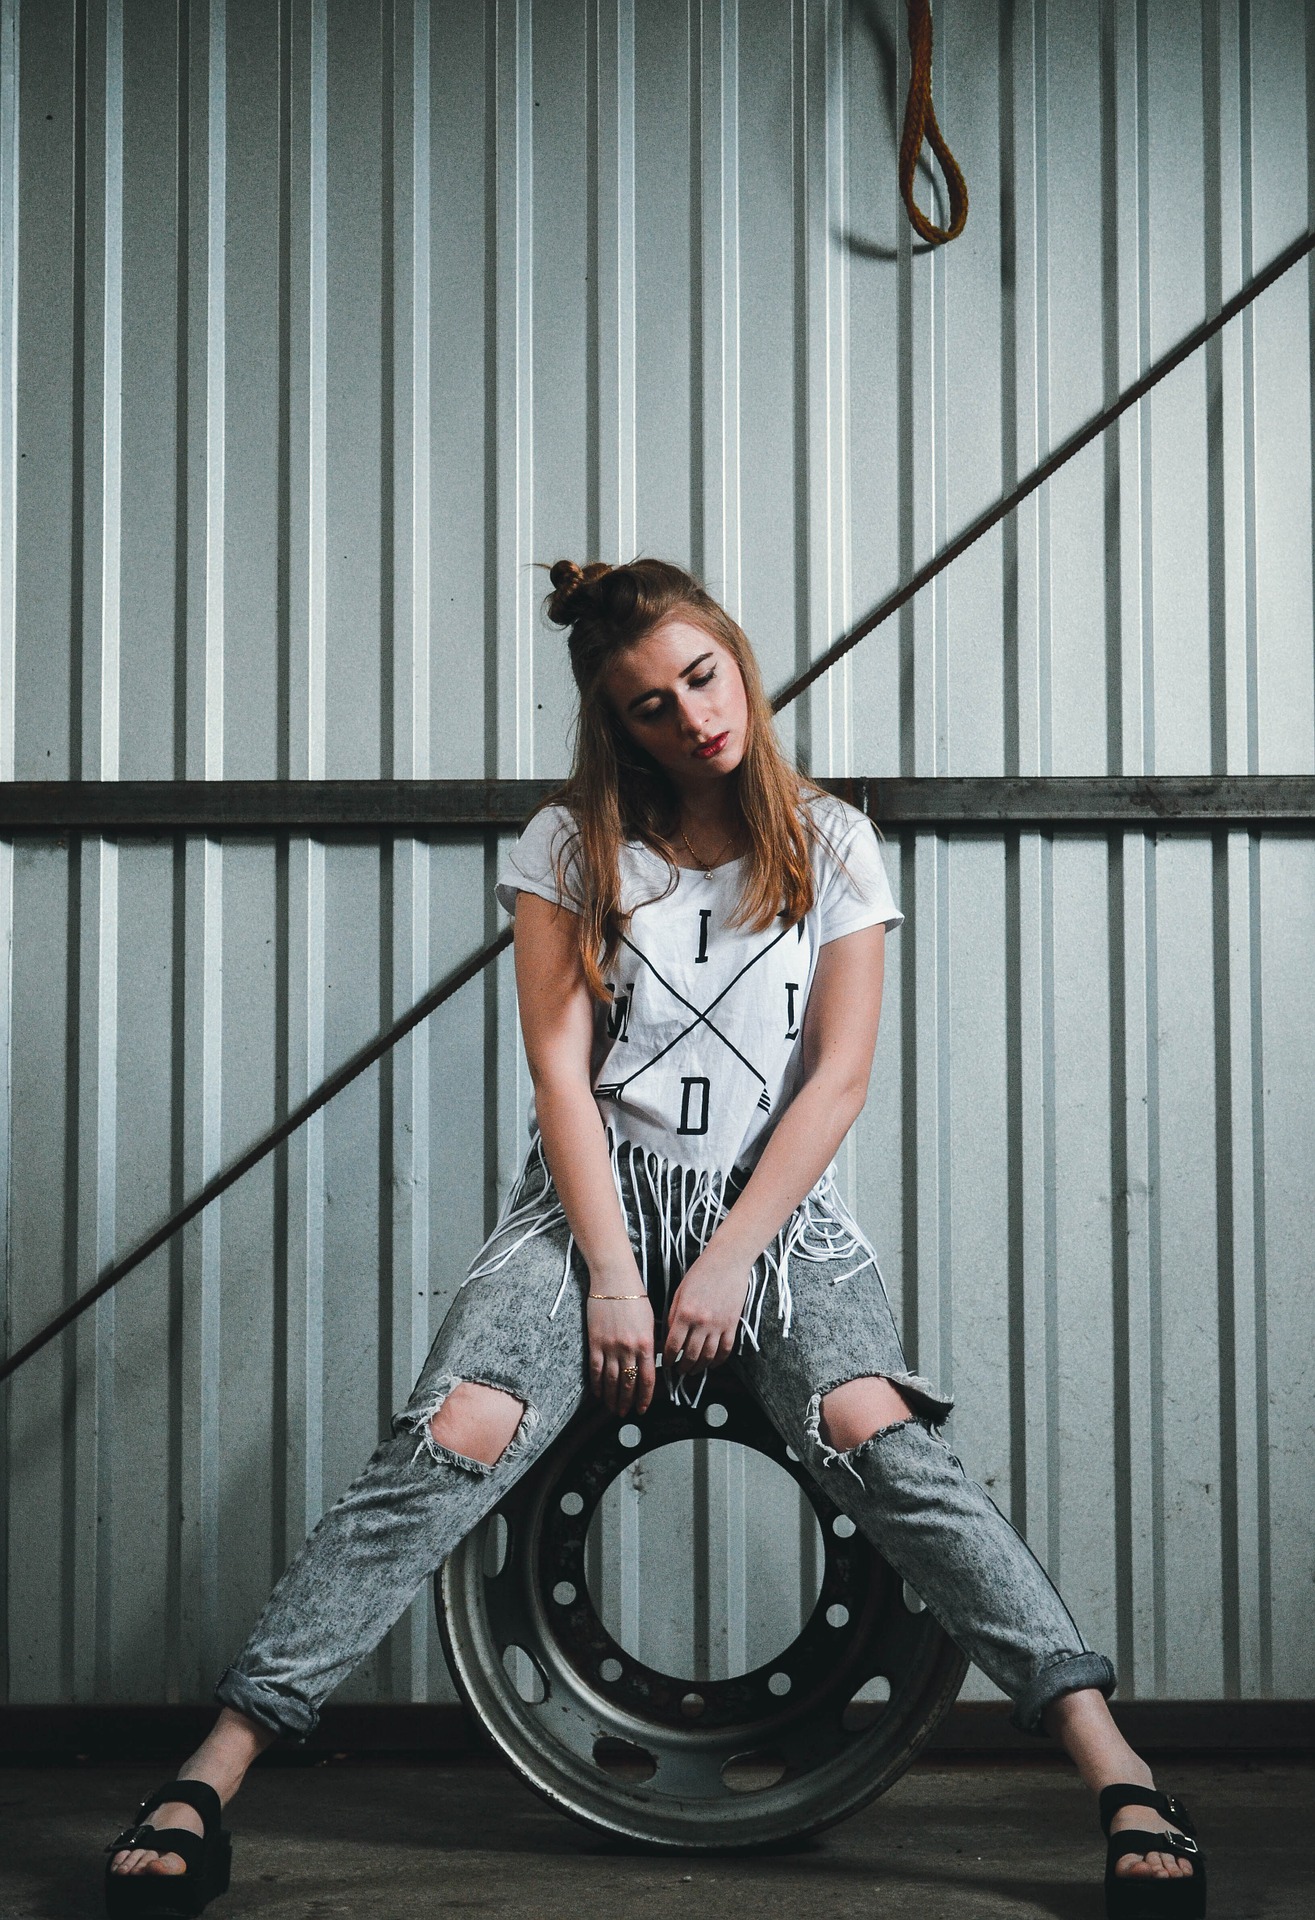
Many photographers treat posing like acting. Instead of telling their models to strike a pose, they ask them to move around, interact with their surroundings, and visualize something specific. This may not appeal to every person you work with, but there’s something important you can learn from it: giving your models room for imagination will help them pose naturally. Spontaneity, in addition to a lack of strictness, will open up many creative doors for you.

model posing outdoors

Avoid These Poses

Once your model feels comfortable in front of your camera, it’s time to let him or her know what to avoid:

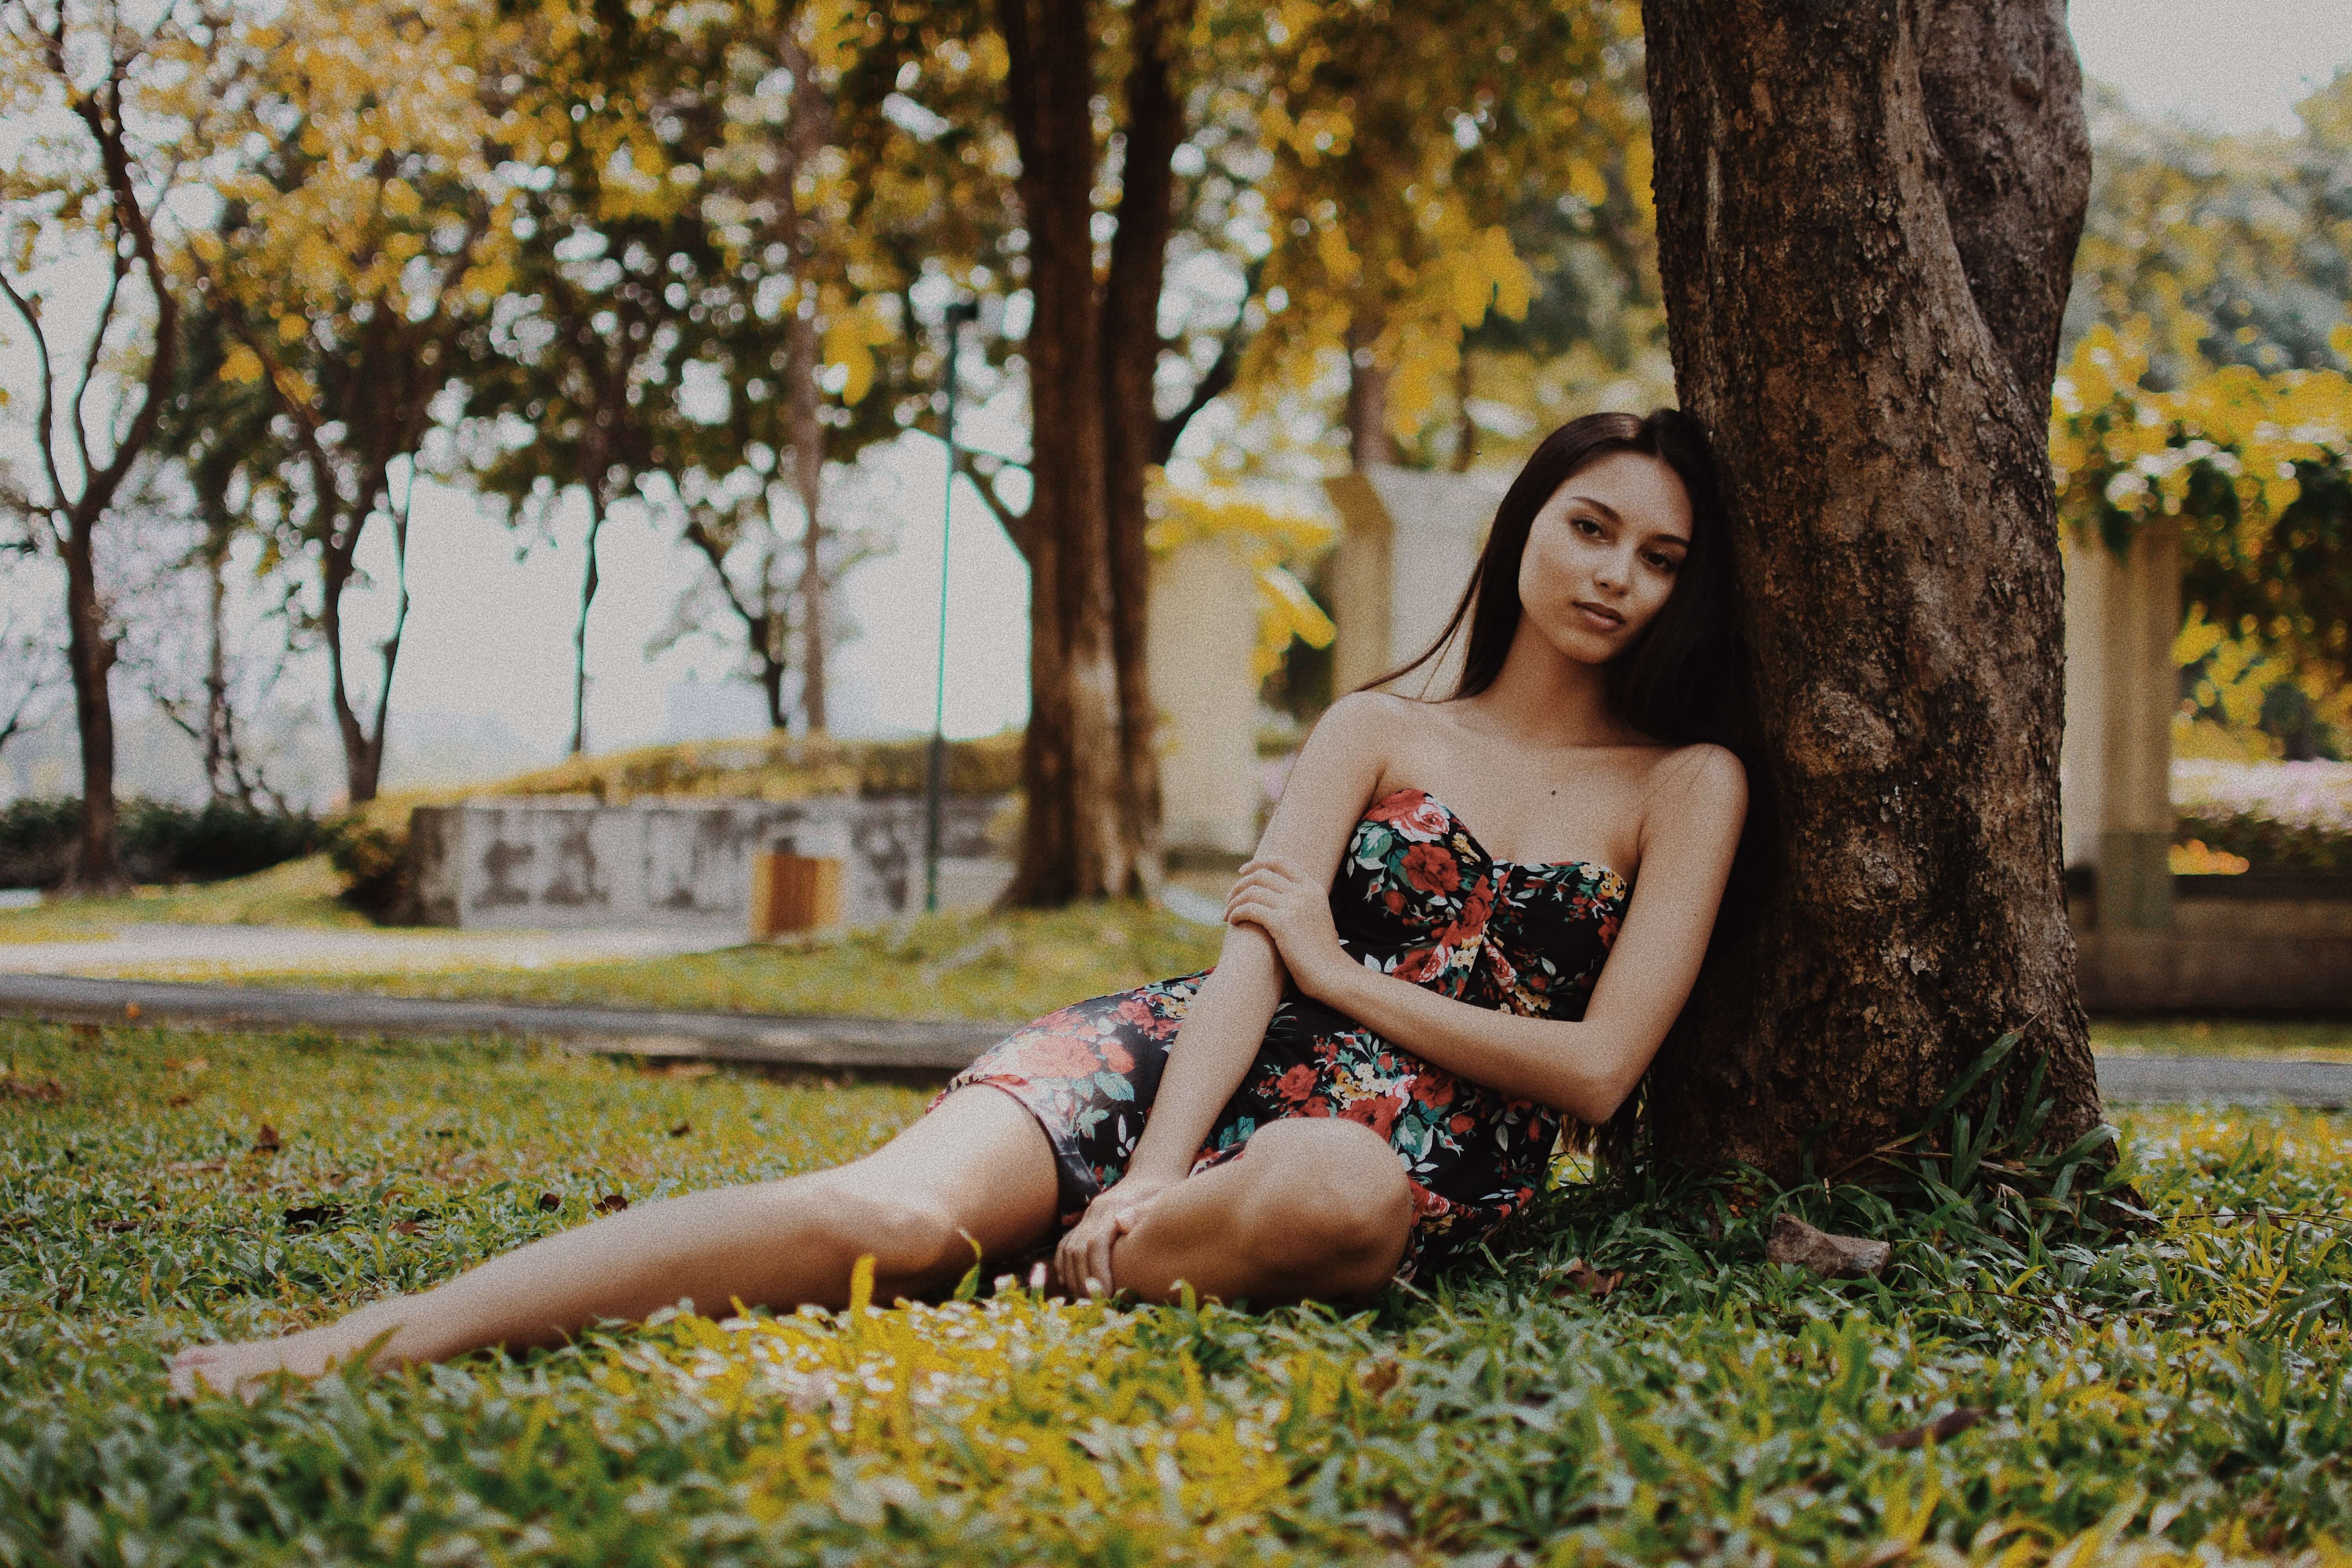
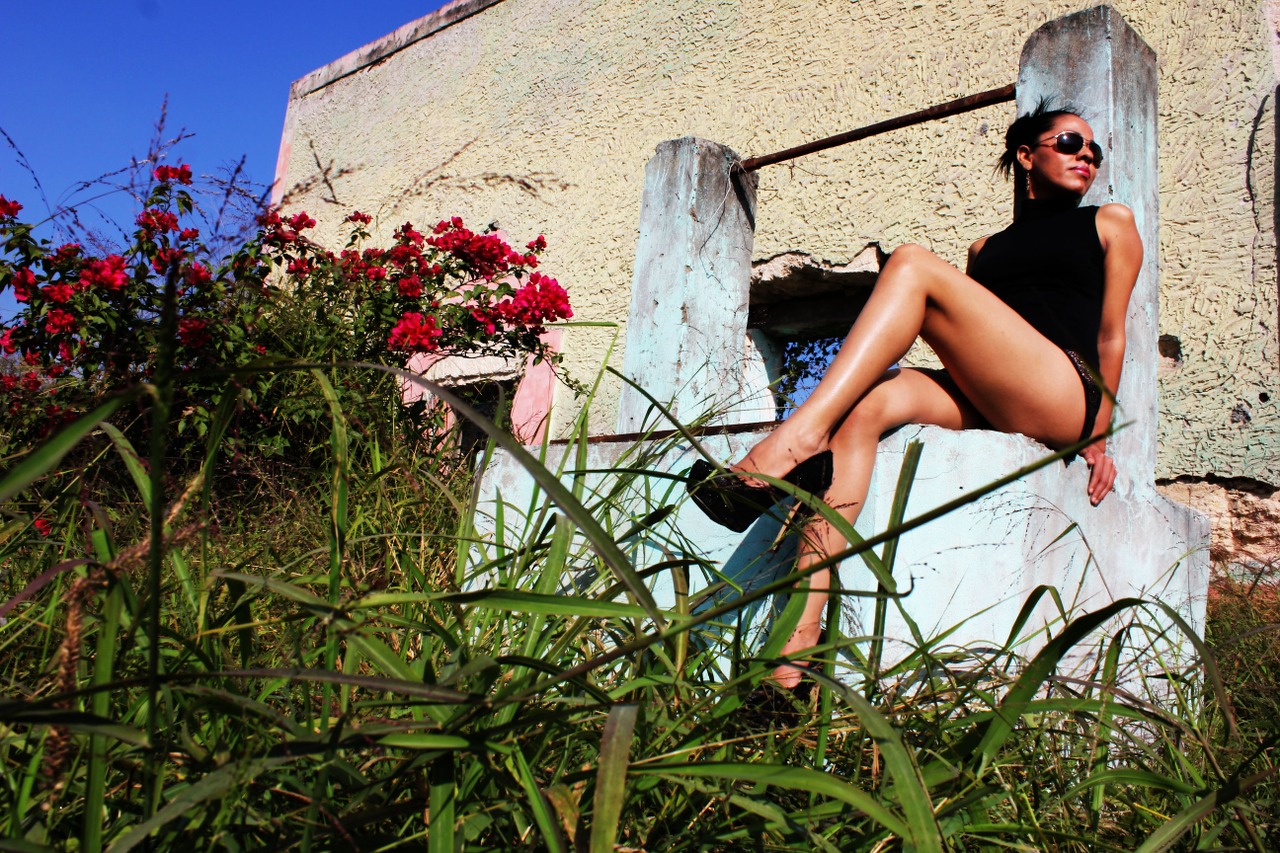
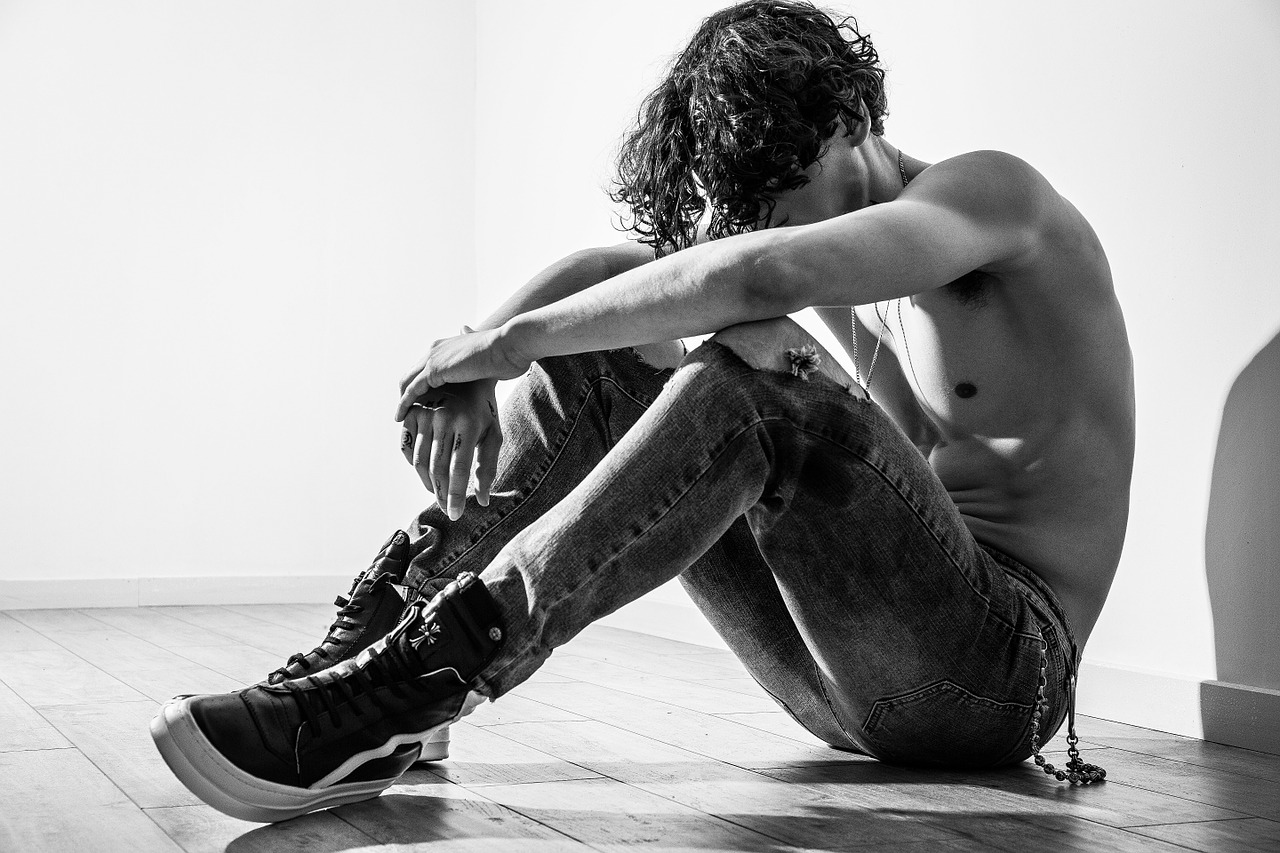
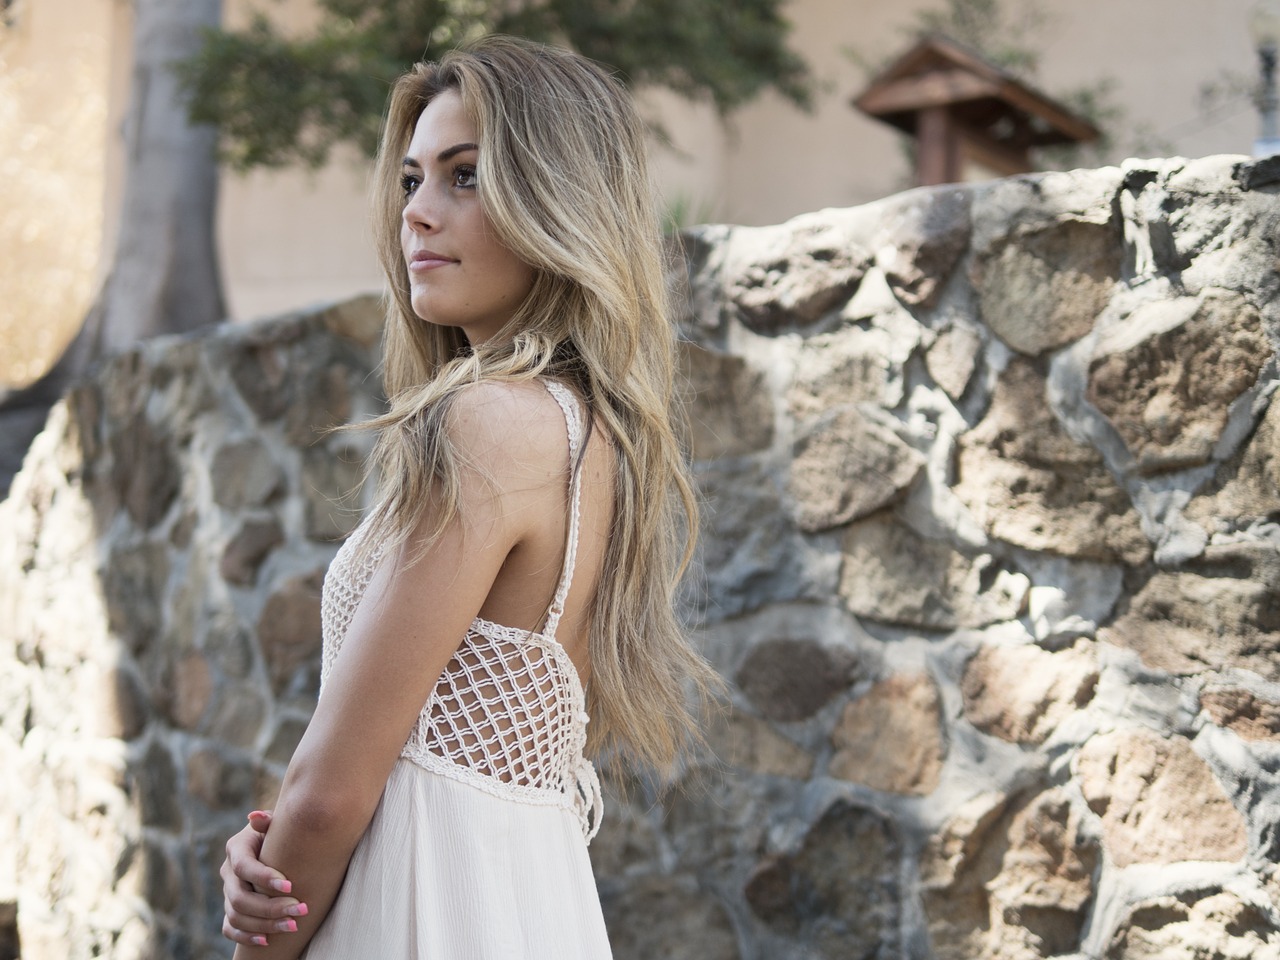
  • Slouching: this is something many people do unintentionally. To avoid this, your models should straighten their backs, take a few deep breaths, and slightly turn away from the camera. This will instantly make them look relaxed and comfortable.
  • Entire body facing the camera: this will make your models look awkward and wide. Instead of facing the camera, your subjects can slightly turn their shoulders or put their hands on their hips.
  • Pressing arm against the body: this will flatten your subjects’ arms and make them look much bigger than they actually are.

model laughing in a field

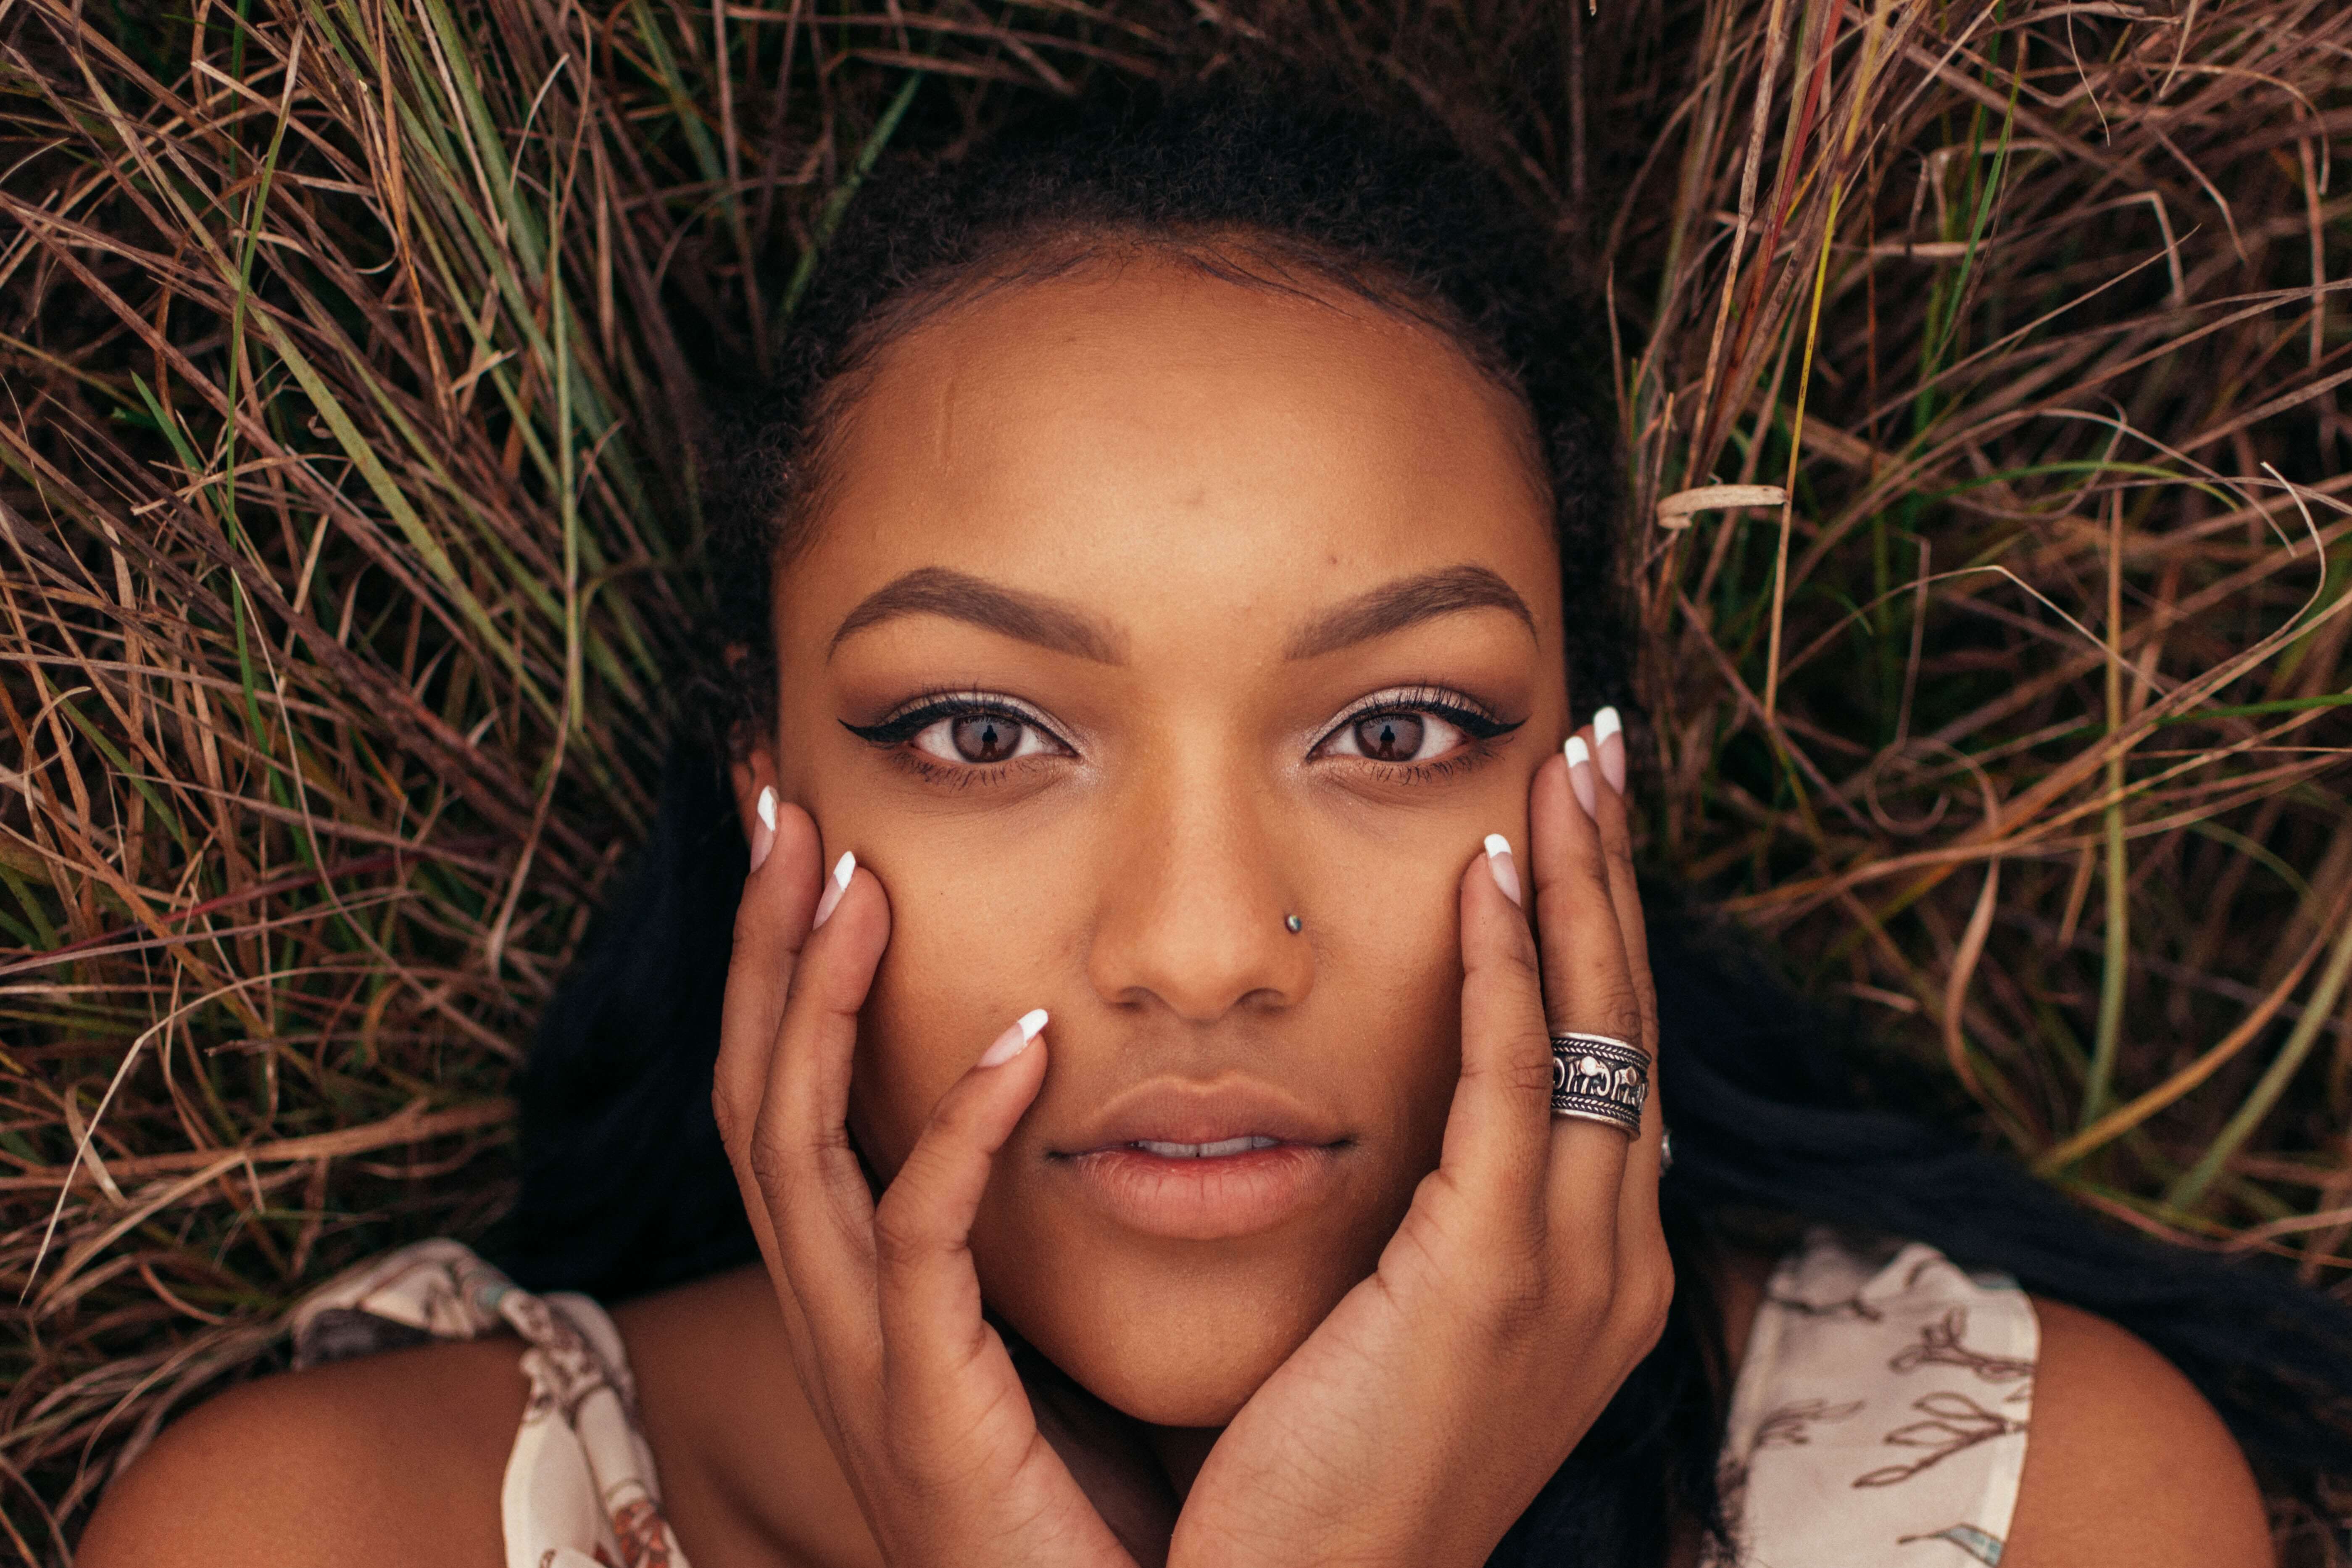
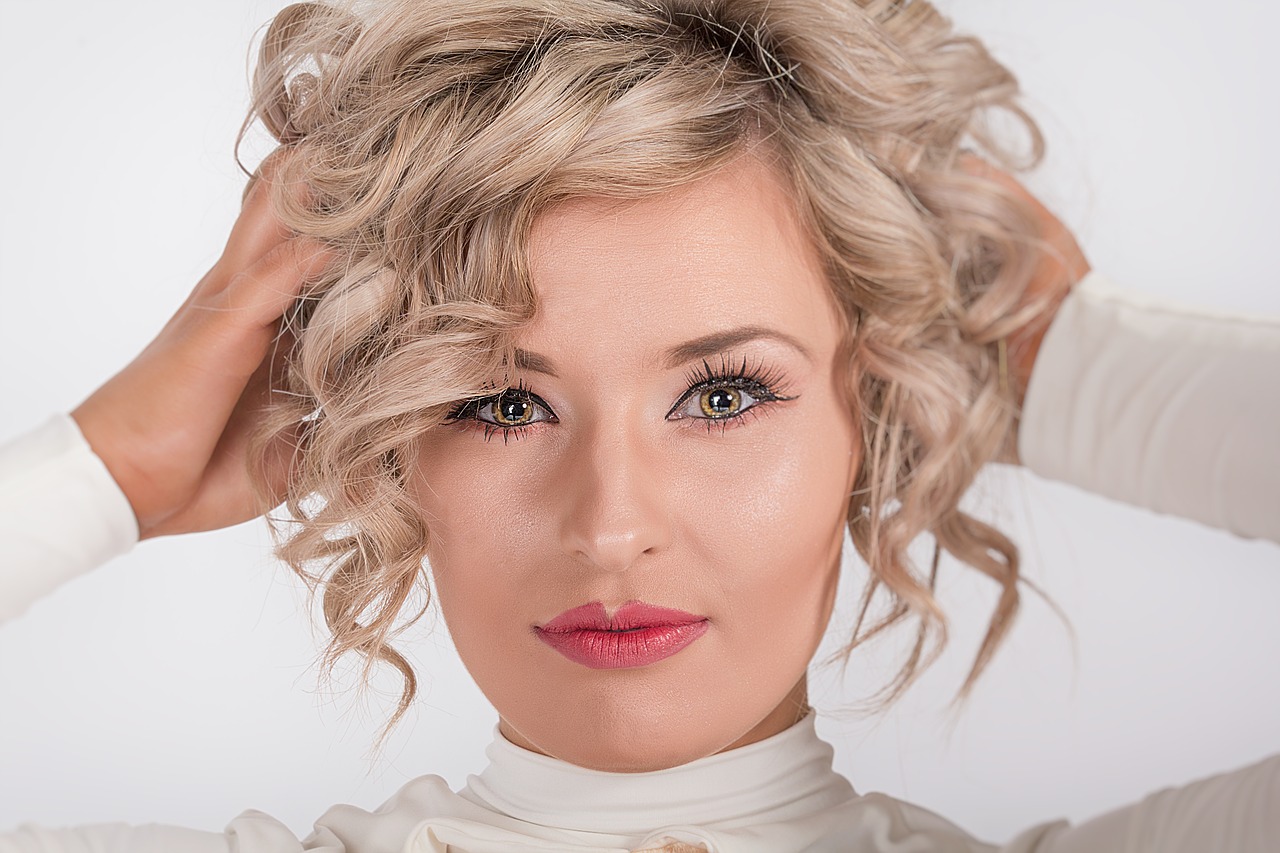
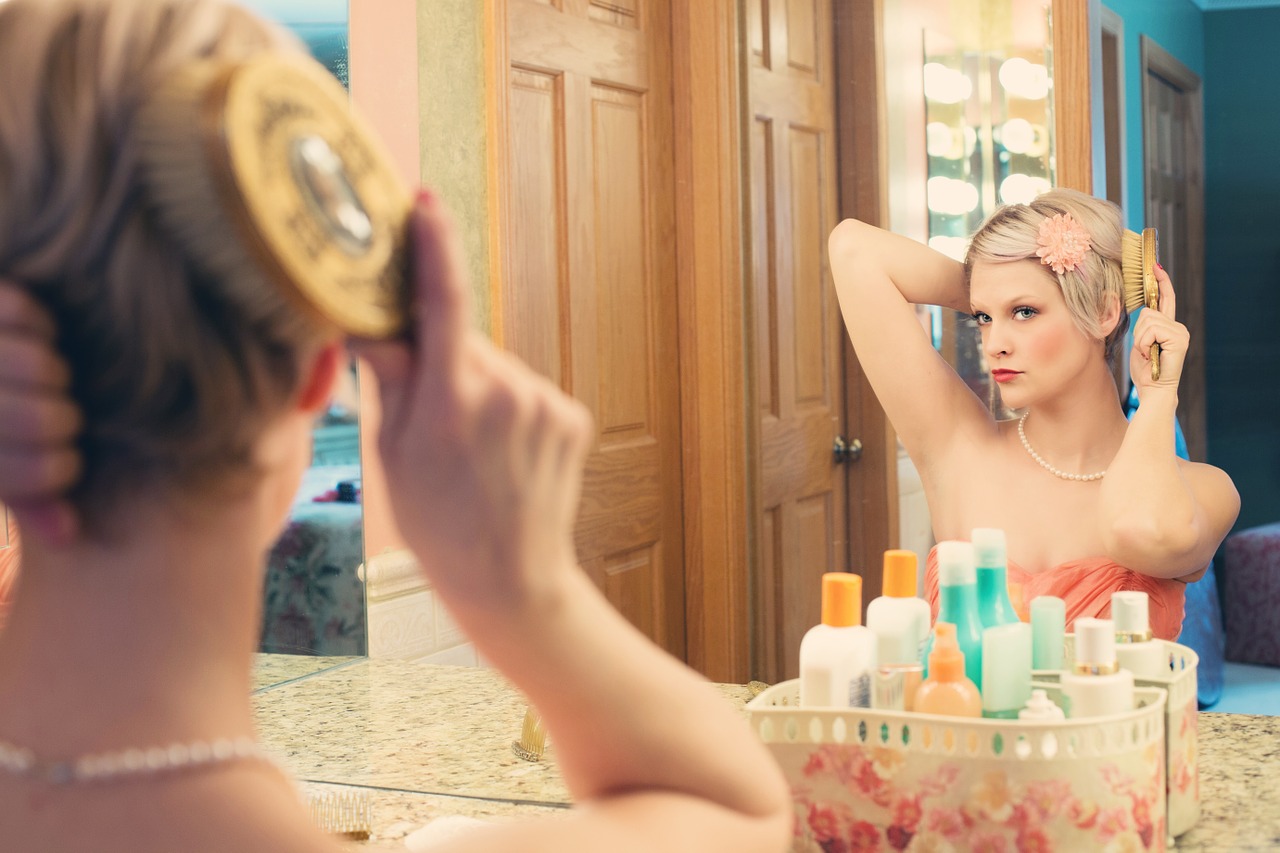
Don’t Forget the Hands

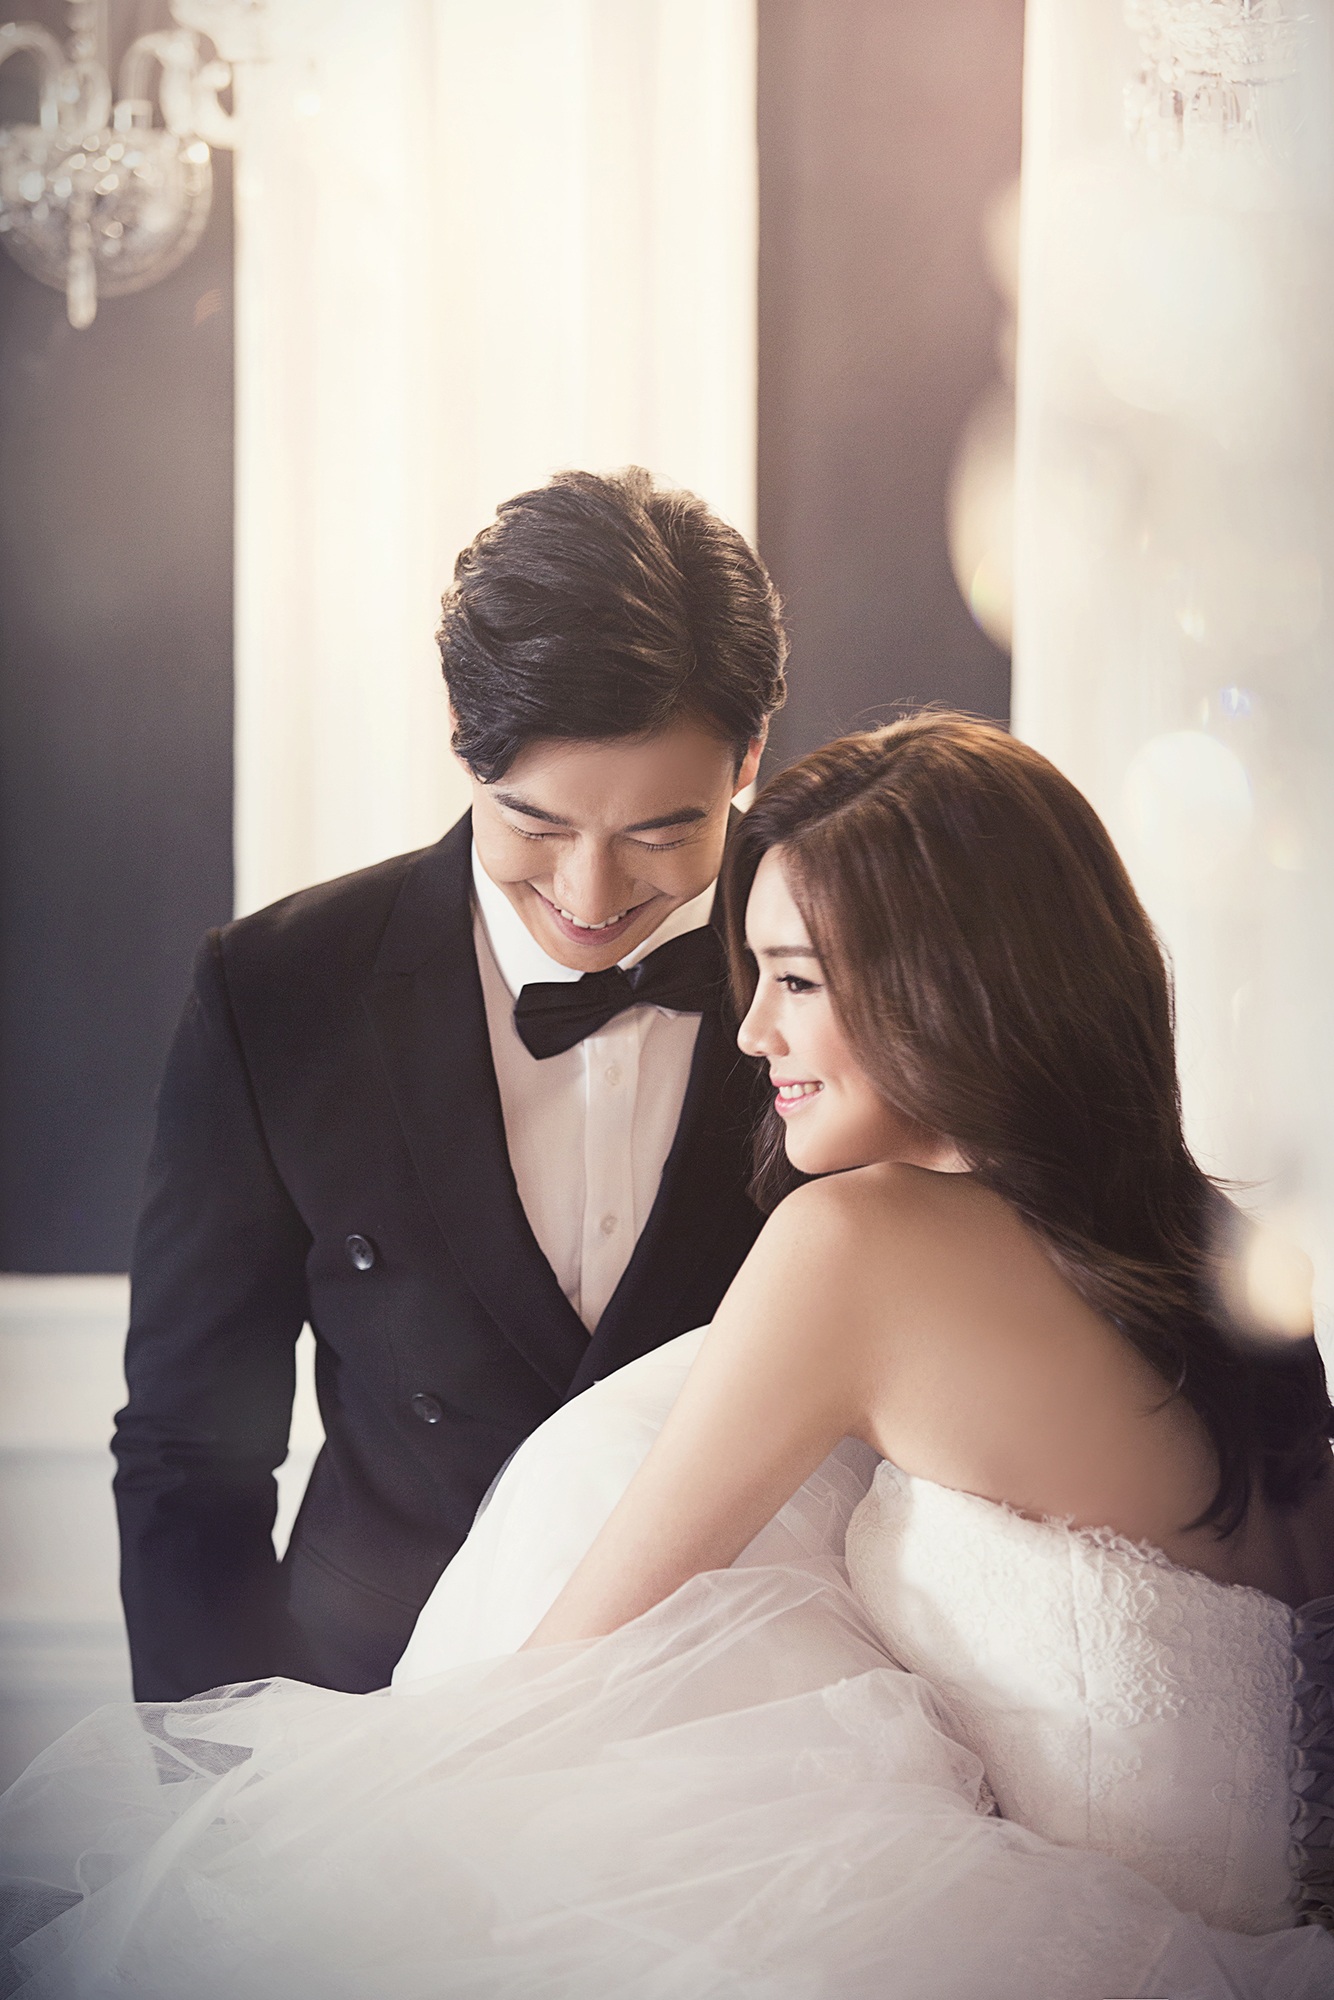
Awkward-looking hand poses can make a generally beautiful image look unnatural. Make sure your models’ hands are relaxed; their fingers should be slightly spread out and placed on their shoulders, under their chins, or wherever they decide. Give them freedom when it comes to their hands, but always make sure to correct them when they start to look too tense. A proper hand pose will give your photographs an air of grace. When your models see how elegant they look in your photos, they’ll feel even more confident in your presence.

closeup of a model holding her face

Posing isn’t always a walk in the park. Even professionals need clear instructions when working with new photographers. If someone with years of experience needs direction, imagine what a struggle it is for non-models to feel comfortable in front of the camera! A small amount of patience and posing knowledge are all you need to create a healthy photographer-model relationship.

SaveSave

Posing Models Part 5: Family and Group Portraits

Posing one model can be difficult, and things naturally become more complicated when you add more people to the mix! How do you get everyone smiling at the same time, all looking in the right direction, and everyone angled correctly according to the position of the light and camera? Planning, coordination, and a good attitude, that’s how!

To properly plan, you need to know a little more about what to expect on the day of the shoot. Here are some general tips and tricks that will help you capture beautiful group portraits.

Plan Your Aesthetic in Advance

If you’re working with professional models for a consumer shoot, you’ll likely be providing the props and wardrobe from the company you’re working with. However, if you are not supplying the wardrobe, you need to make sure the subjects of your shot have a dress code. You don’t want to take a group shot where everyone is wearing bold and clashing colors! It would be hard to keep the focus of your final image on the subjects. Know what you’re going for, and make sure everyone involved in the shoot has a thorough understanding of the dress code.

outdoor family portrait

Pick the Right Setting

Are you photographing a wedding? Get to the venue early and scout out the right places for good framing and lighting. Are you working in the studio? Set up your lights according to the nature of the group photo. Is it a still shot, are your subjects going to be moving? What time of day are you creating with your lighting? Know these things going in, that way you can focus on posing and minor corrections the day of the shoot.

natural family portrait

Know the Posing Basics

Parts one and two of this series discuss how to pose models for basic fashion shoots. Parts three and four look at specific tips for posing hands, feet, and face. Take a look at these articles and take note of the basics. This will help you when posing individuals for group portraits. It will help you make sure that your perfect picture isn’t ruined by someone looking in the wrong direction, a foot in the foreground, or an odd body shape created by a stray arm. They will also help you learn how to use the limbs to frame different parts of the body.

Work from the Top Down

Once you have everyone at the shoot, dressed and ready to go, begin by organizing where everyone should be situated within the shot. You want to work with the heights and body shapes of your subjects to create an image that is visually appealing overall. Make sure everyone understands the parameters they can move within while staying in the frame of the shot. You can even mark the outlying boundary of this with tape so that it doesn’t appear in your photographs, but it does let people know not to step outside of those lines!

big group shot

From there, work with each person on their individual poses. Remember to adhere to the final tone. If you want joyful and energetic, people should either be moving or creating the illusion of movement with their poses. If you want a standard professional portrait, everyone should be looking towards the camera. If you are selling a product, the focus should be on the product. For a family portrait, you have to make sure everyone is equally represented.

First, you set the basic structure by determining where people are going to stand within the picture. Then you work with each individual on how to pose. The individual poses should work together so that the subjects are not fighting for attention within the image. If you’re shooting for fashion, your group portraits should tell a story and focus on the product. If you’re shooting for family portraiture, your final shot should capture a moment in time while focusing on the subjects.

Don’t Get Frustrated

Obviously, it can take a lot to organize a group shot. If you become frustrated, your subjects will mirror this in their facial expressions. If you have to walk away for a minute, do it. If you’re having trouble, just tell everyone to have fun and experiment with their posing. While they do this, snapshots off quickly.

family wedding photo

Give your subjects a break, and take that time to look through your initial photographs. You’ll see from them where you’re going to have problems. Who turns their face the wrong way? Is a particularly tall person overshadowing others? What unique personality characteristics do family members show, and how can you get them to portray that naturally in the final shot? Have fun and experiment, and eventually, you will capture an excellent image!

Posing Models Part 3: 7 Ways to Elicit Natural Hand and Foot Posing

Small details can make or break a picture. The hands and feet are a good example of how this works. Hands and feet help to set the tone for overall mood in the image. The subject can have a soft, relaxed face that elicits gentle emotions; but that won’t play well if the hands are balled into angry fists or the feet appear to be stomping. If you feel like you’re hitting a brick wall when it comes to posing models, here are seven tips for natural hand and foot posing that will help to bring it all together.

1. Coach the Model to Respond to One-Word Directives

At the beginning of the shoot, tell the model you’ll be giving a one-word directive for each series of shots. The word will capture the tone you want them to convey with their entire body. Action means you want them moving, serenity should exude calm from every inch, and angry should show through even if the picture is zoomed in on the foot or finger alone. Coach them to respond to your one-word directive with every square inch of their body.

2. Tell the Model to Act It Out

If you need a running scene, get the model to run in slow-motion. If you need romance, the model should pretend they’re being romanced like never before. Get them to feel it. Posing in front of the camera can be awkward if the energy of the room isn’t right. Make the model comfortable, and get them playing. The hands and feet will fall more naturally if you can get them to feel the emotion you’re trying to convey. Once you have them feeling it, work with the small details until it’s perfect. Happy hands still won’t play well if the arms are at an awkward angle.

3. Have the Model Shake Off Tension

tension

Stiff limbs reflect uncertainty. If you know you’ve given good directions, then the model’s uncertainty is likely performance-related nervousness. Get them to shake out the limbs, hands, and feet. This will break the tension and hopefully put them in a better frame of mind.

4. Keep Hands and Feet in the Same Perspective as the Face and Body

Unless the shot is intended to show off a shoe or glove, or you’re looking for something artsy, make sure the hands and feet remain in line with the face and body. If they’re closer, they will appear larger than the rest of the image. It doesn’t matter if they match the mood if they’re the biggest thing in the picture!

5. Use the Arms to Accentuate the Face

accentuate face

If you want the focus to be on the model’s face, you can position the arms to accentuate it. Use the arms as a frame to draw attention to the portion of the image where you want the viewer’s eye to follow. If the model is sitting, they can put their elbows on their knees and rest their chin in their hands with fingers spread. They can also rest their arms on the back of the chair, framing the upper half of the photograph. Standing models can rest hands on hips with the elbows angled out, using the shoulders to frame the face.

6. Angles Are More Appealing than Straight Lines

Whether it’s elbows, knees, or fingers, remember that slightly angled joints will always look better. Photographs are all about the lines in the image, so make sure your model is taking advantage of that. With the legs, the angle should be slight! If the knee exits the frame of the shot, then re-enters at the calf, this will make the foot look disembodied.

posing feet

7. Make the Camera Angle Work for You

Photographing legs or hands from front and center will make both appear bigger. Just as the model should work the right angles with their body, you should work the right angles with your camera. If you need long, thin legs, then shoot from a low angle. If you want graceful, elegant hands; make sure you’re catching the hands from the side. This creates a long, continuing line from the top of the arm to the tips of the fingers.

Angles and lines are the make-it-or-break-it feature of modeling. This is especially true when you’re dealing with hand and foot posing. A comfortable model who understands what angles work for them will go a long way towards landing the shot. Remember that success lies somewhere between the model’s comfort, your direction, and a mutual understanding of what you’re trying to accomplish.  That’s why every shoot should begin with briefing your model, and you should continue to give feedback throughout the day. With clear direction and an upbeat attitude, you’ll have the perfect picture in no time!

Posing Models Part 1: 5 Beginner Steps for Photographers Working with Models

As a photographer, you’re going to be working with and posing models at some point in your career. An experienced model will be able to strike the right poses with minimal direction. But, when you’re working with someone who doesn’t have a lot of experience, helping the model find the right position and stance is up to you. This article is the first in a series that will help you with posing models in a variety of settings and shots. Keep reading for five steps that will set you down the road to becoming a model-posing master.

Step 1: Set the Mood

You should have an idea of what tone you want the final photographs to take as well as the space and props you’ll need for the shoot. Matching lighting, backdrop, and props to the overall mood is the first place to start. From there, you need to make sure your model is in the right frame of mind. They should be comfortable with you, the setting, and their understanding of your direction.

posing-models-1

If you have never worked with the model before, take a minute to get to know them. This doesn’t have to be a long conversation. Just a little chitchat will go a long way in establishing a connection. The more the model trusts you, the easier it will be to give them direction.

Step 2: Brief the Model

You need to plainly convey what you want to the model. They need to know the purpose of the shoot, the mood you’re going for, and what you generally expect from them. If the purpose of the shoot is to show off the handbag they’re holding, make sure they know that.

An excellent way to quickly and clearly get your message across is to keep a sample book. Put together a collection of examples from various photographers that showcase the style, tone, and mood you are going for. Pinterest is excellent for this as you can keep different boards for different styles. Make sure the models are posing in a style that is similar to what you want.

posing-models-2

You should also make sure you’re using samples that feature a model similar to who you’re working with. For instance, don’t pull photos of a model that has a completely different body type than the person posing for you. This will create an unrealistic expectation, and your model will become increasingly nervous as they try to meet it. Well-chosen samples will immediately help the model see what you’re going for, cutting down on time and confusion.

Step 3: Remember that You’re Working with a Person, Not a Prop

Most people aren’t going to be rude to the model, so that’s not what this step is about. It’s about recognizing that the person on the other side of the camera is in a bit of a vulnerable position, and their primary goal is to accurately follow your instructions. They need feedback to be able to do this, and to keep from becoming anxious or nervous.

posing-models-3

When working with and posing models, make sure you’re talking to them. If they’re doing great, let them know it with a word of encouragement. Nice, beautiful, lovely: stick to something positive and non-offensive. If you have to give negative feedback, keep your tone light and encouraging.

Step 4: Keep the Energy Going

Music, snacks, breaks, and absolutely no chimping: these are a few ways to keep the energy alive. Chimping is an industry term that refers to when a photographer continuously checks the quality of the photographs during the shoot. This will make the model nervous and change the tone of the shoot. Stay upbeat and encouraging, and consider finding music that matches the mood to keep your model in the right frame of mind. Take breaks instead of getting frustrated, and remember to have fun with it.

Step 5: Use Your First Few Shots to Refine Everything

Take a few shots, then have a look and tweak everything. Does the mode look uncomfortable? Find out why and fix it. Maybe they aren’t clear on what they need to do, maybe they aren’t comfortable with you, or maybe they aren’t comfortable in their shoes. The next thing to look at is how the model’s clothing interacts with the environment. Do they need to pop more? Add a colorful scarf. Are they popping too much? Take off some accessories. Is the shoot bland overall? Add some more props. Play with your positioning too. Try shooting from a low angle, looking up towards the model. You’d be amazed at how much this simple shift can change your photos.

posing-models-4

These simple tips will help get you started with posing models. The best advice is to have fun and don’t be afraid to experiment. Be sure to check out our other articles in the series for more in-depth information about how to pose models for different types of photo shoots.

Lighting and Posing Tips for Beautiful Wedding Photos

One of the most highly stressful photography jobs out there is the wedding photographer. You have to capture a person’s happiest day, and you only get one shot at it. If things don’t go well, there is no do-over. Making sure you get the lighting and posing right is crucial, but don’t despair or begin to worry, we have the tips you need right here to make the great pictures possible.

Create the Portrait

wedding-photography-tips-2

Sure, shooting the wedding details is super important and can make for some great photos, but the most important part of the wedding is the portrait. This is what is going to hang on the wall of the couple in their home. It is vital you capture the right image, and there are a few steps to getting the image that you want with the couple:

1. Posing is extremely important when it comes to the portrait. You want it to be fun, but also to show the couple in love. Make it a bit edgy, and even make it a bit sexy. Have fun with it. This is a happy day for them, so show it in the pose.

2. Before you take a picture, you make sure you got your exposure right. You don’t want to find out your exposure was off after 20 minutes of taking pictures.

3. Don’t be afraid to compose the scene. You may think it is better to have things natural, but composing the scene takes out the variables and the risk factors and allows you to create something truly memorable. Have fun with it.

4. Never, ever forget about your lighting. You want the lighting to be right, so make sure you have some portable lights and that you play with the lighting around you. Failure to do this can make a great looking photo look horrible.

5. In post-production, don’t be afraid to lighten things up just a bit as well.

What about Posing?

wedding-photography-tips-3

So, posing is one of the most important parts of any wedding portrait. What should you consider when you do this? There are a few factors that can really make your image pop. The biggest factor is the background. You don’t want it to be too busy, but you don’t want it to be too bland either. You want your background to incorporate itself into your photo. Use it to your advantage, don’t ignore it.

You should also pay attention to your curves. These are your C-curves and S-curves, and they will help to accentuate the bodies of your subjects, and it will help bring more of an interest to your photo. Never ignore these because they can be your best friend when it comes to getting an amazing photo.

The lighting once again is crucial. You can use natural light, or artificial light, but make it work to your advantage. Don’t leave things to chance. You make the light flatter the people you are taking, not take away from them. The importance of lighting cannot be understated, so make sure you get the lighting just right.

If you are shooting with artificial light, do it when things are dark because you can have more control with your studio lights than with the fluorescent lights above you. It is all about controlling the lights and making them work for you. Don’t be afraid about being a bit creative with the lighting as well.

wedding-photography-tips-4

Keys to Success

If you want to make the most of the posing and the lighting, and the wedding in general, then you need to keep these things in mind:

1. Be professional because that is incredibly important in a wedding setting.

2. Always be consistent with your subjects and what you want from them.

3. Educate your subjects on what you want so they know what you are doing as well.

4. If they’re camera shy, try a few things to make them comfortable. Take your time and provide lots of direction.

5. Look for inspiration around you.

6. Never be afraid to get ideas from your subjects. It is their day after all, so why not listen to them and find out what they might like out of the pictures. You won’t be sorry you did.

If you are going to be at a wedding, don’t be nervous, don’t be uptight. Have fun because if you do that the subjects around you are going to have fun. When you are taking portraits of the happy couple, work with them and have fun with them. Sometimes the best photos are the ones that happen spur of the moment, without planning, and sometimes you need to plan things out a bit more than you would have thought. The important thing is to be flexible and to adjust to the circumstances around you. You never know, you may get a portrait that gets you more business. The main thing is the couple’s happiness, and if you follow these tips, they will be very happy with the work you provide.