Posing one model can be difficult, and things naturally become more complicated when you add more people to the mix! How do you get everyone smiling at the same time, all looking in the right direction, and everyone angled correctly according to the position of the light and camera? Planning, coordination, and a good attitude, that’s how!
To properly plan, you need to know a little more about what to expect on the day of the shoot. Here are some general tips and tricks that will help you capture beautiful group portraits.
Plan Your Aesthetic in Advance
If you’re working with professional models for a consumer shoot, you’ll likely be providing the props and wardrobe from the company you’re working with. However, if you are not supplying the wardrobe, you need to make sure the subjects of your shot have a dress code. You don’t want to take a group shot where everyone is wearing bold and clashing colors! It would be hard to keep the focus of your final image on the subjects. Know what you’re going for, and make sure everyone involved in the shoot has a thorough understanding of the dress code.
Pick the Right Setting
Are you photographing a wedding? Get to the venue early and scout out the right places for good framing and lighting. Are you working in the studio? Set up your lights according to the nature of the group photo. Is it a still shot, are your subjects going to be moving? What time of day are you creating with your lighting? Know these things going in, that way you can focus on posing and minor corrections the day of the shoot.
Know the Posing Basics
Parts one and two of this series discuss how to pose models for basic fashion shoots. Parts three and four look at specific tips for posing hands, feet, and face. Take a look at these articles and take note of the basics. This will help you when posing individuals for group portraits. It will help you make sure that your perfect picture isn’t ruined by someone looking in the wrong direction, a foot in the foreground, or an odd body shape created by a stray arm. They will also help you learn how to use the limbs to frame different parts of the body.
Work from the Top Down
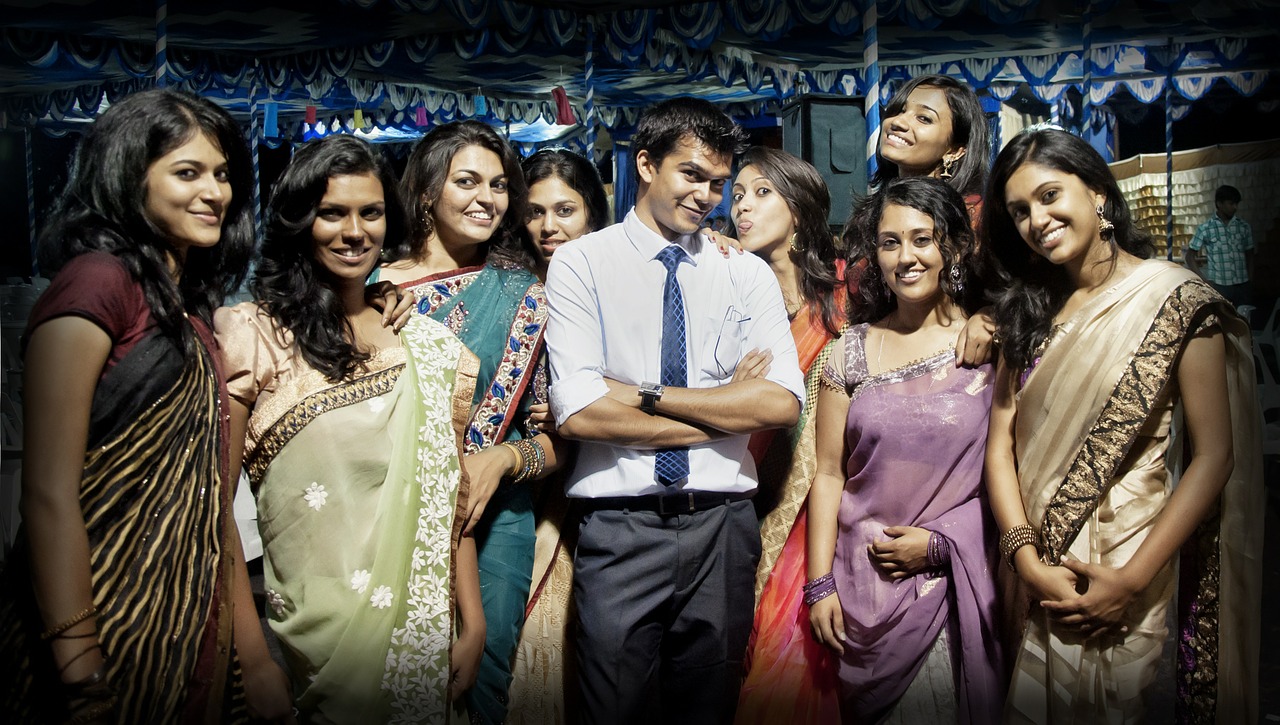
Once you have everyone at the shoot, dressed and ready to go, begin by organizing where everyone should be situated within the shot. You want to work with the heights and body shapes of your subjects to create an image that is visually appealing overall. Make sure everyone understands the parameters they can move within while staying in the frame of the shot. You can even mark the outlying boundary of this with tape so that it doesn’t appear in your photographs, but it does let people know not to step outside of those lines!
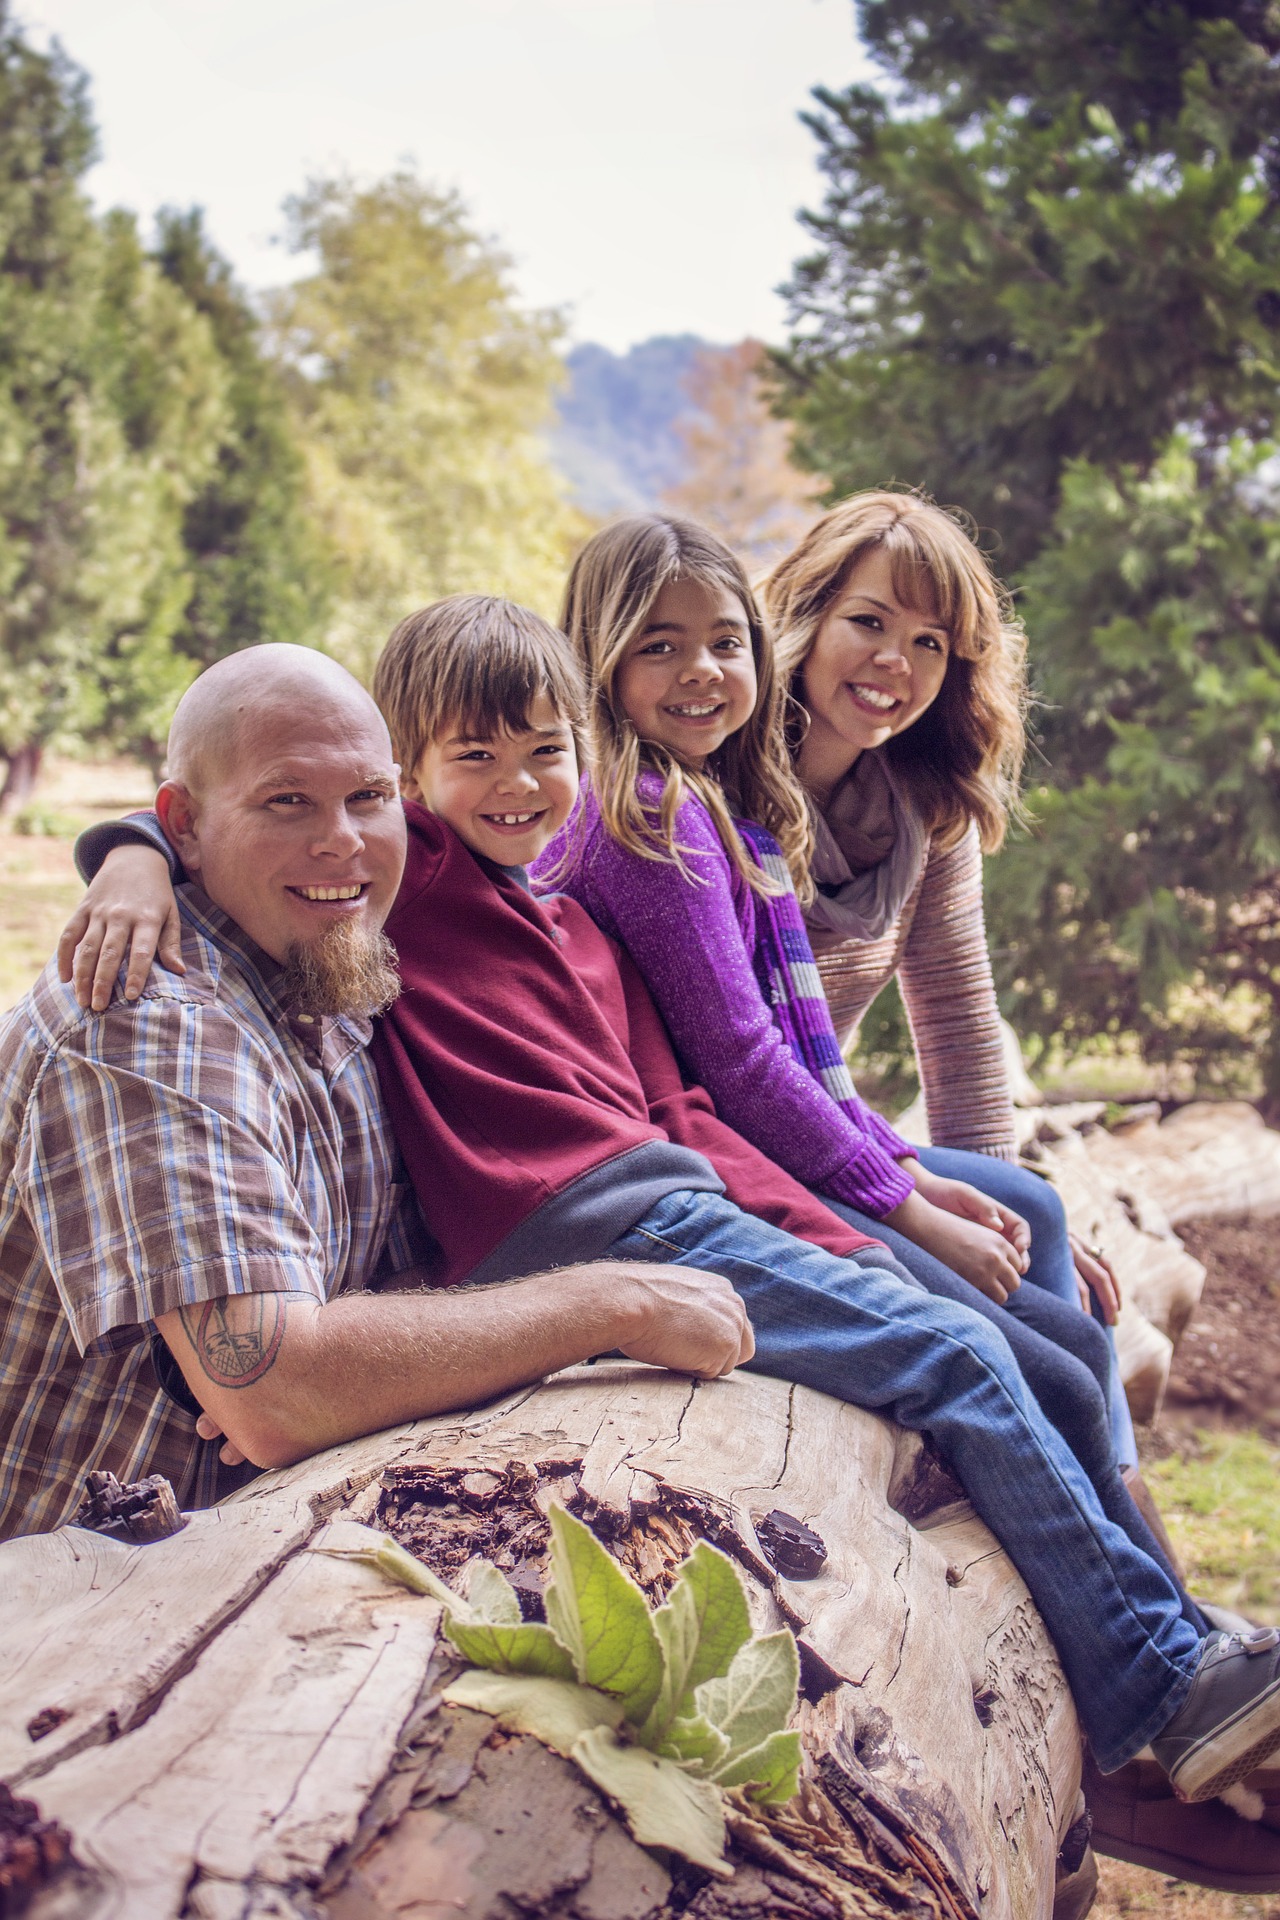
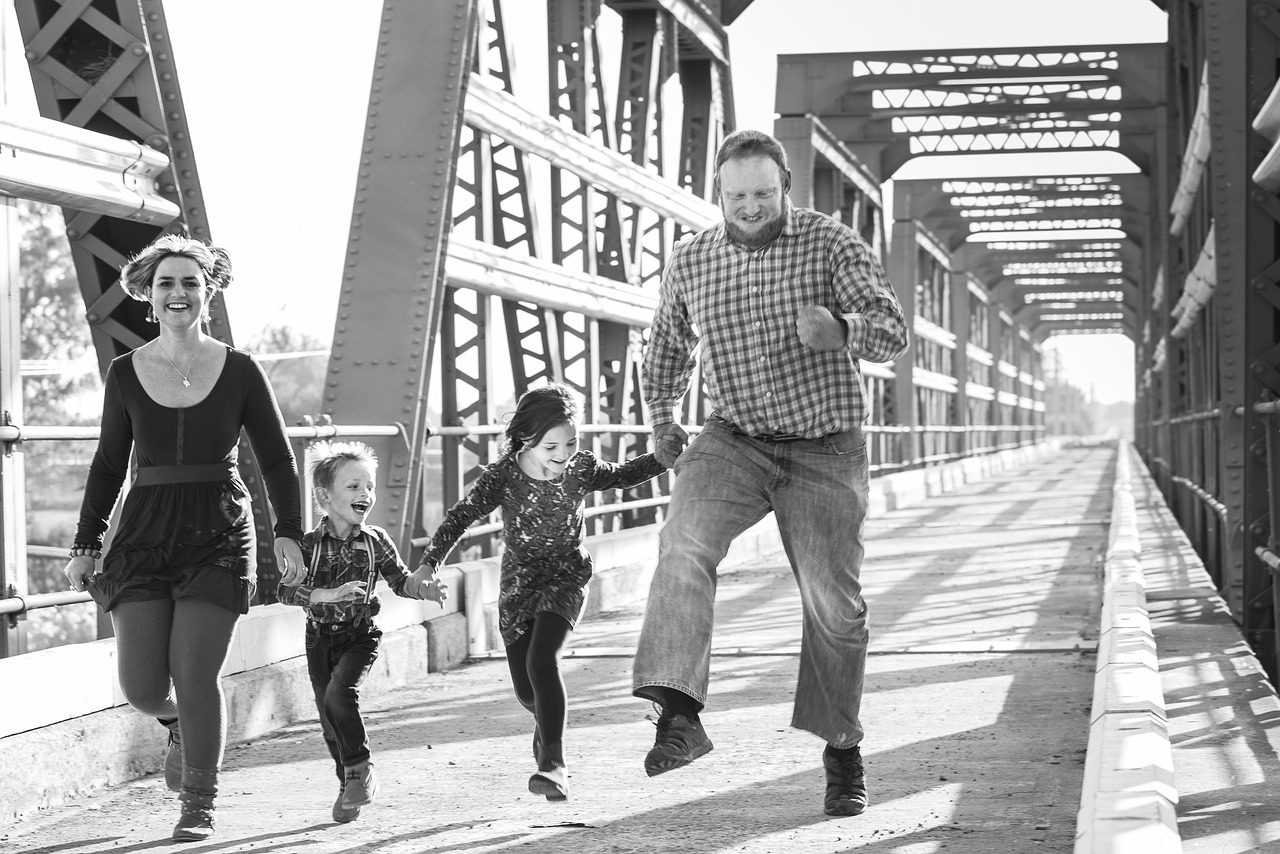
From there, work with each person on their individual poses. Remember to adhere to the final tone. If you want joyful and energetic, people should either be moving or creating the illusion of movement with their poses. If you want a standard professional portrait, everyone should be looking towards the camera. If you are selling a product, the focus should be on the product. For a family portrait, you have to make sure everyone is equally represented.
First, you set the basic structure by determining where people are going to stand within the picture. Then you work with each individual on how to pose. The individual poses should work together so that the subjects are not fighting for attention within the image. If you’re shooting for fashion, your group portraits should tell a story and focus on the product. If you’re shooting for family portraiture, your final shot should capture a moment in time while focusing on the subjects.
Don’t Get Frustrated
Obviously, it can take a lot to organize a group shot. If you become frustrated, your subjects will mirror this in their facial expressions. If you have to walk away for a minute, do it. If you’re having trouble, just tell everyone to have fun and experiment with their posing. While they do this, snapshots off quickly.
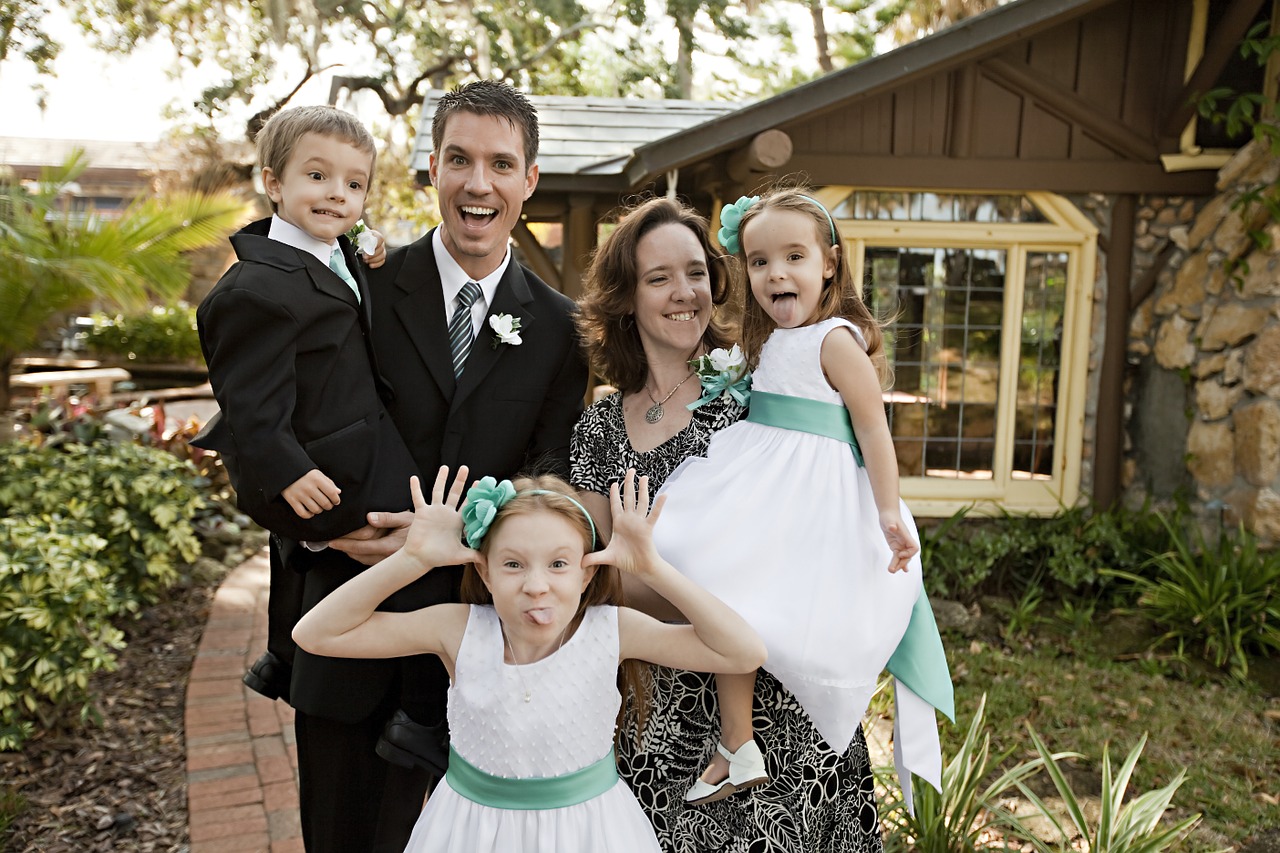
Give your subjects a break, and take that time to look through your initial photographs. You’ll see from them where you’re going to have problems. Who turns their face the wrong way? Is a particularly tall person overshadowing others? What unique personality characteristics do family members show, and how can you get them to portray that naturally in the final shot? Have fun and experiment, and eventually, you will capture an excellent image!

 Facebook
 Google +