
Small details can make or break a picture. The hands and feet are a good example of how this works. Hands and feet help to set the tone for overall mood in the image. The subject can have a soft, relaxed face that elicits gentle emotions; but that won’t play well if the hands are balled into angry fists or the feet appear to be stomping. If you feel like you’re hitting a brick wall when it comes to posing models, here are seven tips for natural hand and foot posing that will help to bring it all together.
Table of Contents
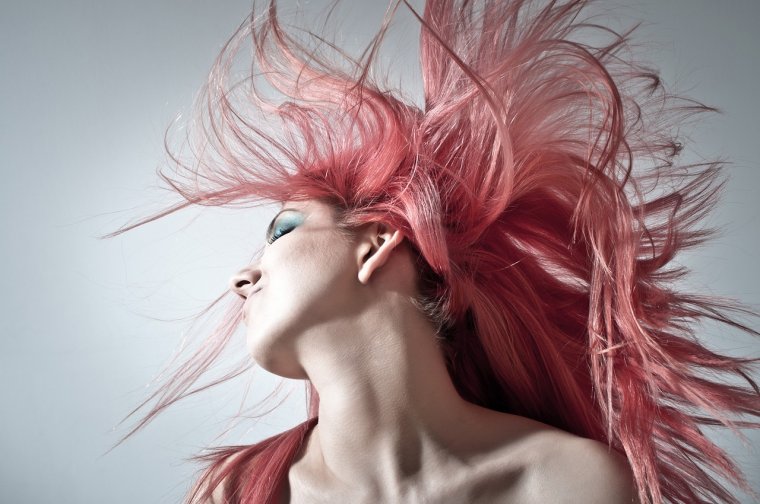
At the beginning of the shoot, tell the model you’ll be giving a one-word directive for each series of shots. The word will capture the tone you want them to convey with their entire body. Action means you want them moving, serenity should exude calm from every inch, and angry should show through even if the picture is zoomed in on the foot or finger alone. Coach them to respond to your one-word directive with every square inch of their body.
If you need a running scene, get the model to run in slow-motion. If you need romance, the model should pretend they’re being romanced like never before. Get them to feel it. Posing in front of the camera can be awkward if the energy of the room isn’t right. Make the model comfortable, and get them playing. The hands and feet will fall more naturally if you can get them to feel the emotion you’re trying to convey. Once you have them feeling it, work with the small details until it’s perfect. Happy hands still won’t play well if the arms are at an awkward angle.
Stiff limbs reflect uncertainty. If you know you’ve given good directions, then the model’s uncertainty is likely performance-related nervousness. Get them to shake out the limbs, hands, and feet. This will break the tension and hopefully put them in a better frame of mind.
Unless the shot is intended to show off a shoe or glove, or you’re looking for something artsy, make sure the hands and feet remain in line with the face and body. If they’re closer, they will appear larger than the rest of the image. It doesn’t matter if they match the mood if they’re the biggest thing in the picture!
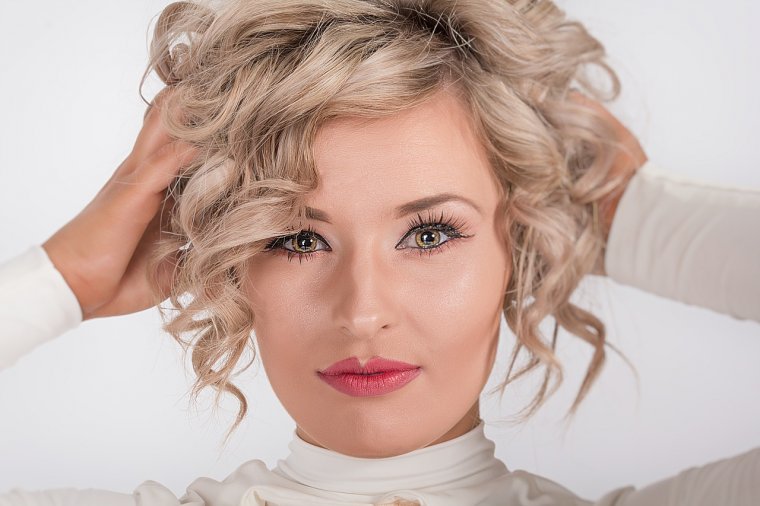
If you want the focus to be on the model’s face, you can position the arms to accentuate it. Use the arms as a frame to draw attention to the portion of the image where you want the viewer’s eye to follow. If the model is sitting, they can put their elbows on their knees and rest their chin in their hands with fingers spread. They can also rest their arms on the back of the chair, framing the upper half of the photograph. Standing models can rest hands on hips with the elbows angled out, using the shoulders to frame the face.
Whether it’s elbows, knees, or fingers, remember that slightly angled joints will always look better. Photographs are all about the lines in the image, so make sure your model is taking advantage of that. With the legs, the angle should be slight! If the knee exits the frame of the shot, then re-enters at the calf, this will make the foot look disembodied.
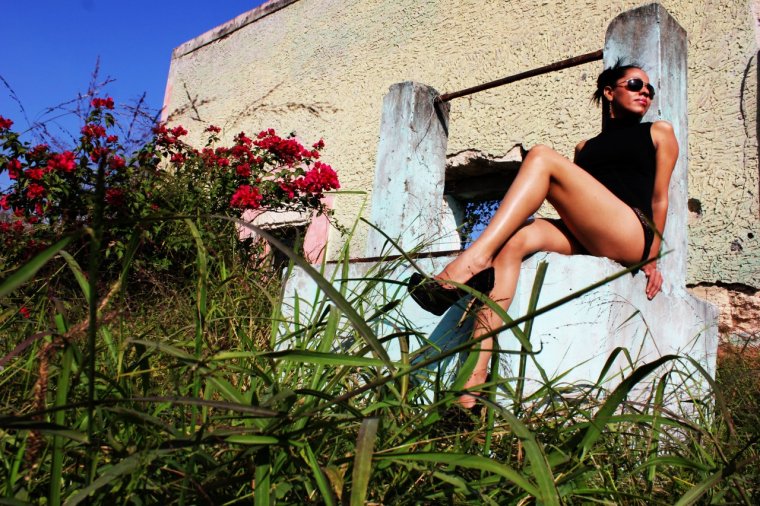
Photographing legs or hands from front and center will make both appear bigger. Just as the model should work the right angles with their body, you should work the right angles with your camera. If you need long, thin legs, then shoot from a low angle. If you want graceful, elegant hands; make sure you’re catching the hands from the side. This creates a long, continuing line from the top of the arm to the tips of the fingers.
Angles and lines are the make-it-or-break-it feature of modeling. This is especially true when you’re dealing with hand and foot posing. A comfortable model who understands what angles work for them will go a long way towards landing the shot. Remember that success lies somewhere between the model’s comfort, your direction, and a mutual understanding of what you’re trying to accomplish. That’s why every shoot should begin with briefing your model, and you should continue to give feedback throughout the day. With clear direction and an upbeat attitude, you’ll have the perfect picture in no time!


Please verify your software version before proceeding.
 I’ve verified my software version


 Facebook
 Google +
Comments (0)
There are no comments yet.