Tag: mood

Posing Models Part 1: 5 Beginner Steps for Photographers Working with Models

As a photographer, you’re going to be working with and posing models at some point in your career. An experienced model will be able to strike the right poses with minimal direction. But, when you’re working with someone who doesn’t have a lot of experience, helping the model find the right position and stance is up to you. This article is the first in a series that will help you with posing models in a variety of settings and shots. Keep reading for five steps that will set you down the road to becoming a model-posing master.

Step 1: Set the Mood

You should have an idea of what tone you want the final photographs to take as well as the space and props you’ll need for the shoot. Matching lighting, backdrop, and props to the overall mood is the first place to start. From there, you need to make sure your model is in the right frame of mind. They should be comfortable with you, the setting, and their understanding of your direction.
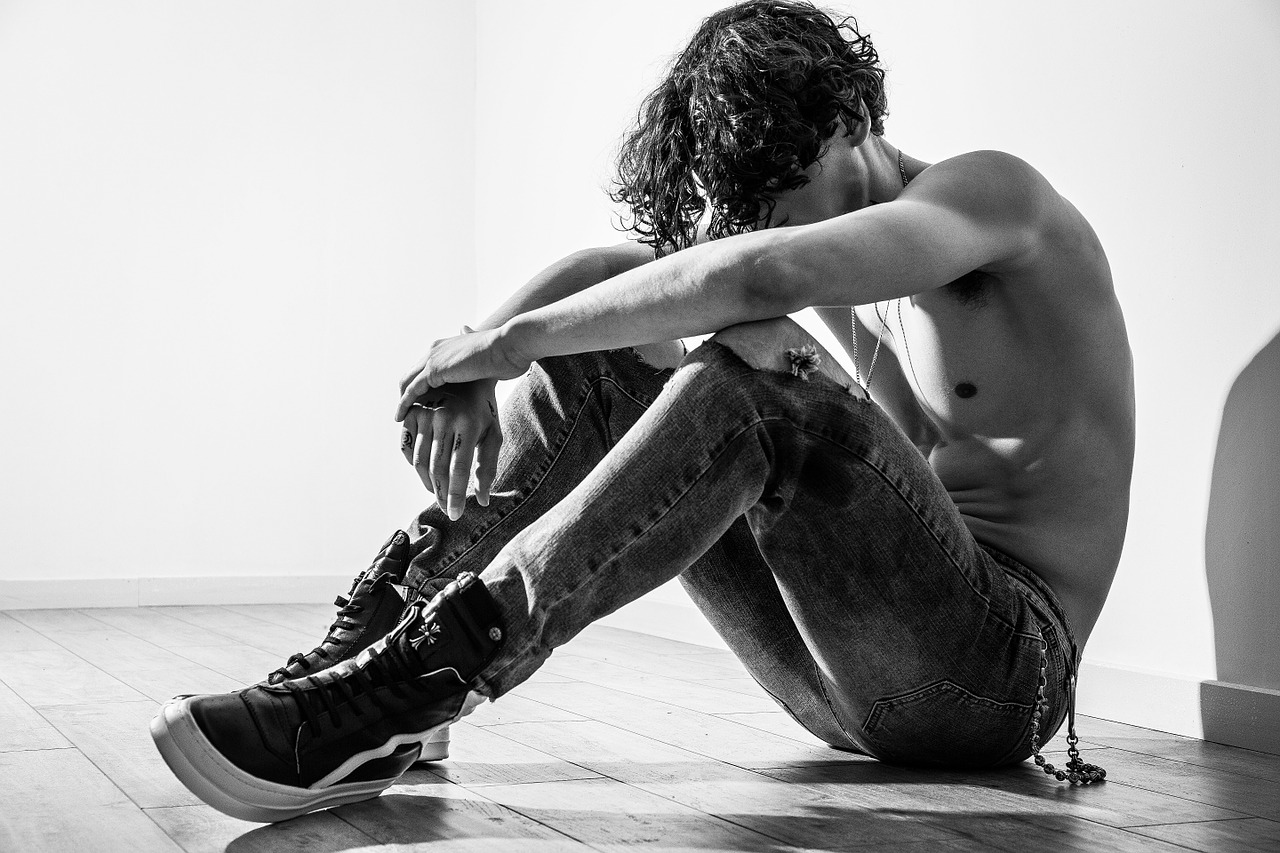
posing-models-1

If you have never worked with the model before, take a minute to get to know them. This doesn’t have to be a long conversation. Just a little chitchat will go a long way in establishing a connection. The more the model trusts you, the easier it will be to give them direction.

Step 2: Brief the Model

You need to plainly convey what you want to the model. They need to know the purpose of the shoot, the mood you’re going for, and what you generally expect from them. If the purpose of the shoot is to show off the handbag they’re holding, make sure they know that.

An excellent way to quickly and clearly get your message across is to keep a sample book. Put together a collection of examples from various photographers that showcase the style, tone, and mood you are going for. Pinterest is excellent for this as you can keep different boards for different styles. Make sure the models are posing in a style that is similar to what you want.
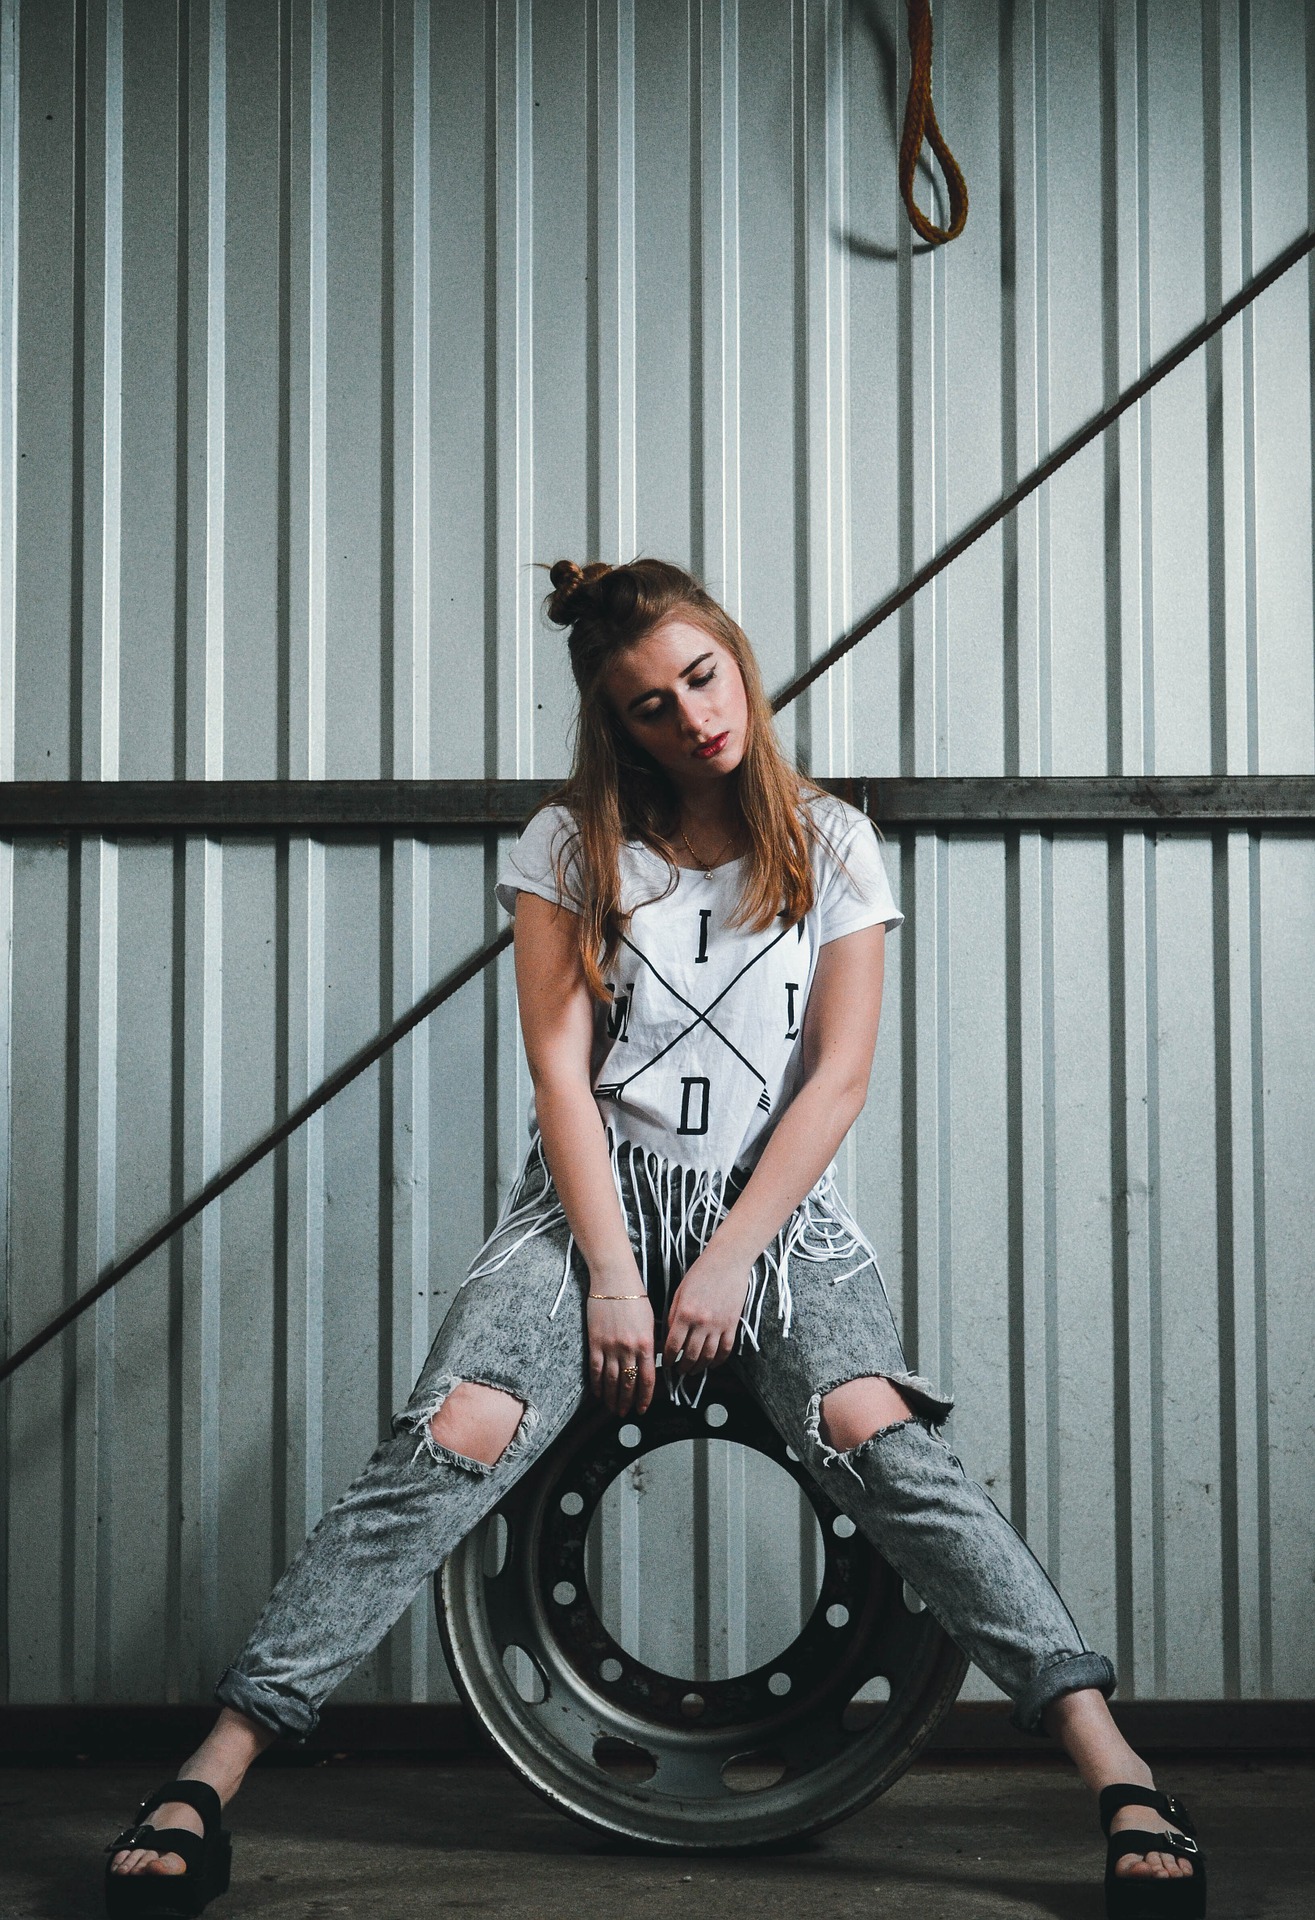
posing-models-2

You should also make sure you’re using samples that feature a model similar to who you’re working with. For instance, don’t pull photos of a model that has a completely different body type than the person posing for you. This will create an unrealistic expectation, and your model will become increasingly nervous as they try to meet it. Well-chosen samples will immediately help the model see what you’re going for, cutting down on time and confusion.

Step 3: Remember that You’re Working with a Person, Not a Prop

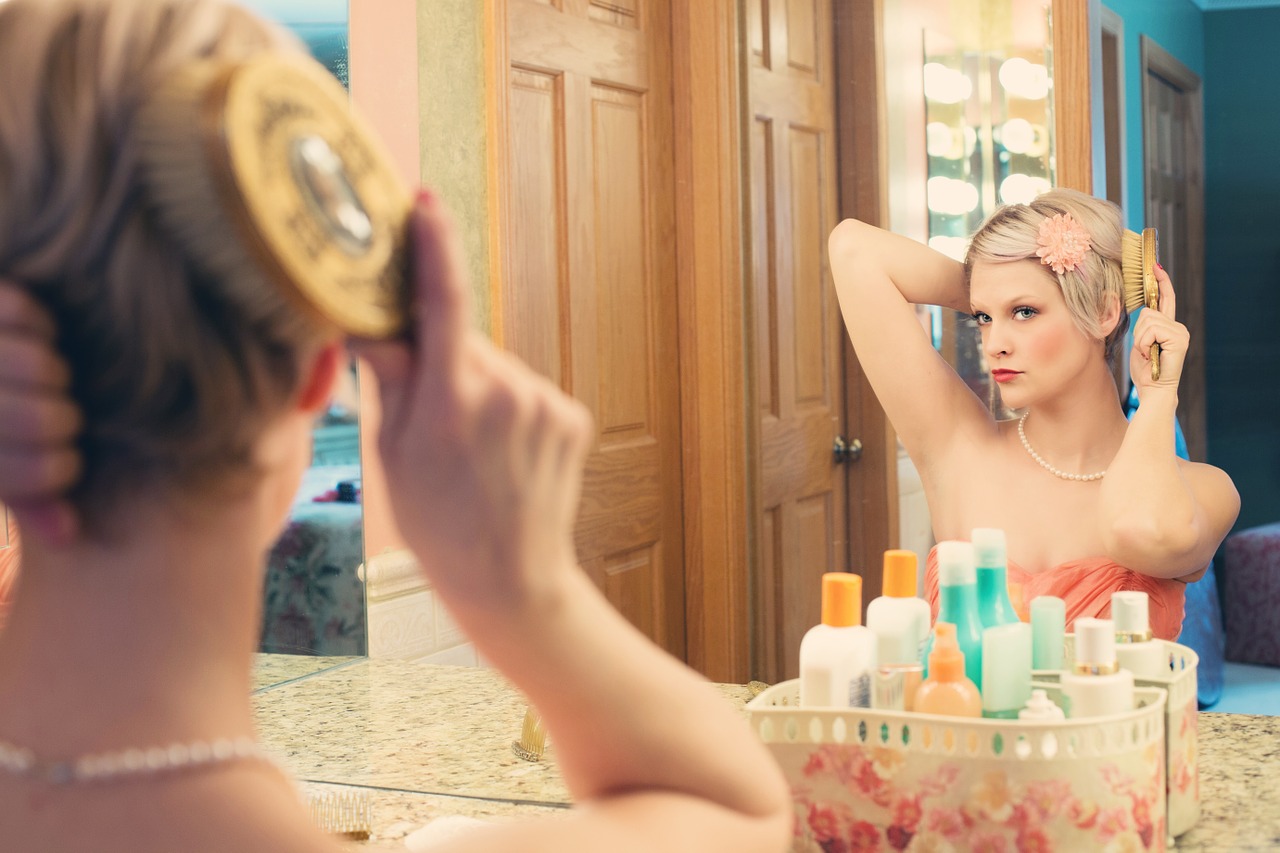
Most people aren’t going to be rude to the model, so that’s not what this step is about. It’s about recognizing that the person on the other side of the camera is in a bit of a vulnerable position, and their primary goal is to accurately follow your instructions. They need feedback to be able to do this, and to keep from becoming anxious or nervous.
posing-models-3

When working with and posing models, make sure you’re talking to them. If they’re doing great, let them know it with a word of encouragement. Nice, beautiful, lovely: stick to something positive and non-offensive. If you have to give negative feedback, keep your tone light and encouraging.

Step 4: Keep the Energy Going

Music, snacks, breaks, and absolutely no chimping: these are a few ways to keep the energy alive. Chimping is an industry term that refers to when a photographer continuously checks the quality of the photographs during the shoot. This will make the model nervous and change the tone of the shoot. Stay upbeat and encouraging, and consider finding music that matches the mood to keep your model in the right frame of mind. Take breaks instead of getting frustrated, and remember to have fun with it.

Step 5: Use Your First Few Shots to Refine Everything

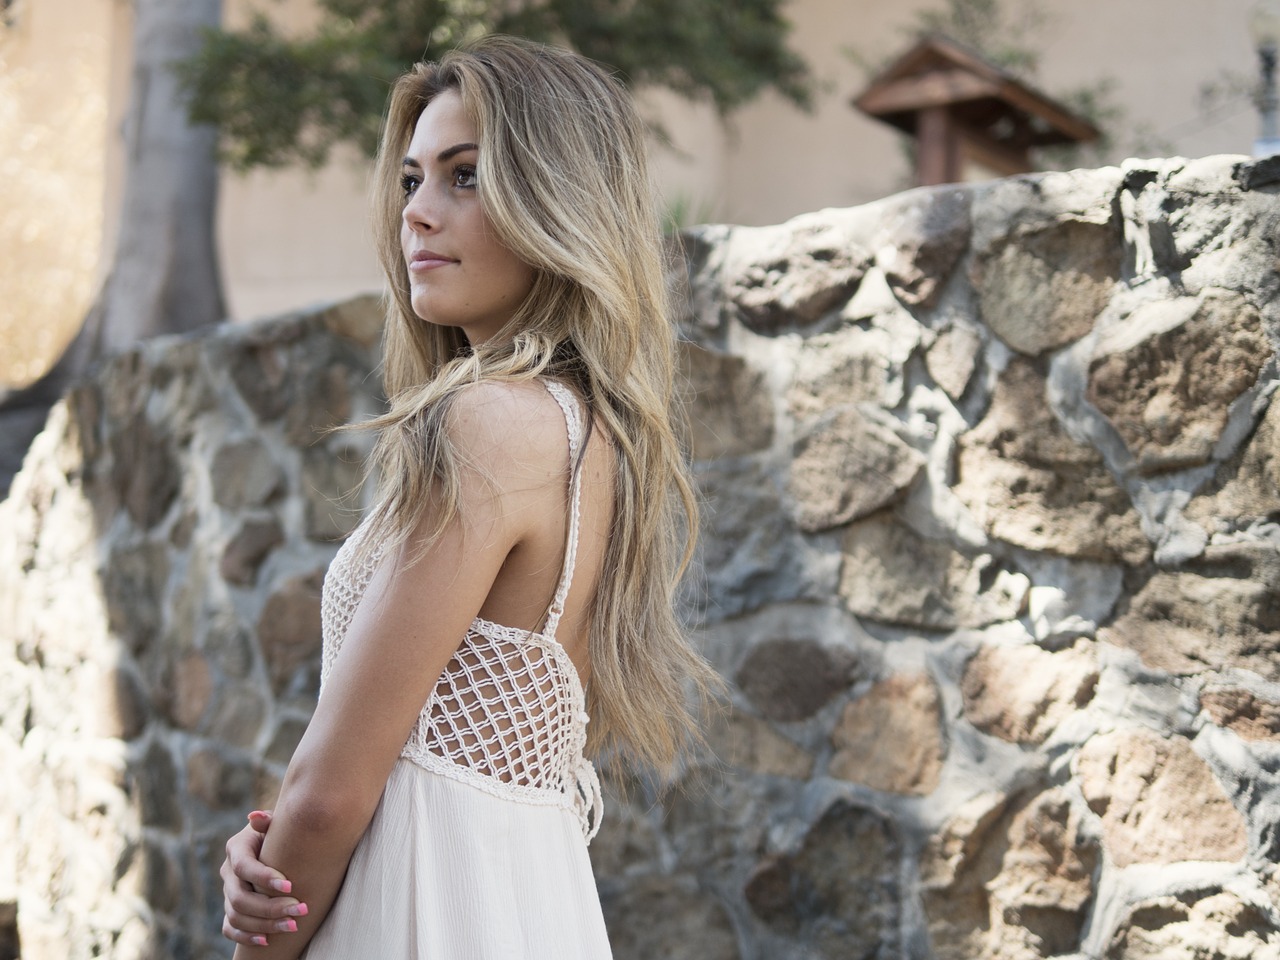
Take a few shots, then have a look and tweak everything. Does the mode look uncomfortable? Find out why and fix it. Maybe they aren’t clear on what they need to do, maybe they aren’t comfortable with you, or maybe they aren’t comfortable in their shoes. The next thing to look at is how the model’s clothing interacts with the environment. Do they need to pop more? Add a colorful scarf. Are they popping too much? Take off some accessories. Is the shoot bland overall? Add some more props. Play with your positioning too. Try shooting from a low angle, looking up towards the model. You’d be amazed at how much this simple shift can change your photos.
posing-models-4

These simple tips will help get you started with posing models. The best advice is to have fun and don’t be afraid to experiment. Be sure to check out our other articles in the series for more in-depth information about how to pose models for different types of photo shoots.

Using color as a composition element to add mood to your photos

The list of elements that have a role in the composition of your photography is quite long: lines, patterns, symmetry, texture, depth of field, color… yes! Color! Have you ever considered a color like a composition element? If your answer is not, keep reading because I will give you some information that might change the way you approach color in your photography.

Colors and emotions

Colors are generally associated with certain emotions.

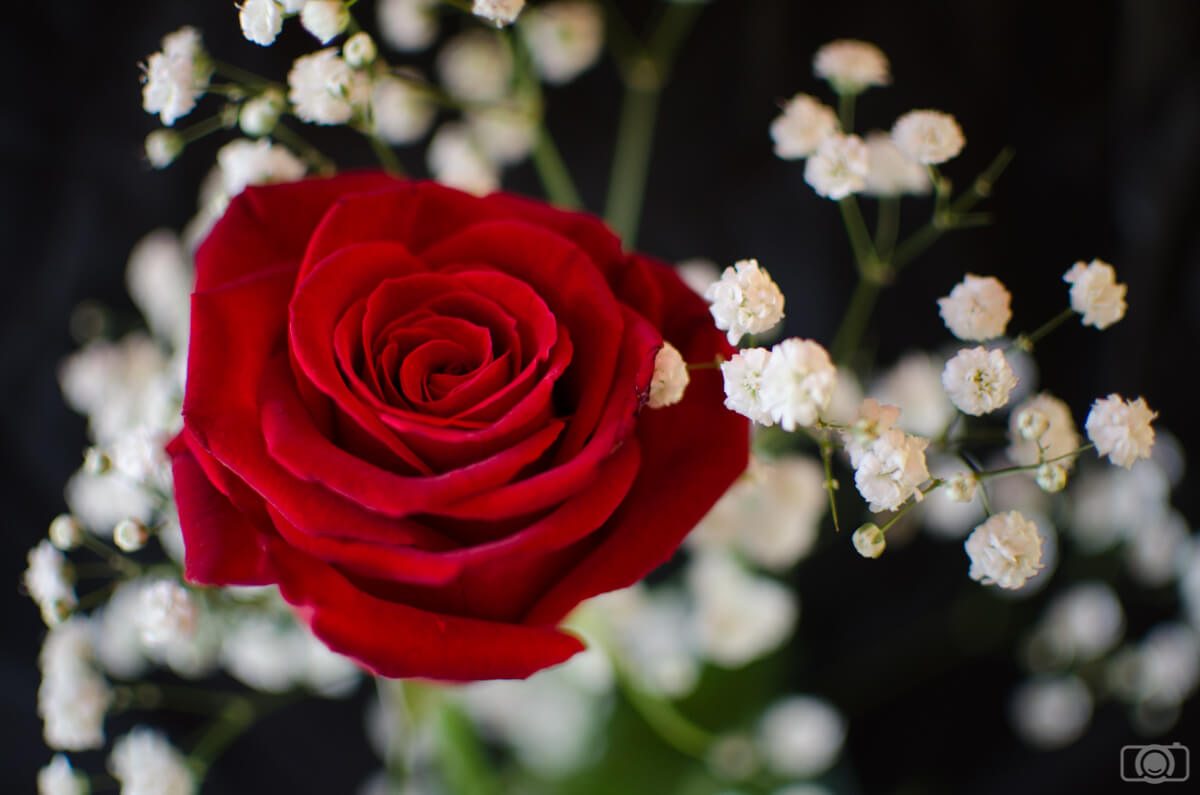
Red: Passion, intensity, power, strength and attention

Color
Red roses have always been synonyms of passion and love.

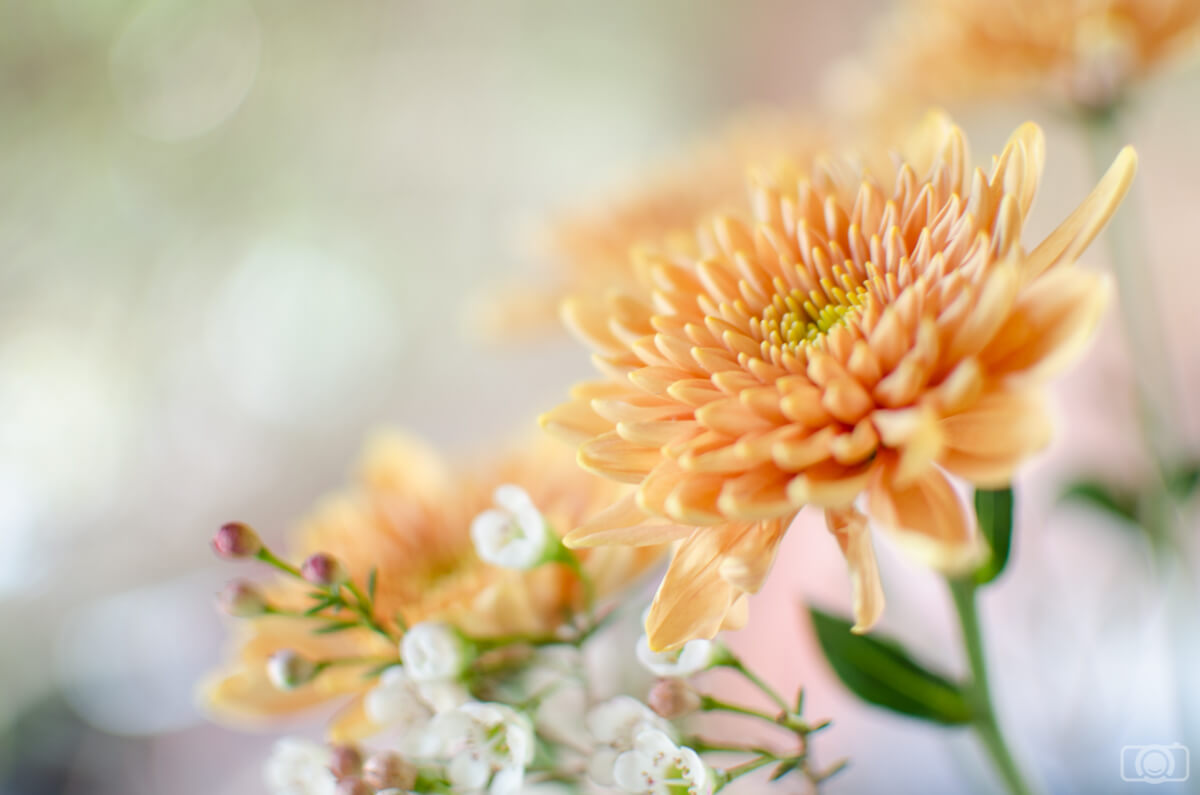
Orange: enthusiasm, joy, optimism, creativity

Color

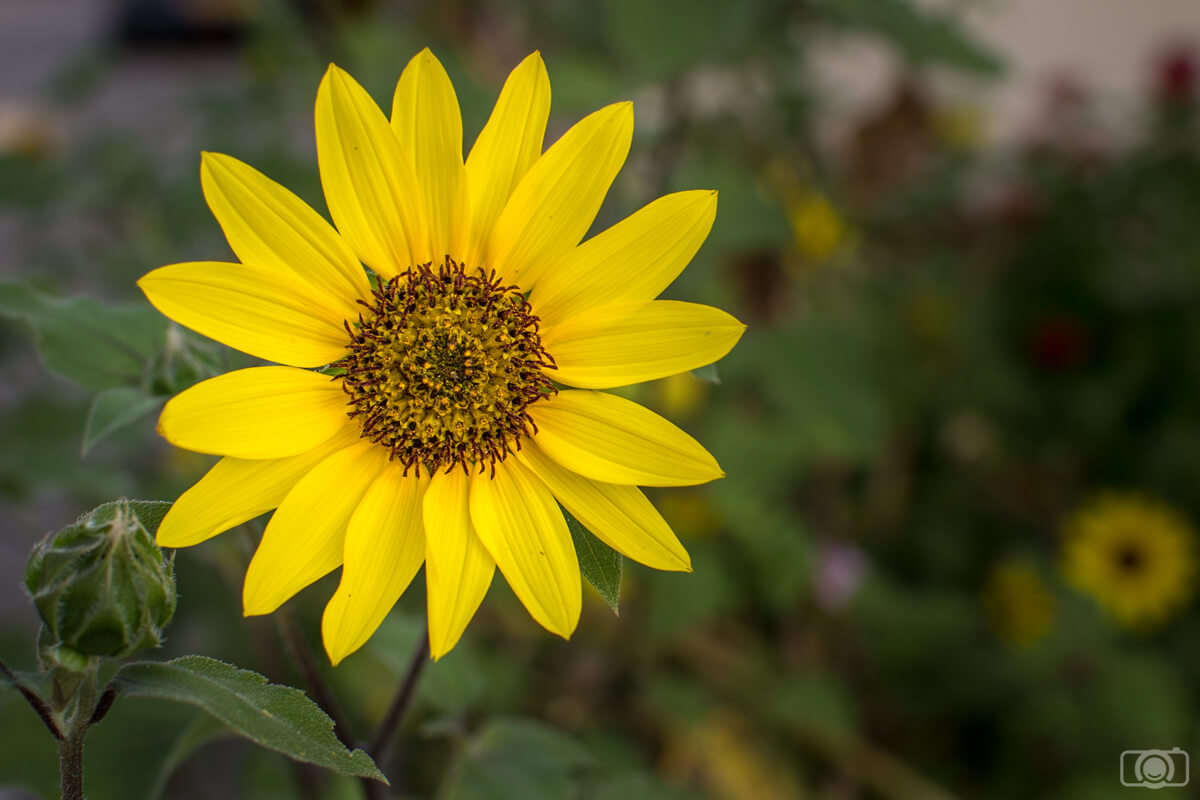
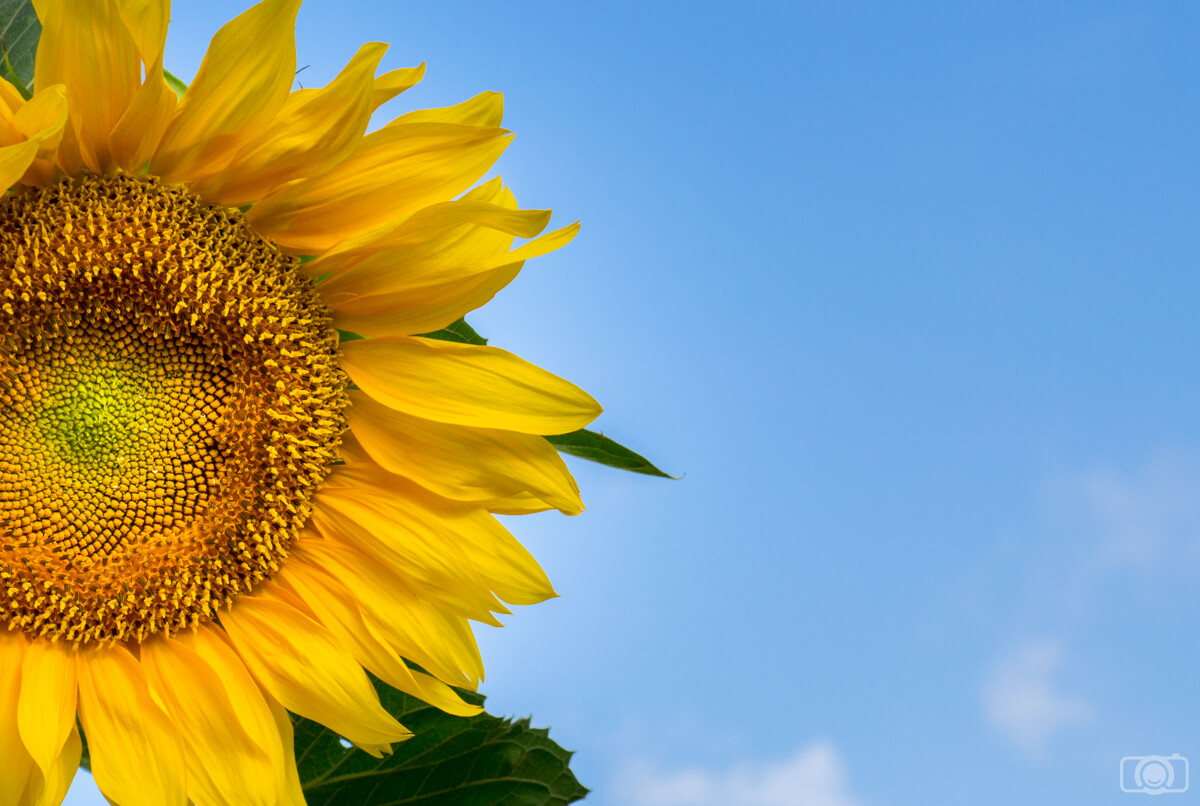
Yellow: energy, intellect, happiness

Color

The 3 previous colors (red, orange and yellow) are also known as warm colors. They are exciting colors. They give a feeling of high energy.

Green: nature, tranquility, freshness, harmony, fertility

Color

Blue: calmness, peace, responsibility, confidence, trust

Color
This photo is from The International Airport of Korea. The blue tones give a feeling of peacefulness even when the place was quite busy at that time.

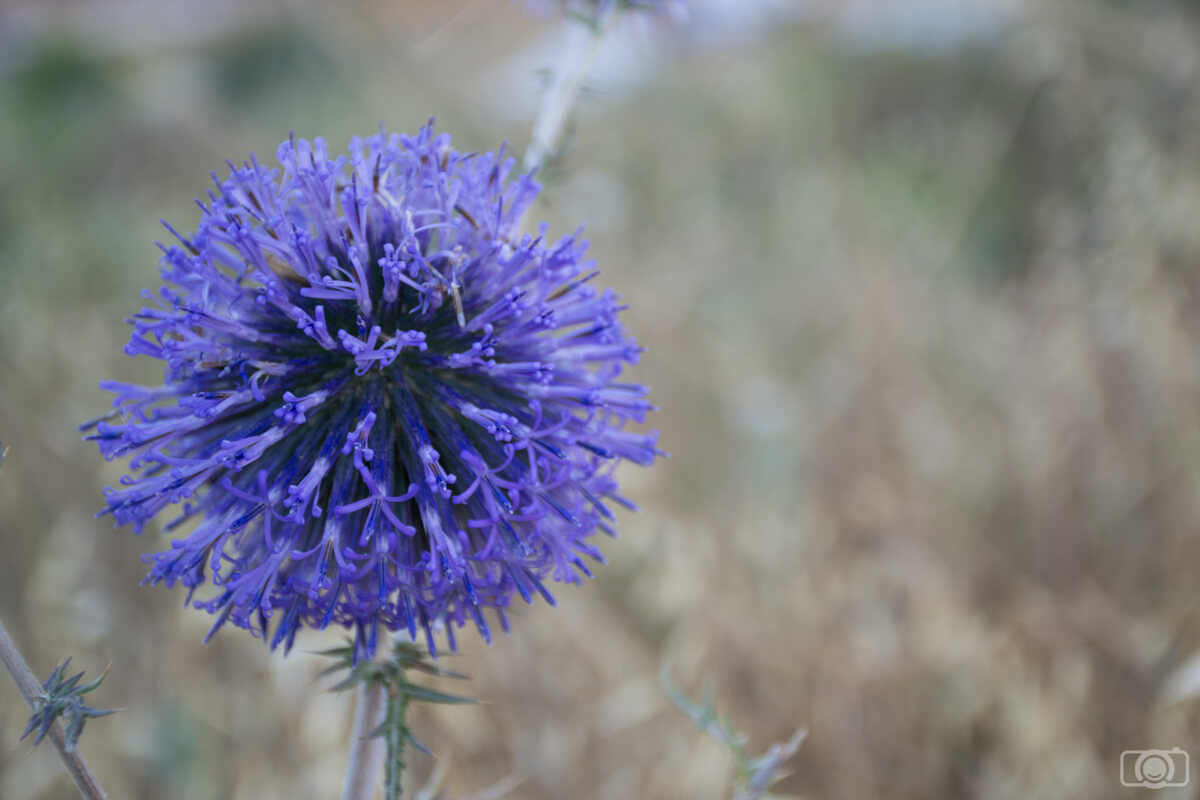
Purple: royalty, extravagance, luxury, mystery

Color
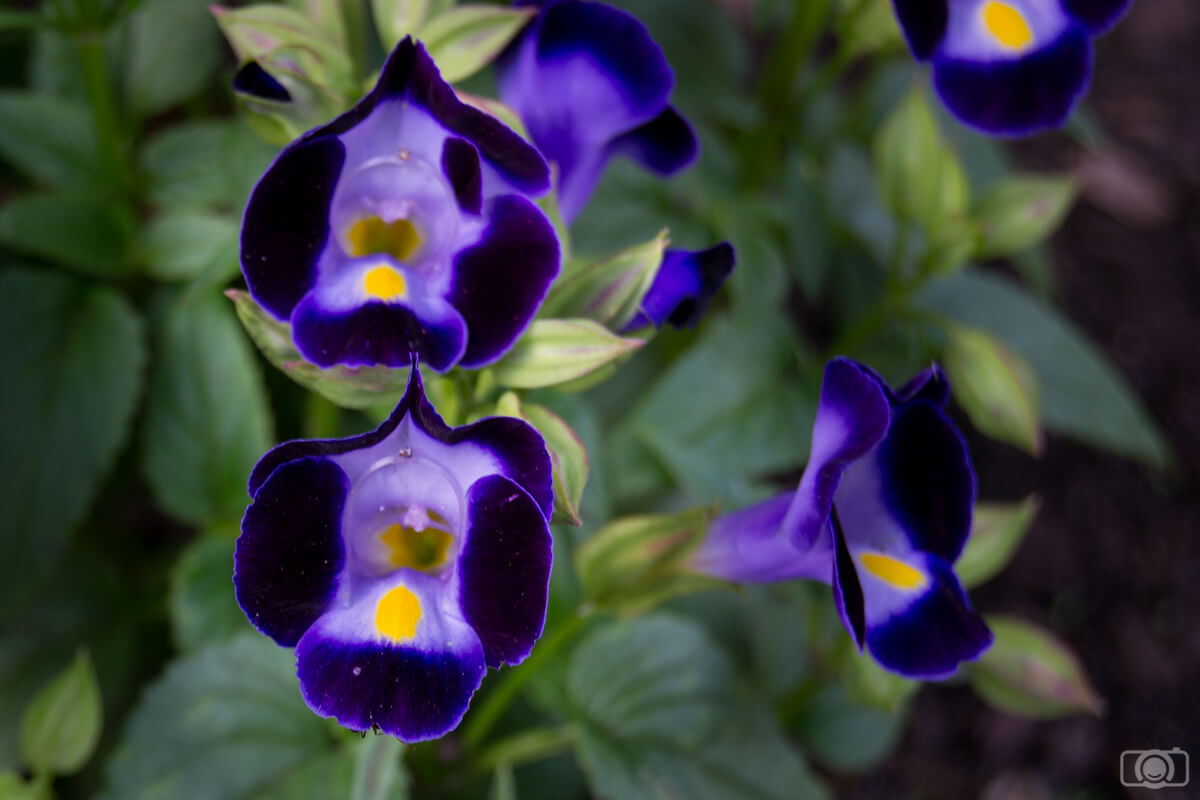
You can find purple also in nature.

The 3 previous colors (green, blue and purple) are also known as cold colors. They are considered relaxing colors. They give a feeling of calmness.

Color
Sydney’s Opera Building is completely white, giving a sense of perfection in its shapes.

Black: elegance, formality, power, sexy, mystery

Color
Black cats are considered mysterious animals.

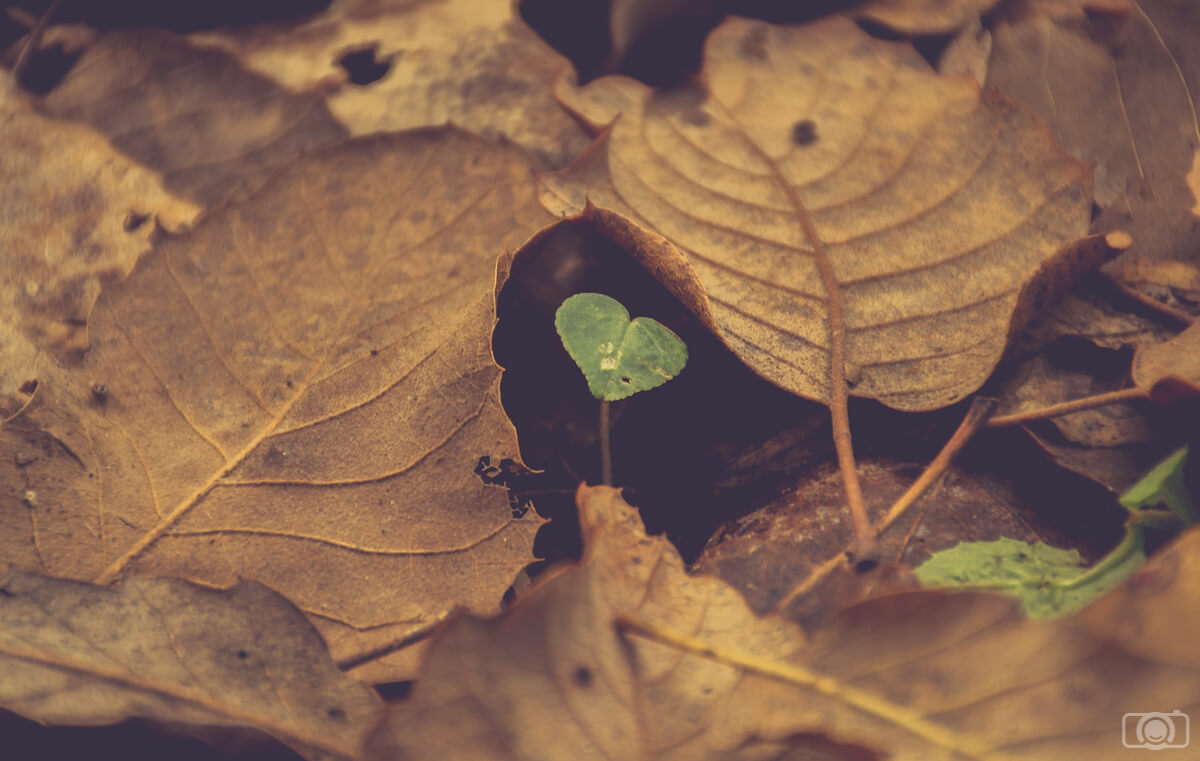
Brown: stability, structure, support

Color
Brown can give to your composition an extra sense of security.

The 3 previous colors (white, black and brown) are also known as neutral colors and they are usually great as backgrounds.

Subjective interpretation of colors

Although there are general interpretations of colors, as individual with different social background and experiences, we perceive them in different ways. I mean, there is a subjective aspect in color interpretation. The feelings a color awakes in you might be different than mines. It is for that reason that we have personal preferences for certain colors. I can give you an example of a personal interpretation of colors. According to the list, purple symbolizes royalty, wisdom, and luxury. For my mom, this color means fear because when she was a little girl she was terrorized for some religious parade in which people was wearing purple clothes. She had a life experience that completely shaped her relation with the purple color to the point that nothing at home was in this color (or any of its shades). You can probably find examples like this one in your own life.

Color
The strong negative connotation that my mom has with the purple colors makes her dislike even the flowers in this color.

Color in your photo composition

In the moment you are composing your photo, you can stop one moment and think if you can include colors that will contribute to your composition. What do you want to say with your photo? Do you want your image to have a general feeling of balance and calmness? Then you might consider to include mostly cold colors such as green and blues and avoid as much as possible elements in warm colors.

Color
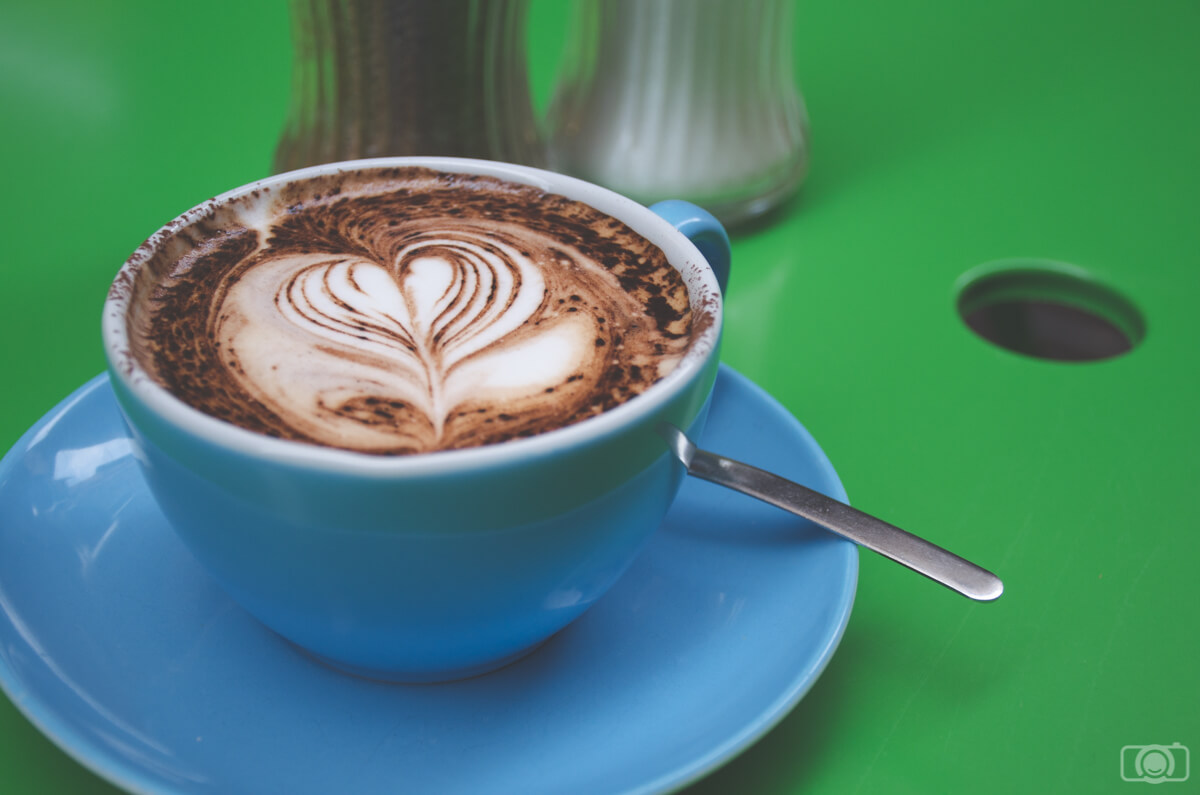
The green table and blue cup give a feeling of calm and even a bit of coolness to this coffee. If the cup would have been red and the table orange, things would have had quite a different feeling.

If you want something more energetic, you should consider to include warm colors.

Color
Golden hour is a perfect time to get warm images.

You can also mix warm and cold colors to get a combined feeling of warm and freshness

Color

Change the color mood of your images in Lightroom

You can also play with the color of your photos in post processing using for example Lightroom. To do that, it is better that you shoot your photos in RAW. This photo format will give you more flexibility in the editing for changing colors.

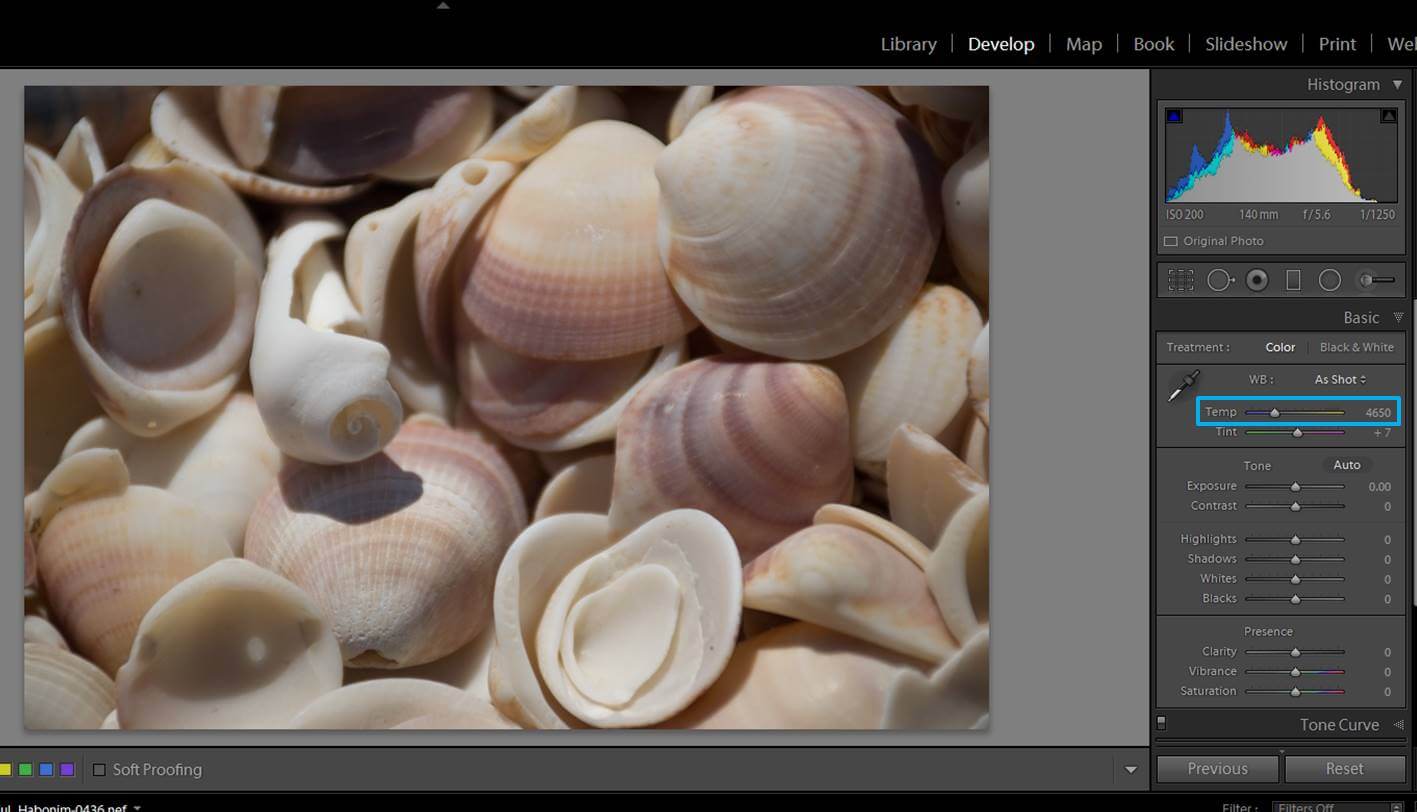
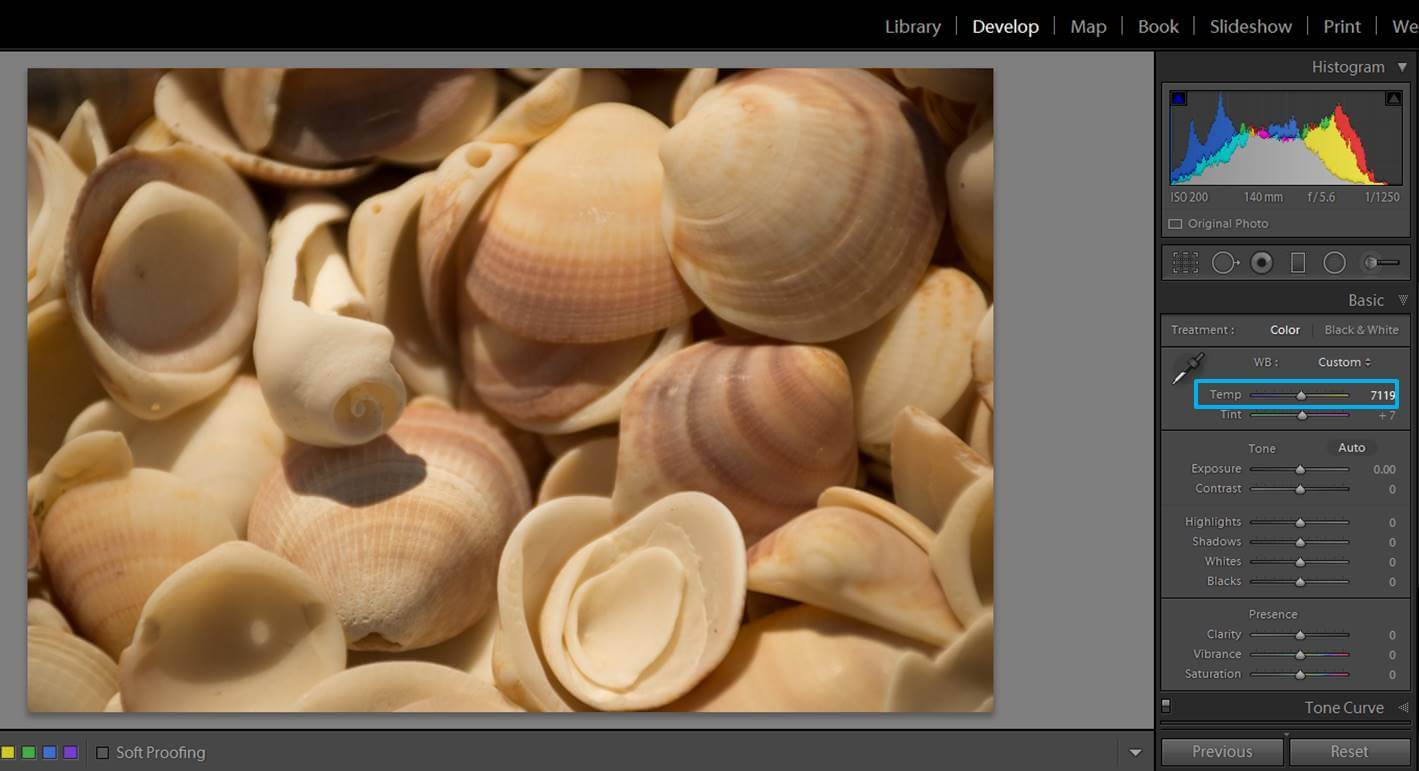
There are different ways you can change the colors of your images. Today I am going to focus on a really straightforward one: playing with the Temperature slider. This technique will help you to get familiar with colors and moods. Once you master this one, you can get into other ways to do it, such as adding color filters or by using the split tone sliders.

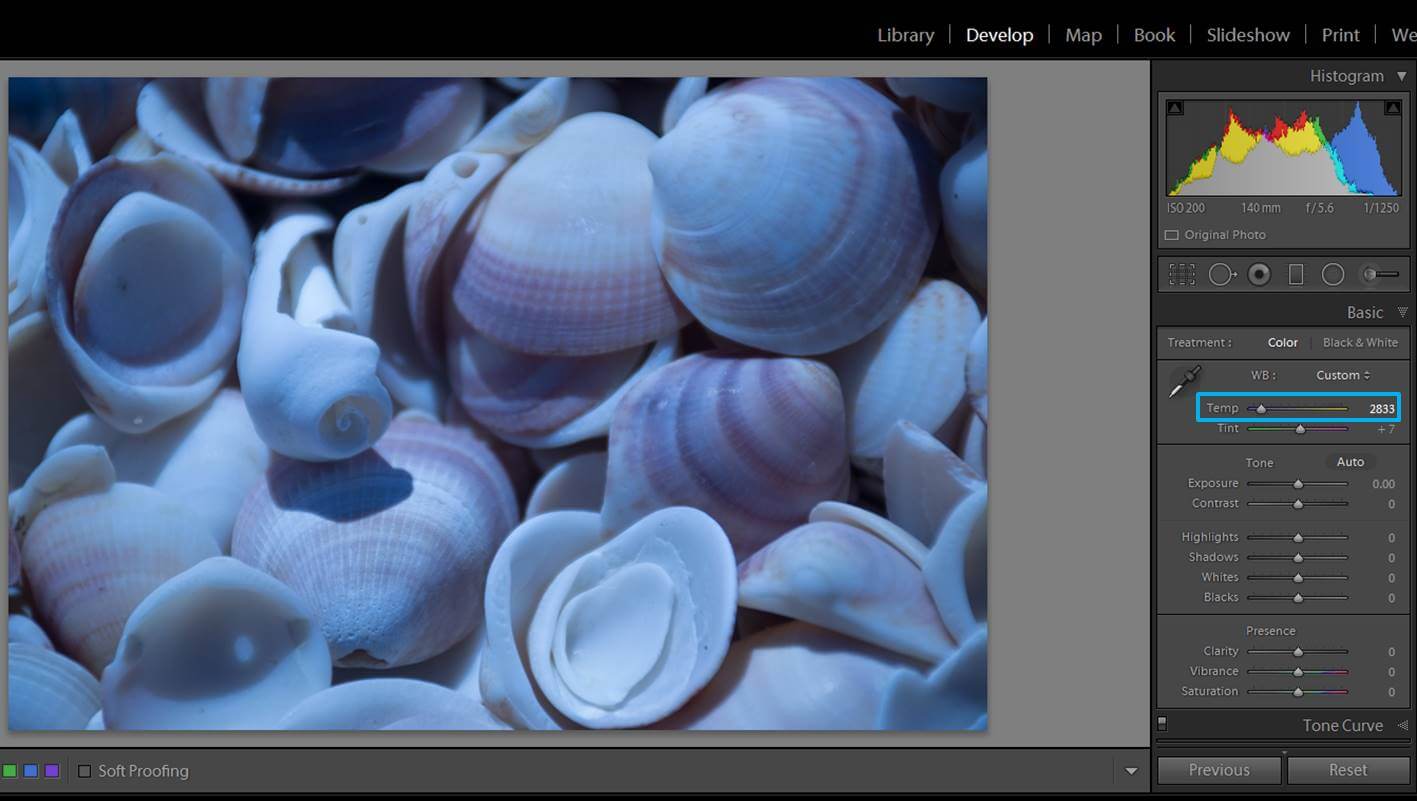
You will find the temperature slider in the Develop module, in the Basic adjustments. Moving the slide to the left you decrease the temperature of your colors, meaning that you make them cooler. If you move it to the right, you increase the temperature, adding warm to your photo.

Color
The original color temperature of this image was 4650.

Color

You can get warmer tones by moving the temperature slider to the right. In this particular image, a value of 7119 worked pretty well.

Color

You can get cooler tones by moving the temperature slider to the left.

Deciding which is the right color for your photos is up to you because it depends on what you felt when you were taking the photo and the feelings you want to express.

Color
From up to down: warm, neutral and cold versions.In this photo, I didn’t like the feeling I got with the cold tones because when I took the photo it was warm and I was on a hike with friends, a quite energetic situation. the warm color version of the image express the feelings I had at that moment much better that the cool color version of this image.

Now it is your turn to experiment with colors. Tell me how do you feel about adding color to your photo composition and if you are happy with your new results! Enjoy!