Tag: wedding

5 Off-Camera Lighting Techniques for Wedding Photography

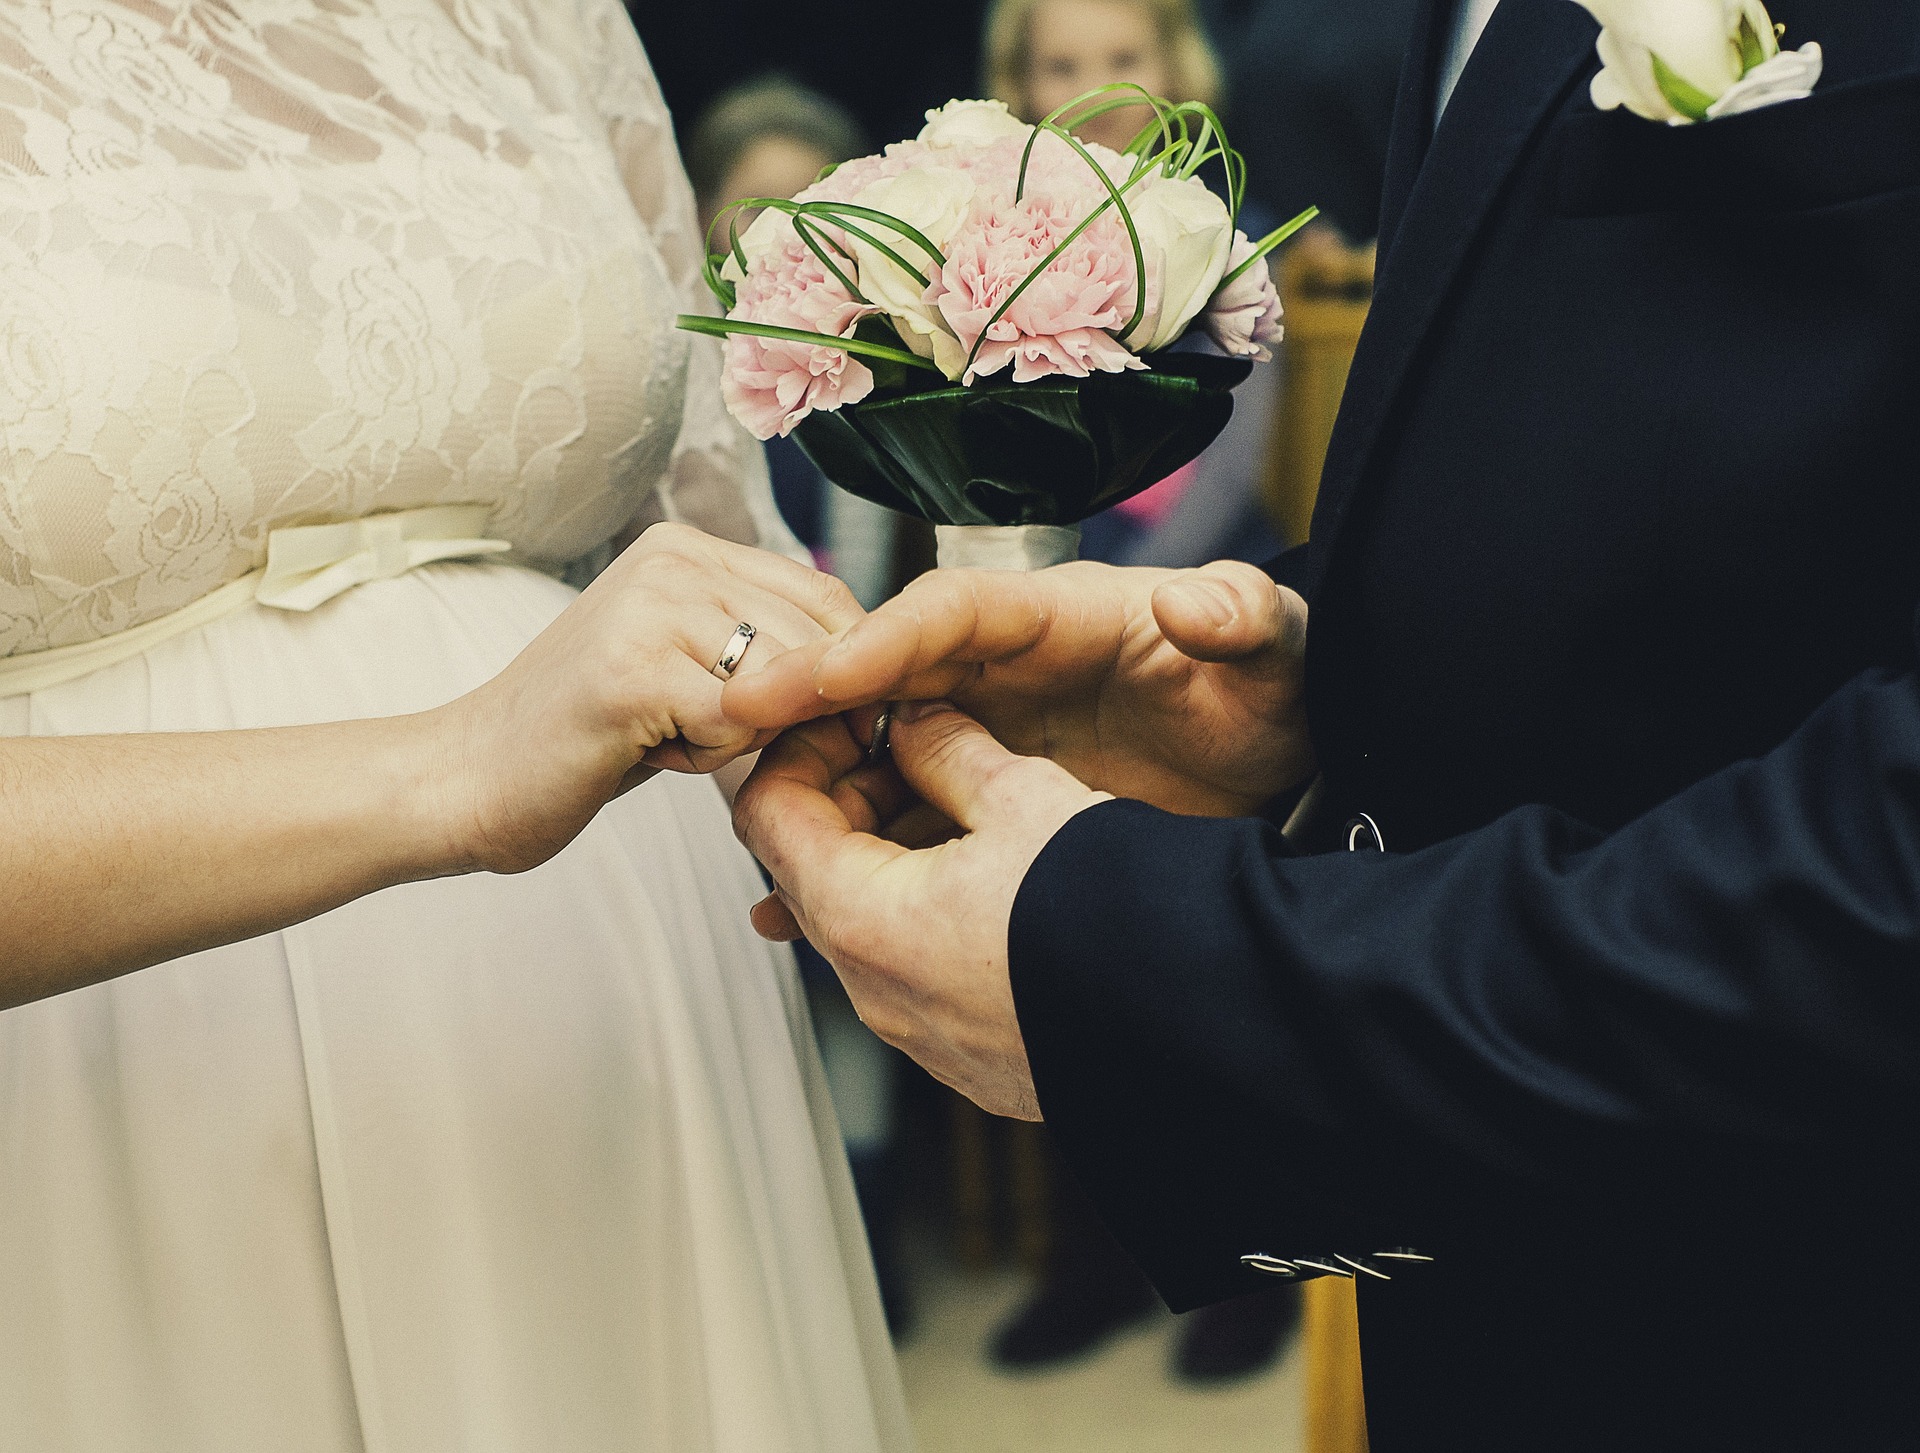
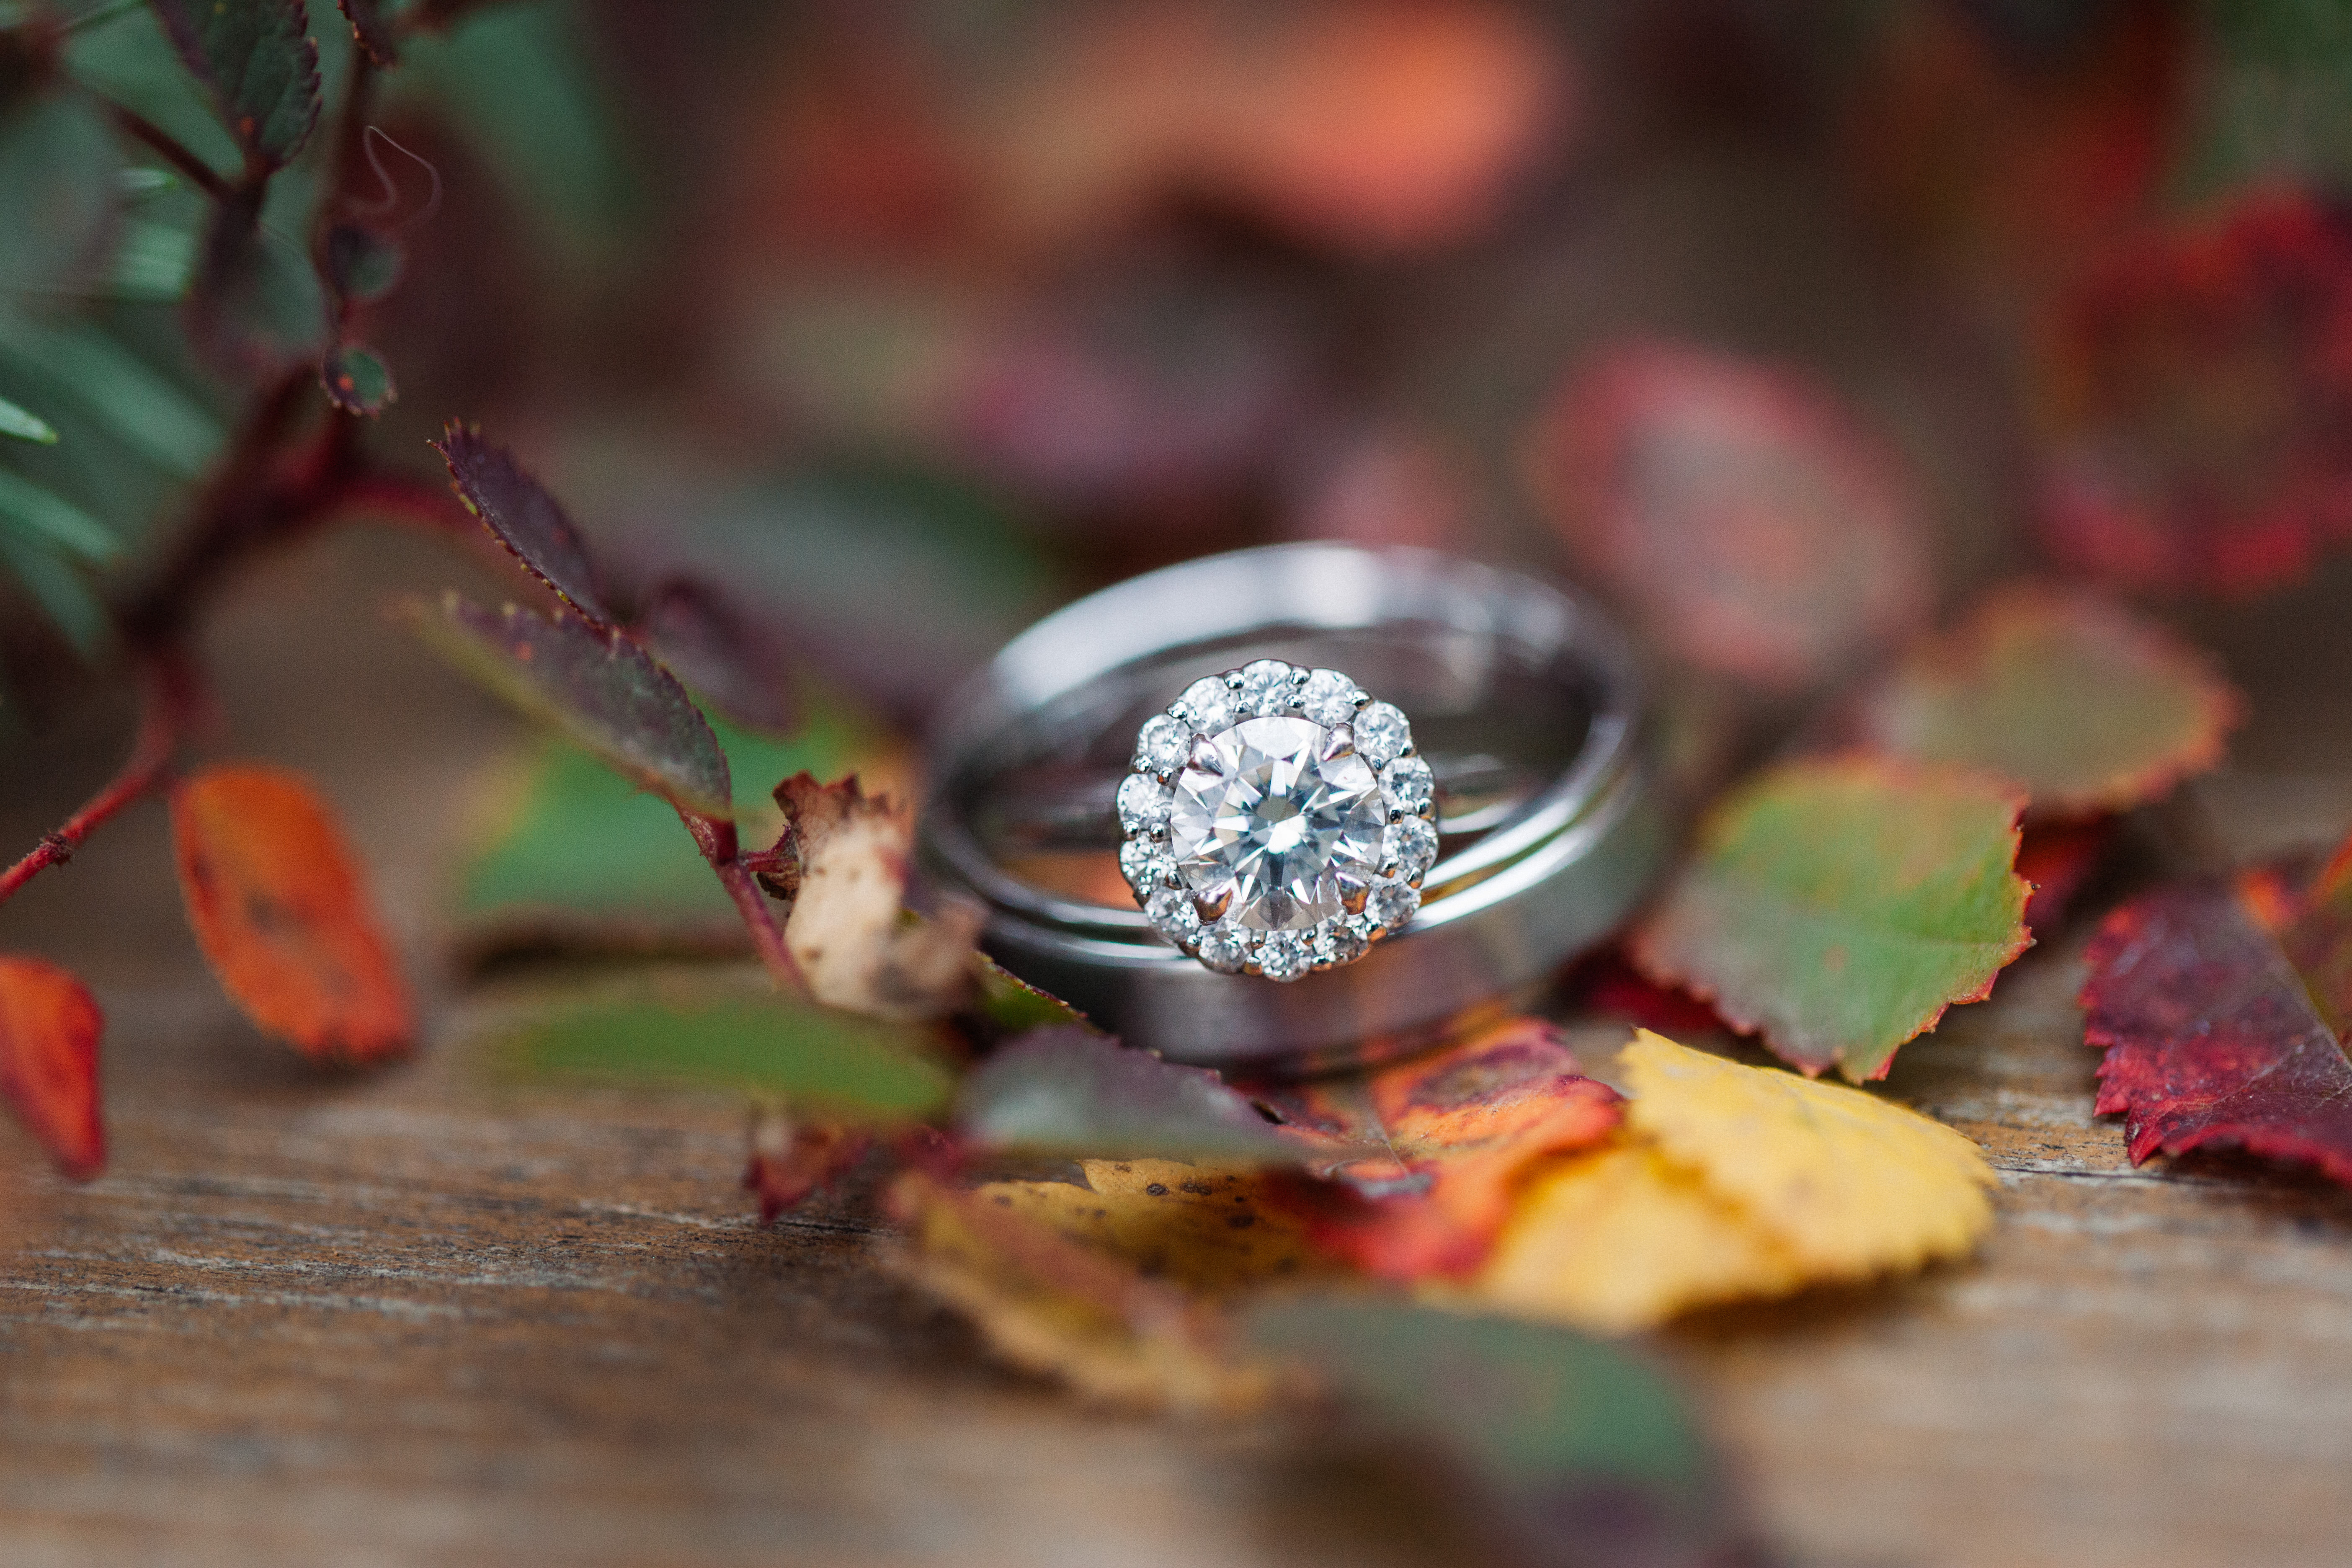
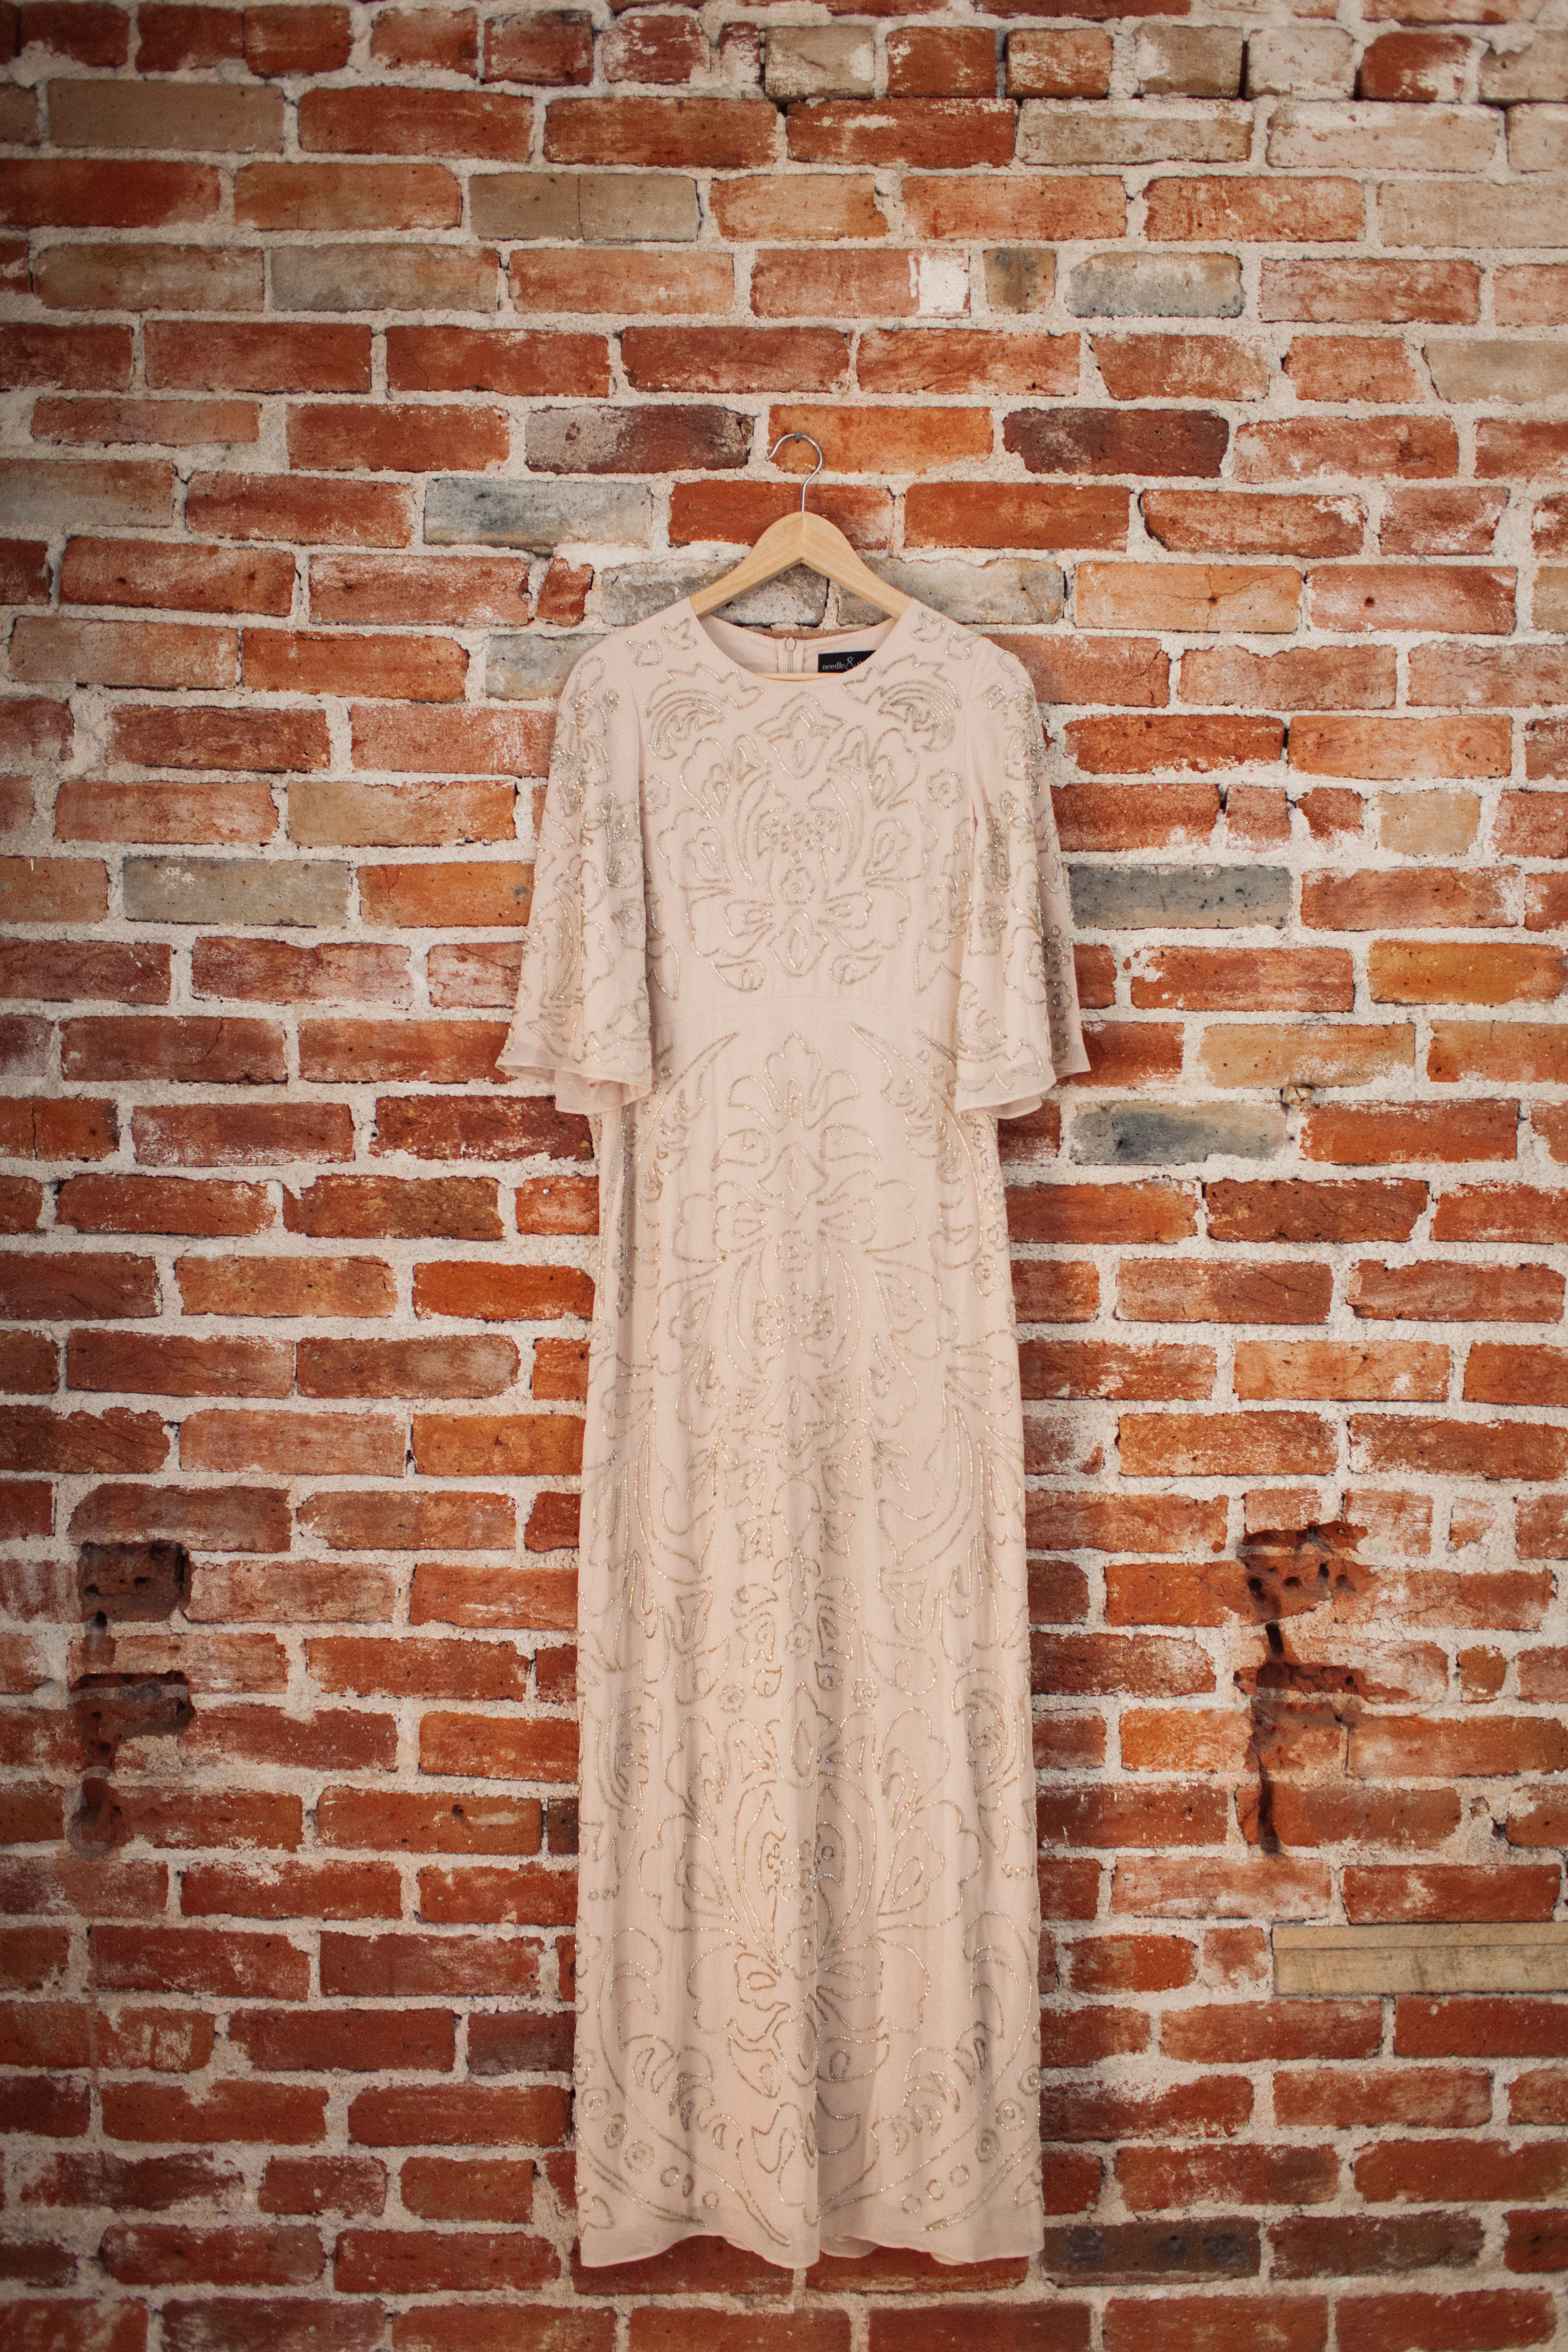
Wedding photography is something that has a great deal of power behind it because it is one of the most important days for two people. Doing things right can make your wedding photography stand out, and it can also give your clients something they will treasure for many years to come.

One great way to get that lasting look is to use off-camera lighting techniques to get things just the way you want them.

To that end, here are five tips to get the perfect lighting for your wedding photography, or even a bachelor party!

1. Use a Softbox

A softbox is a great way to shape the light that you want for the pictures. By using a softbox with a grid, you can have a 50-degree angle of light, which creates a soft look for certain parts of the ceremony, and a harsher look when you need it. In addition, it gives you a great deal of creativity with your wedding photography. Using a softbox can give you more detail in the pictures, and more color on the skin tones of the people you are taking a picture of.

off-camera-lighting-1

2. Ceremony Shooting

When you are shooting the ceremony, the lighting is incredibly important because you don’t want to use the flash in this regard unless you absolutely have to.

The only time you should ever use the flash is when the procession is walking down the aisle following the ceremony itself. In addition, the lighting of the flash should be incredibly low, so you don’t overexpose anyone or wash out the dress.

The best off-camera light to use here, if you need the flash, is to use speedlites. These will be set up in the corners of the room and it will allow for even light to bounce around. It will also give you sharp and detailed photos.
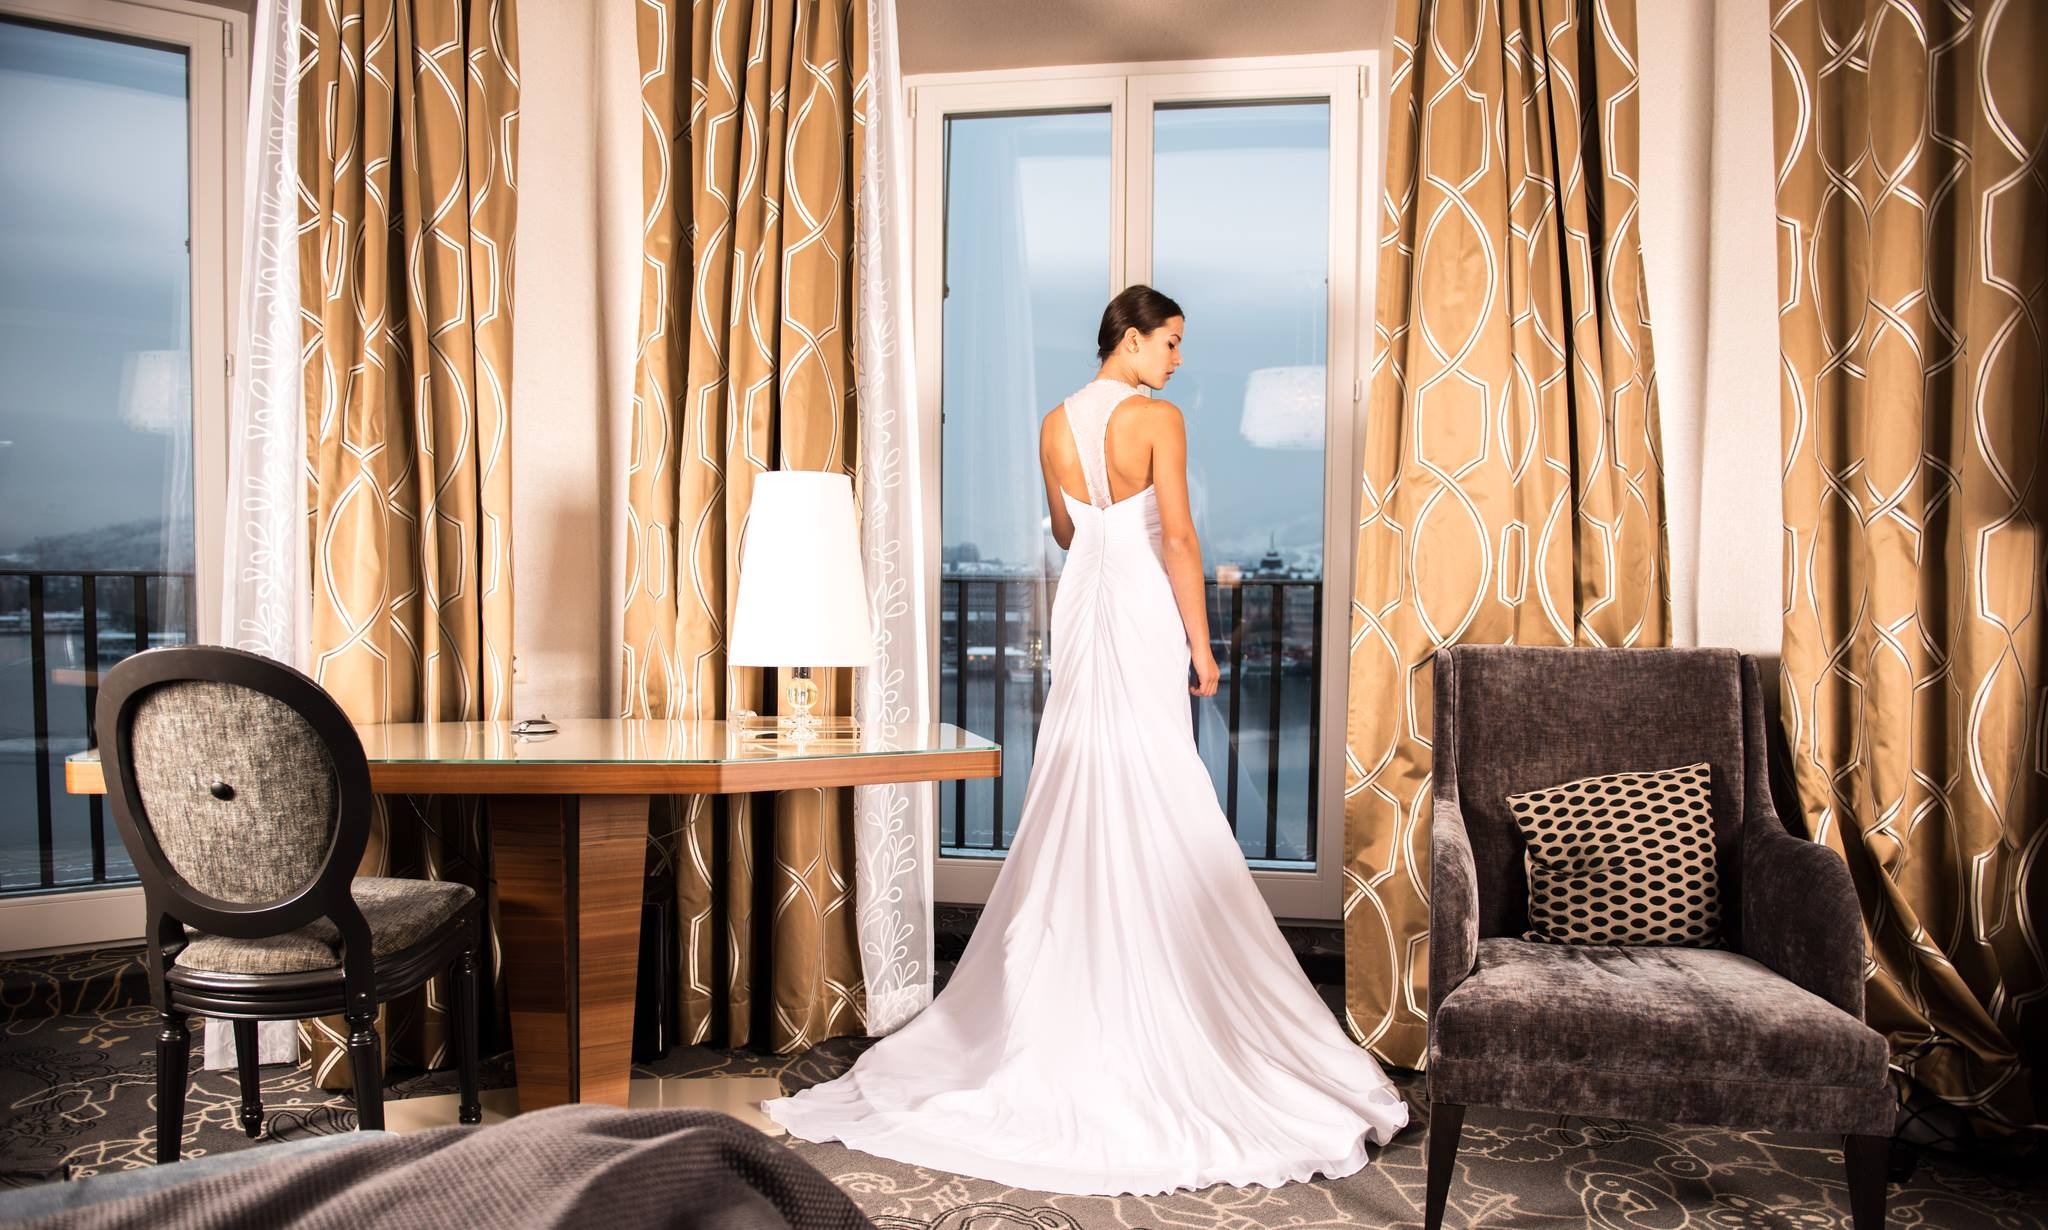
off-camera-lighting-2

3. Build a Studio

When you are at the wedding, don’t be afraid to build a studio on-site to get the right portraits that you want. There are several light options in this regard, including:

  1. Use a key light that can go up to 12 feet in the air. The key light should be an umbrella light, which will allow for a greater amount of soft light to be used.
  2. On the other side of the key light, have a fill light that will serve as a counter balance to the key light.
  3. Use at least one rim light to separate people from the background and have the couple stand out even more.

off-camera-lighting-3

4. Photographing a Group

If you are getting a photo of a large group of people, especially the wedding party, you want to keep drop shadows from happening. One person could end up causing a shadow over another person, and it can make the entire wedding photo look poor. You don’t want this.

You want your wedding party to have equal light and to have no one fade to the background. Yes, the bride and groom are important but everyone else should have an equal share of the light.

The best option is to have two key lights behind and to the side of the wedding party, umbrella lights if you prefer. Behind you, there should be two soft lights on either side.

That will create a nice soft light around everyone, and give you a great balance to the picture itself.

off-camera-lighting-4

5. Best Course of Action

When you are shooting a wedding, your photos need to be striking, and they need to really highlight the bride and the groom.

They are your focal point. Don’t be afraid to test things out beforehand to get the right light balance. You only get one chance at this, so you want to do it right.

Wedding photos that look poor will cause you to lose work and can even lead to a lawsuit. Don’t let that happen.

Your best course of action is to always plan ahead and make sure that you get the right off-camera lighting for your wedding photography.

off-camera-lighting-5

When you are taking wedding photos, there are a thousand things you have to contend with. You have to deal with the lighting of the church, or the lighting outside if it is an outdoor wedding. You have to deal with shadows, other people, even the color of the tuxedo and the dress itself. So many things can go wrong, but many things can go right when you use off-camera lighting.

There are many different setups you can try with off-camera lighting, so don’t be afraid to play around with it. See what you can create, and go with it. You should also detail your plans to the bride and groom so they know what you have planned, and so they can help you make the pictures look amazing.

Lighting and Posing Tips for Beautiful Wedding Photos

One of the most highly stressful photography jobs out there is the wedding photographer. You have to capture a person’s happiest day, and you only get one shot at it. If things don’t go well, there is no do-over. Making sure you get the lighting and posing right is crucial, but don’t despair or begin to worry, we have the tips you need right here to make the great pictures possible.

Create the Portrait

wedding-photography-tips-2

Sure, shooting the wedding details is super important and can make for some great photos, but the most important part of the wedding is the portrait. This is what is going to hang on the wall of the couple in their home. It is vital you capture the right image, and there are a few steps to getting the image that you want with the couple:

1. Posing is extremely important when it comes to the portrait. You want it to be fun, but also to show the couple in love. Make it a bit edgy, and even make it a bit sexy. Have fun with it. This is a happy day for them, so show it in the pose.

2. Before you take a picture, you make sure you got your exposure right. You don’t want to find out your exposure was off after 20 minutes of taking pictures.

3. Don’t be afraid to compose the scene. You may think it is better to have things natural, but composing the scene takes out the variables and the risk factors and allows you to create something truly memorable. Have fun with it.

4. Never, ever forget about your lighting. You want the lighting to be right, so make sure you have some portable lights and that you play with the lighting around you. Failure to do this can make a great looking photo look horrible.

5. In post-production, don’t be afraid to lighten things up just a bit as well.

What about Posing?

wedding-photography-tips-3

So, posing is one of the most important parts of any wedding portrait. What should you consider when you do this? There are a few factors that can really make your image pop. The biggest factor is the background. You don’t want it to be too busy, but you don’t want it to be too bland either. You want your background to incorporate itself into your photo. Use it to your advantage, don’t ignore it.

You should also pay attention to your curves. These are your C-curves and S-curves, and they will help to accentuate the bodies of your subjects, and it will help bring more of an interest to your photo. Never ignore these because they can be your best friend when it comes to getting an amazing photo.

The lighting once again is crucial. You can use natural light, or artificial light, but make it work to your advantage. Don’t leave things to chance. You make the light flatter the people you are taking, not take away from them. The importance of lighting cannot be understated, so make sure you get the lighting just right.

If you are shooting with artificial light, do it when things are dark because you can have more control with your studio lights than with the fluorescent lights above you. It is all about controlling the lights and making them work for you. Don’t be afraid about being a bit creative with the lighting as well.

wedding-photography-tips-4

Keys to Success

If you want to make the most of the posing and the lighting, and the wedding in general, then you need to keep these things in mind:

1. Be professional because that is incredibly important in a wedding setting.

2. Always be consistent with your subjects and what you want from them.

3. Educate your subjects on what you want so they know what you are doing as well.

4. If they’re camera shy, try a few things to make them comfortable. Take your time and provide lots of direction.

5. Look for inspiration around you.

6. Never be afraid to get ideas from your subjects. It is their day after all, so why not listen to them and find out what they might like out of the pictures. You won’t be sorry you did.

If you are going to be at a wedding, don’t be nervous, don’t be uptight. Have fun because if you do that the subjects around you are going to have fun. When you are taking portraits of the happy couple, work with them and have fun with them. Sometimes the best photos are the ones that happen spur of the moment, without planning, and sometimes you need to plan things out a bit more than you would have thought. The important thing is to be flexible and to adjust to the circumstances around you. You never know, you may get a portrait that gets you more business. The main thing is the couple’s happiness, and if you follow these tips, they will be very happy with the work you provide.

Shooting Wedding Details: A Comprehensive Guide

Effectively capturing details is essential to communicating the atmosphere and emotions of your clients’ wedding day. Formal shots and group photos are essential, but often times it’s the little things that really bring back memories.

First, let’s clarify exactly what is meant by the word “detail.” In this case, “detail” refers to two things: smaller articles that are particularly valuable to the couple (wedding rings, especially), and things that do not necessarily carry any sentimentality, but aid in expressing the spirit of the celebration. Adequately documenting these particular elements requires that the photographer adheres to a few simple guidelines.

The Basics

Regardless of what you are shooting, it’s important to pay attention to angles and composition. When I’m working on details, I always shoot directly above or directly in front of my subject. Usually, any other angle detracts from the image and makes the photograph appear unbalanced.

bouquet-of-roses-1246490_1280

If you’re shooting small details, using a macro lens is imperative. It’s impossible to photograph a multifaceted diamond without one. Again, I’m emphasizing wedding rings, but this applies to any tiny object that would otherwise lose detail without a lens that lacks the ability to focus closely.

Furthermore, lighting plays an extremely important role in sufficiently enhancing smaller features. Position your subjects next to a window or another source of natural light. Artificial light typically comes from above and casts harsh shadows (just as if you were shooting outdoors at high noon).

Photographing Sentimental and Essential Details

Valuable objects directly related to the wedding must be captured clearly and thoughtfully. Jewelry, clothing, decorations, the cake, etc. are the unique accessories that showcase the couple’s personalities and will thus be some of their most treasured photos. The goal here is to highlight each item without complicating the image and detracting from the subject. I like to add outside elements that complement the subject. This is really a great way to augment shots of jewelry or other accessories that are very small. If you have the opportunity to work outdoors, you can use sticks, leaves, rocks, and so forth to give the image a rustic, nature-inspired vibe.

20151004-175926-2_mini

If you can’t go outside, simply find ways to add eye-catching textures or patterns to the shot, or incorporate something else that is special to your clients to add interest.

20150711-142947-478_mini

The bride’s dress is equally important. The same rules apply, but it can sometimes be difficult to get a creative shot of the gown. Again, incorporate textures and patterns when you can.

20150711-135407_mini

Creating a unique dress shot requires a little artistry and sometimes, improvisation. At one of the weddings I worked last summer, we had been having a tough time finding a nice place to photograph the dress. The hotel was beautiful, but the circumstances just weren’t quite right. We ended up taking the dress down to the lobby and asked the concierge if we could hang it from their chandelier. Surprisingly, they agreed, and it looked perfect. Then, as I stepped back through the automatic doors to get a wider shot, I ended up with this:

dress_mini

The point is, you can always find creative ways to work around seemingly impractical or unappealing situations. Keep in mind, too, that when you’re shooting wedding dresses, it is important to get wide shots of the entire dress as well as close-ups of the fabric and details.

dress2

Photographing Non-essentials

After you’ve covered the necessities, you can really get creative with the more obscure details. These are particularly important, though, because they really help convey the feel of the entire day. Not to mention, this is really a lot of fun during the reception or whenever you have some downtime. I also take a lot of pride in images like these because they sincerely express my unique photography style.

painting_mini

I try to choose things that will evoke strong feelings in the couple long after the wedding. They may forget little things like what they were eating while getting ready, details in the room where the bride prepared, and so forth. When they look back at these photos in years to come, all of the emotions of the day will come flooding back, and that is really the fundamental goal of quality wedding photography.

makeup_mini

chandelier_mini

To further enhance your wedding day details, Sleeklens offers a wide array of Lightroom presets and Photoshop actions.

How to Work with Forever Thine: Vintage Aesthetics in Lightroom

Welcome back! Today we’ll be taking a look at how to work with the “Forever Thine” wedding themed workflow, more specifically, how to apply a vintage looking aesthetic to your photographs.

This is becoming more popular, especially with weddings that are outdoors, in the spring or fall. The effects give the photographs a nice homegrown, vintage wedding look.

Let’s go ahead and get started with my first photograph, which is of a bride and groom walking from their outdoor wedding ceremony.

To start this one off, we will use a “Forever Thine” Base preset. Let’s scroll through those and select Base – Camellia, which will lighten the photo up just a bit.

Next, we’ll move on to a Tone & Tint preset and to help create that vintage, faded matte effect, we will apply the Fading Dream preset.

Another nice aesthetic that is really popular is a matte effect. With several different matte effects included in the “Forever Thine” presets, there many choices. In this photo we are going to go with the Matte – Wanderlust preset. Once applied it has added some contrast, but also added some matte finish to the darker areas.

To adjust this preset a little we will go into the Tone Curve, by dragging the bottom of the lineup some we will add to the matte effect.

Other presets that add a nice vintage look are the Film presets, so let’s scroll down to those and go with Film – Sunset Boulevard, which will change the color and tone a bit.

Next, we’ll move over the “Forever Thine” brushes, starting off with the Light – Darken Shadows brush. Making the brush larger and lowering the exposure, we’ll apply this brush to the background to help darken the shadows some, making sure to get in close to the subjects so they aren’t outlined by a ring of light. The point of using this brush is really to bring the focus to the subjects of this photograph.

In the before and after, starting out with a nice wedding photograph, we added an old school or vintage effect which goes along nicely with the fall theme already in the photograph.

So now we’ll move on to another photograph, this time of a bride and groom on a shoreline with the bride’s veil blowing in front of them. Like the previous photograph, we will give a vintage effect to this one as well.

Getting started, we are going to go back to our “Forever Thine” Film presets and like the previous photo, we’ll apply Sunset Boulevard.

Next, we will scroll down to the Wedding Vintage presets and apply First Class.

The really nice thing about these presets is that they are completely stackable, so while applying one on top of another, you aren’t canceling out the effects of the one previously applied.

Now just to tweak this preset a little, we’ll go over and open the Basic tab, then move the Clarity up just a bit.

Those are the only two presets that I’m going to apply, now we’ll move over to our “Forever Thine” brushes.

Starting out, we will use the Light – Brighten Highlights brush. Let’s turn the Exposure up and apply this brush all around the bride’s veil as well as the groom’s suit.

Now let’s go back into the “Forever Thine” brushes, then scroll down to the Wedding – Clarity & Detail brush and apply this brush to the veil and dress, to help bring some more of the detail out.

Next, I am going to open up the Basic tab and move the Exposure and Contrast up slightly.

Now when we applied one of the presets, we lost a lot of the blue in the sky. To fix that and bring it back we’ll open up the controls for the colors, then slide the Blue up some. I’ll push the Red down a tiny bit as well.

Finishing up with this photograph, we can see that we have given it an older looking sepia effect with a nice brown tone. The picture that we started with was a nice photograph, we just gave it more of a vintage look, which is really trending right now.

Now, on to our third photograph. In this photo the bride and groom are standing in front of a white fence, a little further back from the camera. This is a nice photograph, however above the subjects it looks like some of the highlights coming through the trees are a bit blown out, so we will have to fix that as we go.

Getting started, we are going to go into our presets and apply Wedding Vintage – Pine, which darkens the photo and gives it a warmer tone. Once applied, let’s open the Basic tab and slide the Highlights down quite a bit, so we can get some of that detail back in the background. It has really darkened the photograph, but we will bring some like back to the subjects as we go along.

This photograph is framed naturally by the trees in it, but we are going to enhance that by adding a vignette. In this photo we will use Vignette – Black Heavy. Since this is really dark, we will go over the Effects tab and Slide the Highlight Priority Amount up a little so it isn’t as dark around the edges.

Let’s now move over to the “Forever Thine” brushes and select Wedding – Fix Underexpose which will help bring some light back. So, we’ll make the brush a little bigger and run this all around the subjects and the center of the photo, turning up the Exposure, Contrast and Clarity while we go.

Now going back into the brushes, let’s use the Wedding – Clarity & Detail brush. Turning the Exposure up, we will run this brush right around the bride and groom to bring a bit more detail and light back to them.

That’s all that we will do with this photograph. By adding this vintage effect, we have focused a lot of light on the subjects while giving it a nice warm tone and color.

I hope that you enjoyed this tutorial and found it helpful. Hopefully you’ll be able to try our “Forever Thine Workflow” for yourself soon.

How to Work with the Forever Thine Workflow in Adobe Lightroom

Hello, today we are going to get into wedding photography, and how to make editing this complex subject easier, using the “Forever Thine Workflow” by Sleeklens.

The best part about this Forever Thine workflow is that it is specifically aimed towards wedding photography, which is extremely helpful for a photographer who has taken hundreds of shots, and then needs to make a ton of quality edits in a short amount of time. Our “Forever Thine Workflow” comes with 112 wedding specific presets which will give you plenty of options to edit with. This workflow also includes 23 brushes, allowing you to make any local or precise adjustments to your photograph.

I have my photo pulled up, so let’s go ahead and get right into it. The first thing that I am going to do is go into the “Forever Thine” presets. We’ll scroll down to the Base presets and click on Base – Warmer. Then we will scroll down some more until we get to the Tone/Tint presets, this time going to Fading Dream. Remember, even though presets are one click edits, you can still go over to the navigation to tweak and adjust as needed.

For my photo I am going into the Basic tab, then changing the Tint to +45 and the Clarity to +40.

Next, we will use a brush to make a small adjustment to the photo. Going into our “Forever Thine” brushes, we will use the Fix Underexpose brush. We’ll apply this brush right in the center, directly on the subjects to bring a bit more light to them.

As you can see, that edit took less than a minute to perform, improving the overall quality of the photograph and added a nice, warm dreamy feel to it.

Moving on to the next photograph. For this one, we will be using the “Forever Thine” Black & White presets. So,let’s scroll down and select the Black & White – Ivory preset.

Once applied, we will tweak this preset a bit by going over to the panel and moving the Whites up to +31.

Next, we’ll go back to the “Forever Thine” brushes to make a few small adjustments. Going into the Wedding brushes, we’ll go with Shiny & Bright. We will use this brush generally on the subjects, doing this three times, clicking New each time. This is just bringing up the shadows a little bit and adds a bit more light.

Now we’ll go back and choose another one of our “Forever Thine” brushes, this time we are going to use the Wedding – Clarity & Detail brush. As its title suggests, this brush is used in areas where you want to enhance the clarity and details. For the photo that I am using, We’ll run this brush mostly over the bride’s veil and dress, which will help bring out the detail of the lace a bit more.

Now that we are done with this one, the before and after shows that after only about a minute or so of work, we have taken a color photo and quickly created a nice black & white photograph with beautiful enhancements.

And now on to our third and final photograph. In this photo, we will start out by using one of the “Forever Thine” Wedding – Film presets, we’ll go with Breakfast at Tiffany’s. This preset adds some contrast and gives this photo a really nice brownish, sepia like tone.

Next, I will go over to the panel and use the Spot Removal Tool to clear up the street in the picture a little.

Now that we have done that, let’s go into our “Forever Thine” brushes. Once again, we are going to use the Wedding – Shiny & Bright brush. We will run that brush over the bride and her veil, then click New to start a fresh brush, this time going with Wedding – Fix Underexpose.

We will use the Fix Underexpose brush on the bride and her bridesmaids in the back, slightly turning up the Exposure as we go, just to add some more light to all of them.

So, now I am going to use one of the custom brushes that comes with Lightroom. We’ll go with the Tint brush, but make some minor adjustments before we apply it. I’m going to set the Tint to 36 and the Temperature at 29. We will use this brush on a couple of the bridesmaids who have a little paler skin, just to make them blend in a bit more.

We can tweak this photo a bit more by going to the Detail tab, then to Sharpening and raise the amount just a bit more.

In the end effect, we have really brought the bride out more and muted the colors some with a nice slight sepia tone. We have also enhanced the contrast and light, giving the photograph a more polished and professional look overall.

As you can see the “Forever Thine Workflow” not only helps make editing wedding photos much easier, but drastically cuts down on processing time as well, while allowing you to create breathtaking photographs, preserving those memories for a lifetime.

I hope this Forever Thine workflow tutorial was helpful. Make sure you check out our other tutorials and hopefully you can try these workflows for yourself soon.