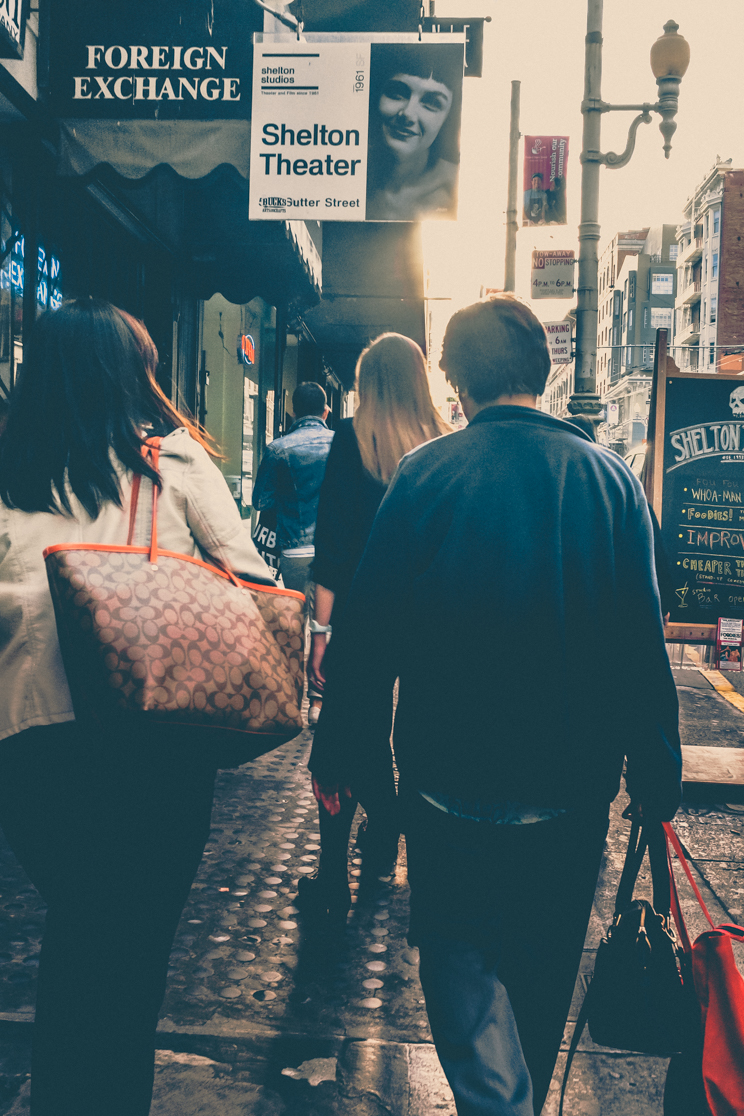
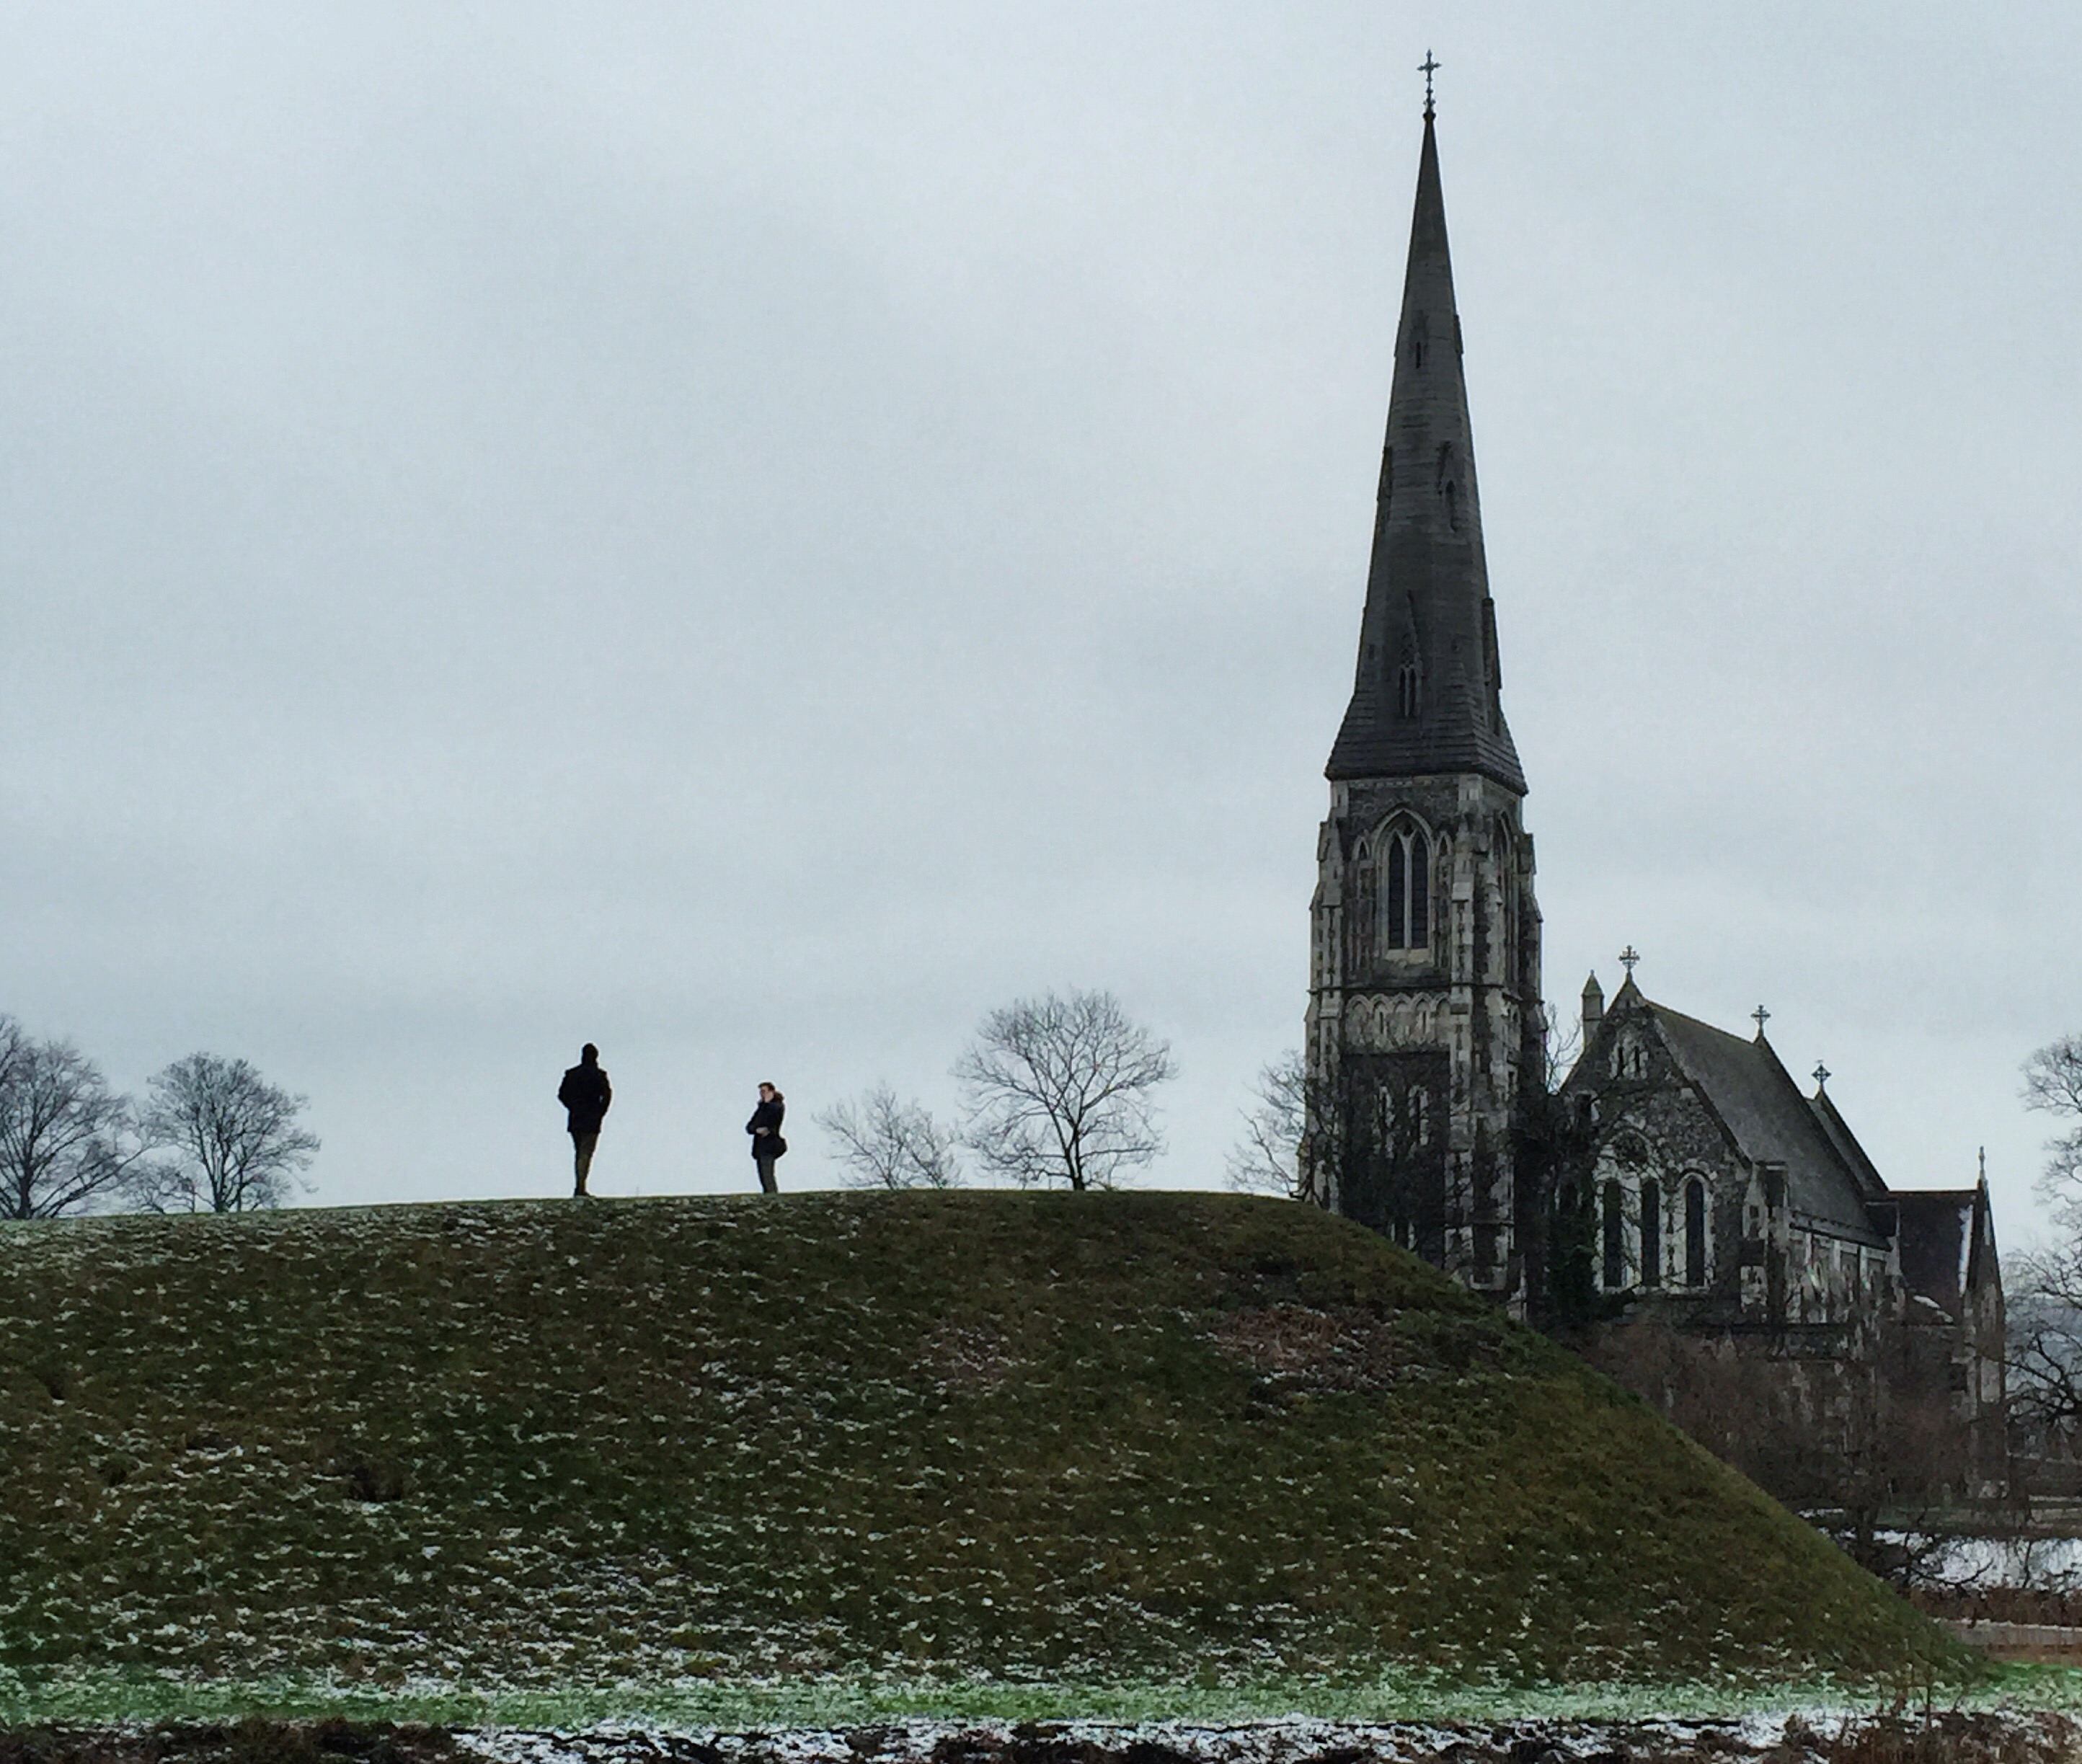
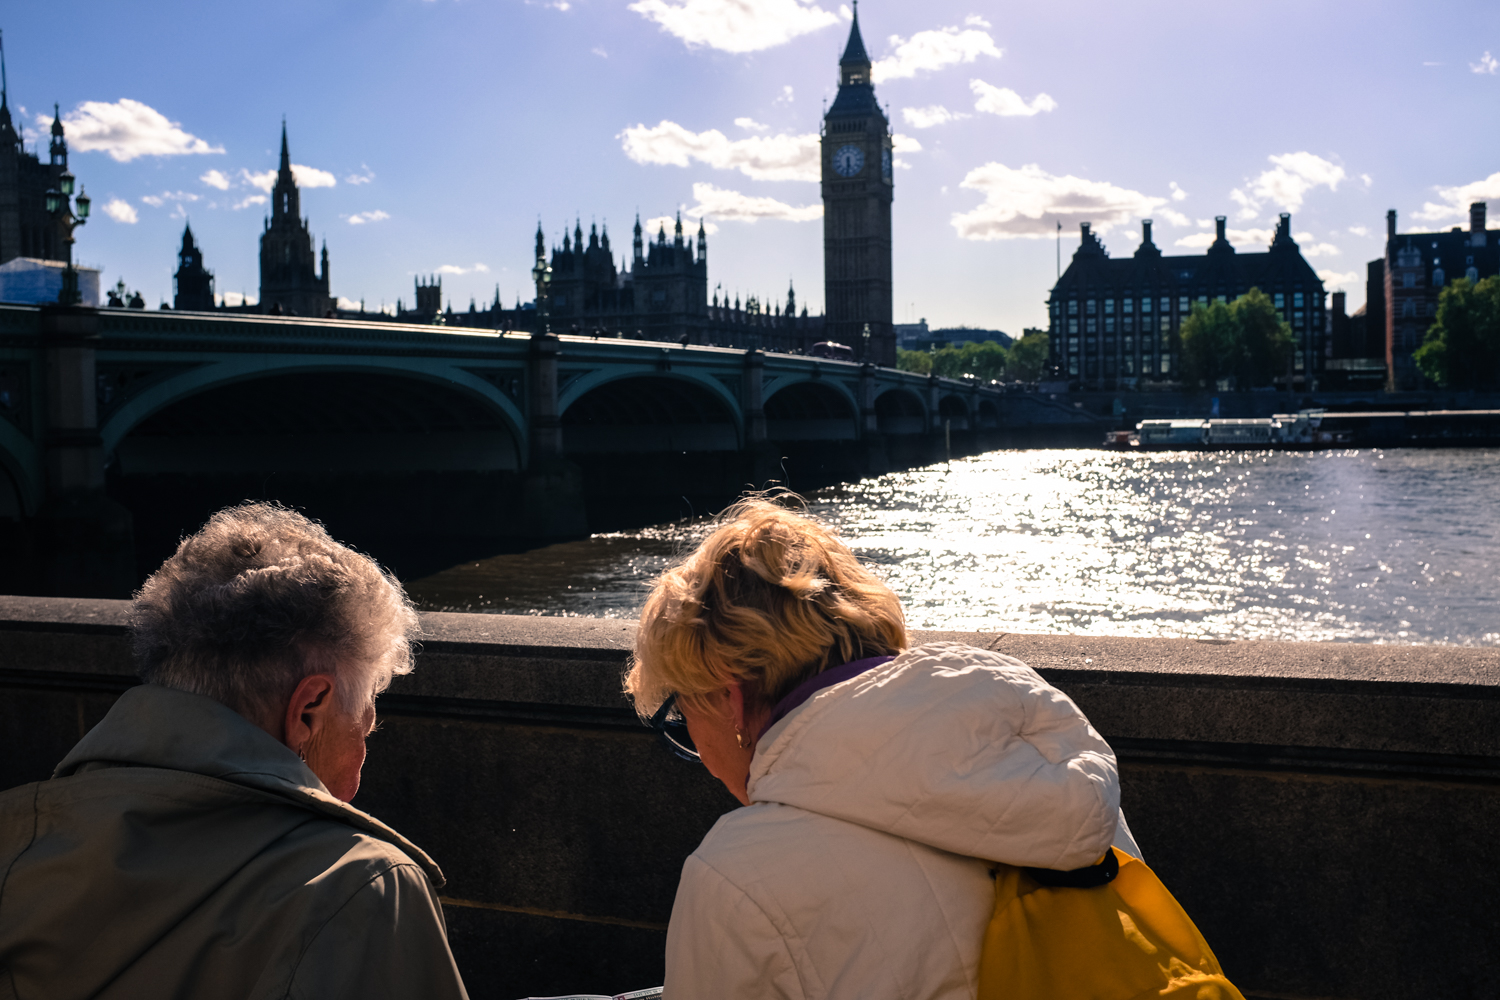
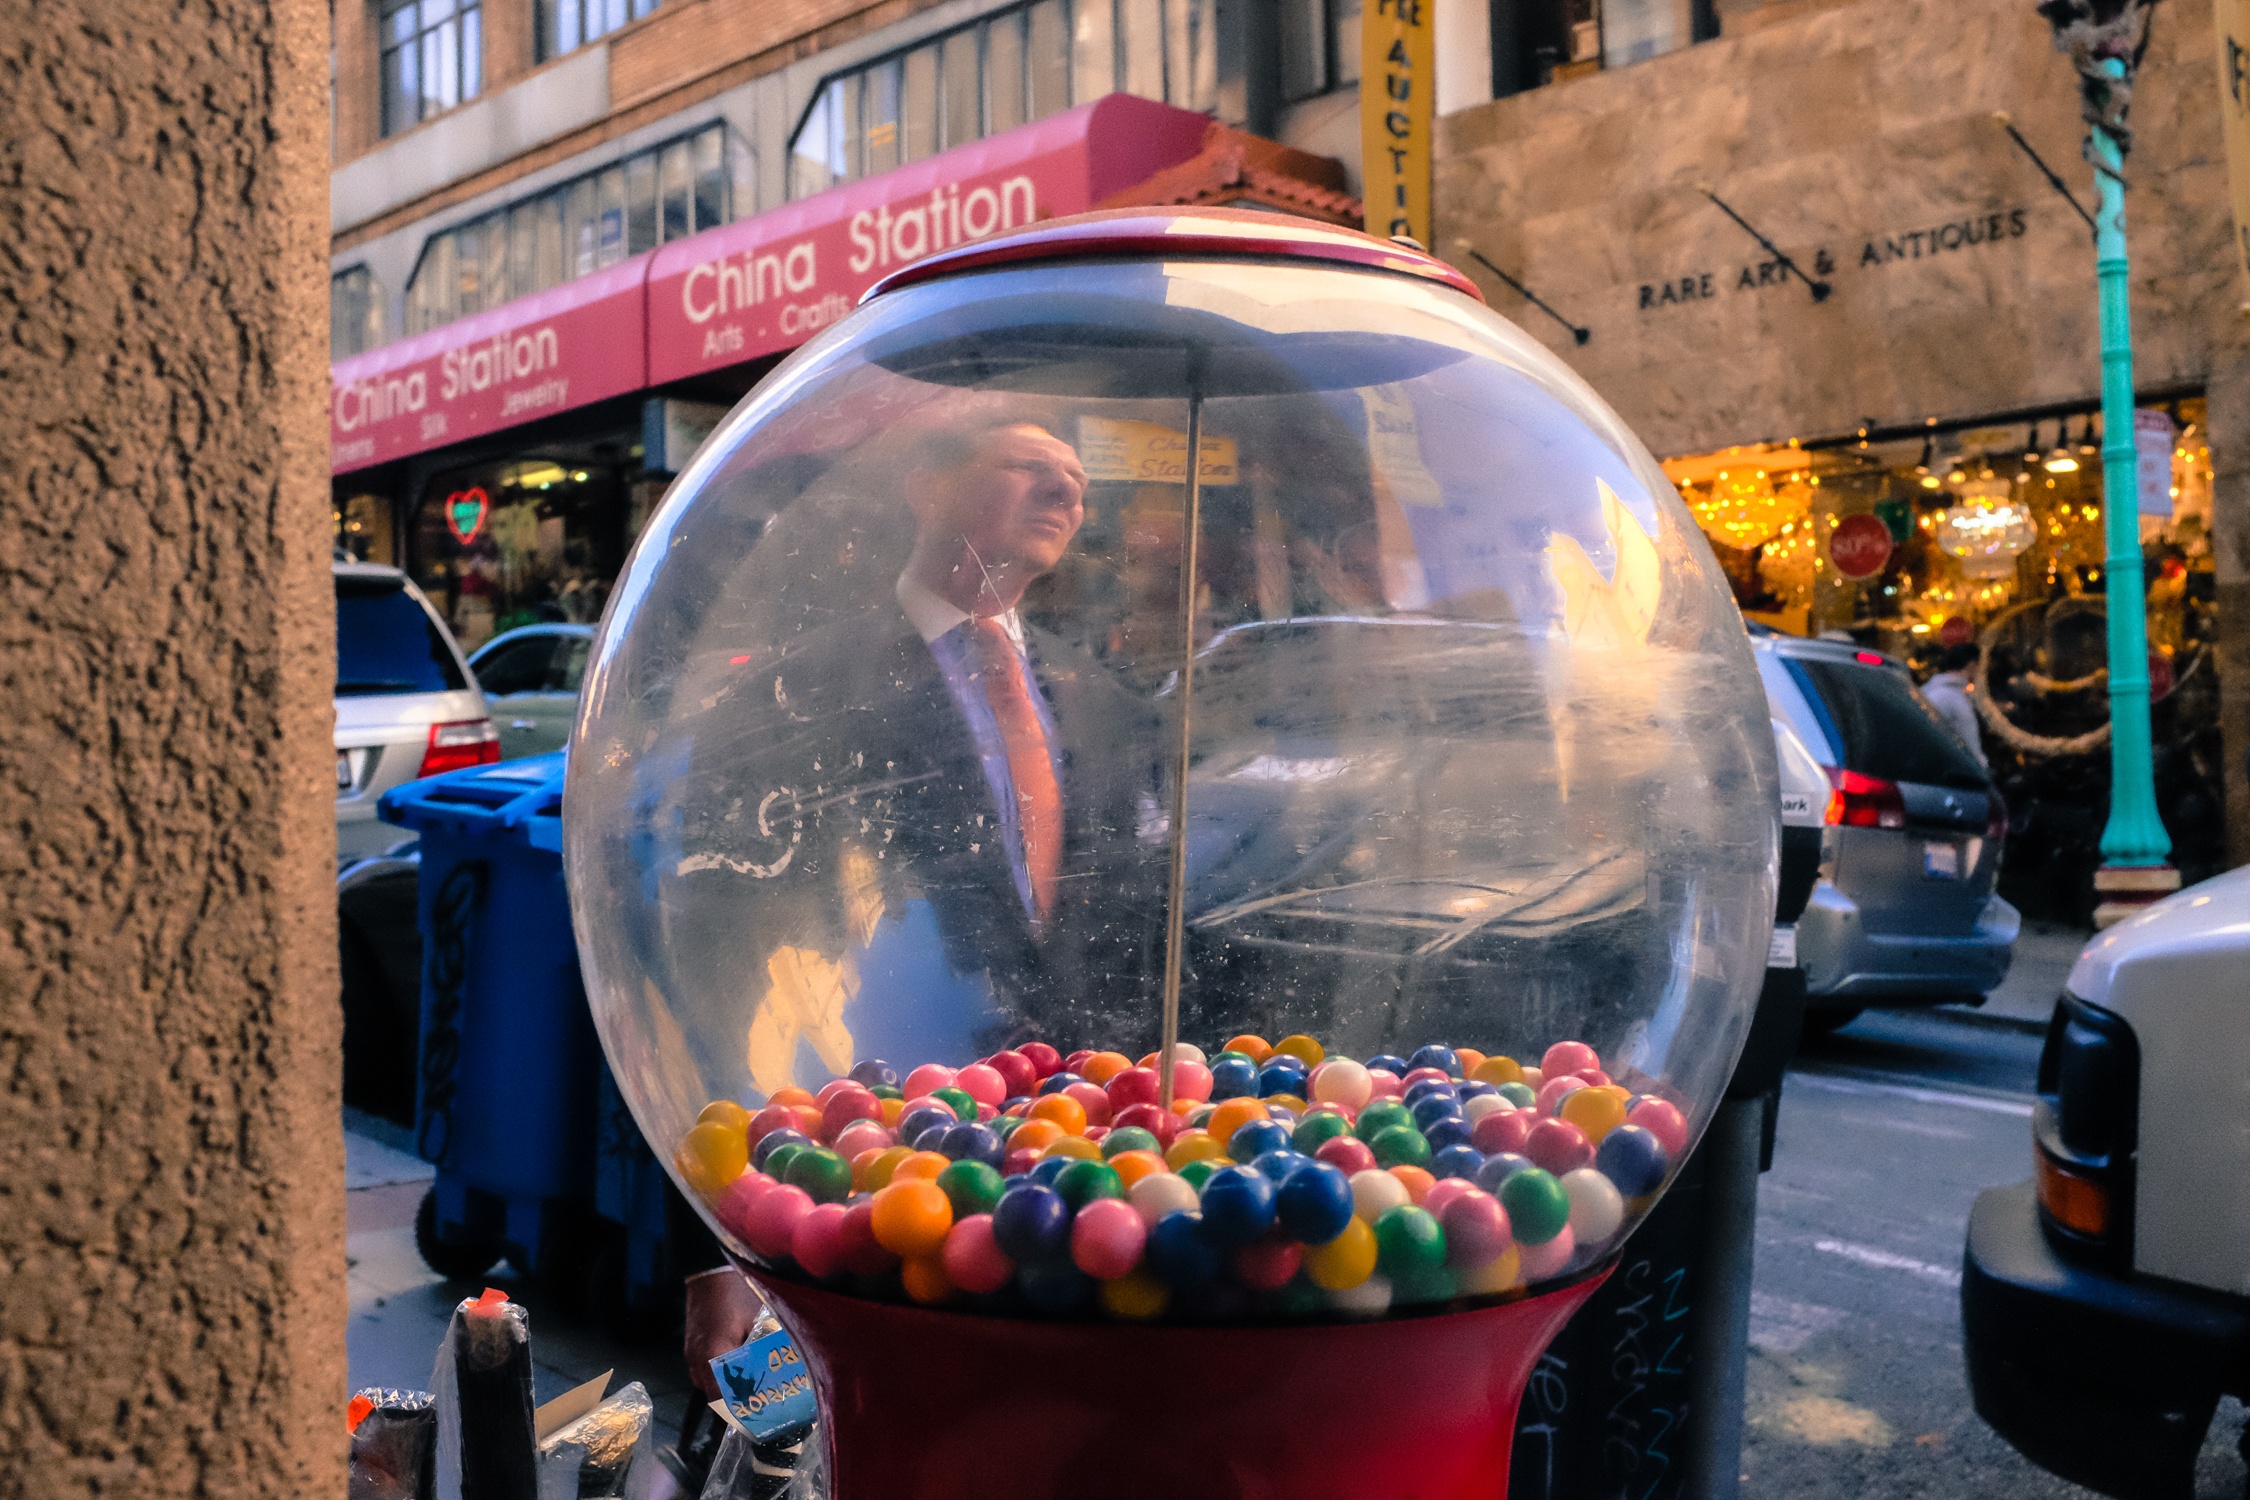
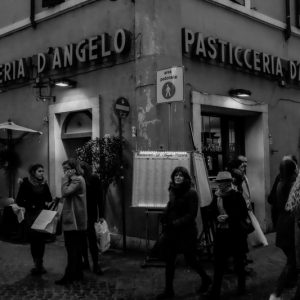
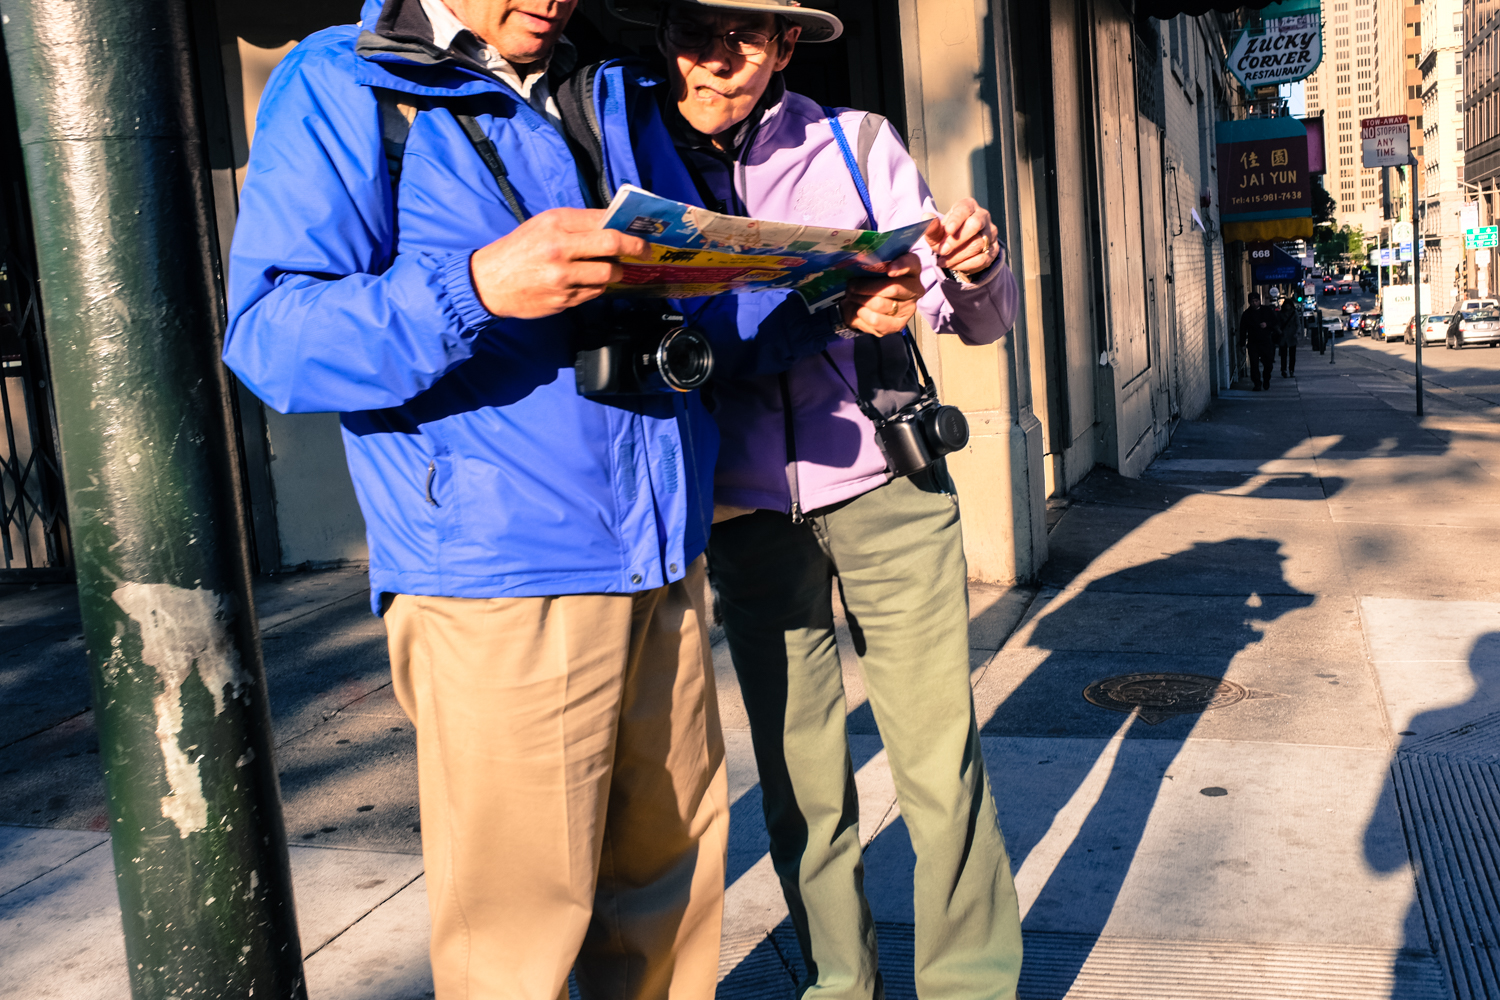
Tag: street

Beginners Guide to Street Photography

For many of us, the thought of starting a conversation with a complete stranger frightens us. So why in the world would we do this willingly while also trying to sneak a picture out of it? Simply put: because it opens up an entirely new and exciting world of possibilities.

If you’ve been inspired by the work of street photographers, such as Henri Cartier Bresson or more modern day street photographers such as Bruce Gilden, and wished you could gather up the courage to do it yourself—today is the day to get started. In this street photography guide, we will consider some practical advice, along with some tried and true methods that will help a beginner get on the streets.

How to Do Street Photography

Being one of the most diverse forms of photography, street photography can be very exciting. Street photography encompasses things such as portrait photography, landscape photography, urban photography, low light photography, and more all bundled into one. This ultimately means there are no specific rules or guidelines when it comes to street photography, and you can pretty much try anything you please that fits into the genre of street photography itself. However, in this section, we will be discussing street photography tips to help you get the best photographs.

Gear
Gear

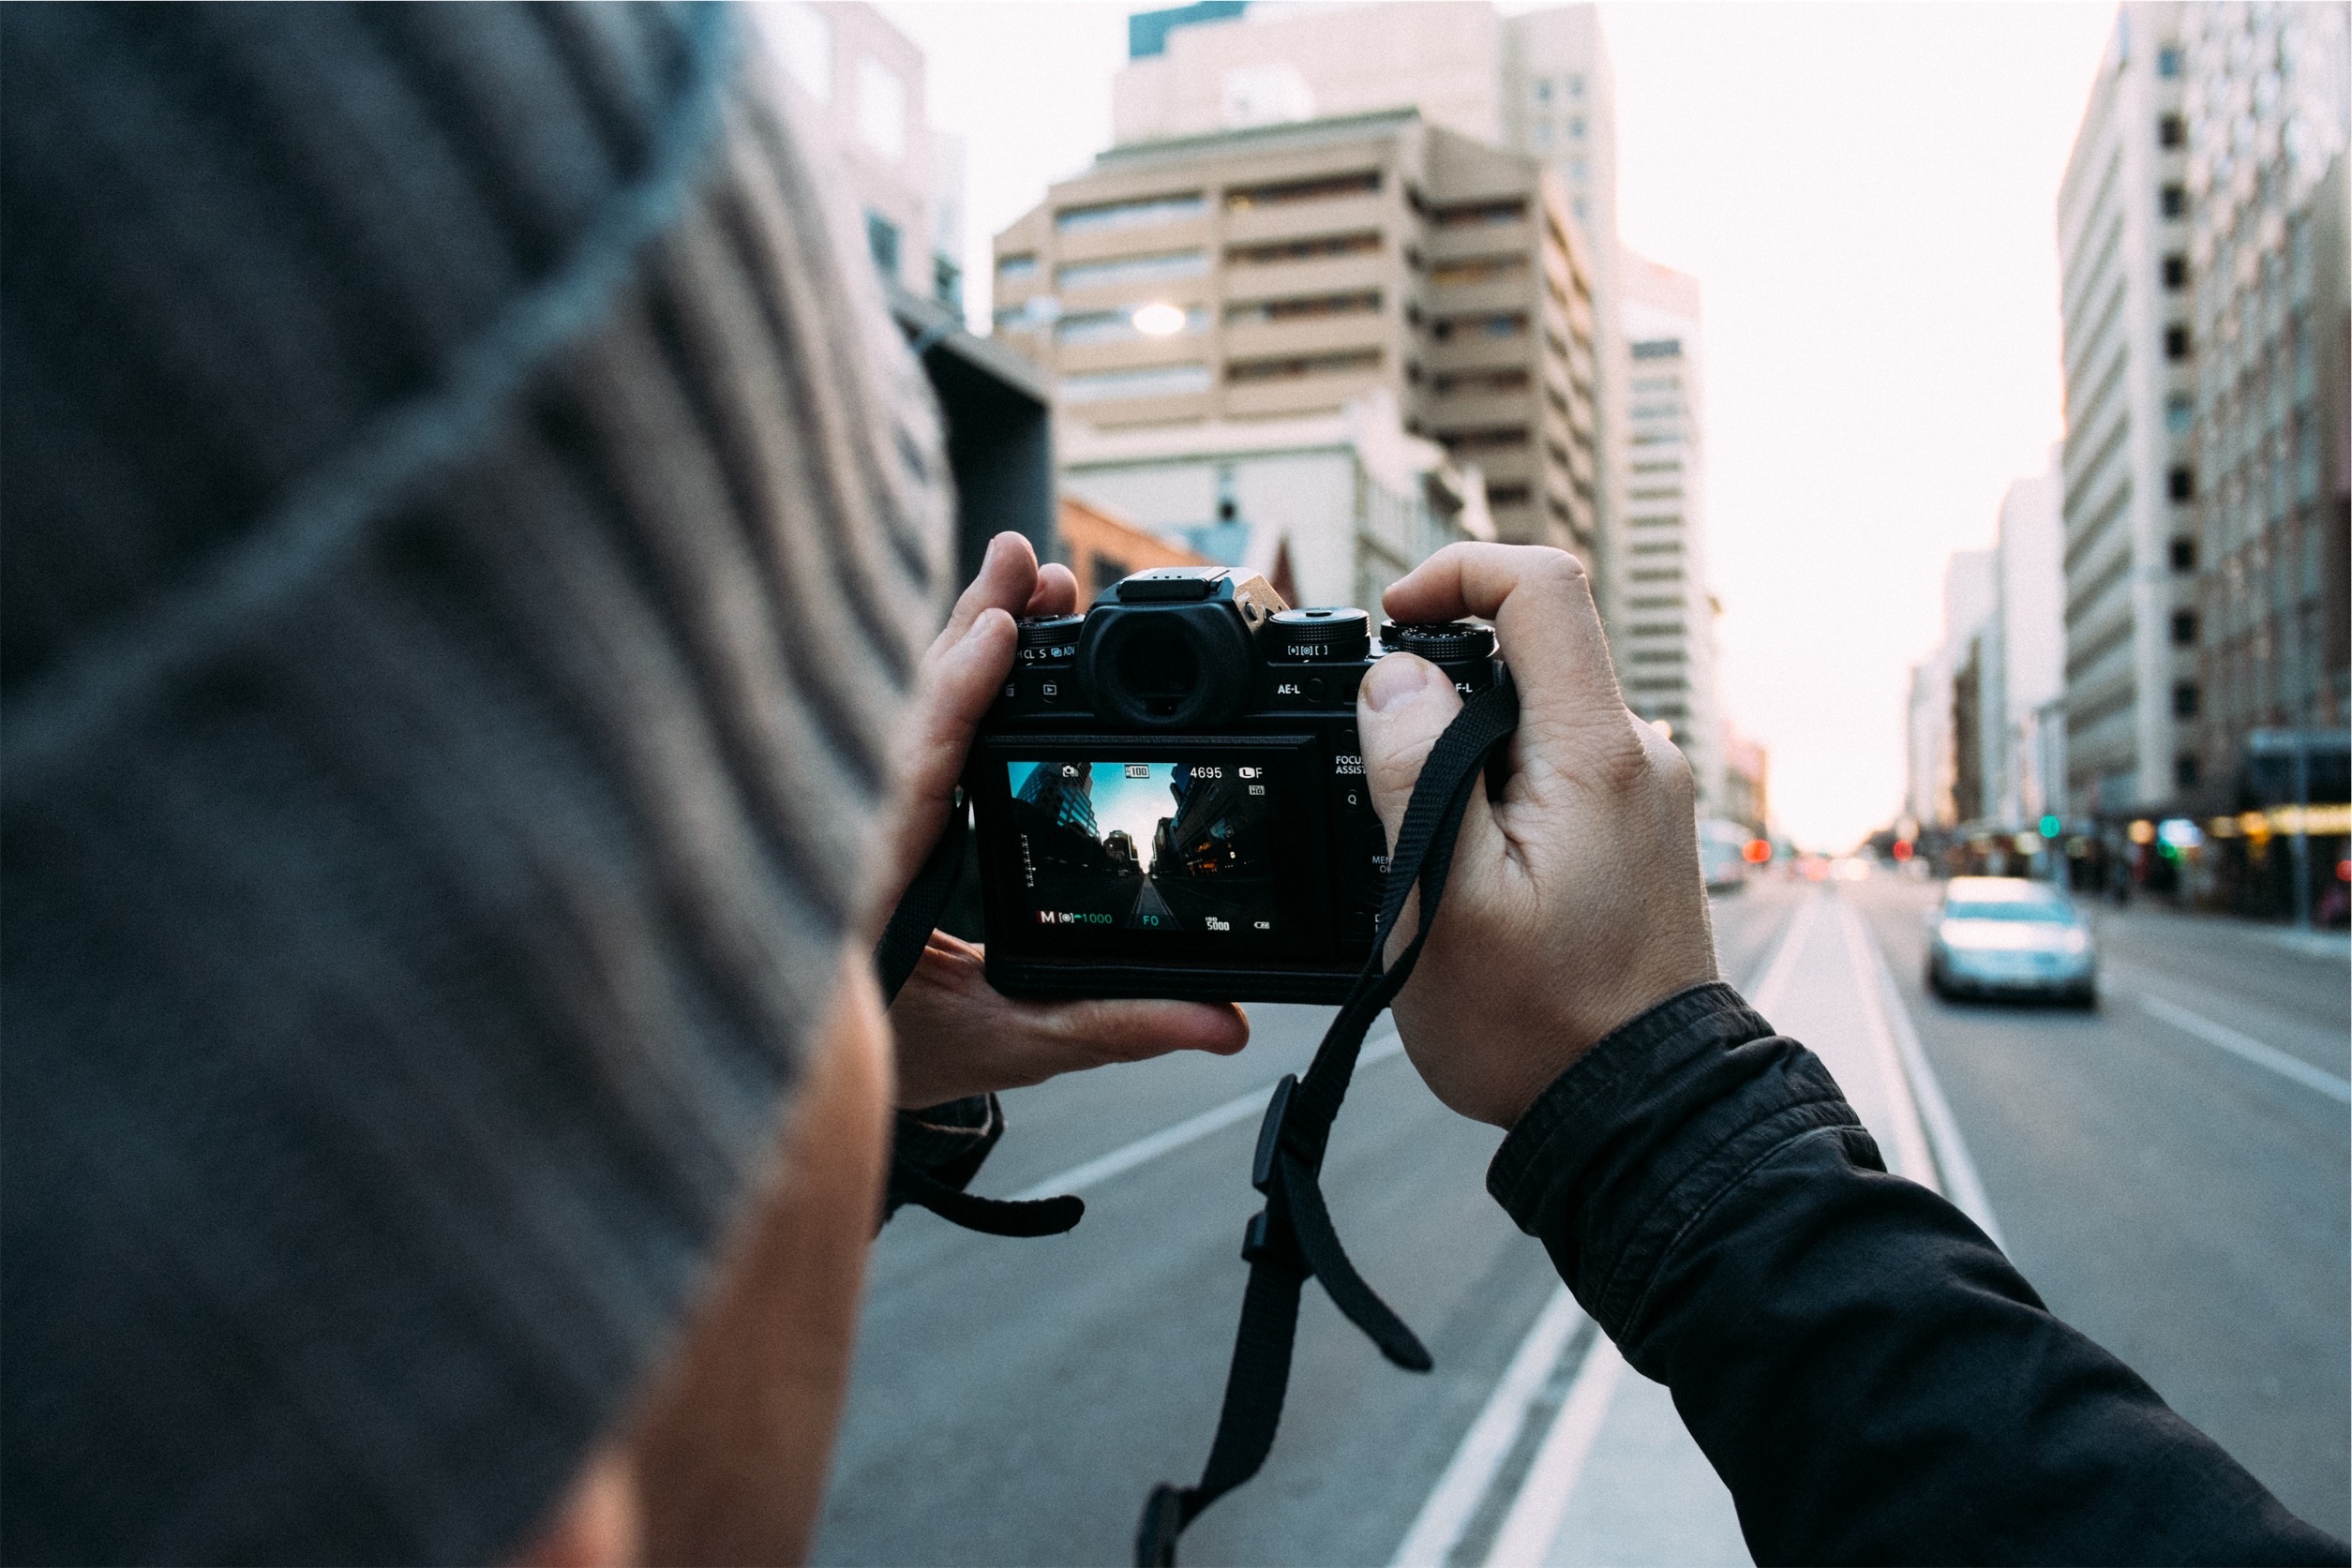
The goal is to be as unintimidating to others a possible. In the day of mirrorless cameras, it’s getting much easier to get great image quality while  using a very light and inconspicuous setup. One thing you can do, especially if you own a bulkier DSLR camera, is cover any brand logos with black tape and lean towards the use of smaller, wide angle lenses to make your camera seem low key.

Don’t be afraid to use the camera on your phone! It’s said that the best camera is the one you always have on you. With that being said, you can get great images from most phones on the market today. The iPhone also offer subtle ways of taking a street photo that allow us to use the volume buttons on the side of the device, as well as with buttons on earbuds.

Lenses

Wide Angles Lens

I’m personally not the biggest fan of wide angle lenses when it comes to photography, but I must admit they do play their part. Wide angle lenses, such as a 24mm or wider, are usually considered and mentioned when it comes to things like documentary photography, landscape photography, real estate photography, or even architecture photography. However, as I mentioned earlier, street photography encompasses many different genres of photography, and is not too specific.
street photography

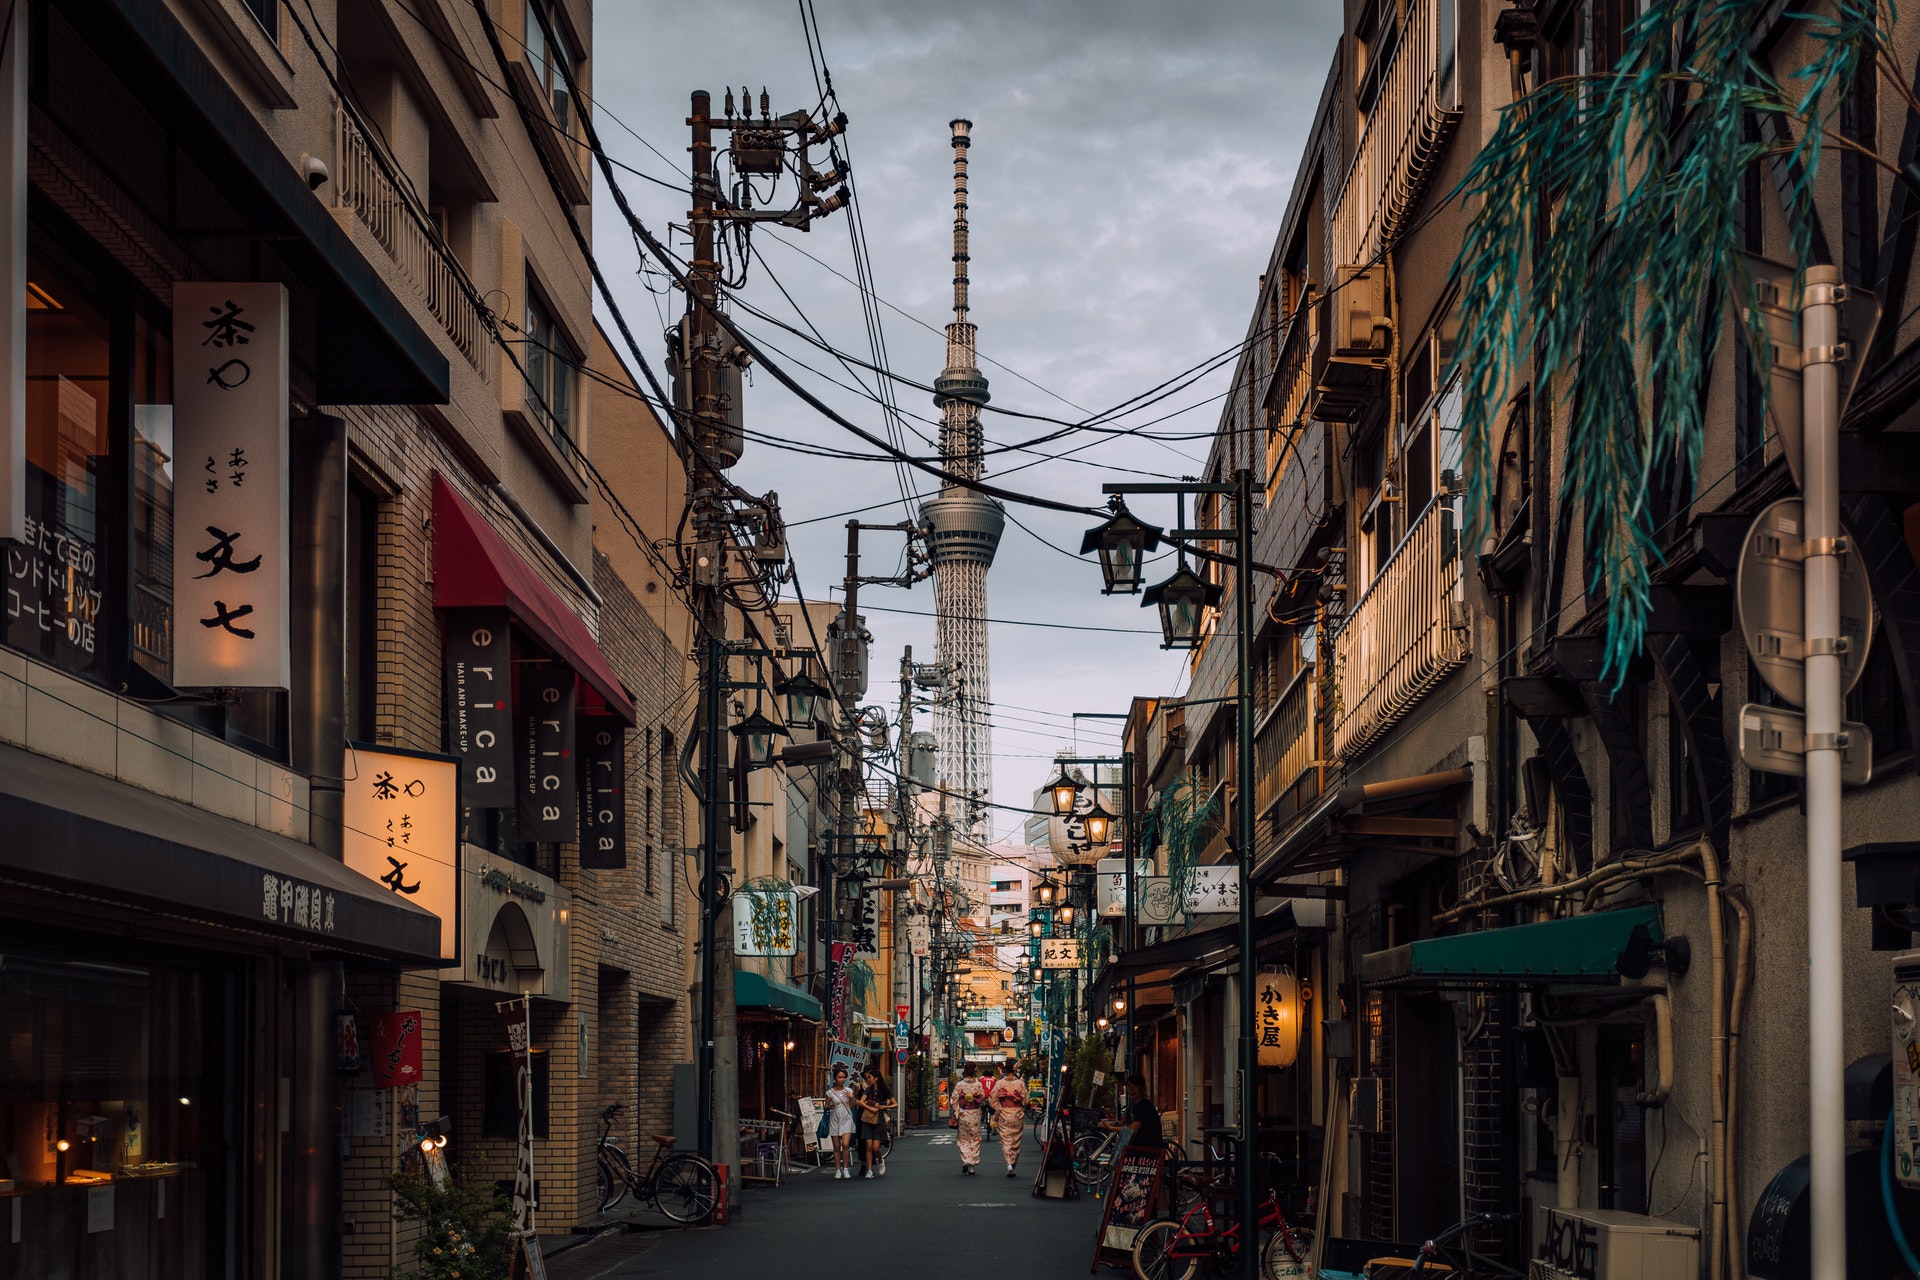
With that said, It is sometimes helpful to get a wider perspective of your scene than a close up of everything. Capturing wide angle shots can help tell more of a story, as it contains many different elements within the frame that contribute to the image itself. Wide angles also tend to show a lot more interaction with different subjects, and from time to time, can yield some very rewarding and interesting images. A 24mm f/2.8 would come in handy if you’re interested in getting wide angle shots, or you could walk around with a 24-70mm f/2.8 as well for variation.

Nifty Fifty Prime Lens

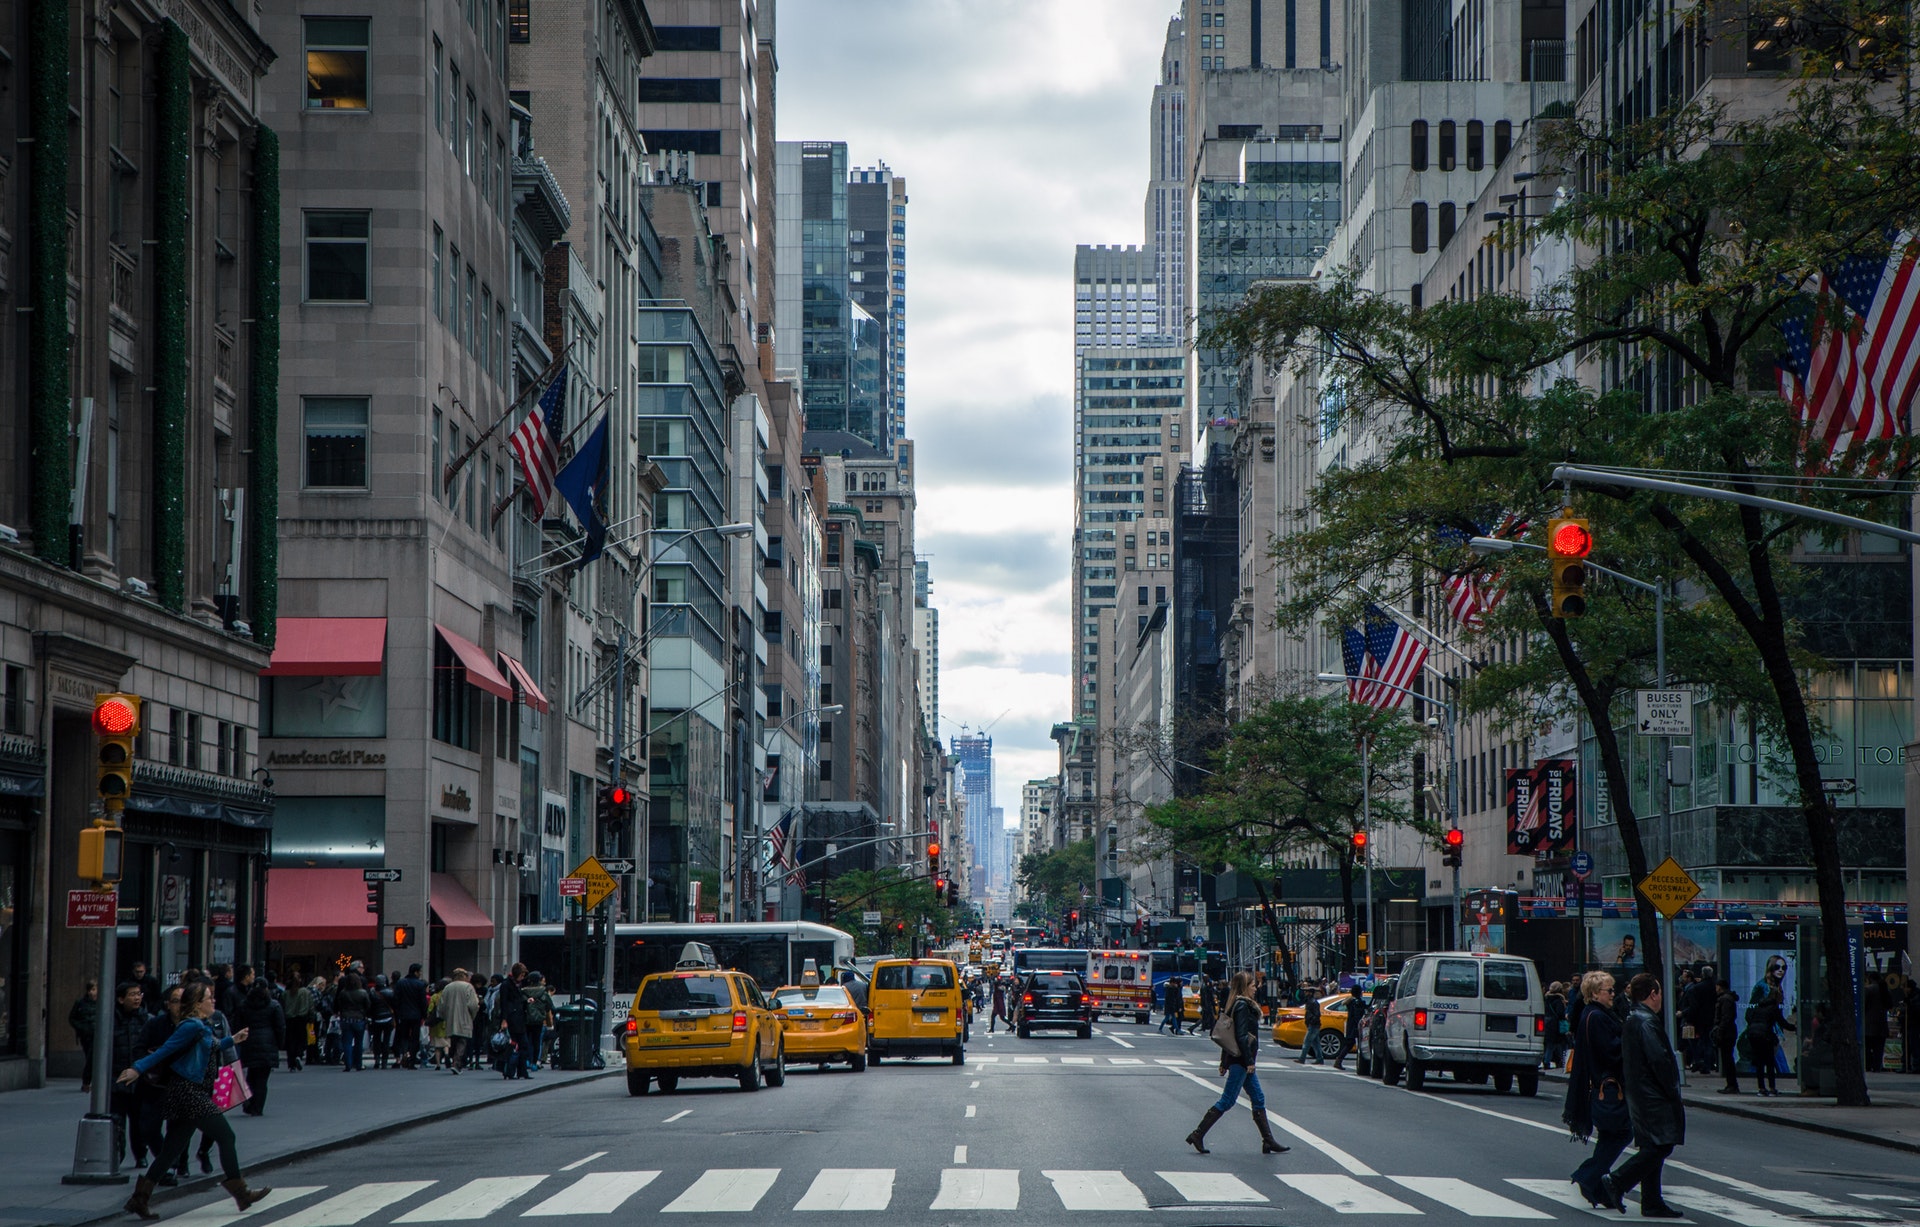
Most photographers like myself use a 50mm f/1.8 or 50mm f/1.4 for many reasons. First, I must say I personally have a lovely relationship with my 50mm prime lens, as it came in handy when I needed it the most. The 50mm is so easy to mount on your camera and carry around while working perfectly in low light situations. The size of this lens also helps you avoid being seen or drawing too much attention to yourself when shooting. The 24-70mm f/2.8 zoom lens failed me a few times in regards to blending into the background and not drawing too much attention myself.
street photography

With the 50mm, you are capable of capturing some amazing candids or portraits when on the move. It is also a good focal length to use in places such as cities or highly populated areas. I would recommend using a 50mm over a 24mm when doing street photography any day, but this is also subjective to what it is you’re looking to capture or even the environment you plan to be in.

In addition to focus length and blending in easily with your surroundings, there is a beautiful depth of field that is created by a 50mm that adds an extra layer professionalism to your street photo. The 50mm is arguably one of the best lenses out there to have as a beginner and a professional photographer overall. I’m almost certain this will be debated, but you must give credit where it’s due, and this lens always gets the job done right when you need it.

Close Ups

For close, detailed shots, the 85mm is a lens that could be considered as well. It can almost be seen as the bigger brother of the 50mm, but it does have its challenges in the field.

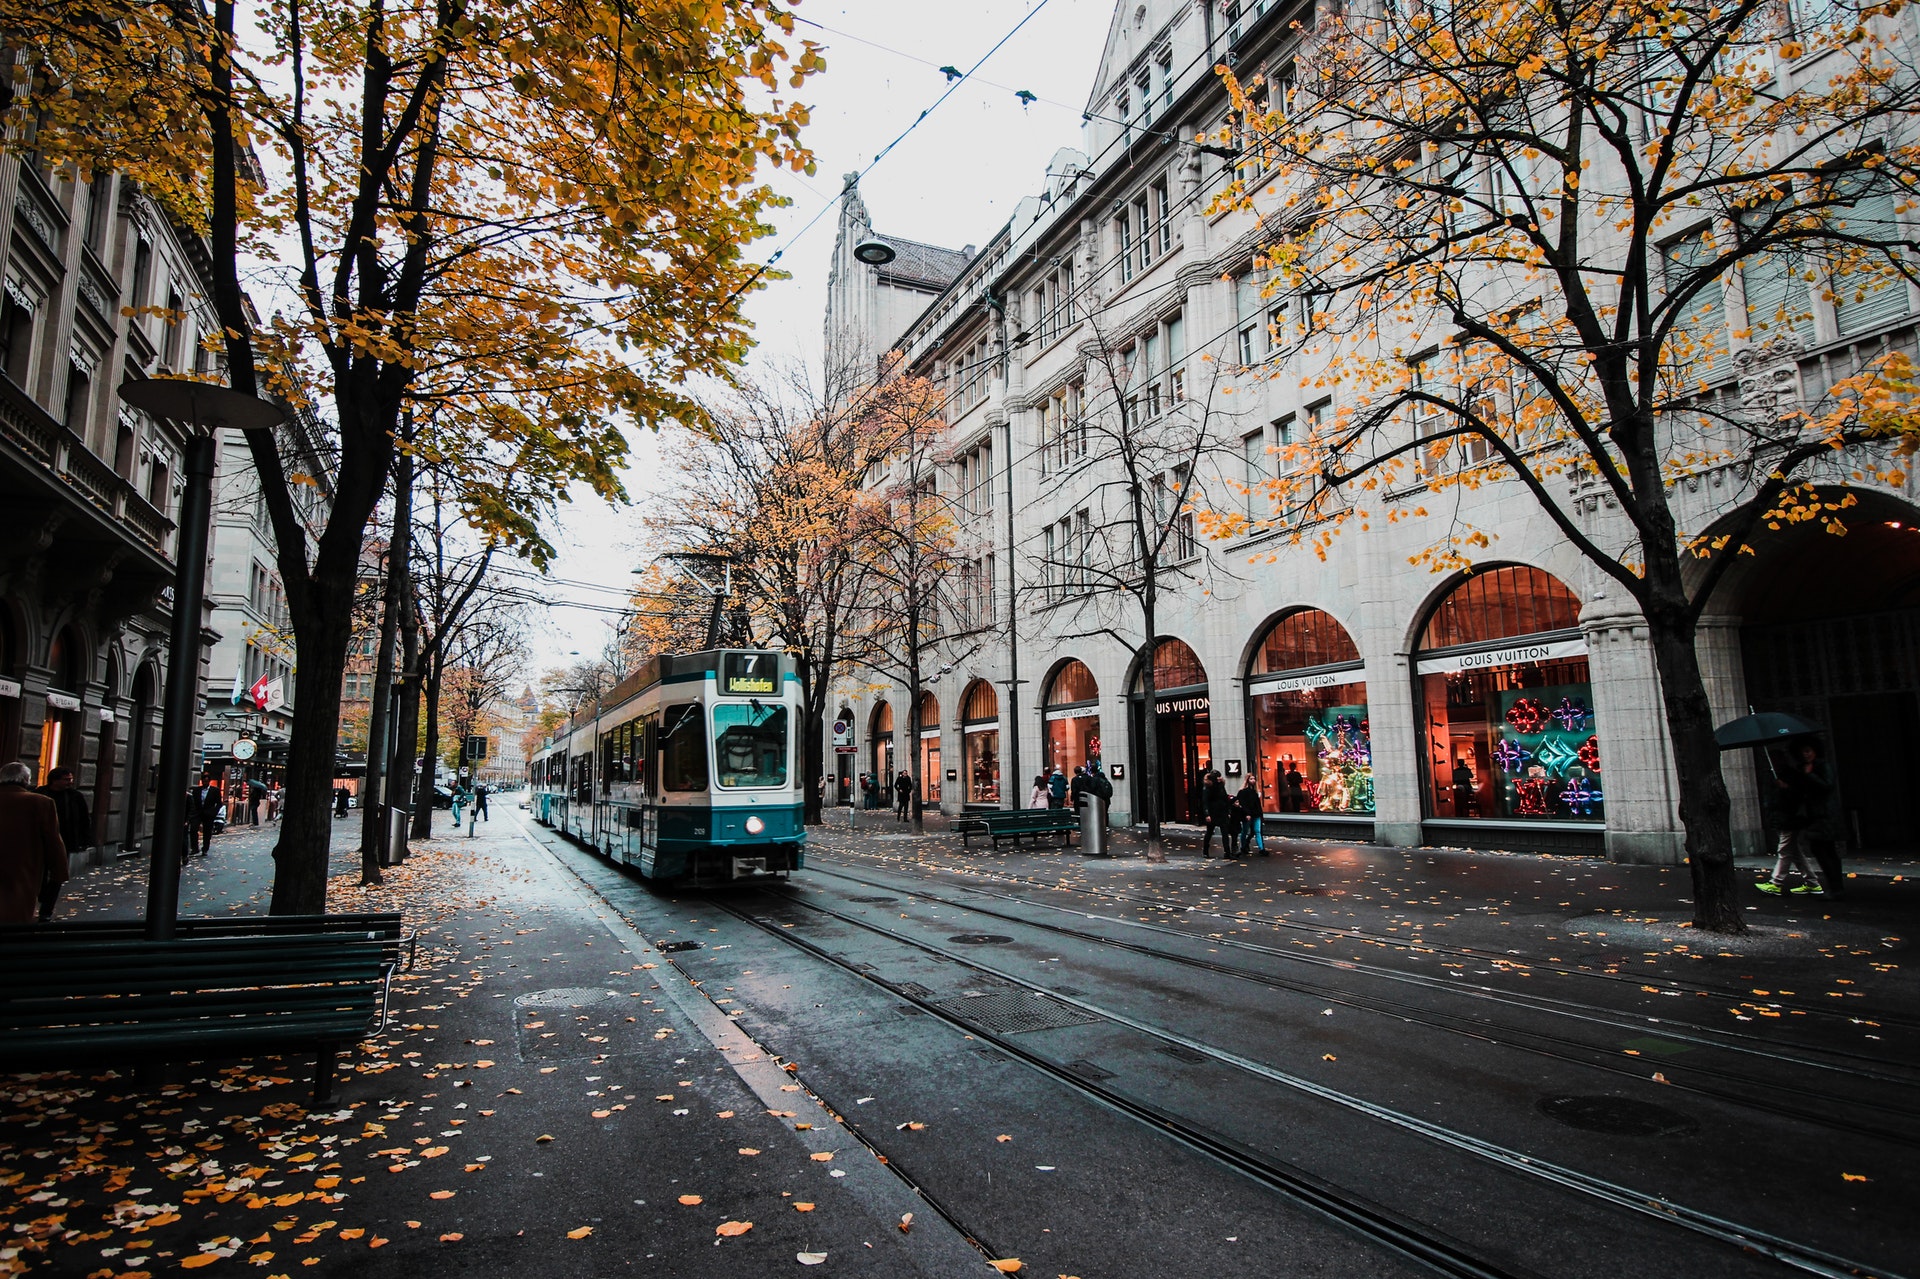
The first challenge can sometimes be the focal length of the lens itself. If you’re used to using a 50mm, and then switch to using an 85mm, then you can expect some similar but noticeable differences when shooting. The first thing I noticed when taking a street photograph with an 85mm lens is the isolation of my subject. The 85mm creates a crazy out of focus or blurred background, which intensifies the focus on the subject itself.
street photography

The result of this is very stunning, and will leave your viewer captivated by the image, especially if it’s a close up street portrait. However, the focal length of this lens can be a bit challenging when trying to capture subjects moving towards you, as it is an extra 35mm closer than your 50mm. Nonetheless, you eventually get used to it very quickly, and start to take some amazing shots.

Camera Settings
Settings

Automatic, Shutter Priority and Aperture Priority Modes

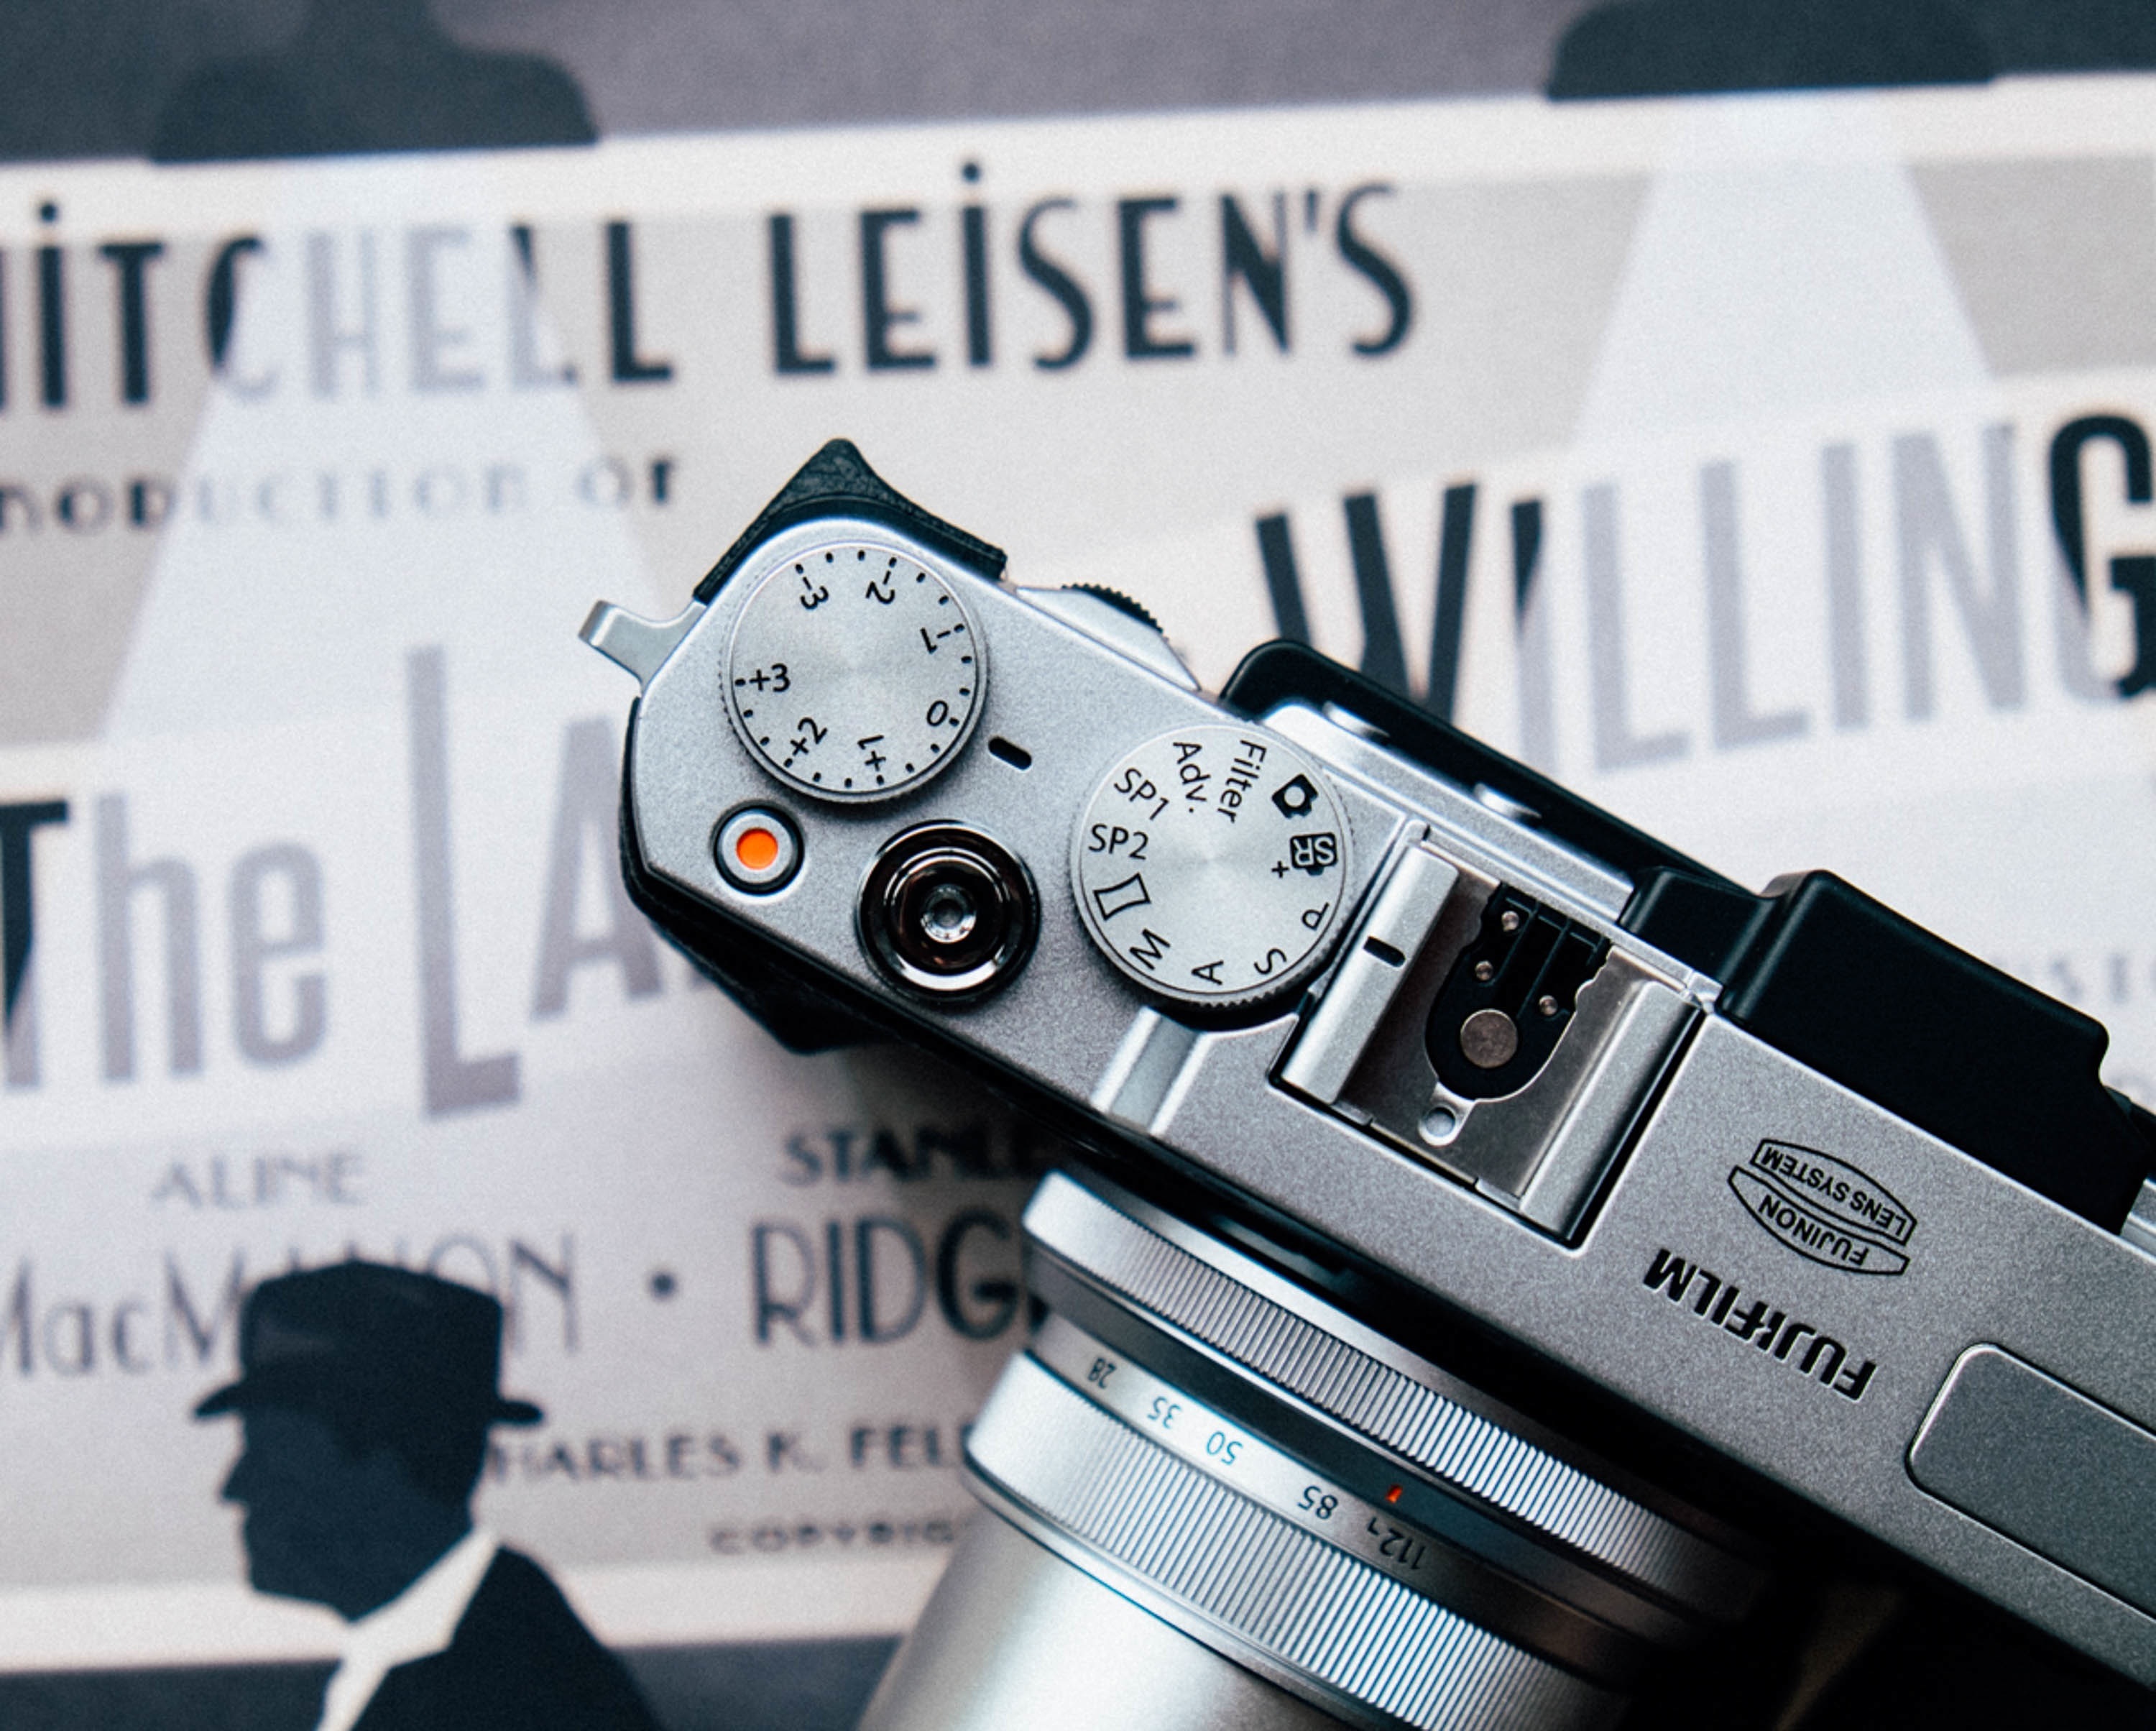
It’s often times more important to get the shot than to miss it while trying to get the settings perfect. There are many techniques that can aid in your shooting. Many cameras have a fully automatic setting. While this is the easiest way to get the shot, it limits your creativity over the final image . Many cameras have a shutter priority (S) and aperture priority (A) mode that will tailor the camera’s settings around your decided shutter speed or aperture. These modes are your friends.

Some may say that in order to be a “true” photographer you need to be shooting in manual mode at all times. I can guarantee this type of thinking will only result in missed opportunities. Don’t allow your ego get in the way of efficiency.

Focusing

Many cameras these days have quick autofocusing systems that are crazy accurate. However, if you are using a camera that has less than stellar autofocus, you can switch to manual focusing. Many street photographers swear by the method of Zone Focusing.

Zone Focusing is a technique where you pre-focus your lens at a set distance, and anticipate the position of your subject, which will result in acceptable sharpness. If your lens gives you distance markers, this aids in your ability to pre-focus accurately. Over time you’ll get more in tune with what you can get away in terms of acceptable clarity.

In order to maximize your area of focus, use an aperture anywhere between f.9 and f.16. The smaller aperture (the larger number) will give you a wider depth of field, meaning more things will be in focus.

6 Common Street Photography Mistakes

In my expert opinion, I would say that street photography is not one of the easiest genres of photography, but it can produce many great images. The best thing in street photography is that everything is captured in real time and cannot be faked or replicated more than once. Each image has its own unique style, meaning, and elements in the frame.

Street photography can also be subjective to where you live. For example, depending on whether you live in a city or suburbs, you will find that photographers who live close to a major city, like New York, are capable of capturing more captivating street shots than those who live in a suburban area.

In this section, I will be sharing with you the top five mistakes that are commonly made in street photography, and how to correct them. Some of these mistakes were even made by me as a beginner—and sometimes even now as a professional—so I urge you not to feel embarrassed or discouraged, because we’re constantly learning when it comes to this craft.

Letting Fear Get The Best Of You

Most of us are guilty of this first mistake. Doing street photography in fear will not bring you much reward or shots because to get the best shots, you just have to go for it. I used to be afraid myself to take out my camera and capture a shot of strangers walking or to actually just take out my camera to public place to practice street photography. The mentality I had was that everyone is gonna see me and I’m going to draw a bunch of attention to myself. I started to care more about how others feel about the camera than how I felt about getting the shots I want. This hindered me from getting what could be some pretty amazing shots in my pas,t but I’ve refused to let it hold me back now.

street photography

To get over this fear you should make it a habit to walk with optimism and positivity. Make sure to be polite and ask the stranger permission first before you take a single street portrait of them. Don’t be afraid to get close and be in the middle, because the people around you will never really know what it is you’re capturing. Make it a habit to just think about yourself and your camera and nothing else. Once you’ve developed that state of mind, you will become more comfortable when you shoot street photography. However, this is an issue you have to deal with very quickly, or else you will not get the shots you need and will remain timid.

Asking Permission to Photograph

Many people have differing opinions on whether a photographer should ask for permission when photographing strangers. While technically it is legal for us to take pictures of people in a public place (in most cases), one way to make sure you don’t run into trouble is to just simply ask for permission.

Now, even if you don’t intend to sell the picture, uploading a photo on the internet where people who did not even know they were being photographed is something that many people are not comfortable with. This is aggravated by the fact that some photographers tend to post pictures of people in situations that most people would not be happy to be shown in—for instance, drunk people lying on the street.

I believe that a healthy balance is to only post pictures of people in situations in which you would be comfortable to find a yourself in and, if someone ever finds an image where they are depicted and ask you to remove it from wherever you are showing it (something highly unlikely to be honest), just do so. Also, if you feel the picture is just too good, approach the person and ask them to sign a model release—they might be happy to do so!

Confidence is key. If you are nervous or feel bad about asking for a photo, these feeling will come across, and you’ll most likely walk away without taking the shot. Walk up with a smile and simply explain why you would like to take their picture. For example, you could ask, “excuse me, I’m professional photographer working on a photo project documenting New York City. Would it be okay to take your picture?” If they say no—no harm no foul.

There is another saying along the lines of, “the only photos you’ll regret are the ones you never took.” Personally, the worst feeling after a shoot is what if. What if I had asked that person or had taken that opportunity to take the shot. Don’t live in fear. Over time, rejection becomes natural; with a little practice,  you’ll eventually get to the point where it no longer bothers you.

Low ISO

I used to believe in the rule that shooting at a low ISO when doing street photography is best. This has proven to be a mistake, as the advancement of cameras over the years has allowed photographers like myself to shoot at a high ISO without compromising my image with grain. A low ISO is obviously subjective to what  you’re shooting with, but when it comes to street photography it’s not always the best option.
street photography main road

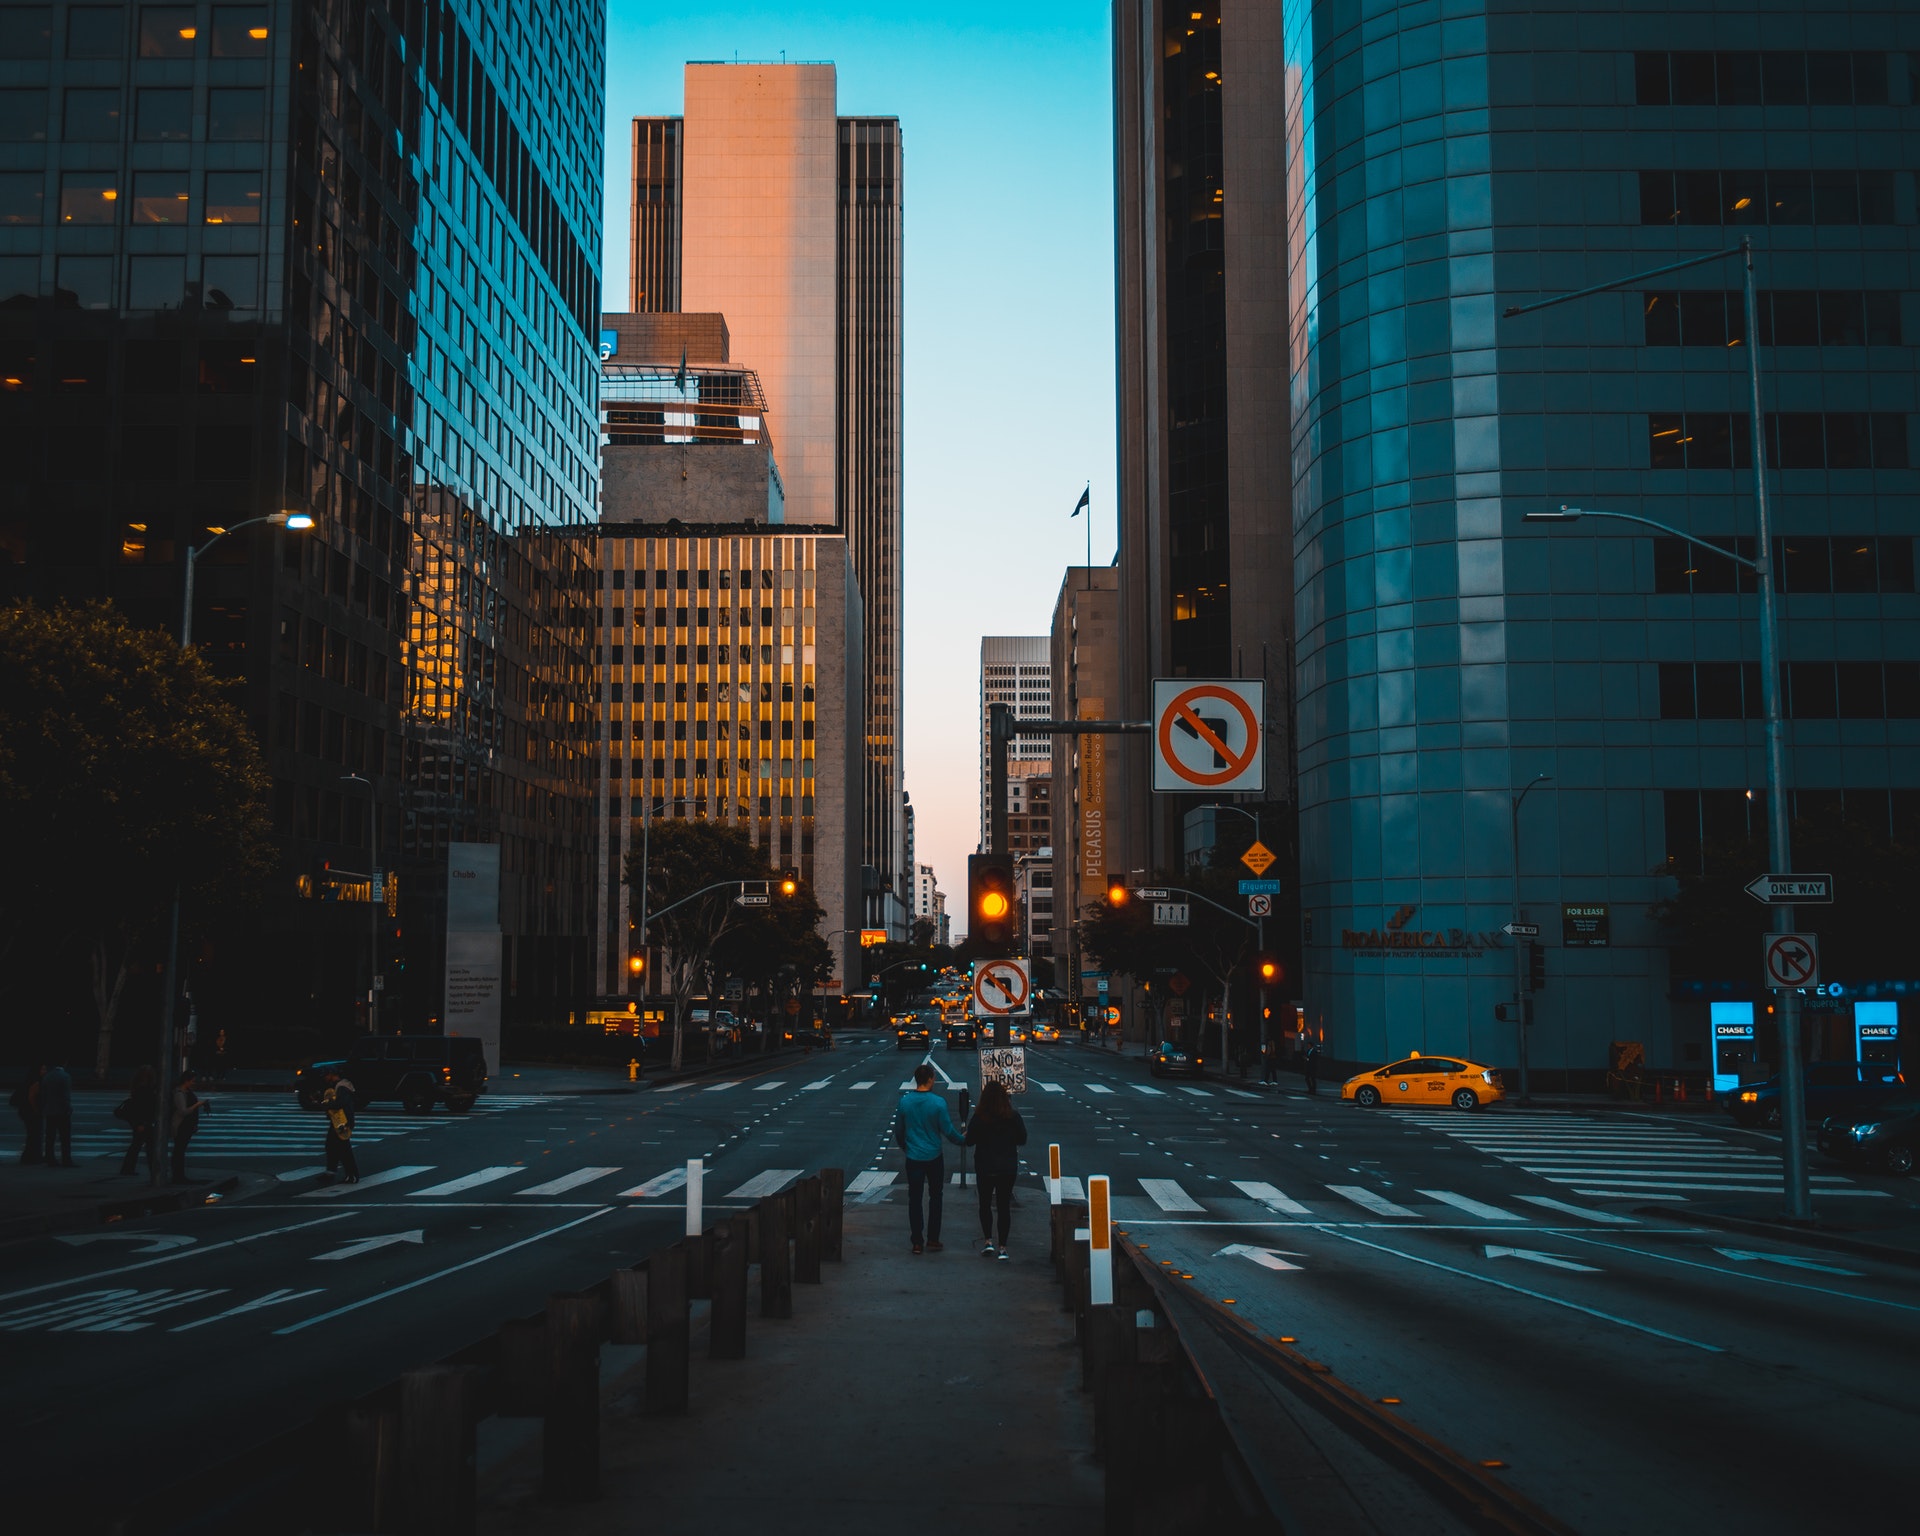
Normally, you are forced to shoot street photography at a high shutter speed, preferably 1/250 or higher, depending on your lighting conditions. We need the shutter speed high because street photography is very spontaneous, and you need to have a freeze frame of whatever it is your subject is doing.

In addition to having a high shutter speed, I would also recommend a high aperture value as well. Anywhere between f/8 – f/16. The reason for this is also related to the fact that your subject will more than likely be moving at an unpredictable rate. In the event that they are moving fast, would want to be able to have a large depth of field, just in case you miss the main focus. The rest of your shot will be pretty sharp, so you can make adjustments in post-production.

Don’t Move Too Fast

Try not to be so caught up looking for the next subject that you’re walking fast and missing the great things that are already around you. Take your time and observe where you are, and let that dictate your shots, because moving fast will distract you from what’s just around the corner. Street photography takes a little patience, but the patience you put in will give you a reward you will appreciate later, so try to take it slow.
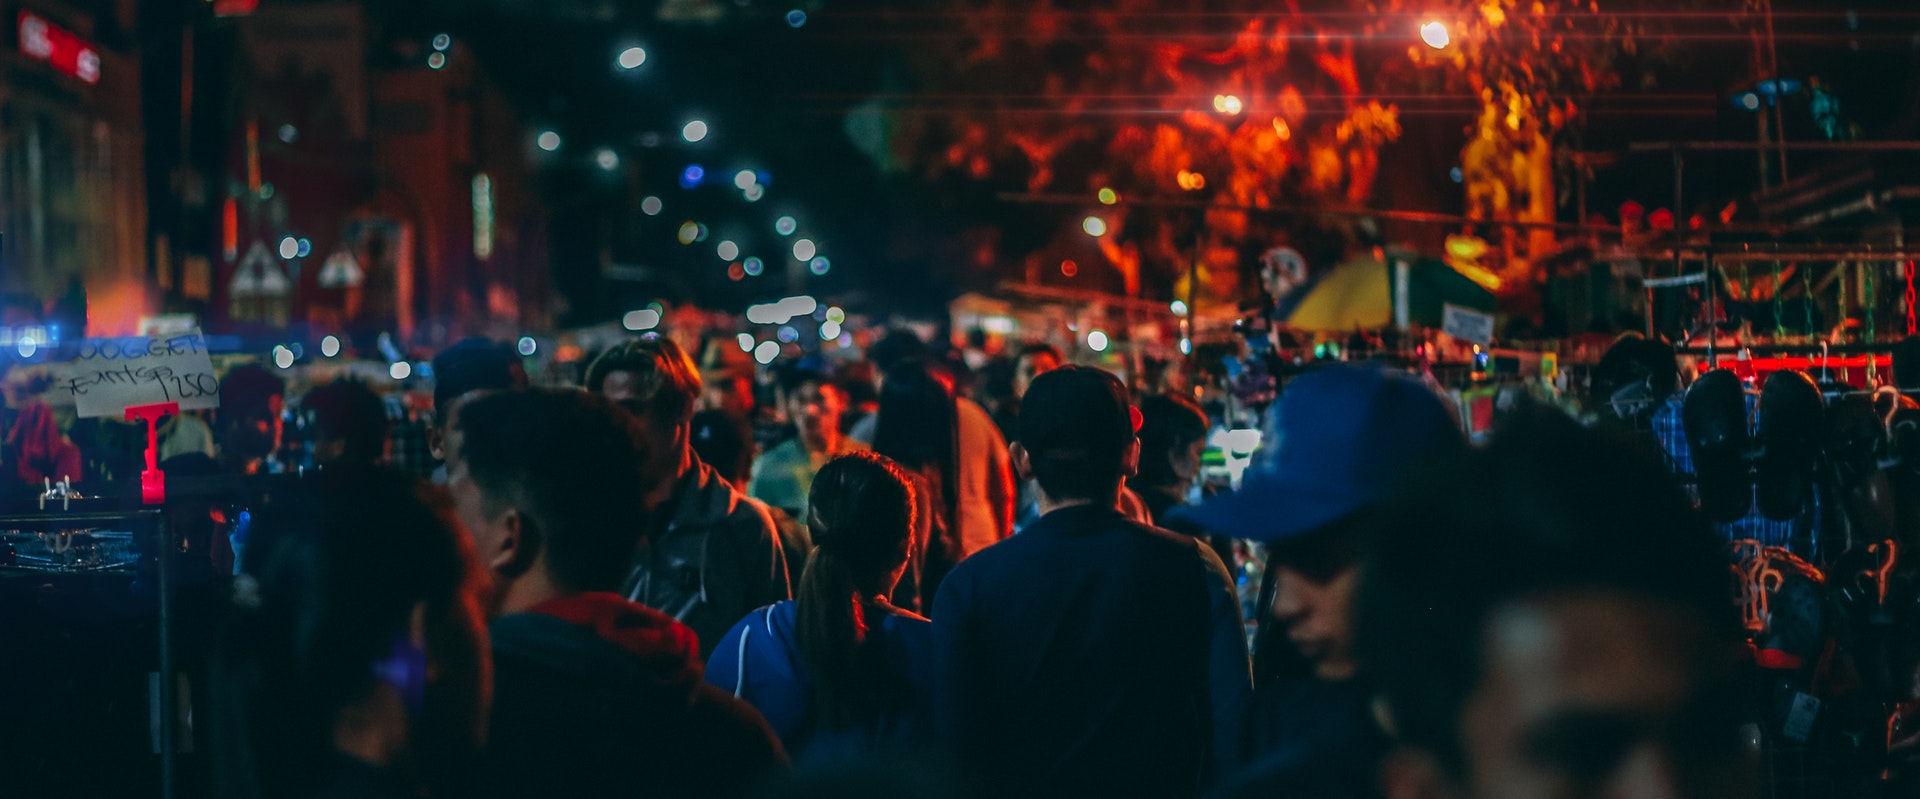
street photography busy street

Not Getting Close Enough

This mistake is one a lot of us make—not getting close enough to our subject because we are too scared or in a panic. A wide shot is always good in street photography, but there may be a lot of moving objects or people that will distract viewers from the main subject in your frame. Get close, and make sure you isolate what it is you would like viewers to see in your frame. Otherwise, they will be distracted by everything else.
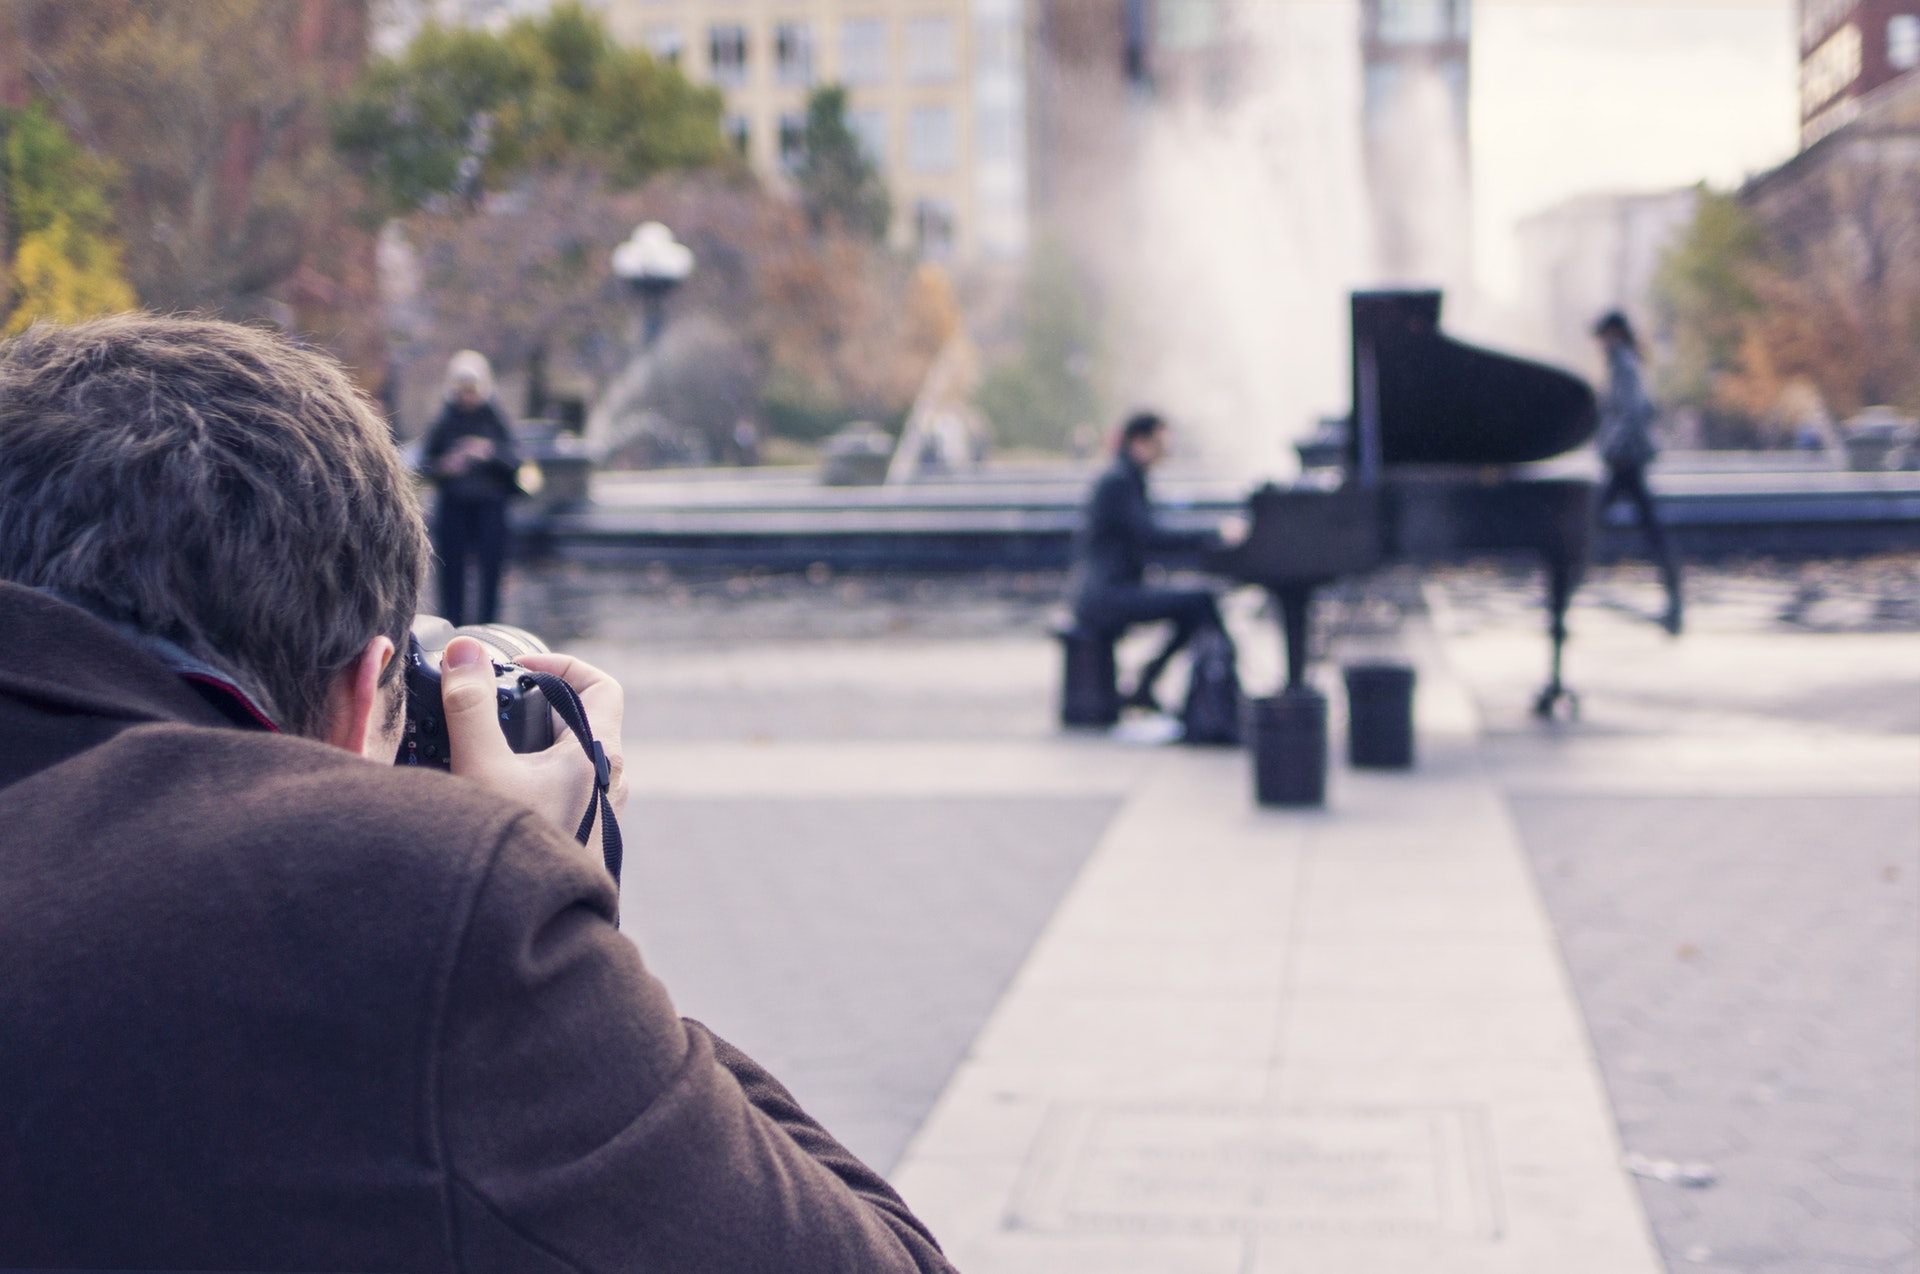
street photography with subject

Glued To The Viewfinder

I know you need to look through your viewfinder to compose your shots, but don’t be distracted by the viewfinder so much that you forget to use your eyes.

Being distracted by looking through the viewfinder all the time will limit you from seeing the bigger picture, as your field of view is limited. Your eyes are the true viewfinder, and should be your primary tool when looking for shots during street photography.

Keep your head up and your eyes alert so when you can actually see your shot, then bring your camera up to your eyes and capture the frame. Street photography is a beautiful thing, but it’s all about timing, patience, and being fearless. Once you’ve mastered all these things then you have nothing to worry about.

6 Challenges Every Street Photographer Faces

Street photography is one of the most dynamic and interesting forms of photography out there. It is something that can really capture the world as it is. There is no posing, no special lighting, it is just capturing the world at that moment. The most interesting photos are the ones that are captured like this. The problem is that it takes a very special type of photographer to be able to capture street photos. You have to be outgoing, confident, and very good at what you do.

For those who do street photography, it is rewarding and amazing. It is not always easy though, and there are always challenges that a street photographer is going to run into. Understanding those challenges, and working to keep them from becoming a major problem, can improve your street photography skill.

street-photographer-problems-1

Poor Location

There is a chance that when you’re photographing people on the street, you choose a poor location. If your location is empty, and there isn’t anything interesting there, your photos are not going to be interesting either.

Being Afraid

It is not an easy thing to go up to someone and ask them to take their picture at random. You may feel shy, or even afraid, so that can impede you from getting the photos you want. You should never let this push you away from getting photos. You should always make sure you push yourself and try to get the photo and talk to that person. Don’t let fear limit you.

Other People

The biggest part of street photography are the people, but some people are going to be wary of you getting their picture. If you are not going to talk to the person, then just be as subtle as you can with your photography, but don’t be rude about it. Make yourself look like the photographer you are, and people will be much more apt to trust you. Don’t look dodgy or creepy, and don’t hide to get your photos.

street-photographer-problems-2

Some people will not want their photo taken. If they confront you, then all you have to do is apologize, explain what you are doing, and offer to delete the photo from your camera. This will show you have nothing to hide, and that you understand they are angry about the picture. Work with people, never against them.

People Stop Doing What They’re Doing

When you have the confidence to get the shot, you may find that the person stops doing what they were doing. Maybe they walk out of the frame, maybe they see you and just freeze up. It is important to be subtle, but understanding, and move on if you have to because your photo may not work out and there will always be other photos down the road. Try to plan what your subject is going to do, and where they will enter the shot, so you are ready when the moment comes.

street-photographer-problems-3

It is important to understand that there may not be a decisive moment for you. You may be waiting a while for that moment, but that moment may not come. If it doesn’t, move on and just get another shot whenever you can.

Worry

You may start to worry that you will never get that shot. You may want that perfect shot that will never come. All you can do here is stop worrying and take as many photos as you can. The more you take, the more chances you have at getting that perfect photo you have been hoping for. Don’t be afraid to take dozens, or even hundreds, of photos of one subject. Just start taking photos and don’t stop until you are satisfied.

Incorrect Exposure

On the same note as before, you may get those quick shots, but that could end up being a poorly exposed picture, or one that is out of focus. Try to have your camera ready before you start shooting, and get some preview photos if you can. Just a small bit of planning ahead can ensure that you get the pictures that you want, and that they are not going to turn out poor or out of focus. It is always best to take that extra time to do it right.

street-photographer-problems-4

Famous Street Photographers

If you’re looking for inspiration to improve your street photography skills, one of the best ways is to study the experts. A few popular street photographers to study include:

  • Martin Parr
  • Henri Cartier Bresson
  • Bruce Gilden
  • Joel Meyerowitz
  • Lee Friedlander
  • Robert Doisneau
  • Helen Levitt
  • Robert Frank
  • William Eggleston
  • Saul Leiter
  • Diane Arbus

Street Photography Requires Skill and Confidence

Street photography can be a fun and challenging way to improve your photographic skills. It’s also a great way to explore the world and capture everyday life as it happens. We hope these tips have given you some ideas on how to get started with street photography.

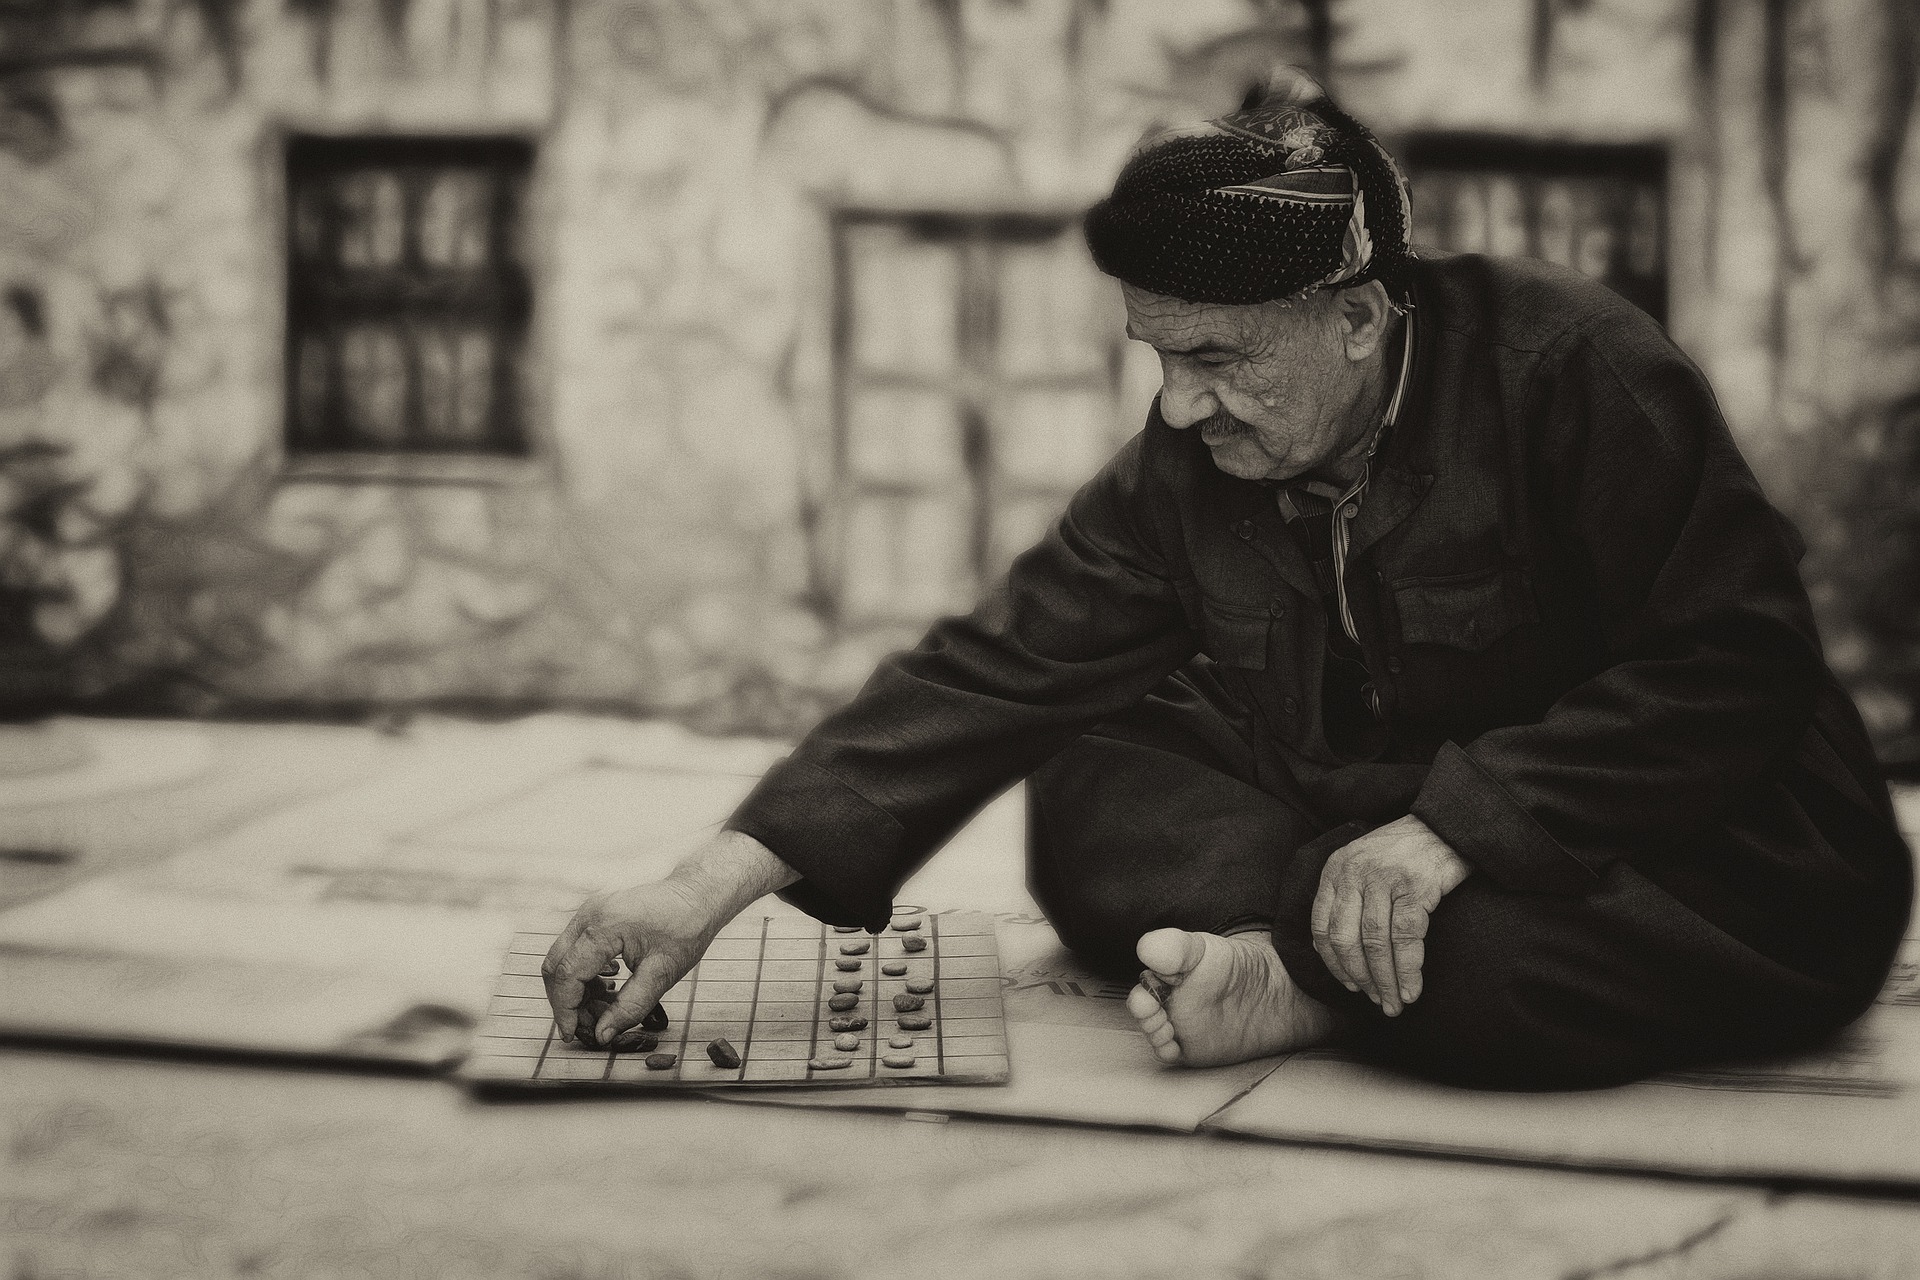
SaveSaveSaveSave

Instagram Stories: Shoot Daily and Share

For those that don’t have access to professional gear, it may seem difficult to believe that you can still produce nice images. So much emphasis is put on equipment these days that it can be easy to believe this. As someone who travels often, sometimes I purposefully choose to shoot with the bare minimum. It lightens the luggage and helps you avoid attention. It also forces to you to focus on what’s important when creating images. Things such as lighting, composition, lines, genuine expressions and things like these.

Something that has really encouraged me to shoot like this is Instagram’s story feature. It’s a great little platform that allows you to share your images from your day with those that follow you. It keeps your followers engaged and can keep you in a creative mindset throughout your day. How can we use this feature for our benefit?

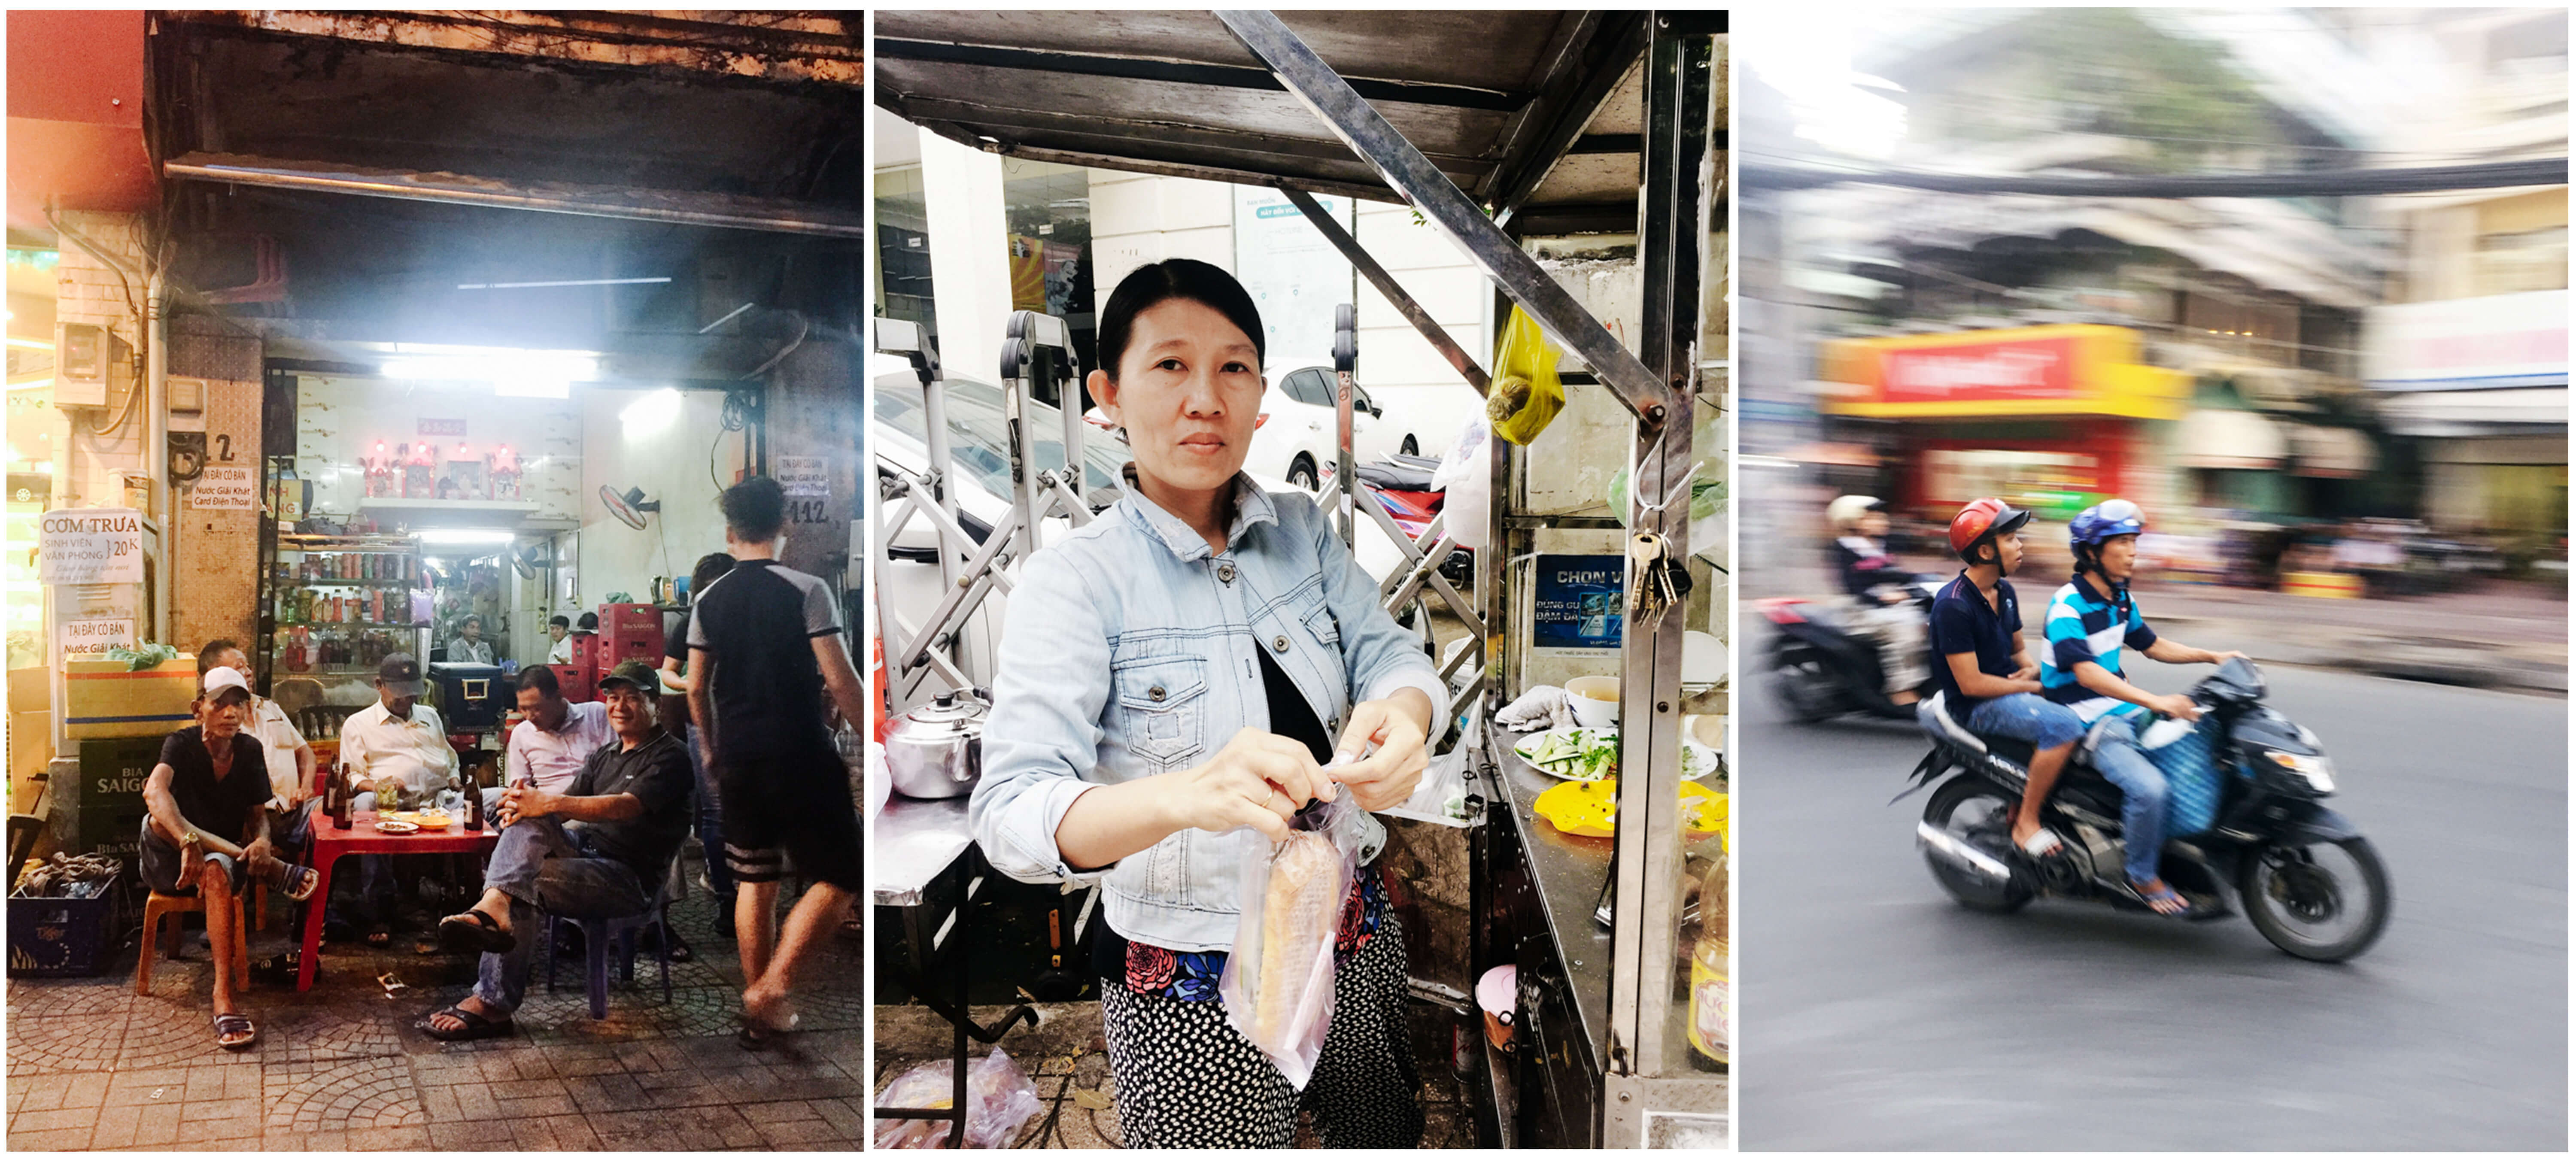
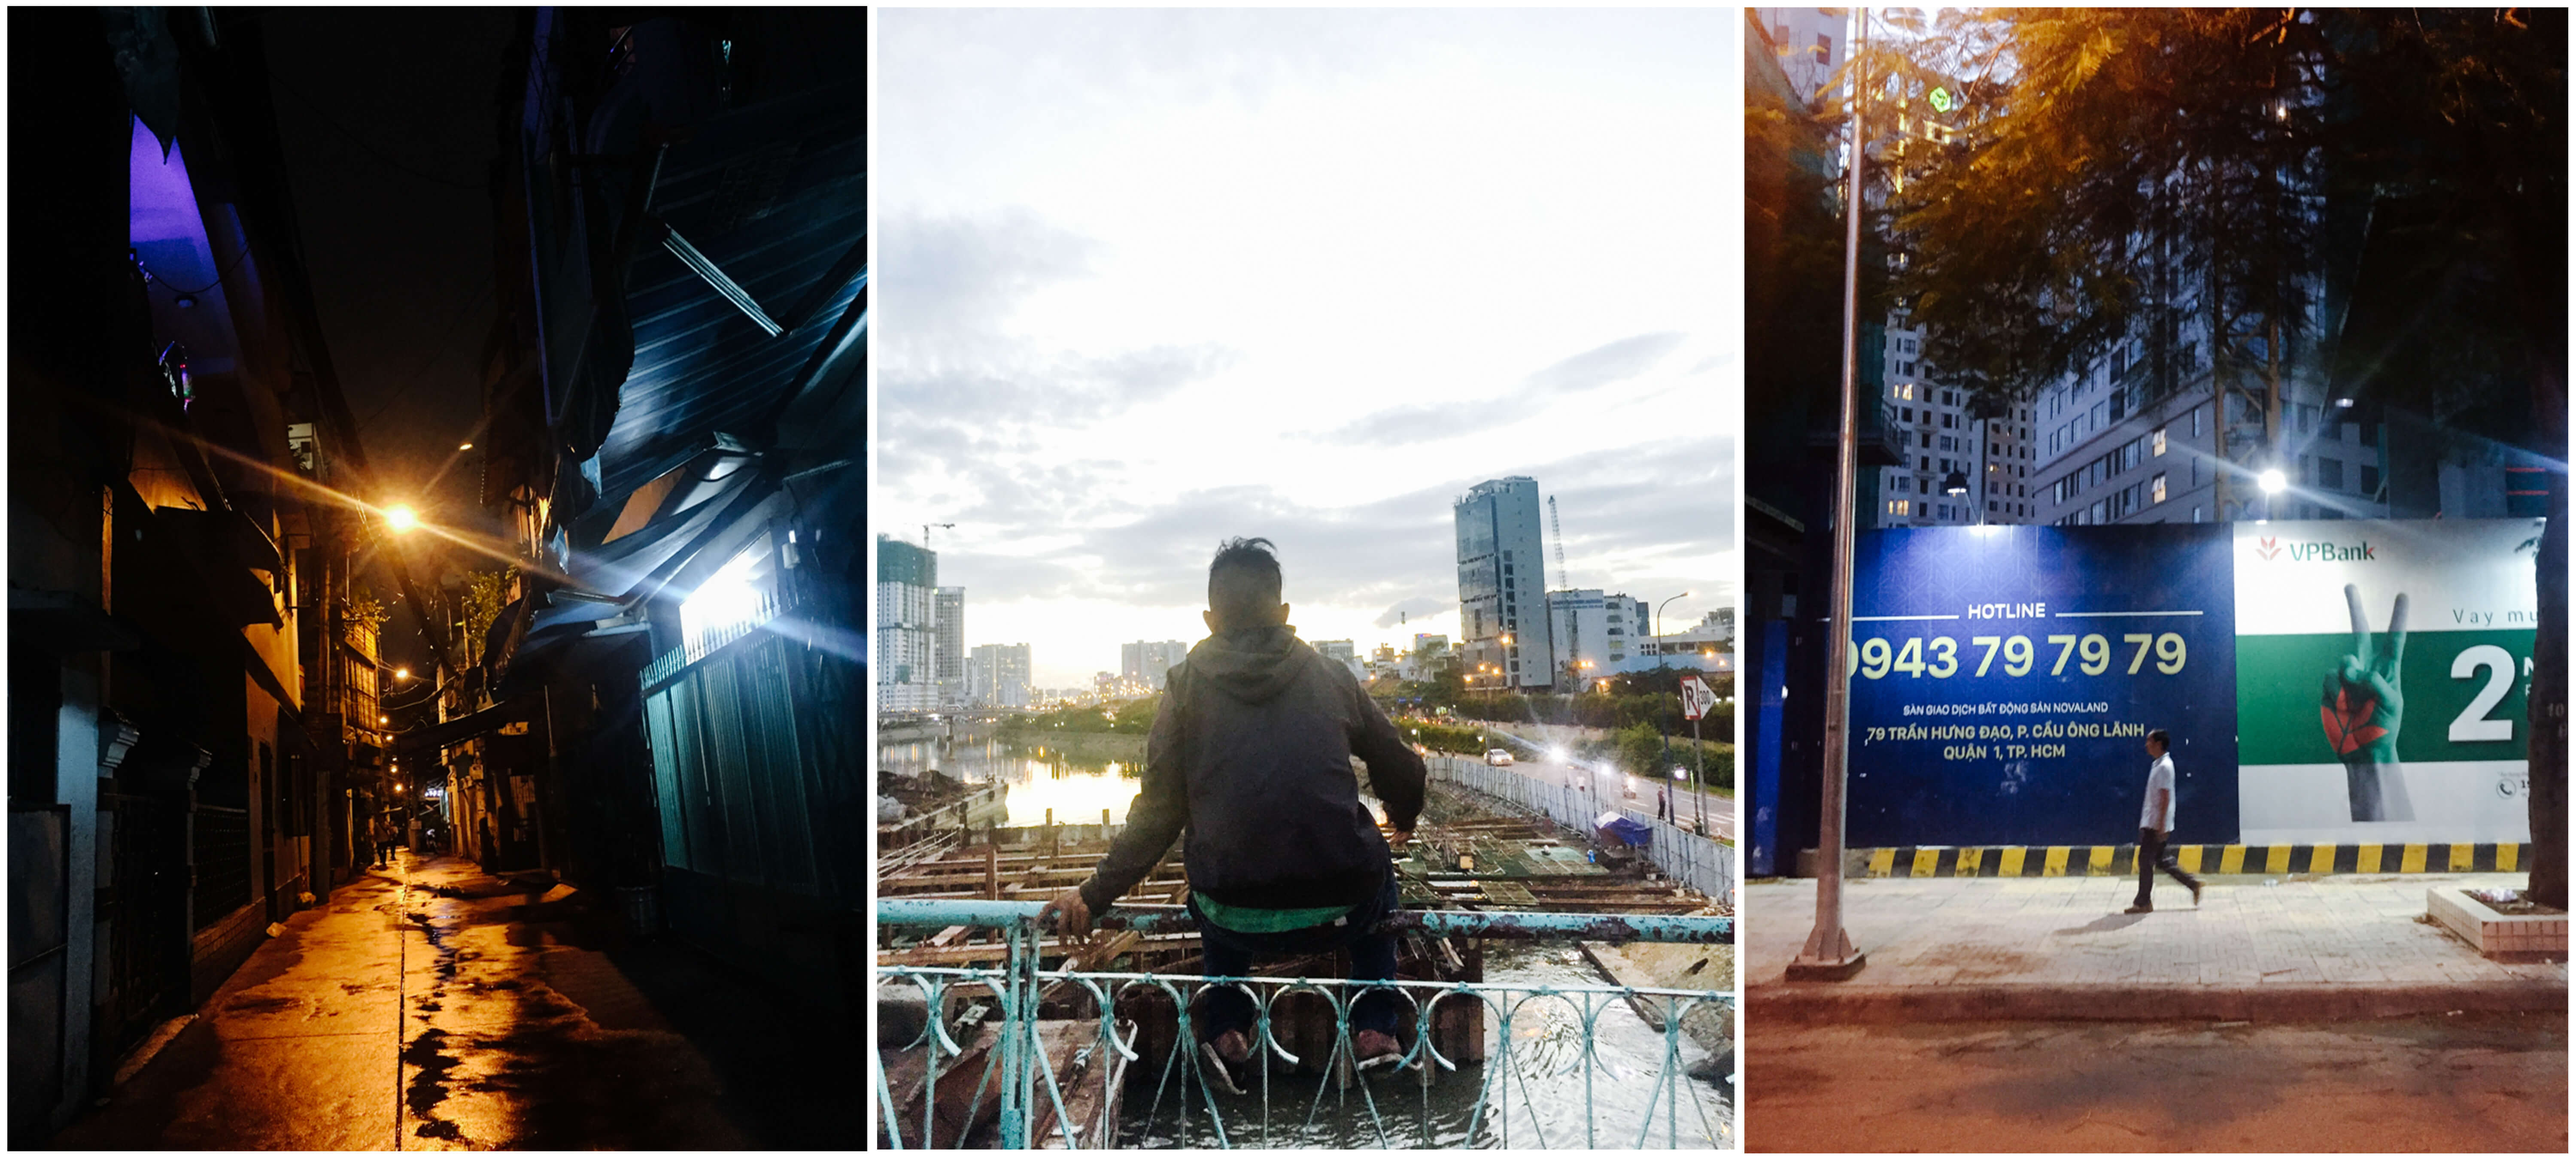
In order to show you a real-life example of how this can be done, I decided to run (literally went for a run) through the city of Ho Chi Min in Vietnam with only my iPhone 6. I want to show that even if you don’t have top of the end gear, you can practice,  improve your craft and interact with your followers all at the same time!

IPhone Collage

Instagram Story

Instagram

, in general, is a great way to showcase your work to an international audience. It seems like nowadays Instagram presence and following is a great way to secure jobs and receive income from sponsorships. With that being said, how can we make the most of this app in our everyday life?

First, let’s take a look at what this Story feature is all about. Stories will appear on the top of your Instagram feed in the shape of a circle. Your followers can click the circle and see either photos or video that you posted. They will be present for your followers to look at for the next 24 hours. If your plan is to use this medium to share your images, you will want to shoot knowing you will have to crop to 16×9 later. This can affect that way you compose your shots.

Story

Understanding Your Camera

The next thing you need to do is fully understand the camera you will be using. If you’re using a phone, there are many downloadable applications that allow you to get uncompressed, highly detailed images. Many also allow you to manually control such settings as aperture, shutter speed, and ISO. My goal is to get the best medium exposure possible and having these extra controls allows me to do just that.

Understanding all the possible ways to release the shutter can be extremely useful as well. On all the typical iPhones you can take a photo by pressing the volume buttons (this includes the earphones when they are attached as well). This allows you to take more inconspicuous photos.

Once you have a complete understanding of all the functions that can be used, you can then use them to have full control over your final images.

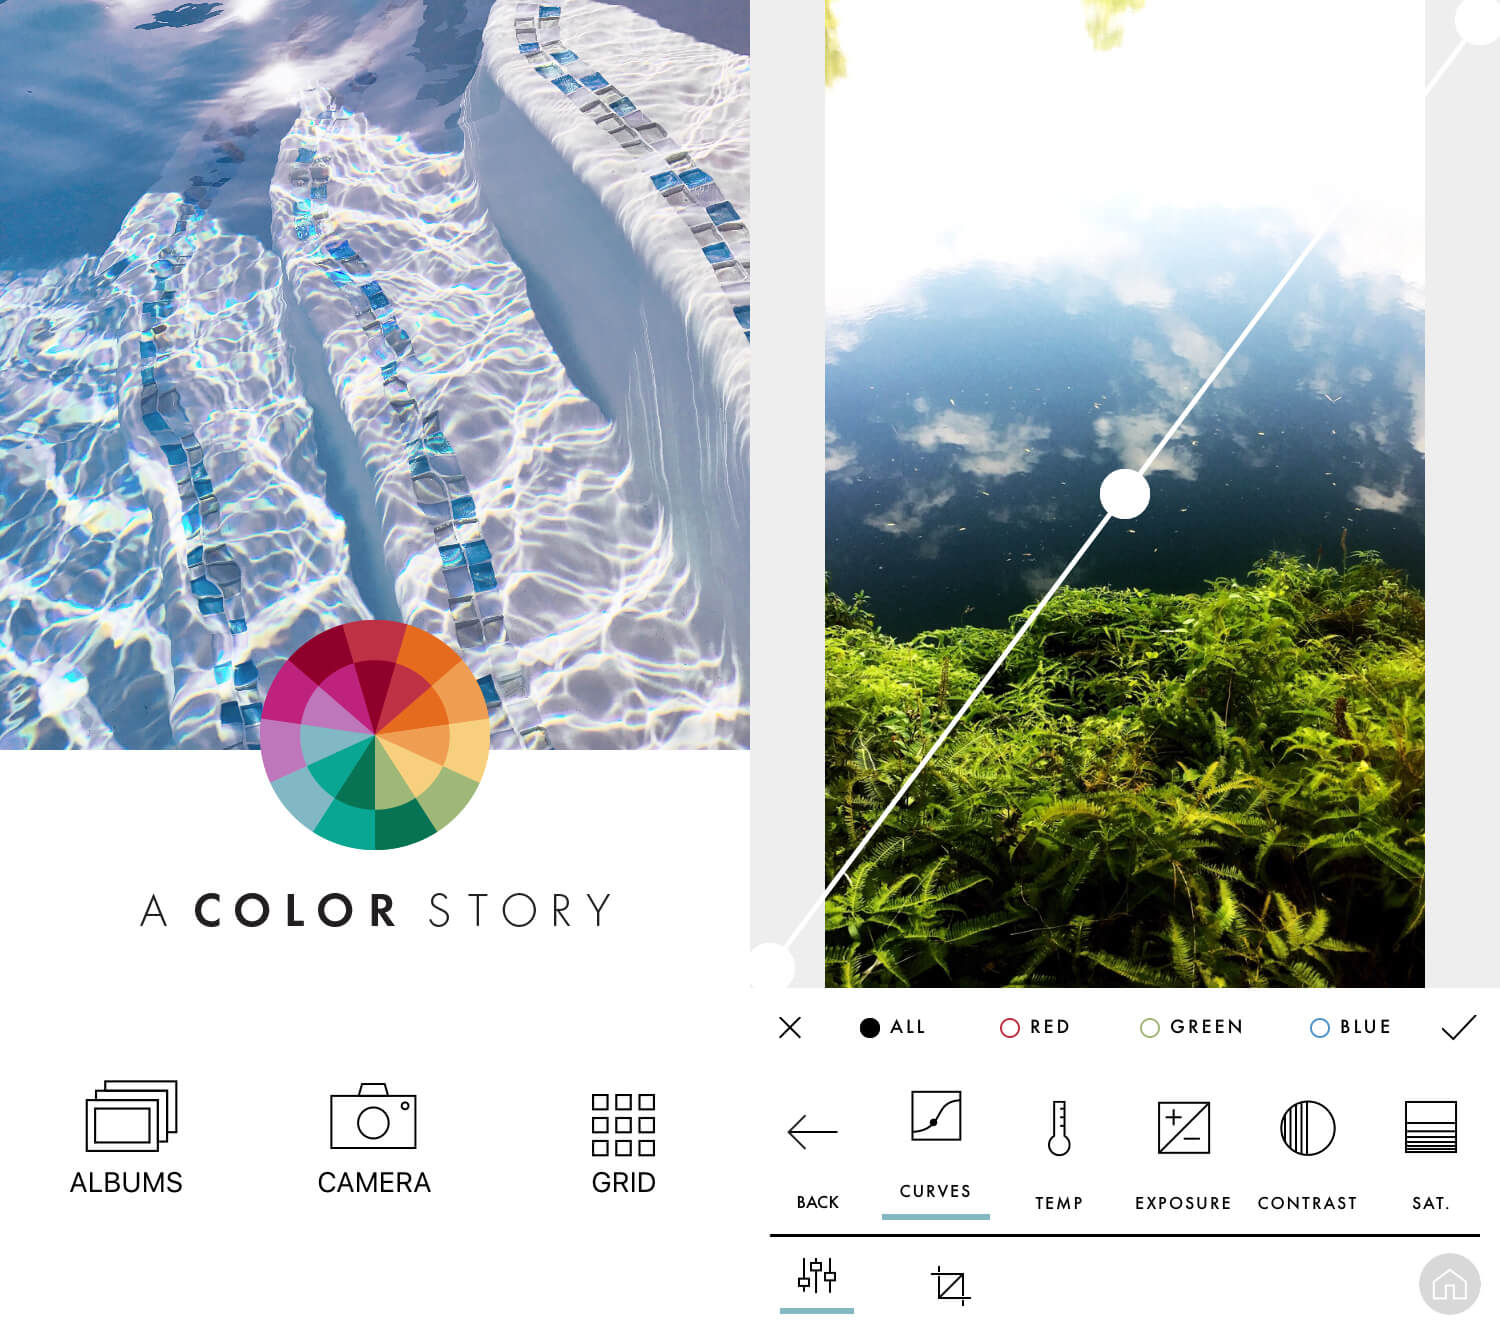
EditingColor Story

Once you have a good amount of images to choose from, it’s time to edit them. The best option is to upload them to a computer but if you’re traveling, there are some excellent options to edit right off of your phone. There are many apps that I could recommend such as VSCO or Snapseed but my favorite one recently is an app called Color Story. It’s a free app that gives you most of the controls you would have on your computer. It also has some excellent free filters and effects.

ApplicationVietnam Collage

When I was in Vietnam this past month I used all of these suggestions. I shot every day and shared my images with my followers. They were able to get a glimpse into the wonderful country of Vietnam and I was able to push myself creatively.

If you ever plan to visit Vietnam, I would highly recommend that you learn some basic phrases in their native language. It seemed like no one spoke English at all. Such phrases such as “hello” and “thank you” can be very useful, especially if you are going to be taking pictures of strangers.

I would also recommend that if you don’t have any experience riding a motorcycle that you don’t learn there. It has the craziest form of traffic that I’ve ever seen.

You don’t need the best equipment in order to progress as a photographer. It can be done with a simple camera phone with some forethought and diligence. Take advantage of Instagram’s Story feature which can encourage you to shoot daily and interact with your followers!

Keep learning and have fun!

A Photographic Journey around San Felipe, Mexico

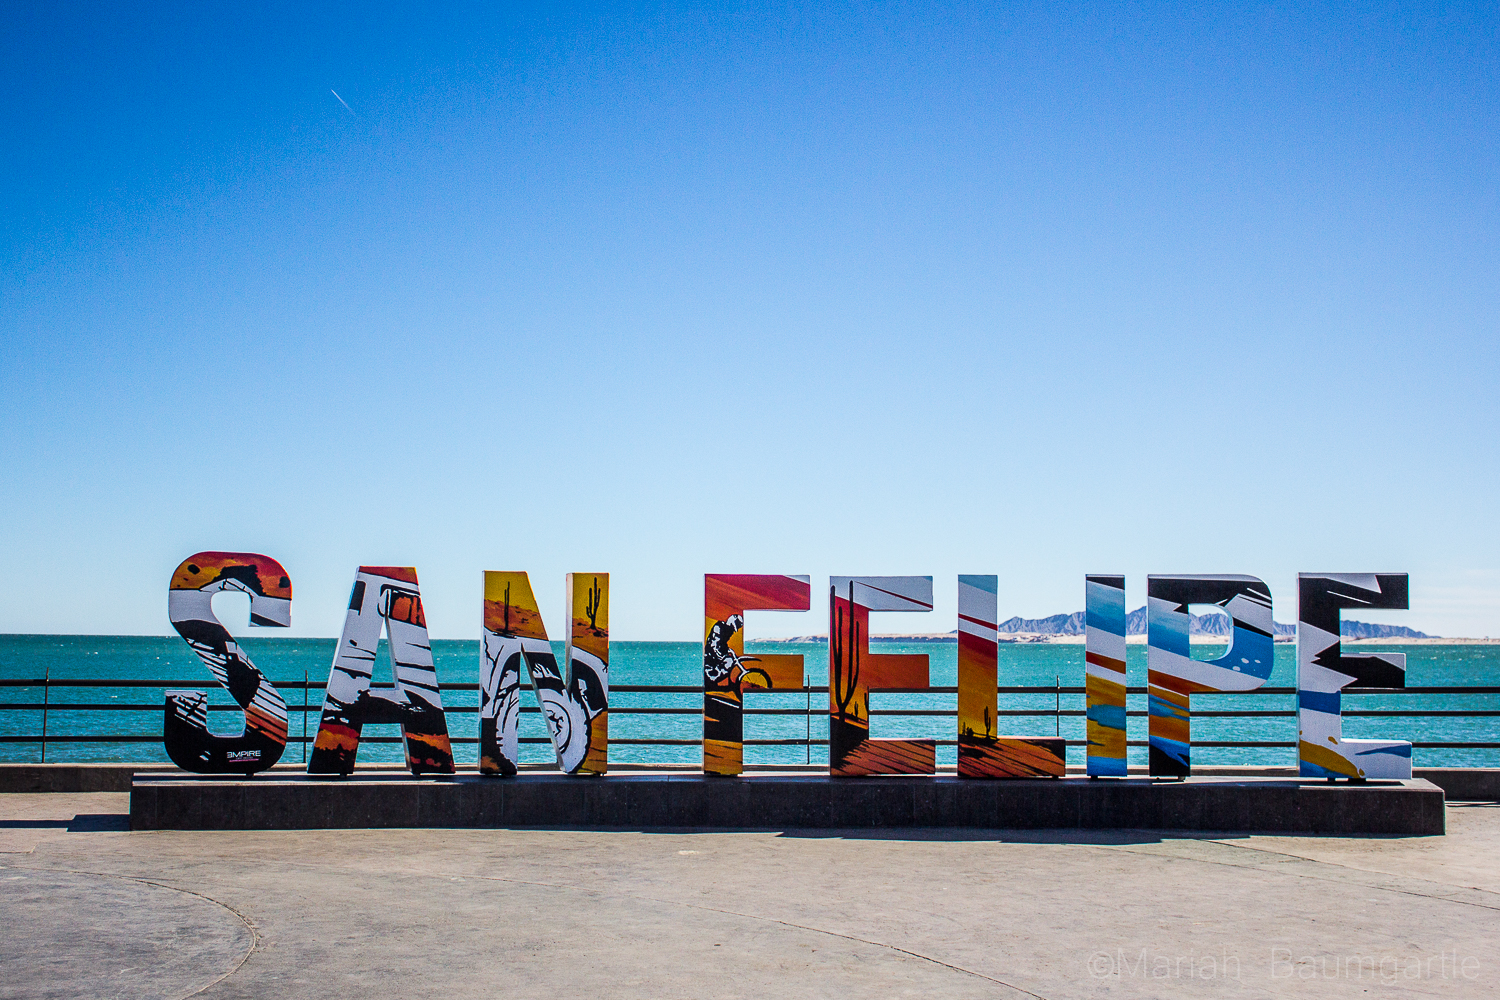
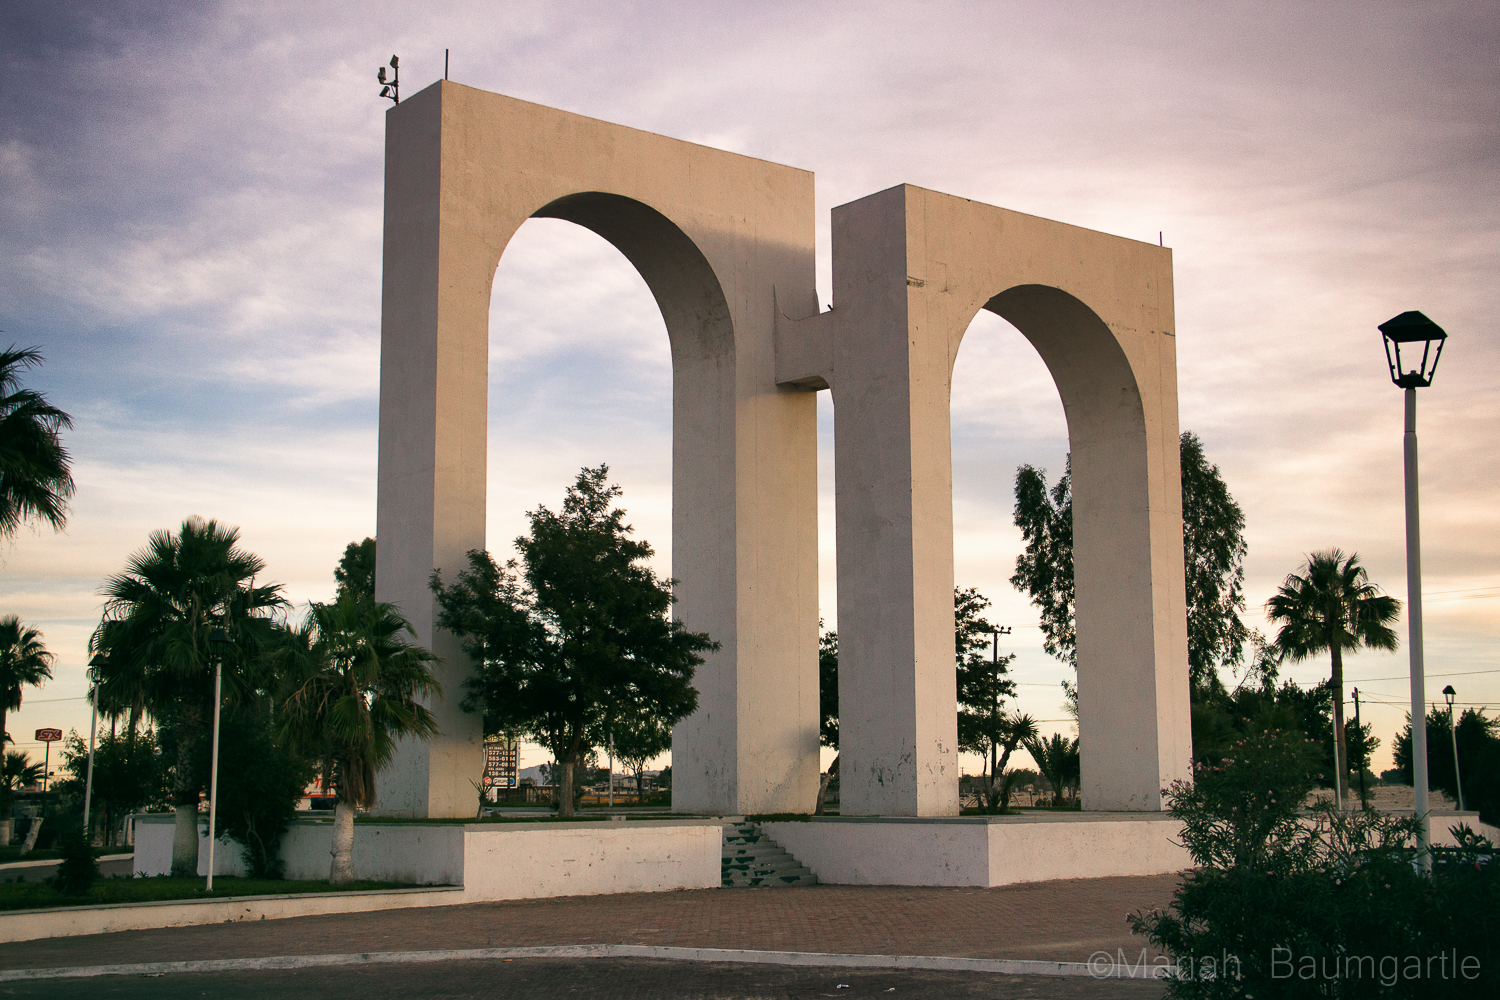
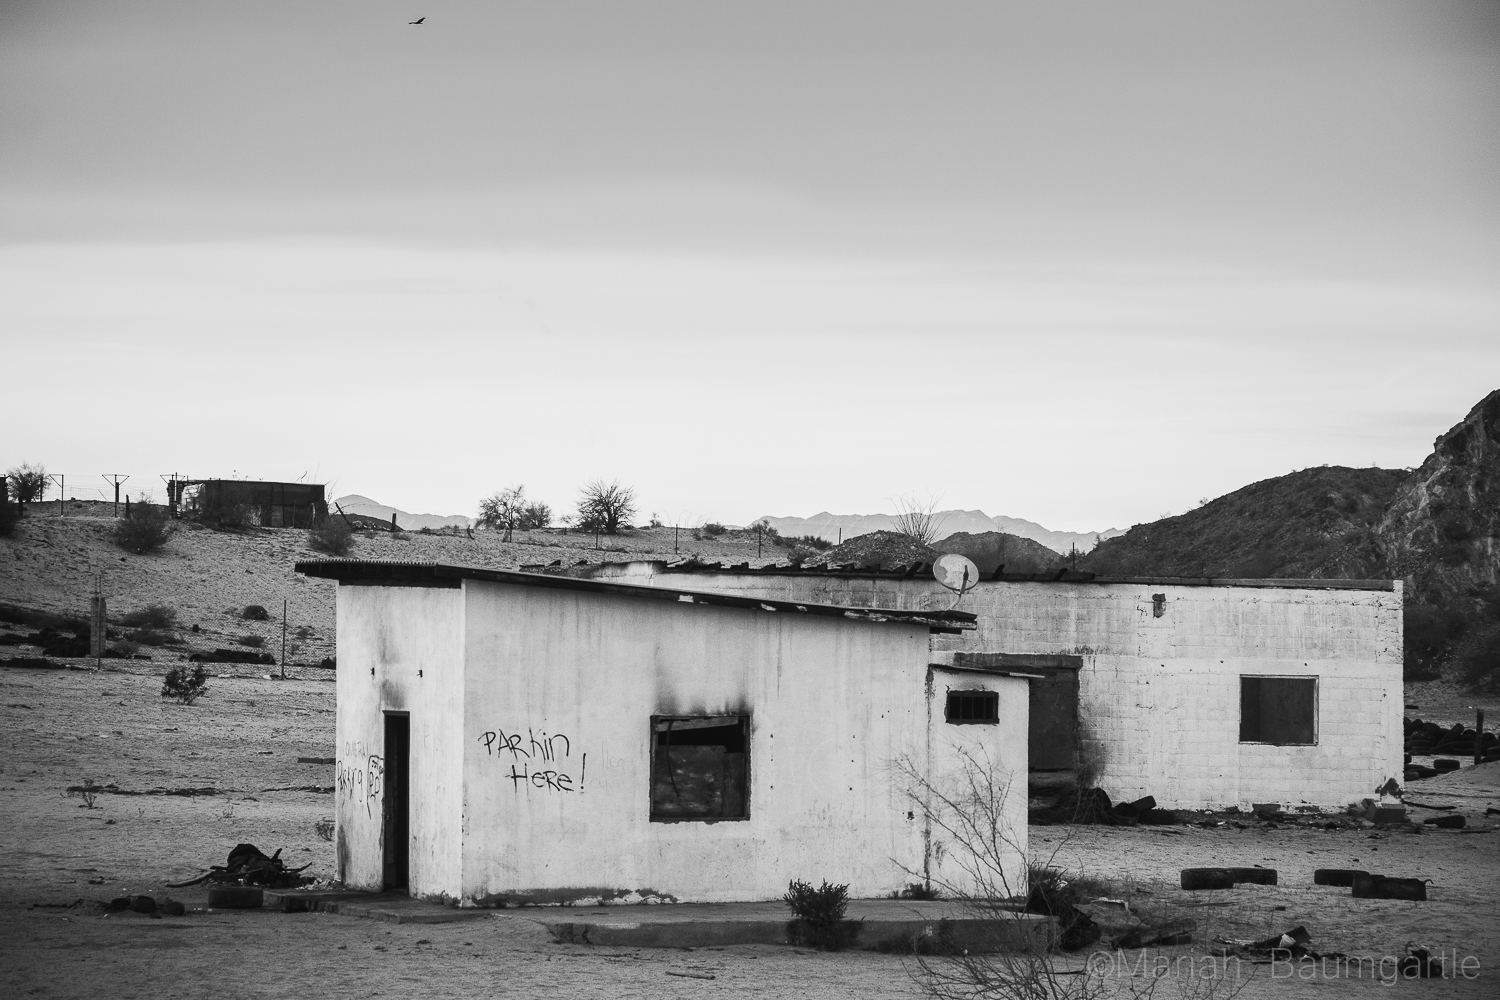
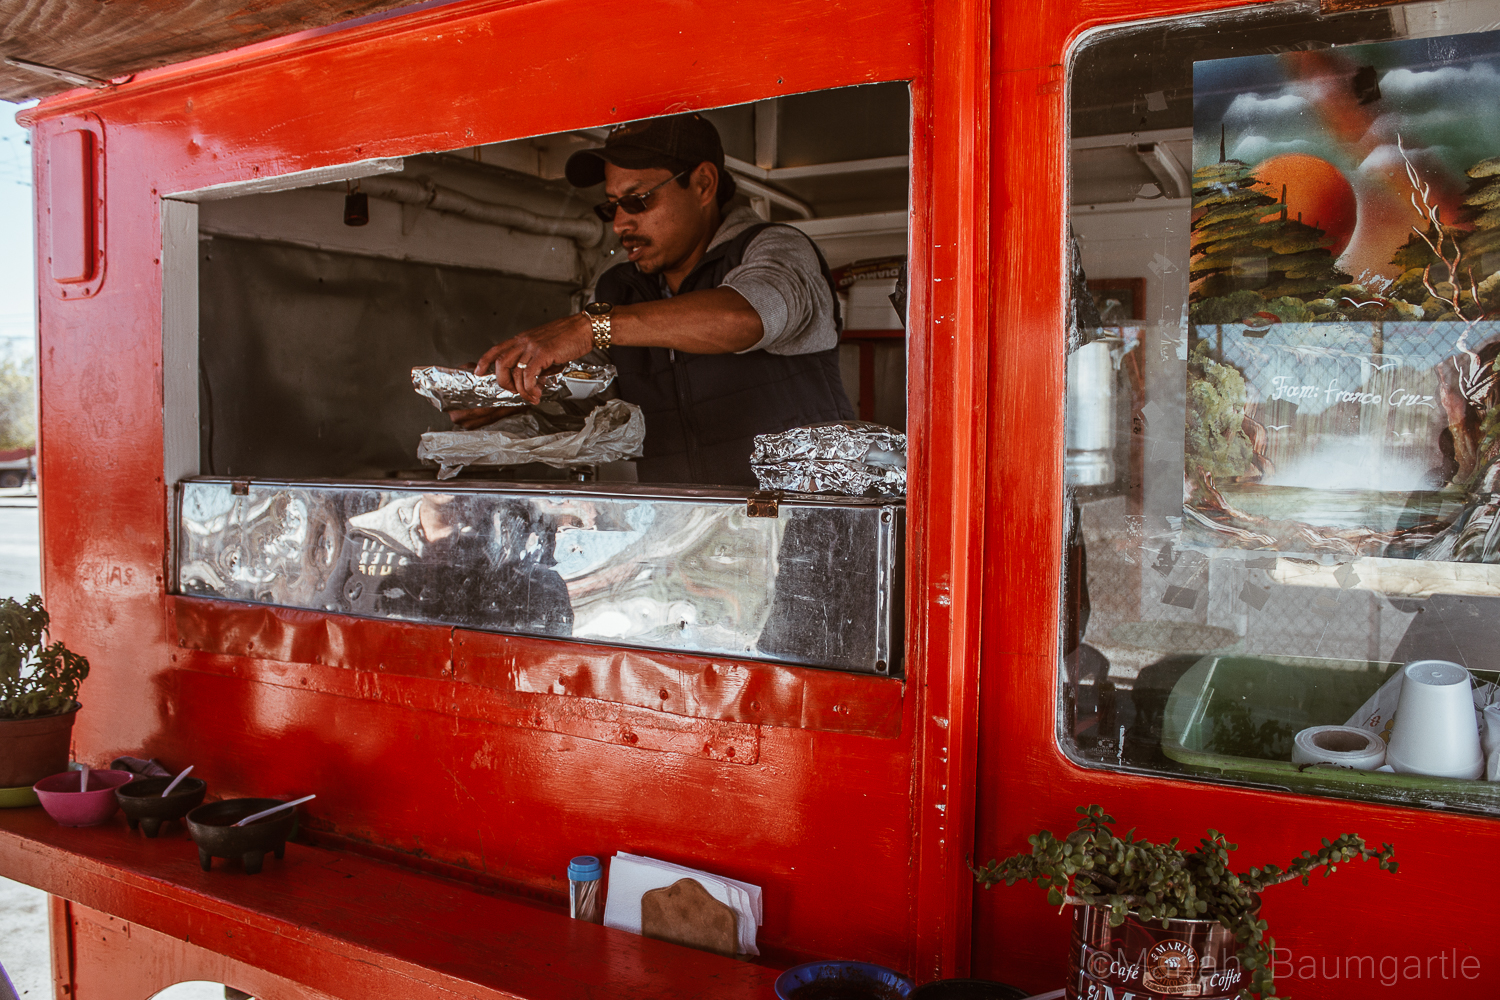
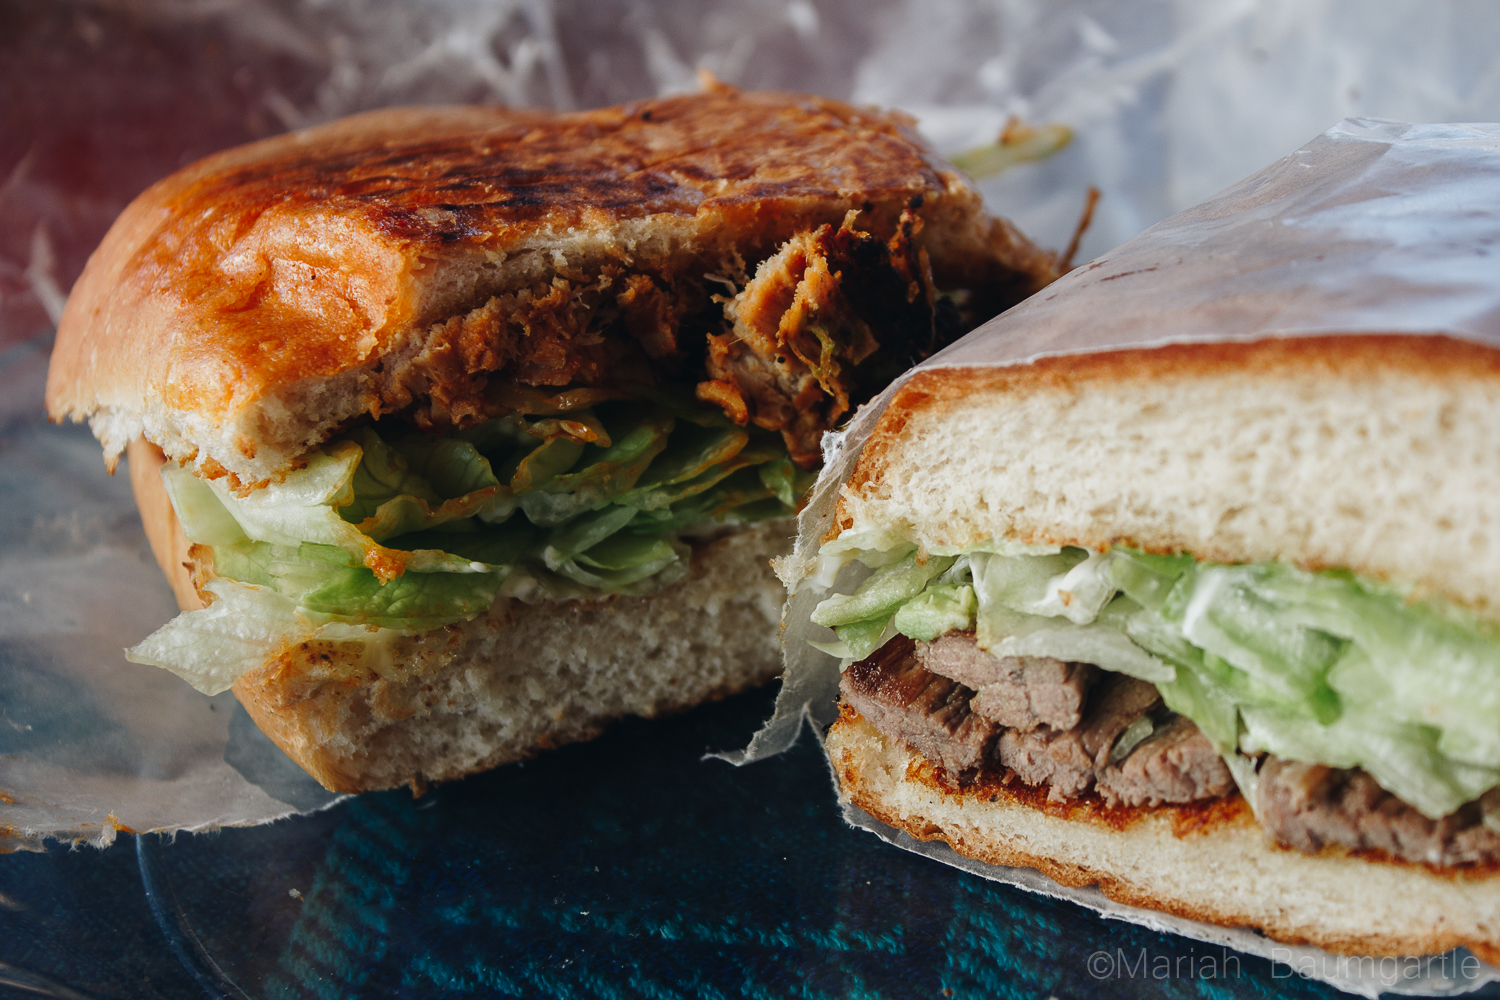
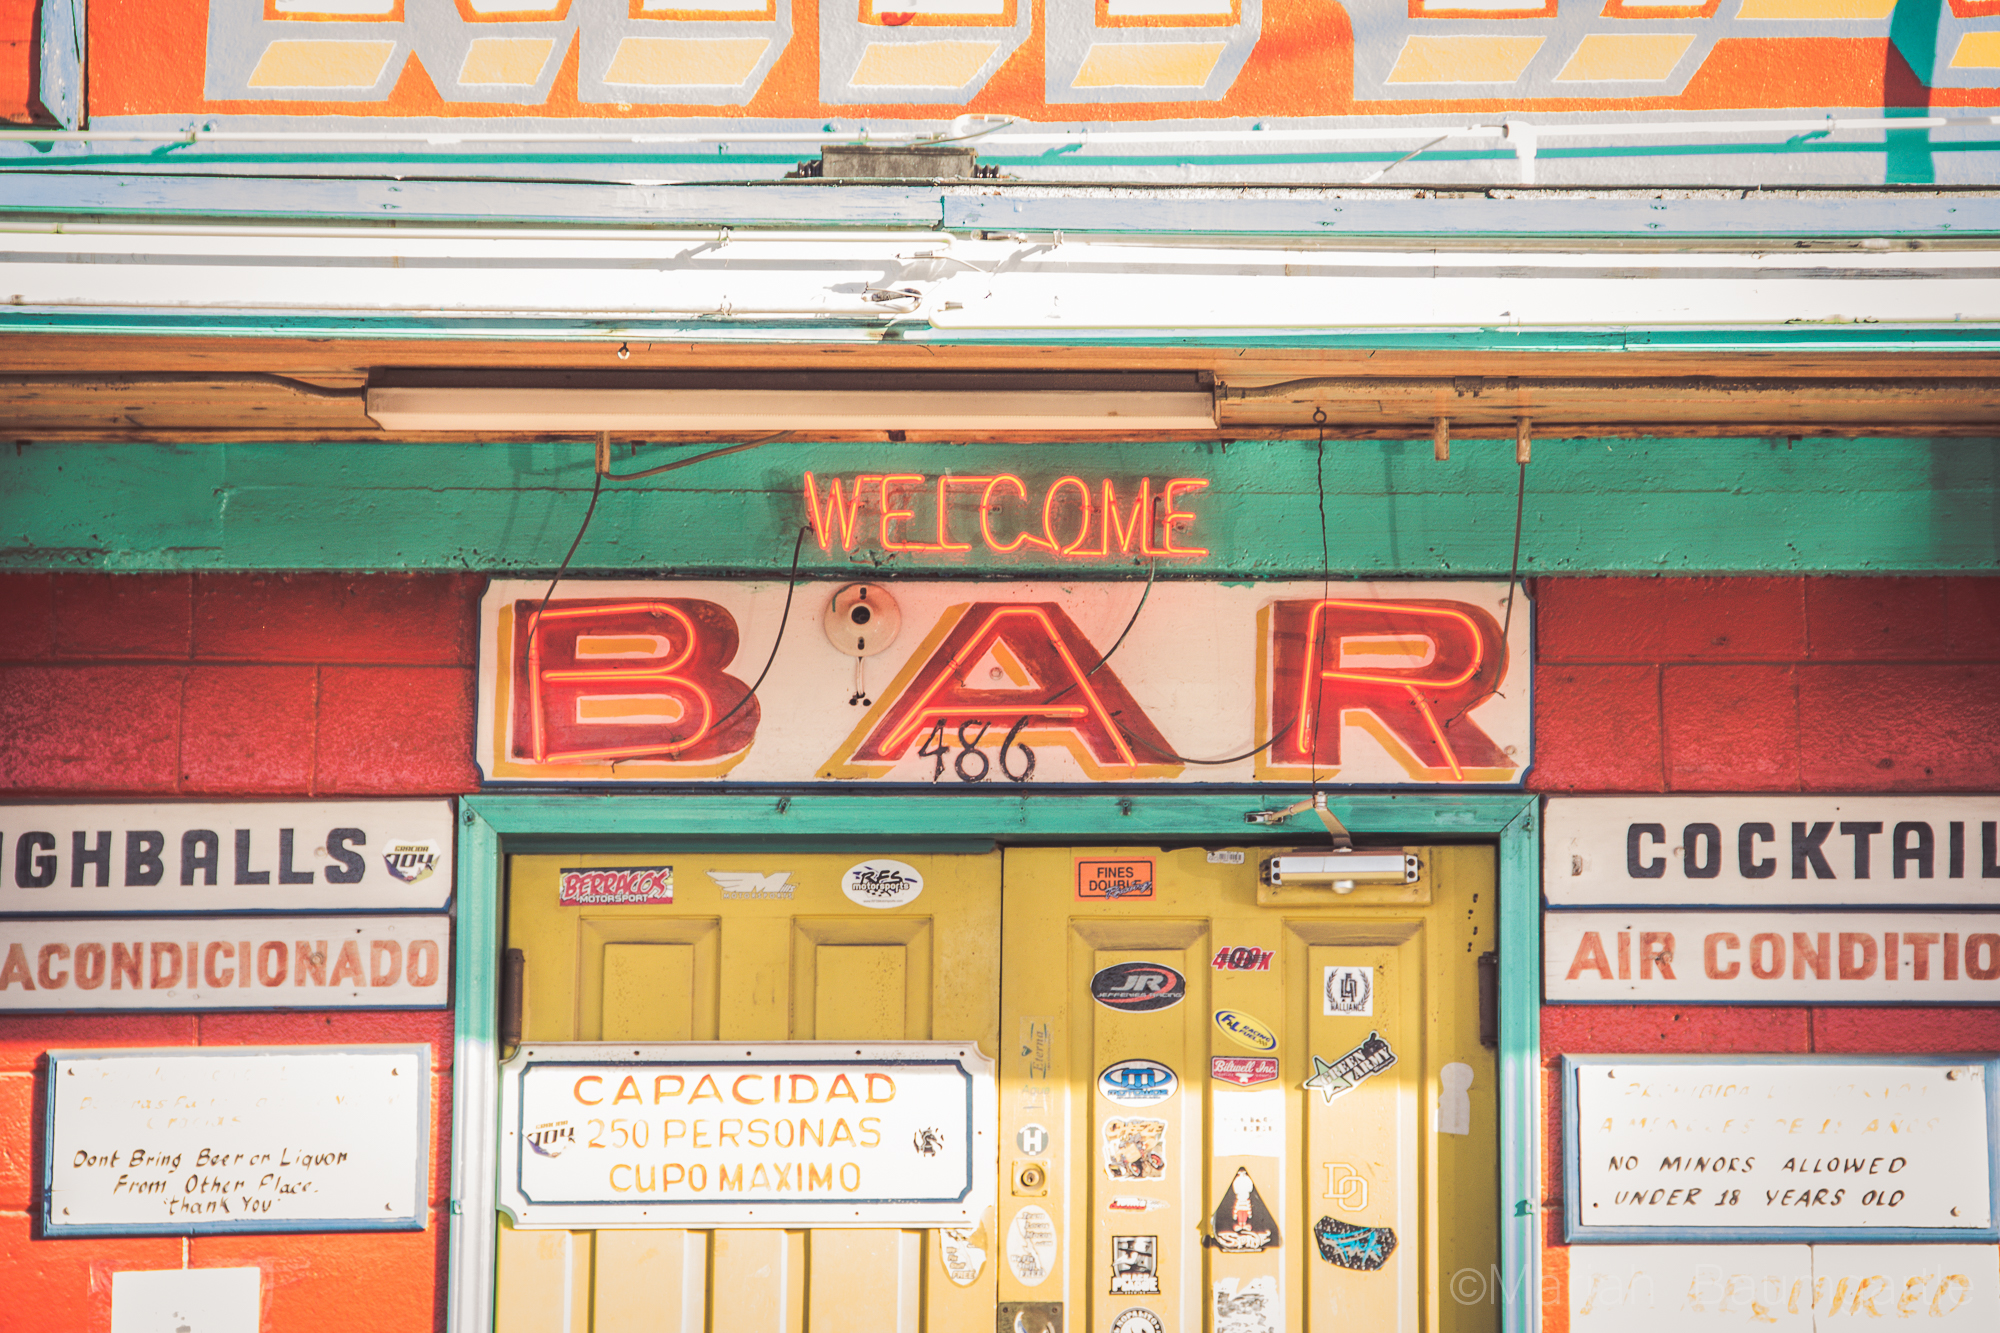
I have had the opportunity the past four months to live and photograph around San Felipe, Mexico. San Felipe is located in the Baja California and located about 2-3 hours south of the border along the side of The Sea of Cortes. San Felipe is filled with color, culture, great food, and beautiful desert land. Pack all of the correct gear for your travels and take an adventure to gather some great photographs. San Felipe SignOn your way to downtown San Felipe, you will first spot The Arches, a very popular monument of San Felipe. They call the arches “The Gateway To The Sea” The arches offers many angles. However, the only problem photographing the arches are all of the distractions around such as signs and wires, which you can Photoshop out later. Around and past the arches you will also find a hillside where you can explore to gather some more cultural photographs of the areas. This area is where you will find all of the best authentic food with local taquerias and is always a great photo op in itself by practicing your food photography. Down at the end of San Felipe is The Malecon, which sits next to The Sea of Cortes. The Malecon is lined with restaurants, shopping, and with a great view of the sea. This is where all of the events happen in towns such as food festivals, music festivals, and parades. This is a great place to take some iPhone street photography. San Felipe ArchesSan Felipe Culture
San Felipe Food Truck

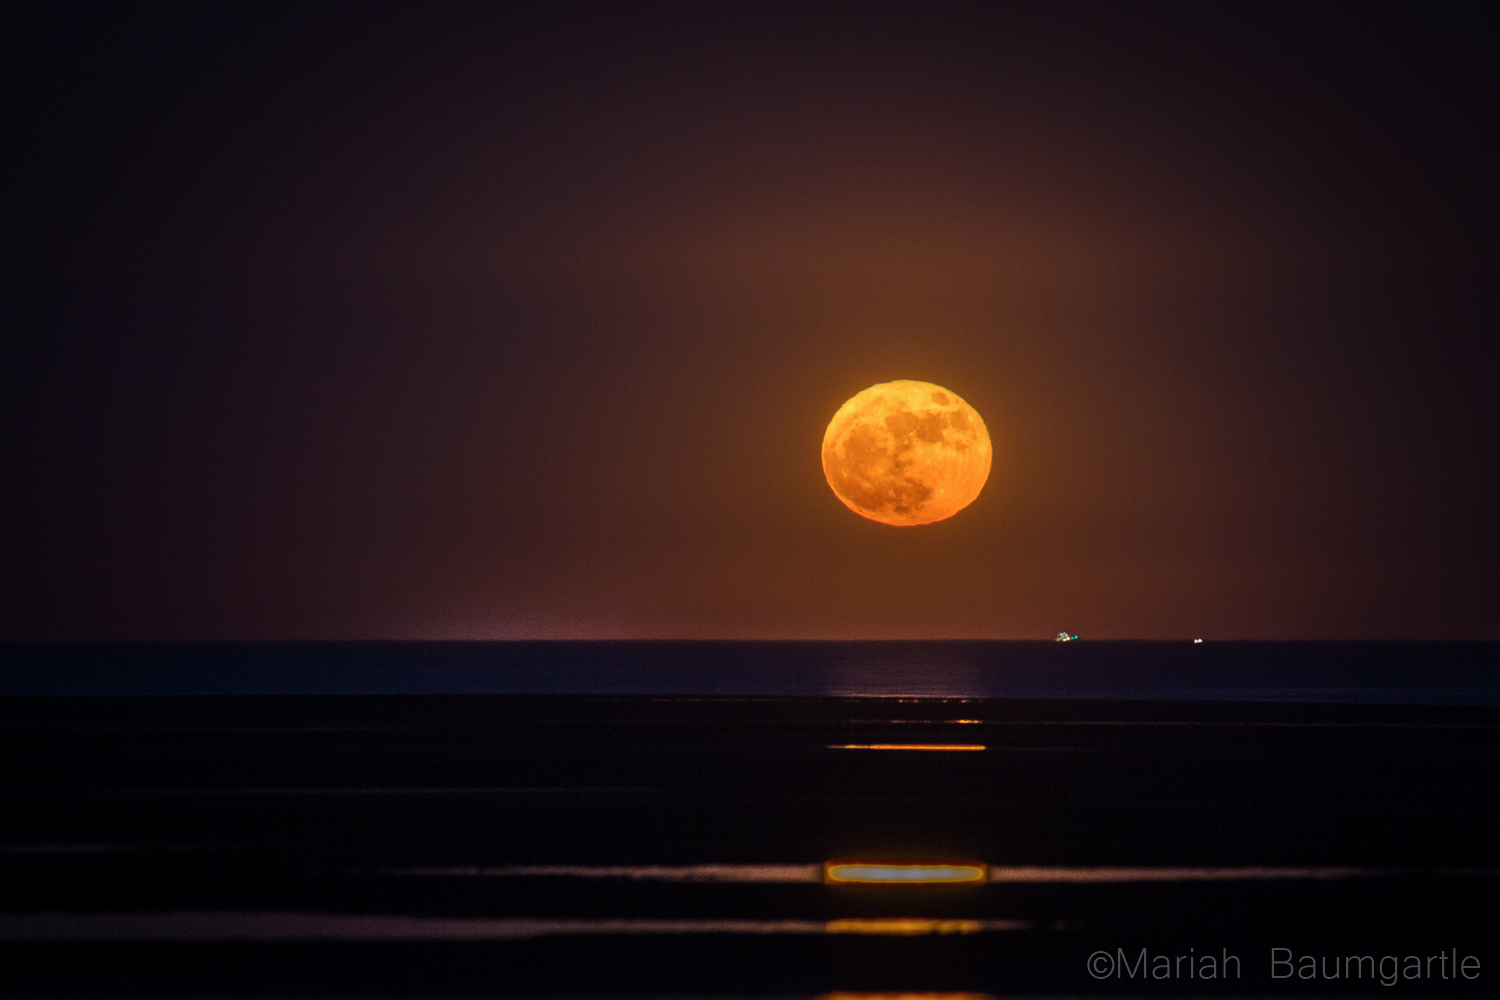
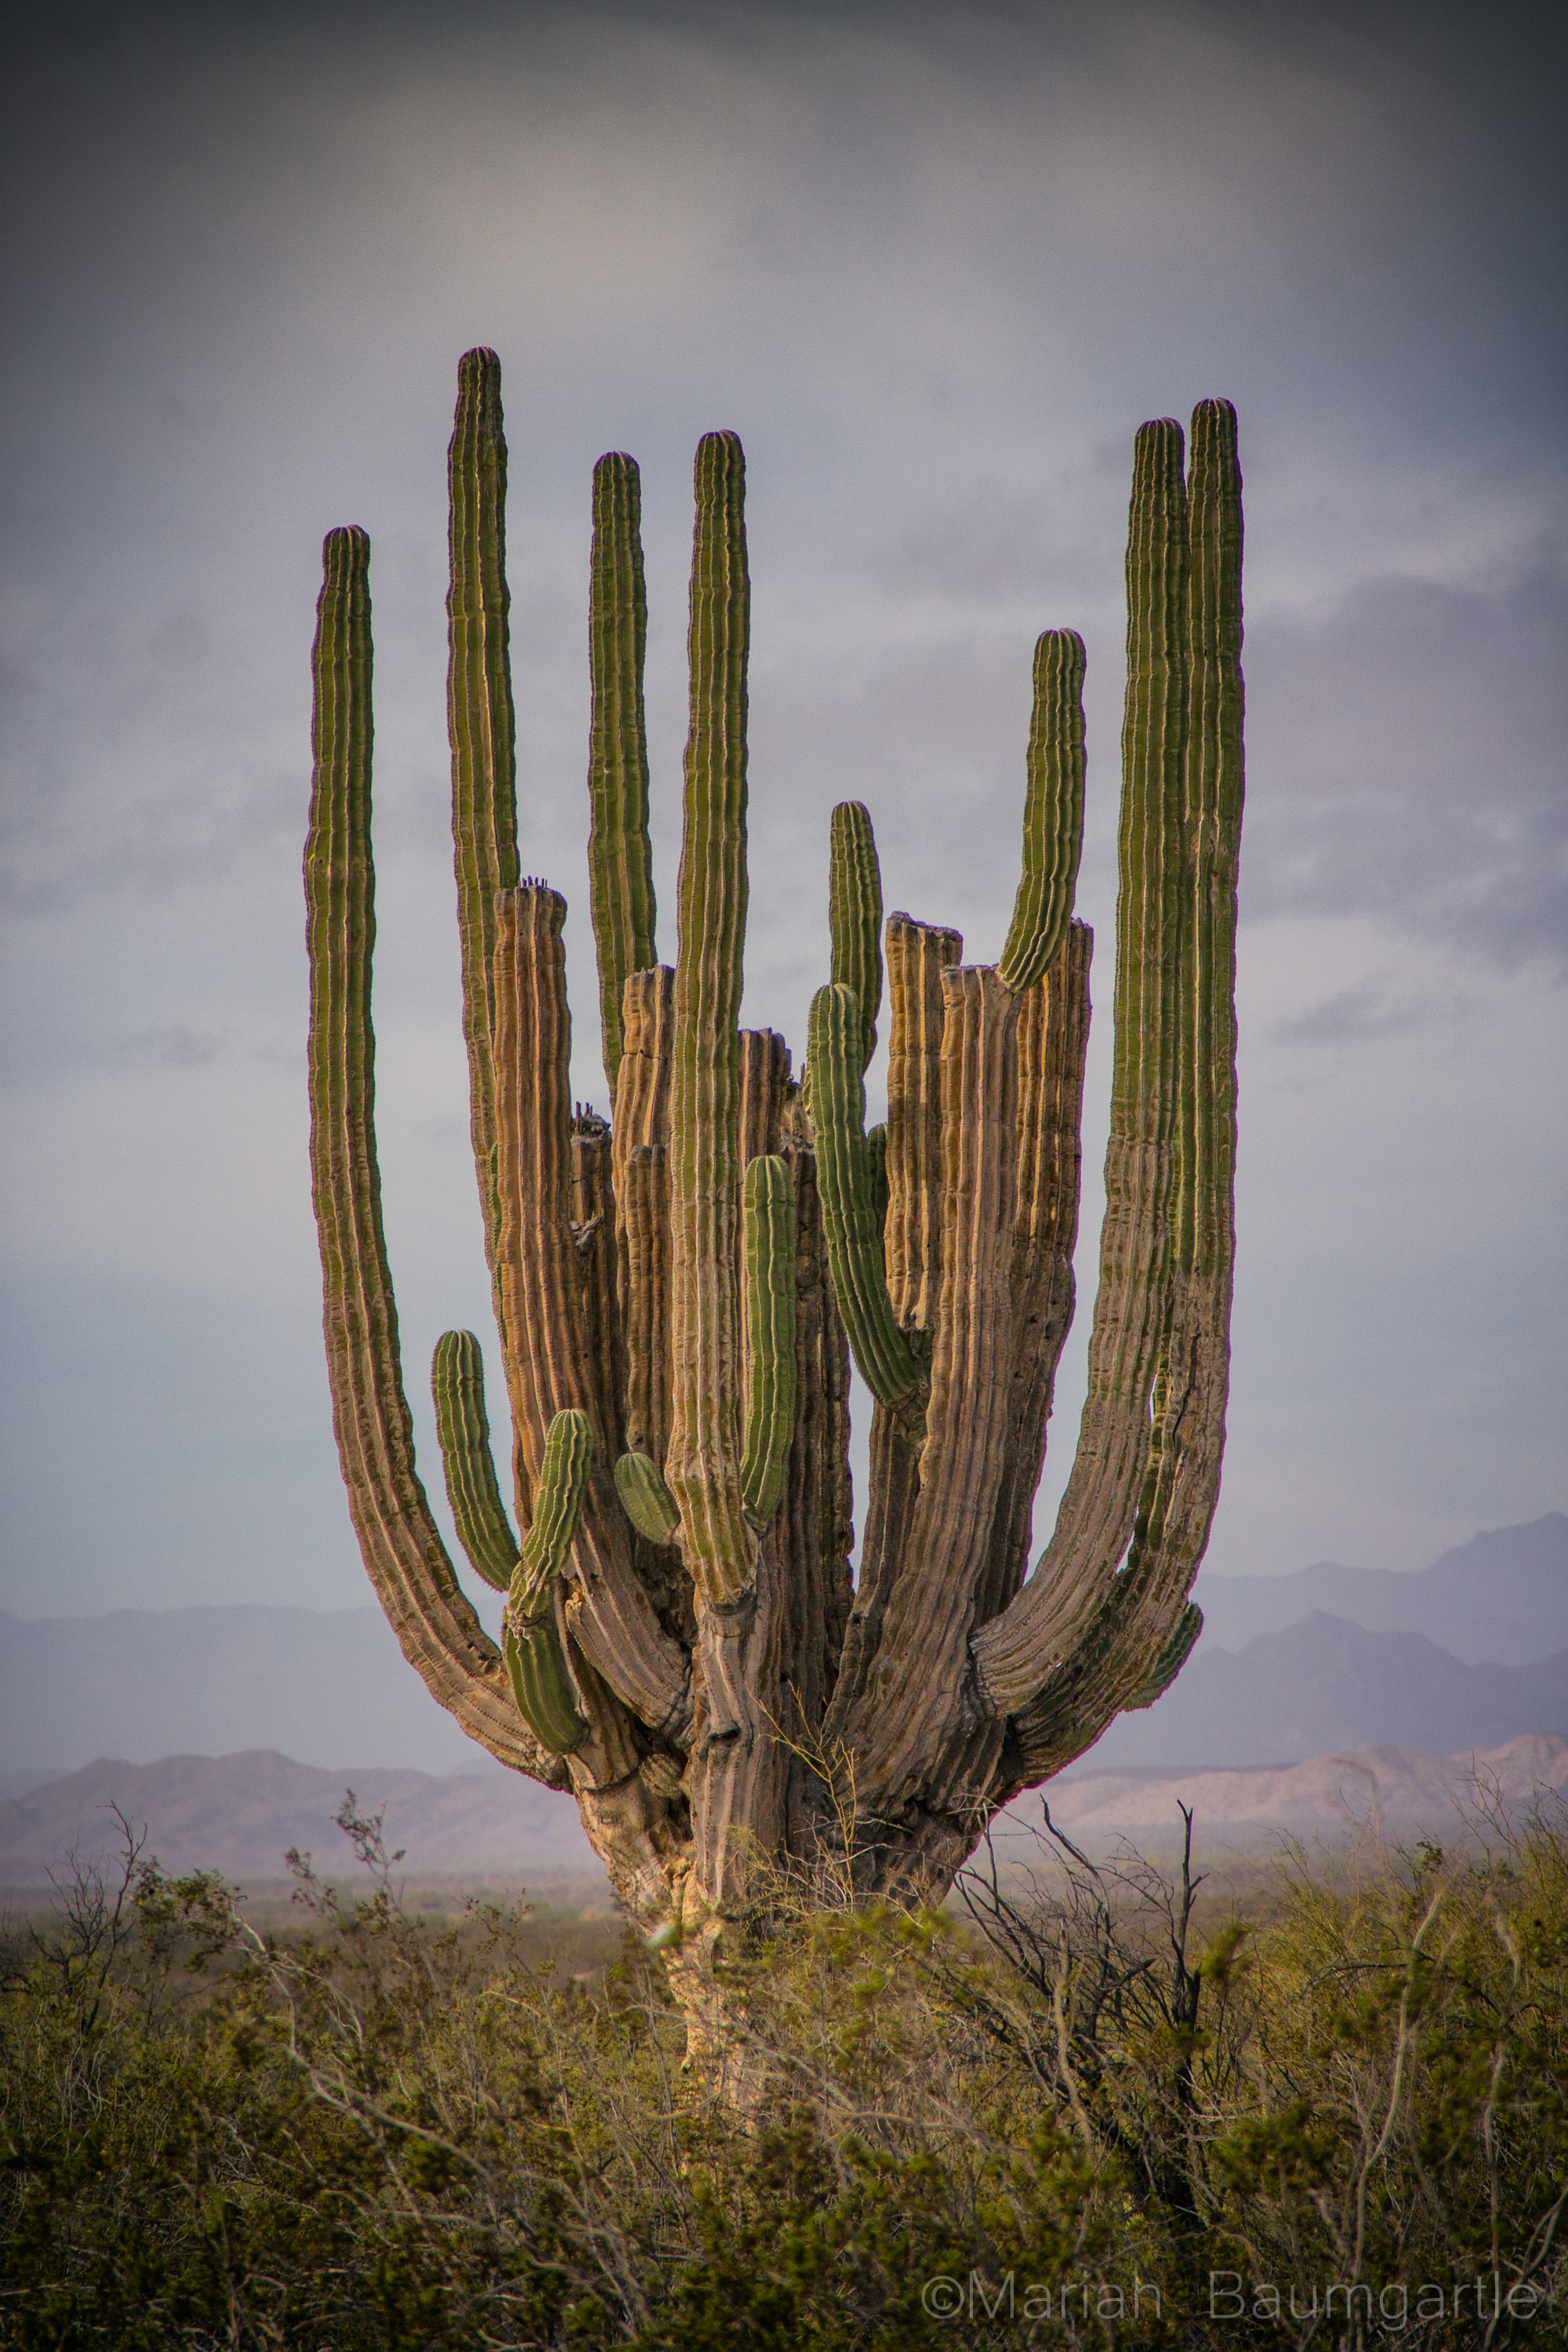
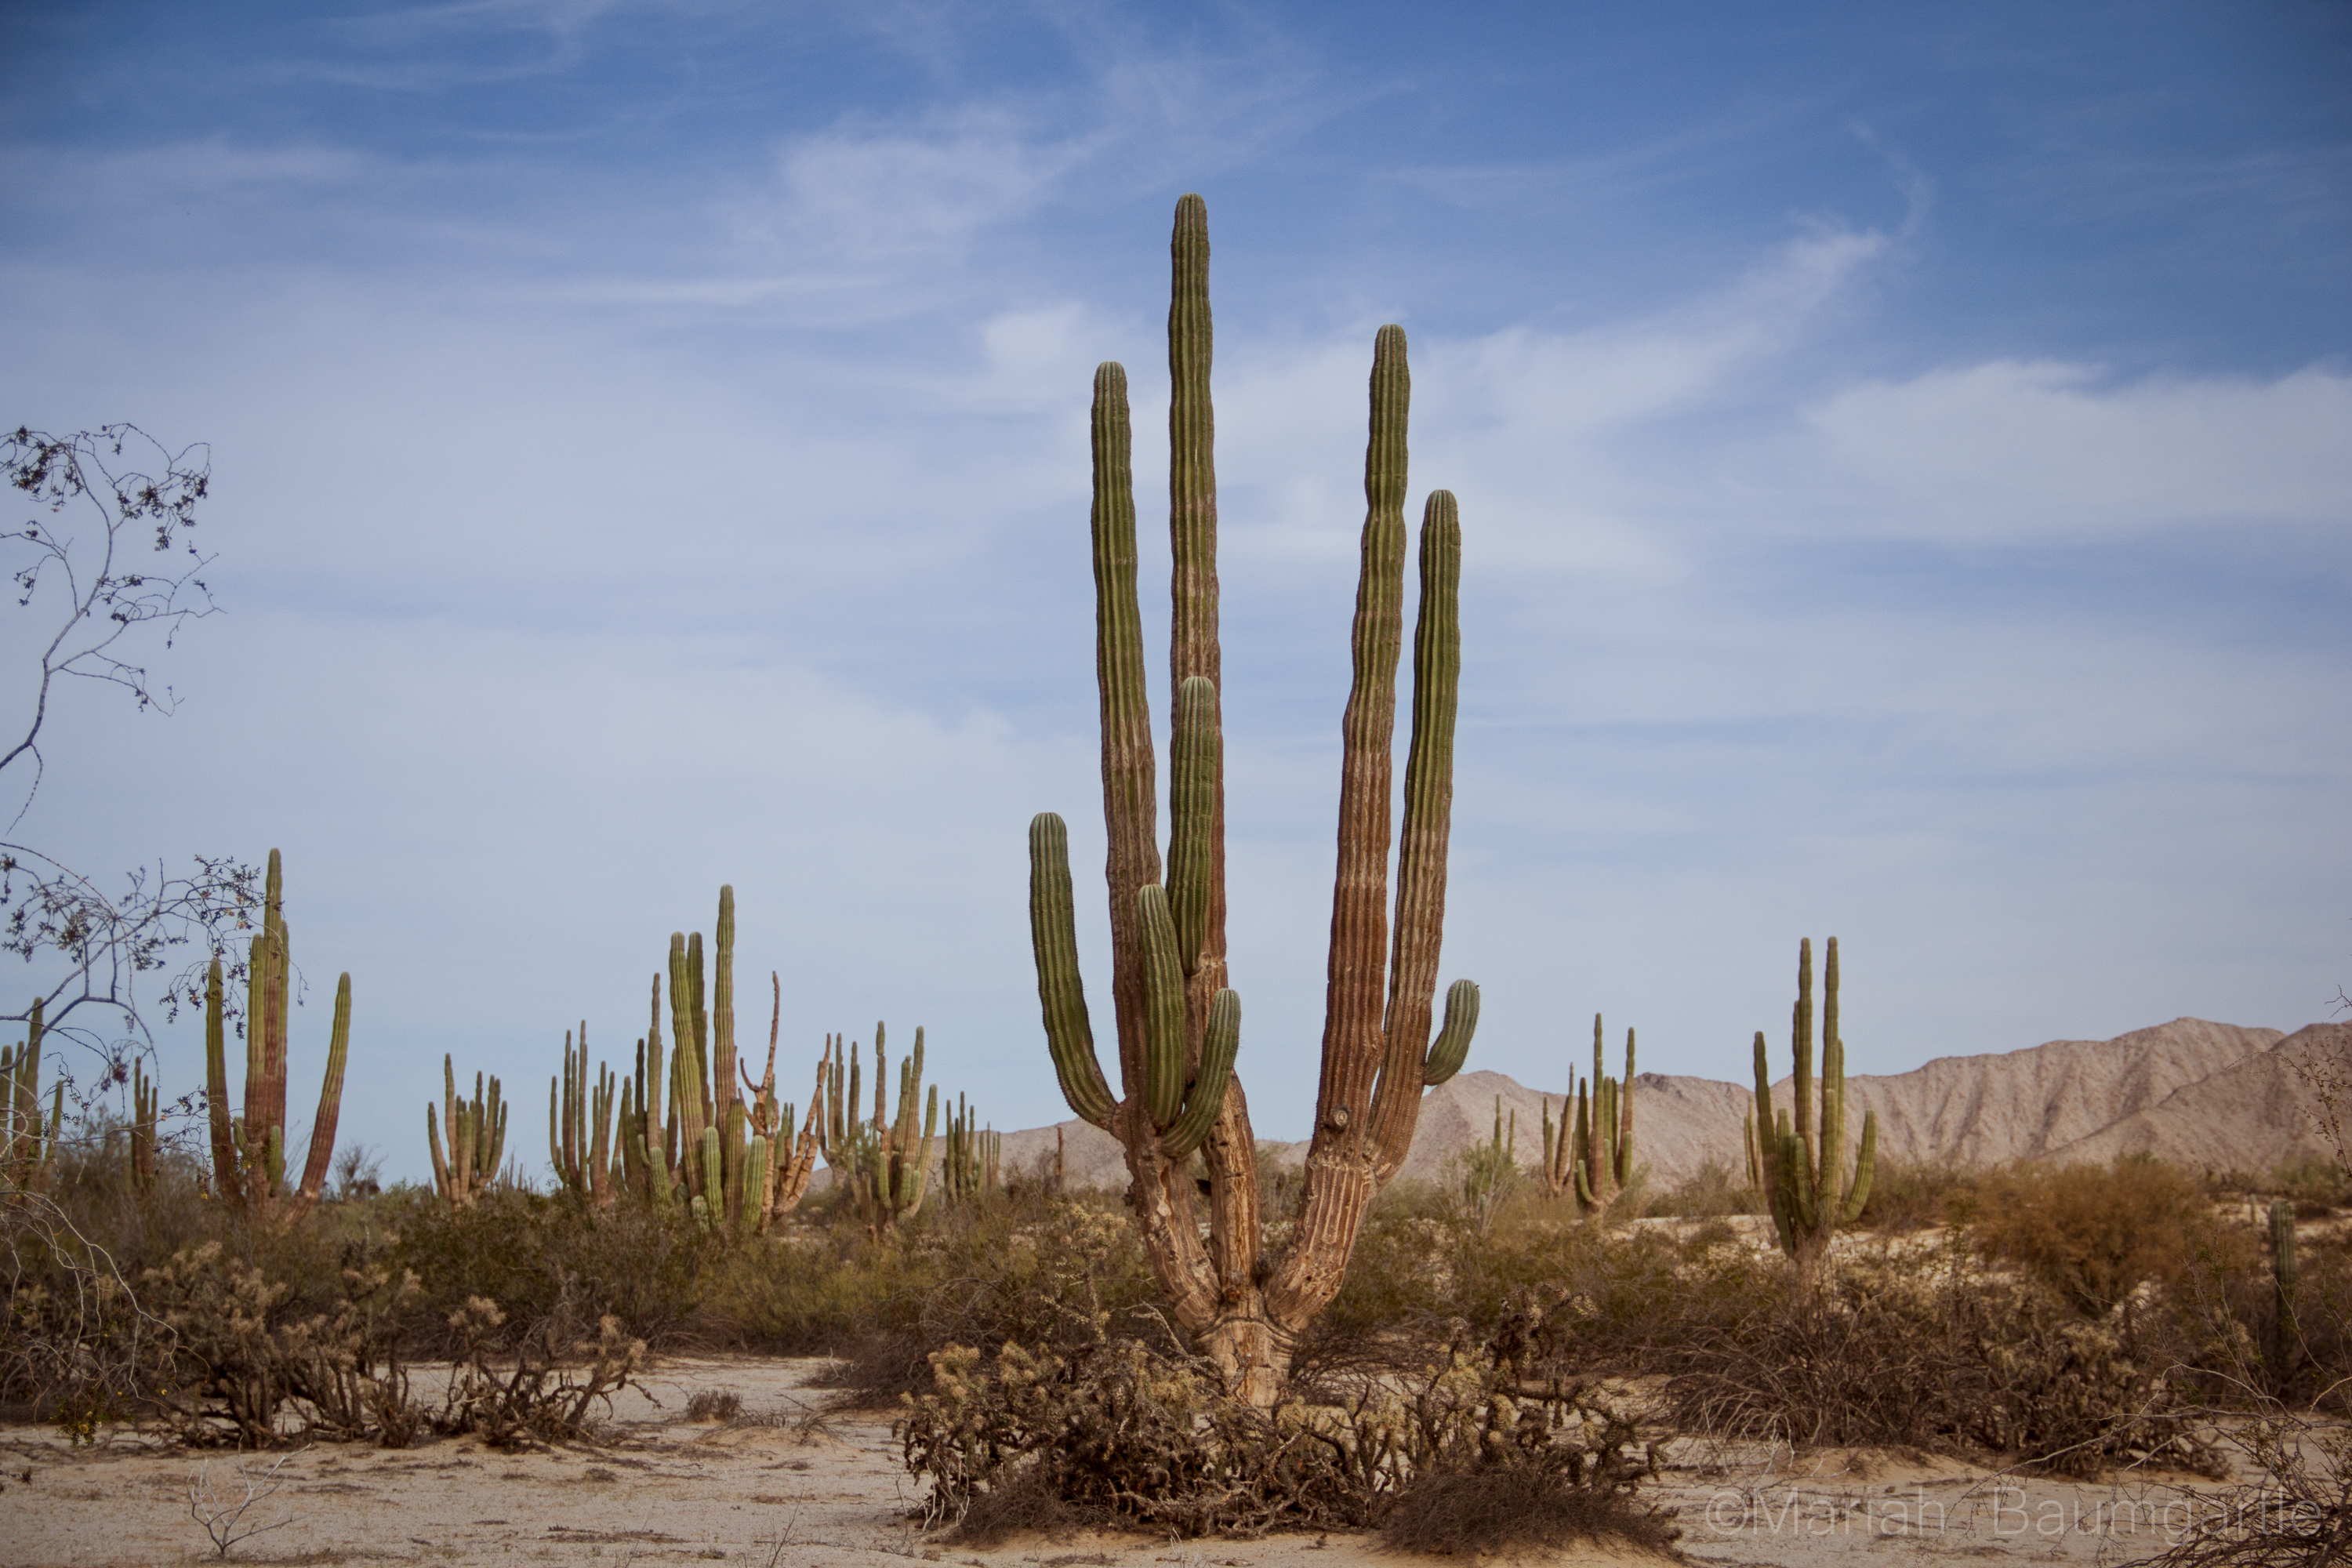
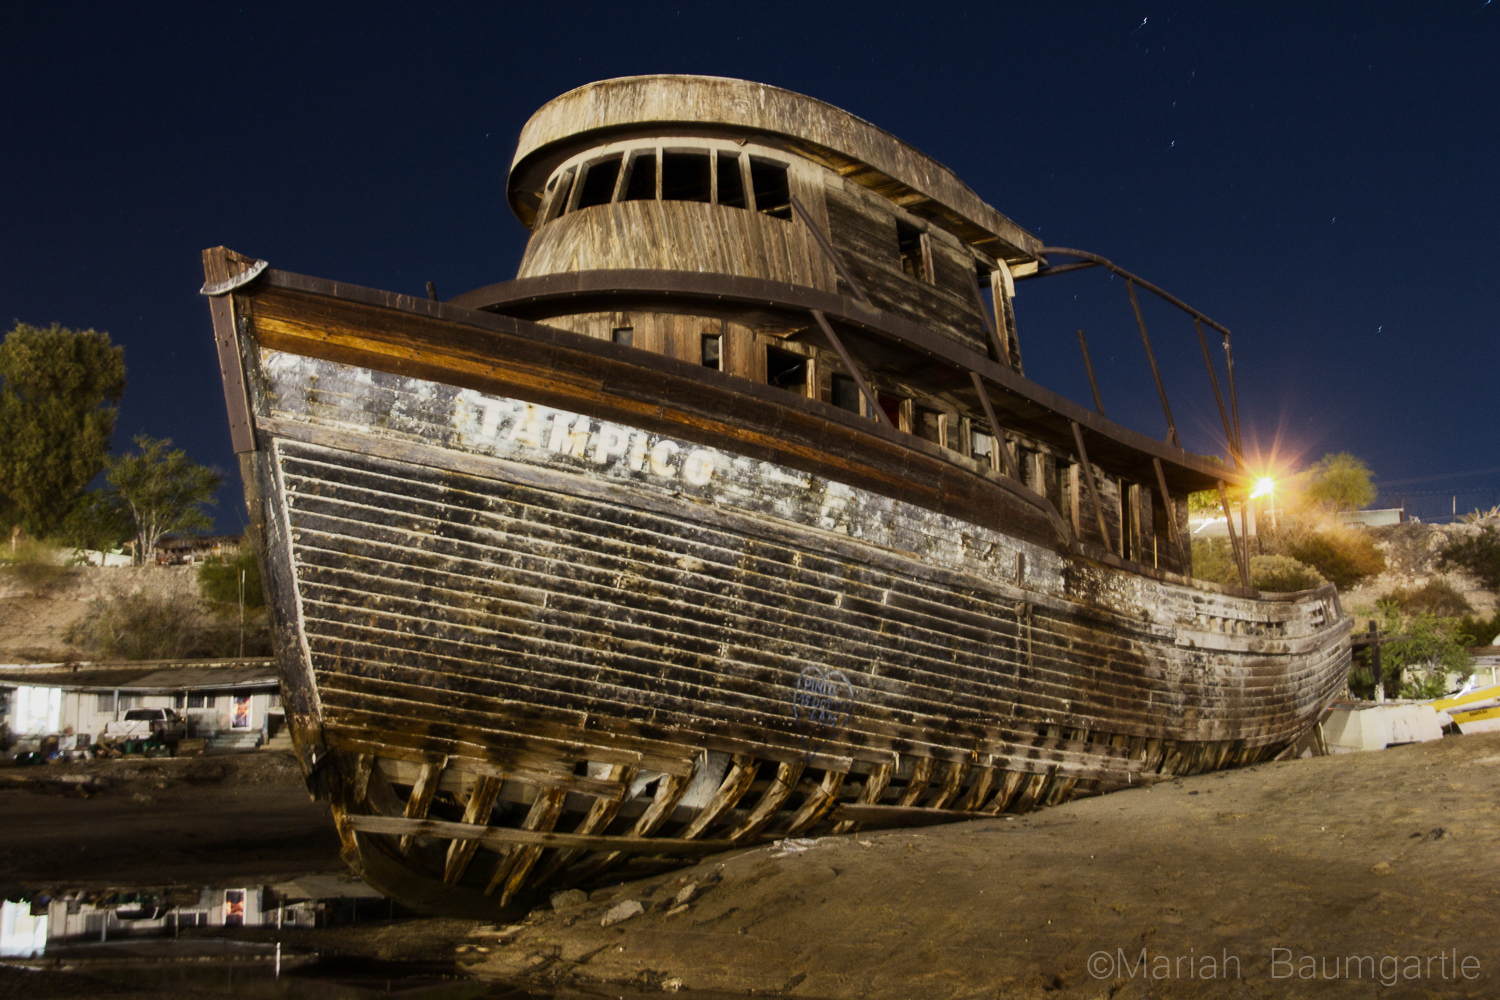
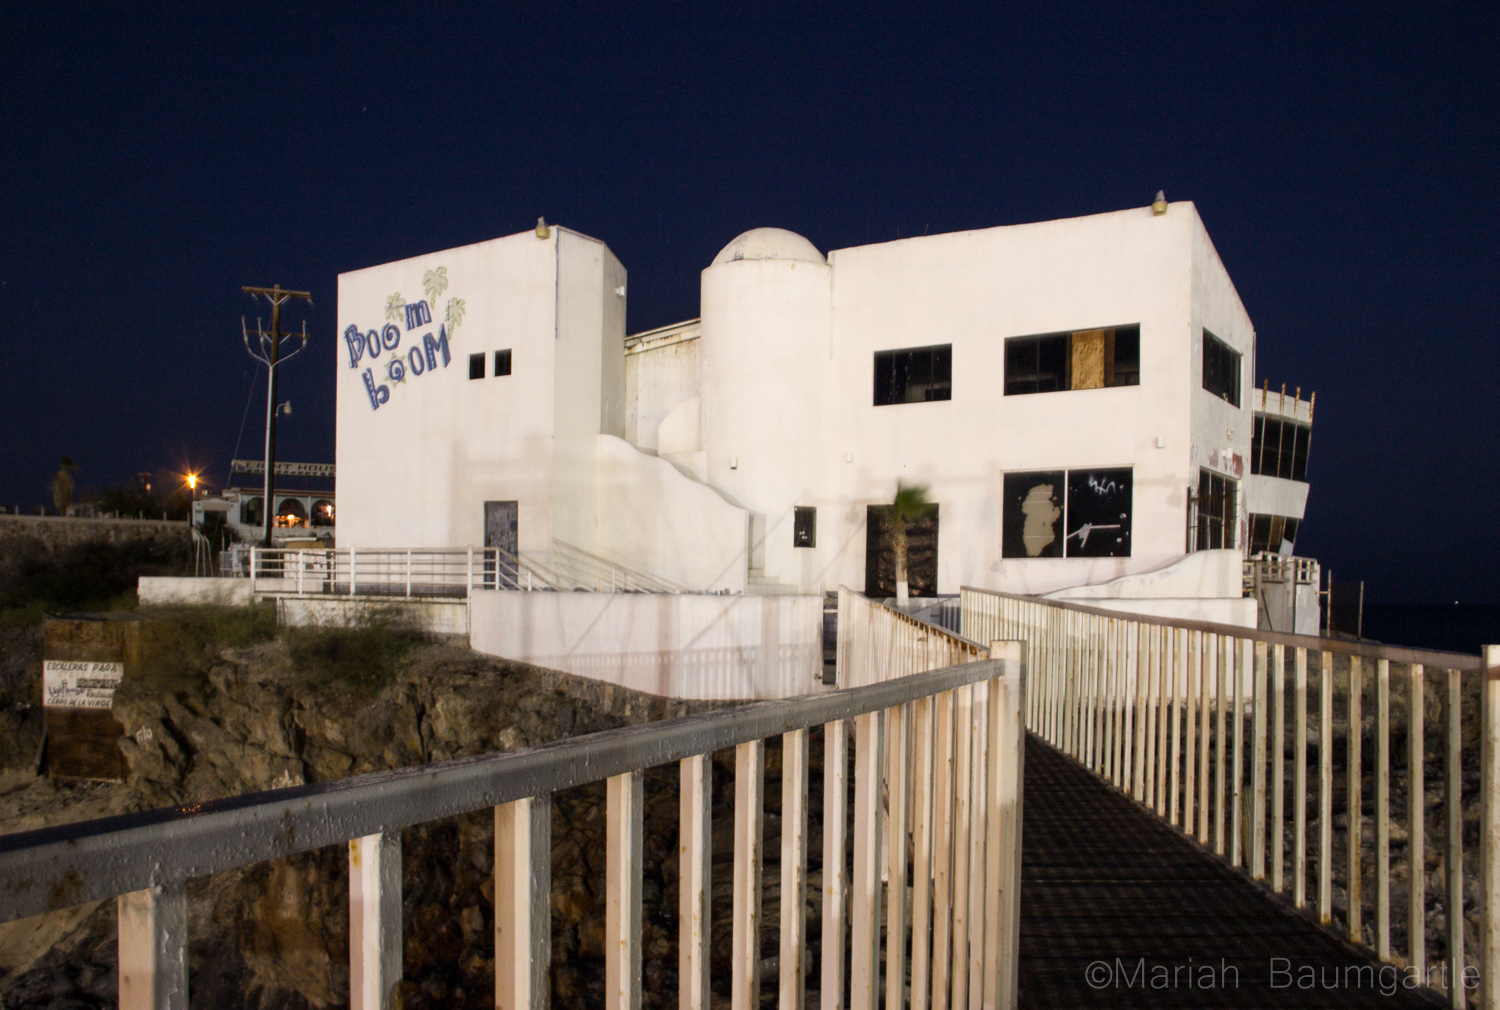
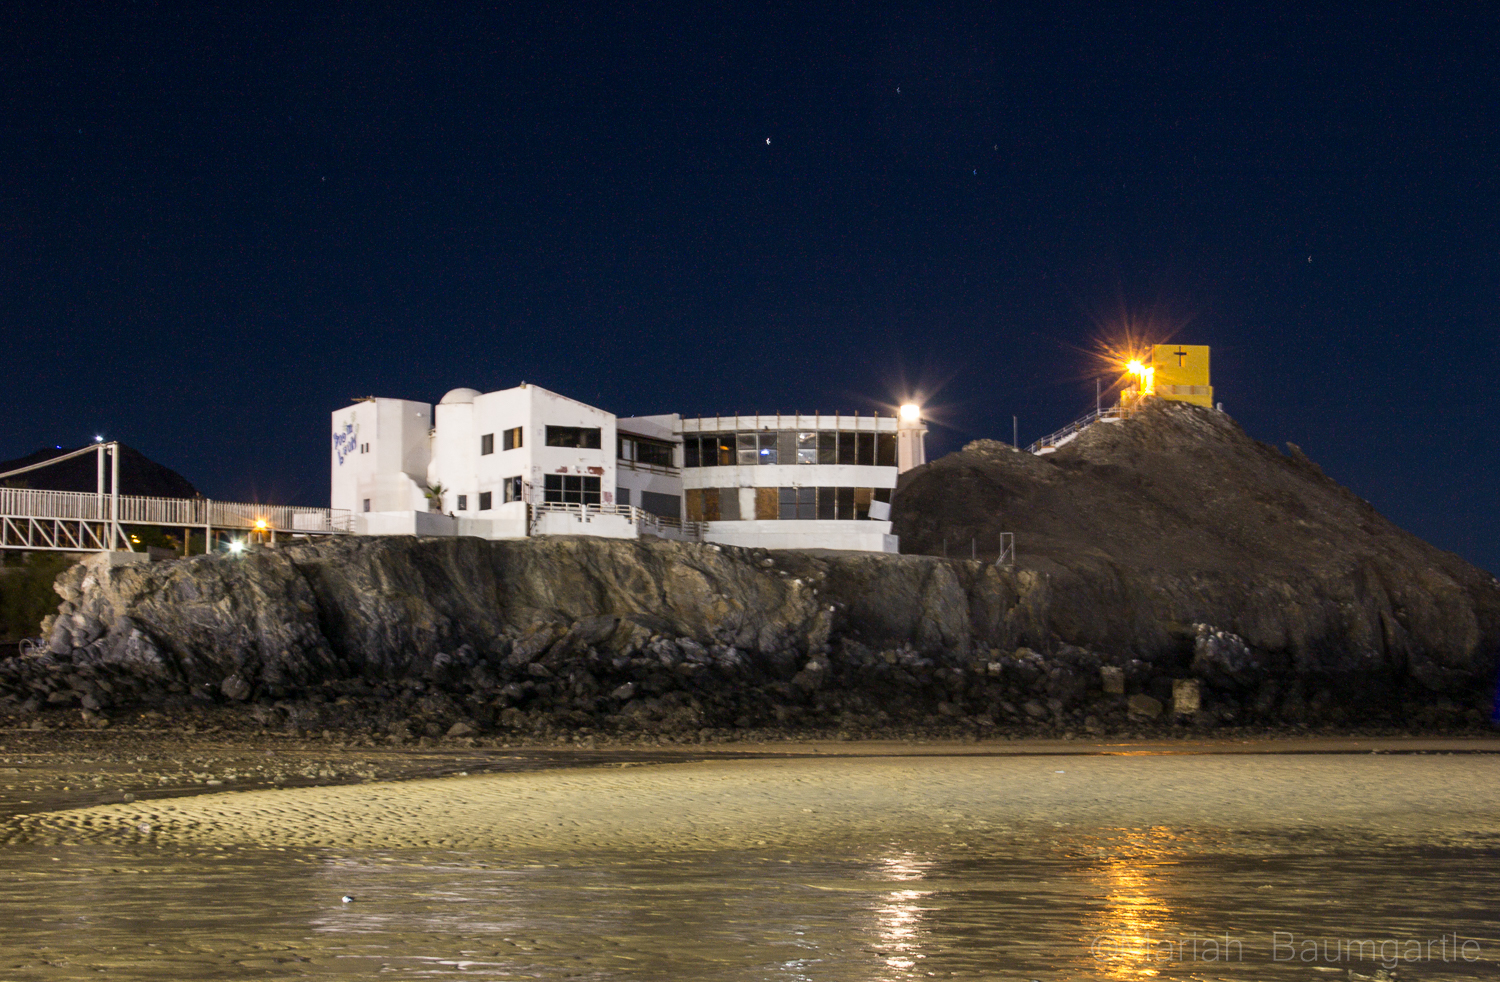
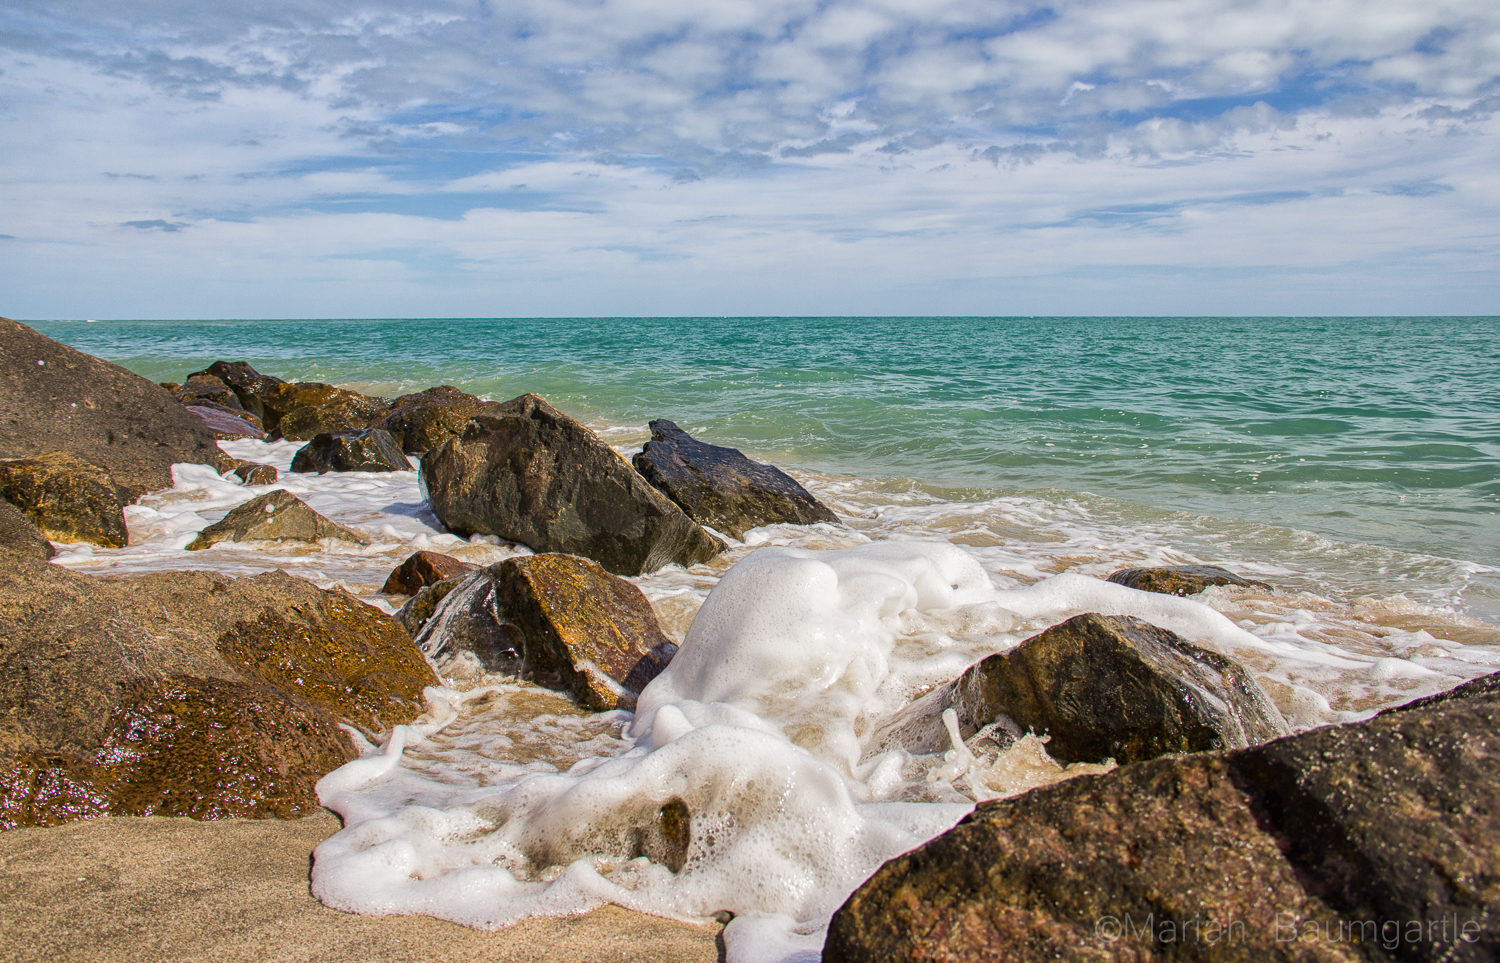
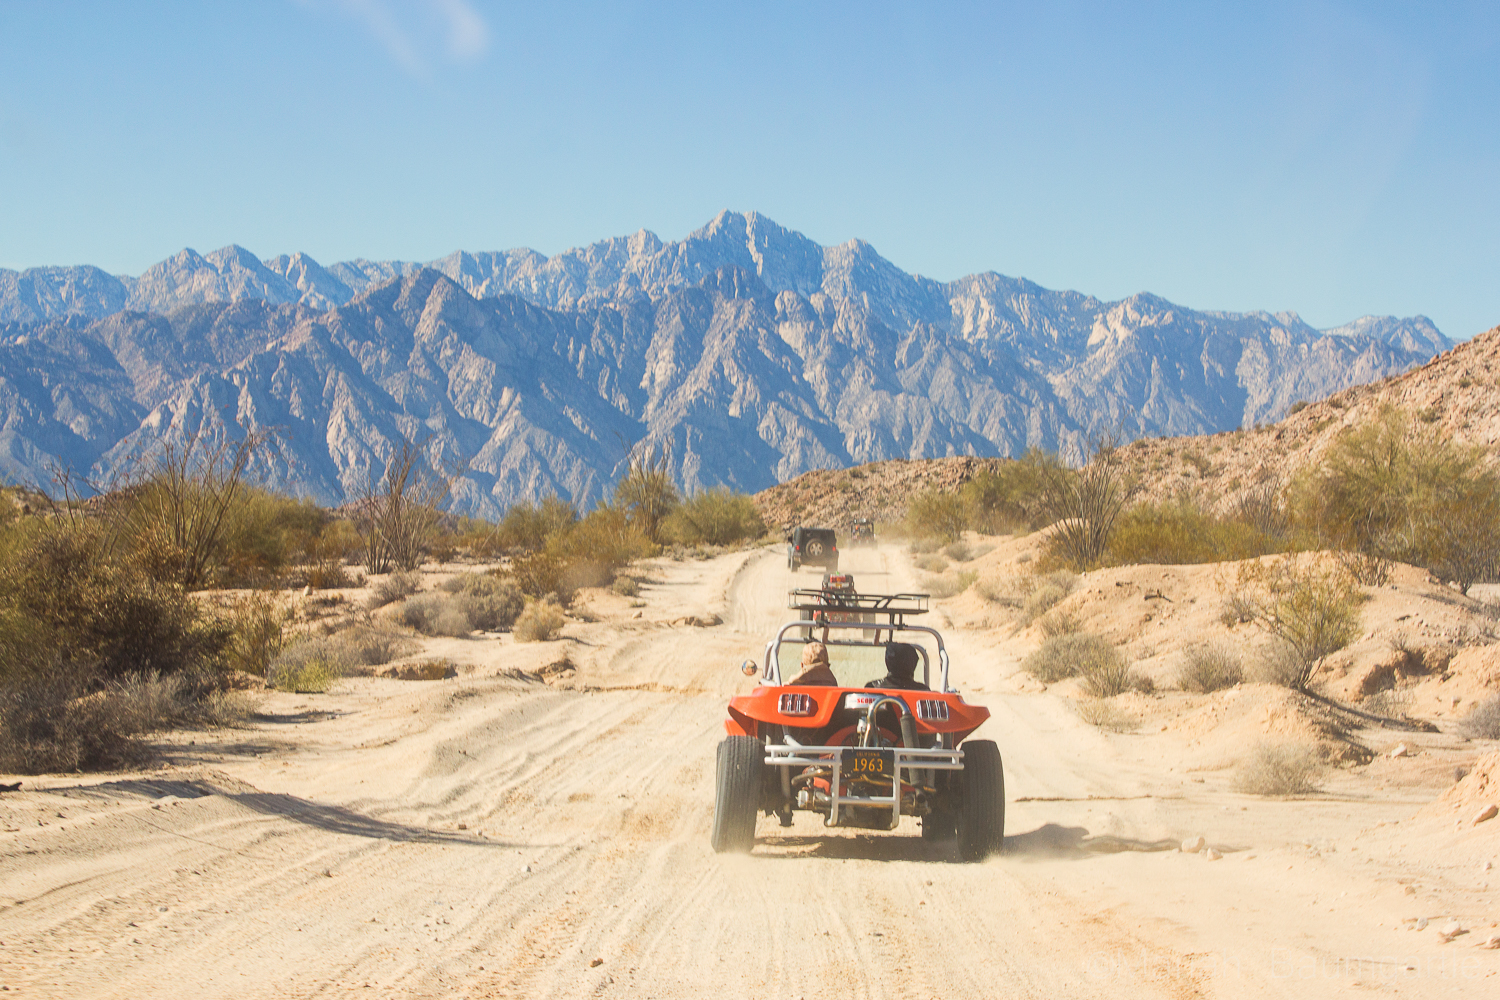
San Felipe TacosSan Felipe TortaSan Felipe DowntownSan Felipe MaleconSan Felipe MaleconSan Felipe Shrimp FestivalSan Felipe is also a great place to gather some night photography. One of the best spots for night photography is down at The Shipyard, which you will find at the end of The Malecon. The Shipyard used to be a marina but was flooded, and they could not move the ships, so they are left there are part of a San Felipe gem. Up on a hill, you will find a building, The Boom Boom Room, a place that has also been abandoned and a very interesting location to photograph during the day or evening. Up on a mountain, you will find a little yellow chapel that looks over the town of San Felipe and right next to it is the lighthouse, which you can shoot from ground level or up at the top where the prayer building is. This is a great place to work with your angles. If you are in town during the full moon make sure to catch the moon rise over The Sea of Cortes: I was there for supermoon, and it was an incredible experience and a really good opportunity to try my moon photography skills and also work with some post editing. San Felipe Tampico ShipSan Felipe BoomBoom RoomSan Felipe MexicoSan Felipe ChapelSupermoon in MexicoThere are many smaller day trips you can take from San Felipe for some great opportunities including more water and desert land. On a note of transportation, you will need some form of 4-wheel drive out in the desert. It is a famous landmark in the area is The Valley of The Giants and a photo opportunity you will not want to miss. The valley holds cardon cacti that stand nearly 50 feet high. You can also drive further south to Percebu where you will find a little more surf in the water and also a great location to find treasures along the beach. Along the way, you will find more abounded buildings and interesting homes and land to photograph. The desert land has a lot of beauty to offer, and San Felipe is surrounded by beautiful desert land. You can take a drive out west closer to the mountains for some more variety in your desert landscape. The desert also offers some interesting finds such as bones, rocks, and maybe even a carcass or two. If you are going out in the middle of the day, you will have problems with harsh lighting in your landscapes, but you can always enhance your lighting in post production with landscape Photoshop actions or Lightroom Presets and Brushes. Valley of the GiantsValley of the GiantsPercebuSan Feipe DesertSan Felipe Mexico DesertSan Felipe Mexico DesertI hope you have the opportunity to visit San Felipe in your future travels or even Baja California to discover color, culture, and beautiful desert land by the sea or ocean side. As they say in the Baja “No Bad Days!”

How to Improve a Dull Photo in Lightroom

Lately, I have been sharing with you several photographic journeys around Catalonia. I have shown you places as La Garrotxa, Sitges, and Barcelona. For me, nature and portrait photographer, it has been a nice challenge to take photos of streets and buildings. I discovered I like it a lot! Once back home, with the photos already in my Lightroom presets catalog, click here. I faced a new issue: how to improve some of the street photos I took? Some of them looked quite dull. My brain is used to think about softening images: I soften flowers to make them look more delicate, I soften wedding photos to make them look dreamy… but softening a street or a building?? It didn’t seem right to me. I did a bit of thinking and a bit of trying and I ended up finding a post-processing workflow that I like to use to improve dull photos. Are you interested in installing presets? See the details here.

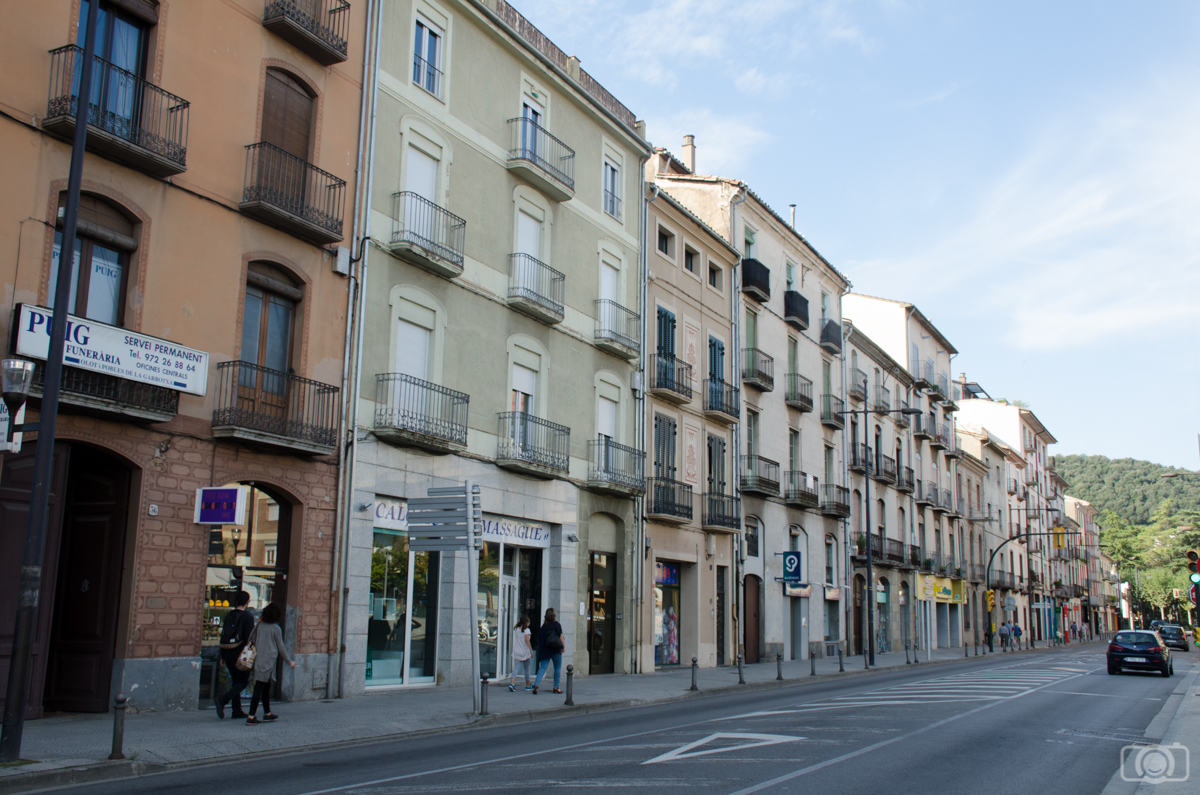
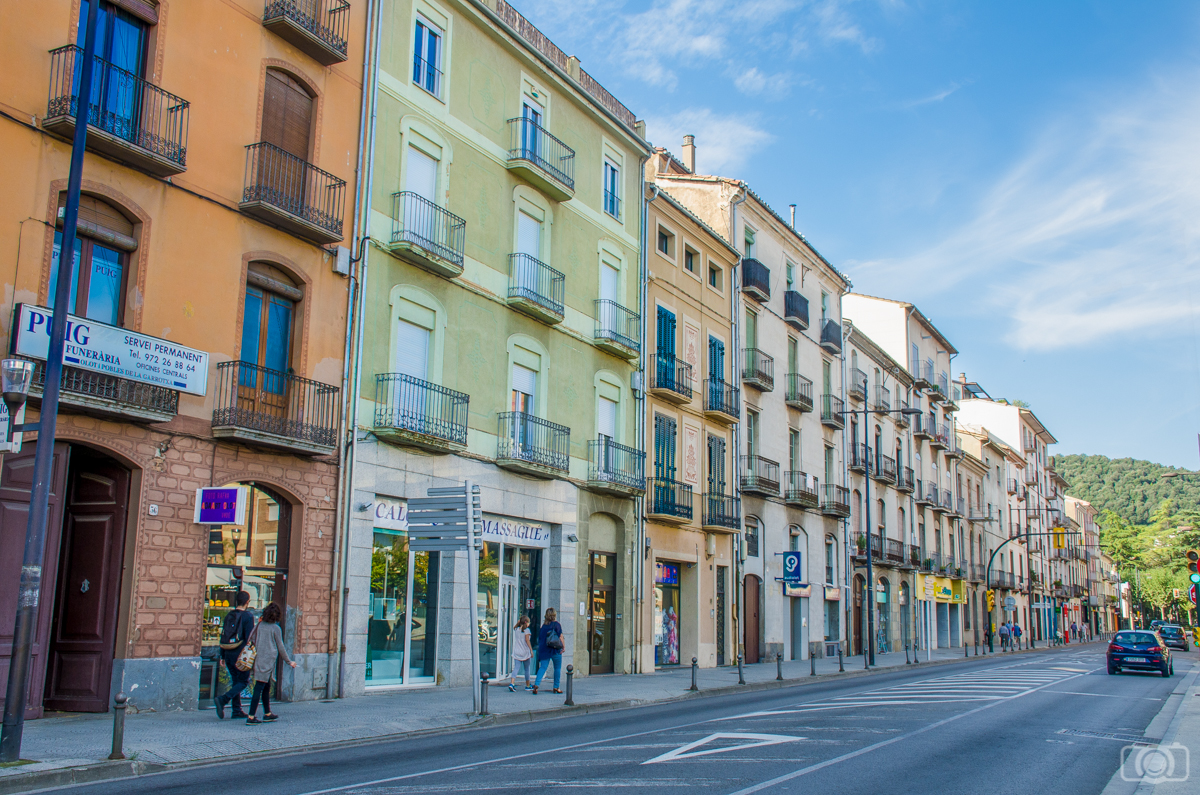
I shot this photo in Olot. It might be familiar to you because I used to illustrate one of my last articles.

dull photo

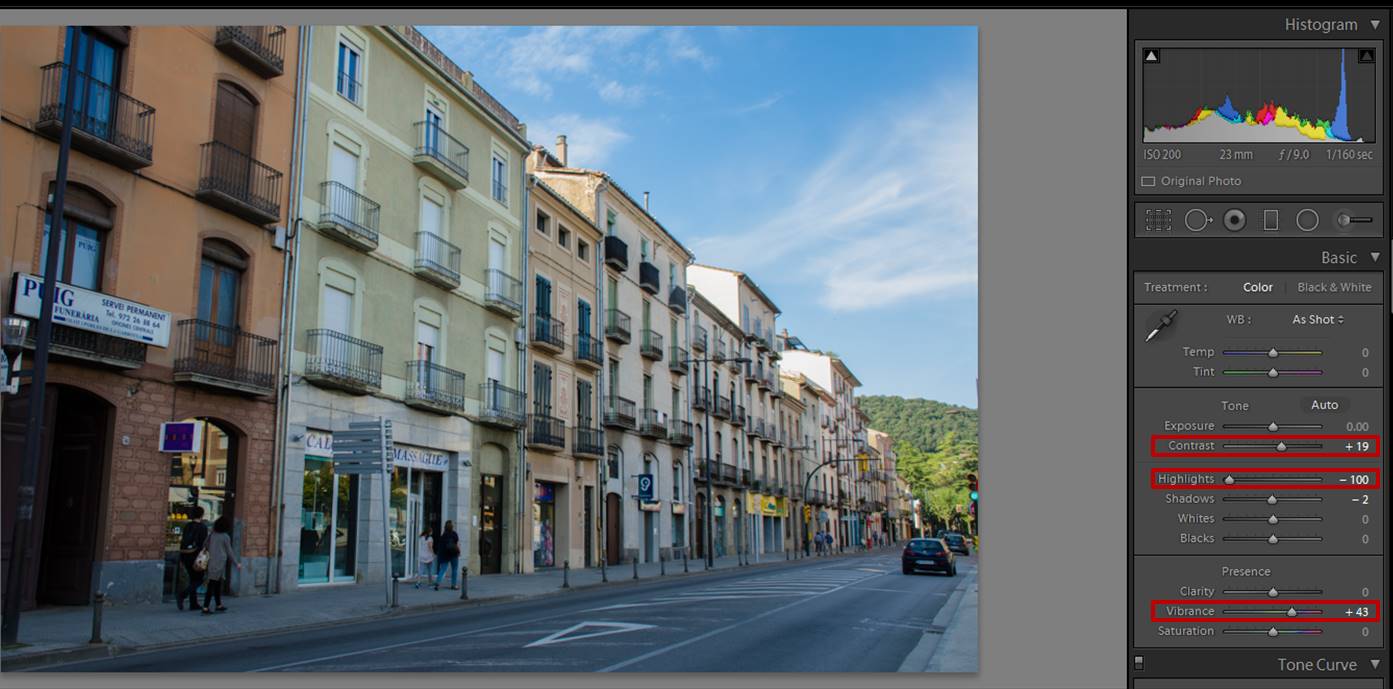
You agree that this photo looks pretty dull, don’t you? However, if you look at the histogram you can see that this image has a lot of potential because no pixels were either too bright or too dark. They were all inside the dynamic range of the photo (If you are not familiar with histograms I invite you to take a look at the article of Julian H about Lightroom Histograms. Before starting working in Lightroom, I recommend you to stop and think what you want to achieve. This will give you an indication of which slides you need to move. In this photo, I wanted to do 3 important things: increase the contrast, give a bit of color to the buildings and recover the sky.

General adjustments

I always start by doing general adjustments (they affect the whole photo). For the first steps processing this photo, I used some of the slides in the Develop Module, specifically in the Basic panel.  I wanted to increase the contrast, so I moved the Contrast slider to the right (+19 in this case). To recover the sky of any photo, you can start by moving the Highlights slide to the left. In today’s photo  I moved it to -100. And to gain a bit of color I increased the Vibrance by moving its slide to +43. Just these 3 adjustments can already improve a dull photo, a lot.

dull photo

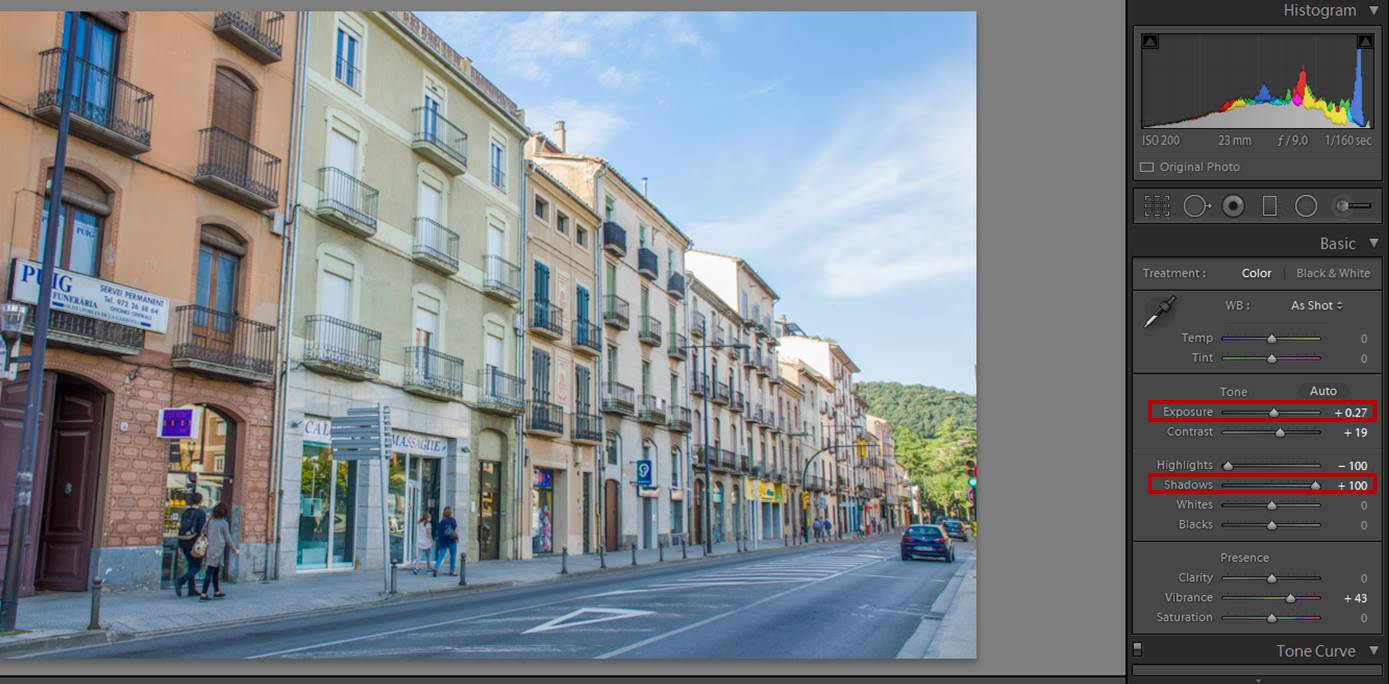
However, the buildings had too many shadows, so I moved the Shadows slider to +100 and I increased the exposure a little (+27).

dull photo

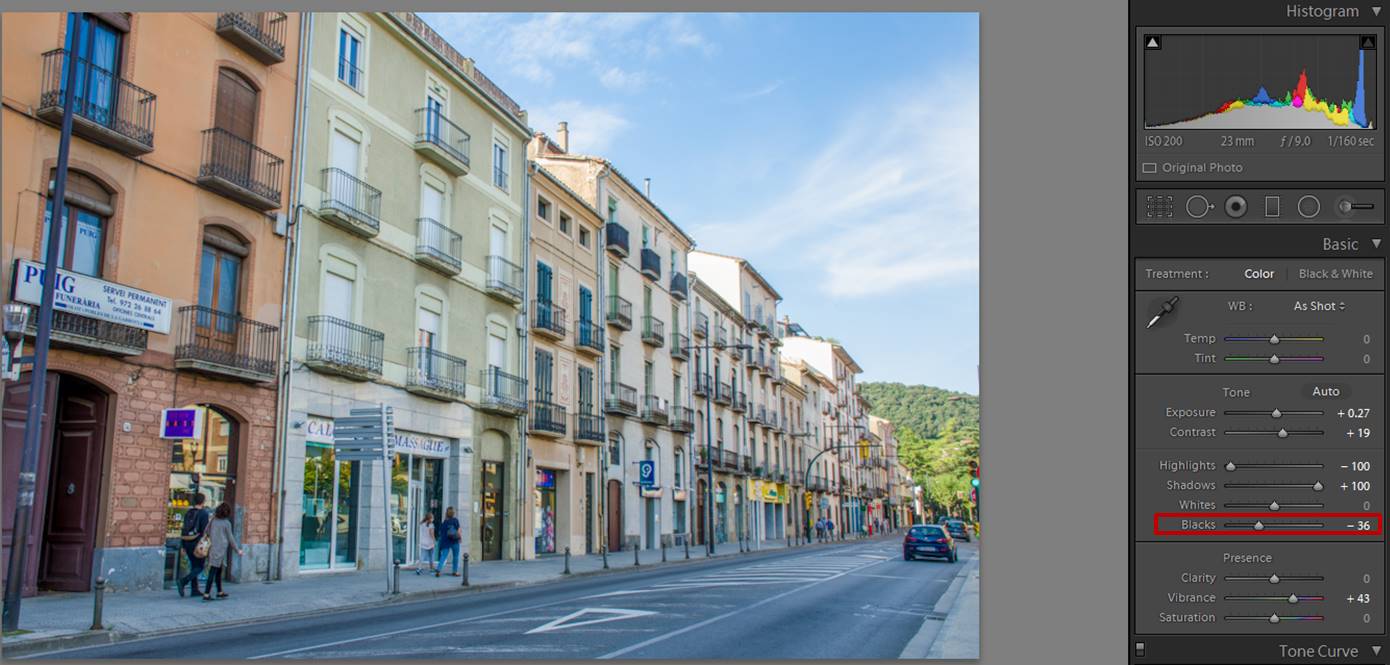
It is quite common that when you reduce the shadows of a photo, the contrast gets weak. But it is ok because just by darkening the blacks a bit (-36) you can recover the contrast.

dull photo

Local adjustments

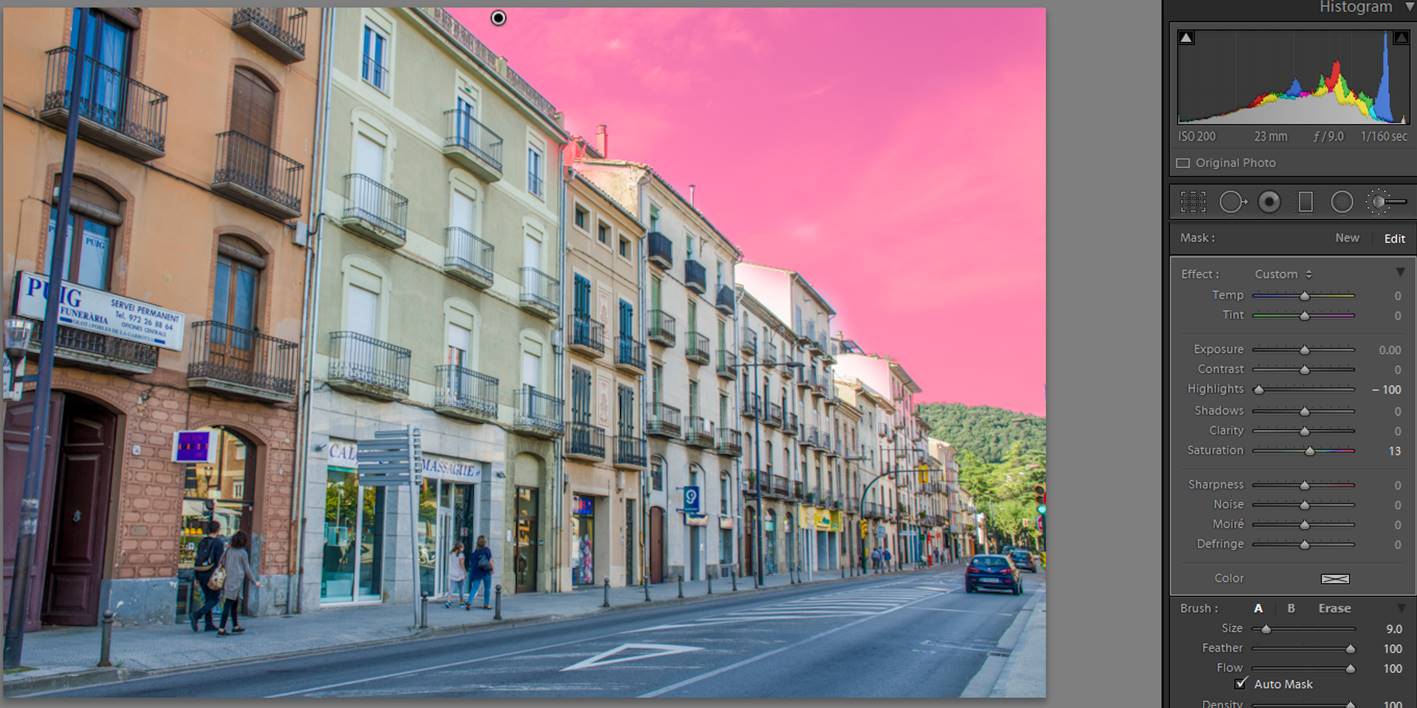
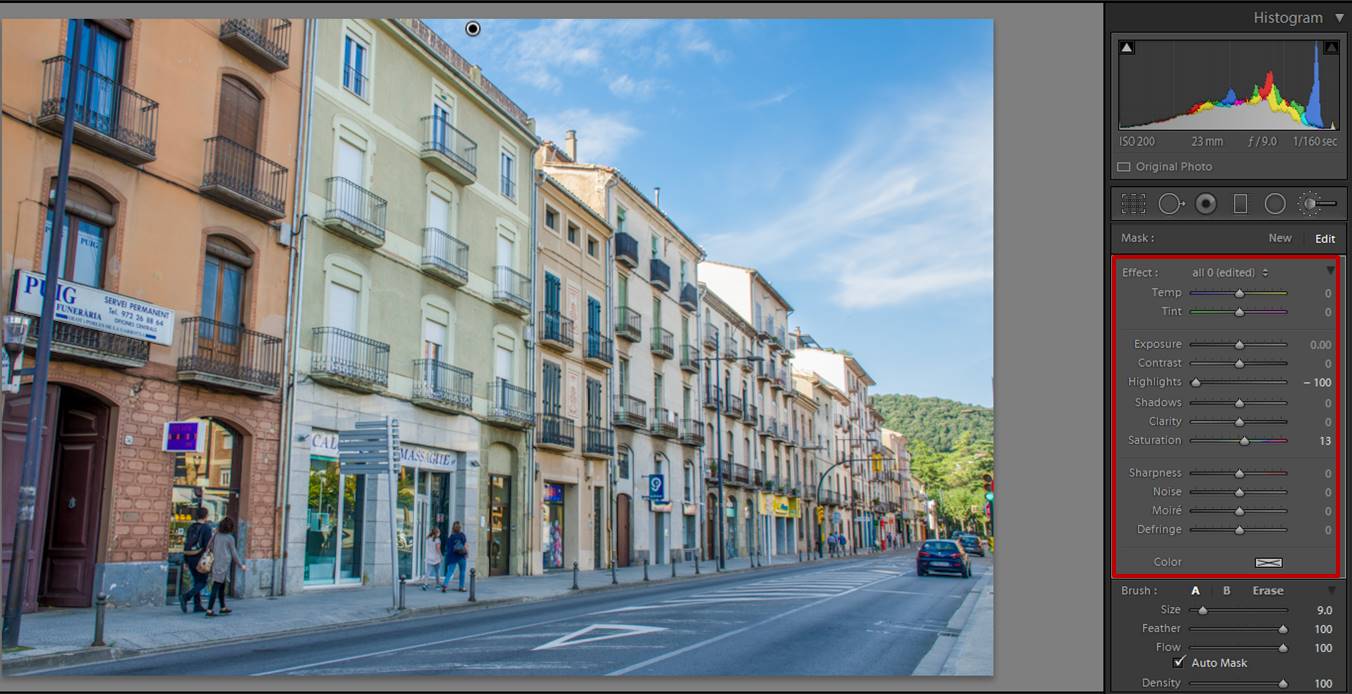
The photo looks better already. However, it can be improved much more by doing adjustments to just some parts of the image (local adjustments). In this case, I wanted to recover the colors of both the sky and the buildings even more. There are several ways to add local adjustments to a photo using Lightroom. Today I used 2 brushes: one for the buildings and one for the sky. If you are not familiar with Lightroom brushes, don’t worry! There is a guide written by Mantas O. Ciuksys on how to use them that will help you a lot! The first brush I used all over the sky and as I wanted to recover the colors I moved the Highlight slider to -100 and I also gave a punch to the saturation (+13). More uses of brush in editing, see here.

dull photo
In pink, the area I brushed for editing just the sky.
dull photo
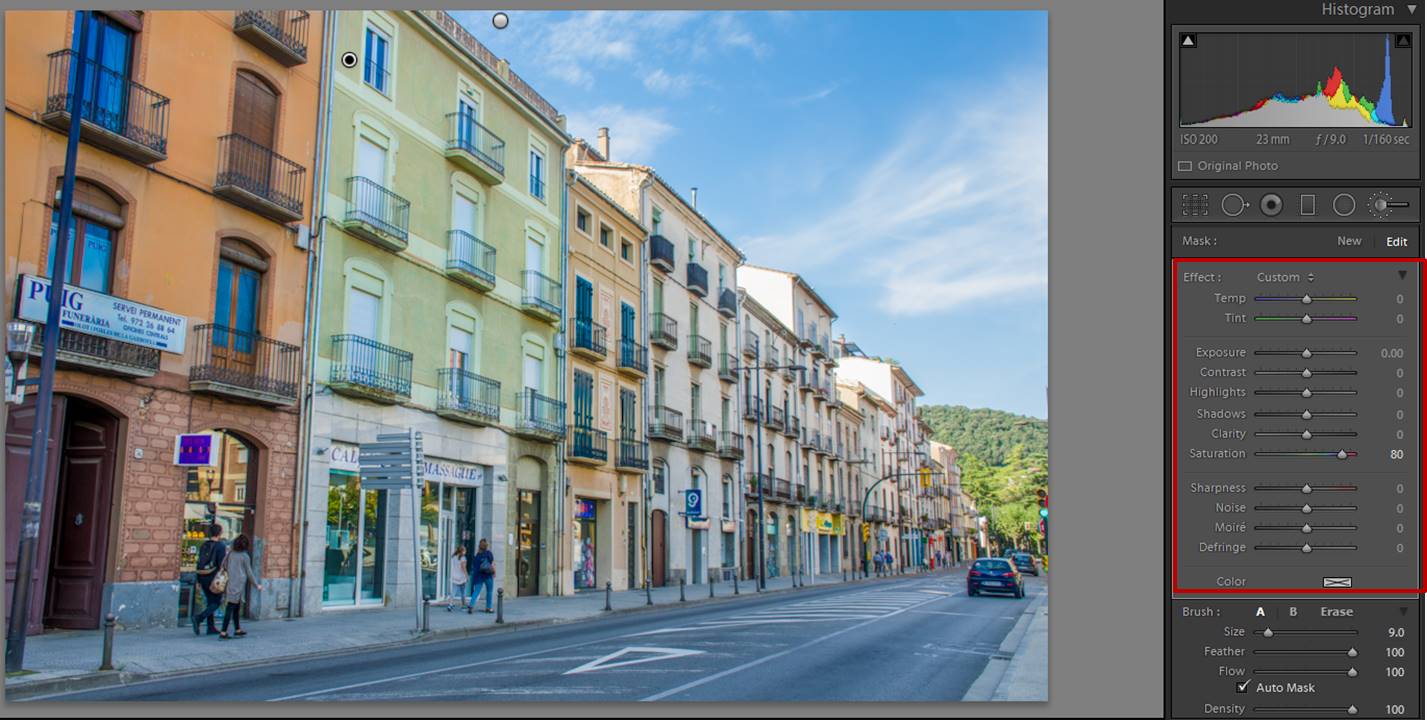
Here is the sky after applying the local adjustments using a brush with the settings marked by the red square.

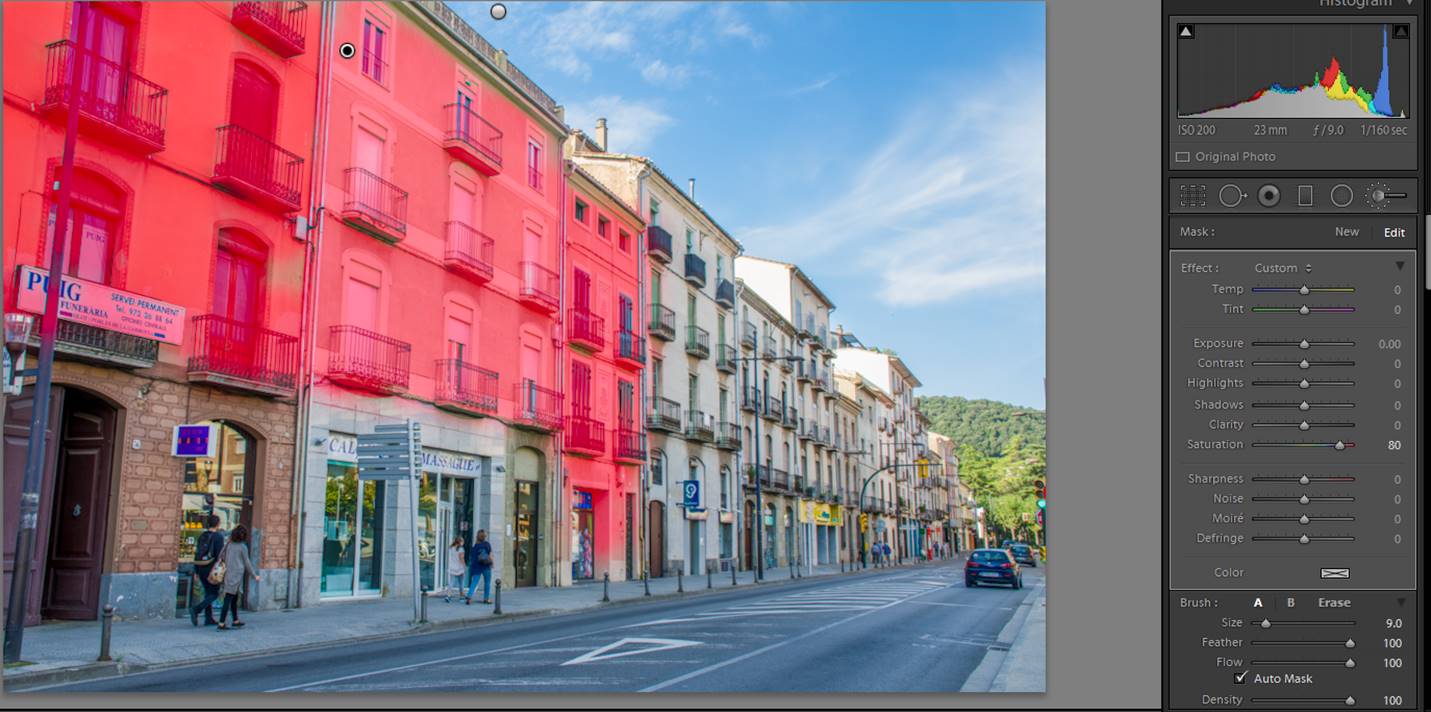
The second brush was used on the houses. BUT just on the houses that I wanted to emphasize (the 3 first houses from the left side). This time I increased the saturation quite a lot (+80).

dull photo
In pink, the buildings I brushed in order to apply the local adjustments.

dull photo

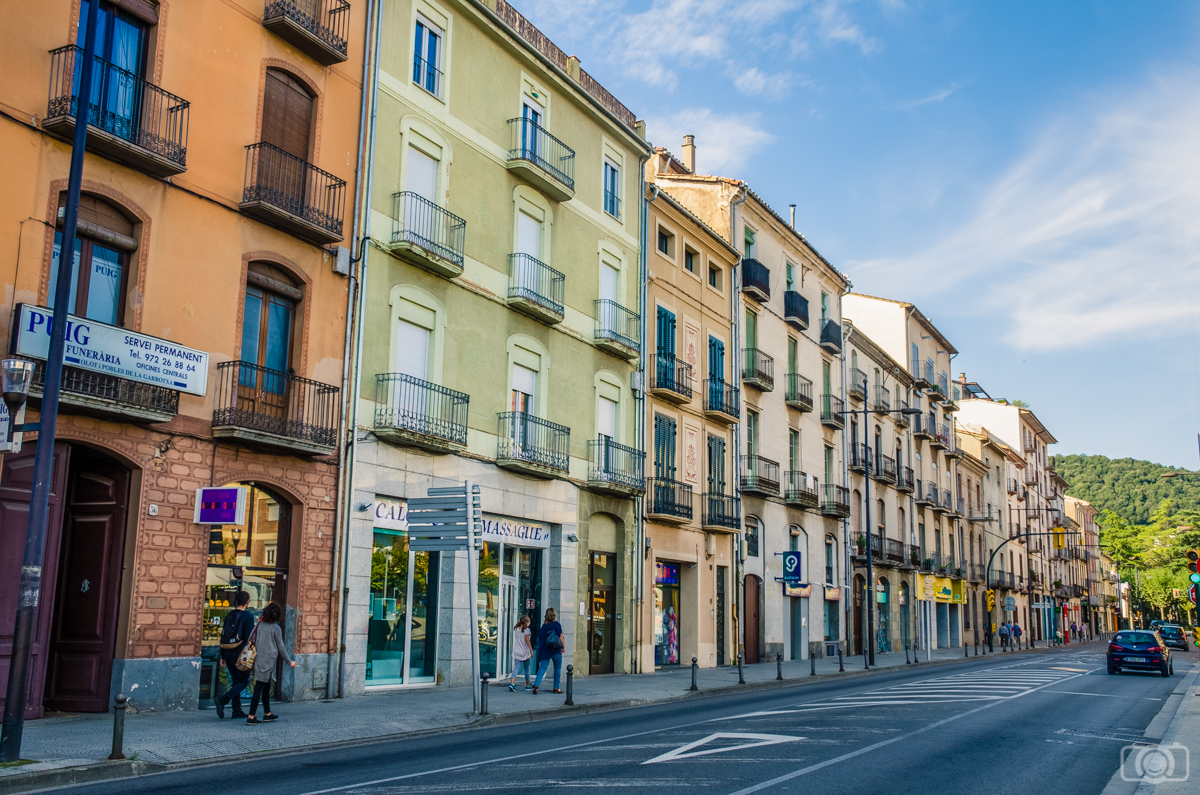
You can see how the 3 houses changed after applying the brush to increase the saturation.

Final sharpening

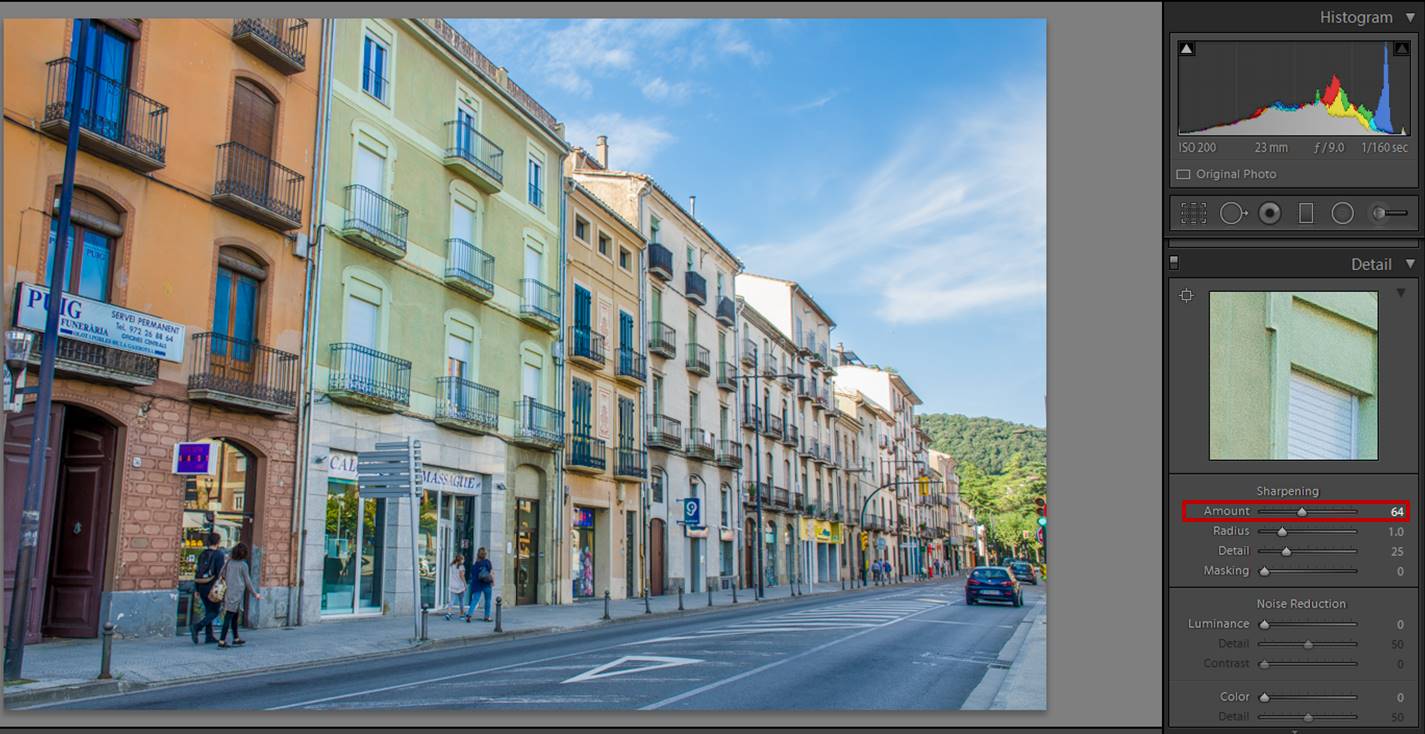
The last adjustment was to increase the sharpening of the whole photo to +64 (Sharpening is in the Detail panel).

dull photo

Here you have the final photo. Much more colorful and vibrant than the dull original one!

dull photo

Using the Sleeklens Brick and Mortar Workflow

If you want to save time in your editing like the one I just showed you, I have good news for you!! You can use the Brick and Mortar Workflow, that comes with 78 presets and 28 brushes. I have been trying it for editing urban photos from my last articles and I am really happy with the results I got with just a few clicks.

The thing I like the most about these presets is that you can stack them, meaning that you can use several of them in the same photo. I will give you an example of this workflow using the same photo from before. I started by applying the following presets:

0-All In One – Beautiful Daylight. This gave already a great improvement.

5-Polish- Make it Pop (to increase the colors of the image).

5-Polish-Sharpening.

6-Tone-Warm-Highlights.

For local adjustments I used 2 of the Brick and Mortar Brushes on the 3 first houses on the left:

Exposure-Brighter Shadows.

Color-Saturation.

And that’s all! It took me less than 2 minutes to edit the photo! Here is the final result!

dull photo

I hope you enjoyed giving a bit of color to some dull photos. Feel free to contact me with any question or suggestions. What do you do with dull photos? Do you do something similar to what I do? Do you have a totally different workflow?  Have a happy post processing!!!

Tales from a Blue Town – Photography Adventures in Chefchaouen

I think it would be appropriate to say that each place has its own magic. Be it a landscape like taken straight out from a dream or a city that makes you feel like you are inside a Kafka novel, each location on Earth has something that makes it somehow standout from any other place you might have visited before.

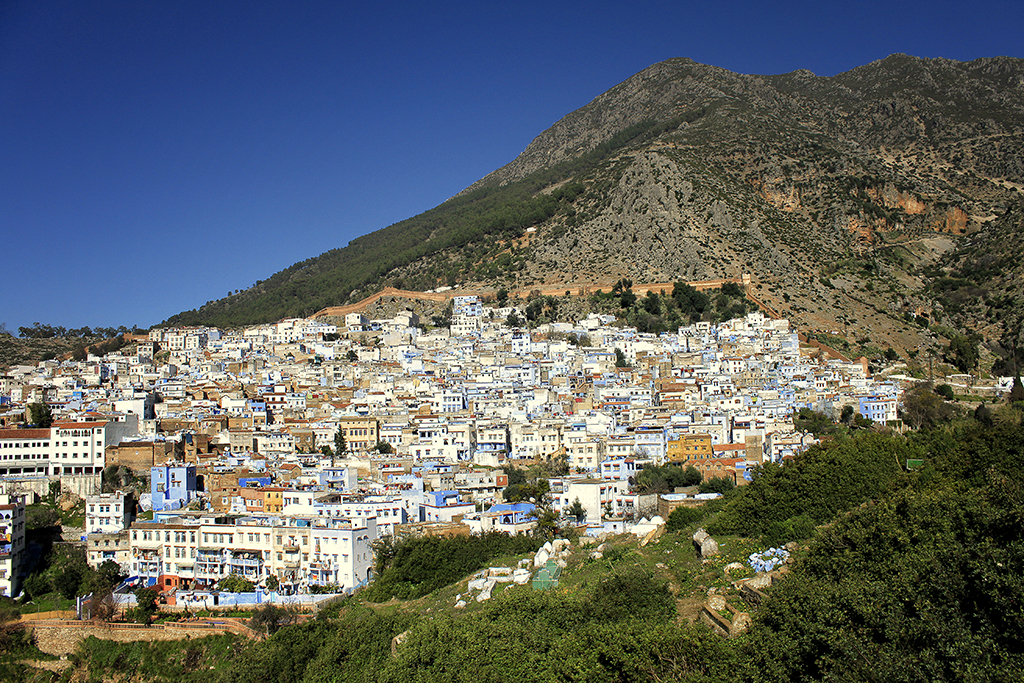
When talking about Chefchaouen, it would definitely be the blue color of its walls. Right before arriving, you will see the picturesque houses on a hill that seems to be painted in a light blue that contrasts with the surrounding desertic landscape. Chefchaouen comes from the Berber word Ichawen that means horns, a reference to the shape of the mountain that is located right next to the city.

chaouen1

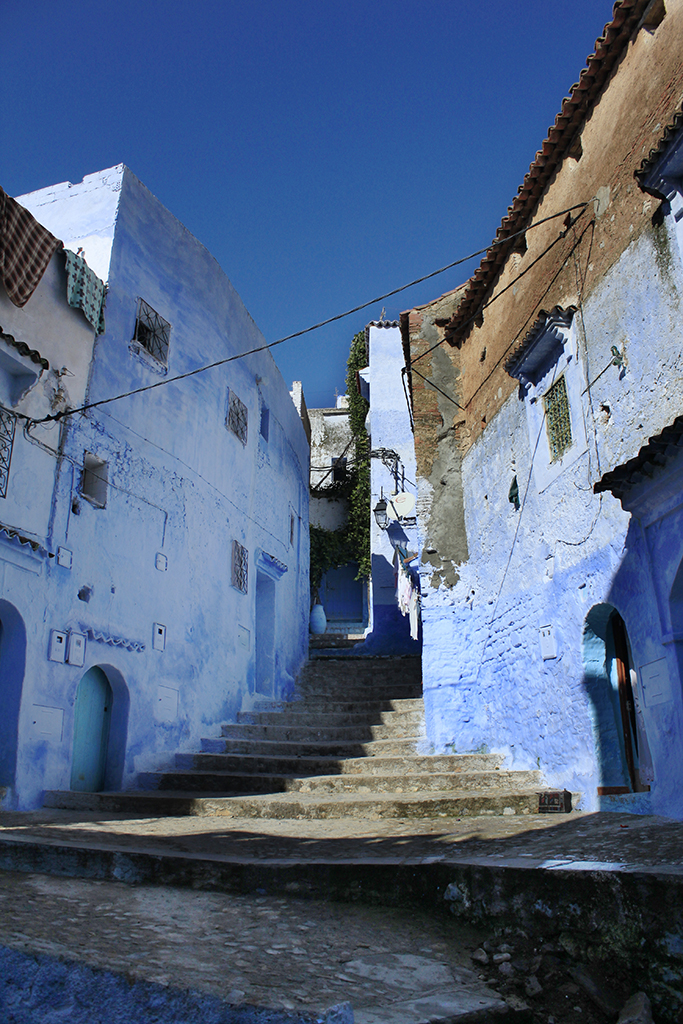
Chefchaouen is a small city in Morocco, located about 100 km southeast from Tangier. Founded in 1471, it has a population of about 40,000. The origin of the blue shades of its walls is not known, with one of the most popular theories being simply that the blue color keeps mosquitoes away while others relate the color to a religious origin, being adapted from the former Sephardi Jewish inhabitants of the town.

In any case, the narrow streets, as well as the markets and small shops that can be found while walking through the town provide a wide variety of subjects for travel and street photographers alike.

chaouen2

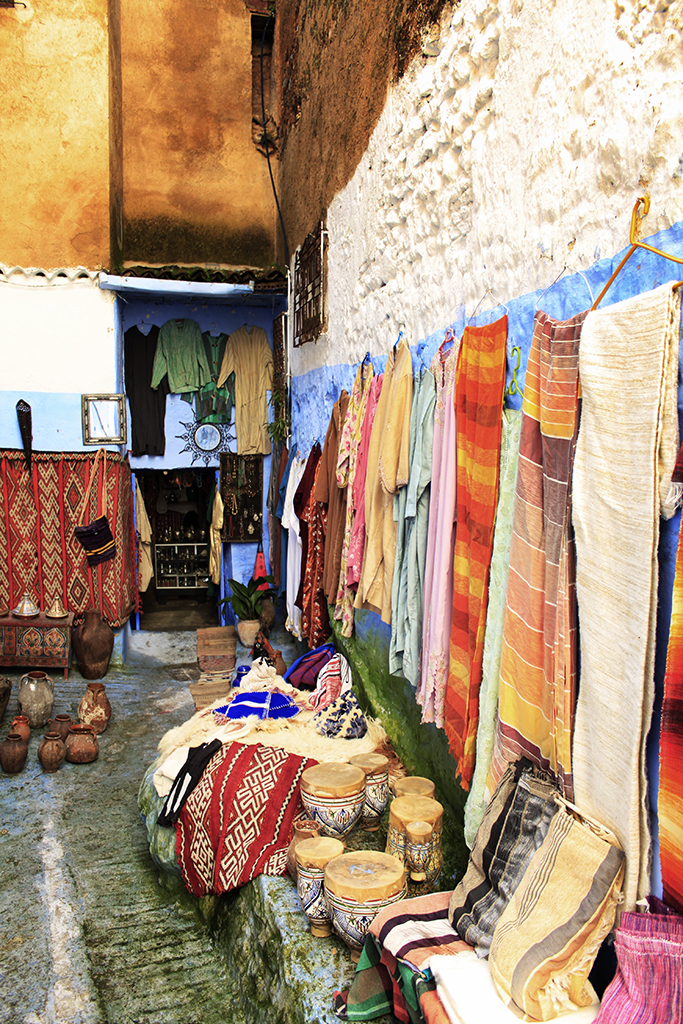
Another landmark of Chefchaouen are the markets where different handcrafted souvenirs can be acquired. Aside from the crafts themselves, the markets are another great subject to capture the lifestyle of the small towns in the Maghreb countries. The colors that can be found in spots where spices, wool and leather goods are produced stand out against the blue background of the town.

chaouen3

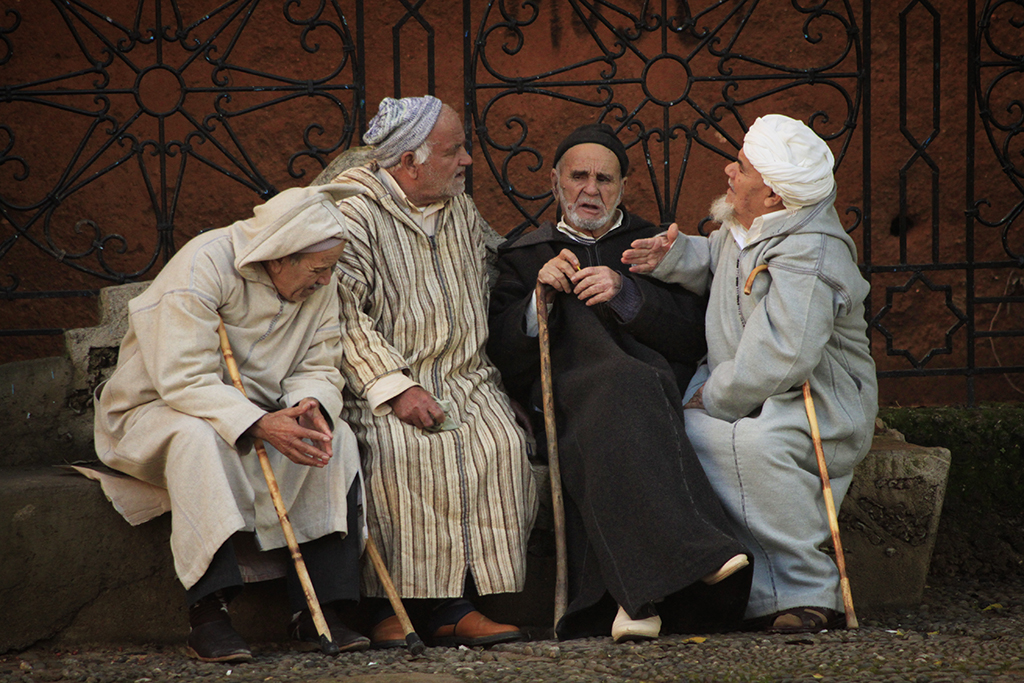
The difference in culture between western countries and the North of Africa is more noticeable in small towns like Chefchaouen. Although tourism has a strong presence in everyday life for its inhabitants, Chefchaouen remains as a great place for street photography. Sitting on one of the squares of the city for even a short period of time can provide you with countless opportunities to capture photos that can easily make it to the top of your personal favorites.
chaouen7

A common way to get to Chefchaouen, specially for those traveling from Spain, is to take a ferry from the south of Andalusia (Algeciras) to Tangier, and from there to take a two to three hours bus or taxi ride. This will also allow you to visit Tangier and its surrounding areas as well.

Tangier is a much larger city, with almost a million inhabitants. Being an important entry port from Europe, it has a dynamism that sets a strong contrast with the quiet life of Chefchaouen’s inhabitants. The old medina is a very popular shopping destination for both locals and tourists and it is a great place to capture a snapshot of the typical everyday life in these north-African markets.

chaouen8

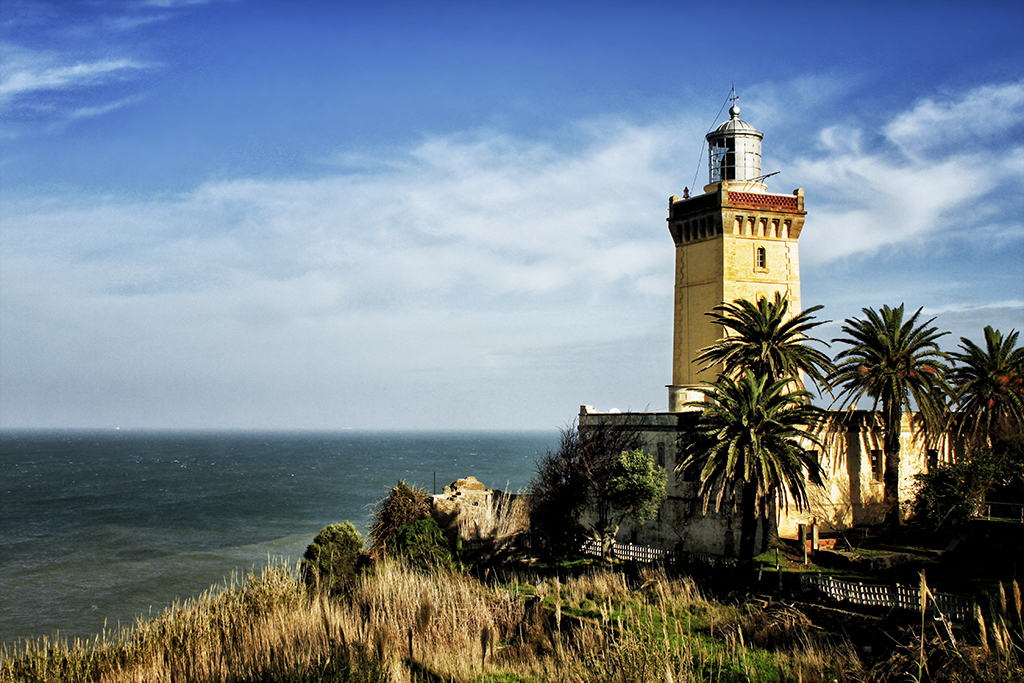
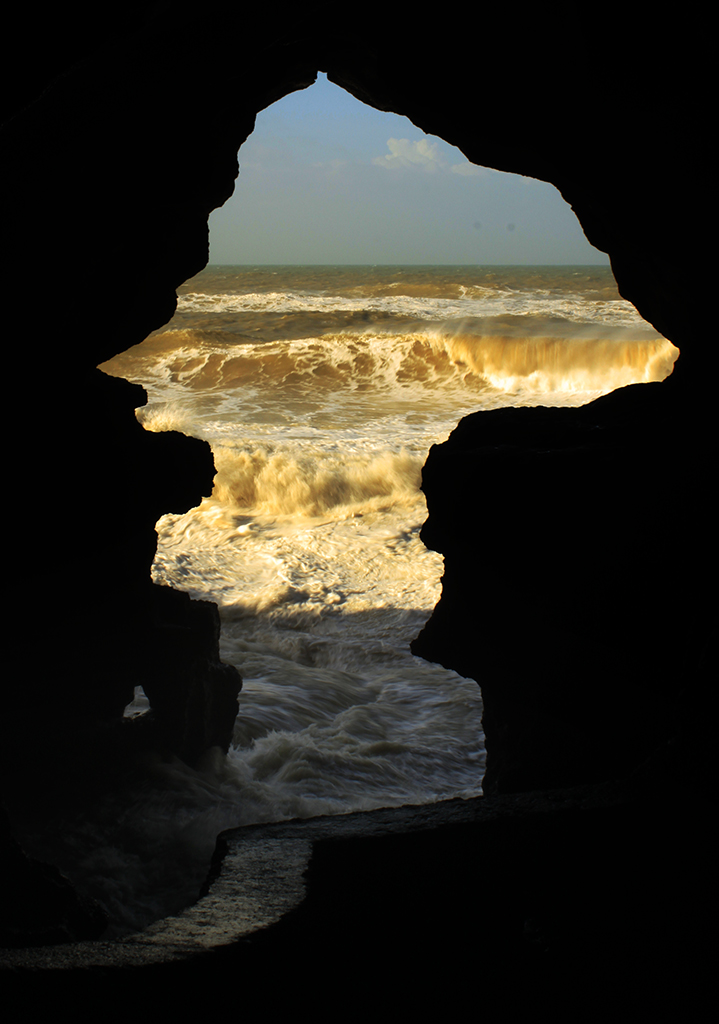
Another point of interest close to Tangier is the Spartel lighthouse, located at Cape Spartel, the point where the Mediterranean Sea meets the Atlantic Ocean. The lighthouse itself is incredibly photogenic and definitely worth a visit by itself, even though many people get there on their way to the so-called Caves of Hercules. This is a cave with two openings; one to the land (the main entrance) and one to the sea, with a shape that resembles the map of Africa.

chaouen9

While there are many destinations that are definitely worth visiting in the north of Africa in general and, more specifically, in Morocco (Casablanca, Fez, Marrakesh), Chefchaouen presents itself as a great balance between a rich travel and photographic experience and a relatively low number of tourists, so I would strongly suggest you add it to your tick list, if it is not there yet.

The fact that the city is relatively small makes it also perfect for either a daytrip from Tangier or you can also stay for a couple of nights if you want to expand the experience but in any case you should take your time to explore the small streets and have your camera always at hand, since the combination of the blue walls with a passing local can easily become one of your best shots during the trip but it can as well be gone in just a few seconds.

Cat Photography: How To Take Street Cats Photos

I always thought that cats are fascinating animals. These little felines have such a strong personality that I can’t do anything else but admire them. However, I never had the chance of having a cat as a pet. I really wanted one when I was a little girl. My mom always said that cats are beautiful animals…from a far! So as you can guess, she was not inclined to share our place with one of them. Four years ago I moved to Israel. Even today I am still surprised by the amount of street cats that you can find here. There are some that even adopt you as “their human” and come every day to check on you and see if you can give them some food. I started to take photos of them.  I really love these little wild animals. Today I want to share with you some of the things I learned about street cat photography.

Have your camera always ready

Street cats are not going to wait for you to take the camera out of your bag and adjust the settings. I missed a lot of shots because I was not ready. Although you think you are fast, you won’t be faster than them. Remember that after all, these little guys are felines! Which are the best settings? You will usually need to use a fast shutter speed. So in order to get photos with enough light (not too dark) you will need to adjust the aperture and the ISO.

Cat photography
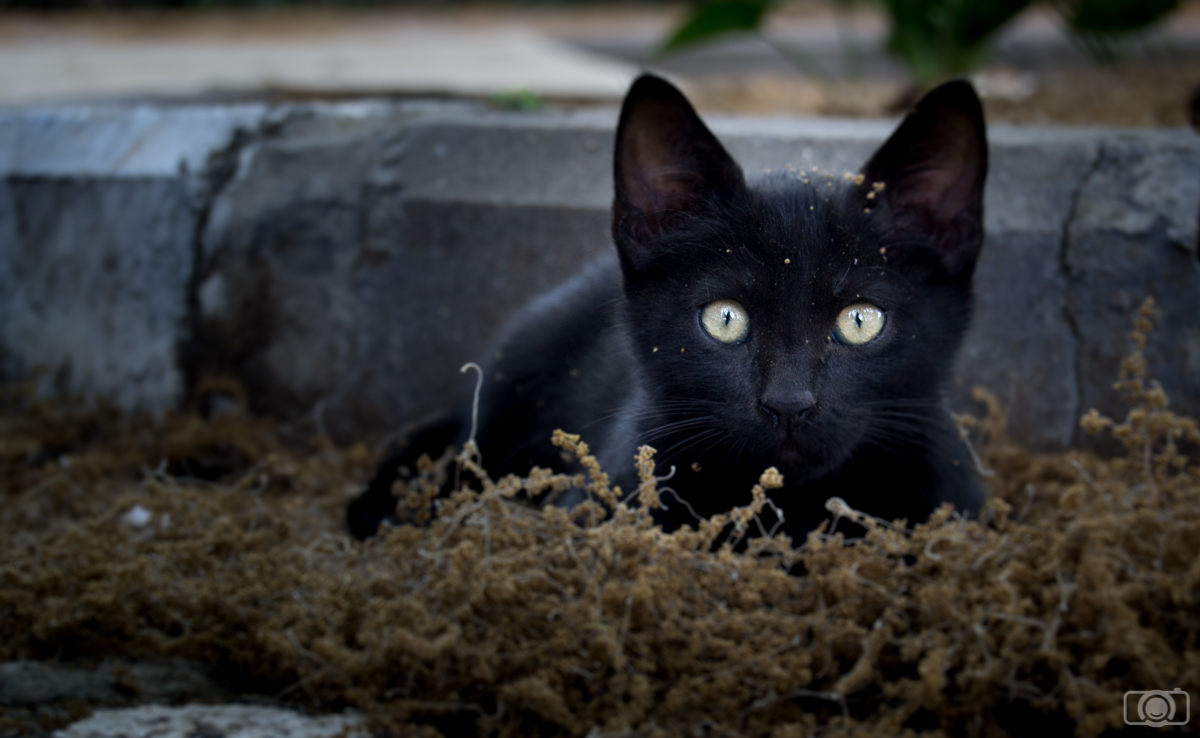
This little cat was next to our car. Luckily I had the camera with me and ready to shoot. If I had gone home to look for the camera, I would have missed him.

Don’t use the flash

I am almost certain that if you use the flash to take a photo of a cat he will be so scared that he will run away and maybe he won’t come close to you in a while.

Increase your ISO if needed

I prefer to take cat photos with low ISO (100-200) because then I avoid noise that can distract the viewer’s attention from the animal. However, if in order to take a photo I need to choose between increasing ISO and decreasing shutter speed, I don’t think twice: I increase the ISO. I have been working a lot of years with a camera that doesn’t handle well high ISOs, but even then it was better to have a picture with noise than a totally blurry photo. Good news for cat lovers: new cameras handle pretty well high ISO values. You can check at which ISO you start having noise with your camera. You can do it shooting at a black surface and comparing the results using different ISOs. Once you know your ISO threshold, try to keep under it. But I wouldn’t obsess with it. If you need it: increase the ISO. Also keep in mind that you can decrease some of the noise in post-processing.

Cat photography
In order to take a photo of this kitty I needed to increase the ISO. I still got his paw a bit blurry. In this case, I think that it adds to the image, but too much blurriness can make you lose the shoot.

Get to know them

After a while living in Israel I started recognizing all the street cats of the neighborhood. Cats are quite territorial, so they like to be inside the borders of what they consider “mine”. If you pay attention, after a couple of weeks you will realize that you always meet the same cats. From time to time you see a new one, but the main group keeps the same week after week. Each cat has his own personality. Knowing them well will help you to take decisions about the lenses you need or how to approach them.  For example, some of them are bossy. These guys are usually bigger than the others. They are quite self-confident so they don’t run away so easily. For them you don’t need a tele-lens, but you will need something more than 50mm because they won’t allow you to get too close (around 100mm should be fine). Remember, they think that you are a simple human under their mandate. They could attack you if you get too close. Others are fearful and the closest you can get to them is 50m. You will need a lens that will allow you to zoom from far because they will run away as soon as they see you. Others are a bit more naive and you can get really close to them. With them you can use a 50mm or even a 35mm.

Cat photography
This cat came every day to my place for the 4 years I was living there. He adopted me as his Human. He is the total boss of the neighborhood. We established a pretty convenient unspoken agreement: he was protecting my home from other cats and I was providing him milk. We understood each other. However, not even once I was able to touch him. Lucky me, I was allowed to get close enough to take photos of him.

Study their habits

The most part of the cats have habits. They have a favorite place to sleep, they visit a garden at certain time of the day, they go  to the house of that neighbor to eat second breakfast… when you recognize a pattern, you can anticipate there moves and be ready to shoot. You can even hide somewhere as if you were a National Geographic photographer (I love doing this, I always have a lot of fun!!)

Cat photography
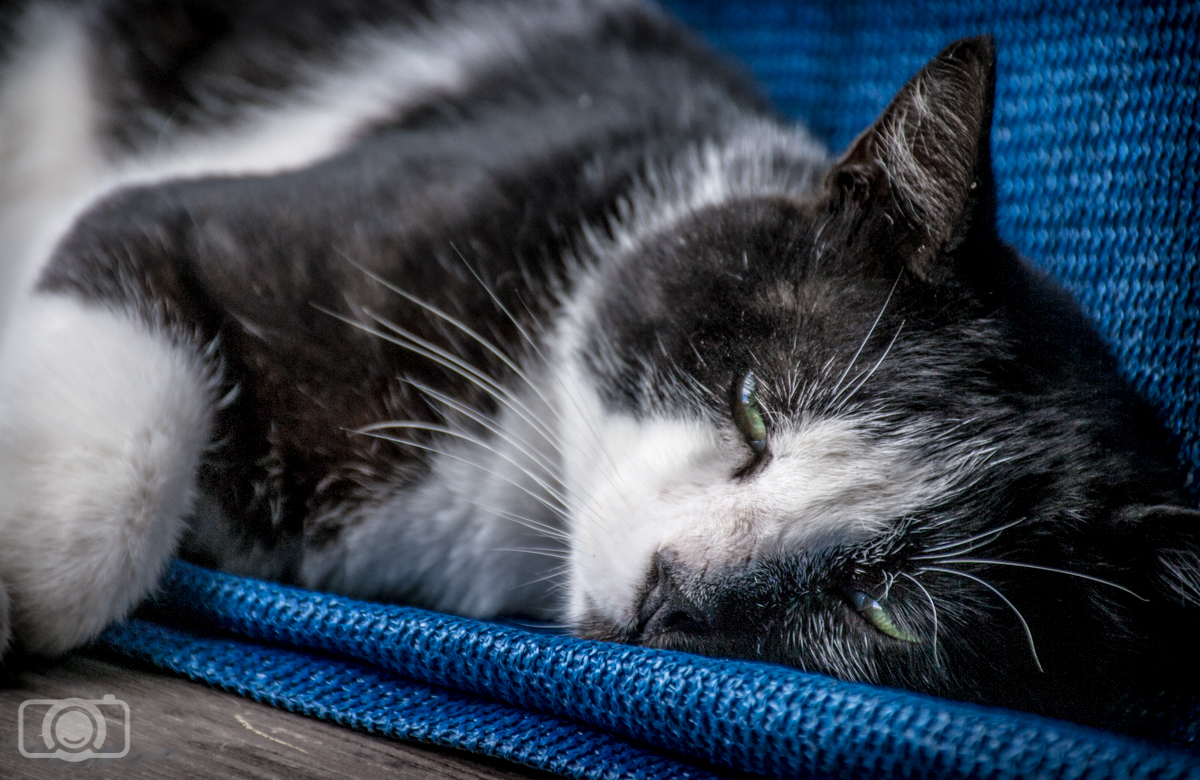
This cat likes one of my garden’s chairs. He comes almost every day. I just needed to wait for him hiding behind a blind to take this photo.

Be patient and don’t get mad at them

You can’t tell cats to pose or do what you want, so be patient with them. You will probably need to take a lot of pictures before you get one you like. Keep your mind open. Maybe the cat is not doing what you expected, but probably it will do something good. Or maybe he will run away and leave you frustrated and wanting… If this happens, just accept it. Don’t get mad at the cat. You will have more chances in the future.

Cat photography
Cats rarely do what you want or expect from them. Be open minded and appreciate any chance they give you, even if they decide to look to the other side.

Take advantage of the fact that cats are curious

Cats are curious by nature. And this is good for photography. Some of them are already curious for the noise that the DSRL’s mirror does when you shoot. You take a photo of them and they just stare at you as if wondering “What is this noise?”. This is your chance to take a good picture. Other cats need a bit more. But usually if you play with something in front of them or if you make some subtle noise they will look at whatever you are doing.

Cat photography
This kitty was so curious about the noises coming from my camera that he was staring at me for several minutes (enough to take a photo)

Focus on their eyes  

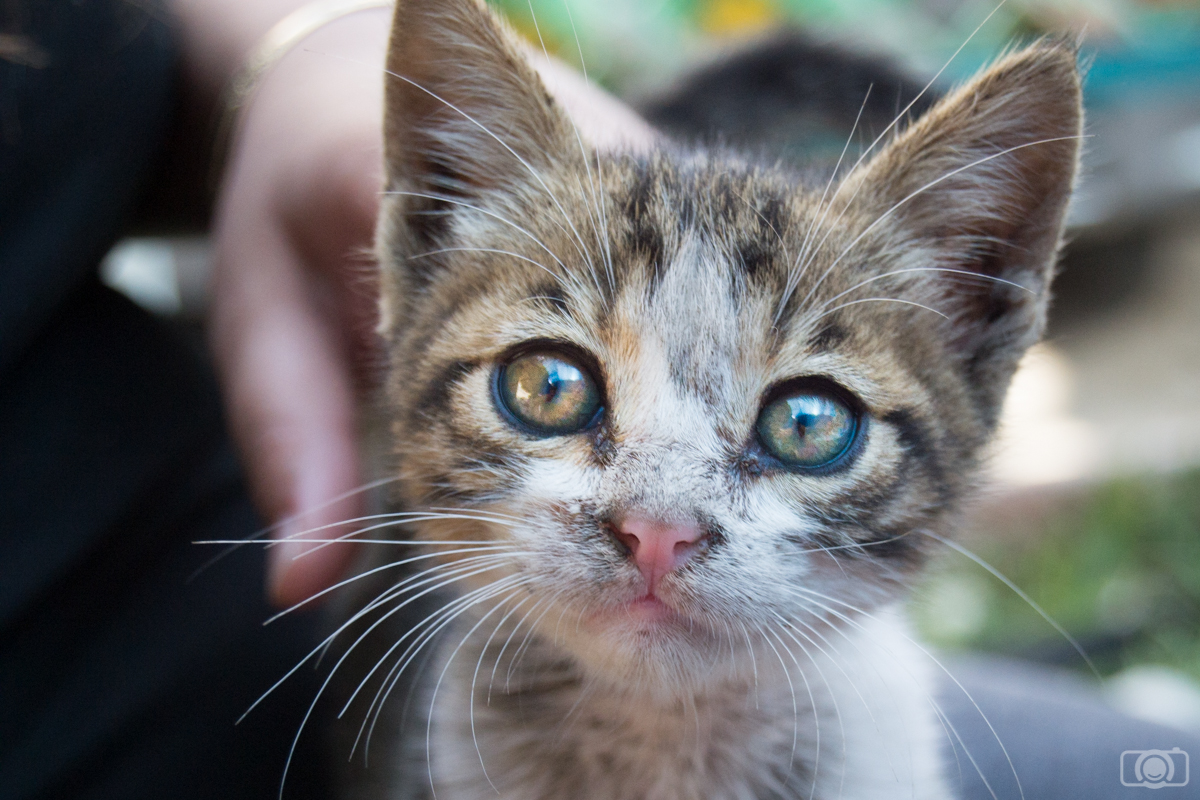
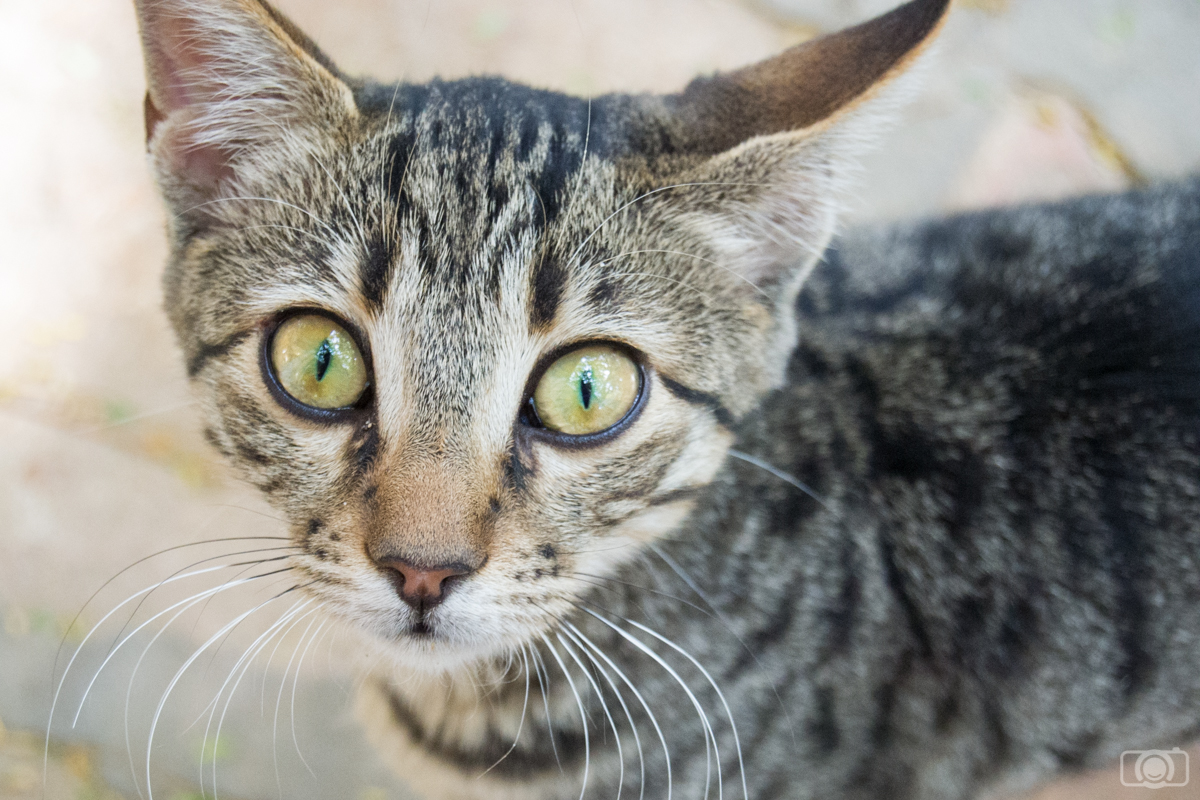
When we are looking at a photo we usually pay attention to the eyes, so try to keep them sharp.

Cat photography
Cat’s eyes are quite impressive. Try to focus on them and keep them as sharp as you can.

Do you have any experience photographing street cats? Tell me how it was and if you tried some of these tips. I would love to know about your experiences! Have a happy shooting!!

Tips for iPhone Street Photography

“The best camera is the one that’s with you.” – Chase Jarvis

In today’s world, every camera is a compromise. They function in the same way, and all take great images for the most part. You can even get amazing images from the phone in your pocket. This is a great option if you happen to leave home without your camera, or just don’t feel like carrying it around. The image quality and selection of post-processing apps, make iPhones fantastic camera options. And the ease of direct to social media sharing makes sharing your photos painless.

Below, I will outline a few iPhone street photography tips I’ve picked up along the way for shooting street photography on your phone. I say iPhone because that’s what I use, but of course, this post is relevant for any cell phone with a camera. I know I’ve seen some Galaxy phones whose cameras blow iPhone cameras out of the water. It doesn’t matter what type of phone you use, as long as it has a camera.

IMG_2301

iPhone Street Photography Tips

#1 Get Close

As Robert Capa said, “If your pictures aren’t good enough, you’re not close enough.” Part of street photography that takes some getting used to is to be bold. You’ll need to get close to your subjects, especially with the 35mm focal length of the iPhone. There are a few techniques you can do. You can always ask your subject if you can take their picture. This is tougher than it sounds, as approaching strangers can be difficult. It can also result in a manipulated image, which you may or may not want. You could also shoot from the hip. This means taking a shot without looking, usually with your phone at your side. With an iPhone, you can also pretend you’re texting and get away with a close shot. Or, as popularized by Bruce Gilden, just go for it! Jump into someone’s face and take the shot. This is definitely not my method of choice, but for some, it is the best option. There is nothing against the law about this, though it will piss most people off.

Getting close can also isolate your subject from the background. In street photography, depending on your city, an image can get too full. This means it’s easy to oversaturate the image. I find interesting street photographs are those that feel isolated. To me, a street scene is always busy and overflowing. But that isolated subject in a big city backdrop is interesting for some reason. Play around with this idea, and see if you can isolate subjects in your frame.

16961904411_ba4c350954_k

#2 Follow the Light

This is another tip which is interchangeable between phone and camera. It’s always best to shoot when the light is best, called the Golden Hour. This is the hour just after the sun rises and just before the sun sets, and makes for beautiful lighting. This is a great option for those who shoot during their commute hours. When I lived in San Francisco and worked long hours at my day job, I was always out during Golden Hour commuting. This worked out great for my street photography. It’s not to say that you’ll get bad images during the day. I’ve seen some beautiful images taken during high noon when the sun is bright and right above. Just be aware of the light when shooting, and find a way to make it work in your image.
#3 Take Advantage of Apps

There are tons of apps for shooting, post-production and sharing photos. Some people swear by apps like VSCO and Camera+, while others hate them. You should experiment and find what’s right for you, but I’ve listed a few below:

Shooting:

Camera+
Pro Camera
Hipstamatic
Snapseed

Editing:

VSCO
CameraBag
AfterLight

FullSizeRender 2

#4 Accessories

Just as you would with your camera, you’ll want to make sure to have a spare battery or two for your phone. For iPhone’s, this is a portable battery, which is getting smaller and more powerful. I used to have a charging case on my phone, which was great, though a little bulky. These are pricey, but are convenient and take up less space than bringing a separate device.

You should also get a solid case which has a grip for easy handling. Something protective would be beneficial as well. There are also companies making lenses, such as Moment and Ollio, which can be useful. But not necessary. For street photography, all you need is a phone with a good case and an external battery

#5 Burst Mode

Shooting burst mode is always a good idea, and I have it on 95% of the time in any type of photography I shoot. You just don’t want to leave capturing the decisive moment up to one photo. It’s always better to have a few more images to get one solid image from. Especially in street photography, when capturing people walking.

IMG_2322

#6 Be Ready

The exciting aspect of street photography is that you never know what is going to happen. You have to be ready for anything and able to react before the moment happens. If you are out to shoot, you need to have your phone ready. This means out or in your pocket in camera mode, ready for the shot. You should be hyper aware of your surroundings, always looking around (not in a creepy way). If you are aware of your surroundings, you can better predict what could happen. It’s better to miss the moment because it didn’t happen rather than because your phone wasn’t out.

#7 Tell a Story

Here, you want to look for an interesting story to tell through your photo. Look for an emotion, something interesting about the scene. It’s so easy just to take a picture of someone on the street. The good ones evoke a feeling, a reaction from the viewer. This is what you should be looking for. This goes hand in hand with Be Ready above. If you are aware of what is going on, you can predict a moment which will lead to an interesting story. Try to capture the entire story in one image. If you capture many photos during an event, find the one that sums up what happened. This will be your strongest image.

IMG_2969

#8 Sharing

Of course, one of the major benefits of iPhone street photography is how easy it is to edit and share images. Using the iPhoto image editing can be a bit limiting. Use of the many apps listed above to do your edits, which should only take a minute or two. Keep your street photos consistent in editing. Uploading to Instagram, Flickr or any other social media platform is a breeze. You’ll be able to spend less time editing and sharing, and more time shooting.

Now for an assignment. Take these tips and your phone and shoot only iPhone street photography for a month. I bet you’ll realize after one month how much you’ve shot and how much you’ve learned. This knowledge will rollover to your camera, and you’ll have a whole new eye for photography.
How to Conquer the Creative Photography Slump Effectively

We all face it. One day you’re producing great work with ease. The next, completely gone. Poof! Now, just picking up your camera is a dreaded task. And the idea of shooting seems so daunting! What happened? Where did the excitement go? We can’t determine when this will happen or what triggers the descent. But we all have been here, more times than we’d like to admit. But it’s normal, and happens to everyone. Though there is no cure, you can prepare and set in place the proper treatment plan. Below I’ve outlined a few tips I’ve found have helped me when I feel a slump coming on.

DSCF4039

Study the Greats

I often find when I’m in a slump, I need to walk away from the camera. But, I still need to spark that desire to pick the camera back up. For this reason, my go-to spark generator is to watch videos on photography. Whether this is a documentary on a specific photographer or a general video on a type of photography. There are some great documentaries on Netflix. And endless inspiring videos on YouTube. I love the site CreativeLive. They offer live video classes ranging from basic settings to advanced post-processing.
This is also why I keep photography books in my creative space. If I’m having a slump moment, I’ll grab a book and just flip through it. After a quick flip through The Americans, I’m running for my camera.

Kim_Suarez_01

Change 1 Thing

Whether you plan for it or not, we all get into habits with our photography. It could be shooting the same locations or falling back to your go-to settings. Or even specific post-processing behaviors. An easy fix for a creative slump is to pinpoint one area to switch up. This may mean driving to another location to walk around with your camera. It could also mean adjusting a setting you usually set and forget. For example, if you shoot in Aperture Priority Mode, switch to Shutter Priority. Focus the afternoon on freezing or blurring your subjects. Or better yet, practice your Manual Mode skills and spend some time learning about manual ISO. I find a simple change, like shooting all day in f4, will result in some images I wouldn’t have otherwise taken.
DSCF2323-2

Get Involved in Your Local Community

Photography is everywhere. So chances are you live in a photography community. Even small towns seem to have photography groups or local classes available. Search sites like Craigslist or Meetup for these opportunities. It may surprise you how many there are around you. Take a class at your local community college. Or find a local store and check out their calendar dates. When I lived in San Francisco, I took a class on film photography and print-making at Rayko Photo Center. It got me in the darkroom every Wednesday night making prints with other photographers. I met so many great people and learned so much.

DSC00961-2

Explore Another Art Form

All forms of art share the same basic skeletal structure. We follow a similar series of events to arrive at the end destination, be it a photograph, painting, etc. What I’ve found to work for me is to explore other forms of art to get over a photographic slump. This may mean practicing or just observing. I may focus on writing for a few hours or do some sketching. I’ve found that going to a museum or gallery produces the best spark. Looking at paintings and sculpture, particularly Surrealist and Pop Art, are so inspiring. If you have a nearby museum, spend time there. Maybe even volunteer there to get free admission and behind the scenes access.

DSCF2130

Get Critiqued

I find this the best practice for beating a creative slump, and in general. Getting your work critiqued by a photographer you respect, can be so beneficial to your work. Even if you’re not in a creative slump, you should be doing this as often as possible. A good critique will be able to provide feedback, whether good or bad, you wouldn’t gather on your own. To be clear, a critique is not a “Nice Photo!” on Flickr or Facebook. Find a fellow photographer who can speak to structure and aesthetics of the photograph. You’re looking for the information you can act on to better your work.

DSCF2793

Start a Project

If you haven’t already, read through my previous post on starting a photography project. A project can be a great way to spark some motivation. Start small if you need to. Plan the logistics so you know the timeline as well as the desired outcome of the story you want to tell. A project will give you purpose when you go out shooting and will get you thinking long term.

DSCF1310

Travel

Travel does not have to mean hopping on a plane bound for Paris. Though how nice does that sound? Travel can mean driving a few hours away or even just exploring an unfamiliar part of town. When out walking, switch up your route. Drive 2 hours and see where you end up. Make a day of it with your family and turn it into a mini photo project. I did a mini photo project on an afternoon spent at a flea market I had never been to, it was great. As long as you’re in a new area, that creative spark will activate. I am fortunate to be able to travel for my day job around the world. So, I make sure to take few extra days to wander around with my camera. It’s great for my portfolio and is of little cost to me. If you are able to travel for work, take advantage. Spend as much free time as you can out with your camera.

DSCF3005-2

DON’T Buy Gear

We all know GAS (Gear Aquisition Syndrome) by many various naming conventions. As photographers, we love gear and gadgets. That sort of comes with the territory. But, it’s when we think that only more gear will make us better, that we need to be careful. When in a creative slump, it’s easy to say “Well, all I need is a new lens and that creativity will come racing back”. Or “If only I had the newer model, then I would be a better photographer”. Don’t fall for it! You’ll only realize once the excitement fades that you are right where you started. And poorer. So make sure to follow the above steps first. As long as you have a camera that can take a picture, you have all you need to get out of a creative slump.