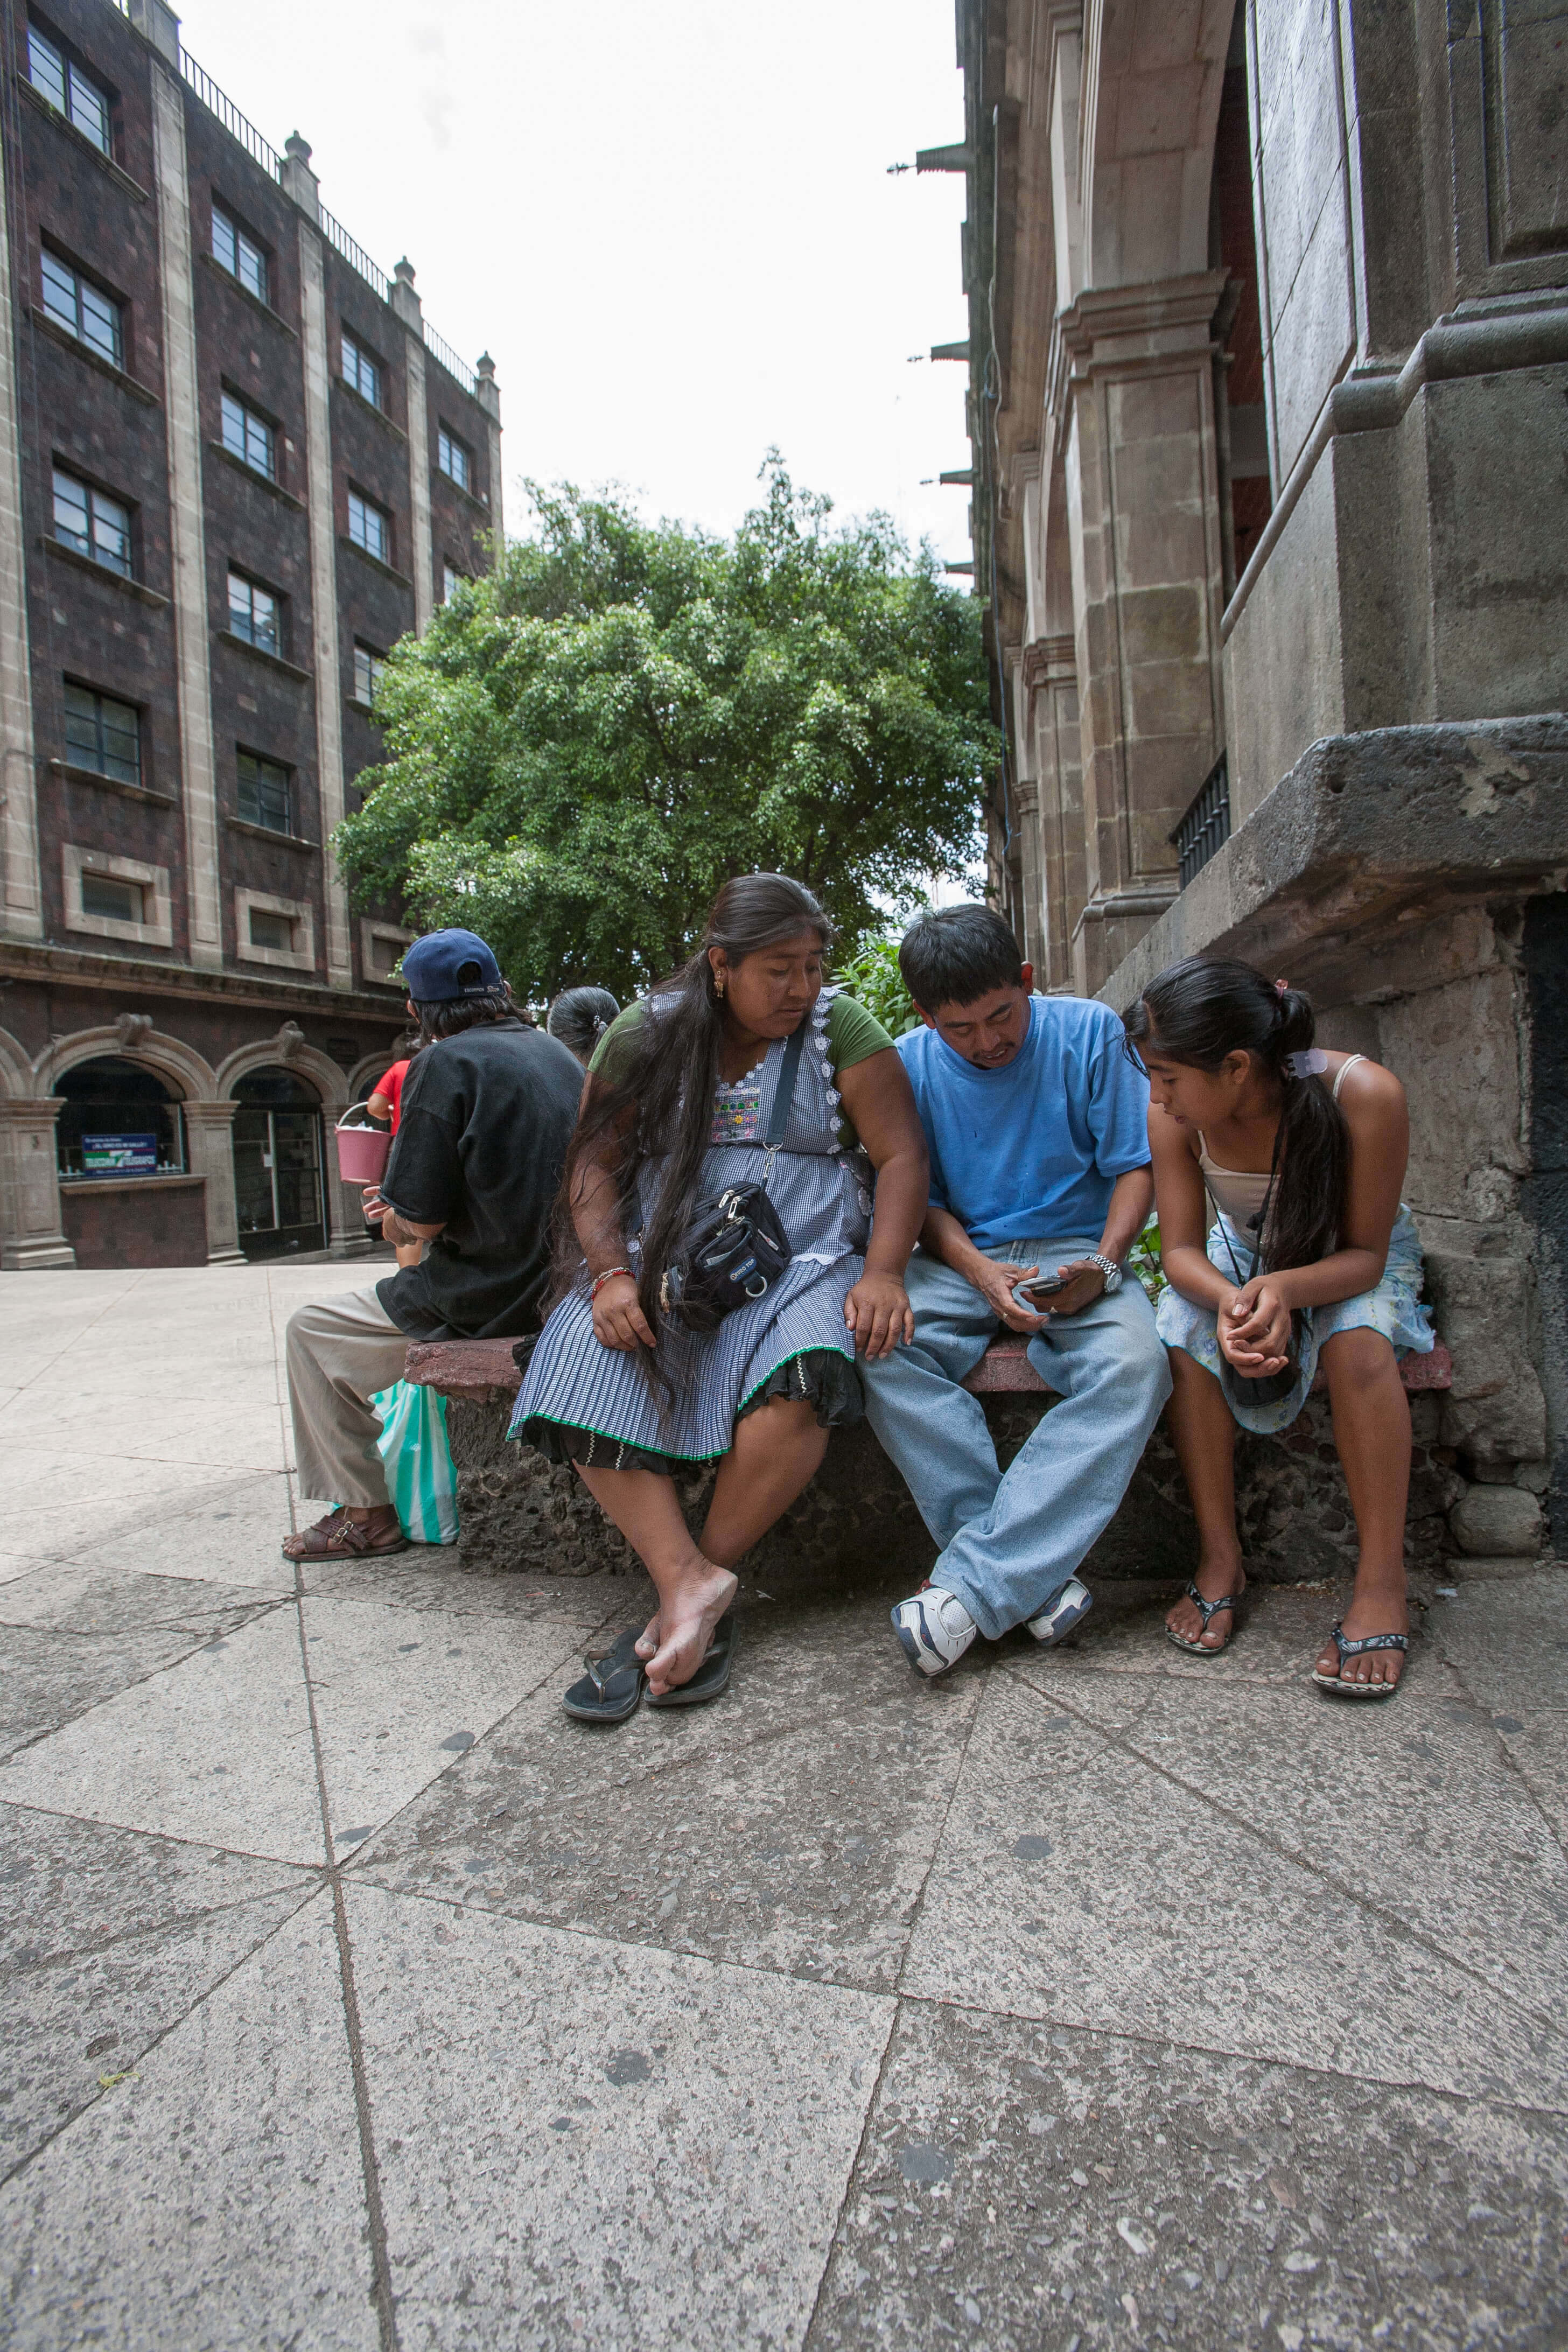
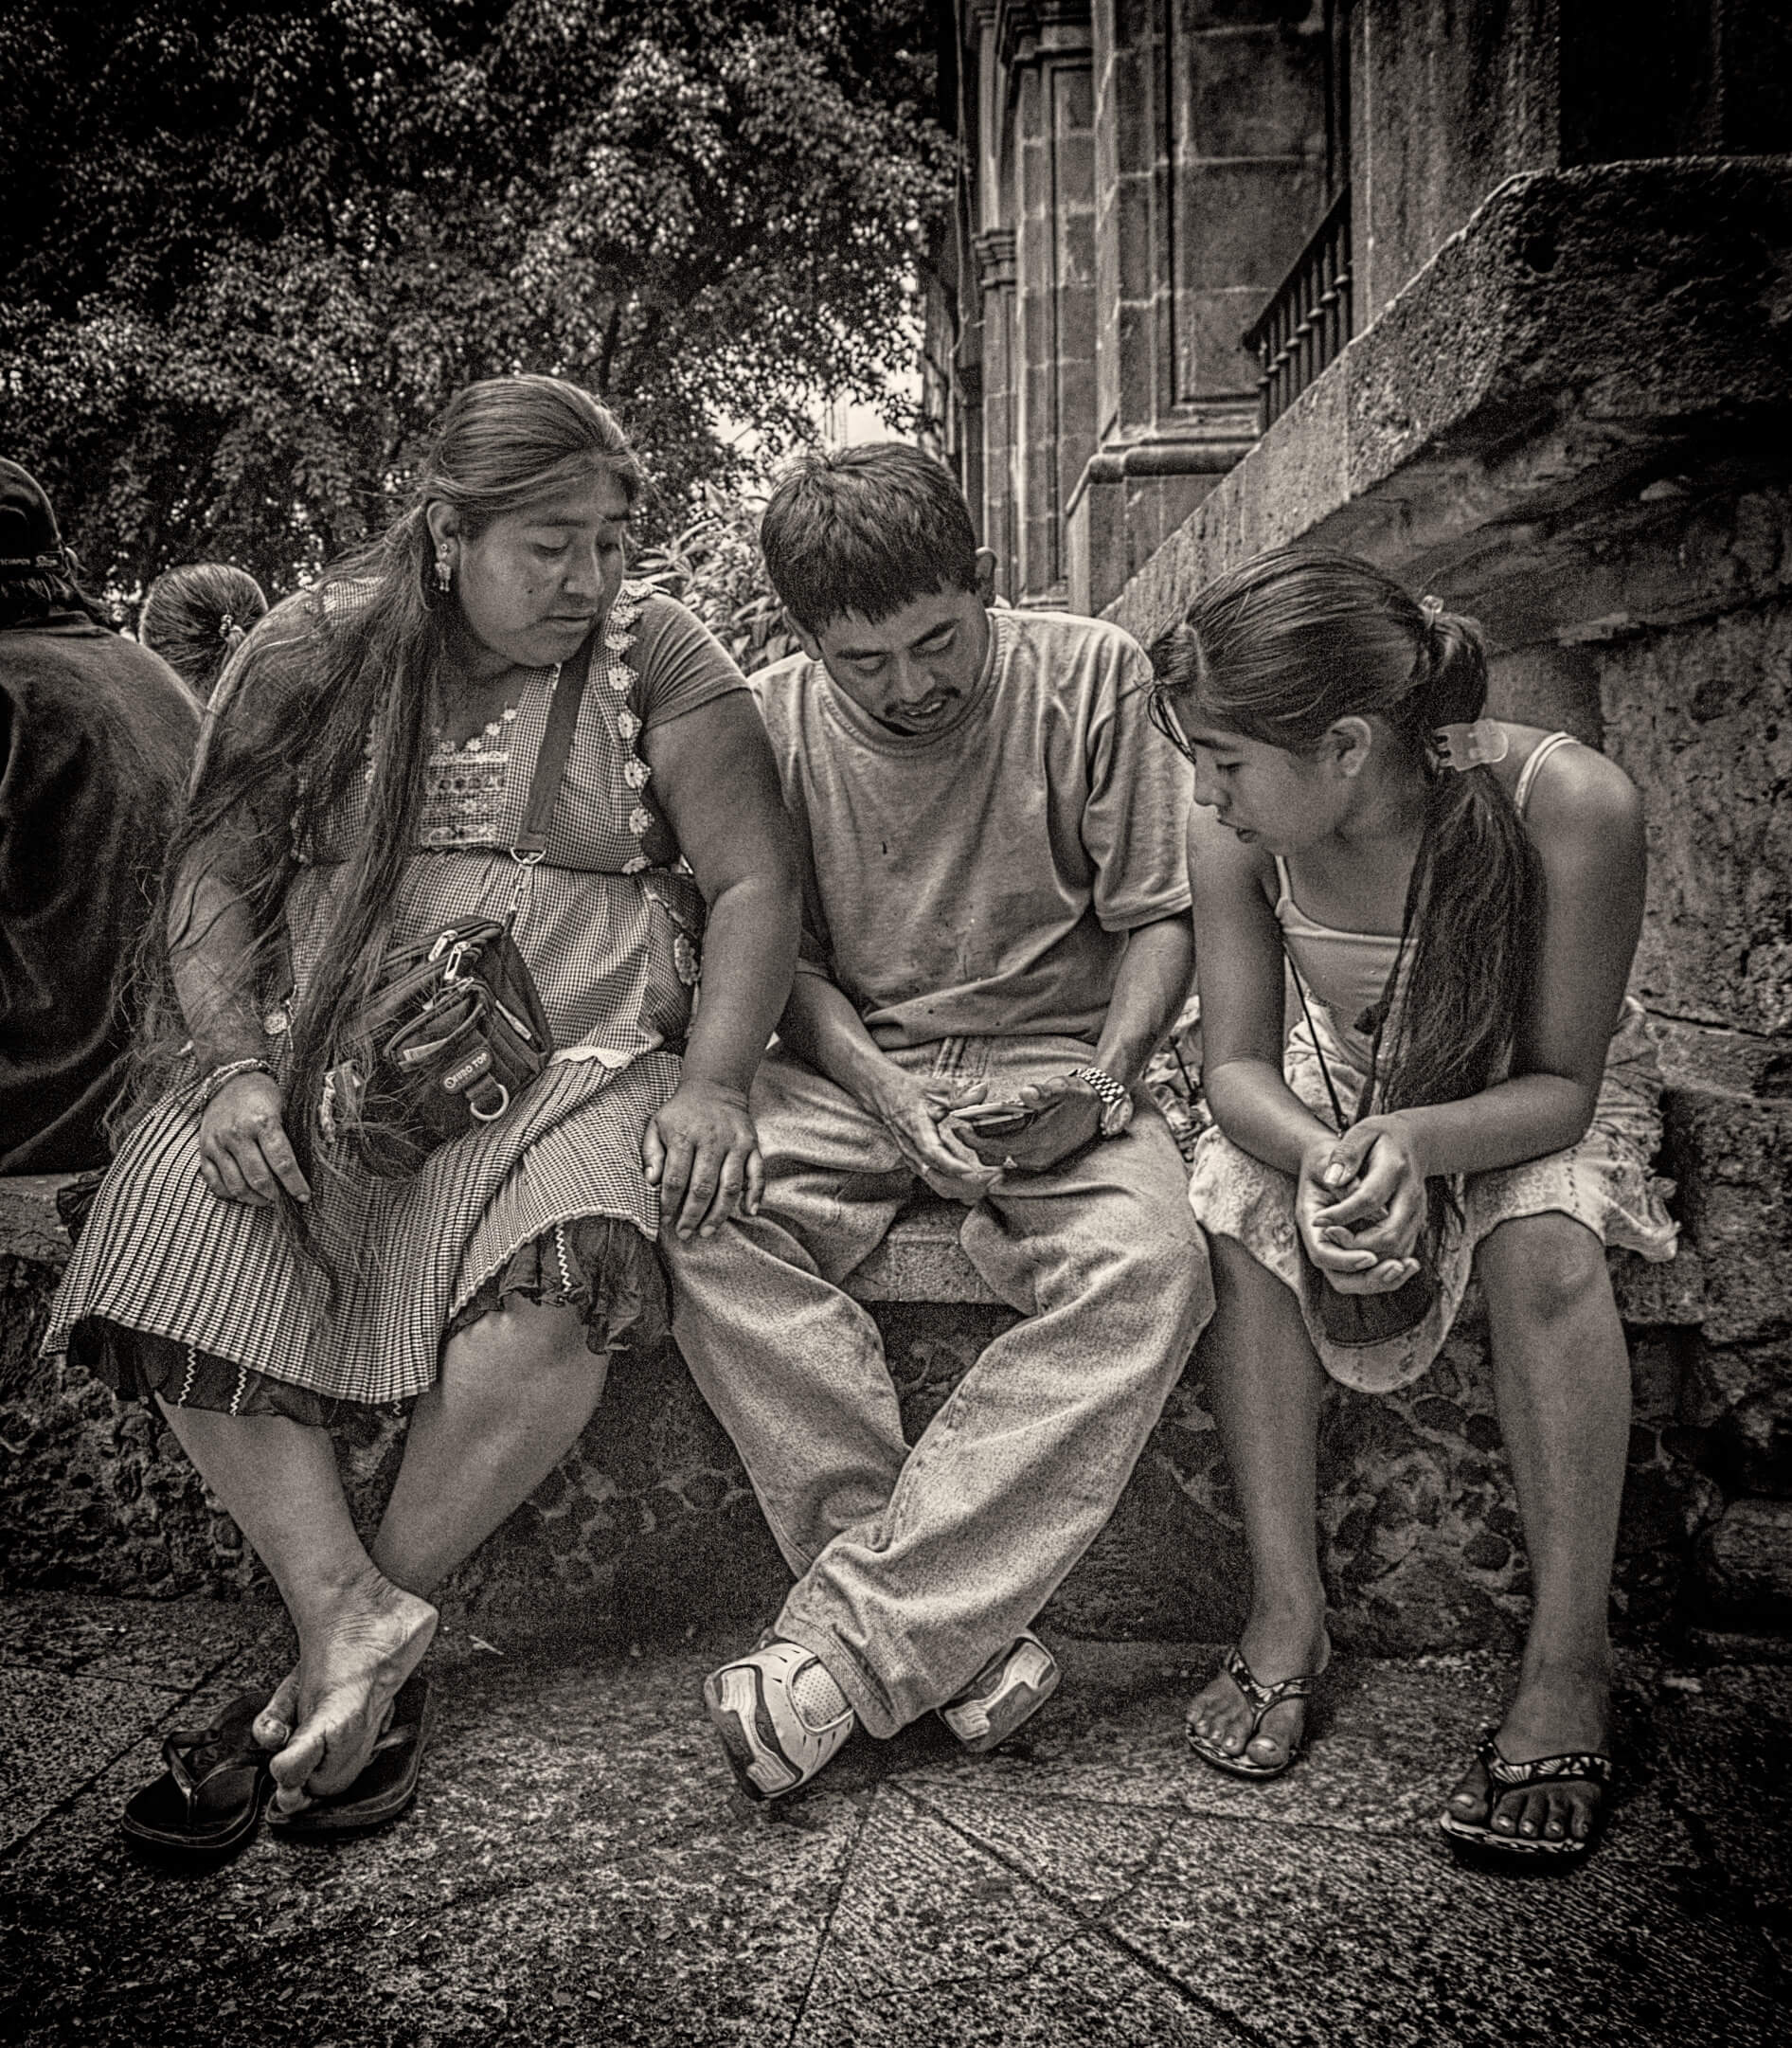
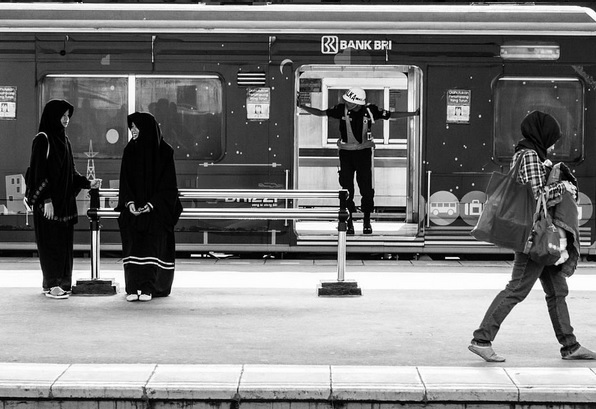
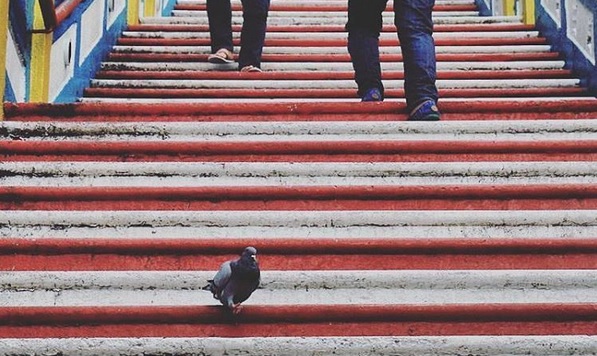
Tag: street photography

Beginners Guide to Street Photography

For many of us, the thought of starting a conversation with a complete stranger frightens us. So why in the world would we do this willingly while also trying to sneak a picture out of it? Simply put: because it opens up an entirely new and exciting world of possibilities.

If you’ve been inspired by the work of street photographers, such as Henri Cartier Bresson or more modern day street photographers such as Bruce Gilden, and wished you could gather up the courage to do it yourself—today is the day to get started. In this street photography guide, we will consider some practical advice, along with some tried and true methods that will help a beginner get on the streets.

How to Do Street Photography

Being one of the most diverse forms of photography, street photography can be very exciting. Street photography encompasses things such as portrait photography, landscape photography, urban photography, low light photography, and more all bundled into one. This ultimately means there are no specific rules or guidelines when it comes to street photography, and you can pretty much try anything you please that fits into the genre of street photography itself. However, in this section, we will be discussing street photography tips to help you get the best photographs.

Gear
Gear

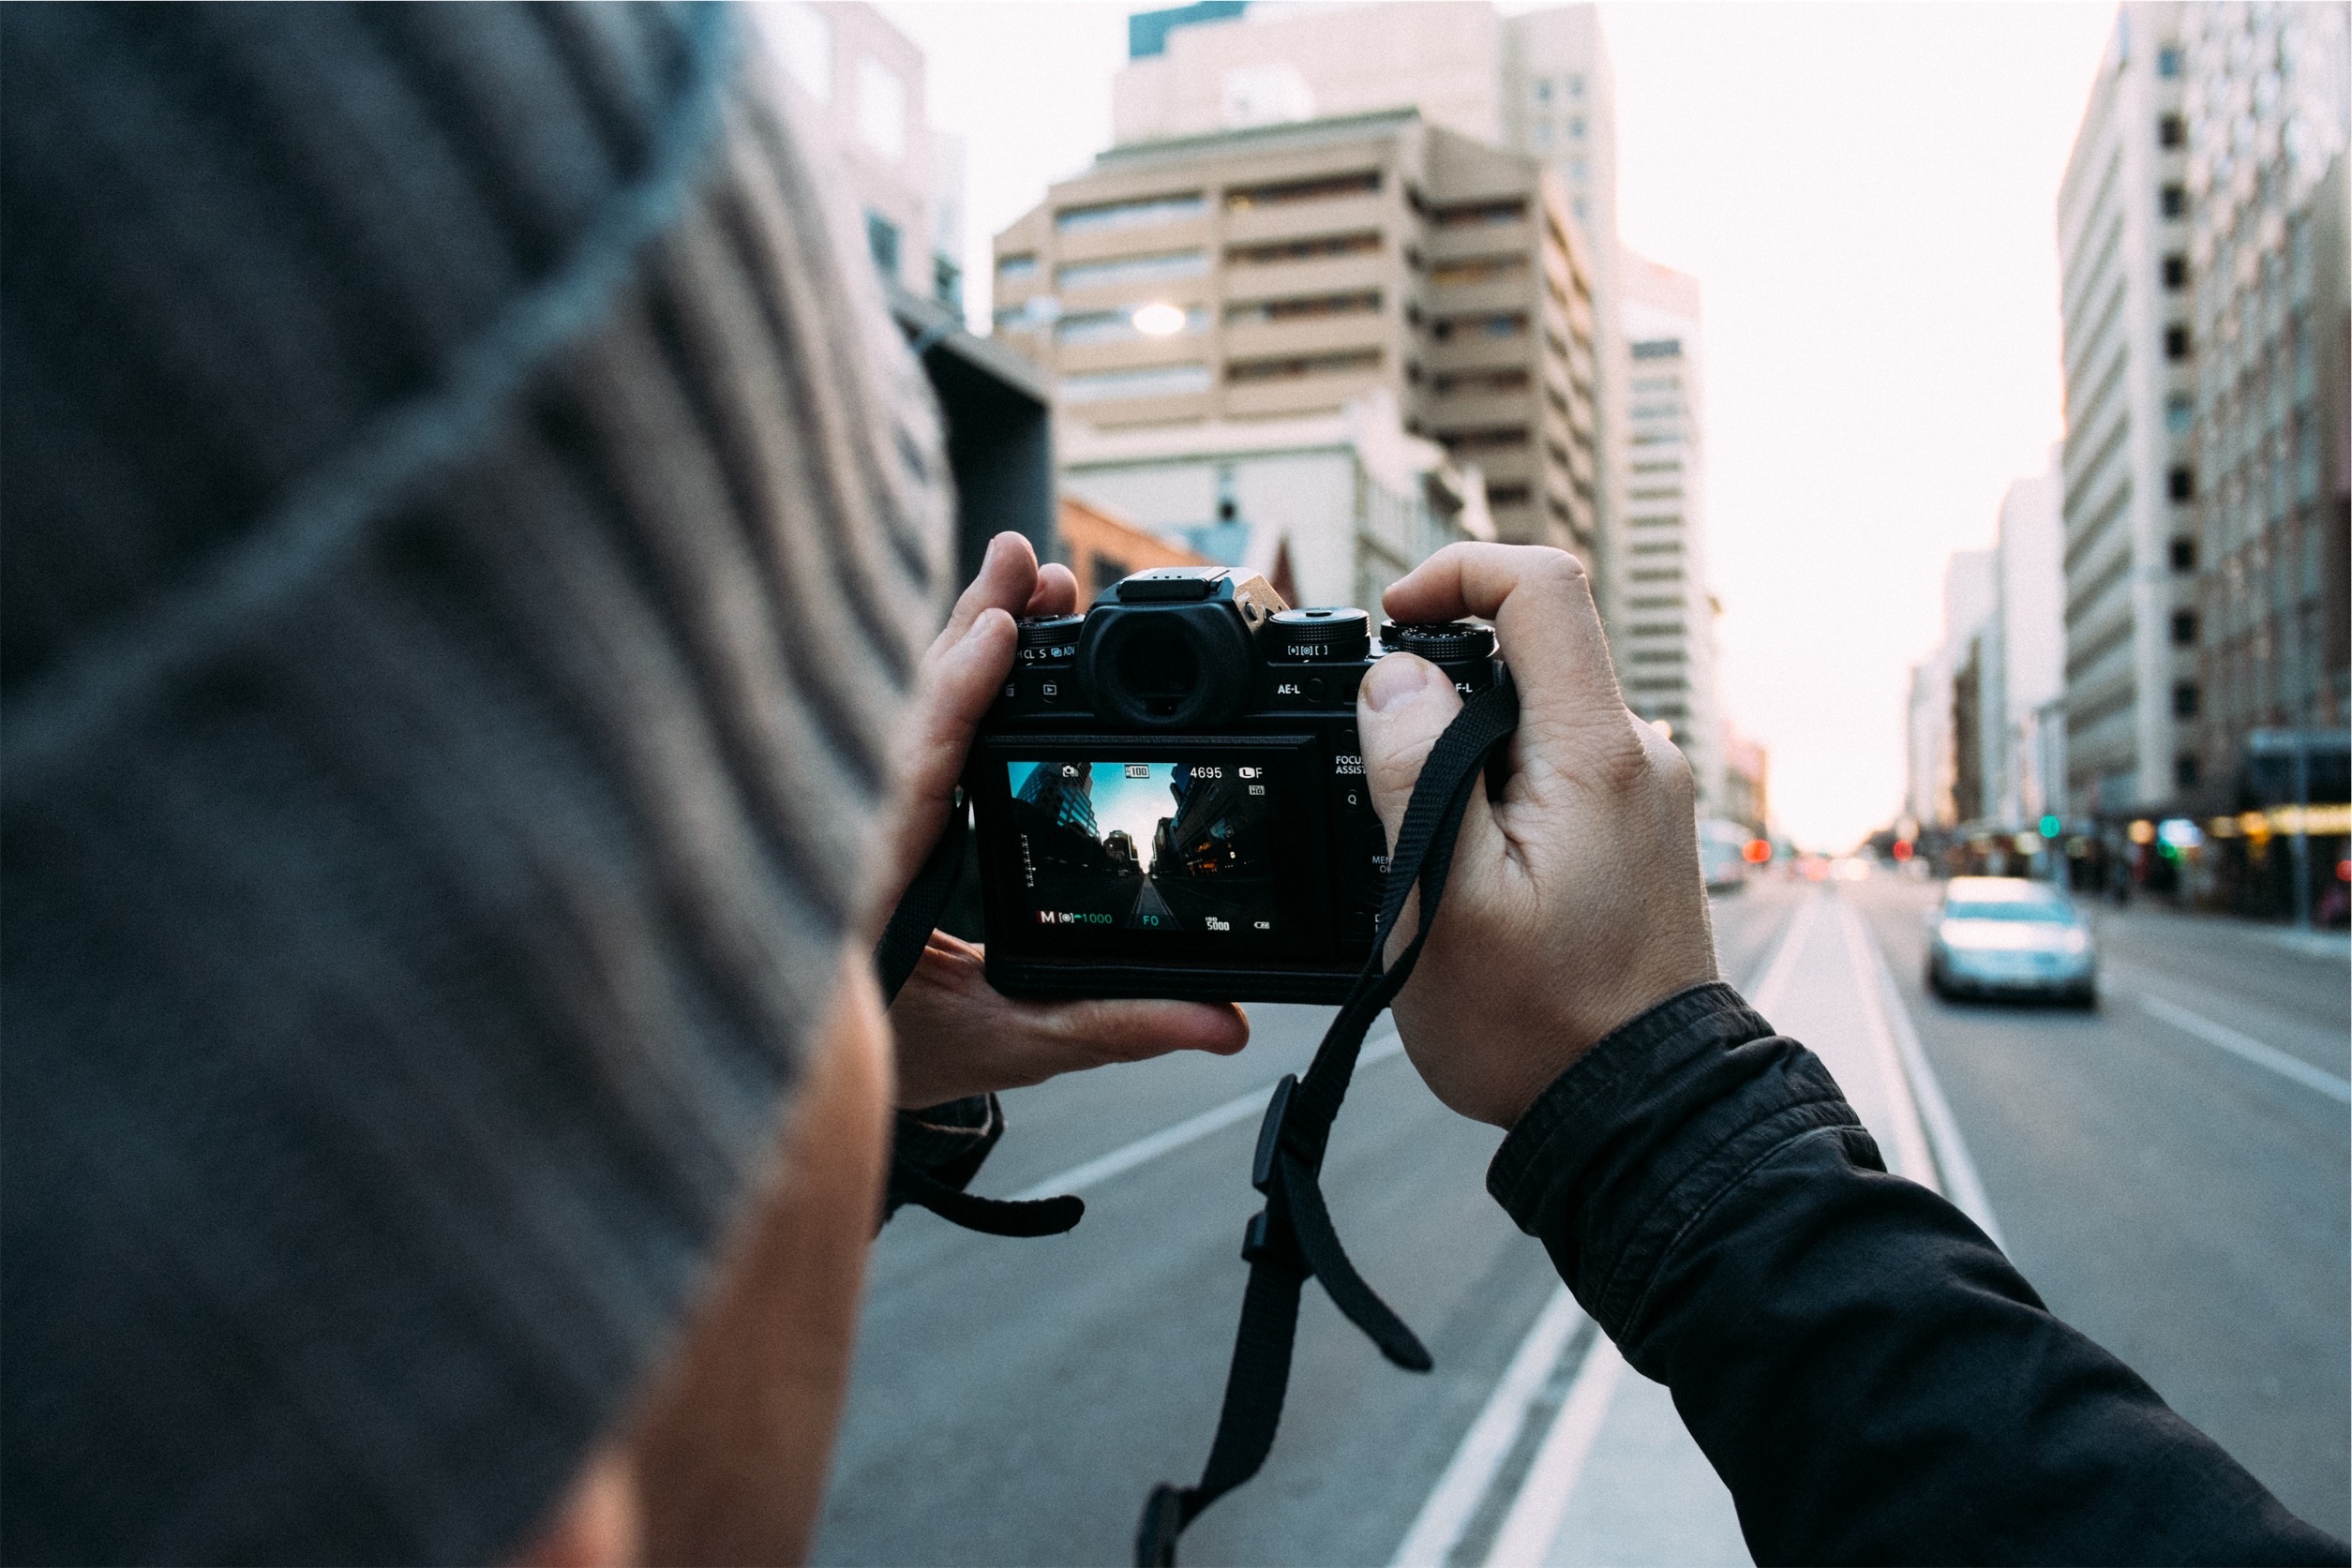
The goal is to be as unintimidating to others a possible. In the day of mirrorless cameras, it’s getting much easier to get great image quality while  using a very light and inconspicuous setup. One thing you can do, especially if you own a bulkier DSLR camera, is cover any brand logos with black tape and lean towards the use of smaller, wide angle lenses to make your camera seem low key.

Don’t be afraid to use the camera on your phone! It’s said that the best camera is the one you always have on you. With that being said, you can get great images from most phones on the market today. The iPhone also offer subtle ways of taking a street photo that allow us to use the volume buttons on the side of the device, as well as with buttons on earbuds.

Lenses

Wide Angles Lens

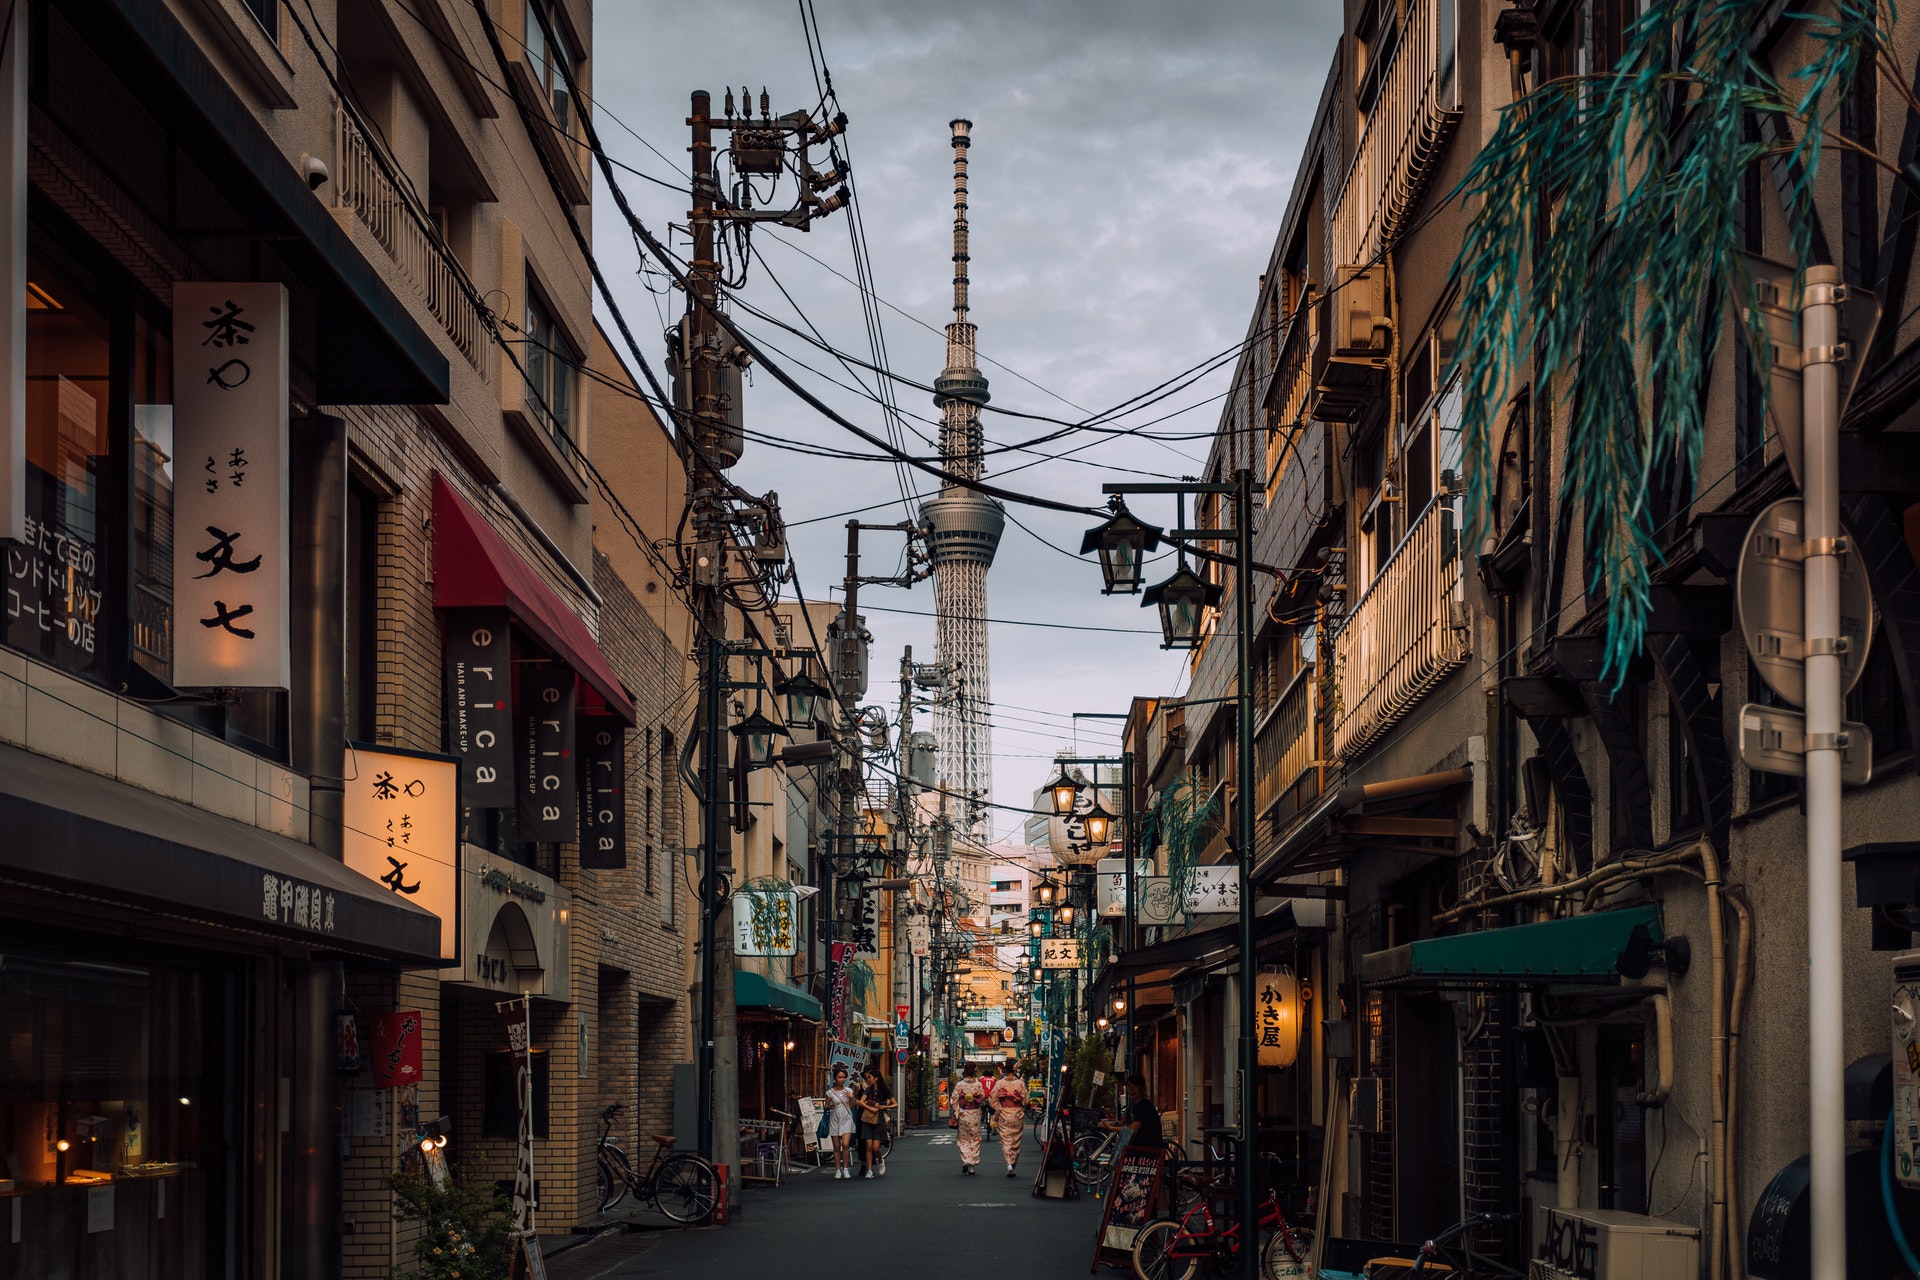
I’m personally not the biggest fan of wide angle lenses when it comes to photography, but I must admit they do play their part. Wide angle lenses, such as a 24mm or wider, are usually considered and mentioned when it comes to things like documentary photography, landscape photography, real estate photography, or even architecture photography. However, as I mentioned earlier, street photography encompasses many different genres of photography, and is not too specific.
street photography

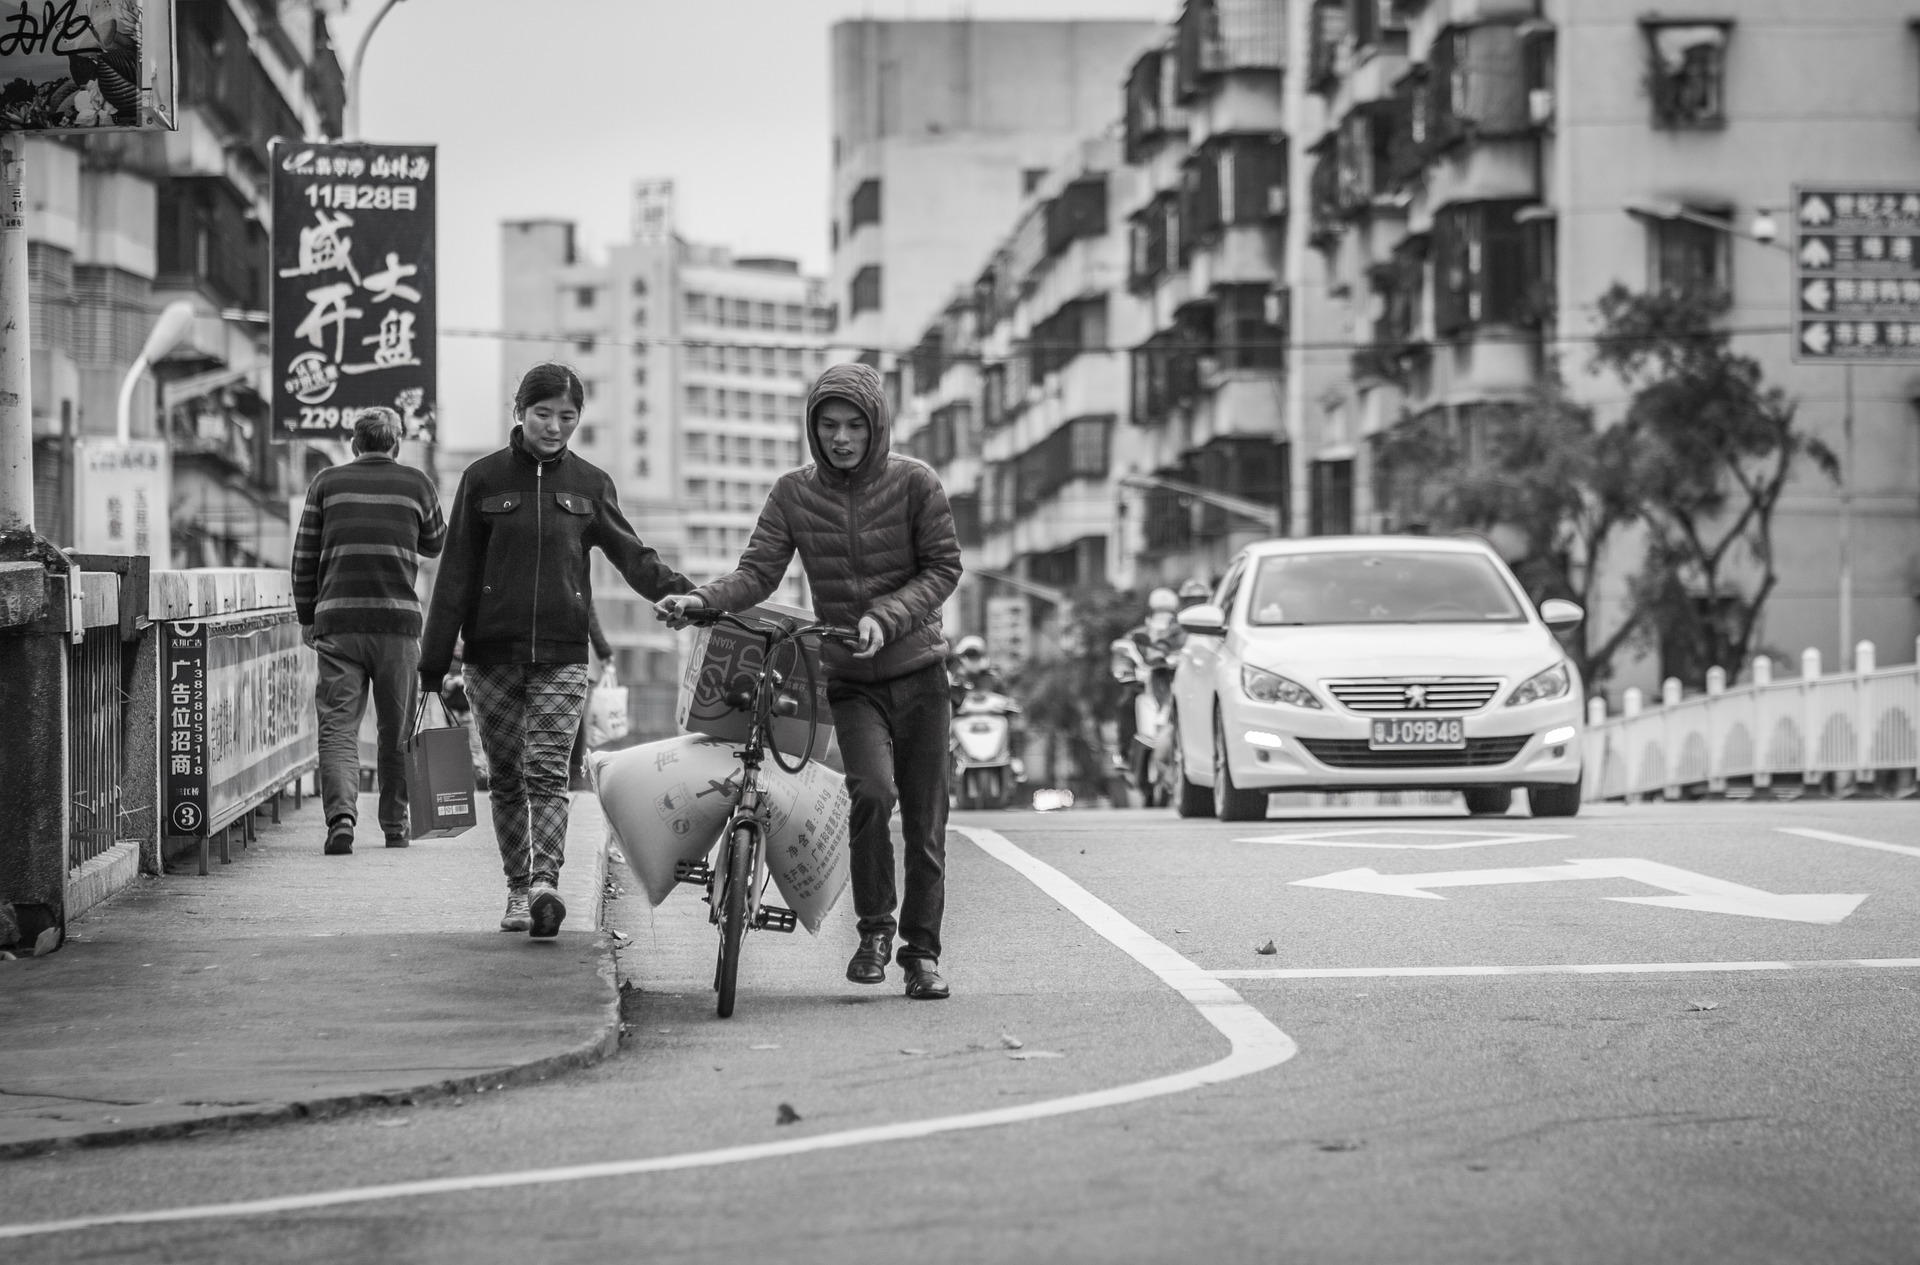
With that said, It is sometimes helpful to get a wider perspective of your scene than a close up of everything. Capturing wide angle shots can help tell more of a story, as it contains many different elements within the frame that contribute to the image itself. Wide angles also tend to show a lot more interaction with different subjects, and from time to time, can yield some very rewarding and interesting images. A 24mm f/2.8 would come in handy if you’re interested in getting wide angle shots, or you could walk around with a 24-70mm f/2.8 as well for variation.

Nifty Fifty Prime Lens

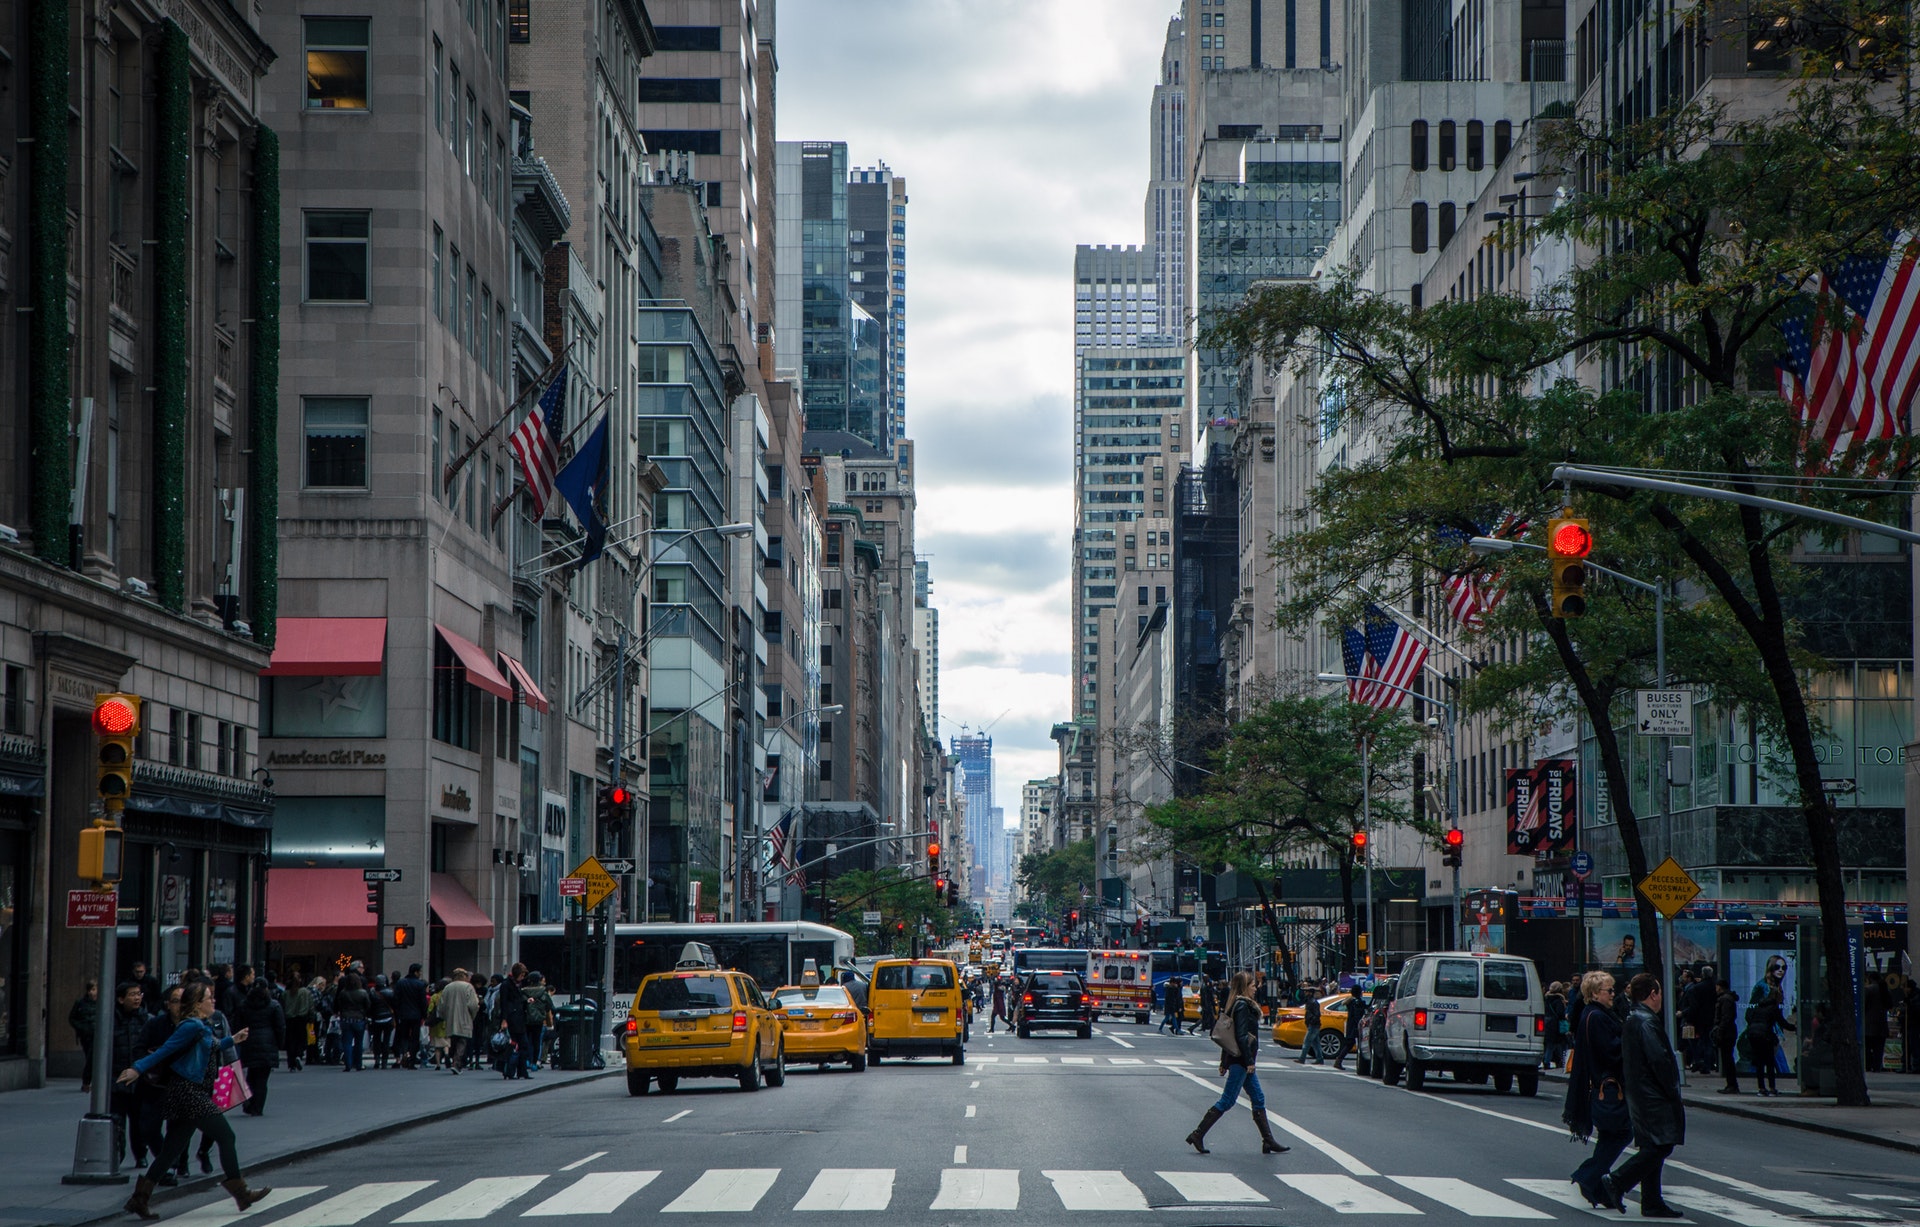
Most photographers like myself use a 50mm f/1.8 or 50mm f/1.4 for many reasons. First, I must say I personally have a lovely relationship with my 50mm prime lens, as it came in handy when I needed it the most. The 50mm is so easy to mount on your camera and carry around while working perfectly in low light situations. The size of this lens also helps you avoid being seen or drawing too much attention to yourself when shooting. The 24-70mm f/2.8 zoom lens failed me a few times in regards to blending into the background and not drawing too much attention myself.
street photography

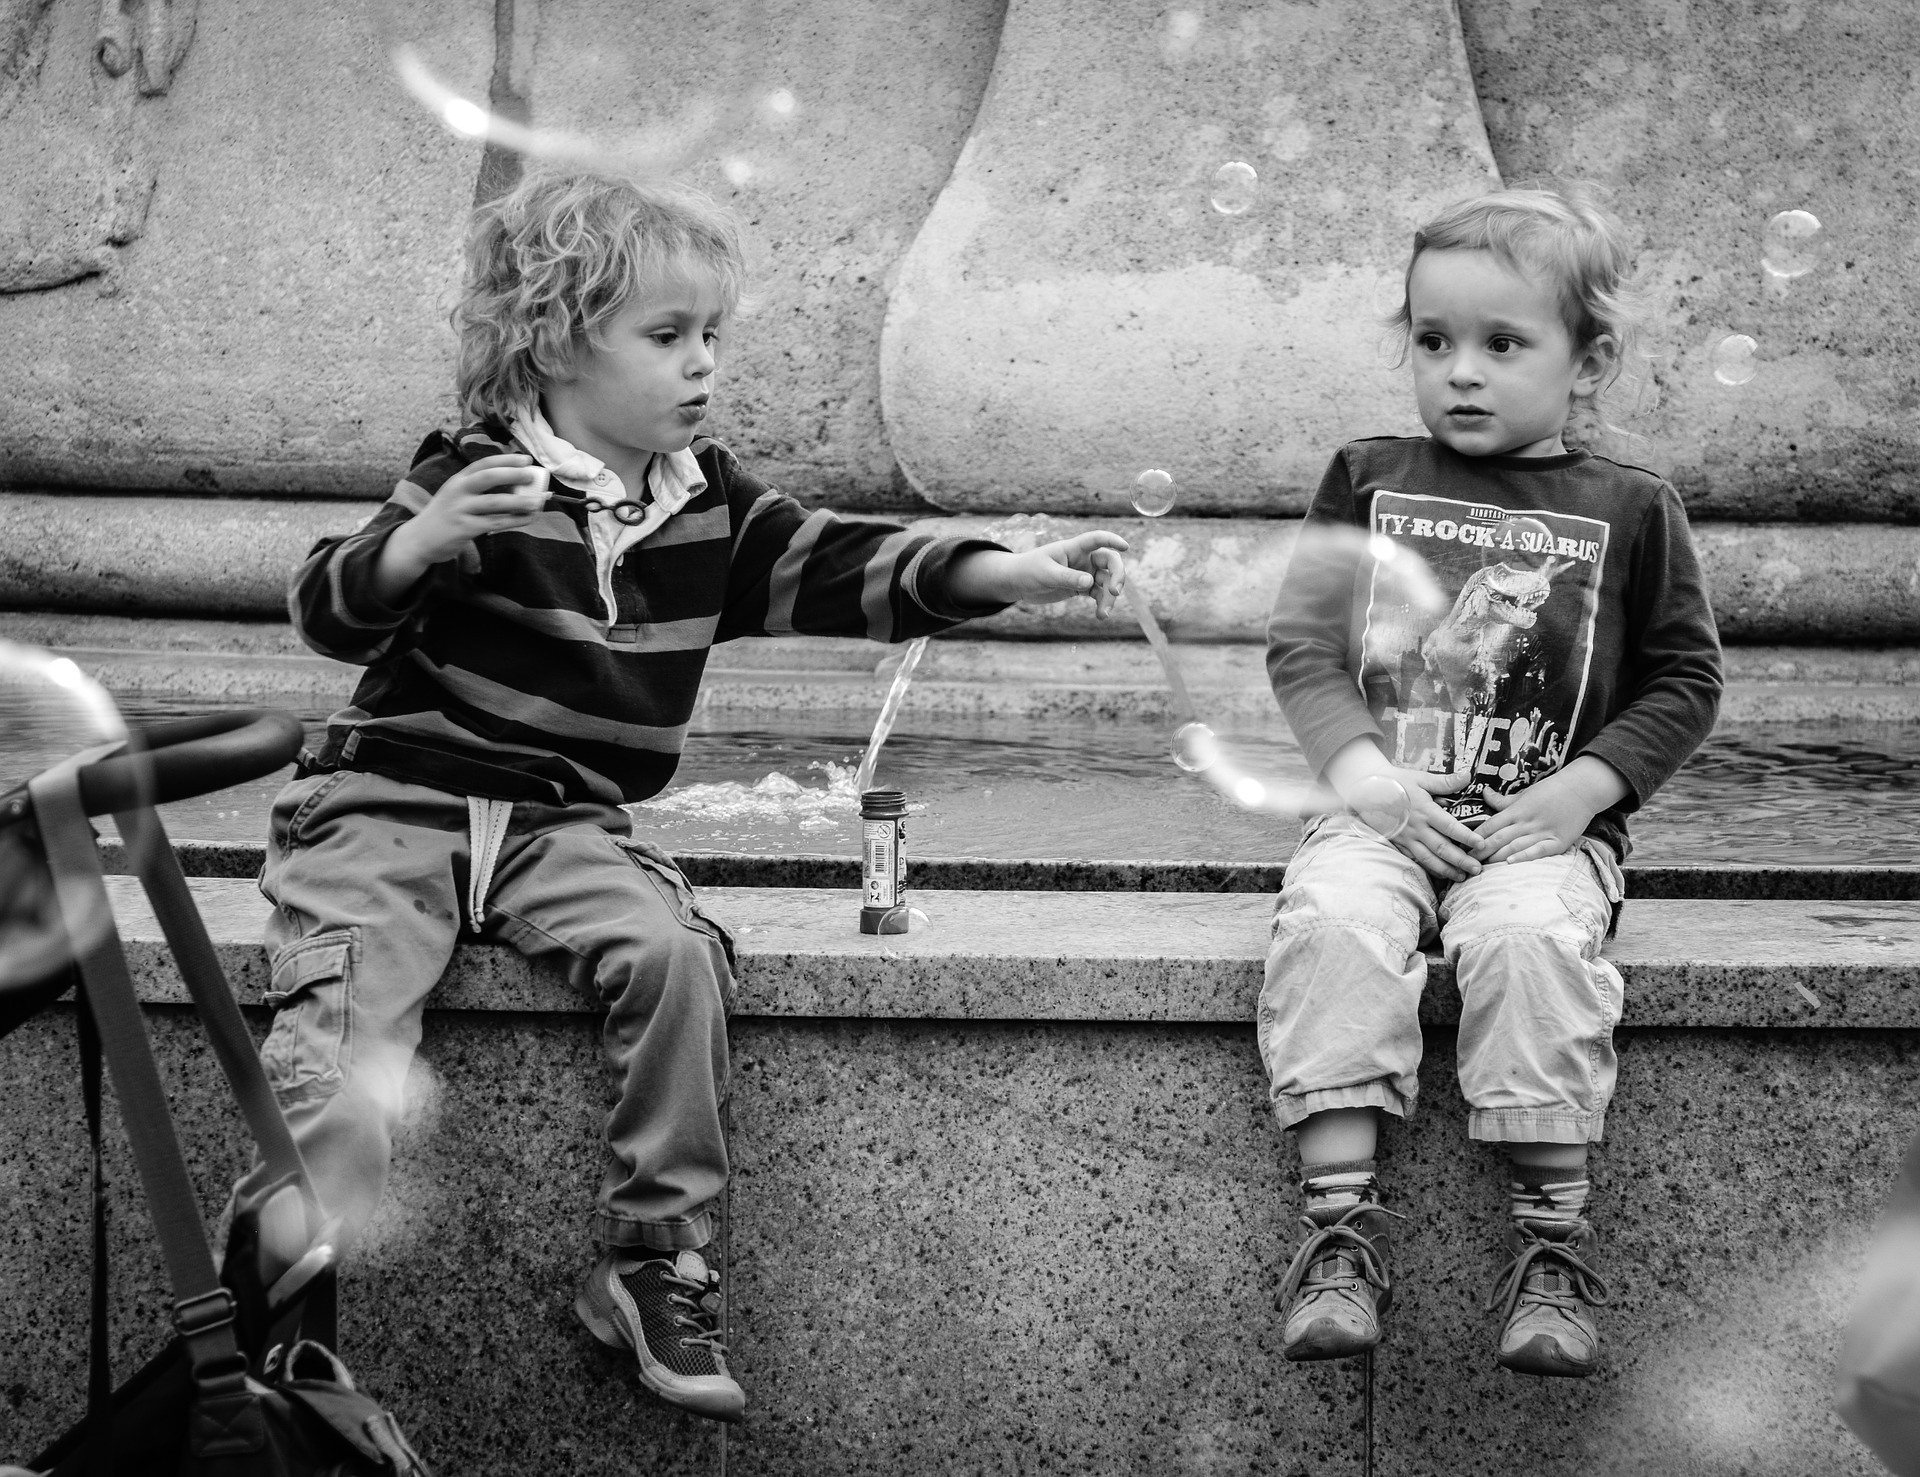
With the 50mm, you are capable of capturing some amazing candids or portraits when on the move. It is also a good focal length to use in places such as cities or highly populated areas. I would recommend using a 50mm over a 24mm when doing street photography any day, but this is also subjective to what it is you’re looking to capture or even the environment you plan to be in.

In addition to focus length and blending in easily with your surroundings, there is a beautiful depth of field that is created by a 50mm that adds an extra layer professionalism to your street photo. The 50mm is arguably one of the best lenses out there to have as a beginner and a professional photographer overall. I’m almost certain this will be debated, but you must give credit where it’s due, and this lens always gets the job done right when you need it.

Close Ups

For close, detailed shots, the 85mm is a lens that could be considered as well. It can almost be seen as the bigger brother of the 50mm, but it does have its challenges in the field.

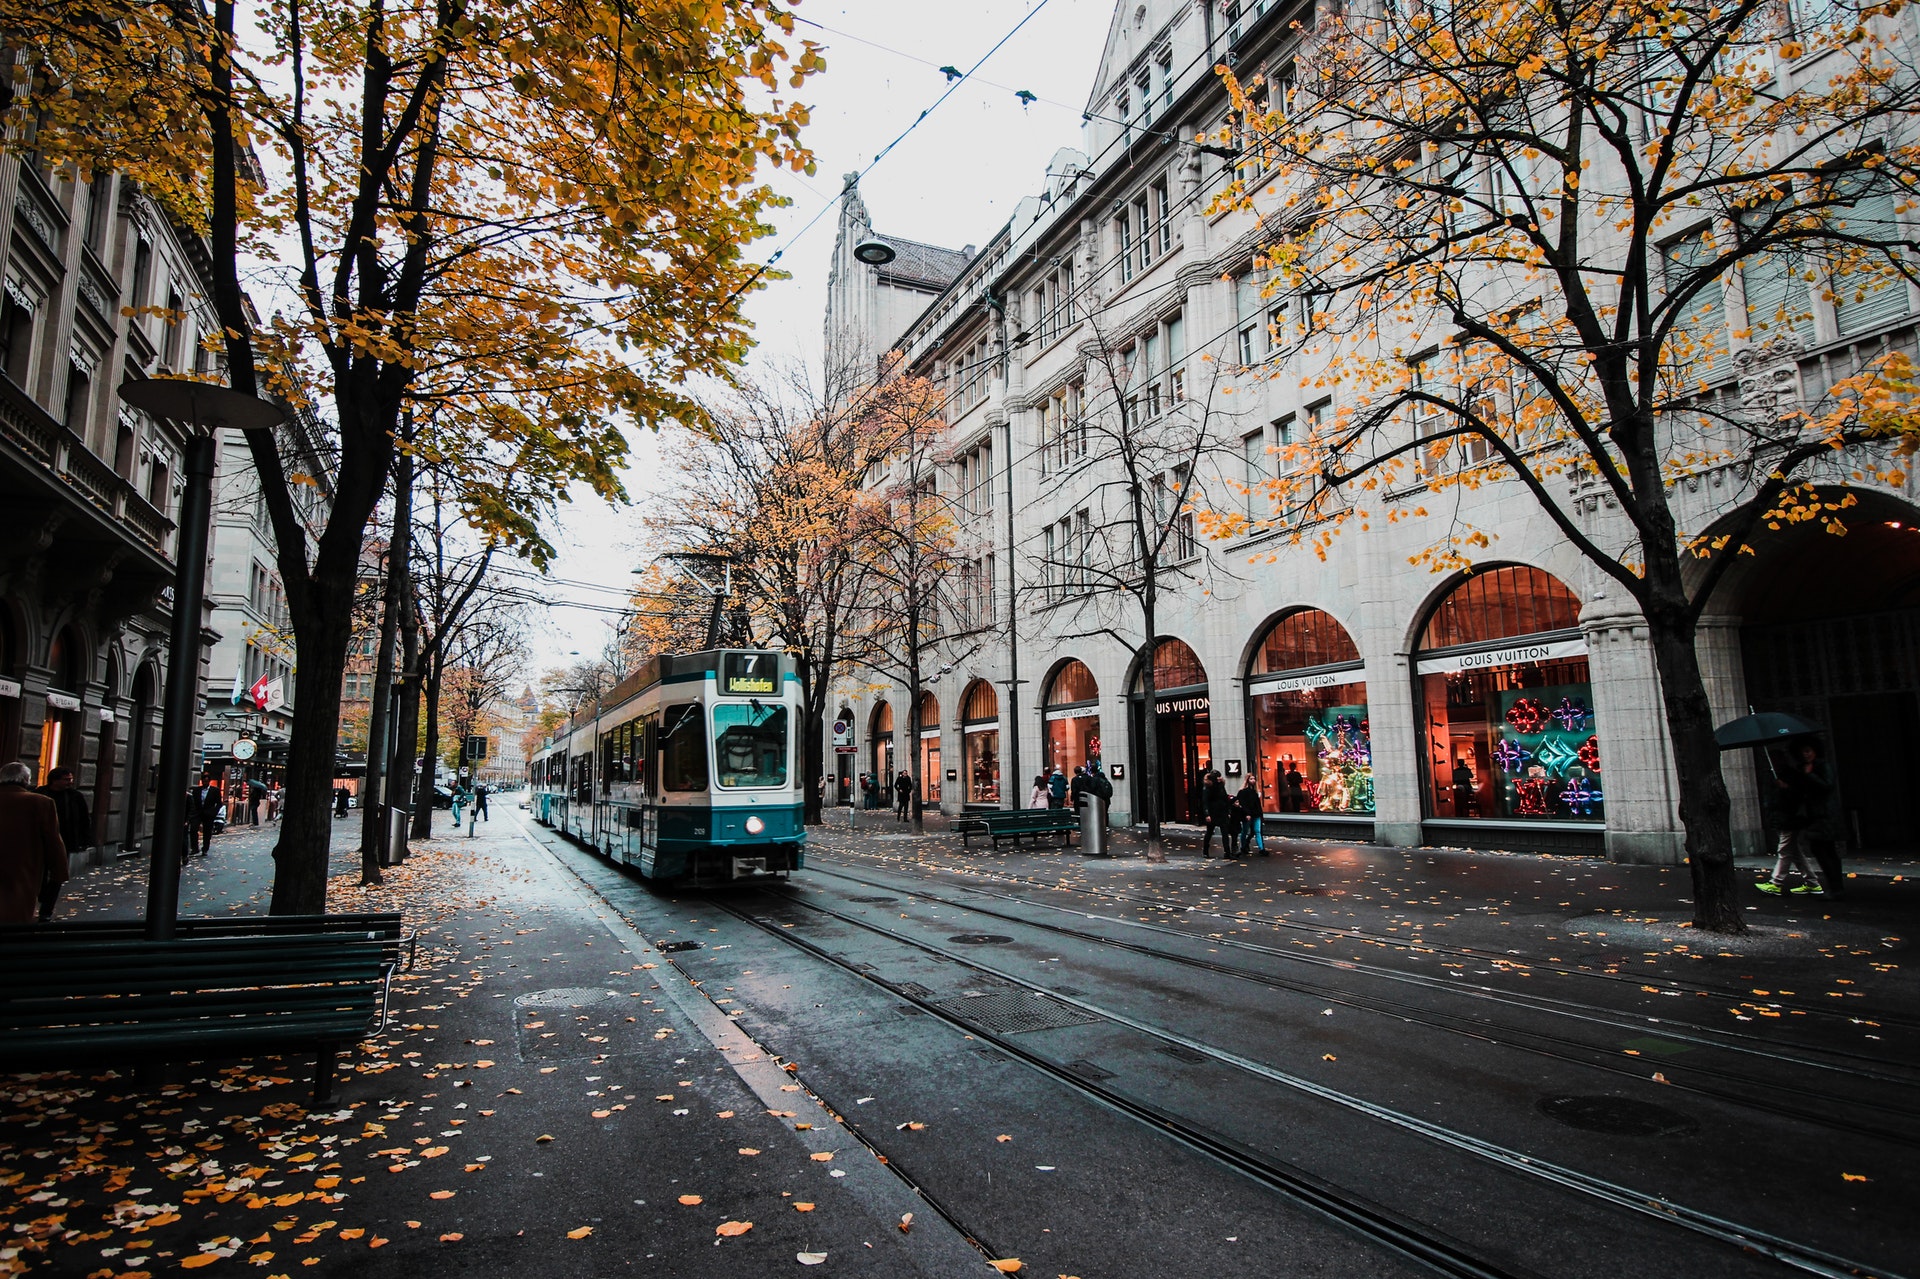
The first challenge can sometimes be the focal length of the lens itself. If you’re used to using a 50mm, and then switch to using an 85mm, then you can expect some similar but noticeable differences when shooting. The first thing I noticed when taking a street photograph with an 85mm lens is the isolation of my subject. The 85mm creates a crazy out of focus or blurred background, which intensifies the focus on the subject itself.
street photography

The result of this is very stunning, and will leave your viewer captivated by the image, especially if it’s a close up street portrait. However, the focal length of this lens can be a bit challenging when trying to capture subjects moving towards you, as it is an extra 35mm closer than your 50mm. Nonetheless, you eventually get used to it very quickly, and start to take some amazing shots.

Camera Settings
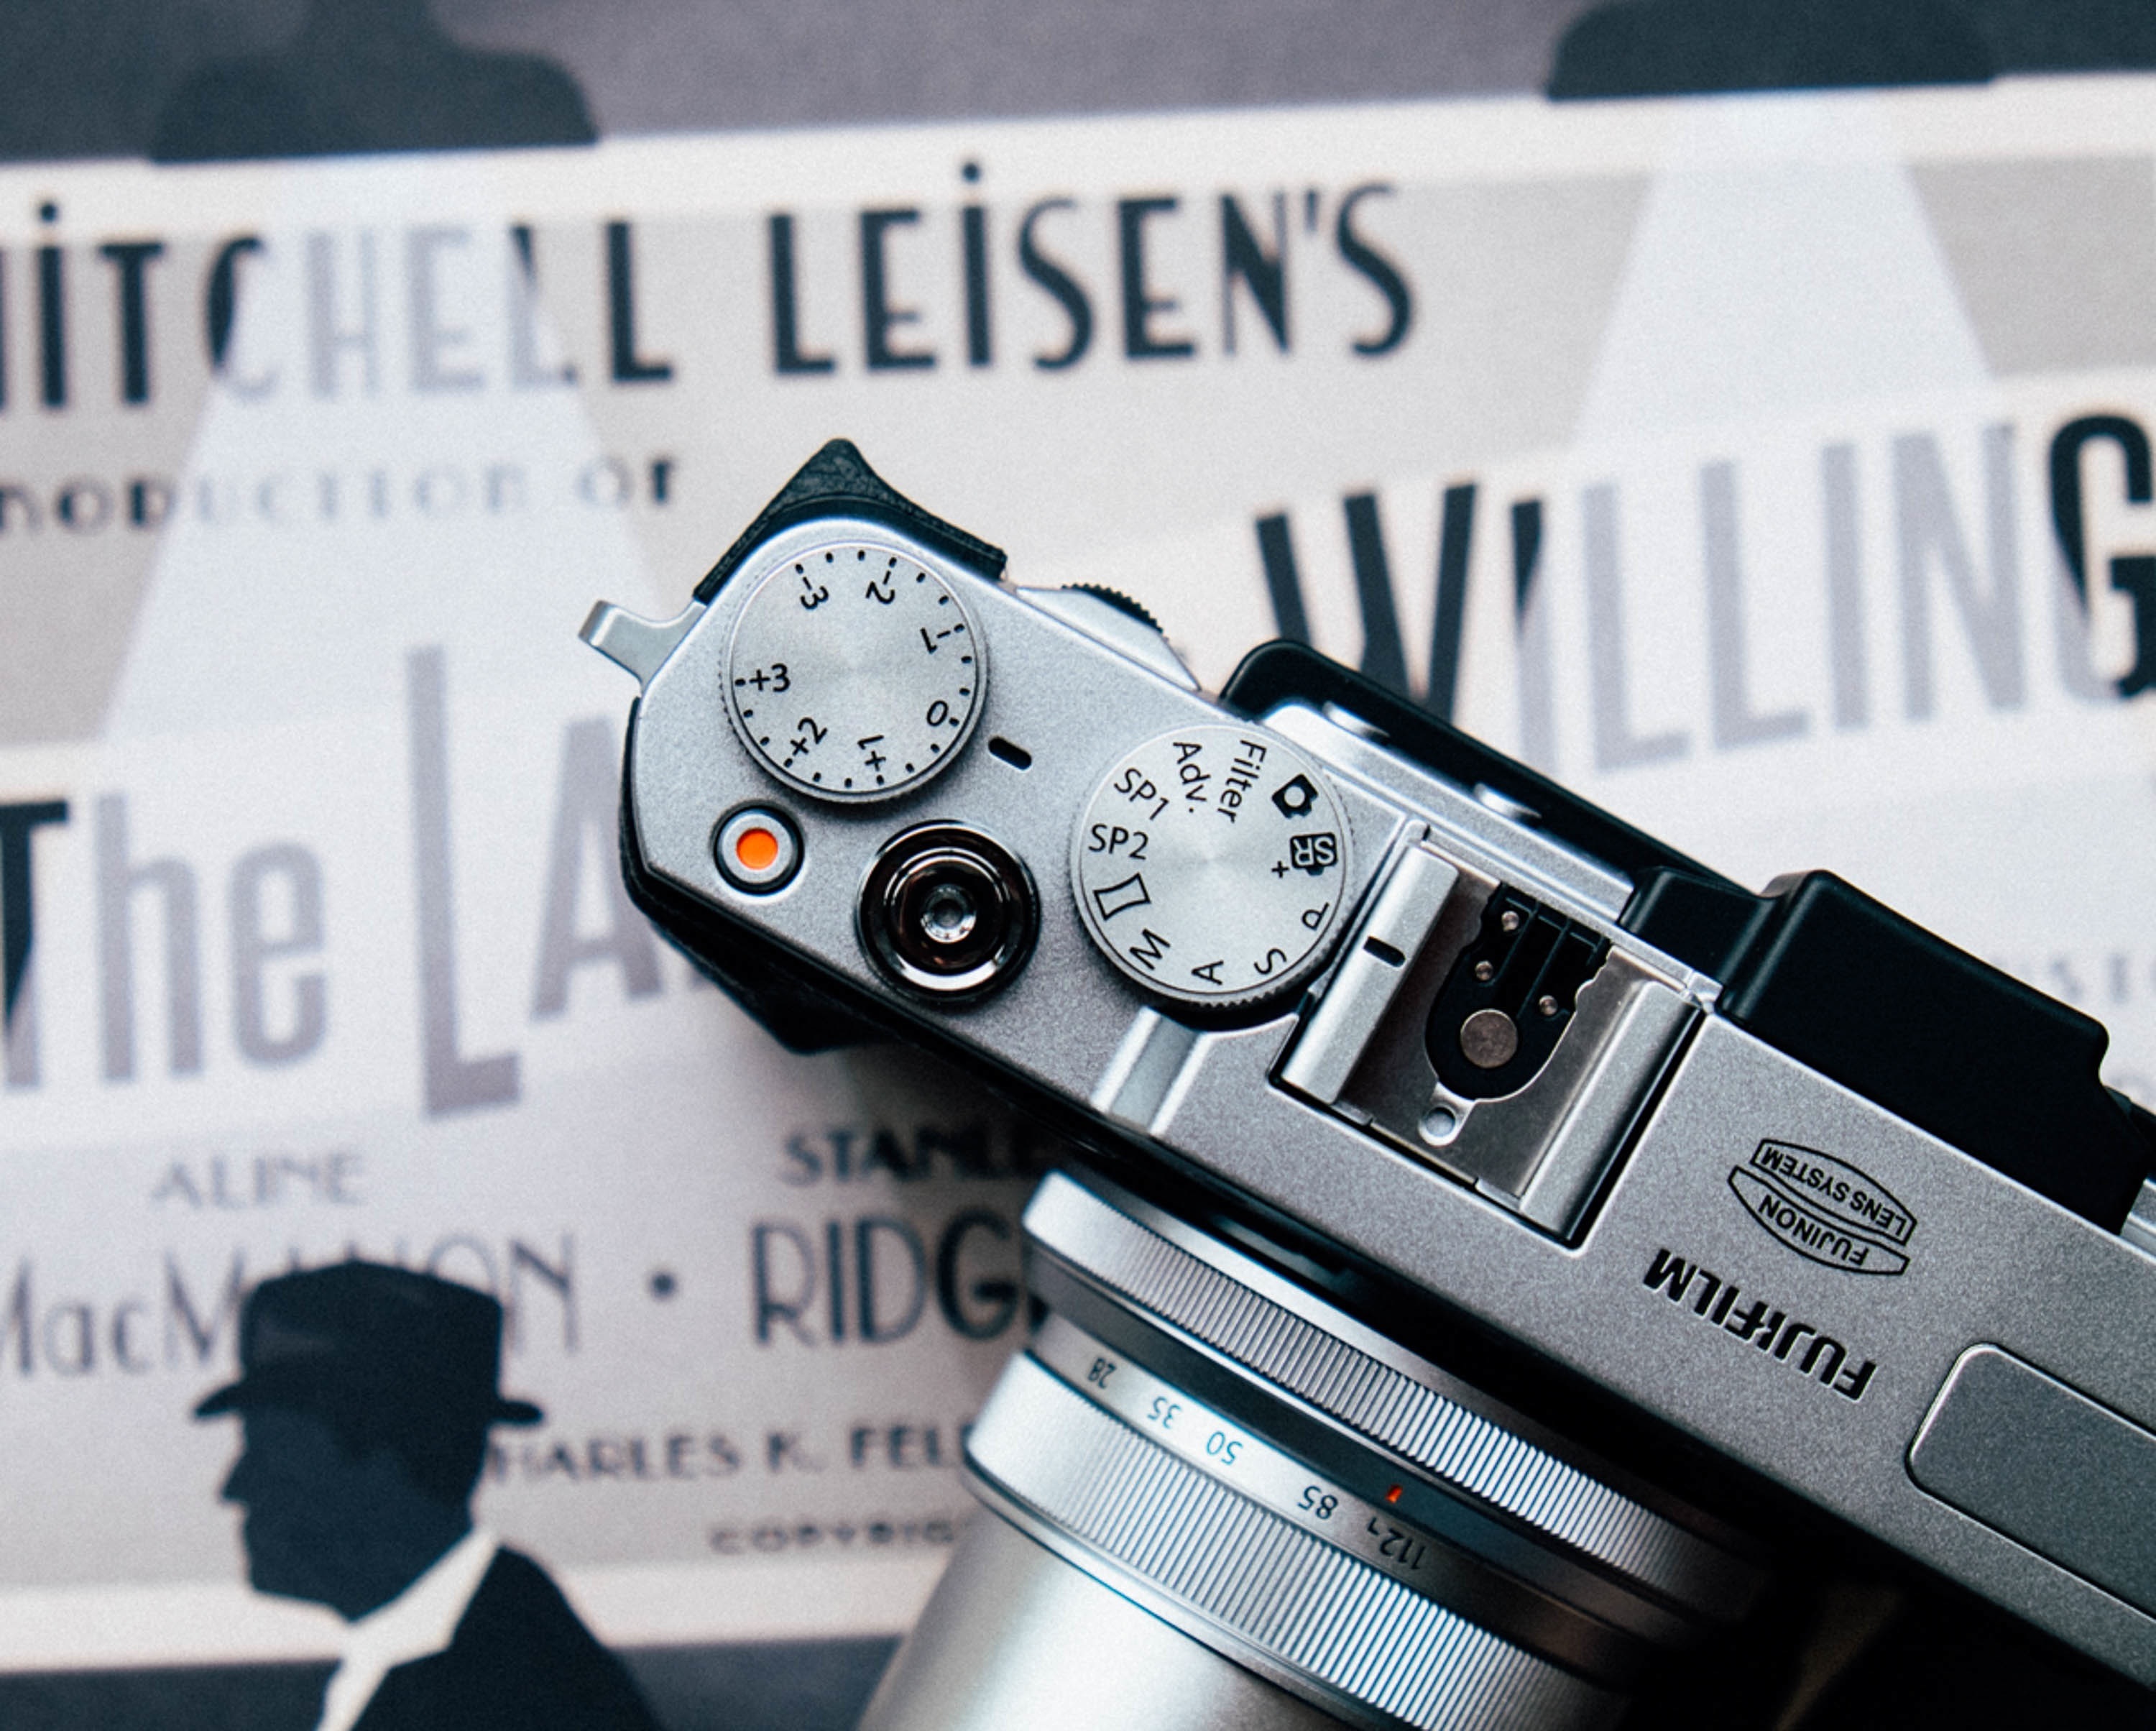
Settings

Automatic, Shutter Priority and Aperture Priority Modes

It’s often times more important to get the shot than to miss it while trying to get the settings perfect. There are many techniques that can aid in your shooting. Many cameras have a fully automatic setting. While this is the easiest way to get the shot, it limits your creativity over the final image . Many cameras have a shutter priority (S) and aperture priority (A) mode that will tailor the camera’s settings around your decided shutter speed or aperture. These modes are your friends.

Some may say that in order to be a “true” photographer you need to be shooting in manual mode at all times. I can guarantee this type of thinking will only result in missed opportunities. Don’t allow your ego get in the way of efficiency.

Focusing

Many cameras these days have quick autofocusing systems that are crazy accurate. However, if you are using a camera that has less than stellar autofocus, you can switch to manual focusing. Many street photographers swear by the method of Zone Focusing.

Zone Focusing is a technique where you pre-focus your lens at a set distance, and anticipate the position of your subject, which will result in acceptable sharpness. If your lens gives you distance markers, this aids in your ability to pre-focus accurately. Over time you’ll get more in tune with what you can get away in terms of acceptable clarity.

In order to maximize your area of focus, use an aperture anywhere between f.9 and f.16. The smaller aperture (the larger number) will give you a wider depth of field, meaning more things will be in focus.

6 Common Street Photography Mistakes

In my expert opinion, I would say that street photography is not one of the easiest genres of photography, but it can produce many great images. The best thing in street photography is that everything is captured in real time and cannot be faked or replicated more than once. Each image has its own unique style, meaning, and elements in the frame.

Street photography can also be subjective to where you live. For example, depending on whether you live in a city or suburbs, you will find that photographers who live close to a major city, like New York, are capable of capturing more captivating street shots than those who live in a suburban area.

In this section, I will be sharing with you the top five mistakes that are commonly made in street photography, and how to correct them. Some of these mistakes were even made by me as a beginner—and sometimes even now as a professional—so I urge you not to feel embarrassed or discouraged, because we’re constantly learning when it comes to this craft.

Letting Fear Get The Best Of You

Most of us are guilty of this first mistake. Doing street photography in fear will not bring you much reward or shots because to get the best shots, you just have to go for it. I used to be afraid myself to take out my camera and capture a shot of strangers walking or to actually just take out my camera to public place to practice street photography. The mentality I had was that everyone is gonna see me and I’m going to draw a bunch of attention to myself. I started to care more about how others feel about the camera than how I felt about getting the shots I want. This hindered me from getting what could be some pretty amazing shots in my pas,t but I’ve refused to let it hold me back now.

street photography

To get over this fear you should make it a habit to walk with optimism and positivity. Make sure to be polite and ask the stranger permission first before you take a single street portrait of them. Don’t be afraid to get close and be in the middle, because the people around you will never really know what it is you’re capturing. Make it a habit to just think about yourself and your camera and nothing else. Once you’ve developed that state of mind, you will become more comfortable when you shoot street photography. However, this is an issue you have to deal with very quickly, or else you will not get the shots you need and will remain timid.

Asking Permission to Photograph

Many people have differing opinions on whether a photographer should ask for permission when photographing strangers. While technically it is legal for us to take pictures of people in a public place (in most cases), one way to make sure you don’t run into trouble is to just simply ask for permission.

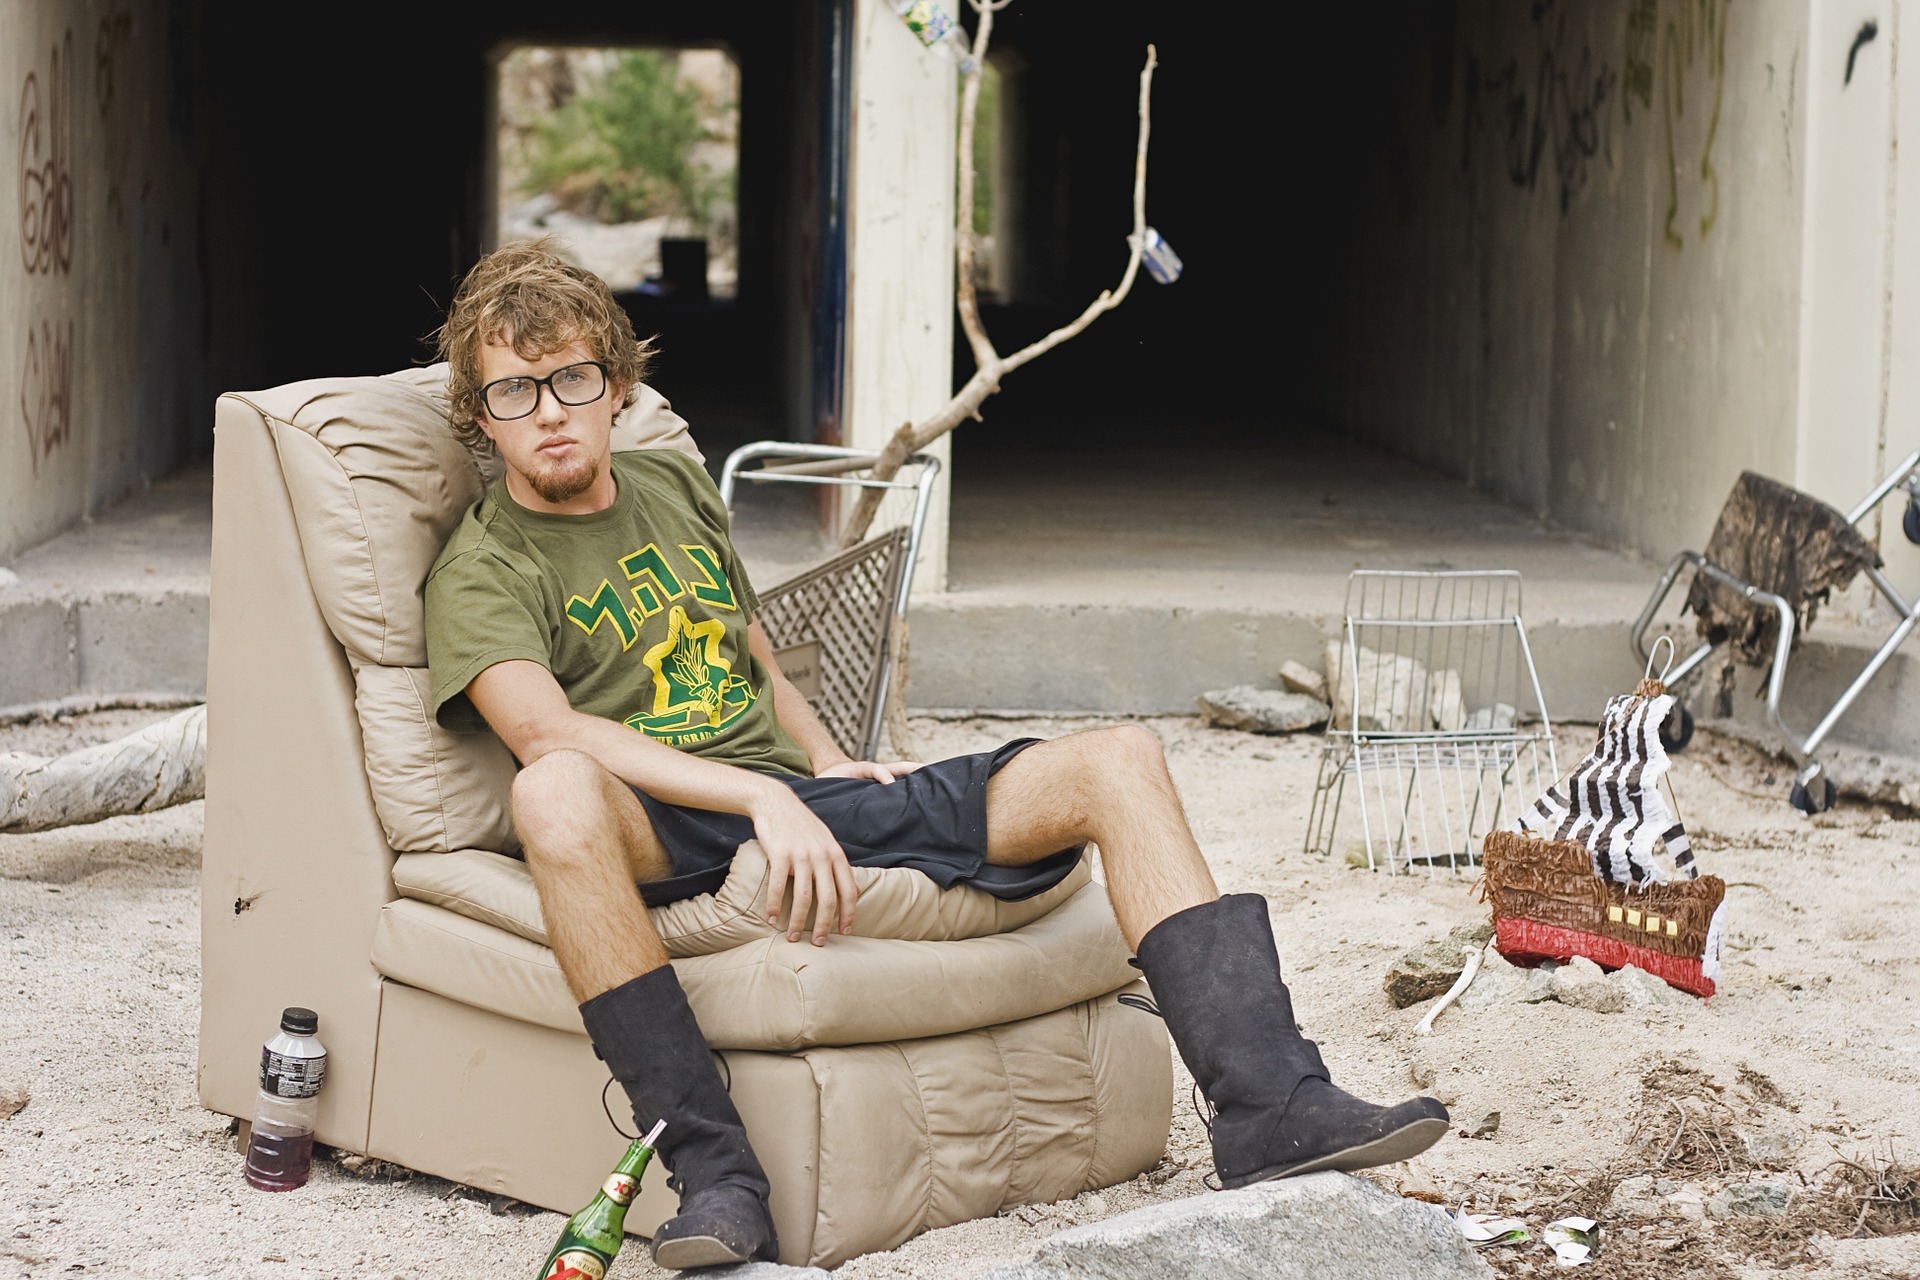
Now, even if you don’t intend to sell the picture, uploading a photo on the internet where people who did not even know they were being photographed is something that many people are not comfortable with. This is aggravated by the fact that some photographers tend to post pictures of people in situations that most people would not be happy to be shown in—for instance, drunk people lying on the street.

I believe that a healthy balance is to only post pictures of people in situations in which you would be comfortable to find a yourself in and, if someone ever finds an image where they are depicted and ask you to remove it from wherever you are showing it (something highly unlikely to be honest), just do so. Also, if you feel the picture is just too good, approach the person and ask them to sign a model release—they might be happy to do so!

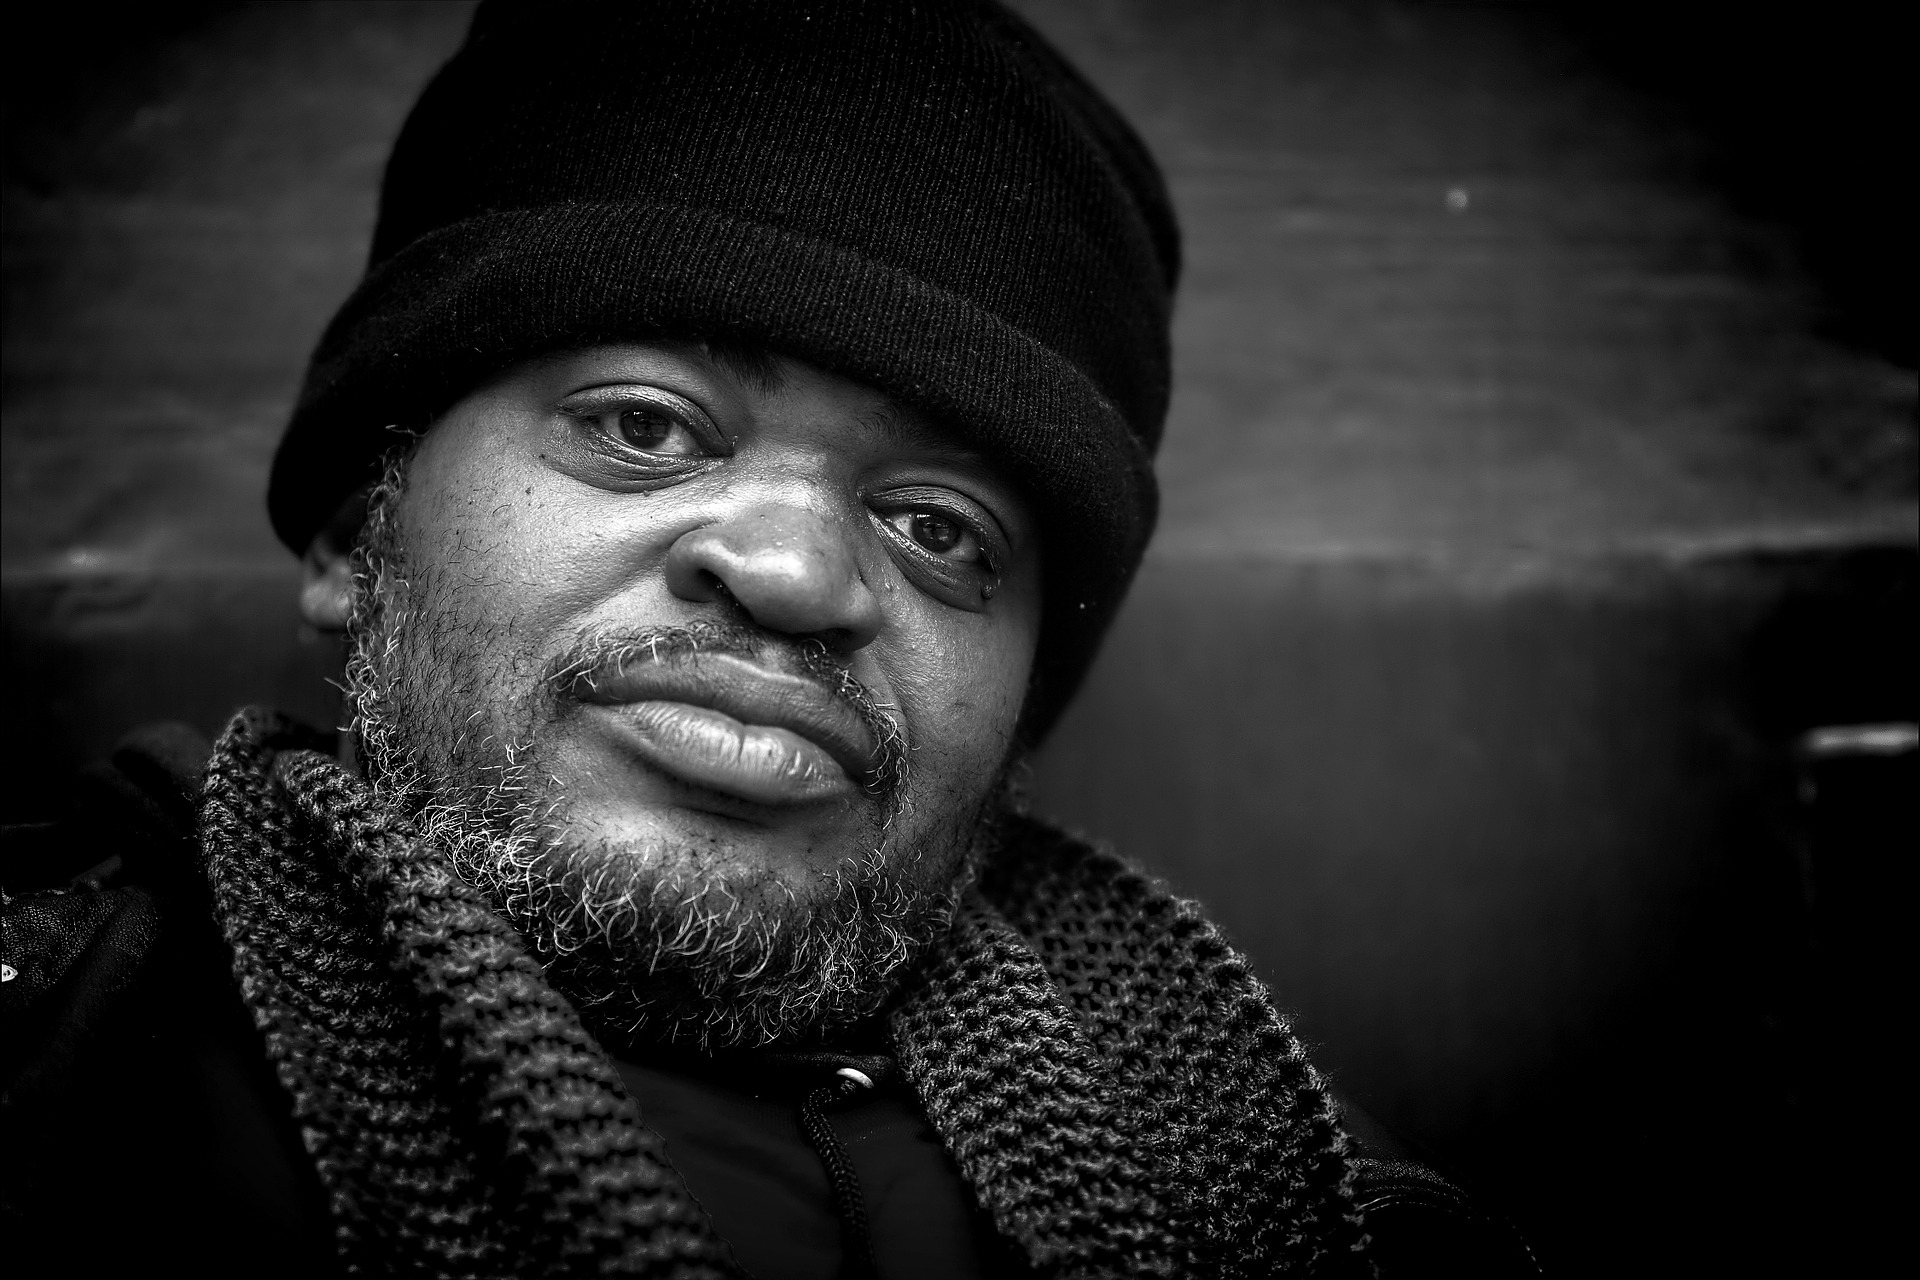
Confidence is key. If you are nervous or feel bad about asking for a photo, these feeling will come across, and you’ll most likely walk away without taking the shot. Walk up with a smile and simply explain why you would like to take their picture. For example, you could ask, “excuse me, I’m professional photographer working on a photo project documenting New York City. Would it be okay to take your picture?” If they say no—no harm no foul.

There is another saying along the lines of, “the only photos you’ll regret are the ones you never took.” Personally, the worst feeling after a shoot is what if. What if I had asked that person or had taken that opportunity to take the shot. Don’t live in fear. Over time, rejection becomes natural; with a little practice,  you’ll eventually get to the point where it no longer bothers you.

Low ISO

I used to believe in the rule that shooting at a low ISO when doing street photography is best. This has proven to be a mistake, as the advancement of cameras over the years has allowed photographers like myself to shoot at a high ISO without compromising my image with grain. A low ISO is obviously subjective to what  you’re shooting with, but when it comes to street photography it’s not always the best option.
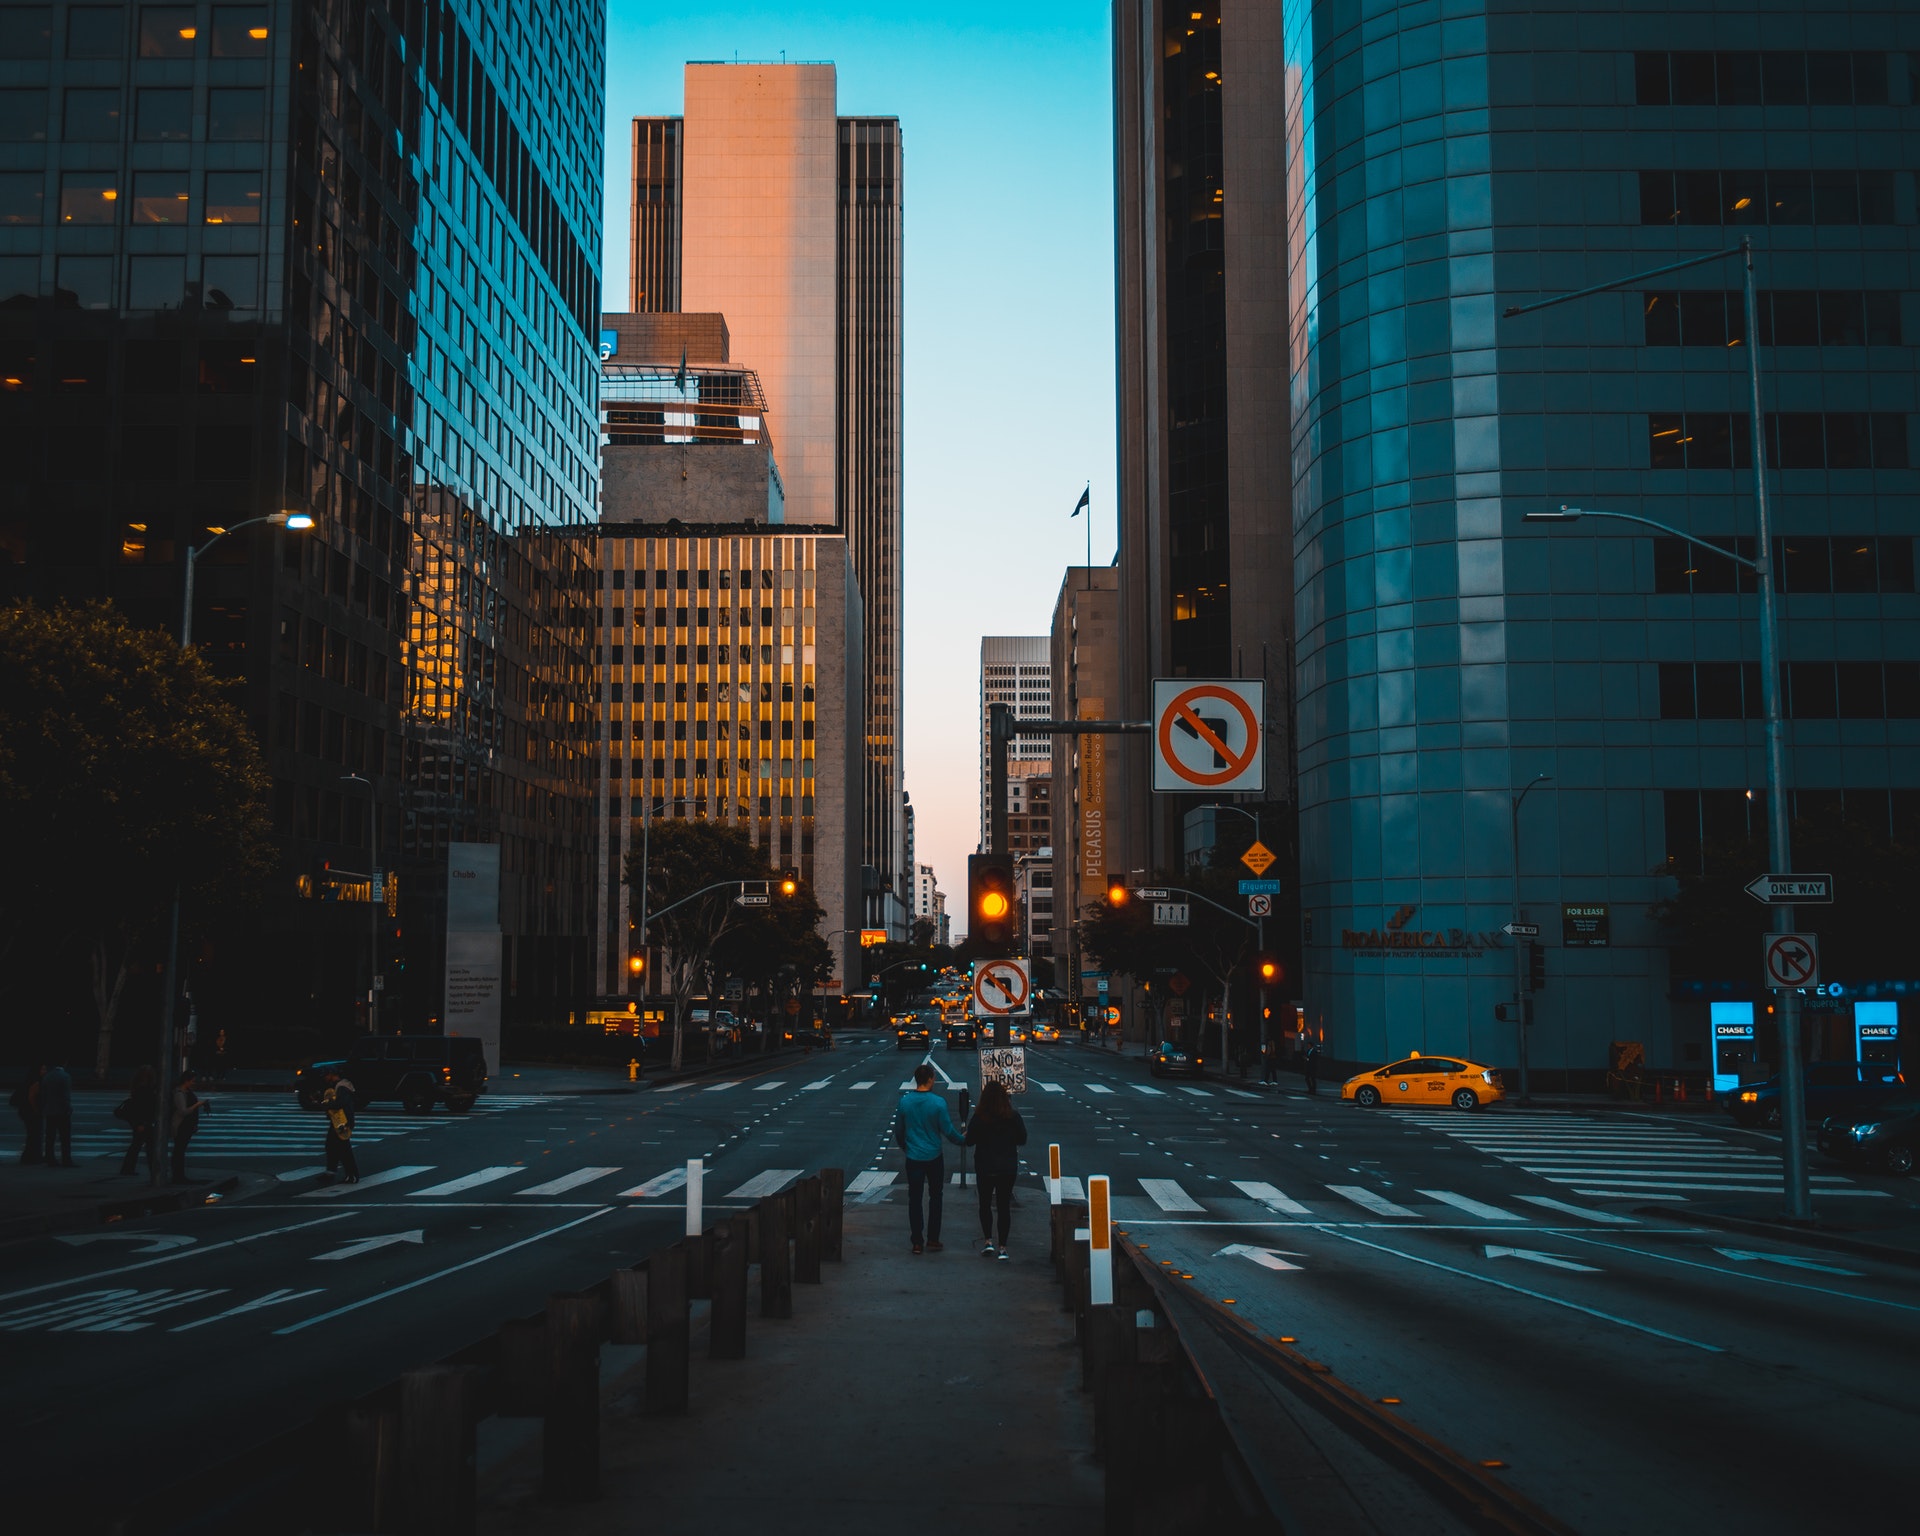
street photography main road

Normally, you are forced to shoot street photography at a high shutter speed, preferably 1/250 or higher, depending on your lighting conditions. We need the shutter speed high because street photography is very spontaneous, and you need to have a freeze frame of whatever it is your subject is doing.

In addition to having a high shutter speed, I would also recommend a high aperture value as well. Anywhere between f/8 – f/16. The reason for this is also related to the fact that your subject will more than likely be moving at an unpredictable rate. In the event that they are moving fast, would want to be able to have a large depth of field, just in case you miss the main focus. The rest of your shot will be pretty sharp, so you can make adjustments in post-production.

Don’t Move Too Fast

Try not to be so caught up looking for the next subject that you’re walking fast and missing the great things that are already around you. Take your time and observe where you are, and let that dictate your shots, because moving fast will distract you from what’s just around the corner. Street photography takes a little patience, but the patience you put in will give you a reward you will appreciate later, so try to take it slow.
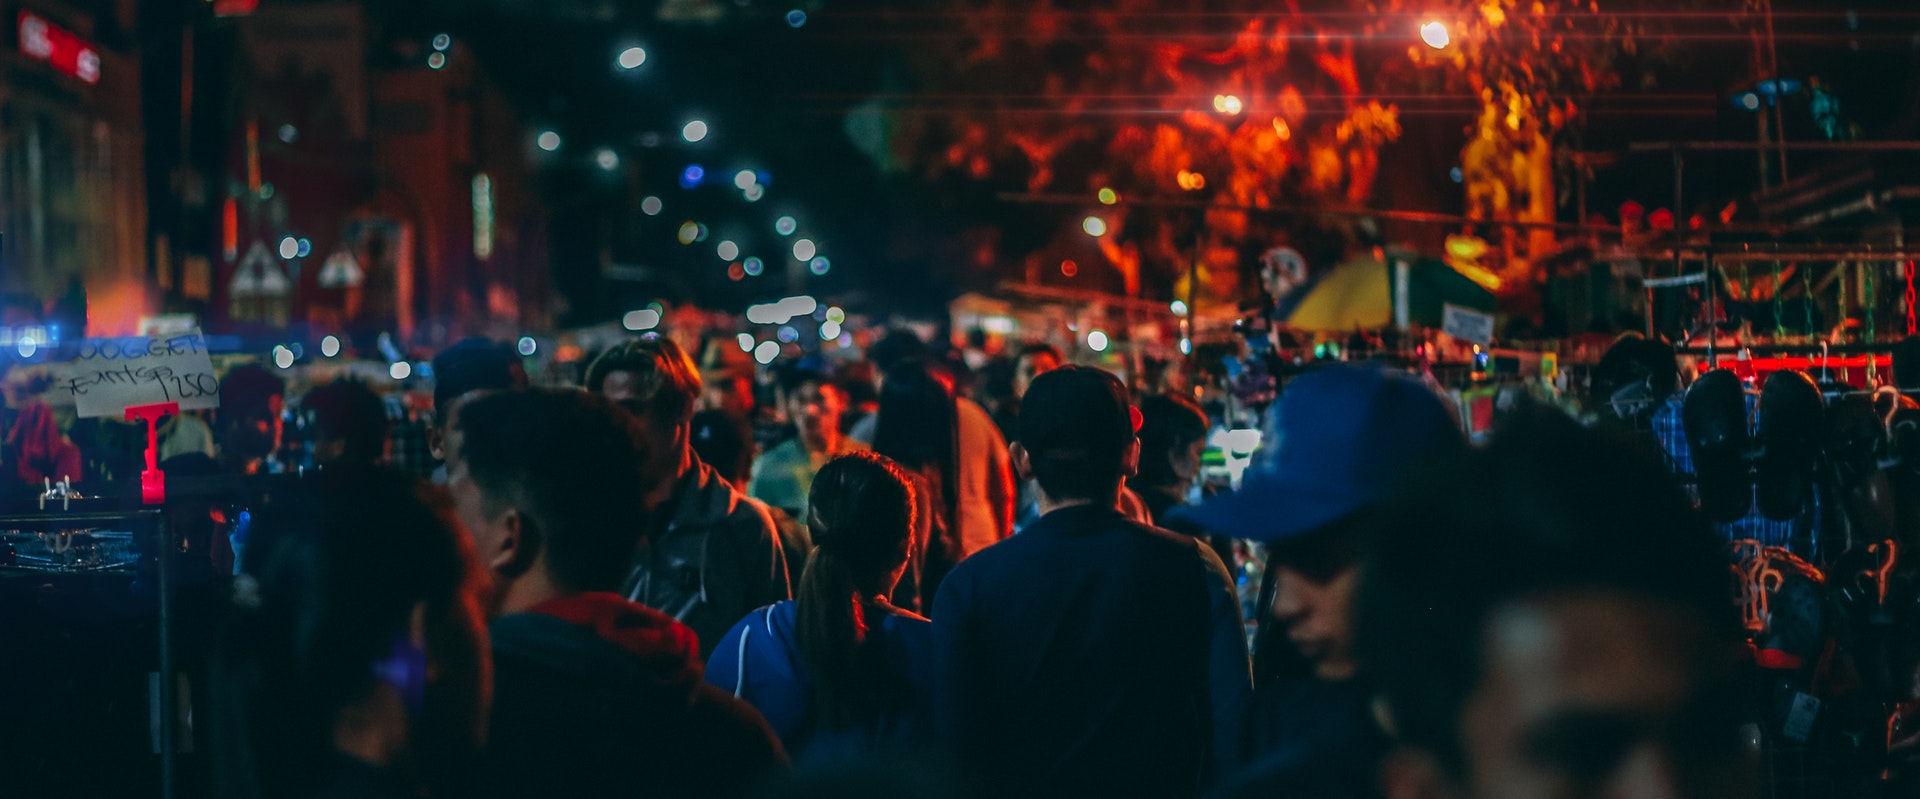
street photography busy street

Not Getting Close Enough

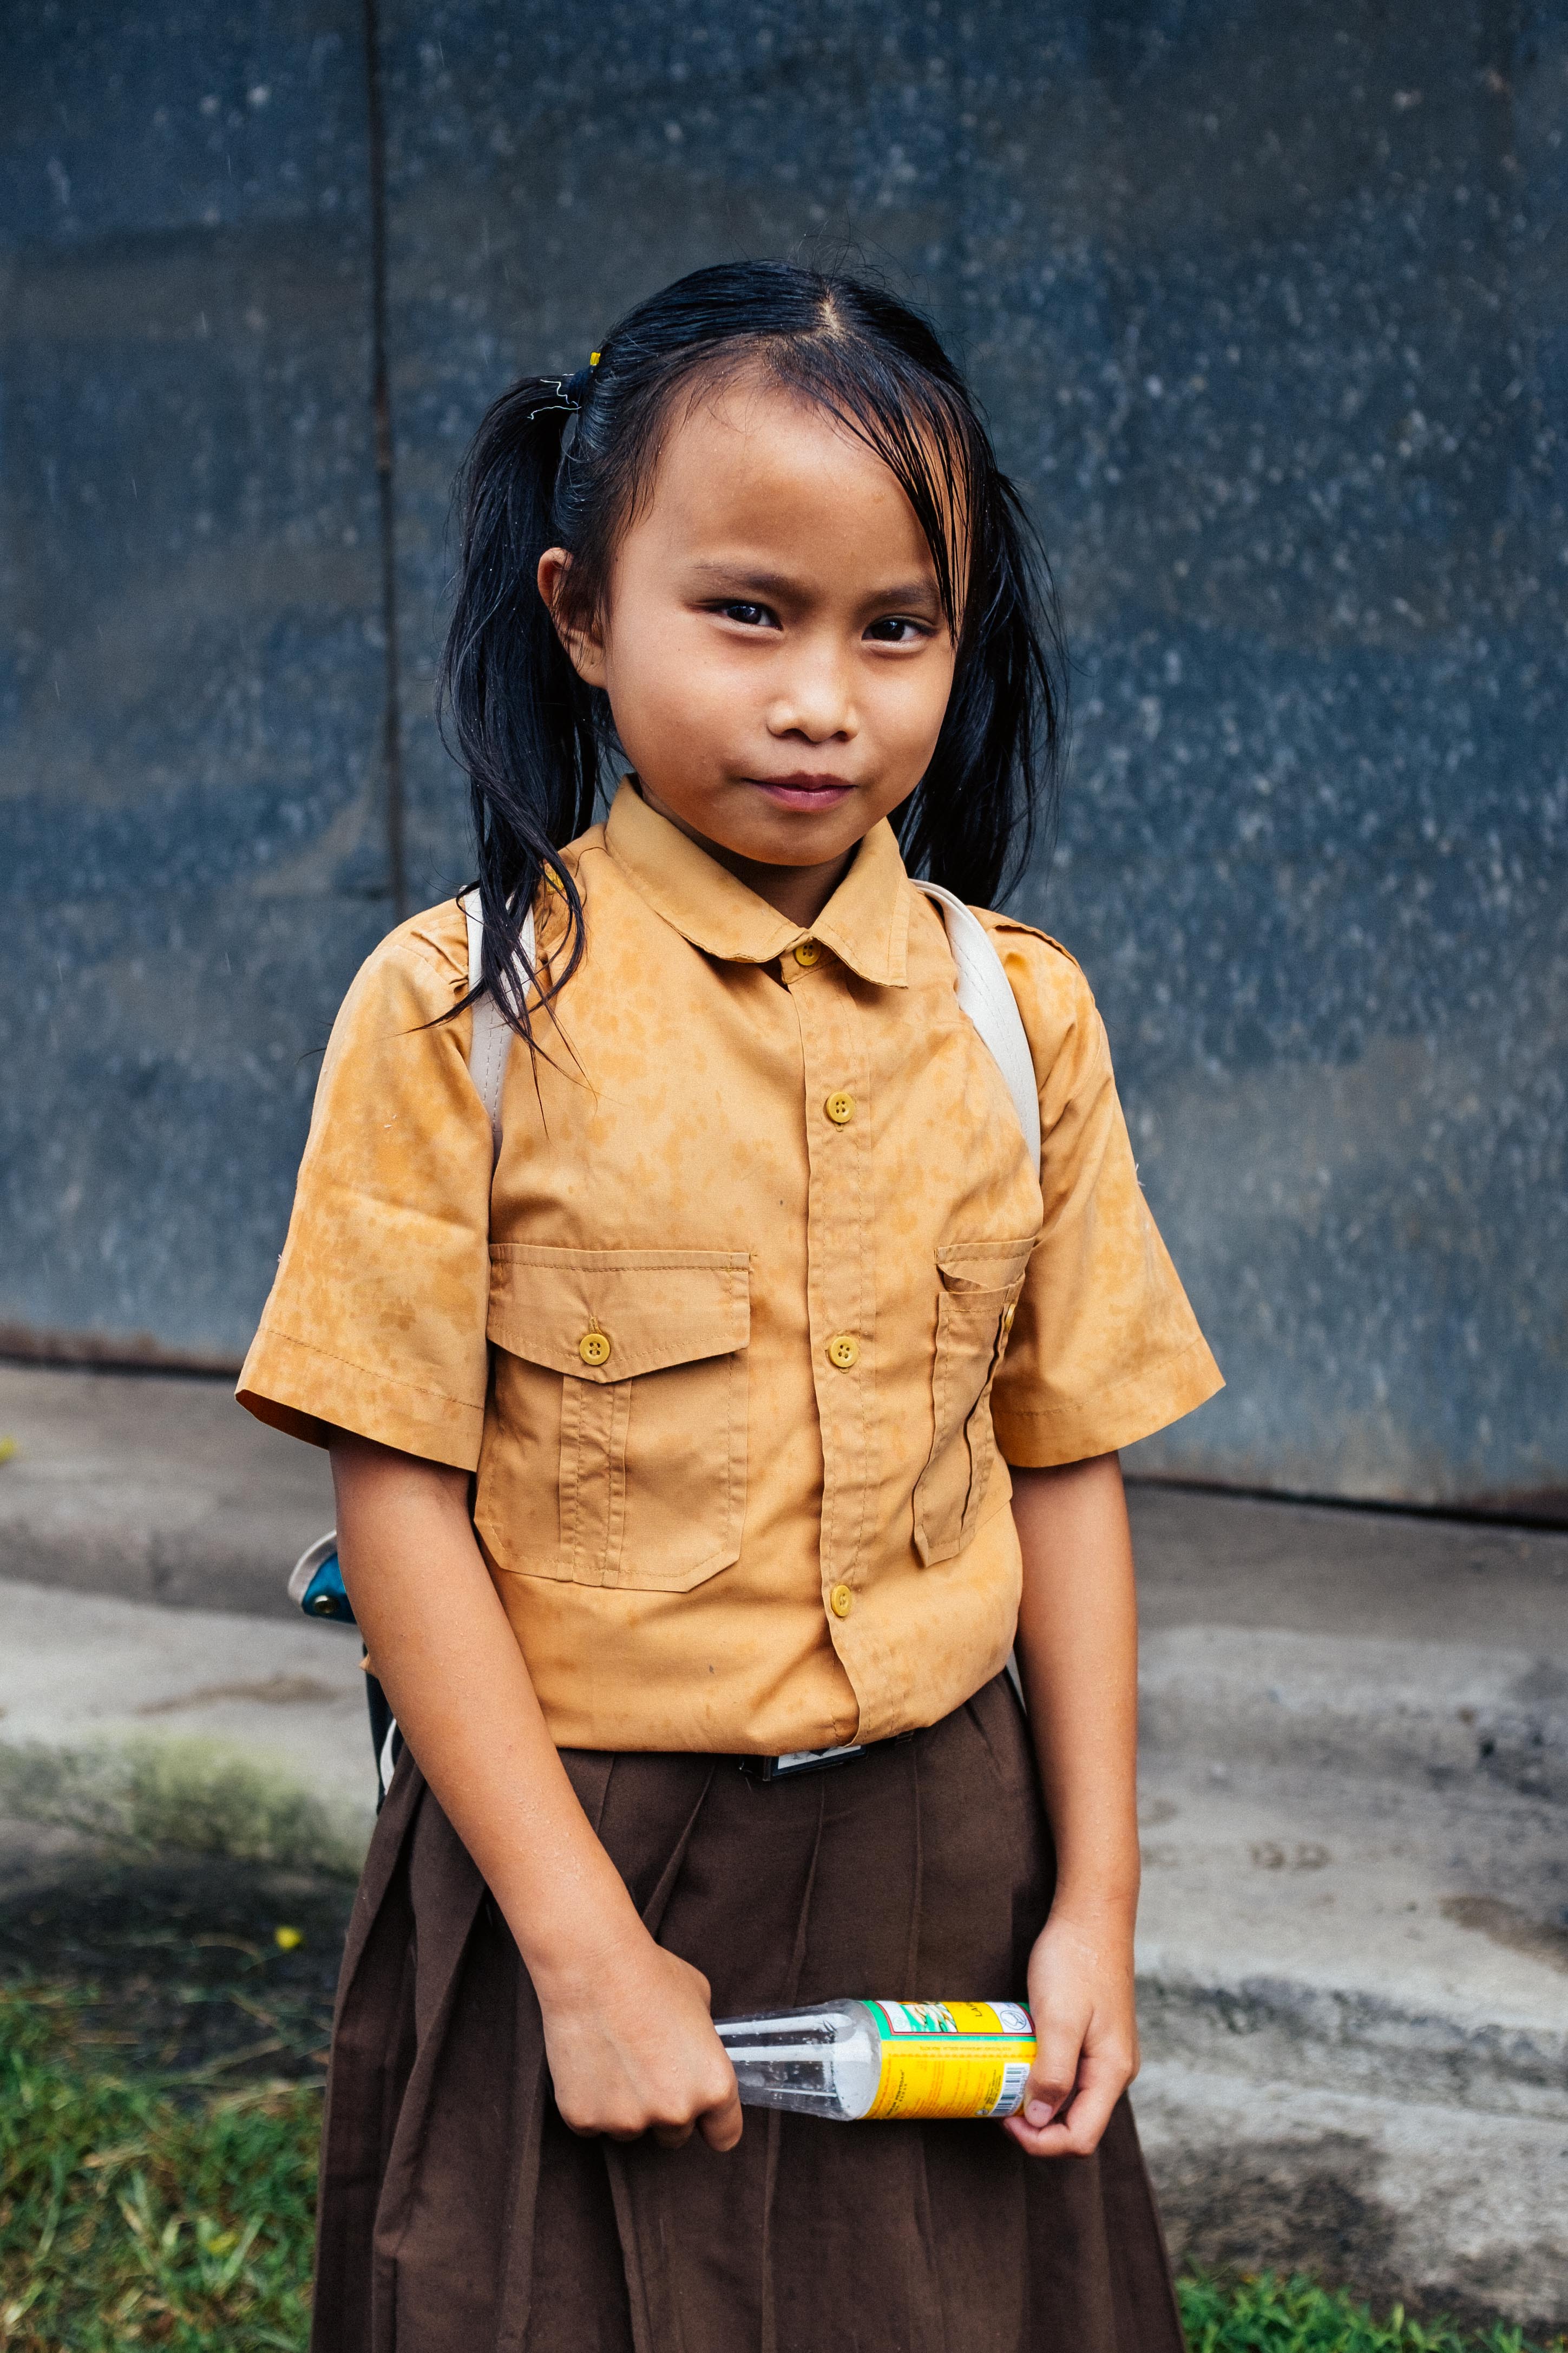
This mistake is one a lot of us make—not getting close enough to our subject because we are too scared or in a panic. A wide shot is always good in street photography, but there may be a lot of moving objects or people that will distract viewers from the main subject in your frame. Get close, and make sure you isolate what it is you would like viewers to see in your frame. Otherwise, they will be distracted by everything else.
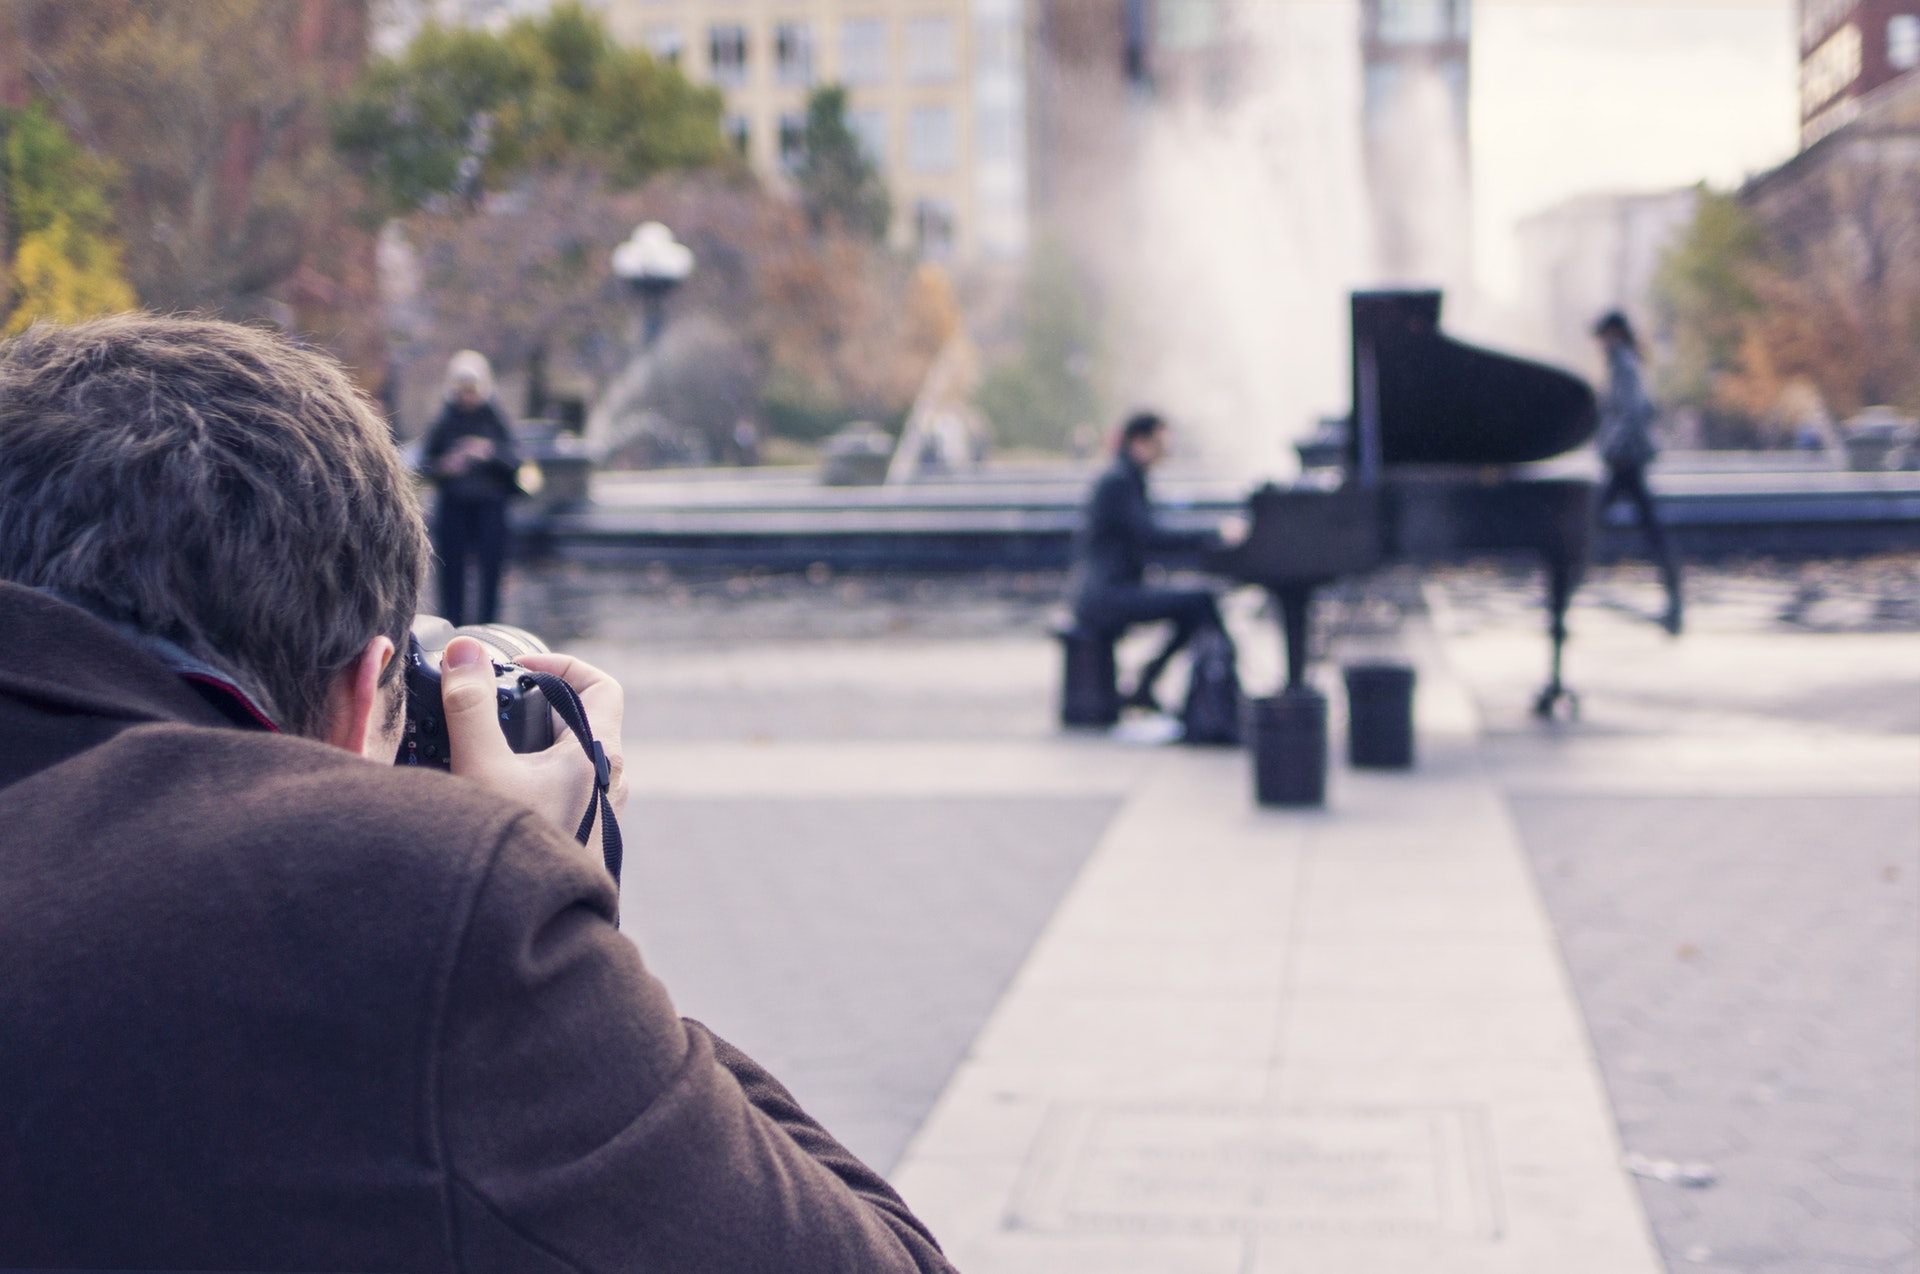
street photography with subject

Glued To The Viewfinder

I know you need to look through your viewfinder to compose your shots, but don’t be distracted by the viewfinder so much that you forget to use your eyes.

Being distracted by looking through the viewfinder all the time will limit you from seeing the bigger picture, as your field of view is limited. Your eyes are the true viewfinder, and should be your primary tool when looking for shots during street photography.

Keep your head up and your eyes alert so when you can actually see your shot, then bring your camera up to your eyes and capture the frame. Street photography is a beautiful thing, but it’s all about timing, patience, and being fearless. Once you’ve mastered all these things then you have nothing to worry about.

6 Challenges Every Street Photographer Faces

Street photography is one of the most dynamic and interesting forms of photography out there. It is something that can really capture the world as it is. There is no posing, no special lighting, it is just capturing the world at that moment. The most interesting photos are the ones that are captured like this. The problem is that it takes a very special type of photographer to be able to capture street photos. You have to be outgoing, confident, and very good at what you do.

For those who do street photography, it is rewarding and amazing. It is not always easy though, and there are always challenges that a street photographer is going to run into. Understanding those challenges, and working to keep them from becoming a major problem, can improve your street photography skill.

street-photographer-problems-1

Poor Location

There is a chance that when you’re photographing people on the street, you choose a poor location. If your location is empty, and there isn’t anything interesting there, your photos are not going to be interesting either.

Being Afraid

It is not an easy thing to go up to someone and ask them to take their picture at random. You may feel shy, or even afraid, so that can impede you from getting the photos you want. You should never let this push you away from getting photos. You should always make sure you push yourself and try to get the photo and talk to that person. Don’t let fear limit you.

Other People

The biggest part of street photography are the people, but some people are going to be wary of you getting their picture. If you are not going to talk to the person, then just be as subtle as you can with your photography, but don’t be rude about it. Make yourself look like the photographer you are, and people will be much more apt to trust you. Don’t look dodgy or creepy, and don’t hide to get your photos.

street-photographer-problems-2

Some people will not want their photo taken. If they confront you, then all you have to do is apologize, explain what you are doing, and offer to delete the photo from your camera. This will show you have nothing to hide, and that you understand they are angry about the picture. Work with people, never against them.

People Stop Doing What They’re Doing

When you have the confidence to get the shot, you may find that the person stops doing what they were doing. Maybe they walk out of the frame, maybe they see you and just freeze up. It is important to be subtle, but understanding, and move on if you have to because your photo may not work out and there will always be other photos down the road. Try to plan what your subject is going to do, and where they will enter the shot, so you are ready when the moment comes.

street-photographer-problems-3

It is important to understand that there may not be a decisive moment for you. You may be waiting a while for that moment, but that moment may not come. If it doesn’t, move on and just get another shot whenever you can.

Worry

You may start to worry that you will never get that shot. You may want that perfect shot that will never come. All you can do here is stop worrying and take as many photos as you can. The more you take, the more chances you have at getting that perfect photo you have been hoping for. Don’t be afraid to take dozens, or even hundreds, of photos of one subject. Just start taking photos and don’t stop until you are satisfied.

Incorrect Exposure

On the same note as before, you may get those quick shots, but that could end up being a poorly exposed picture, or one that is out of focus. Try to have your camera ready before you start shooting, and get some preview photos if you can. Just a small bit of planning ahead can ensure that you get the pictures that you want, and that they are not going to turn out poor or out of focus. It is always best to take that extra time to do it right.

street-photographer-problems-4

Famous Street Photographers

If you’re looking for inspiration to improve your street photography skills, one of the best ways is to study the experts. A few popular street photographers to study include:

  • Martin Parr
  • Henri Cartier Bresson
  • Bruce Gilden
  • Joel Meyerowitz
  • Lee Friedlander
  • Robert Doisneau
  • Helen Levitt
  • Robert Frank
  • William Eggleston
  • Saul Leiter
  • Diane Arbus

Street Photography Requires Skill and Confidence

Street photography can be a fun and challenging way to improve your photographic skills. It’s also a great way to explore the world and capture everyday life as it happens. We hope these tips have given you some ideas on how to get started with street photography.

SaveSaveSaveSave

A Taste of Indonesia: My Adventures as a Photographer in Bali

Many people woke up to see news about the eruption of Mt. Agung in Indonesia on November 21st, 2017. Following this global news coverage, there was a sudden spotlight shifted to the specific island where this volcano resides, Bali. What is this part of Indonesia like for someone who loves travel and photography? For the most part, the news stations were only sharing doom and gloom photos from the eruption. Due to this, it probably didn’t make it seem too appealing for travels unless you’re a photographer who has always wanted to photograph a volcano eruption.

I had the pleasure of visiting this location last year and actually hiked an active volcano just north-west of the one that exploded. I’d like to share my personal experiences with you all in order to convince you that this is a place that you should definitely visit.

Where to Visit

Most people who end up visiting Bali spend most of their time in the southern part of the Island. There are many beaches, restaurants and it’s convenient because it’s close to the airport. I would strongly advise you to stay far away from this area. I believe the worst thing you can do when traveling to a foreign country is getting caught up in tourist traps with hundreds of people. So many people use their precious vacation time and money to travel to a foreign place and end up getting a very fake, commercial experience.

In order to avoid this, you want to make sure to travel as far north as possible. I would say that the town of Ubud is about the lowest south that you would want to go. The real beauty of this island is found in the almost untouched nature in the far north. Find a place to stay as far north as possible and then spend your time taking in a natural beauty.

Bali

I would recommend renting a motorbike. Renting a bike is quite easy and affordable but if you’ve never ridden before I would do so with extreme caution. The roads are extremely narrow and not always in the best condition.

Once you’ve booked a nice place and gotten some transportation it’s time to explore!

Volcanoes

Bali

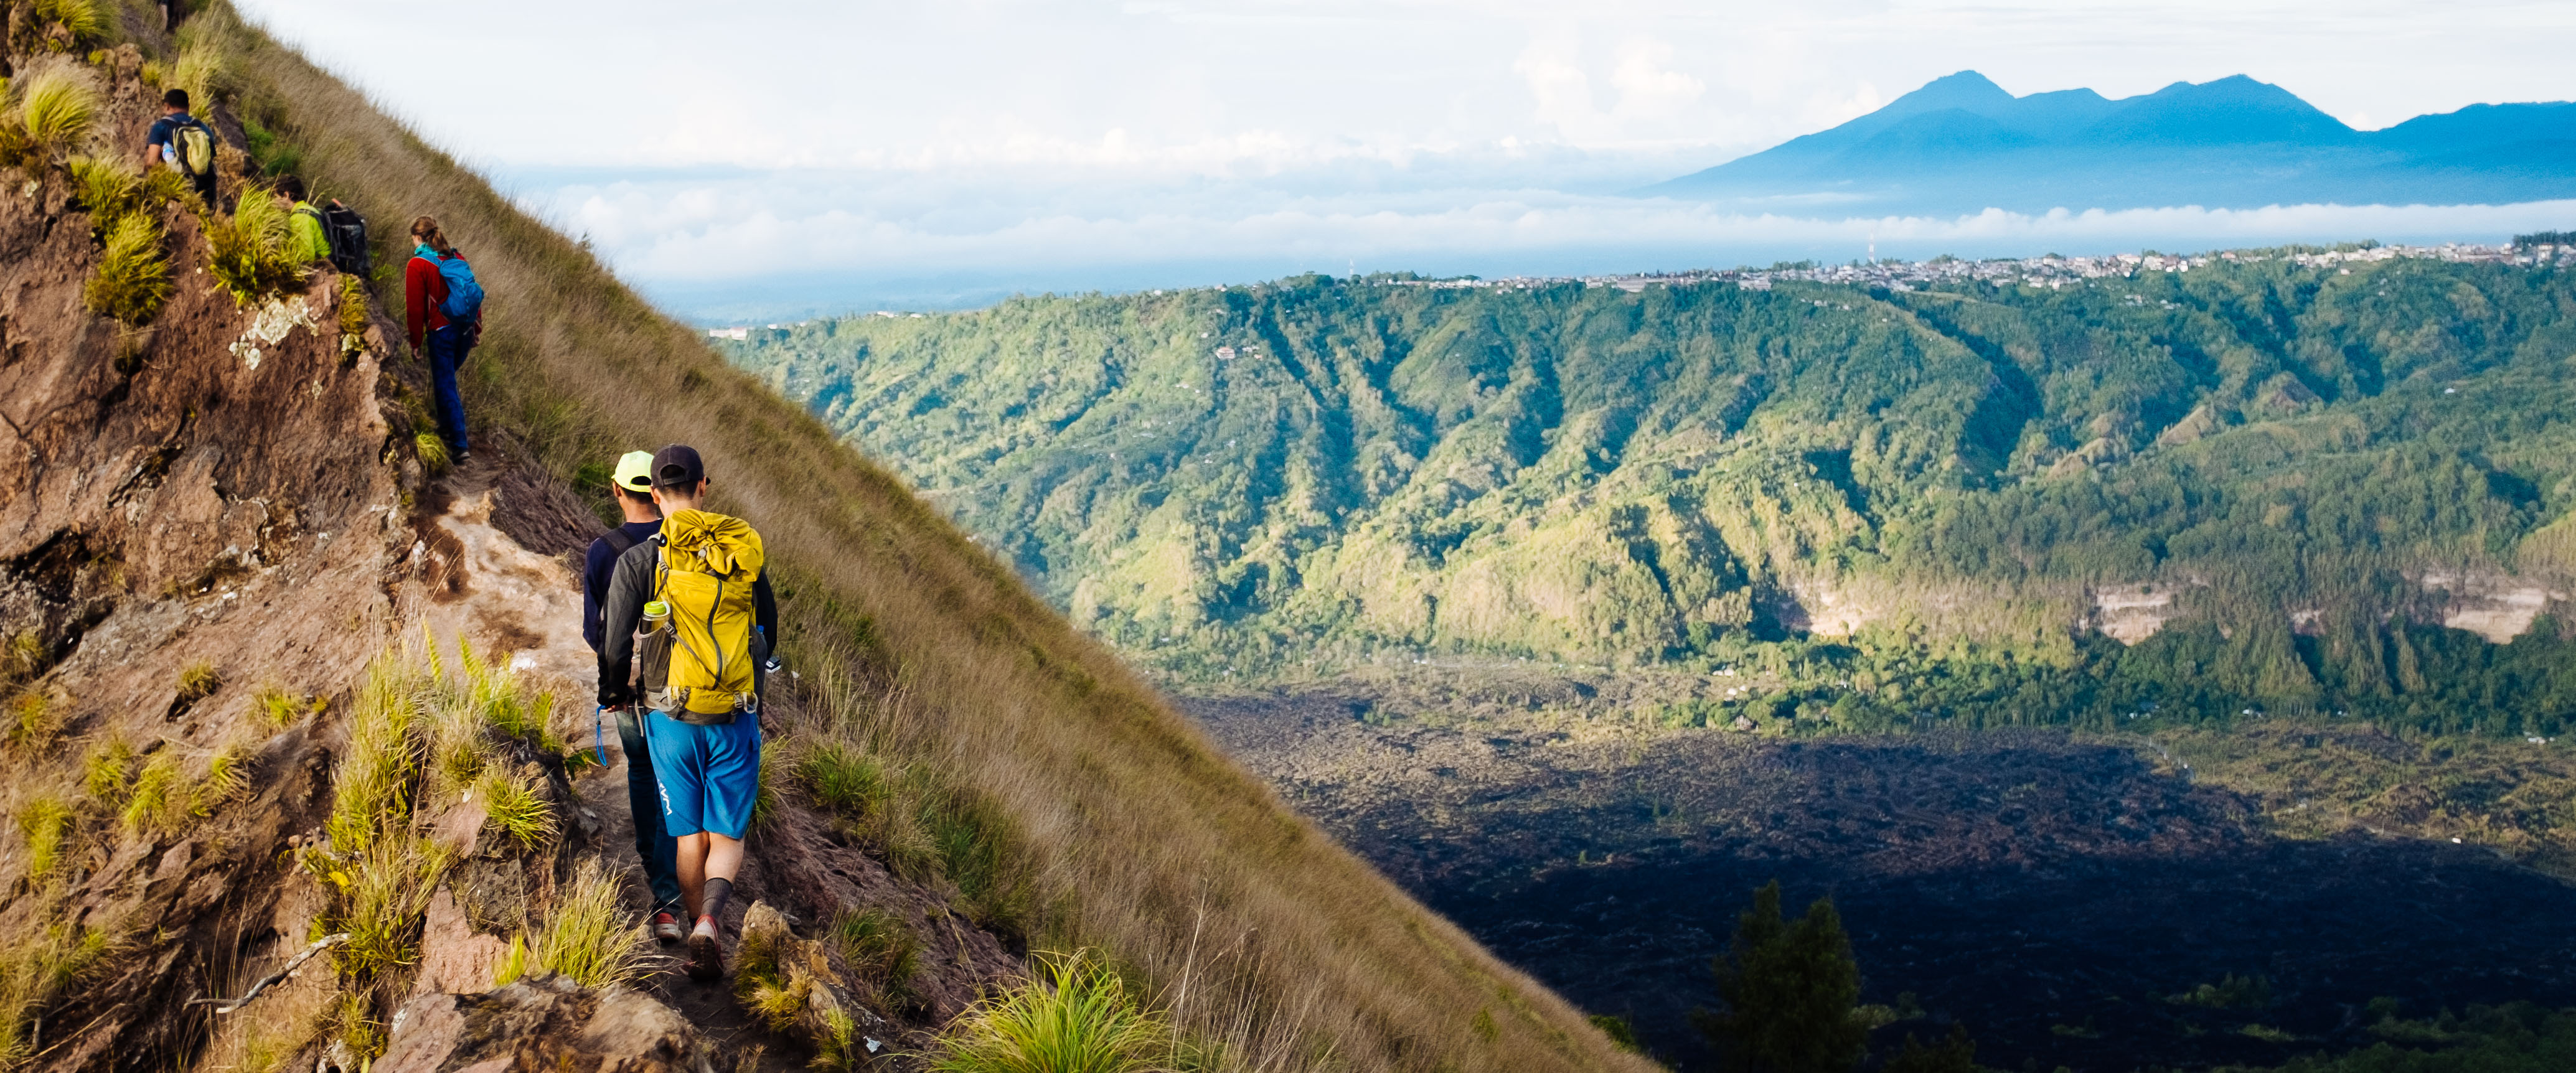
There are 3 main volcanoes on the island. Mt. Batur, Mt. Agung and Mt Rinjani (all of them you can hike). Even though the recent eruption might scare you, serious eruptions like the one in November are rare. The most active one is Mt. Batur but as long as your check prior to doing the hike you should be totally fine.

Mt. Batur is the easiest and quickest one to climb. I woke up at 4 am and reached the summit for sunrise by around 6 am. It’s a pretty strenuous climb especially if you’re carrying your camera gear but if you’re in decent shape you should be able to do it no problem.

The scenery was absolutely stunning. The variety of plants along with the amazing views are something I’ll never forget. Once you reach the top you sit overlooking a serene lake that sits at the base of another massive mountain. You can also see where past eruptions in the past have charred the ground which is something I’ve never seen before in person. I would highly recommend doing this for the amazing experience and great photo opportunities.

Waterfalls

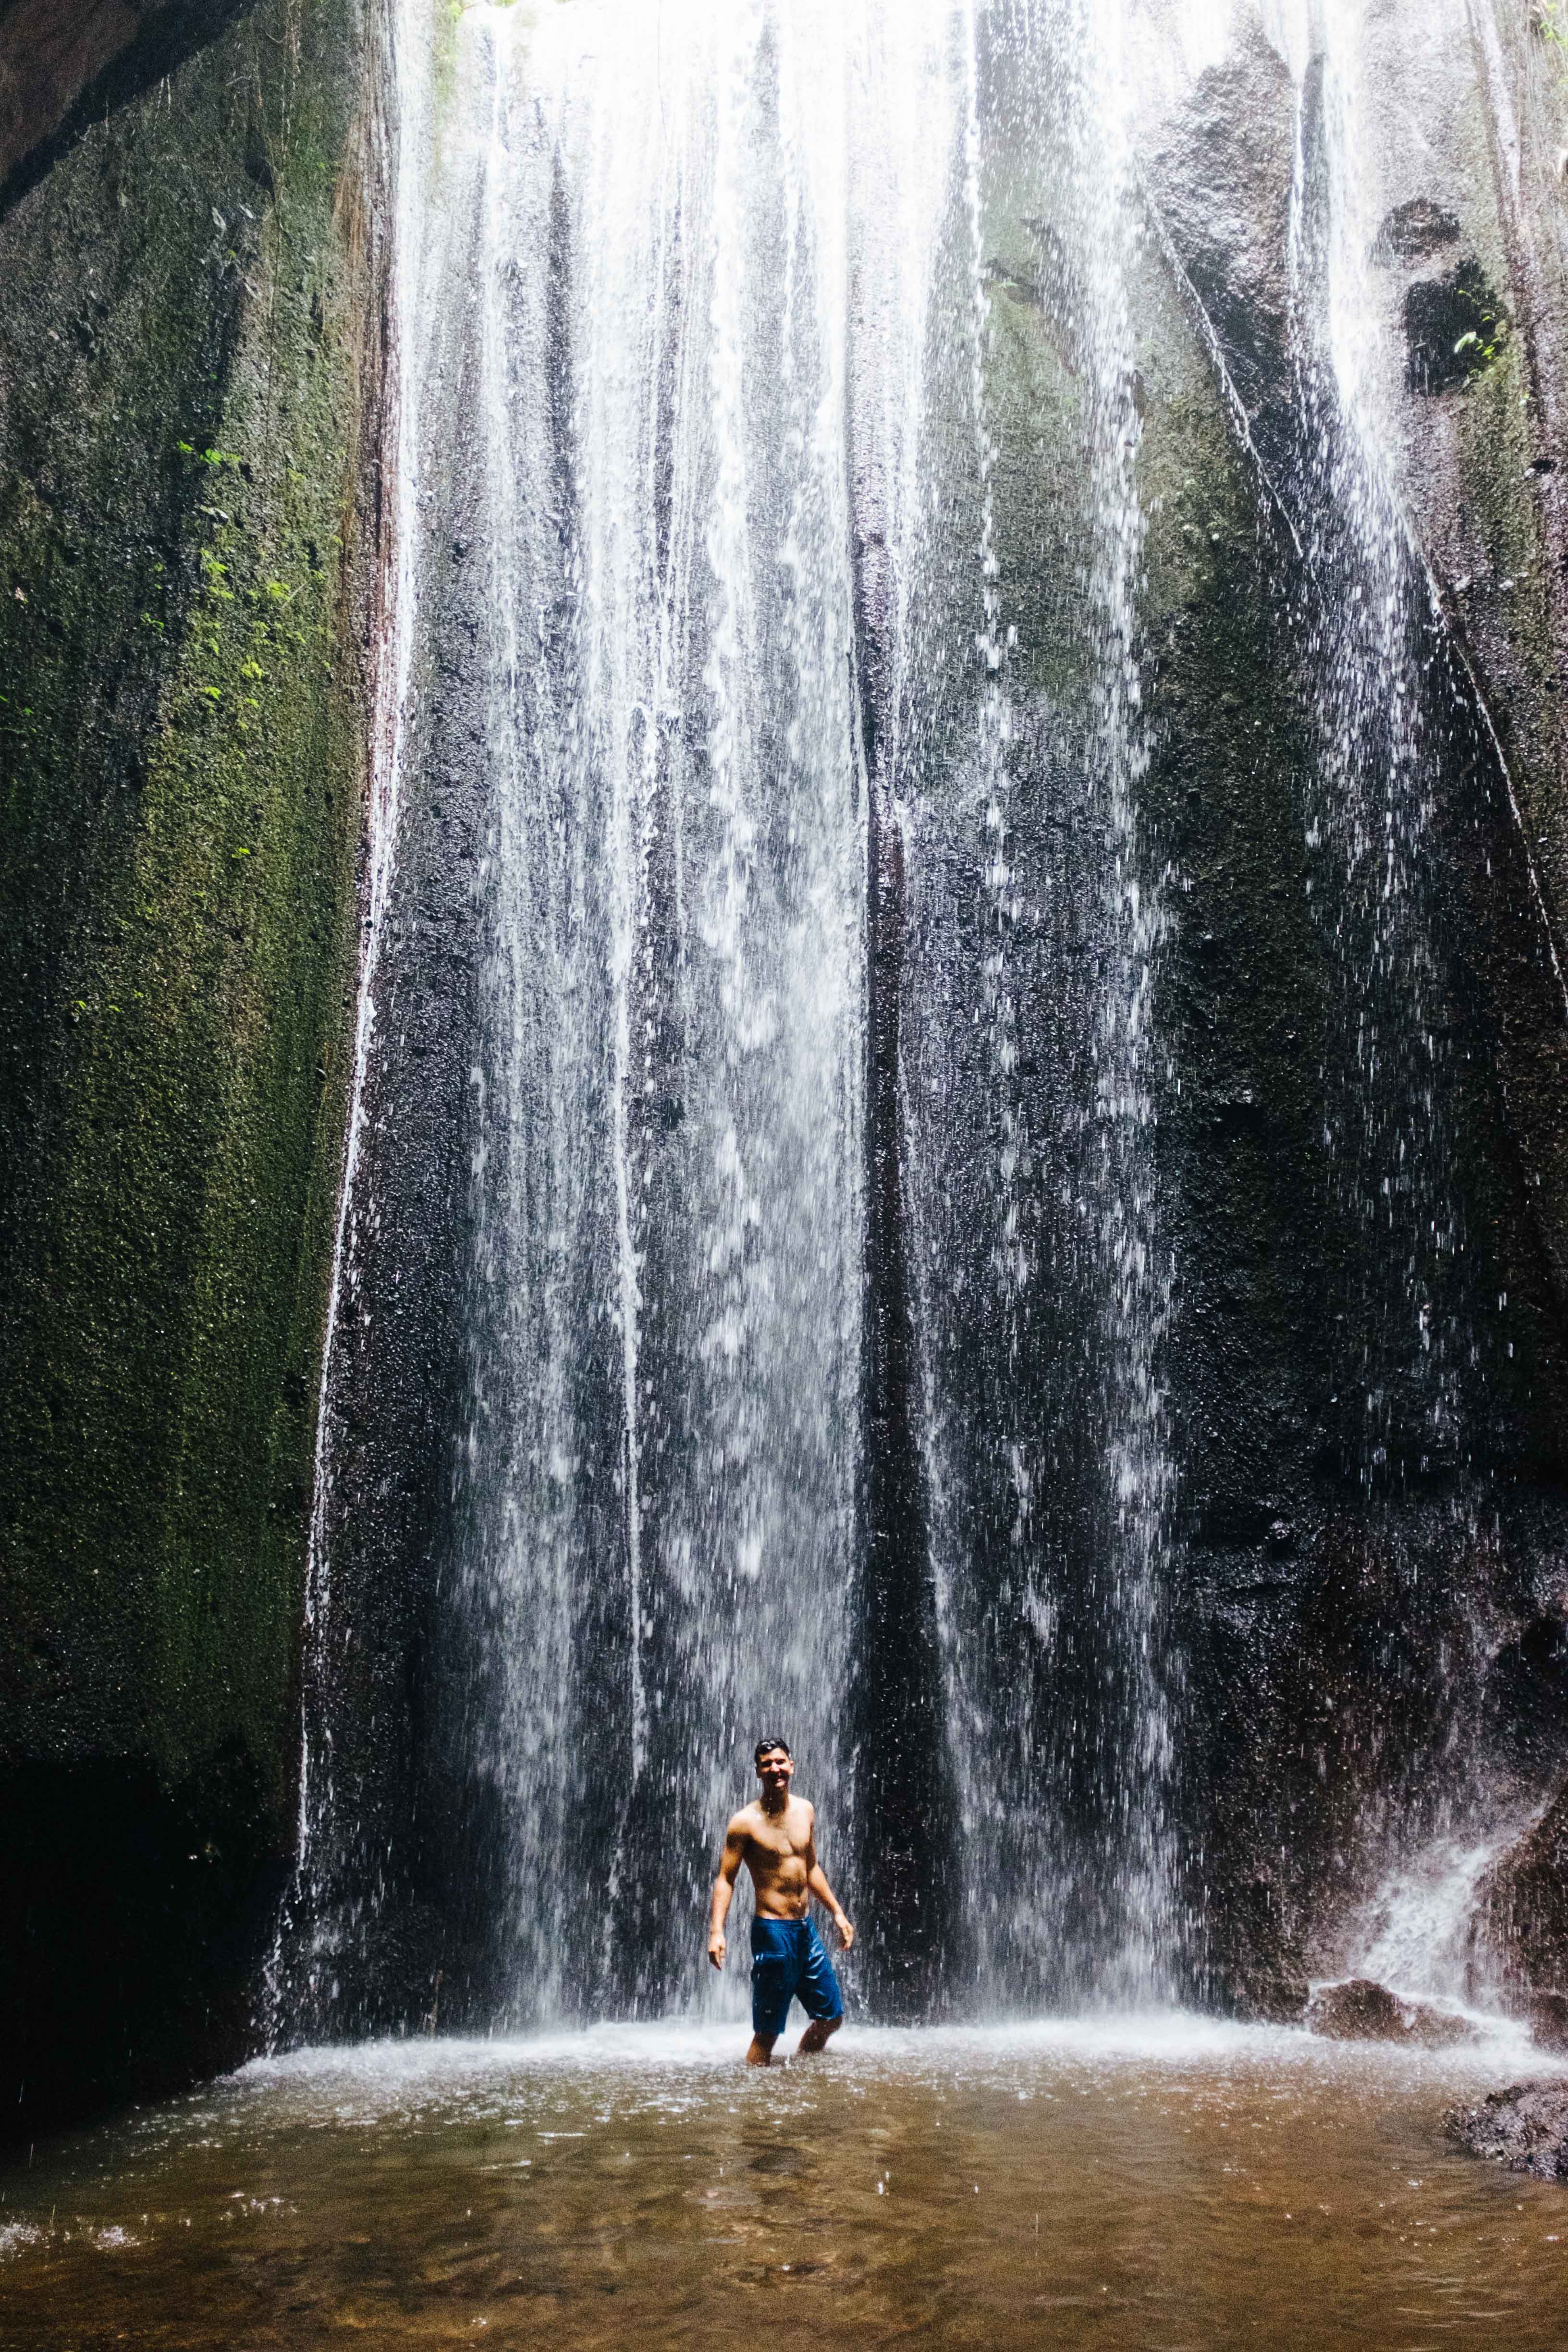
There are many waterfalls on the island of Bali. Of course, you can easily find the ones that will be crowded with people but how can you find those amazing yet secluded places? One way is by using Instagram geotags. My friends and I look through travel photographers Instagram profiles and look at where they pinned their locations. It’s also good to follow Instagram profiles of people who are locals there. You can easily find great locations using this method.

My brothers and I found an amazing location using this method. We borrowed a car from a friend and found ourselves in the middle of nowhere far out in the northern part of the island. Eventually, we came across these barely visible signs and after about 30 mins of hiking, we came across an absolutely stunning location. We had it all to ourselves.

Bali

Photographing Locals

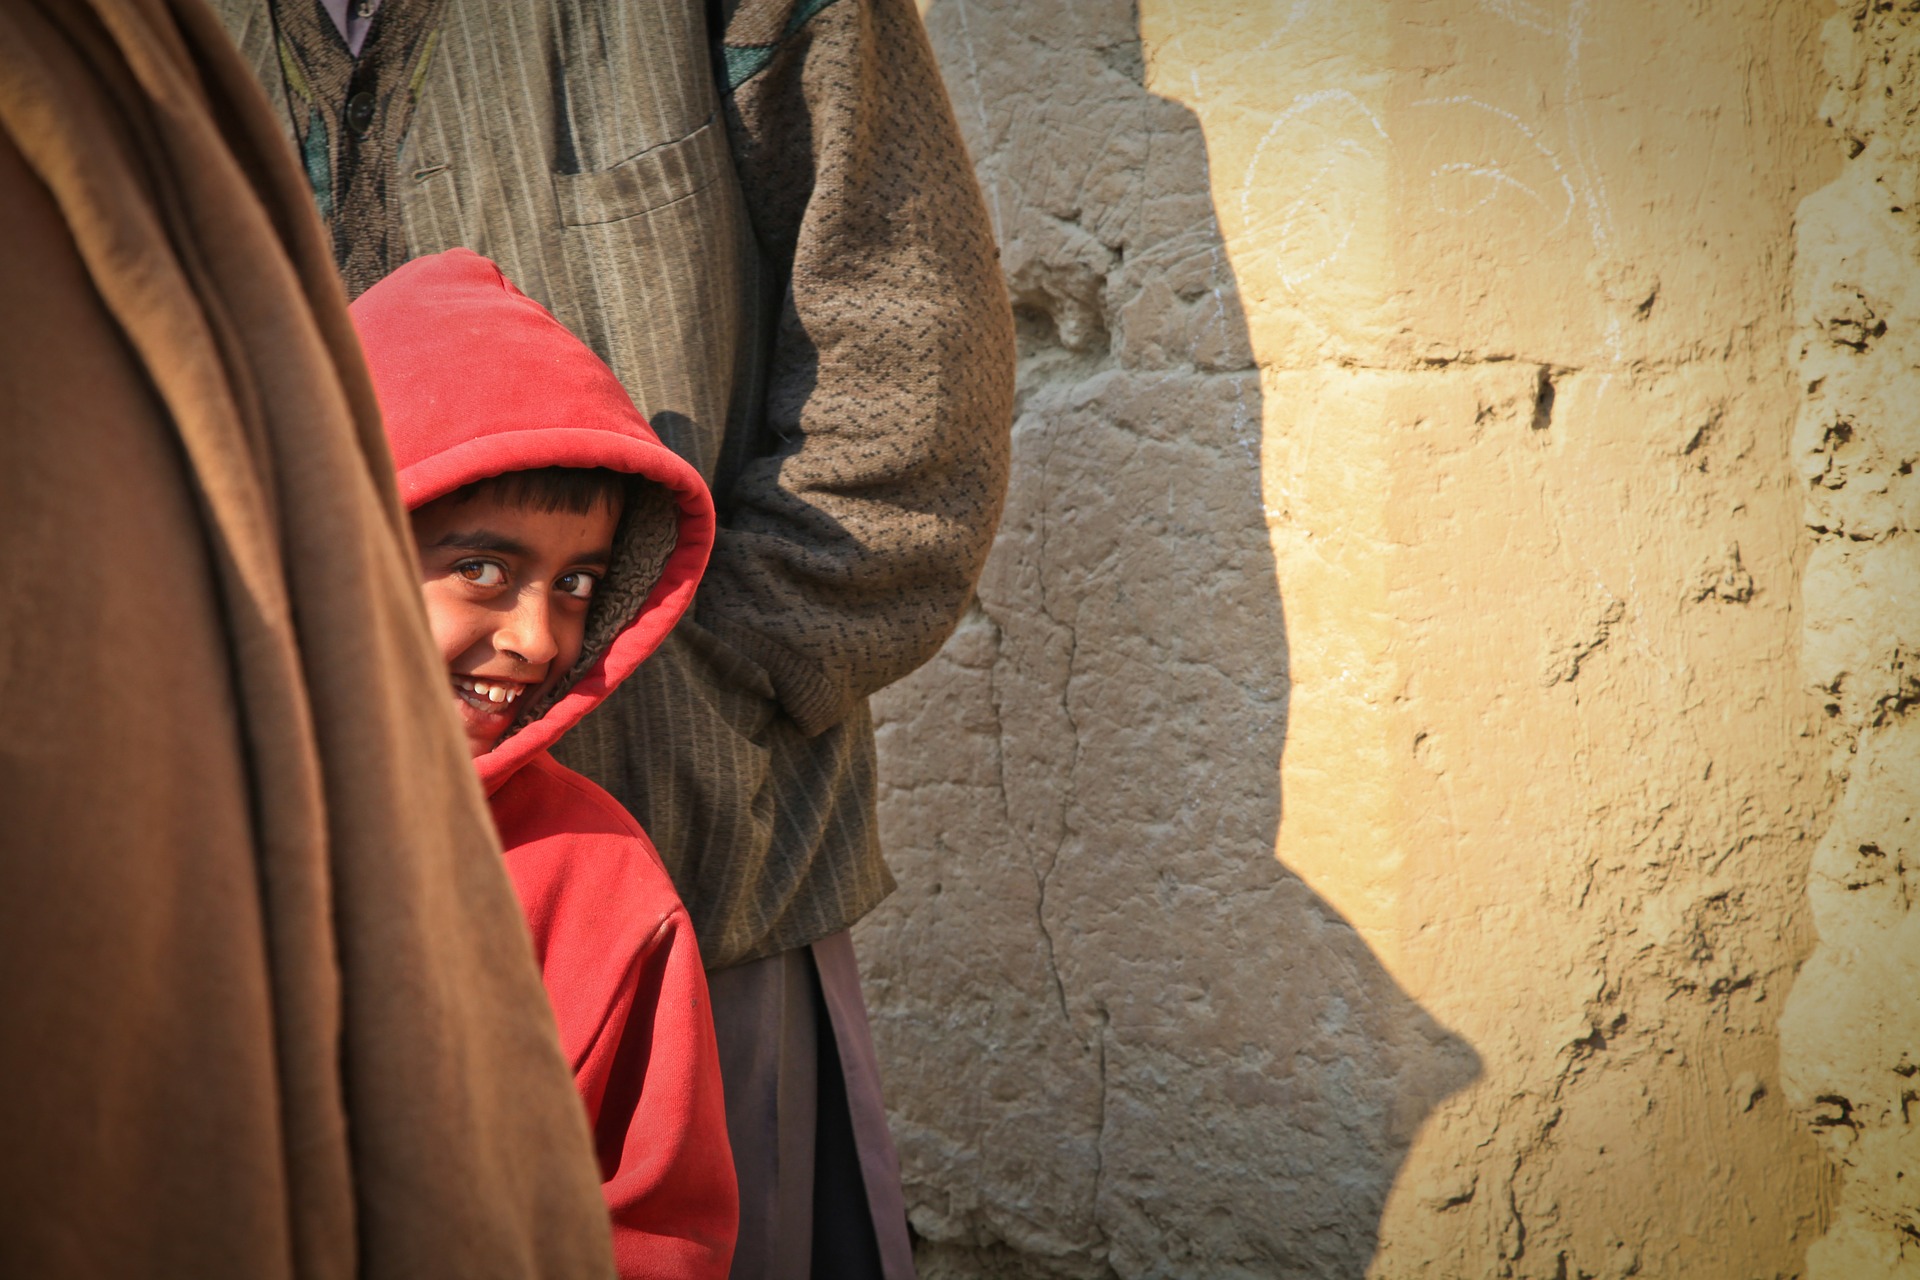
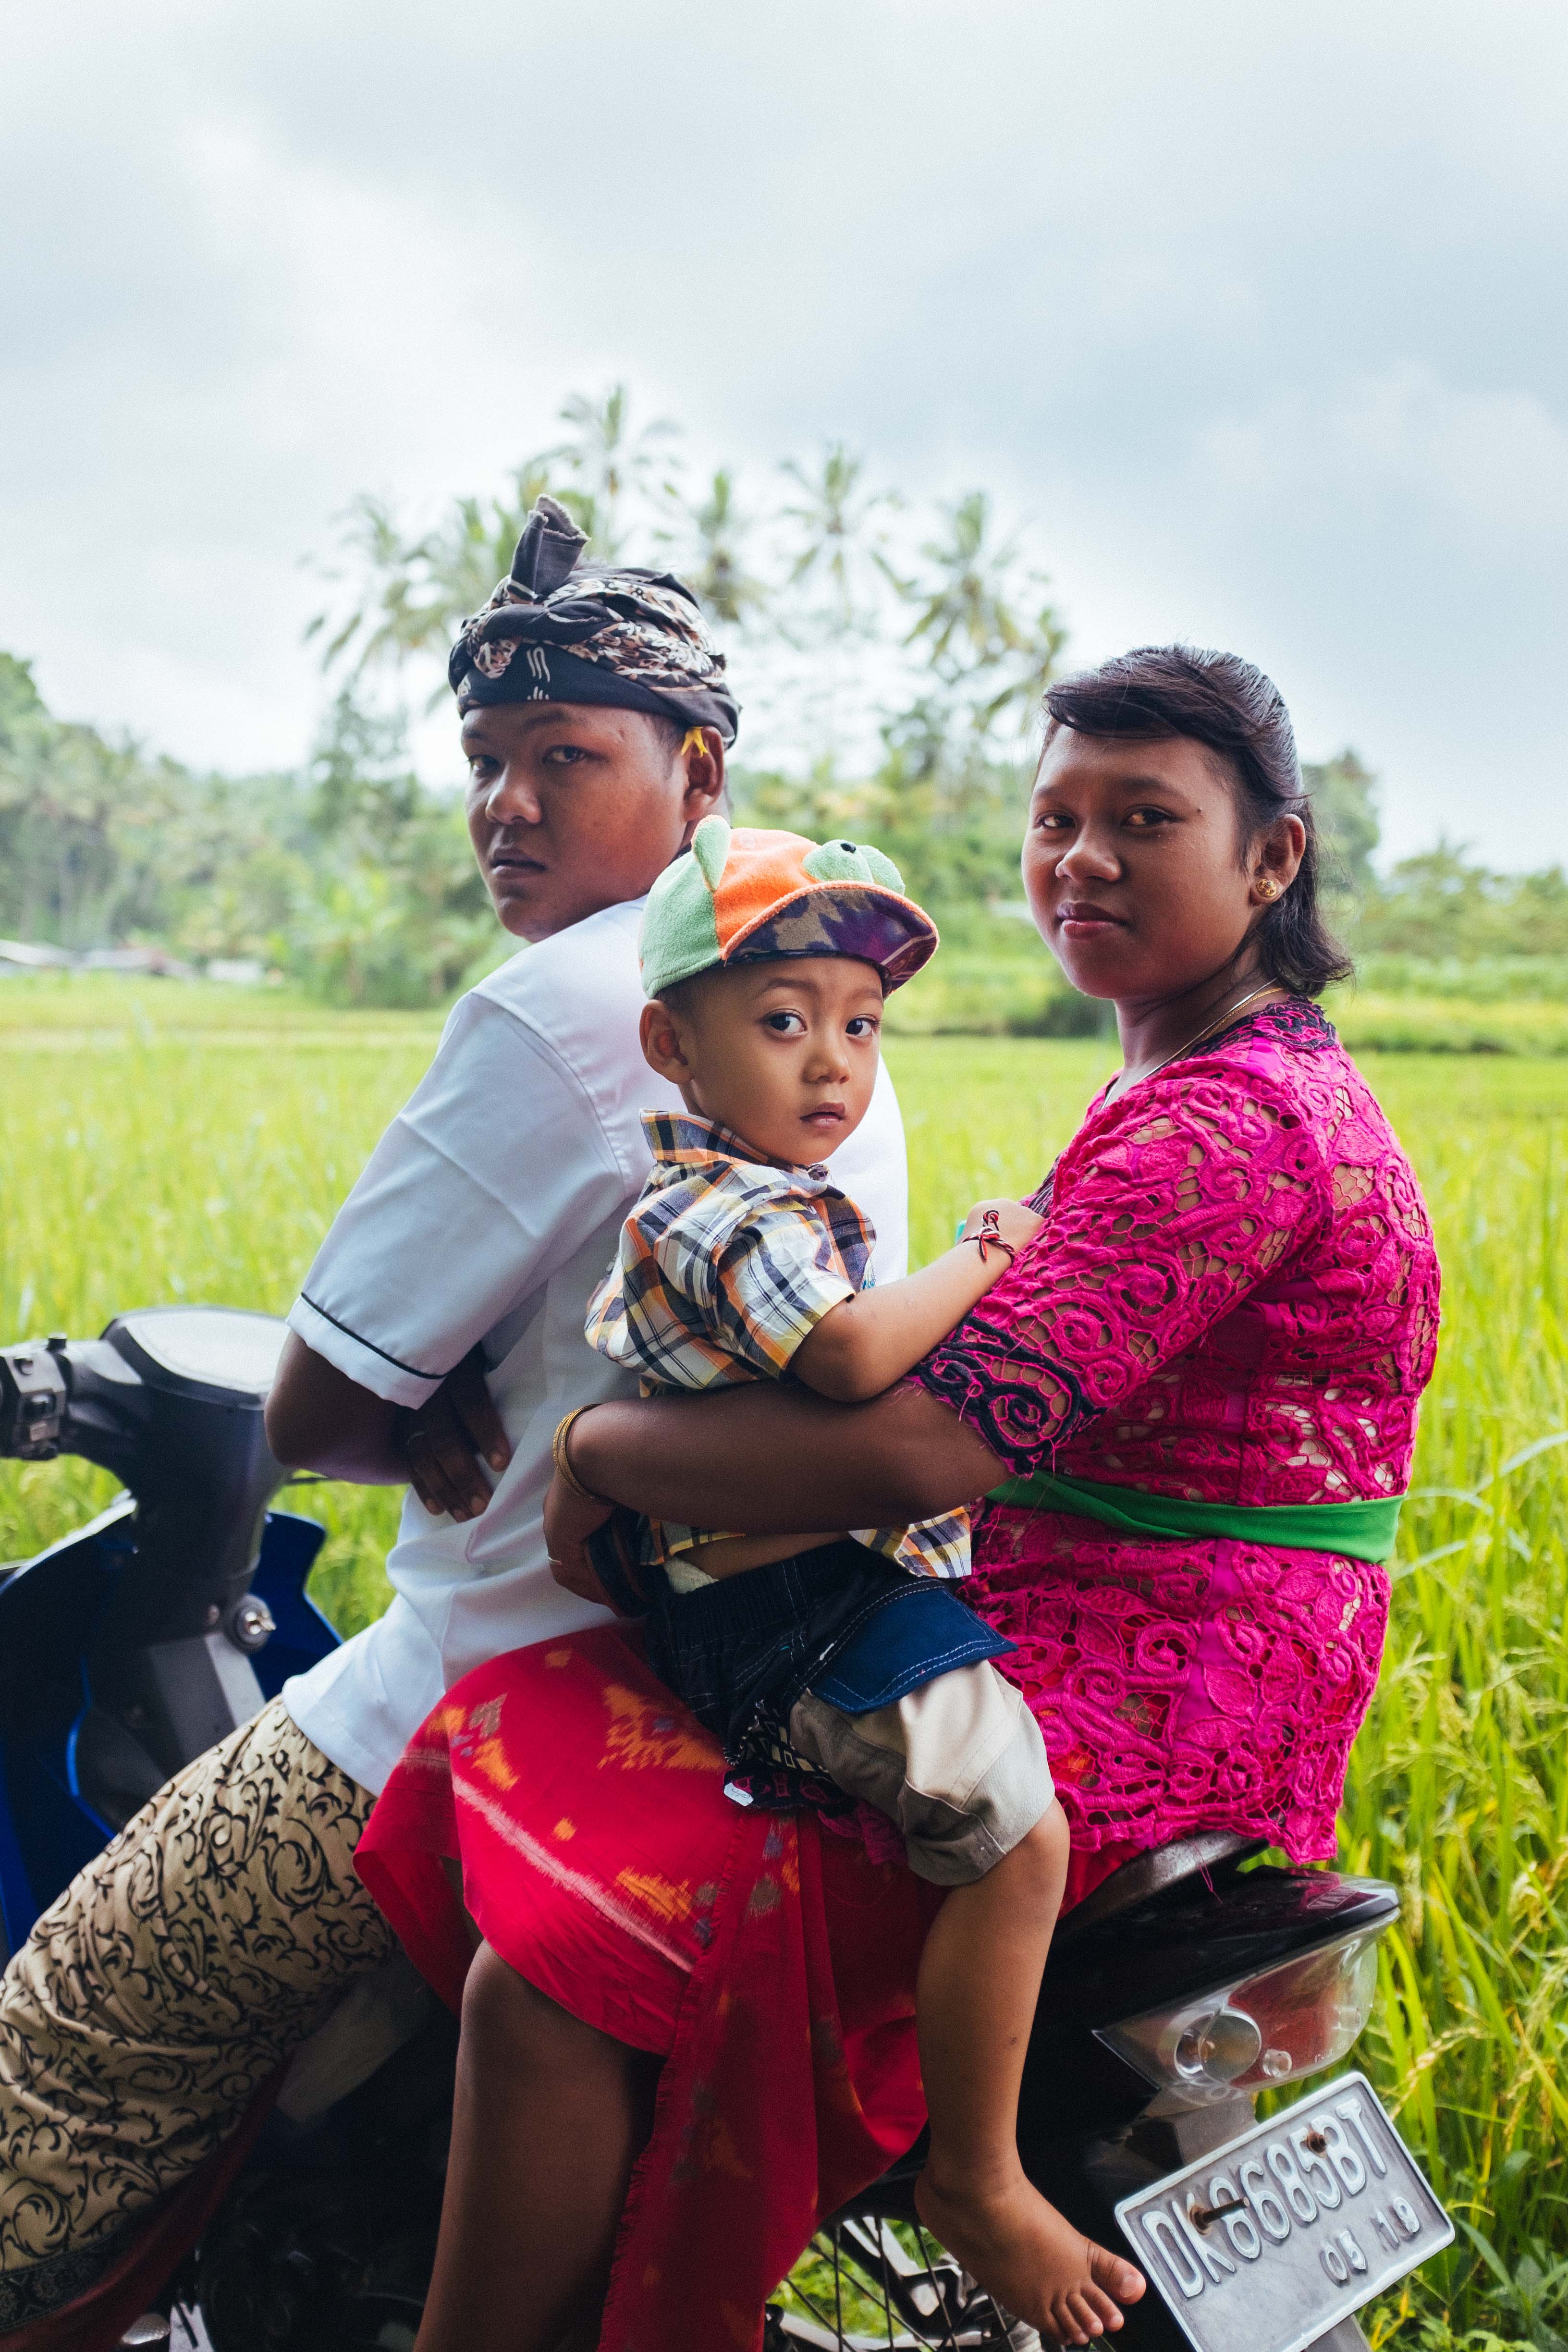
As a person who loves street photography, I found this location to be extremely suitable for this type of style. The locals are incredibly kind and easy to interact with. As long as you go up with a smile and are respectful, they are more than happy to let you take their photo. I don’t think I got denied once. One family even thanked me after I took their photo as if it was their privilege!

Bali

The location of Bali, especially in the north, is filled with tons of culture and lush scenery. You come across so many foreign looking structure and fascinating temples. The people also seem like they belong straight out of some foreign documentary. This a place where you definitely don’t want to ever be without your camera.

I would highly recommend this as one of the best spots that I’ve had the pleasure of visiting thus far in Asia. If you ever get a chance, take the opportunity to fully explore and take some amazing pictures!

Keep learning and have fun!

SaveSave

A Taste of Burma: My Adventures as a Photographer in Myanmar

If you asked most people to locate Burma (Myanmar) on a map they wouldn’t be able to. I fit into this category and visiting this country had never even crossed my mind. I knew nothing about the country, culture or what to even expect. This all changed when two of my friends who are currently learning Burmese asked if I wanted to join them for a week to visit the countries capital, Yangon. I immediately booked the ticket without even doing any prior research. Little did I know it would become one of my favorite places that I’ve had the pleasure of visiting in Asia.

The Atmosphere

When visiting most major cities you can immediately sense the influence of western culture. You can see how it affects the way people dress, the way people act and their food. It’s almost like many cultures have lost a sense of their own identity as a result of the far-reaching effects of western influences.

When I landed in Yangon, I was expecting to see this right after I landed at the airport. To my surprise, I didn’t. The way people dressed, the food and the way the people acted impressed on my mind that they were, in fact, a unique people.  A people that still had an understanding of who they were apart from the rest of the world.

Burma

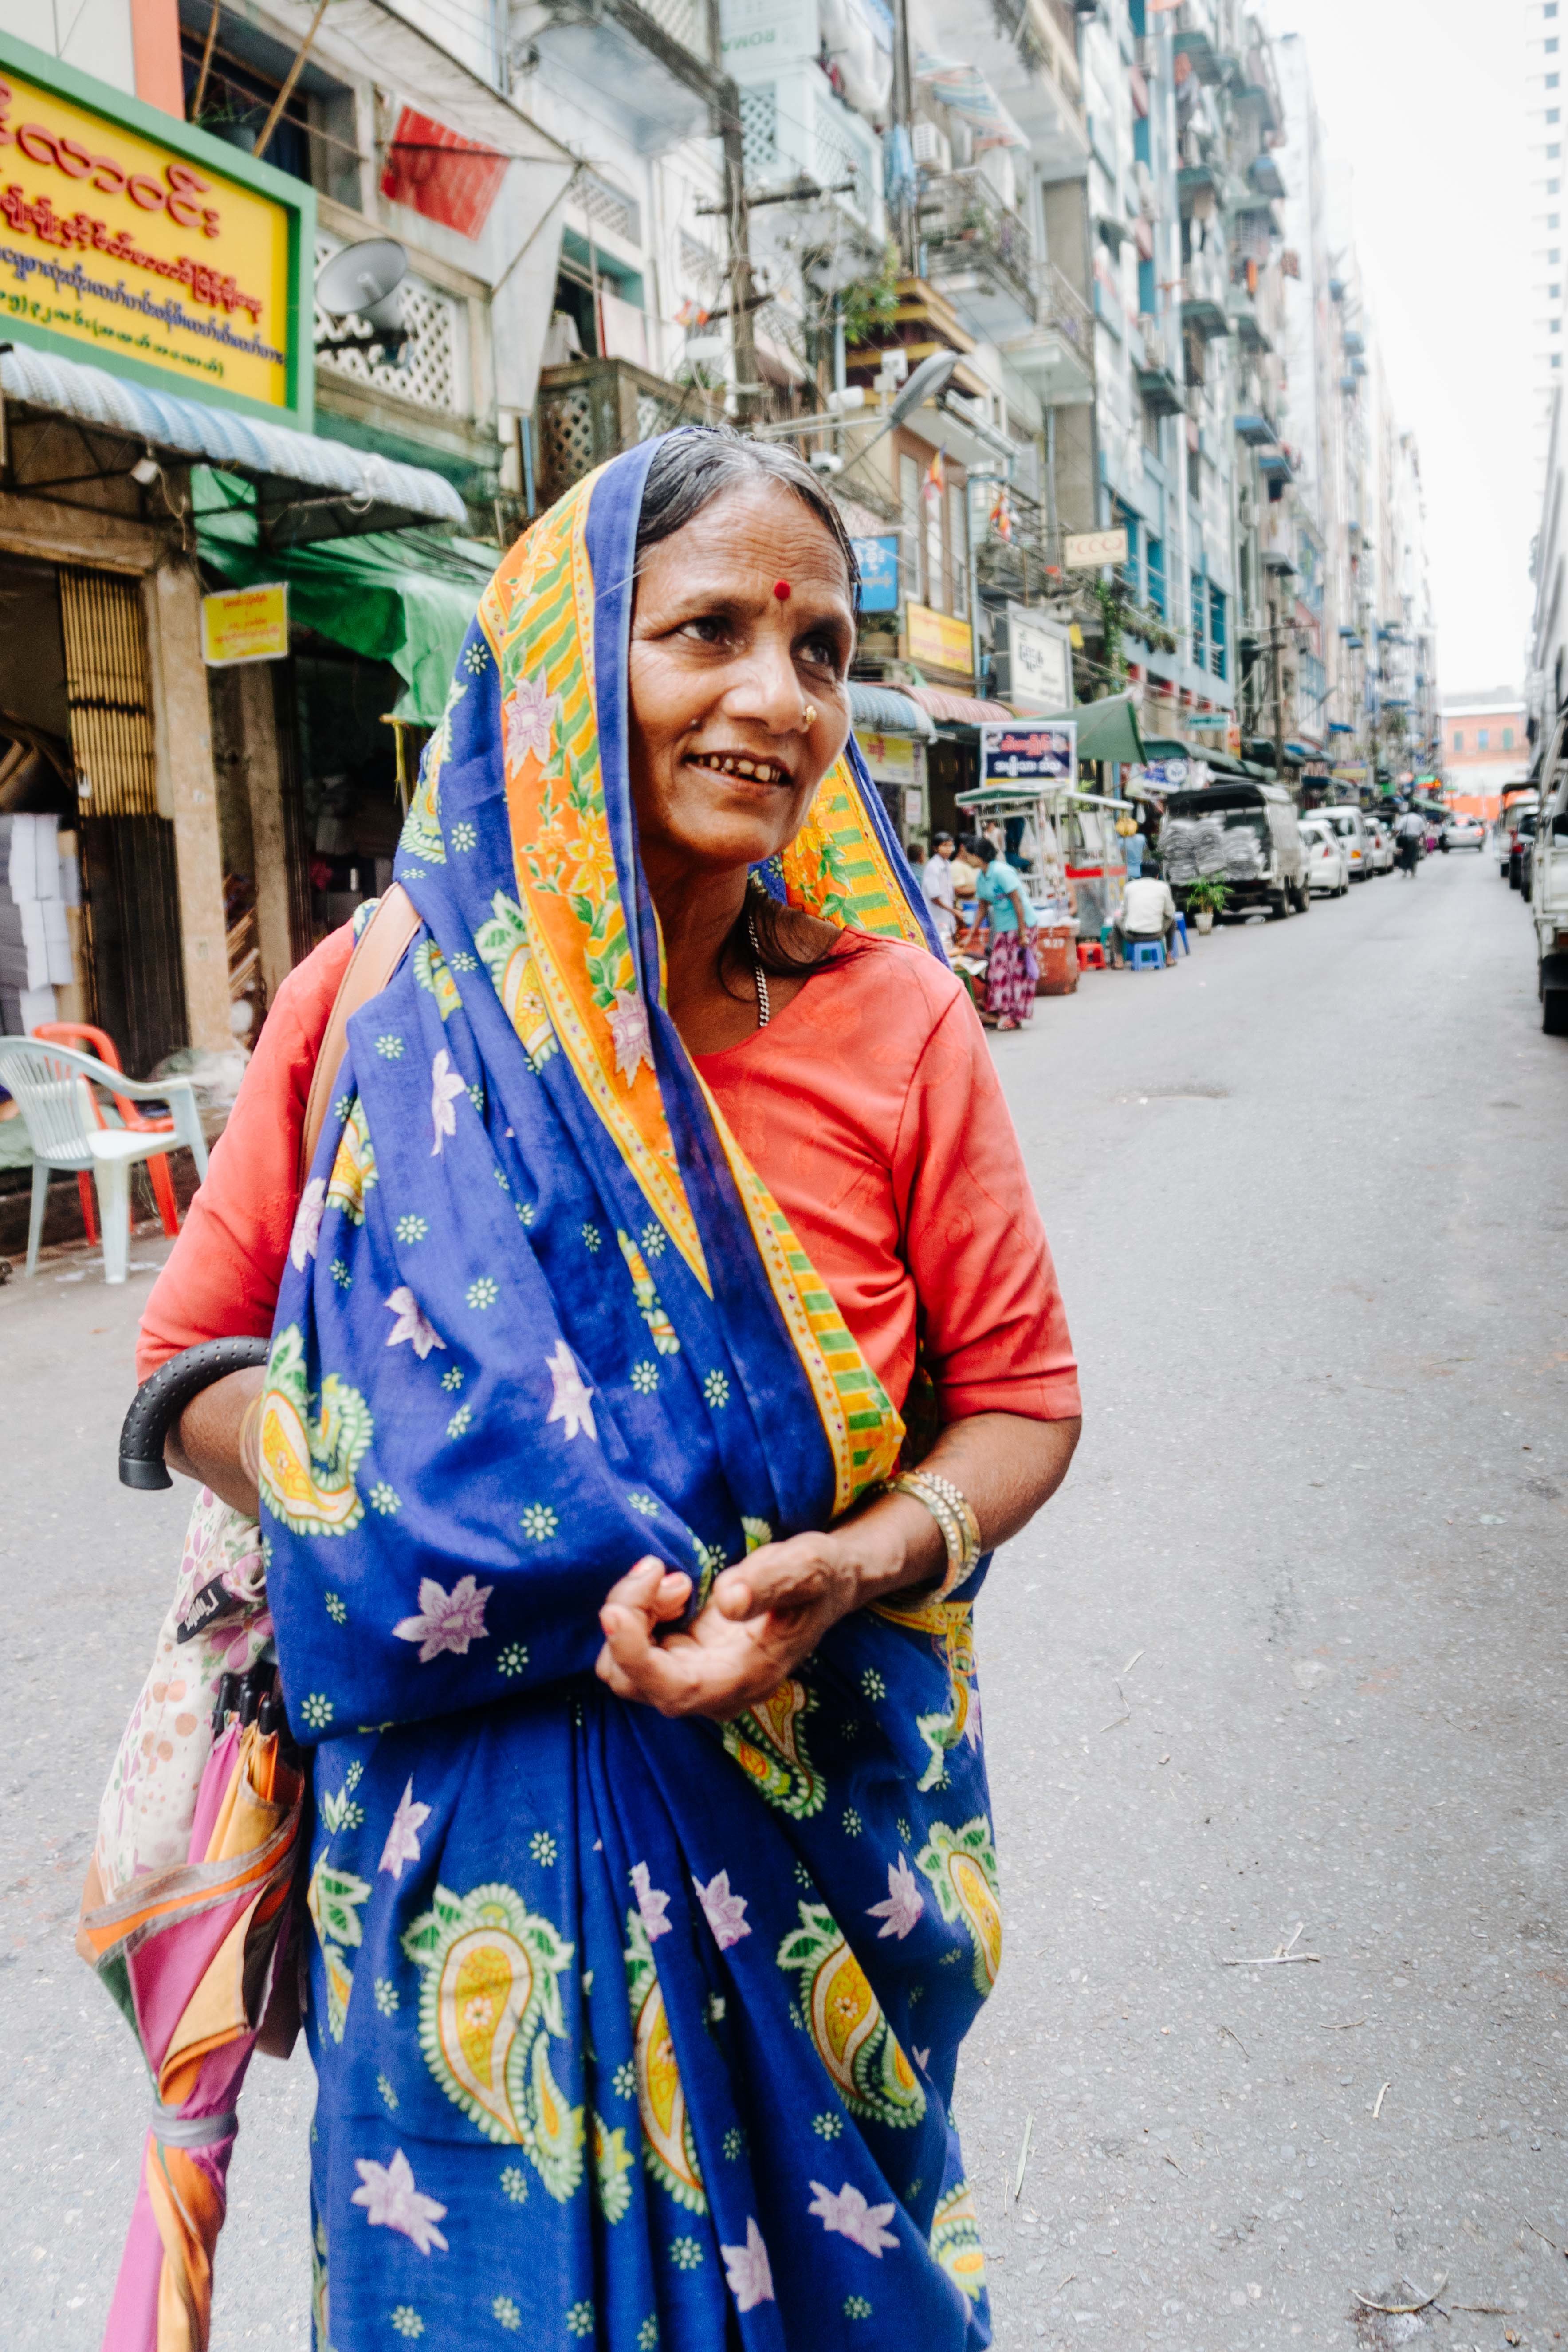
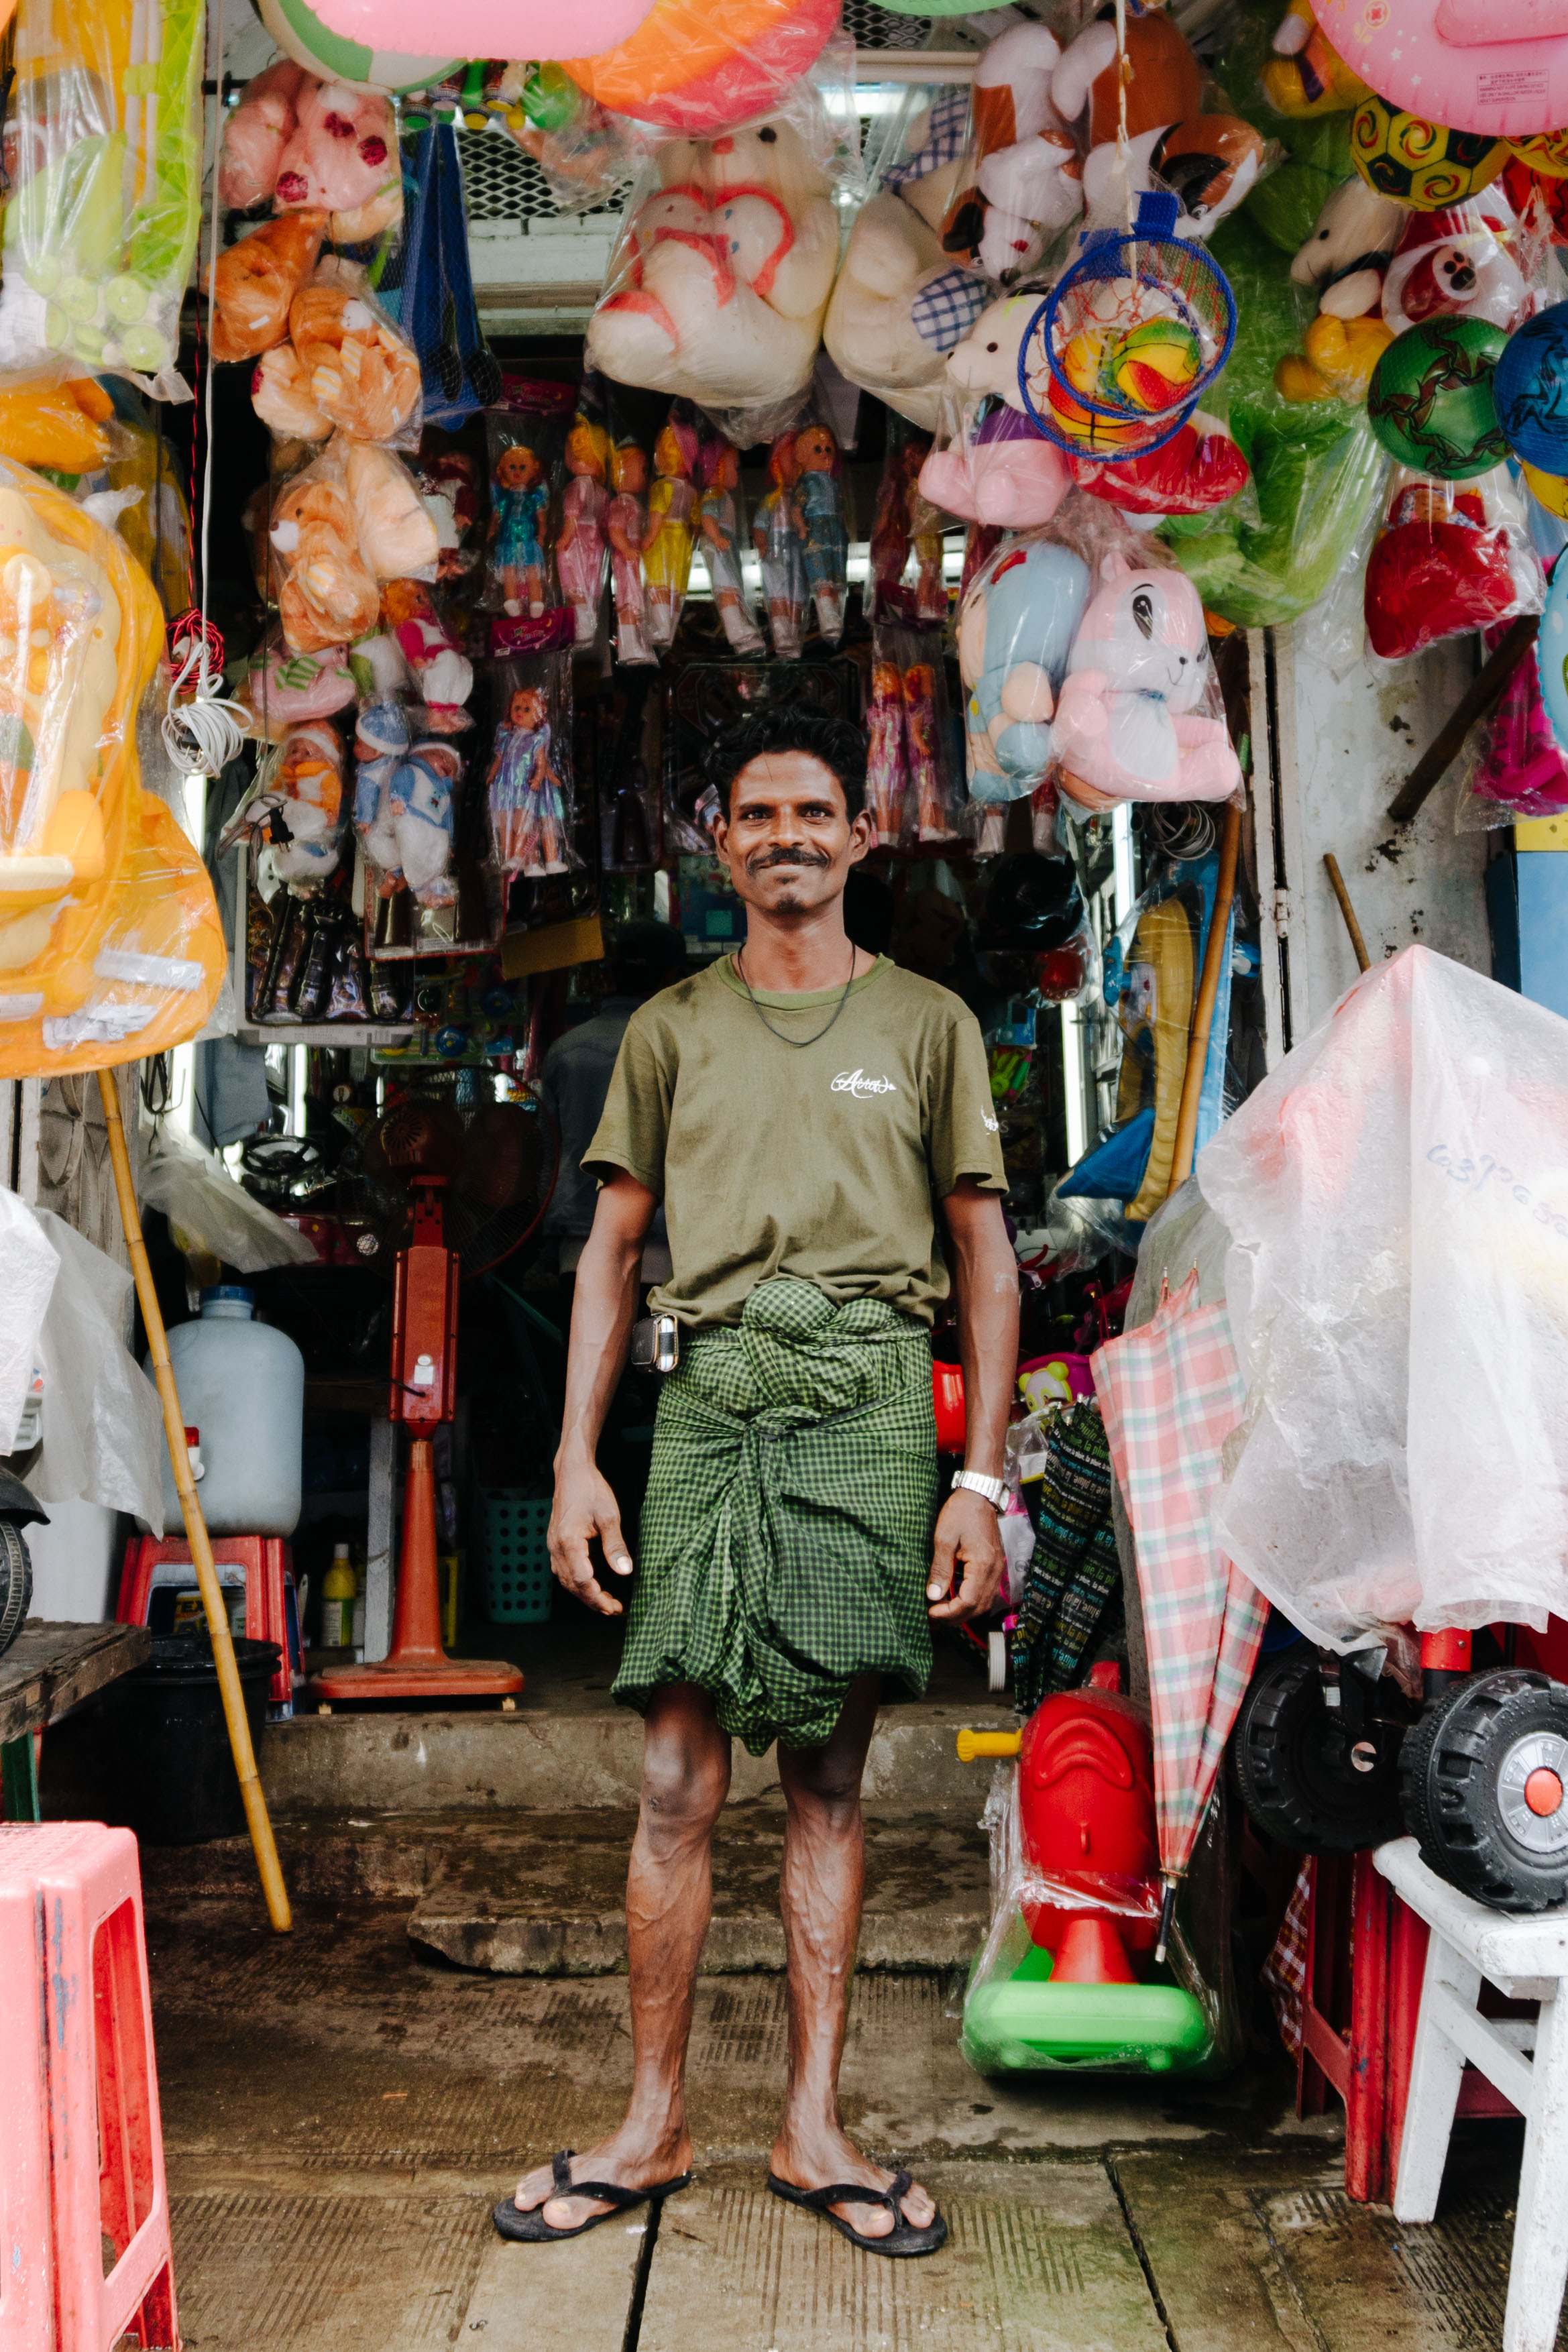
The first thing that stands out is the way they dress. Both the men and women wear a traditional type of clothing called a Longyi. They come in a variety of different materials and patterns. It is a very respectful yet beautiful style in my opinion, especially on the women. Both men and women dress in this manner even when they are spending leisure time with their families or doing normal daily tasks.

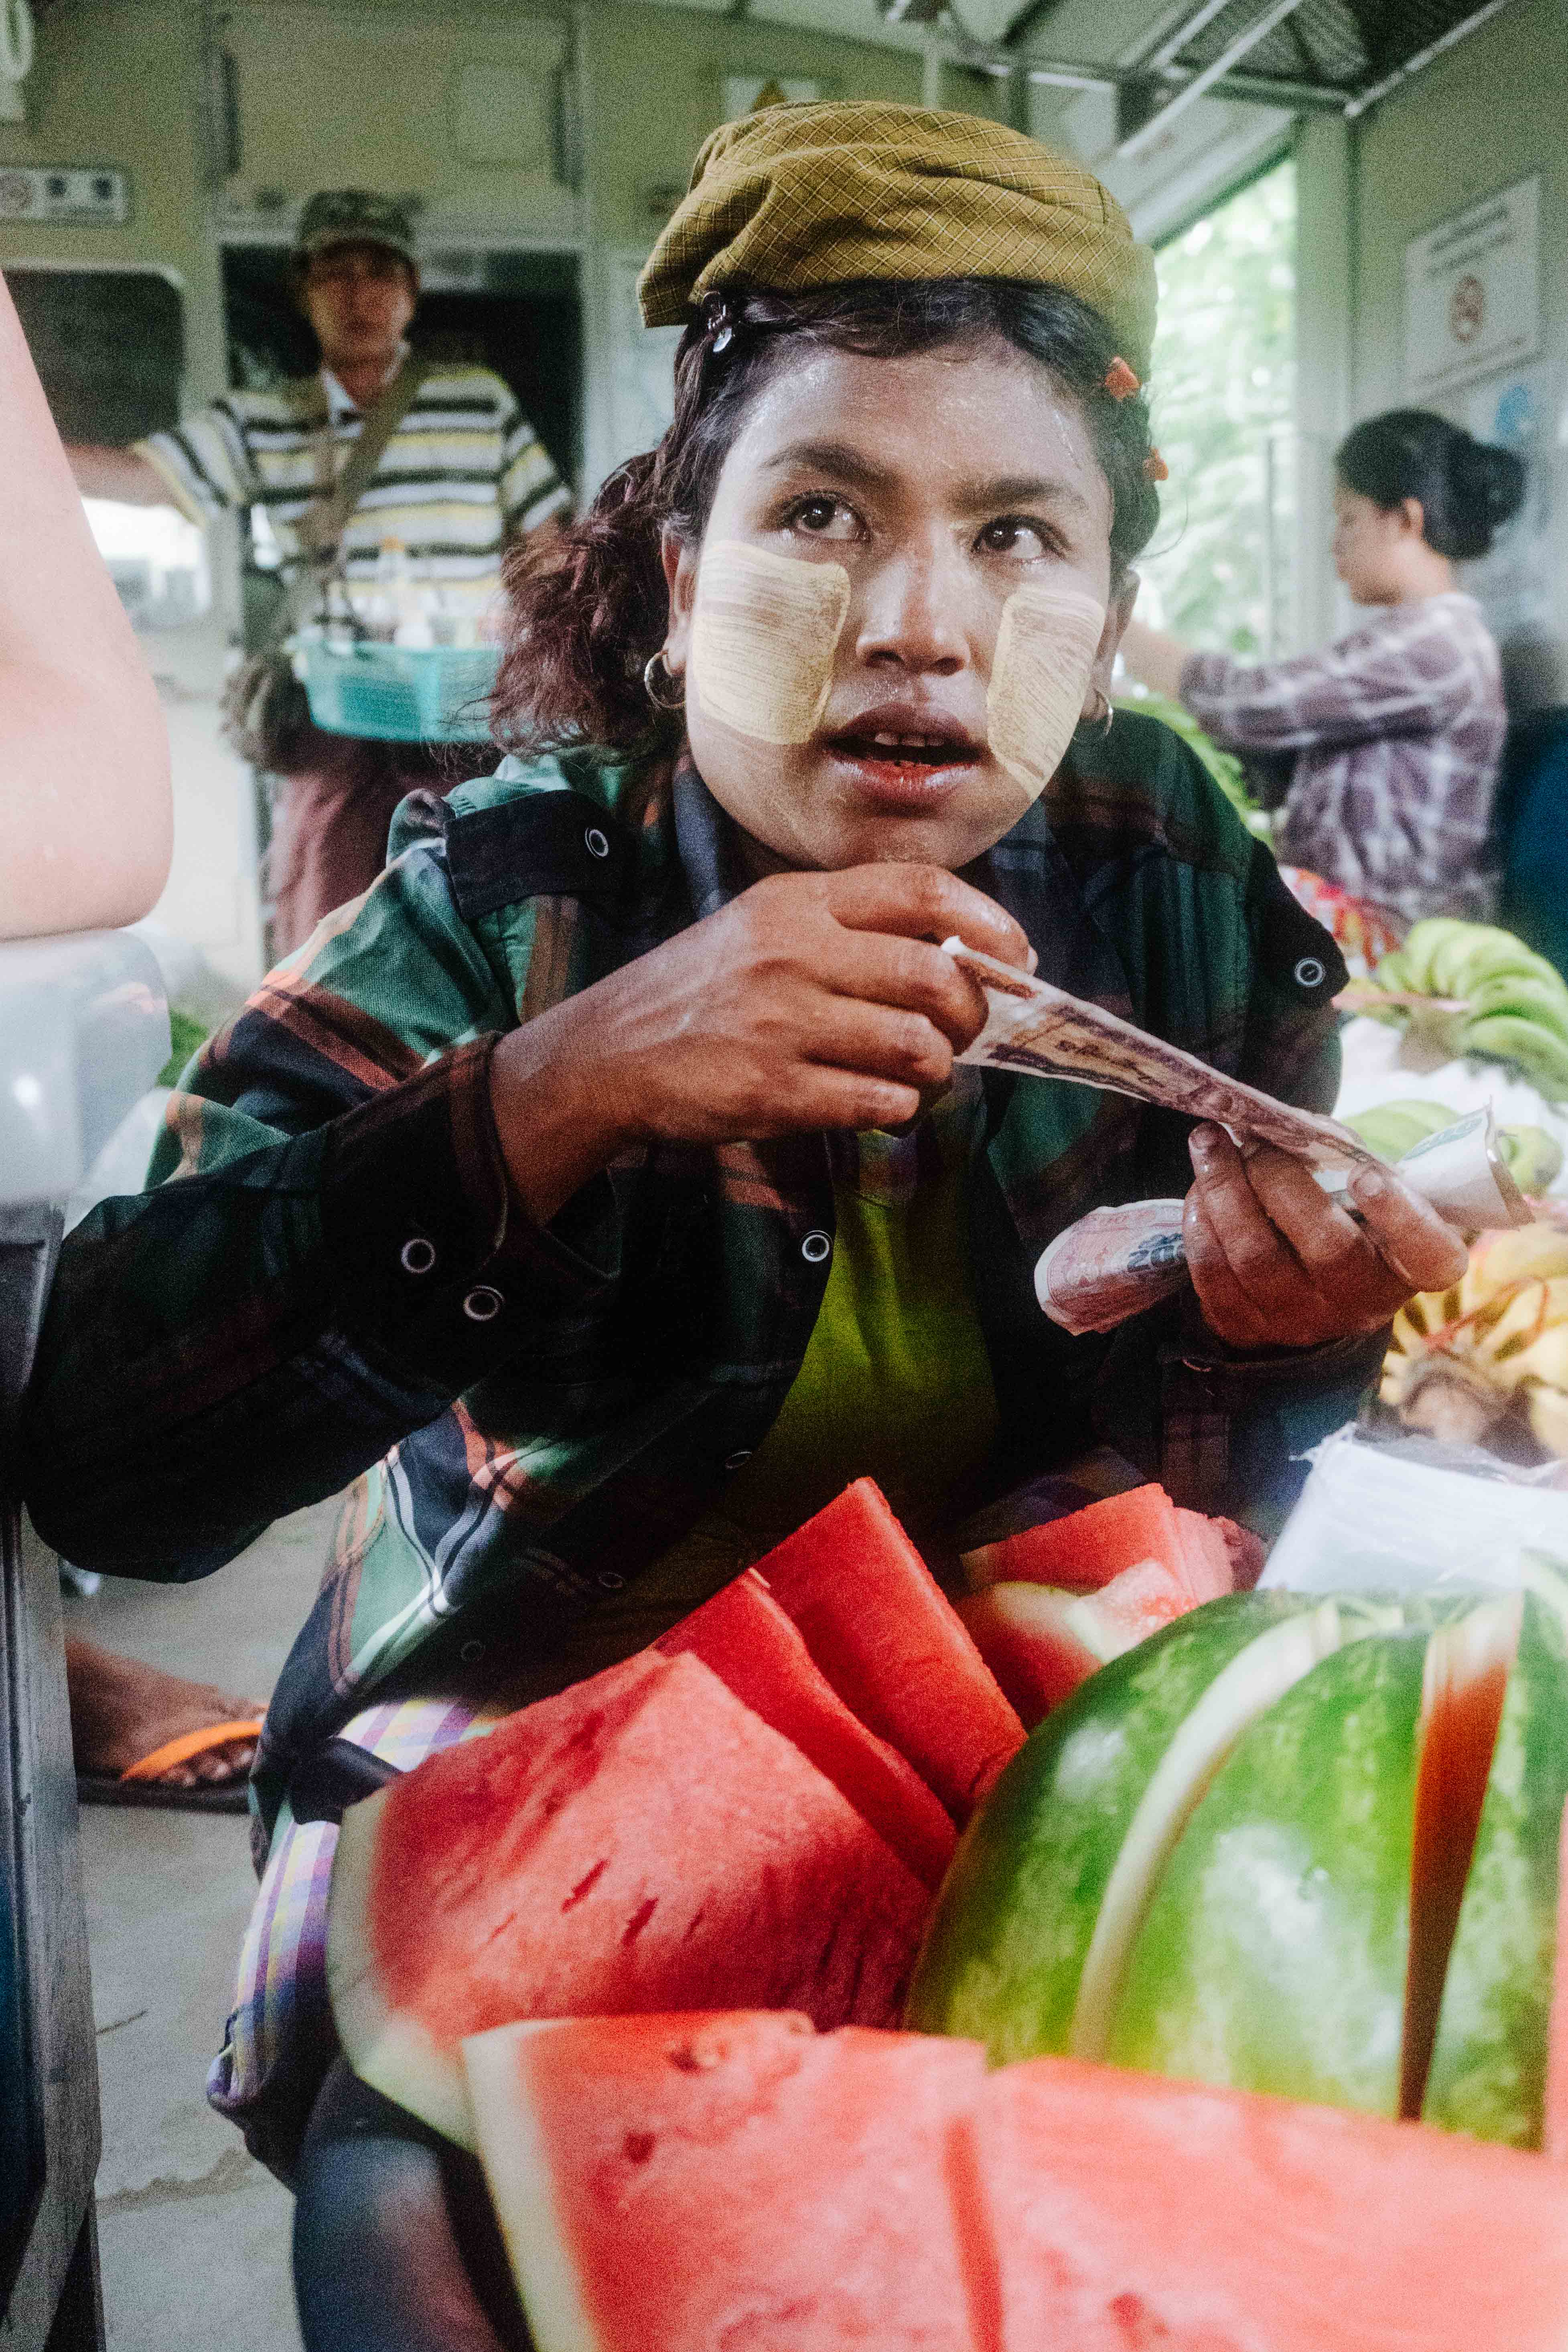
As an example, I took a local 3-hour train ride that went through the countryside. The train was mainly filled with farmers and monks but most of them still seemed to be dressed as if they were on their way to a special occasion. We would stop at a random farmers market in the middle of nowhere and they would still be dressed like this. It seems to be standard procedure.

Burma

The next thing that stood out to me was the food. It was beautiful blend of Indian and Asian flavors. Around every corner, you could smell something that would make you hungry, even if you’ve already eaten. As a general rule of them, even if you know nothing about the area, find a place that’s packed with locals and you’ll be in for a treat.

How to Photograph People in Burma

People in foreign countries usually love it when a foreigner puts in the effort to learn their local language. Usually, it will end up in them wanted to give you some pointers or in some instances them wanting to actually give you food or a gift of some sort. The goal is to show respect and to try and elicit a smile. Once you’ve got these two things you’re golden.

With that being said, the first thing I learned in Burmese was, “Can I take your picture?” I would walk up to people, smile, show them my camera and repeat the phrase until they could understand me.

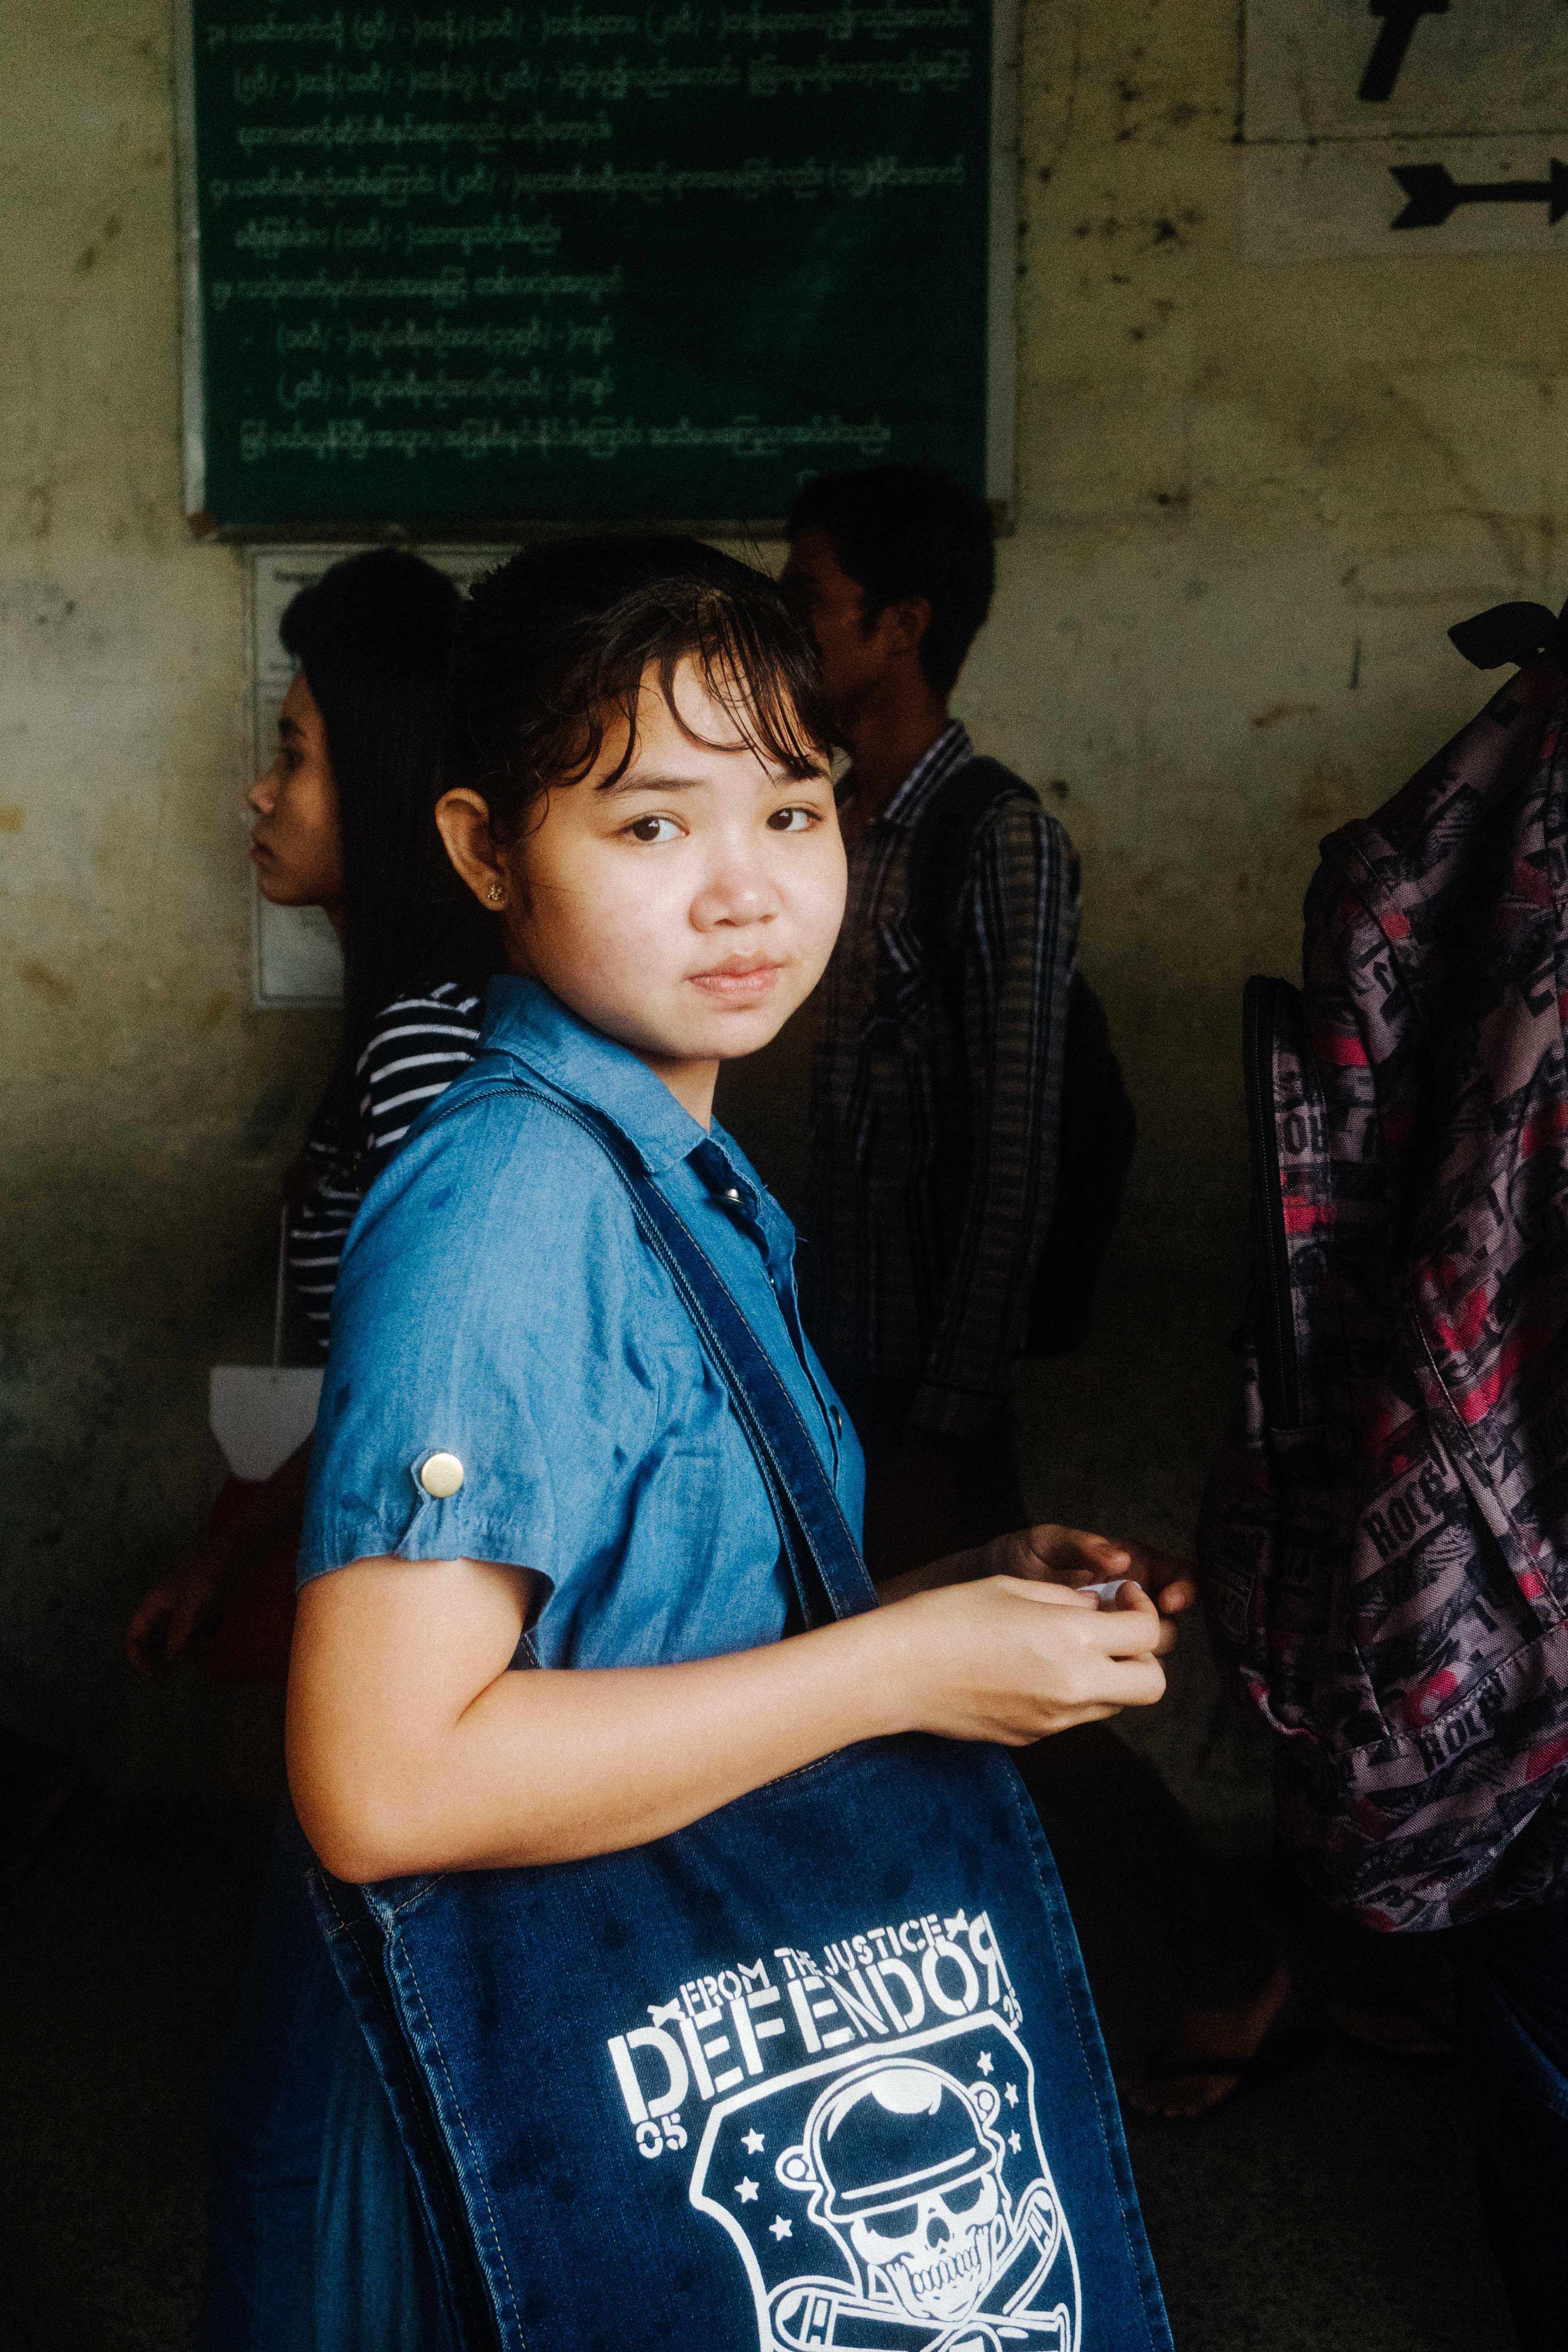
Most of the time they would smile and laugh as if what I was asking was some sort of privilege for them. Sometimes they would even grab their friends or ask someone for advice on how they can pose. After a photo was taken I would usually show them the photo. It was almost a way to say thank you and they always seemed to appreciate it.

Burma


Thinking back, I think I only got turned down twice the entire week I was there. I can’t state it enough, the people are so incredibly kind. Their kindness comes across even without speaking to them, it’s quite amazing.

If you’re looking for more candid natural expressions, one method that gets consistent results is using your flip out LCD on your camera if you have one. Find a very crowded area where you won’t stand out. Keep your camera below your face and look down at your LCD screen and just shoot as people pass by. No one seems to mind or even notice you. They think you’re either looking at your camera settings or photographing something else.

Burma

If you ever get a chance to travel to this part of the world don’t hesitate! Get out there and try to soak up as much as you can from this wonderful and interesting place known as Burma.

Keep learning and have fun!

SaveSave

Shooting Angles – What to Look to Click?

“You may find that the picture you want to do can only be made from a certain place, and you’re not there, so you have to physically go there. And that participation may spur you on to work harder on the thing, because in the physical change of position you start seeing a whole different relationship.” – Jay Maisel

yellow
yellow

The quote above by Jay Maisel perfectly expresses how interesting and challenging it can be to capture angles. Through my captures, I have somehow always had the tendency on shooting angles. I can’t recall when it all began but there is just something about it. It could be through looking up at buildings, or an exquisite architecture of a building, or lines and structure, or an alley, or even looking down or just simply whilst capturing macro shots of flowers. Photography is an expression of how we envision moments or things around us. Perspective and angles are a unique way to express the vistas of everything around us creating an impression and imprint in our minds.

It isn’t something that can be planned as it requires observation and experimenting as well. As always, letting it come naturally to you is the best way to capture angles. There may be times when nothing motivates you to do an angled shot and that is completely okay. The moment will instantaneously present itself to you and all you will need to do is “click”.

structure
structure

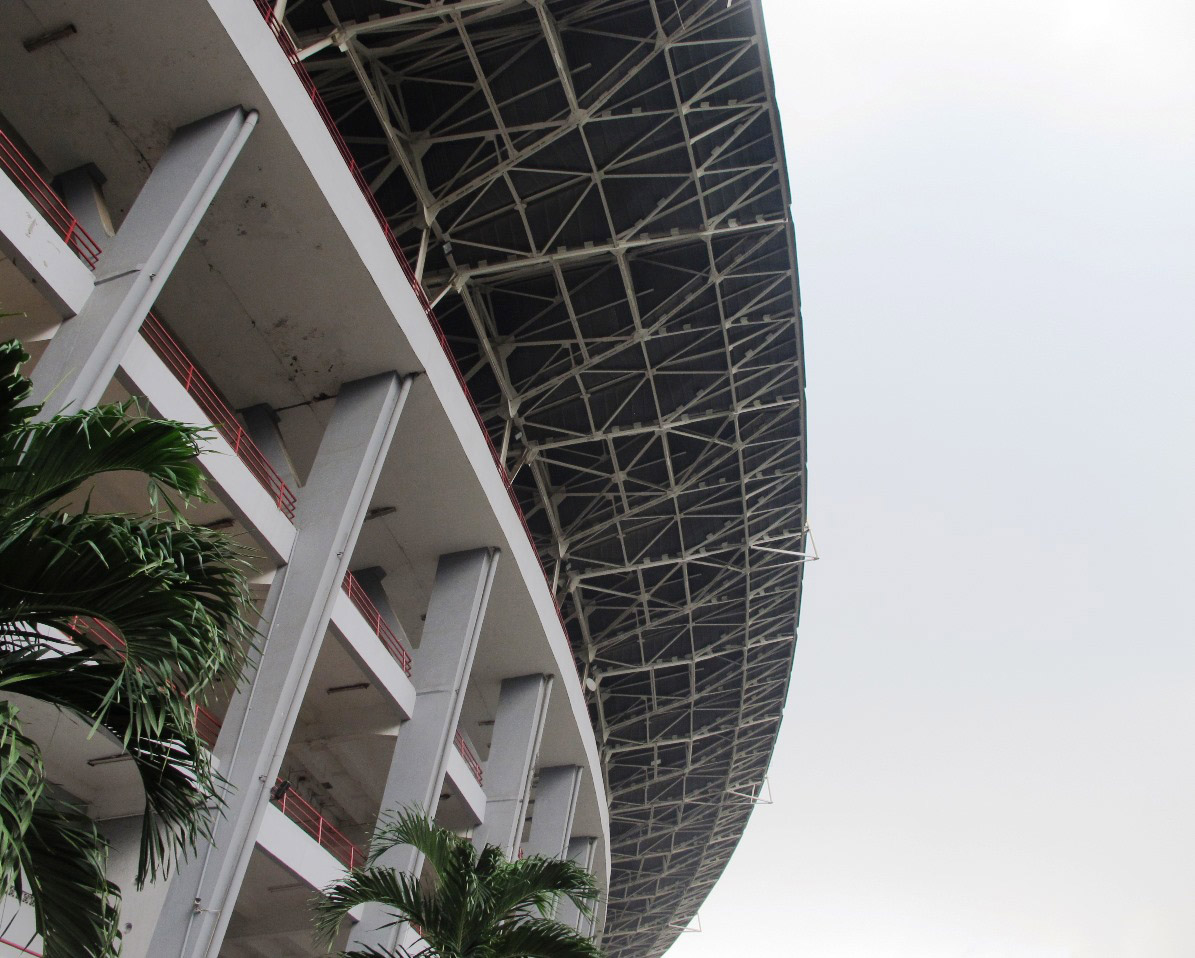
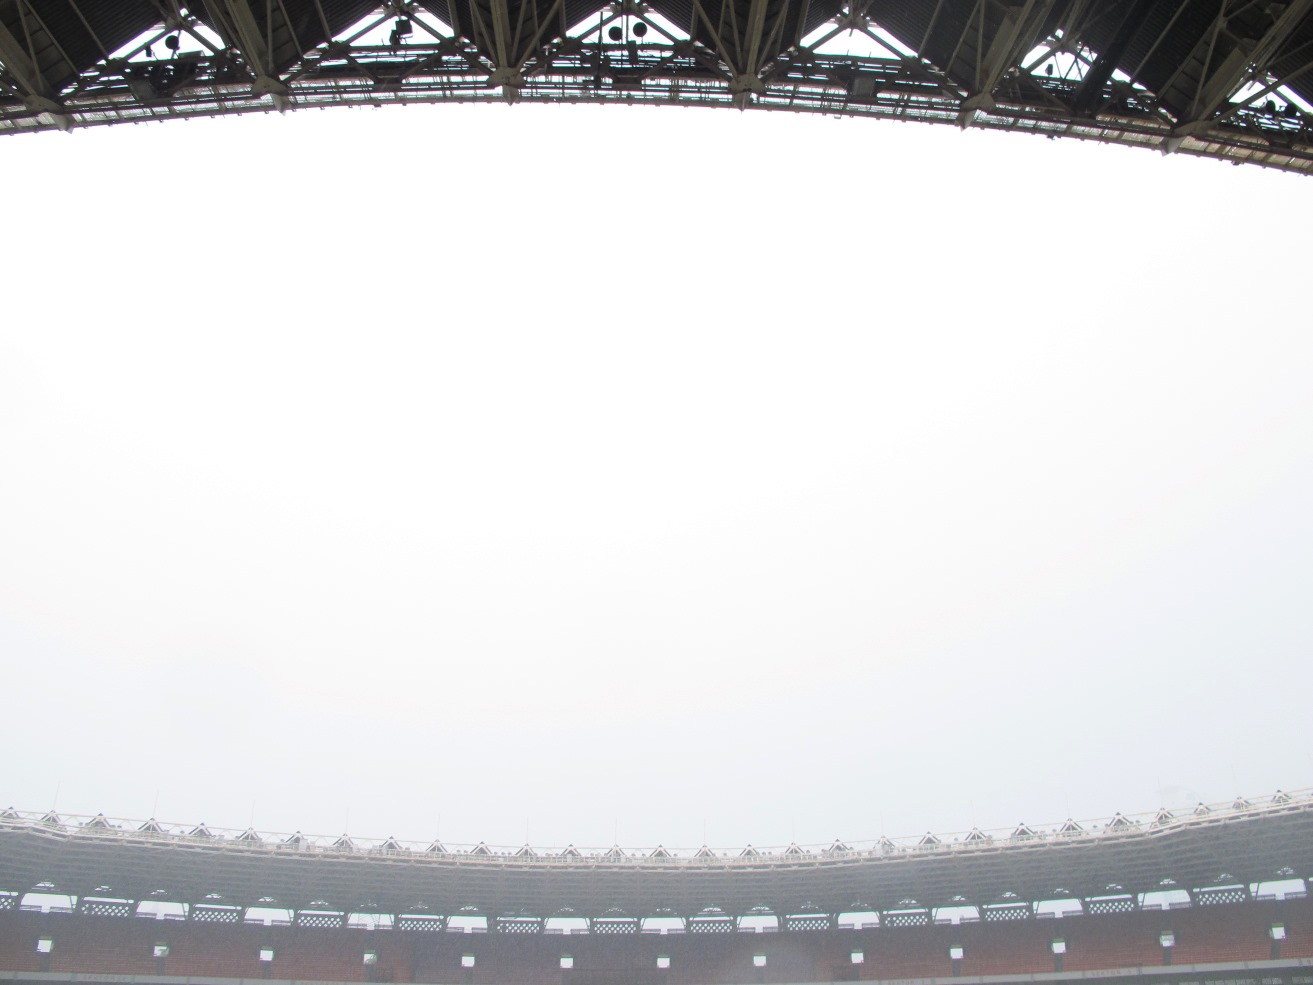
This outward structure of the National Stadium spoke to me. I began by looking up, clicking and experimenting the numerous aspects of the building. Experimenting would be by pointing and shifting your camera in various directions to frame the shot. It took a number of clicks to get the above results. To frame this shot, I wanted it to also have a minimalist touch so as to not completely focus on only the structure but leaving the blank space as well.

flower macro
flower macro

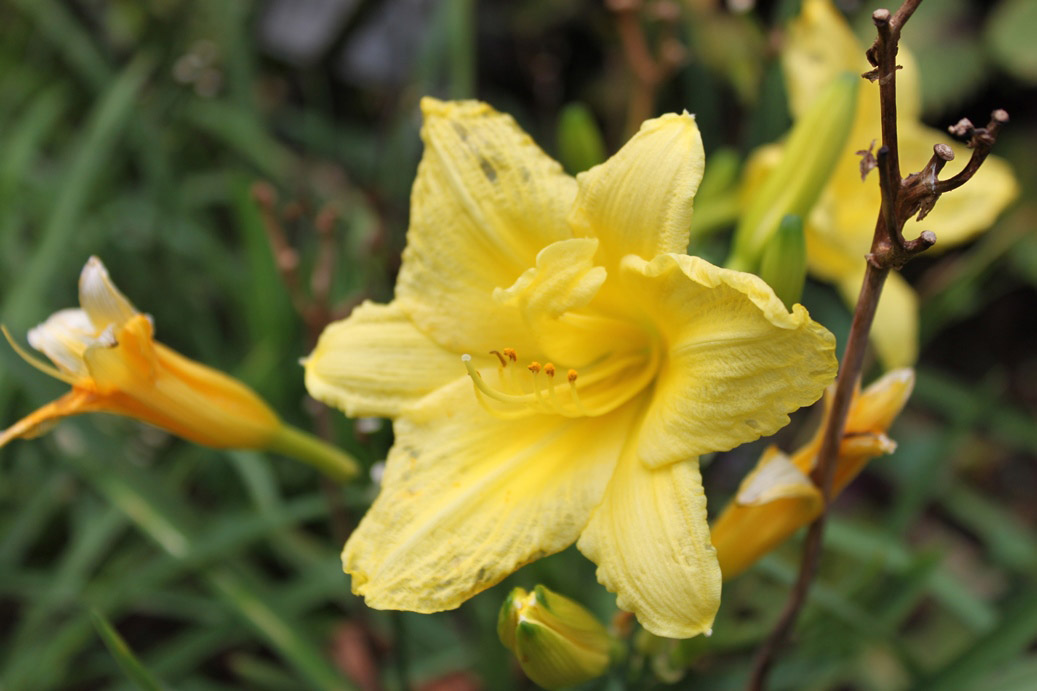
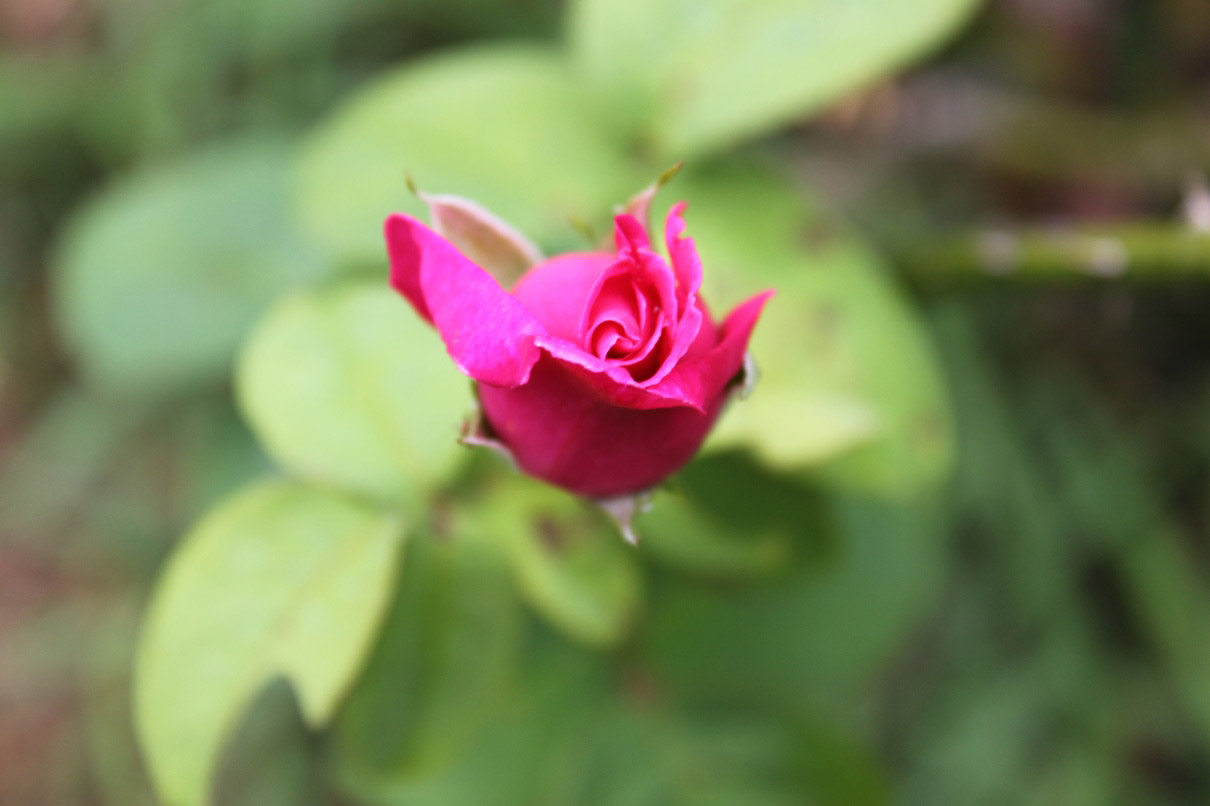
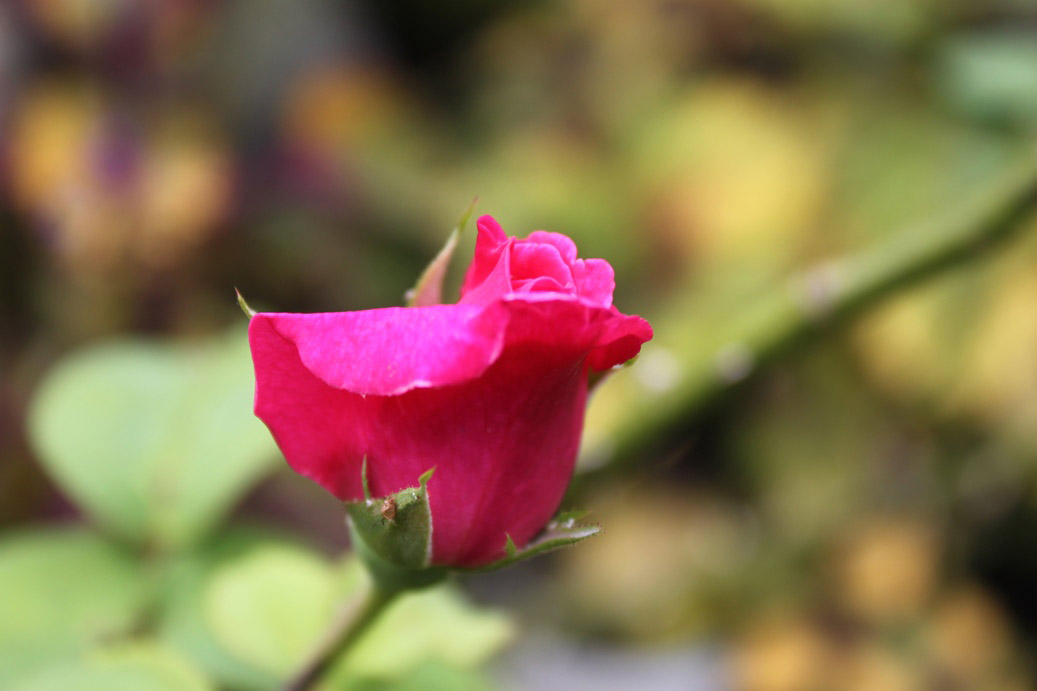
Nature and flowers are one of the easiest ways to try out various angles. This lovely pink half budding rose fascinated me. I wanted to try to get a specific viewpoint to portray as if the rose was looking at you. Balancing between getting close to the rose, composing the image properly and getting the right proportion was as interesting as much as a challenge.

curves of Stadium
curves of Stadium

“As people, we love pattern. But interrupted pattern is more interesting.” – Jay Maisel

Jay Maisel nailed it again with the above quote to describe the way I felt when capturing the image above. Standing in front of the National Stadium seeing all these patterns, lines, colours and structure was spectacular. It’s like all these elements came together for me to venture and shoot.

Check - Mate
Check – Mate

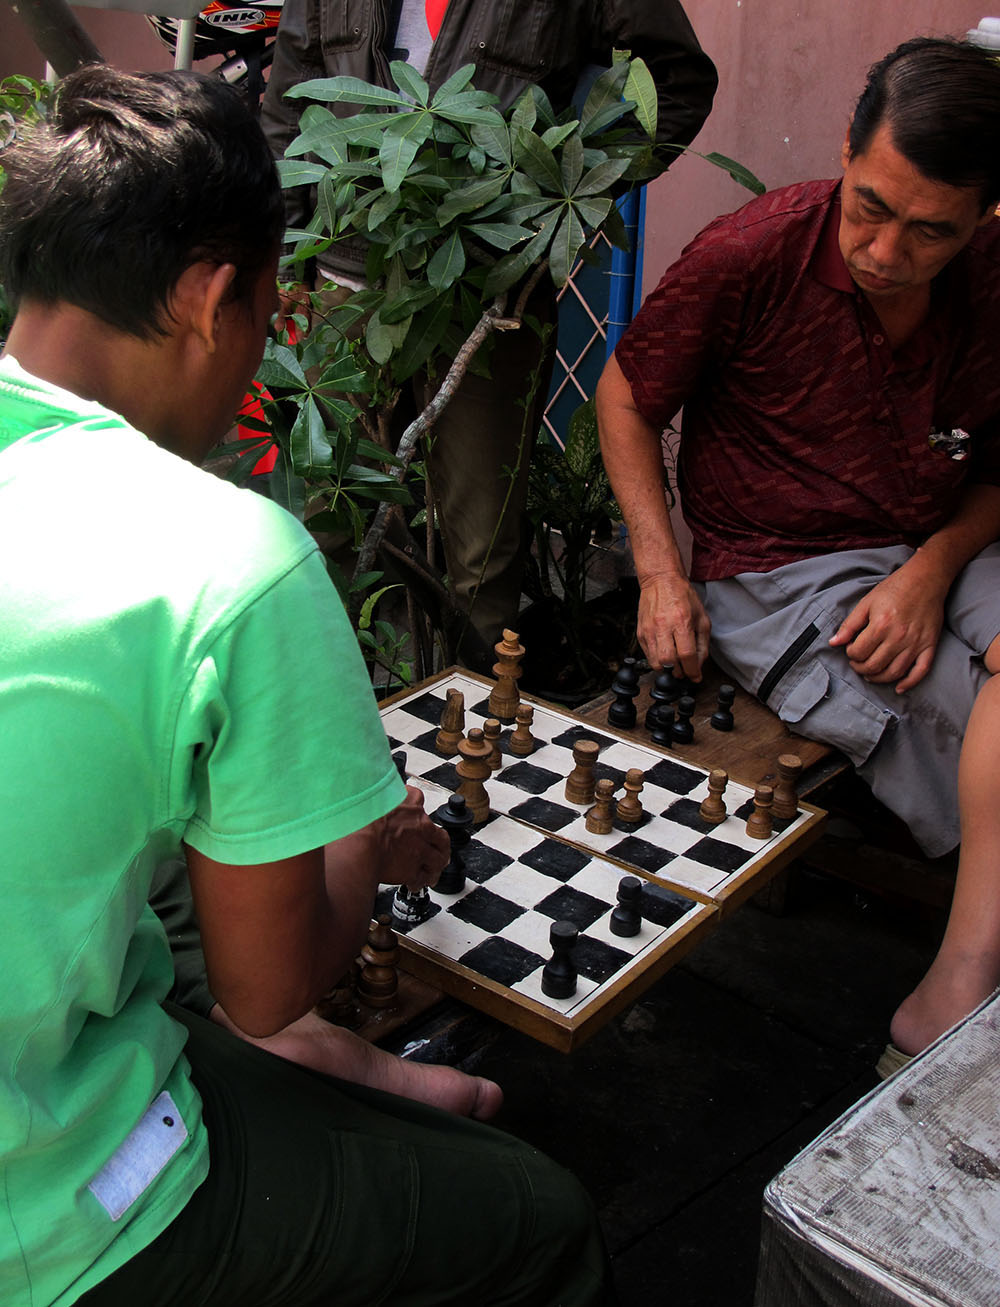
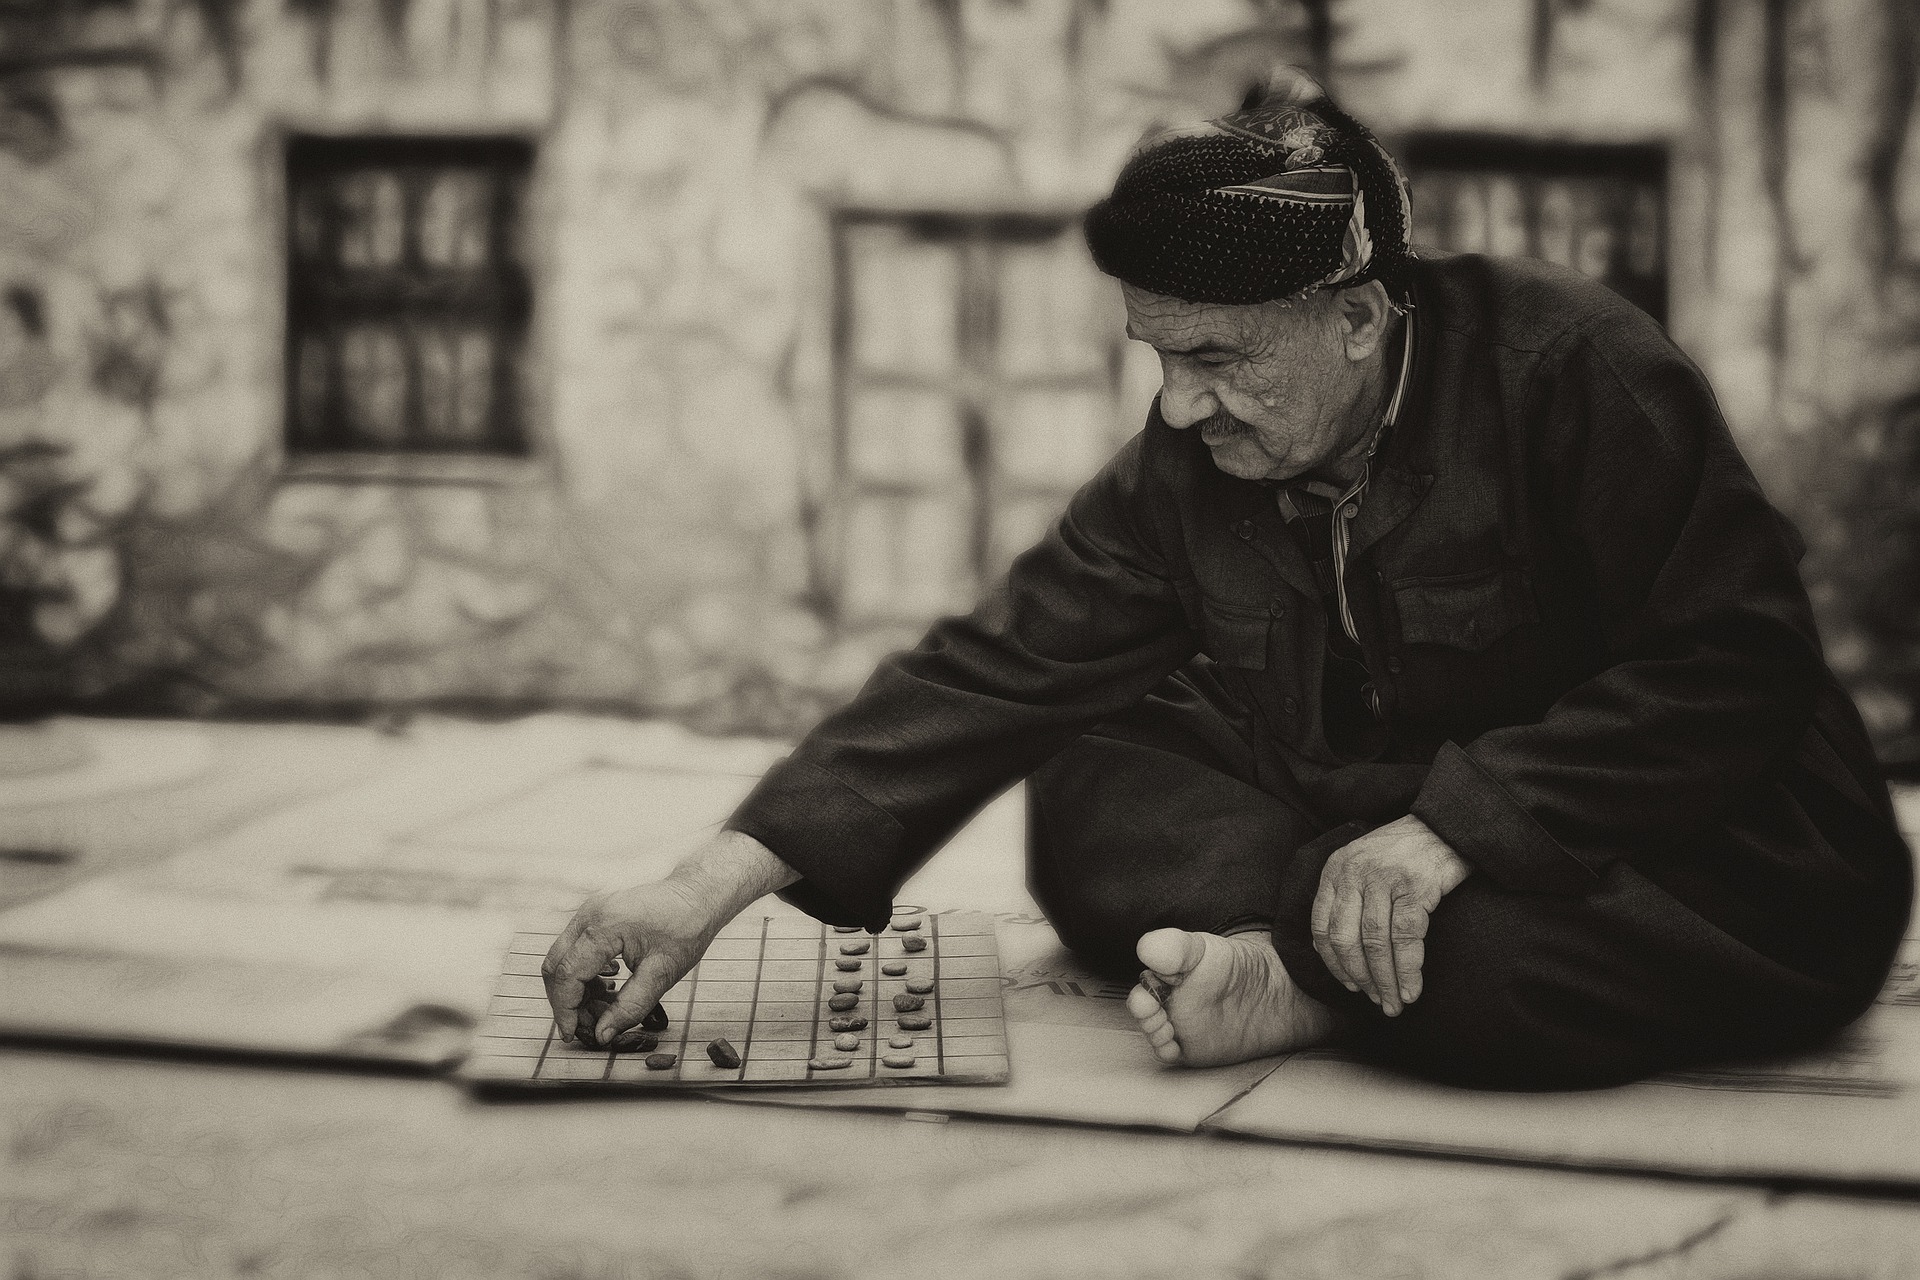
Street photography can also be a perfect place to try and play out various outlooks. On a walking tour, I found two men playing chess and it intrigued me to explore a particular angle to capture the shot. So, I tried the side way peeking approach for a change, to focus more on the people and the chess board as a whole.

crowd
crowd

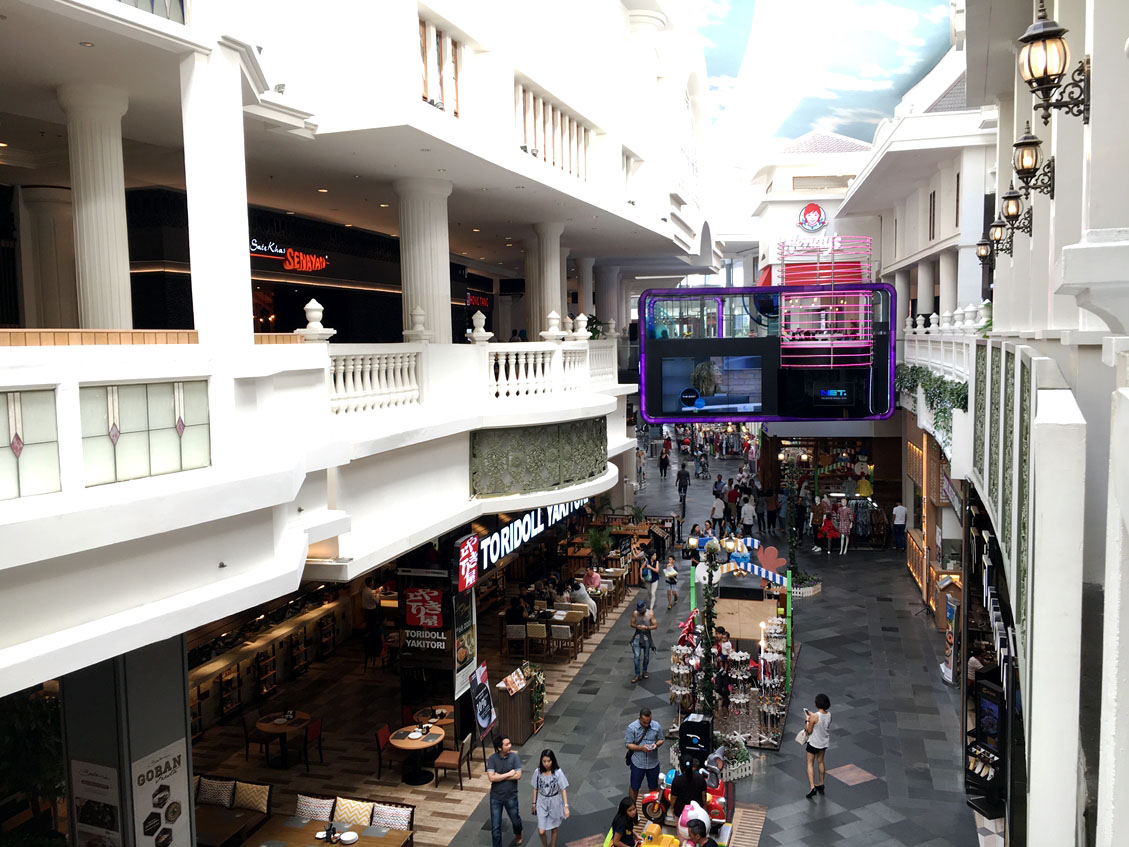
This particular mall has a unique architecture giving one a nostalgic feeling transporting you back in time. Whilst looking down, I wanted to capture the curved aspect with the lamps and lines in frame. Thus, a combination of colours, people and structure into one framed picture.

look
look

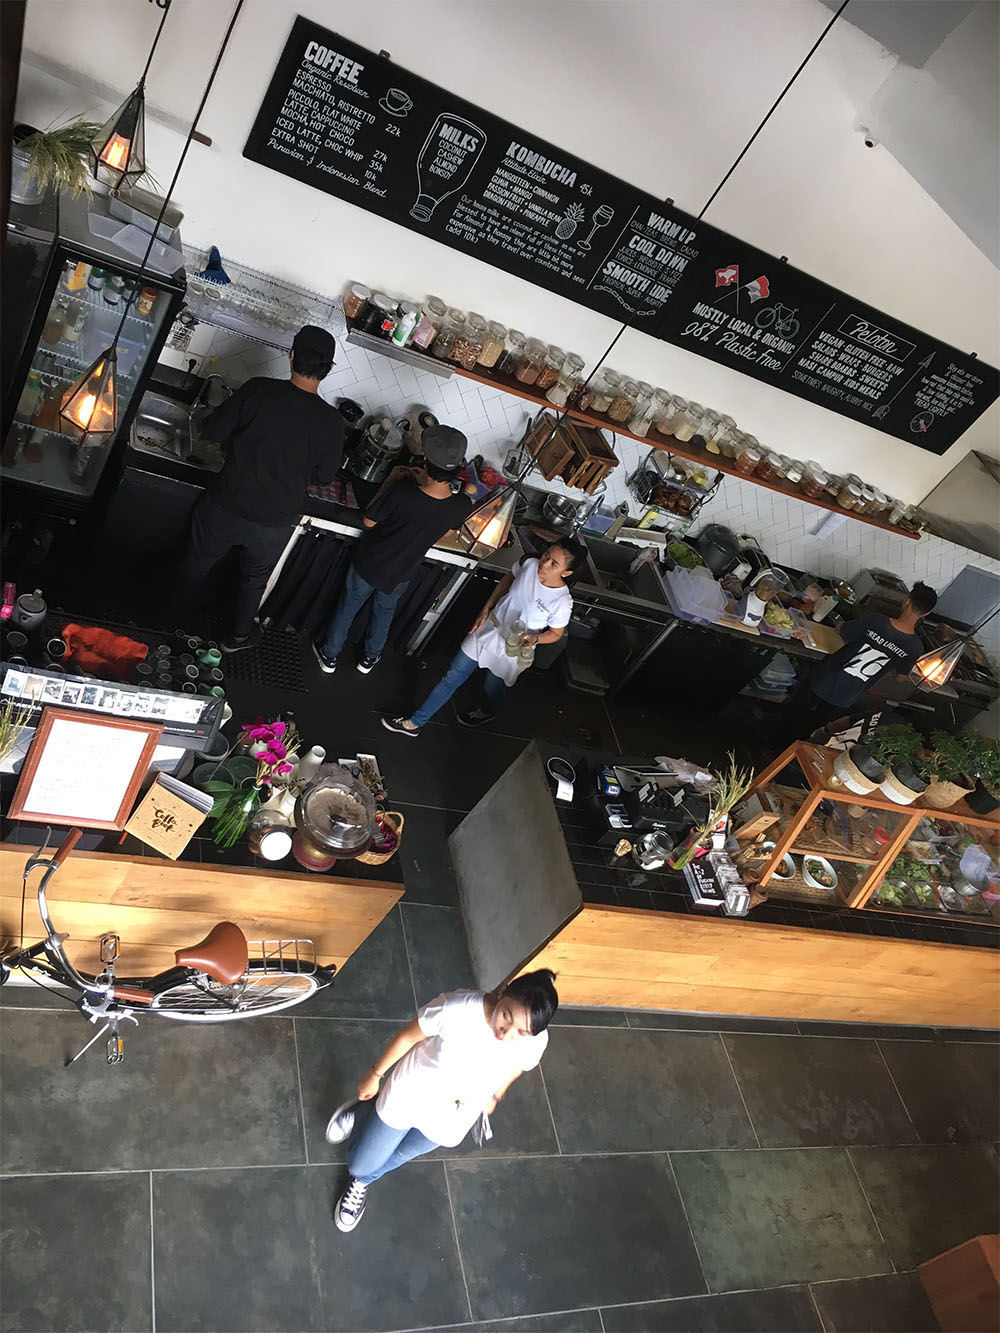
And here is the instantaneous moment that nature presents itself to you. Sitting at the restaurant, I randomly looked down, played with my iPhone by framing angles and hit the shutter. The whole scene filled with pretty wood interiors and layout was quite delightful to build into a moment.

crisp
crisp

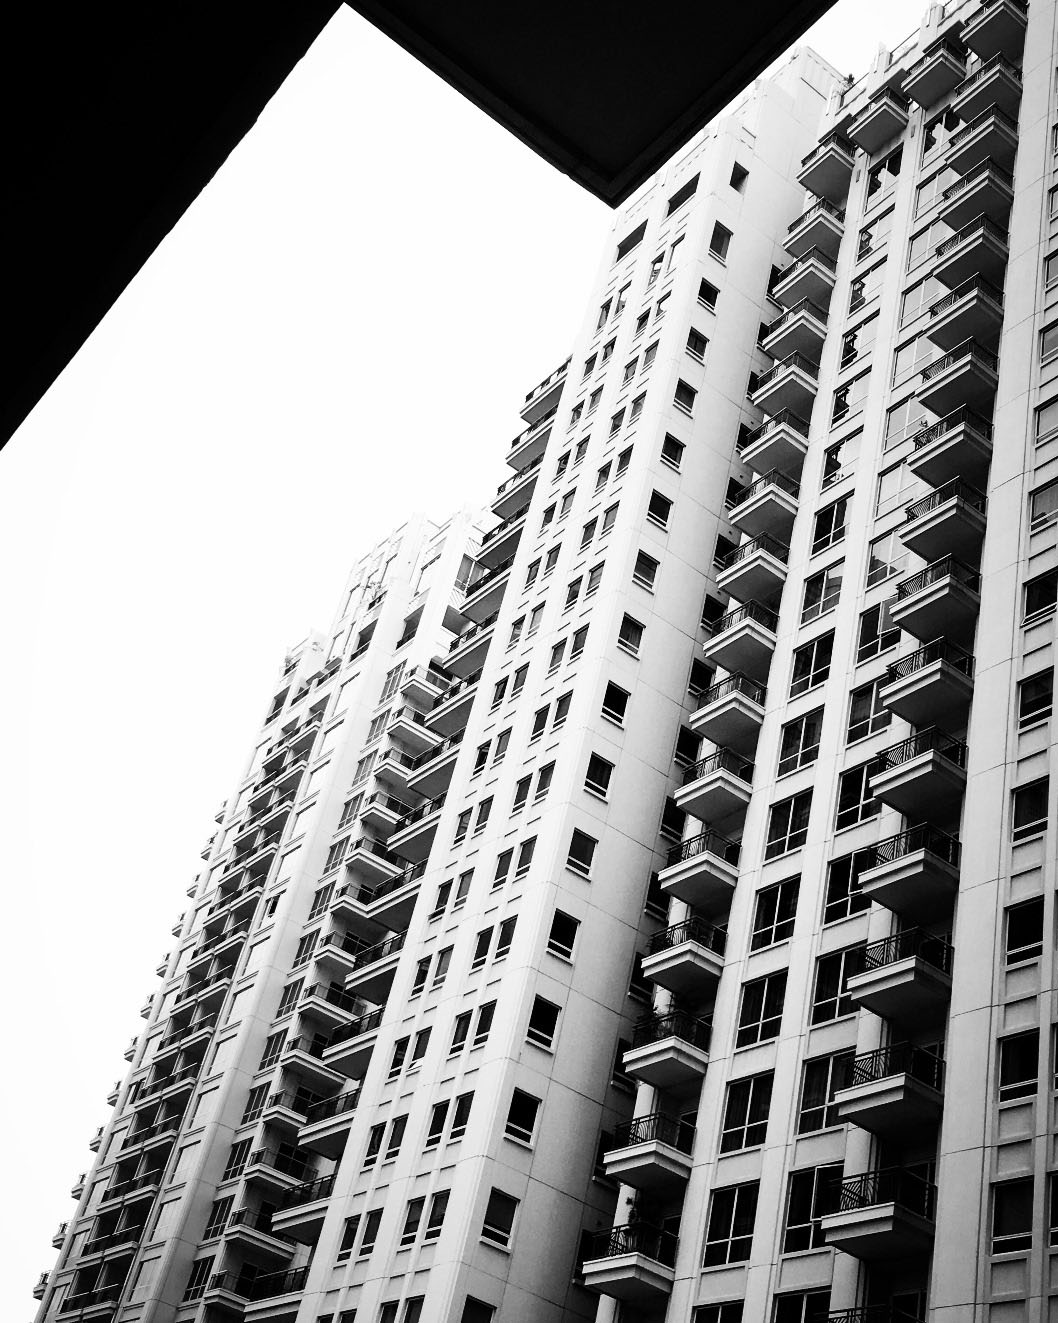
Looking up through the details of a building has never been more fun if you can capture it in a completely distinct way. The idea behind this capture was to have the symmetrical shape on top, which is part of the top portion of the building I was in, look like it forms a cover of the other building. I tilted my phone so this captured moment directs your eyes upwards.

stand tall
stand tall

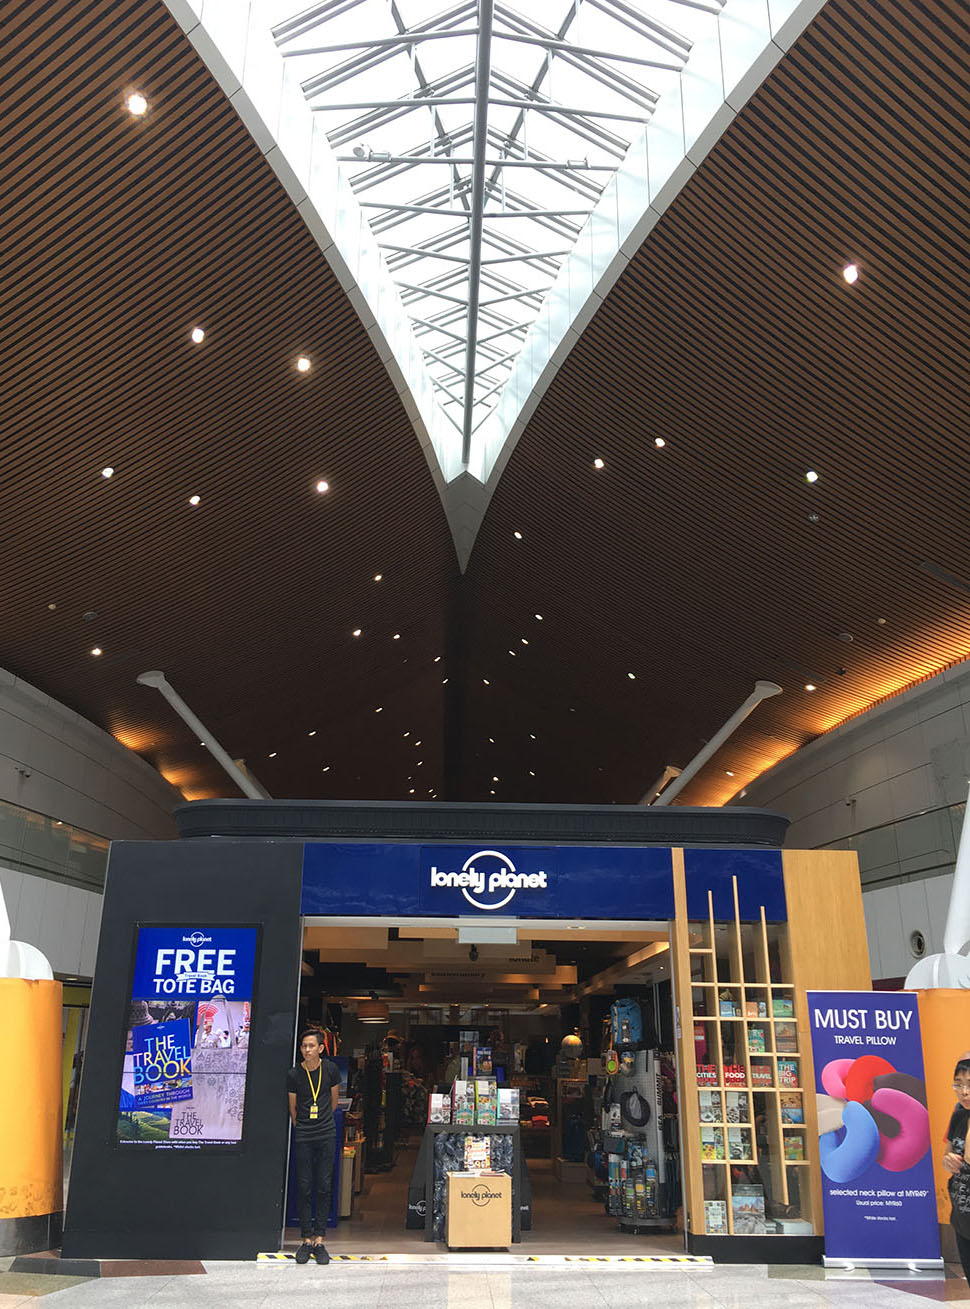
Awed by the architecture of this airport in Kuala Lumpur, I wanted to snap this whole scene but focusing more on the lines and architecture. Yet, another spontaneous shot.

alley
alley

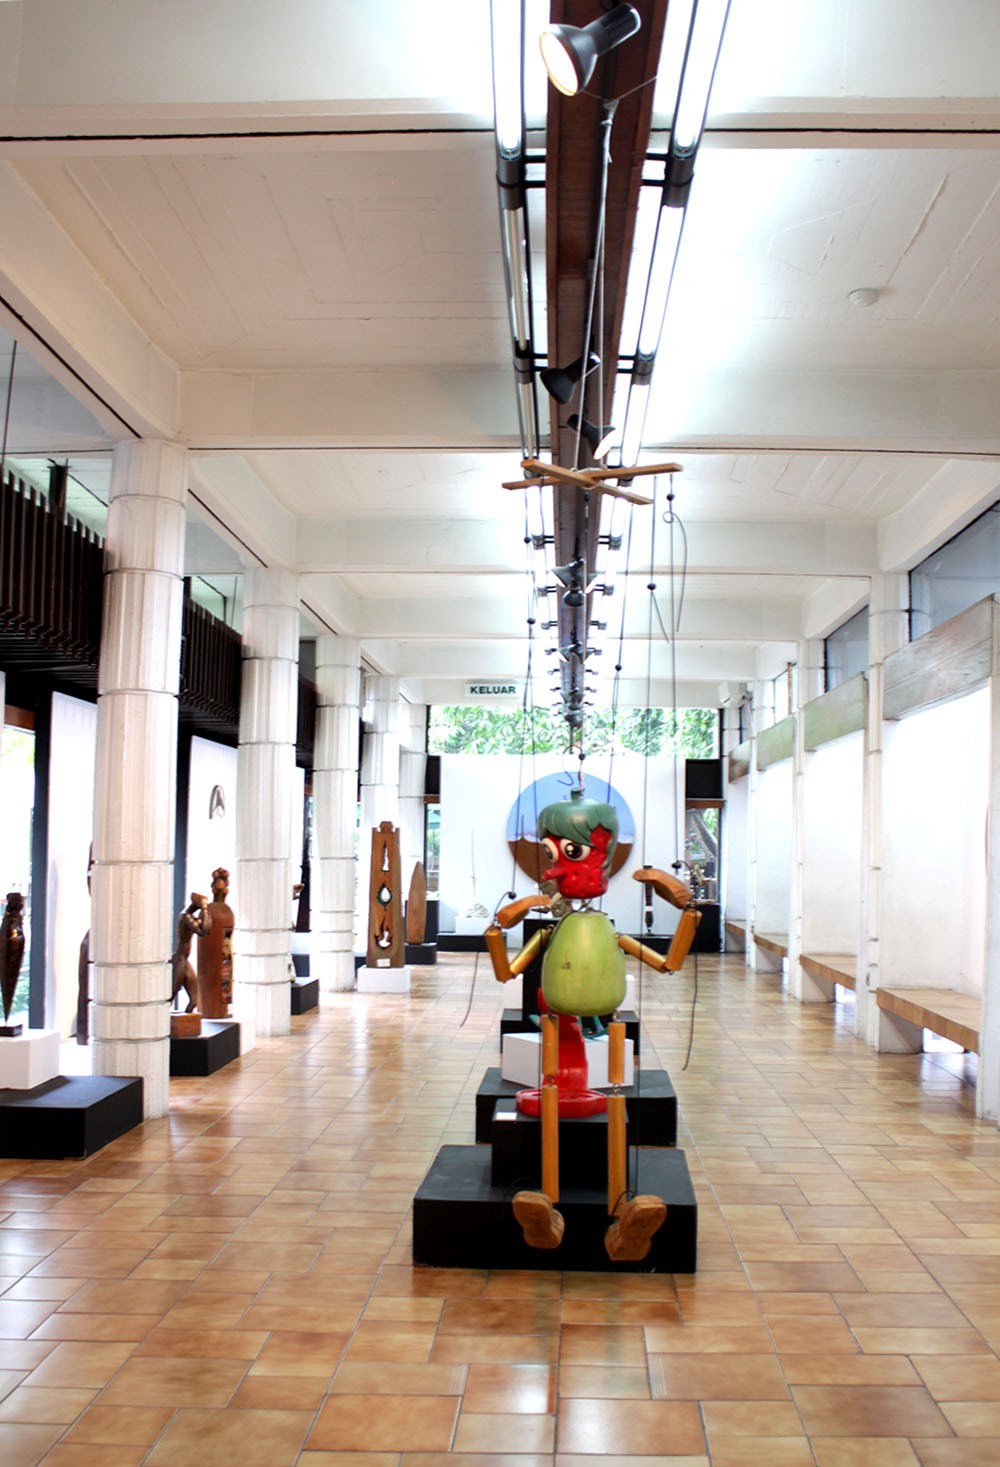
Something about this exhibition and the rows making it seem like an alley, motivated me to point and shoot. Just to have a glimpse of what the exhibition was about and have a sort of symmetry was my main aim when framing the shot.

open
open

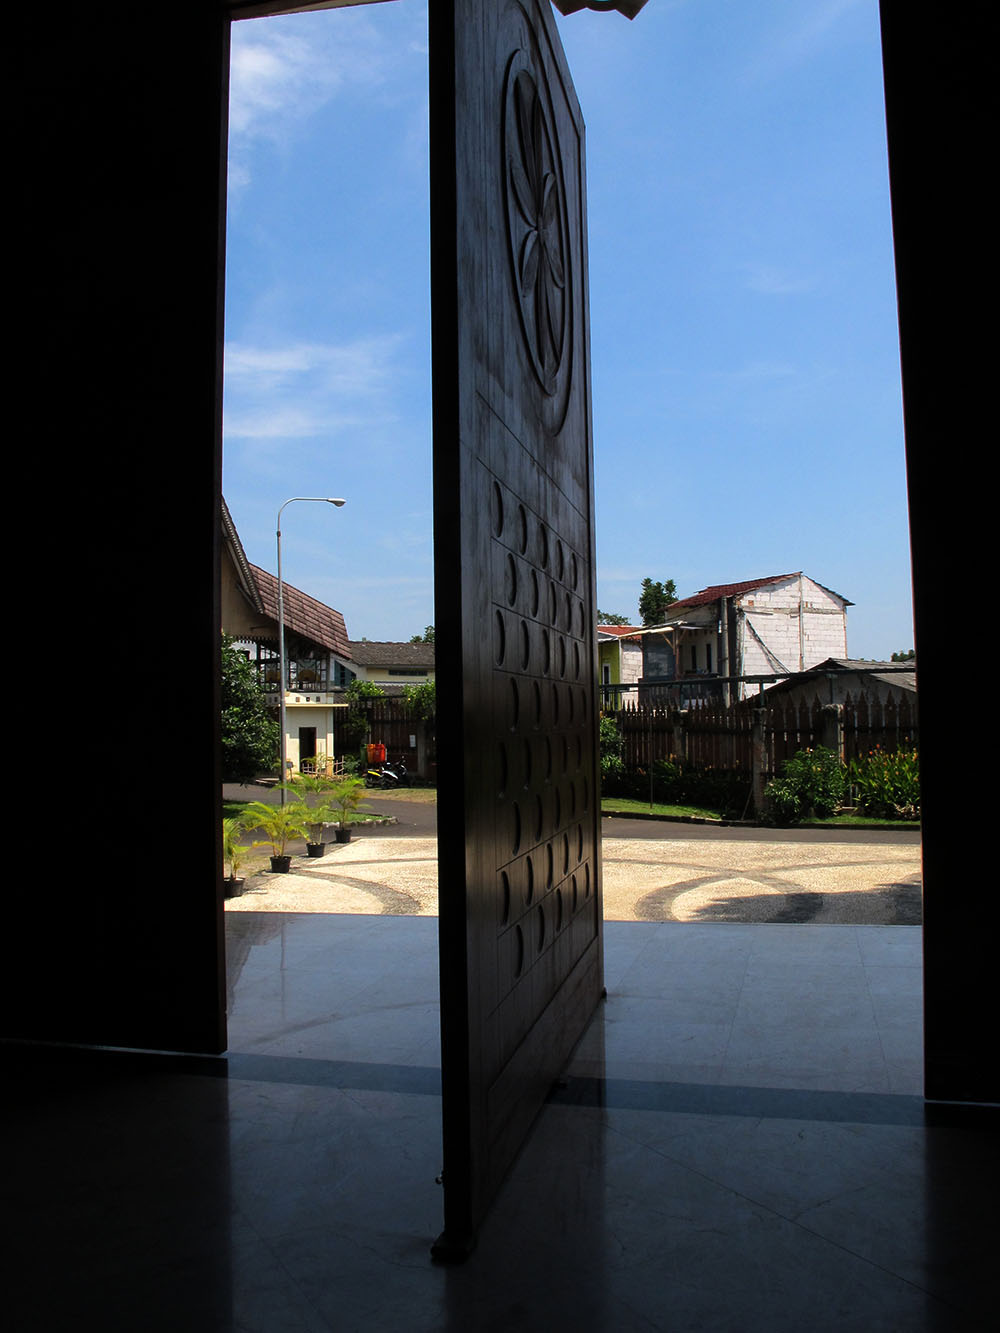
Lastly, standing inside the building I casually looked out and noticed the door ajar in the middle and the lovely blue on the outside. It definitely was a moment not to miss capturing. Angling from a few places and with a few clicks, voila this moment was created.

pink bud
pink bud

Every angled shot makes you think outside the box bringing the image a new flavor. Playing with perspectives has allowed me to explore a new side and style to photography. It is like allowing nature to speak to you and at the same time being creative to make an image stand out. There are no set rules to achieve it but simply being alert and listening to the moment. Let’s continue to enjoy the various points of view and keep clicking!

A Photographic Journey around San Felipe, Mexico

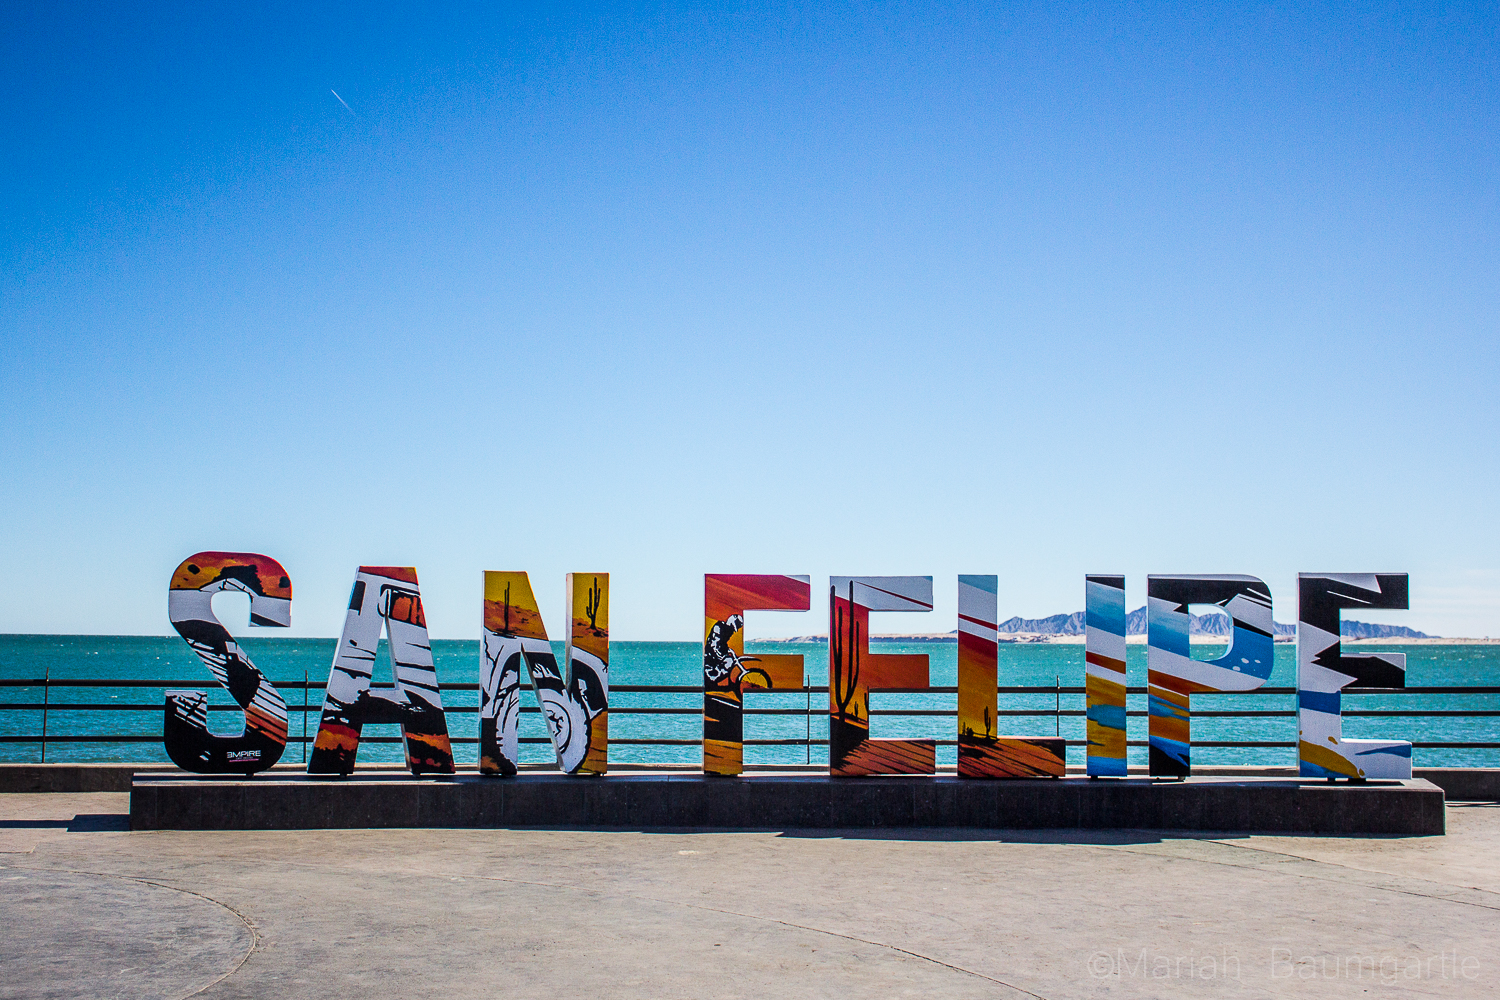
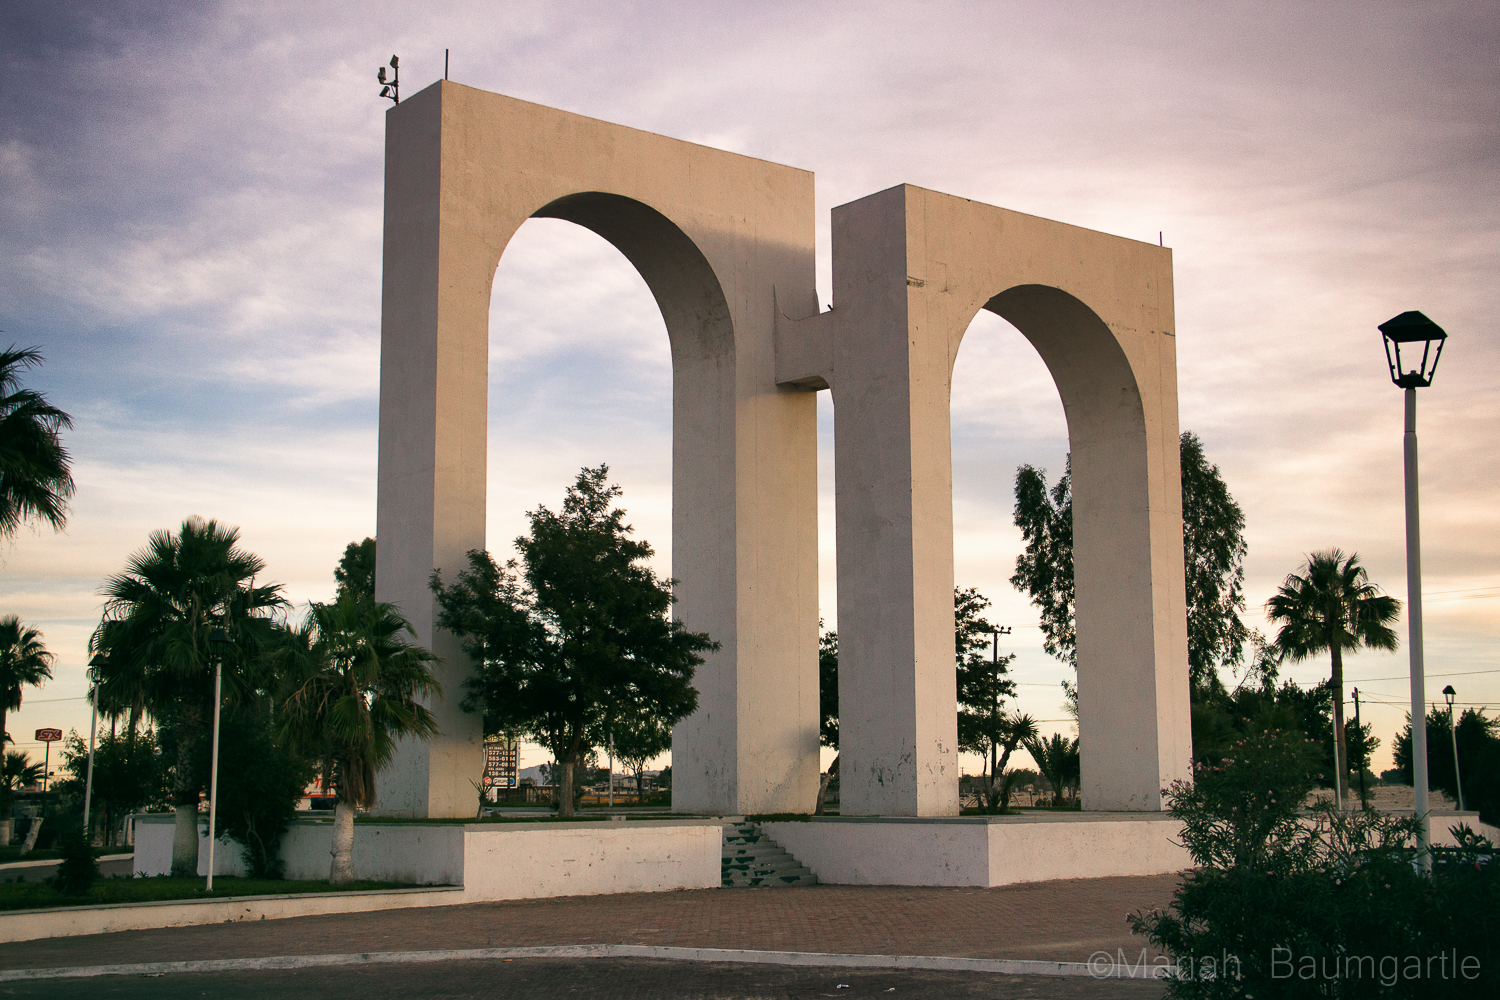
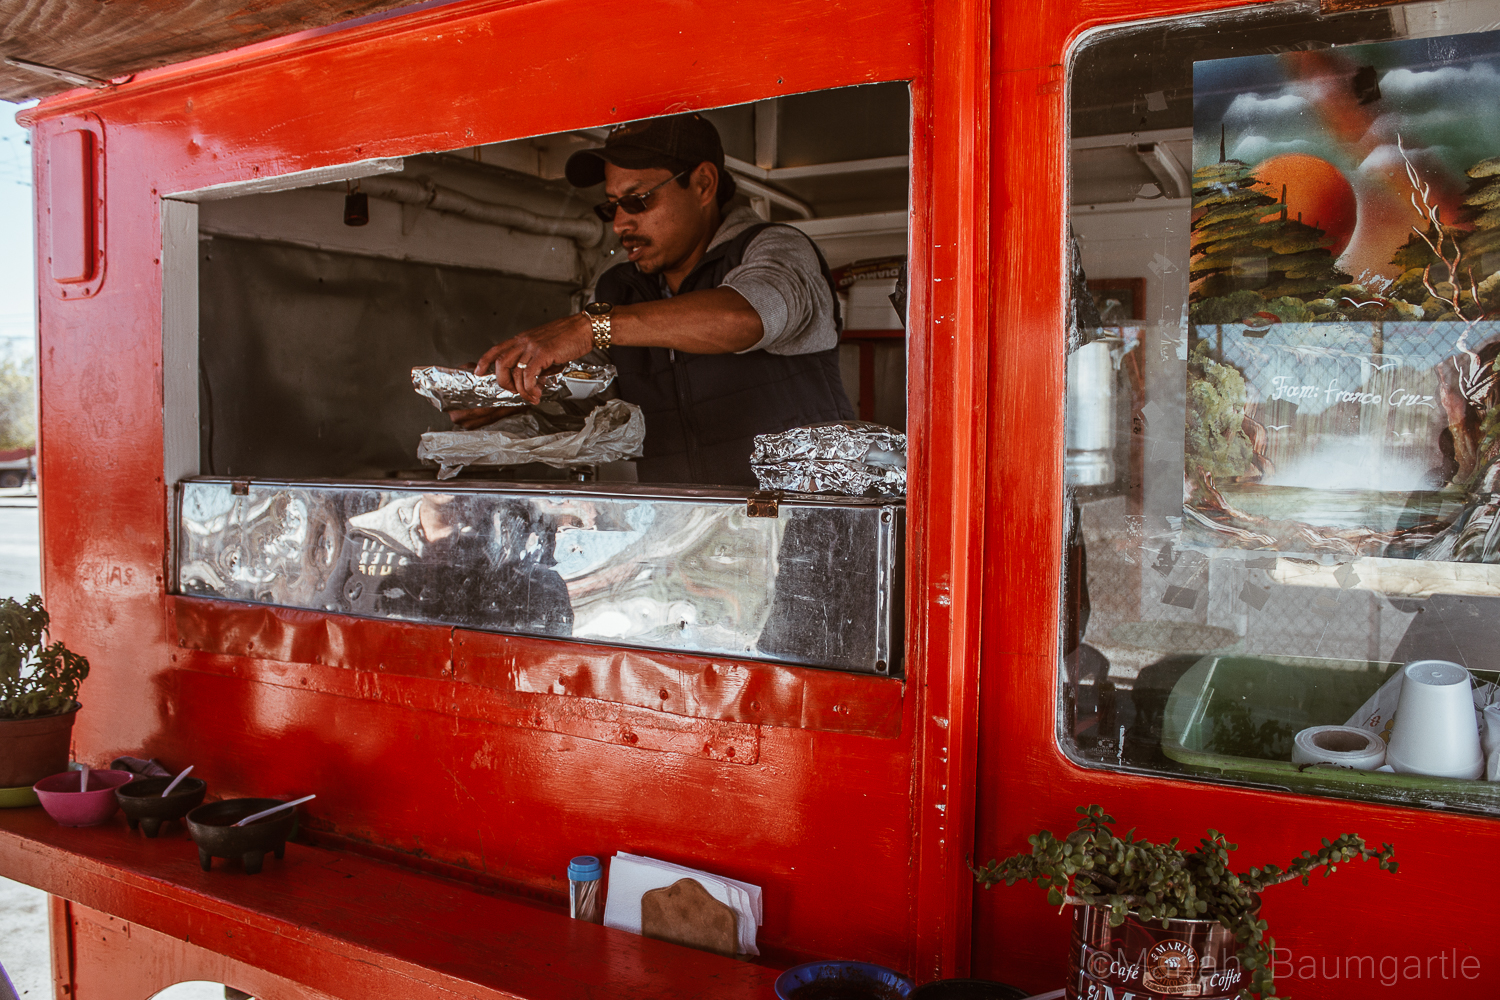
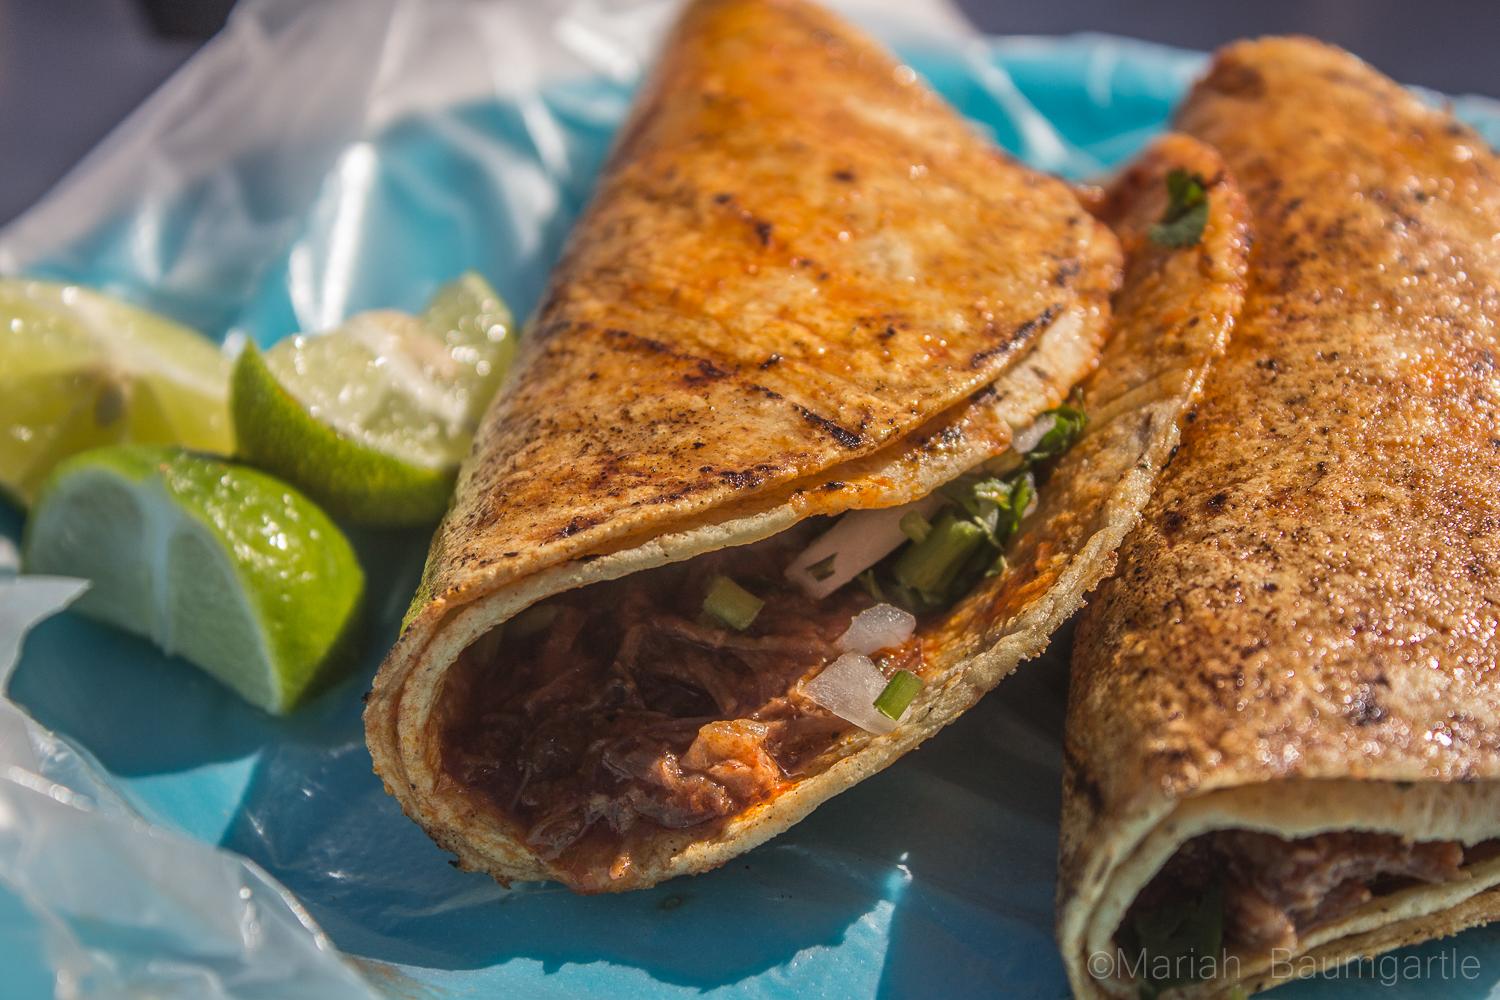
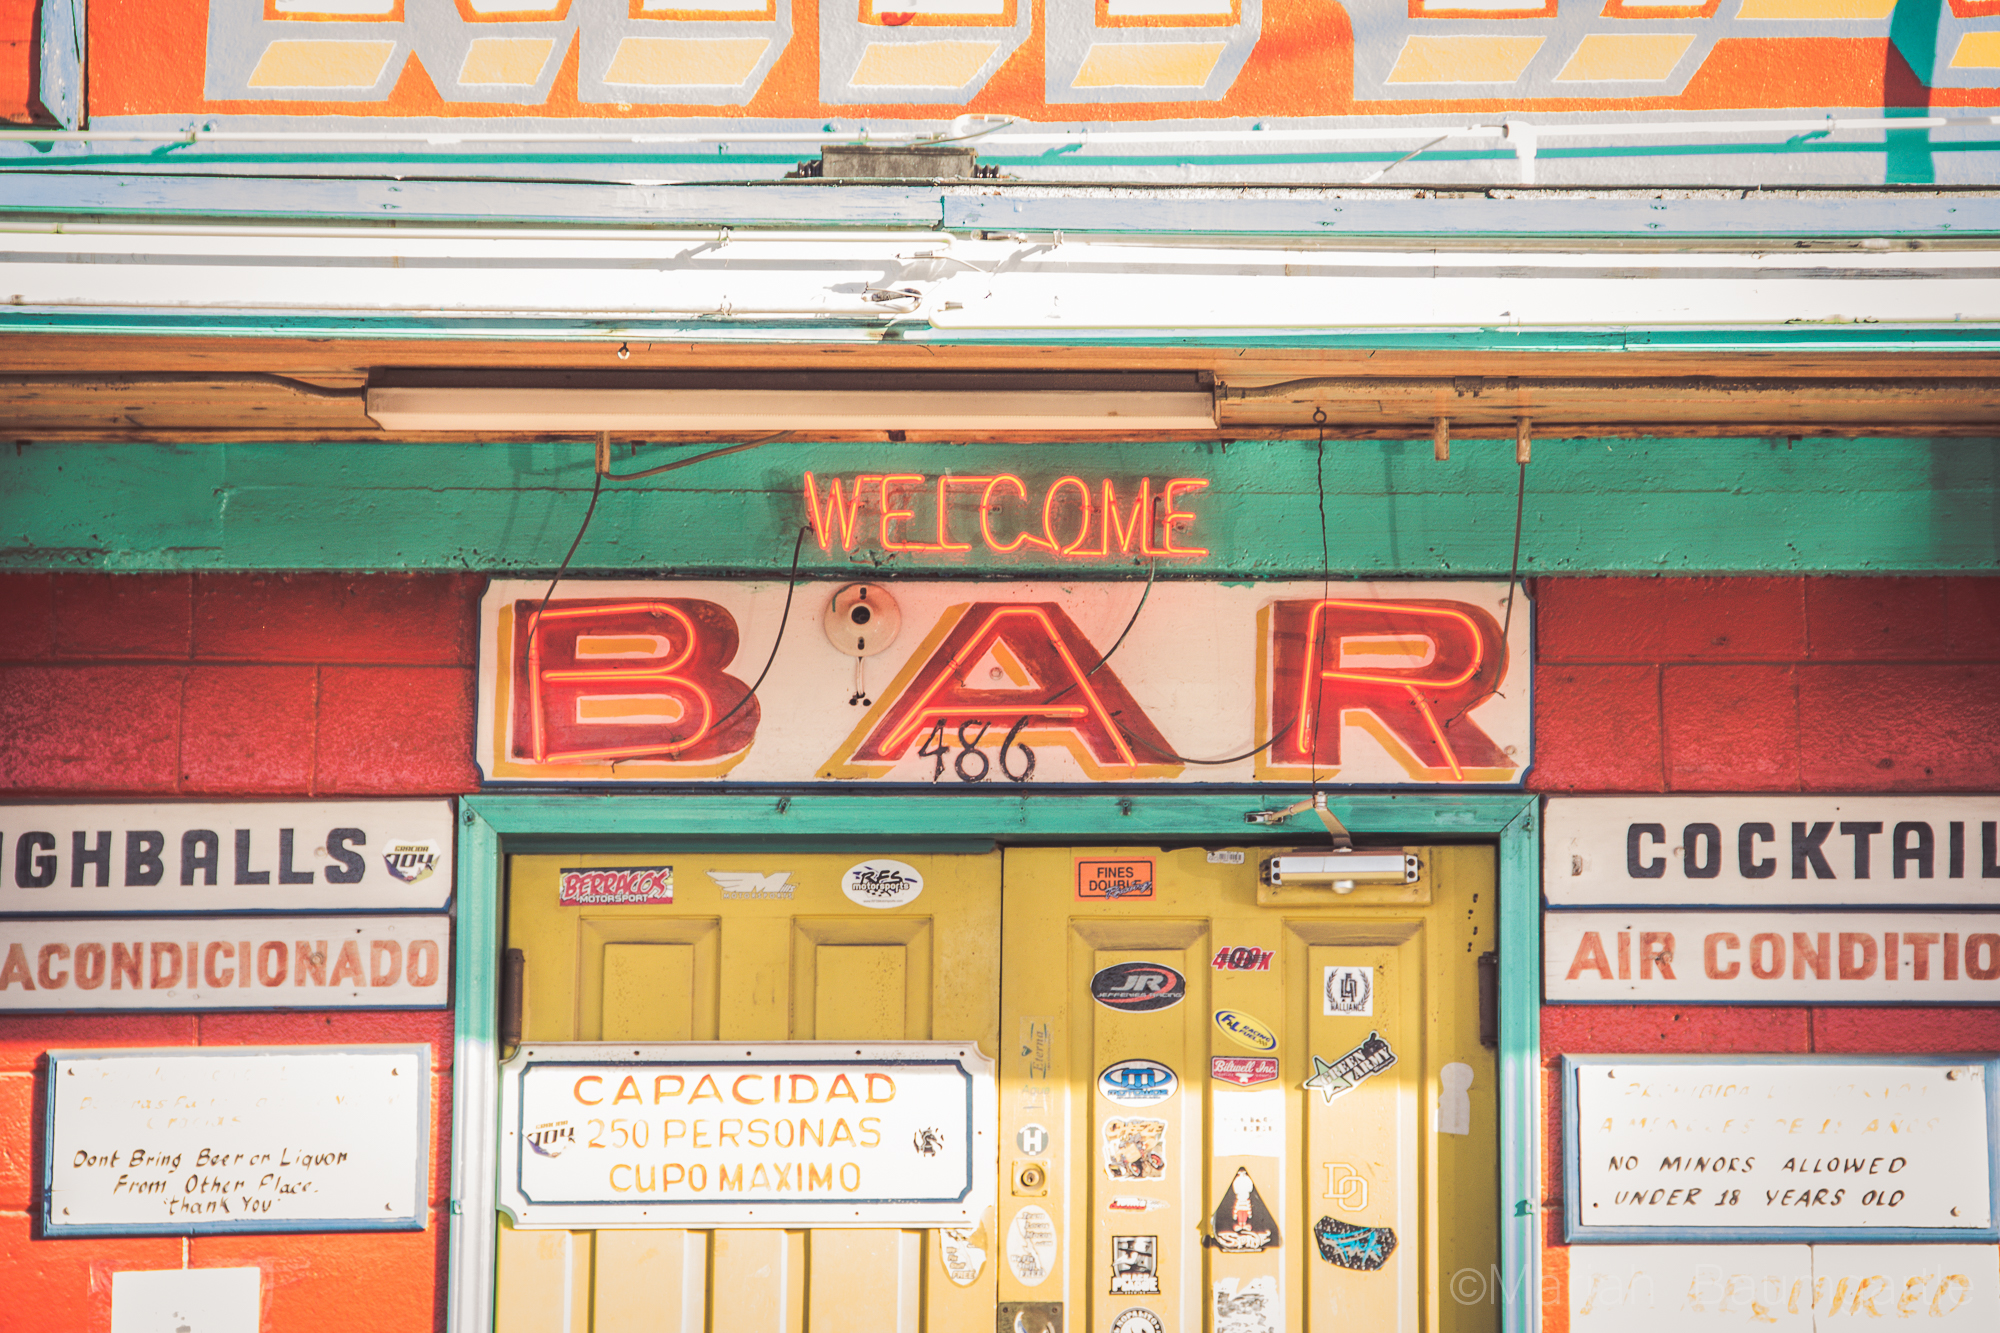
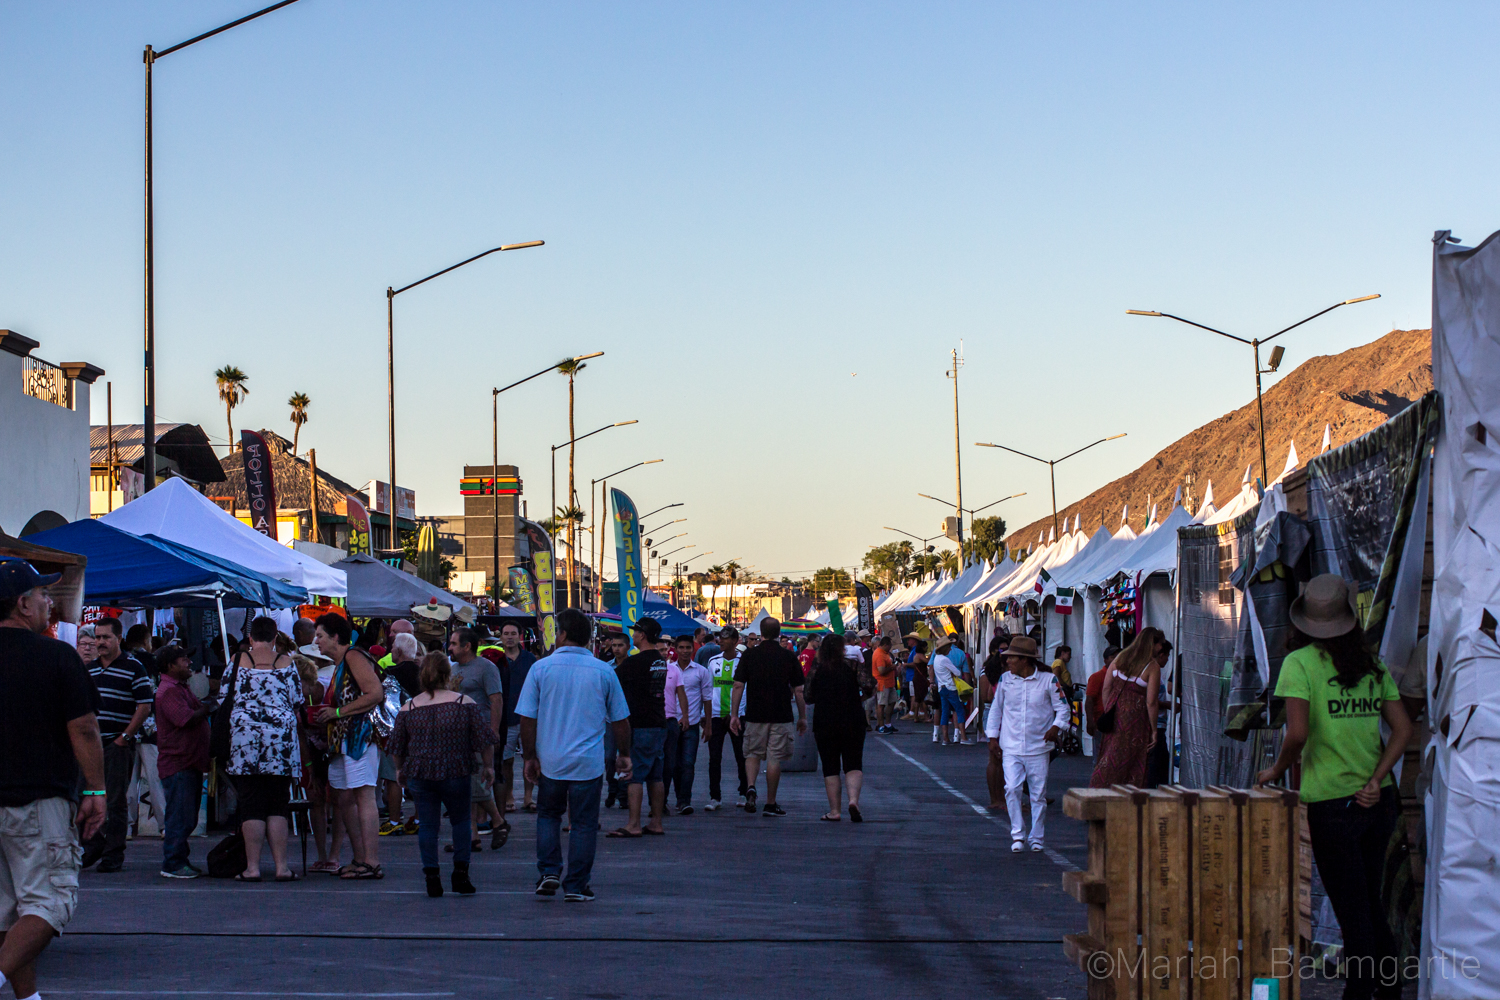
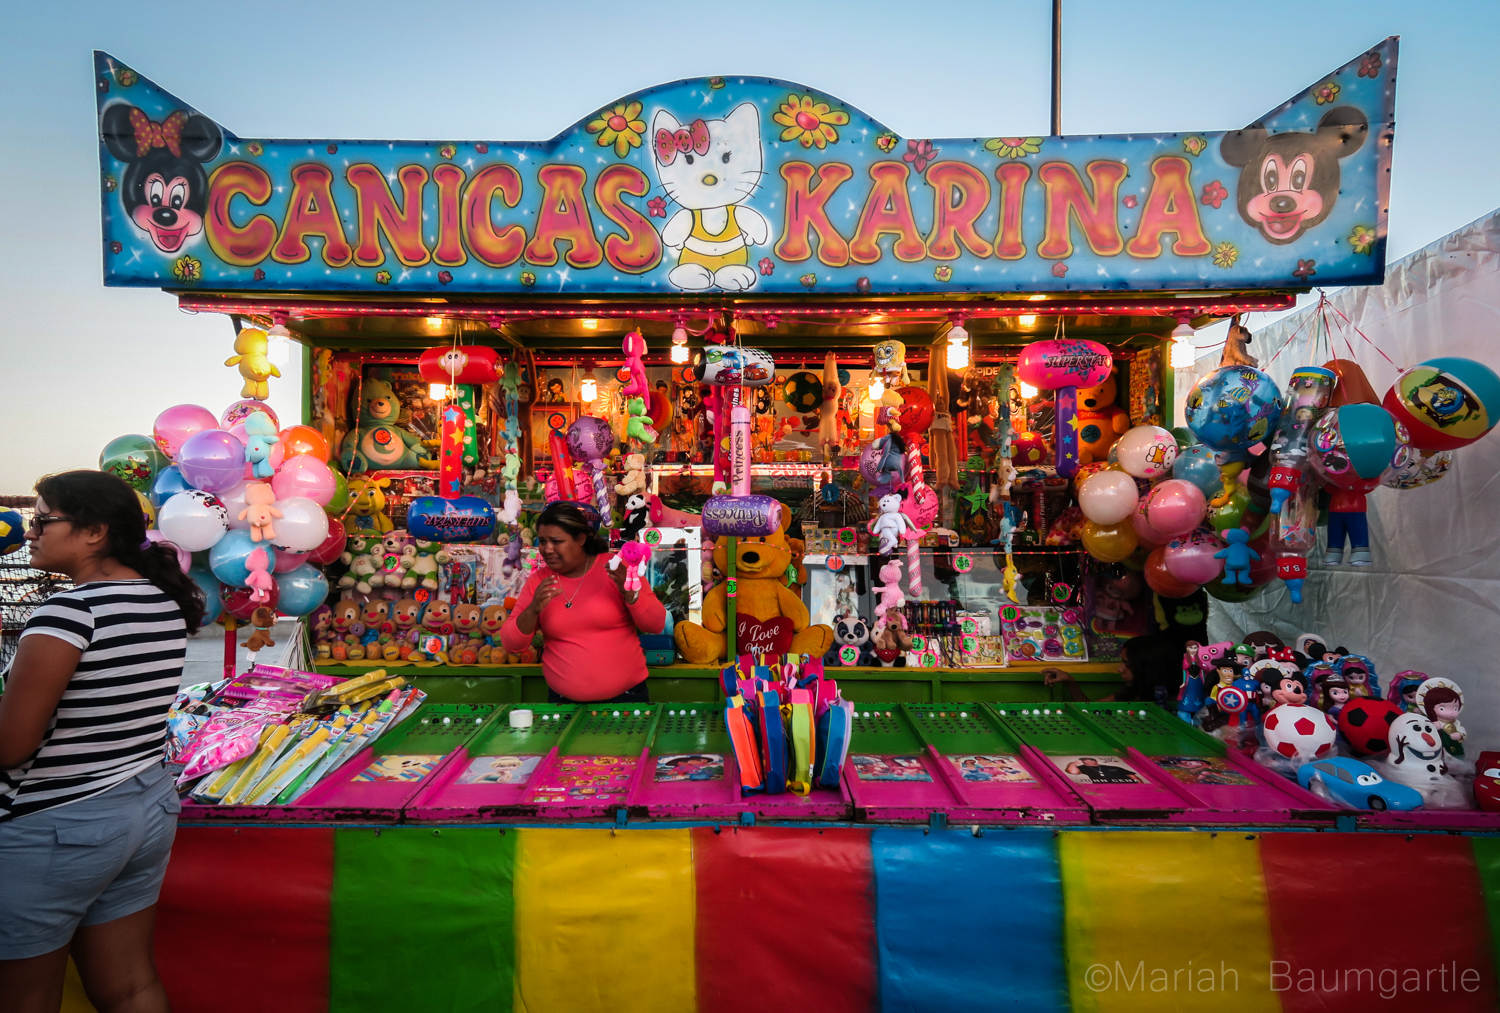
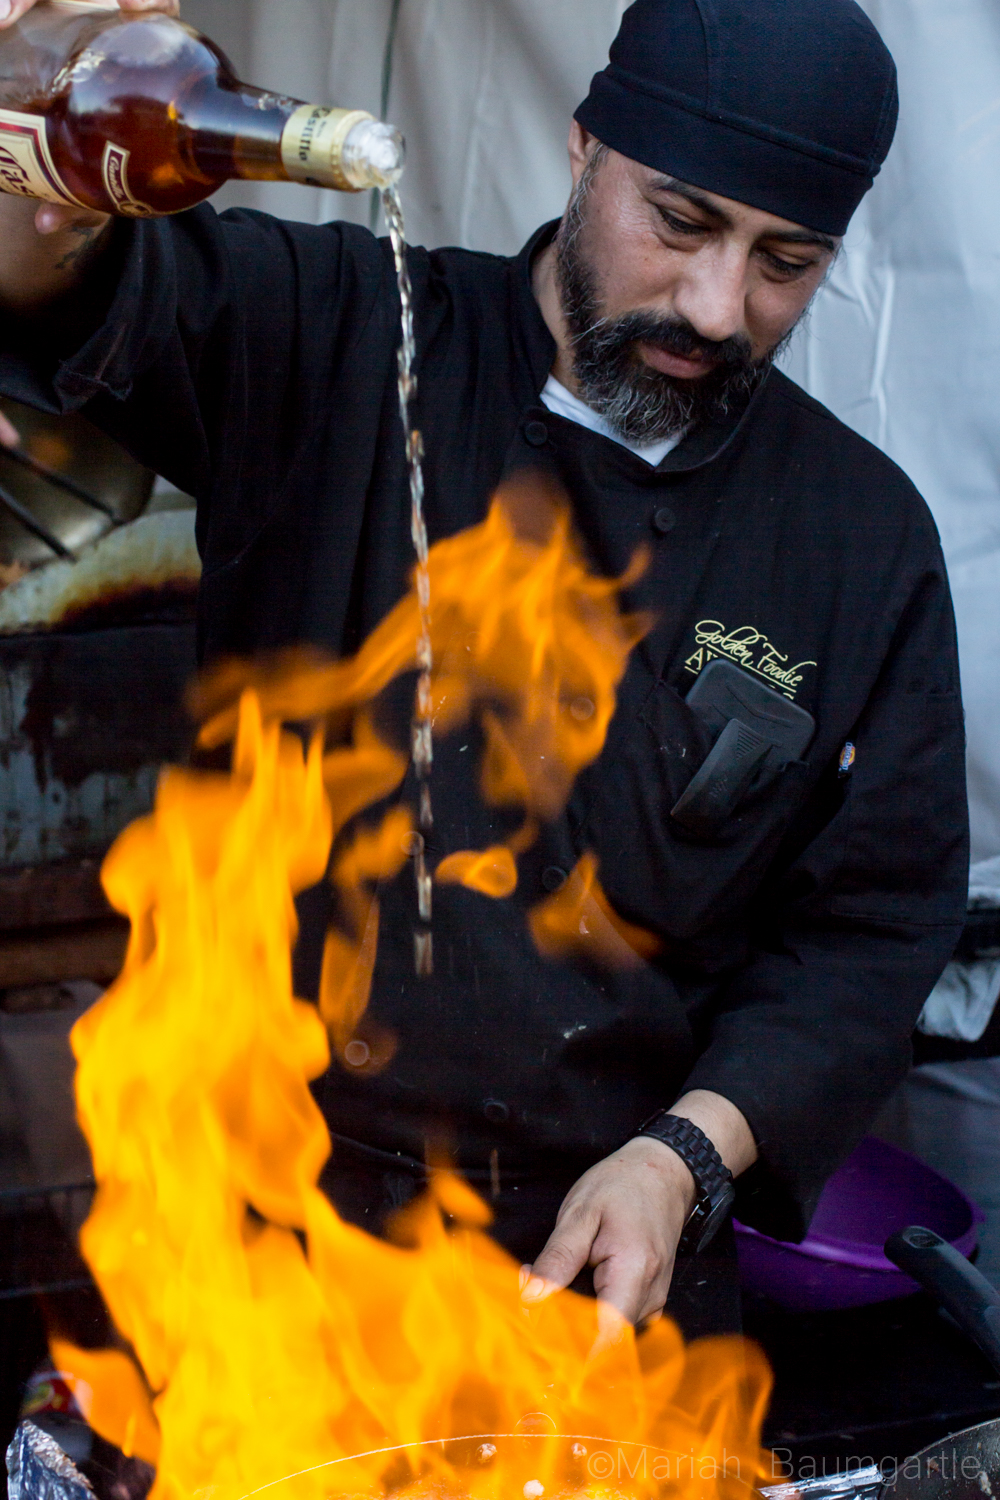
I have had the opportunity the past four months to live and photograph around San Felipe, Mexico. San Felipe is located in the Baja California and located about 2-3 hours south of the border along the side of The Sea of Cortes. San Felipe is filled with color, culture, great food, and beautiful desert land. Pack all of the correct gear for your travels and take an adventure to gather some great photographs. San Felipe SignOn your way to downtown San Felipe, you will first spot The Arches, a very popular monument of San Felipe. They call the arches “The Gateway To The Sea” The arches offers many angles. However, the only problem photographing the arches are all of the distractions around such as signs and wires, which you can Photoshop out later. Around and past the arches you will also find a hillside where you can explore to gather some more cultural photographs of the areas. This area is where you will find all of the best authentic food with local taquerias and is always a great photo op in itself by practicing your food photography. Down at the end of San Felipe is The Malecon, which sits next to The Sea of Cortes. The Malecon is lined with restaurants, shopping, and with a great view of the sea. This is where all of the events happen in towns such as food festivals, music festivals, and parades. This is a great place to take some iPhone street photography. San Felipe ArchesSan Felipe Culture
San Felipe Food Truck

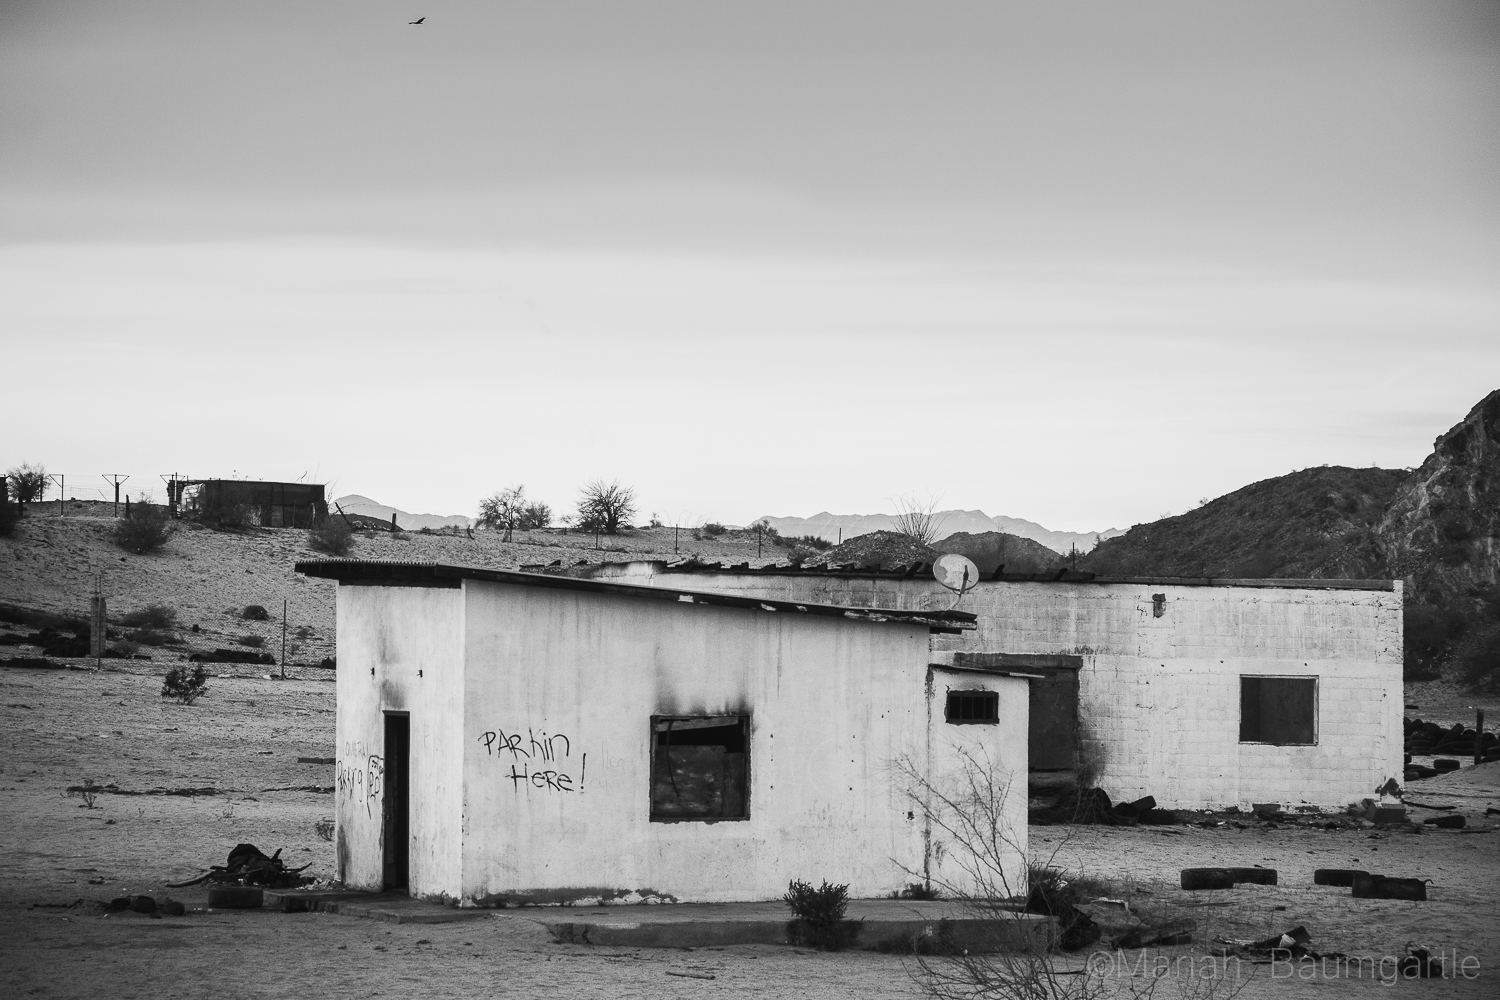
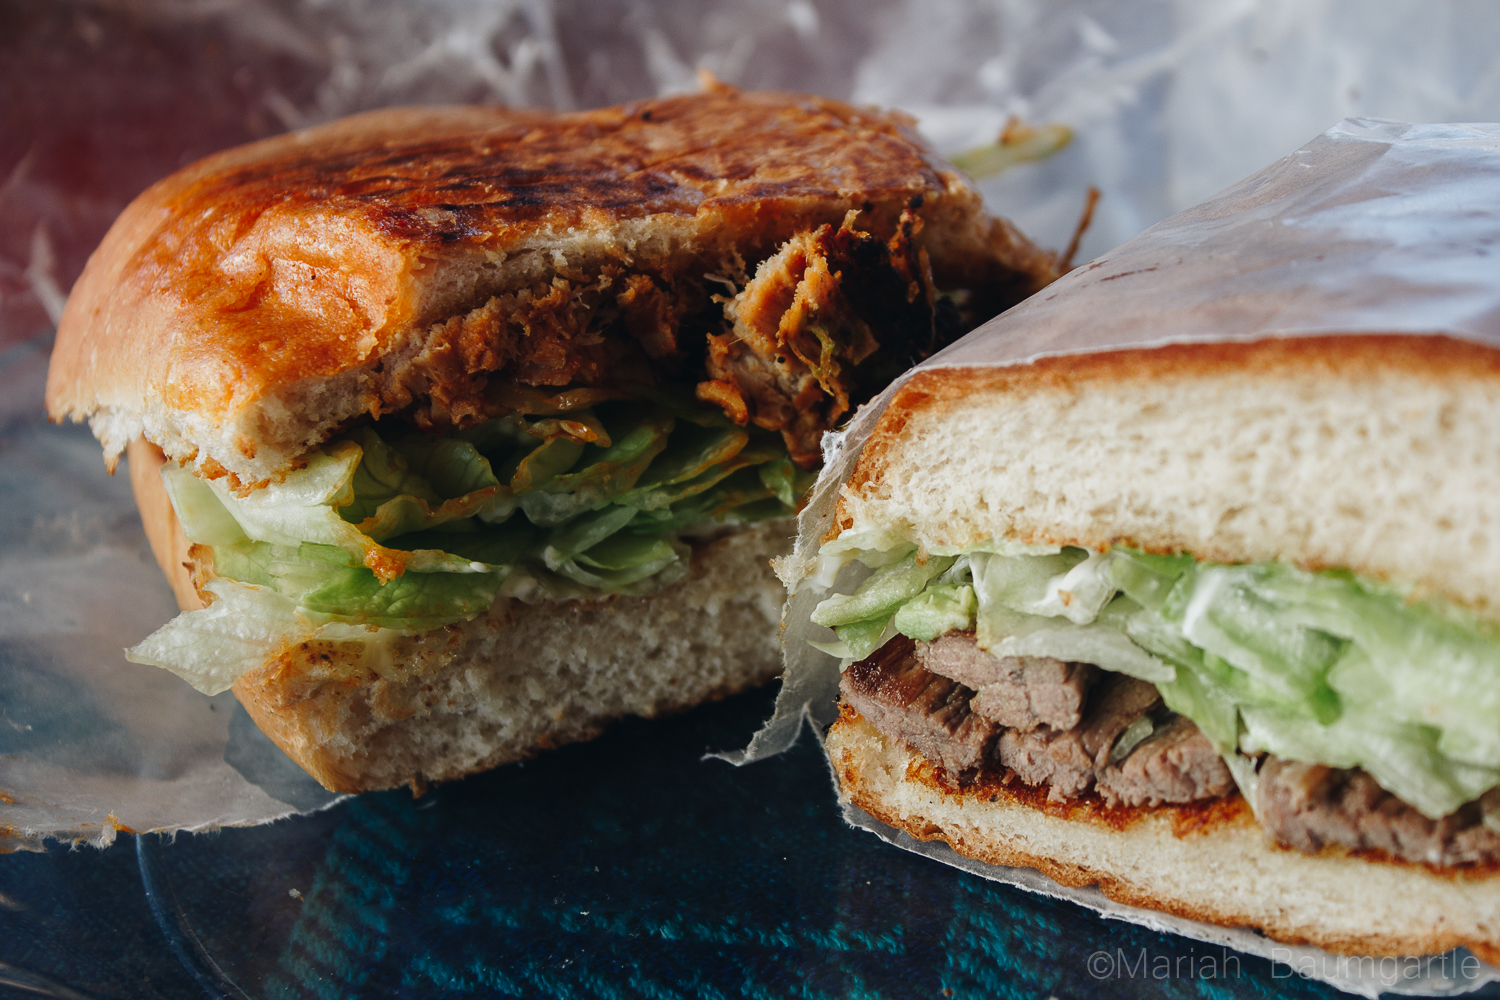
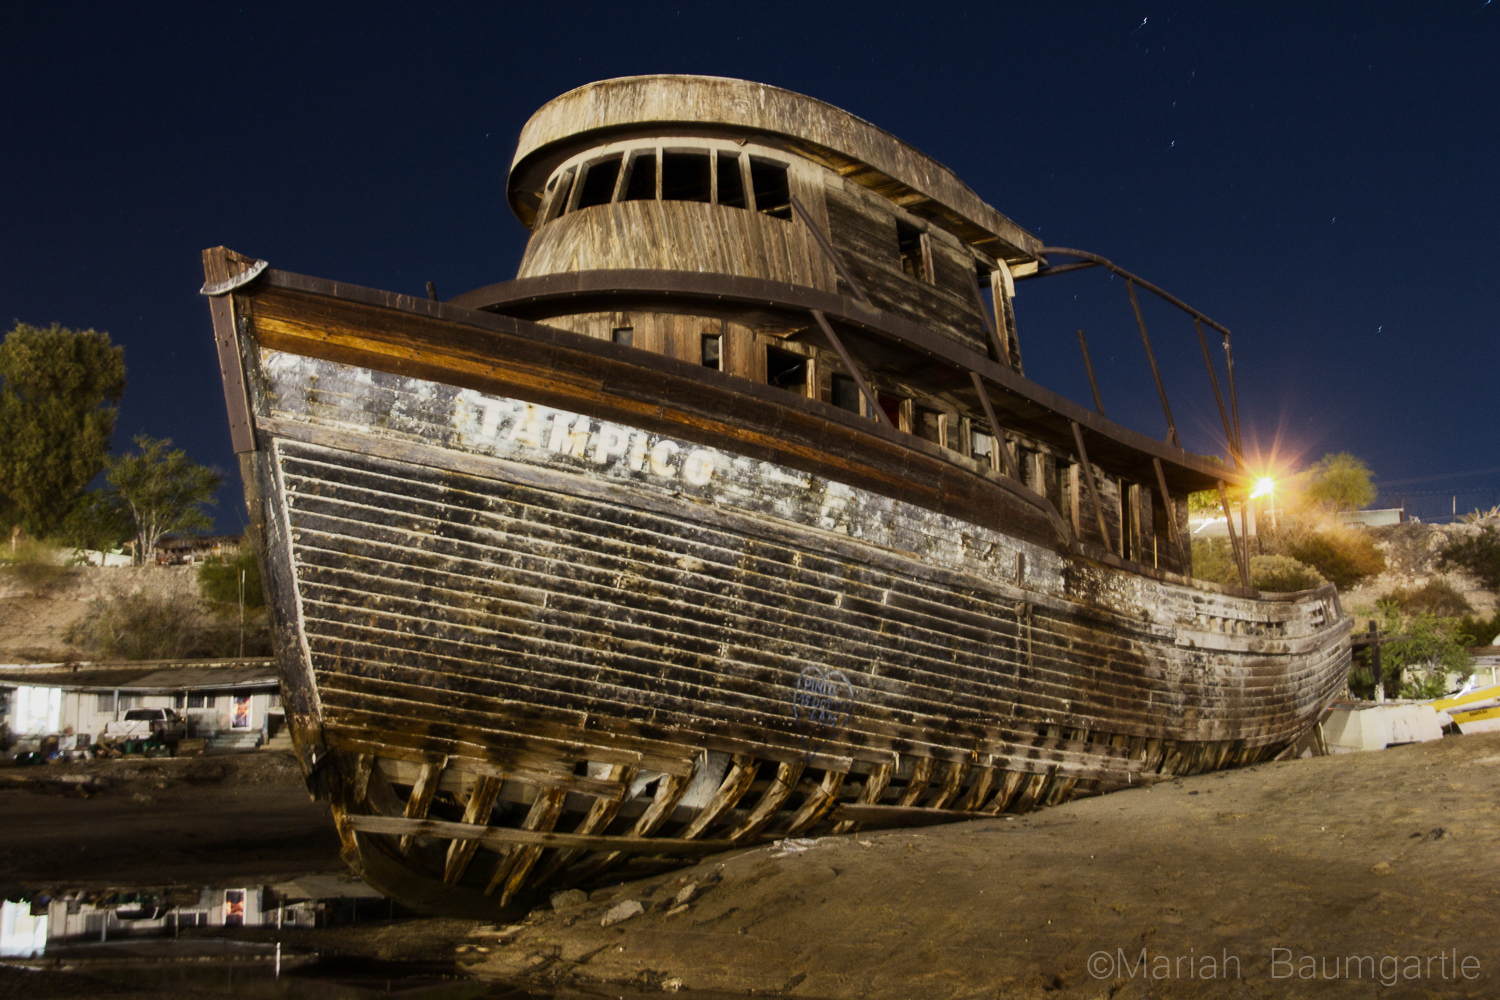
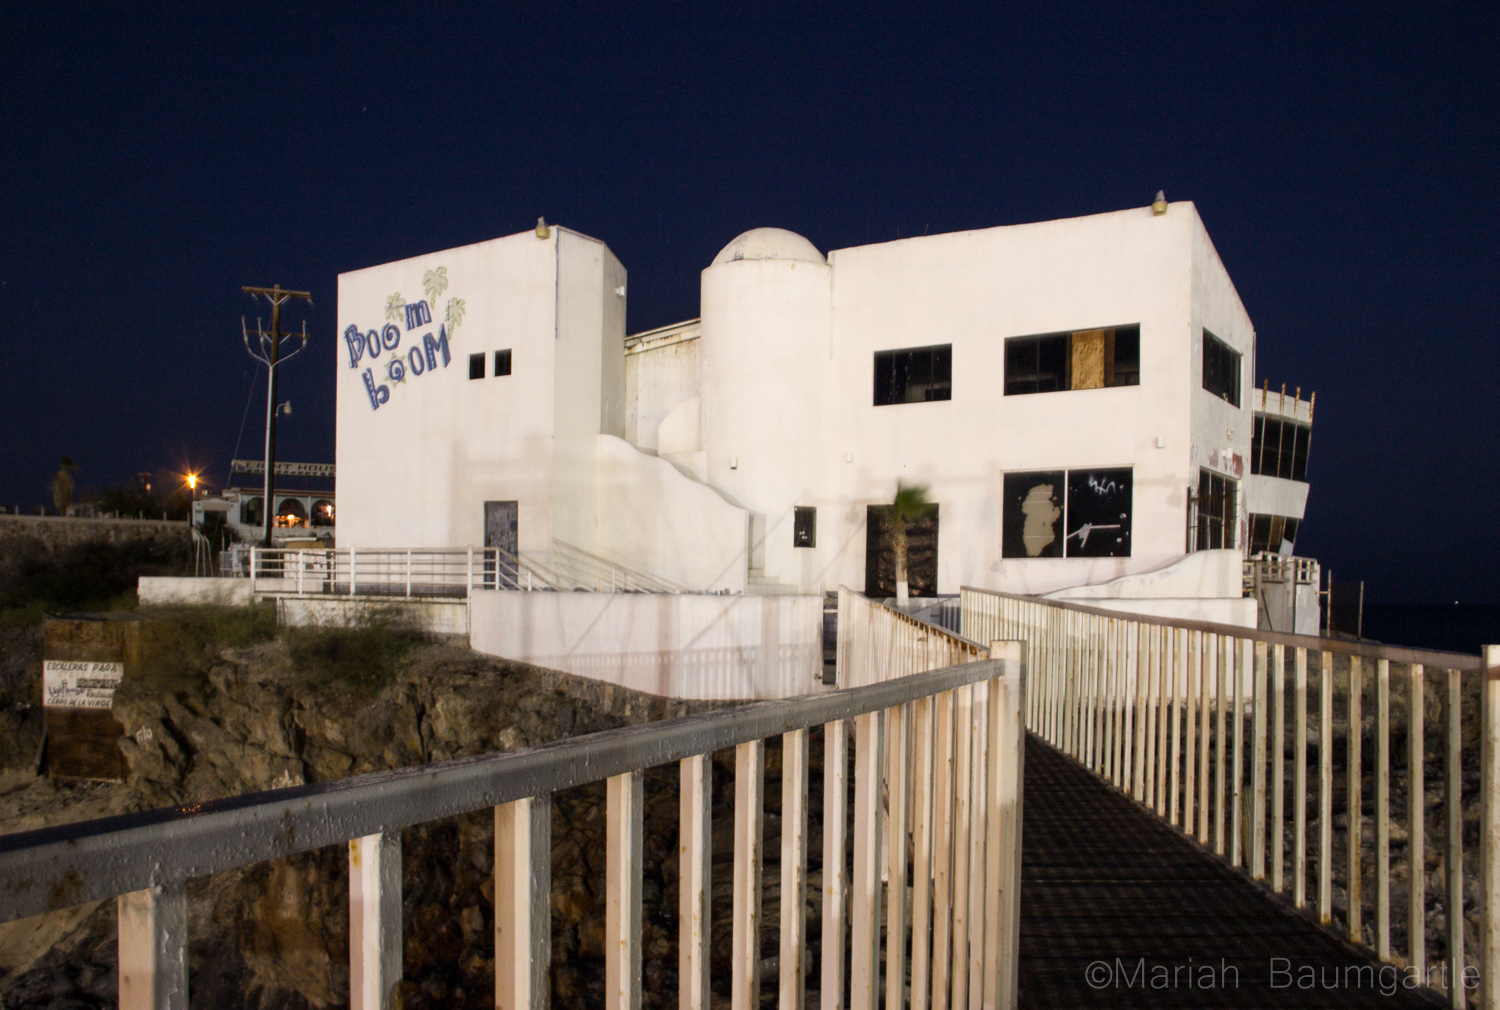
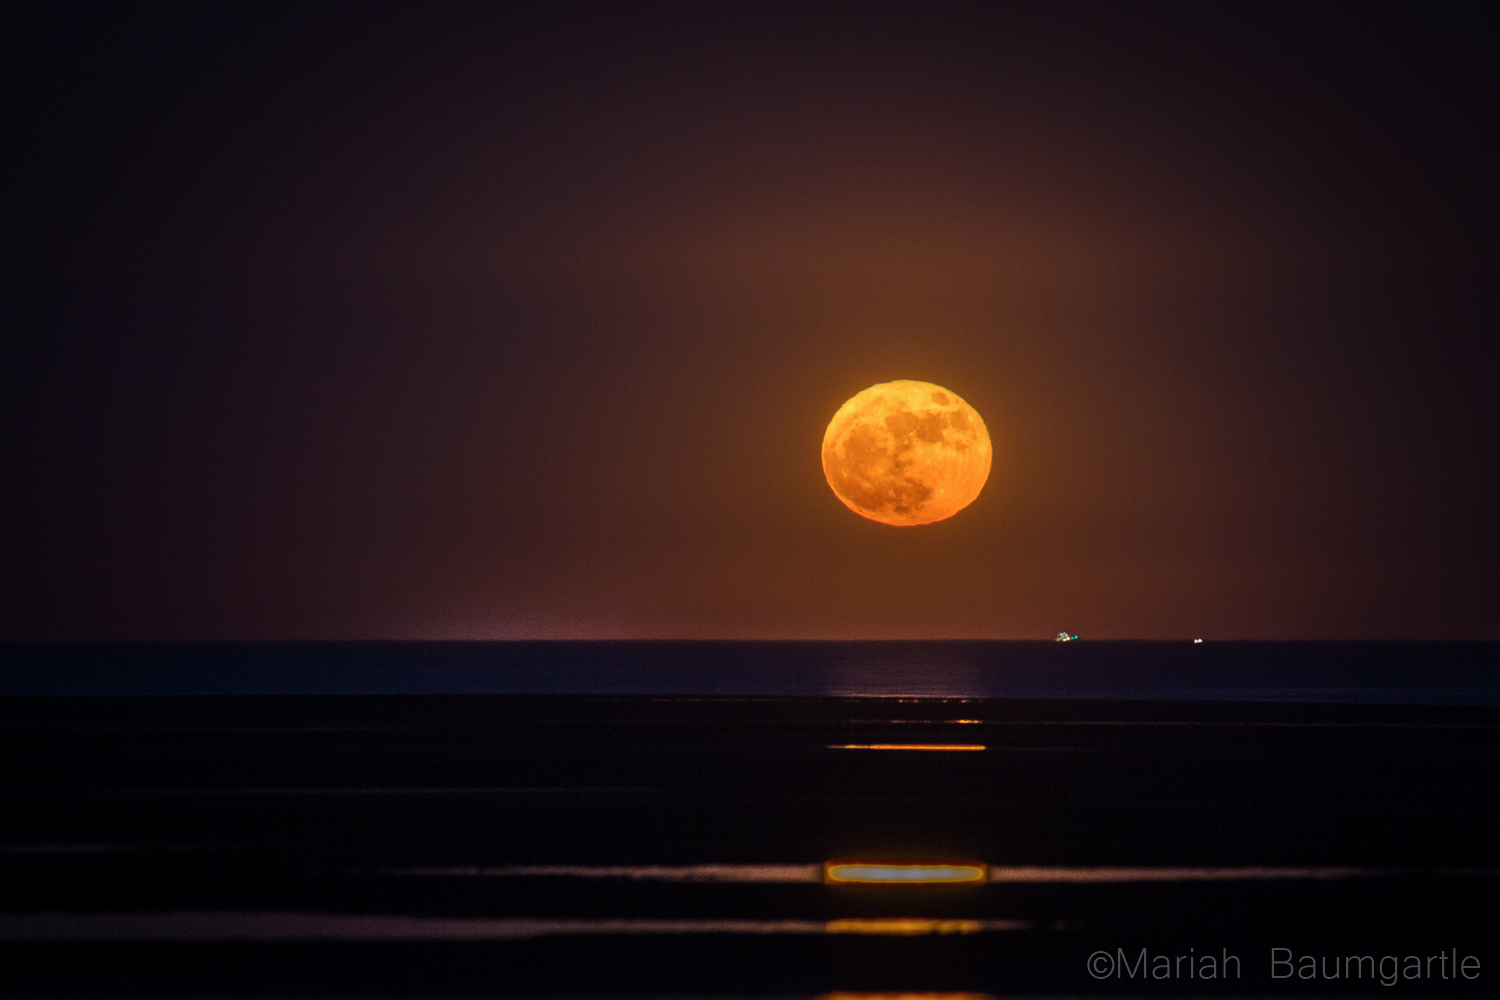
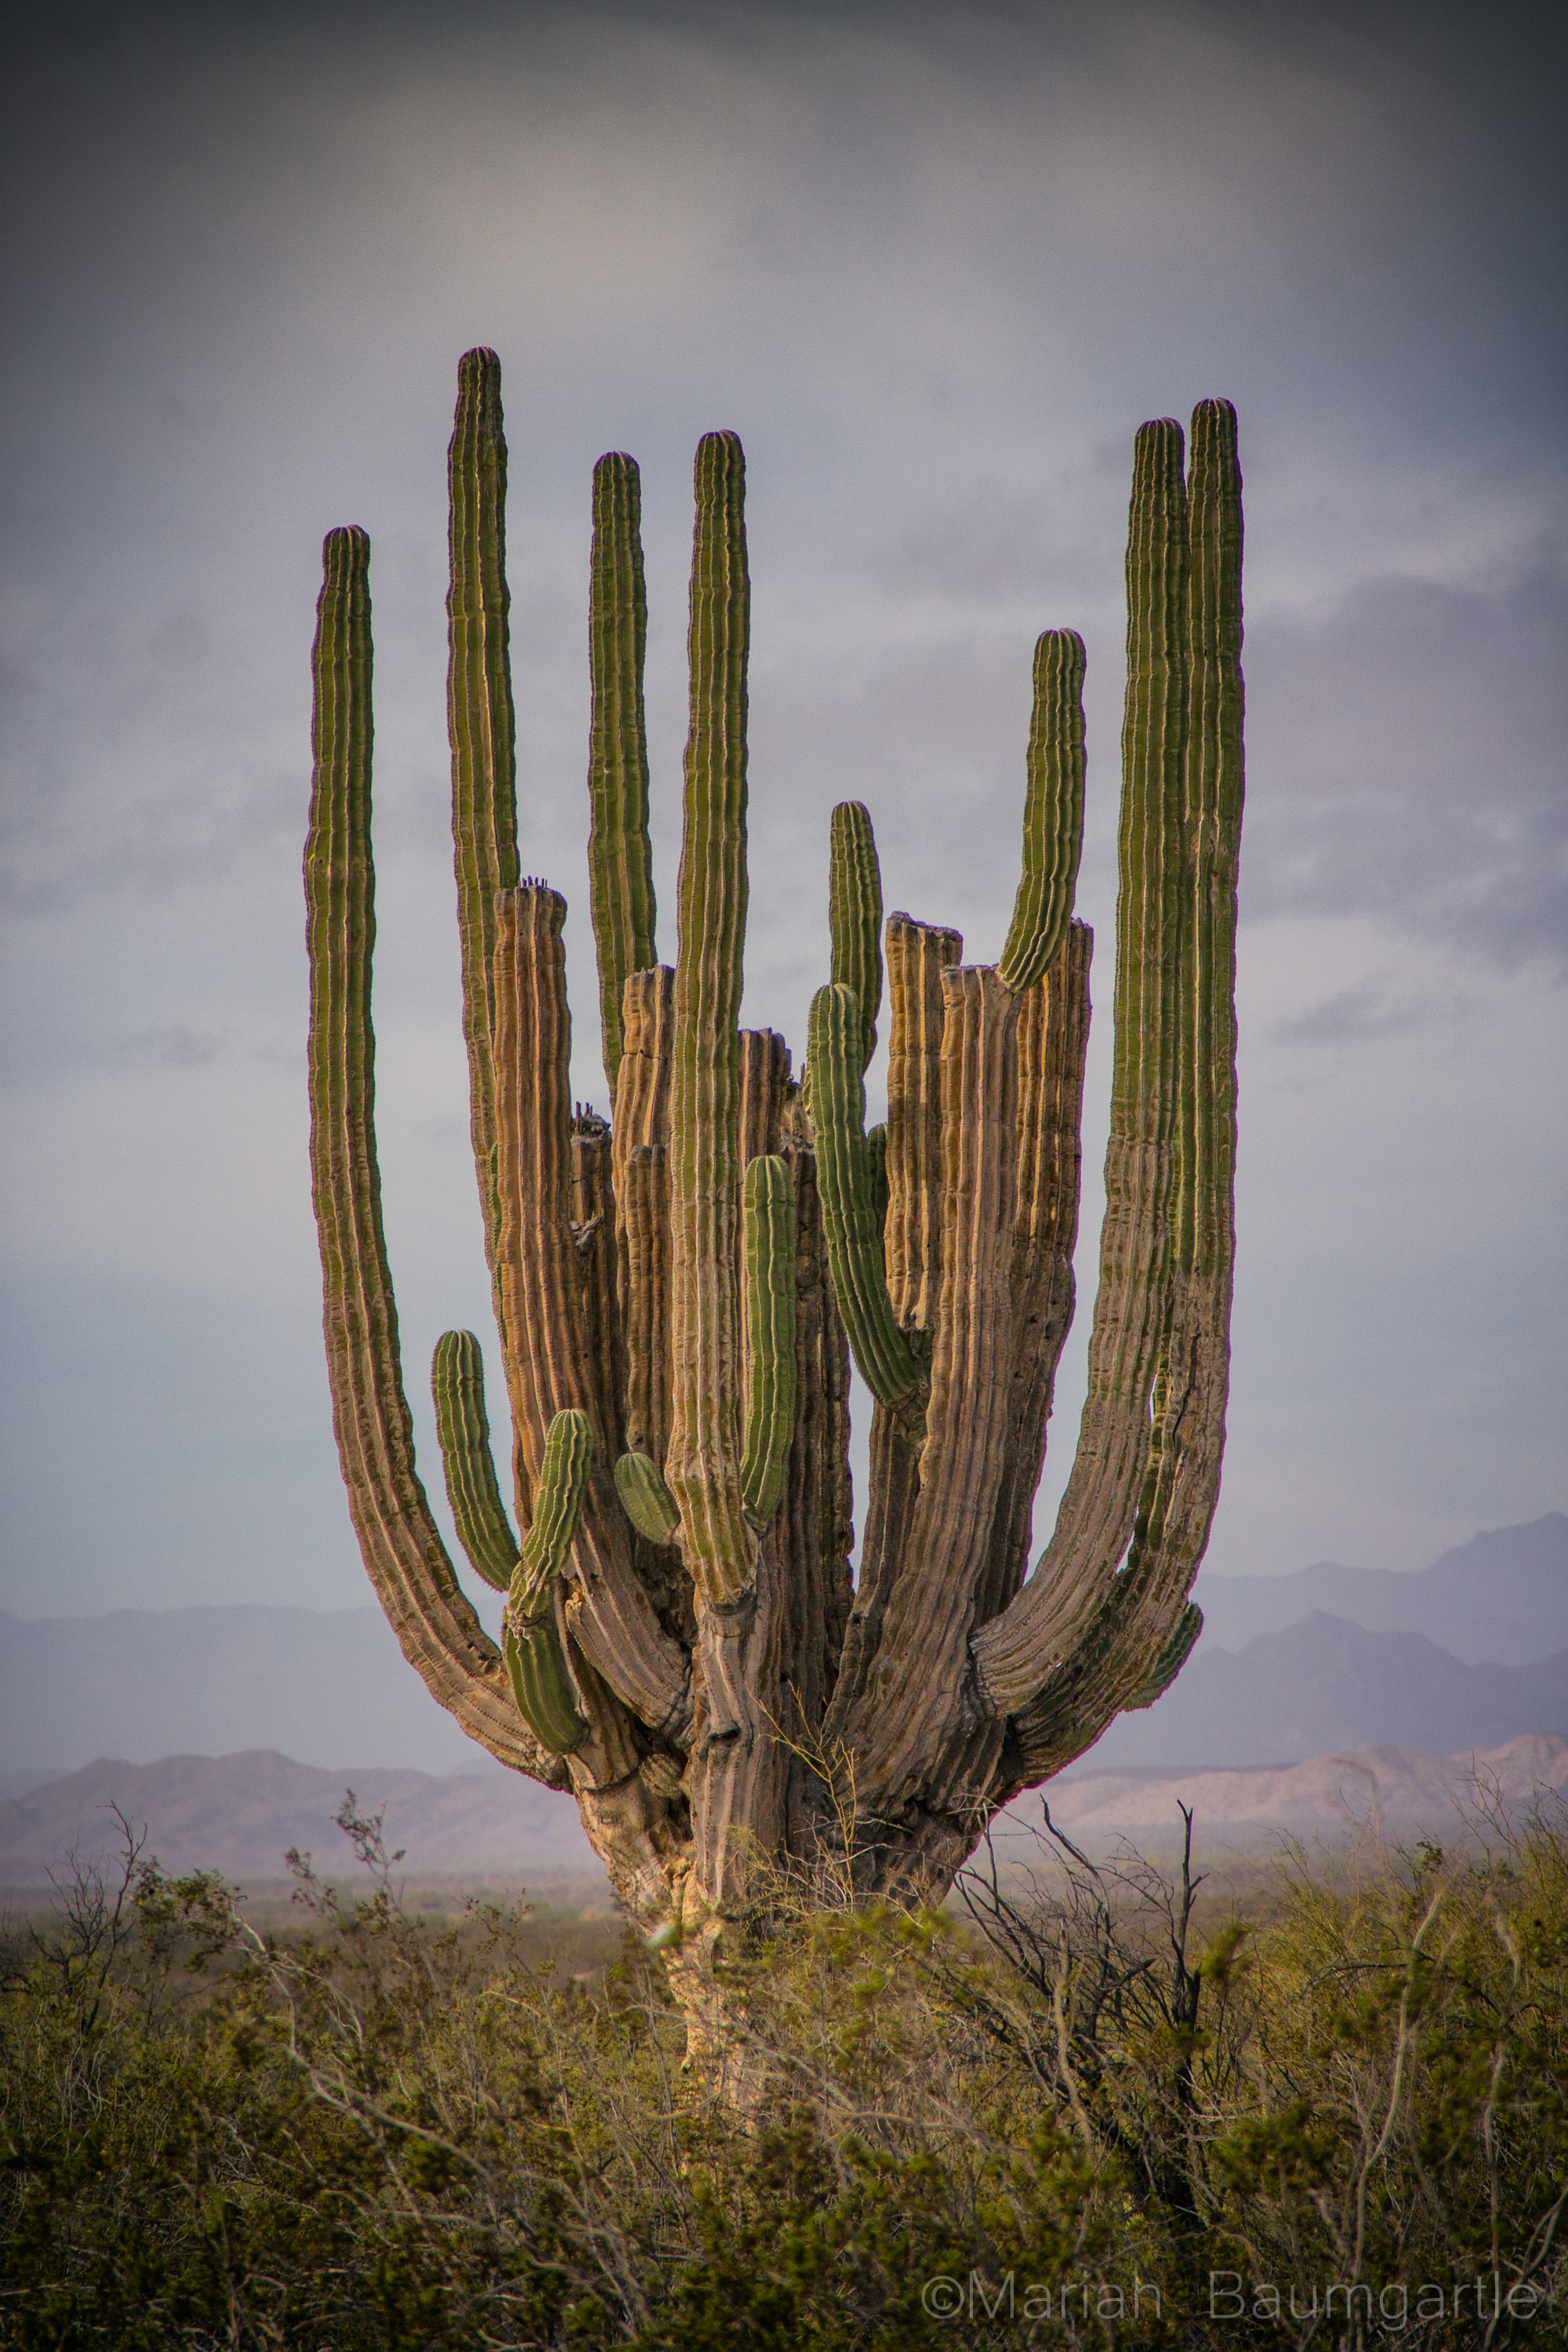
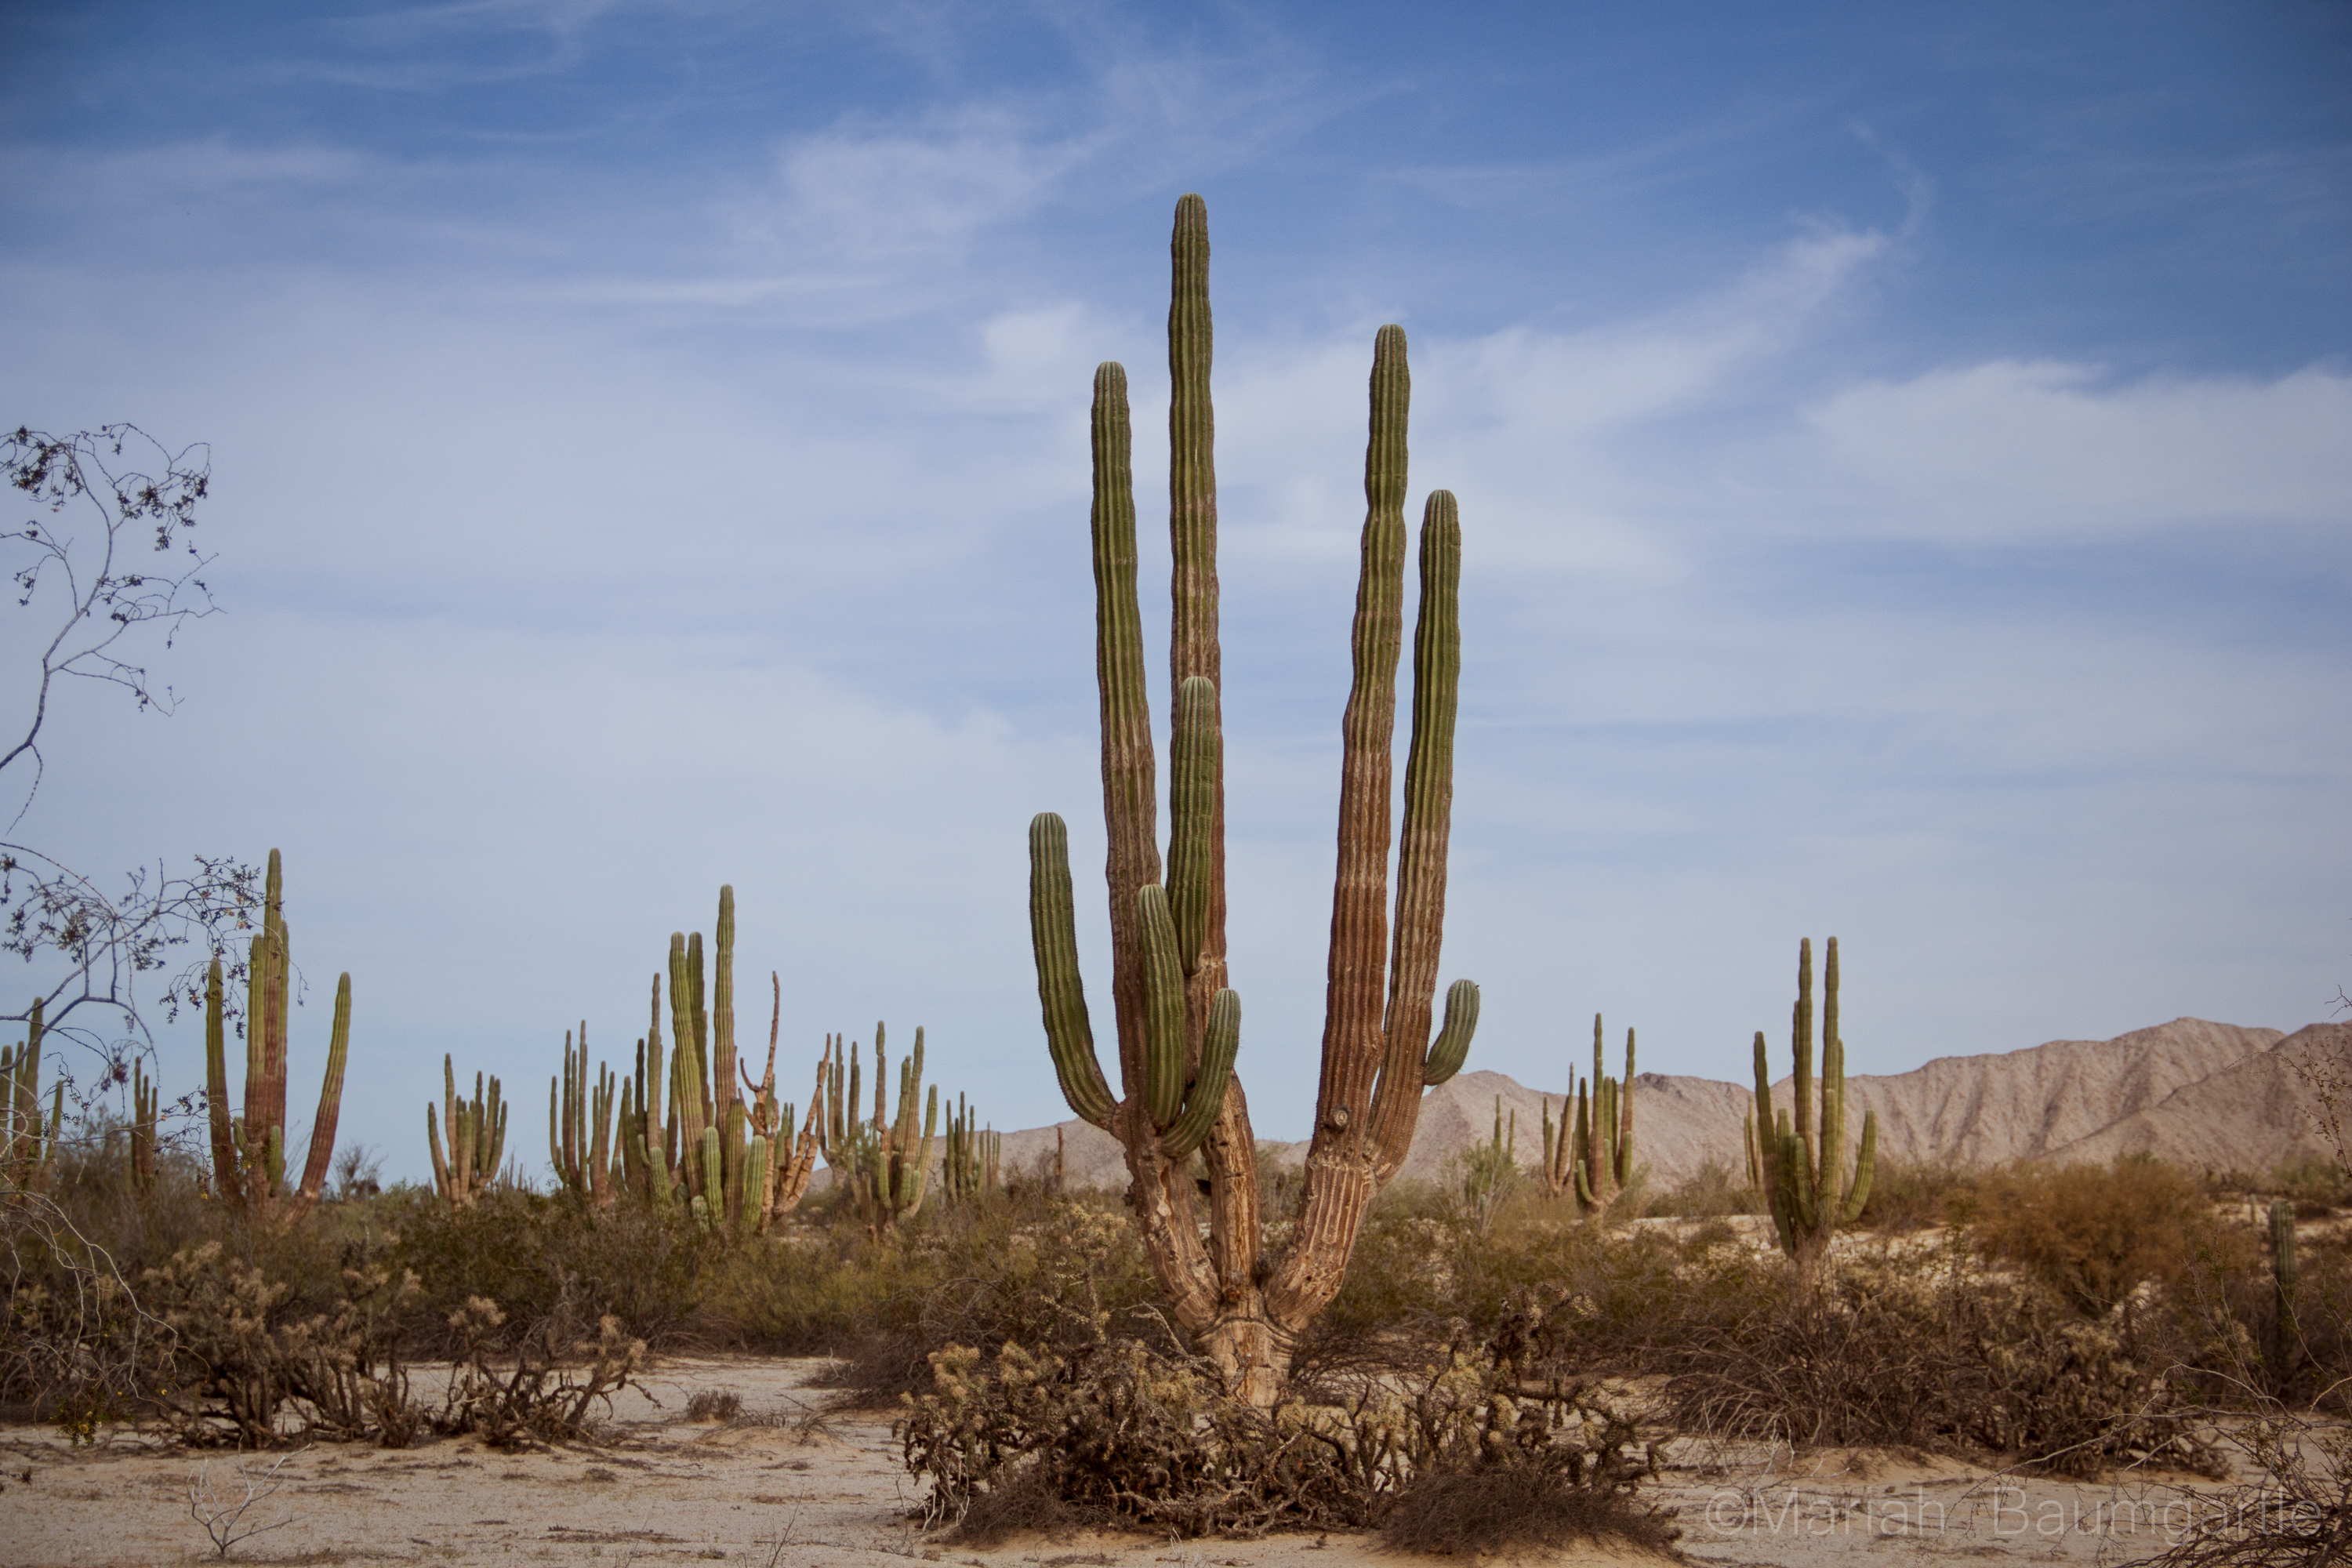
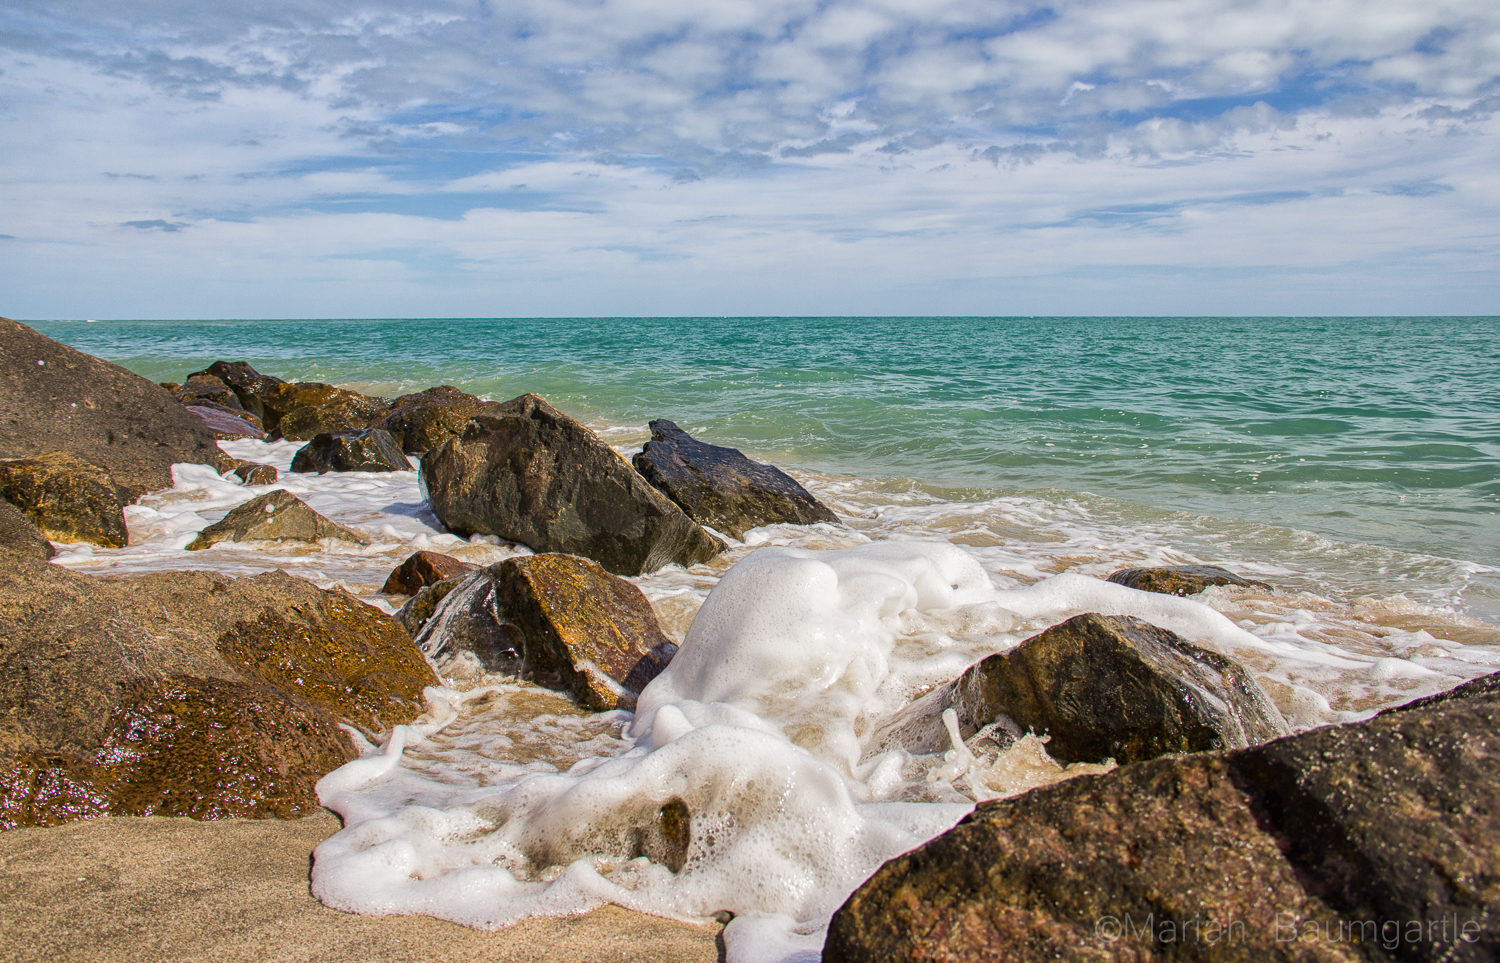
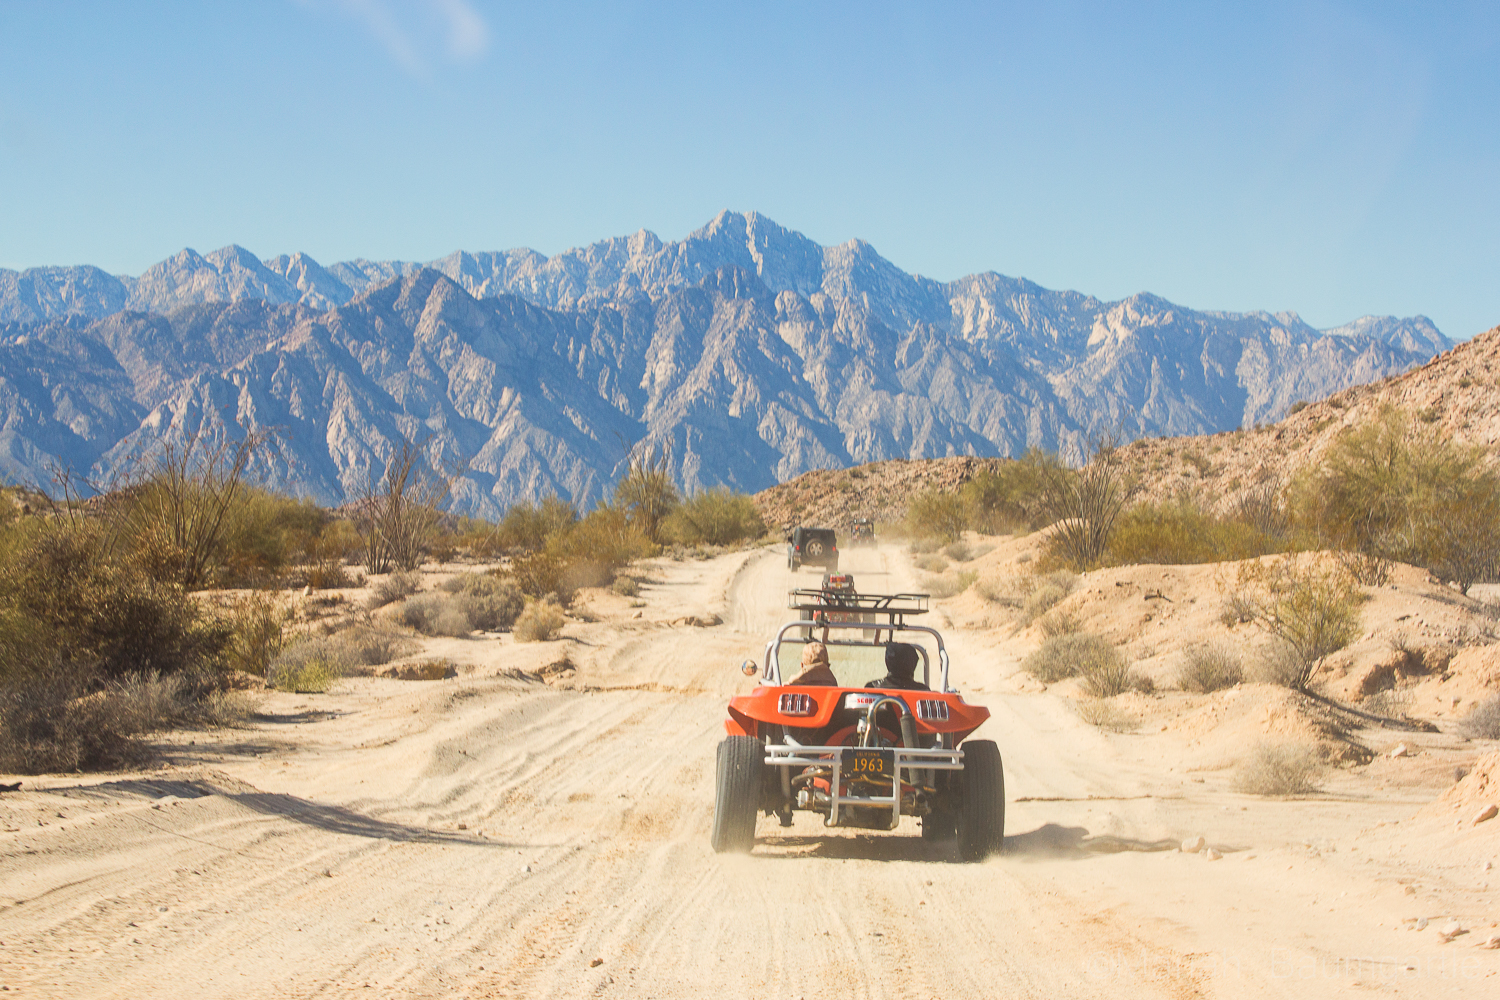
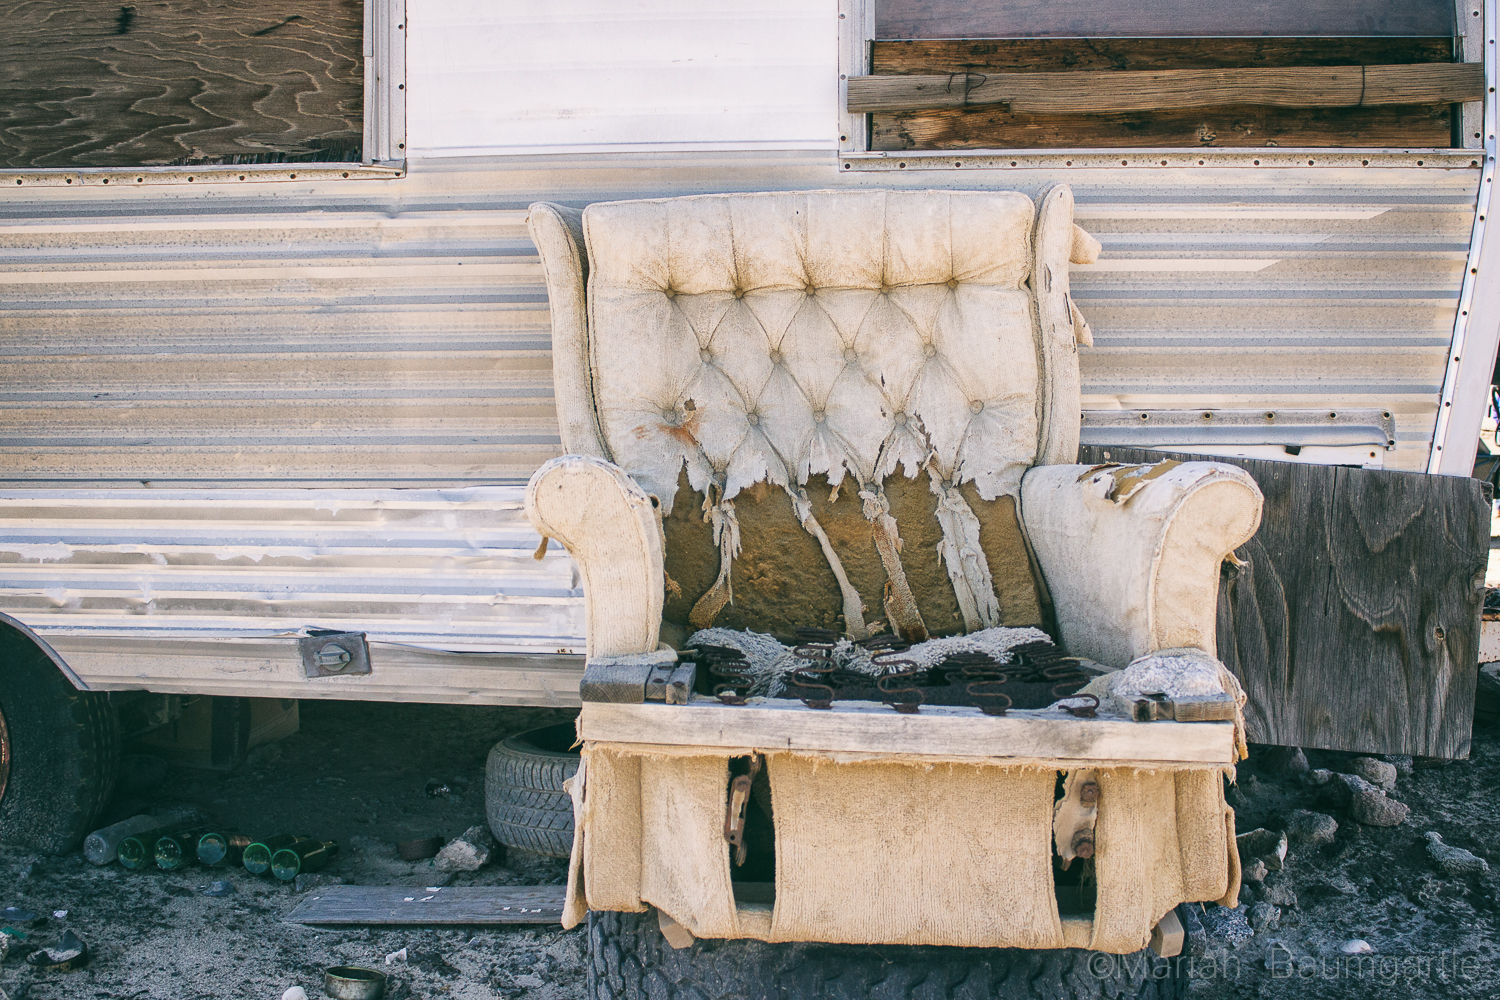
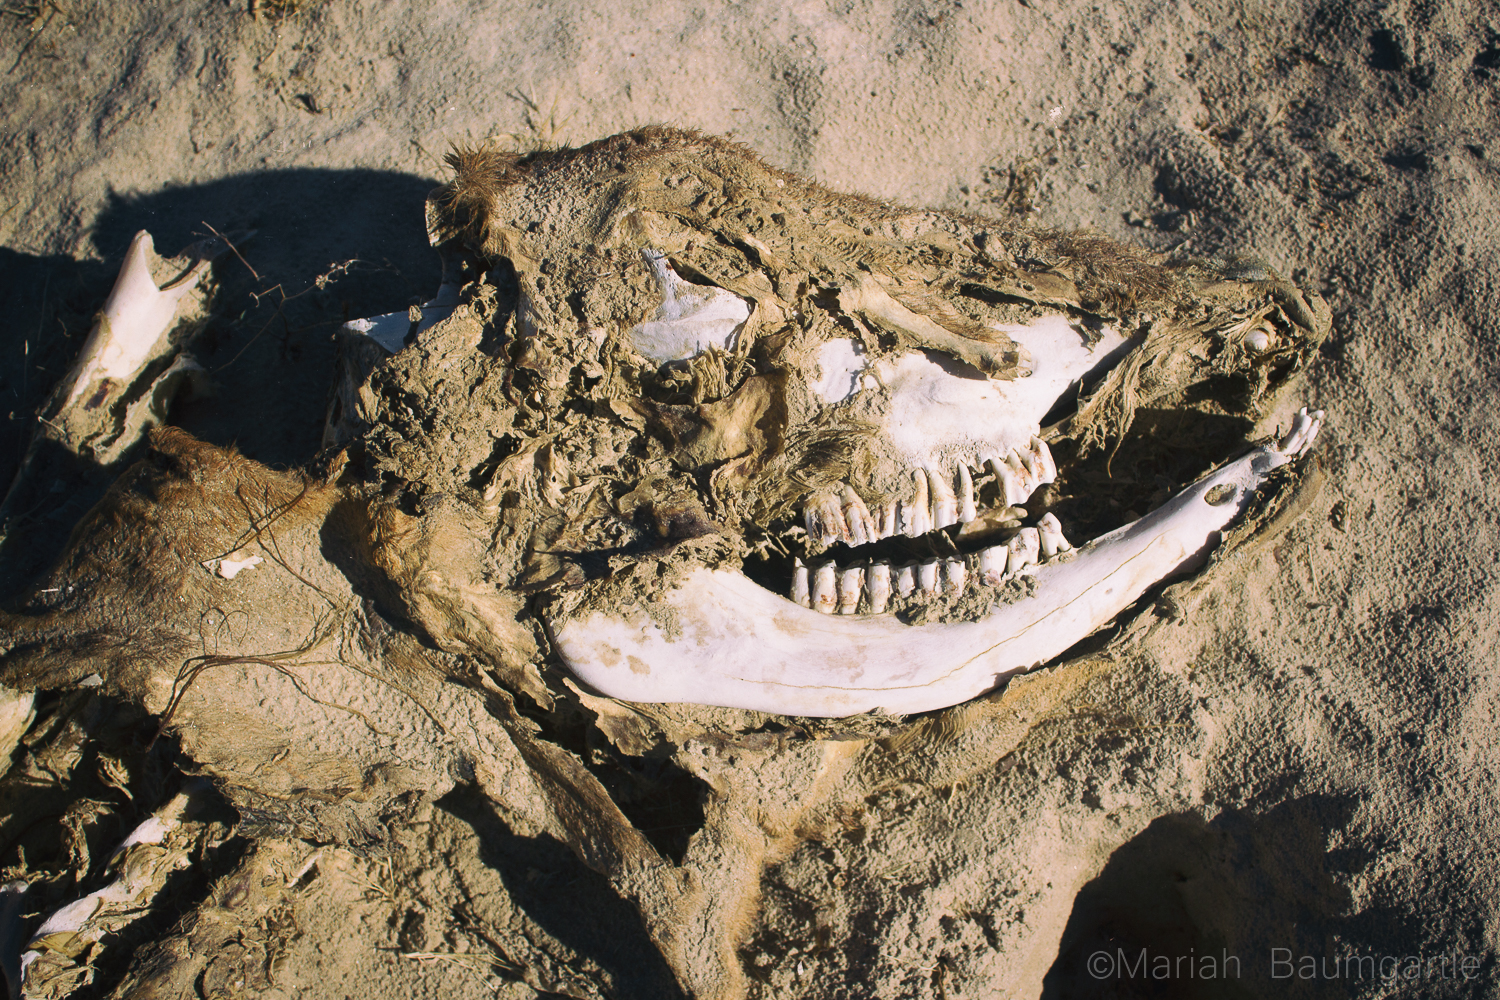
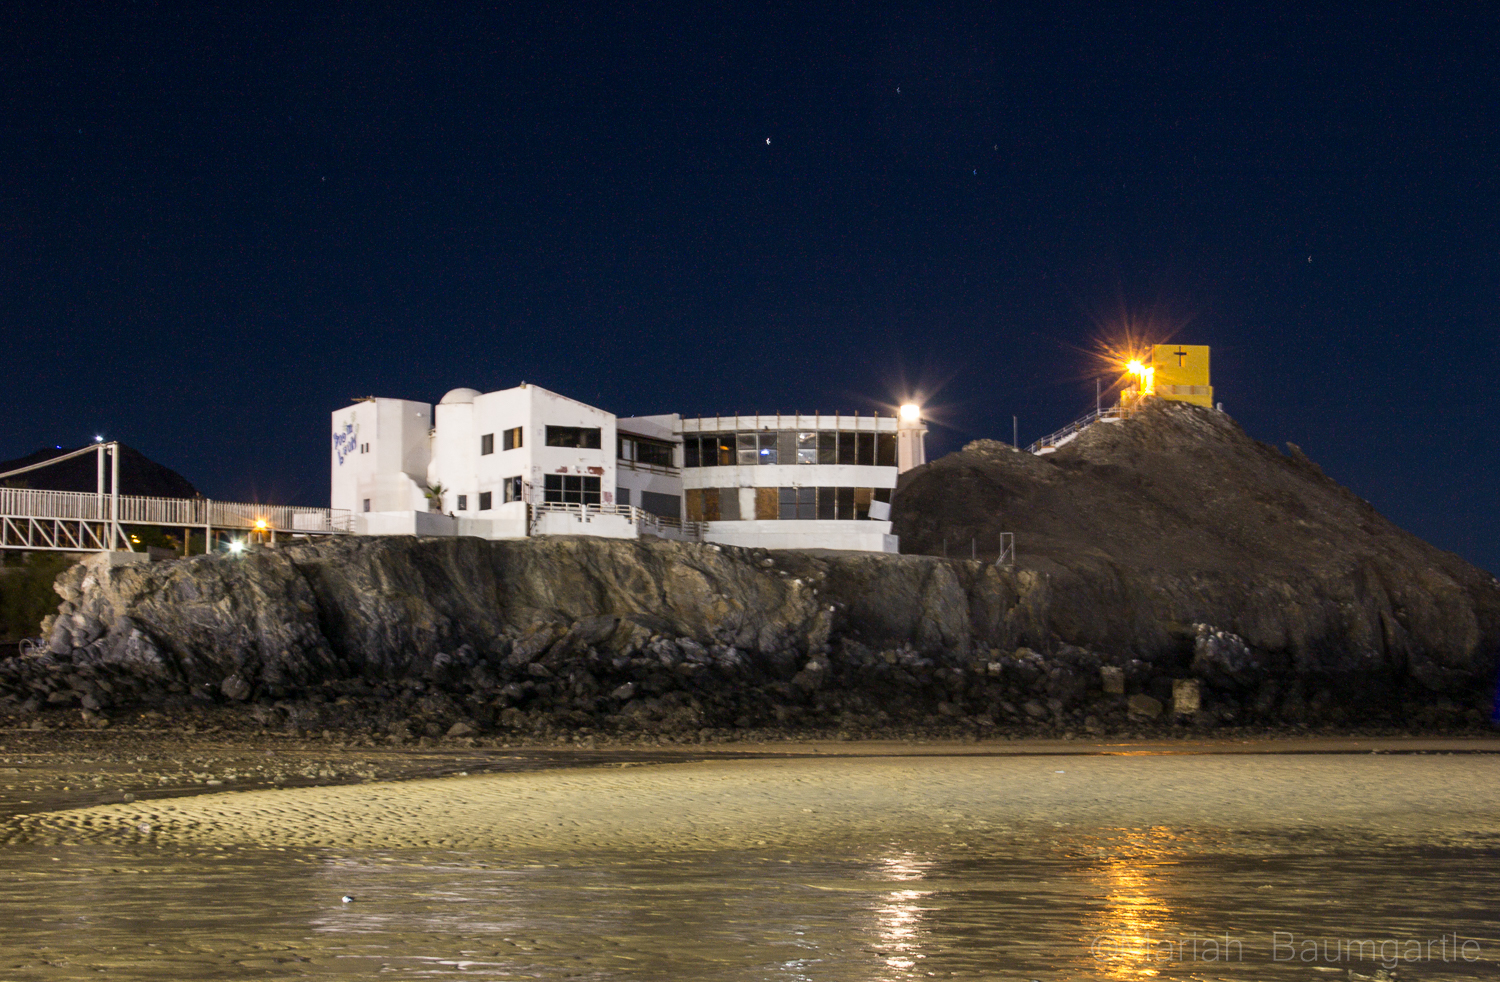
San Felipe TacosSan Felipe TortaSan Felipe DowntownSan Felipe MaleconSan Felipe MaleconSan Felipe Shrimp FestivalSan Felipe is also a great place to gather some night photography. One of the best spots for night photography is down at The Shipyard, which you will find at the end of The Malecon. The Shipyard used to be a marina but was flooded, and they could not move the ships, so they are left there are part of a San Felipe gem. Up on a hill, you will find a building, The Boom Boom Room, a place that has also been abandoned and a very interesting location to photograph during the day or evening. Up on a mountain, you will find a little yellow chapel that looks over the town of San Felipe and right next to it is the lighthouse, which you can shoot from ground level or up at the top where the prayer building is. This is a great place to work with your angles. If you are in town during the full moon make sure to catch the moon rise over The Sea of Cortes: I was there for supermoon, and it was an incredible experience and a really good opportunity to try my moon photography skills and also work with some post editing. San Felipe Tampico ShipSan Felipe BoomBoom RoomSan Felipe MexicoSan Felipe ChapelSupermoon in MexicoThere are many smaller day trips you can take from San Felipe for some great opportunities including more water and desert land. On a note of transportation, you will need some form of 4-wheel drive out in the desert. It is a famous landmark in the area is The Valley of The Giants and a photo opportunity you will not want to miss. The valley holds cardon cacti that stand nearly 50 feet high. You can also drive further south to Percebu where you will find a little more surf in the water and also a great location to find treasures along the beach. Along the way, you will find more abounded buildings and interesting homes and land to photograph. The desert land has a lot of beauty to offer, and San Felipe is surrounded by beautiful desert land. You can take a drive out west closer to the mountains for some more variety in your desert landscape. The desert also offers some interesting finds such as bones, rocks, and maybe even a carcass or two. If you are going out in the middle of the day, you will have problems with harsh lighting in your landscapes, but you can always enhance your lighting in post production with landscape Photoshop actions or Lightroom Presets and Brushes. Valley of the GiantsValley of the GiantsPercebuSan Feipe DesertSan Felipe Mexico DesertSan Felipe Mexico DesertI hope you have the opportunity to visit San Felipe in your future travels or even Baja California to discover color, culture, and beautiful desert land by the sea or ocean side. As they say in the Baja “No Bad Days!”

Street Fashion in Post-Production Using Runway Fashion Bundle

You went out one weekend and got a lot of great shots of street fashion for your blog or portfolio. Then you got home and realized that the sun was in the wrong position, or the streetlight cast odd shadows across the clothes, or the colors just don’t look as bright as they did in person. What do you do now?

This is a common problem with any kind of photography, and making sure the fashion looks good is important to look professional. There are a lot of great post-production things you can use, and the Sleeklens Runway Fashion presets are an excellent way to create the effects that you want.

runway-fashion-1

All In One

Of the 11 different preset categories in the Sleeklens Runway Fashion bundle, the All In One category is the most effective for quick and easy edits. It’s also great to help give your photos a unitary work without having to take a bunch of extra spaces. The All in One category will add a combination of the remaining categories into one stunning looking picture.

Basic Correction

The basic correction category is useful for fixing common errors that occur with shooting outside. The different presets can help correct the issues caused by bad lighting or other uncooperative weather. Before messing around with any of the other settings, make sure to get your photograph to a good base setting using these corrections.

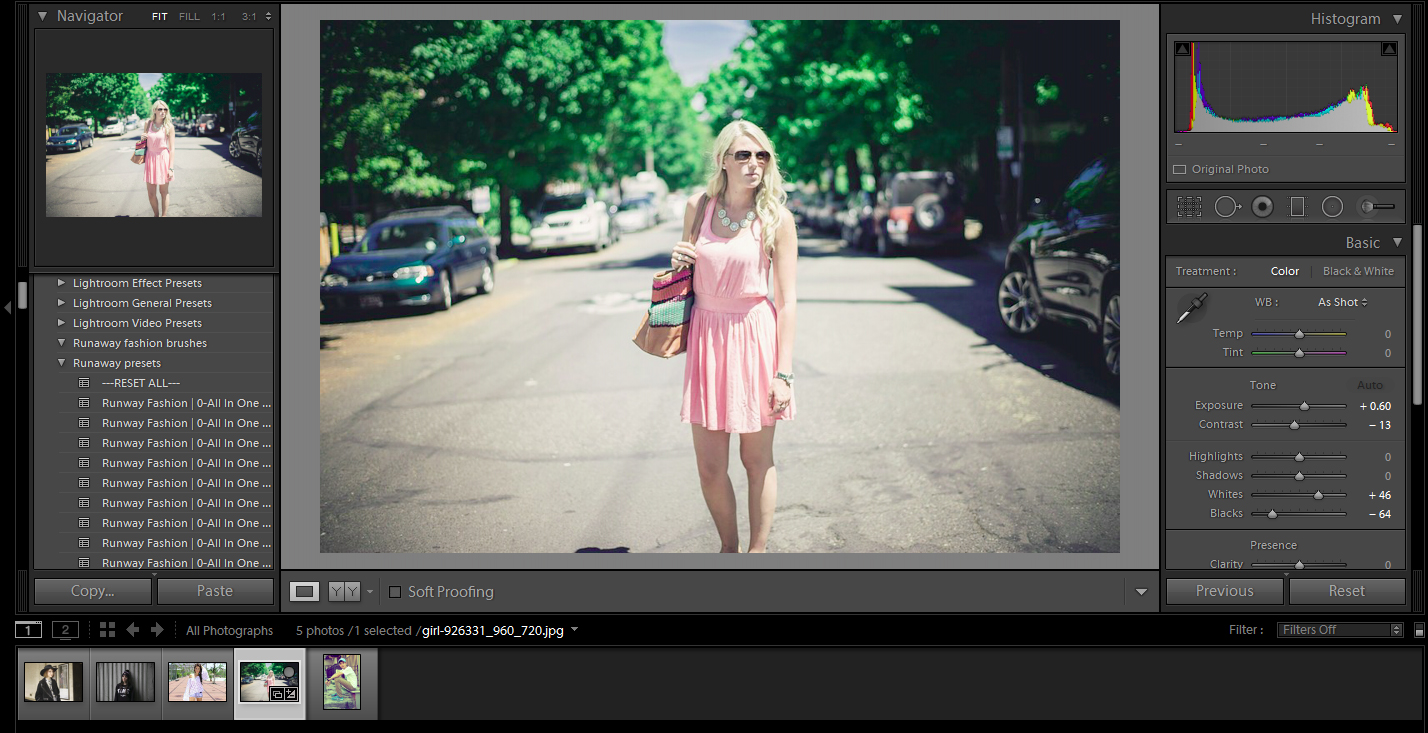
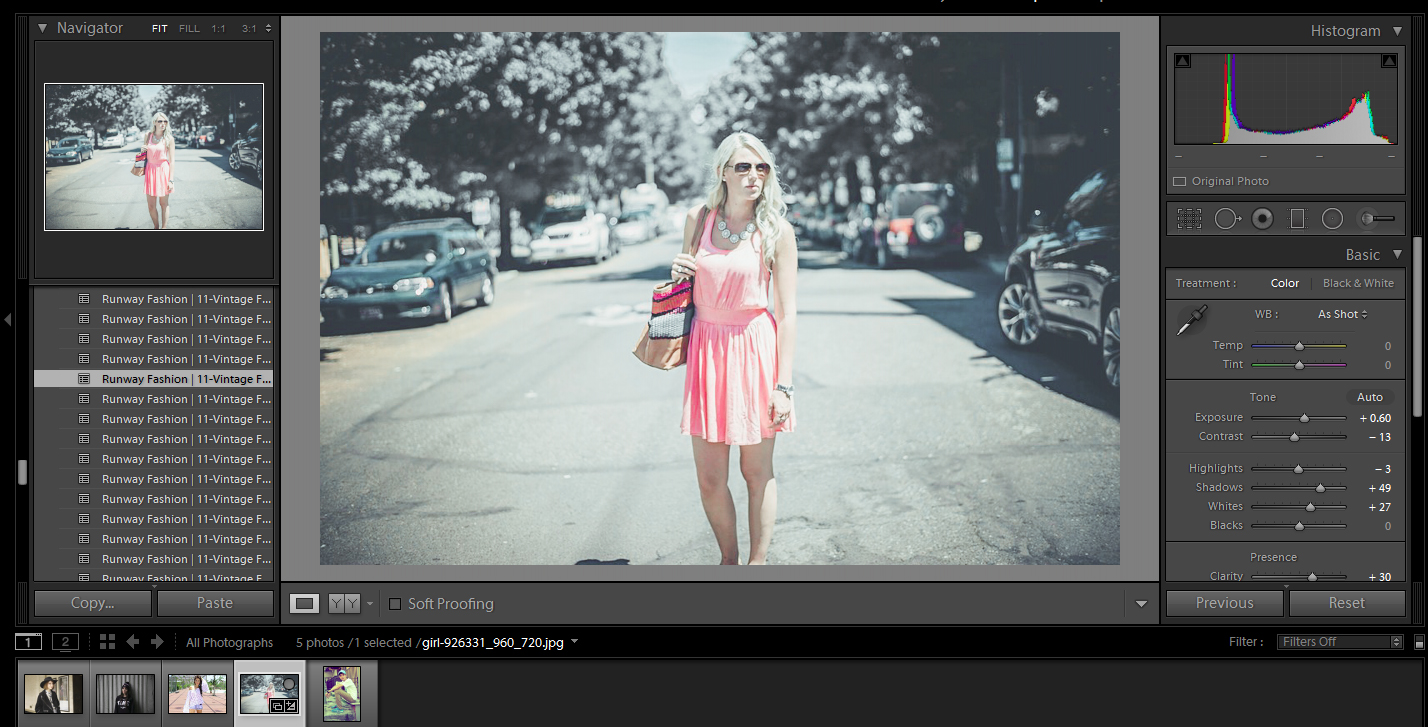
adding the Basic Corrections Auto Focus Adjustment to brighten the picture

Highlights and Shadows

If the corrections still couldn’t bring out the specific colors you wanted, or the shadows cast by the sun are still wreaking havoc on your picture, the highlights and shadows category can help liven up your picture. The various presets in the picture will allow you to choose certain colors and have the program find them in the picture and brighten them. This will help make the colors of your clothes really pop, drawing the attention to the street fashion.

Smart Contrast and Sharpening

These two categories work well to help define the lines of your picture. Using these in their various states (weak-strong) will allow you to make up for any hazy outcomes, produced by camera shake or cloudy days.

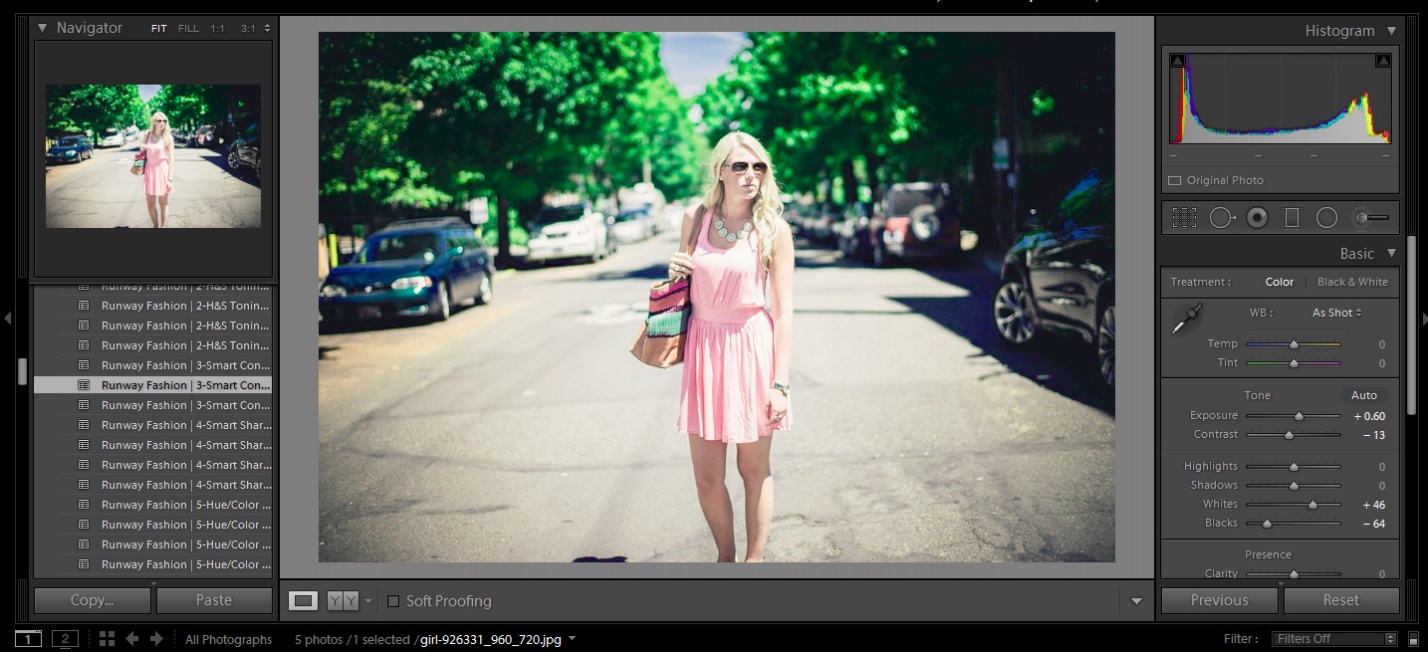
adding the Smart Contrast medium to help define the clothing

Hue/Color

The fifth category in the Sleeklens Runway Fashion bundle is excellent for bringing out and putting away color. Selecting a color in this category can either hide or brighten the color, depending on the preset. This is useful for bringing out the color of clothes that still shy away after the highlights and shadows. It also helps tone down the colors of the background to bring more attention to the fashion.

Matte, Vignette, and Film Grain

When all of your basic corrections are done, it’s time to have some fun. Now that your picture looks right, you can add your own unique style to it. This is where you can choose specific options to help make all of your photos look unique to you, and part of a collection. Whereas the other presets and dependent on the picture itself, you can generally choose any of the matte, vignette, or film grain options on any photo to help make it fit your style. Of course, some of the options may clash with your corrections, but generally they will fit to most pictures.

Black and White

There’s more to turning a picture black and white than just removing the color. Colors are shades of light, more or less depending on the spectrum. So when you turn your photo black and white, you’re depending on your computer to suss out what is what shade of black or gray. The different presets in the Sleeklens Runway Fashion bundle can help make sure that your picture looks the proper kind of black and white. This is a great option to choose if the color of your street fashion meshes with the style, and you want to draw attention to the clothes rather than the colors.

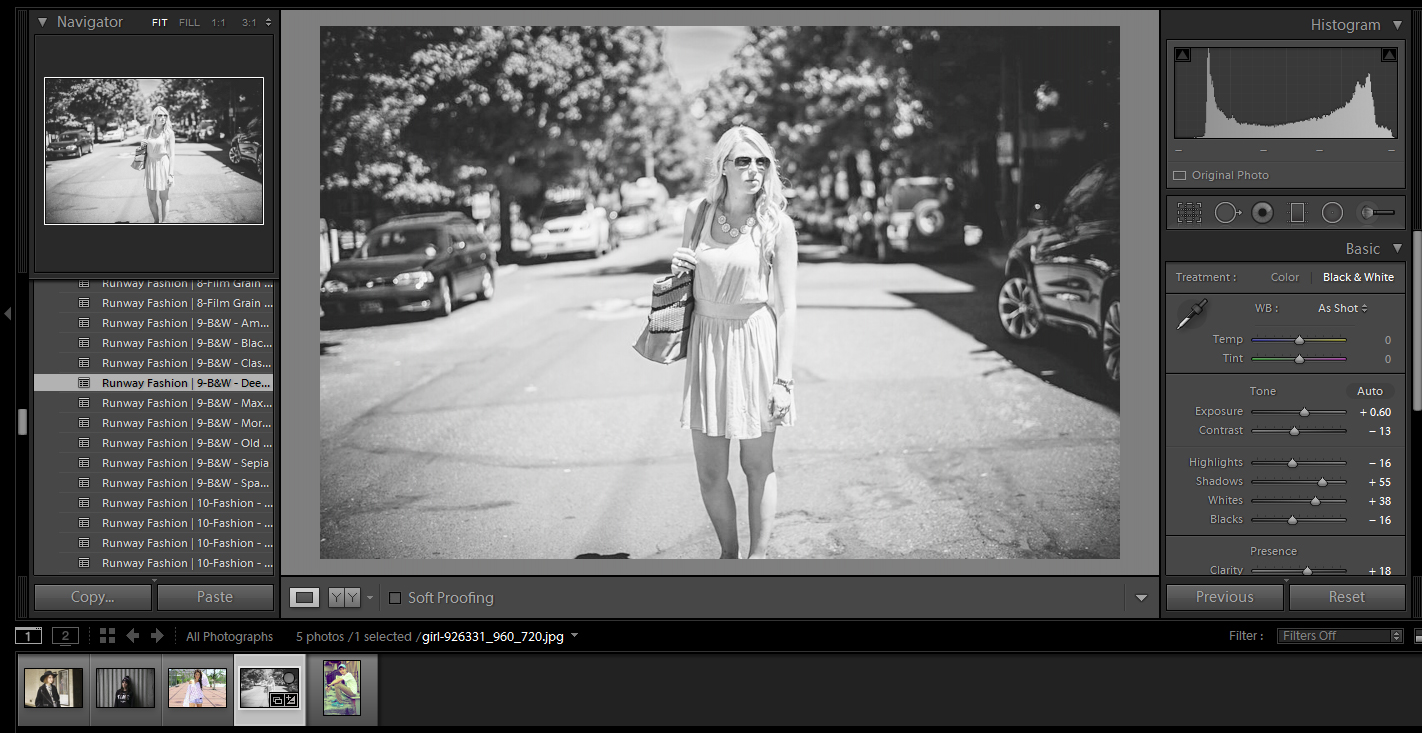
B&W – Deep Blacks preset creates a creates image the highlights the shape of the dress

Fashion and Vintage Fashion

The last two presets in the Sleeklens Runway Fashion bundle are specifically designed to work with fashion in mind. The categories are used almost like the all in ones, but with more of an option for you to influence them with the other categories. The vintage fashion category is especially perfect if your blog or project focuses on old and vintage clothing, while the fashion category works better with modern fashion.

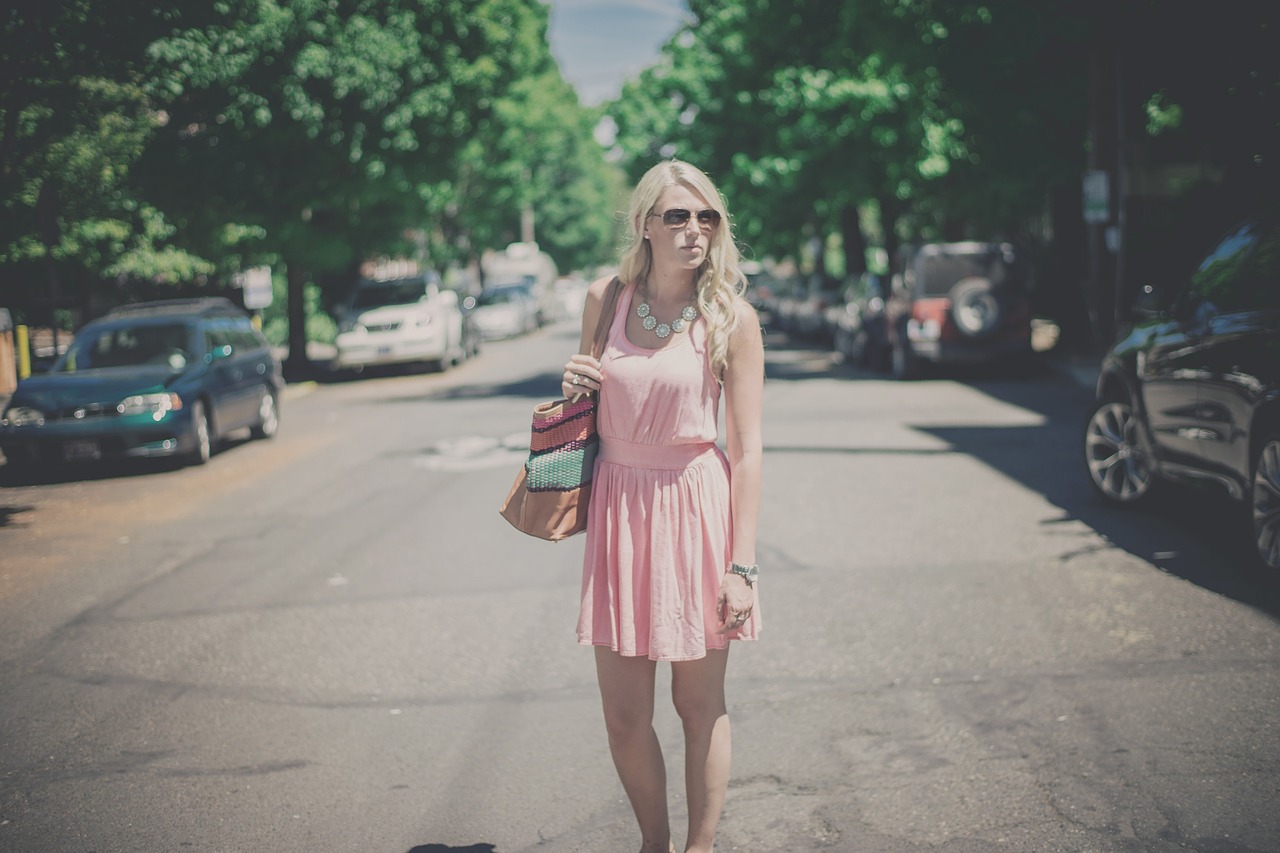
using the Fashion Category, the Christina preset popped the color of the dress and model, while softening the background, bringing the fashion into the focus of attention

Photographing street fashion can be rewarding. It looks great in a portfolio when shot correctly. But for times when the weather and positioning just doesn’t work while on the streets, there is still hope to turn out a wonderful picture. The Runway Fashion Lightroom bundle is excellent to help turn a drab picture into a work of art.

Shooting From the Hip: Taking Pictures at a Low Angle

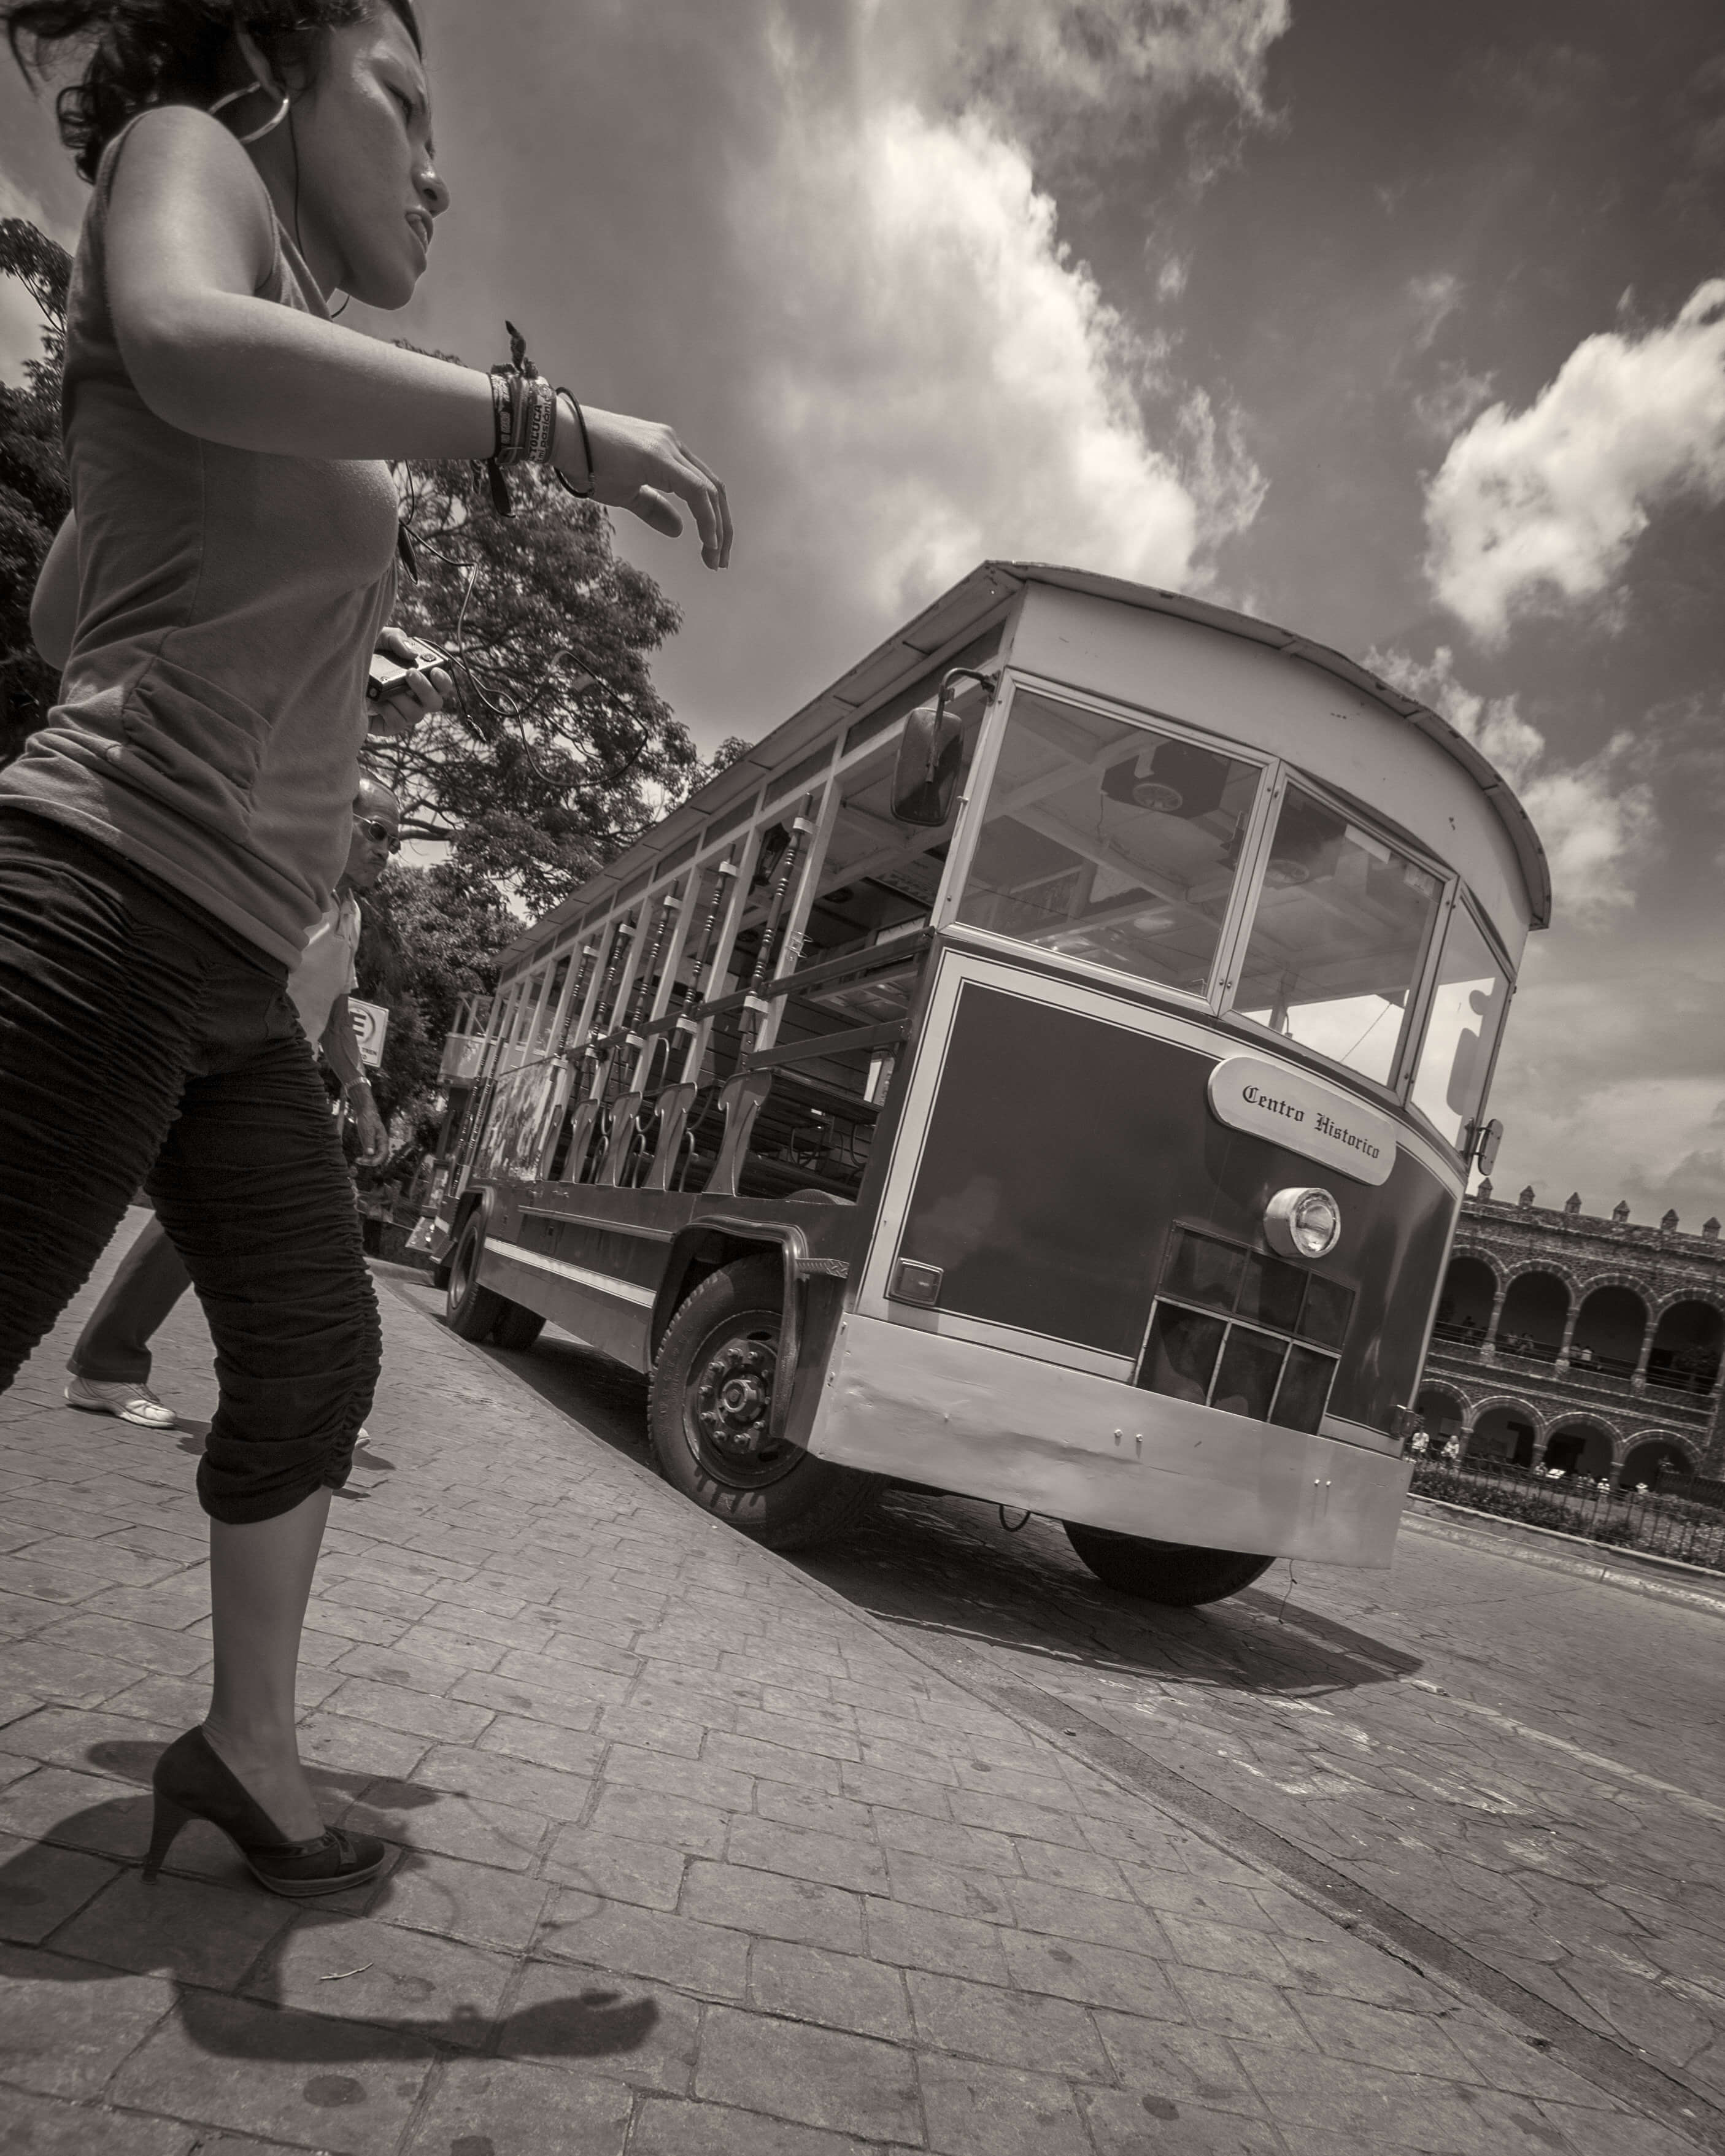
I saw this woman charging across the market square in Cuernavaca, Mexico, and fired away with the camera at my side. This frame had the best feeling of that random, kinetic moment.

There are times when I need a new perspective to my photography. That means shooting blind. Well, not literally blind, or even with my eyes closed. I mean I’m not looking through the viewfinder or the LCD. Just pointing the camera at my subject and blasting away. In a way, it’s the purest form of visualization because I’m imagining the photo and trusting my motor skills to properly aim my camera. I do this mostly with the camera anywhere from hip height to my ankles. Literally point and shoot. (On occasion, I will also raise the camera above my head for a higher angle than my short legs will otherwise allow.)

I’m sure you’ve already figured out why I do this: to get a unique angle on my subject, or, in the case of street photography, to not draw attention to the fact I’m taking someone’s picture. And lest you think this is something that depends more on hit or miss luck than a true photographic skill, I consider this a technique that can only be successful with lots of practice. In a way, you become one with the camera and get to know what it’s recording just by where you point the lens at a scene.

Street Photography

 I’ve always thought that some of the best street photographs are ones that are dripping in spontaneity. You can’t always get that by bringing the viewfinder to your eye which signals to anyone in front of you they’re about to have their picture taken. You have to be fast and unobserved. So I hold my camera at my side in a vertical position, my finger on the shutter and when the moment’s right, grab my shot. I know I have the composition relatively nailed because I’ve developed an instinct for what’s included in the frame just by pointing the lens in the right direction. I don’t worry if the camera is tilted a bit. In fact, that sometimes adds to the kinetic quality of the picture, adding a little-implied movement.I also have to trust my camera settings to help get the shot and that starts with focus. In a crowd, I’ll disengage autofocus so it doesn’t get distracted by foreground objects and adjust the lens focus for close quarters (say, 10-15 feet). I then stop down the aperture to at least f/8 or f/11 to let the depth of field pull more elements in focus. I set ISO to auto, exposure to manual and then turn up the shutter speed to around 1/250 to compensate for any unsteadiness on my part as well as the subject’s movement. Lastly, I set the drive to silent, which on my Canon DSLRs isn’t exactly stealth mode, but quiet enough to not draw attention to itself. (This is how I shot the opening image of the shopkeeper in Rosarito, Mexico.)Where there’s nothing in the way to throw off the autofocus, I’ll set the focus points to full auto and with utter recklessness, let the camera decide what should be in focus. Amazingly, it gets things right most of the time.My lens setting is a usually a wide one, somewhere between 24mm and 35mm (I do most of my street work with a 24-70mm lens). This also helps keep things in focus while the wide angle brings a greater feeling for the viewer of being smack in the scene.

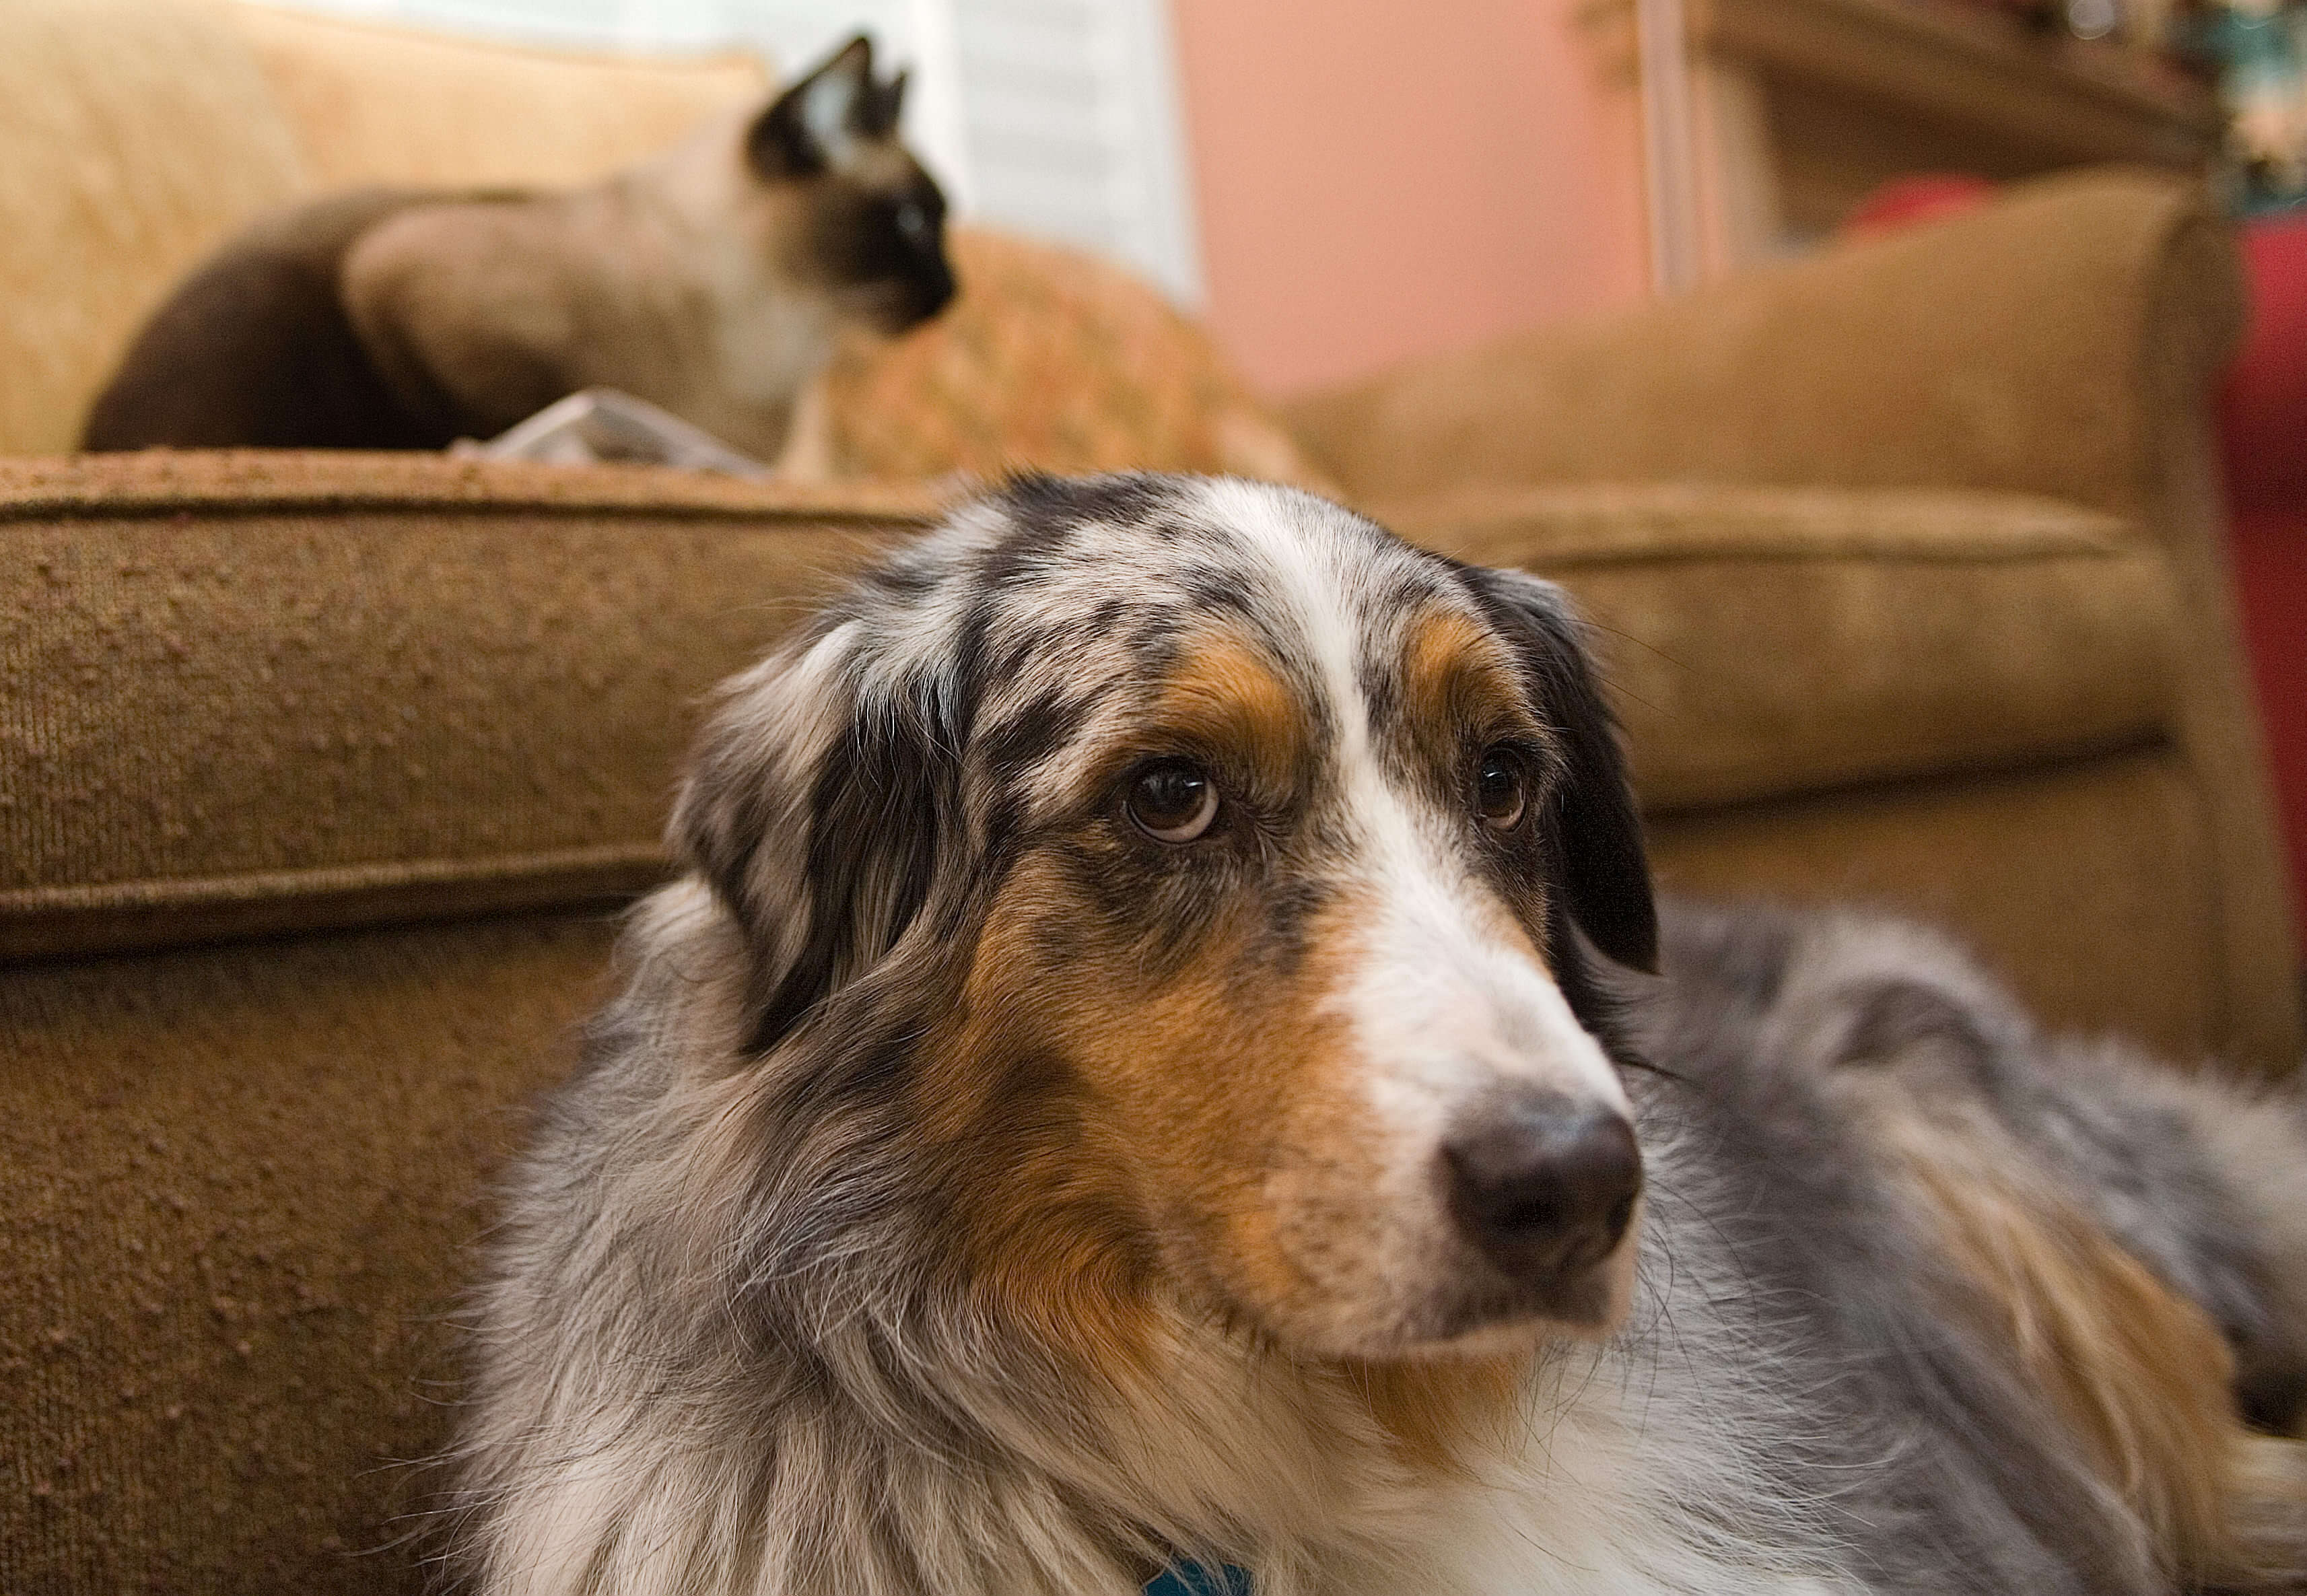
Our dog, Sydney, a little concerned about the cat, Stinky, who had a habit of whacking her for no apparent reason. Taking this from floor level gives the scene from the dog's perspective and connects the two animals, something I couldn't have gotten from a higher angle.
Our dog, Sydney, a little concerned about the cat, Stinky, who had a habit of whacking her for no apparent reason. Taking this from floor level gives the scene from the dog’s perspective and connects the two animals, something I couldn’t have gotten from a higher angle.

The Bug’s Eye View

There’s something about an image taken from a low angle that can really add a dynamic element to the scene. Of course, it depends on the subject. Children, pets, and some landscapes just look better if you take the position of a bug on the ground, seeing the world from their perspective. A lot of cameras have tilting LCDs that make this kind of shot much easier to compose so go head and make use of that feature. Canon, with its bizarre notions of what a pro camera should have and not have, doesn’t make the 5D or 1Dx line-ups with a tilting screen. Then again, in bright light or if you are trying to get that bit of spontaneity from a subject—children and puppies won’t hold still while you stare into the LCD screen trying to get the composition lined up—you may still need to set the camera on the ground, angle it toward the subject and shoot as quickly as you can without concern for getting it perfect in-camera.

Christmas from a child's perspective. With the camera resting on the floor, the autofocus nailed it.
Christmas from a child’s perspective. With the camera resting on the floor, the autofocus nailed it.

If you’re not dealing with a moving target, then, by all means, use the tilting screen. If you don’t have one, there’s no reason to get cocky—check each shot after you take it and recompose by angling the camera differently until you get exactly what you want. Okay, you should do that anyway—whoever dismissed the “chimping” habit was nuts—but it’s triply important if shooting “blind.” In addition, this is how I learned to take pictures without using the viewfinder. I would point the camera at the scene, take a shot, see what it got me and then do it again until I got a feel for what the camera saw at any particular angle.

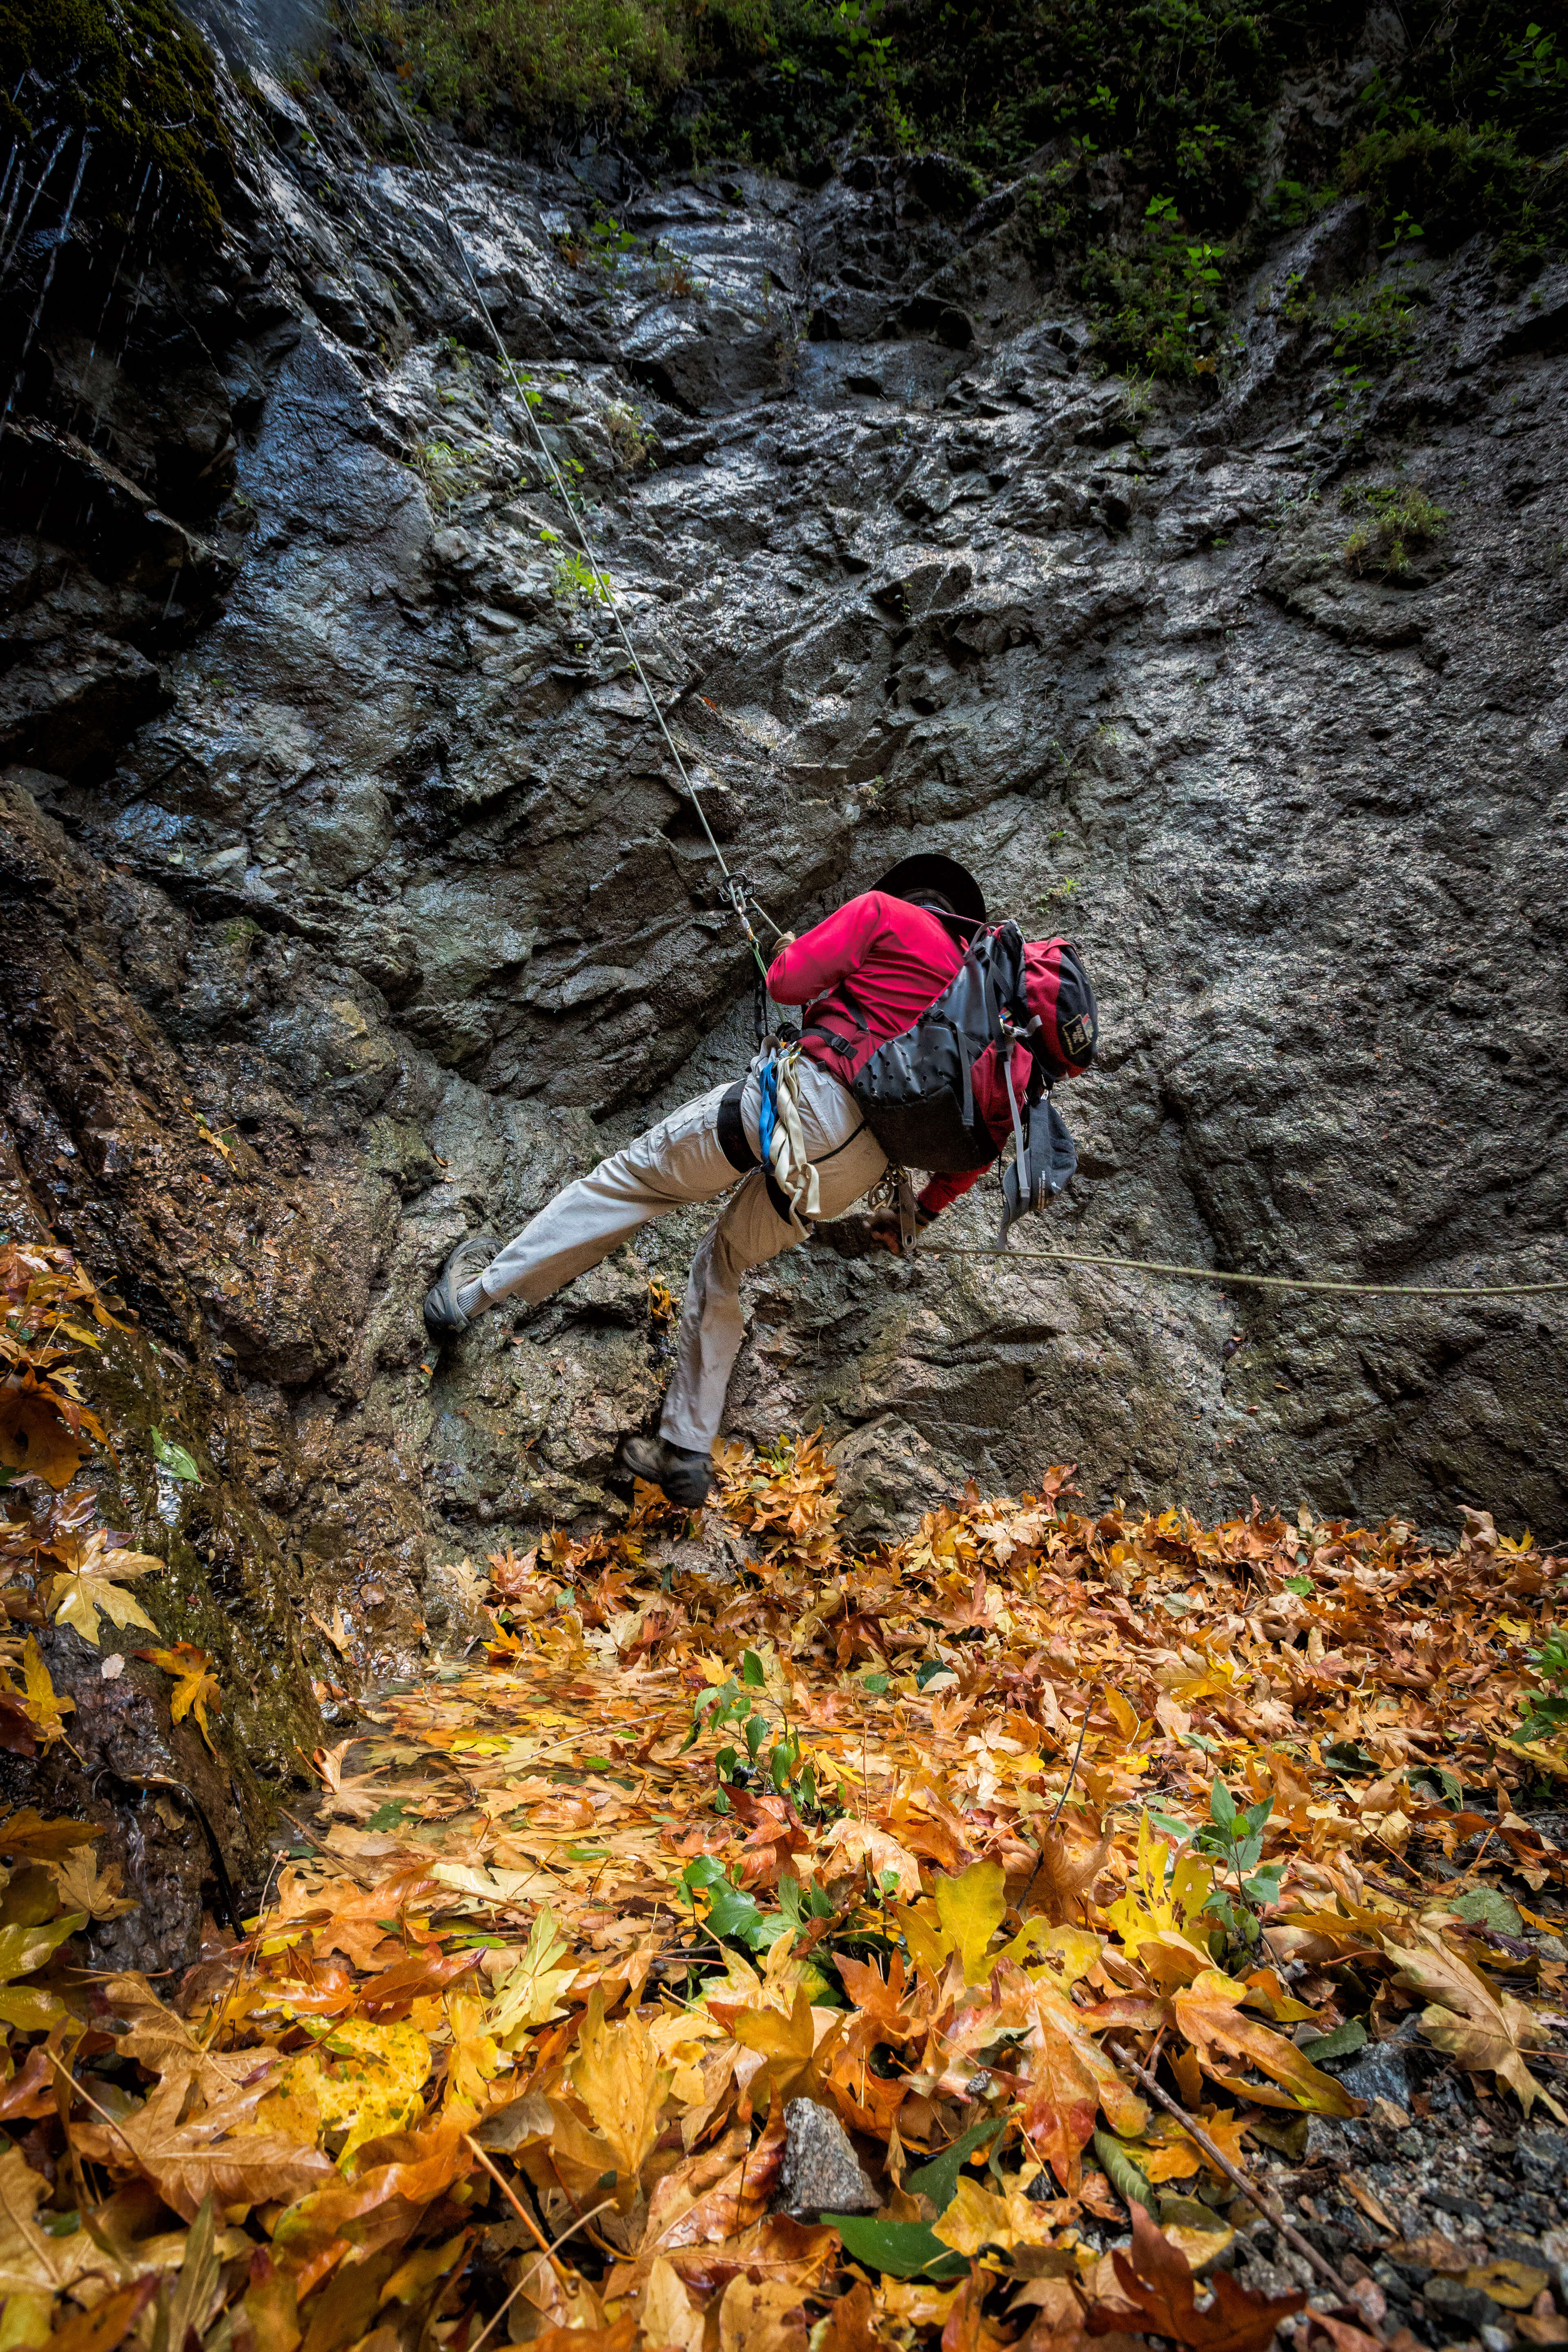
Canyoneering in Suicide Canyon, located in the San Gabriel Mountains near Los Angeles. The camera was practically touching the leaves when I shot this. I wanted to show Rich rappelling into this thick floor of colorful leaves and the only way to express that was from as low as I could get.

To Crop or Not To Crop

Because I use a wide angle lens setting, I’m often confronted with an image that might be great in the center but has too much business surrounding the subject. So I crop without shame.

The raw file taken in the market square in Cuernavaca, Mexico.
The raw file is taken in the market square in Cuernavaca, Mexico.
cuernavaca-el-centro-scene-2_mini
. . . And the finished, cropped image showing a nice moment between the three.

Sometimes, this will involve straightening the picture which necessarily cuts out the corners, although as I said before, I like these pictures to be slightly out of kilter. Other times, I’ll crop to a square which I find to be a great format for street photography. There’s something about the equidistant sides that relaxes the eyes and draws them to the subject, thus involving the viewer even more. My advice—never be afraid to crop.
I consider shooting from the hip just another way to present the world through my photographs and I think it’s a skill worth pursuing. Hey, who needs a viewfinder?

A Walk with @Instastreetid – Street Photographers Community

Street photography

is one genre in photography that can be simple yet complicated due to the details and the unlimited scope it provides in exploring photography. Although, the main trick to the capturing street is spontaneous, just go shoot. There are many ways to approach this style some say, it’s more like stealing moments as you often capture people at random. This genre has taken over the world and many people have created various groups or hubs on a number of social media platforms based on it. As an Indonesian, I have only recently come across this extremely creative and passionate hub called @instastreetid. Amazed by their initiative and a huge community, I decided to approach them to share with us their story and journey.

by @boyjeconiah_blackwhite by @boyjeconiah_blackwhite

Let’s take a look at what Yasin (Muhamad Yasin Zubaidi) @kangyasin and Adela (Adela Pradikta) @adelafxpradikta have to say about the community:

What is @instastreetid ? How did it start?

It is a street photography community that was formed in 2015 as a forum and means for lovers of street photography to be able to share stories, experiences, and knowledge, as well as the aspiration and appreciation using a social media platform  – Instagram.

Instastreetid initially formed because of common interests on Instagram often called igers on street photography. Based on similar interest a photo hunting event sparked and was held jointly as “1 Day Instameet Street”. The event took place on Sunday, May 17, 2015, and was held simultaneously together in six cities, namely Jakarta, Palembang, Batam, Riau, Balikpapan, and Bandung. With the success of the hunting event, the street photography enthusiasts did not want it to just finish by being together for one day. After an interval of one month, the following group evolved together into a community of street photography enthusiasts.
by @ijoel_terbang by @ijoel_terbang

How many regional accounts do you have and how has the community grown so far?

We have been in the community for approximately 1(one)year, and it has been growing very rapidly with the rise of street photography in Indonesia. We cannot deny that every community has it’s ups and downs, but until now, our community has flourished and we exist in several regions namely:

a. @instastreetid as a central account.
b. @instastreetid_jbdtb to represent the Greater Jakarta area.
c. @instastreetid_smg to represent the Semarang area, vicinity.
d. @instastreetid_mks to represent the Makassar area, vicinity.
e. @instastreetid_sby to represent the Surabaya area, vicinity.
f. @instastreetid_pdg to represent the Padang area, vicinity.
g. @instastreetid_jgj to represent the Yogyakarta area, vicinity.
h. @instastreetid_mdo to represent the Manado area, vicinity.

by @yousufkurniawan

by @yousufkurniawan

How did you join instastreetid? How many of you are involved in the community?

As the founder and manager of the main Instastreetid community, I Kang Yasin @kangyasin (an article on street photography by Yasin can be read here) along with five other colleagues, namely:

  • Adela Pradikta – @adelafxpradikta
  • Rachmad Ravael – @kangpael_
  • Baskara Puraga – @agareds
  • Agung R.U – @a.m.theater
  • Arifan Sudaryanto – @arifansdr

by @gilangbrajaby @gilangbrajaHow can we become members of your community? Do you have specific criteria?

Our community regularly opens the opportunity for Instagrammers out there to be able to join. Periodically, we conduct open membership which we normally share on our Instagram.

The requirements to become a member of Instastreetid community essentially is by going through a brief interview to determine their motivation and knowledge about street photography, as well as the reason for choosing our community. As an illustration of applicable procedures, prospective members can go through the process to join and interview online via Line Messenger as then, our discussion forums till date uses online media on Line Group.

During the interview process, we ask prospective members to send us some pictures of their work. From there we can begin the process of debriefing by measuring the extent of their knowledge of street photography.
Our community is open to anyone who is interested in learning street photography therefore, the interview is at the same time an initial process where we provide information to prospective members who do not understand what street photography is, so that, they know what they will gain as a member of Instastreetid.

by @widodoadiprasetyo

by @widodoadiprasetyo

Do you organize meetups? If yes, how often and how is the turnout?

We as the regional board participate in Jabodetabek region because we are stationed mainly in Jakarta and the nearby areas. Thus, we regularly conduct meetings in the form of hunting together, meetup sharing session which is often held on the weekends, which is Saturday / Sunday. We do not hold meetups on national holidays unless we have events then we will hold a gathering.

For other regional-regions, we have the admin as union leaders in each region. They will organize their community accordingly in each region based on the central committee.
Based on the experience and community development, every meetup that we hold, the participants who come keep growing especially during our public events that are published on social media.

by @nuryhanu_belajar_photo by @nuryhanu_belajar_photo

How has the community gained exposure locally through media?

Instastreetid is currently only for those passionate about street photography in Indonesia and we feature a photo of the day, namely to give appreciation and motivate street photography activists who use our hashtags by displaying the best photos of the day. With this, it will attract the interest of other street photographers in Indonesia to our community, but in future, we will do our features of photos from other countries as well.

We have also connected to a HUB called GramHUB ID, it is an event where some members of the community can support each other and share information about the world of photography. Some regions are already working together and have been reported in the local media.

by @kangyasin by @kangyasin

We hear of communities having exhibitions of their artist’s works, has instastreetid been involved in exhibitions locally or internationally?

As for exhibitions, we have held several regional exhibitions in Surabaya and Semarang, but not yet internationally.

by @mtaufikbw by @mtaufikbw

Have you collaborated with International communities through events or meetups?

Currently, we haven’t had collaboration with communities outside Indonesia, may be in future if possible we would be very happy to work with countries other than Indonesia.

Do you consider your community an active community? How do you see yourself in comparison to other communities on Instagram?

The Community of Instastreetid is the first community-based street photography in Indonesia on Instagram so, it’s supposed to be an active community to develop the potential of street photography enthusiasts in Indonesia. Instastreetid as one of the photography community in Instagram has a special interest in street photography and our community is more focused and specific to develop this stream of photography.

by @windapratiwi14 by @windapratiwi14

As part of the community, how has your experience been so far?

We as the organizer and founder of Instastreetid continue to develop ourselves for the development of our community. Our self-enrichment is done through workshops and photography classes to help us cultivate the community. The presence and involvement of various members from different cities have provided us with more knowledge of the developments of street photography.
by @adelafxpradikta

by @adelafxpradikta

What are your future hopes and plans? 

As our community has grown, many plans and improvements need to be made. Refining the system of organization has become one of our main priorities as we keep growing and the number of members we have is not small. Our hope is that this community serves not only as an ordinary photo community but as a vessel for street photography enthusiasts to find a place where they can start to learn and share their knowledge. In other words, we would like this community to evolve into something bigger like a street photography organization in future.

by @y05f by @y05f

Any message to motivate and inspire us to join your community?

We won’t deny that street photography can not be understood by everyone. But, street photography is filled with moments and surprises and all of which can be seen in an online gallery @instastreetid. Thank you.

by @bmntr by @bmntr

This inspiring interview has shown us how many street photographers are there in Indonesia. Through the street photos above, you can travel to different cities around Indonesia by seeing the various aspects and moments beautifully portrayed. There are many communities on Instagram that have various goals but this community @instastreetid seem to have a clear focus and objective. We hope they can achieve their aspirations and encourage all of us to capture street photos without hesitation.

Travel Photography: The Perfect Combo of Capturing & Exploring

Every city has its own flair and specialty. When we travel to any country and explore different cities we enjoy and discover something new. A trip to a new place makes us feel our holiday was well spent. Being a tourist means “a person who travels to explore a place for pleasure”, this means we can be a tourist anywhere even in our own city. Having lived in Jakarta, I wouldn’t have thought of discovering my city as a tourist. Jakarta is the capital city of Indonesia and Indonesia is known to be the World’s Largest Archipelago. A city that is vibrant filled with cheerful people willing to help and guide you anytime, anywhere. Each city has their specific landmarks that is a must visit. In Jakarta, there are not many places to visit but some give a completely new outlook on what our city is all about.

There are many ways to see your city like a tourist, you can have a group of like-minded friends and go together or join a group of explorers who do tours to various parts of the city. I chose to do the latter and have found many new things about my city. By seeing new things, learning more about my culture has helped me to grow through photography.

Capturing is about Perspective or Vista, a way we see everything around us. Thus, taking pictures through exploring helps to motivate the photographer to gain perspective and have an outlook. Through my trips, I saw my city in a new way and tried to click as many photos as I could to treasure the moments. Whilst clicking, I was able to experiment with my camera to understand the principles of Photography. I learned the meaning of ISO, Aperture, Exposure, Focus,  and White Balance and how to use them during my captures. Through the process, I realized once you understood how to balance the light with ISO and Aperture the rest goes with how we feel during the moment. Although, I am not even close to mastering these main features but the mystery behind the balance allows me to keep sharpening my skills.

Through the photos below, I shall share my experiences when taking them.

Jatinegara

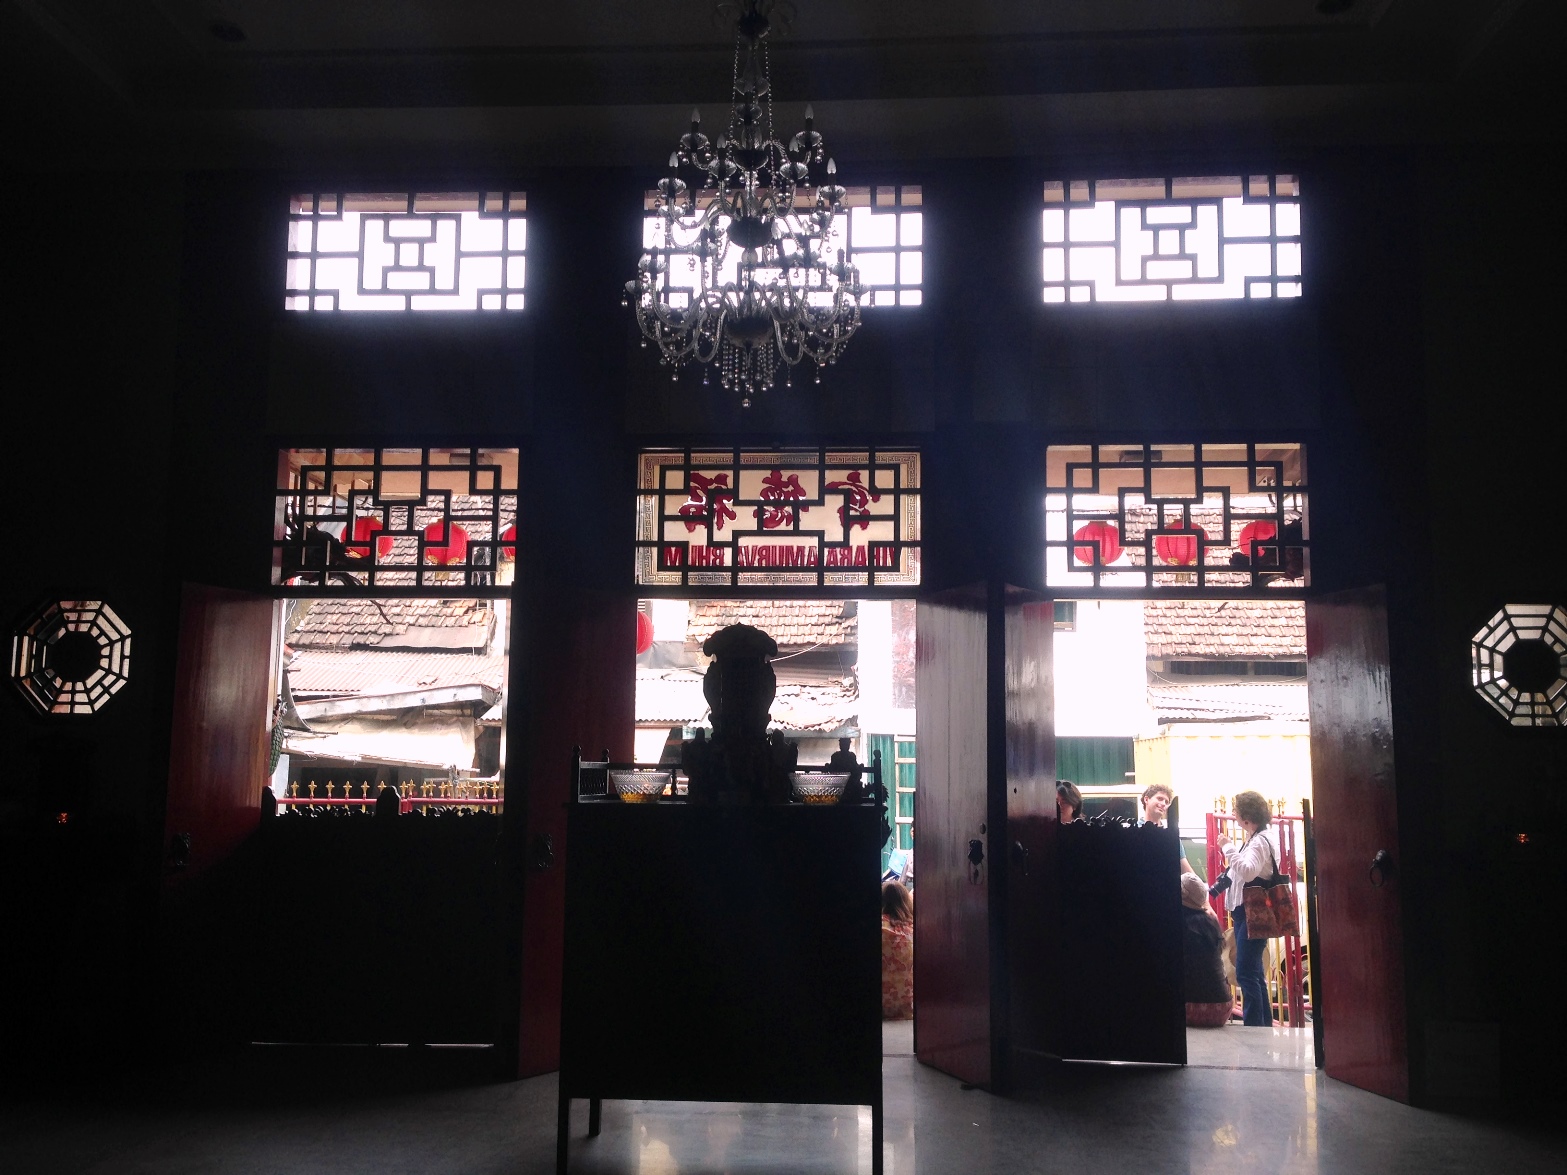
Buddhist Temple in Jatinegara (iPhone)

This shot was taken last year, during our Jatinegara walk as we stopped by a Buddhist Temple in the area. Inside the temple, I was taking a couple of shots and trying to find the correct point of view to get the right lighting. The top portion with the Chinese writing and lanterns plus how the doors were opened peeking towards the opposite direction was quite fascinating. This helped me frame the top and capture the shot.

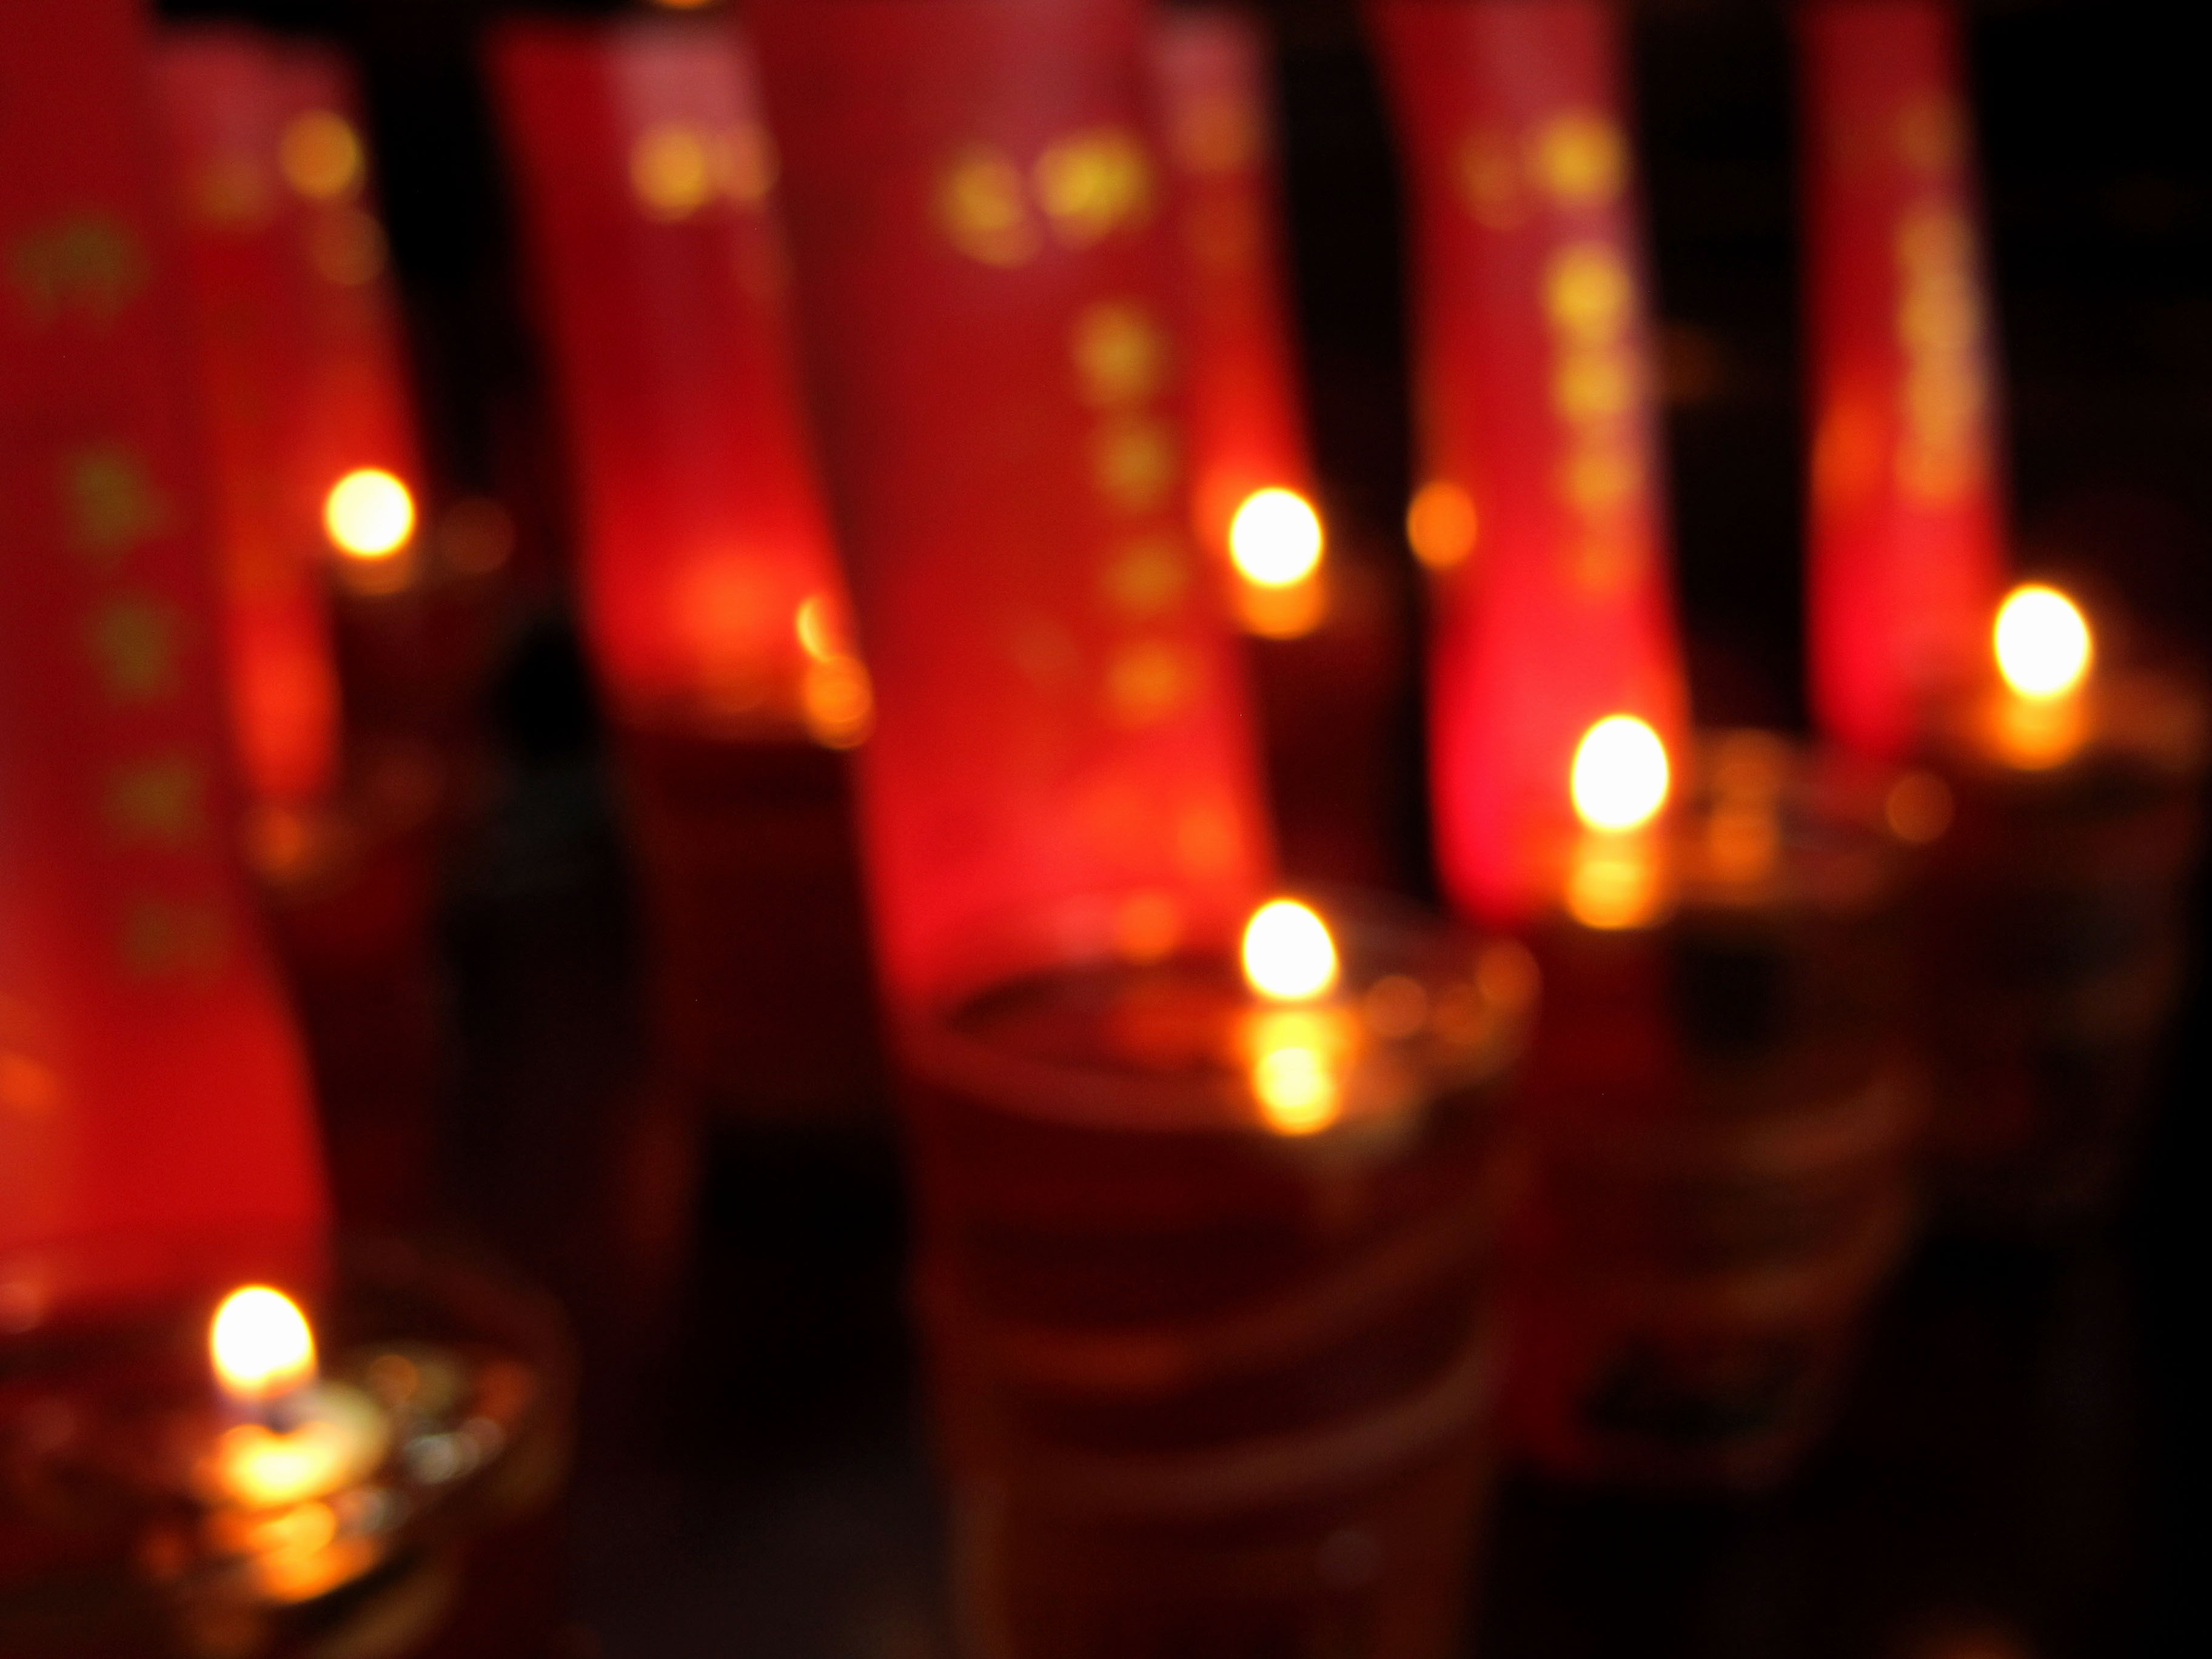
Bokeh at Buddhist Temple Jatinegara (Canon)

Trying to achieve the “Bokeh” effect. This was quite a spontaneous shot whilst at the Temple.

Angle (Canon)

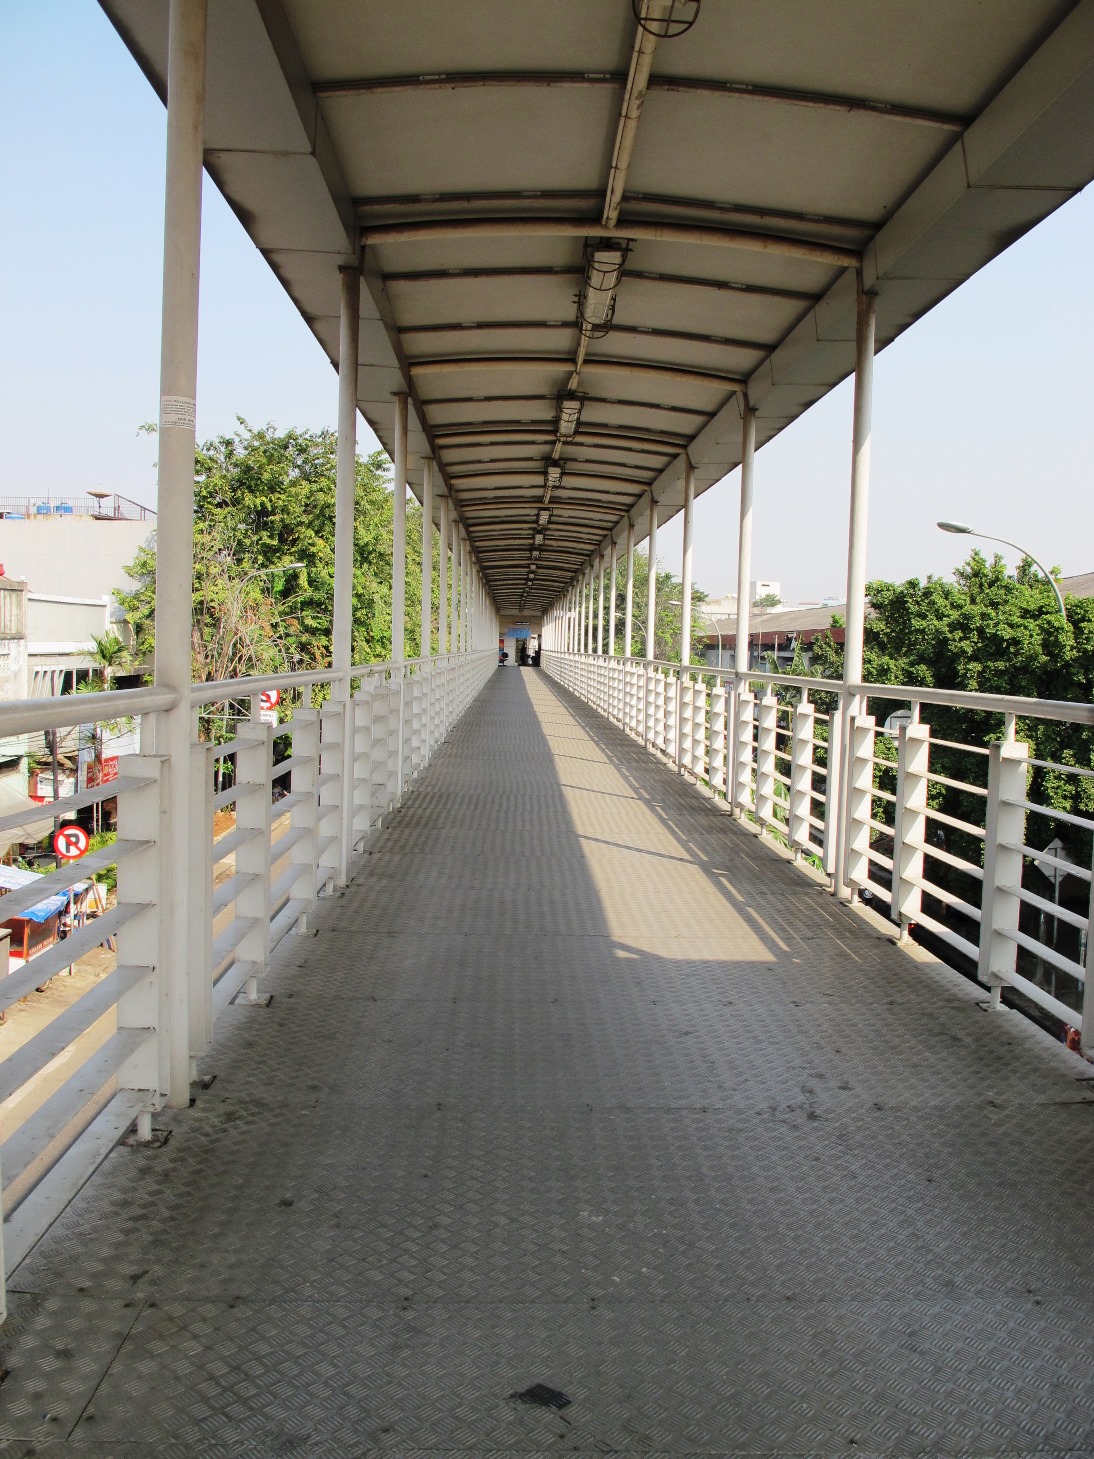
When crossing the bridge, from a distance, this particular scene had formed a sort of symmetry in my mind.  The lines, curve, and shadow gave this moment a more crisp look. These aspects tempted me to click.

Looking Down (Canon)

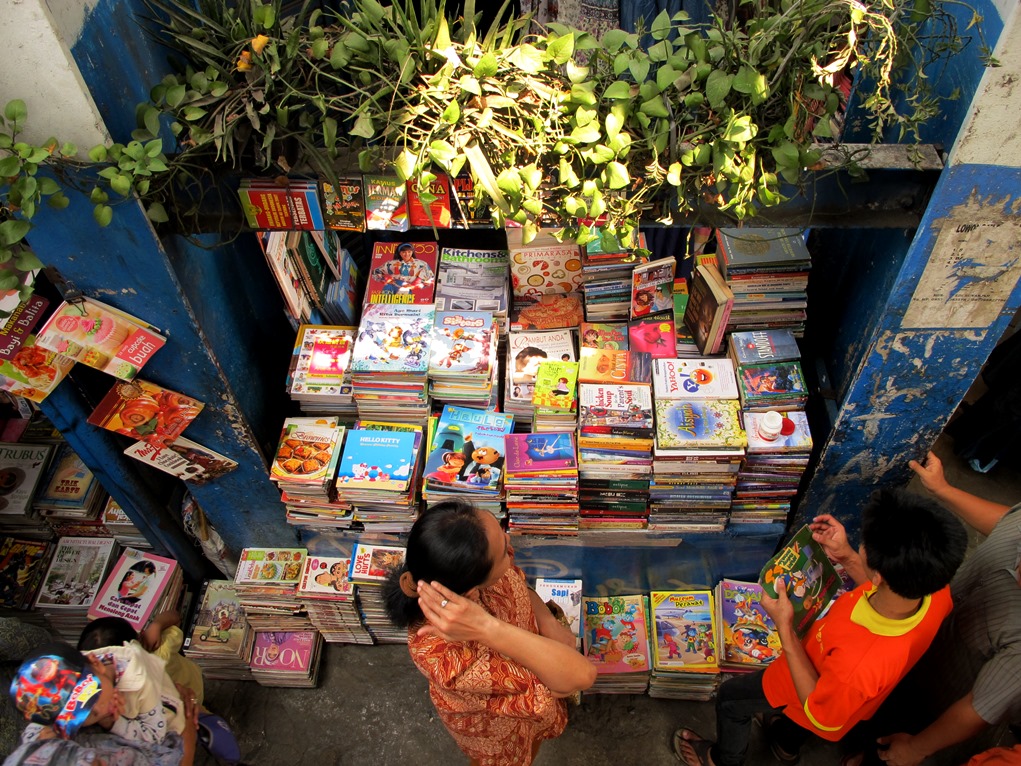
Taking photos with different views and colors has always intrigued me. What better way to try it out whilst looking down. The row of colorful books with passers-by was an opportunity not to be missed.

The Lady with a Smile (Canon)

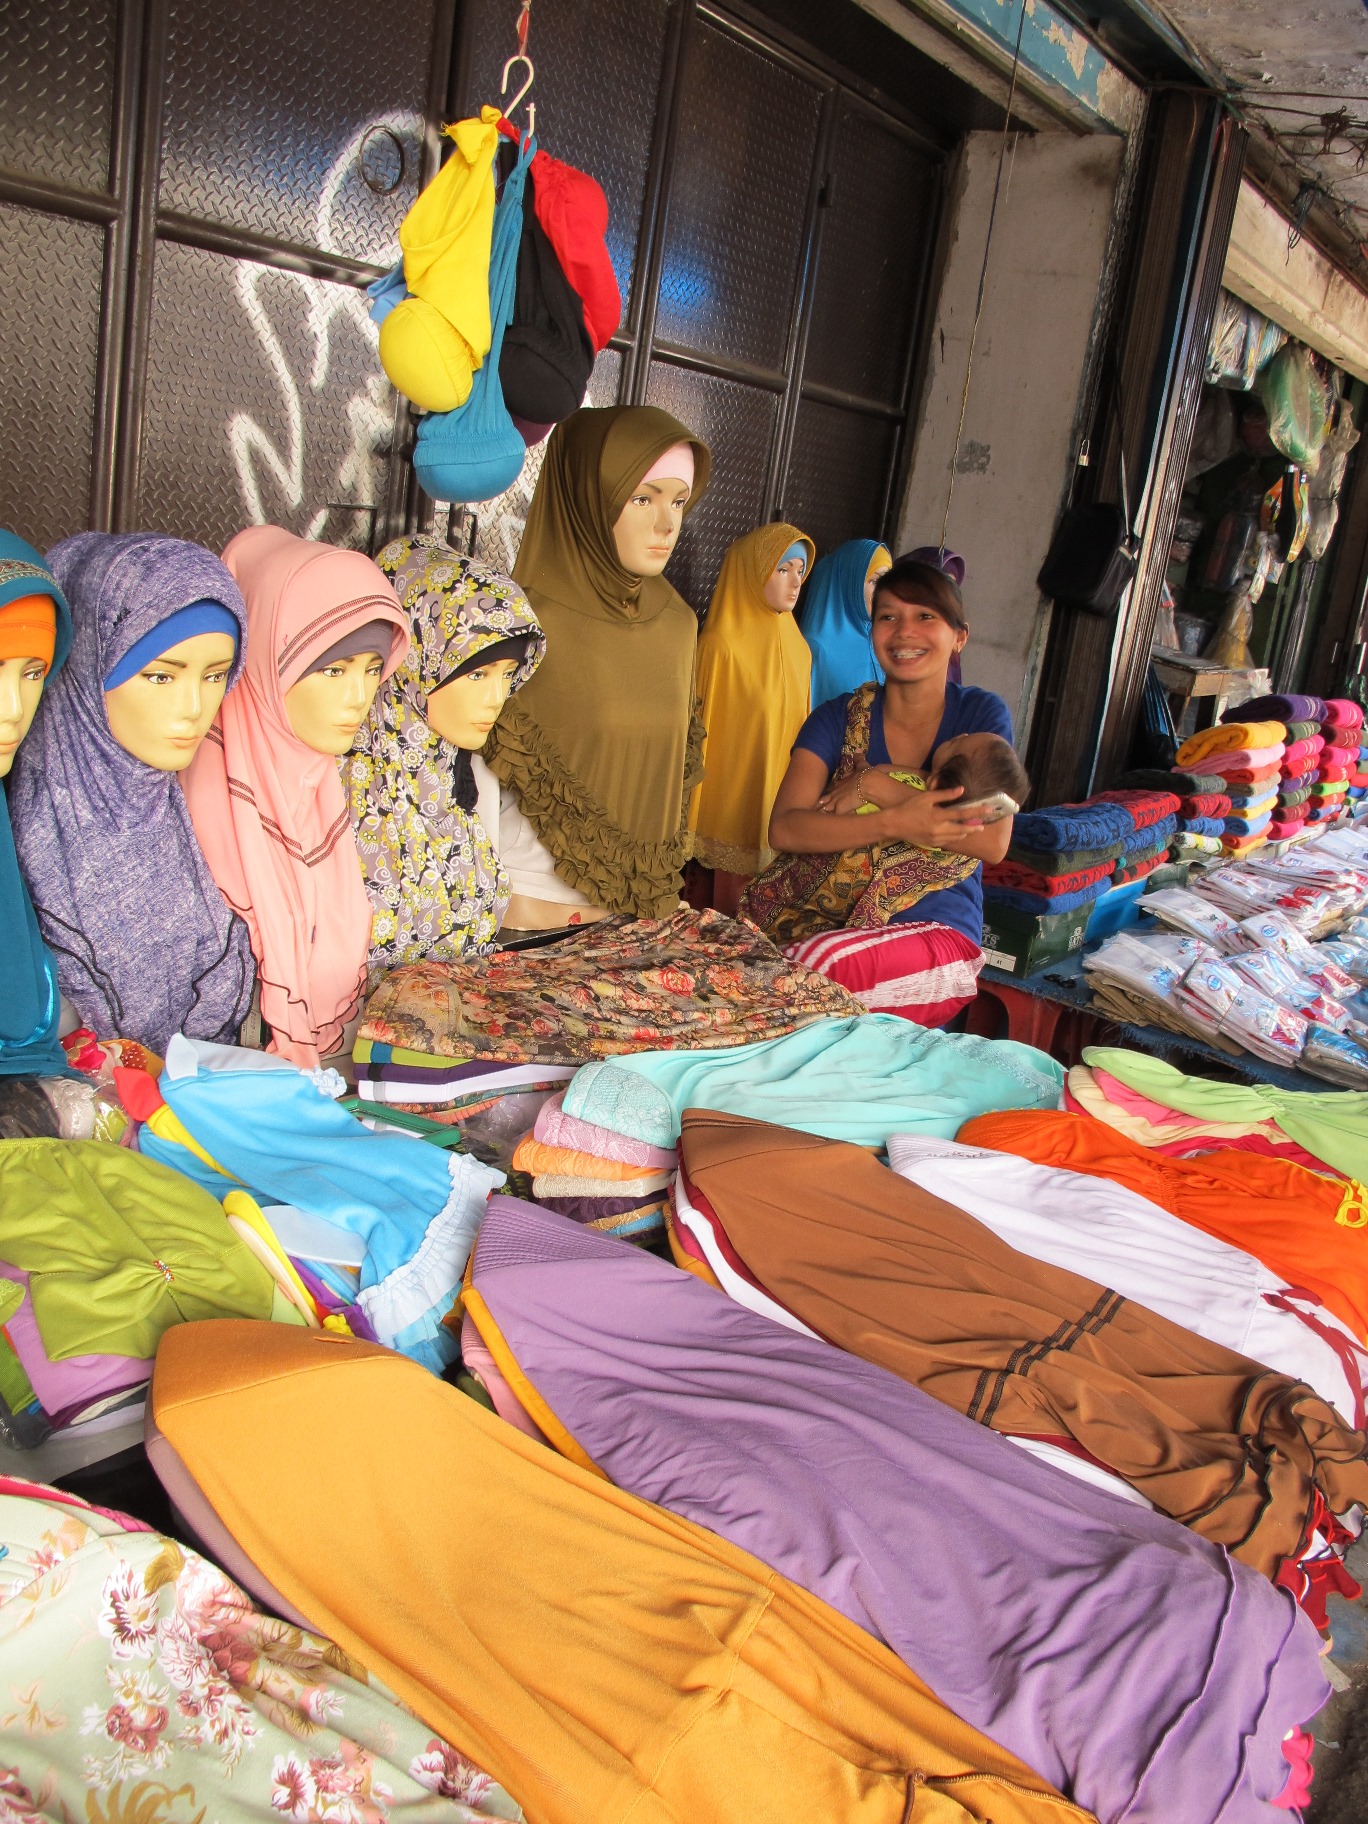
This smiling lady with her baby sitting at her small hijab stall caught my attention instantaneously.

MONAS and MOSQUE

Monas (Canon)

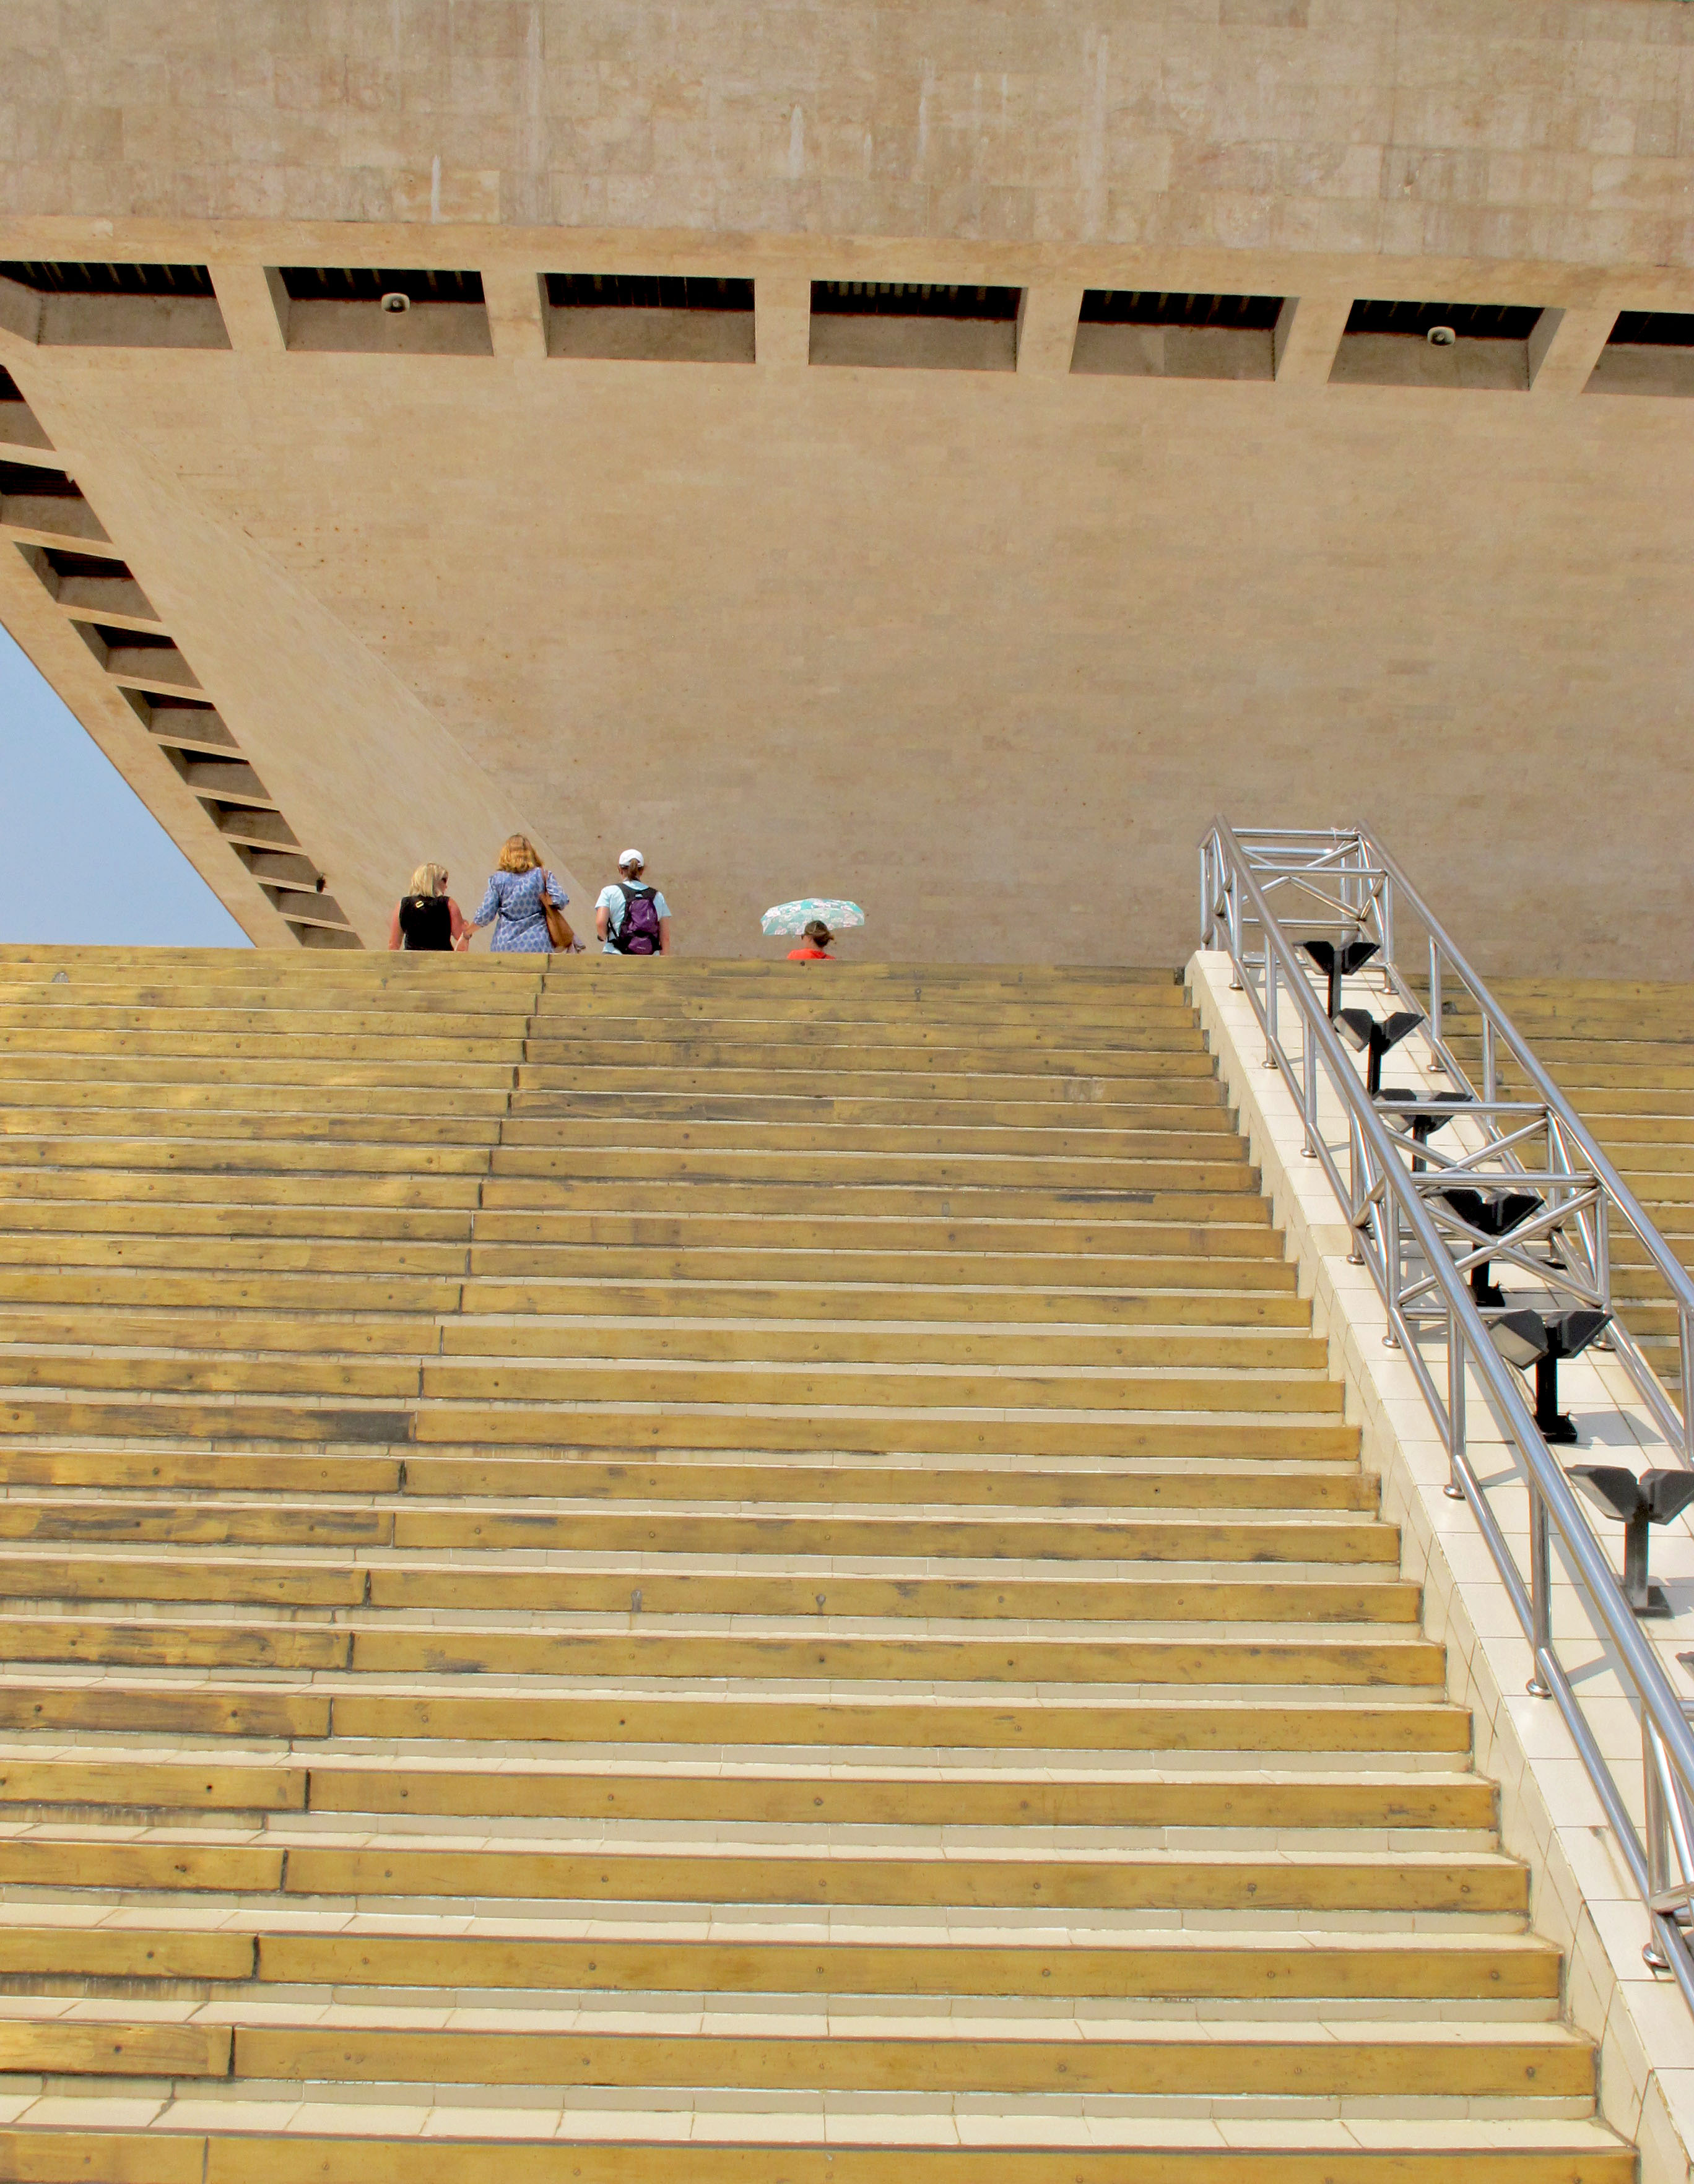
Monas our National Monument is a crucial landmark in Jakarta with its famous history and scenic top view of Jakarta. Whilst climbing up the monument, the steps and a portion of the monument formed a specific frame in my shot.

Monas View (Canon)

Upon reaching the peak of Monas, we were able to have a view of Jakarta from all angles. It was quite interesting to take a couple of shots and see the city from the top.

Mosque (Canon)

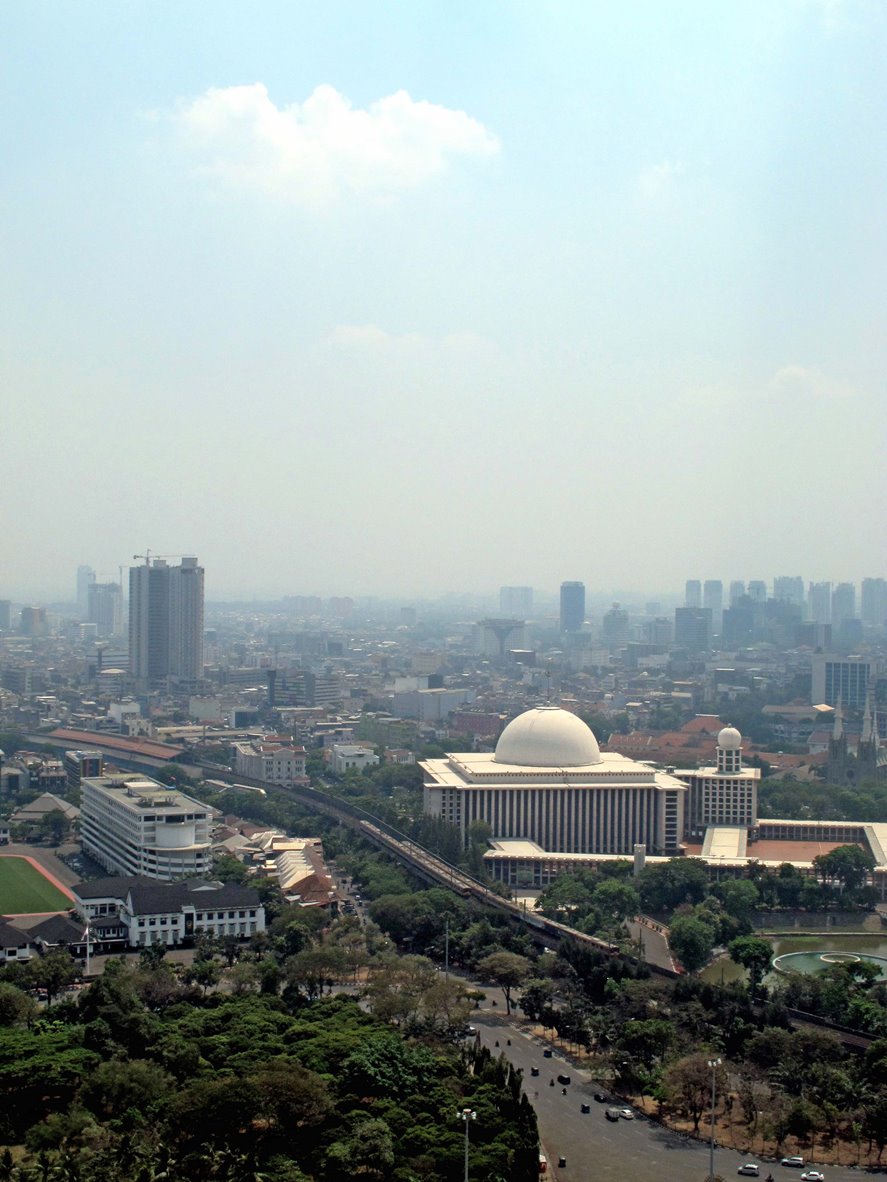
The exterior view of the Mosque (Masjid Istiqlal) can be seen in the previous photo. This is known to be the largest mosque in Southeast Asia and here, you can see the interior of the mosque. The architecture of this building is intricate and captivating yet, it can be tricky to try to shoot every aspect of it.

SUNDA KELAPA

Sunda Kelapa (Canon)

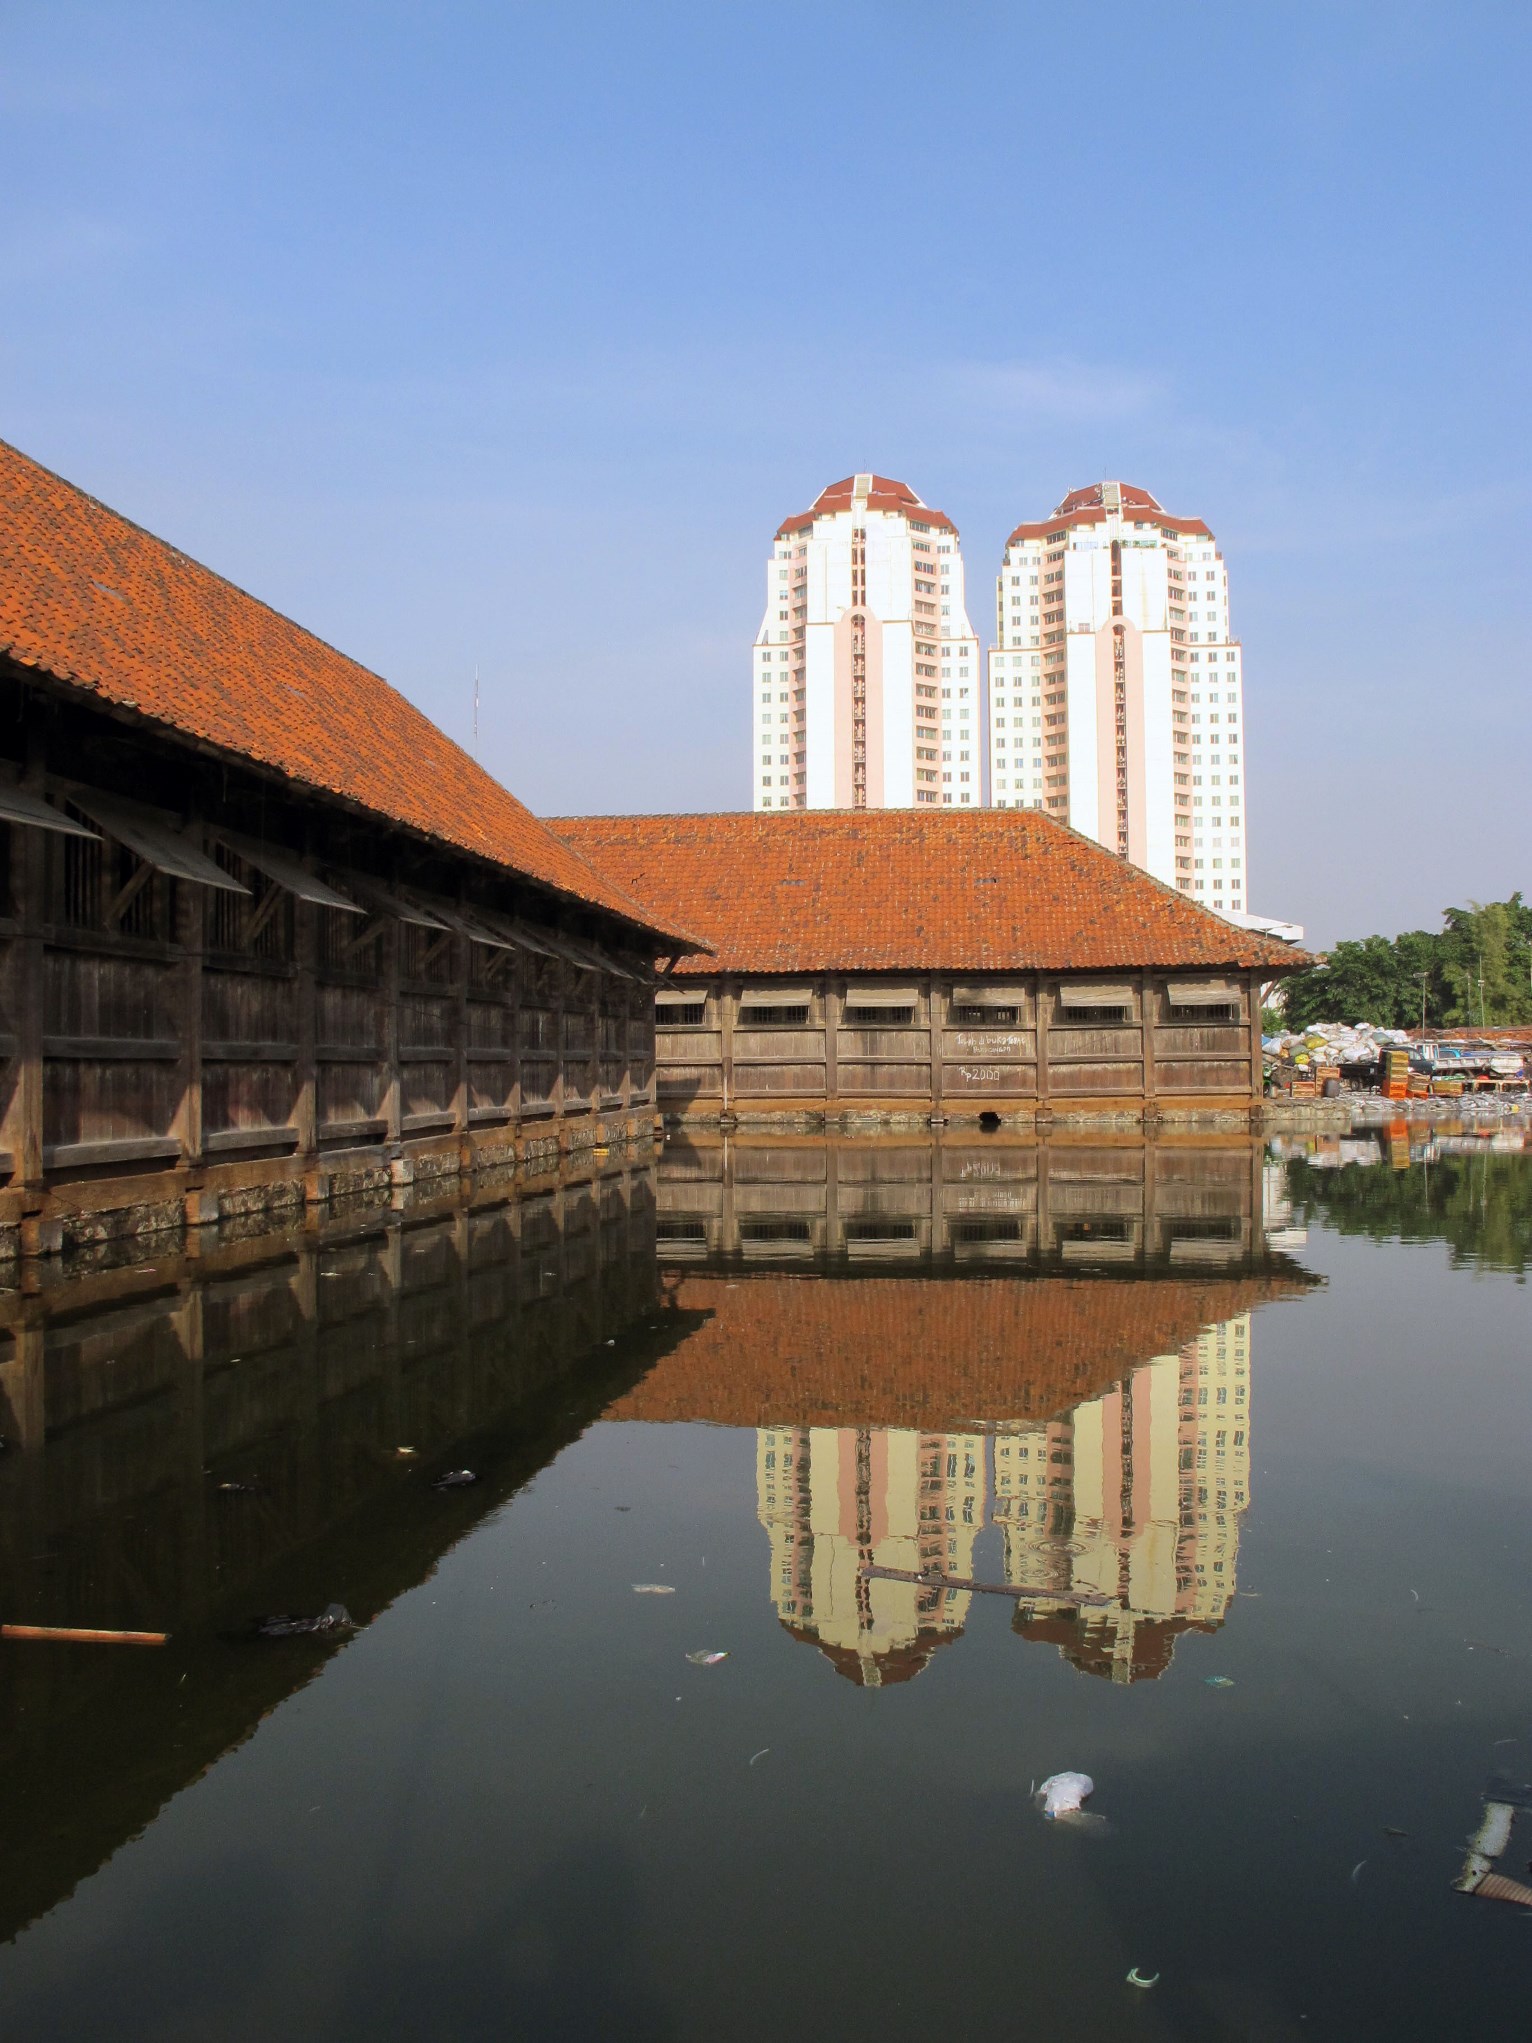
A reflection of the two buildings and an old traditional house was hard to ignore as we were exploring the slum area in Sunda Kelapa. The Sunda Kelapa is another important landmark as it is the Old port of Jakarta.

TAMAN SUROPATI (MENTENG)

Taman Suropati (Canon)

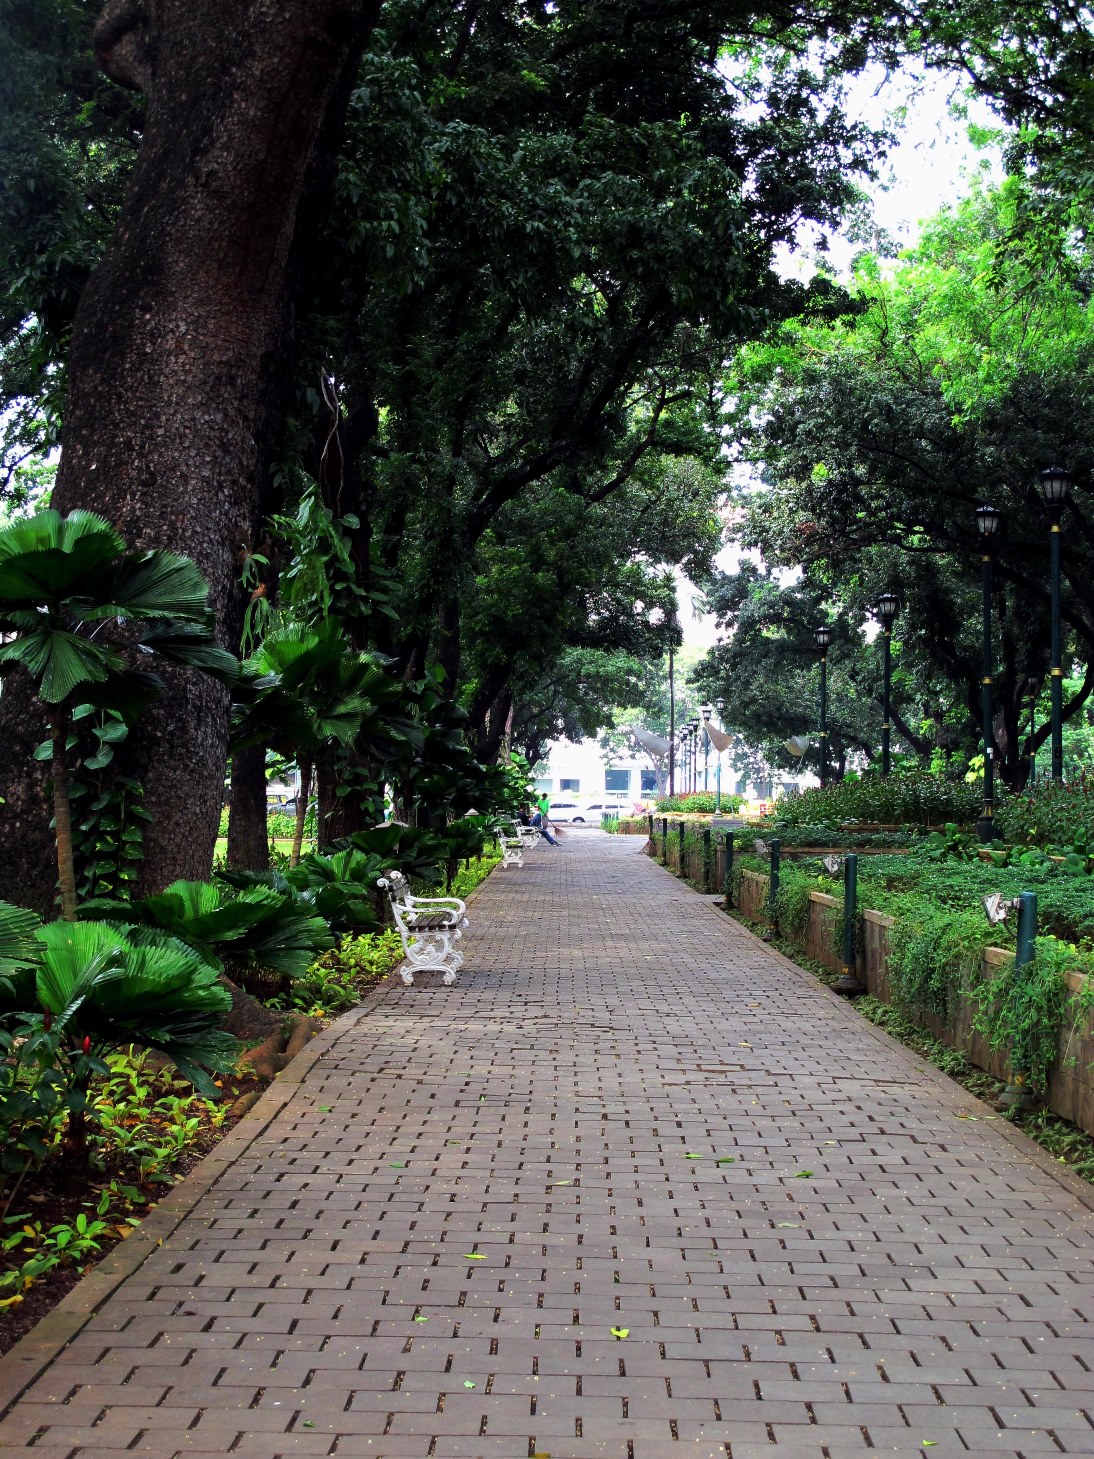
The greenery and serene atmosphere around this lovely park in Menteng area (the first residential area in Jakarta) felt like a perfect moment to shoot. An alley filled with tall trees in the morning hours completed the setting.

Stadium (Canon)

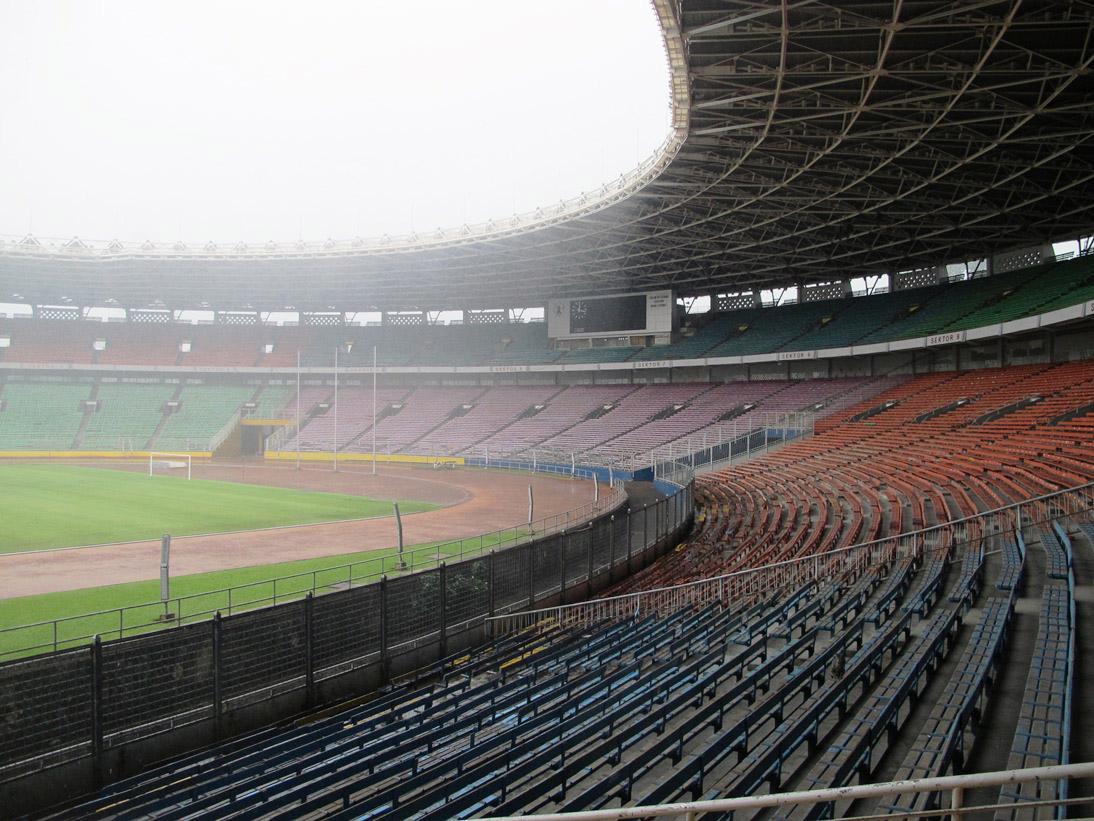
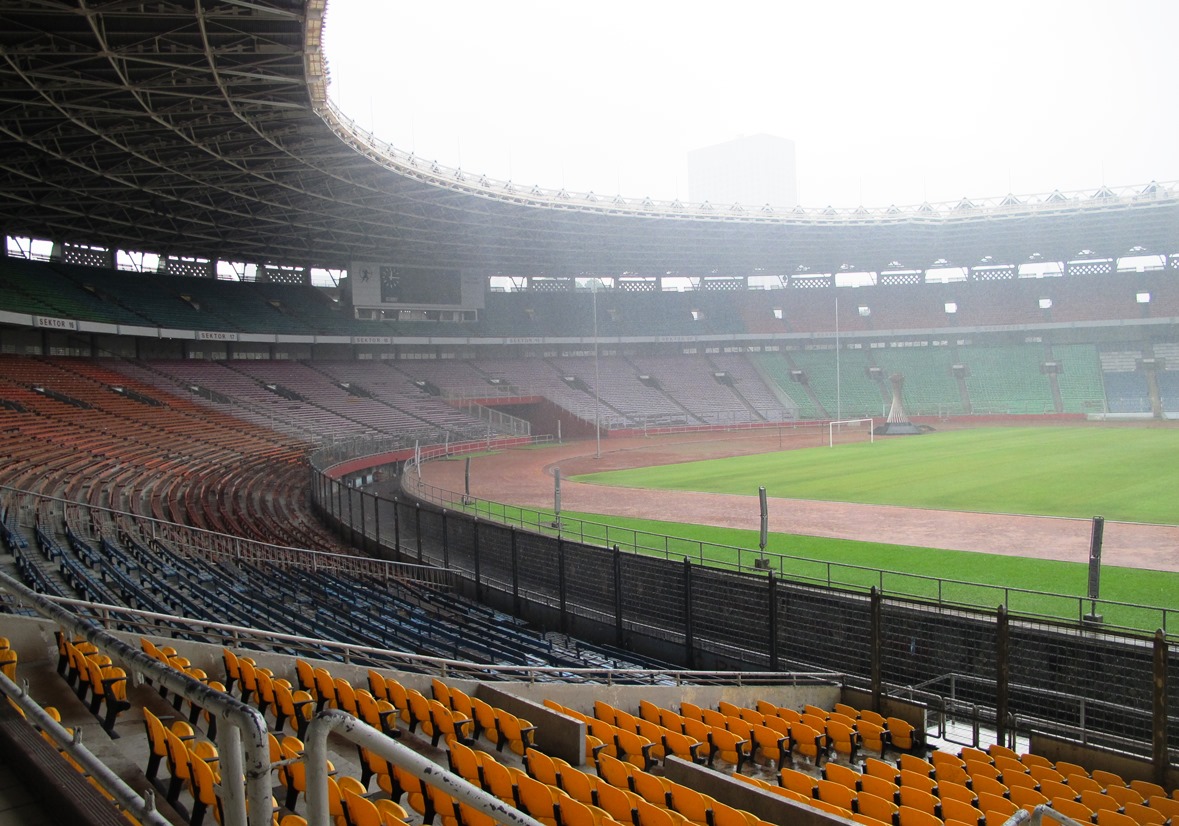
Getting to our National Stadium was quite a challenge as it was a rainy day.  The experience of being in this huge empty stadium with the sound of rain inspired me to feel the moment and then click.

Gelora Karno Stadium (Canon)

This second photo of the Stadium was a shot where I was trying to attempt to get a minimalist touch and a semi-circle shape within it.

The photos above have a variety of different photography styles that I have tried to achieve. Certain aspects and styles of photography by some renowned photographers have encouraged me to try different styles.

Did exploring make me enjoy taking photos more? Yes, it, in fact, made me want to take more photos not because I had to but because when seeing a place, there are so many wonders around that can be clicked from various angles. Capture and explore can be a perfect combo for those of you who would like to grow through photography. The journey to keep taking photos carries on and we need to find ways to keep the passion of photography alive within us. Seeing your city from a new perspective like a tourist would can broaden your imagination and creativity as a photographer.

Tips to Approach Strangers for Amazing Street Photos

One of the hardest things to do as a photographer is get pictures of strangers on the street. It is a lot like cold calling a company to see if they want to buy a printer from you. It is not an easy thing to do, and it is one thing that many photographers try to avoid with all their might.

The thing is, some of the best pictures can be of strangers on the street. Look at Humans of New York, which has millions of fans and is one of the most popular pages on Facebook. All of that is from approaching strangers on the street.

approaching-strangers-1

So, how do you do it? How do you approach strangers on the street? Here are some tips.

How to Approach

When you come up to someone who you want to get a picture of, always remember to never approach from behind the person. This can be a very threatening way to come up to someone, even if you don’t mean to be at all. Always approach the person from the front, even if you have to go to the other side of the street to do so.

It is often easier to approach a person who is standing alone. When with other people, the person may be hesitant to talk to you.

approaching-strangers-2

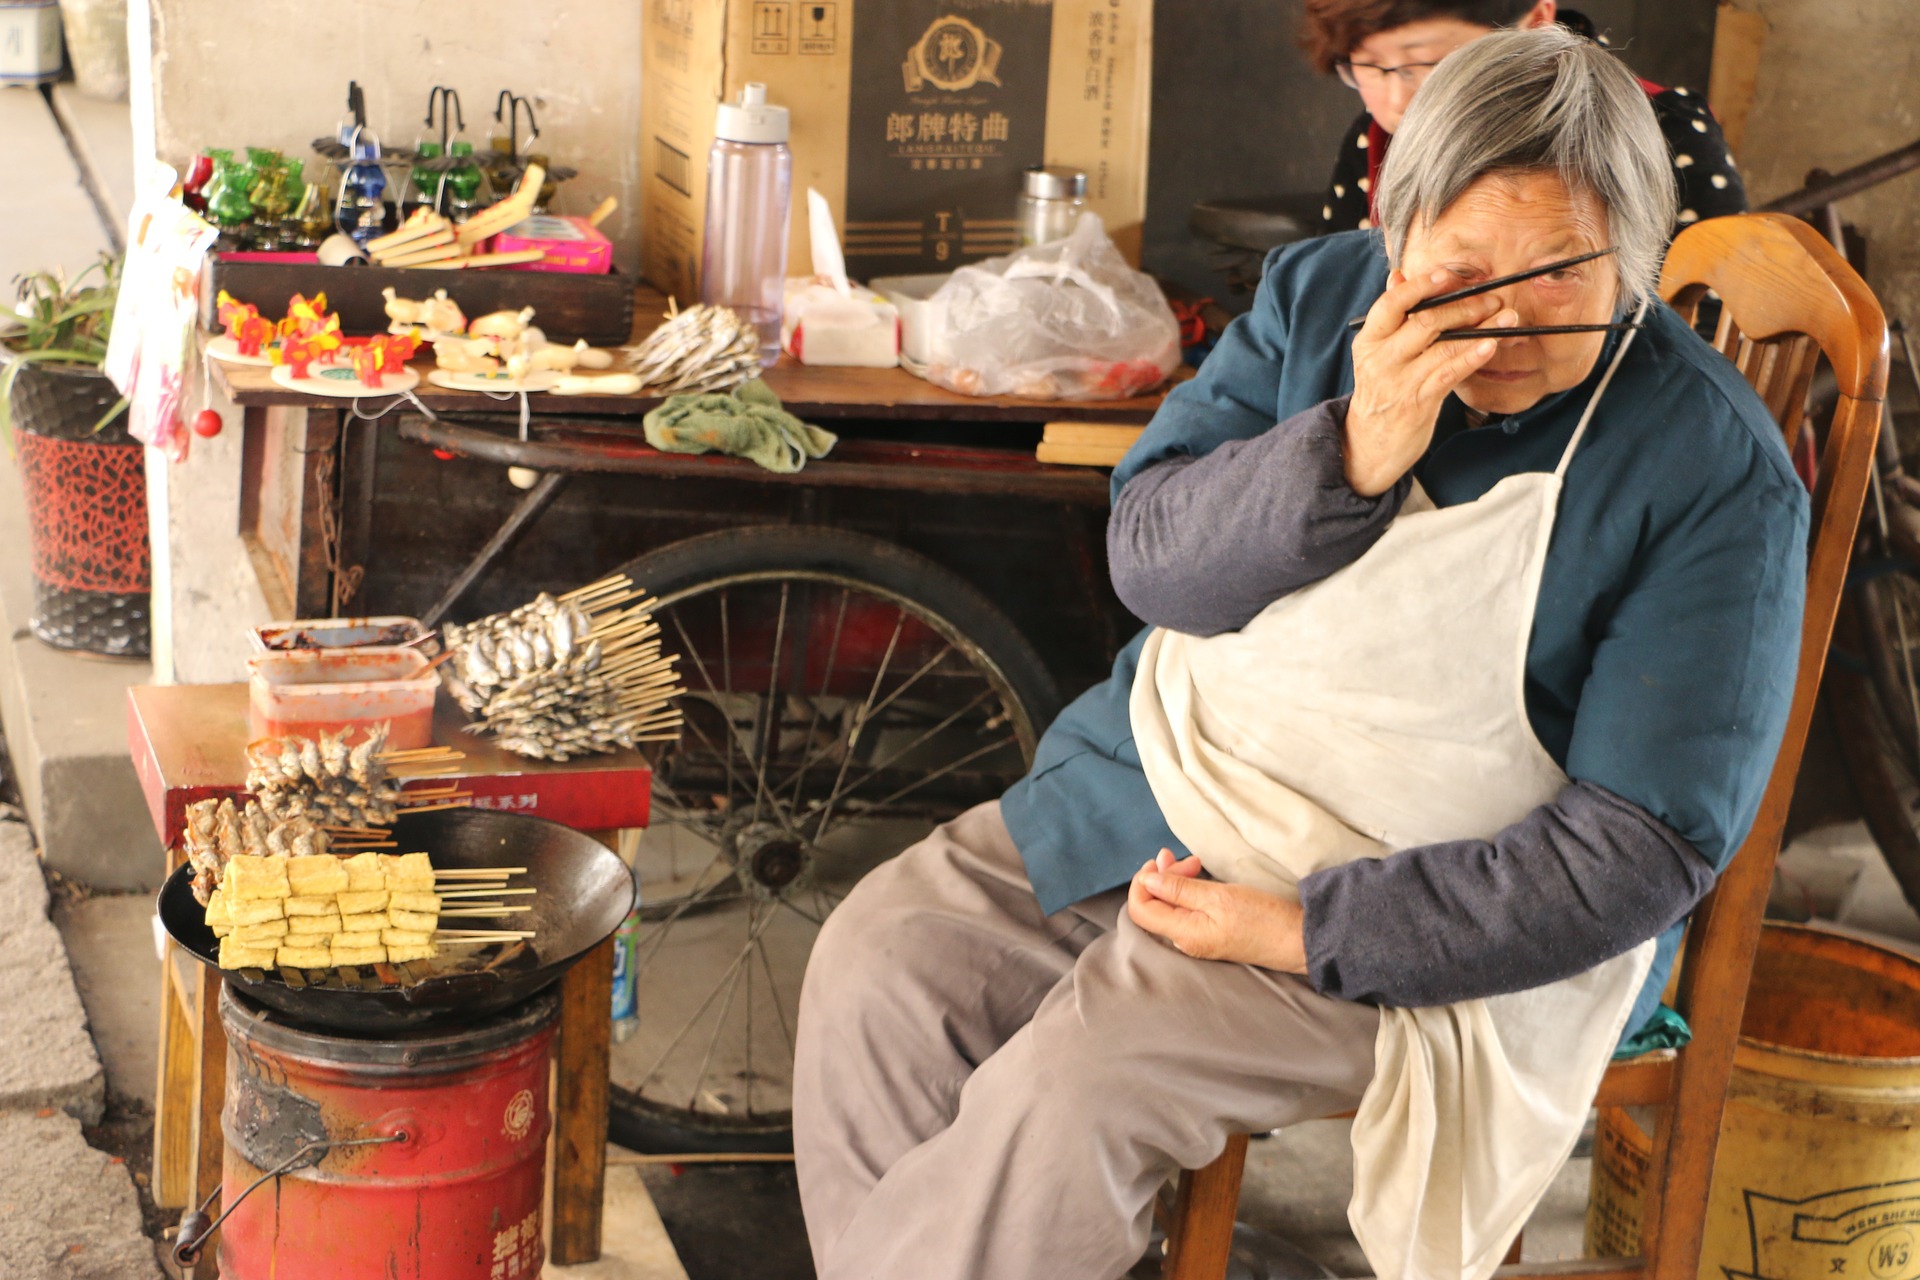
If you approach a person who is sitting down, then you should always crouch down. Never stand over the person when talking to them. Show respect and meet them at eye level.

Be polite when you approach someone, and just ask if they would mind if you took their photo. That is all you have to do. If they are hesitating and you believe that they are going to say no, then just explain why you want the photo and what it is you are doing. This often will help them say yes if they think what you are doing is interesting.

The Process of Photographing Strangers

So, you approach someone from the front and you ask if you can take their photo. If they say yes, or if they are hesitating, explain the project you are working on and why you want their photo.

approaching-strangers-3

You don’t want to just take a photo, you want to get a bit of a backstory about them and who they are. When you ask them about their life, never be too specific. Instead, ask them for a piece of life advice, or something like that. It can give you some great insights into a person and it can be great for your project.

Once you have asked that initial broad question, ask some more questions that are a bit more personal. By taking this risk and talking to the person in a more personal manner, you can get some great quotes and a great profile for your project.

approaching-strangers-4

Extra Tips

To make sure you get the picture that you want, follow these tips to make it easier for both yourself, and for the other person, when you are getting their photo for your street photo project.

– The most important thing is to make eye contact with the person. If you make contact, you are showing the person that you are open and you are being honest. If the other person won’t make eye contact, then leave them be and move on to someone else.

– Your body language says a lot about you. Approach someone with confidence, but don’t be overconfident. Treat the person as a friend, and keep your body language open with them.

– A great way to break the ice is to pay the person a compliment. Tell them they look nice, or that you like their hat, or their shoes. This is a good way to open up the conversation, and it will help to relax the person that you want to get the photo of.

– Create trust because it takes trust for a person to let a stranger take their picture. Establishing trust with the person will also allow them to open up to you more about themselves, and that makes for a better street photo project. Try to find a common interest with the person to create that trust.

– Lastly, have a passion for what you do. If you have a passion for it, that passion will show and it will make it a lot easier for the person to let you take their photo. You will also have a lot more fun with it and you will worry less about approaching people.

approaching-strangers-5

Street photography can be difficult, but it can also be highly rewarding. There are many problems street photographers face, so don’t let a fear of approaching people be one of them. Follow these tips and you will have no problem meeting people and getting their picture. It is a great way to really step up your photography game.

Tips for iPhone Street Photography

“The best camera is the one that’s with you.” – Chase Jarvis

In today’s world, every camera is a compromise. They function in the same way, and all take great images for the most part. You can even get amazing images from the phone in your pocket. This is a great option if you happen to leave home without your camera, or just don’t feel like carrying it around. The image quality and selection of post-processing apps, make iPhones fantastic camera options. And the ease of direct to social media sharing makes sharing your photos painless.

Below, I will outline a few iPhone street photography tips I’ve picked up along the way for shooting street photography on your phone. I say iPhone because that’s what I use, but of course, this post is relevant for any cell phone with a camera. I know I’ve seen some Galaxy phones whose cameras blow iPhone cameras out of the water. It doesn’t matter what type of phone you use, as long as it has a camera.

IMG_2301

iPhone Street Photography Tips

#1 Get Close

As Robert Capa said, “If your pictures aren’t good enough, you’re not close enough.” Part of street photography that takes some getting used to is to be bold. You’ll need to get close to your subjects, especially with the 35mm focal length of the iPhone. There are a few techniques you can do. You can always ask your subject if you can take their picture. This is tougher than it sounds, as approaching strangers can be difficult. It can also result in a manipulated image, which you may or may not want. You could also shoot from the hip. This means taking a shot without looking, usually with your phone at your side. With an iPhone, you can also pretend you’re texting and get away with a close shot. Or, as popularized by Bruce Gilden, just go for it! Jump into someone’s face and take the shot. This is definitely not my method of choice, but for some, it is the best option. There is nothing against the law about this, though it will piss most people off.

Getting close can also isolate your subject from the background. In street photography, depending on your city, an image can get too full. This means it’s easy to oversaturate the image. I find interesting street photographs are those that feel isolated. To me, a street scene is always busy and overflowing. But that isolated subject in a big city backdrop is interesting for some reason. Play around with this idea, and see if you can isolate subjects in your frame.

16961904411_ba4c350954_k

#2 Follow the Light

This is another tip which is interchangeable between phone and camera. It’s always best to shoot when the light is best, called the Golden Hour. This is the hour just after the sun rises and just before the sun sets, and makes for beautiful lighting. This is a great option for those who shoot during their commute hours. When I lived in San Francisco and worked long hours at my day job, I was always out during Golden Hour commuting. This worked out great for my street photography. It’s not to say that you’ll get bad images during the day. I’ve seen some beautiful images taken during high noon when the sun is bright and right above. Just be aware of the light when shooting, and find a way to make it work in your image.
#3 Take Advantage of Apps

There are tons of apps for shooting, post-production and sharing photos. Some people swear by apps like VSCO and Camera+, while others hate them. You should experiment and find what’s right for you, but I’ve listed a few below:

Shooting:

Camera+
Pro Camera
Hipstamatic
Snapseed

Editing:

VSCO
CameraBag
AfterLight

FullSizeRender 2

#4 Accessories

Just as you would with your camera, you’ll want to make sure to have a spare battery or two for your phone. For iPhone’s, this is a portable battery, which is getting smaller and more powerful. I used to have a charging case on my phone, which was great, though a little bulky. These are pricey, but are convenient and take up less space than bringing a separate device.

You should also get a solid case which has a grip for easy handling. Something protective would be beneficial as well. There are also companies making lenses, such as Moment and Ollio, which can be useful. But not necessary. For street photography, all you need is a phone with a good case and an external battery

#5 Burst Mode

Shooting burst mode is always a good idea, and I have it on 95% of the time in any type of photography I shoot. You just don’t want to leave capturing the decisive moment up to one photo. It’s always better to have a few more images to get one solid image from. Especially in street photography, when capturing people walking.

IMG_2322

#6 Be Ready

The exciting aspect of street photography is that you never know what is going to happen. You have to be ready for anything and able to react before the moment happens. If you are out to shoot, you need to have your phone ready. This means out or in your pocket in camera mode, ready for the shot. You should be hyper aware of your surroundings, always looking around (not in a creepy way). If you are aware of your surroundings, you can better predict what could happen. It’s better to miss the moment because it didn’t happen rather than because your phone wasn’t out.

#7 Tell a Story

Here, you want to look for an interesting story to tell through your photo. Look for an emotion, something interesting about the scene. It’s so easy just to take a picture of someone on the street. The good ones evoke a feeling, a reaction from the viewer. This is what you should be looking for. This goes hand in hand with Be Ready above. If you are aware of what is going on, you can predict a moment which will lead to an interesting story. Try to capture the entire story in one image. If you capture many photos during an event, find the one that sums up what happened. This will be your strongest image.

IMG_2969

#8 Sharing

Of course, one of the major benefits of iPhone street photography is how easy it is to edit and share images. Using the iPhoto image editing can be a bit limiting. Use of the many apps listed above to do your edits, which should only take a minute or two. Keep your street photos consistent in editing. Uploading to Instagram, Flickr or any other social media platform is a breeze. You’ll be able to spend less time editing and sharing, and more time shooting.

Now for an assignment. Take these tips and your phone and shoot only iPhone street photography for a month. I bet you’ll realize after one month how much you’ve shot and how much you’ve learned. This knowledge will rollover to your camera, and you’ll have a whole new eye for photography.