If you’re like me, or most other photographers, you love the look and feel of the real film. Don’t get me wrong, digital photography is great, but there are a certain authenticity and rawness inherent in a photo shot on good ol’ film. But as beautiful as a film is, it’s extremely difficult to manipulate your analog images after the fact, something we’ve all grown to expect these days. Here, we’ll go over five different methods to fake that authentic film look in your digital photos.
Table of Contents
Adobe is way ahead of me on this, so there’s already a filter specifically made to add film-like grain in photoshop. Unfortunately, it doesn’t look all that good, since it just blindly adds grain dots instead of replicating the causes behind film grain. Still, if you’re after a film-esque look, this will probably do the trick.
Go to “Filter,” then “Noise,” then click “Add Noise.”
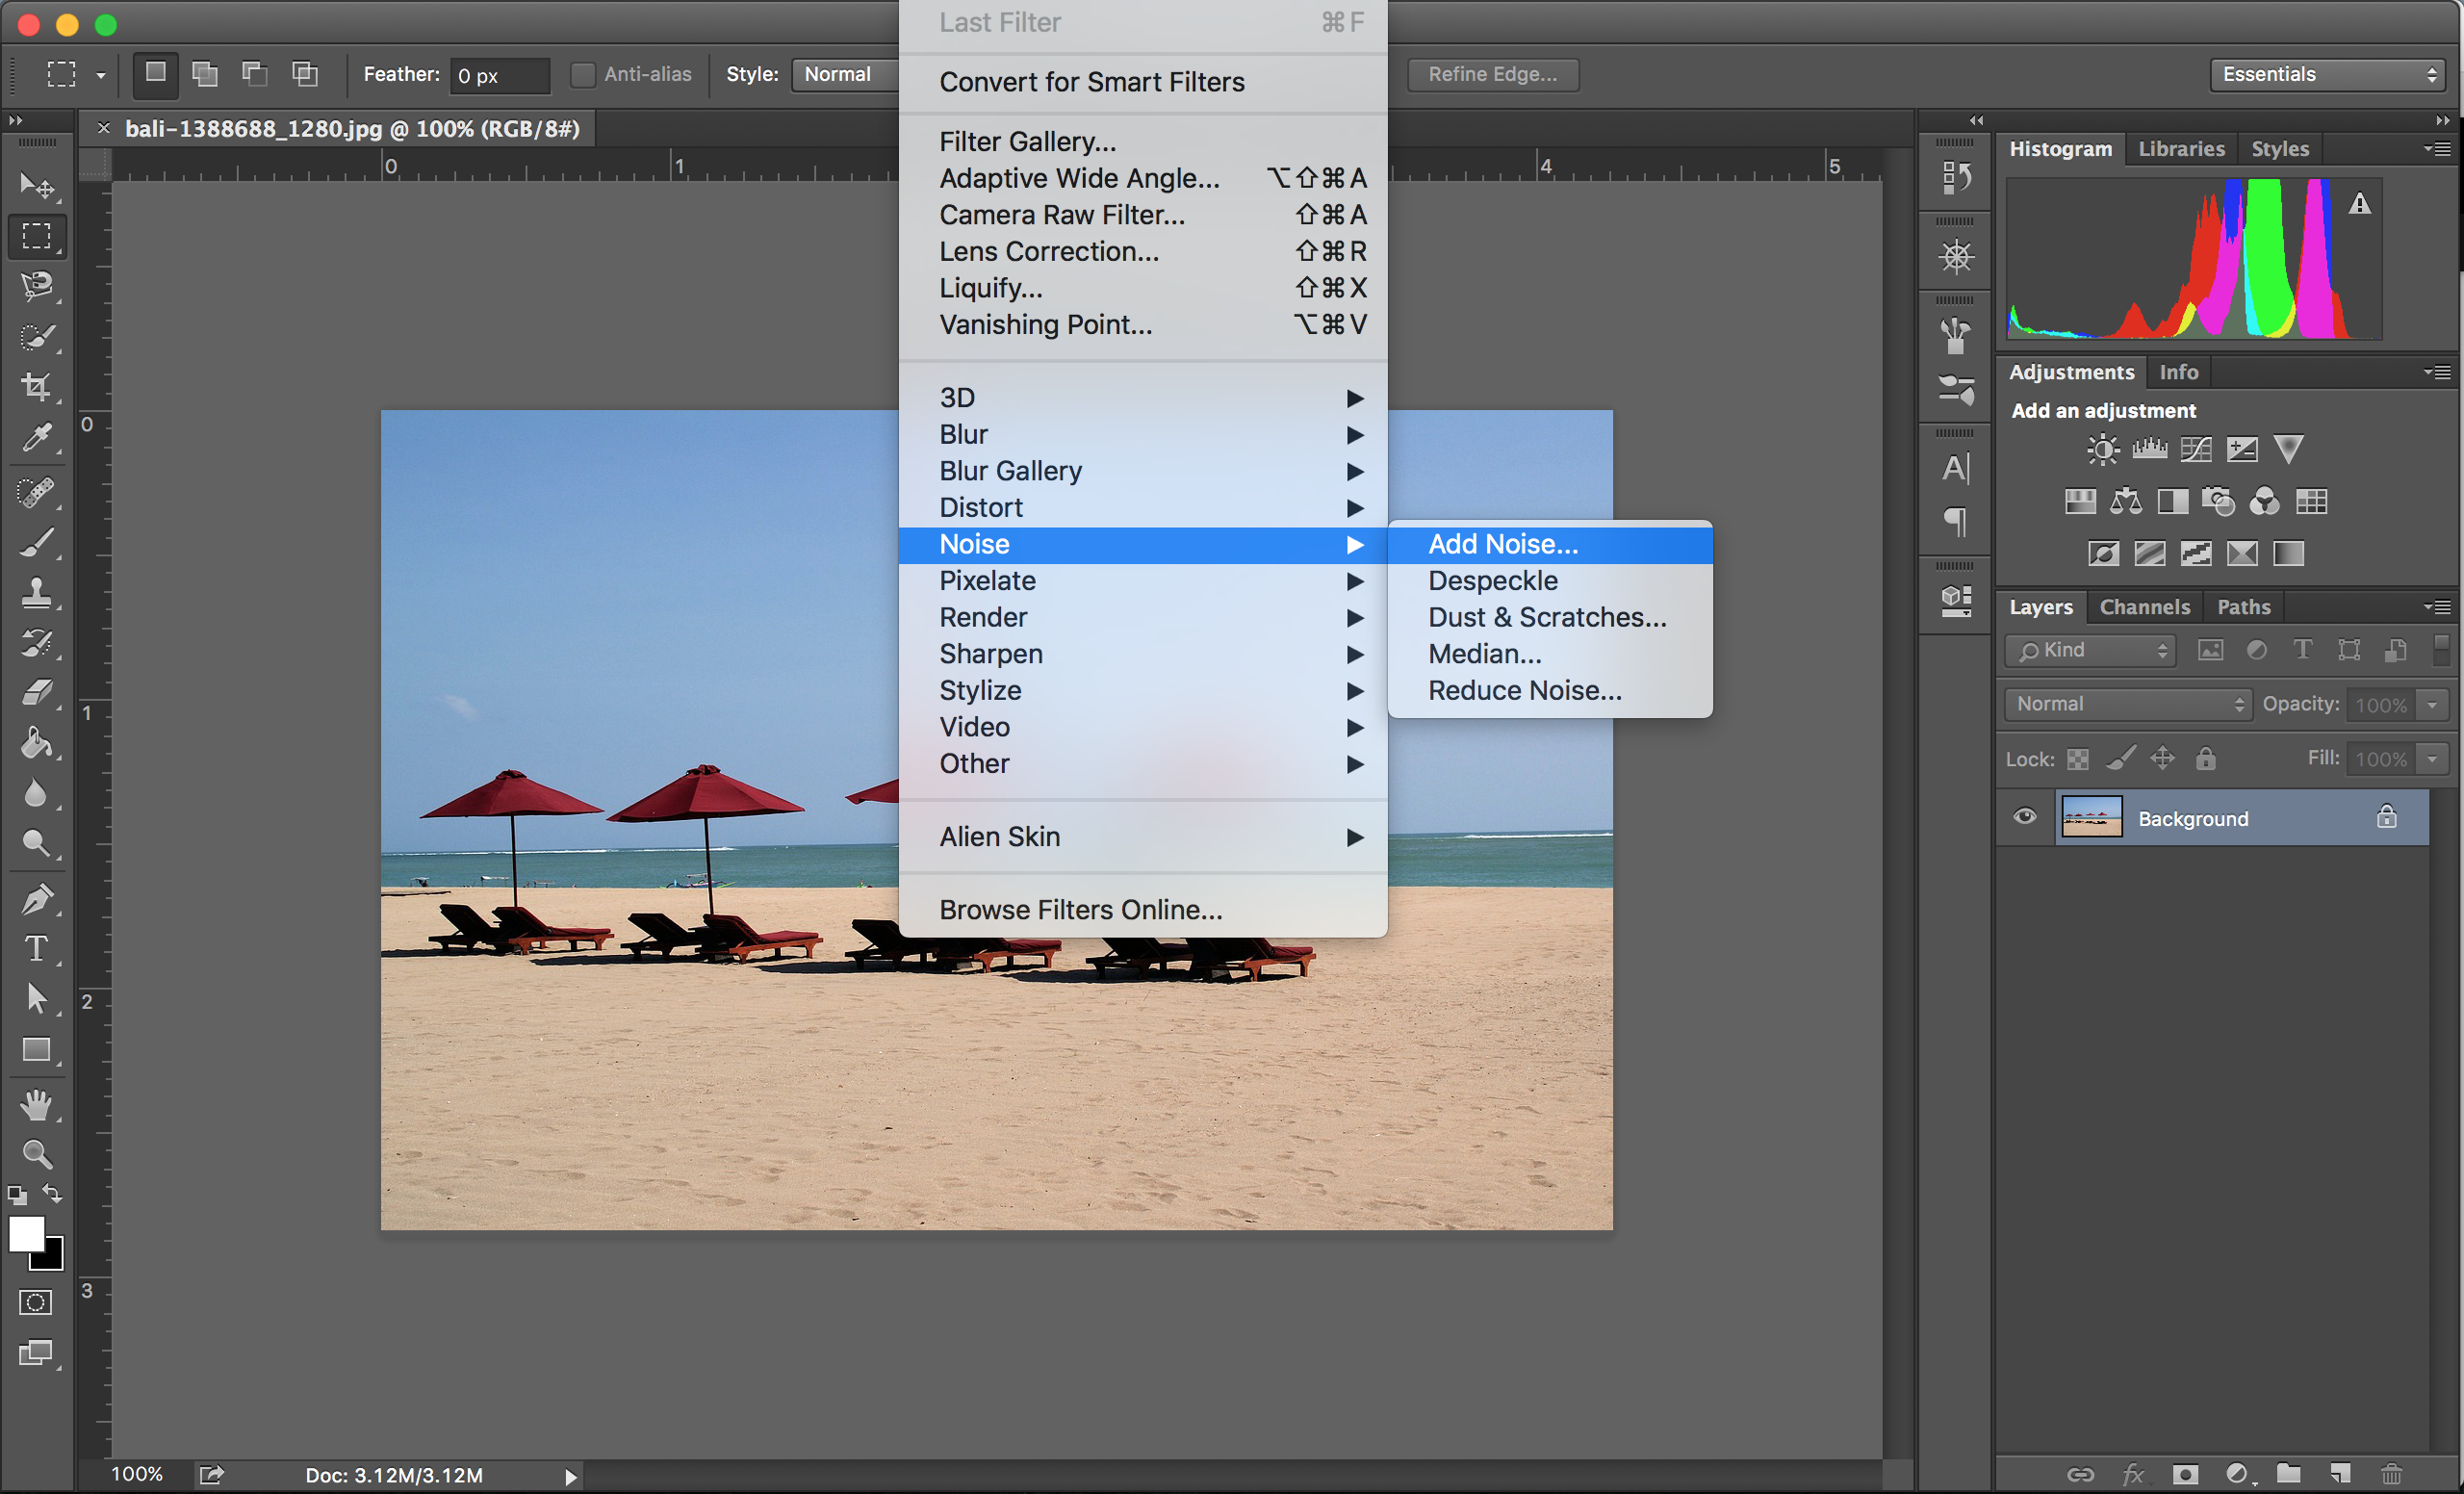
In the “Add Noise” panel, you’ll want to select “Uniform” and check “Monochromatic.” Then simply move the slider up or down to the level you want. It will likely be very low; here I chose 5%, but I wouldn’t recommend going much higher.
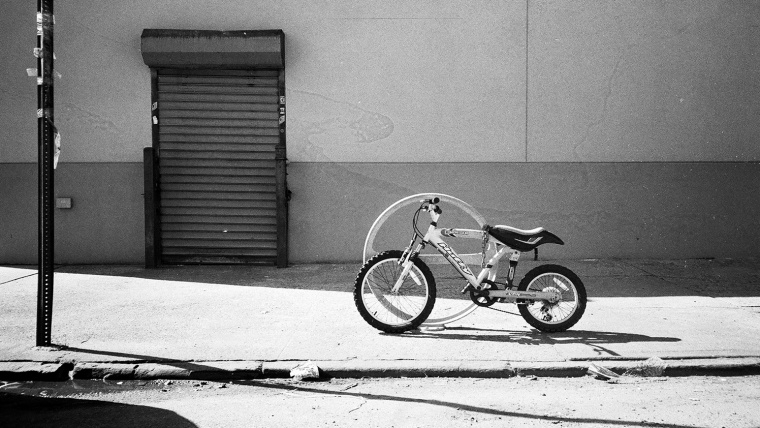
Below your can see the original image and the edited one for comparison.


While this result looks alright, anyone who has spent some time with the film will be able to spot this grain as fake.
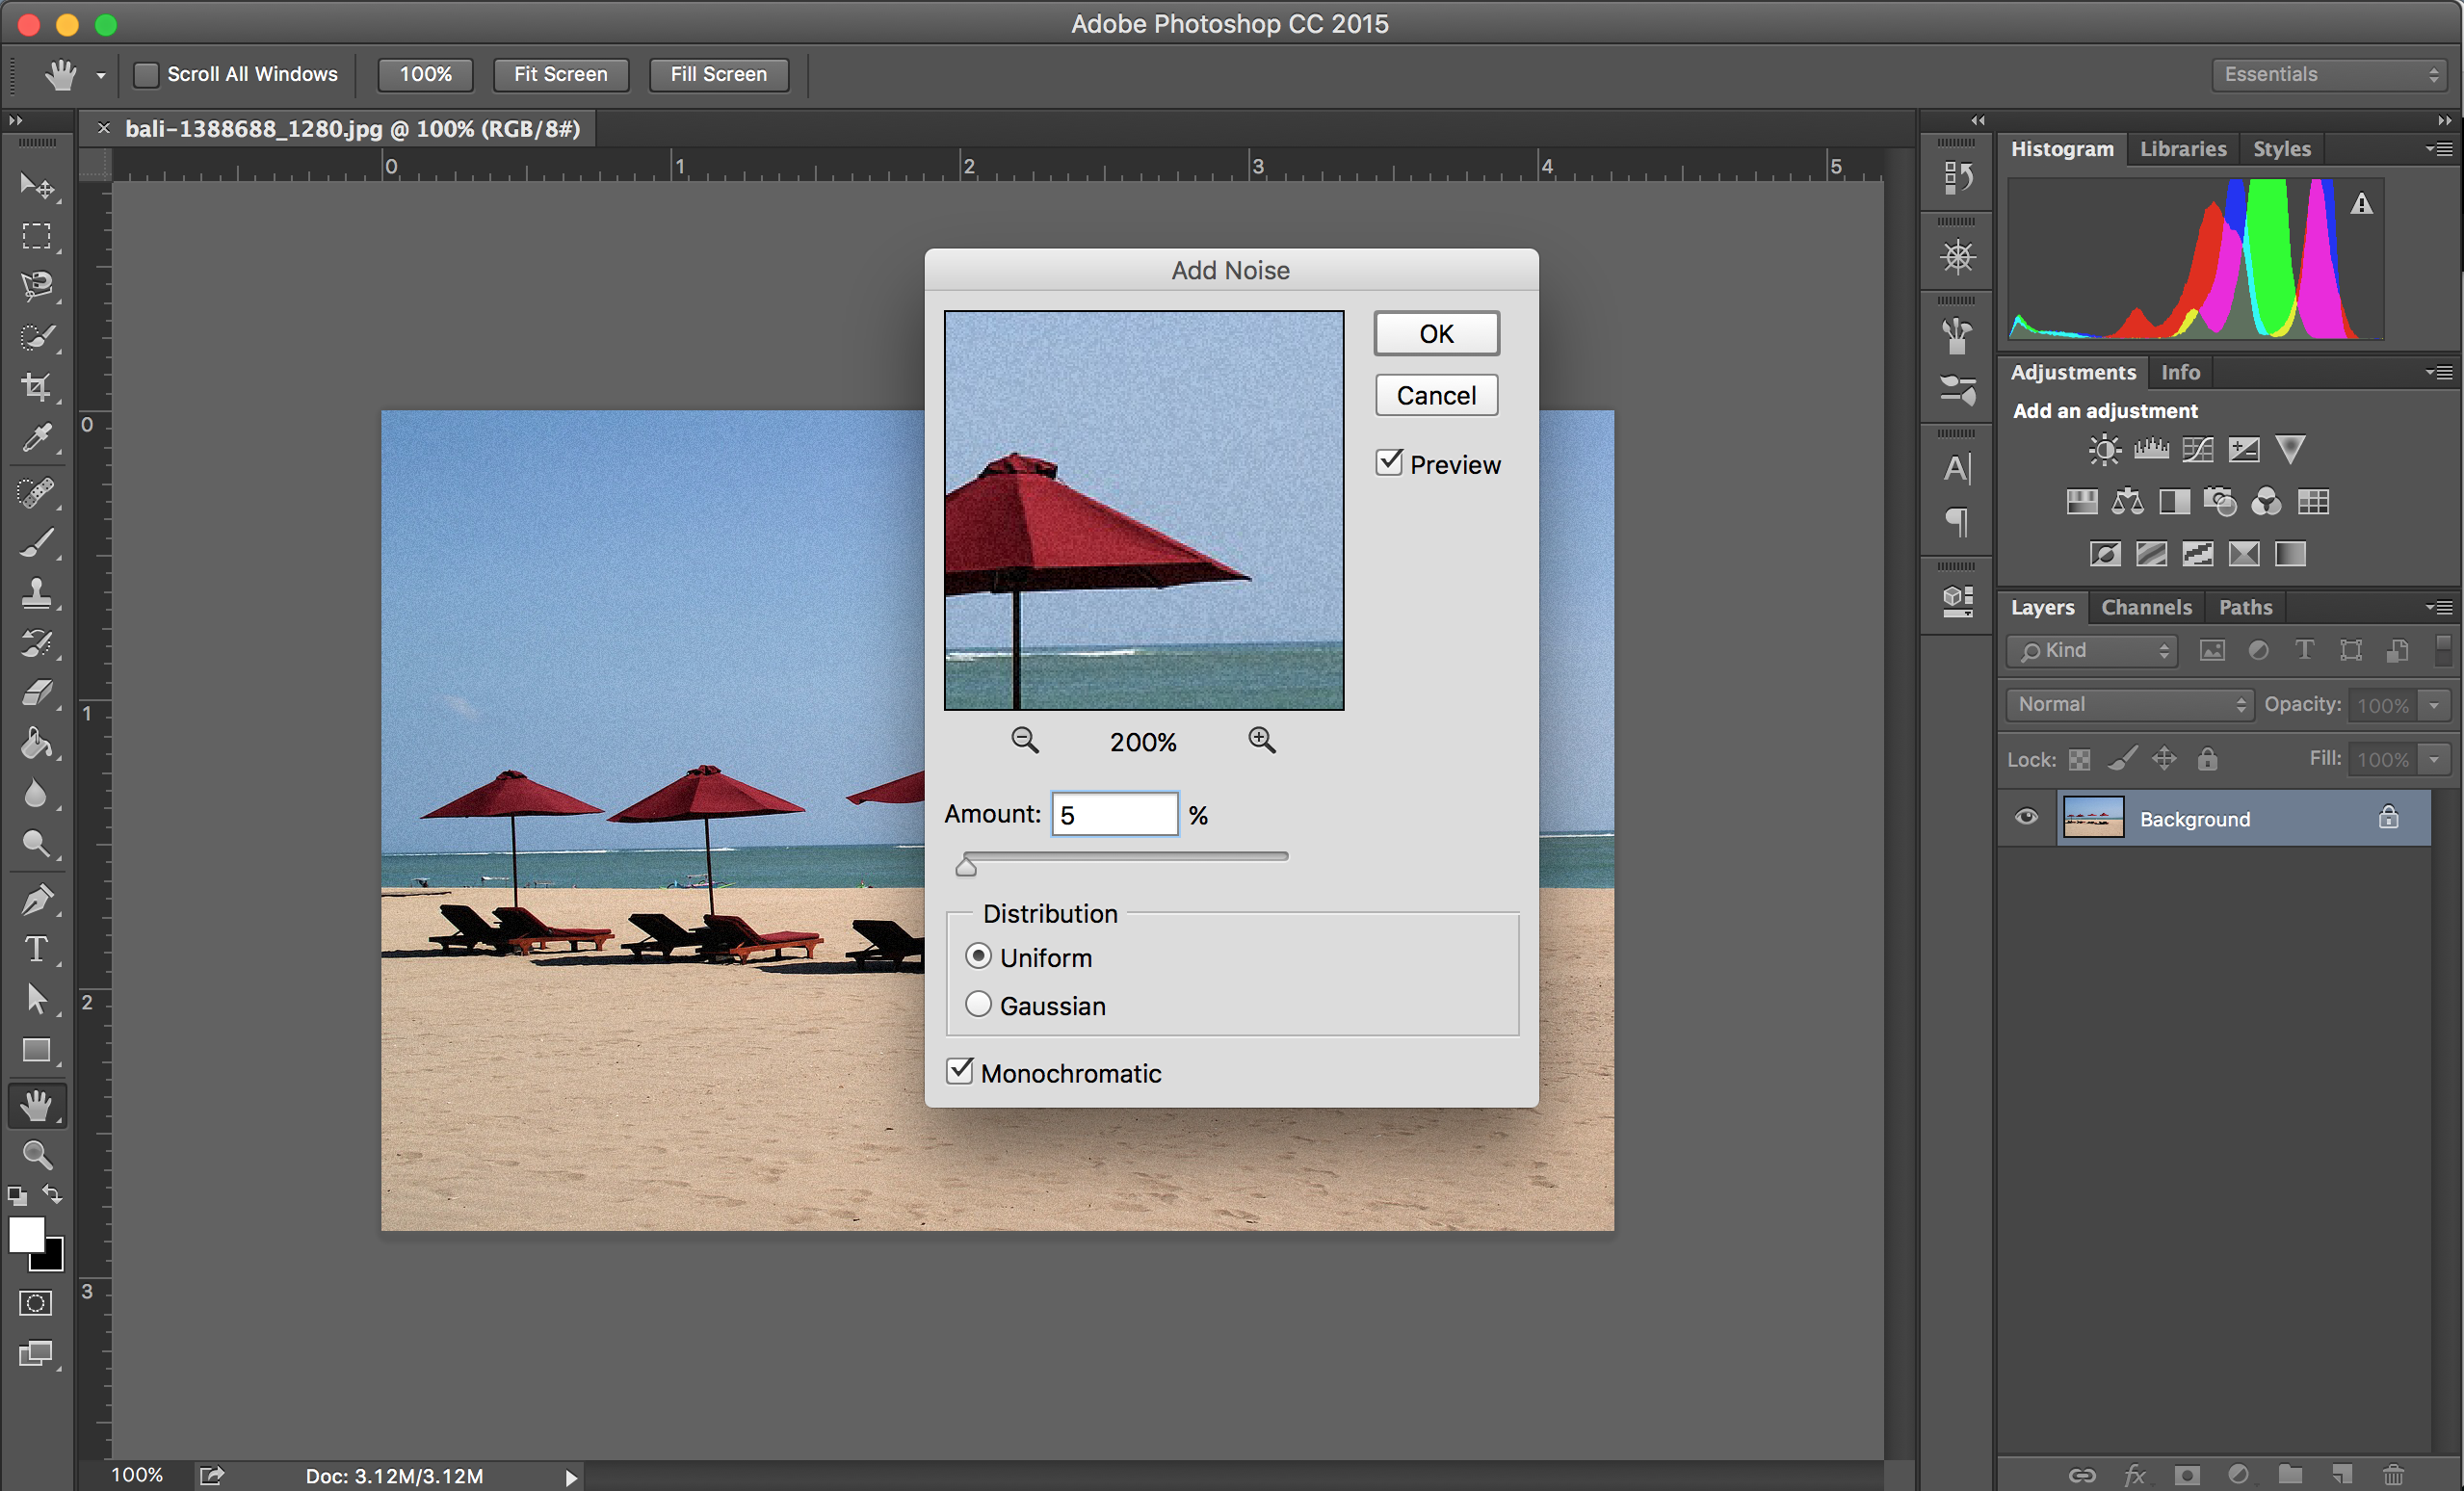
If you’re looking to add film-like grain to an image you shot in RAW, you’re better off doing this right when you open the image in photoshop. In Adobe Camera RAW, you’ll have a lot more option for making the grain look its best.
Once your photo is open in Adobe Camera RAW, click the “fx” tab on the right side underneath the histogram. Then, scroll to the “Film Grain” section and basically just mess around until you like what you see.
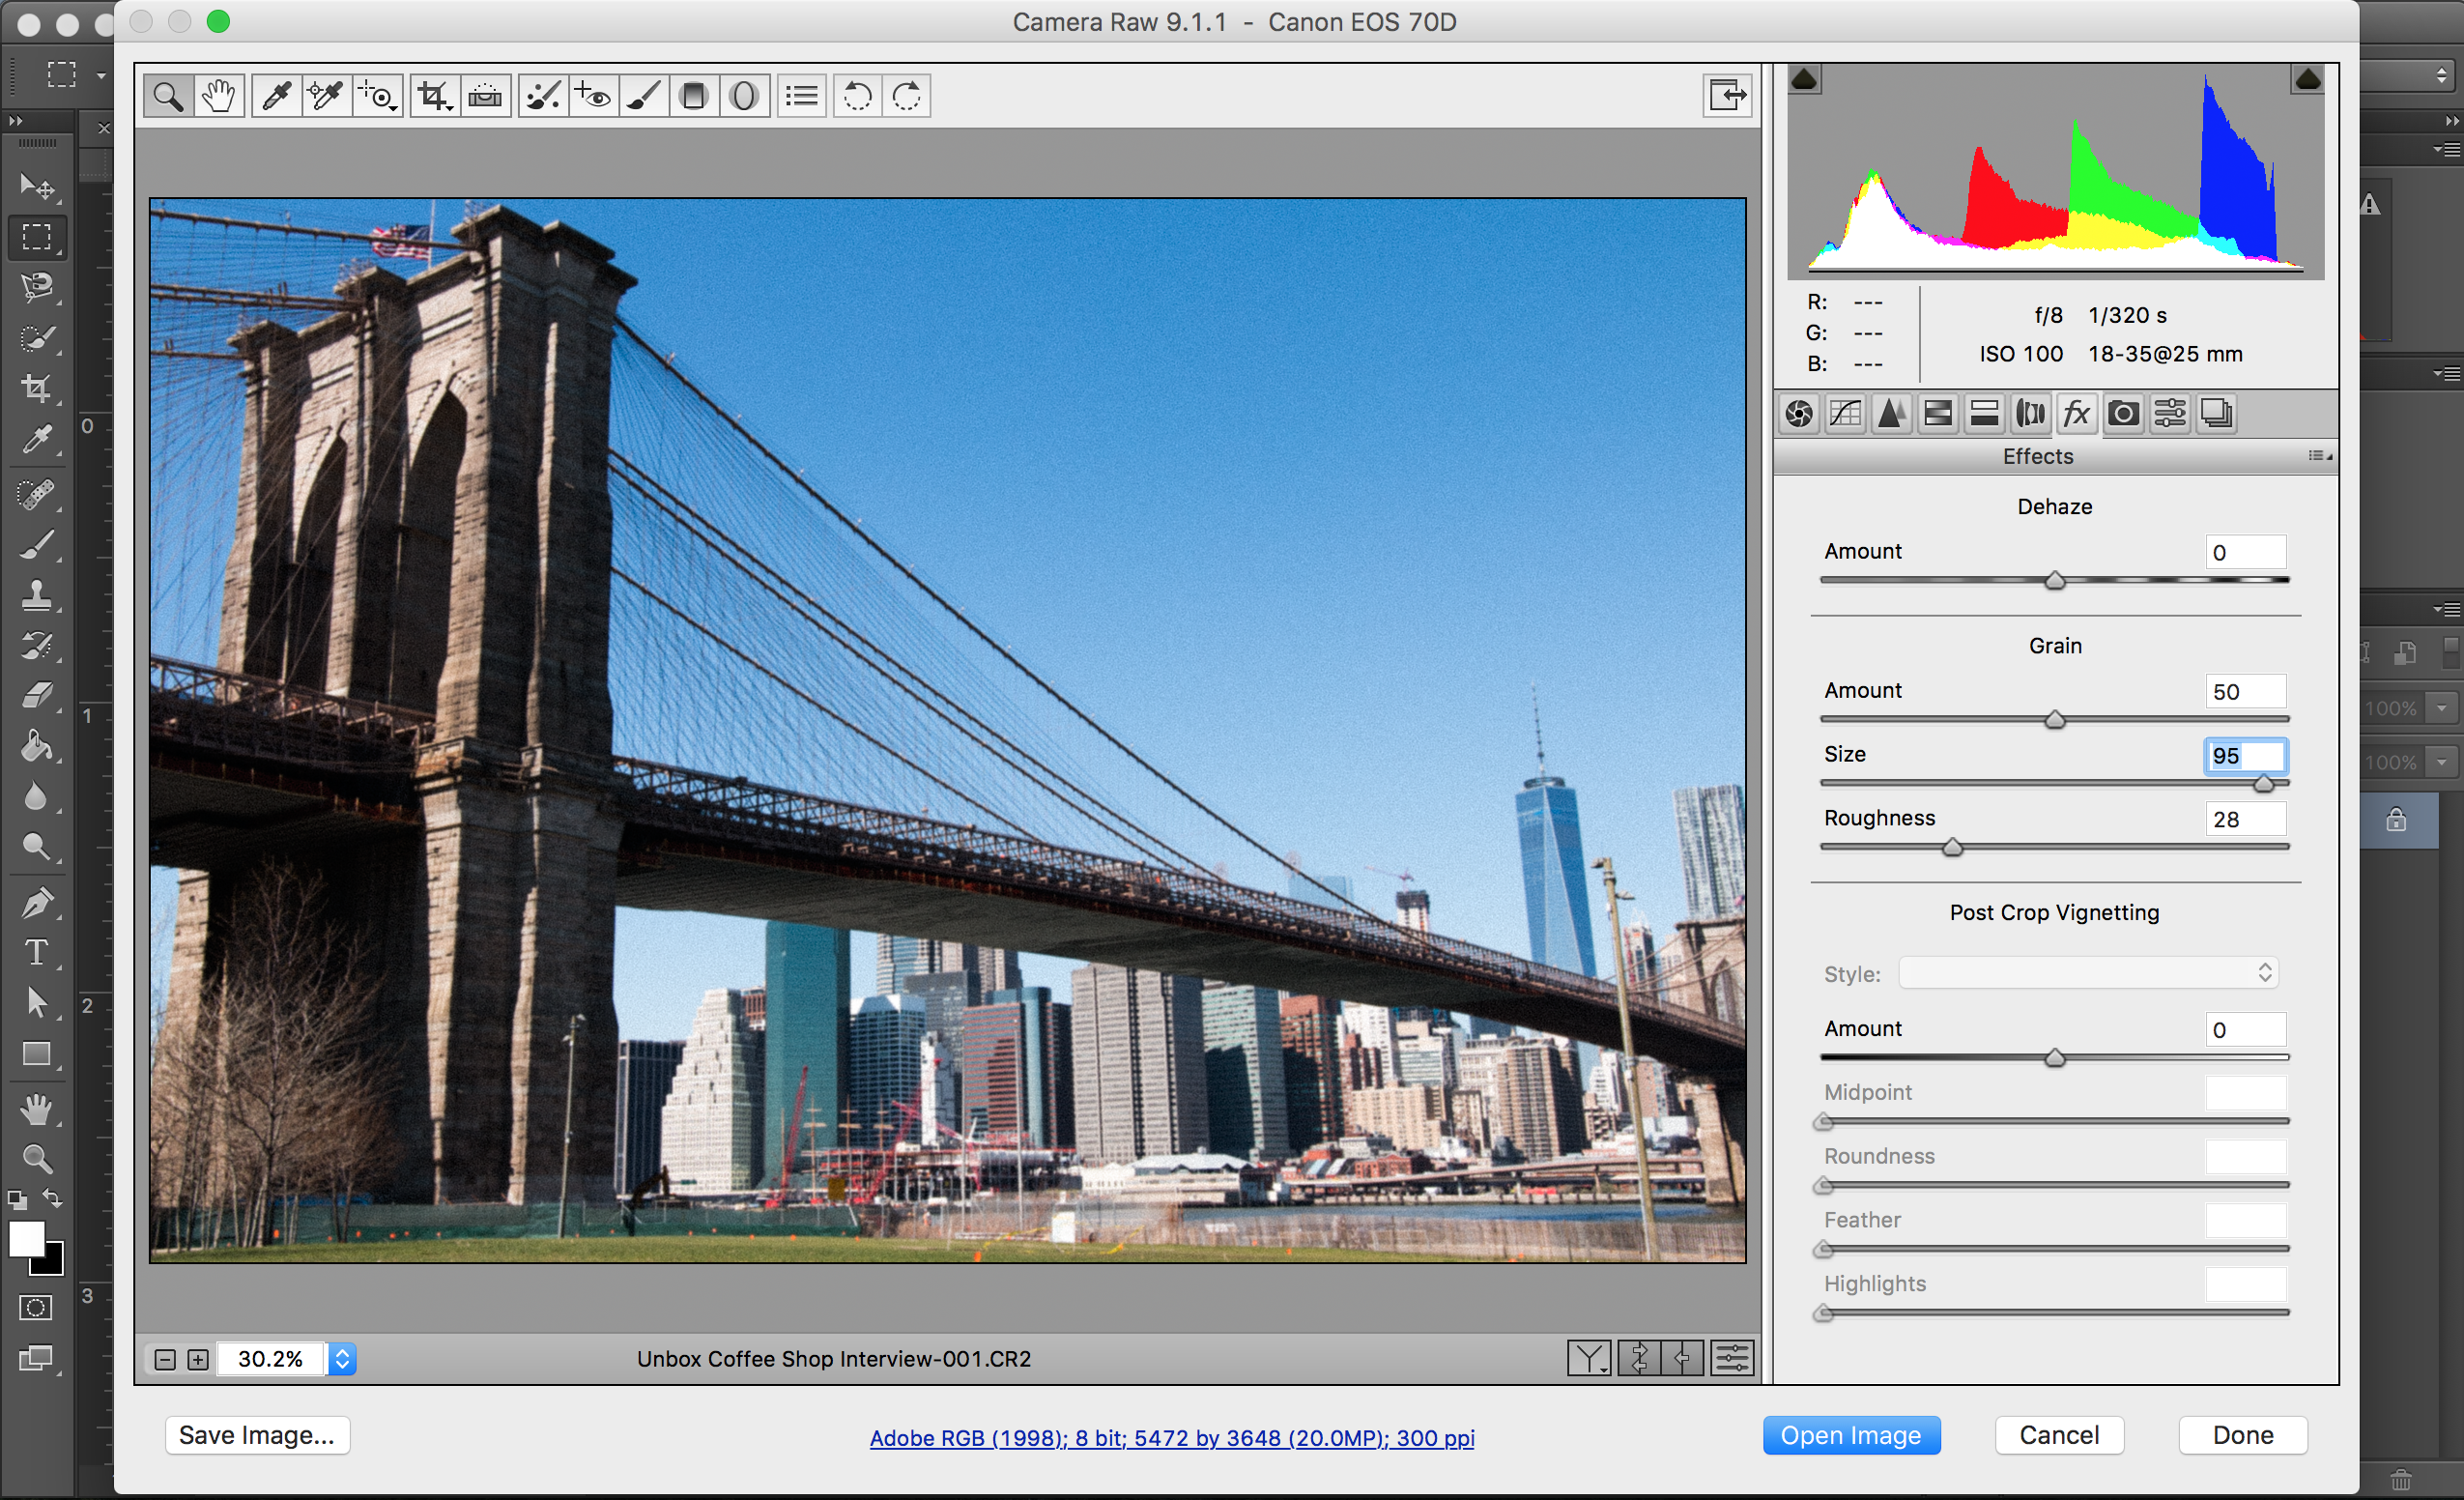
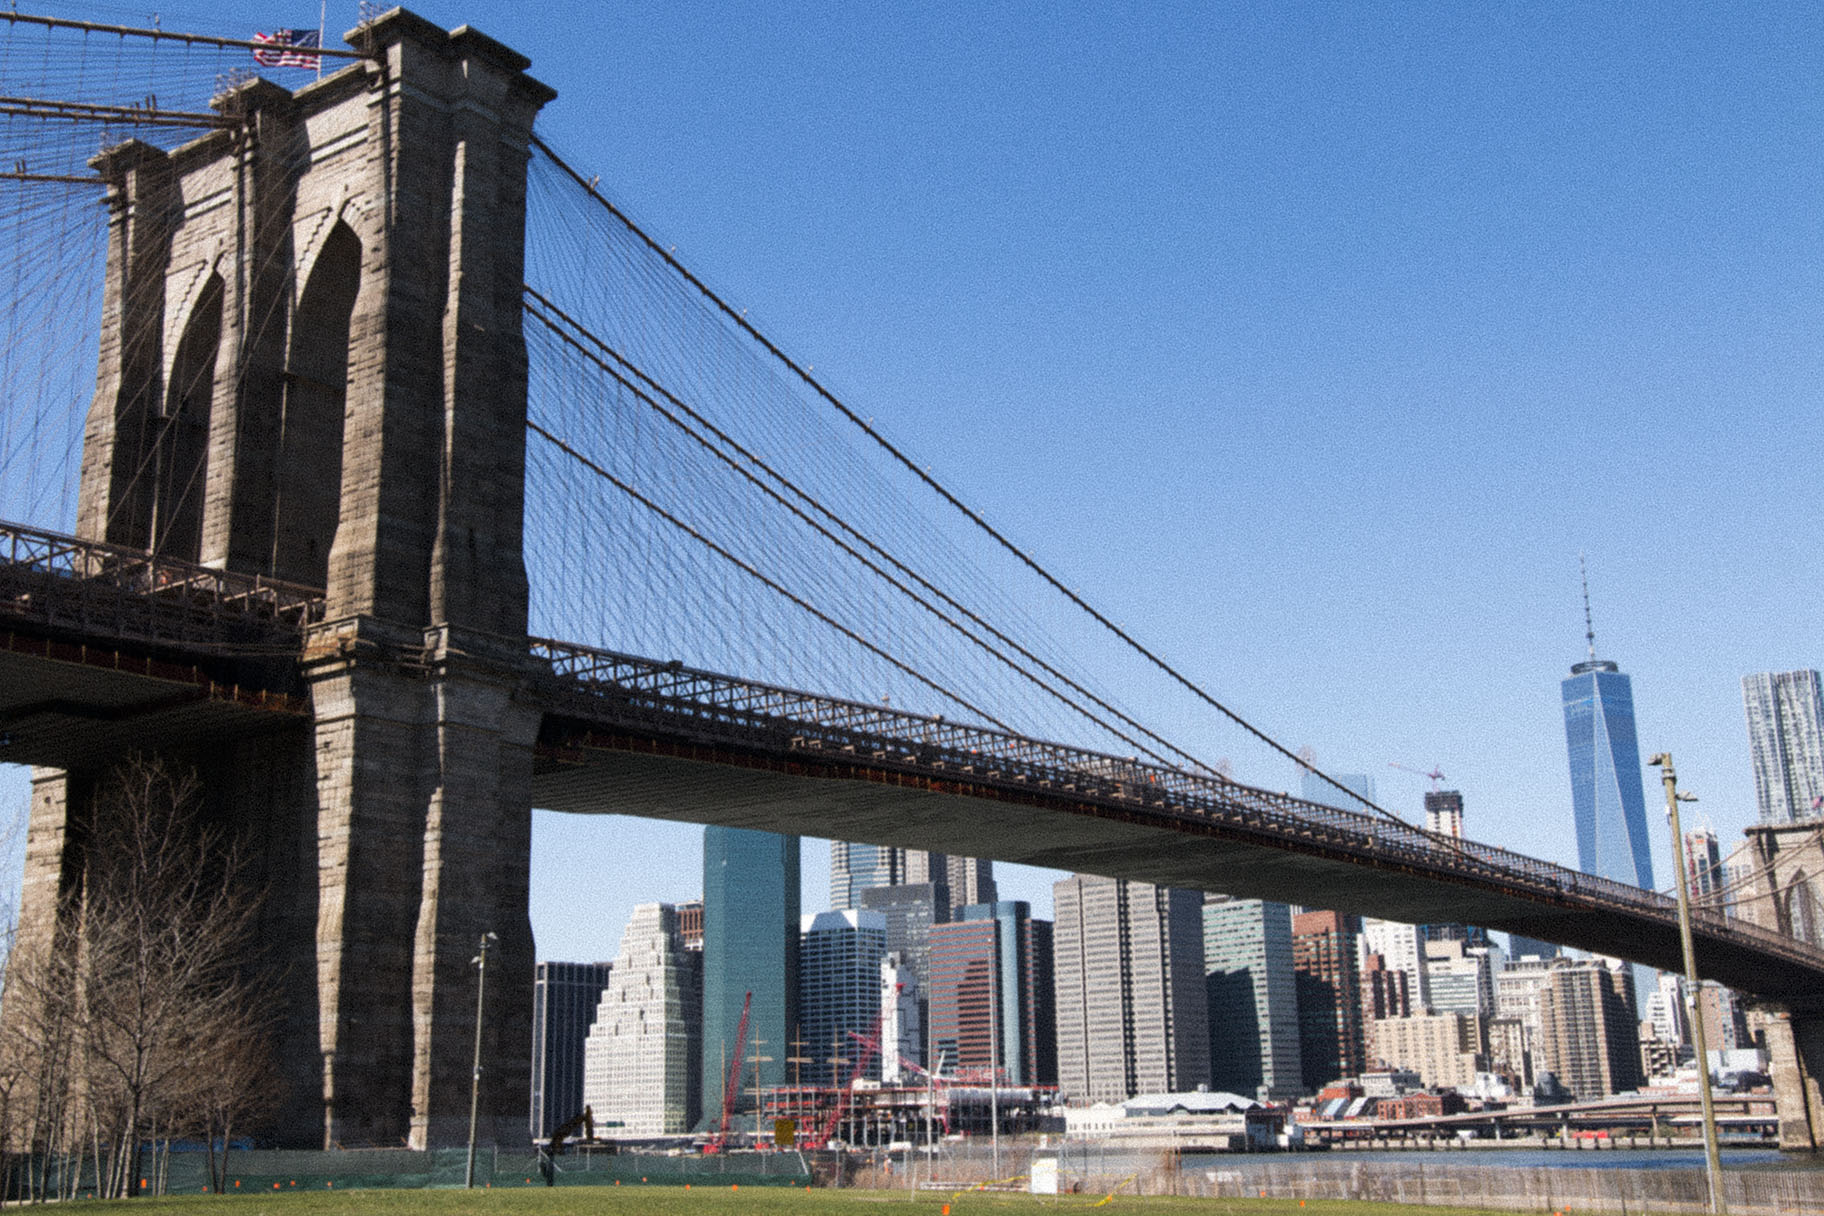
I shot the above image with a 50MP camera, so my slider setting is probably much higher that you’ll use. But as a general rule, I like to keep the “Size” up and the “Roughness” down, which gives a grain similar to what you’d see on ISO 100 film. By increasing the roughness and amount, you can simulate the grain of far higher ISO’s, but I’m not a fan of that look. Below is the original image followed by the altered one with grain added.

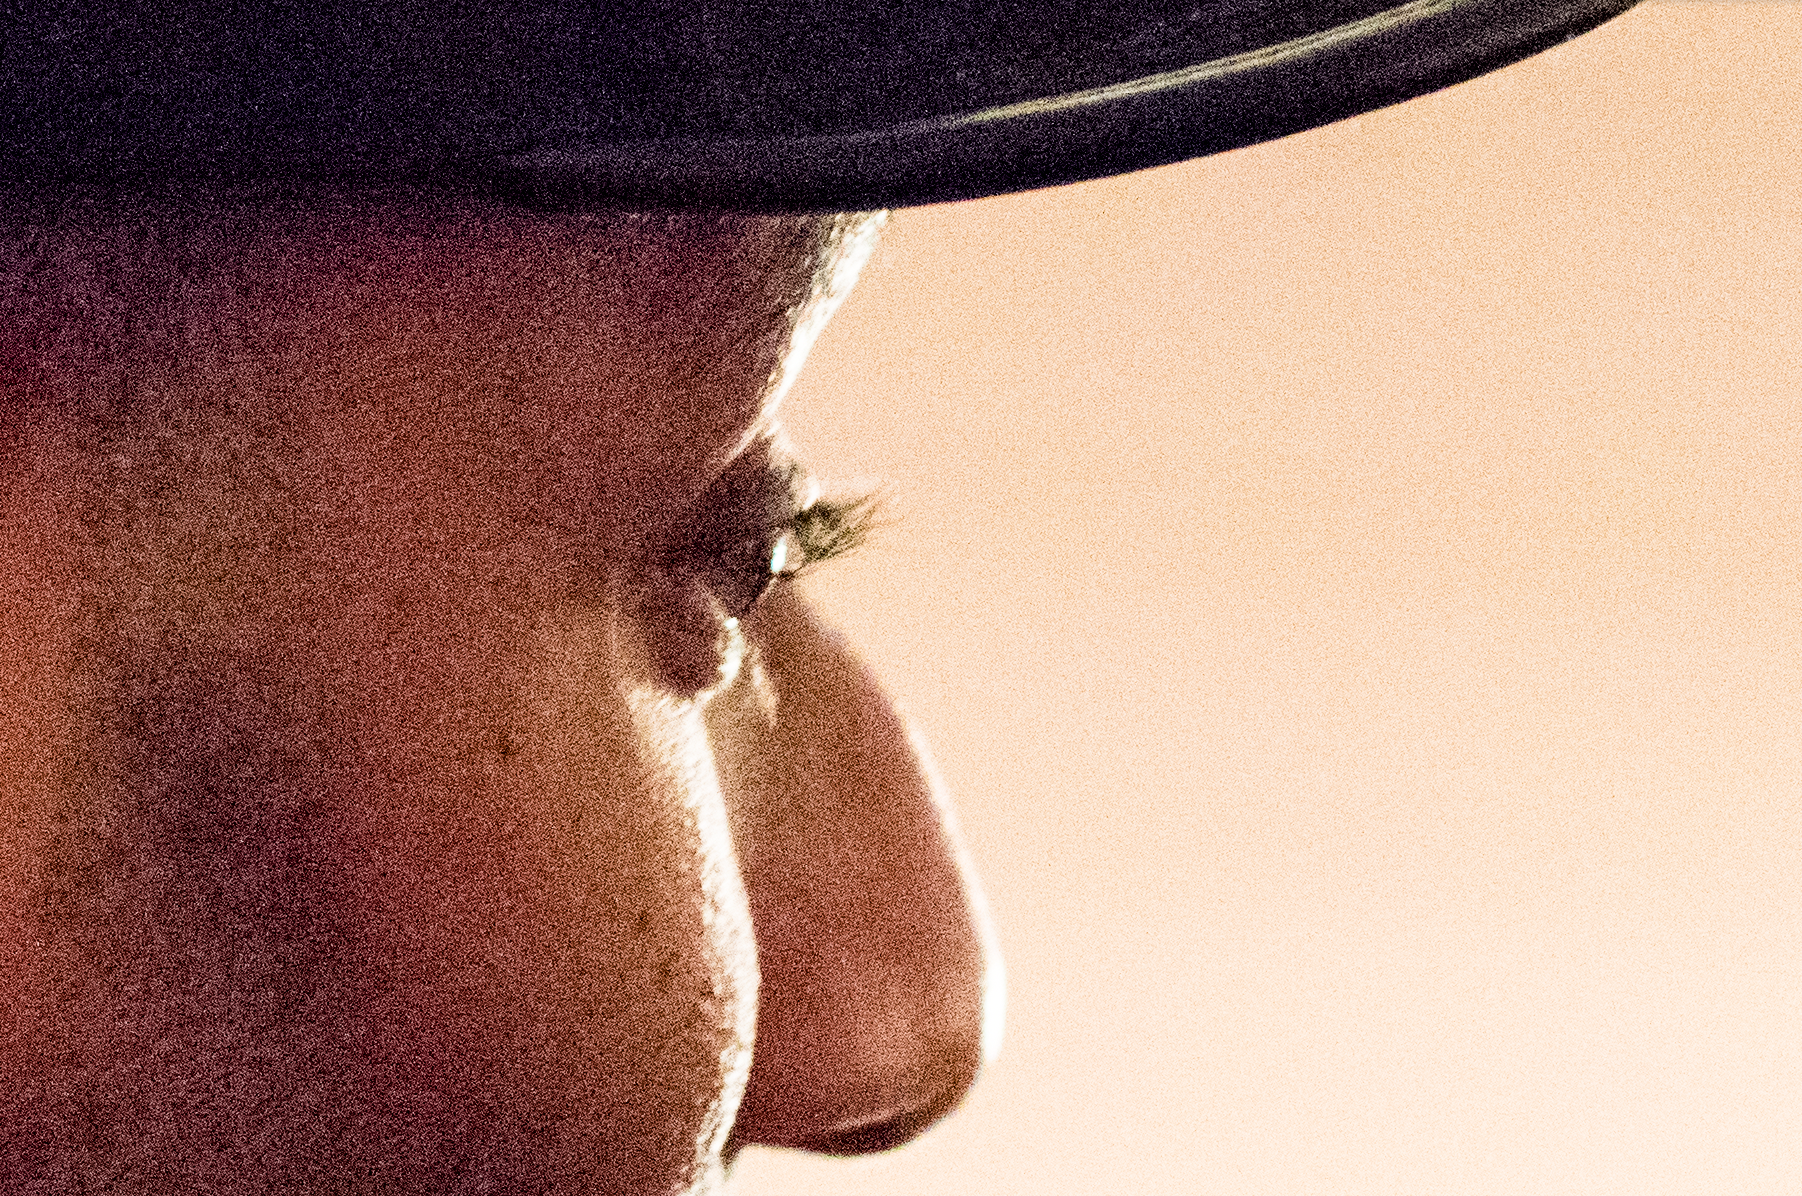
This method is simple enough and can give a more realistic grain effect if edited properly. While shooting in RAW, underexpose your shot by about two stops. Then in post production, simply bump your exposure back up two stops, and the “grain” of the digital sensor will start to appear. The higher ISO you shoot with, the more grain you’ll see, and if you want even more grain you can always bump the clarity. Below is a screenshot of how you would boost the exposure in the “Develop” section of Lightroom. And before you ask, yes this is a picture of hip-hop legend Swizz Beatz.

This method works well because it more accurately mimics the causes of real film grain, which tends to look more prevalent in dark colors and RGB primaries than in light areas. Below you can see that there’s far more “grain” (which is actually just noise) in the dark areas of this image than in the light areas.
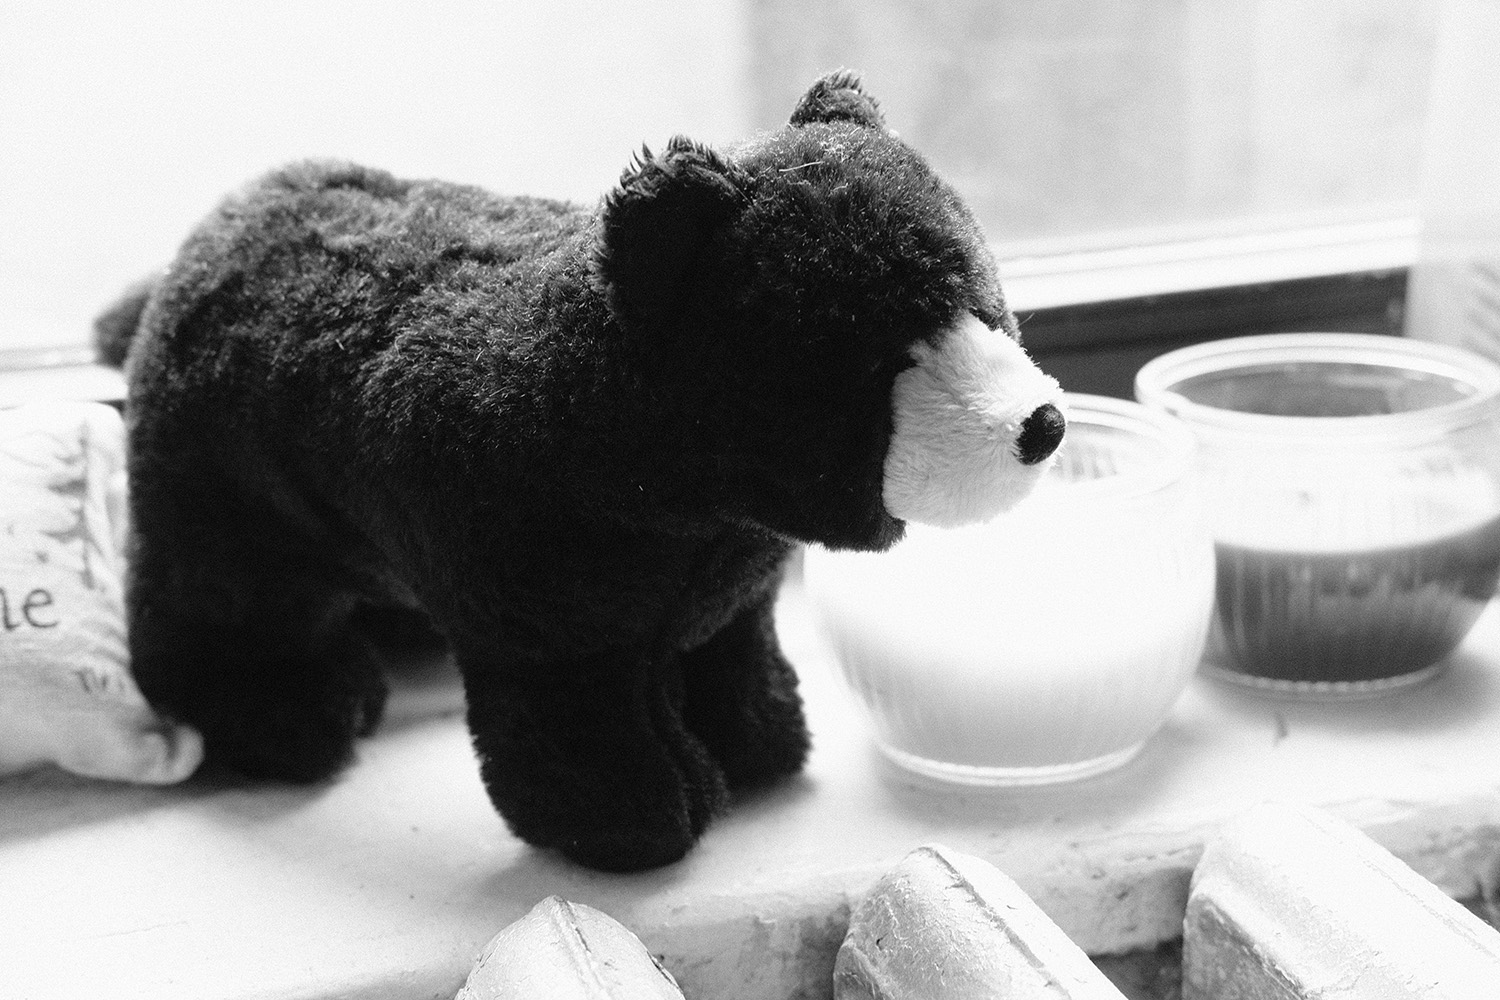
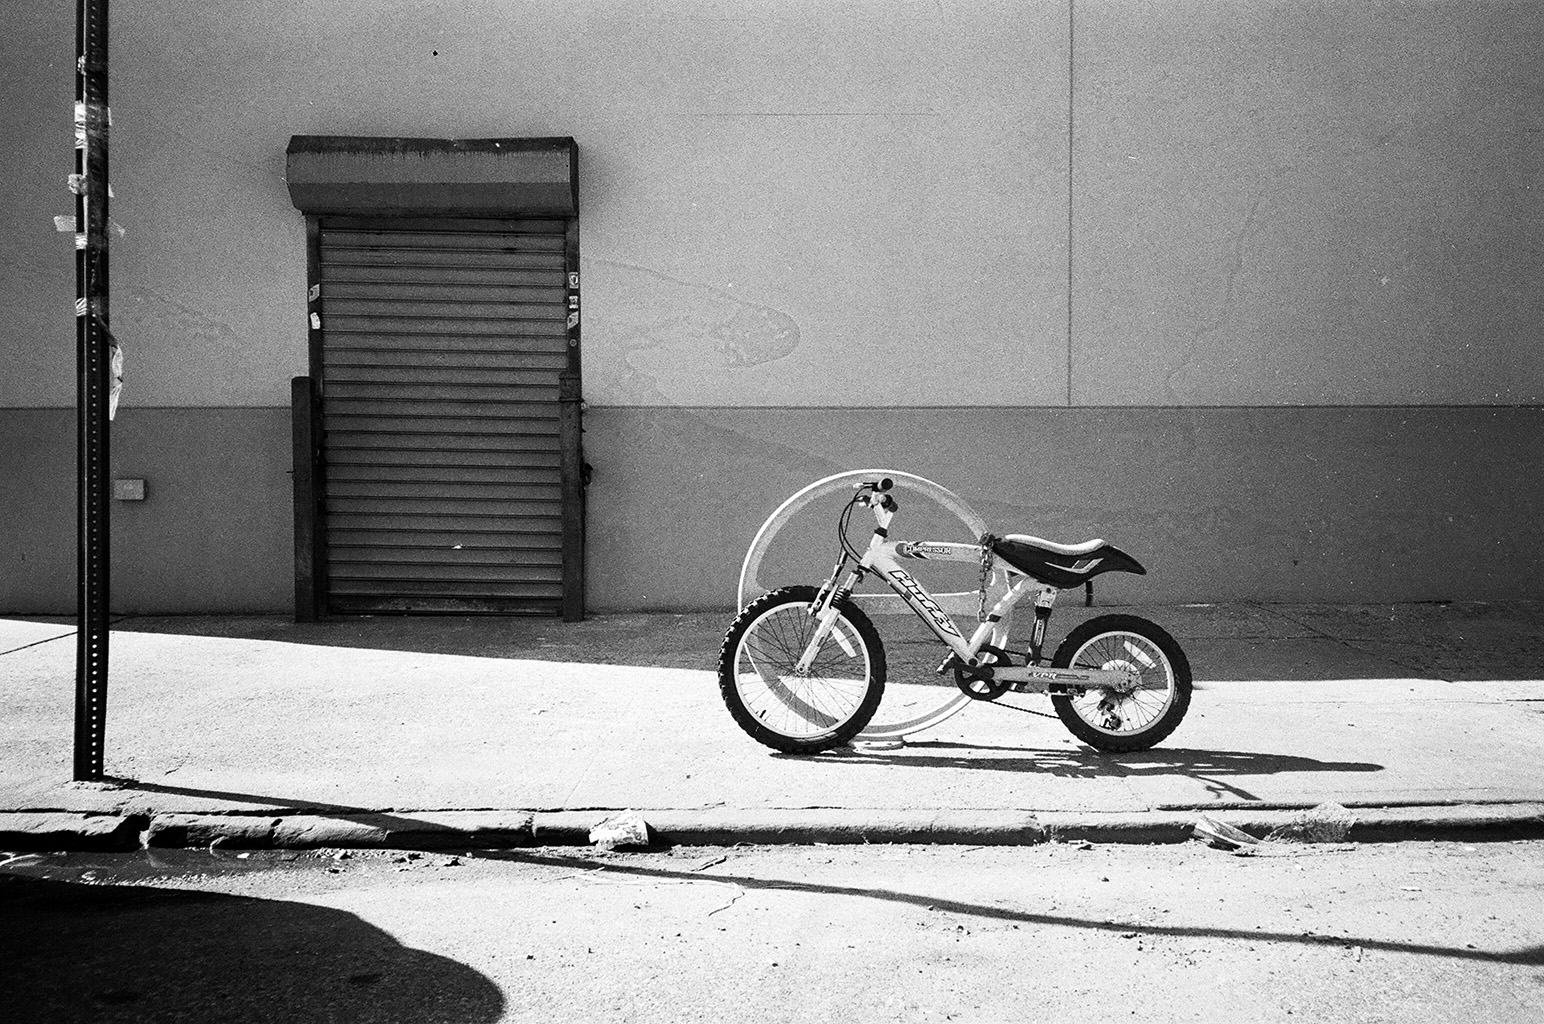
Ok, this “method” may seem less useful for anyone who wants to add film grain to an image they already have, but if you are generally interested in getting a more film-like aesthetic in your images, then I’d suggest you invest in a Fujifilm camera. These mirrorless beauties are the perfect blend of old and new in both their physical design and their resulting images. Fujifilm takes pride in its long history as a maker of the actual analog film, which they still manufacture today, so they have very effective “Film Simulation” settings in their camera that mimic various types of real Fujifilm film, both color and black & white. These simulations work so well because Fujifilm cameras use sensors with a unique, semi-random color pixel arrangement that is closer to the organic layout of film grain than the traditions grid sensors you find in other brands. So there are actual, scientific reasons that Fujifilm cameras can produce such wonderfully nostalgic film effects. Below is an image taken with the “Across” simulation.
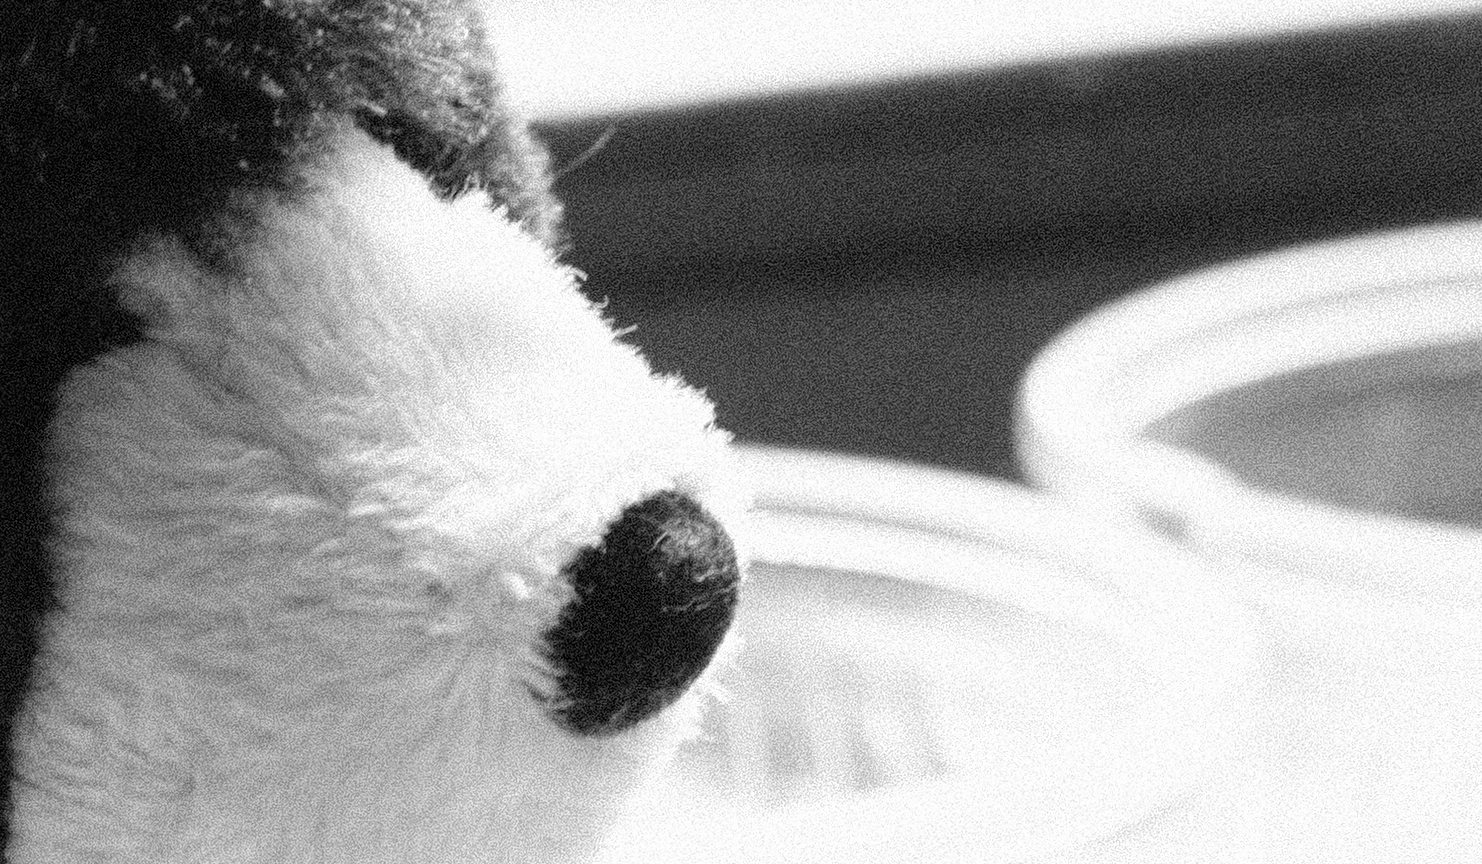
Below is a 100% crop to show the quality of this film simulation, which really does look like Across type film. Be on the lookout for an upcoming Sleekness review of the excellent Fujifilm X-Pro2.
While some of the above methods will do the trick, there’s really no substitute for actual film. If you really want that authentic look, you’ll need to shoot with real film, then scan those photos. This is actually my favorite photography method in general since it gives you some of the flexibility of digital photography and some of the experience of analog photography. However, it’s a very time-consuming method and if you aren’t ready to develop and scan your own film you’ll need to do plenty of research on finding the right film developer. But the results are definitely worth it.


Please verify your software version before proceeding.
 I’ve verified my software version


 Facebook
 Google +
Comments (1)
I think the best method beside shooting film is using Alienskin Exposure. This app has an awesome and very film-like grain module