I think that anyone with any basic knowledge of photography should be able to easily guess what photography light meter is used for because its name says it all. A camera light meter is used to precisely measure the amount of light around you so you can always be sure you are using the correct exposure on your camera. Light meters give you all the necessary values needed to achieve the perfect exposure like ISO, aperture and shutter speed. There are two major types of photography light meters, incident and reflected meters.
Incident light meters measure the amount of light falling onto the subject while reflected meters measure the amount of light that’s reflected from it. Incident meters are proven to be more accurate because they will provide accurate exposure even if you’re measuring light of surfaces that are too dark or reflective. Their only flaw is that they aren’t ideal for subjects that are too far away or moving too fast.
Reflective meters are more common since these type of meters are the ones used in cameras themselves. They measure different light levels in the scene and give you an average value based on these readings. All though they are faster than the incident light meters they can also be fooled by areas with large amounts of contrast or many different levels of light. Other two terms that need to be explained are spot meters and flash meters.
What’s a spot meter?
Spot meters are reflective meters that are used to very precisely meter certain objects in the scene with their readings unaffected by the very bright or dark spots in your image.
What’s a flash meter?
Flash meters are designed to measure the amount of light coming from a flash which can’t be done by traditional meters because of it’s very short duration that’s usually greater than 1/1000 of a second. There are also some special types of photography light meters available like cinema models with expanded settings for frame rates that can display lux, shutter angles or foot-candles or color meters or spectrometers that can measure color temperature and CRI or display spectrum graphs.
12 Best Light Meters
- Incident Metering for Ambient & Flash
- Range: -2 EV to 22.9 EV at ISO 100
- Cine Setting: Frame Rate & Shutter Angle
- 2.7" Color Touchscreen LCD
- Flash Analyzing Function
- Filtration Compensation Mode
- Illuminance/Luminance Measurements
- Expensive
- Language is fixed depending where you bought the product

There's also the ability to set exposure compensations up to +/- 9.9 EV for custom film exposure corrections or bellow extensions and +/- 5.0 EV for filter compensation. This meter offers one interesting feature that analog camera shooters will love and that’s dual ISO capability. With it you can take a single measurement and display shutter speed and f-stop for two different film speeds. There are three different exposure profiles that can be saved and easily switched between and can also be created on your computer and transferred via an USB cable. At the bottom of the list of impressive features lies yet another one and that’s weather sealing.

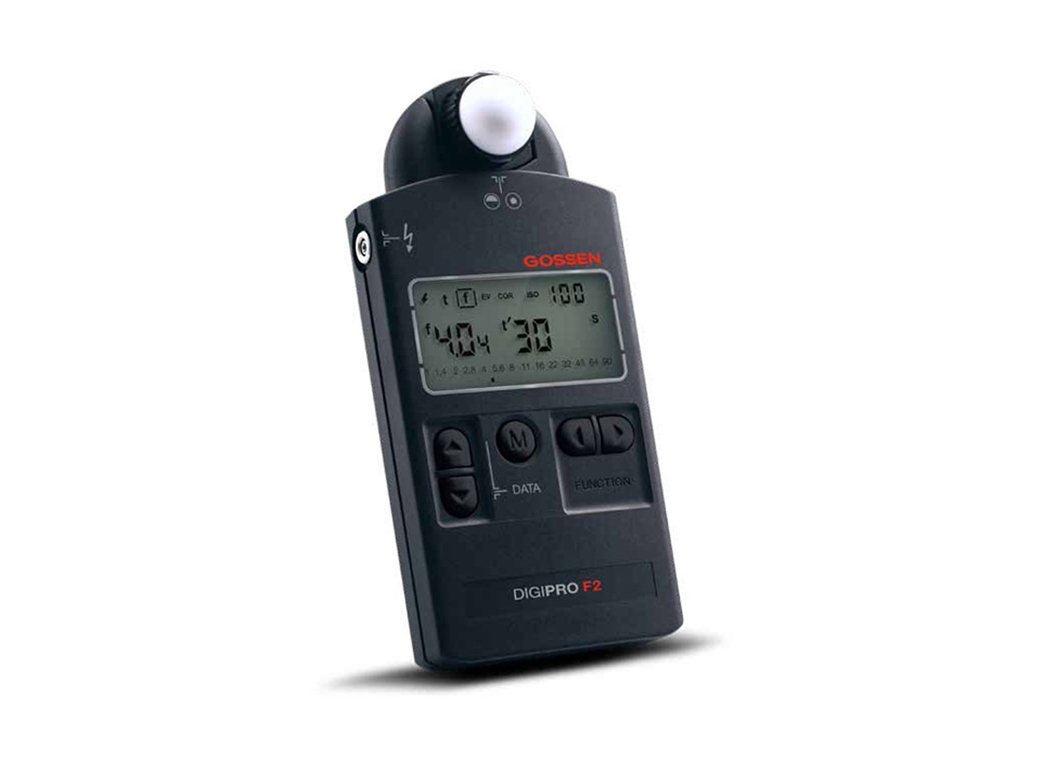
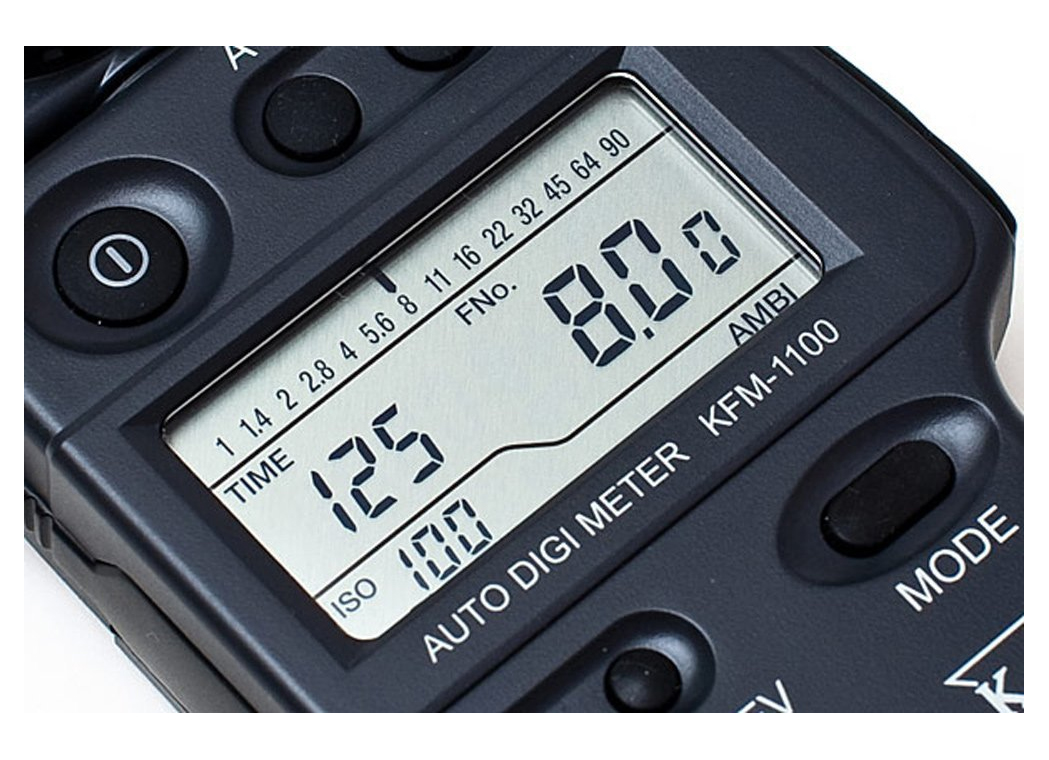
- Incident Metering for Ambient & Flash
- 40° Reflected Light Metering
- Range: 0 to 19.9 EV at ISO 100
- Flash Range: f/1.4 to f/90.9 at ISO 100
- Cine Setting: Frame Rates from 8-128 fps Repeat Accuracy: ±0.1 EV or Less
- Compact Size with LCD Screen PC Sync Terminal
- Cordless Flash Option Runs on One AA Battery
- Expensive for what it offers
- Batteries can run out quickly
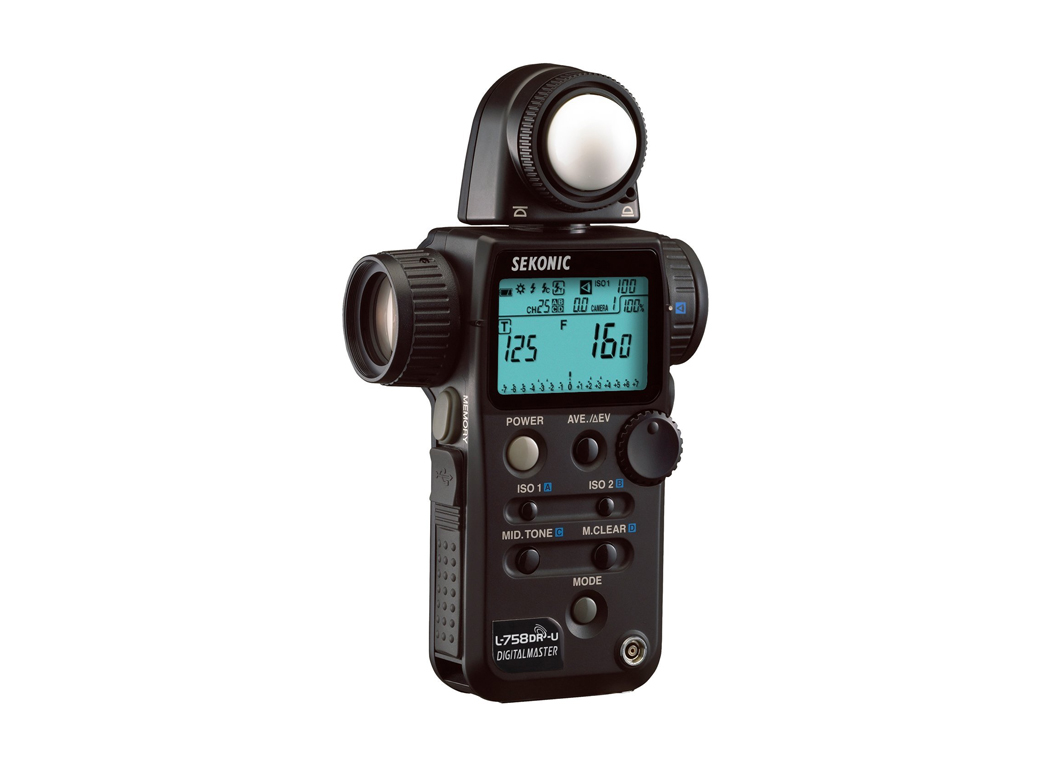
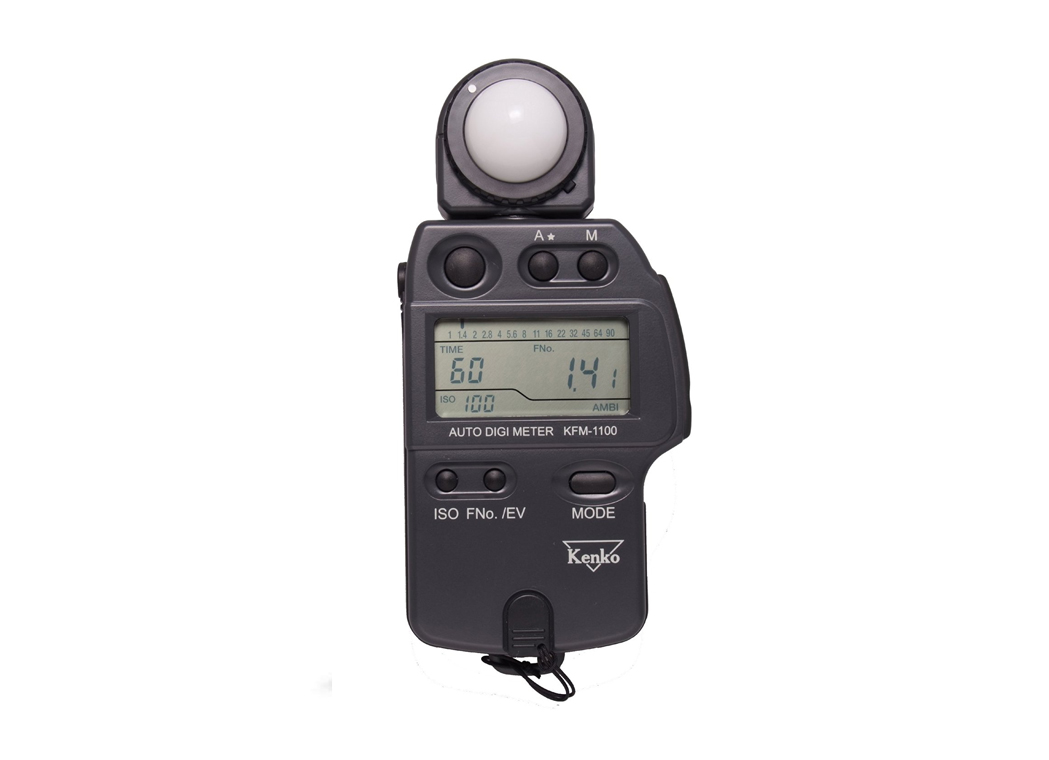
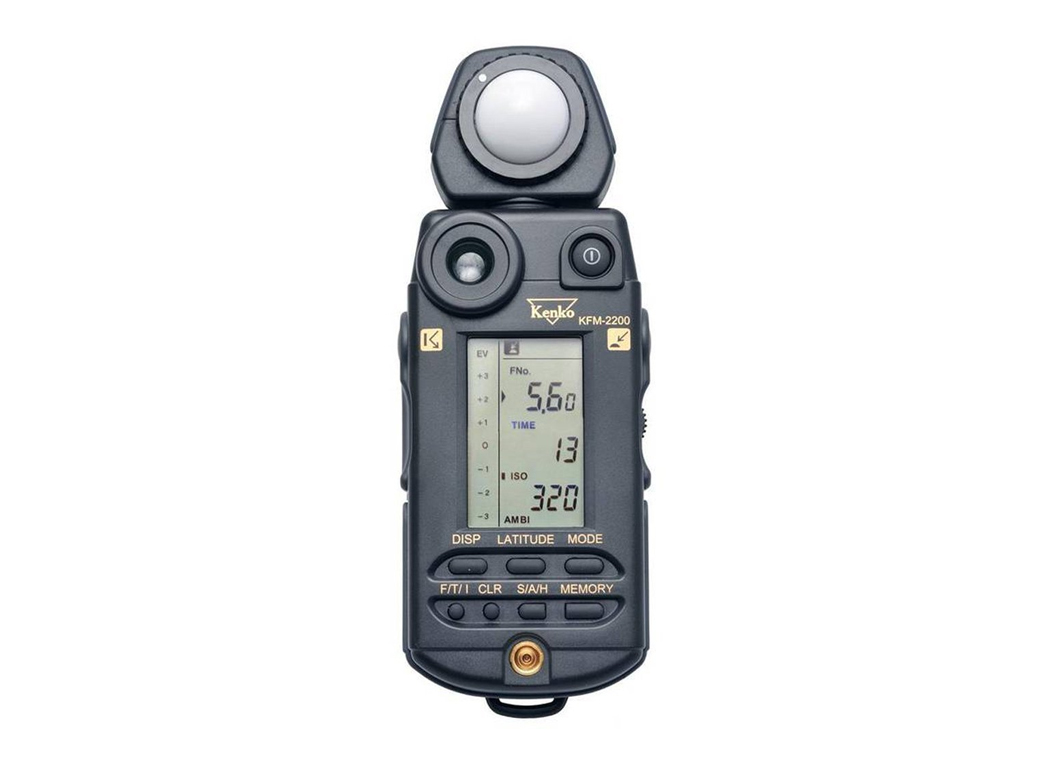
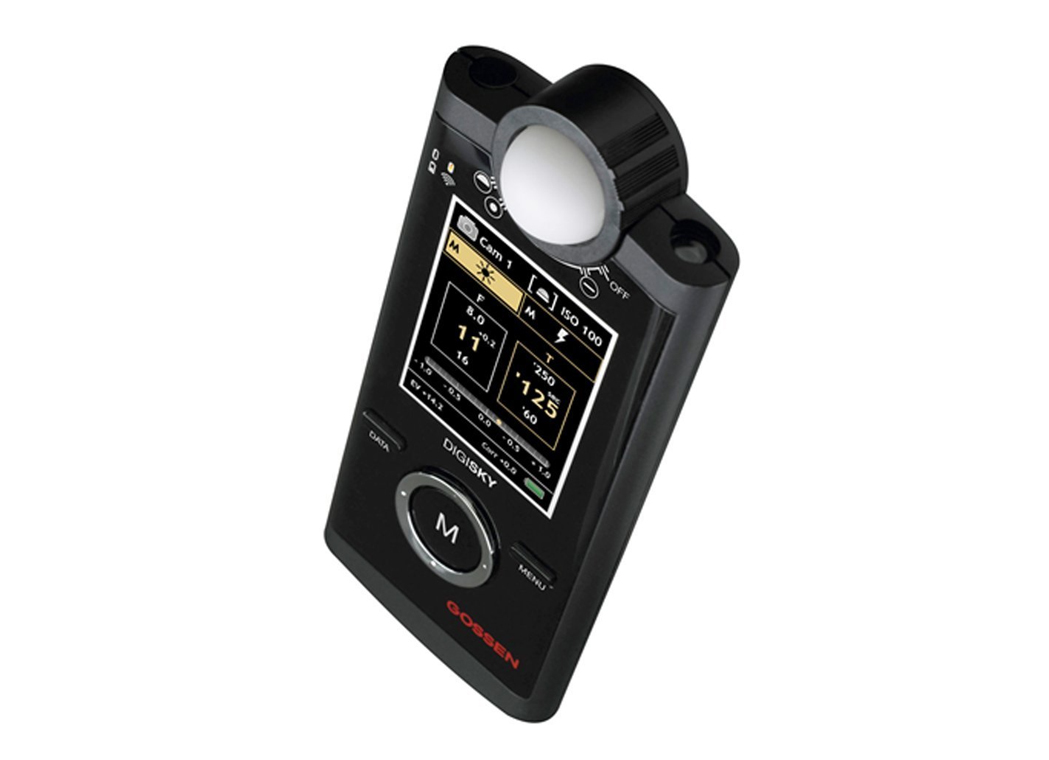
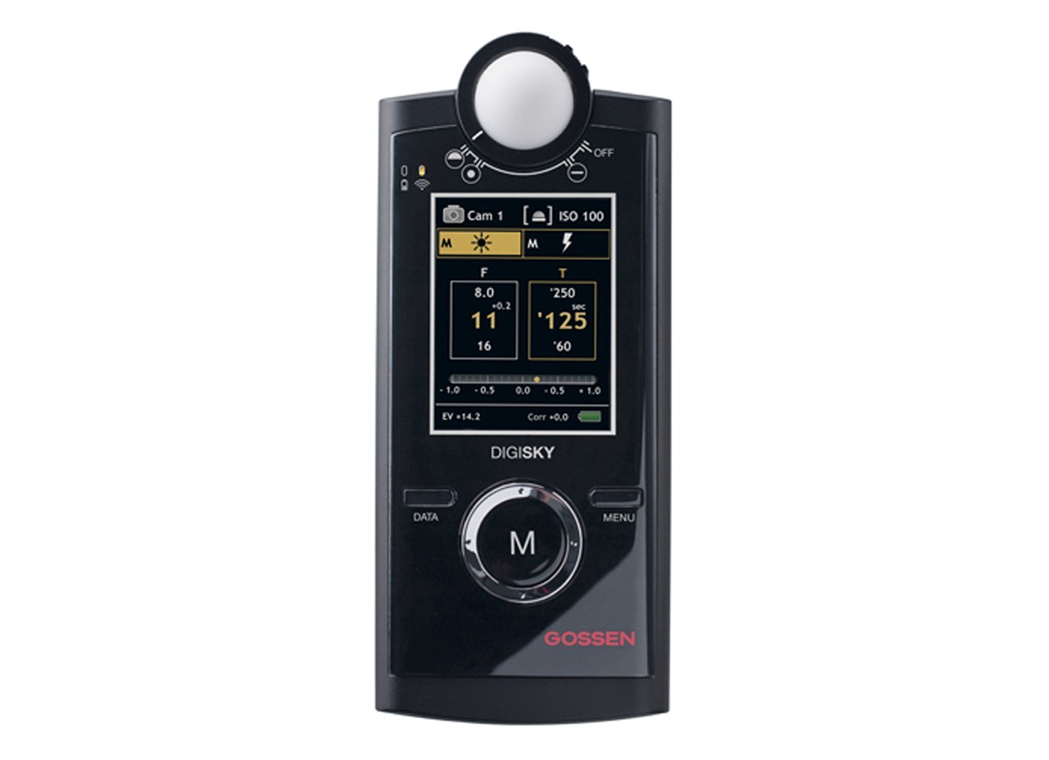
- Incident and Reflected Readings
- Cord or Cordless Operation
- Multiple Flash Measurements
- Integrated Contrast Measurement
- Swivel Head
- Intuitive Digital Interface
- Memory Function
- Simplified CINE Meter
- Exposure Displayed in 1/2 or 1/3 Stops
- Ergonomic One-handed Operation
- Expensive for what it offers
- Outdated model in comparison with other brands
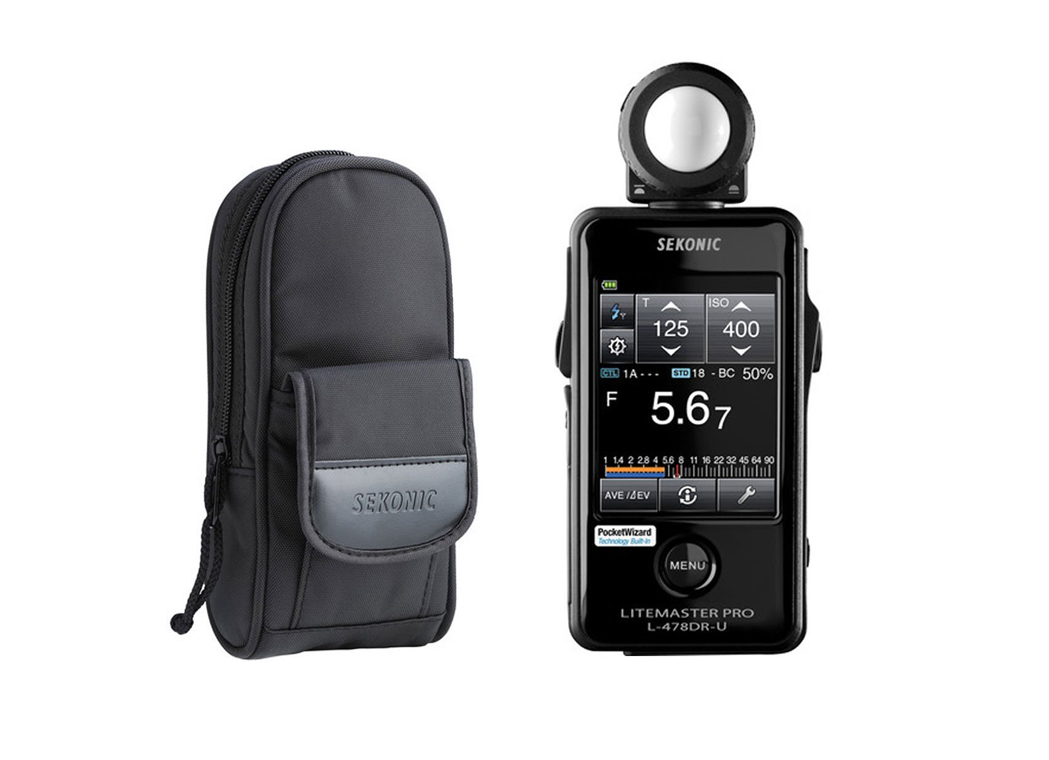
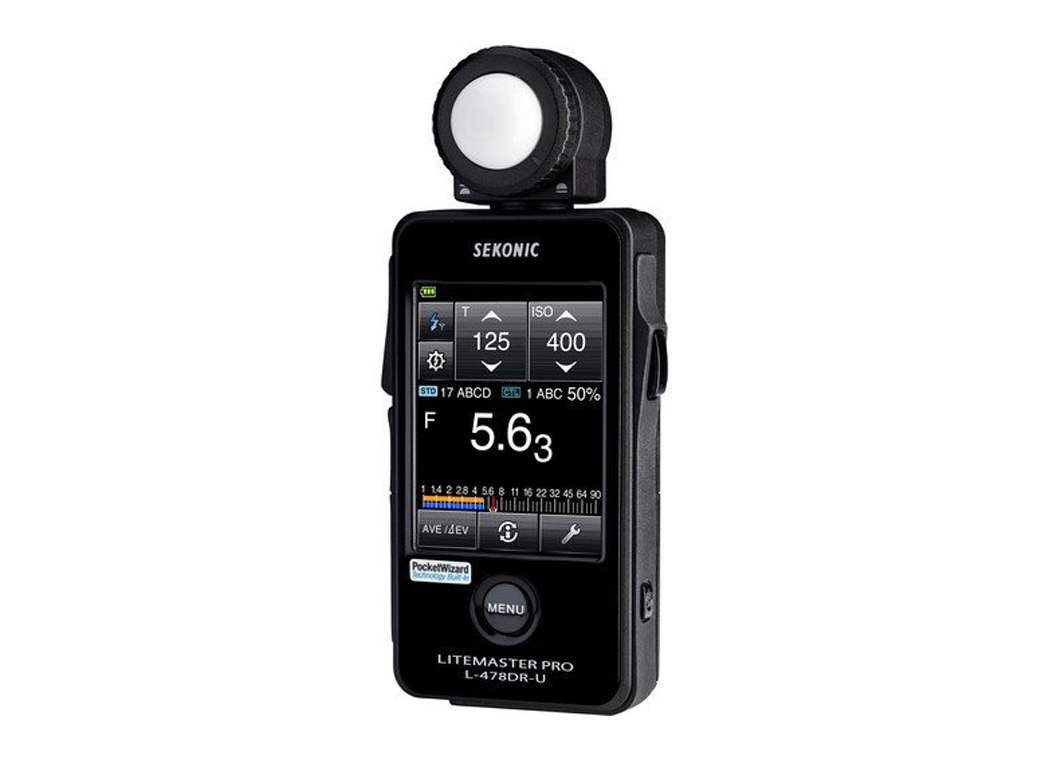
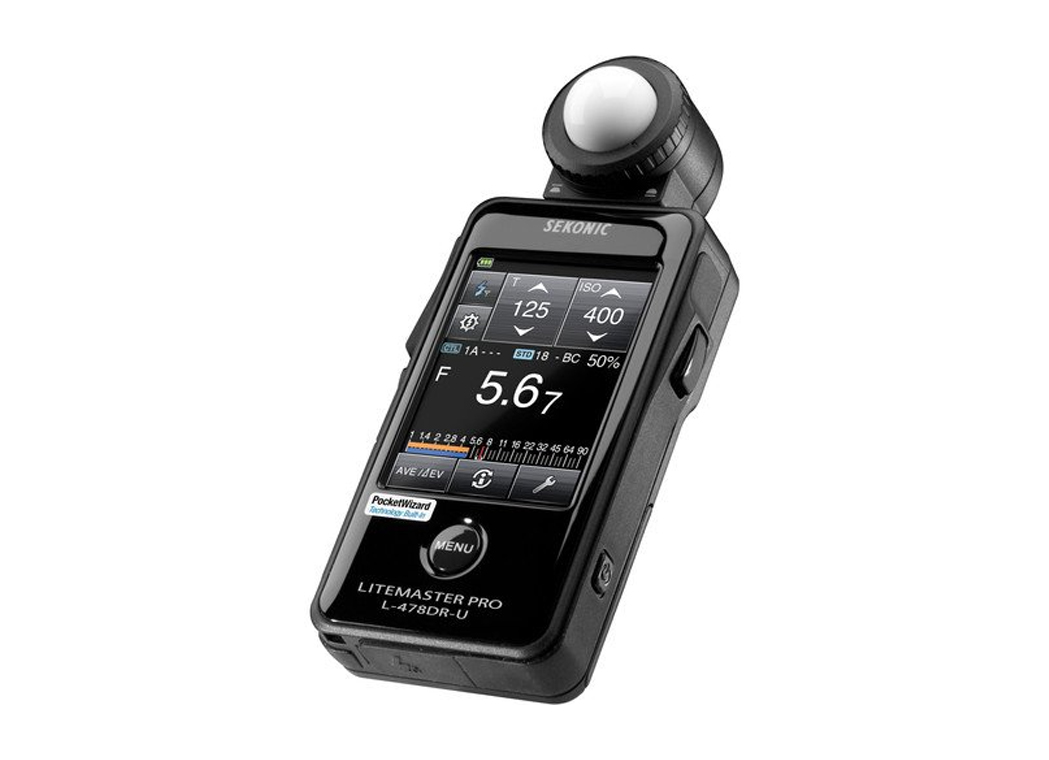
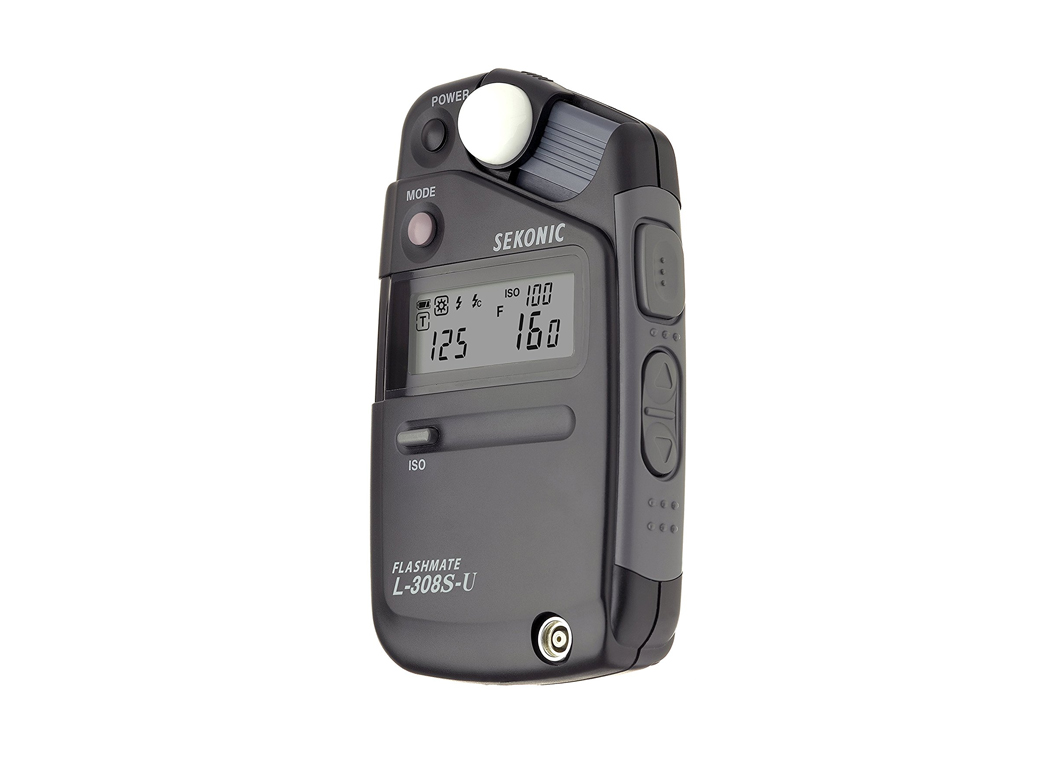
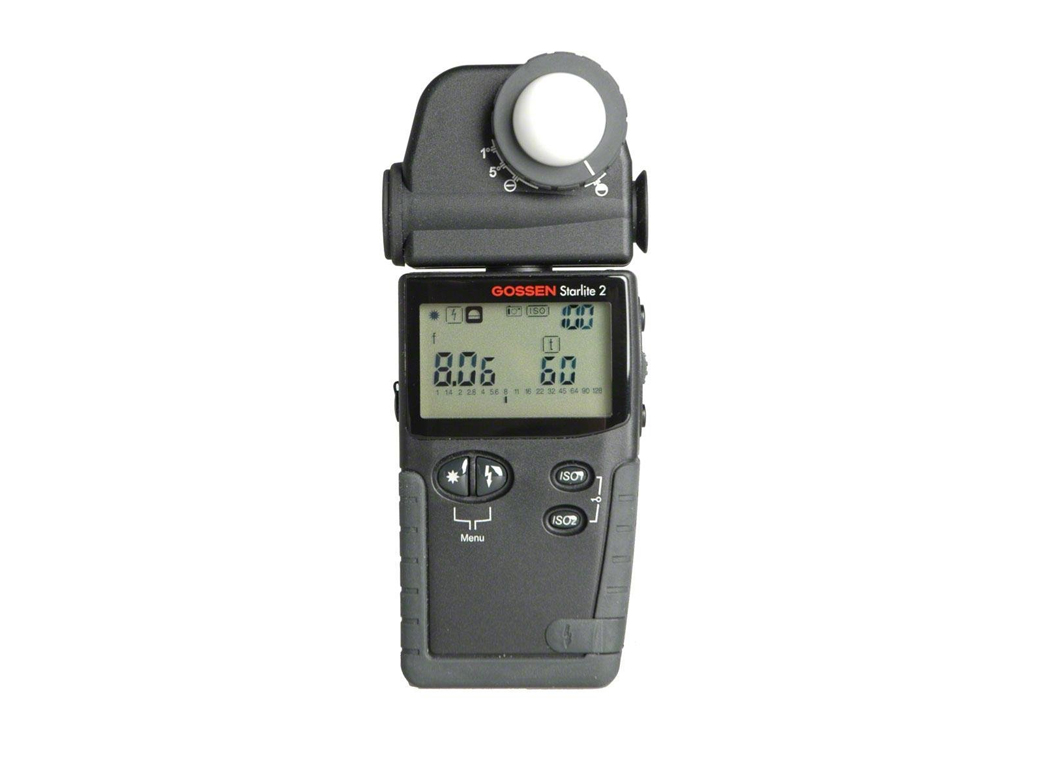
- Simple and easy-to-use ambient/flash meter
- Accurate and full featured
- "Analyze" function for mixed lighting
- Flash-ambient ratio calculations
- Cord or cordless operation
- Can only store two measurements in memory
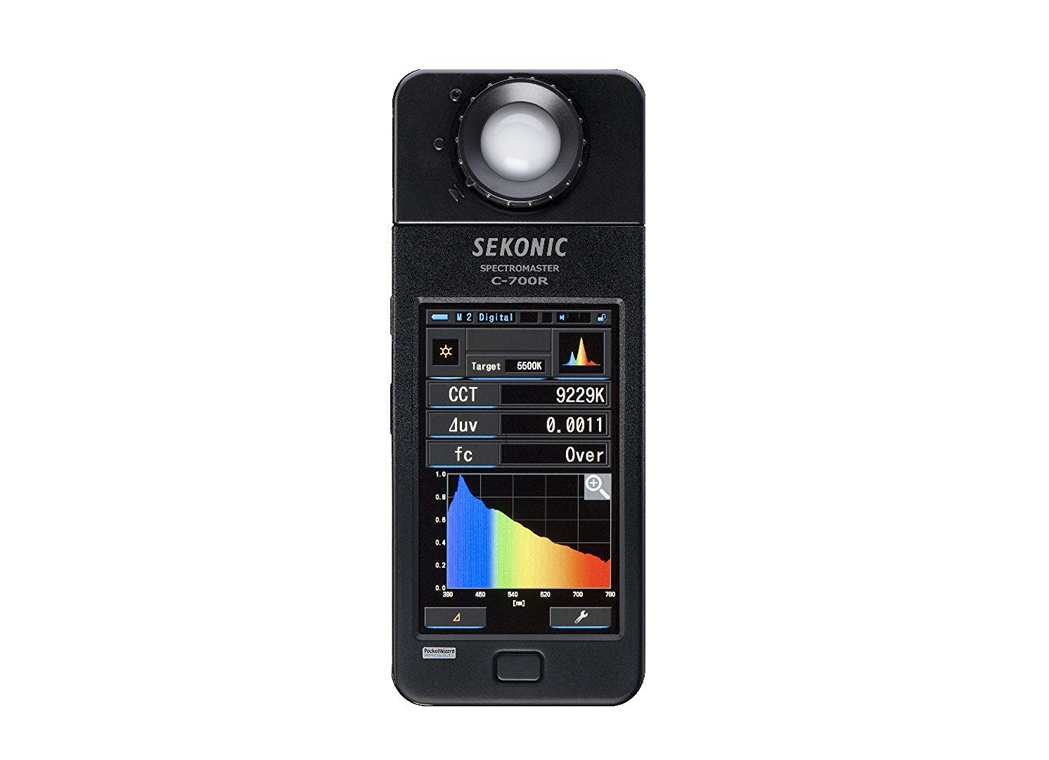
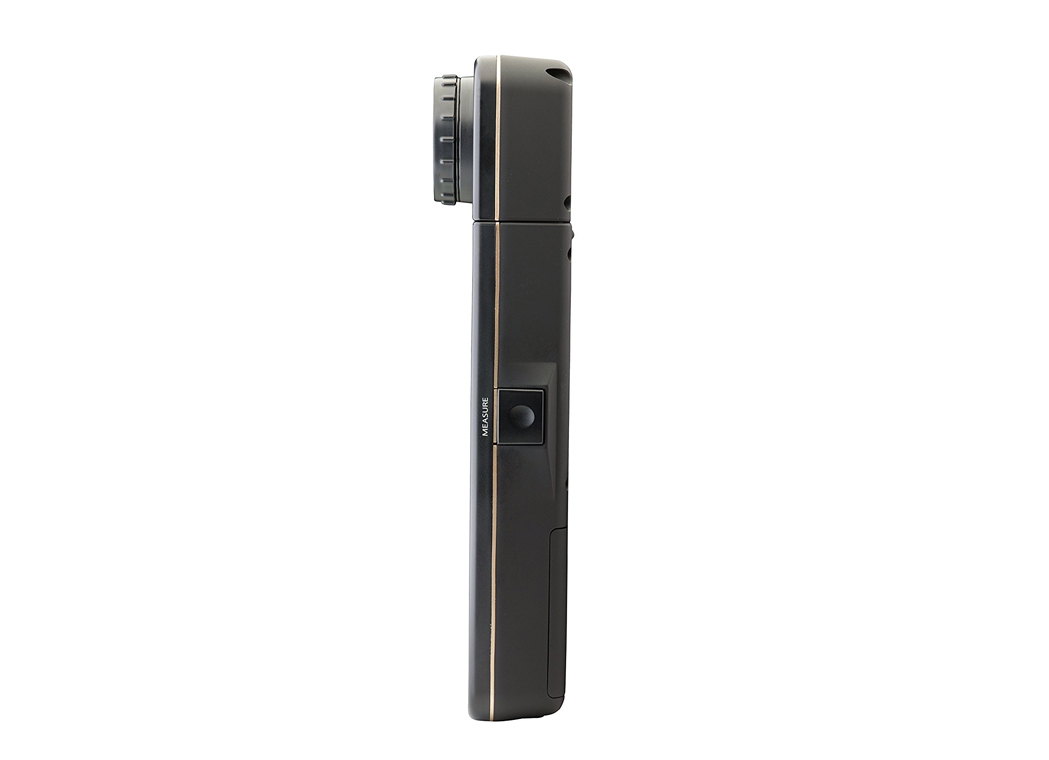
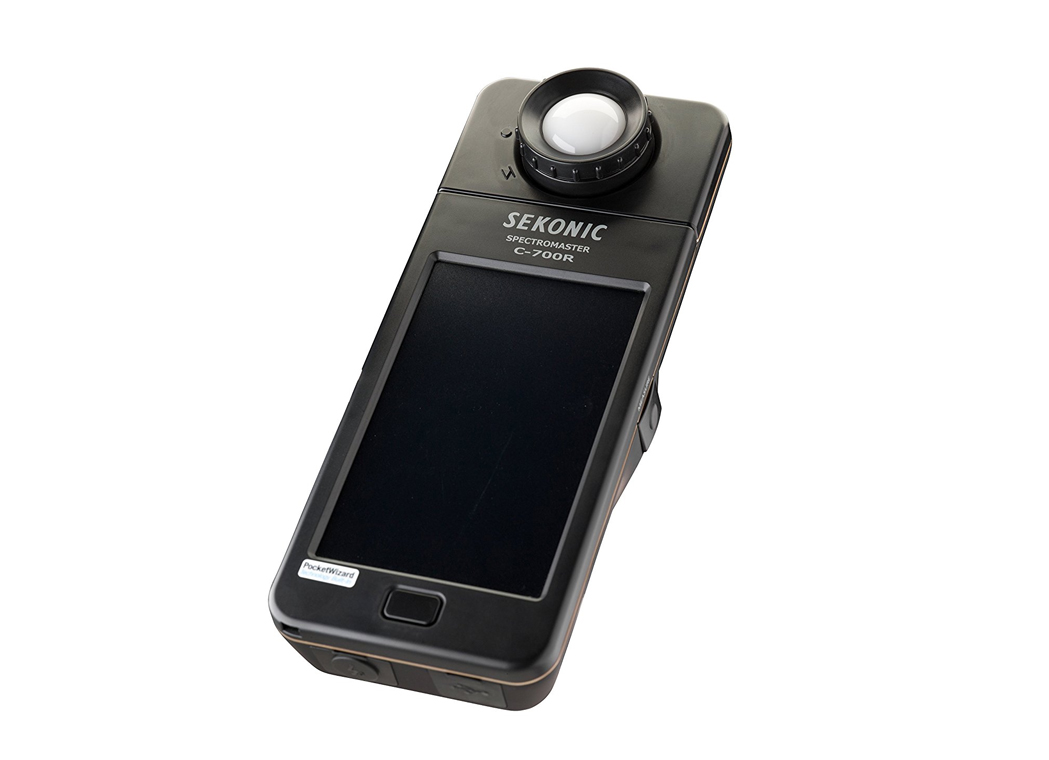
- Measures Flash, LED, HMI, Fluorescent
- Measures Tungsten, Natural Light
- 100' PocketWizard Triggering Range
- 4.3" Touchscreen
- Color Spectrum Graph
- Displays Rosco, Lee, Fuji, Wratten Names
- Displays CRI, White Balance Compensation
- Multiple Light Comparison
- CMOS Sensor and Linear Variable Filter
- Amazingly expensive
- Big screen display can be fragile
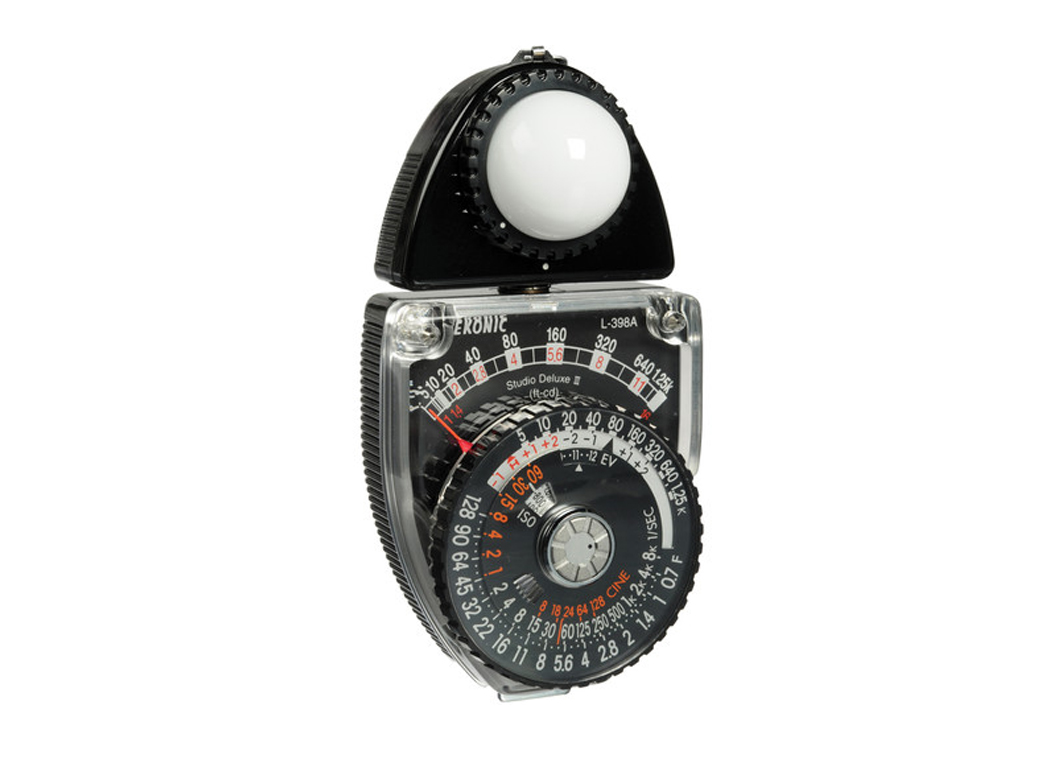
- Amorphous silicon photocell
- Needle lock for quick and easy measurement readings
- Memory pointer for quick and easy reference to your last measured value
- Swivel head and needle lock facilitate easy and accurate readings
- No need for batteries
- Analog meter
- Waterproof Housing
- Ambient, Flash, Cine and Luminance
- 1-5° Metering
- Expensive for what it offers

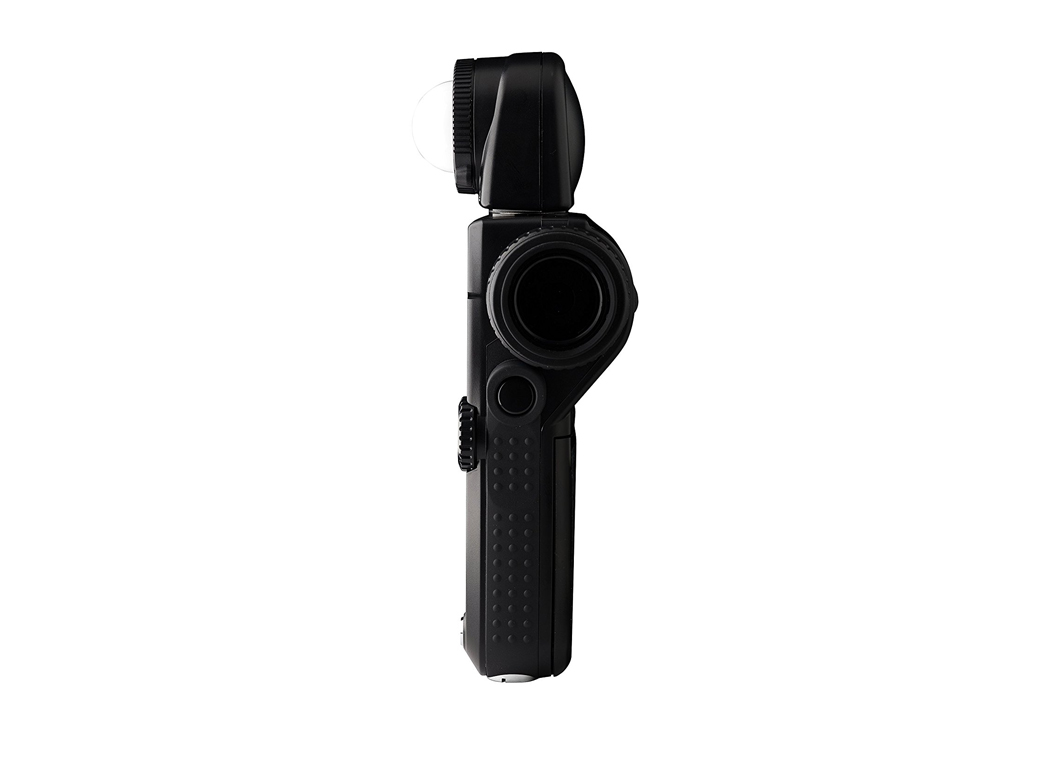
- Incident and Reflected Light Measurement
- Flash Metering and Sync Terminal
- Spherical 270° Diffuser
- Spot Angle of 1°
- Three Measuring Modes
- Digital LCD Display
- Viewfinder with Diopter Adjustment
- Frame Rates from 2 to 360
- Shutter Speeds of 30 min to 1/16000 sec Aperture Range of f/1.0 to f/128
- Expensive in comparison with other competitors
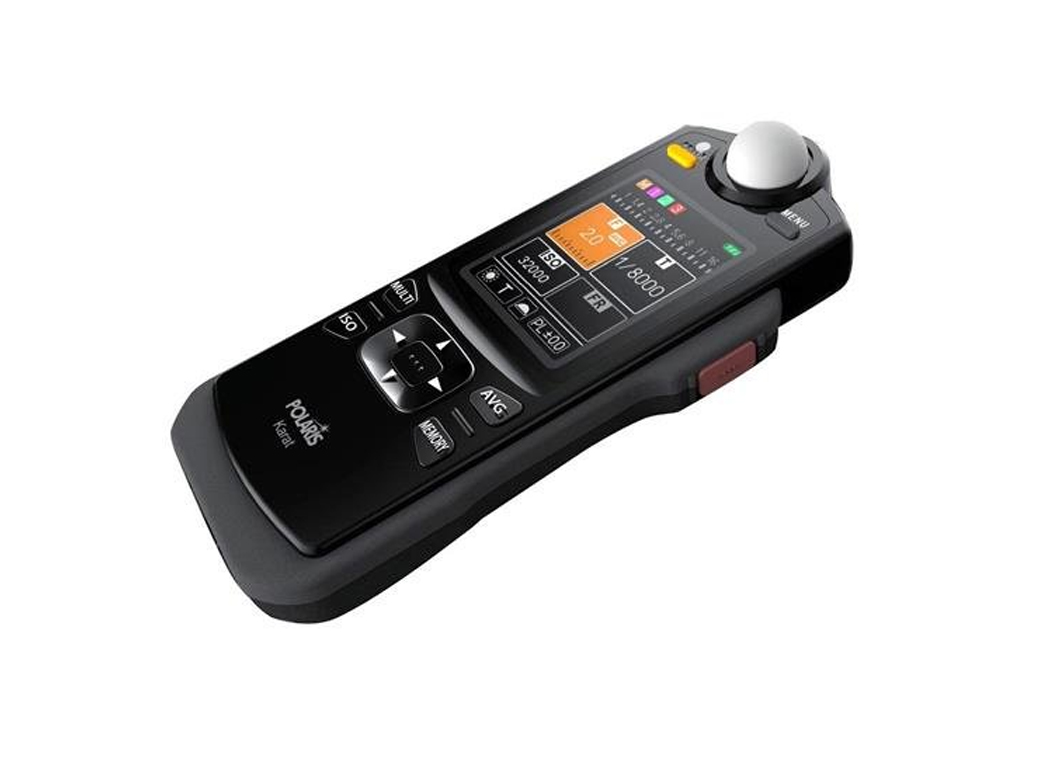
- Incident, Reflected, Flash Readings
- Color Graphic Display
- Built-in Rechargeable Battery
- Display: 1/10, 1/3, 1/2, 1/1 Stop
- Cord, Non-Cord, Radio Measurement
- Memory Function
- Cine Meter Setting
- 1/8000 Sec. to 30 Min. Shutter Speeds
- 1/1000 Sec. to 1 Sec. Flash Synch SBC Silicon Photo Diodes
- None
- Incident and Flash Metering
- Flash Duration Measurement
- Multi-Flash Capability
- Backlit Display
- Custom Program Level Function
- 2.4 GHz Wireless System with 300' Range
- Receiver with Hot Shoe for Flash
- None

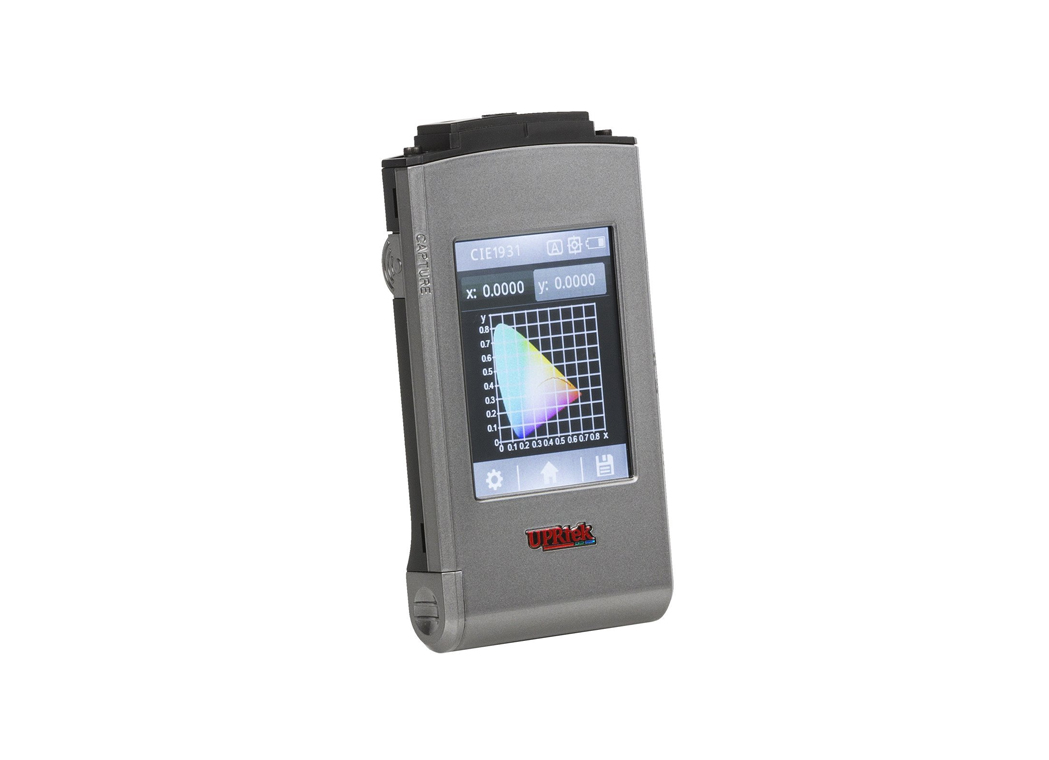
- Exposure and Color Meter for Imaging
- Designed for LED Lights
- Measurement Range: 70-70,000 lux
- Wavelength Range: 380-780 nm
- CCT, CRI, TLCI, and More Color Options
- EV, A, and T Modes for Exposure Readings
- Flicker Detection up to 100 kHz/sec
- 3.5" Color Touchscreen LCD
- Runs on Rechargeable Li-Ion Battery
- SD Card Slot & USB 2.0 for Data Transfer
- Amazingly Expensive
There is a large amount of different modes available for color readings like CCT, CRI or LB and shutter speed modes for exposure readings. It's measurement range is from 70-70,000 lux and it can record wavelengths from 380-780 nanometers. Other specifications include a flicker rate of 100 kHz/sec, maximum stray light of -25 dB and a spectral bandwidth of 12 nanometers. Last two features worth mentioning are the integrated Li-ion battery with a runtime of 5 hours and an SD card slot that is used to store JPEG images or Excel documents generated by the meter that contain important data about your lights.
Selection Criteria
Buying anything technology related can sometimes be a real chore if you don’t fully understand what you’re getting yourself into and things aren’t any different when it comes to products related to photography. What’s even more interesting is that it’s sometimes easier to choose a more complicated device like a camera itself, than some of its accompanying accessories. The story is pretty similar when it comes to choosing the best light meters; on the surface, they are simple devices with a very straightforward purpose and thus it should be really easy to pick the right one that will suit your needs, but often it’s the exact opposite and it can be hard to differentiate one light meter from the other. For that reason, we chose to create a model by which we can choose the best ones out there for you and create a list that will help you make the right purchasing decision and be satisfied with the item of your choice. So, let’s see what criteria we’ve used when writing this article and let’s examine each of its aspects in more detail.
The method of taking a reading – Most of the photography light meters can measure two different types of light: incident or reflected. Depending on your needs, you will either have to choose a camera light meter that’s able to measure one of those two types of light or one that can do both if you are prepared to accept a higher asking price. If you aren’t aware of what those types of meters are, then check our FAQ section in this article and read about them in more detail. Either way, we will always try to point out the exact functionality of each of the light meters in our article so you can be sure that you’ll pick the right one for you.
Power requirement – Photography light meters can either be digital or analog and despite all the advances in technology photographers and videographers alike still have use for both types in today’s times. Analog meters allow you to acquire your readings faster than the digital meters, but lack the advanced functionalities and features brought by modern technology. The analog meters also have one other advantage and that is their ability to work without batteries, which can be very beneficial in a lot of different situations. While the digital meters are more widespread these days, we will always make sure to offer you at least one analog meter to choose from in case you need that exact type of light meter.
Price – Just like with any product, for a lot of users the price is the most important factor that affects their final purchasing decision and the story isn’t any different with light meters. This means that you get a lot of choice when choosing the best light meter; you can opt in for a basic one that won’t cost much money, one with a nice balanced set of features and a reasonable price and also a high-end model that offers all the bells and whistles that are needed by any professional out there, but of course at a premium price point. While the latter are the most exciting ones to look at, our focus will always be on picking ones that will give you most of the functionality you would expect to find on a modern light meter, but without costing you very much money.
FAQs
What’s an incident reading and what is it used for?
Incident reading is used to measure the light that is falling directly over your chosen subject from a source that’s used especially expose that subject before anything else. To acquire the necessary reading, you’ll have to point your camera light meter toward your camera from the subject’s position. If you’re working in a controlled environment like a studio the incident meter will probably be your best choice for most of your needs since it doesn’t have to deal with the light changes brought by very dark or reflective surfaces and you’re in a total control of your lighting.
What’s a reflected reading and why should I use it over the incident reading?
Reflected reading is used to measure the entire scene and give you an overall estimation of the exposure settings you should use with your camera to get a photo with balanced exposure in each of the important areas. Since most of the people will be shooting in those conditions where there are constant changes in lighting, reflected meters are most commonly widespread out of all the other types. Even your camera light meter uses the same technology. There’s also a way to improve the accuracy of your readings even further and that’s by using something called an 18% gray card. It’s actually a very simple method as its main purpose is to provide you with a consistent surface that is easier to read the amount of light from.
What’s flash metering?
As its name already implies, flash metering is a special type of metering that only applies to those working with flashes and the specific type of light they emit. More than anything, this is due to very short bursts of light that are hard to measure by more conventional types of meters. These require a constant connection to your flash unit either via a dedicated PC port or wirelessly by using a strobe.
What’s spot metering?
Spot metering is a method of measuring the amount of light that reaches a very small portion of the image frame (usually one that ranges from 1 to 10-degree angles of view). It is based on reflective metering, but still requires a different type of meter altogether since a traditional reflected meter would be thrown off by all the different light sources in the scene and wouldn’t be able to acquire a very precise reading of the amount of light found in your desired spot. Some meters can also be adapted to work as a spot meter by attaching a special accessory to them.
What are specialty meters and what are they used for?
While the more traditional photographers will be satisfied with all the functionality brought on by the usual types of light meters that can be found on the market, there will always some users that require something with a couple of additional features and made for an entirely different use. When talking about specialty meters we are mostly referring to those working with video, rather than still pictures. Since movies are made out of a lot of different frames that move very quickly it is very hard to accurately measure the light in your scene without a special cine model of light meter. These are usually equipped to take into account the different framerates and also display their measurements in units such as foot-candle or lux. Other than those types of meters you can also expect to find some that are able to provide you with extra information such as color temperature or even provide you with a spectrum graph.
Why should I consider buying a dedicated light meter when my camera already has one?
While it’s true that most of the basic functionality provided by a dedicated light meter is already contained inside of today’s cameras and will be enough for casual users and amateurs there’s still too much use case scenarios in which the integrated light meters won’t suffice. This is particularly true in terms of metering precise parts of your scene, for those occasions when you’re doing professional work with the use of flash units and especially if you’re a videographer or movie maker and getting the most accurate exposure possible is of utmost importance. So, in a nutshell, dedicated light meters aren’t made for everyone, but if you’re considering yourself to be a professional of any kind, you should seriously consider having one as a part of your gear.


 Facebook
 Google +