Black&White photography despite being a common theme in both amateur and professional photography requires a good amount of skill in order to transform your pictures properly into Black&White. Even if some cameras can shoot in this mode, it is better if you shoot in normal tint mode and then use external software in order to create the Black&White effect. With the help of Sleeklens presets, we are going to create a stunning B&W picture inside Adobe Lightroom!
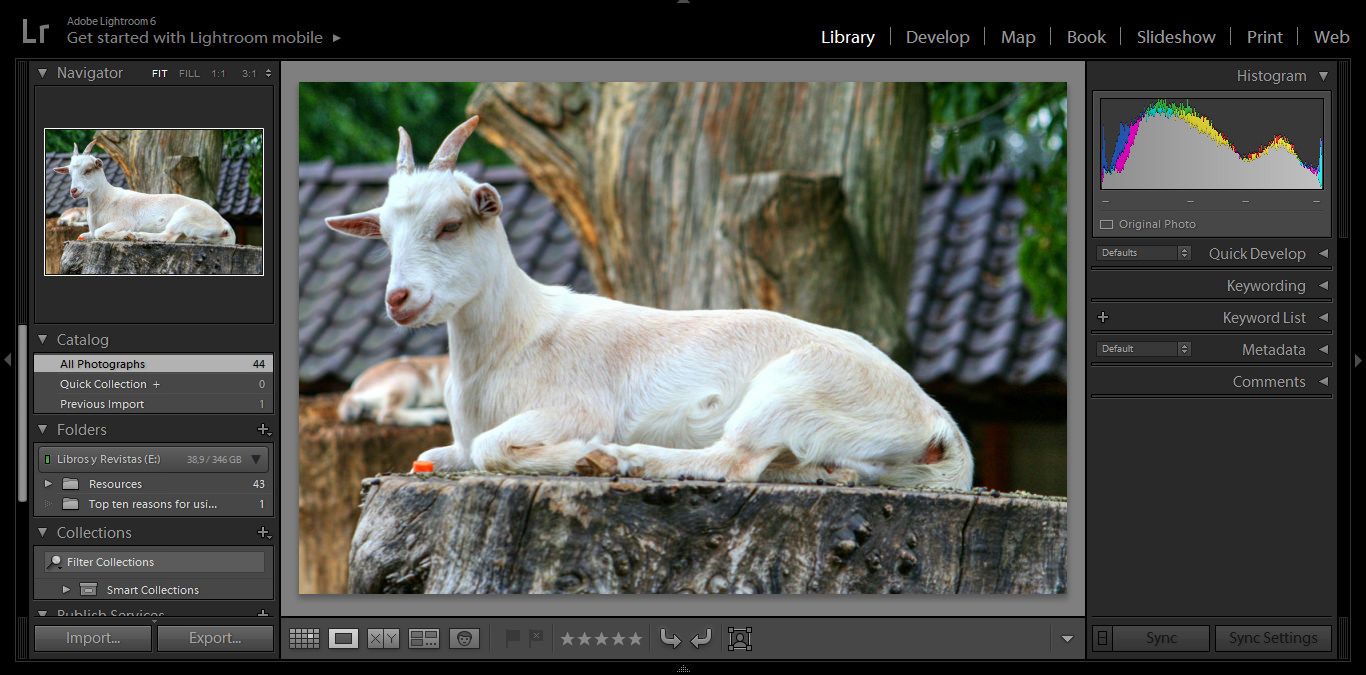
Open up Lightroom and import the picture you want to edit. In my case I’ll be working with this picture of a goat resting on what seems to be a chopped tree. Switch to the develop module.
For this workflow, we are only going to adjust the White Balance in the Basic Adjustment panel.
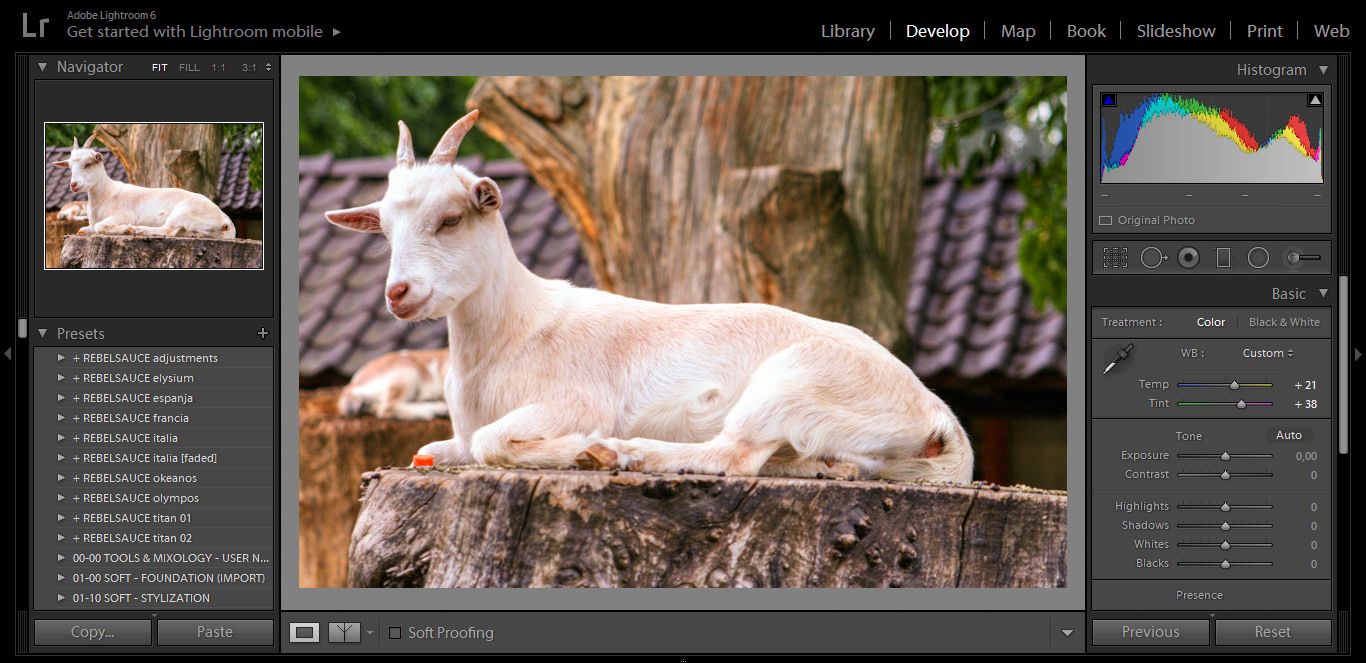
As you can see, the image now looks warmer.
Now it’s time to work with the Black&White preset bundle from Sleeklens. One thing to consider is that this preset bundle makes a difference with images in RAW and images in JPEG, which is quite the advantage since color management doesn’t work the same way with unprocessed files such as RAW photos.
The bundle allows users to adjust the image with regards to the amount of Contrast managed with the Sliders. In my opinion, I usually work with Medium Contrast presets in most cases, since they apply to almost every kind of scene we have, but on certain occasions we may use either High or Low contrast settings.
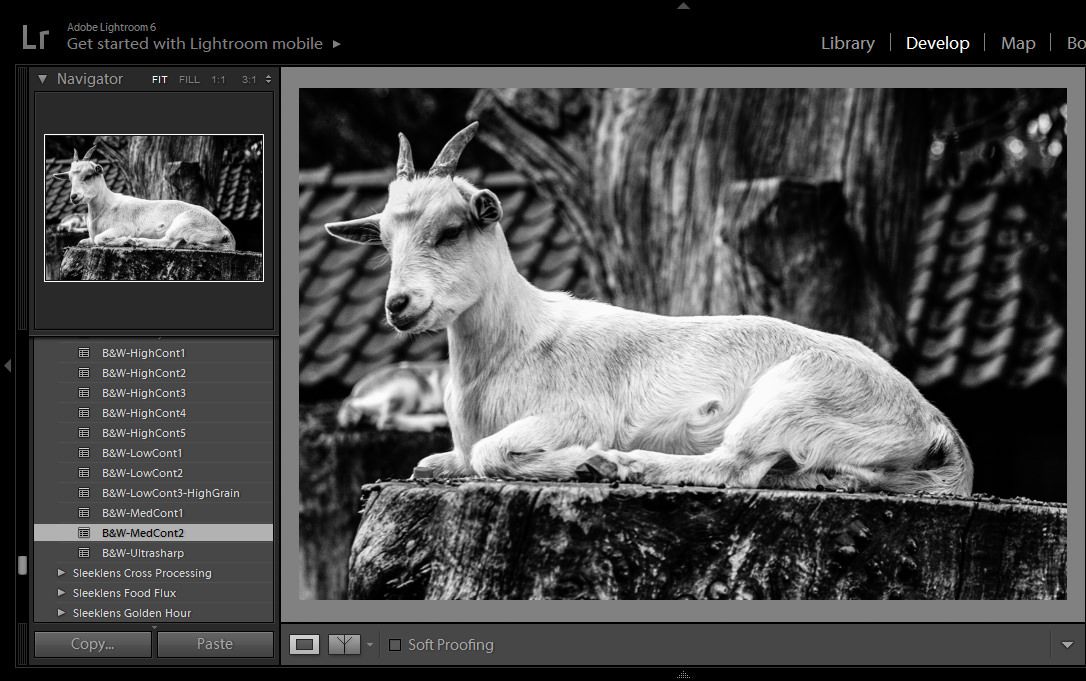
First I am going to apply a MedCont2 preset for this image. Why didn’t I choose MedCont1? Because as you can see the result would have ended up being brighter than what I intended. Since I plan to add a black vignetting effect to reinforce the B&W feeling, the MedCont2 works better, whereas the MedCont1 works perfectly for a white vignetting effect.
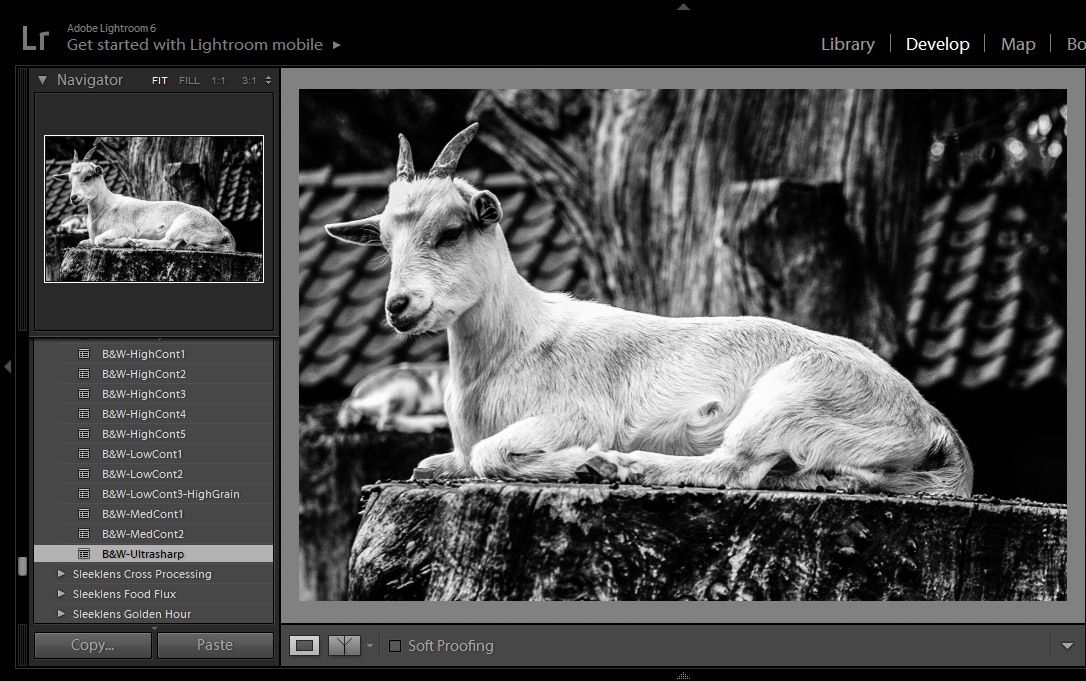
Add an Ultrasharp preset to this composition in order to bring in more detail. Be careful if you previously added some extra adjustments with the Basic Panel, as the image might start looking like an HDR from the excessive detailing, rather than a stunning B&W.
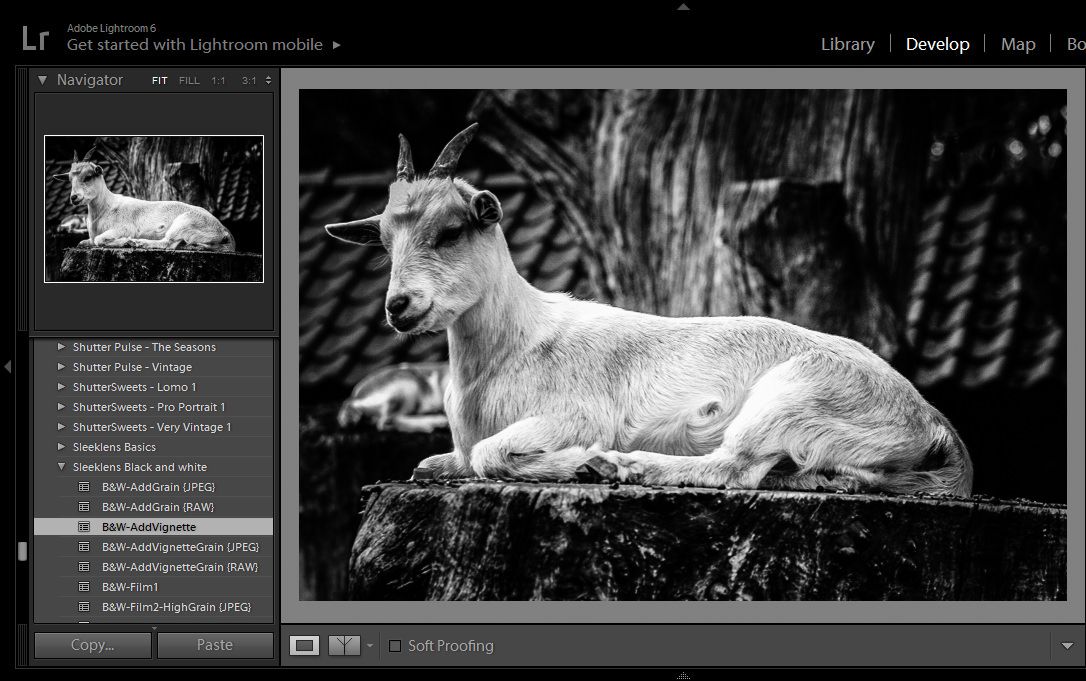
Finally apply the AddVignetting preset for creating the vignetting effect and voilà!
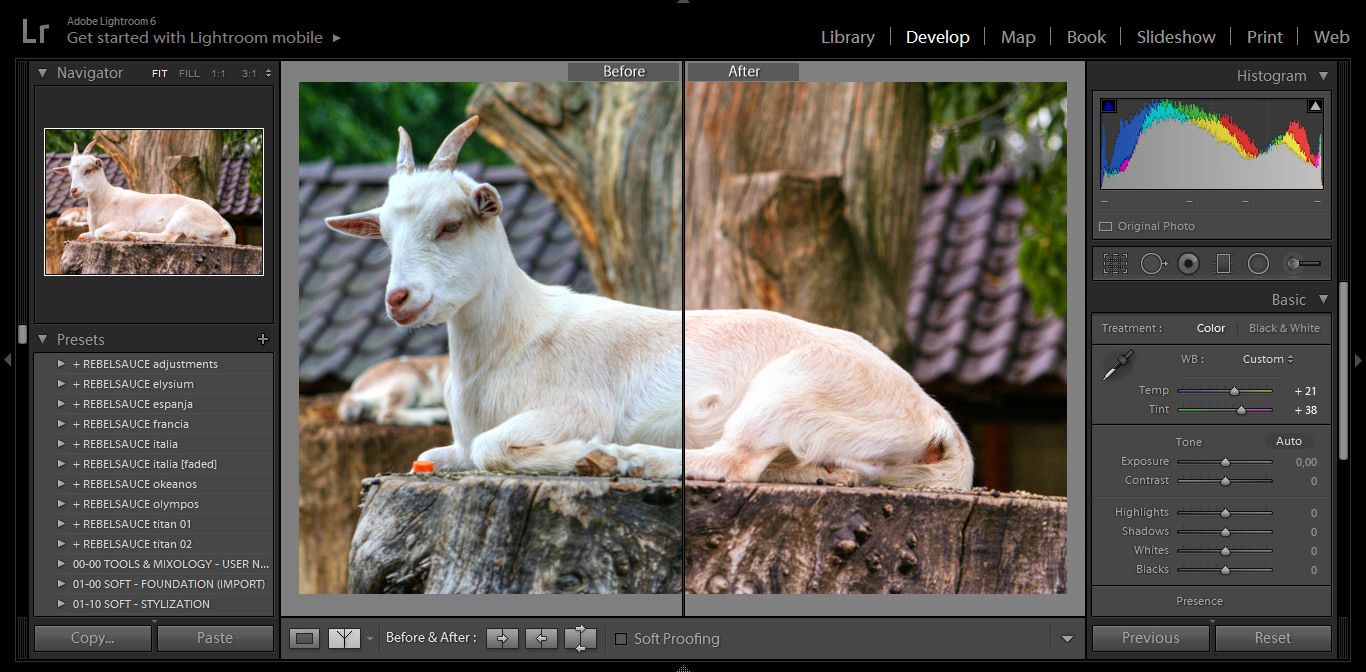
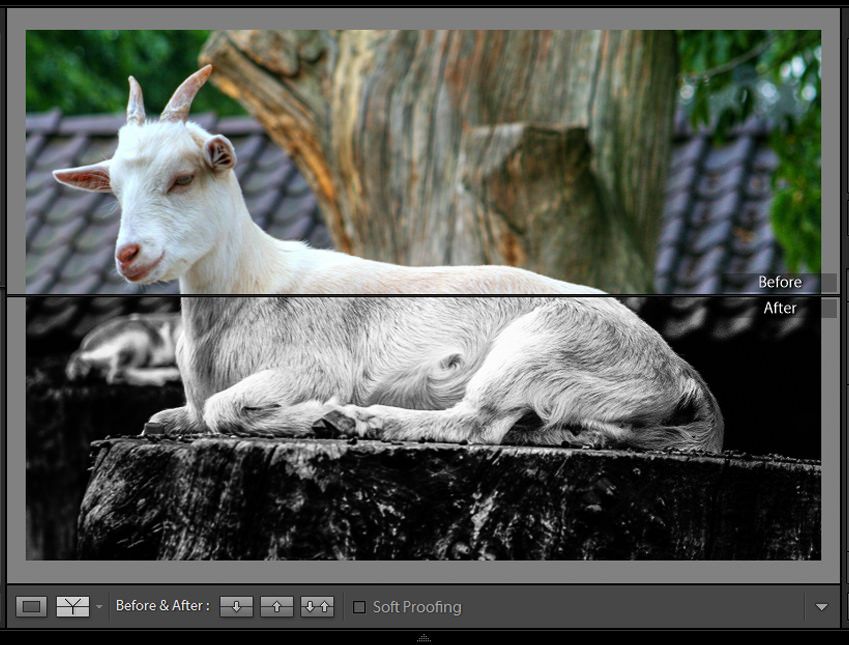
If we do a Before/After shot now we can appreciate how, in only a very few clicks, we managed to make this common image into a beautiful Black&White picture.
Presets apply to all users, regardless of their skills or their experience inside Lightroom. Just try to “label” your work in order to make the decision easier of which preset bundle suits your needs, and let Sleeklens do the magic for you!


Please verify your software version before proceeding.
 I’ve verified my software version


 Facebook
 Google +
Comments (0)
There are no comments yet.