Tips for iPhone Street Photographywww.sleeklens.com
“The best camera is the one that’s with you.” – Chase Jarvis
In today’s world, every camera is a compromise. They function in the same way, and all take great images for the most part. You can even get amazing images from the phone in your pocket. This is a great option if you happen to leave home without your camera, or just don’t feel like carrying it around. The image quality and selection of post-processing apps, make iPhones fantastic camera options. And the ease of direct to social media sharing makes sharing your photos painless.
Below, I will outline a few iPhone street photography tips I’ve picked up along the way for shooting street photography on your phone. I say iPhone because that’s what I use, but of course, this post is relevant for any cell phone with a camera. I know I’ve seen some Galaxy phones whose cameras blow iPhone cameras out of the water. It doesn’t matter what type of phone you use, as long as it has a camera.
Table of Contents
iPhone Street Photography Tips
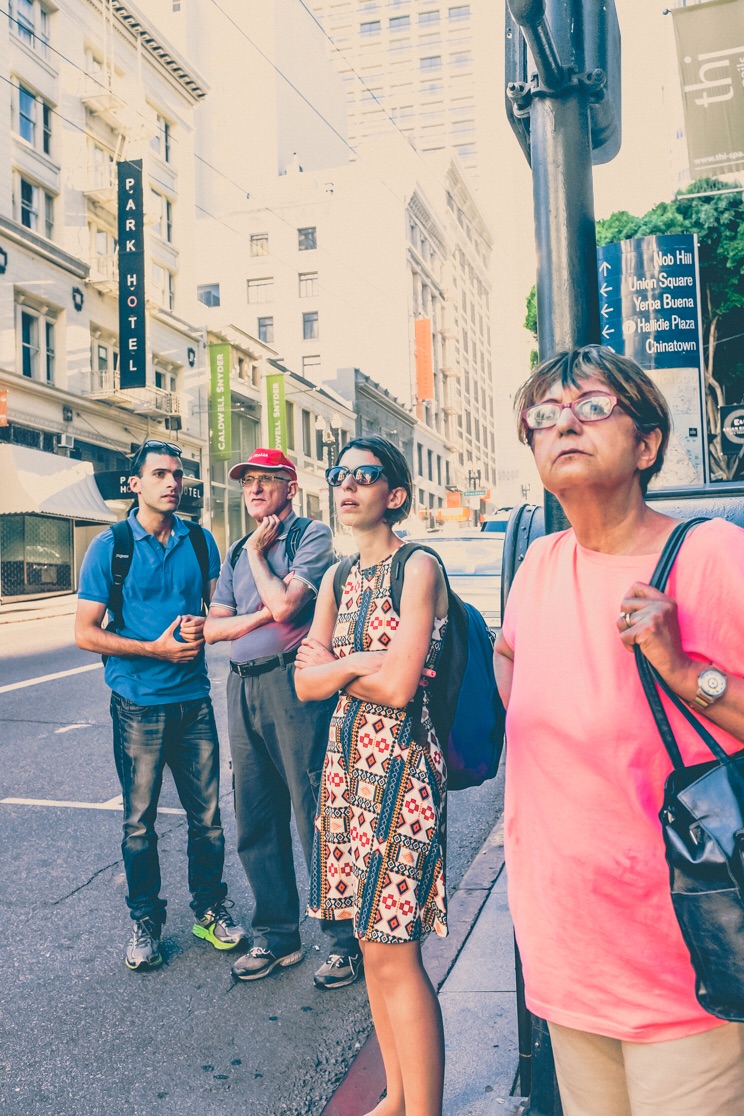
#1 Get Close
As Robert Capa said, “If your pictures aren’t good enough, you’re not close enough.” Part of street photography that takes some getting used to is to be bold. You’ll need to get close to your subjects, especially with the 35mm focal length of the iPhone. There are a few techniques you can do. You can always ask your subject if you can take their picture. This is tougher than it sounds, as approaching strangers can be difficult. It can also result in a manipulated image, which you may or may not want. You could also shoot from the hip. This means taking a shot without looking, usually with your phone at your side. With an iPhone, you can also pretend you’re texting and get away with a close shot. Or, as popularized by Bruce Gilden, just go for it! Jump into someone’s face and take the shot. This is definitely not my method of choice, but for some, it is the best option. There is nothing against the law about this, though it will piss most people off.
Getting close can also isolate your subject from the background. In street photography, depending on your city, an image can get too full. This means it’s easy to oversaturate the image. I find interesting street photographs are those that feel isolated. To me, a street scene is always busy and overflowing. But that isolated subject in a big city backdrop is interesting for some reason. Play around with this idea, and see if you can isolate subjects in your frame.
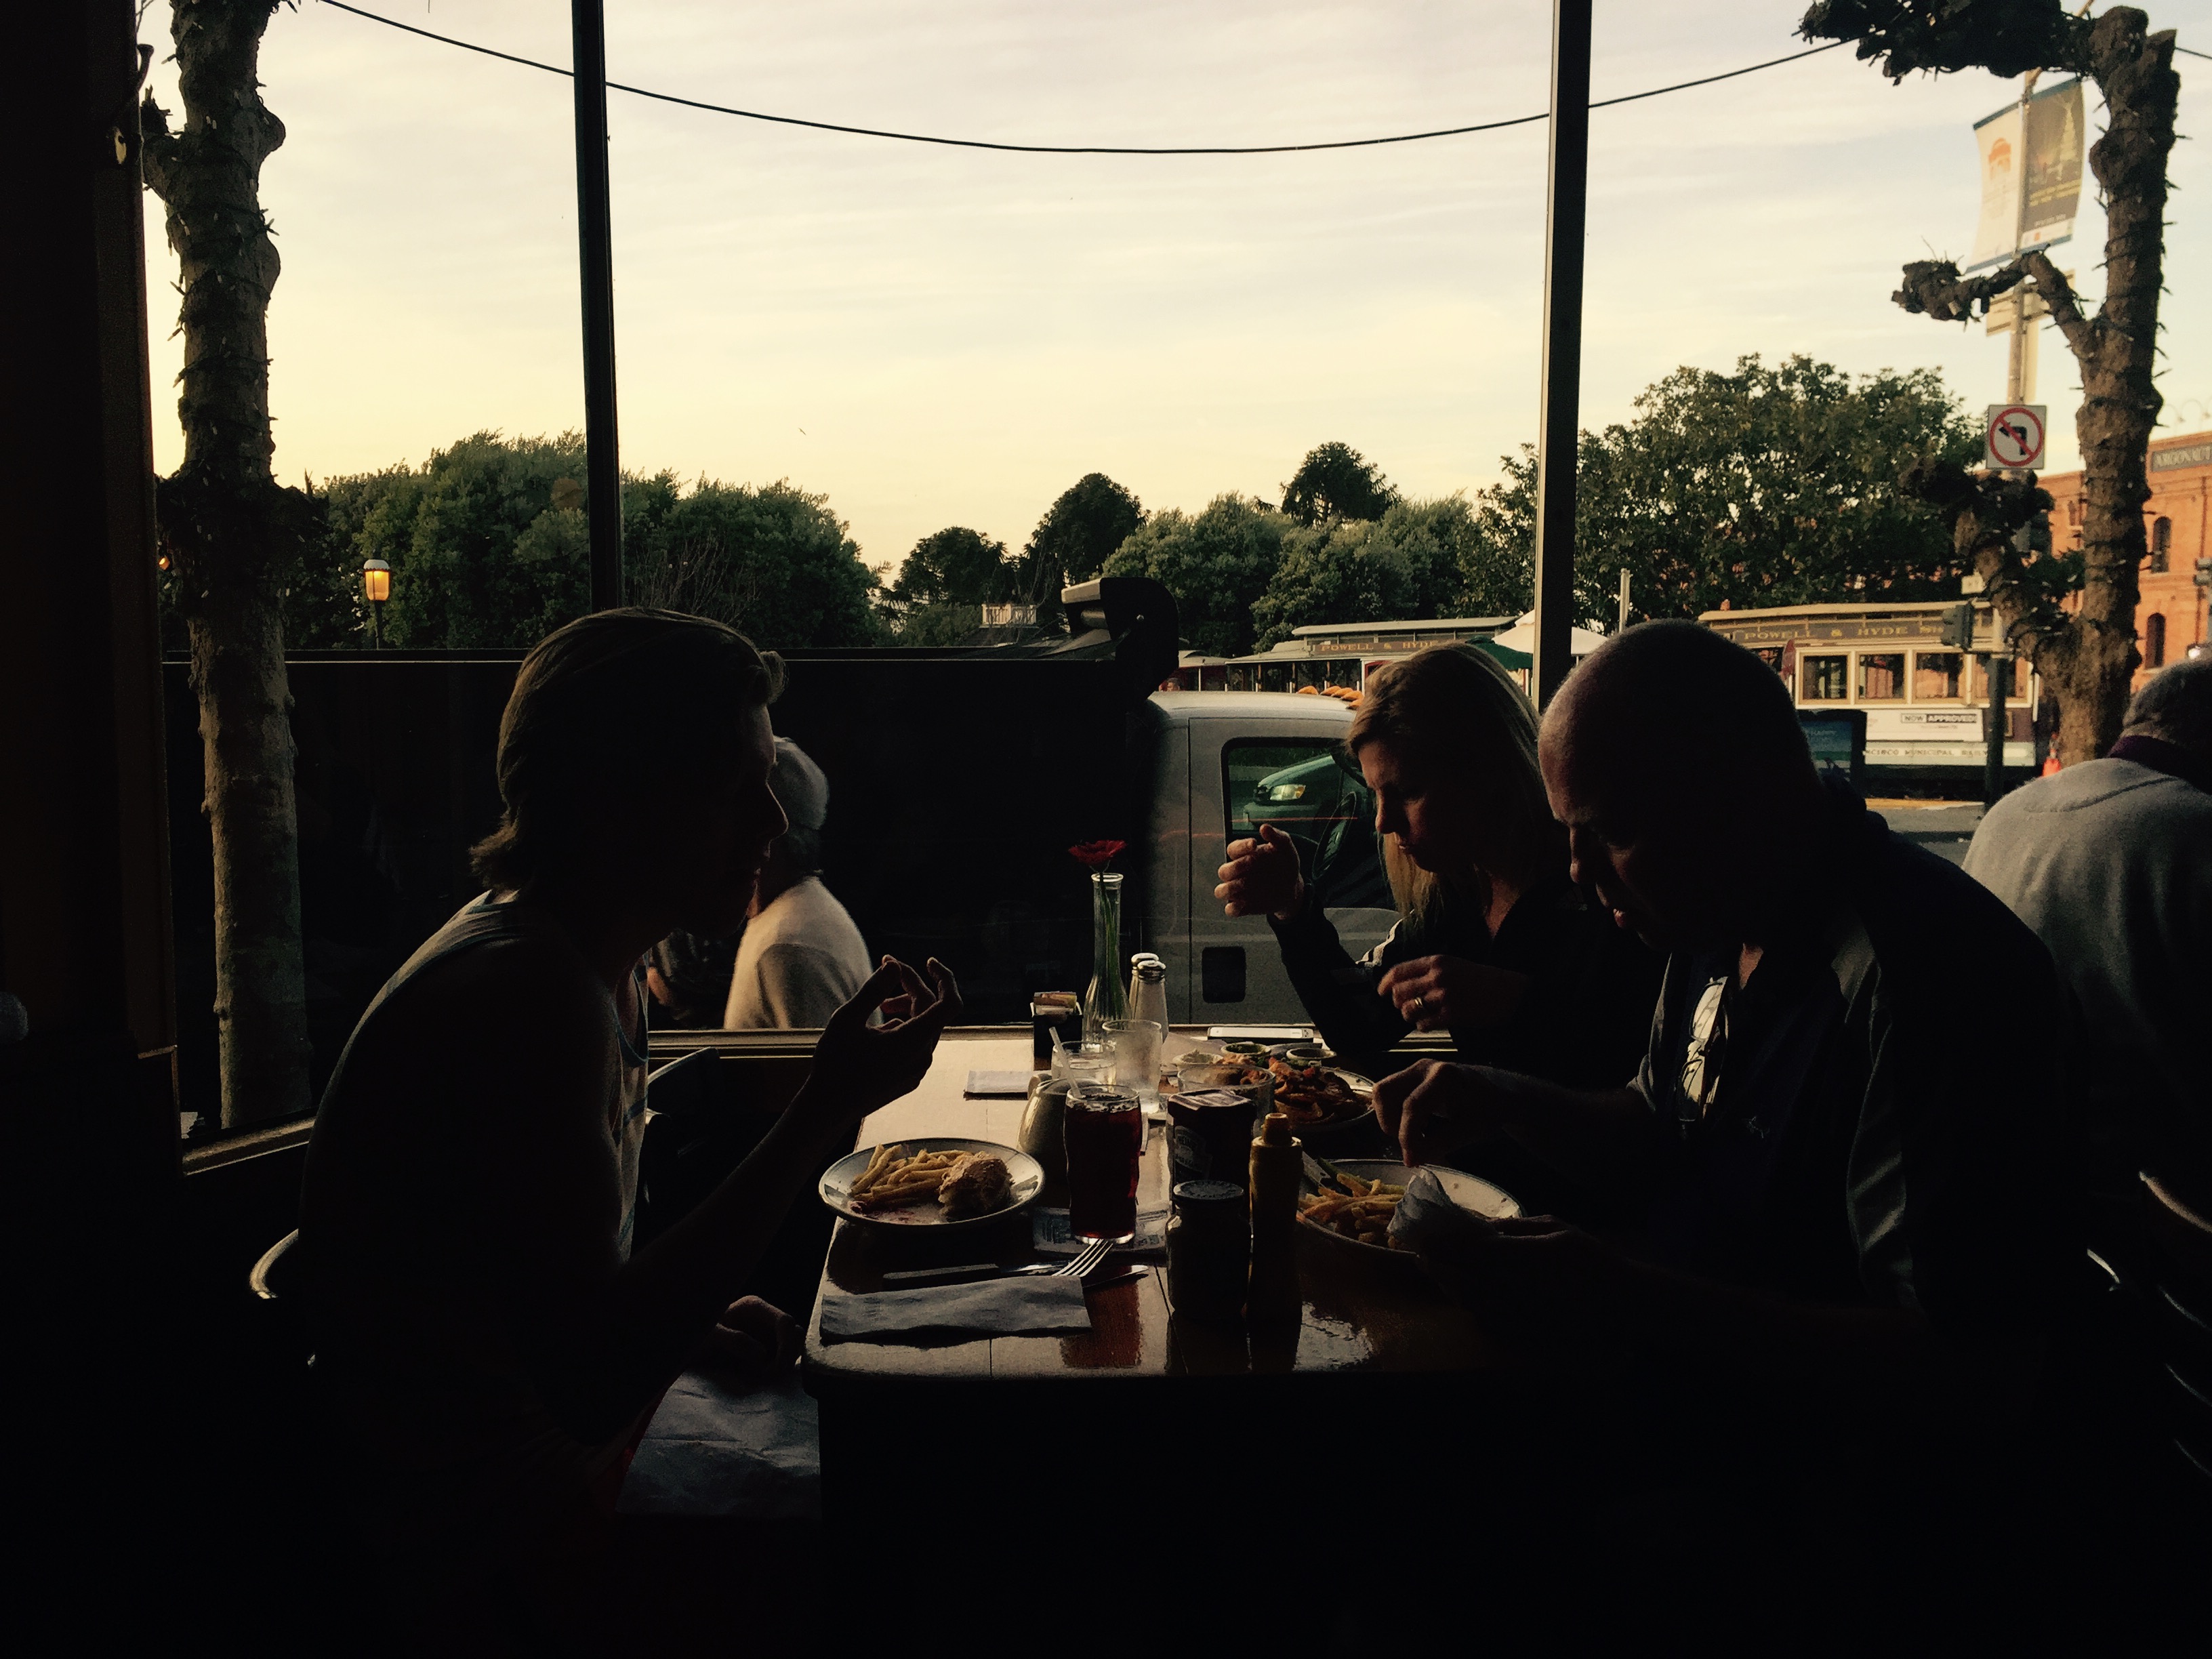
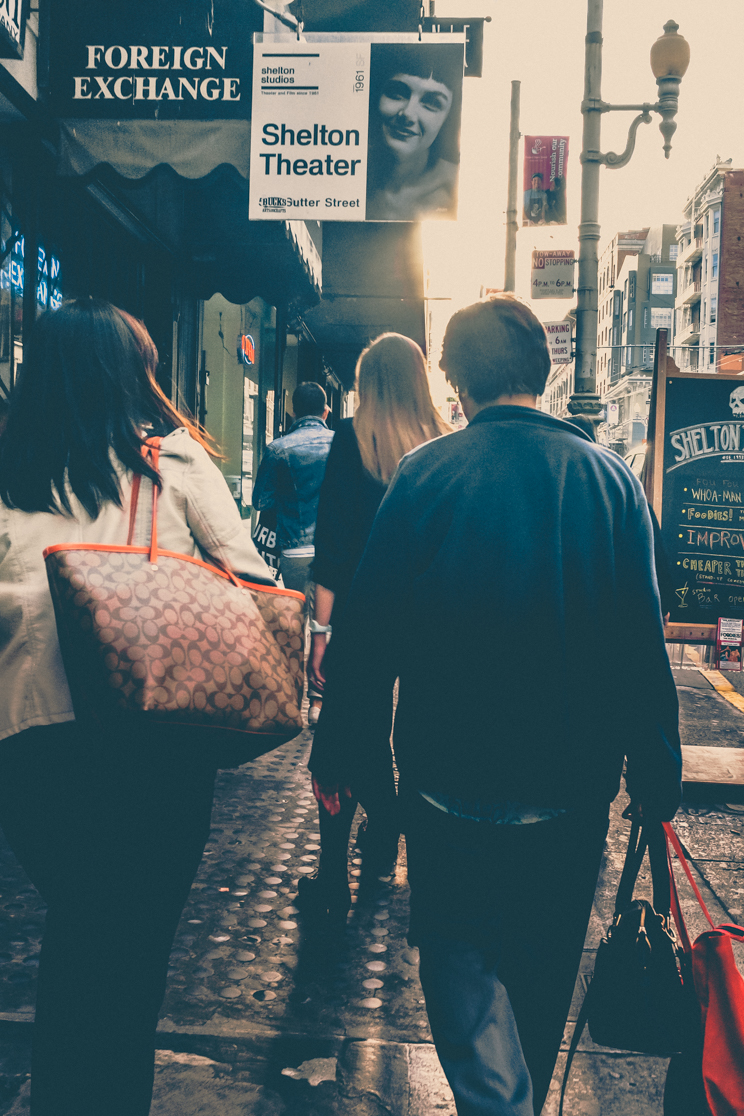
#2 Follow the Light
This is another tip which is interchangeable between phone and camera. It’s always best to shoot when the light is best, called the Golden Hour. This is the hour just after the sun rises and just before the sun sets, and makes for beautiful lighting. This is a great option for those who shoot during their commute hours. When I lived in San Francisco and worked long hours at my day job, I was always out during Golden Hour commuting. This worked out great for my street photography. It’s not to say that you’ll get bad images during the day. I’ve seen some beautiful images taken during high noon when the sun is bright and right above. Just be aware of the light when shooting, and find a way to make it work in your image.
#3 Take Advantage of Apps
There are tons of apps for shooting, post-production and sharing photos. Some people swear by apps like VSCO and Camera+, while others hate them. You should experiment and find what’s right for you, but I’ve listed a few below:
Just as you would with your camera, you’ll want to make sure to have a spare battery or two for your phone. For iPhone’s, this is a portable battery, which is getting smaller and more powerful. I used to have a charging case on my phone, which was great, though a little bulky. These are pricey, but are convenient and take up less space than bringing a separate device.
You should also get a solid case which has a grip for easy handling. Something protective would be beneficial as well. There are also companies making lenses, such as Moment and Ollio, which can be useful. But not necessary. For street photography, all you need is a phone with a good case and an external battery
#5 Burst Mode
Shooting burst mode is always a good idea, and I have it on 95% of the time in any type of photography I shoot. You just don’t want to leave capturing the decisive moment up to one photo. It’s always better to have a few more images to get one solid image from. Especially in street photography, when capturing people walking.
#6 Be Ready
The exciting aspect of street photography is that you never know what is going to happen. You have to be ready for anything and able to react before the moment happens. If you are out to shoot, you need to have your phone ready. This means out or in your pocket in camera mode, ready for the shot. You should be hyper aware of your surroundings, always looking around (not in a creepy way). If you are aware of your surroundings, you can better predict what could happen. It’s better to miss the moment because it didn’t happen rather than because your phone wasn’t out.
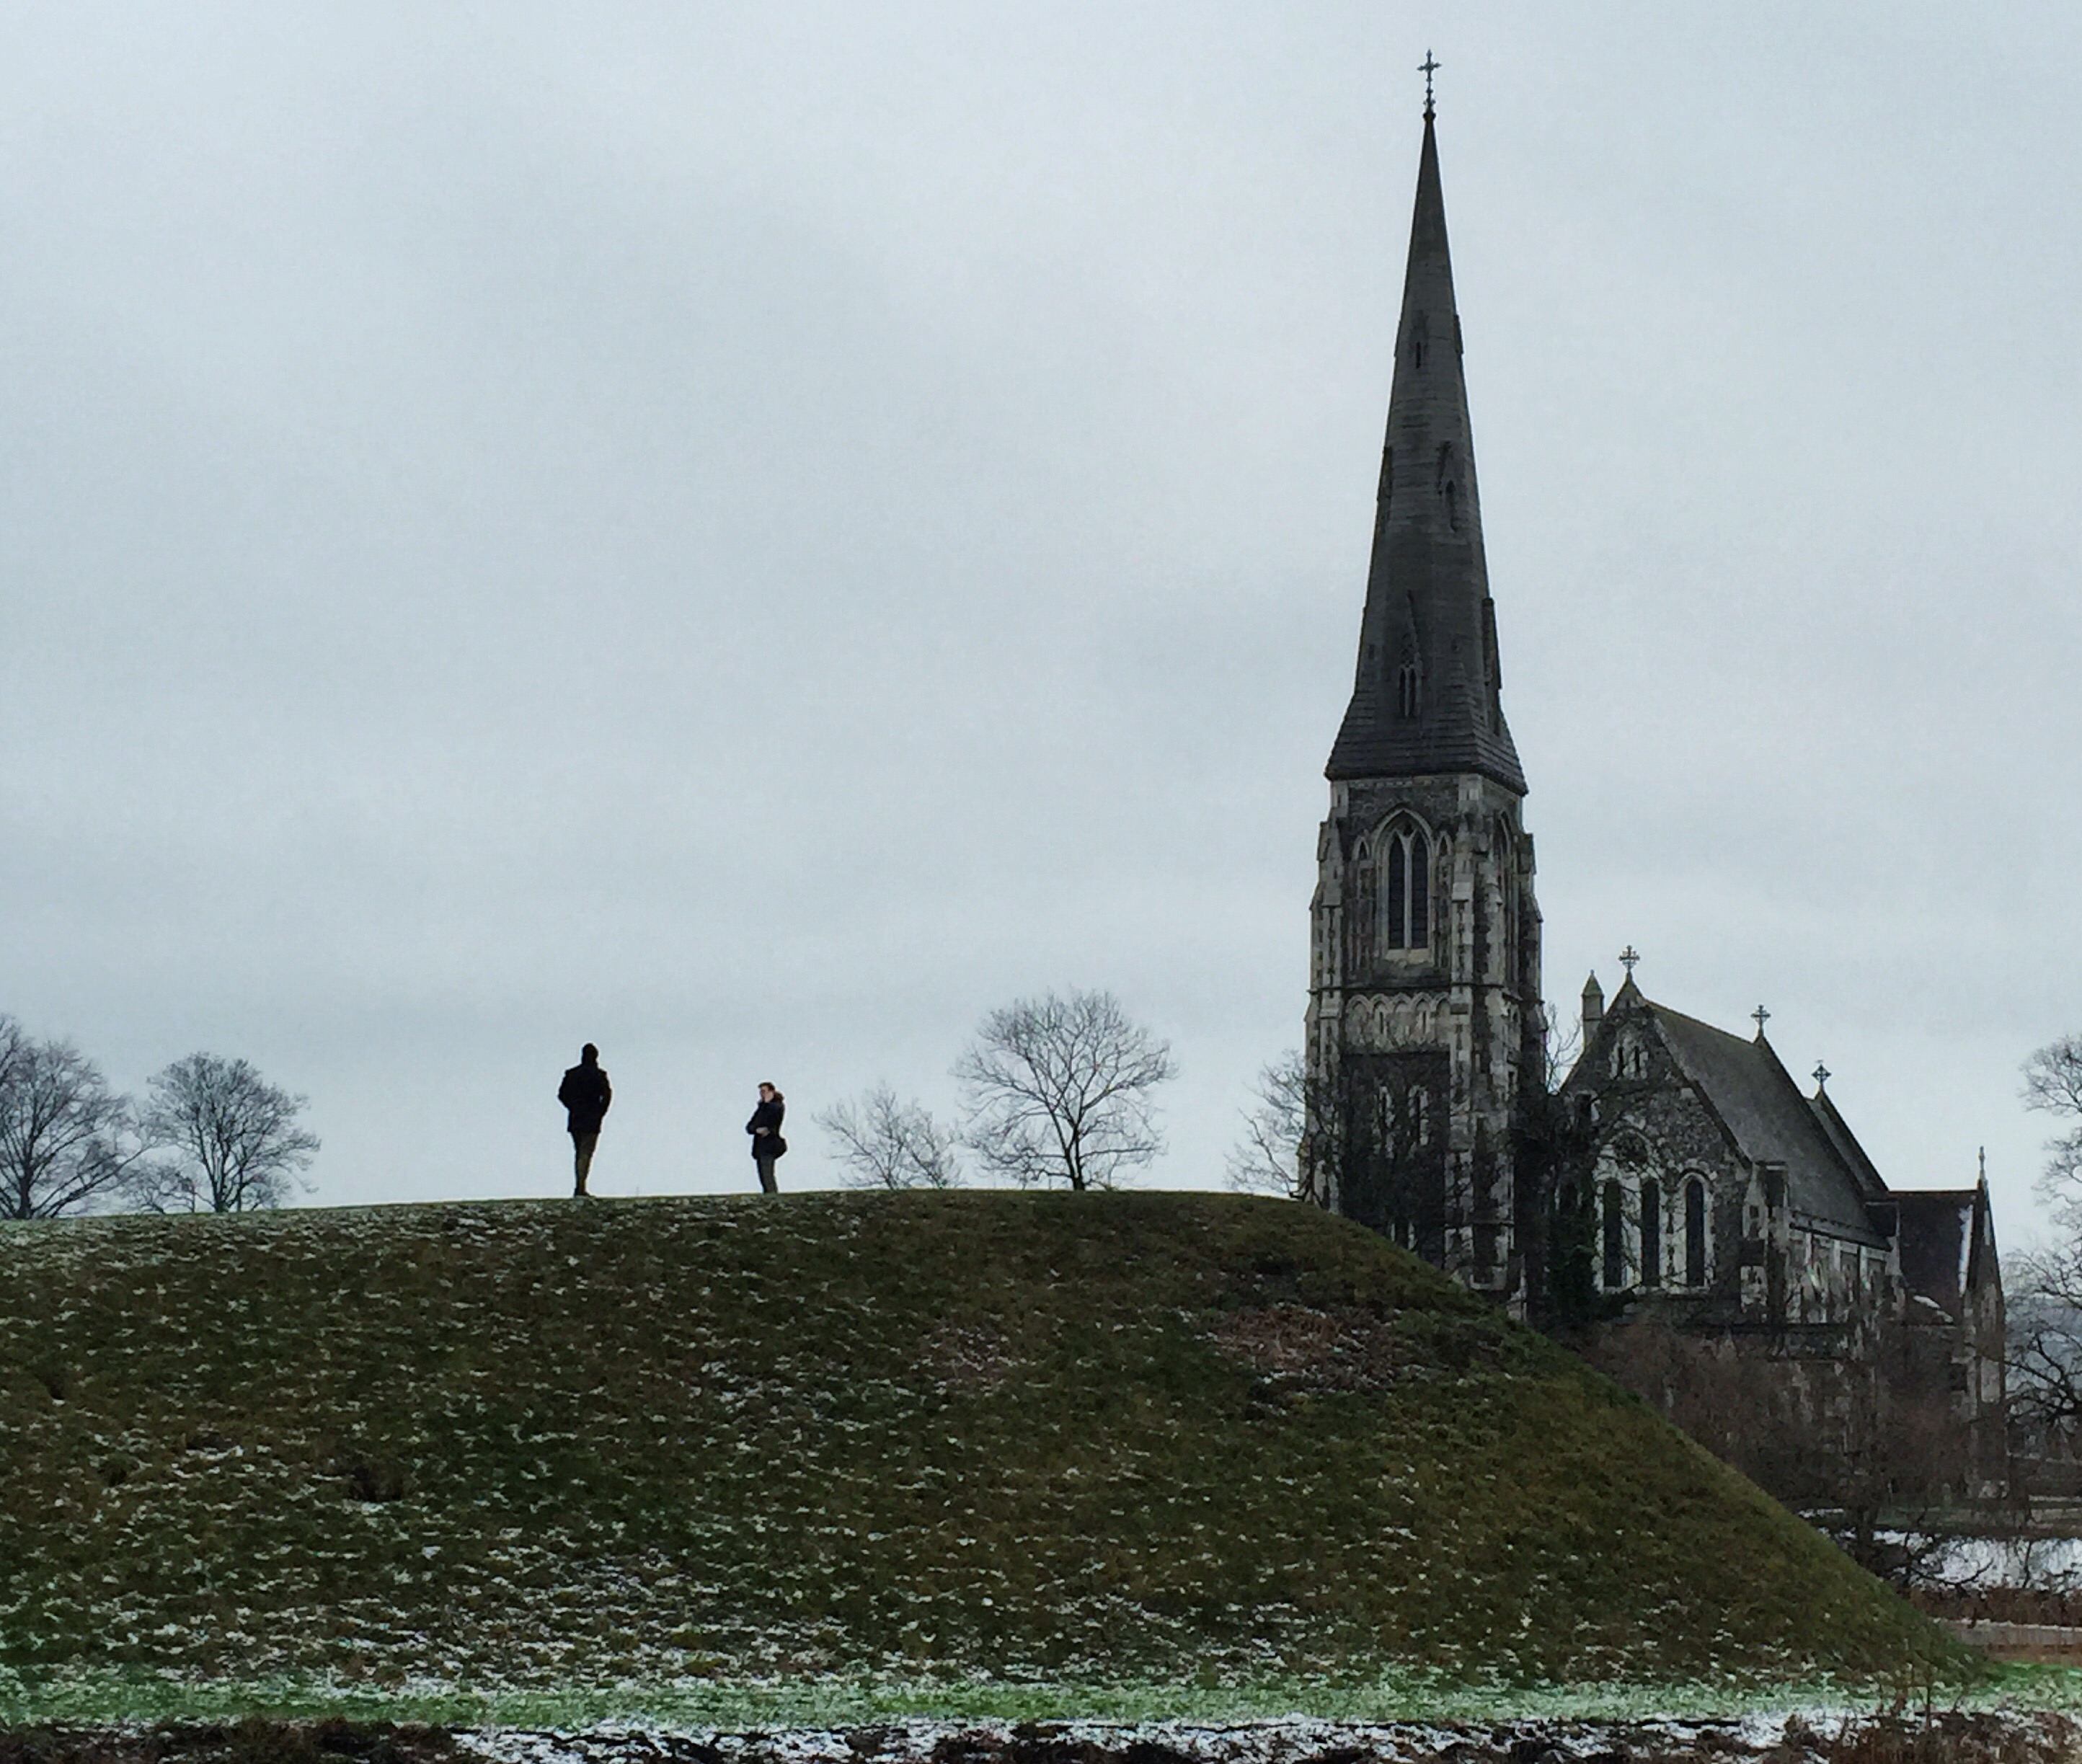
#7 Tell a Story
Here, you want to look for an interesting story to tell through your photo. Look for an emotion, something interesting about the scene. It’s so easy just to take a picture of someone on the street. The good ones evoke a feeling, a reaction from the viewer. This is what you should be looking for. This goes hand in hand with Be Ready above. If you are aware of what is going on, you can predict a moment which will lead to an interesting story. Try to capture the entire story in one image. If you capture many photos during an event, find the one that sums up what happened. This will be your strongest image.
#8 Sharing
Of course, one of the major benefits of iPhone street photography is how easy it is to edit and share images. Using the iPhoto image editing can be a bit limiting. Use of the many apps listed above to do your edits, which should only take a minute or two. Keep your street photos consistent in editing. Uploading to Instagram, Flickr or any other social media platform is a breeze. You’ll be able to spend less time editing and sharing, and more time shooting.
Now for an assignment. Take these tips and your phone and shoot only iPhone street photography for a month. I bet you’ll realize after one month how much you’ve shot and how much you’ve learned. This knowledge will rollover to your camera, and you’ll have a whole new eye for photography.
I am a self-taught travel photographer and writer from San Francisco, though currently based in Ventura, CA. Working in the outdoor apparel industry allows me another outlet for my creativity, as well as access to the outdoor industry.
In my free time, I love running, biking, surfing, camping, anything outside.


 Facebook
 Google +
Comments (0)
There are no comments yet.