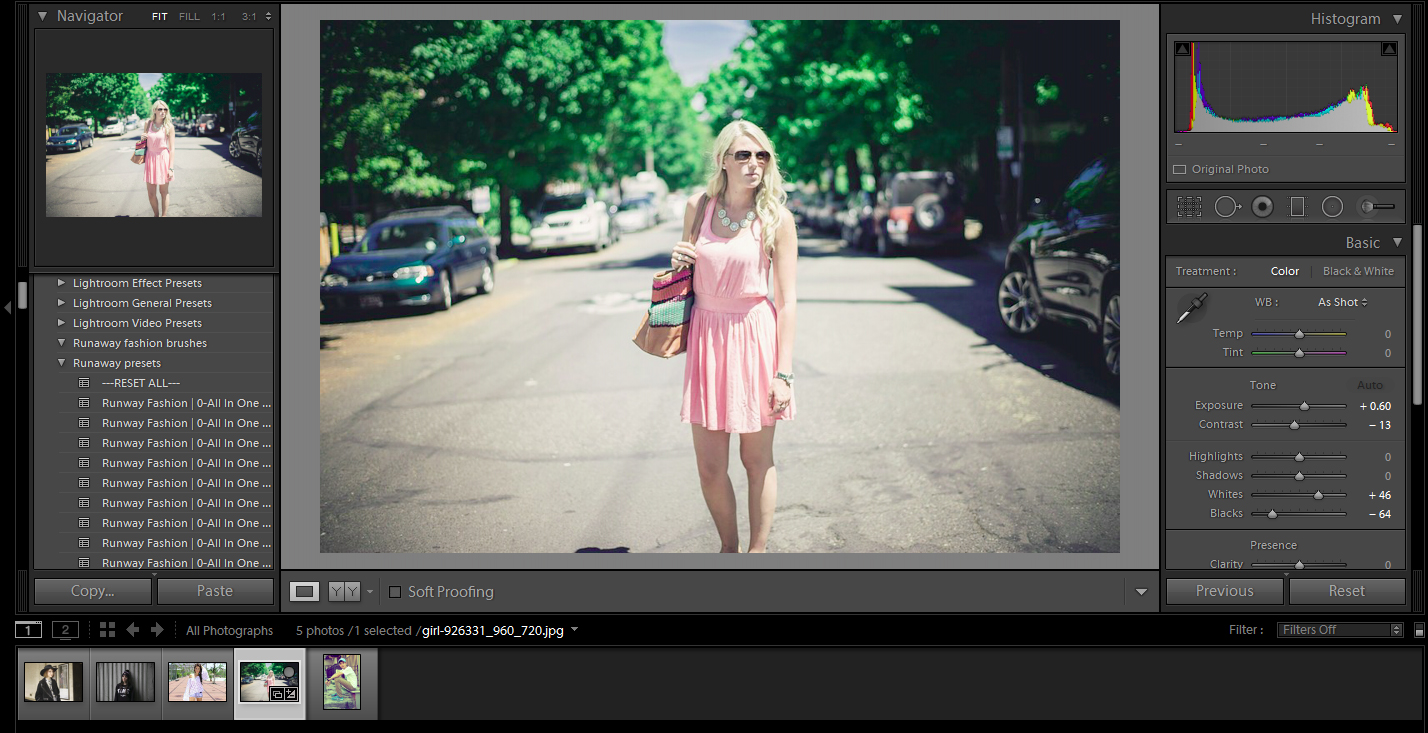
Hello! Today we will go over how to use our “Strike a Pose Workflow”, specifically, how to enhance your subject’s facial features and make up. I have already applied an all in one preset and a vignette to the photograph that I am using today. So, let’s jump right in and get started with her face.
Once you are in the “Strike a Pose Workflow“, and you have your image selected that you want to work with, start by focusing on the face. After you have zoomed in on the area that you want to enhance, go into the brushes, as our “Strike a Pose Workflow” comes with 69 Brushes, there is quite a bit to choose from.
For the image that I am working with today, I will first go to the Rosy Lips brush and I am going to use this brush to enhance the color around her lips. When I click on her lips, You will see a light pink in the color box, when it opens in the bottom right of the panel. I will just go ahead and paint that color around her lips. Then I will turn the saturation up just a little bit more color. Then, I will click New, because I want to go over her lips again, but I want to give it a darker color. We are still using the Rosy Lips brush, but now I will go down to the bottom and open up the colors, choose a color that is slightly darker and then, go over her lips one more time.
Once I have applied the color to her lips, I can then use the sliders to the right to make changes if necessary. For now, I am going to leave it a little darker and turn the contrast up a bit.
The next thing that I am going to do is to work on her eyes. Now, she has her eyes closed, but that doesn’t mean we can’t enhance the make up around them.
So, now we are going to open our brushes again. Going down to my “Strike a Pose” brushes, I am going to use the Add Eyeliner brush. We can use it and go along her eye line and eyelashes, to darken them and add a little more definition. Once I have applied the brush, I am going turn down the exposure a bit, so it will be just a little darker.
The next thing that I am going to do is go back into the “Strike a Pose” brushes and choose Darken, located in the Light brushes. Using this brush in a general “brushing” motion in the crease and around the bottom of her eyelid, just to add some more definition to her eyes. You can use the panel to make any extra adjustments such contrast, exposure and so on.
Next, I am going to add a little blush, we can do that with the Blush brush. So, we will go back to our brushes, for blush you will see that two choices, Add Blush and Add Blush 2. For the image that I’m working with, I will use Add Blush. I will make my brush a little bit bigger, apply it to the cheeks, then turn up the saturation just a bit. Then, I will click on New and apply the brush once more, I feel like there could be a little more color there.
Now we are going to add some contrast to the face, using the Light and Darken brushes. The first thing that I’ll start with, is the highlight, so I will go to the “Strike a Pose” Light – Brighten brush. Use this brush in all of the typical place where you would want to add highlights, such as the middle of the forehead, down the bridge of the nose, right under the eyes, the chin and the “cupids bow” between the nose and the lips. You can also add some highlight to the area between the cheekbone and the jaw line, if needed. Next, I will go back to my brushes and click on the Light – Darken brush, which I will use to add contour to the face. You would normally apply this to right under the cheek bone, around the temples near the eyes, the edges of the forehead and around the jaw line. Then, I will click on New, select the Light – Darken brush again, this time making your brush really small. I will use this to add a bit of contrast to the side of her nose, but not too much.
The last thing that I will do to enhance the facial features is to sharpen the face. Going back into my brushes, I will select the “Strike a Pose” Sharpen Face brush. I am going to apply this brush around the eyes and mouth. In my finished image, you can see that we have basically contoured her face and added a little color to it. The changes weren’t huge, but it does make a difference in the photo.
So, Now I am going to open another photograph to work with. Like above, we are just going to work with the face and enhancing the facial features, using the “Strike a Pose” brushes.
With this photograph, the first thing that I will work on is her lips. So again, I will open my brushes, selecting the Rosy Lips brush once more, but this time I will go into the color box and change the color, going for a really deep pink. I want to add a lot of color to her lips, applying to the lips as if I was changing her lip gloss or lipstick color. Once applied, I will turn the saturation down a little and make it a bit brighter by slightly increasing the exposure and contrast.
Now, I will move up and work on the eyes. I will start by going back to my brushes and choosing the “Strike a Pose” Whiten Eyes brush. Like the name of the brush suggests, it applied to the whites of the eyes to enhance and brighten. I am just going around, brushing over any of the dark or red areas. Once I’ve applied the brush, I will adjust it a bit by turning up the exposure, making it a little brighter.
Next, I will start with a new brush, this time the “Strike a Pose” Light – Brighten brush. I will apply this brush around the eyes, just to add a little bit of light. After I have brightened the eyes, I am going to click on New and start with a new brush. Now I want to enhance her eyes, so I will have two brush options. I can choose from Enhance Blue Eyes or Enhance Blue Eyes 2, for this one I will go with Enhance Blue Eyes 2. Now I will go into colors and move my color up, to make it a tiny bit darker. I will go ahead and use that color around the iris of the eyes, then turn the saturation up a bit and add a little more light to the exposure.
Alright, The next that I will do is enhance her eye makeup and to do that, all I will need is to start a new brush and use the “Strike a Pose” Darken brush. I am going to use this brush to go along the eyes and make her eye shadow just a bit darker.
Going back to my brushes, this time the next brush that I’m going to use, will be the Add Eyeliner brush. I am using this brush right along the eye line, just to darken it some. Darkening the eye line will actually make the iris stand out.
Now that I’ve gone ahead and changed her eye makeup, her lips and changed her eyes, now what I am going to do is add contours to her face. To do that, I am going to use the Light brushes again. The “Strike a Pose” work flow comes with Light – Darken and Light – Brighten brushes, which are going to be used a lot. So for now, I’m going to go for the Light – Brighten and add highlights to the face. Highlights can where they would naturally go, which would be around the middle of the forehead, down the bridge of the nose, under the eyes in an inverted triangle, the chin and last, the “cupids bow” between the nose and the upper lip. Occasionally, I add a little bit of highlight just to the bottom lip. Another optional place that you may want to highlight is right under the brow bone, between the eyebrow and the eyelid. It will really make the eyebrows and eye make up stand out.
Now I am going to go with a dark brush, so I will select the Light – Darken brush and add contours with this. Your contours will normally go on the cheek bones, around the sides of the face and temples, the sides of the forehead and along the jaw line. Then, click New to start a new one brush. I am still using the Light – Darken brush, but now I have made my brush really small. I am going to use it to run a line down the side of her nose, just because this helps thin out the nose a little bit. The line doesn’t need to be that dark, so I am going to use the exposure slider to turn it up a bit.
So far we have changed the skin color, the make up and the contours. This has made for an overall, more polished look to the image.
I hope you guys enjoyed this tutorial on how to enhance facial features and make up, Hopefully you will try it out for yourself!
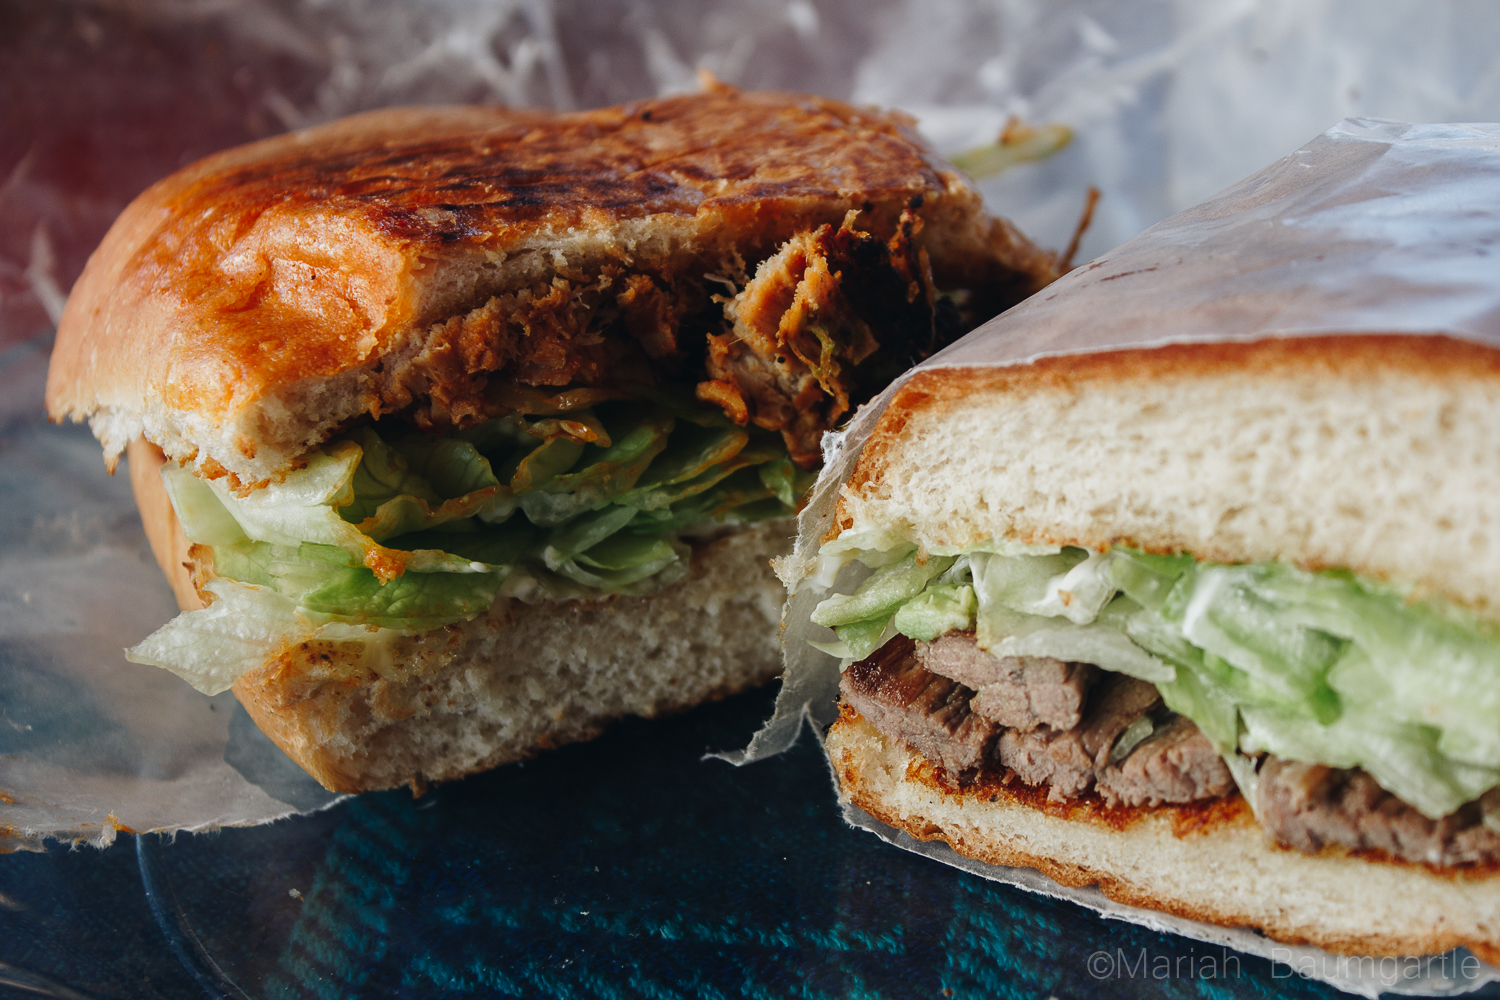
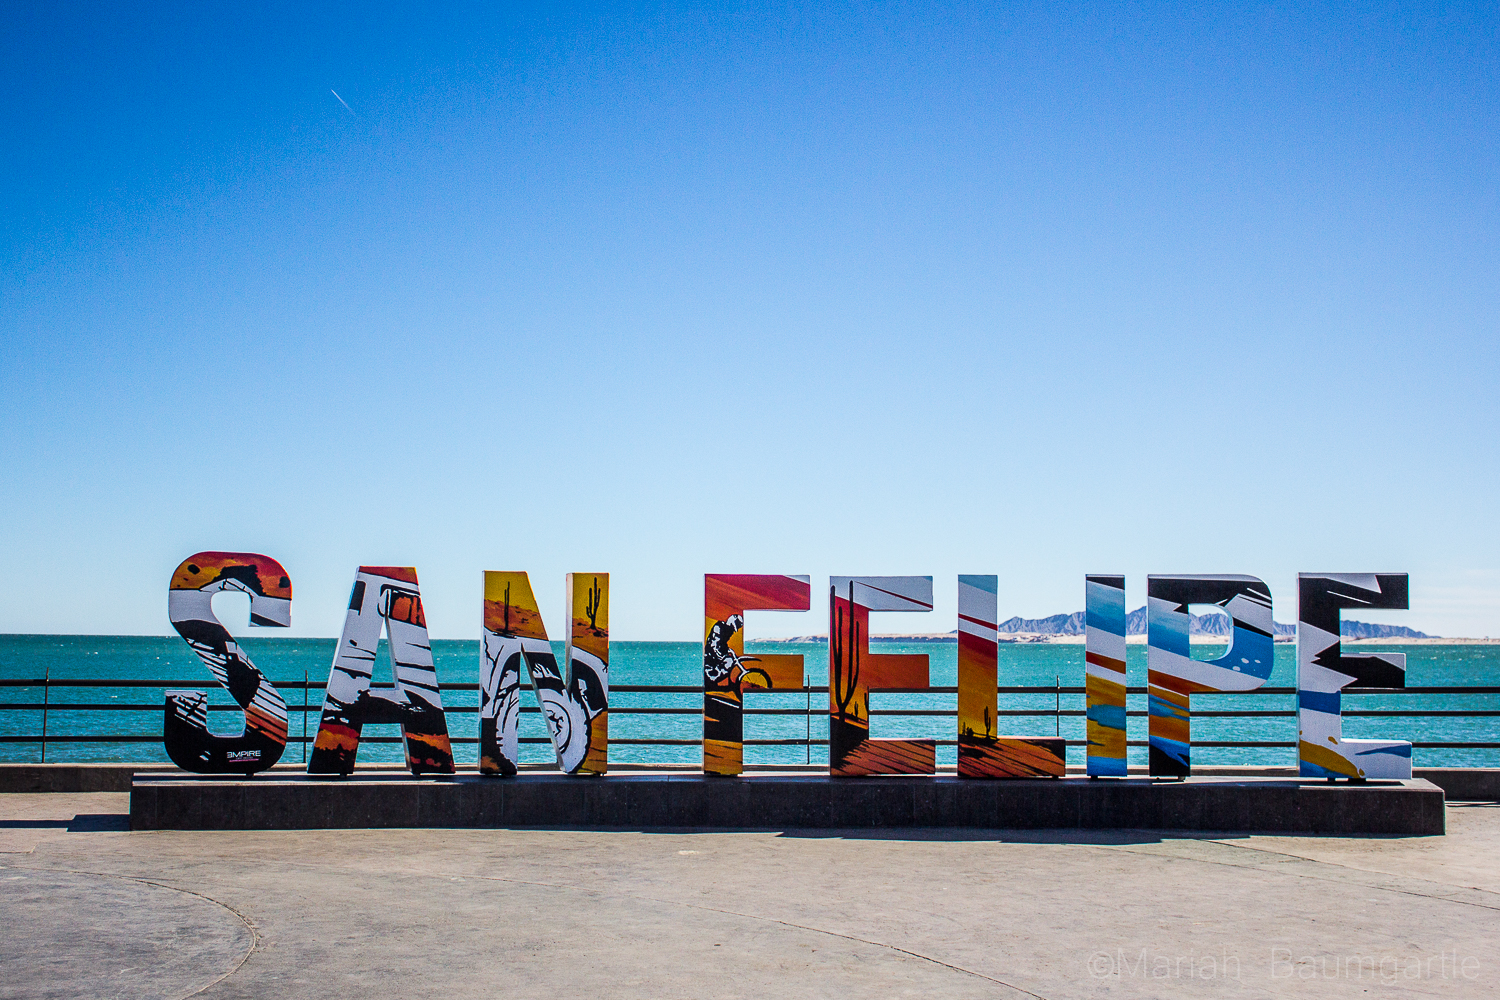 On your way to downtown San Felipe, you will first spot The Arches, a very popular monument of San Felipe. They call the arches “The Gateway To The Sea” The arches offers many angles. However, the only problem photographing the arches are all of the distractions around such as signs and wires, which you can Photoshop out later. Around and past the arches you will also find a hillside where you can explore to gather some more cultural photographs of the areas. This area is where you will find all of the best authentic food with local taquerias and is always a great photo op in itself by practicing your food photography. Down at the end of San Felipe is The Malecon, which sits next to The Sea of Cortes. The Malecon is lined with restaurants, shopping, and with a great view of the sea. This is where all of the events happen in towns such as food festivals, music festivals, and parades. This is a great place to take some iPhone street photography.
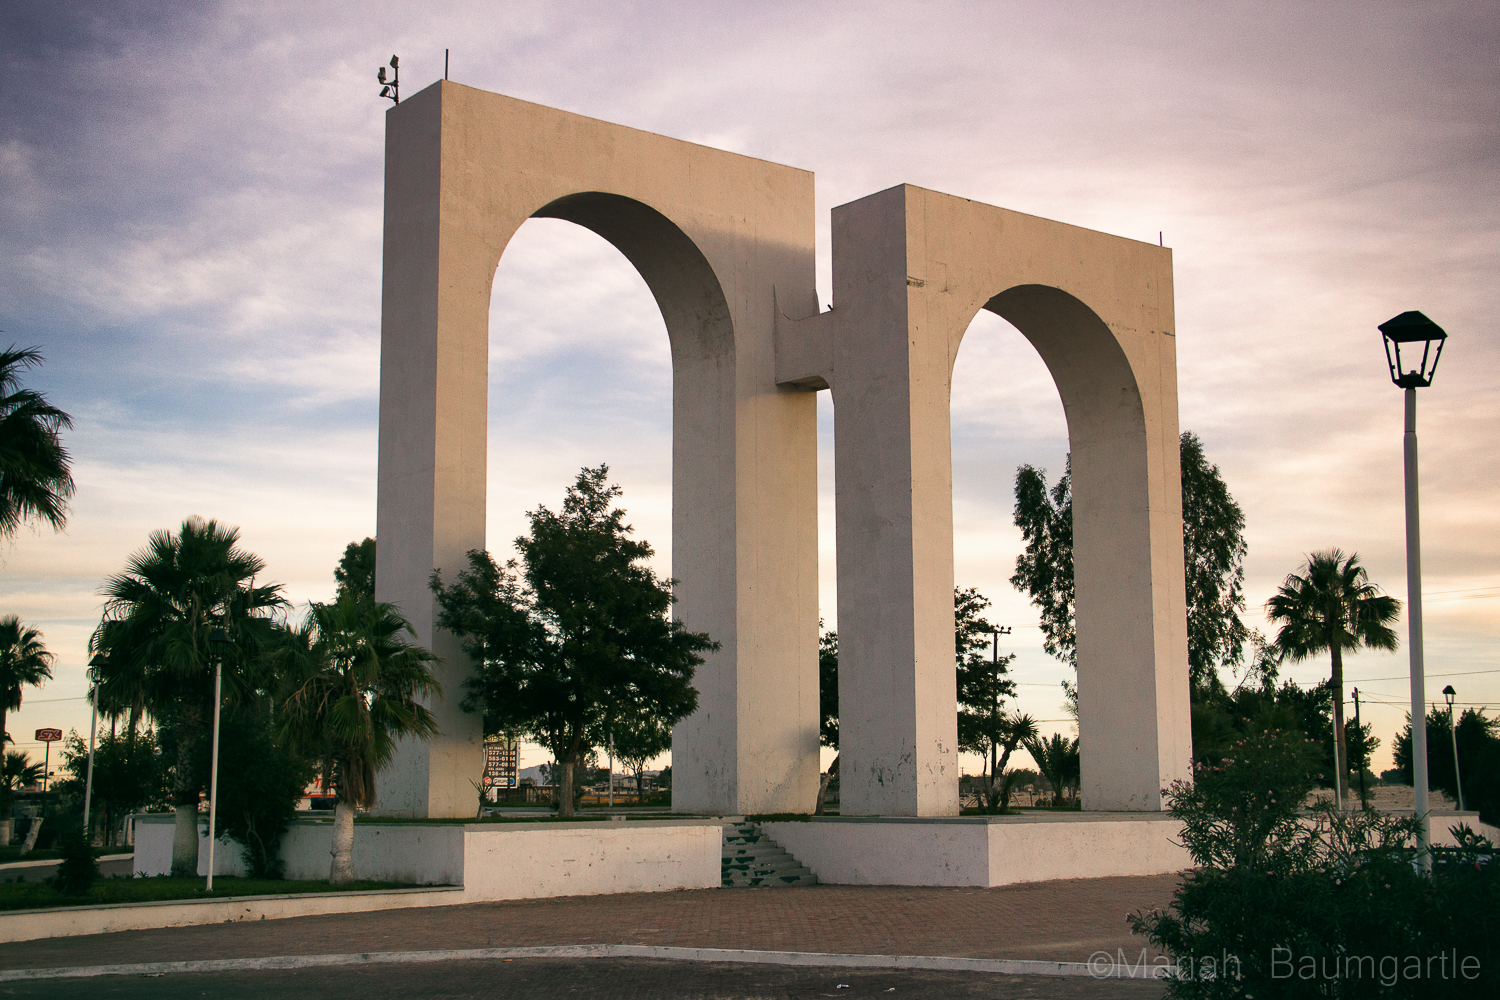


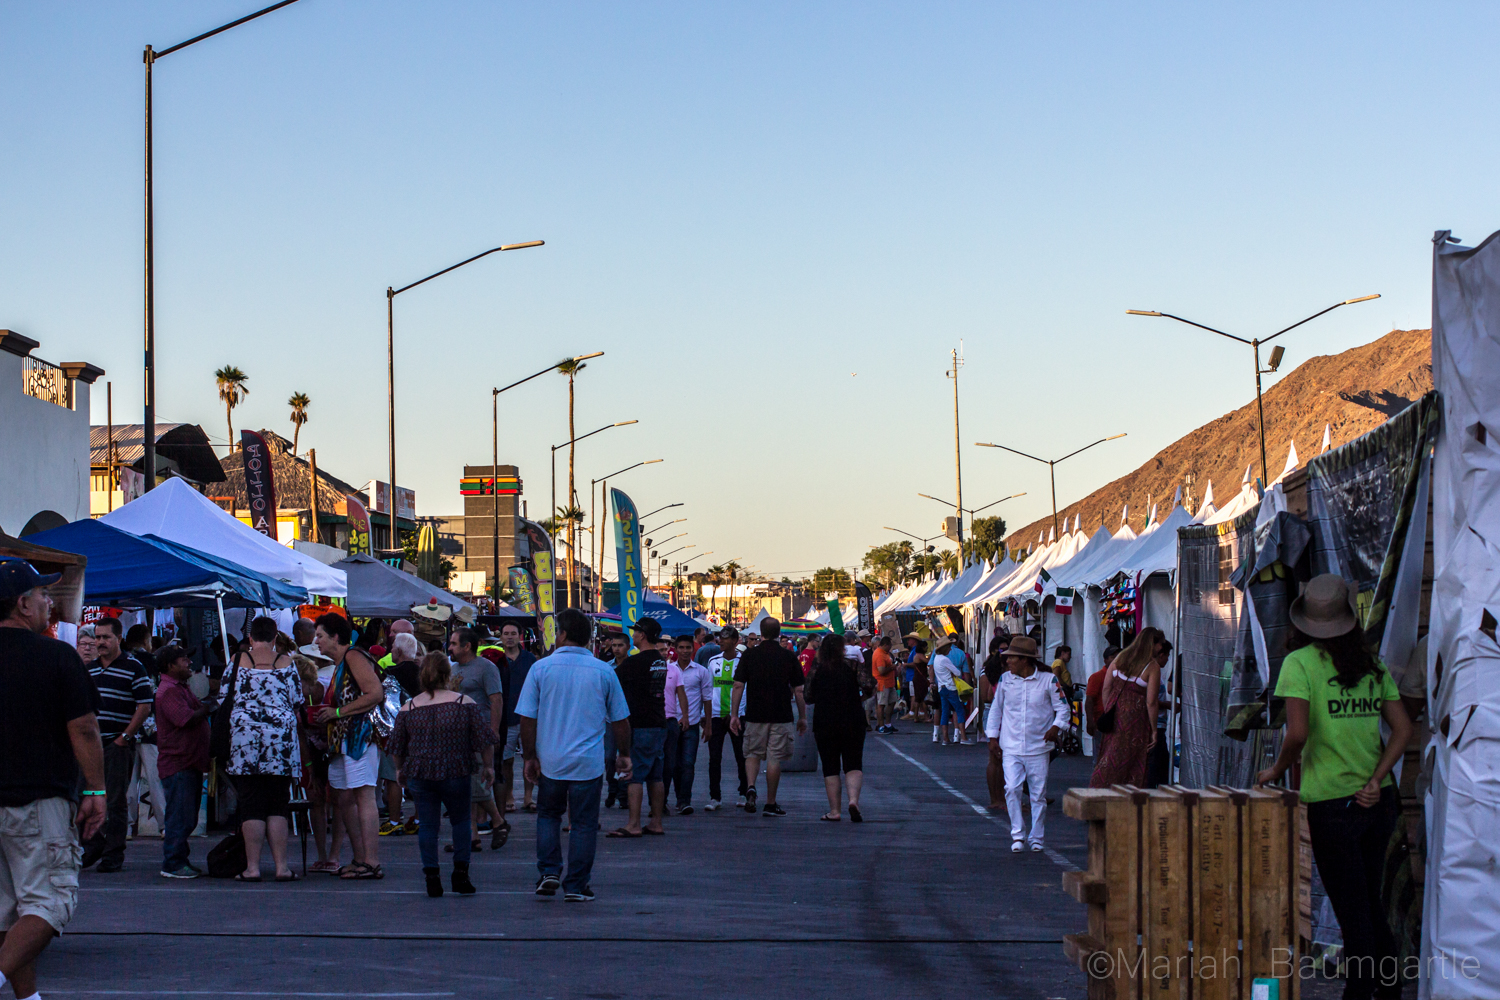

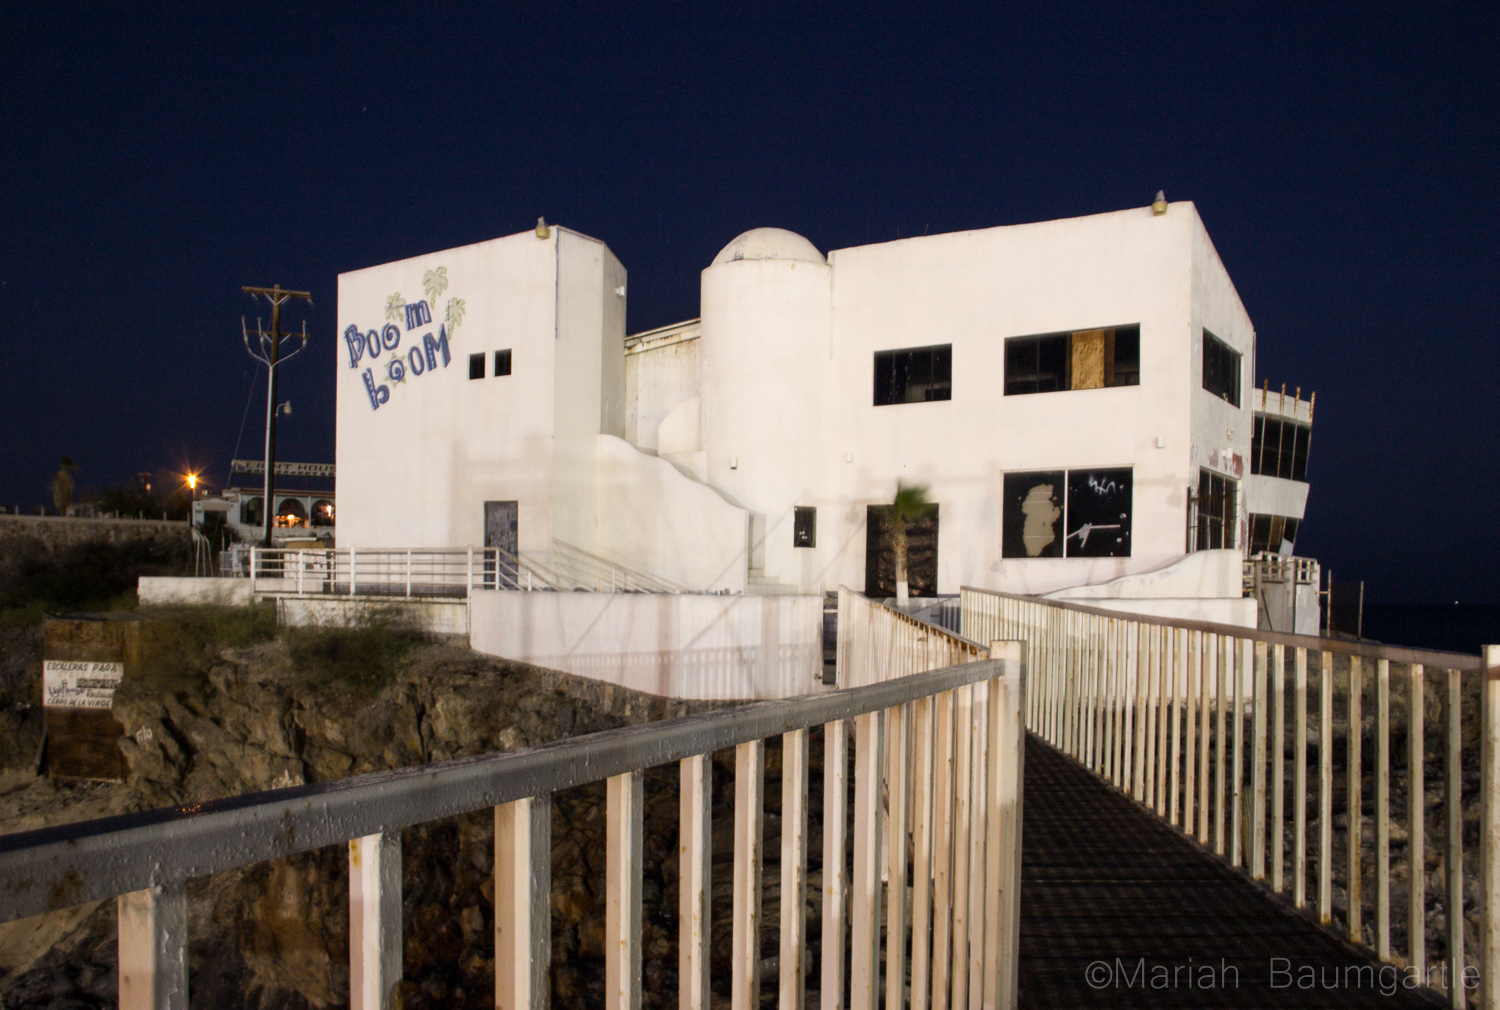
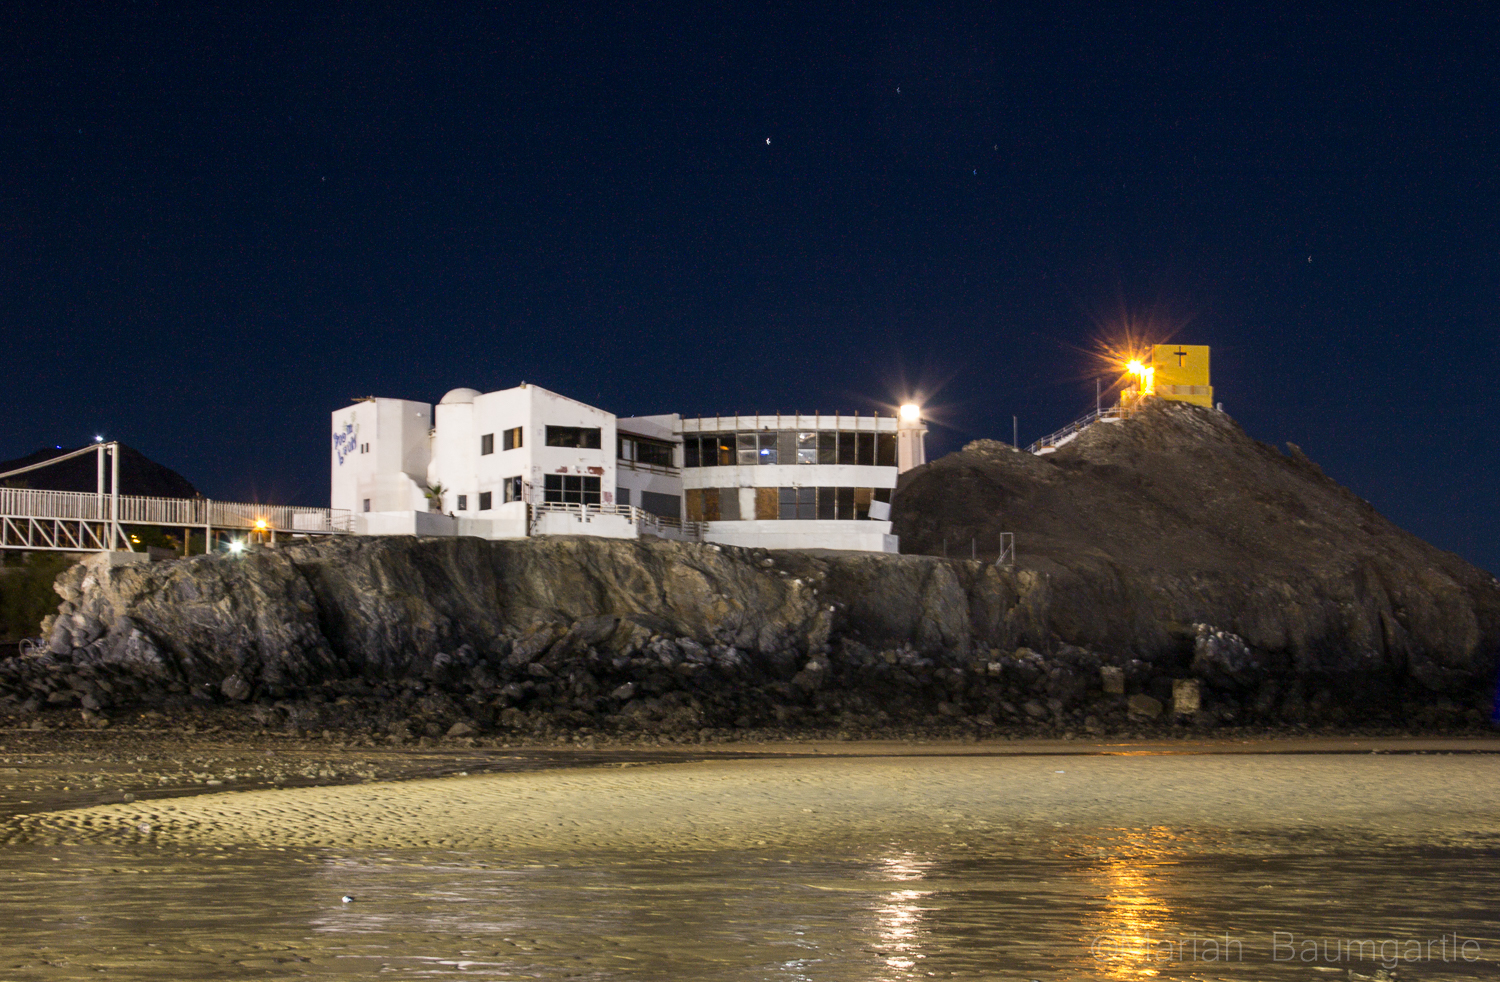
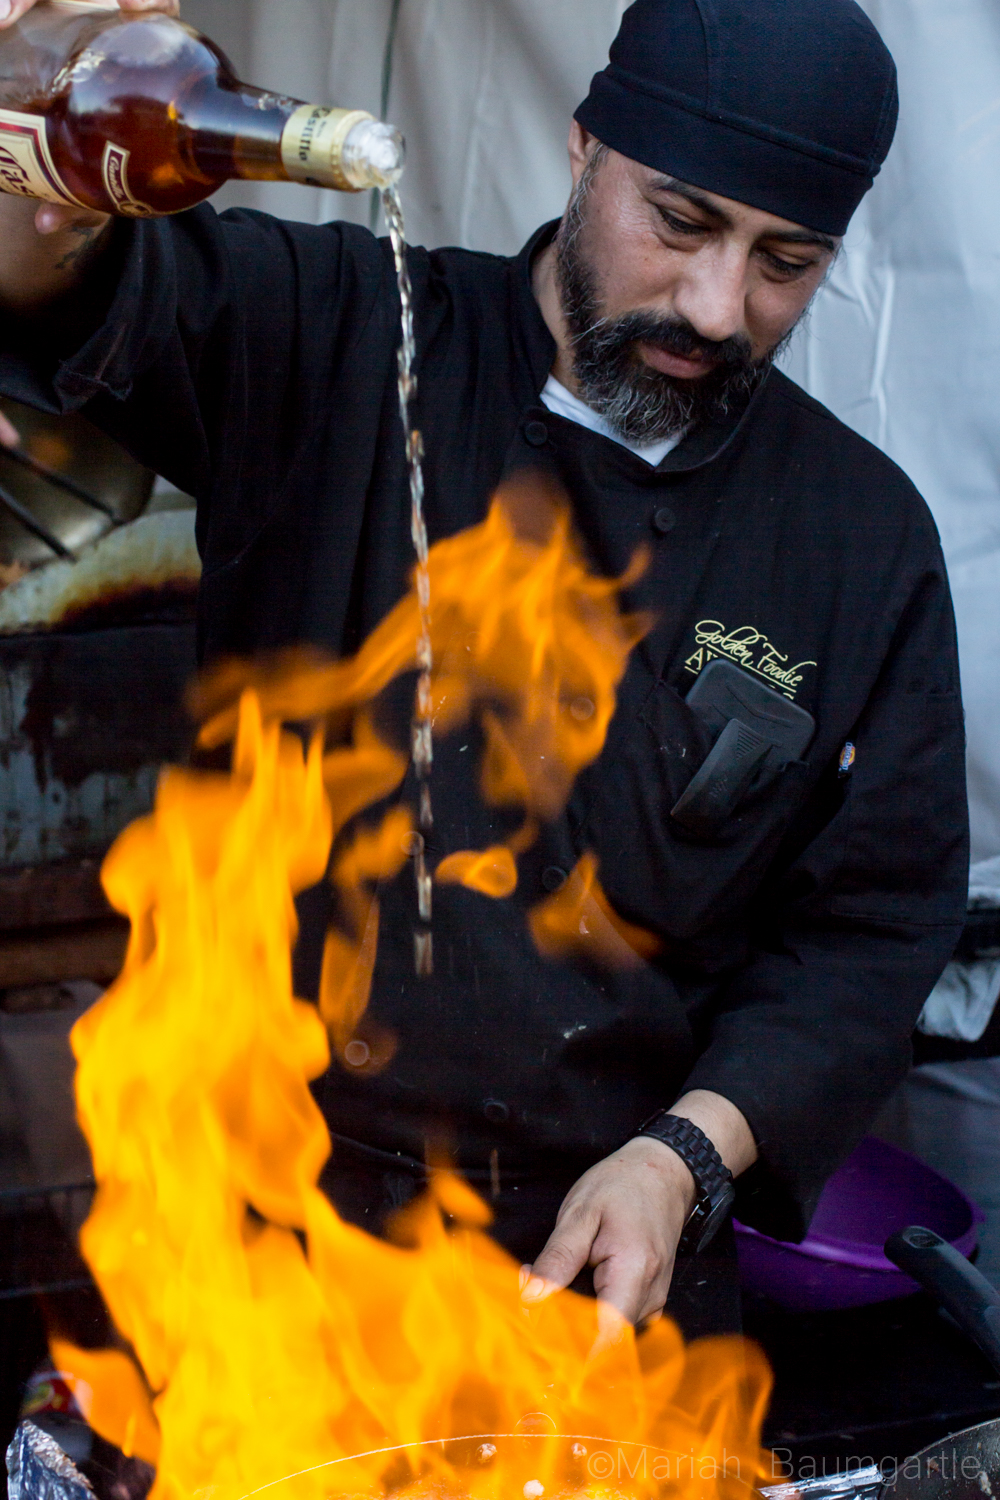 San Felipe is also a great place to gather some night photography. One of the best spots for night photography is down at The Shipyard, which you will find at the end of The Malecon. The Shipyard used to be a marina but was flooded, and they could not move the ships, so they are left there are part of a San Felipe gem. Up on a hill, you will find a building, The Boom Boom Room, a place that has also been abandoned and a very interesting location to photograph during the day or evening. Up on a mountain, you will find a little yellow chapel that looks over the town of San Felipe and right next to it is the lighthouse, which you can shoot from ground level or up at the top where the prayer building is. This is a great place to work with your angles. If you are in town during the full moon make sure to catch the moon rise over The Sea of Cortes: I was there for supermoon, and it was an incredible experience and a really good opportunity to try my moon photography skills and also work with some post editing.
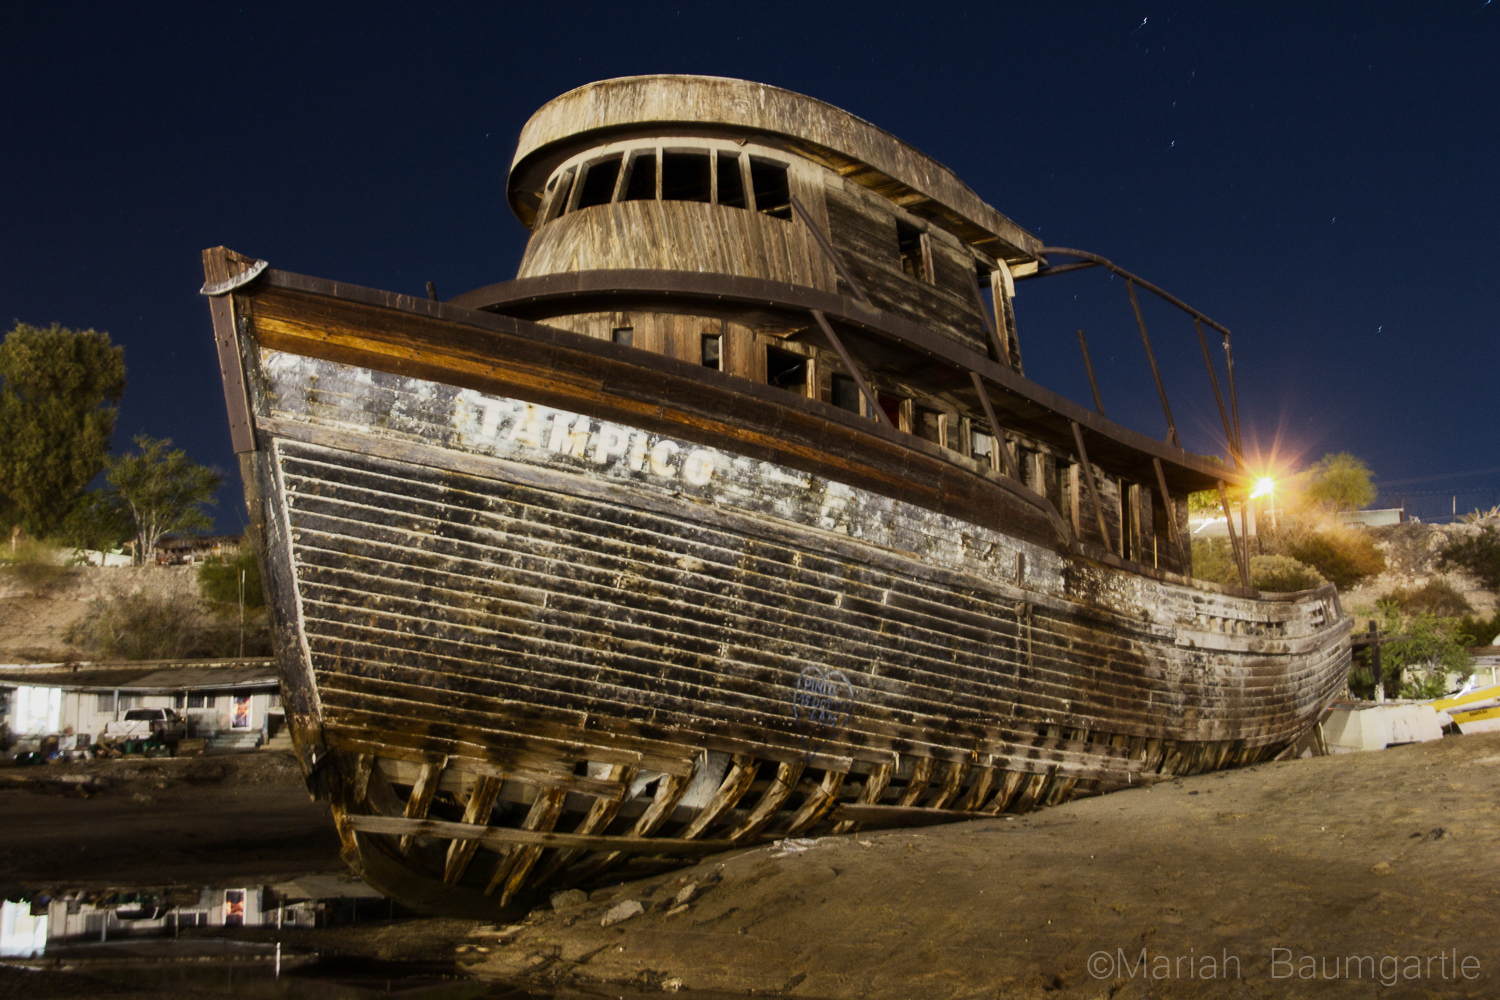

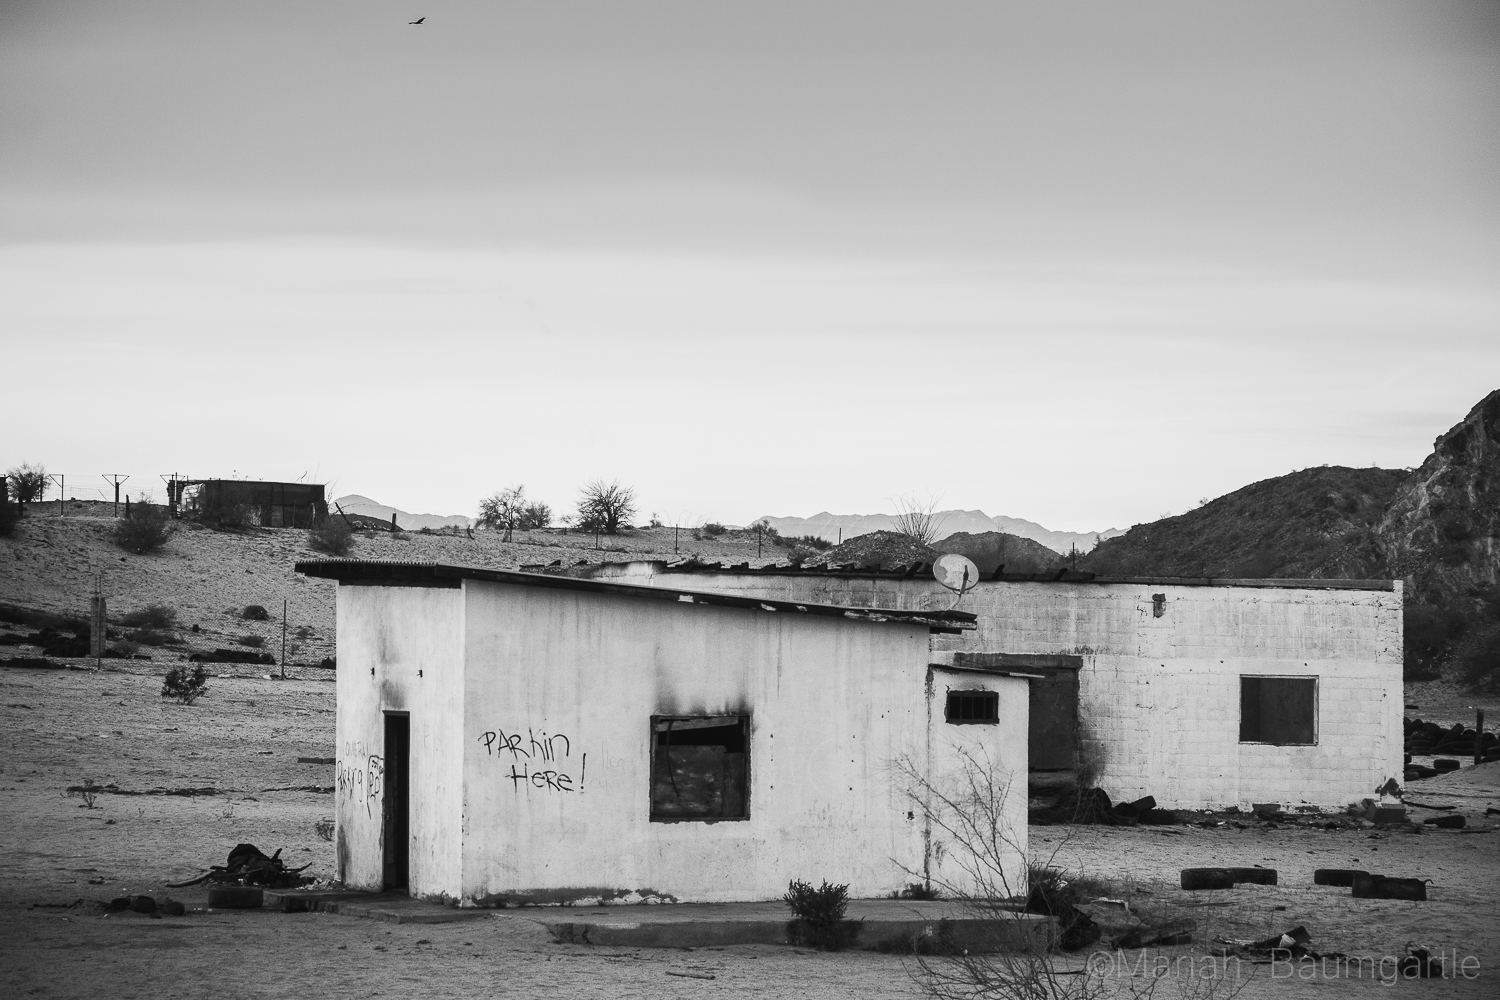
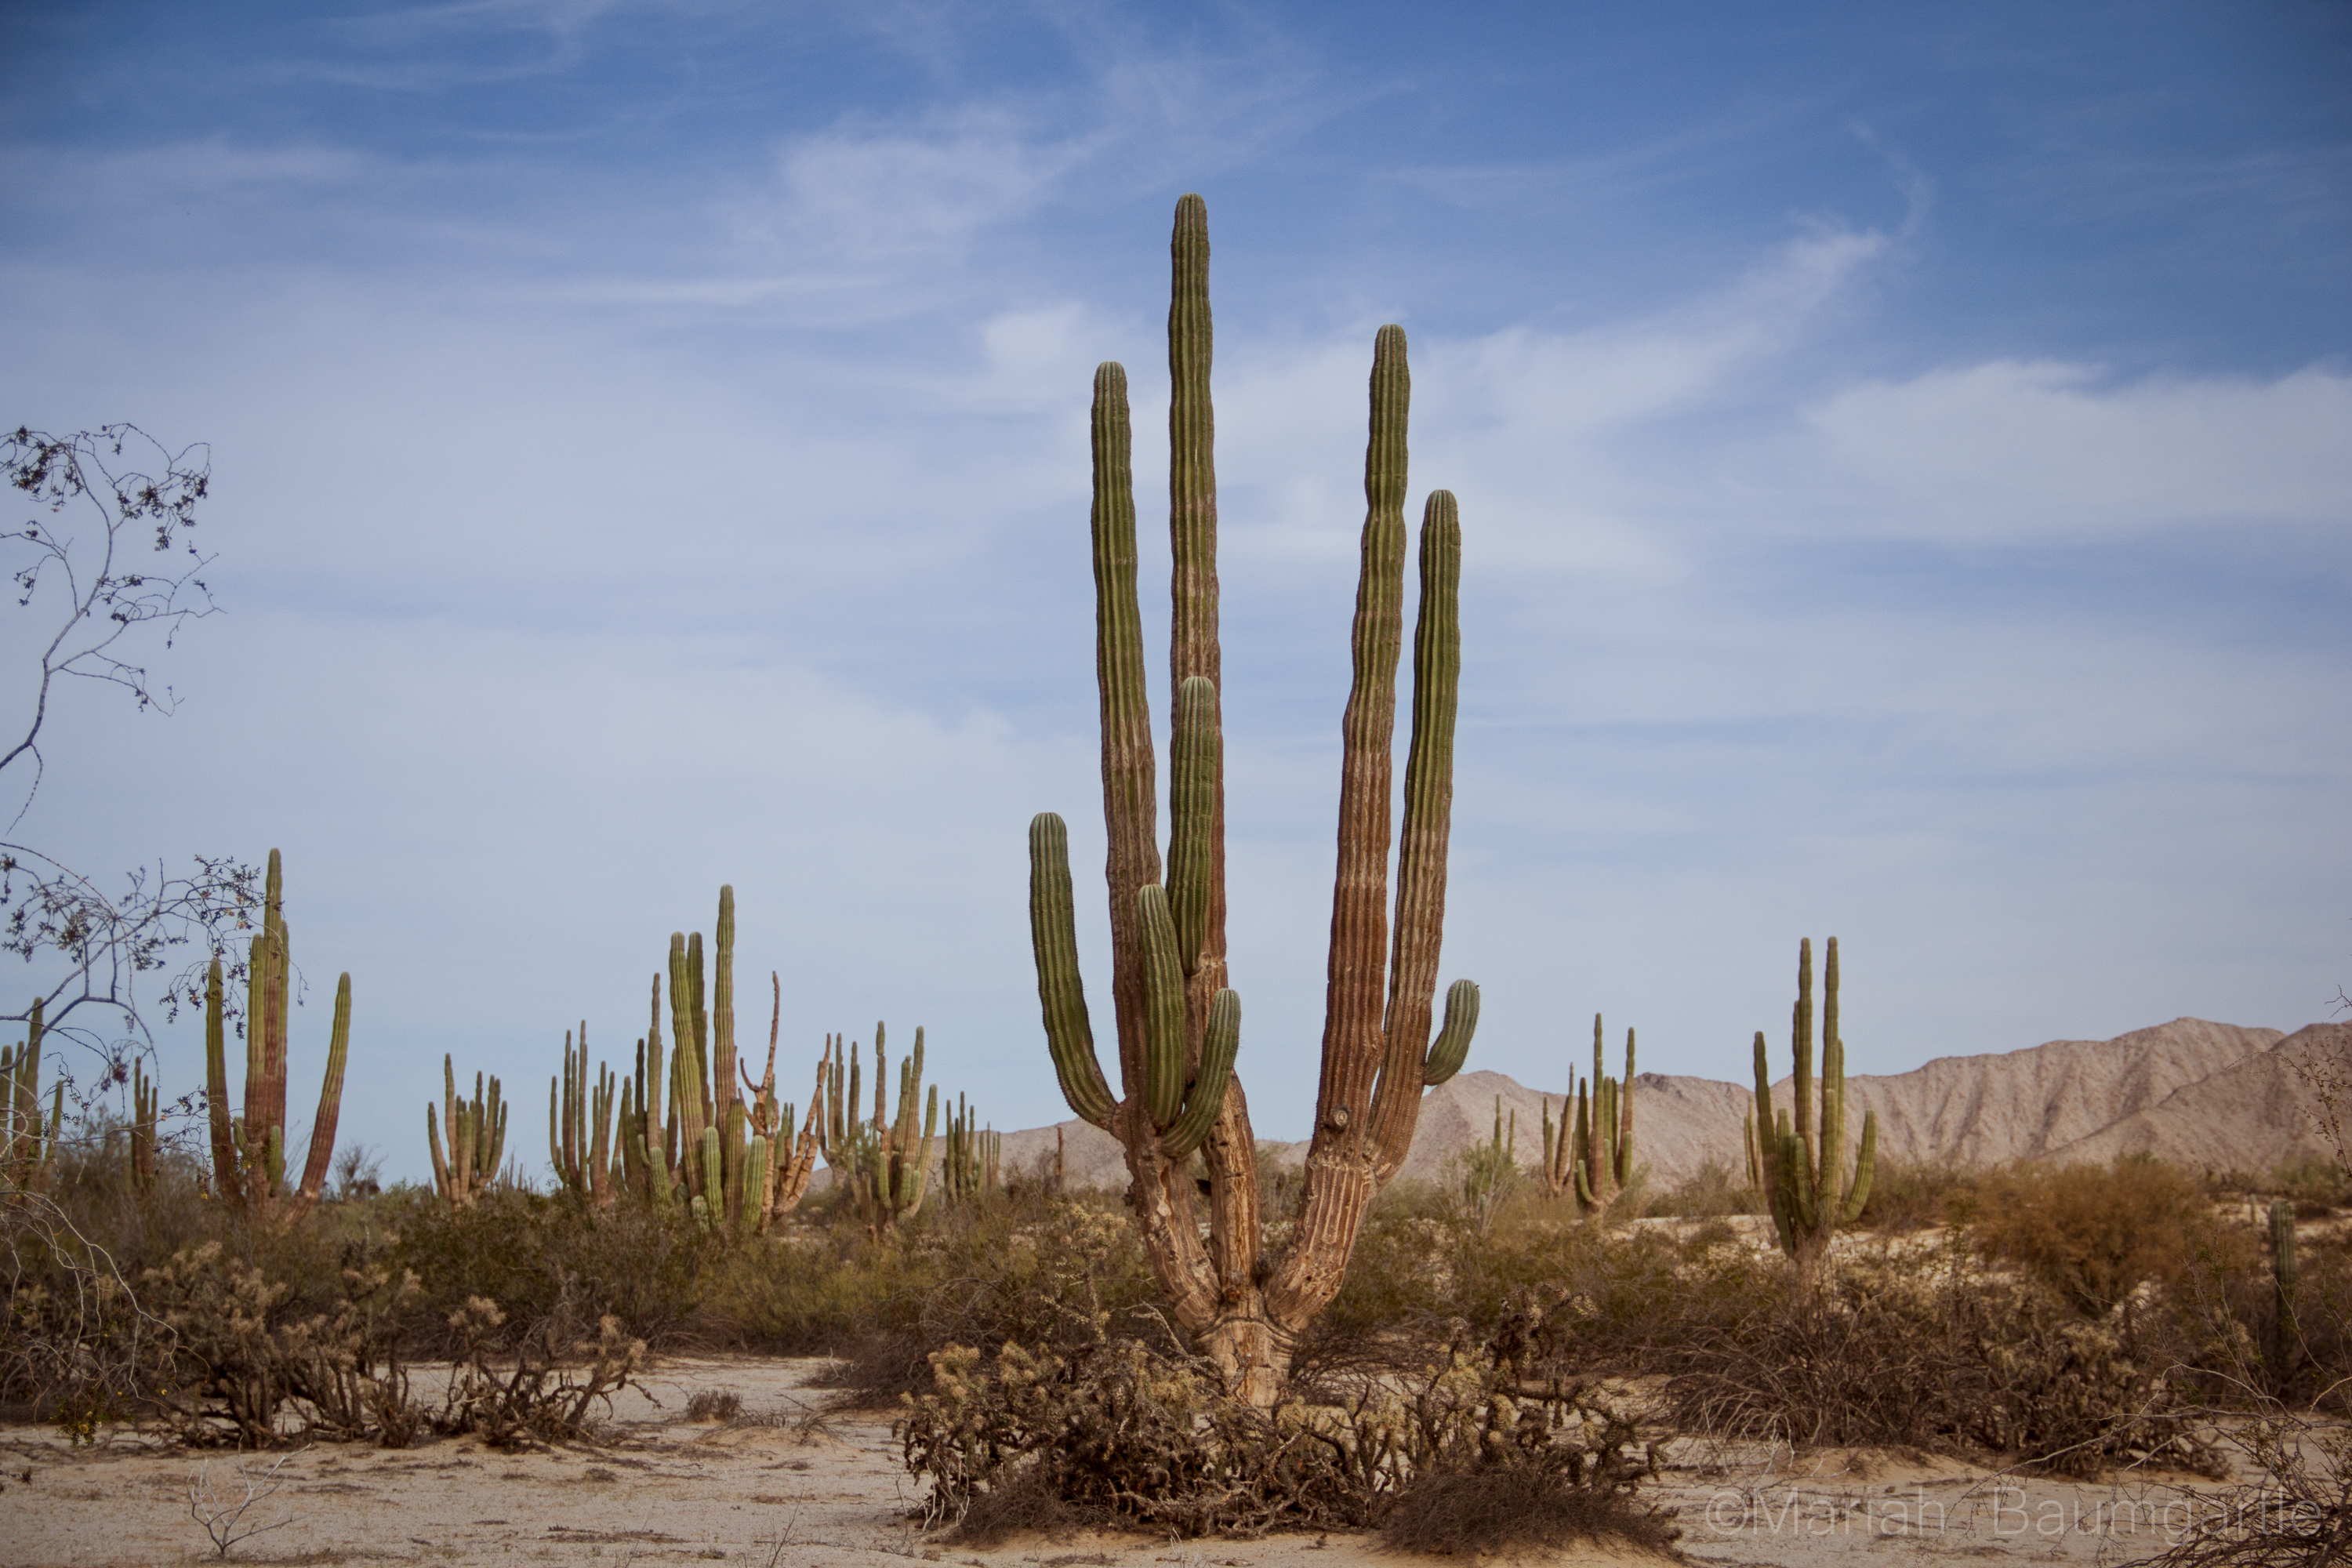
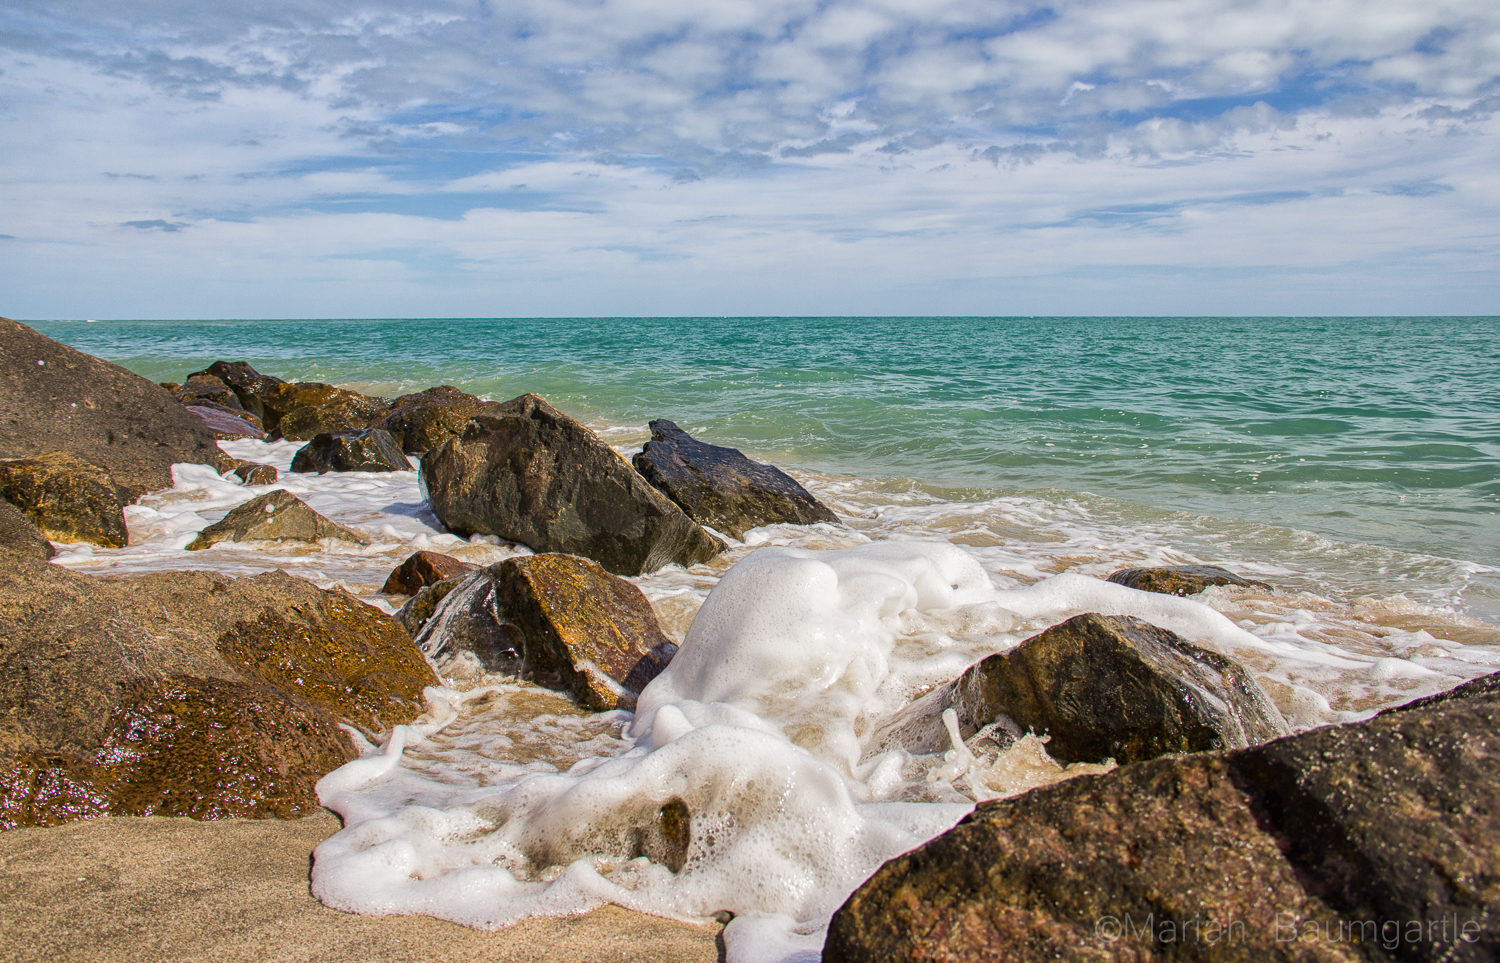
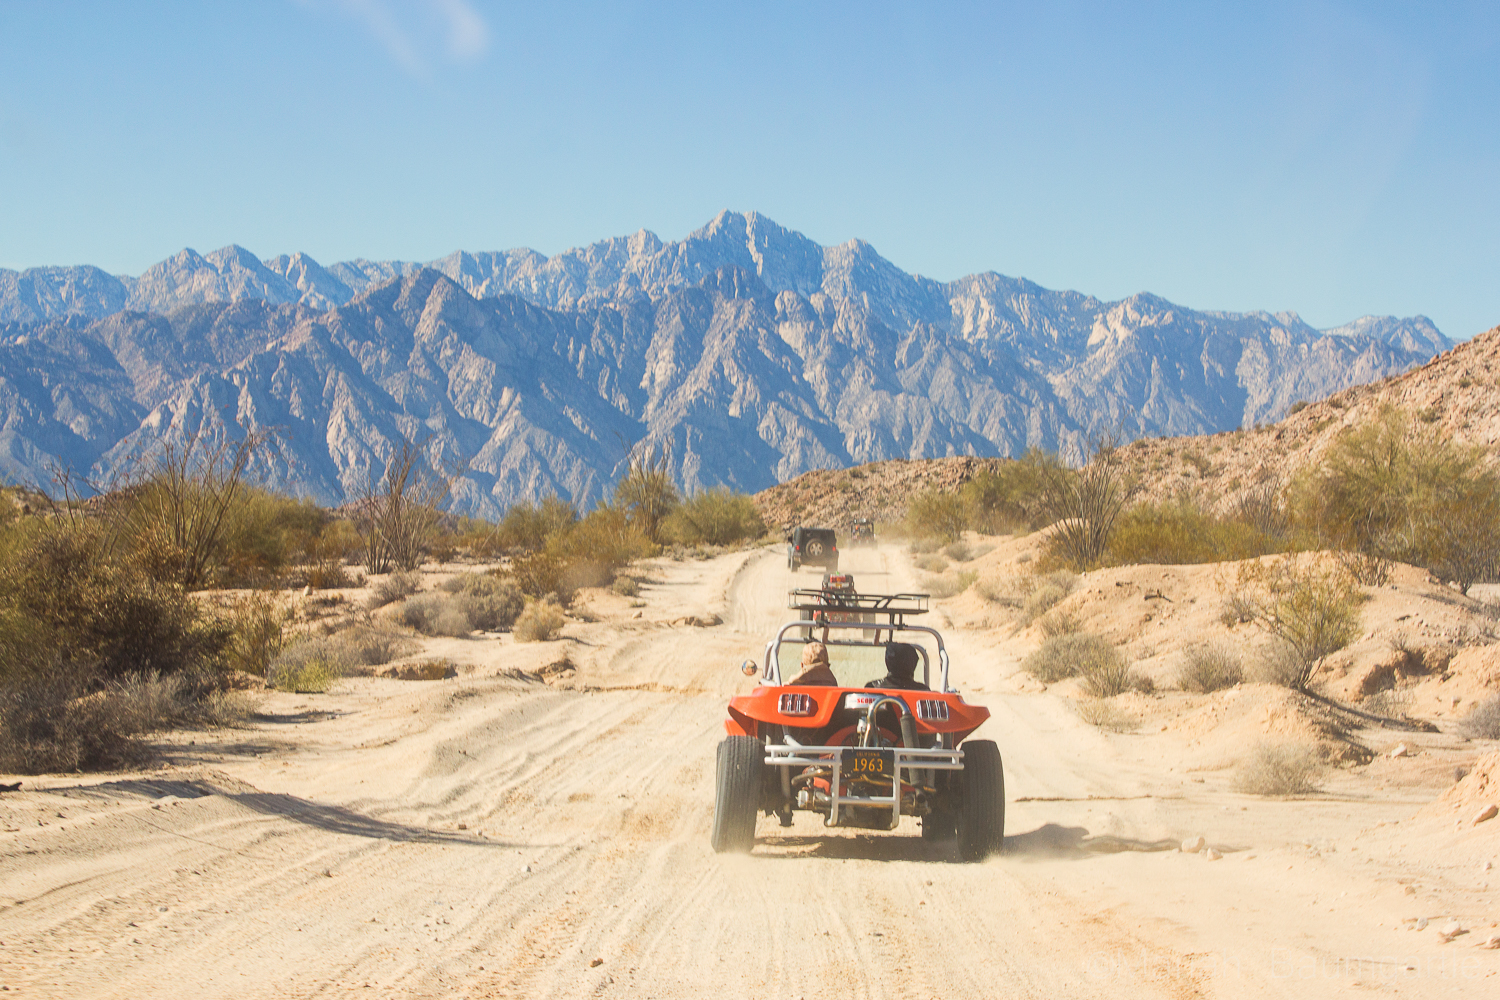
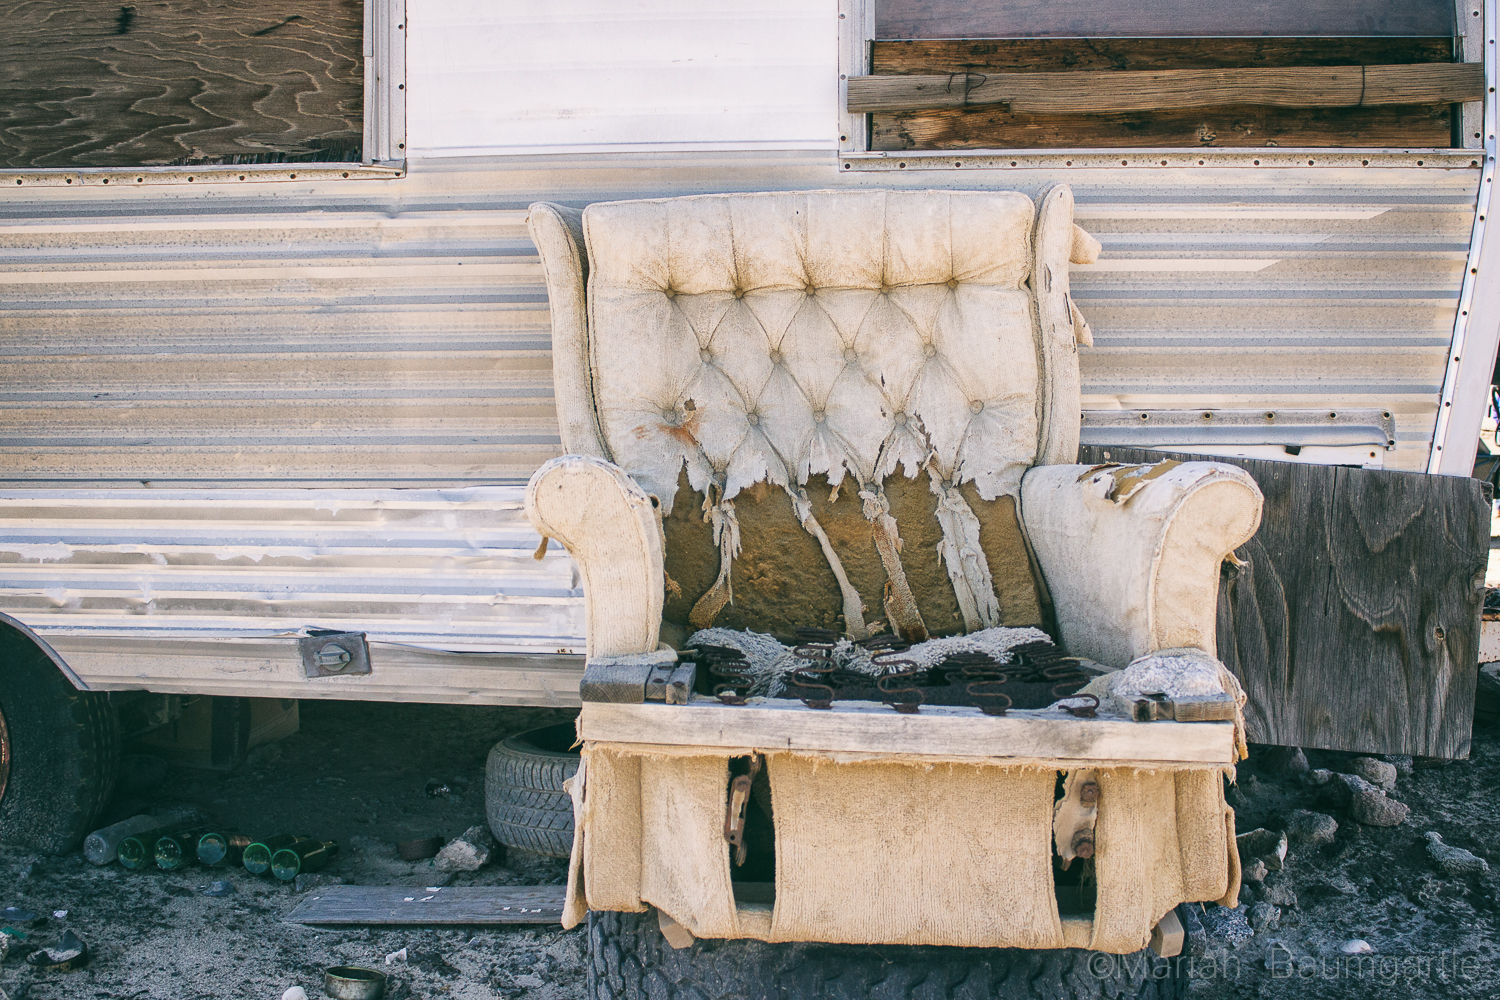
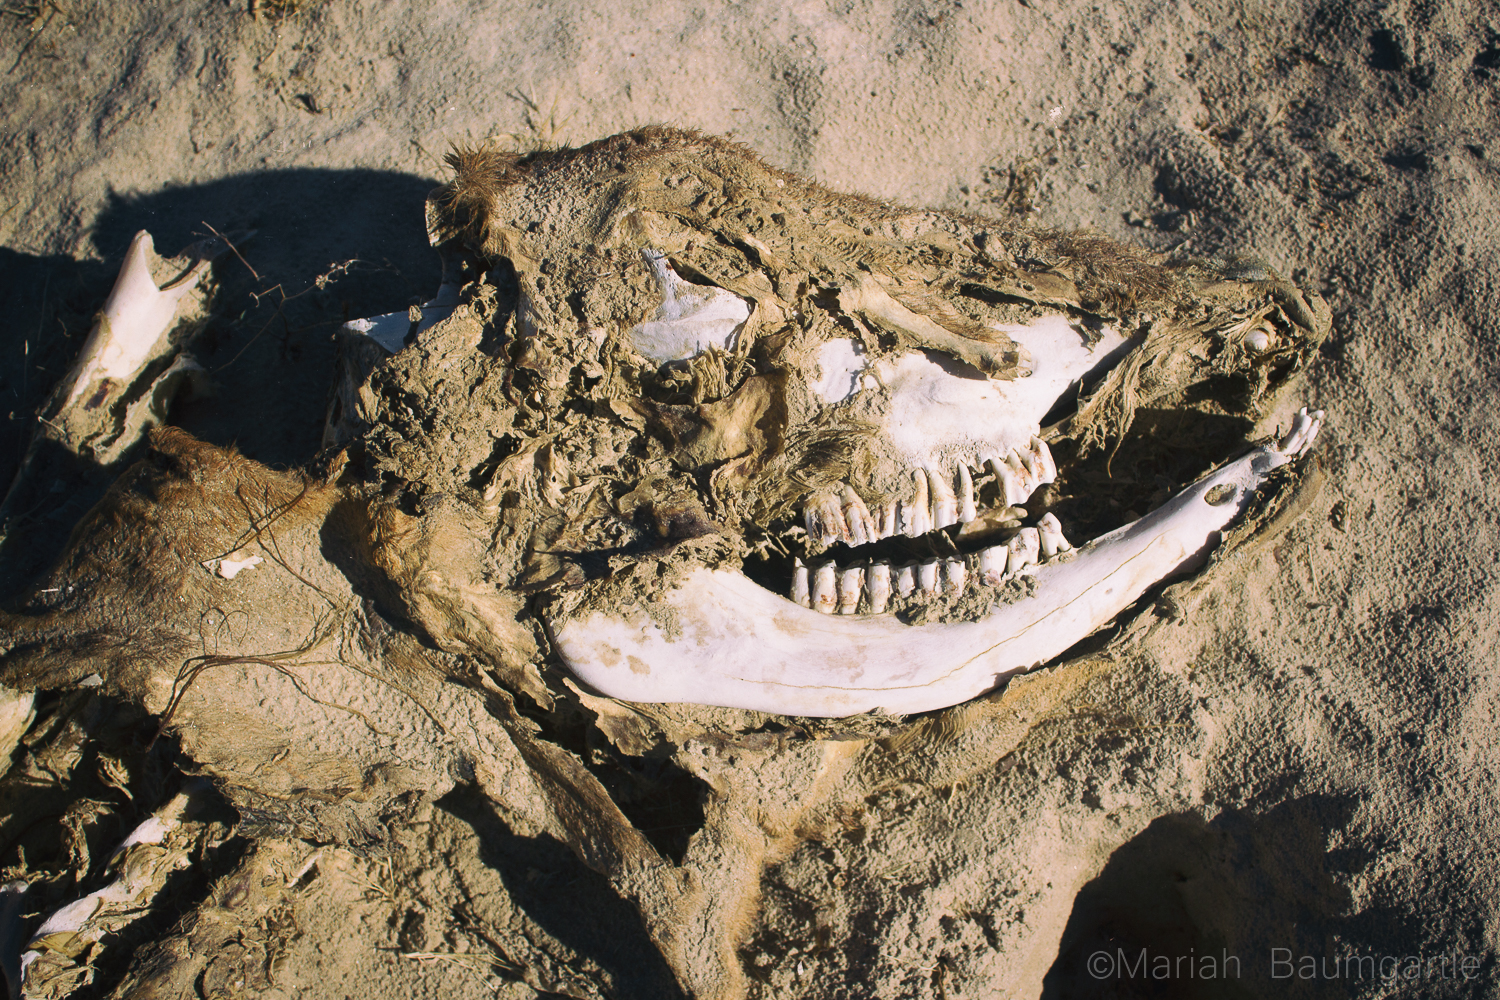
 There are many smaller day trips you can take from San Felipe for some great opportunities including more water and desert land. On a note of transportation, you will need some form of 4-wheel drive out in the desert. It is a famous landmark in the area is The Valley of The Giants and a photo opportunity you will not want to miss. The valley holds cardon cacti that stand nearly 50 feet high. You can also drive further south to Percebu where you will find a little more surf in the water and also a great location to find treasures along the beach. Along the way, you will find more abounded buildings and interesting homes and land to photograph. The desert land has a lot of beauty to offer, and San Felipe is surrounded by beautiful desert land. You can take a drive out west closer to the mountains for some more variety in your desert landscape. The desert also offers some interesting finds such as bones, rocks, and maybe even a carcass or two. If you are going out in the middle of the day, you will have problems with harsh lighting in your landscapes, but you can always enhance your lighting in post production with landscape Photoshop actions or Lightroom Presets and Brushes.
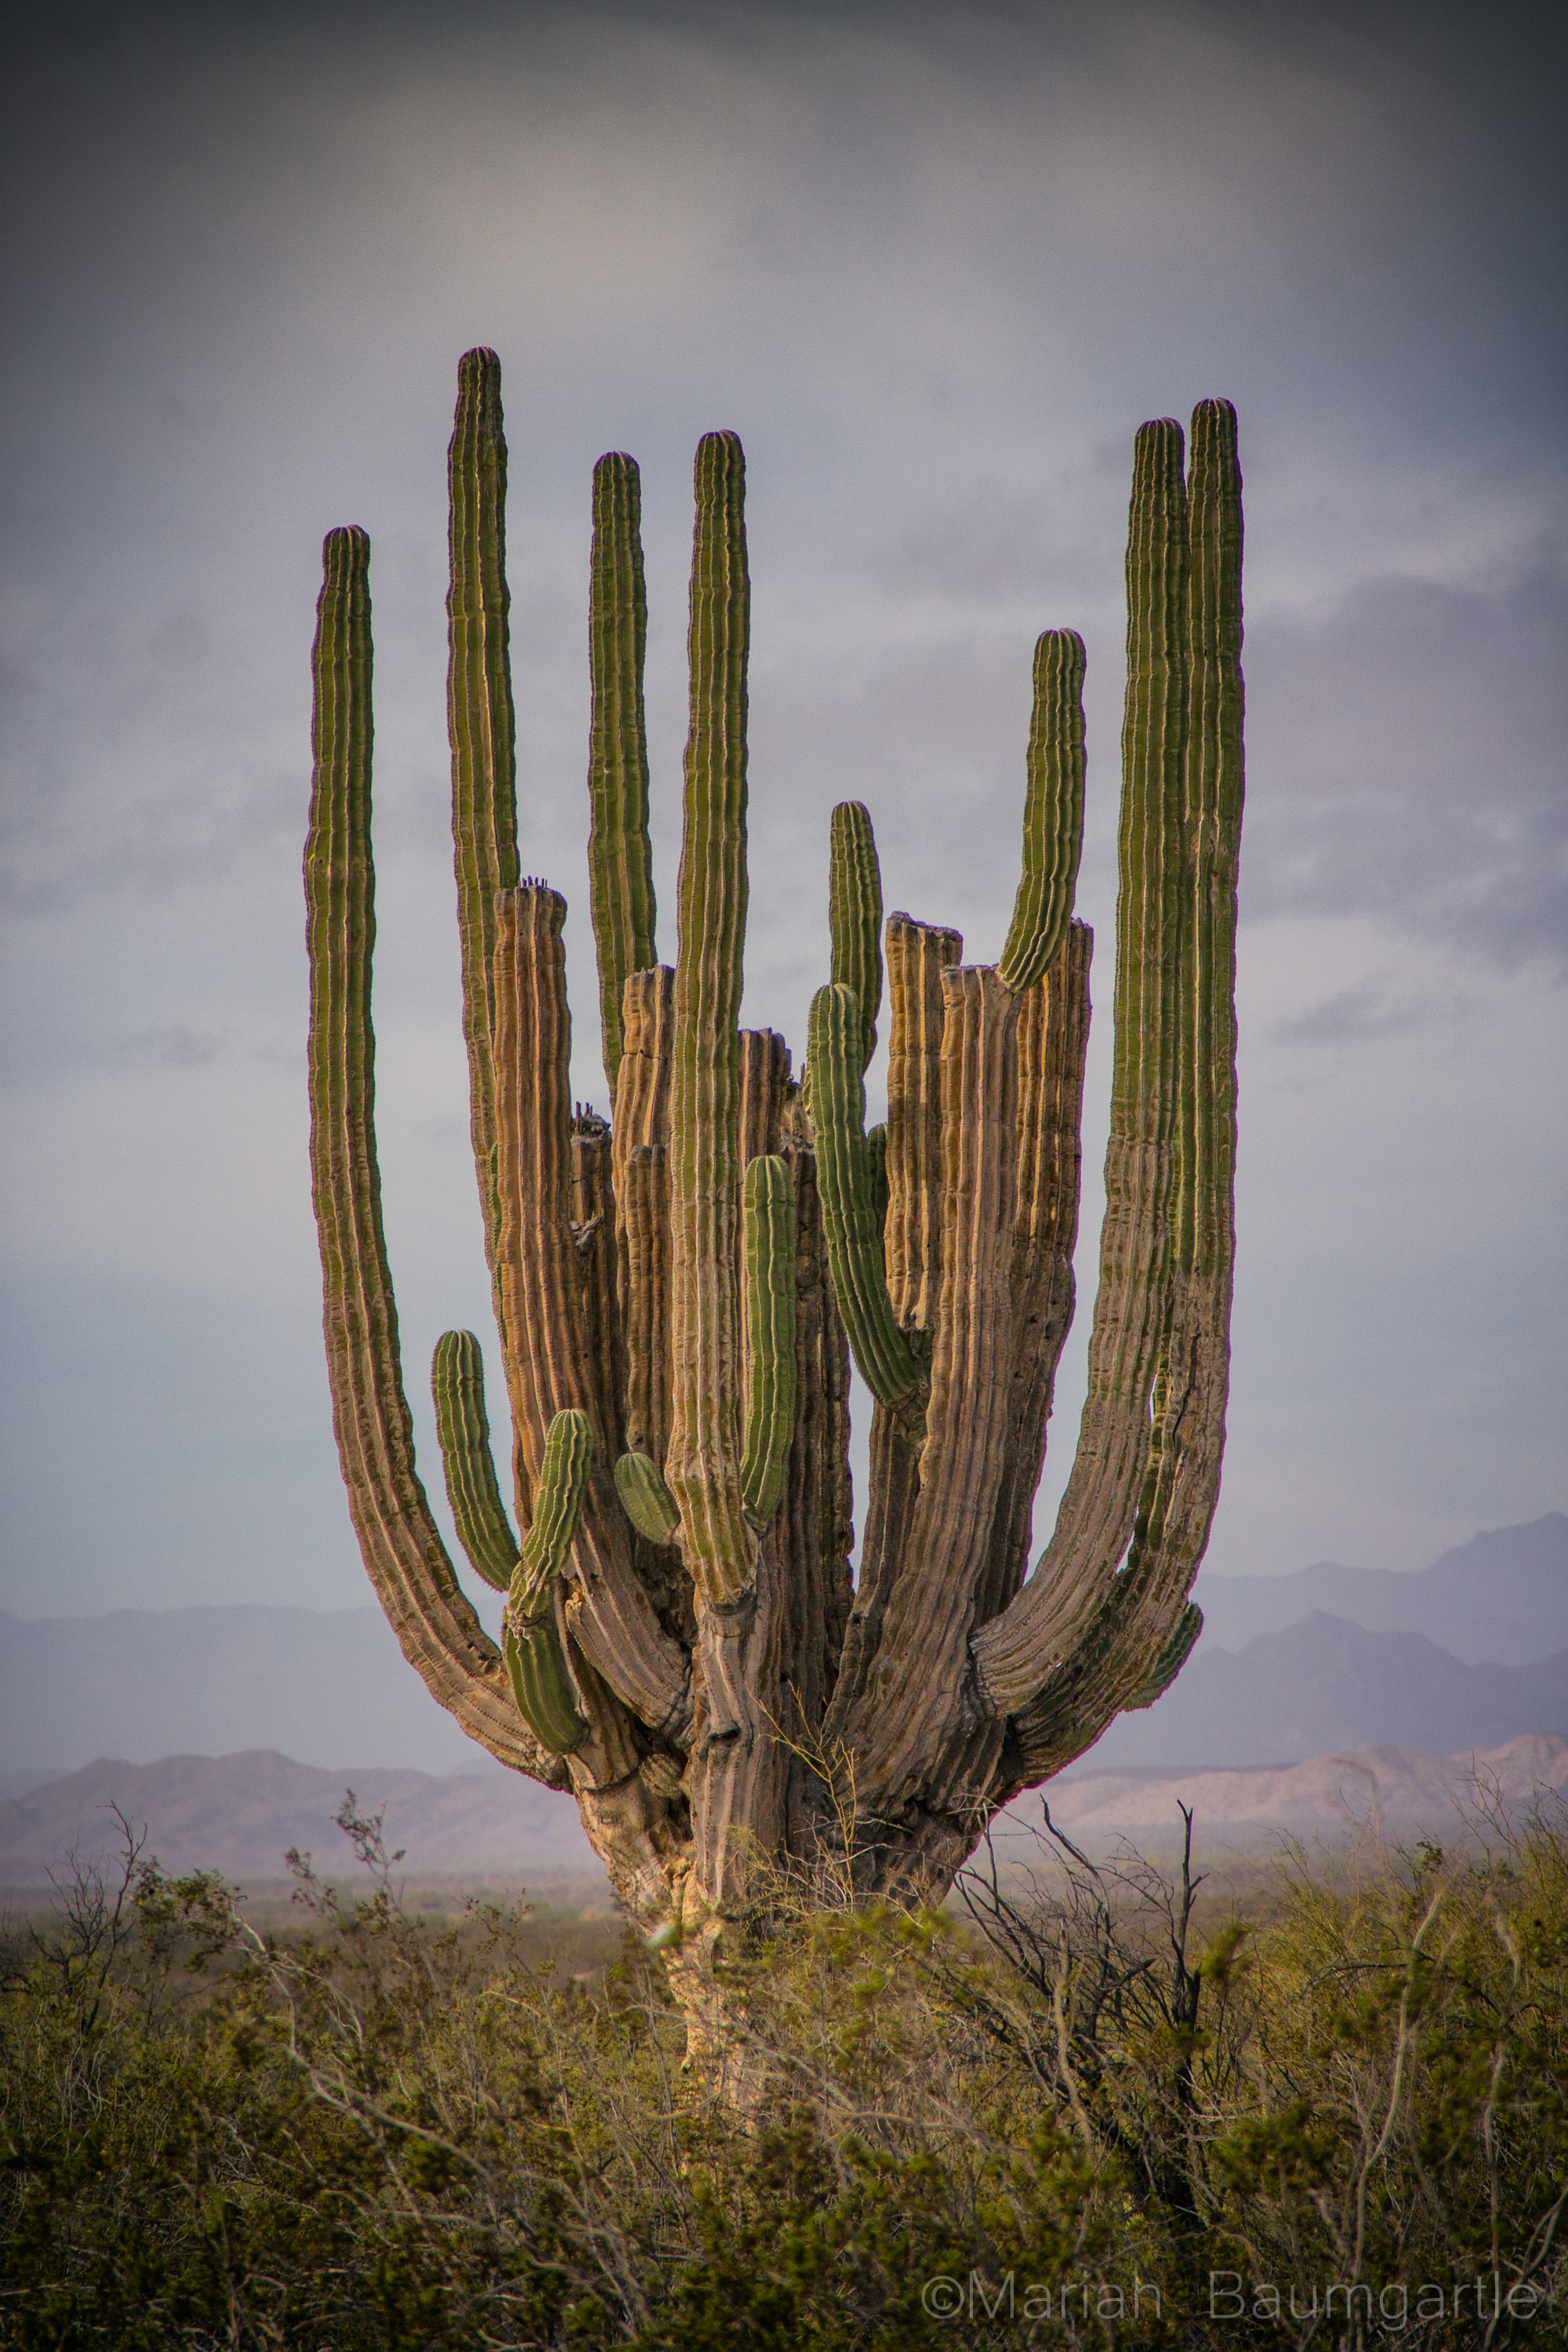
 I hope you have the opportunity to visit San Felipe in your future travels or even Baja California to discover color, culture, and beautiful desert land by the sea or ocean side. As they say in the Baja “No Bad Days!”
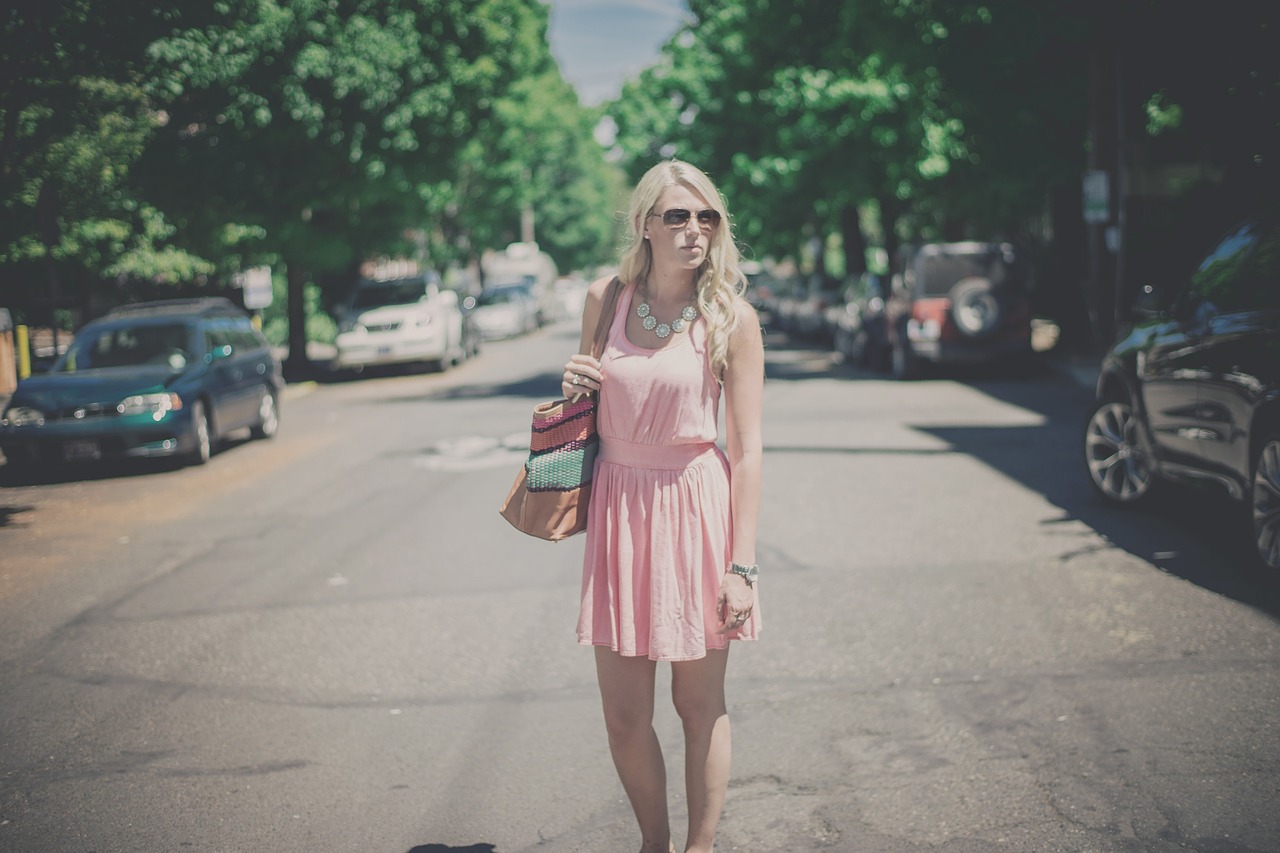

 Facebook
 Google +