Tag: water

A Photographic Journey around San Felipe, Mexico

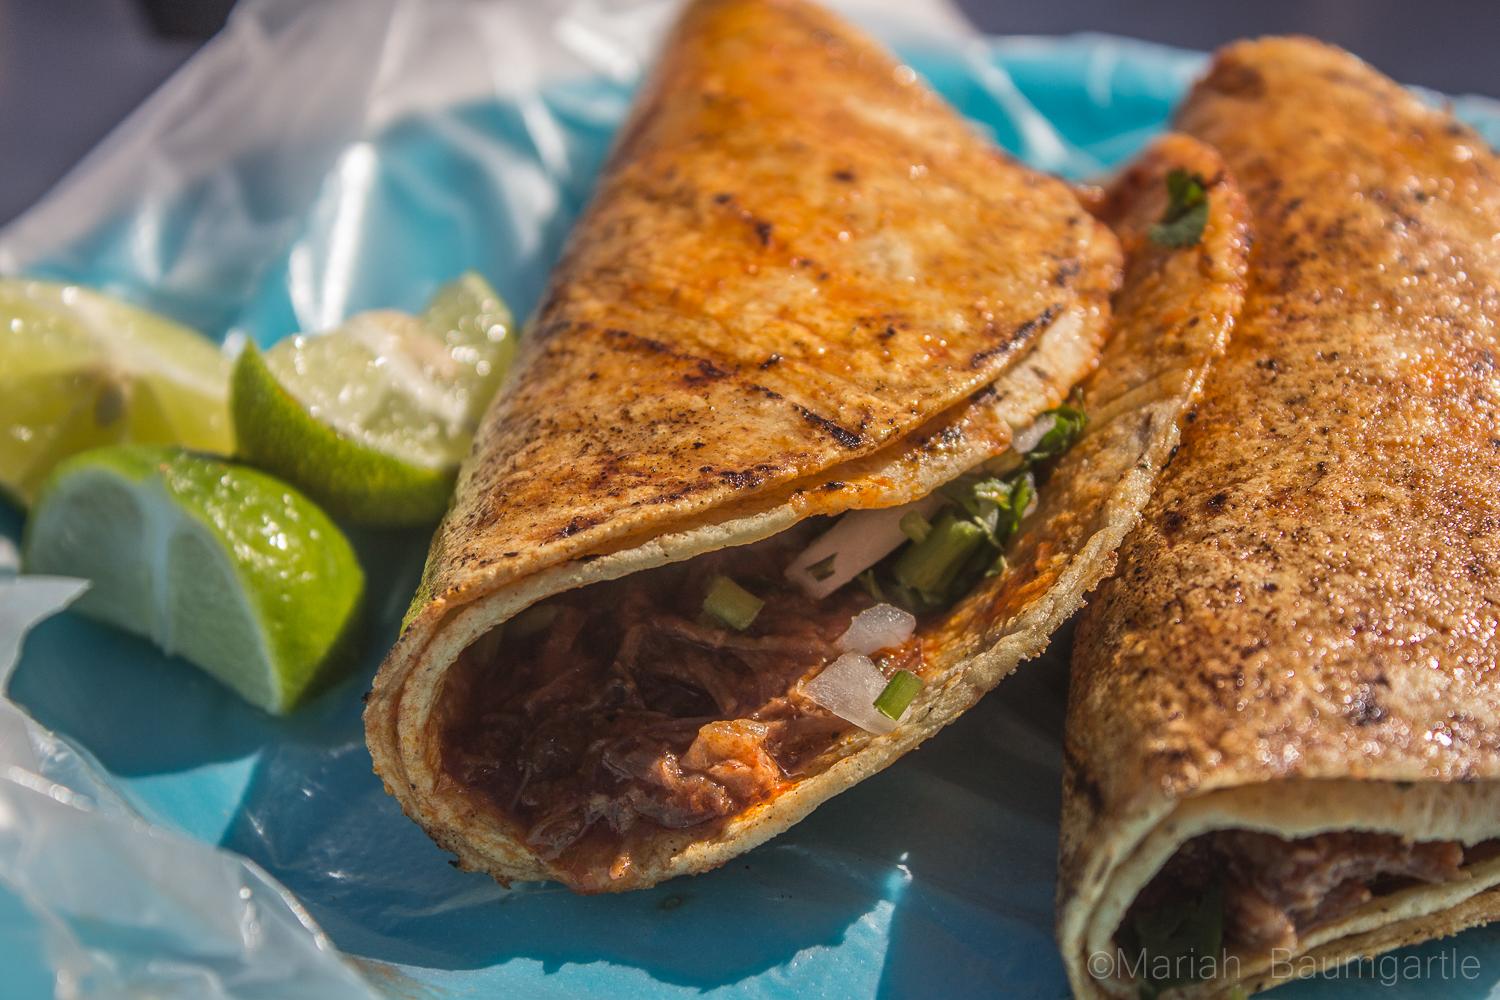
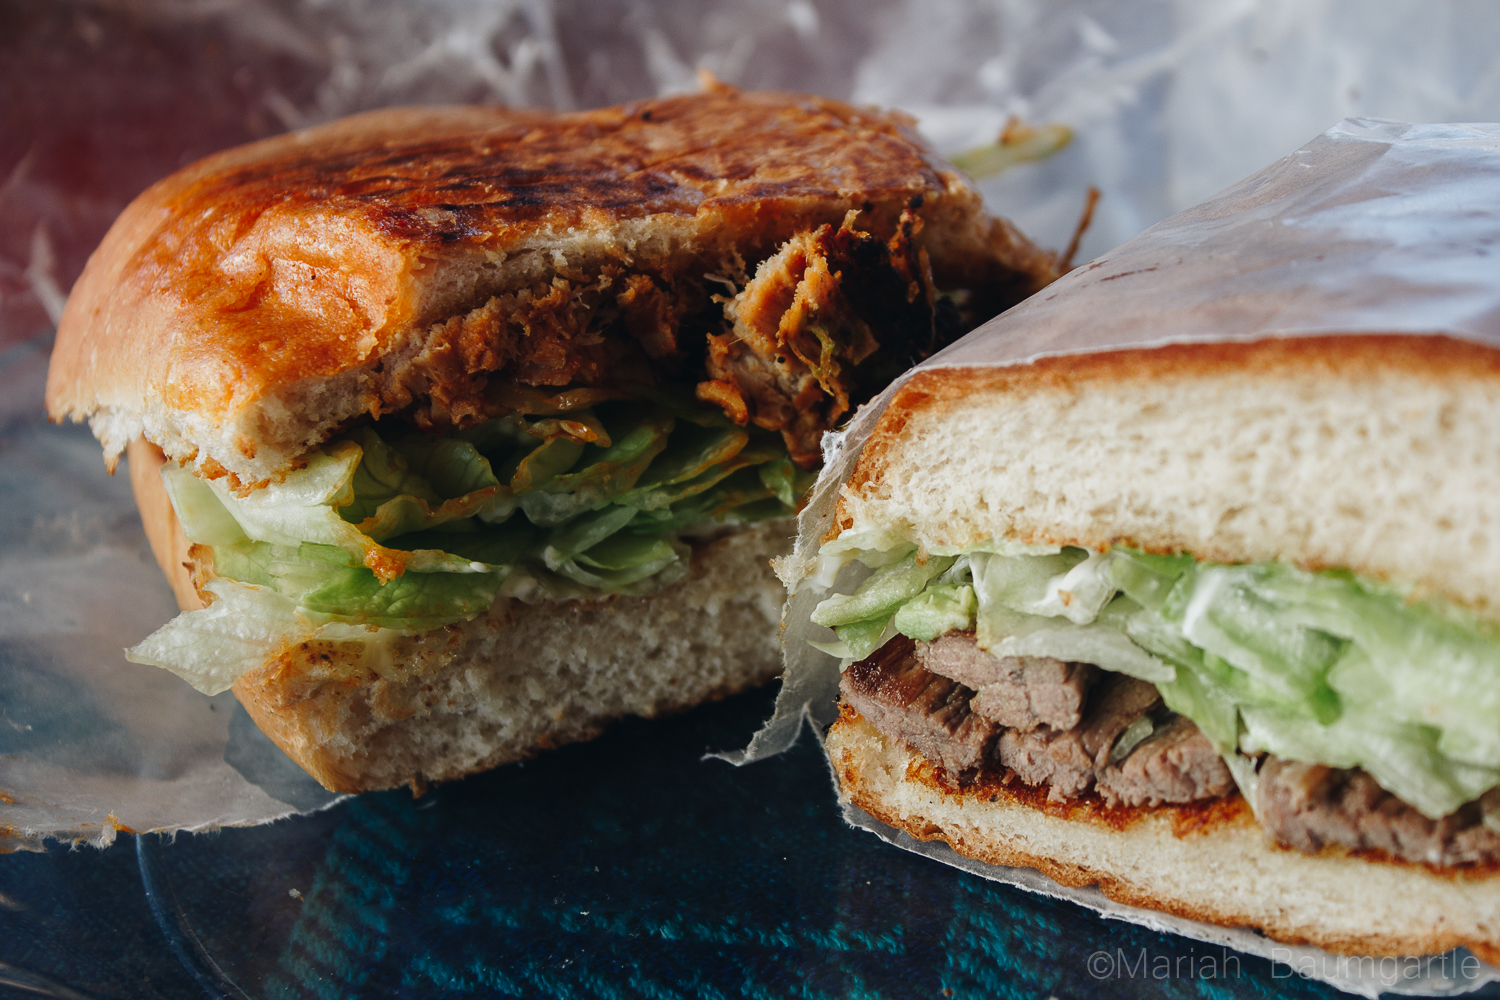
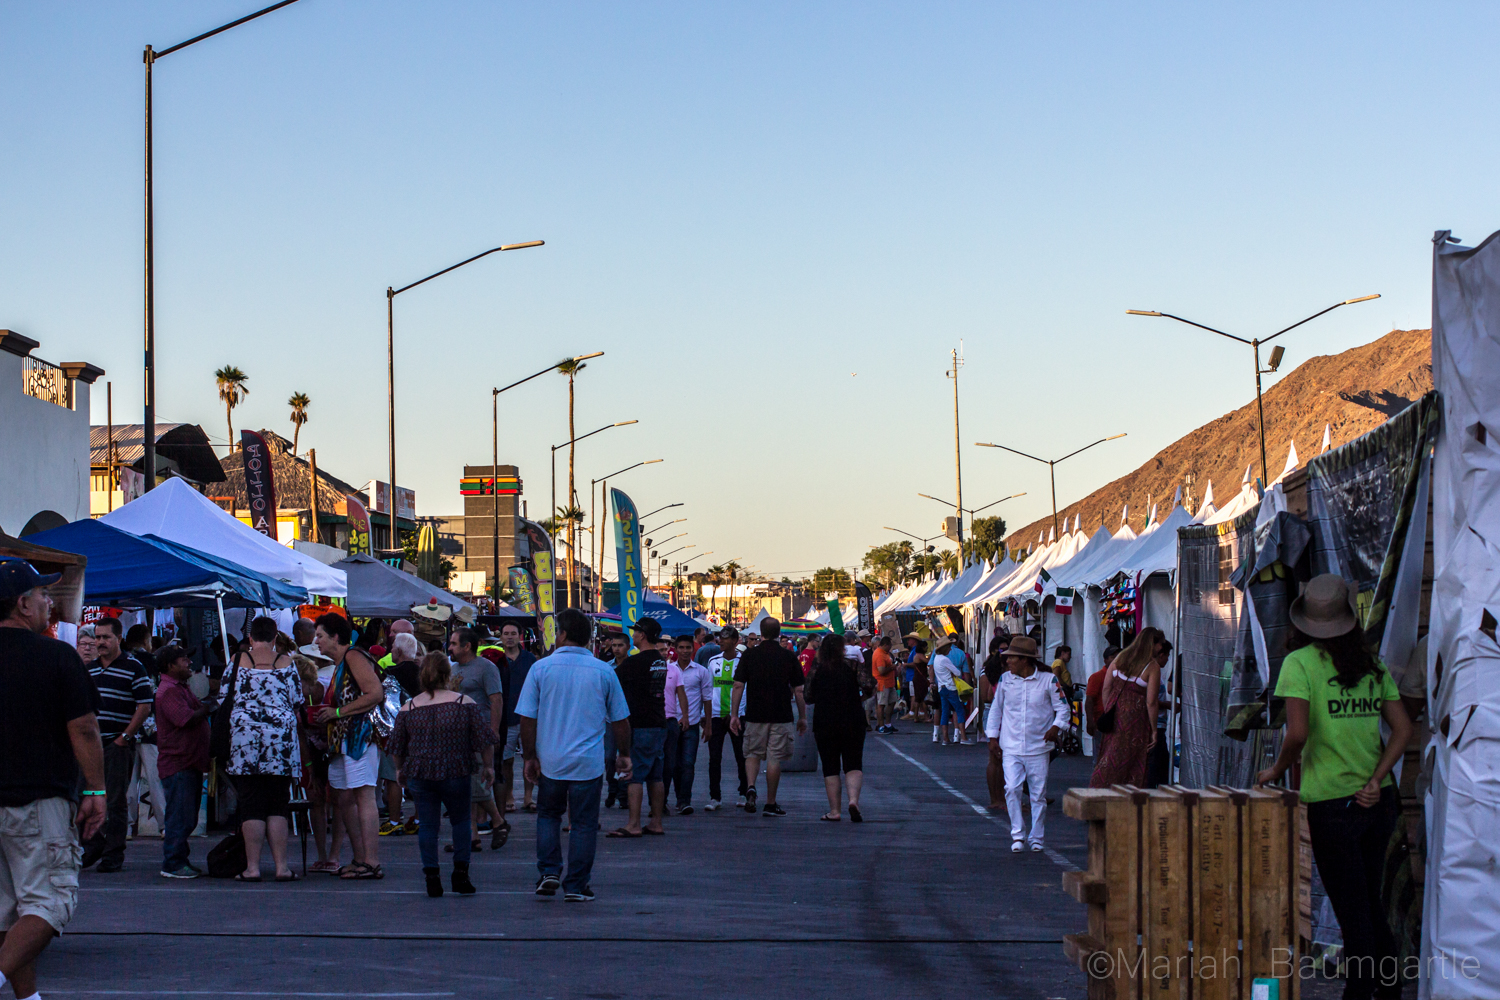
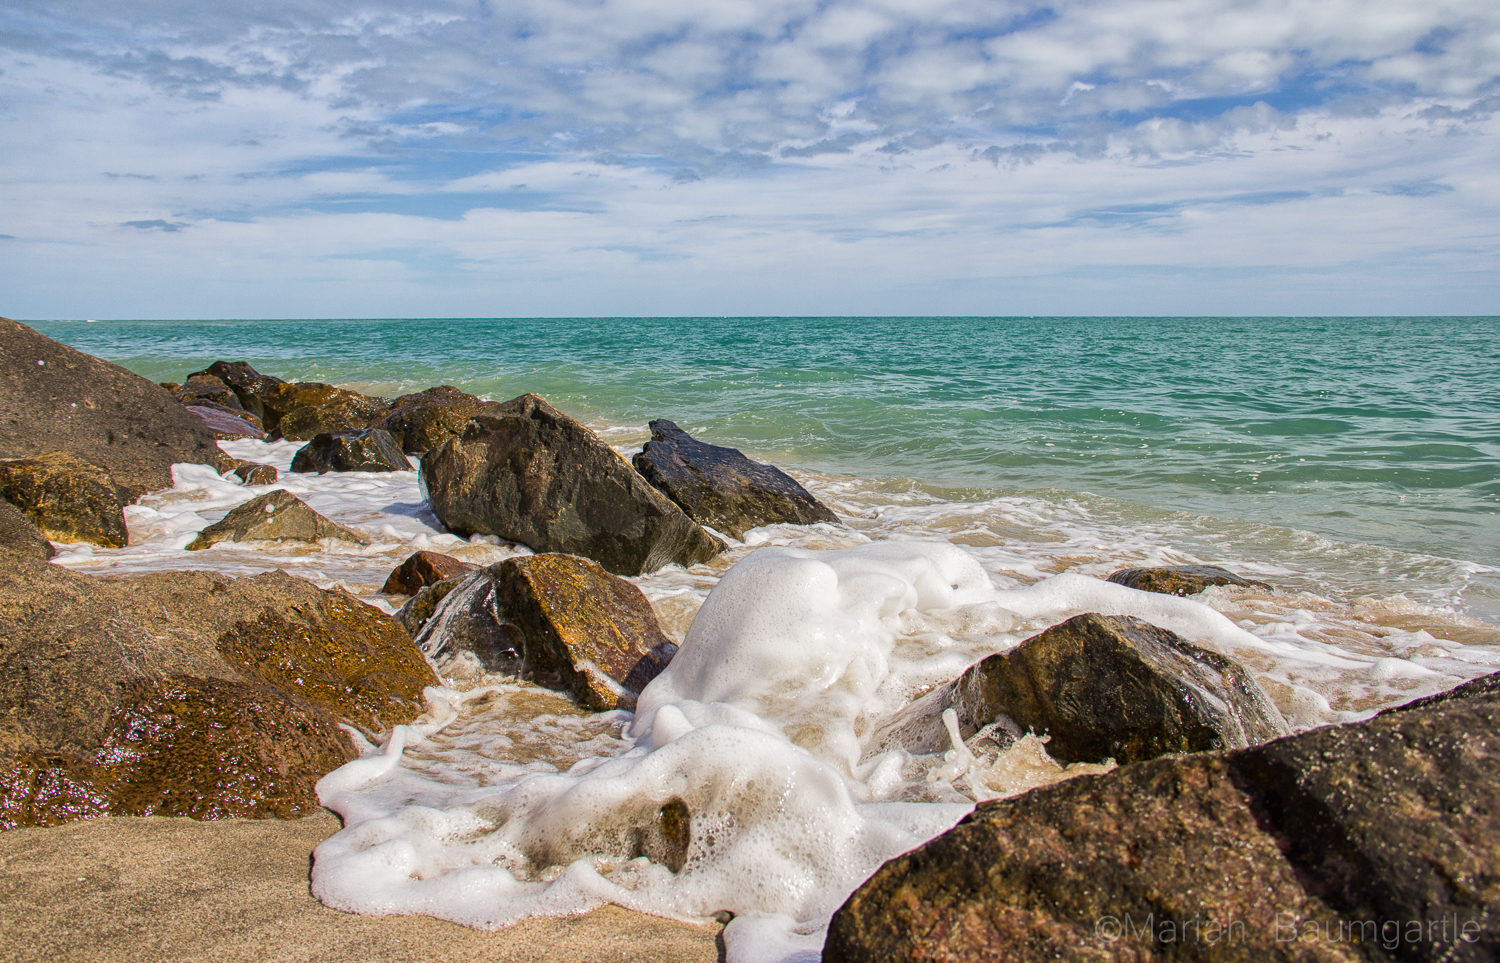
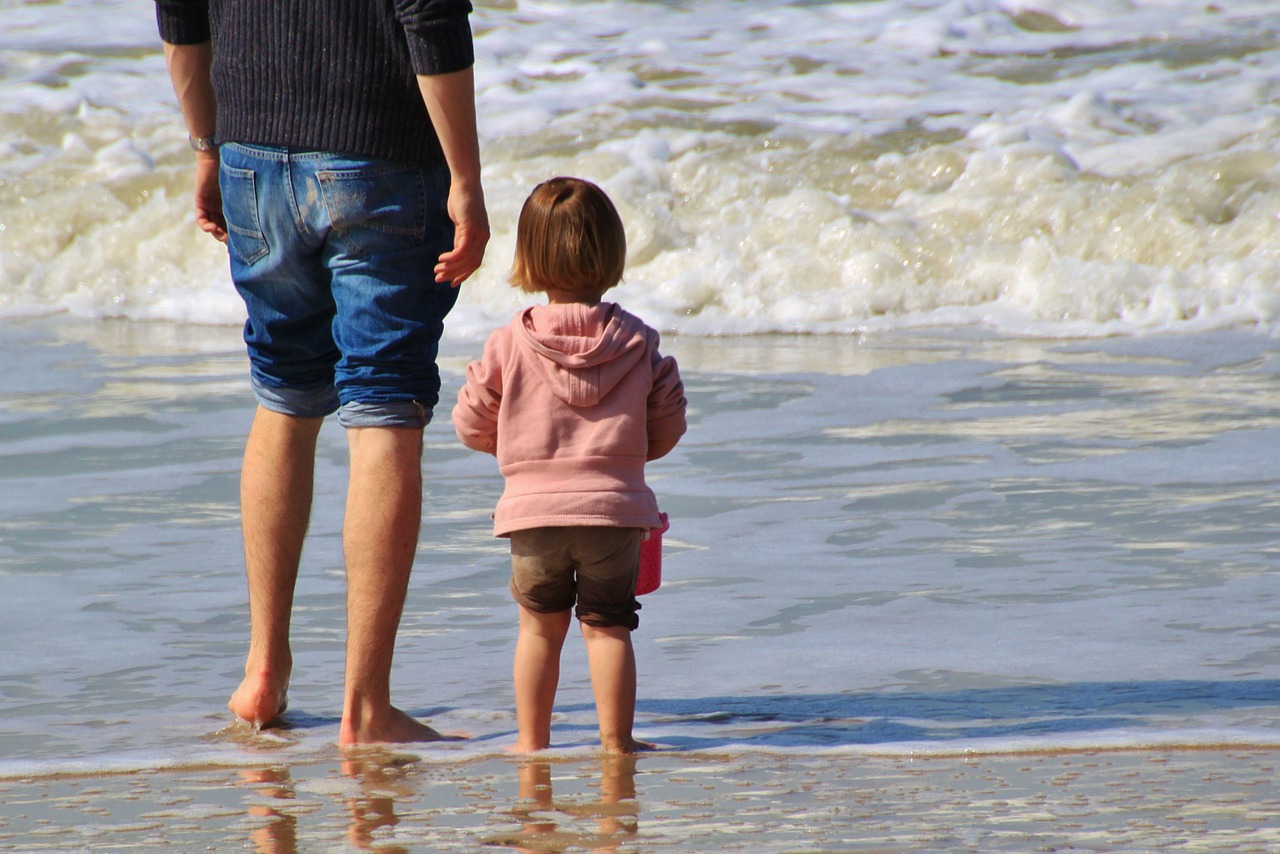
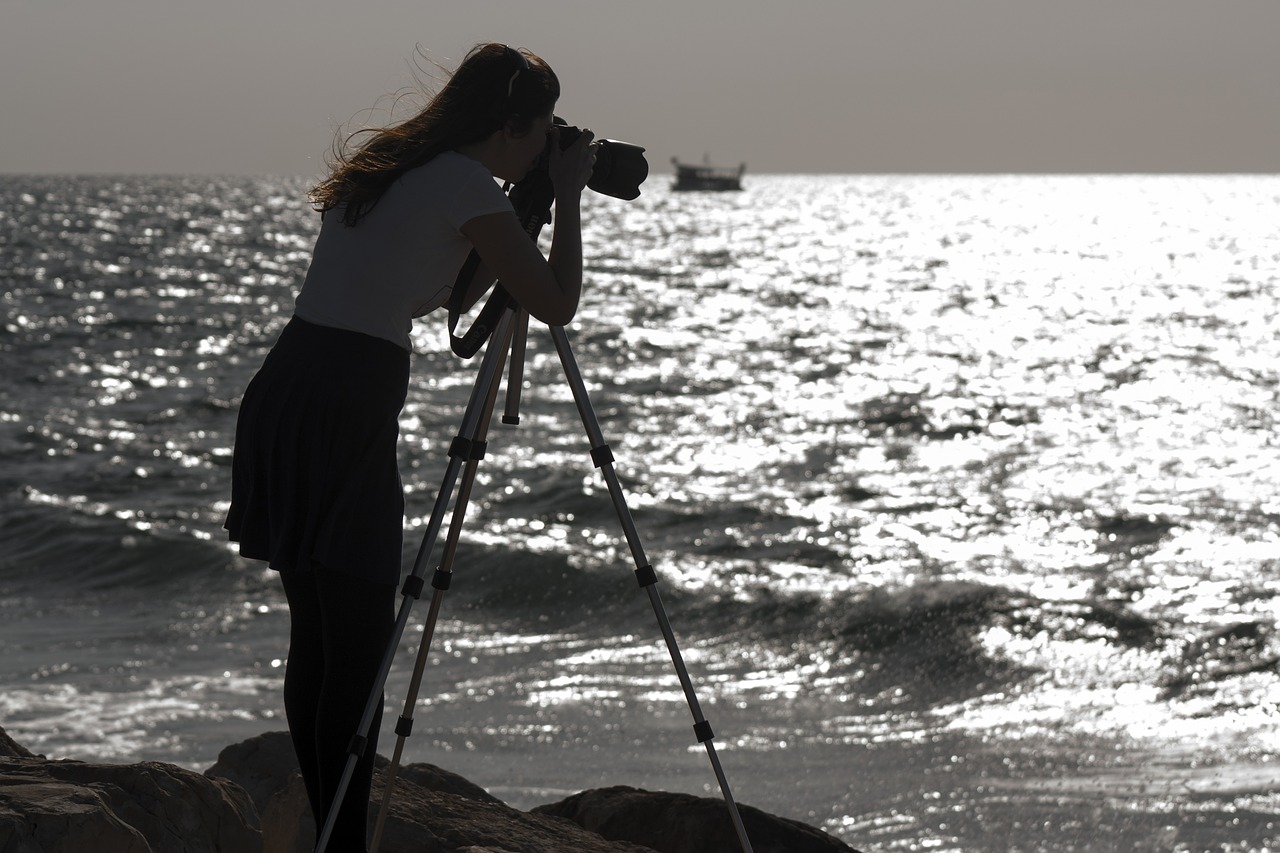
I have had the opportunity the past four months to live and photograph around San Felipe, Mexico. San Felipe is located in the Baja California and located about 2-3 hours south of the border along the side of The Sea of Cortes. San Felipe is filled with color, culture, great food, and beautiful desert land. Pack all of the correct gear for your travels and take an adventure to gather some great photographs. San Felipe Sign
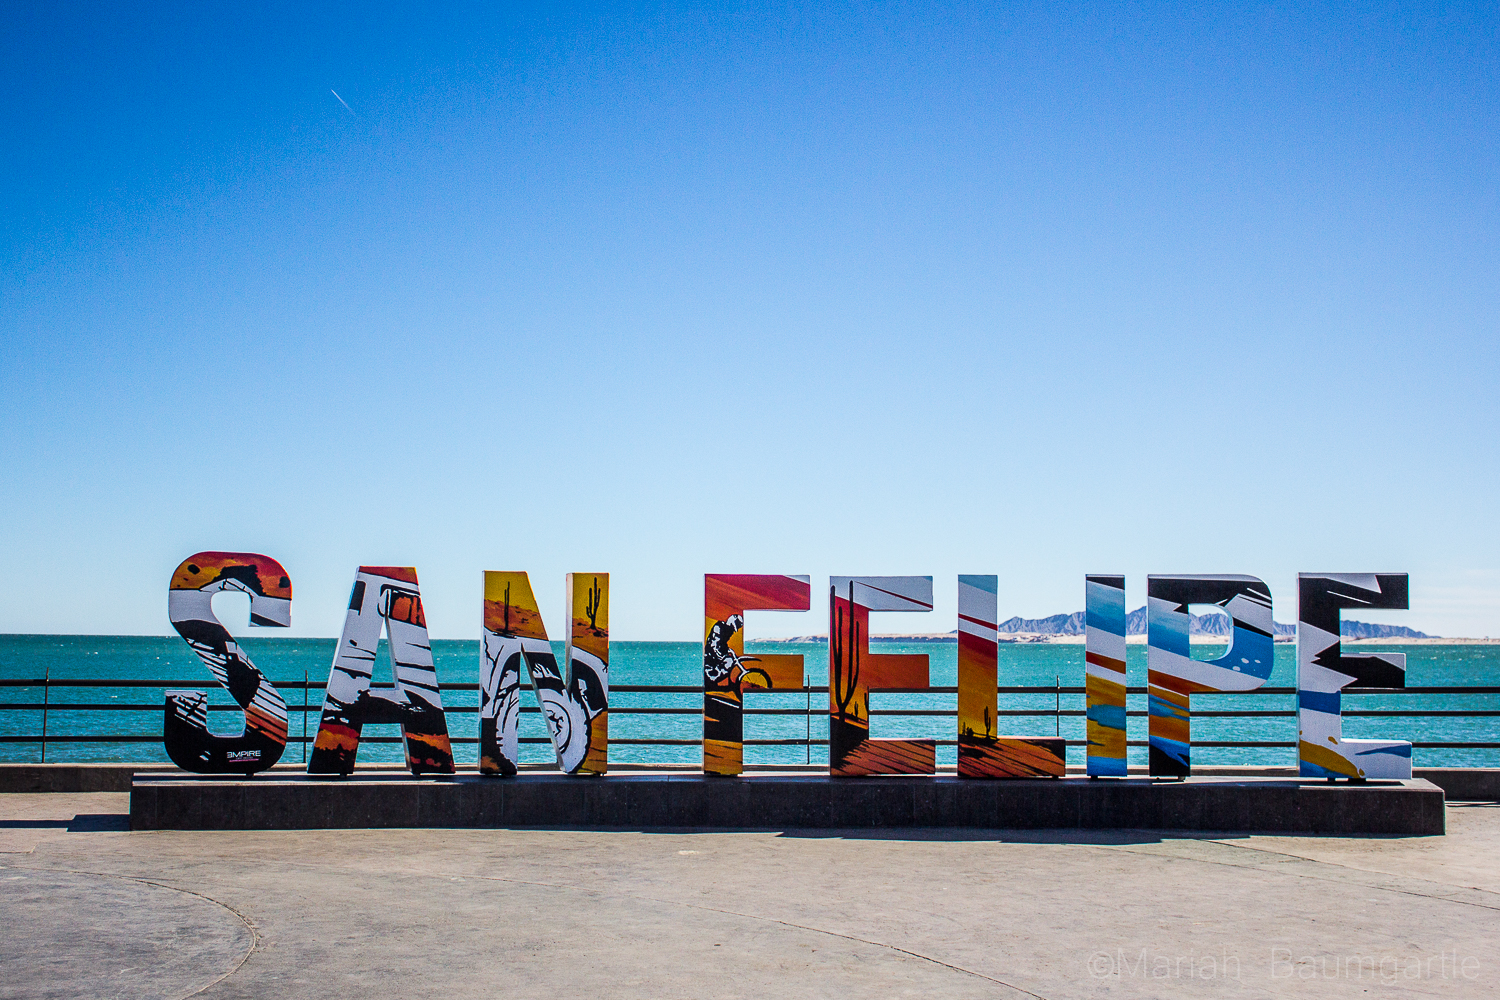
On your way to downtown San Felipe, you will first spot The Arches, a very popular monument of San Felipe. They call the arches “The Gateway To The Sea” The arches offers many angles. However, the only problem photographing the arches are all of the distractions around such as signs and wires, which you can Photoshop out later. Around and past the arches you will also find a hillside where you can explore to gather some more cultural photographs of the areas. This area is where you will find all of the best authentic food with local taquerias and is always a great photo op in itself by practicing your food photography. Down at the end of San Felipe is The Malecon, which sits next to The Sea of Cortes. The Malecon is lined with restaurants, shopping, and with a great view of the sea. This is where all of the events happen in towns such as food festivals, music festivals, and parades. This is a great place to take some iPhone street photography. San Felipe ArchesSan Felipe Culture

San Felipe Food Truck

San Felipe TacosSan Felipe TortaSan Felipe DowntownSan Felipe MaleconSan Felipe MaleconSan Felipe Shrimp Festival
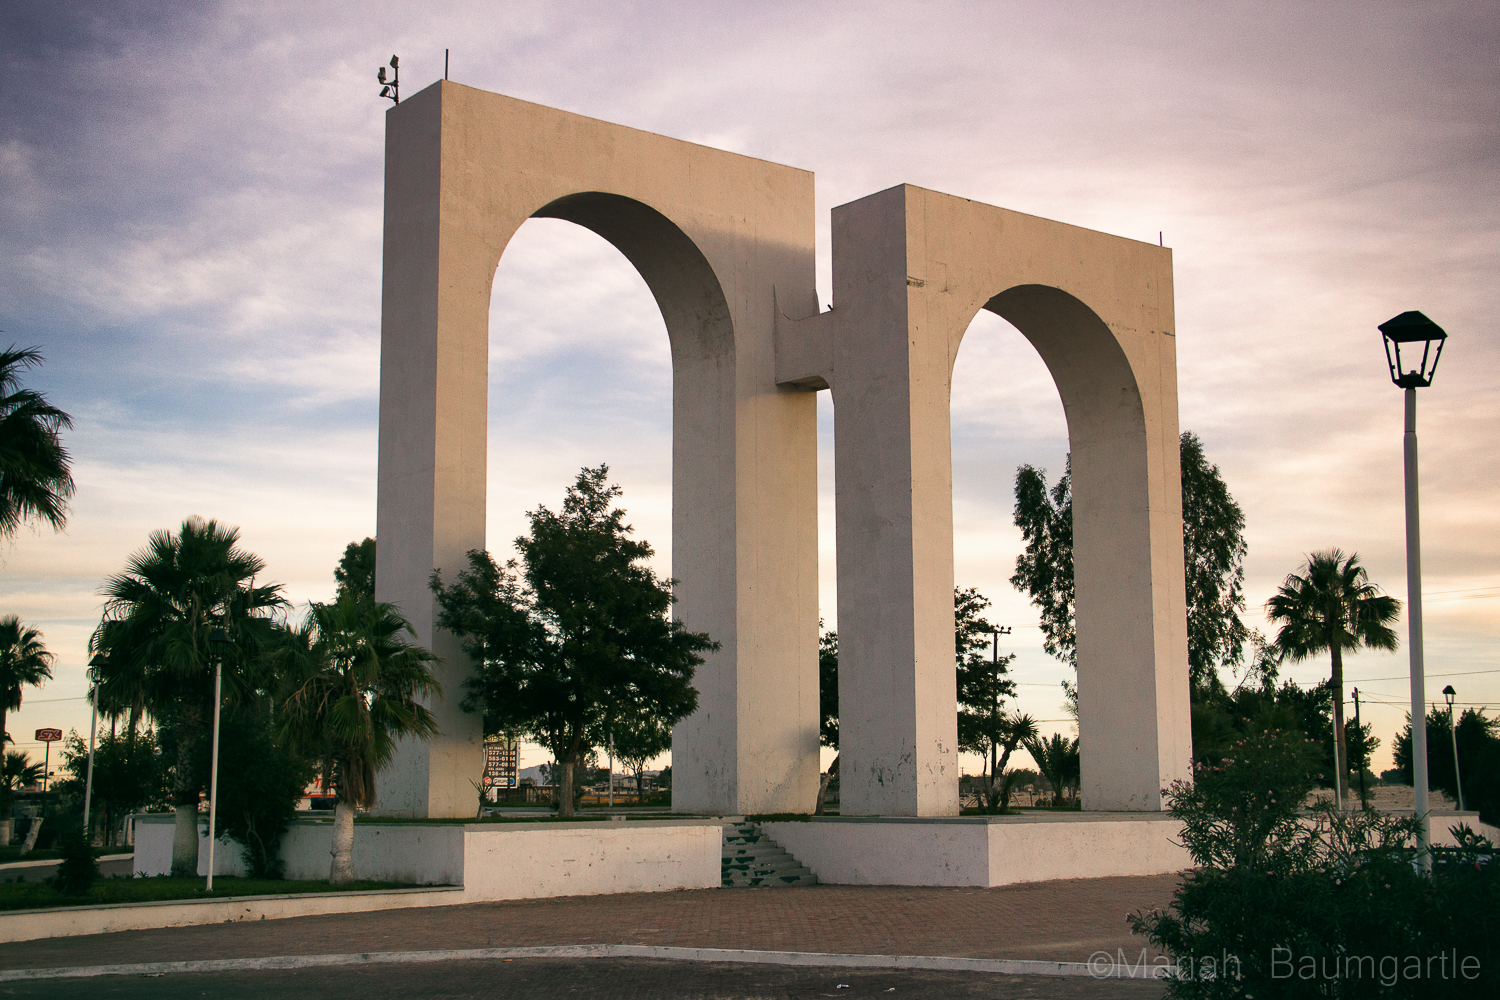
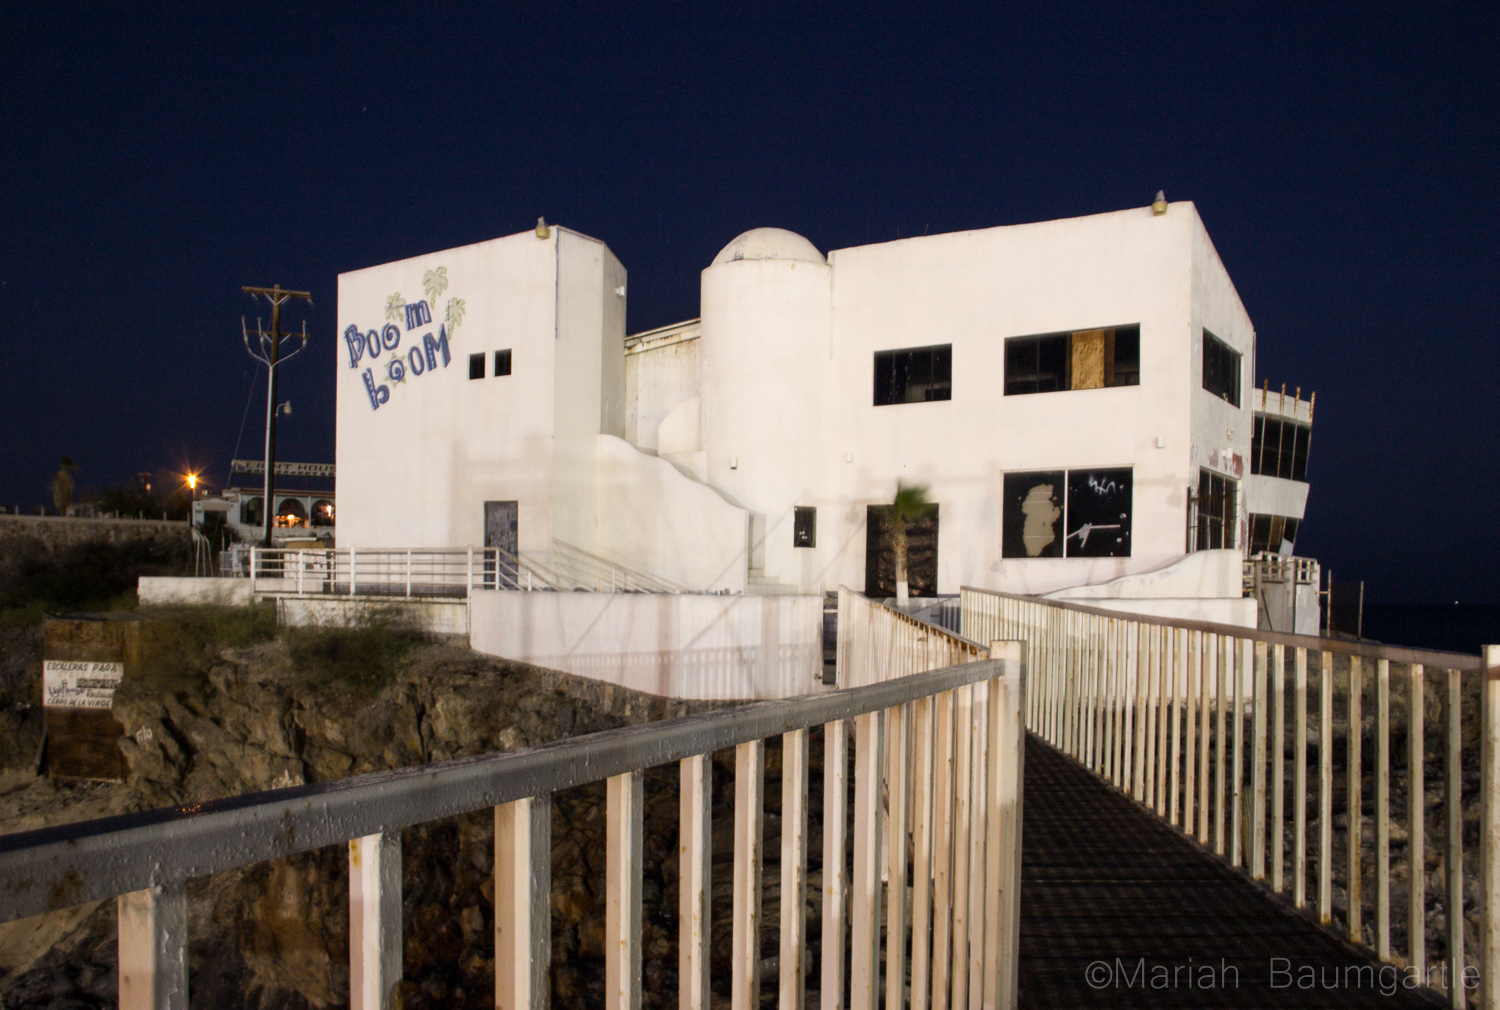
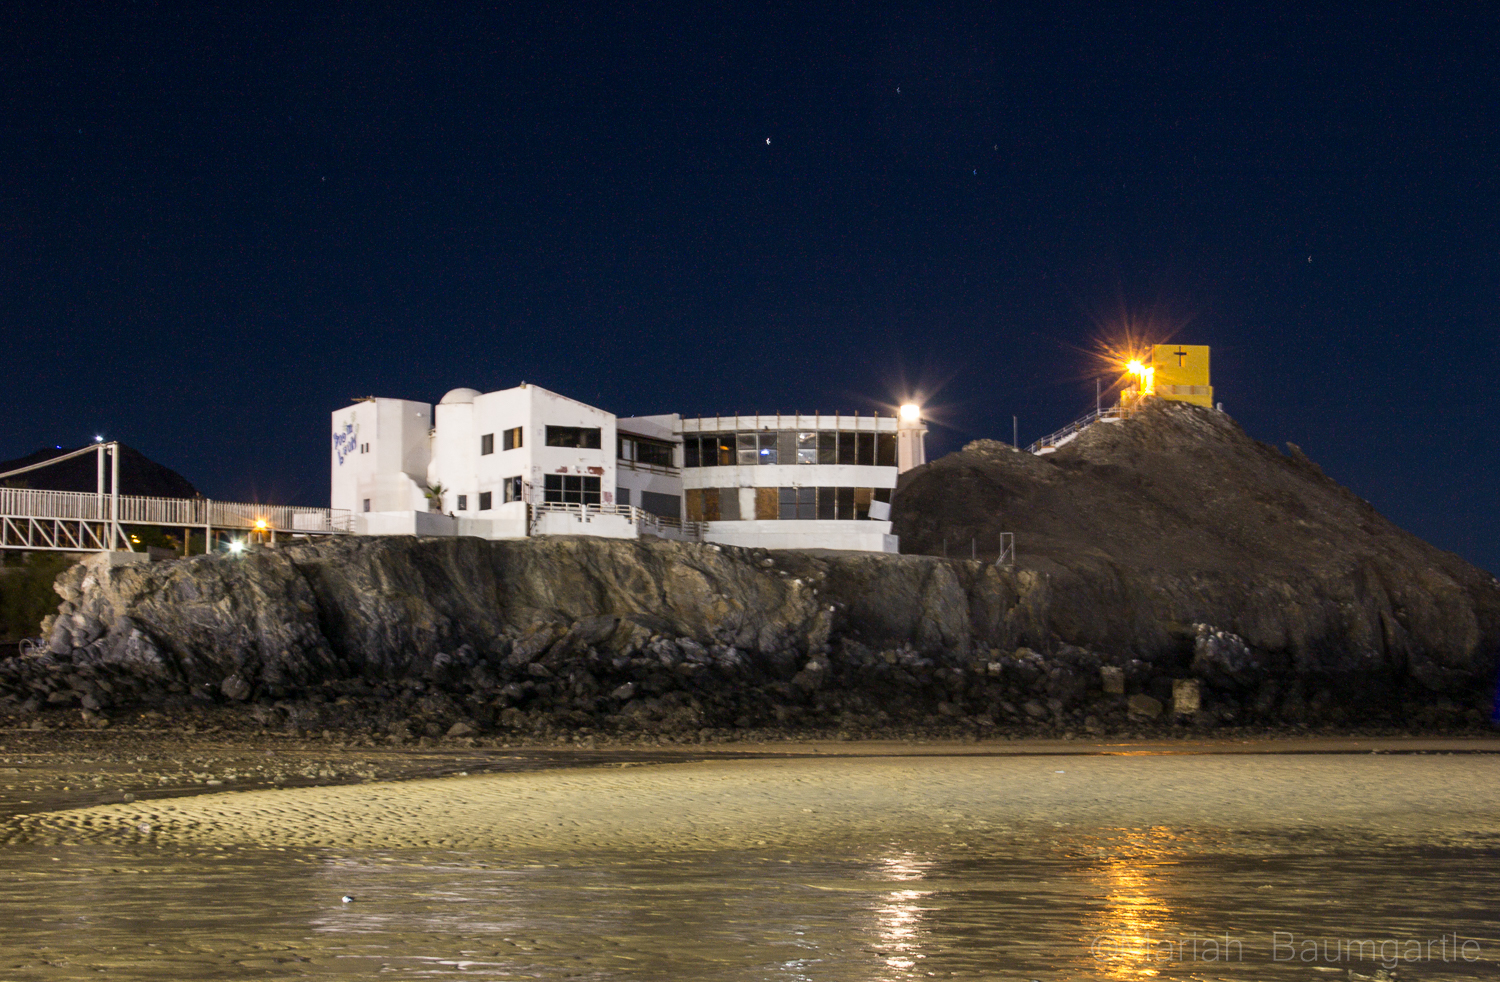
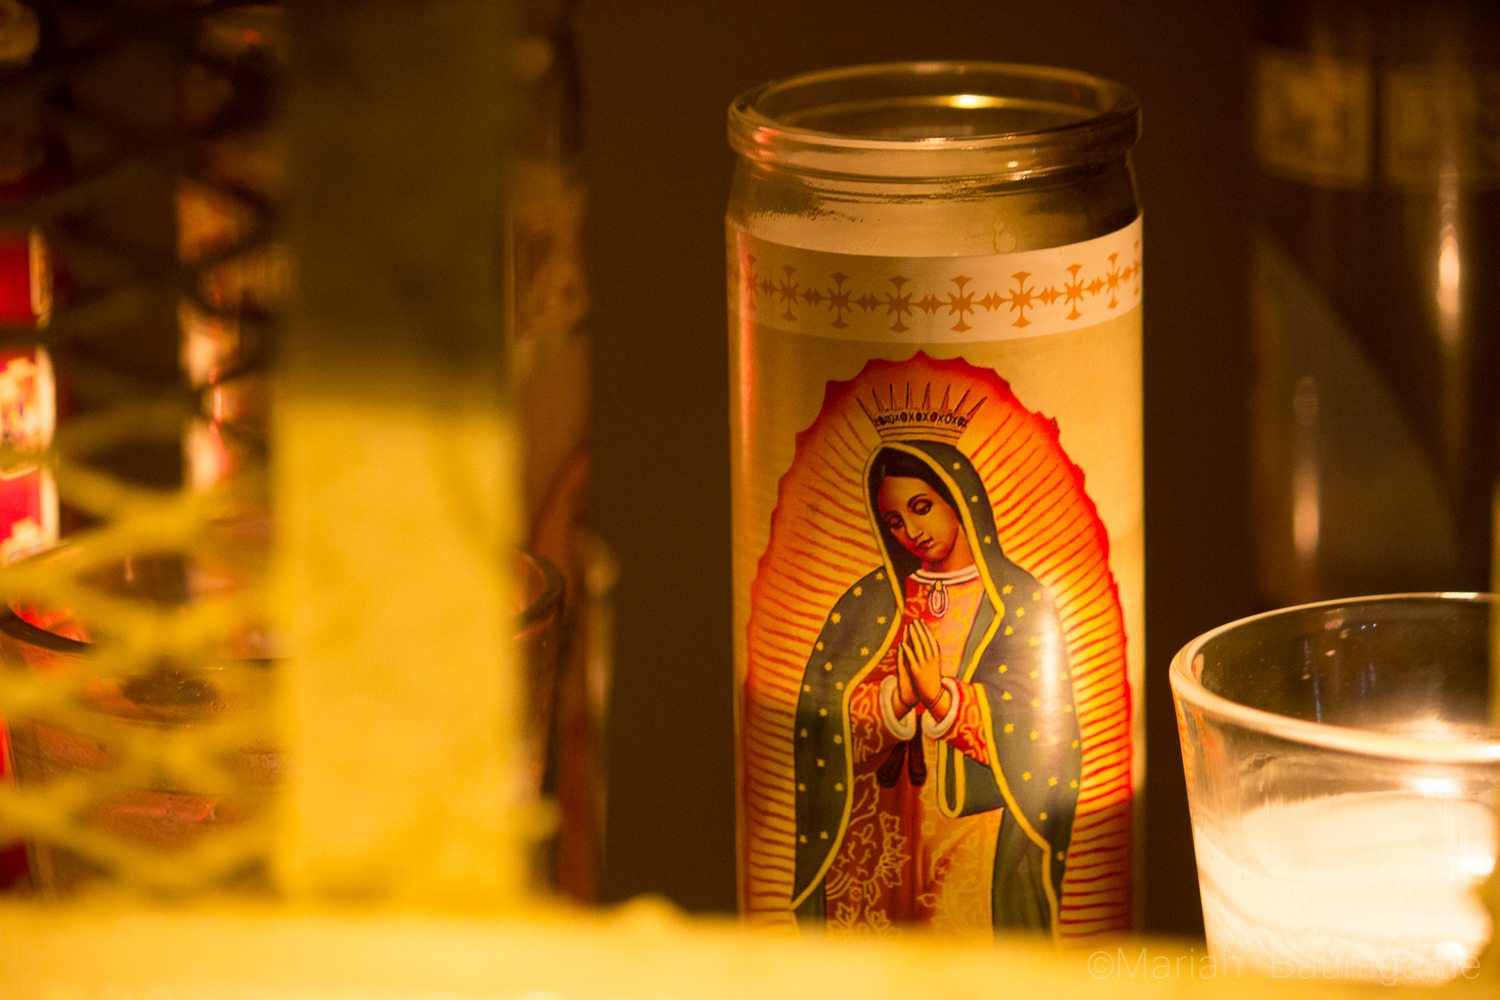
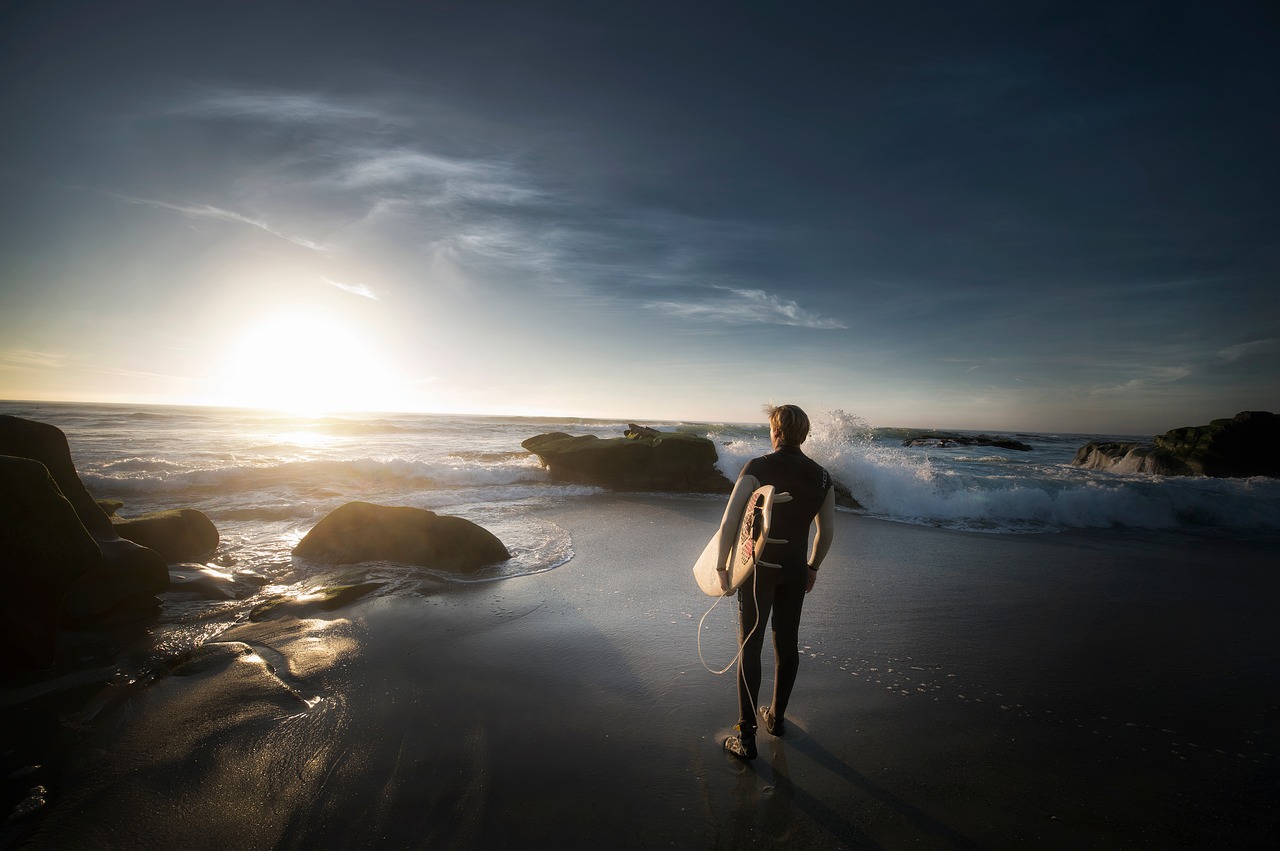
San Felipe is also a great place to gather some night photography. One of the best spots for night photography is down at The Shipyard, which you will find at the end of The Malecon. The Shipyard used to be a marina but was flooded, and they could not move the ships, so they are left there are part of a San Felipe gem. Up on a hill, you will find a building, The Boom Boom Room, a place that has also been abandoned and a very interesting location to photograph during the day or evening. Up on a mountain, you will find a little yellow chapel that looks over the town of San Felipe and right next to it is the lighthouse, which you can shoot from ground level or up at the top where the prayer building is. This is a great place to work with your angles. If you are in town during the full moon make sure to catch the moon rise over The Sea of Cortes: I was there for supermoon, and it was an incredible experience and a really good opportunity to try my moon photography skills and also work with some post editing. San Felipe Tampico ShipSan Felipe BoomBoom RoomSan Felipe MexicoSan Felipe ChapelSupermoon in Mexico
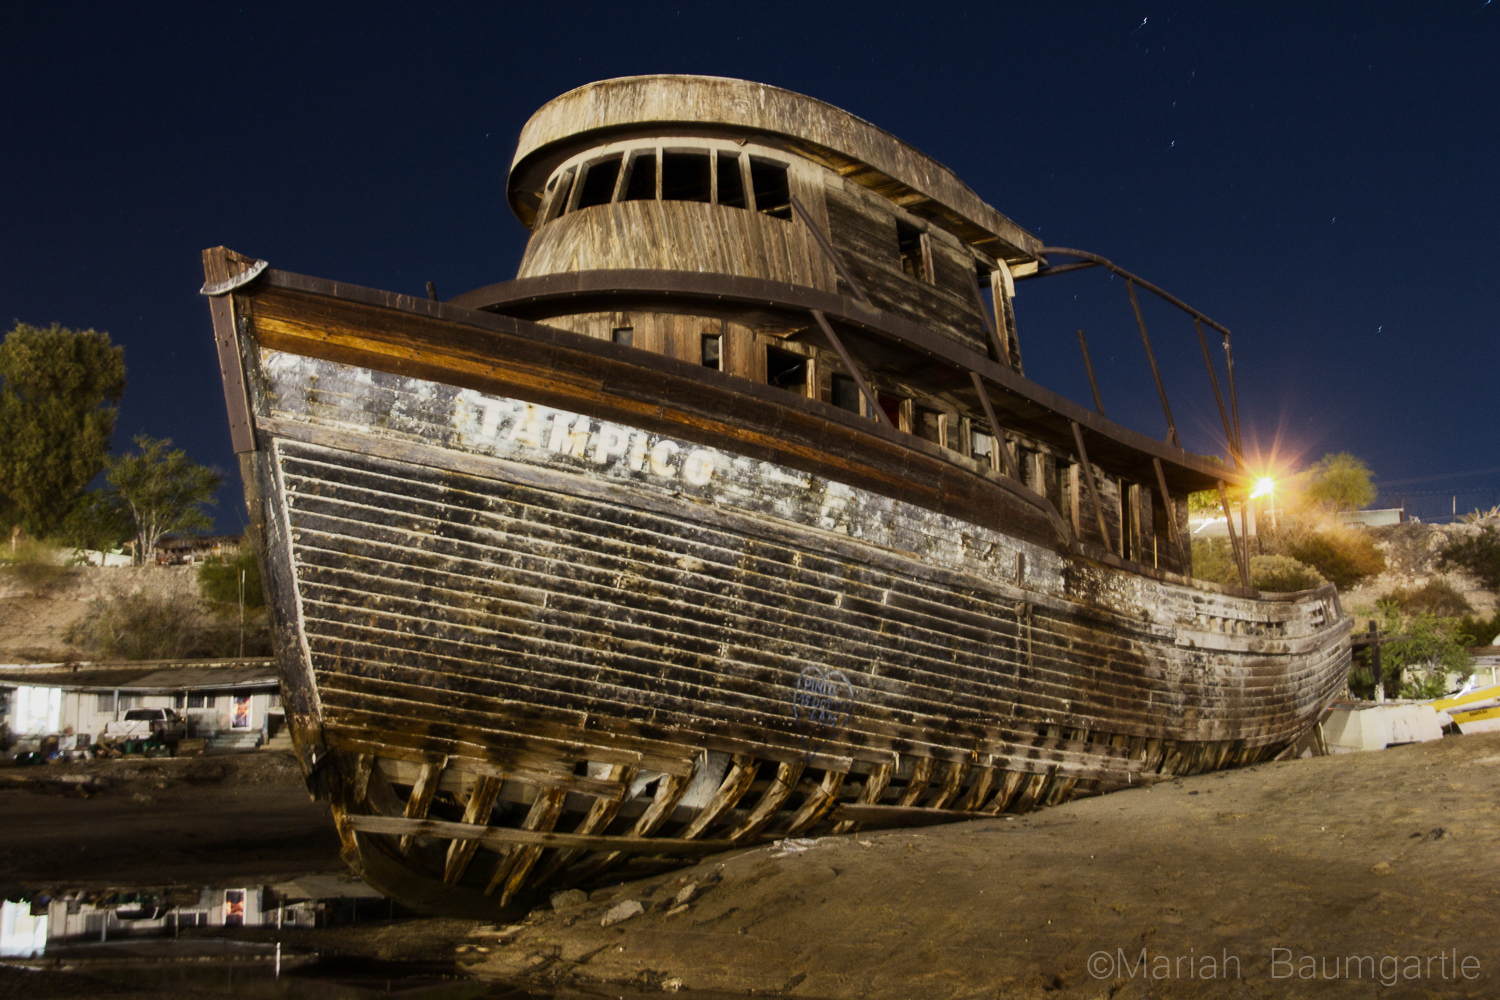
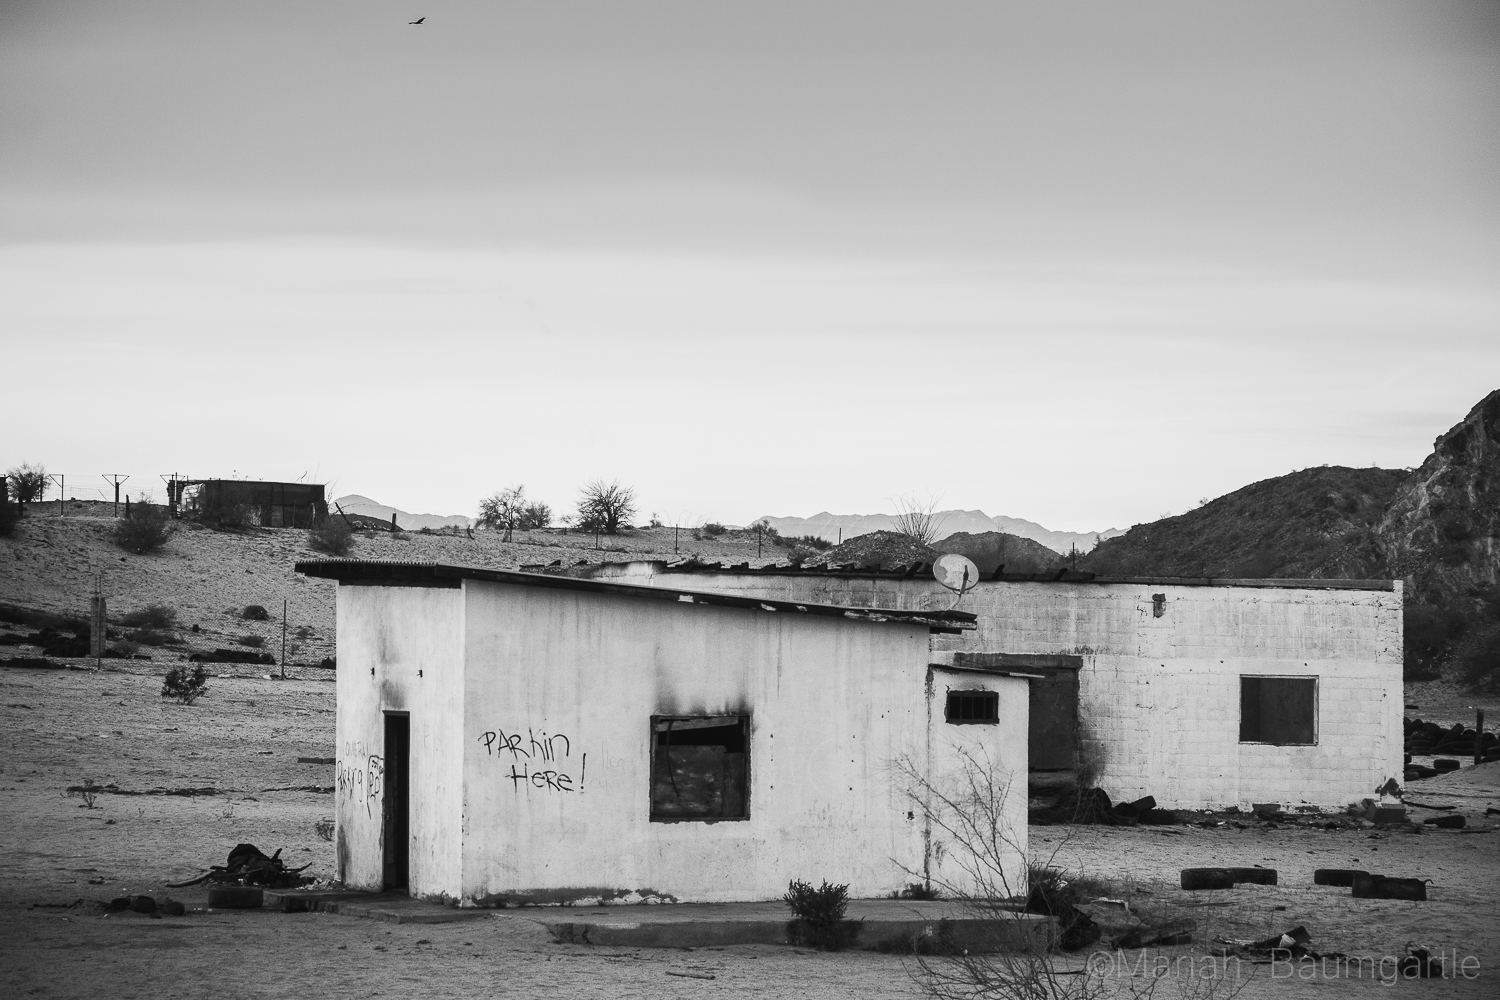
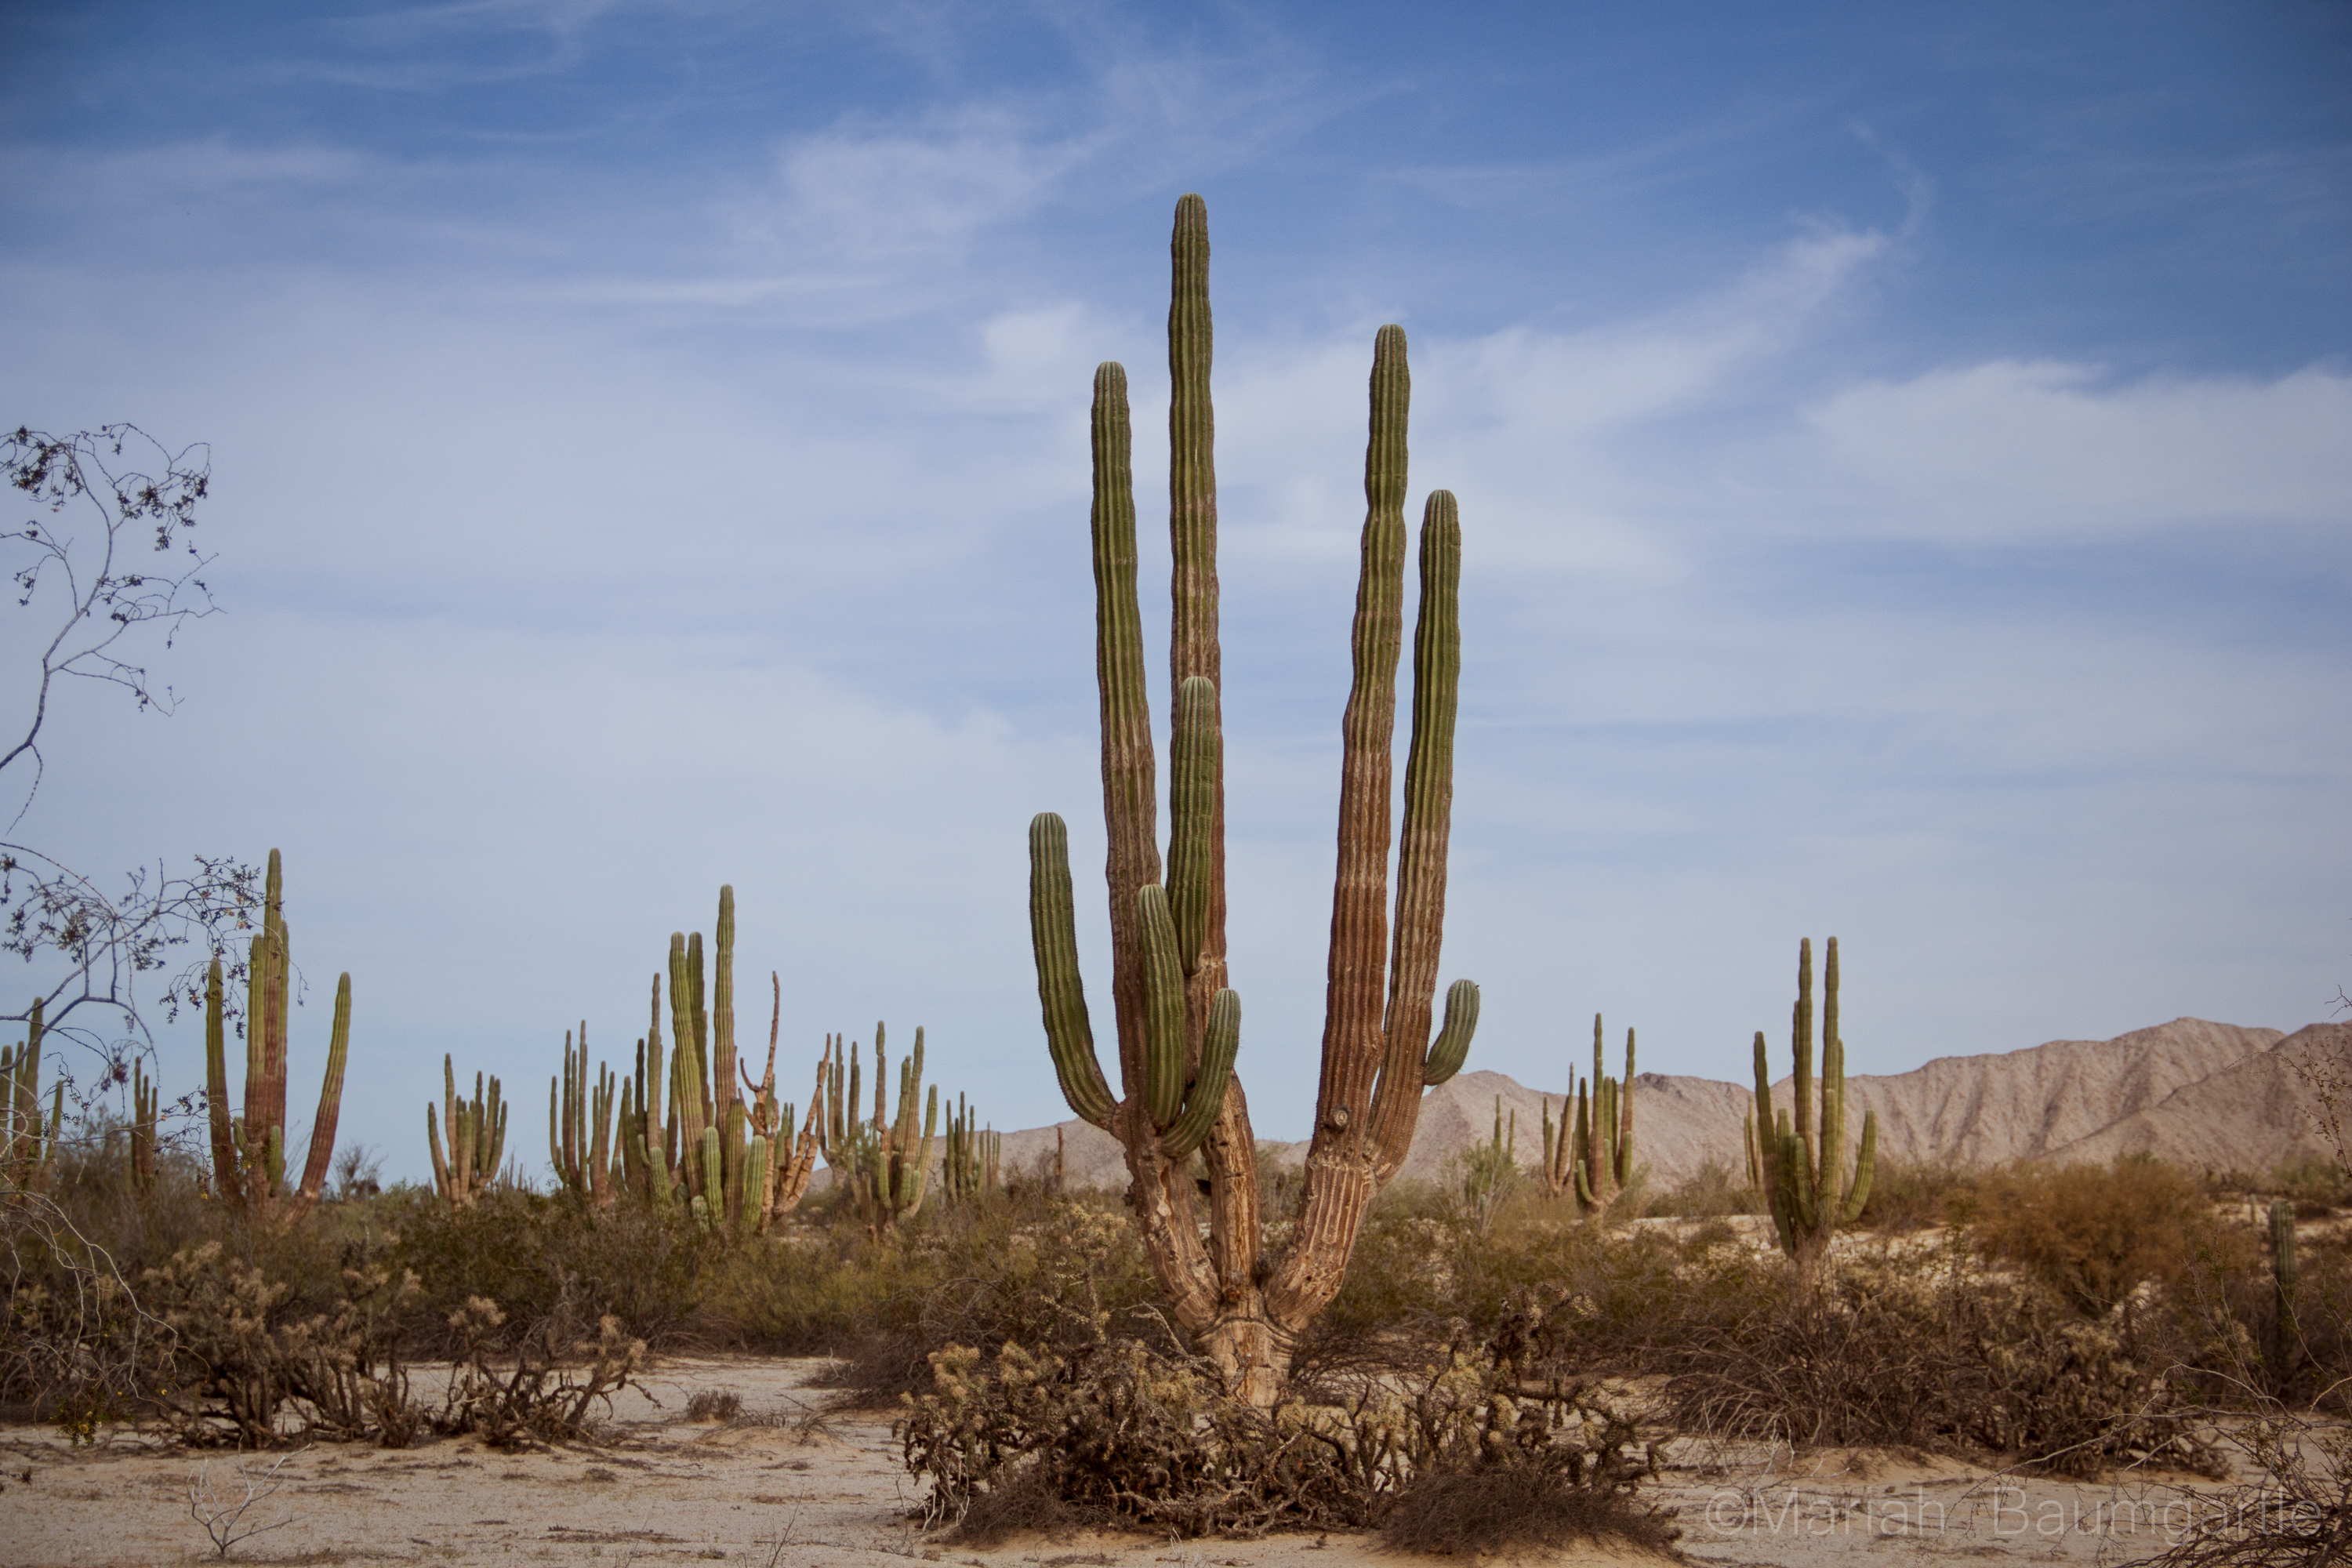
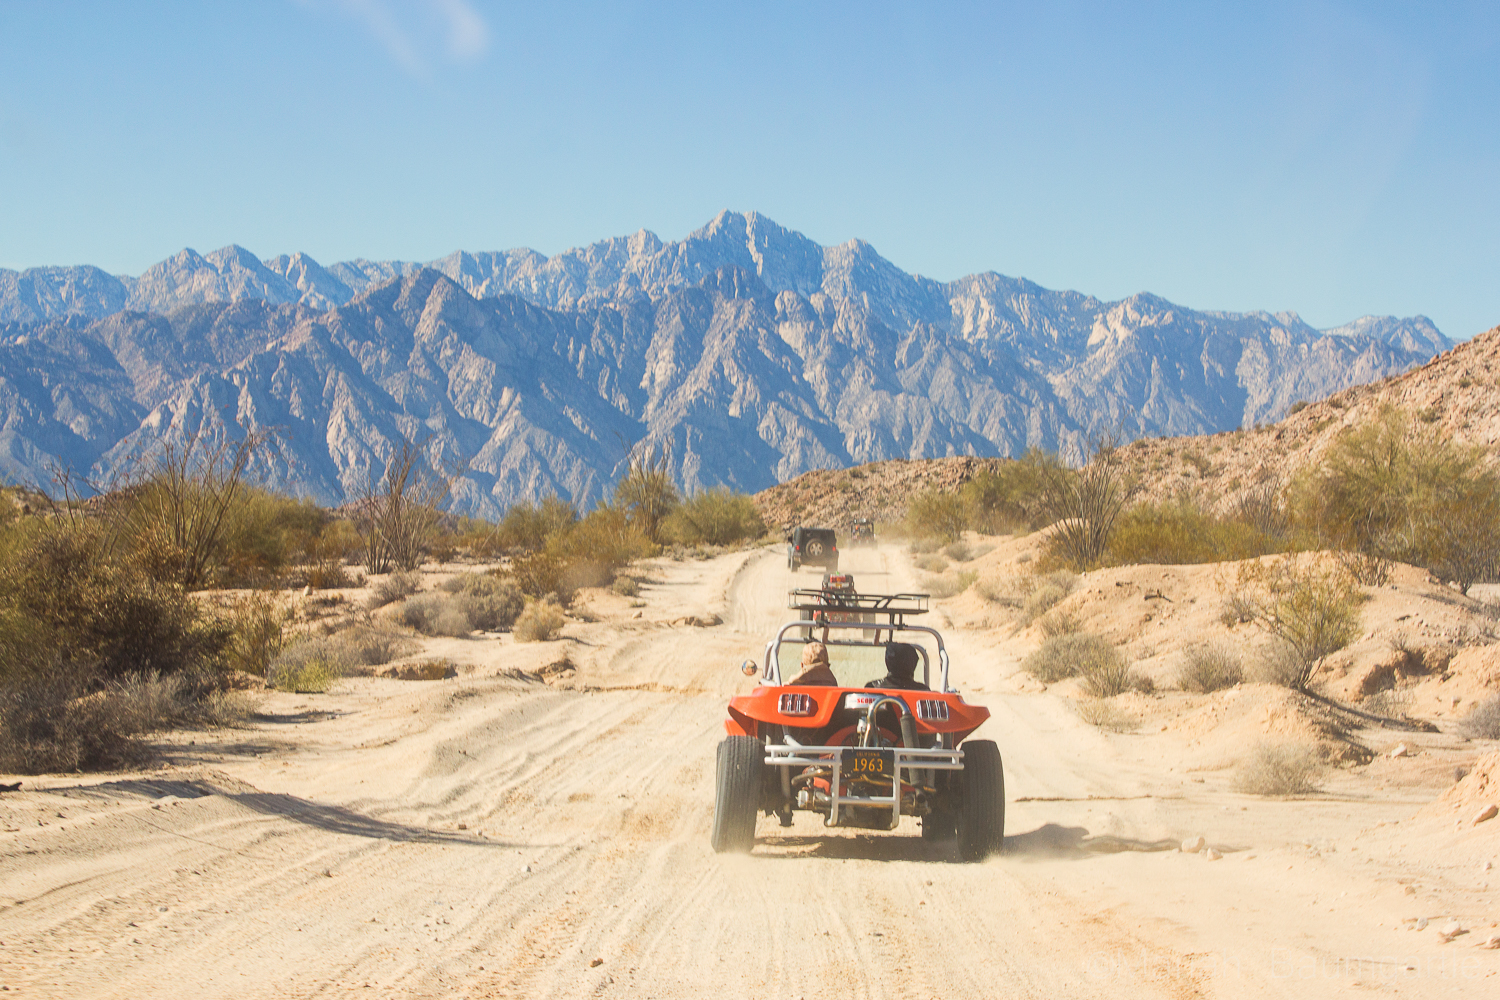
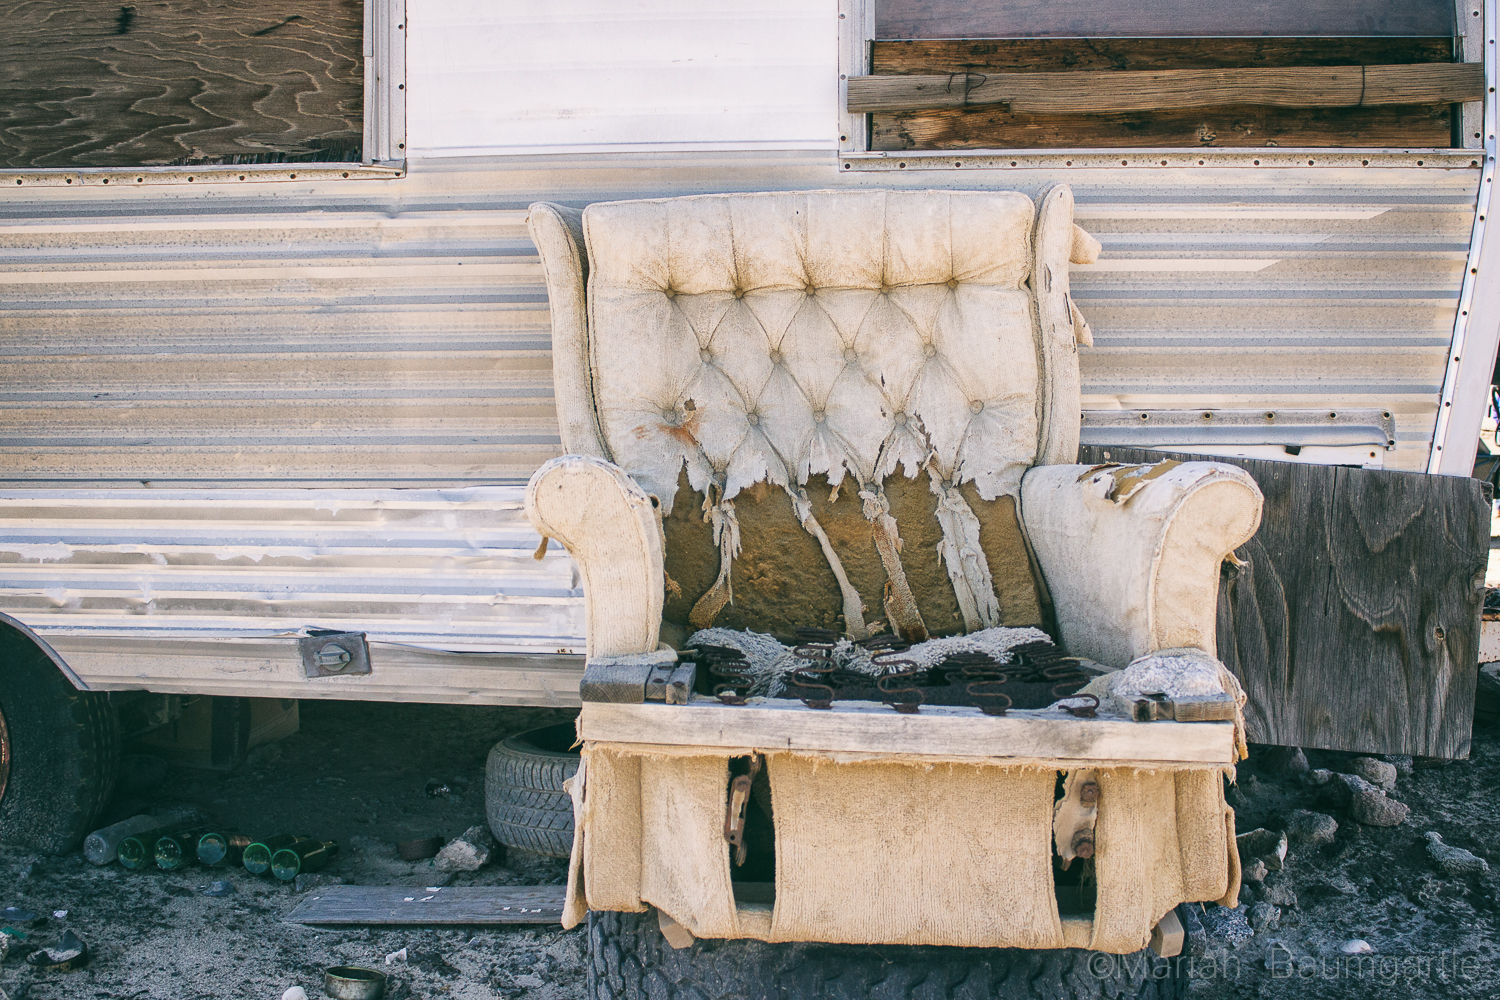
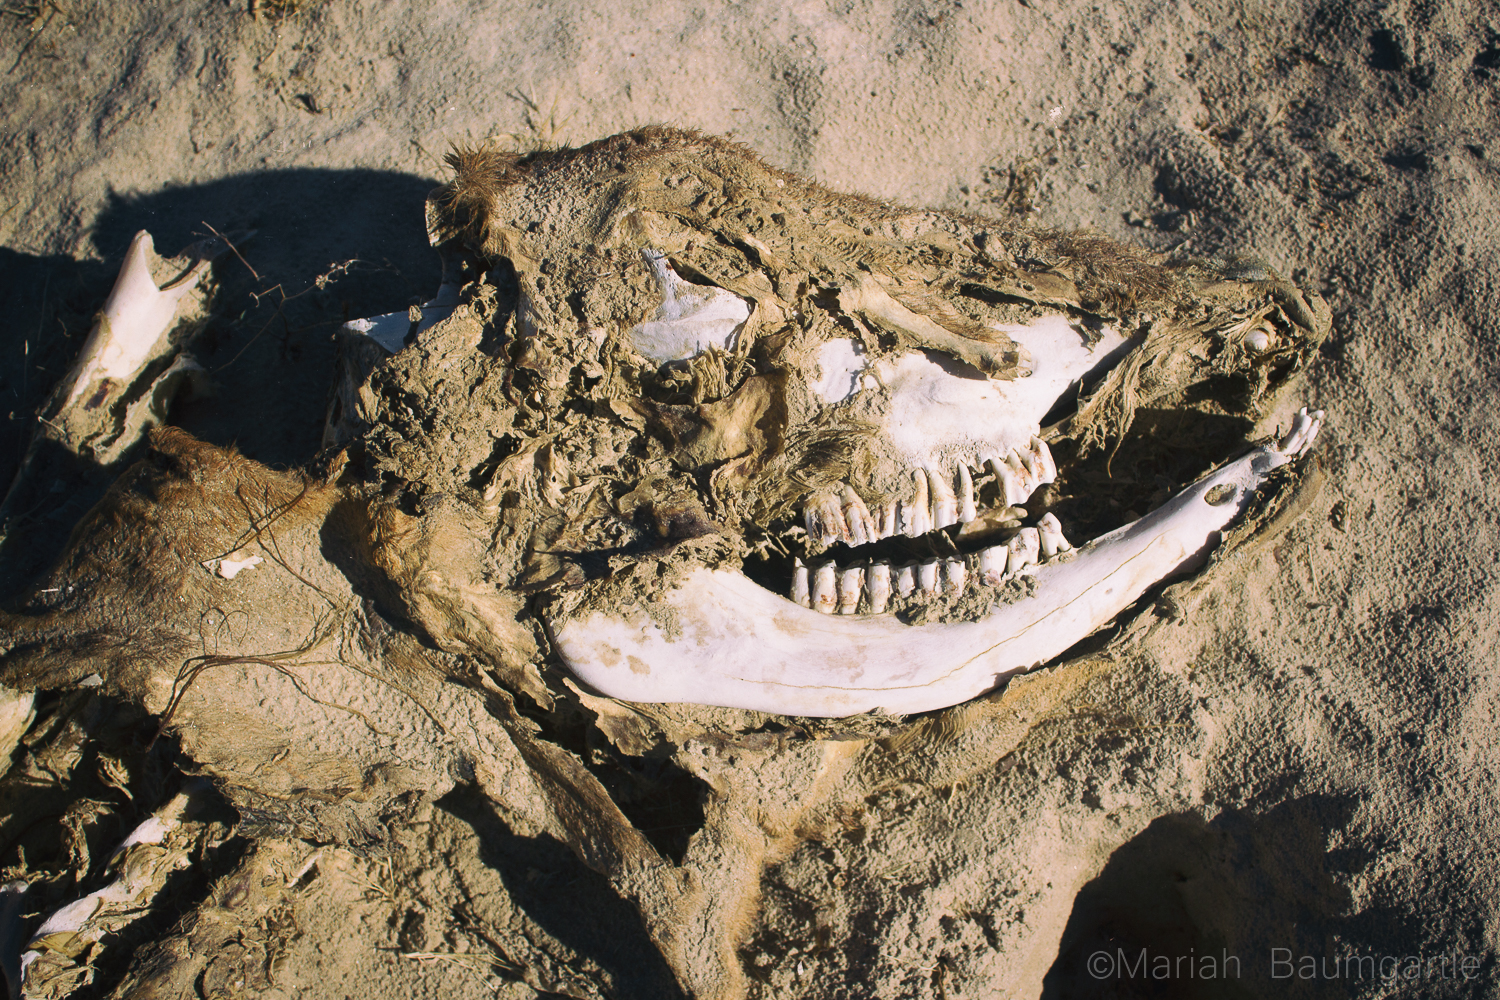
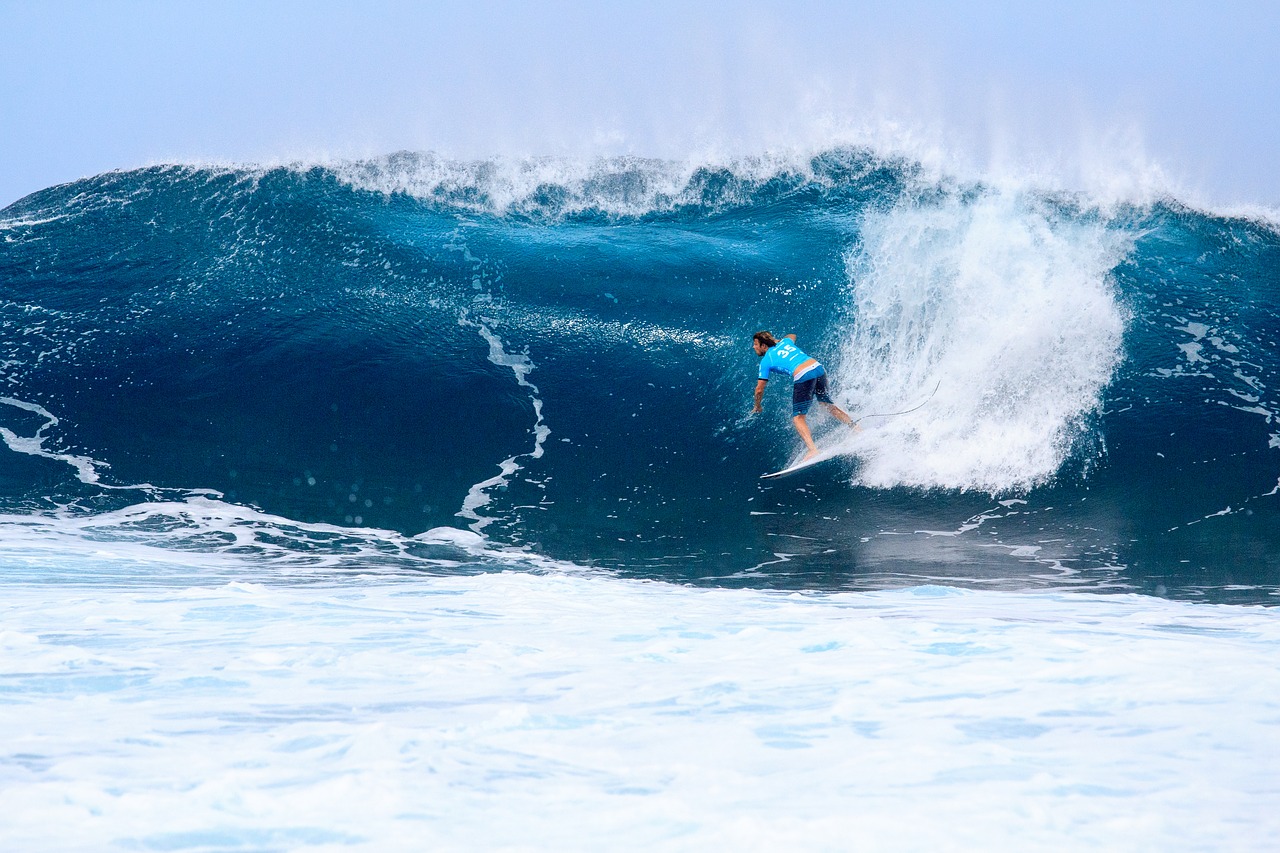
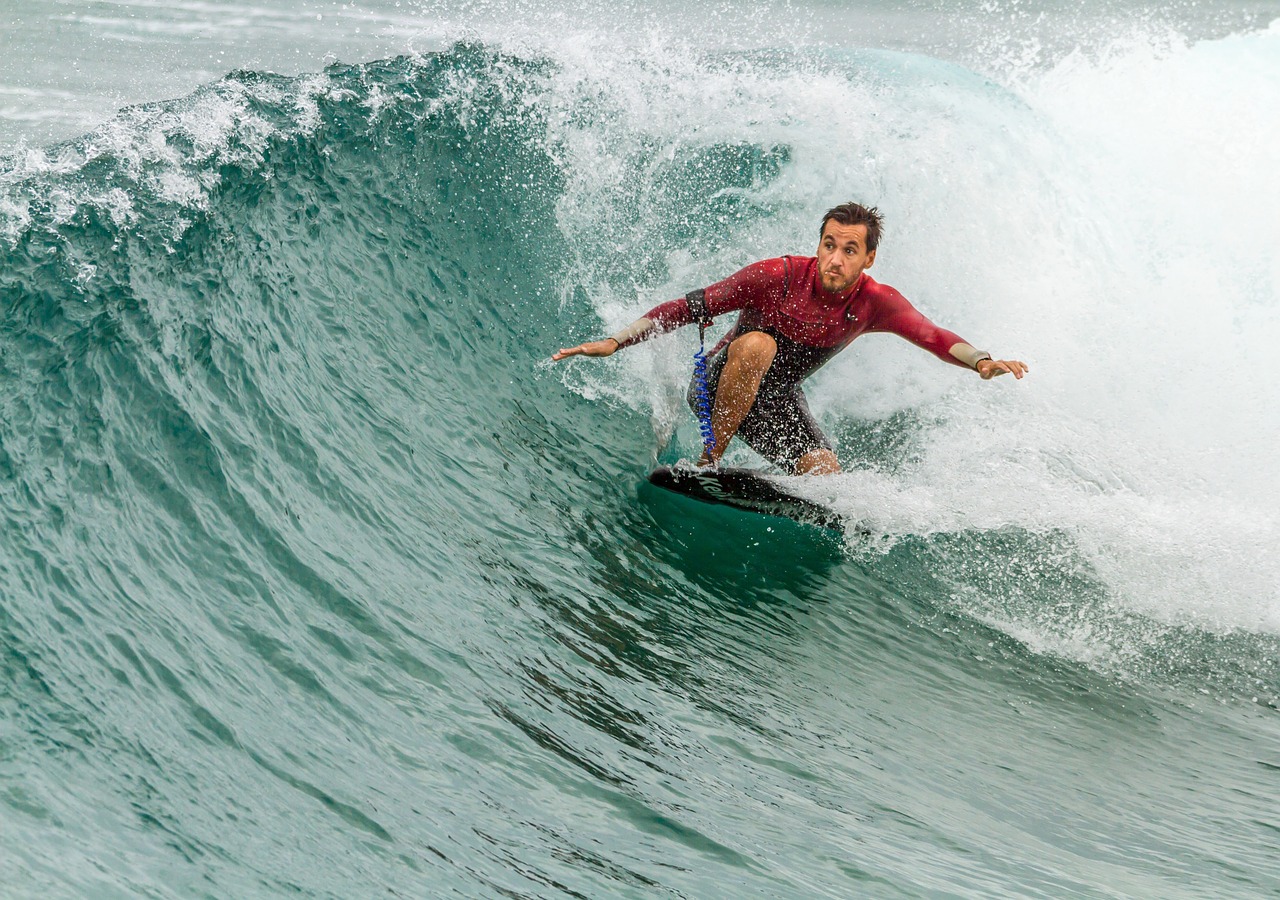
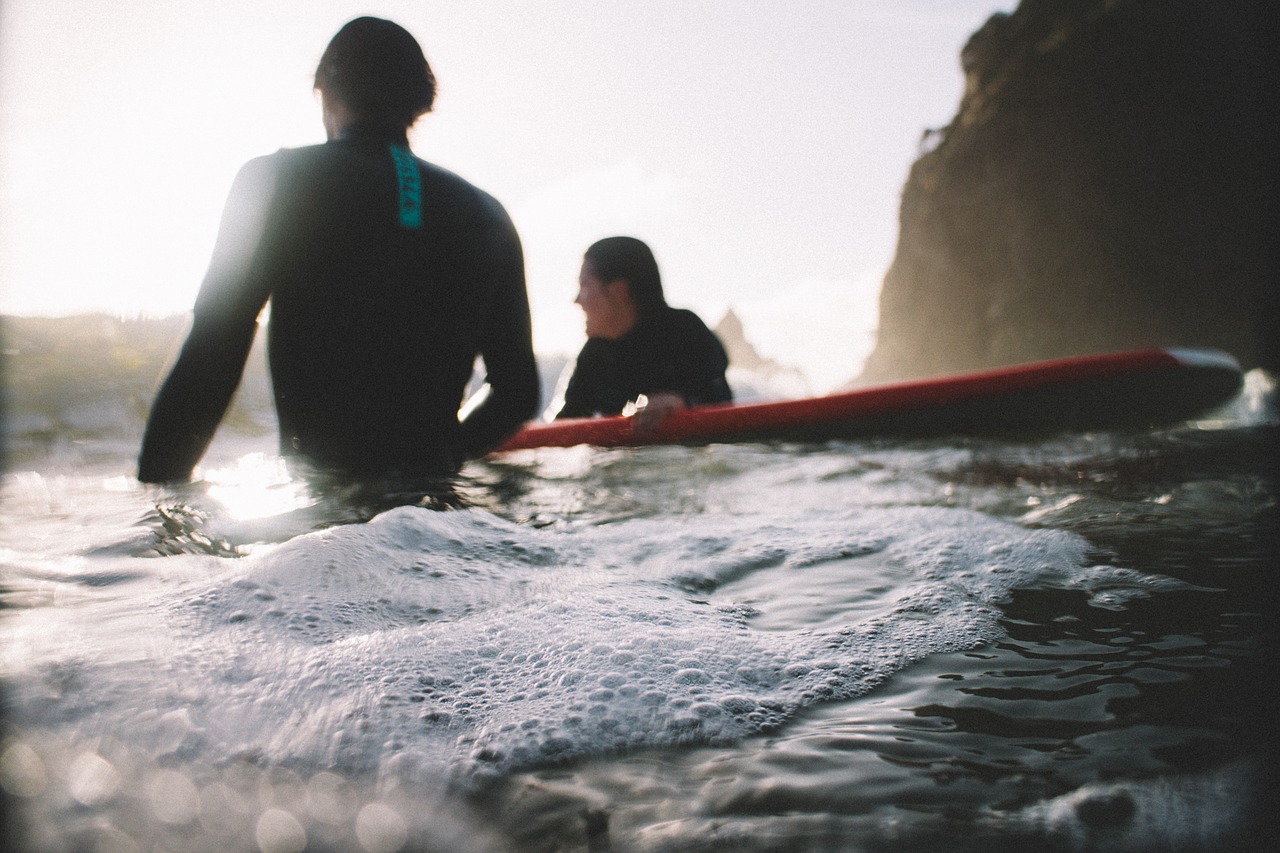
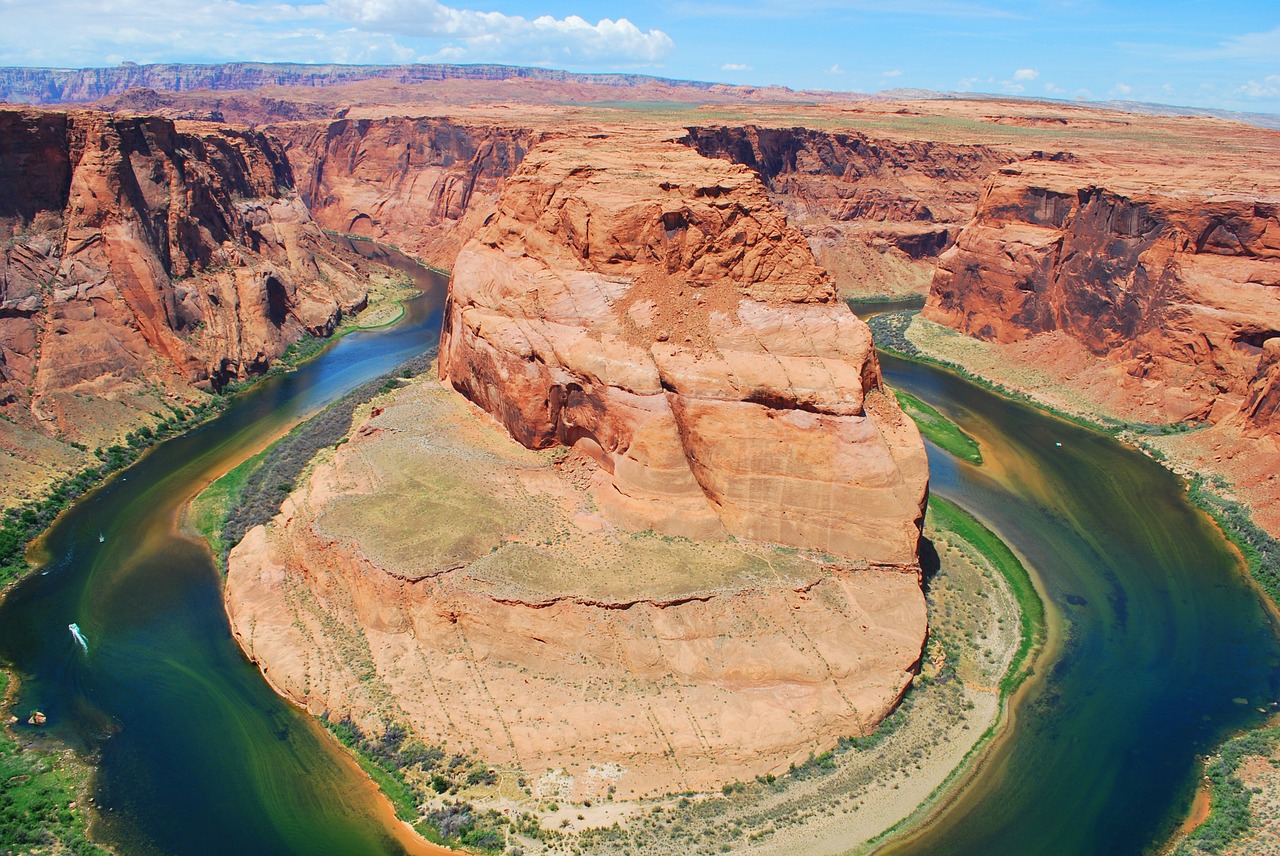
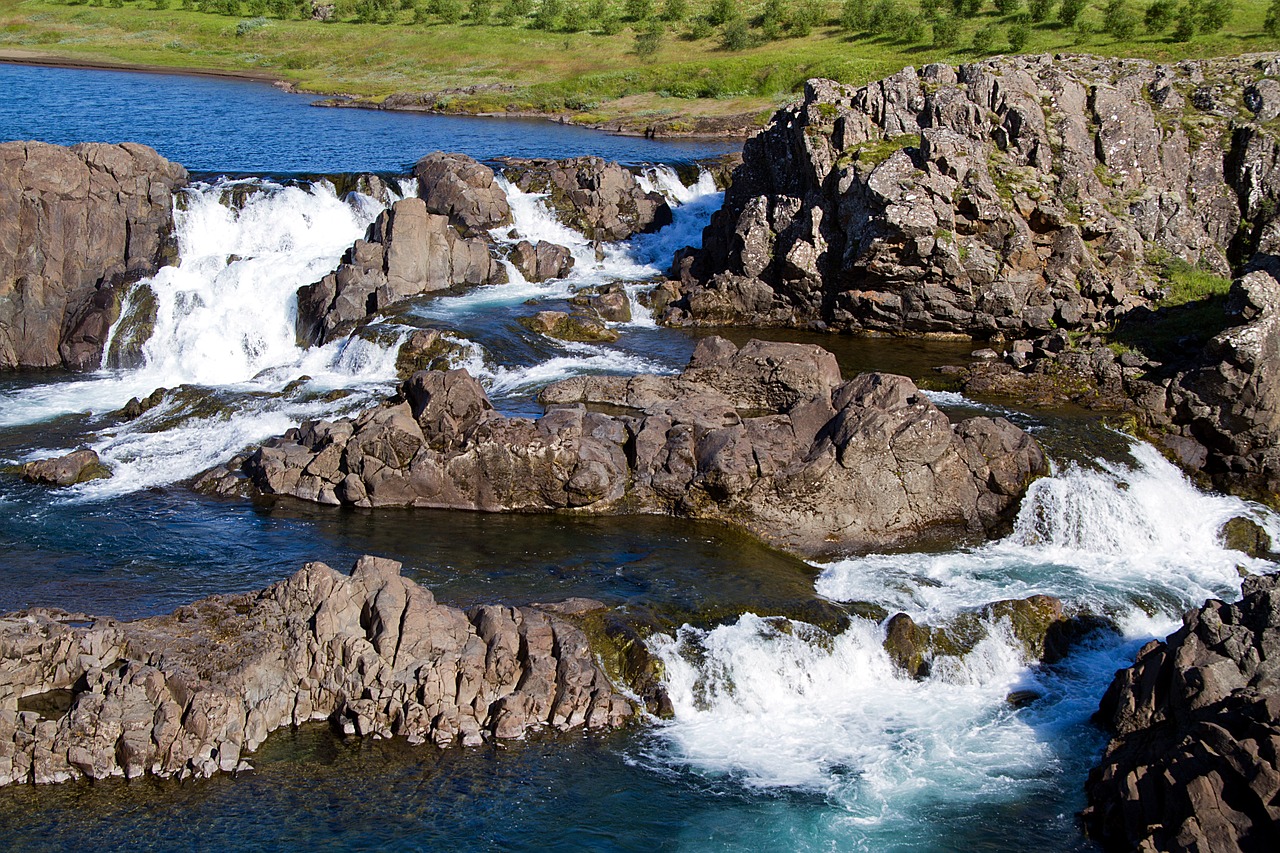
There are many smaller day trips you can take from San Felipe for some great opportunities including more water and desert land. On a note of transportation, you will need some form of 4-wheel drive out in the desert. It is a famous landmark in the area is The Valley of The Giants and a photo opportunity you will not want to miss. The valley holds cardon cacti that stand nearly 50 feet high. You can also drive further south to Percebu where you will find a little more surf in the water and also a great location to find treasures along the beach. Along the way, you will find more abounded buildings and interesting homes and land to photograph. The desert land has a lot of beauty to offer, and San Felipe is surrounded by beautiful desert land. You can take a drive out west closer to the mountains for some more variety in your desert landscape. The desert also offers some interesting finds such as bones, rocks, and maybe even a carcass or two. If you are going out in the middle of the day, you will have problems with harsh lighting in your landscapes, but you can always enhance your lighting in post production with landscape Photoshop actions or Lightroom Presets and Brushes. Valley of the GiantsValley of the GiantsPercebuSan Feipe DesertSan Felipe Mexico DesertSan Felipe Mexico Desert
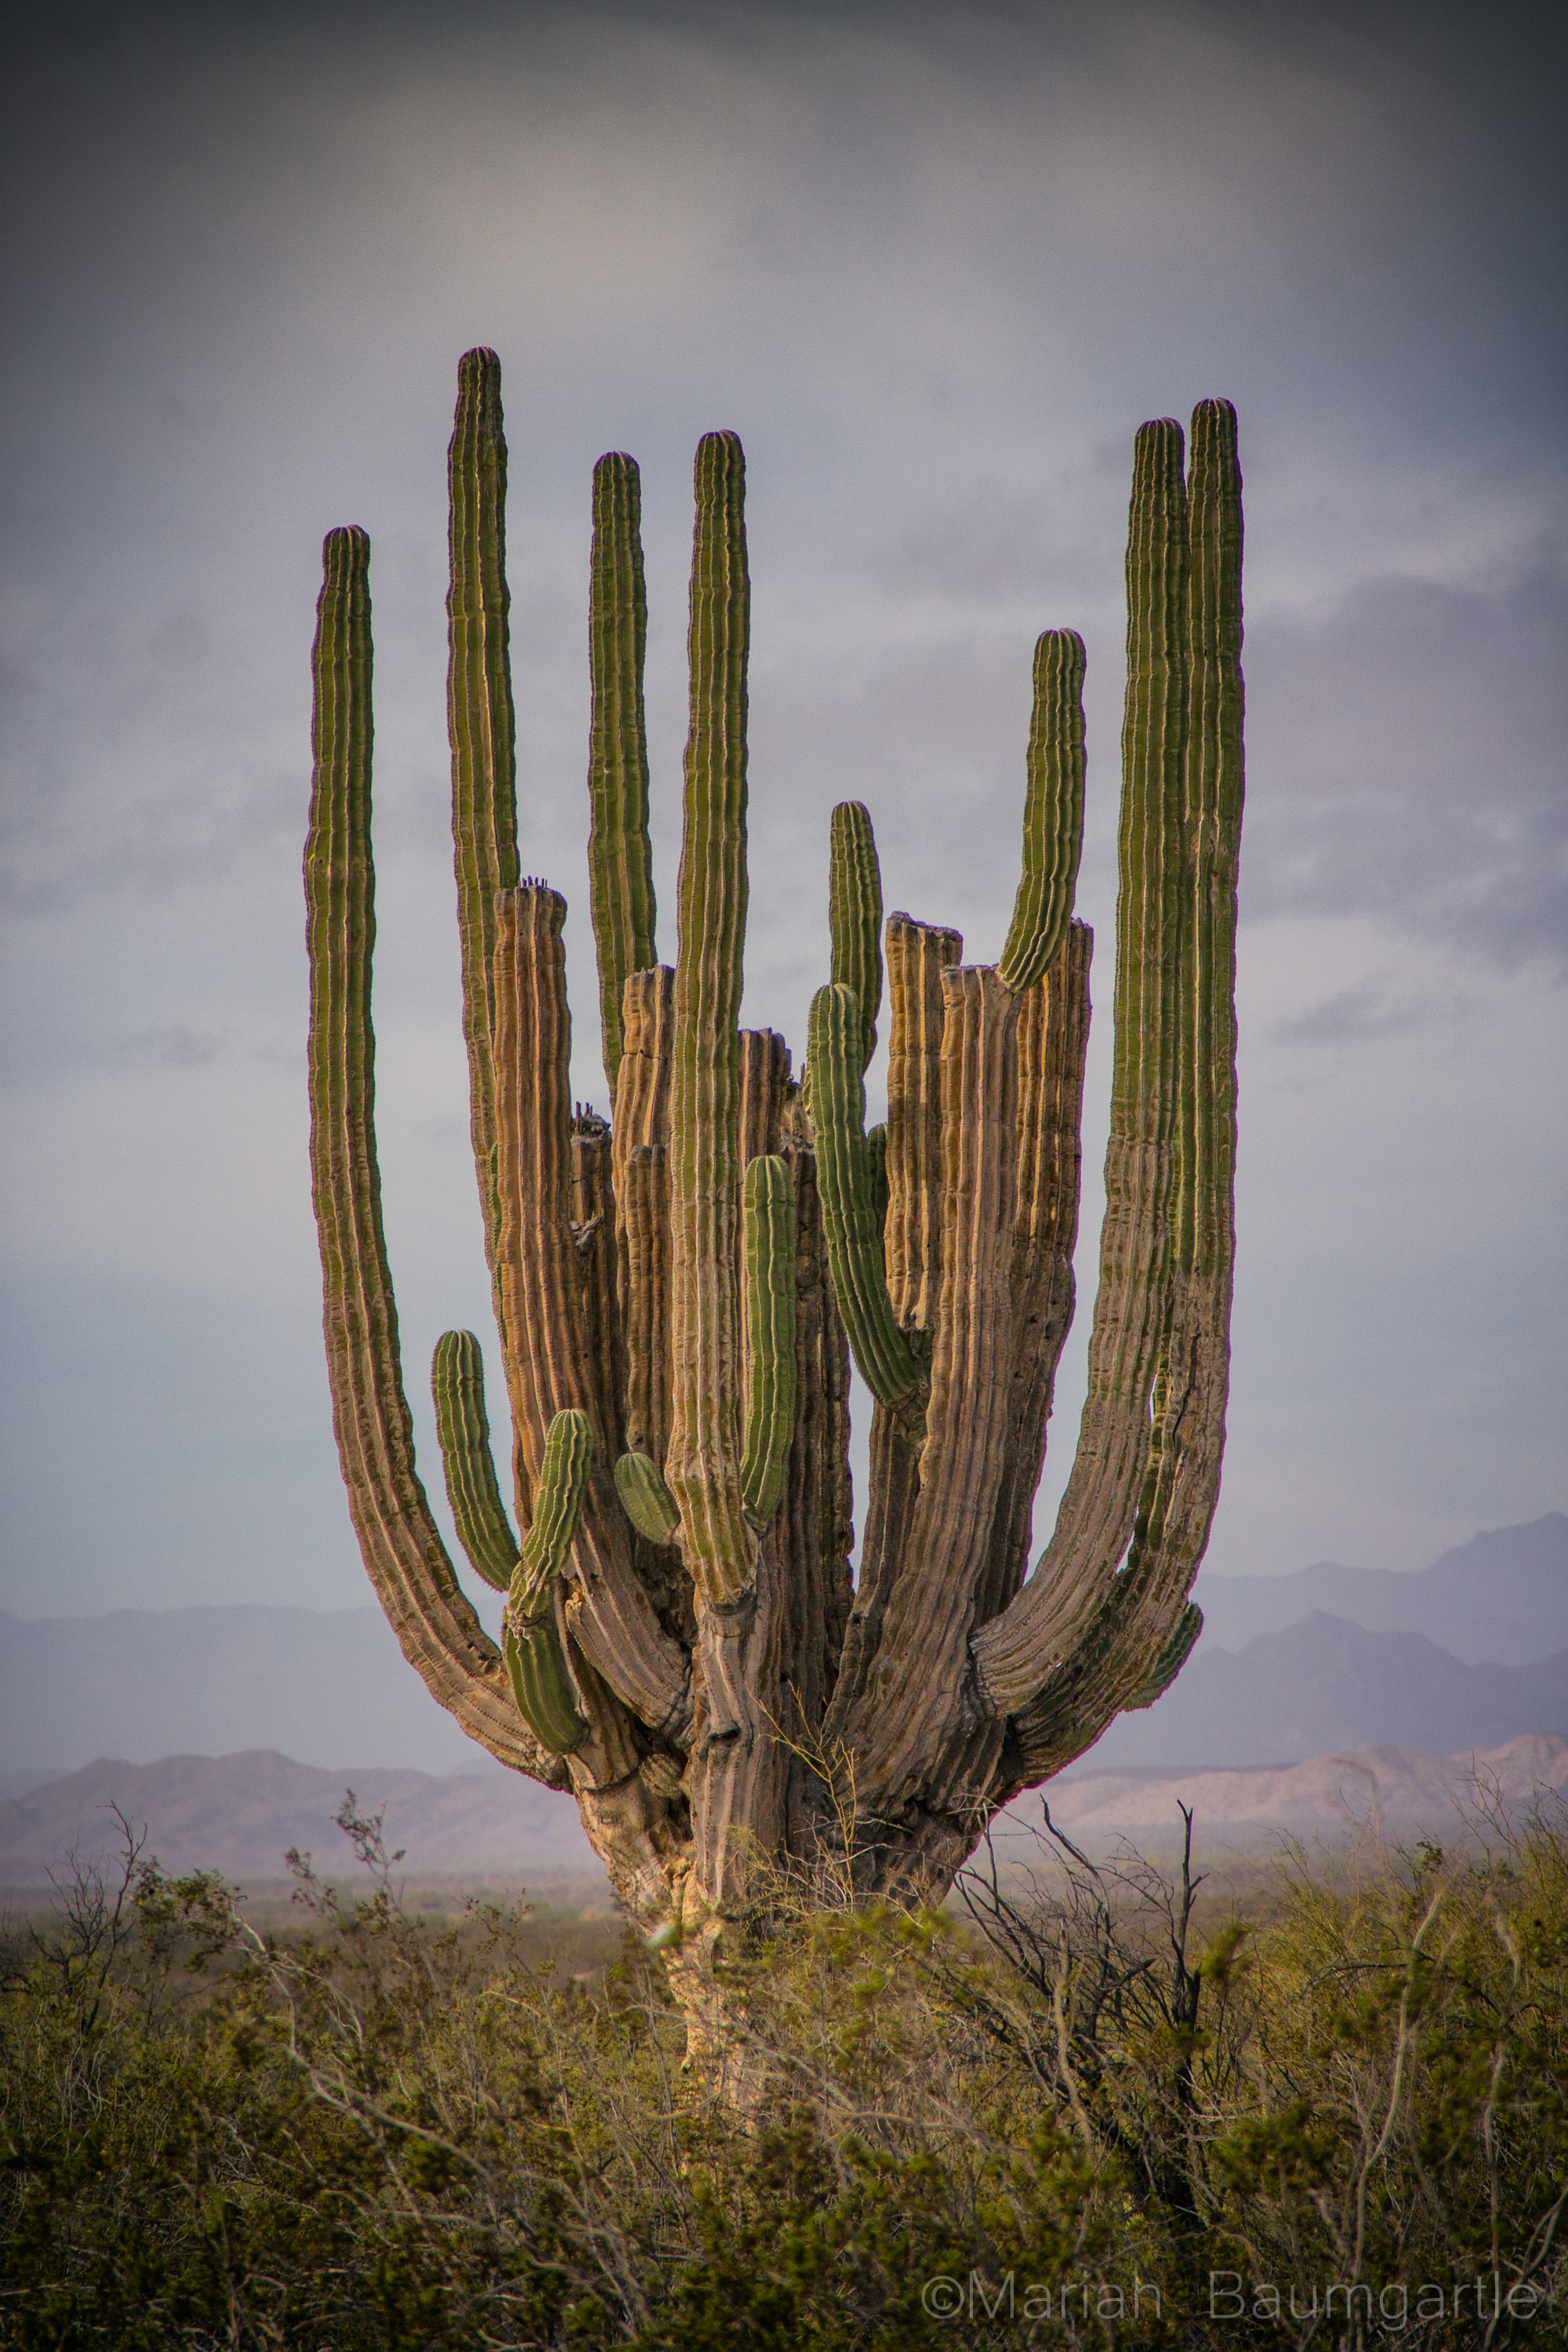
I hope you have the opportunity to visit San Felipe in your future travels or even Baja California to discover color, culture, and beautiful desert land by the sea or ocean side. As they say in the Baja “No Bad Days!”

4 Easy Tips for Working with Surfers

Surf photography is a technically and physically demanding field. It can be as dangerous as it is exhilarating. You share the risks with your subjects, the surfers themselves. Getting the perfect shot of a surfer riding through the barrel of a wave is nothing like regular sports photography. Shooting with surfers requires a unique partnership with the athletes you photograph, and that teamwork will invariably impact the quality of your photos. While it’s always important to work with your subjects, it’s vital to establish a good working relationship with surfers before you try to photograph them hitting the waves.

1. Make Plans with the Surfers

As we already warned you, surf photography is vastly different from regular sports photography. Photographing sports requires good timing, but you shoot from the sidelines as a spectator. Surf photography often requires photographers to join in the action themselves. It’s usually a struggle to get in the right place at the right time to capture that perfect image. A surfer skimming along the bottom of a barreling wave is a beautiful sight, but it’s also a short one. You cannot get these images alone.

surfers-1

It’s imperative to work with the surfers from the very beginning. Explain what techniques you’re planning, and encourage the surfers to ask questions. If surfers know where you’ll be, they can help you get the best image by speeding up or slowing down as they approach. By involving surfers in the planning process, you also decrease potential sources of frustration. Surfers have to be patient in order to learn their sport. By integrating timing requirements and setting up a plan before hand, it’s easier for surfers to see your needs as a surfing challenge rather than outside interference.

2. Be Flexible

Having a plan is great, but be ready to go with the flow. You never know what the weather may do later in the day, and even if certain beaches usually have great waves, even the ocean has quiet times. Surf photography encompasses more than just shots of surfers on cresting waves. Surfers still have a distinct presence on land, and they make great subjects when they’re just sitting on their boards and waiting for a wave. Surfing is all about patience. Although it’s punctuated by flashes of intense action, surfing has many quiet moments. You should take these opportunities to add variety to your portfolio.

surfers-2

Allow yourself to be creative, especially between major shoots or on slow days. Just because your camera is out of its water housing doesn’t mean it’s time to stop working. Experiment with candid photos or ask your subjects to show you their favorite local areas. You may be surprised how many great surfer shots you can get on land.

3. Ask for and Listen to Their Suggestions

Surfers know the best places to surf. They know where and when waves will be at their highest. They know which beaches are crowded and where the surf is just too tough for tourists. Take advantage of this information. Surfers are more than just the subjects of your photographs. They can be your guides if you let them.

surfers-3

They may even offer some new ideas for composition and lighting. Even if they aren’t professional photographers, chances are they’ve snapped some pictures of their friends in action and recorded great views to show off later. More importantly, they can offer valuable safety advice. For example, if there’s an area of the beach with particularly strong riptides, they can warn you away from that risk.

Depending on your arrangement with the surfer(s), your preferences may come second. Sometimes surfers hire photographers to get pictures they can use when entering competitions or submitting profiles. You can still expand your portfolio, and your subject will likely listen to your professional advice, but remember that the relationship works both ways. Be willing to experiment. Your images can benefit everyone. Even if you are not hired by the surfers themselves, take time to see what images excite them, and plan future shoots accordingly.

4. Have Fun

Photography and surfing are both serious business, but always remember to have fun. Surfers risk their lives for the rush, and you wouldn’t be attempting surf photography if you weren’t happy to get in the ocean with them. You’ll have a lot of missed opportunities and inevitably get frustrated at times. Remembering to enjoy yourself can prevent that frustration from destroying a productive shoot. You may not get what you want today, but there’s always tomorrow. So long as you have fun, you’ll never see a day as wasted.

surfers-4

Once you’ve set up your plan and actually gotten in the water with your subjects, everything changes. Surf photography is stunning because it captures moments of intense, rapid action. The waves are breaking, the surfer is moving, and that’s just the action on the surface. Working with surfers is challenging because the pictures you’re trying to take are extremely difficult to capture. That only makes the final images all the more rewarding.

Making Water Vibrant in Photoshop

Have you ever taken a vacation to a beach, or followed a river up a mountain? It’s hard not to want to take pictures of the beautiful scenery that water provides. Photographing water can be tricky, however. Often times the picture you take and the image you saw don’t match up. Whether it’s the way the sun reflects on the water or that your camera picked up more of the vegetation around your stream, sometimes the water in your picture comes out looking dark and muddy.

No one wants to remember a good time through pictures of murky water. Fixing this problem in Photoshop is easy, and can turn your dark pictures into beautiful memories.

water-vibrant
Before
water-vibrant-1
After

Create the New Layer

The first step in making your picture amazing is creating your new layer. Add a new solid color layer. Pick out the color that you eventually want your water to look like. (This is a fun opportunity to make fantasy pictures by using an unusual color, like purple). Your picture will then change to that whole color.

water-vibrant-2

In order to see your original picture you need to change the type of layer mask you have set. Different pictures require different settings. The most common are color dodge, color burn, soft and hard light, and overlay. In this example, we use a soft light. Play around with each of the different settings to see which one works best for you.

In this step, it’s important to only pay attention to the water. Don’t worry right now about how the surroundings or any people/animals look in the picture. We’ll be touching those up next. For now, keep your focus on how the settings make the water look.

water-vibrant-3

Separating the Water

Now that you have your water looking amazing, there’s the issue of the background and any people or animals that also inhabit the image. While the water got the special treatment, this often leaves everything else looking weird and out of place. But, there is a simple fix that doesn’t take too long.

Once you’re ready, click on the layer mask of your new layer (the white box next to your color) and set your brush to black. This process removes the layer settings from whatever you paint over. Use this to restore the original beauty to any friends or family or the natural surroundings of your water.

water-vibrant-4

When doing this, use a brush that’s smaller than the area you’re filling in, and just fill in the center. When you’re ready to move to the edges of your subject, be sure to change the opacity of your brush to a lower setting. This way you don’t have to worry as much about accidentally ruining your water. This is also a useful way of painting edges if you have an unsteady hand.

There is no right or wrong here. It all depends on what you want to do. Sometimes it’s best not to paint over everything that isn’t water. If you want to make something or someone in your image pop, it’s best not to paint the background. If you’re on a crowded beach, just paint over your models and leave the rest of the crowd in the layer mask. This will let your subjects be bright and vibrant, and the center of attention in the busy picture. You might also want to paint over some parts of your water, drawing attention to a specific location in your image.

The dad is now unpainted to draw attention to the child

Fixing Mistakes

Once you’ve finished, you may notice some mistakes, or just want to check to be sure you got everything. Here are some simple ways to check your work, and fix any errors you made along the way.

If you want to see if there are any spots in your image you missed, simply turn off the visibility of the background layer. This will produce a screen that shows translucency where you painted over. If you see any spots of color in your person or background, go back over them with your black brush.

water-vibrant-6

If you notice that you accidentally brushed over some water, or you decide later on that you really don’t want to paint over the crowd, it’s easy enough to go back. Simply set the brush to white, and paint back over your mistakes. This reverts that part of the image back to the layer mask settings.

Everyone loves a good picture of water, but it can be hard to produce. More often than not, a beautiful water scene comes out looking dark and murky in the final product. If this happens to you, it’s easy enough to use some simple Photoshop tools to turn your gloomy water picture into the amazingly bright image you remember seeing.

Here are the best ways to change colors in photoshop for you only!

How to Photograph Water – Water Photography Tips

Water is a wonderful part of nature that everyone can appreciate looking at. Whether you want to photograph a river, an ocean, a lake, or a waterfall you’ll need to know how to set up your camera for the perfect shot. Water photography is a tricky subject. However, by changing a few camera settings, you can get an excellent shot. Once you know how to set up the shot beforehand and properly change your settings for the type of picture you want, you’ll be a water-shooting pro in no time.

Water Photography Tip #1: Protecting Your Camera

One of the most important things to keep in mind when doing water photography is the safety of your camera. Just like any other electronic, your camera will not fare well when wet. Shooting near water can harm your camera and even make the photos come out looking splotchy and hazy.

photographing-water-1

To protect your camera from falling in the water during water photography sessions, always use a tripod that is steady. Not only will the tripod protect your camera, but it will also make the image steadier. Sometimes you’ll want a slower shutter speed for your camera, and if you’re holding it in your shaky hands, the photo may come out blurry.

When in a place where water spray is likely, such as the beach or a waterfall, be sure to cover your camera. Enough light drops on a camera can ruin it. When you are ready to set up your shot, be sure to cover your lens up until you’re ready to shoot. An old camera filter or a plastic bag will not only protect your camera lens during your water photography, but it will also prevent watermarks from getting on the glass and ruining your photo.

photographing-water-2

Water Photography Tip #2: Setting up the Shot

Water photography is mostly a game of composition. Even with wrong camera settings, a nicely composed picture can turn out great. But no amount of fancy settings or filters can take a horribly framed photo and turn it amazing. With water, the placement of your camera is of the utmost importance. You can create amazing scenes using curves and natural objects such as rocks and vegetation.

Generally speaking, lines are what attract the eye. When someone looks at a photo, their eyes follow the lines created by the objects. A good photo uses these lines to draw the eye to the important aspects of an image. Being out in nature, you’re going to have to find these eye-catching lines yourself.

photographing-water-3

The best spot to take pictures of water isn’t always the most convenient. You may have to walk along a river or climb to a certain part of a waterfall to get the best shot. Generally, you want to find curves. Waterfalls and ocean waves have plenty of these. When looking to shoot rivers, try to find a bend or a handful of swerves to help get the attention of your audience.

A picture of just water isn’t going to be all that astounding. Try and think of a photo you’ve seen that shows the river without the bank, the ocean without the beach. There aren’t many. A lot of the attraction to water images is the nature that surrounds them. Keep this in mind when you’re preparing your shot. You want to include the rocks, the sand, and the vegetation that surrounds your water. Use the natural landscape to frame your shot or divide it into neat lines. It may take some time searching, but eventually, you’ll find the perfect spot to shoot.

Water Photography Tip #3: Setting Shutter Speed

Once you’ve found where you’re going to shoot, you need to figure out how you’re going to shoot. When it comes to water there are two main types of effects you can make. You can either produce an image with still water or one that’s moving. Both of these types of effects create stunning images, and it is easy to get both in one shot.

Creating water effects comes down to shutter speed. Shutter speed is how fast or slow your camera takes a picture. When you hear a camera click, that’s the shutter closing on the image, capturing it. If the shutter speed is slow, the image is revealed for longer, letting the camera pick up more light and movement. When it’s fast, the image is revealed for a shorter period and the camera can’t pick up on everything.

photographing-water-4

If you want to create still water images, you’ll want to set your shutter speed to a faster setting. Faster settings do allow you to hold the camera (use a strap so it doesn’t fall in). Because the picture doesn’t have a lot of time to capture the image, it will only catch a fraction of what’s going on, leaving you with the illusion that the river or waterfall wasn’t moving at all.

However, if you like the idea of showing motion, and want a streaming-like effect on your images, then use a lower speed. This is where your tripod will come in handy, so the image doesn’t shake. As the image is revealed for a longer period, the camera can pick up on the movement of the water, and track it as it goes along. This allows for the final image to have movement in it.

photographing-water-5

Photographing water can be tricky and dangerous to your camera. But as long as you take proper safety precautions, your camera can help you get the perfect image. Just remember to spend enough time scoping out the perfect shot. And don’t forget to change the shutter speed as you go to get some different effects in your pictures.