Finding the Right Spot – Planning Before Your Tripwww.sleeklens.com
For people who enjoy travel photography, one of the most difficult challenges is to find original compositions that help you show the city you want to show in a special way that leaves your signature on the final image, so to speak. With millions of people (literally) visiting a touristic city each year (for instance, more than 32 million people visited Paris in 2013!), probably all the famous landmarks have already been photographed from every possible angle so the only choice you have to produce a special travel image is to include changing subjects like local people that add something to the scene or if you are lucky enough to be there while some dynamic component is happening, like a specially beautiful sunrise/sunset or some special event.
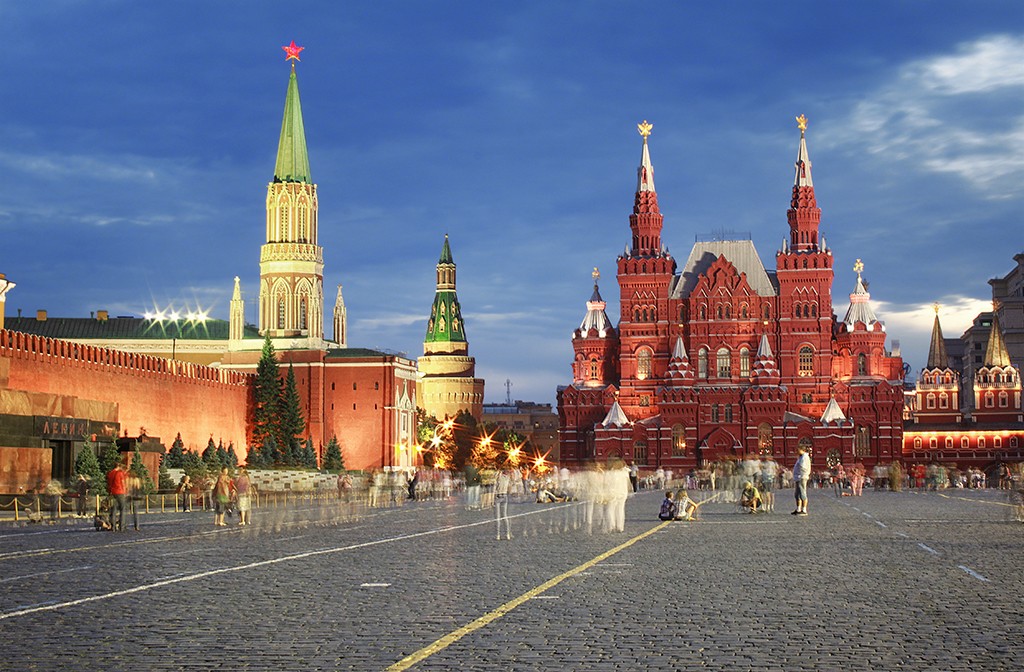
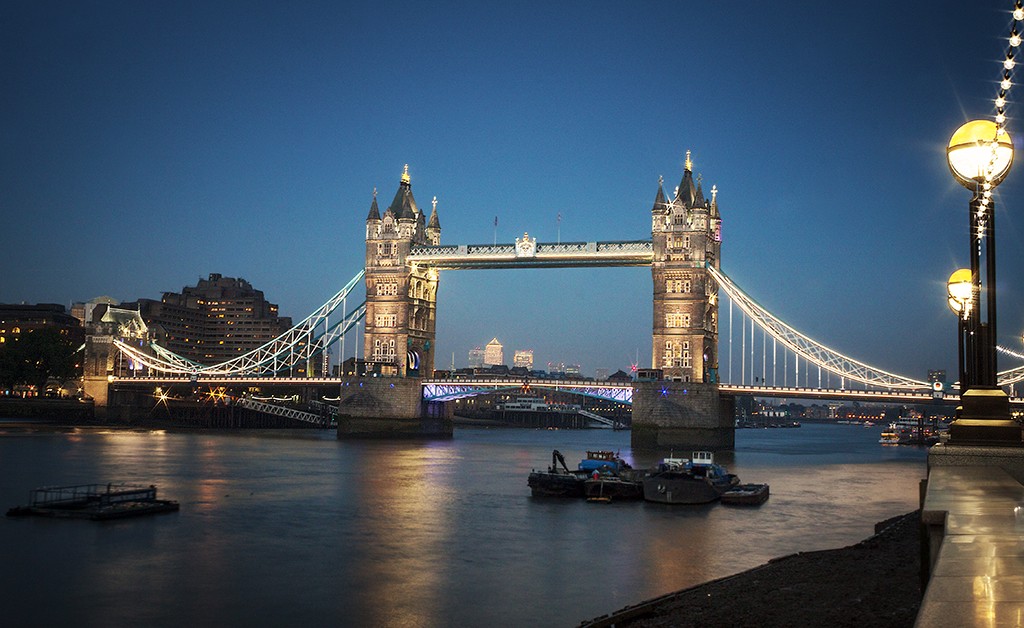
That said, most of us will anyway try to come back from our trip with our own versions of emblematic landmarks like the Eiffel Tower in Paris, the Tower Bridge in London, or the Empire State in New York, to name just a few.
While many of these photos will lack originality, I still enjoy taking them for different reasons. On the one hand, I just like having them in my portfolio; there is a reason for those points of view being so famous after all! On the other hand, taking your own version of famous shots is a great way of practicing and judging yourself since you have many other pictures to compare yours to and you can easily find things that you prefer in those of others, giving you a hint on what you need to improve in your own workflow.
Now, while the job of deciding which spot we want to capture our photo from has partially been made by others, it is quite common that finding where a specific photo has been captured from is not as easy. Today I want to share some tips about finding the right spot in order to prepare for your trips so that you can make sure you don’t miss any of the photos you want to make.
Planning for time
The first thing you have to decide is when you want to make your photo. The best times of the day to take photos with natural light are the golden hour (right after sunrise) and the blue hour (right before sunset). This is particularly true for cityscapes and, even though this does not mean that you should not take your camera out during the rest of the day, given the short duration of these particular times, you will end up with the possibility of capturing only two good pictures per day (and that if the weather plays along, which is not often the case). For this reason, it is important to plan ahead and know where you are going even before starting the trip.
Now, even during the golden and the blue hour, the angle from which the light is coming is important when planning for your photo. The effect that you can get from capturing your subject when the Sun is behind it is completely different than the one you can get when the Sun is illuminating it. For this reason, the time of the day you want to take your picture is closely related to the location you will take the picture from.
Planning for location
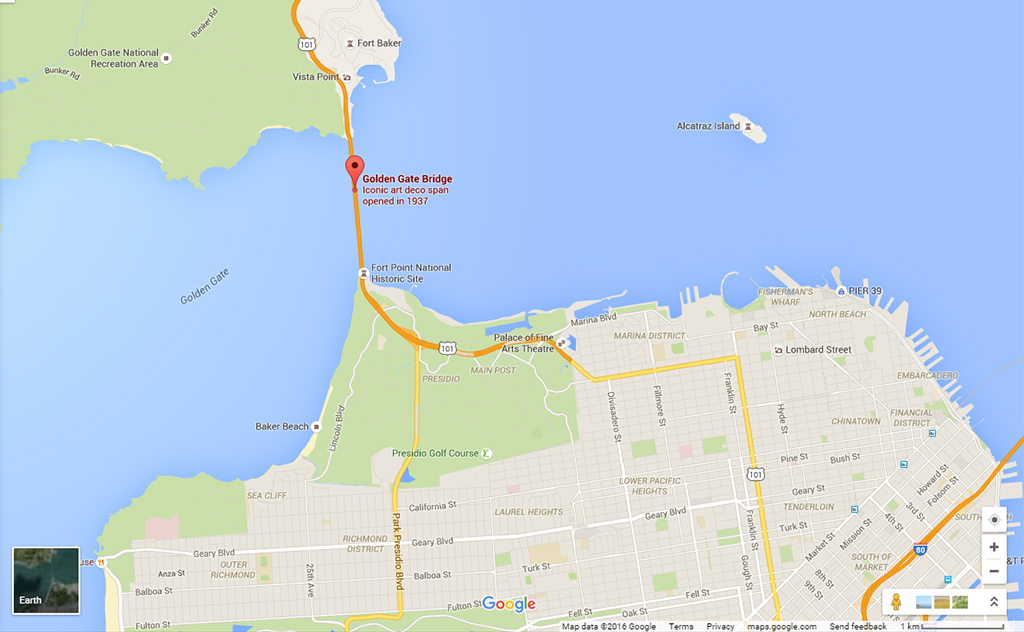
The first thing you have to do is, of course, choose the photo you want to take. Take, for instance, this photo of the Golden Gate Bridge in San Francisco, USA.
The photo was taken before sunrise to sunrise using an ND filter to capture the motion of the water and the clouds. Now, if you were planning to take your own version of this same image and no information regarding the time of day and location were given to you, there are a couple of things you would need to consider.
First, wherever this was taken from, the Sun was illuminating the bridge directly, which means it was located behind the photographer. This by itself does not give us information on the time of day (morning or afternoon) so we need to find out where the photo was taken from. For this, any map service will help (I personally use Google Maps). So the first thing you need to do is search for your subject. This is a screen capture of the Golden Gate Bridge in Google Maps.
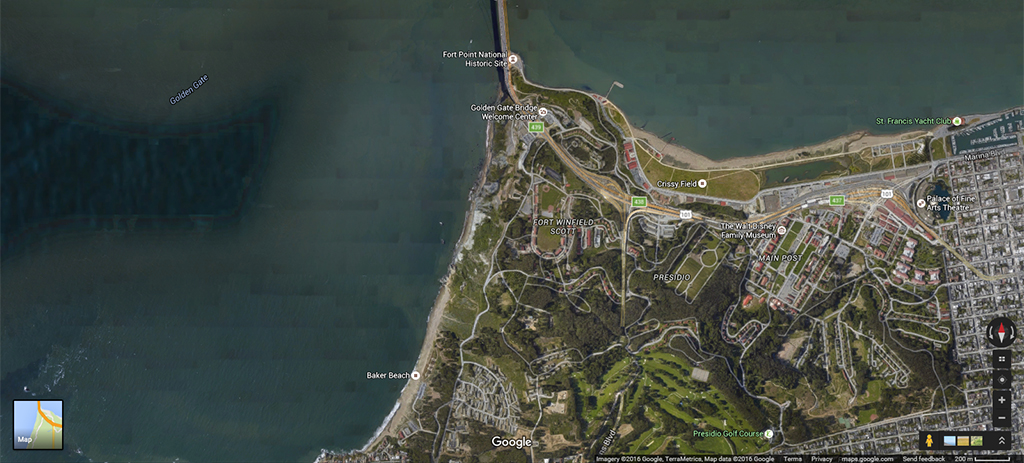
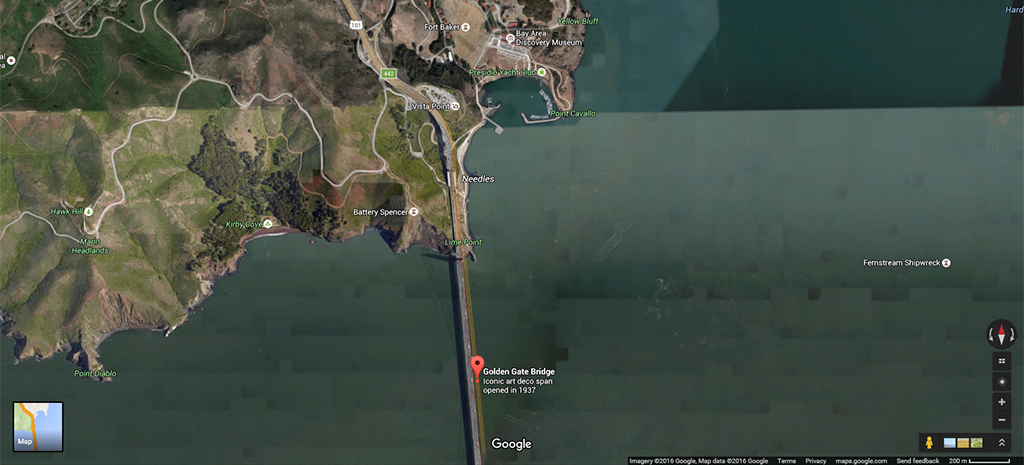
From the perspective (unless the photo was mirrored which is unlikely), there are only two locations where the photo could have been taken from: the wide region denoted as Bake Beach at the southwest of the bridge or close to Fort Baker at the northeast. The best way to discern between both spots is looking at the ‘Earth’ view. This presents satellite images that help distinguish characteristic features. The next two images show satellite photos of the Baker Beach and the Fort Baker areas respectively.
If you look carefully to both images, you can see that all the area surrounding Fort Baker is mostly covered in concrete, whereas the area surrounding Baker Beach is, well, a beach. This latter matches what can be seen on the original picture we want to reproduce, giving an unambiguous hint on the location where the photo was taken from.
Once the location has been determined, knowing that the Sun rises at the East and sets at the West, it is easy to determine as well that the photo was taken before sunset since, as we said before, the Sun was located behind the photographer.
Some spots might be a bit more difficult to establish. It might be necessary, for instance, to look closer at the satellite images to find specific features such as rocks on the water or crossing streets. The workflow, however, is always the same. So don’t forget to plan ahead so you can make the most out of your trip!
Leonardo Regoli is a self-taught amateur photographer currently based in Ann Harbor, Michigan (USA). His main interests are travel and landscape photography.


 Facebook
 Google +
Comments (0)
There are no comments yet.