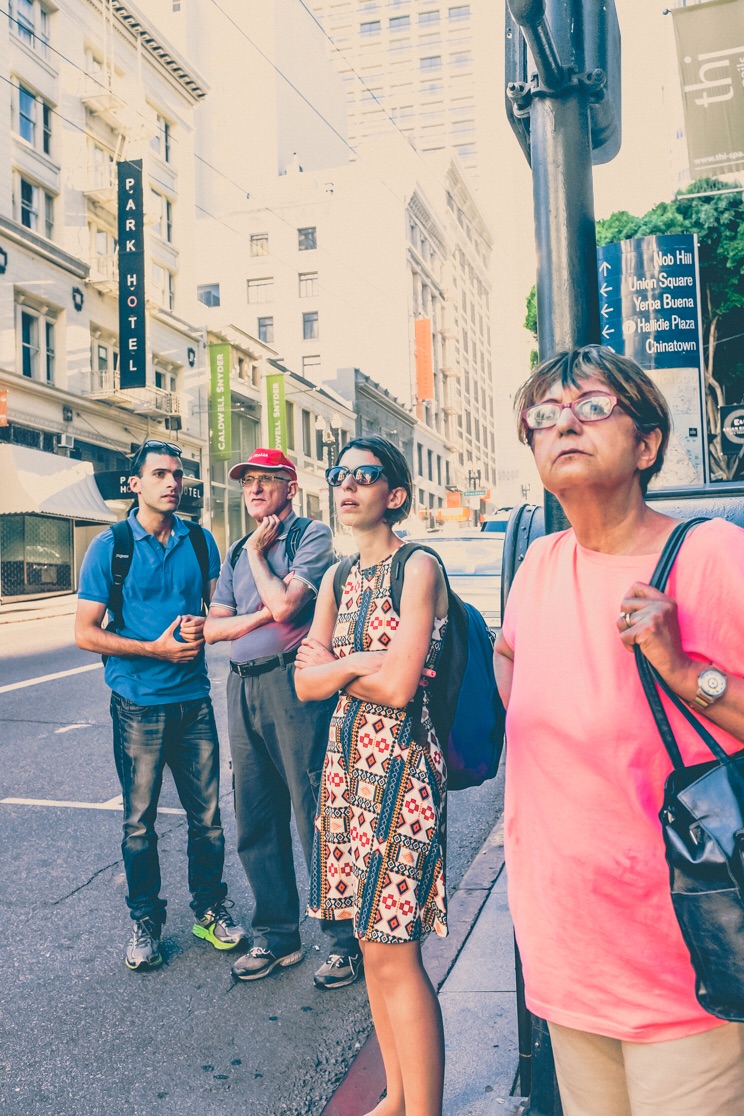
For those that don’t have access to professional gear, it may seem difficult to believe that you can still produce nice images. So much emphasis is put on equipment these days that it can be easy to believe this. As someone who travels often, sometimes I purposefully choose to shoot with the bare minimum. It lightens the luggage and helps you avoid attention. It also forces to you to focus on what’s important when creating images. Things such as lighting, composition, lines, genuine expressions and things like these.
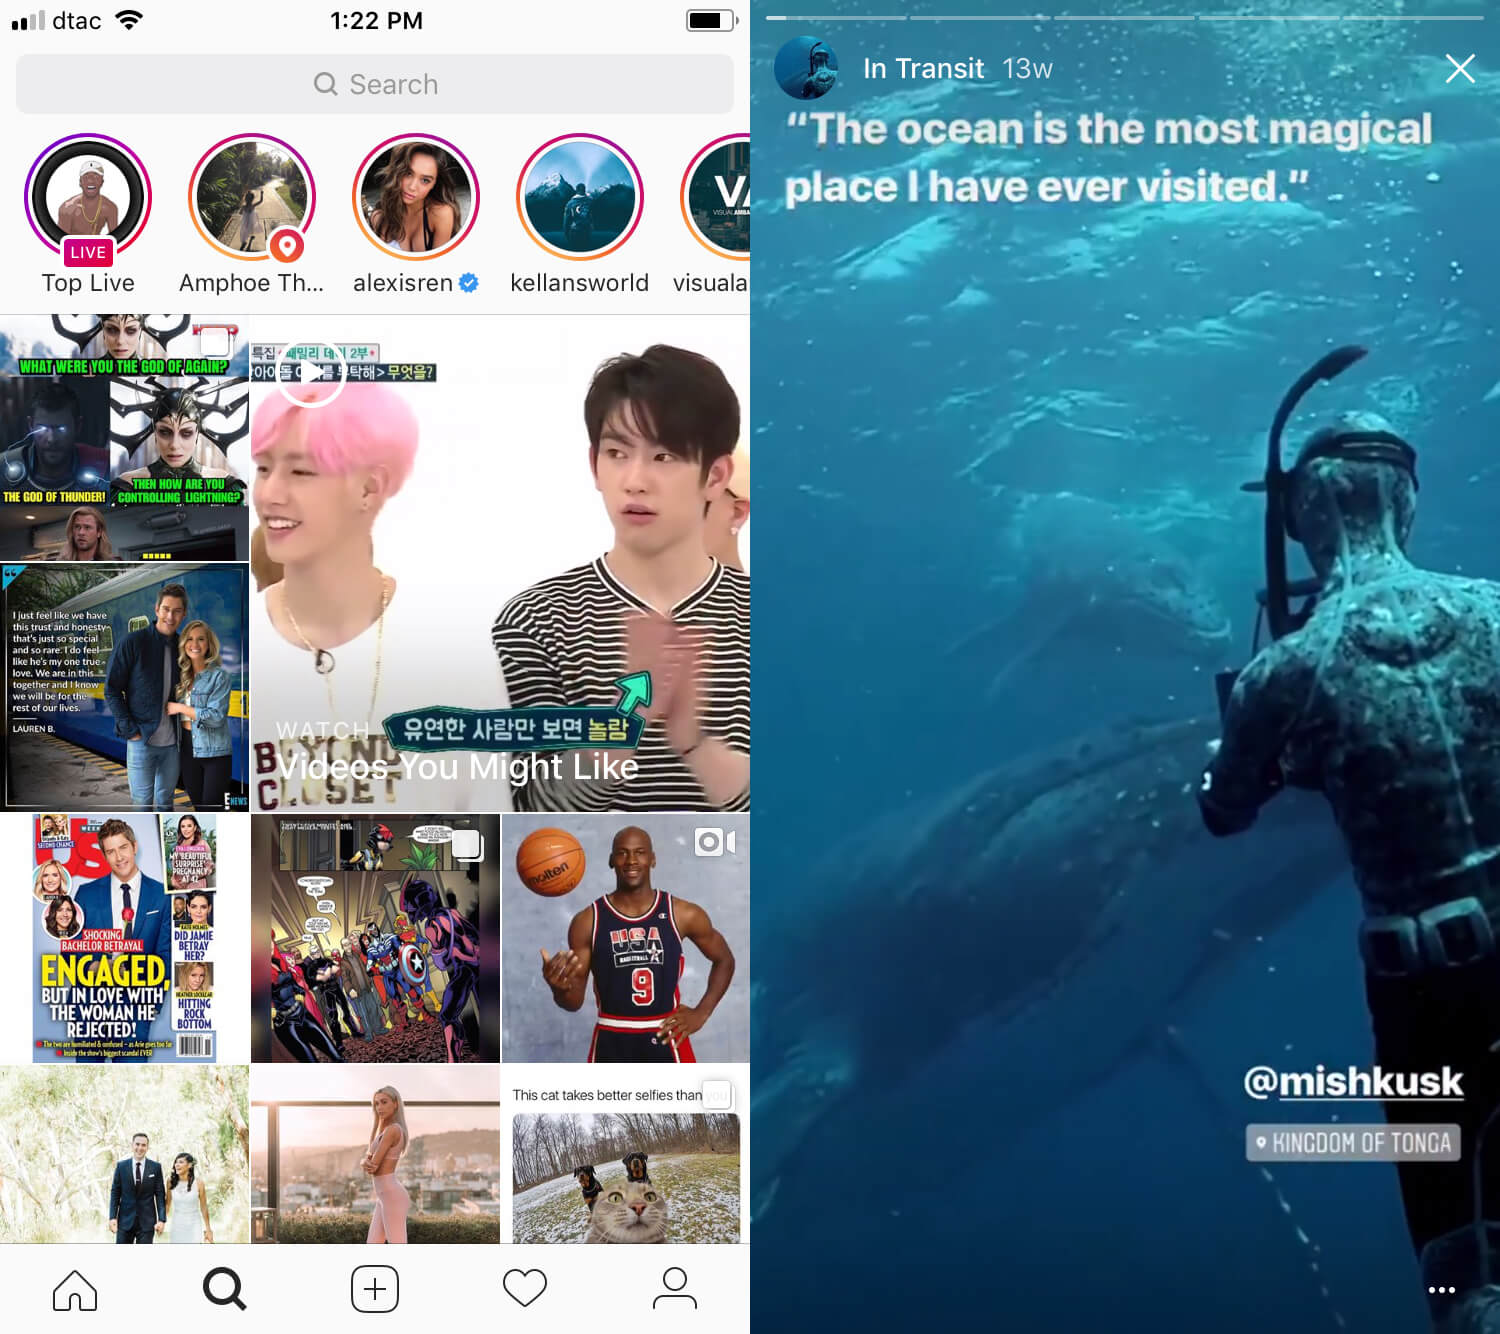
Something that has really encouraged me to shoot like this is Instagram’s story feature. It’s a great little platform that allows you to share your images from your day with those that follow you. It keeps your followers engaged and can keep you in a creative mindset throughout your day. How can we use this feature for our benefit?
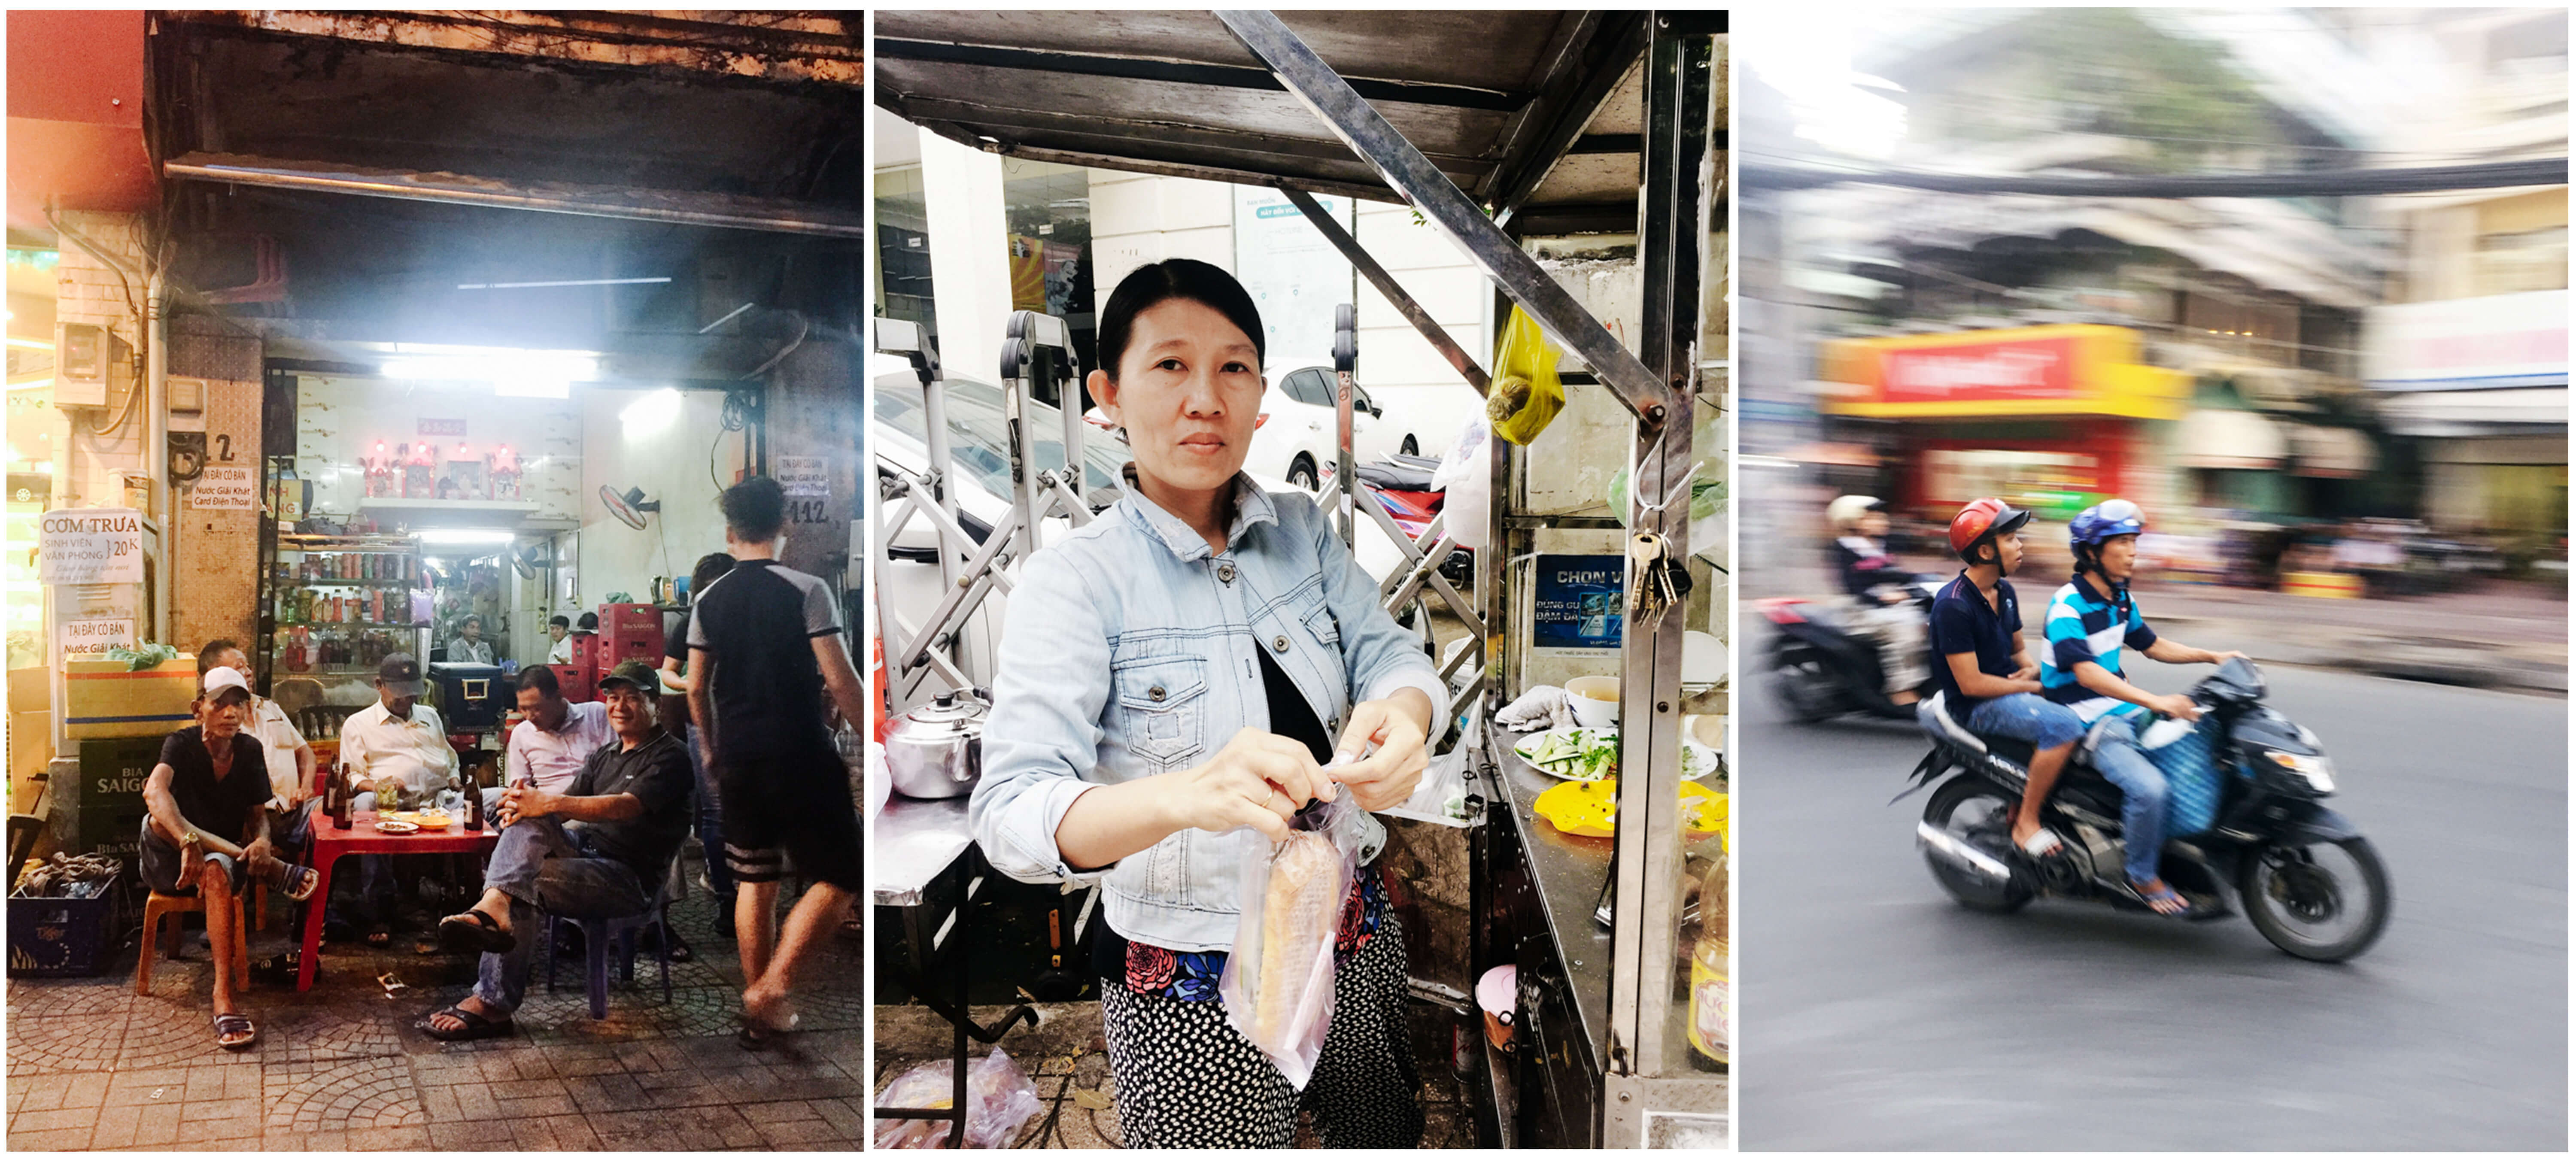
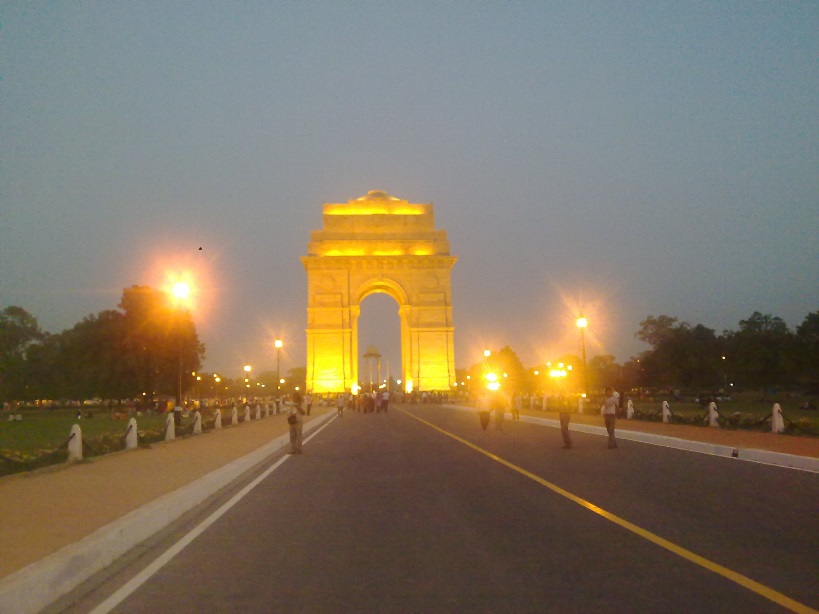
In order to show you a real-life example of how this can be done, I decided to run (literally went for a run) through the city of Ho Chi Min in Vietnam with only my iPhone 6. I want to show that even if you don’t have top of the end gear, you can practice, improve your craft and interact with your followers all at the same time!
Instagram Story
, in general, is a great way to showcase your work to an international audience. It seems like nowadays Instagram presence and following is a great way to secure jobs and receive income from sponsorships. With that being said, how can we make the most of this app in our everyday life?
First, let’s take a look at what this Story feature is all about. Stories will appear on the top of your Instagram feed in the shape of a circle. Your followers can click the circle and see either photos or video that you posted. They will be present for your followers to look at for the next 24 hours. If your plan is to use this medium to share your images, you will want to shoot knowing you will have to crop to 16×9 later. This can affect that way you compose your shots.
Understanding Your Camera
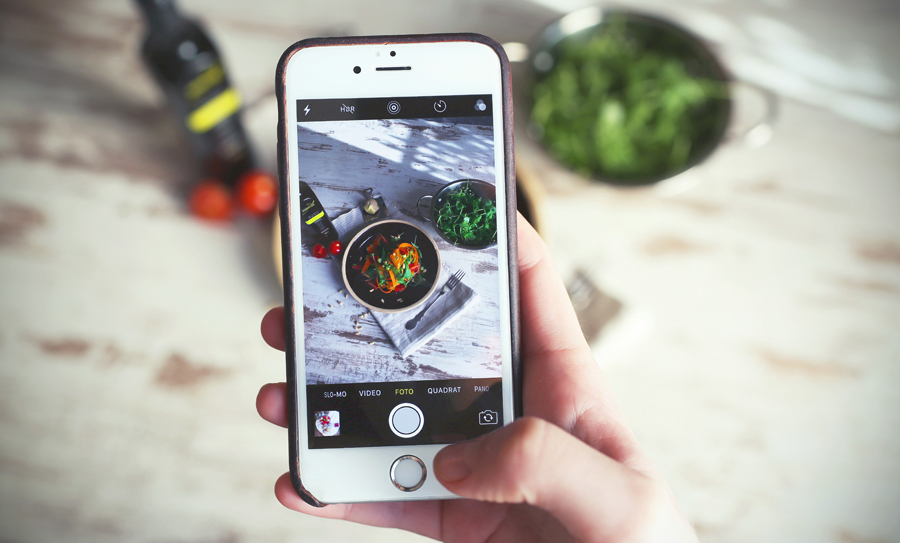
The next thing you need to do is fully understand the camera you will be using. If you’re using a phone, there are many downloadable applications that allow you to get uncompressed, highly detailed images. Many also allow you to manually control such settings as aperture, shutter speed, and ISO. My goal is to get the best medium exposure possible and having these extra controls allows me to do just that.
Understanding all the possible ways to release the shutter can be extremely useful as well. On all the typical iPhones you can take a photo by pressing the volume buttons (this includes the earphones when they are attached as well). This allows you to take more inconspicuous photos.
Once you have a complete understanding of all the functions that can be used, you can then use them to have full control over your final images.
Editing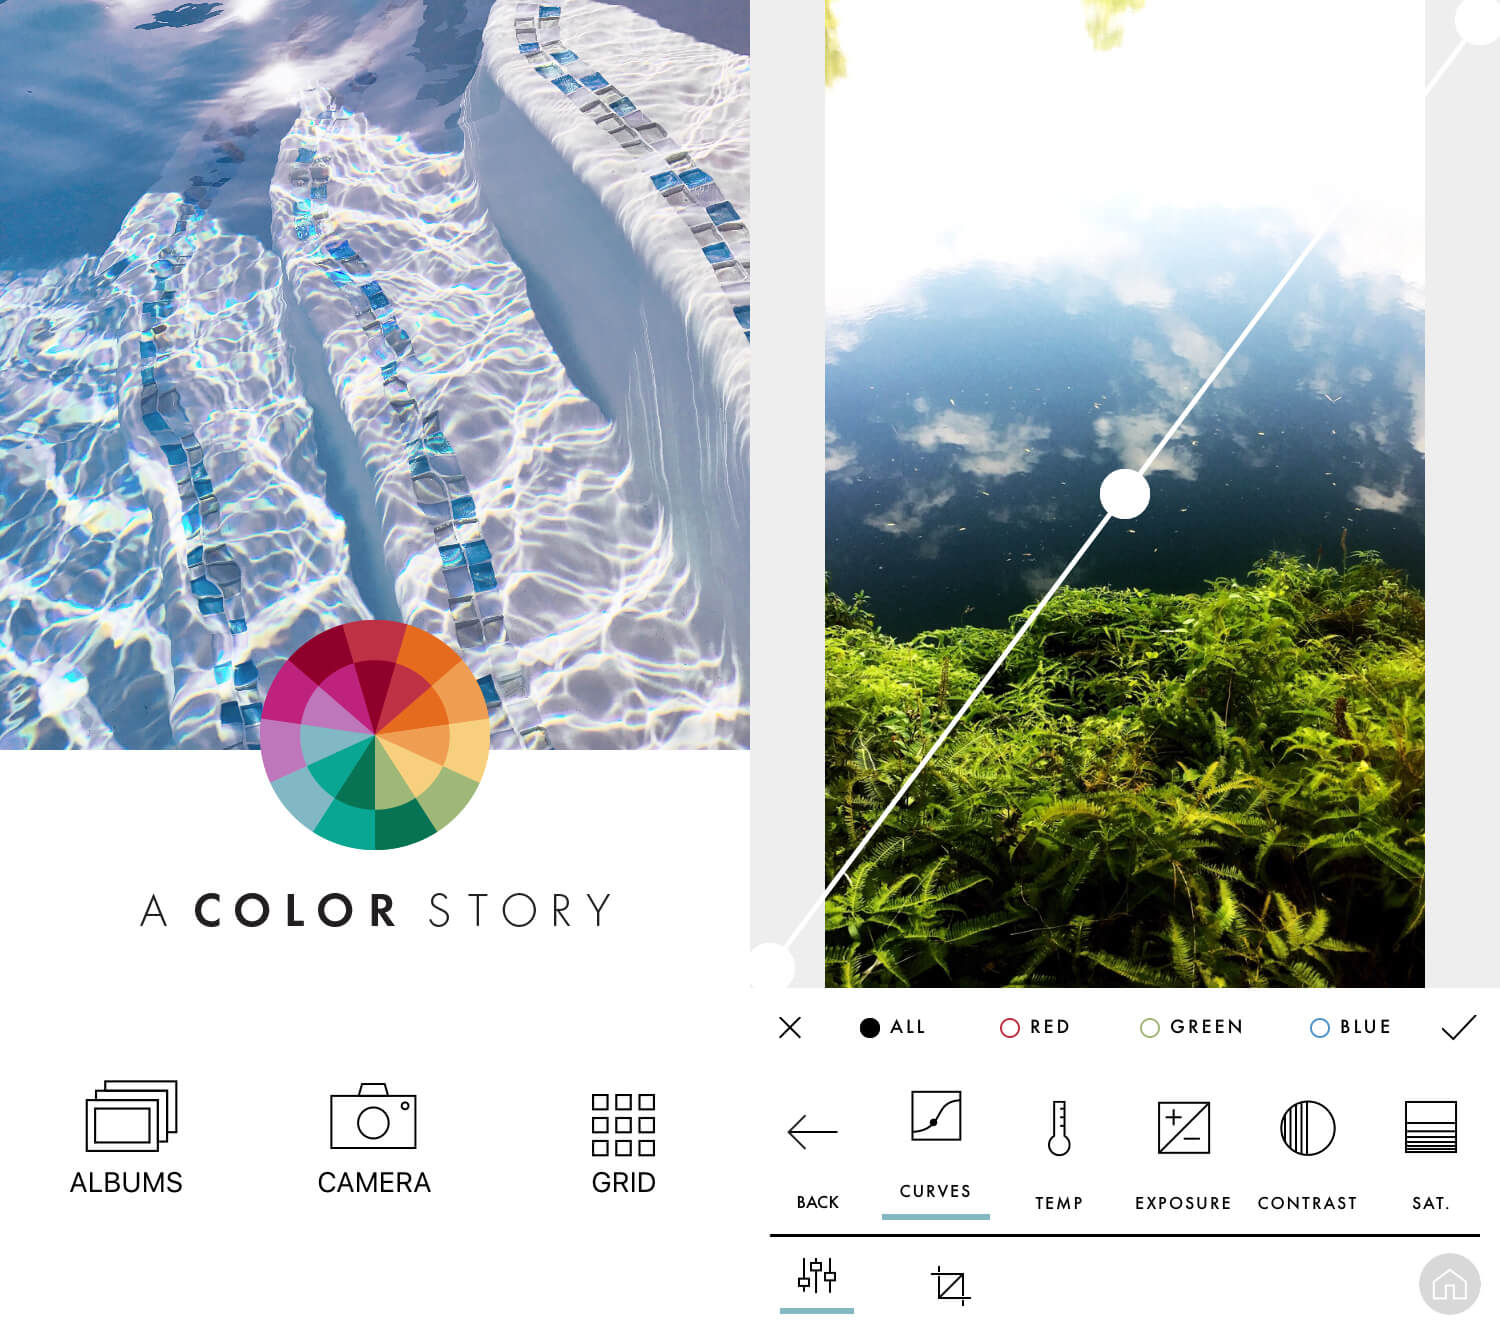
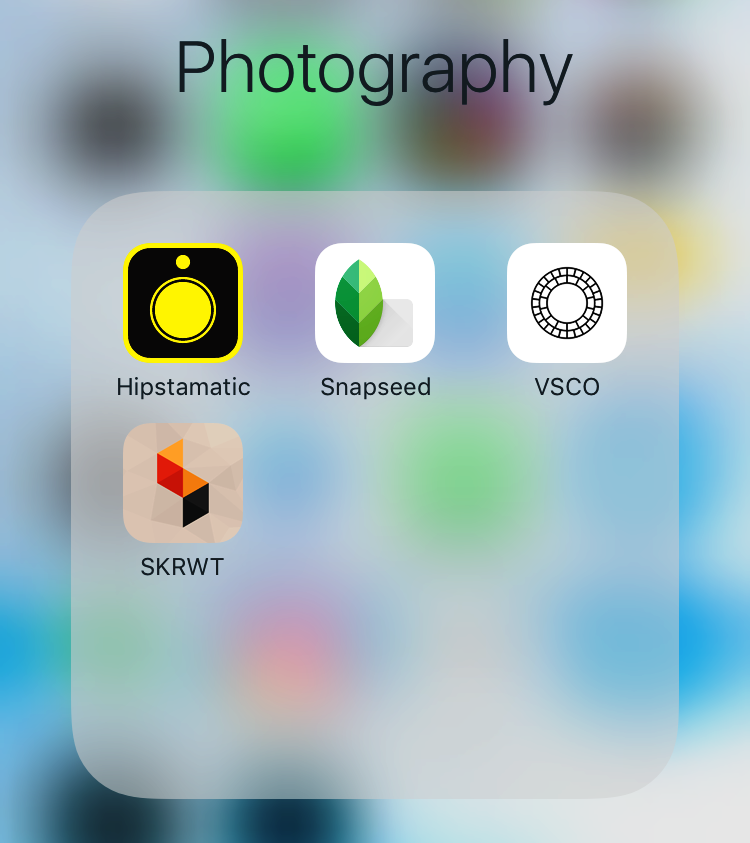
Once you have a good amount of images to choose from, it’s time to edit them. The best option is to upload them to a computer but if you’re traveling, there are some excellent options to edit right off of your phone. There are many apps that I could recommend such as VSCO or Snapseed but my favorite one recently is an app called Color Story. It’s a free app that gives you most of the controls you would have on your computer. It also has some excellent free filters and effects.
Application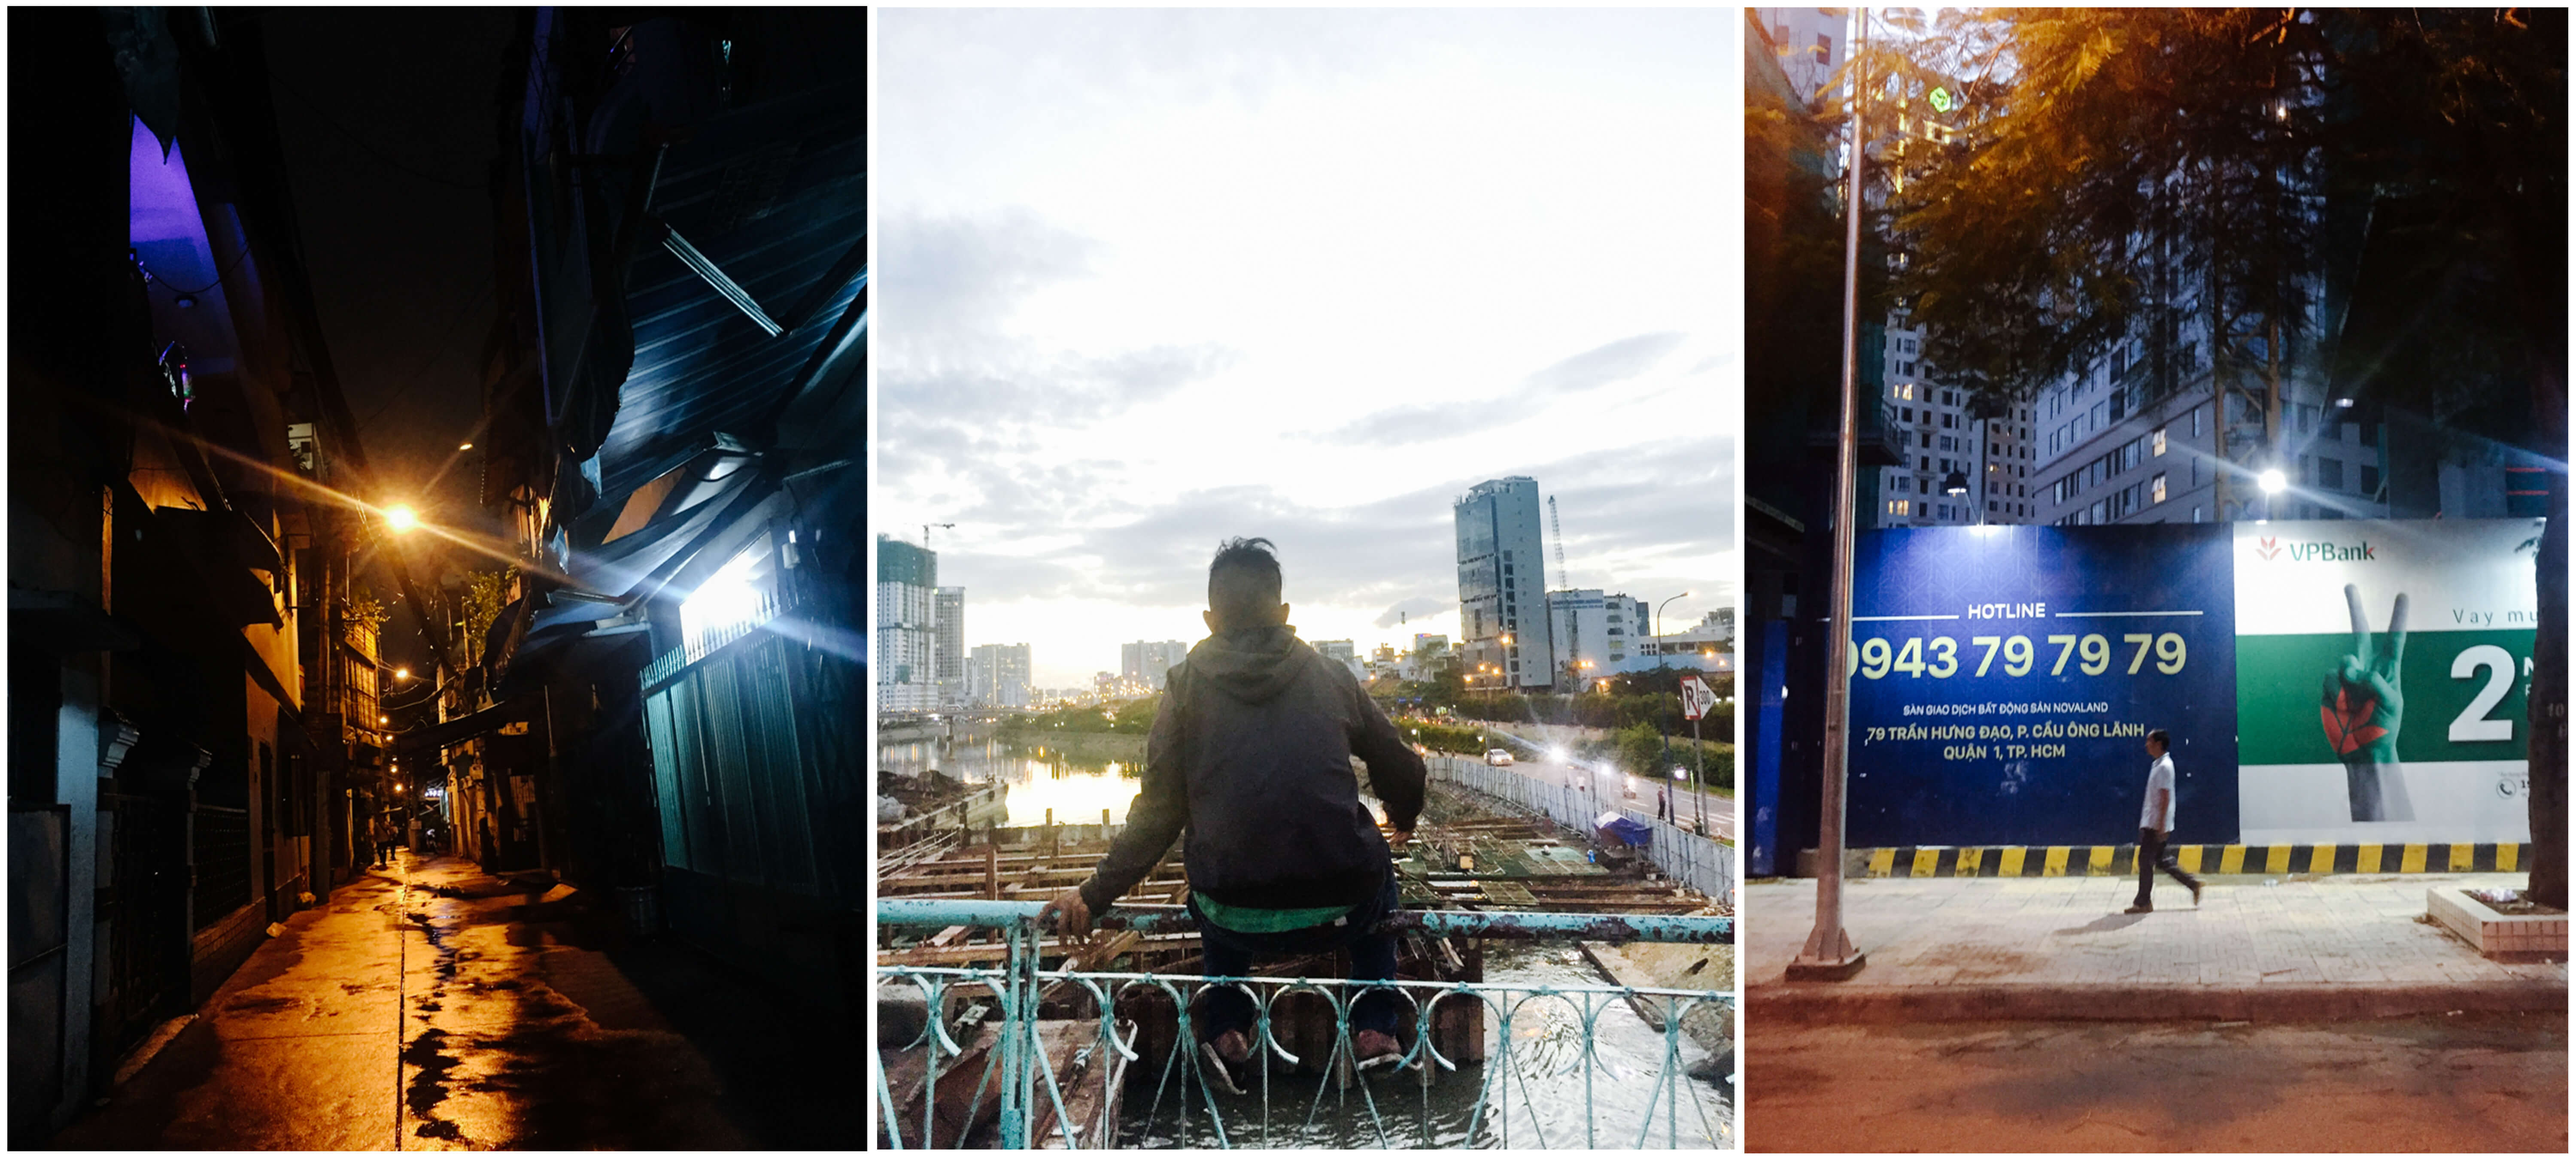
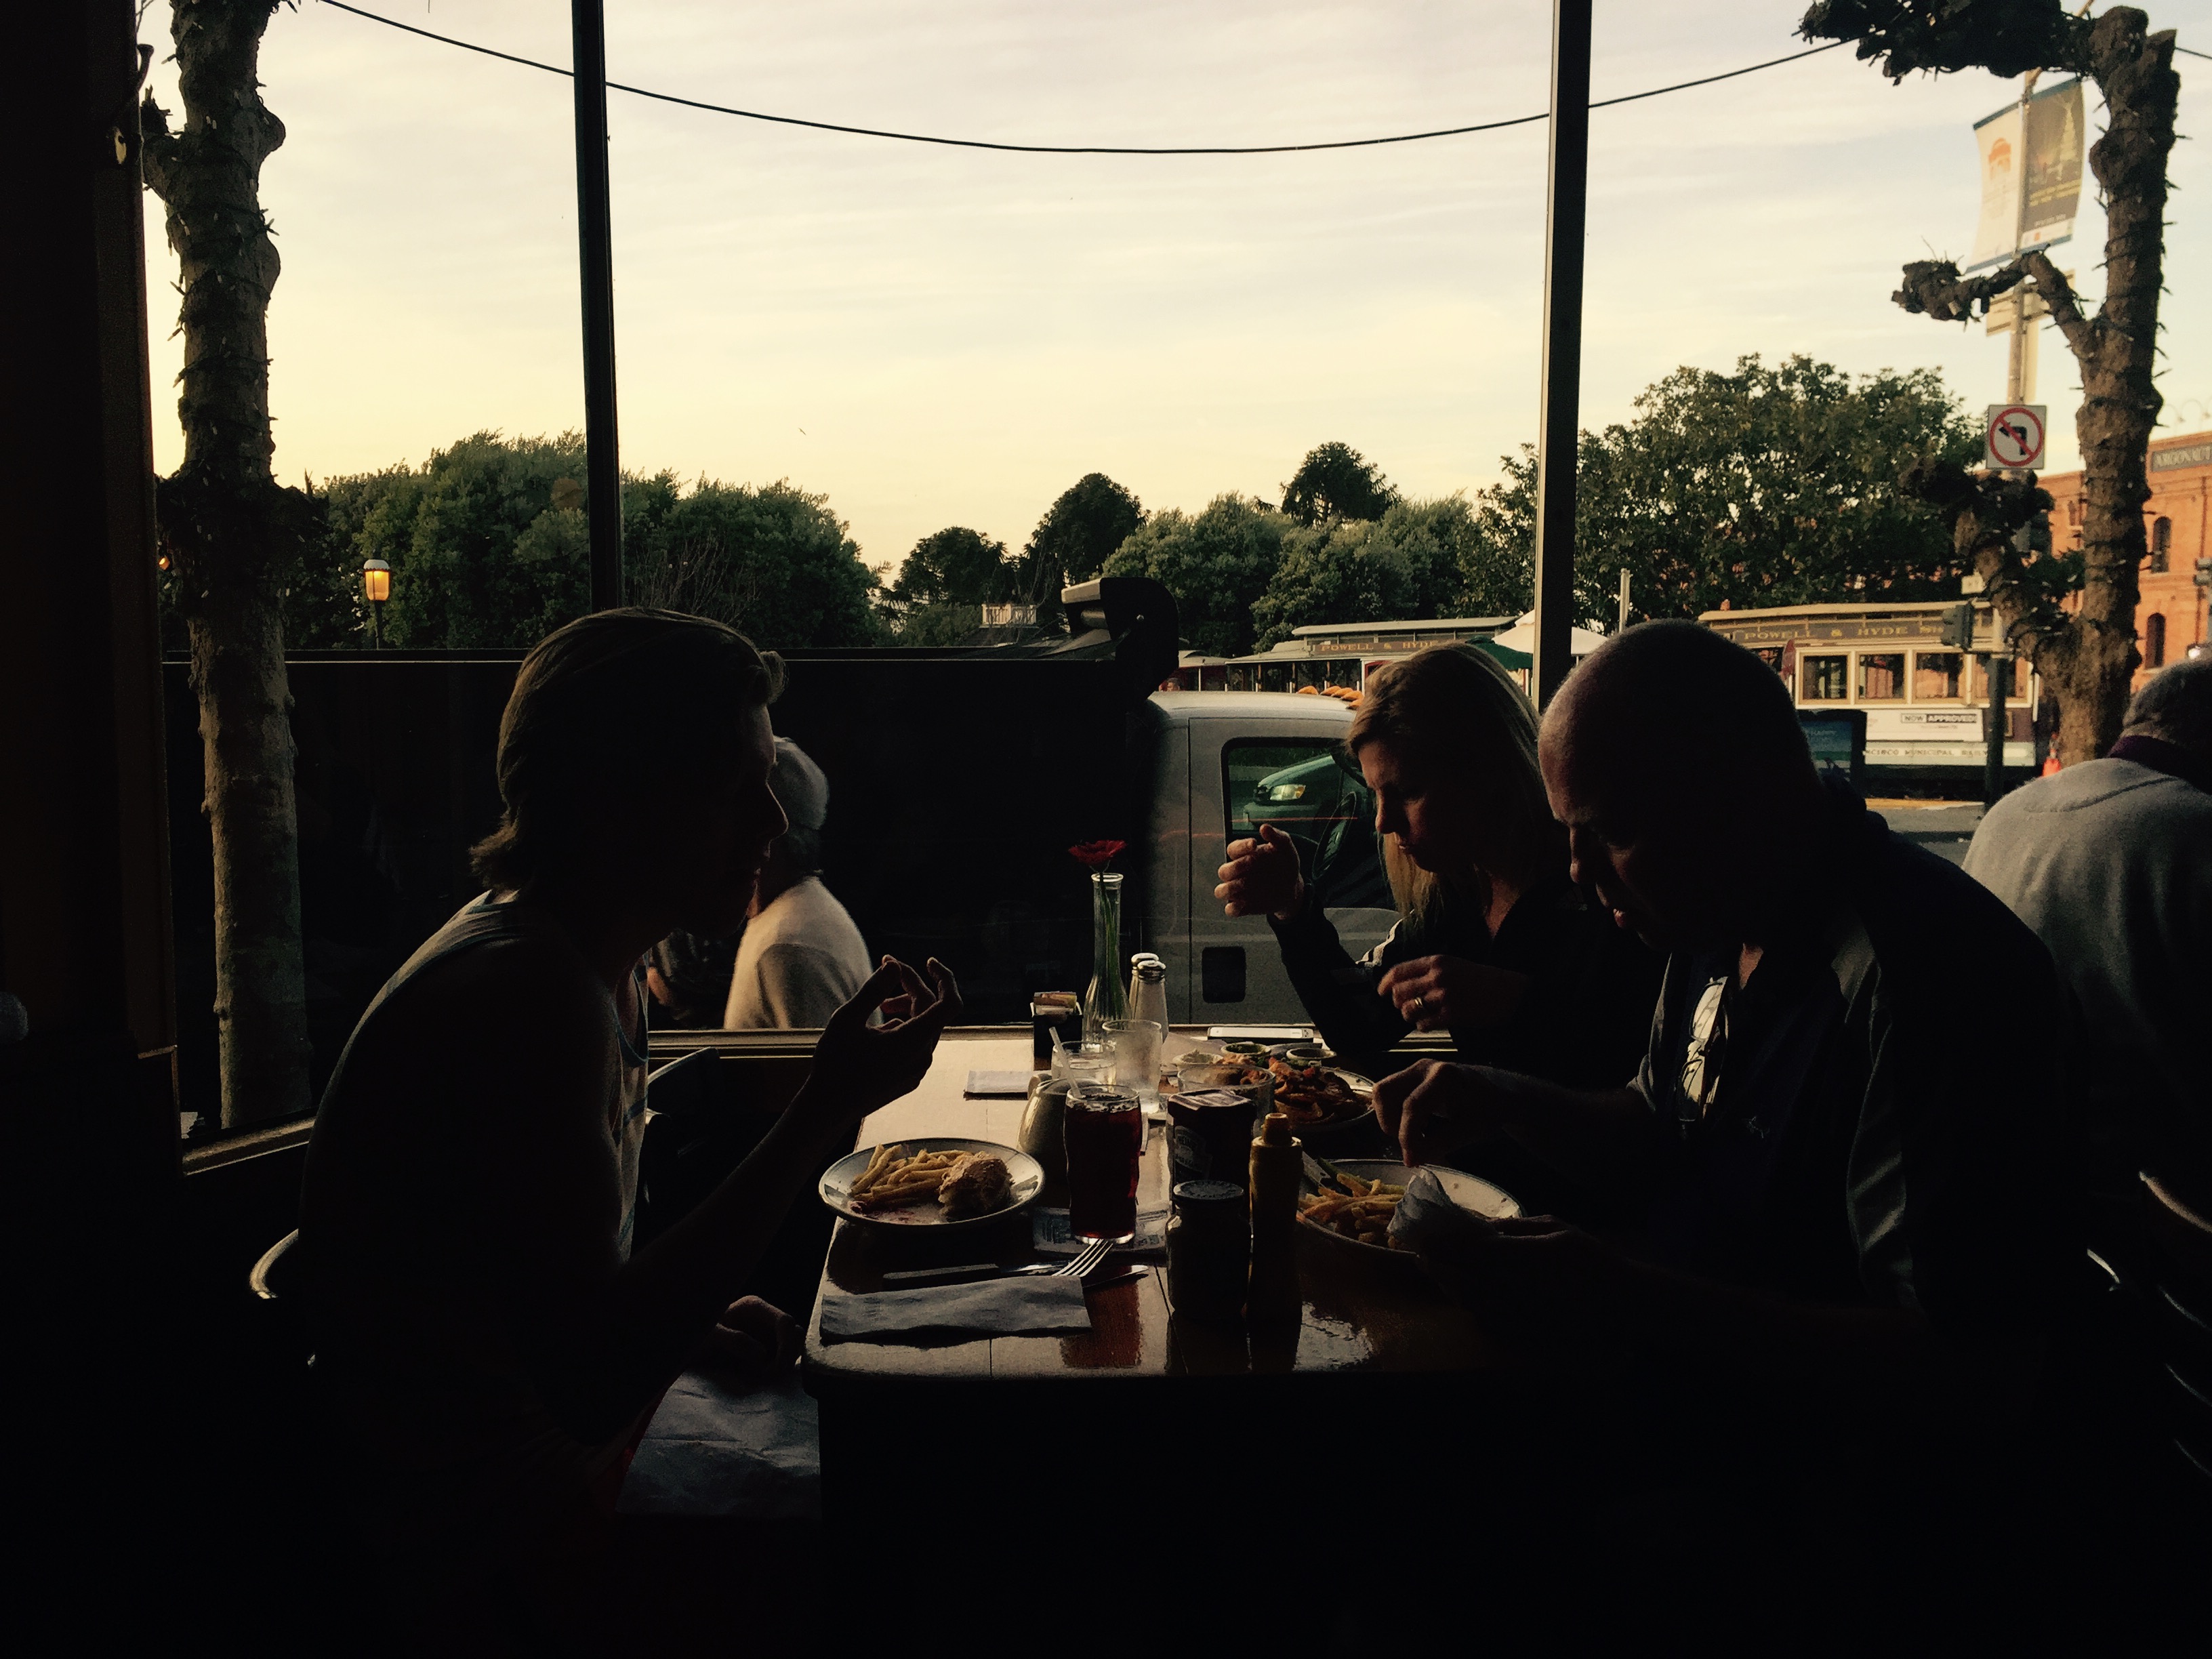
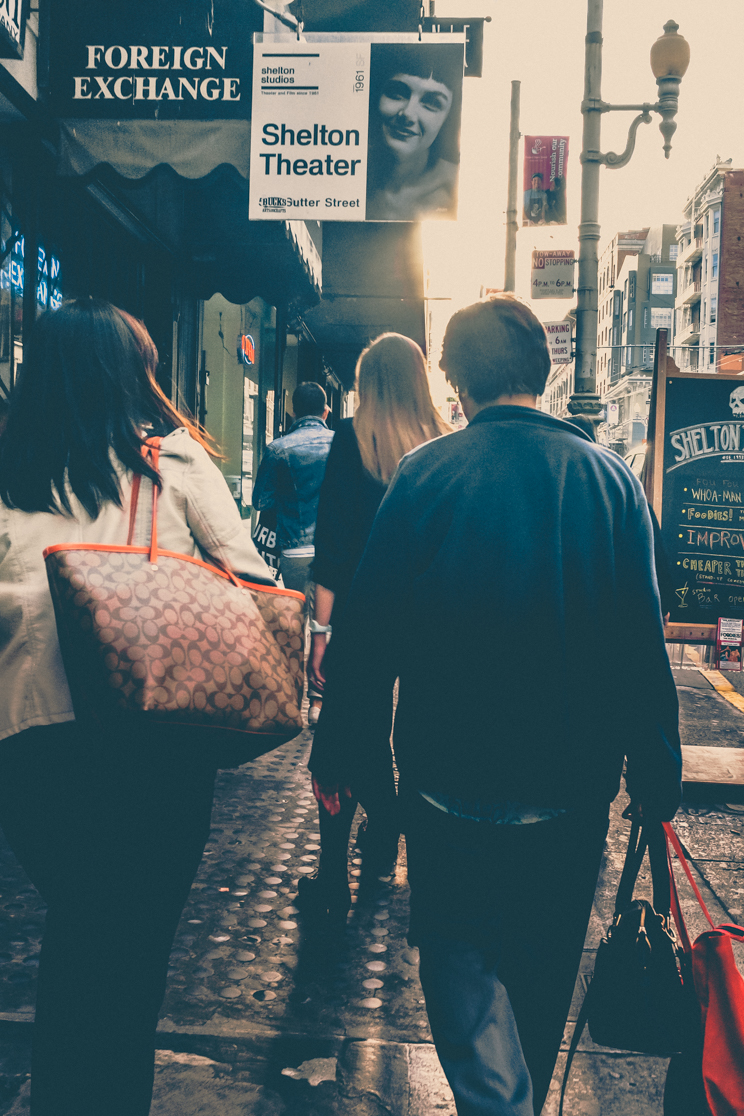
When I was in Vietnam this past month I used all of these suggestions. I shot every day and shared my images with my followers. They were able to get a glimpse into the wonderful country of Vietnam and I was able to push myself creatively.
If you ever plan to visit Vietnam, I would highly recommend that you learn some basic phrases in their native language. It seemed like no one spoke English at all. Such phrases such as “hello” and “thank you” can be very useful, especially if you are going to be taking pictures of strangers.
I would also recommend that if you don’t have any experience riding a motorcycle that you don’t learn there. It has the craziest form of traffic that I’ve ever seen.
You don’t need the best equipment in order to progress as a photographer. It can be done with a simple camera phone with some forethought and diligence. Take advantage of Instagram’s Story feature which can encourage you to shoot daily and interact with your followers!
Keep learning and have fun!
 Before Edit
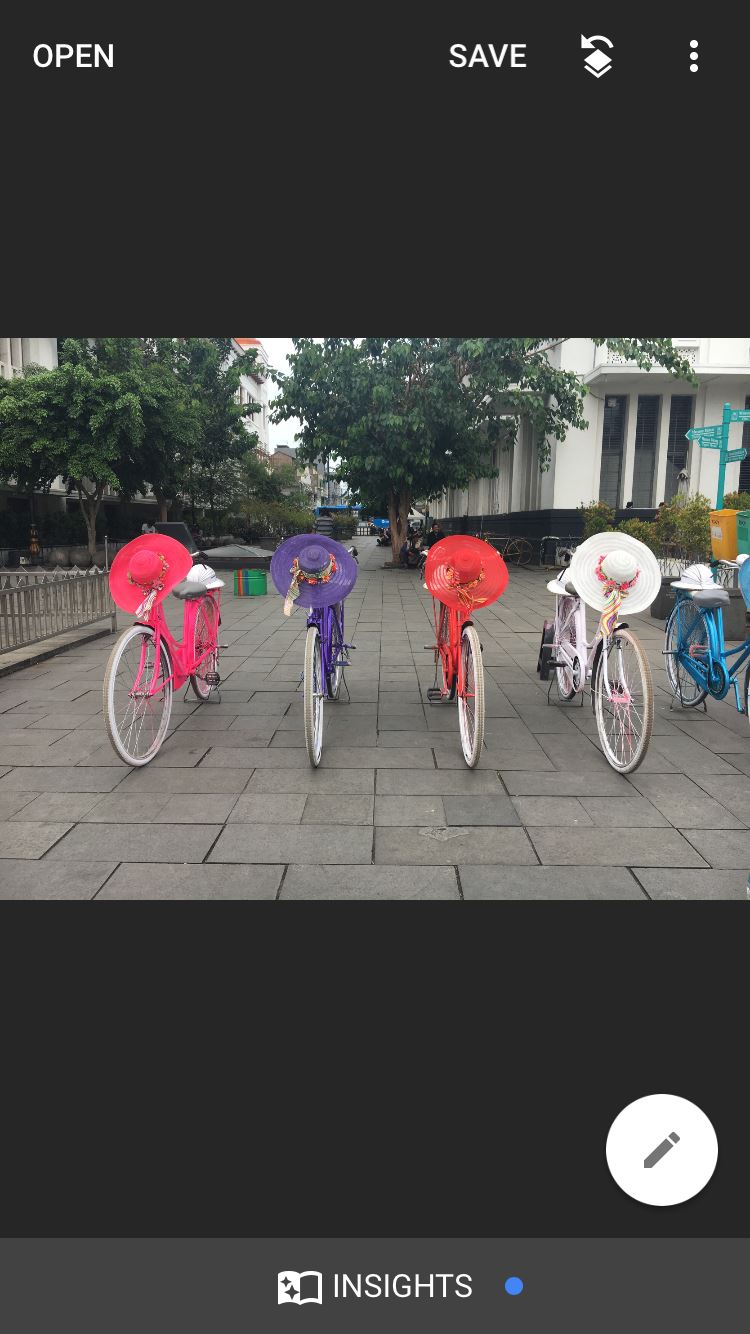
 Standby Bikes at Old Town, Jakarta
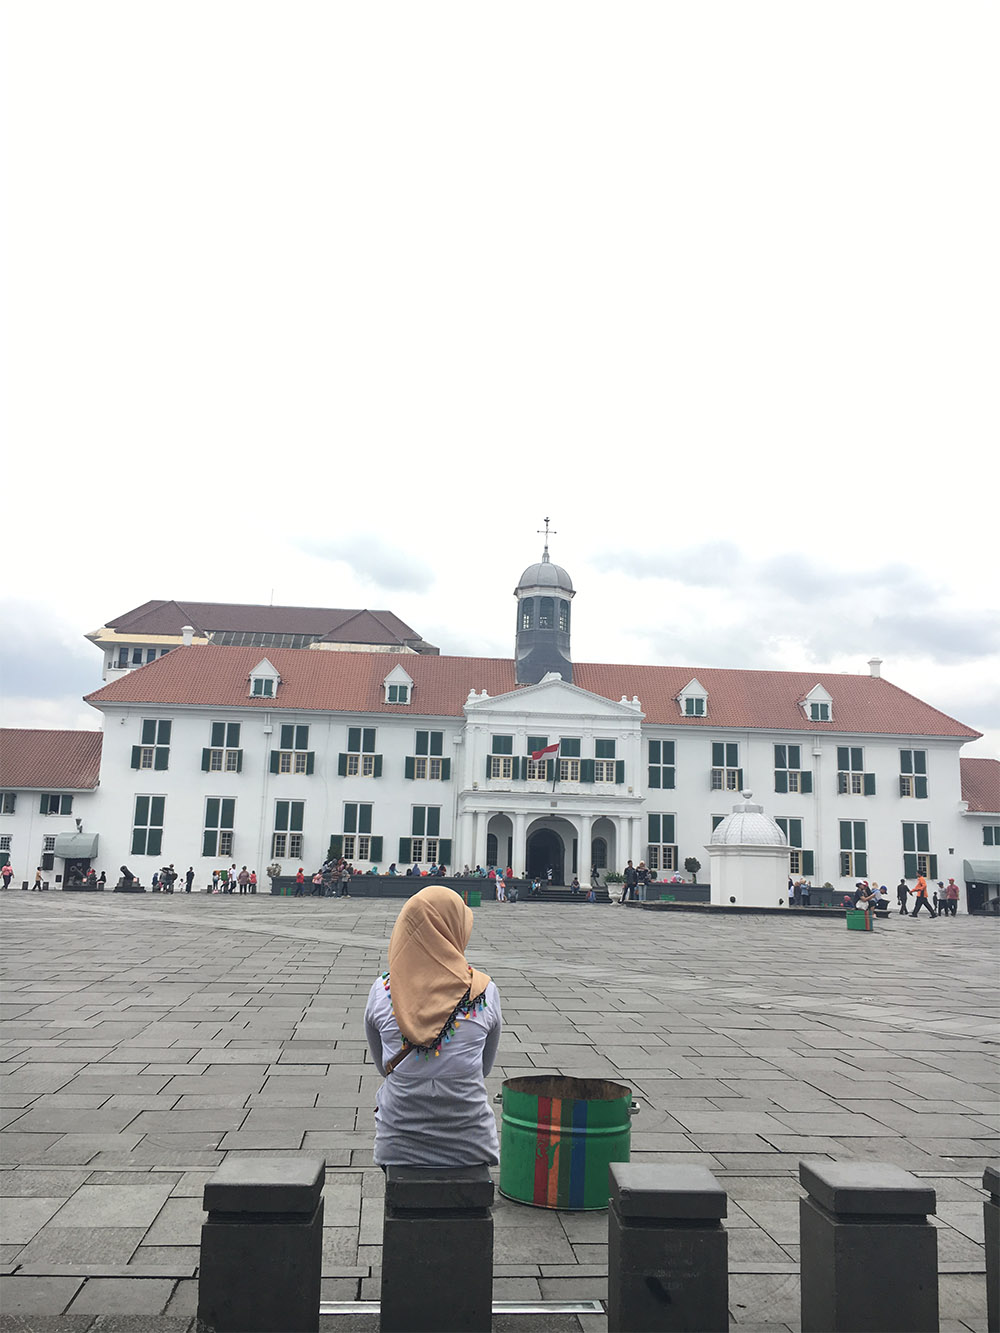 Before Edit
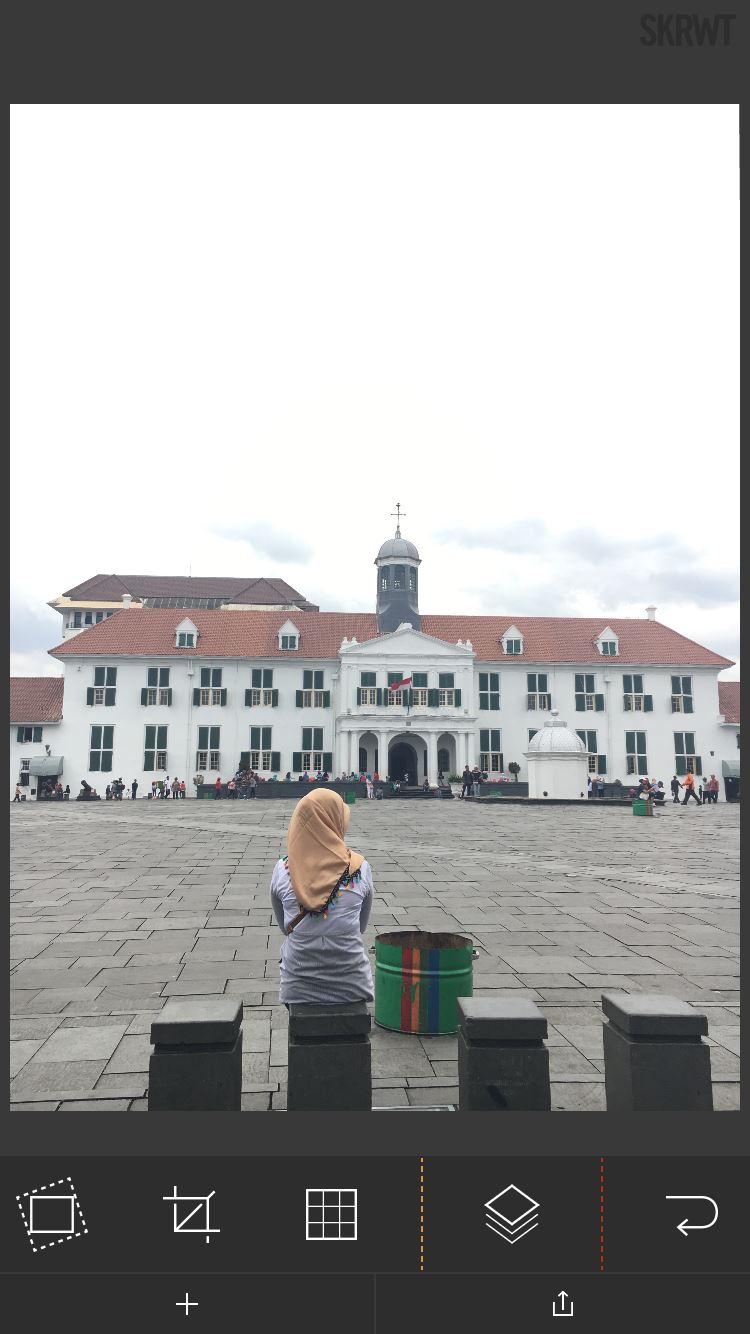 After Edit
 After choosing preset
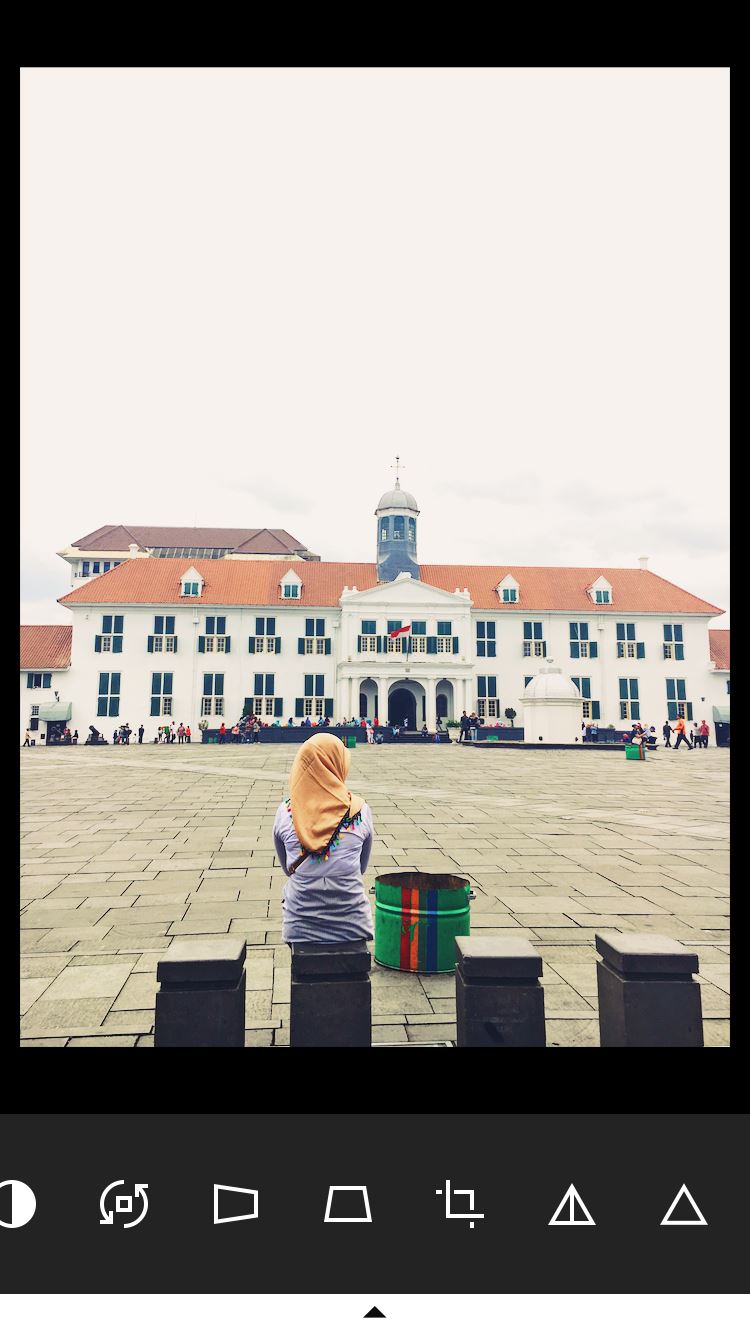
 Before Edit
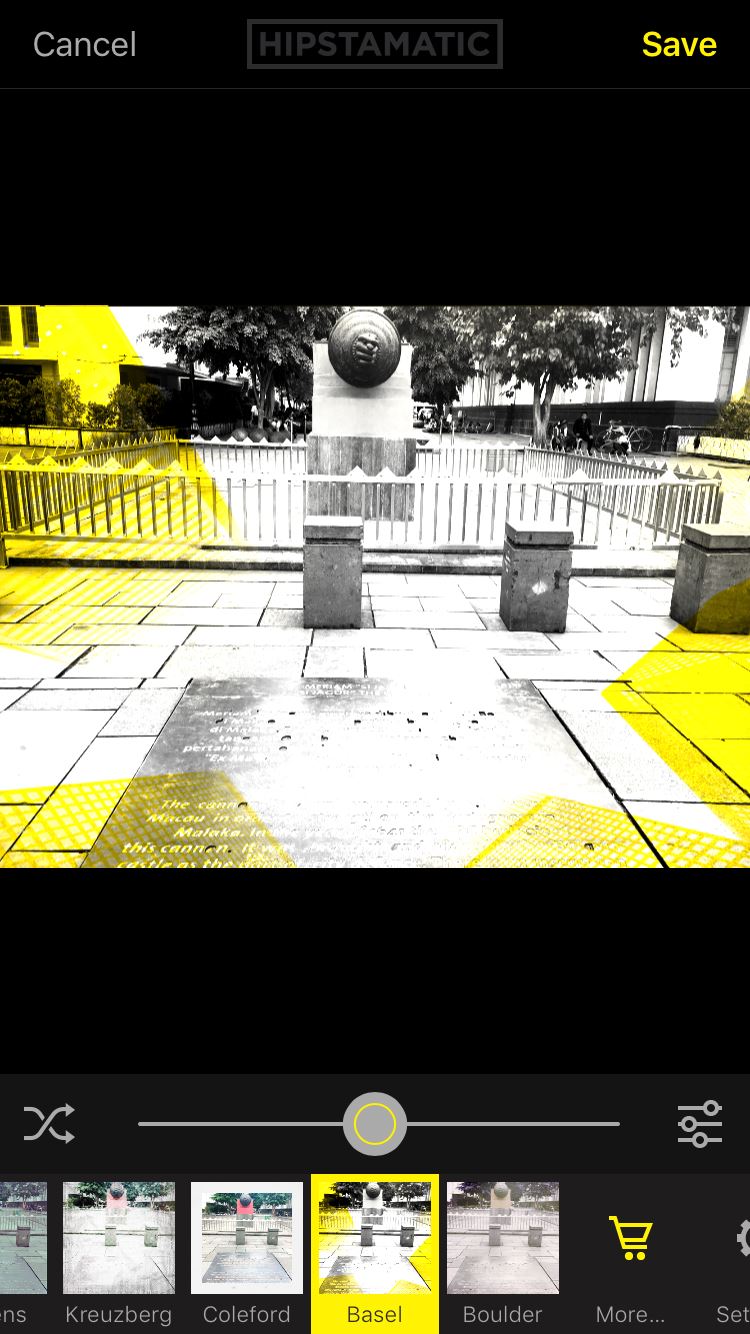 Basel combo
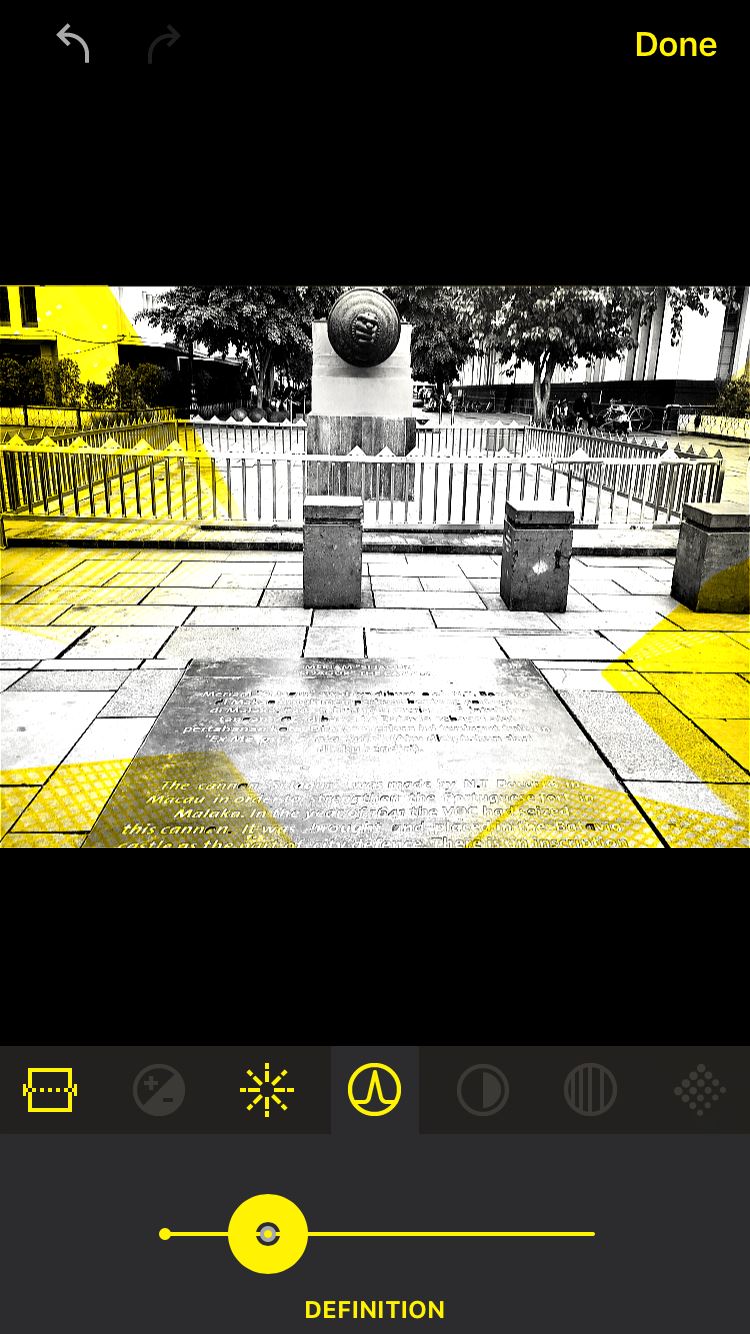
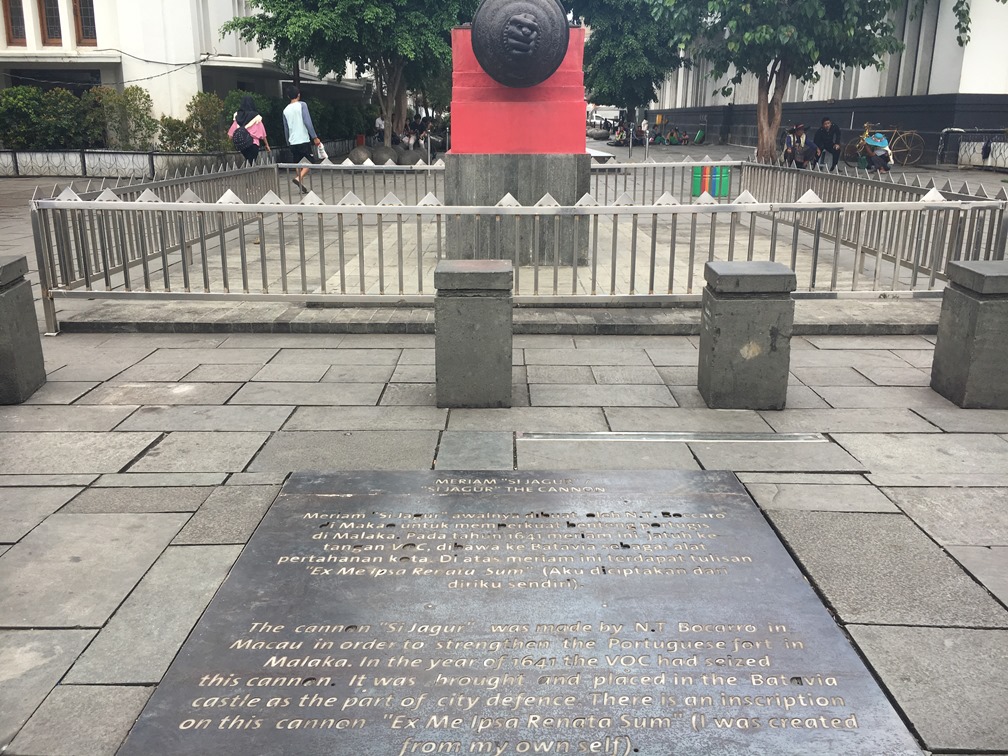
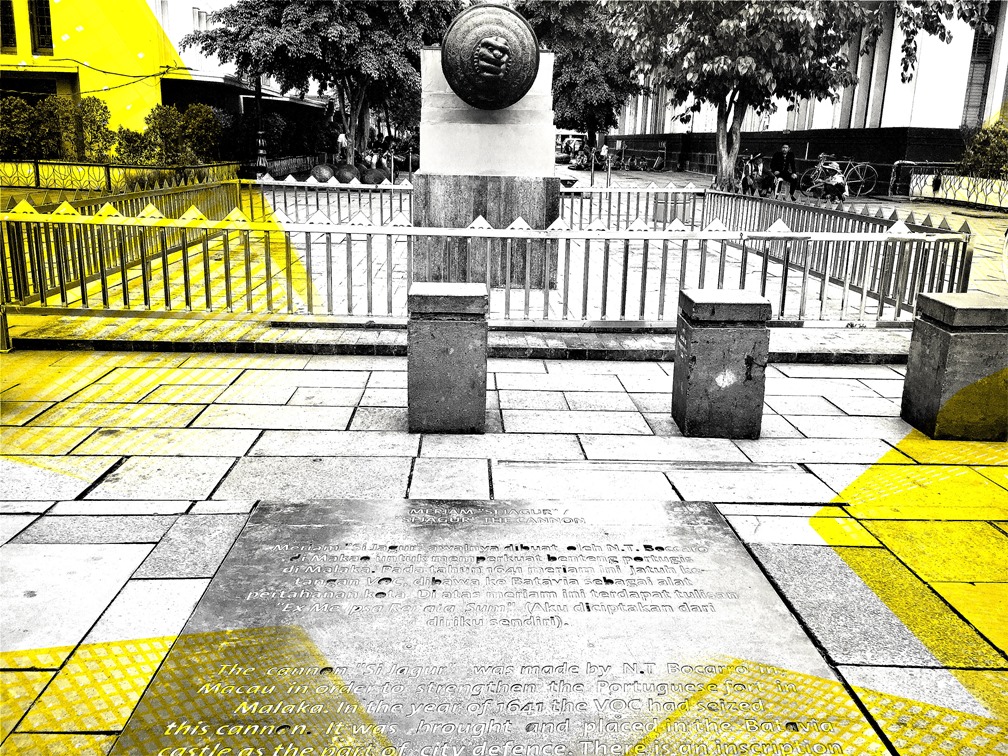 ‘Si Jagur’ the Canon at Old City, Jakarta


 Facebook
 Google +