Tag: smartphone

How to Take Better Photos With Your Phone: 4 Steps to Improvement

Fact #1: Almost all of us have smartphones. Fact #2: Almost all of us have used our smartphones to take photographs at one point or another.

Even if you’re not an avid Instagram user, there are many ways in which phone photography (commonly known as phoneography) can boost your creativity and observation skills. Phone photos, thanks to their ever-increasing popularity, are taking over both the real and the online worlds, compelling others to find something photogenic of their own to shoot.

/

What if you’ve already tried out phone photography but disliked the process? Maybe the camera in your phone didn’t provide you with enough options, giving you results that were either too bright or too dull. Perhaps you believed that shooting at night would be too problematic because of your phone’s limitations. If you could relate to any of these scenarios, give phoneography another shot; there’s a solution to all of these issues that might transform your hesitance into interest. Here are tips on how to take great photos with your phone.

Choose a camera app that matches your preferences

It’s very likely that the camera app that came with your phone isn’t being used to its full potential. Advanced settings often present in DSLR cameras – such as ISO and shutter speed – can be altered in phones, too. To make the most of these hidden features, you need a handy camera app. Here are a few great ones:

iPhone users can enjoy apps such as Manual ($3.99), Focus ($1.99), and VSCO (free). All of these apps enable users to alter their camera’s focus, ISO, shutter speed, white balance adjustment, and the list goes on. Apps like VSCO will let you edit your photographs with a variety of presets as soon as you’re doing with your shoot.

Android users have just as many wonderful options to choose from Camera FV-5 ($3.35), Camera360 (free), and DSLR Camera Pro ($3.52). Like the popular iPhone apps, these are capable of letting you take the best possible photograph before you even begin the editing process. If you’re not a fan of editing apps, these instant photo enhancers are the right tools for you.
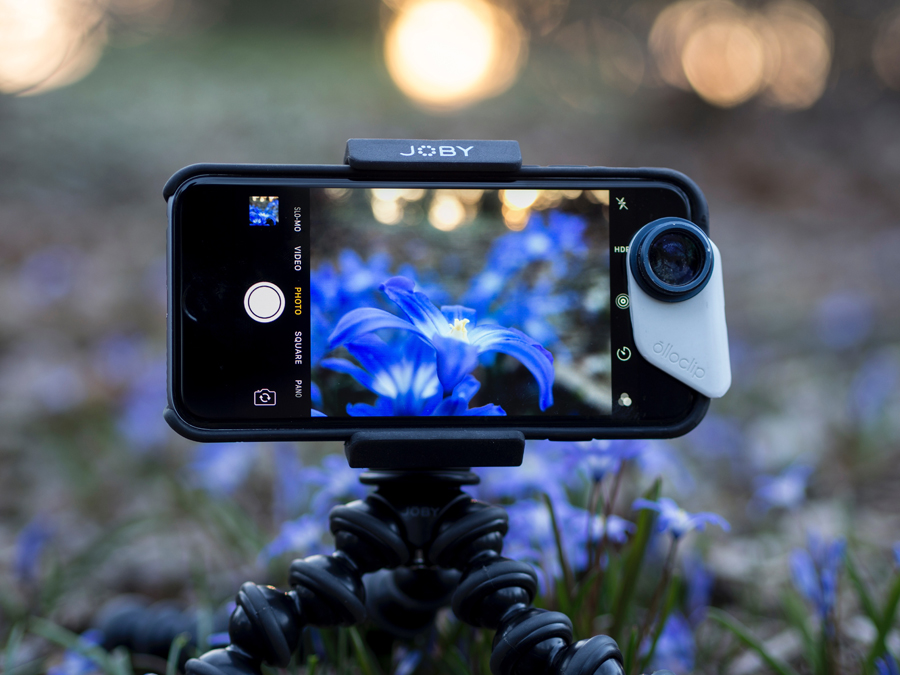
/

Use a tripod

Phone tripods can be found almost anywhere. Nighttime photography enthusiasts, self-portrait artists, and landscape photographers often require the use of a tripod for their shoots. Since most phone cameras have timers, tripods can really come in handy for interesting phone photographs. If you like long exposure photography, for instance, then you’ll get great results with the help of an advanced camera app like Focus and with an affordable tripod.

/

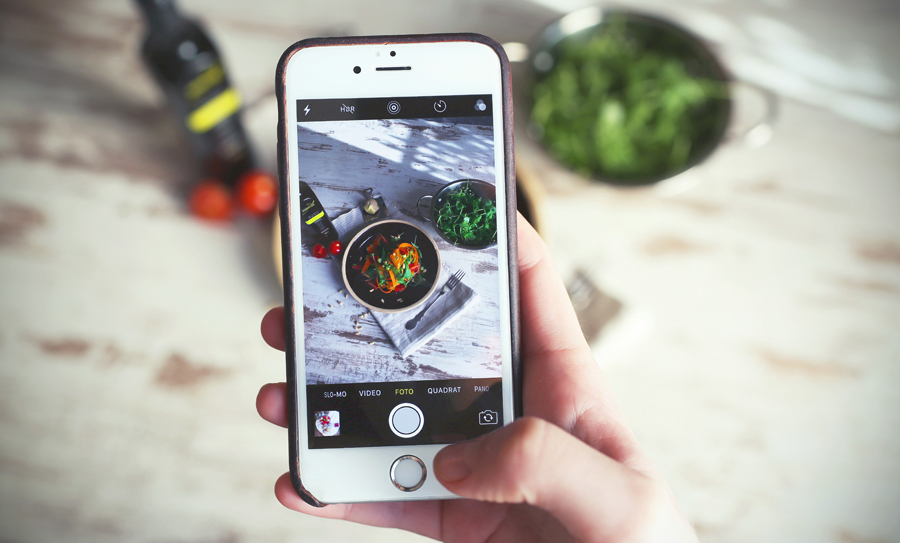
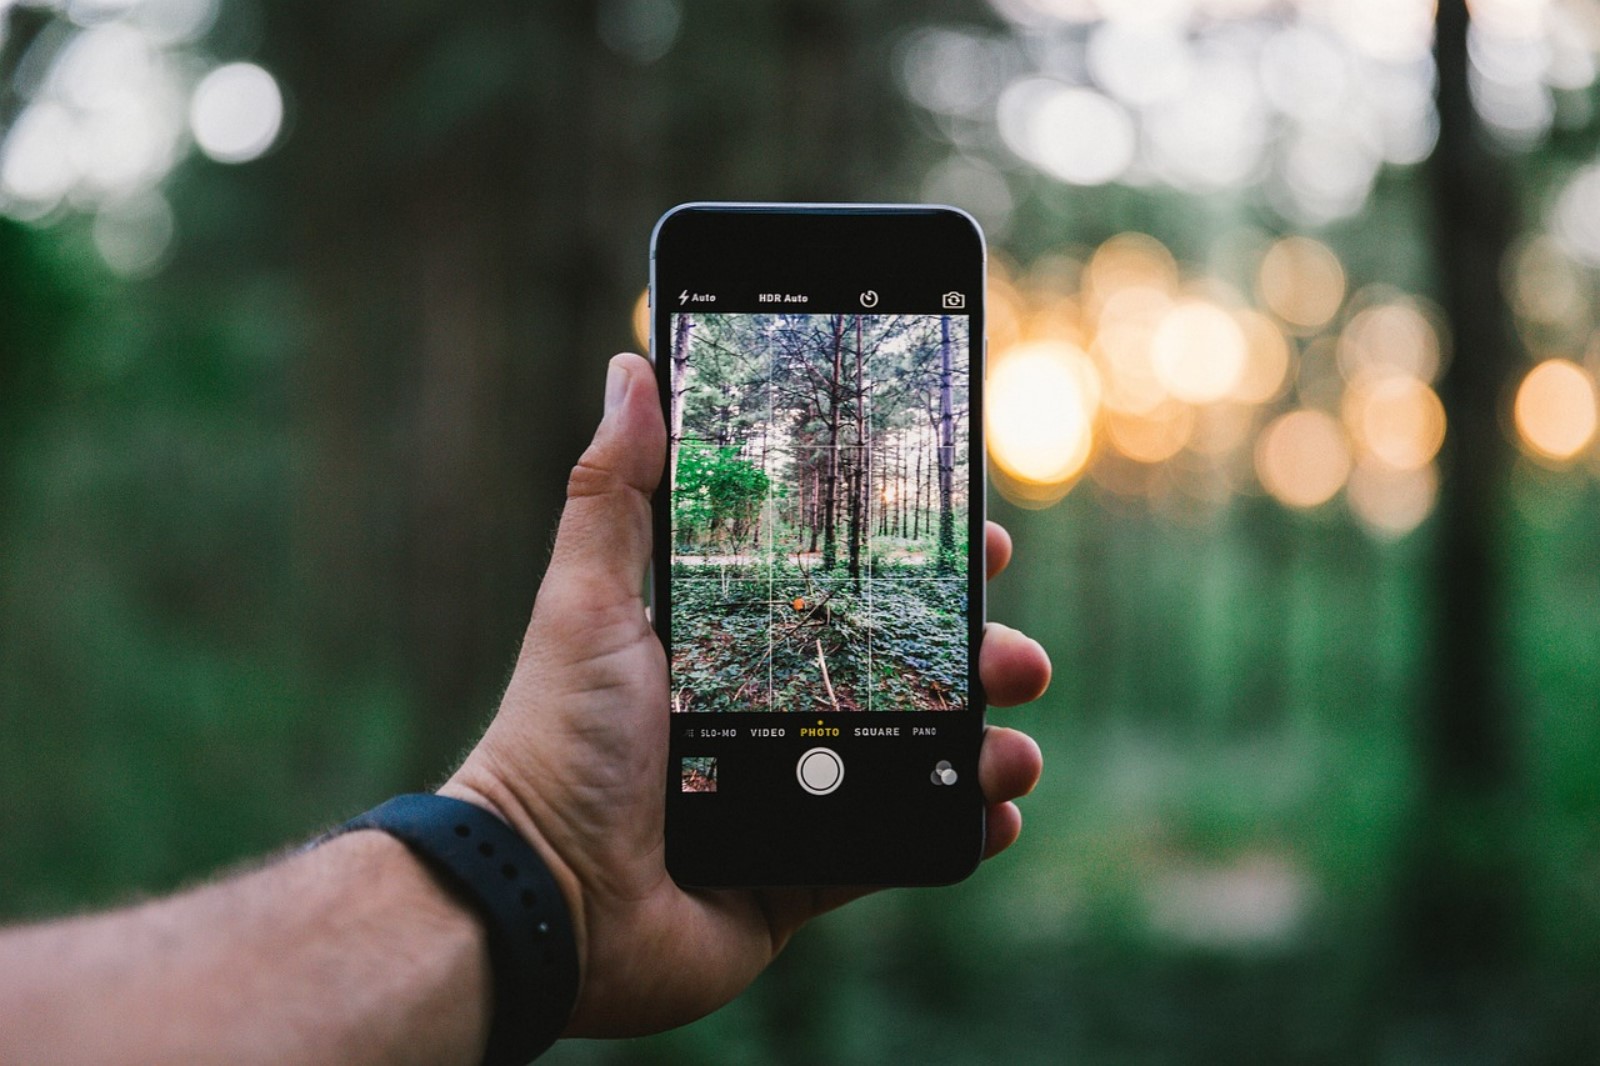
Photograph everything

Once you acquire a better camera app, take photographs of anything that catches your eye. Most importantly, don’t forget to experiment and try out new things. The beauty of phoneography is that it’s always accessible no matter where you are. Take photos of details, landscapes, buildings, and people. The accessibility of this photography genre makes it easy to see what it’s like to shoot different kinds of subjects. If you’re a macro photographer, try photographing people. If you’re a portrait photographer, take photos of buildings. During these experiments, you’ll discover new creative worlds. As you do, your inspiration will grow exponentially.

/

/

Acquire an editing app that satisfies your creativity

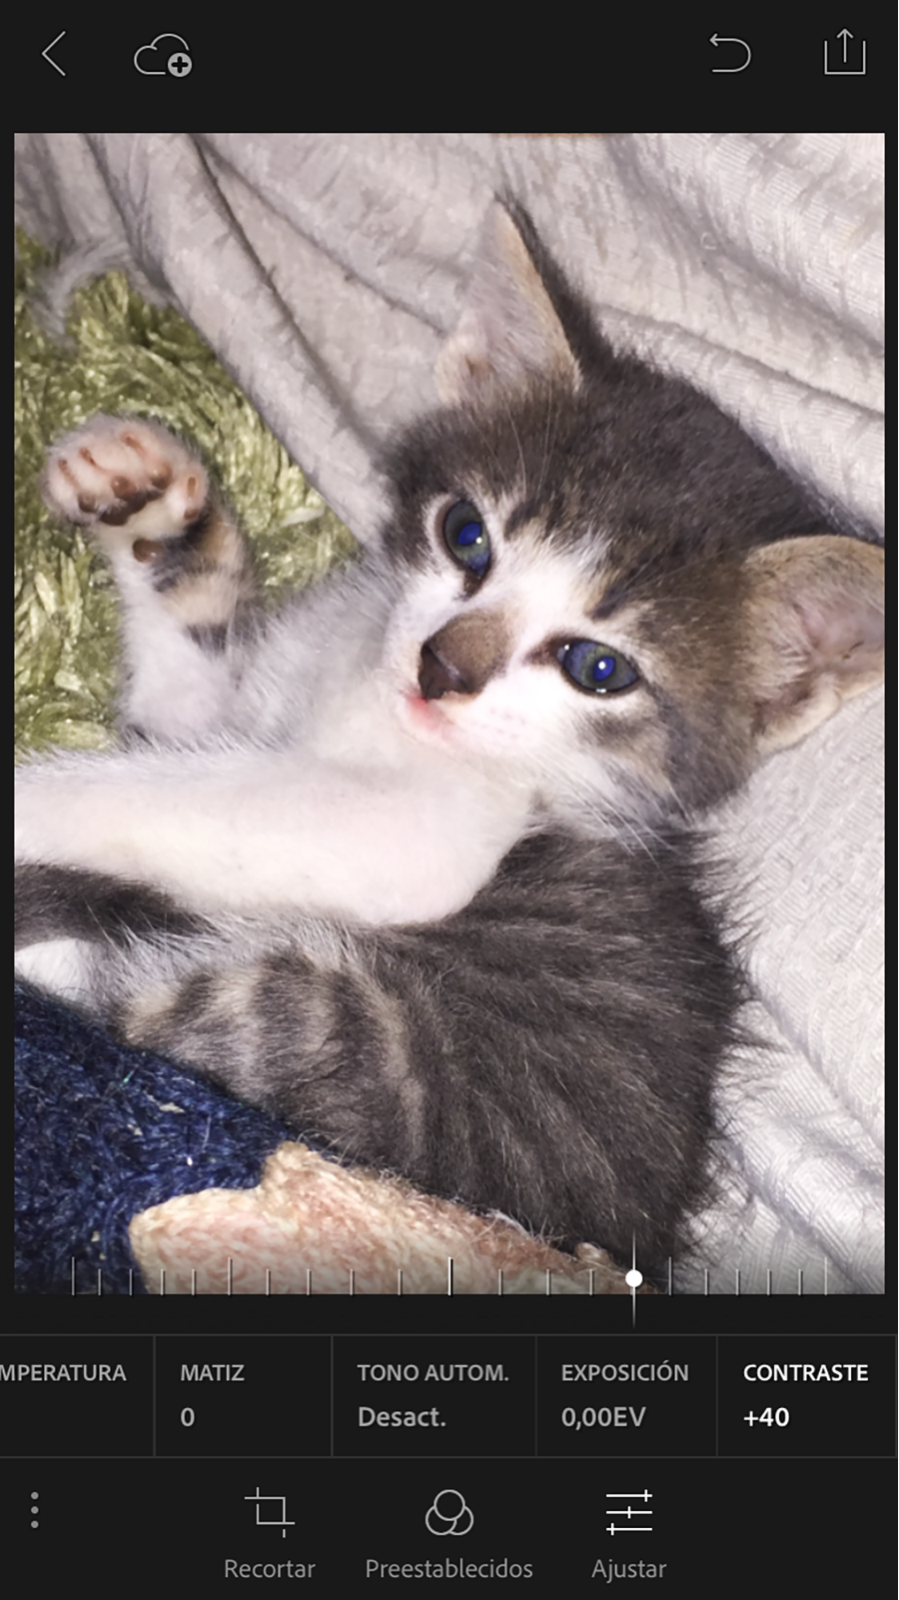
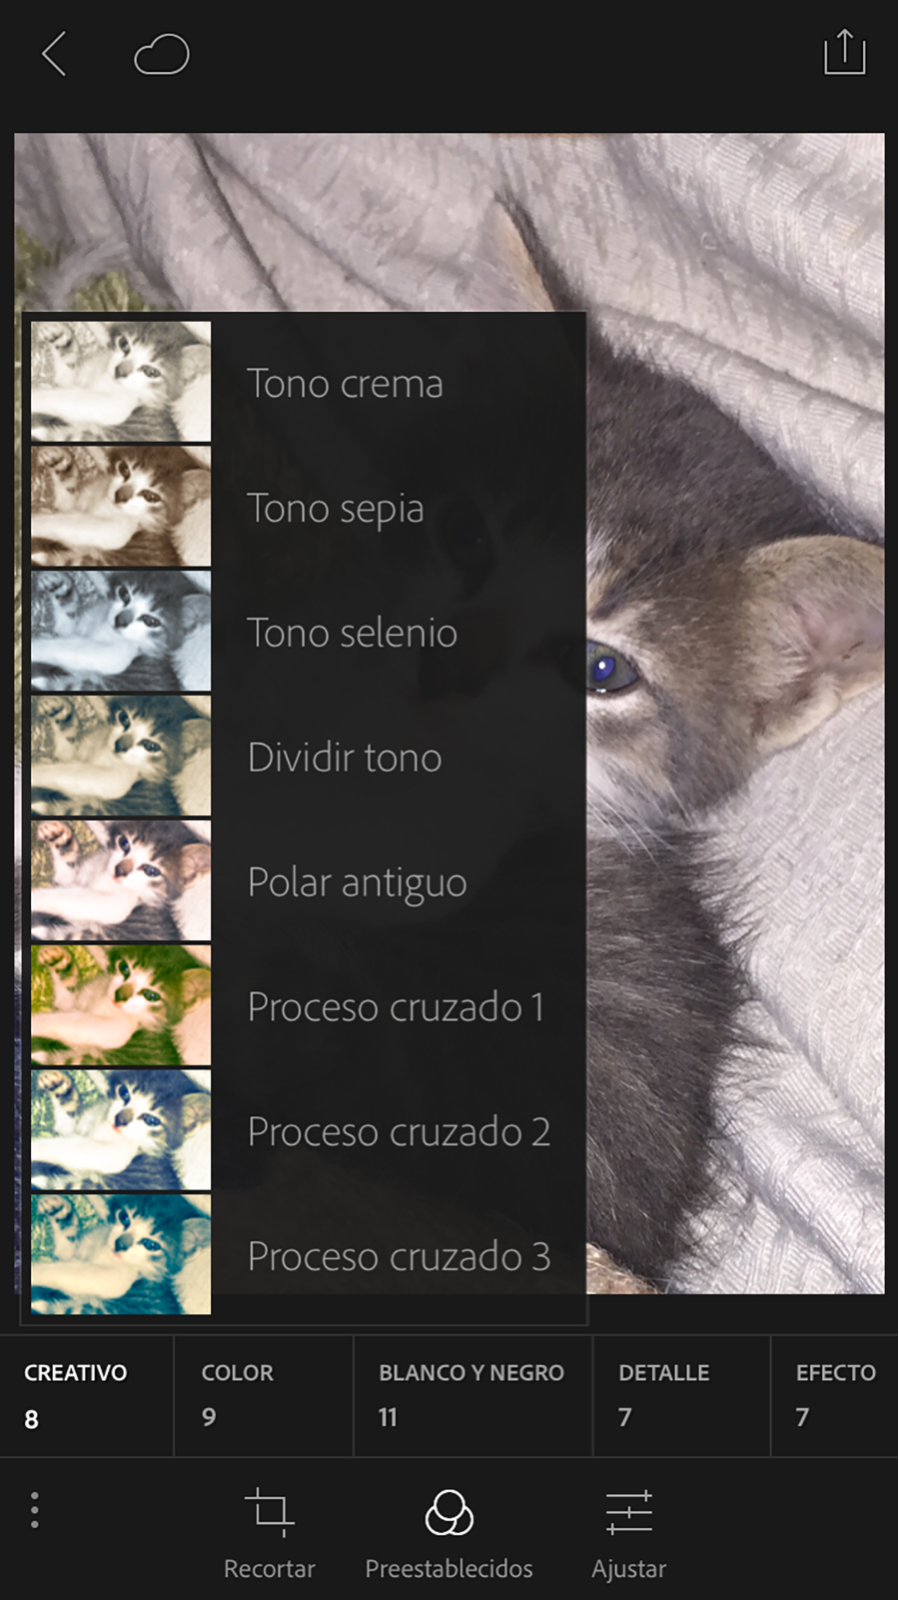
This last tip is optional but useful for those interested in improving their editing skills. Many editing apps (like VSCO) have presets similar to the ones in Lightroom and Photoshop. By understanding the beauty of color correction and enhancement, you’ll find it easy to use editing programs like Lightroom. Thus, whether you use a professional camera or not, all of your artistic skills will strengthen. iPhone users can find their inner retoucher in apps like Enlight ($3.99), AfterFocus ($0.99), and Snapseed (free). Android users can enjoy the great editing features of apps like Pixlr-o-Matic (free), Photo Lab PRO ($2.99), and Pixlr Express (free).

/

/

Phone photography doesn’t have to take over your life or replace DSLR photography. Instead, it can help you take quick photos using a small device, enable you to find photographic potential almost anywhere, and encourage you to visit new places. To put it simply, phone photography is worth experimenting with. The knowledge you acquire as you take photographs with your phone will come in handy when you use professional cameras. Phoneography is just another reason to be more creative, observant, and imaginative.

Happy shooting!

How to work with Lightroom Mobile

With smartphones and tablets getting better by the day, it is crucial that software developers provide users with solutions that are suitable for the day-to-day activities of photographers, regardless of their skill levels.

Adobe has moved one step ahead of many of their competitors in this business by creating mobile versions of Adobe Photoshop and Adobe Lightroom, among many other mobile apps. However, what does this mean for us, when we can work with Lightroom Presets in mobile, rather than with Adobe Lightroom’s desktop version?

01_lr_mobile

Fortunately, this is not a matter of “either or”, rather we get to use “both and” – Adobe Lightroom Mobile was created to help photographers be able to perform quick edits with their smartphones or even sync data to their desktop (or laptop) PCs without needing a USB connection. This only translates into better performance by photographers, who are now able to edit photos “on the go”.

Through this guide, we will review the main advantages and learn how dedicated photographers can get the most of Lightroom Mobile if we install Lightroom presets on our mobile.

Setting up user account

After downloading Lightroom Mobile on your device, it will ask you either to log into the system or to create an account.

02_lr_mobile

You can enter and explore LR Mobile without having an account, but you won’t be able to discover the application’s full potential. After creating an account, LR Mobile will start a 30-day trial period, until you purchase one of the subscriptions packs by Adobe (Creative Cloud Photography being the cheapest one at about $10 a month.)

03_lr_mobile

If you don’t purchase a valid license within the trial period, you will no longer be able to use Lightroom mobile, instead you will only be able to look at previously edited work (same criteria as with PC versions)

Importing pictures

LR Mobile will sync your files with your PC’s Lightroom Catalog, if you sync the accounts by logging in with your Adobe ID. This is an extremely handy feature, as it enables you to explore your catalog on the go, as well as sharing your pictures with other people.

If you want to import pictures from your mobile phone or tablet, all you need to do is click the folder “Lightroom Photos” and import them from the internal media storage on your device.

04_lr_mobile

Then, just like the Desktop version, you open up the image you want to work with and it will display the whole image in full-screen with editing options.

Editing pictures

Just like Lightroom’s desktop version, the “Develop Module” will feature presets as well as tools and sliders for editing your images , although they will differ considerably form Desktop version.

06_lr_mobile

First, you will notice that tools, such as Graduated Filter, Radial Filter, and Adjustment Brush, are gone – You can either crop, add presets, or manually fine tune your images to apply a “postproduction” process with your mobile device.

This new reality may put off some users, who thought they would do these kinds of adjustments organically and intuitively, just by using their fingers or a stylus.

The Presets panel provides the traditional presets featured in apps like Instagram, and unlike the desktop version, it is not possible to install extras in this app.

07_lr_mobile

Adjustments can be achieved in a very similar way to the PC version, even with the lack of many of the tools or panels. There is no possibility for users who would like to tune in the files for getting ready to go, since you won’t be able to use tools like Split Toning, Lens Correction and much more.

Output format

After editing your images, LR Mobile provides you with several options intended to increase the reach of your performance. Depending on your smartphone/tablet operating system, LR Mobile will show sharing options like message, e-mail, Facebook, and many more. Not to mention, saving the processed file as an image, uploading it to the Adobe Creative Cloud service, or storing it inside Lightroom’s Catalog.

09_lr_mobile

Another advantage of this app is the fact that we can take pictures while using the software, meaning they will be automatically stored inside Lightroom’s Catalog. Therefore, there is no need to export the files in any way, if you plan to edit them on the desktop version of Lightroom.

Interaction with other apps

Lightroom Mobile doesn’t just do minor tweaks and upload the photo to Cloud storage – you can create your own workflow by combining its use with other apps, especially Social Media apps like Facebook, Twitter, etc., or even community apps for Photographers, such as Instagram, 500px, VSCO, etc.

The advantage of this interactive process is the fact that your mobile device stops being merely a point-and-shoot camera and turns into a mobile workstation for uploading post-production work that can solidify your credentials, if you take photographs professionally instead of just as a hobby.

Another great thing, is the fact that Lightroom Mobile can import pictures from the media storage on your smart device and post-produce it. This means that pictures made by an app, such as one that cartoonizes images or creates special effects like selective toning, can also be post-produced in a matter of seconds.

Lightroom Mobile lends itself to a new kind of workflow that not only pleases the everyday user, but also is perfect for the travel photographer on the go. This is a lightweight app, which can be incorporated very easily into your everyday life.

If you need to see interesting topic, you may read our post about comparing differences in the basic and tone curve panel in Lightroom.