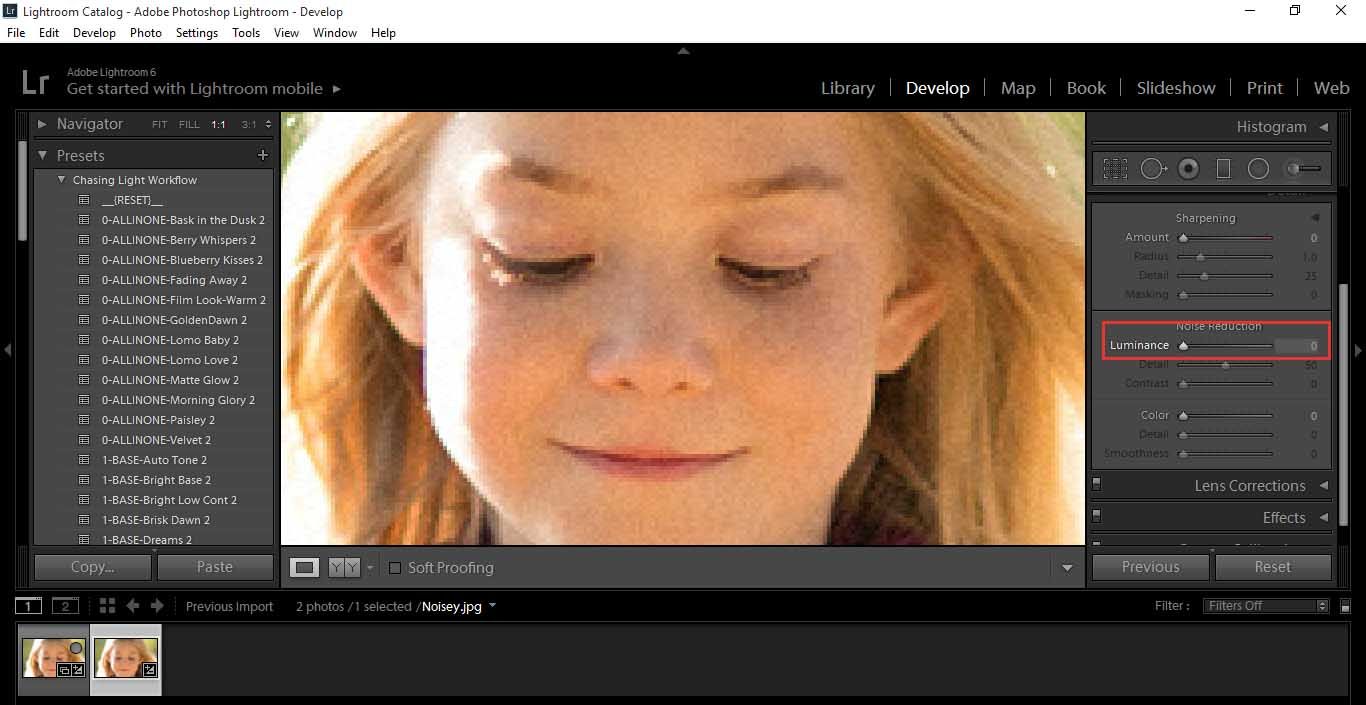
To see what Noise is, look at the image below and what you can see is visible pixilation. Wikipedia states that “Image noise is random (not present in the object imaged) variation of brightness or color information in images, and is usually an aspect of electronic noise. It can be produced by the sensor and circuitry of a scanner or digital camera.”
To bring it down to very simple terms, discoloured pixels has always worked for me, but check out our example.
You can see how the image looks grainy.
Blurring occurs whenever the subject moves or the camera has not been focused correctly, below is an example of our image blurred.
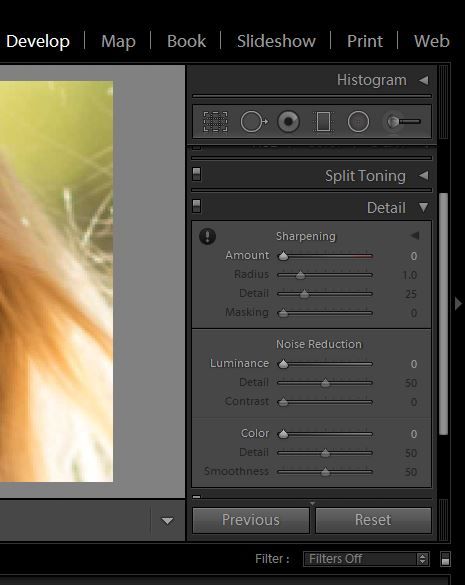
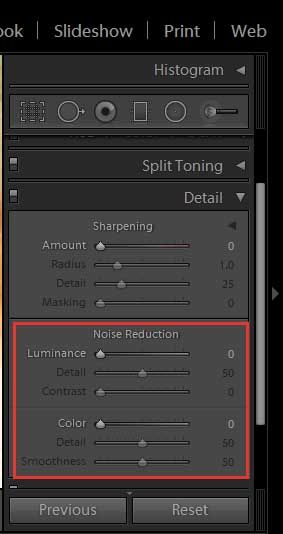
The Tools I’m going to show you today are in the Develop Module – Details
There you will see Sharpening and Noise Reduction.
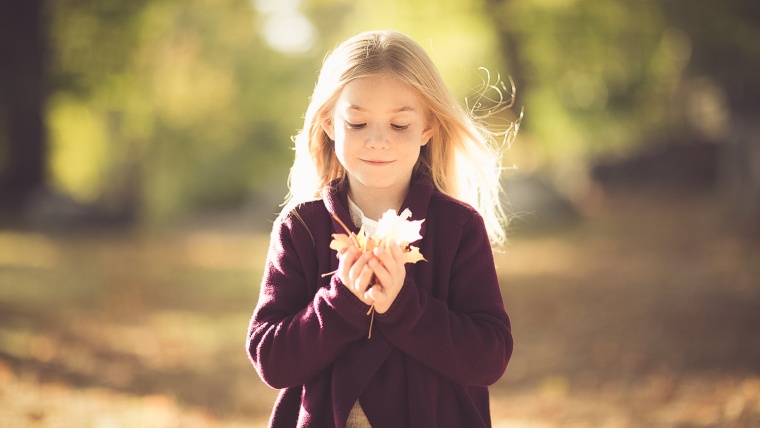
The image we have here is a nice day light image, so noise wouldn’t be a major factor. Where you get noise the most, would be in images with deep shadows that have been taken inside or perhaps on a dull day. those would show up as Red, Green or Blue pixels of various shades, so take note of that.
In Photography, Noise occurs because you have had to set your ISO up to a higher level, but we’re not going into that here.
Now, it’s important to keep in mind that you have to be aware that you need to have a balance between Sharpening and Noise Reduction, reason being, when you reduce noise on your image you are Blurring the image and when you Sharpen you are creating noise.
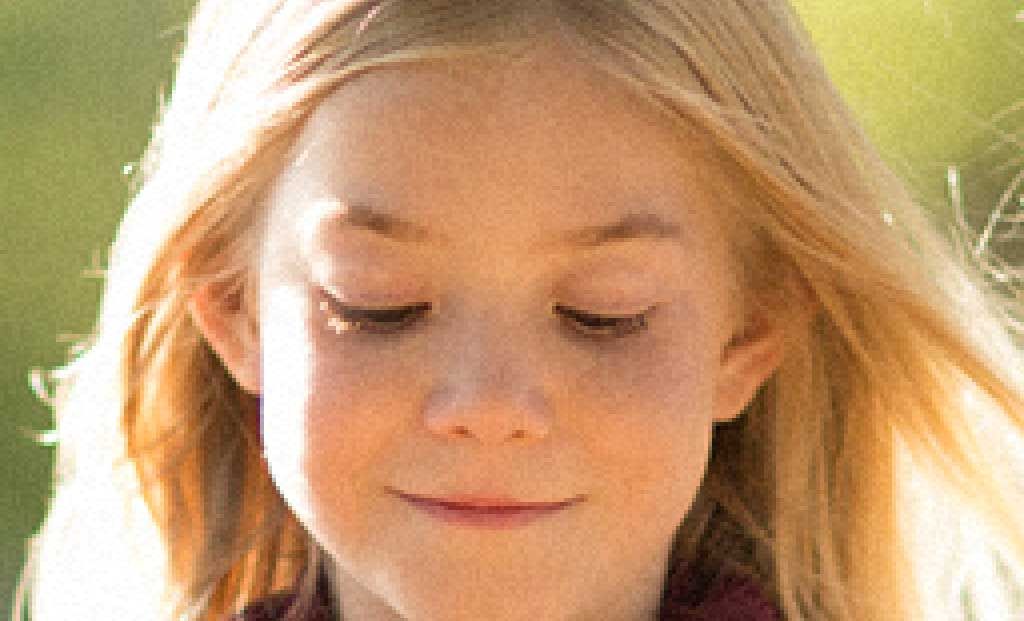
So to start to Sharpen, I would zoom in as close as I can, keeping the image is still recognizable. Choose a Feature like an eye or something along those lines, small but not too small.
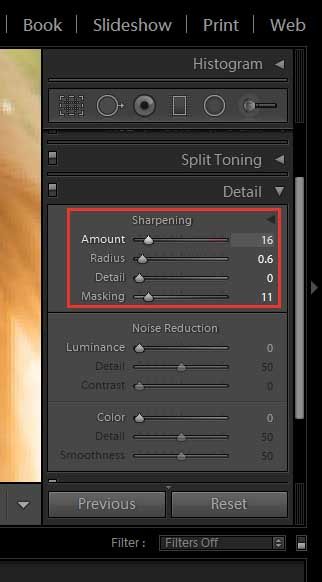
For Blur reduction first you want to start playing around with the Sharpening Amount Slider until you get to a point where you are getting noise, that’s where you will want to pull back a little, then I suggest moving onto the Detail slider, this will darken the darks and lighten the lights giving you a contrast.
With detail it is similar to the Amount slider so be aware of noise, really start to tune your eye in and watch out for it.
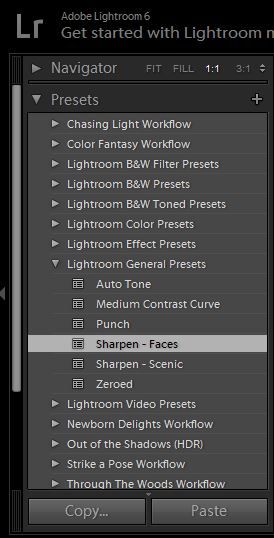
Lightroom comes with some Presets for this that you can check out, you find them on the left hand side below Navigator.
Now for Noise reduction,
Similar to Sharpening you don’t want to take it too far.
It is now the opposite, don’t take it to the point where your image is completely blurred, you must find that fine line where it’s good enough.
In the noise if you are seeing discoloured pixels like so…
Ps this is an extreme case.
If you see this, use your Colour Slider below Luminance to help correct that.
You may not be able to completely remove it, all I can say is try your best to get it to where it is acceptable.
For the main edit use the Luminance slider shown below.
Before.
After.
That’s really it, you have to practice at this to become good just like most things, you have to develop your eye which is not something I can show you in a tutorial really but I can show you the steps for sure. Now that you know how to reduce noise and sharpen your image, you might want to try other features of Lightroom. Just read this link and know more about here.
So play around with those sliders and see how much of a difference they make.
I’m confident you will get it in no time at all, good luck 🙂
Graduated from college in 2002 with a degree in Art & Design, I started exploring my way in Graphic Design and Professional Post Production. Full-time freelancer since 2011.


 Facebook
 Google +
Comments (0)
There are no comments yet.