Tag: winter

Moscow Throughout the Seasons: An Inviting Adventure to Photography

Moscow, though often associated with endless coldness, goes through a variety of unique seasons. Every month possesses an air of mysteriousness; however, despite the unreliability of the weather, a creative opportunity is always waiting to be found and cherished. In this article, you’ll be introduced to the unpredictable seasons of Moscow, from freezing winter months to welcoming spring days. I hope this gives you a better idea of what this grand city is like throughout the year.
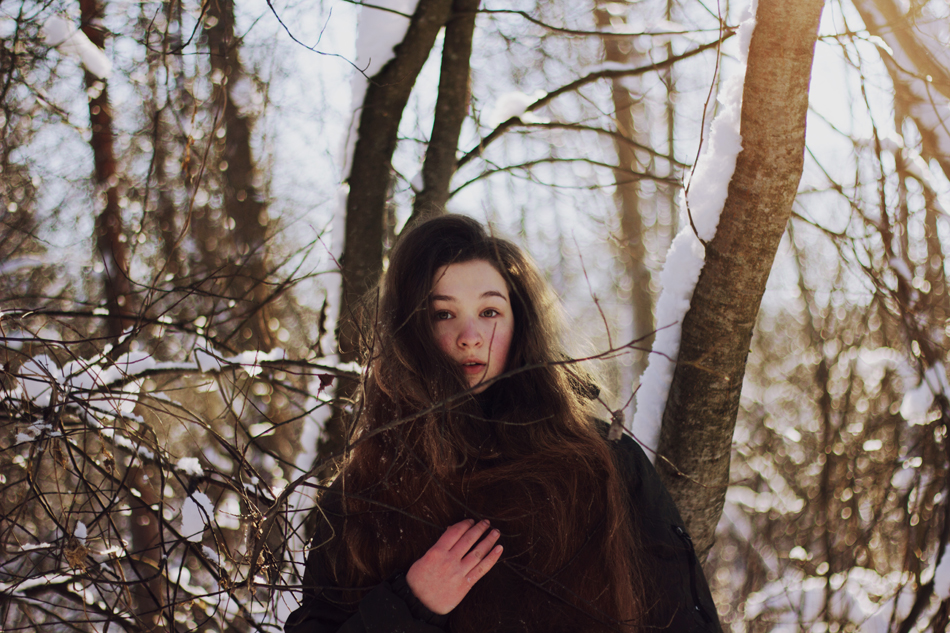
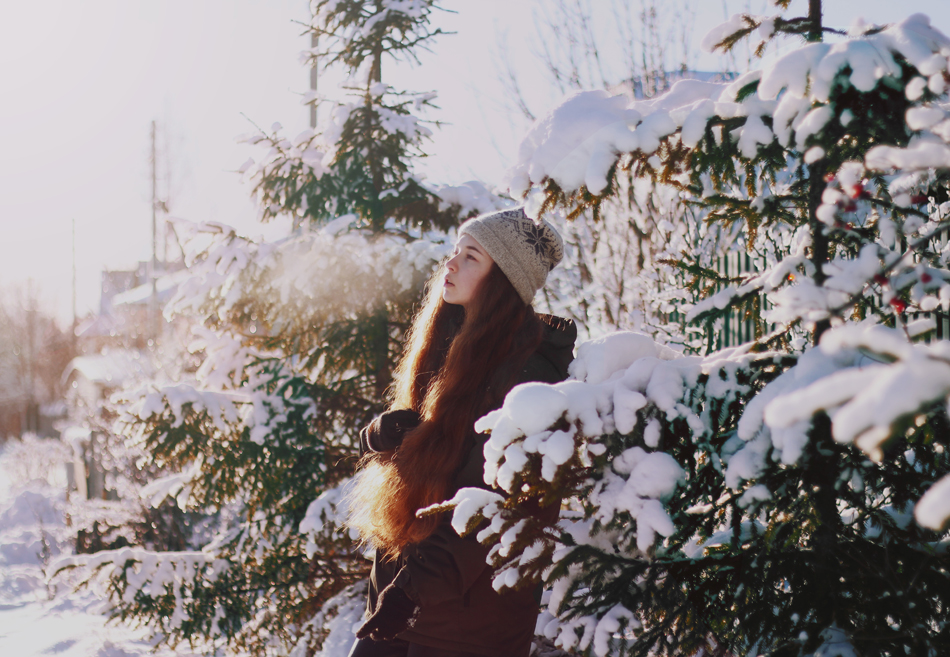
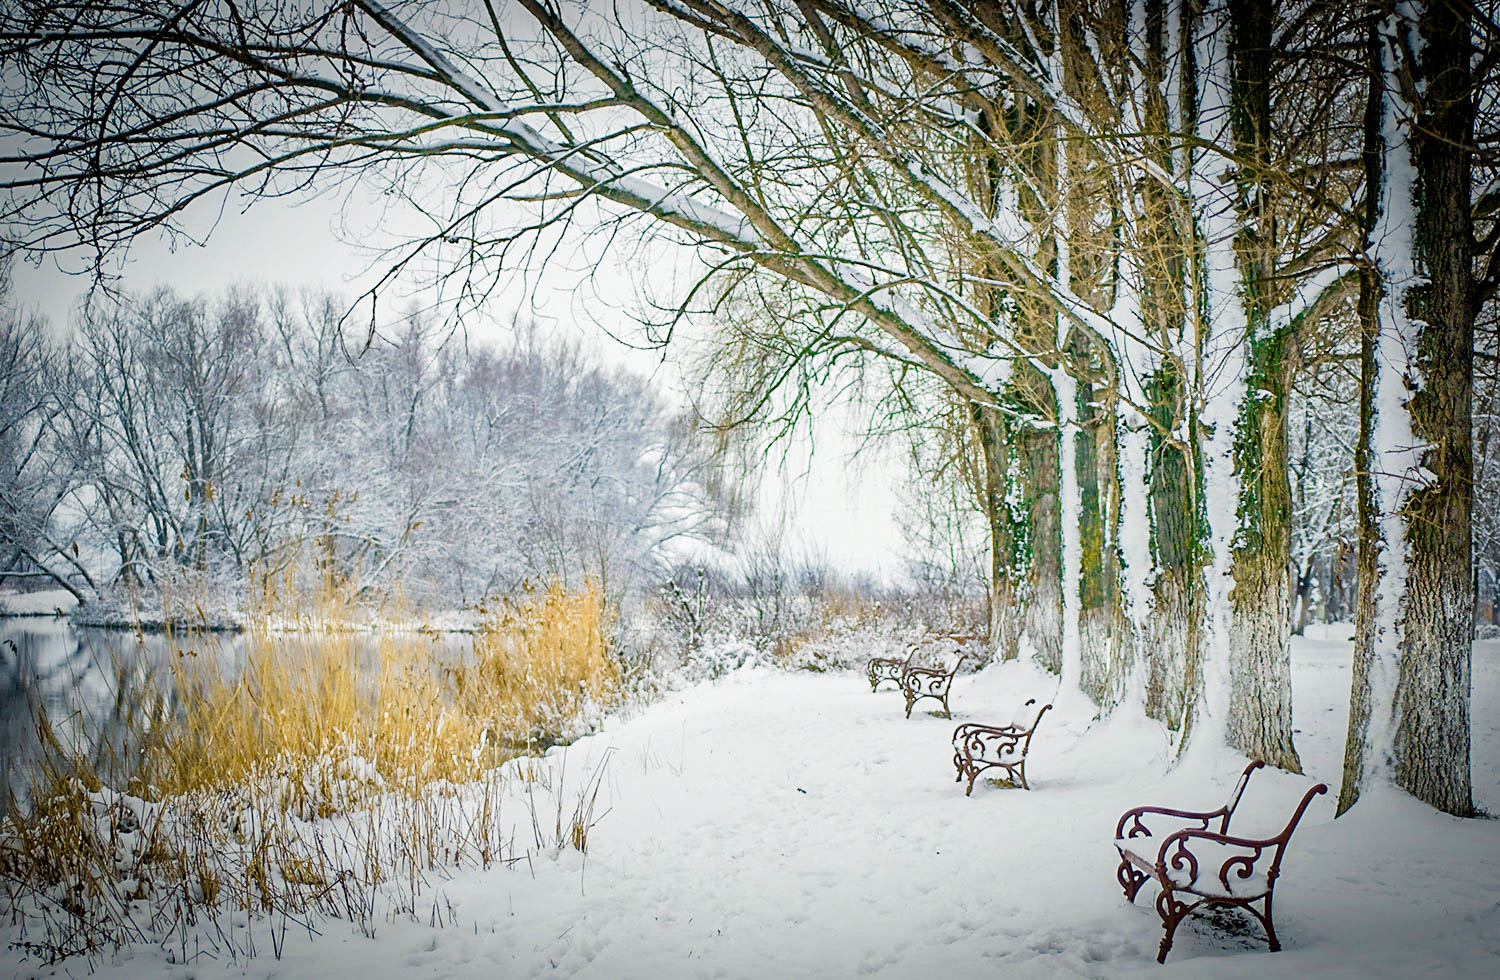
Moscow’s Winter

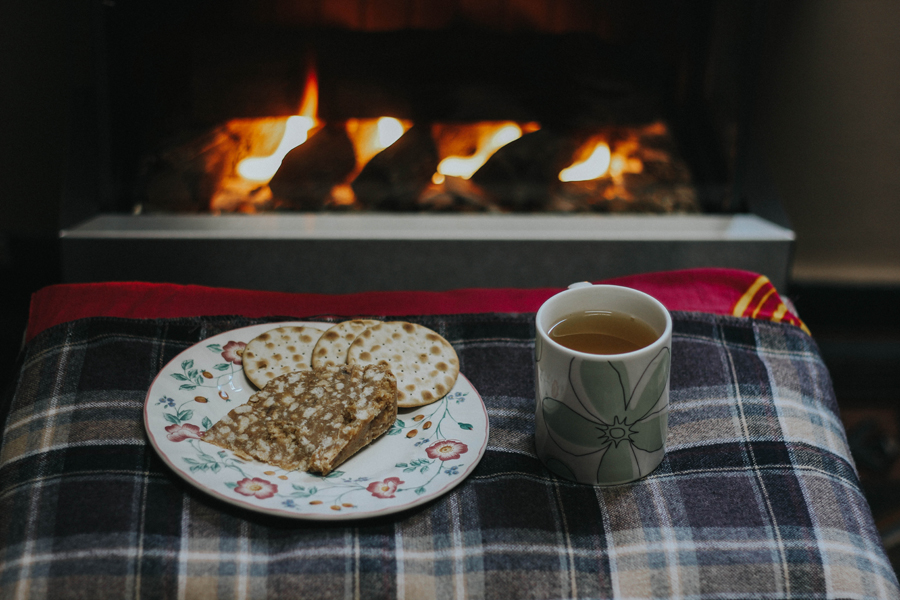
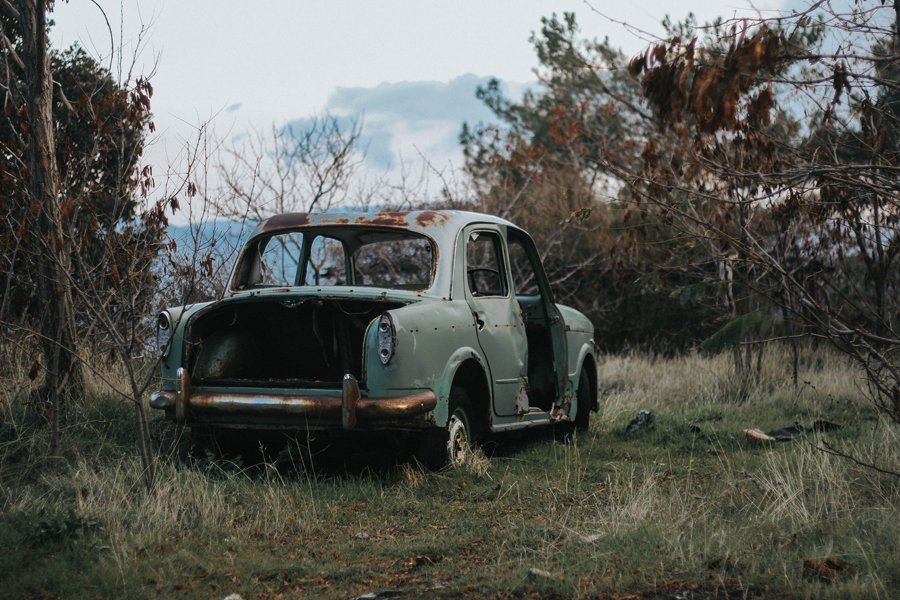
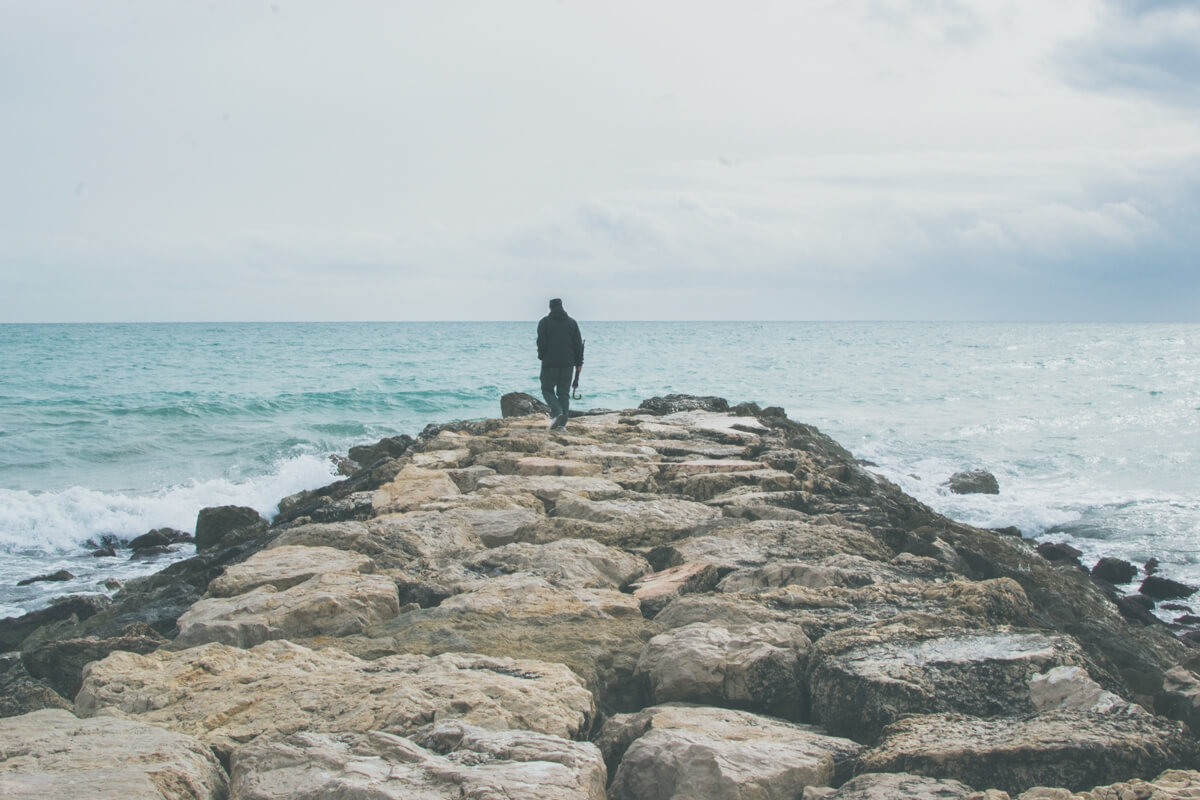
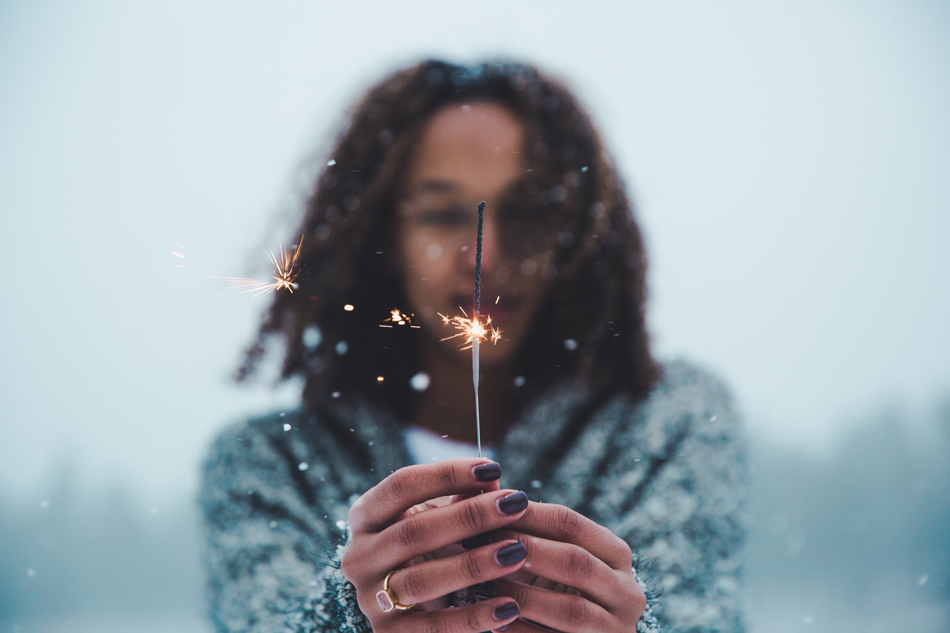
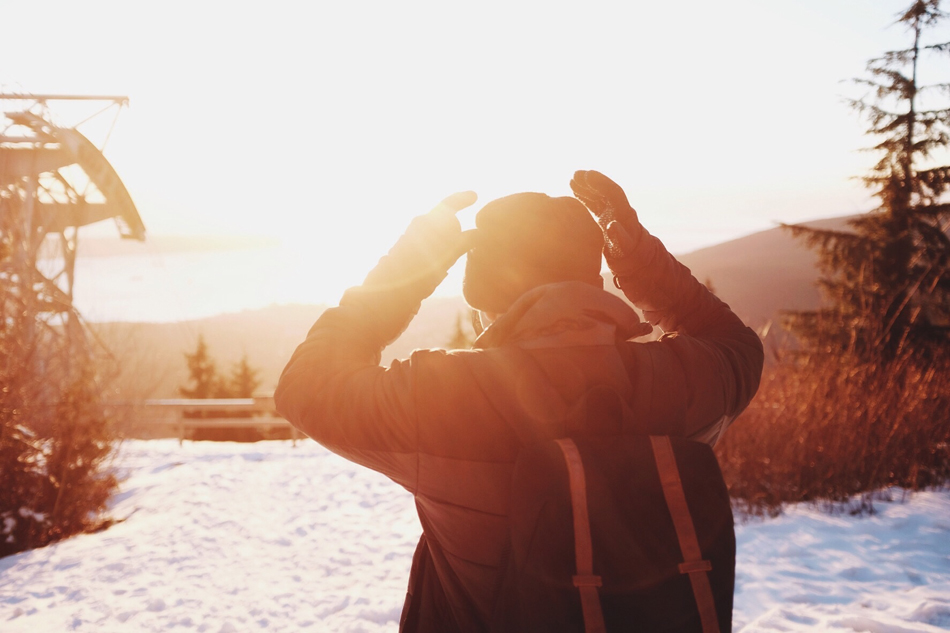
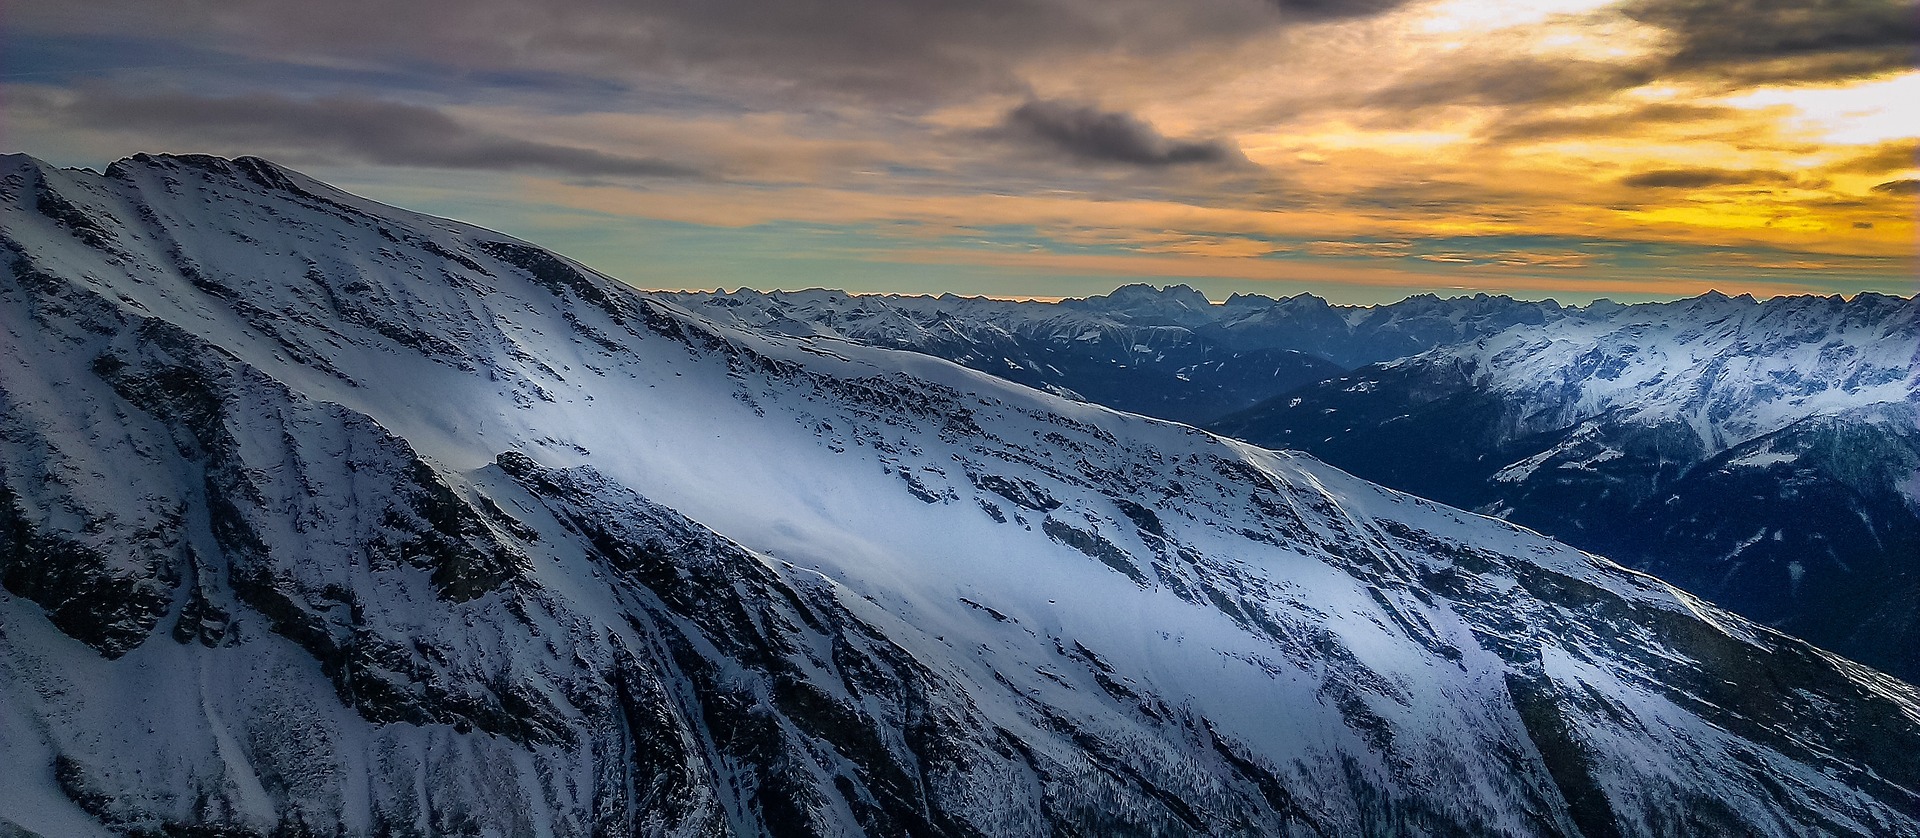
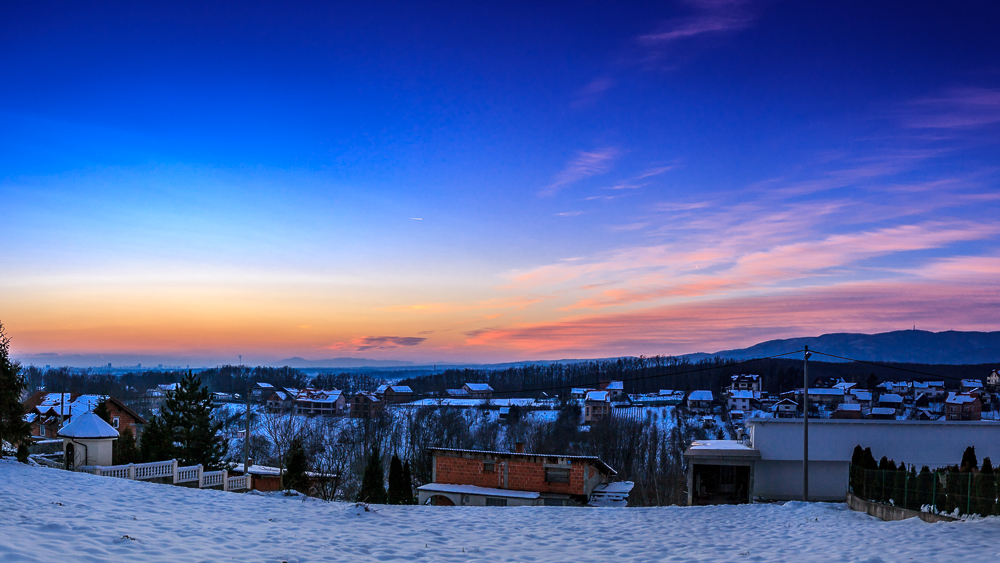
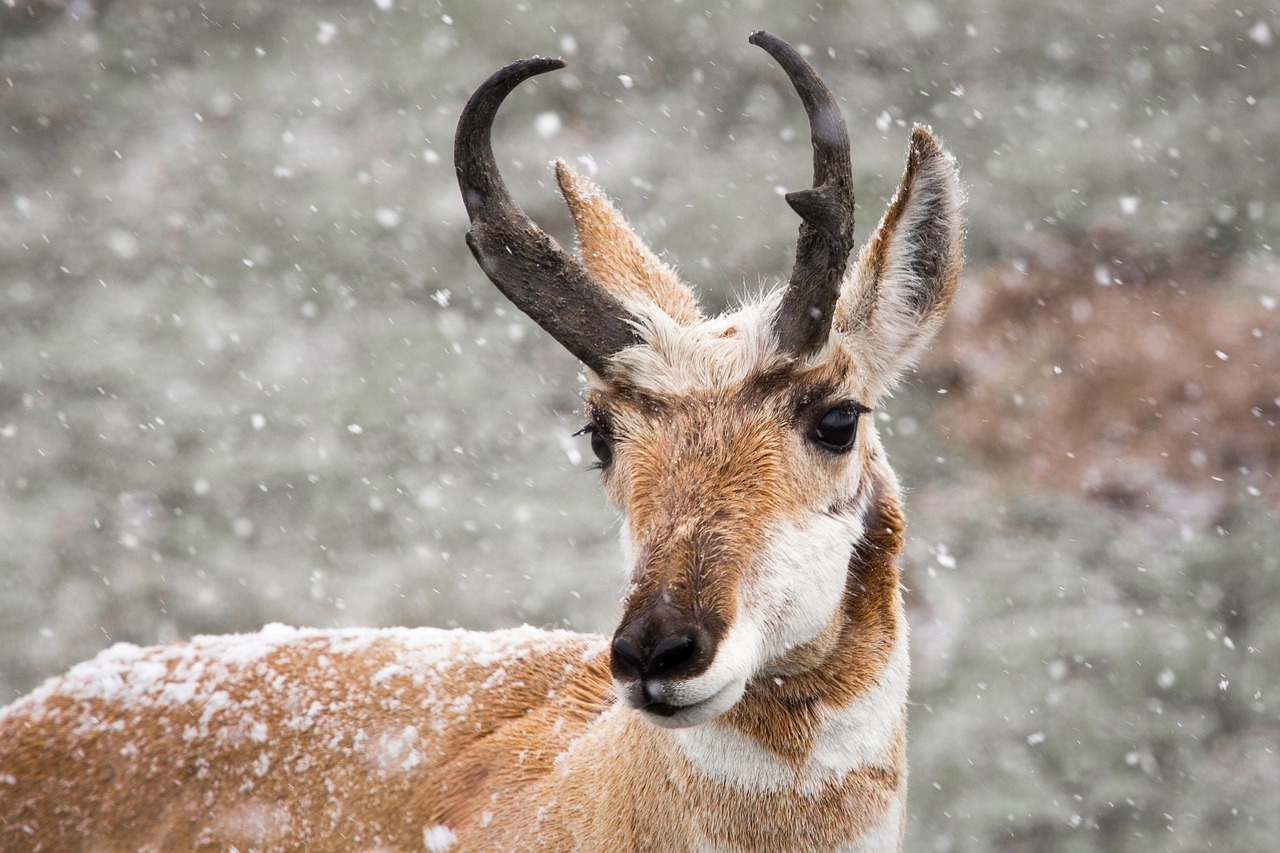
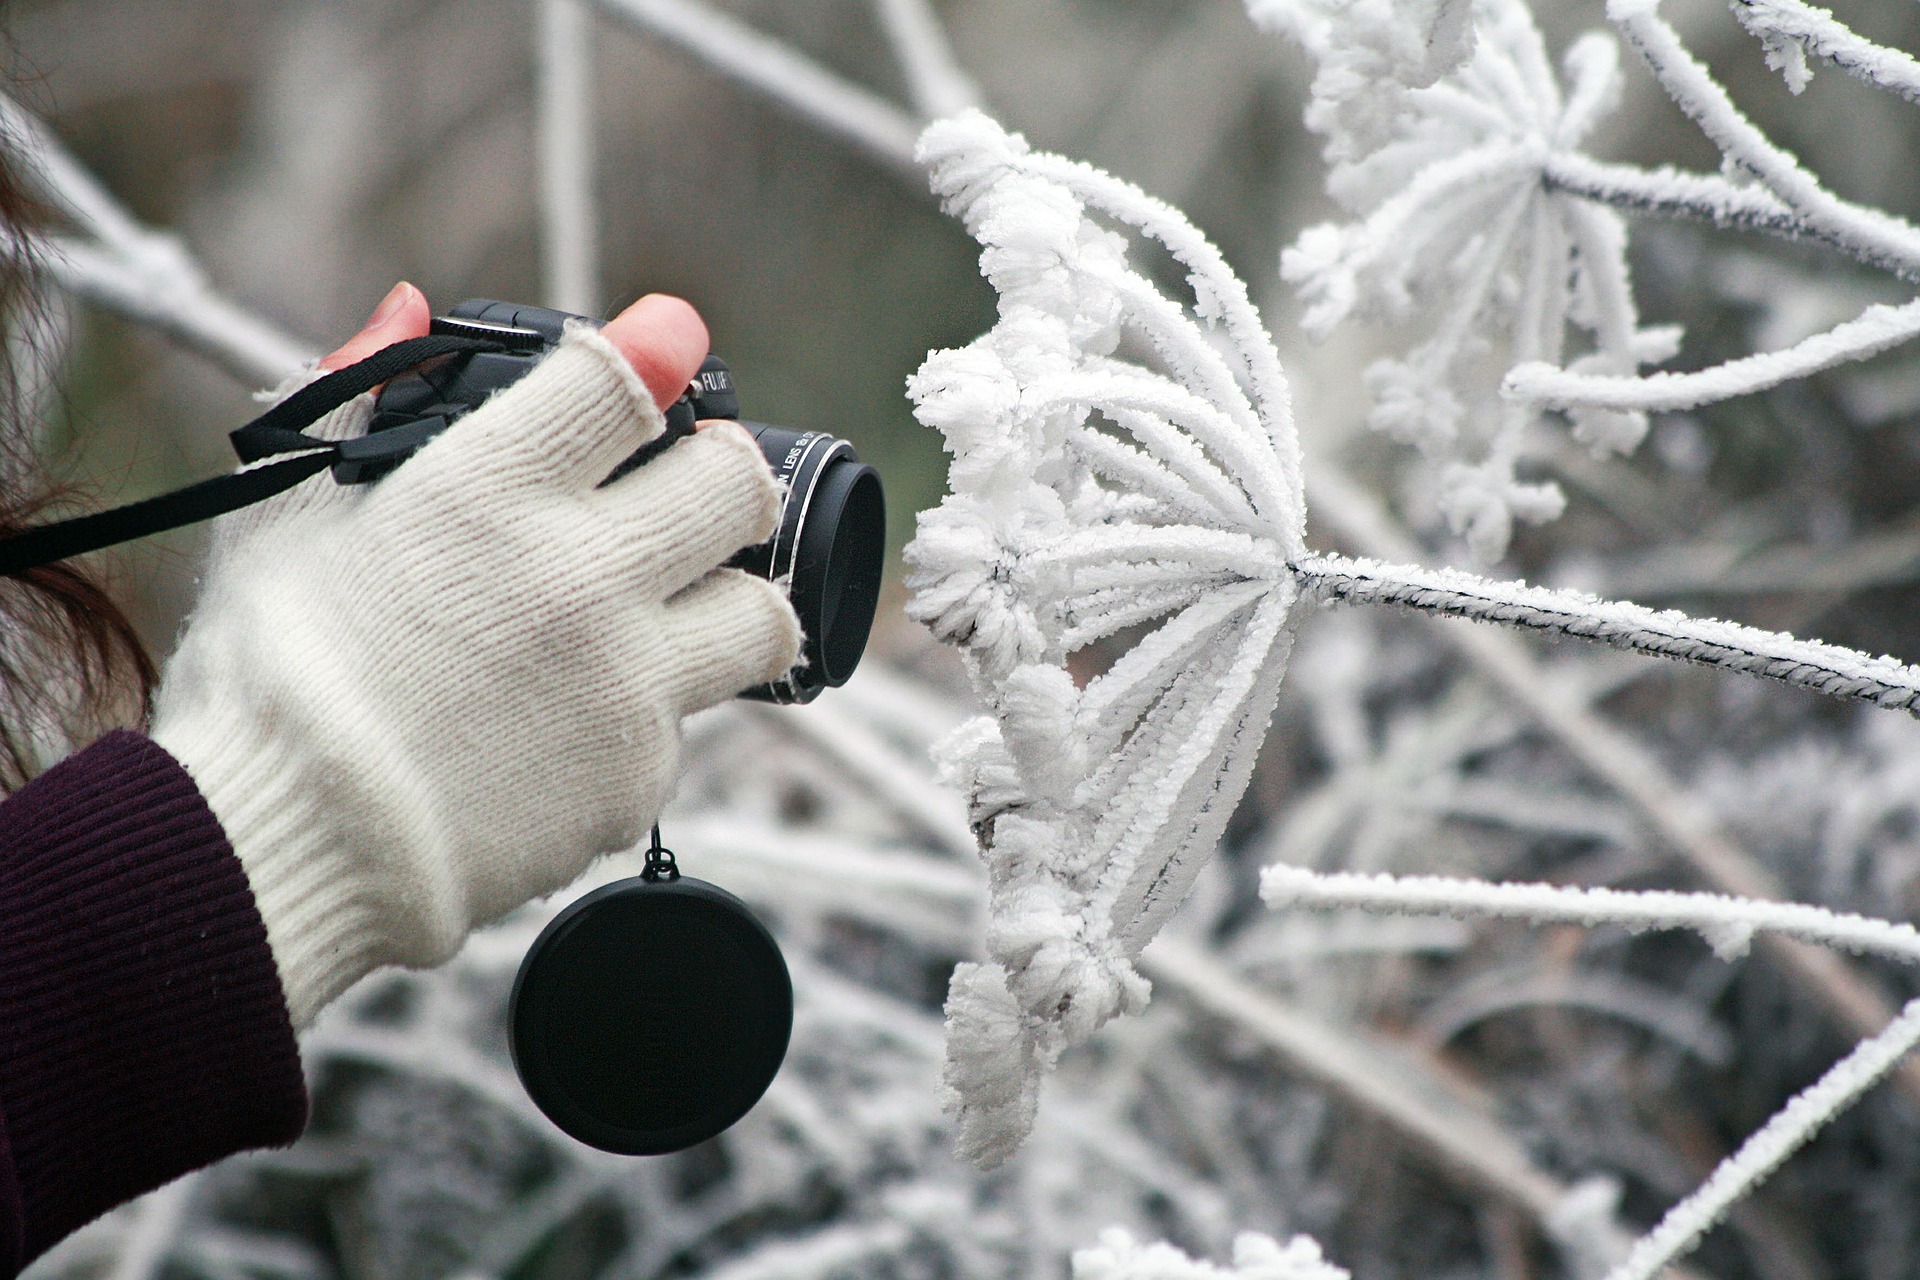
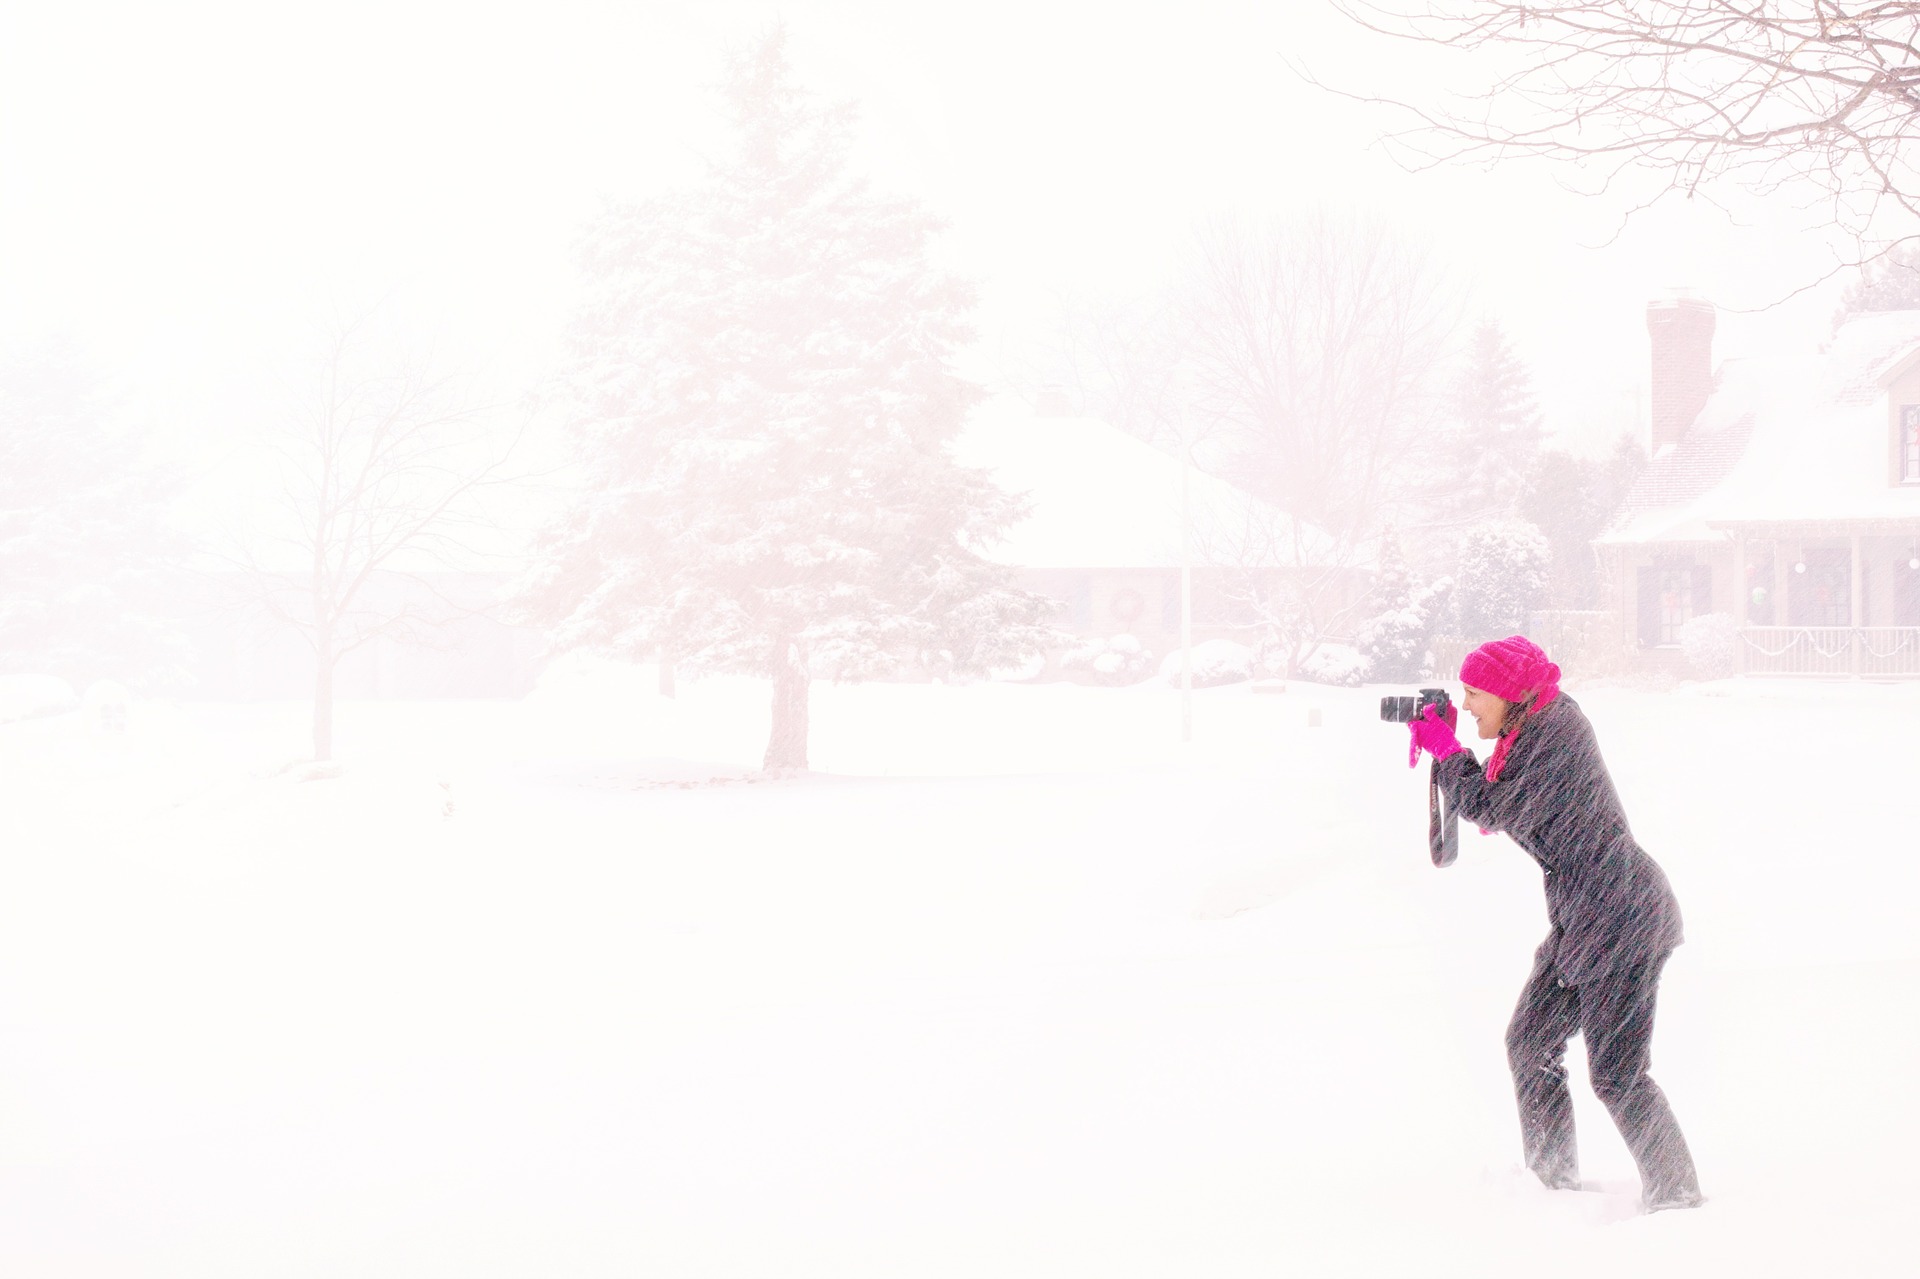
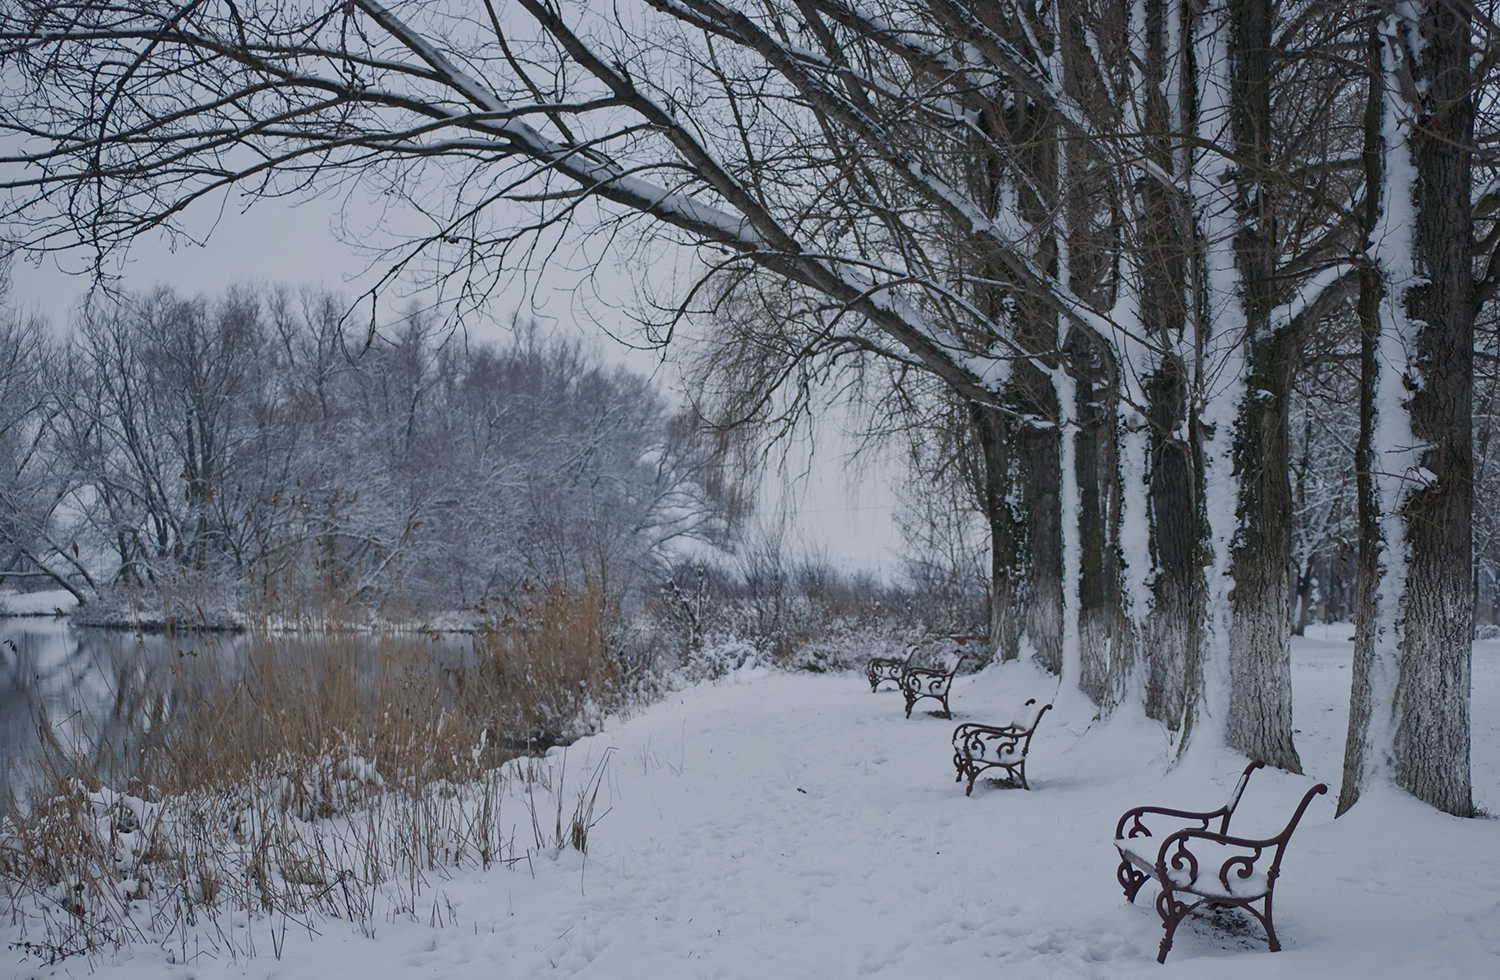
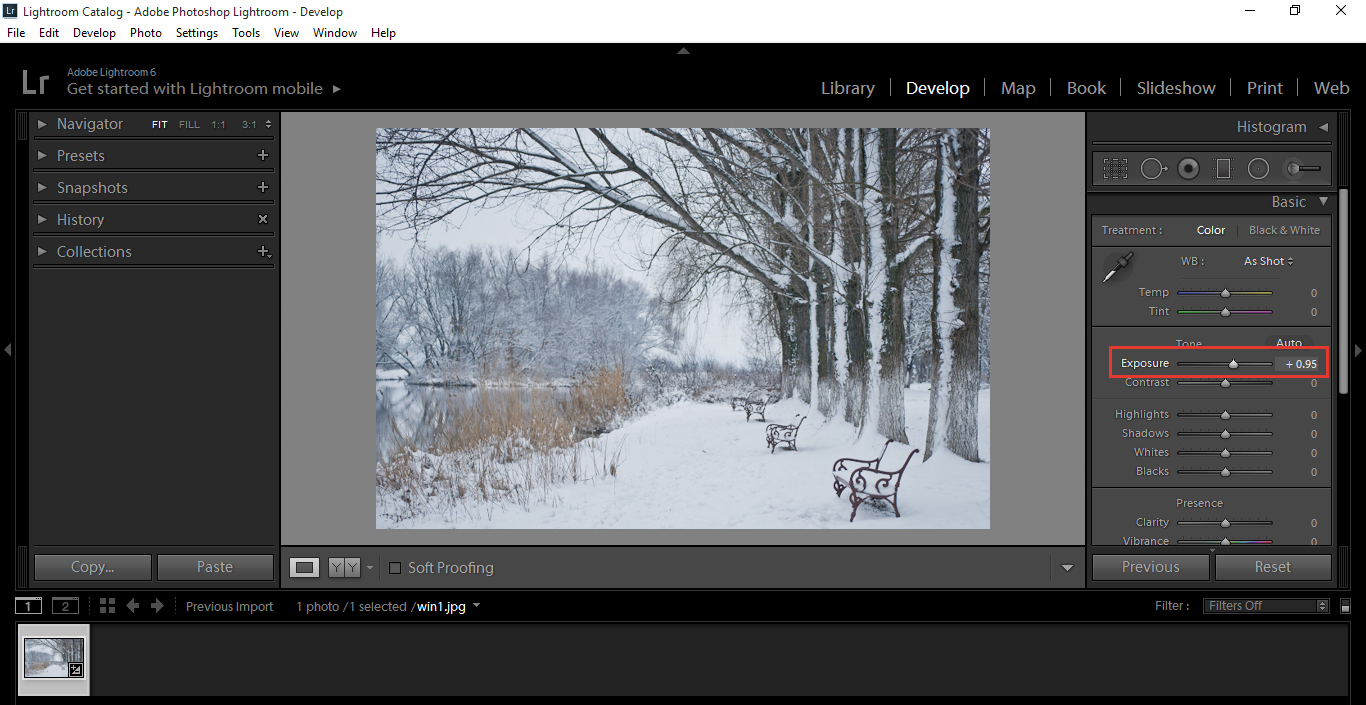
Winters are unrelenting in Moscow’s more rural areas. The city is treated kinder than surrounding villages, providing visitors with warm stores and outdoor food stands. Exploring the city’s streets often feels like observing everything through fogged up glass. The snow, often reminiscent of the violent storms one sees in documentaries, seems to speak of endless cold days and silence (save for the endless traffic, which is at its busiest). This time of year in Moscow is perfect for cozy indoor shoots. Those who have the time and desire to experiment with studio photography will find themselves thriving during this time. The brave individuals who do step outside are often provided with outstanding photo opportunities. Whichever option you choose if you ever visit the city, remember to dress warmly and have a thermos (or two) with you at all times!

//

//

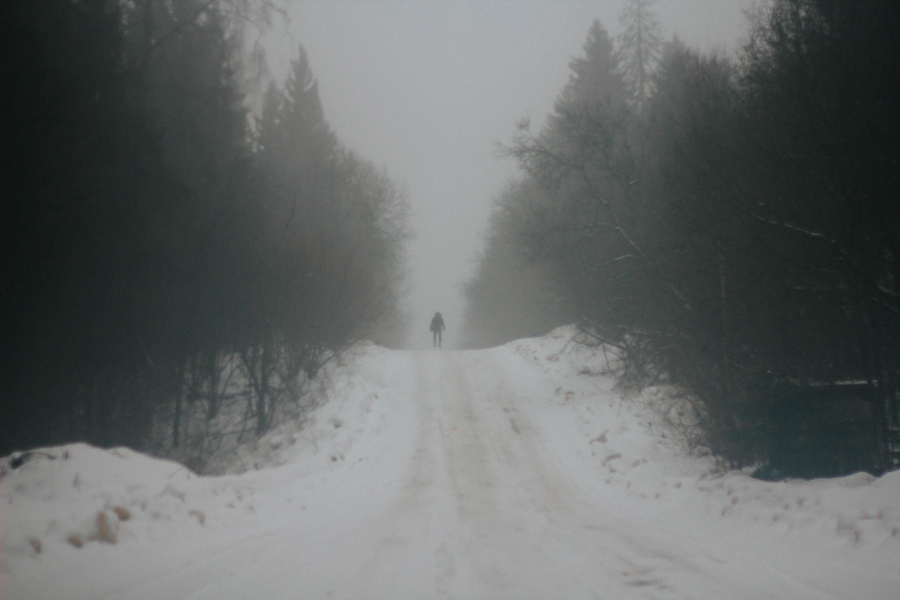
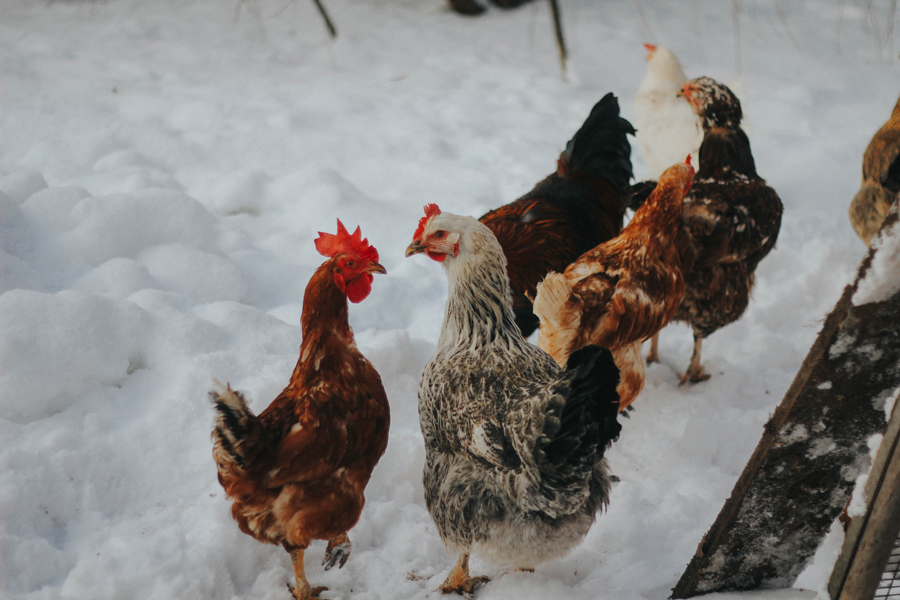
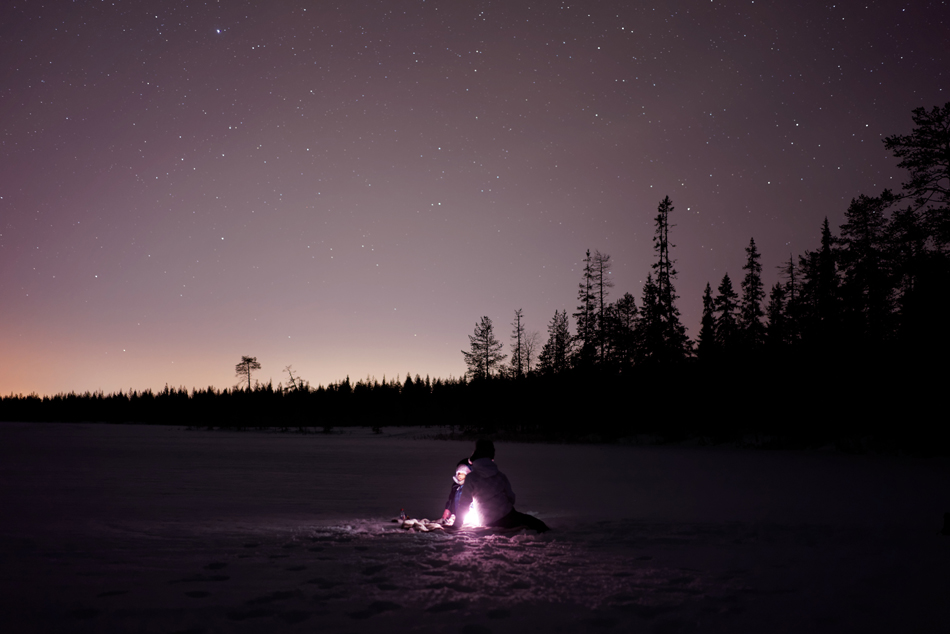
In villages, the silencing atmosphere can be either comforting or intimidating, depending on how much of a city person you are. Village homes are covered in thin layers of frost. It’s not uncommon to see chickens huddling and clucking busily, completely familiar with the season’s harshness. The sight is so unique that one can’t help but take photos of everything, even if the temperature threatens to freeze any exposed skin. Though this time of year is considered the most discouraging, it holds uplifting treasures for those who listen, observe, and create.

Moscow’s Spring

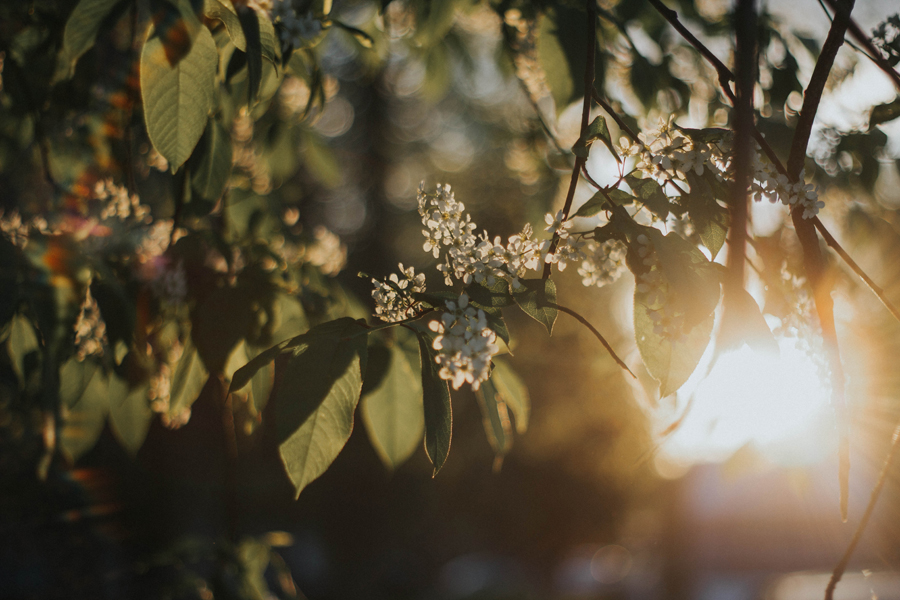
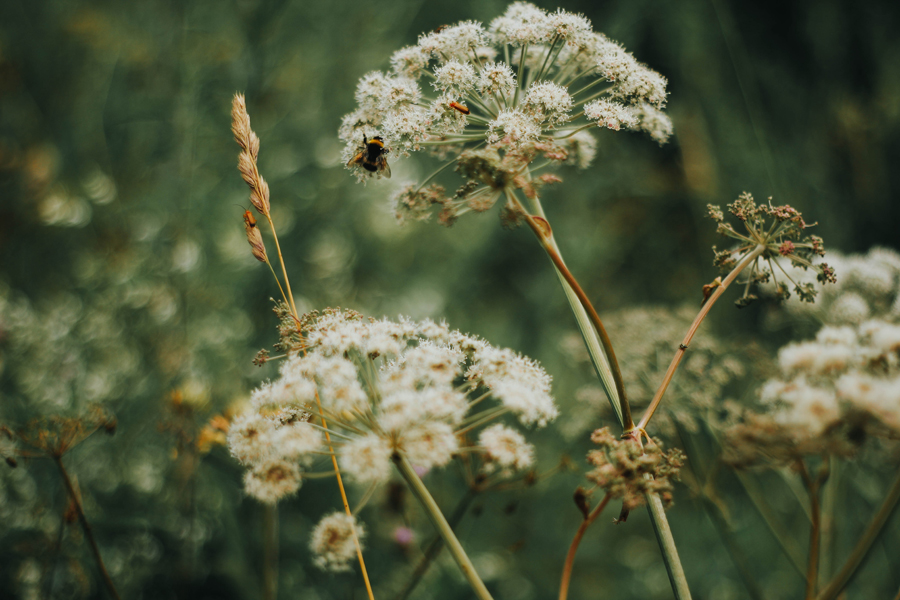
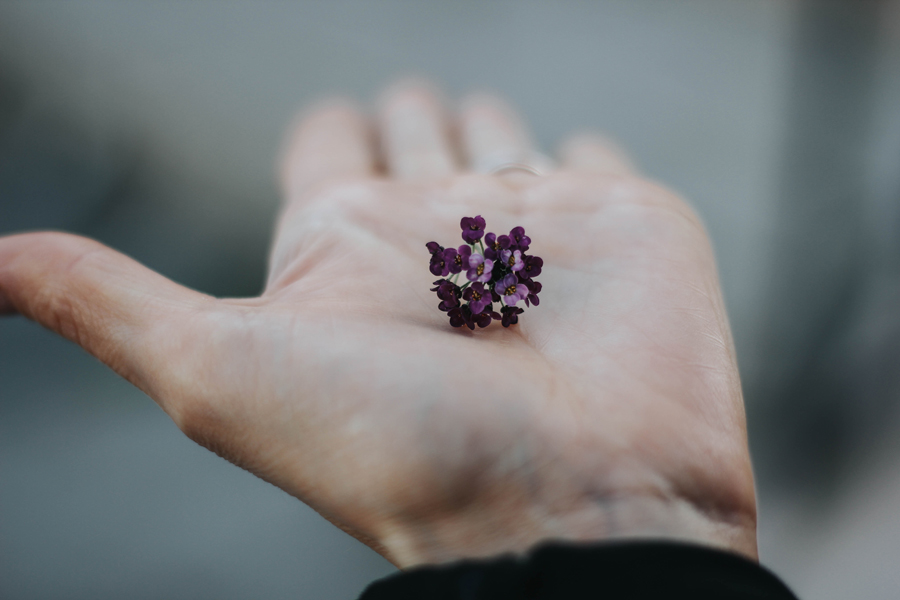
In the spring, magic resides in details. Winter’s ice cold hands finally begin to thaw, leaving behind signs of exhilarating life. This is a hopeful and tender time of year filled with long days and sweet-smelling parks. Colors slowly begin to bleed into the picture; though they’re not as intense as summer’s bursts of color, their presence is strong enough to lift even the heaviest of spirits. This, of course, is necessary after months of dullness. Spring, unlike winter, is ideal for outdoor shoots. The floral additions, rejuvenating golden hours, and energizing mornings promise gorgeous wedding, portrait, and nature shots. Those who love anything flower related in the creative world will find joy in the middle of the month when the flowers lose their shyness and confidently step into the world.
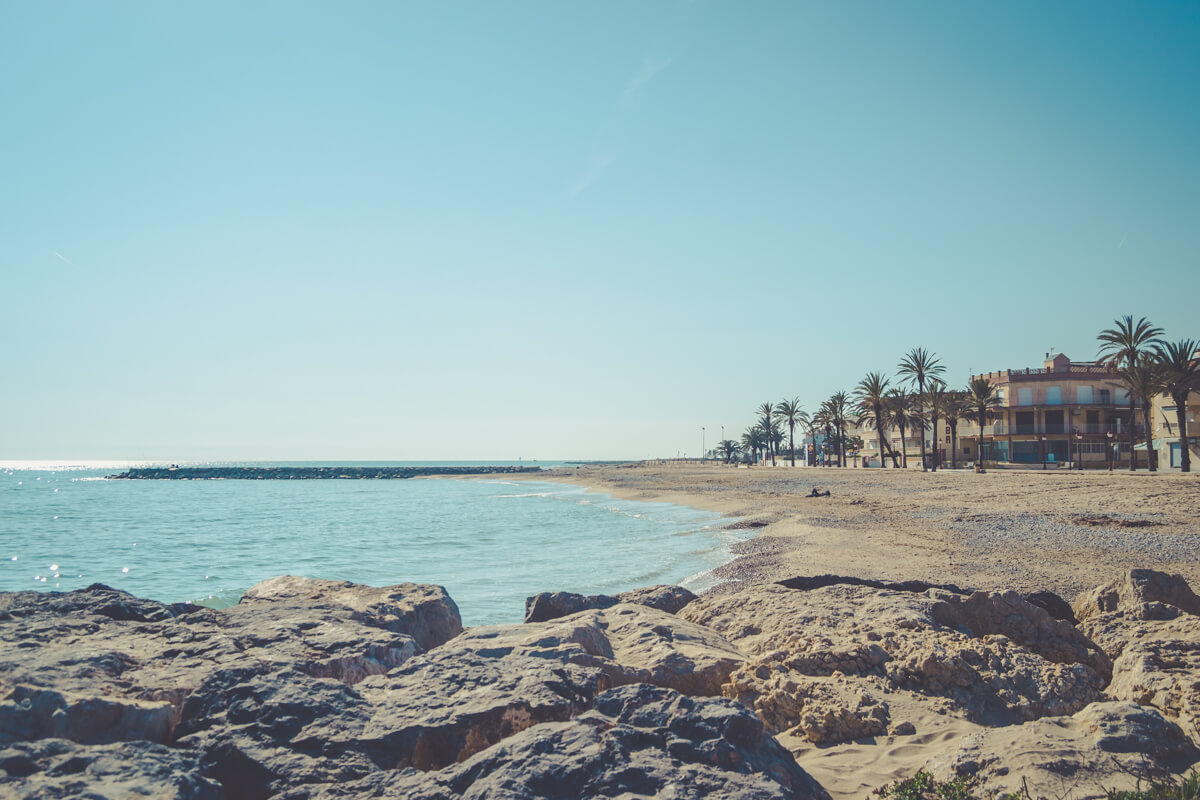
//

Moscow’s Summer

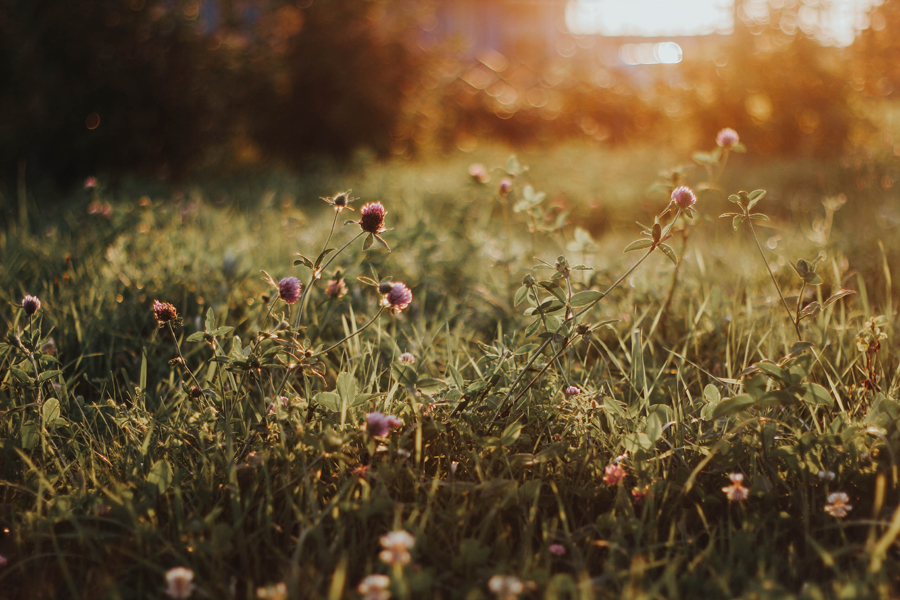
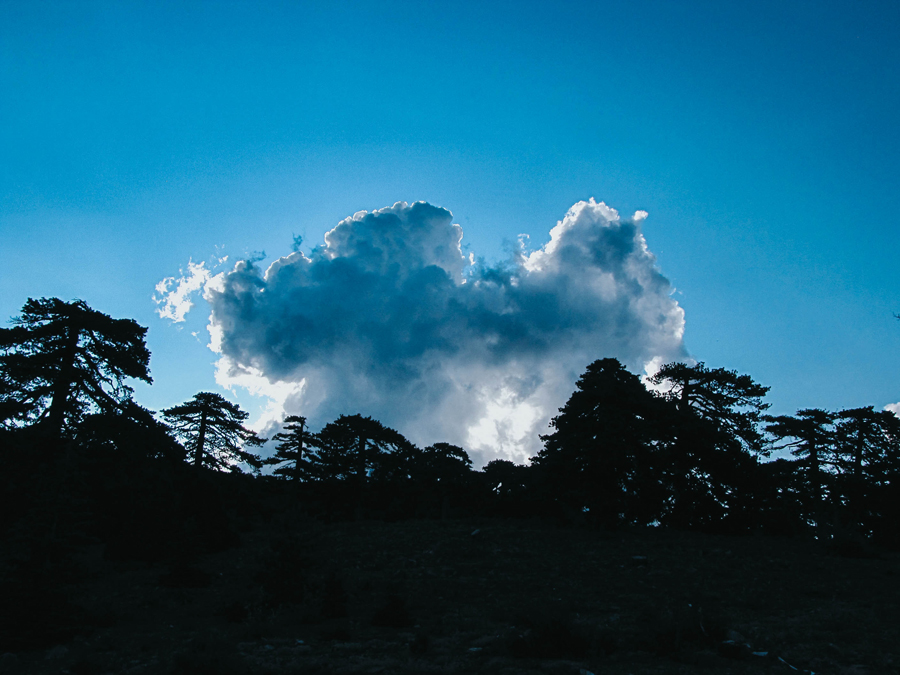
Summer enters the scene grandly, like a relative you can always rely on. It lazily walks around, each step a day full of hazy thoughts and memories. The heat in Moscow isn’t unbearable, much to everyone’s relief. There may be days when the very center of the city seeks to burn your skin, but that is often impossible to predict beforehand. (This is why it’s always handy to have access to suncream and a hat.) It’s during this time of year that photographers of all sorts can thrive. Golden hours and longer days generously spend their time with people, promising endless creativity. The endlessness is so comforting and believable that for a moment, it’s possible to forget that the colder months are just around the corner. However, summer has a way of removing that fear and we almost, almost, don’t mind it when autumn knocks on the door with a suitcase full of leaves.
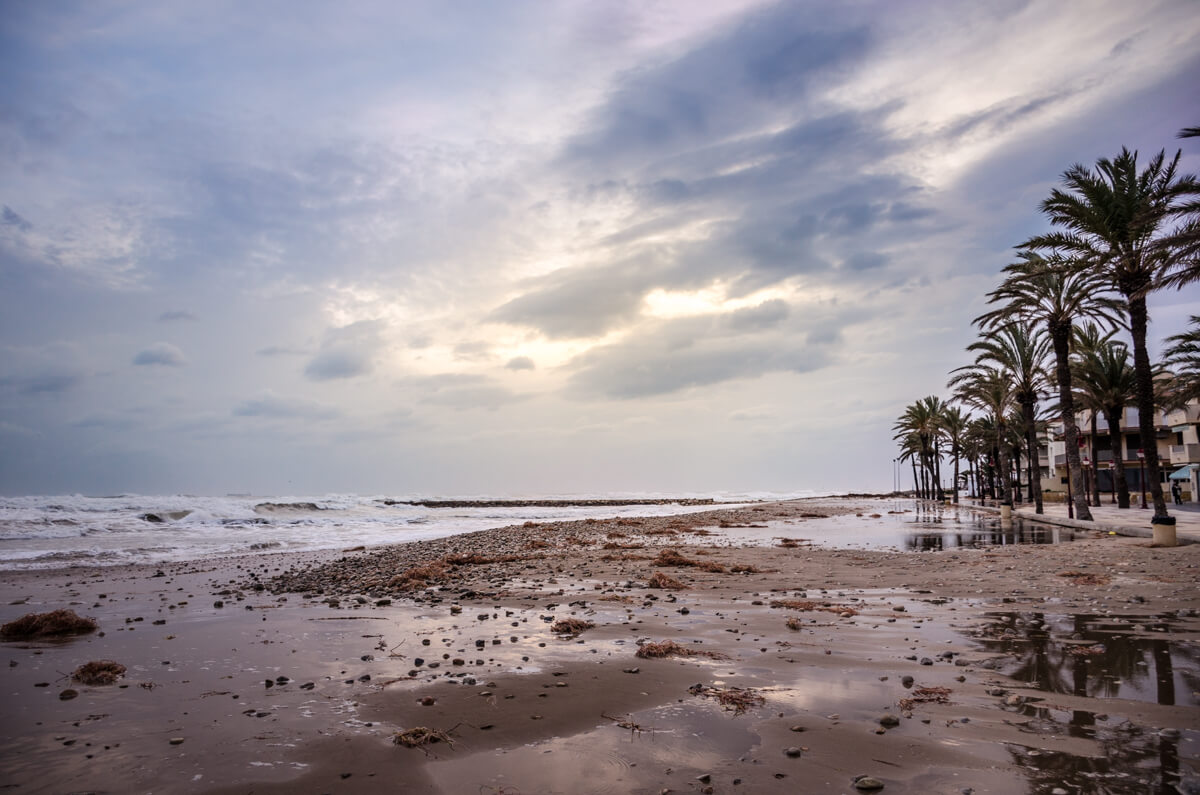
//

//

Moscow’s Autumn

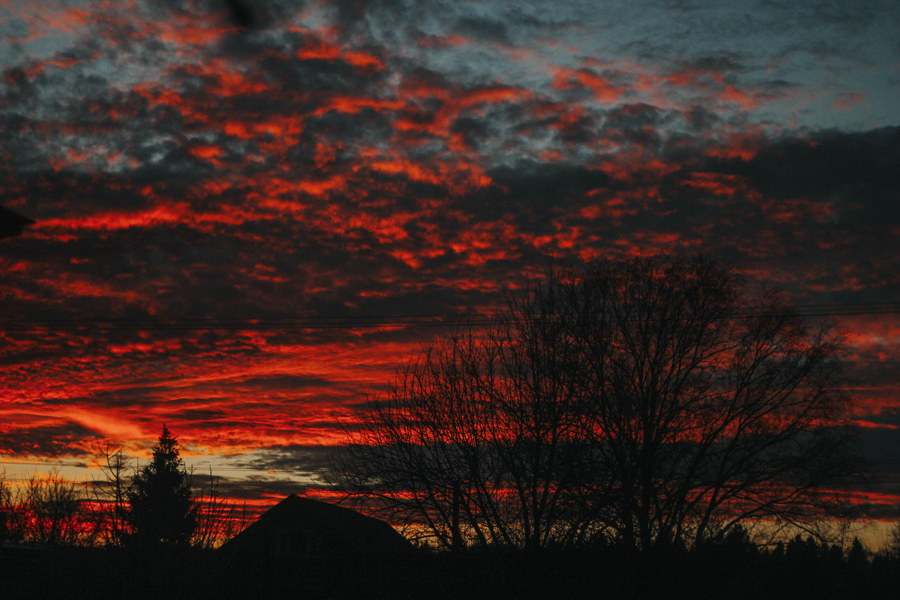
This is a product of summer and winter, a realm between two very different worlds. Autumns in Moscow are crisp morning air, dry hands, and the foretelling of a renewed cycle. This is a time of preparation, of finding warmth before the winter calls the city’s name. Autumns are perhaps the most wonderful time of year for fashion and portrait photographers. Before the leaves depart, Moscow is a golden nest ideal for portraiture, landscapes, and everything in between. The lack of intense coldness allows for relatively comfortable shoots; at the same time, the chilly weather makes coming home all the more pleasant.

//

//

And just like that, the cycle begins all over again, each season waiting for an artist to capture its best and worst sides.

Cyprus throughout the seasons: Meeting a Paradise

Cyprus is relatively warm and bright all year round. The brilliant sun lovingly showers the island with happiness and luxurious light more often than not. To photographers, this is paradise – the golden hour is present for a very long time during the year, leaving only during the winter months (but even then, the days are long). No matter what kind of photographer you are, Cyprus will provide you with spectacular things and people to document and cherish your whole life. Below is an exploration of each season in Cyprus.

Winter

While winters in countries like Russia are rarely welcome, Cyprus winters are embraced with open arms. It is in the winter when the island’s inhabitants finally get to wear another layer of clothing. It is also when seeking unoccupied shades under trees stops being a continuous hobby. Tourists, however, freely walk around in T-shirts and vests, sometimes diving, unperturbedly, into the chilly sea. Despite the slight drop in temperature, the sun continues to generously give out its light; this time, the only difference is the intensity of the heat itself. A lack of humidity allows for long walks on the beach or spontaneous visits to the mountains, where winter can be experienced on a very mild level. A harmless layer of snow temporarily resides in the mountains – if you’d like to take great snowy photographs without freezing, Cyprus is just the right place for you.

//

//

Spring

Spring arrives with the promise of mild humidity. While it can get unbearable in the summers, spring humidity is tolerable and almost enjoyable after months of dryness. This time of year is perfect for mountain hiking, cycling, and running on the beach. Though flowers rarely wilt to the point of leaving the island gray and bare, certain types do disappear for a while. They gracefully emerge in the spring, dipping the island in uplifting colors of royal purple, lilac, and periwinkle. Spotting watermelons in people’s backyards during this time is far from strange – in fact, it’s a pleasant and drool-worthy sight. Best of all, spring is a time of new kinds of fruit and vegetables on the island, all of which can be obtained at humble little markets. These locations are ideal for street photography enthusiasts as most of the locals are more than happy to have their photo taken. In addition to a striking photo, you’ll get a good deal and will get the chance to enjoy a wonderful and refreshing meal at home.

//

//

Summer

Cyprus summers are viewed from two very distinct and different perspectives. There are those who thoroughly enjoying swimming or eating in restaurants by the beach and those who prefer the cool comfort of home. The former find satisfaction in fresh underwater photos or in appealing phone snaps of food and landscapes. The latter enjoy the great indoor lighting conditions provided by the endless, generous sunshine. If visitors wish to escape the heat, they can find refuge in the cool mountains of Troodos; this place is comfortably chilly all year round, providing tourists with both picturesque locations and bearable weather conditions.

//

//

Autumn

This could be considered the dullest time of year due to the empty trees and fallen leaves. A feeling of neglect washes over the island when autumn arrives, leaving people feeling slightly disappointed. However, the sadness doesn’t last long thanks to the breathtaking sunsets; these remain loyal to the island no matter what kind of weather is present. Even if most of the trees look haunting, the promise of another perfect sky is worth it. Photographers who adore feeling cozy outdoors will thoroughly enjoy the beginning of fall, whereas those who enjoy spending time absorbing and photographing landscapes will find an abundance of creativity in the entire season.

The key to making the most of Cyprus all year round is knowing where to spend your time as the seasons blend into each other. Summers are perfect for camping in the mountains; the months of spring can be fully enjoying in friendly markets; autumn can be enjoyed with a hot cup of cocoa during the sunset, and winter can be fully enjoyed by the beach. The beauty of this homely island is the amazing creative opportunities it gives to every artist throughout the seasons. No matter when you visit Cyprus, you’ll find something there to call home.

//

//

Tips for Winter photography in a warm weather area

I love winter photos. There is something special in landscapes full of snow, people covered in several layers of winter clothes, animals with white fur… Unfortunately, I do not get many chances to take such photos because I live close to Barcelona, in a warm Mediterranean area. For me snow is something extremely unusual. It snows here once in 20 years and when it happens Barcelona just shuts down.

winter in Barcelona

Although our winter doesn’t look so wintery we still have it!! It is just different and not so hard as in other parts of the world. But we still notice a big difference between our summer and our winter: we have rains and cloudy days, temperatures are lower and it can get really windy. However, we still have quite a lot sunny days even in winter.

sunny winter

Winter photography tips are a bit different for areas with Mediterranean or any other warm weather. Unless we travel to some mountain, we won’t need special protection for our gear from low temperature or snow and even rain can be handled quite easily.On the other hand, we don’t have the typical image of the white winter people usually think of. Today I am coming with winter tips adapted to warm weather areas. Let’s check them out!

#1 Focus your photos in weather elements that represent winter in your area

Observe your winter weather, look for weather elements that represent it. It might be the wind, the rain or a gray sky. Try to include weather elements in your photos to give them a more wintery look. Trees moving billowing in the wind, heavy clouds, rain puddles in the streets…

winter storms

#2 Include nature elements in your frame

Nature has strong seasonal patterns, so you can take advantage of it! Trees without leaves, plants that are typically from winter, birds or other animals that are typical for winter.

tree in winter

#3 Take photos of winter events

There are things that happen only in winter in winter. Well, known holidays such Christmas also got quite universal, so including Christmas decorations might also have a connection with winter ( if you are in the North hemisphere).

winter decorations

But there are a lot of other local events related with “winter”. For example, in some catalonian comarques such as  Garraf and Penedes,  we celebrate the “Xato Days”. The Xato is a typical dish that we eat just in winter. During the Xato Days, experts in xato meet for contests that will determine who is cooking the best Xato. These contests are held in the different municipalities, in a street event.  Here, we heard “Xato” and we think: Winter food! You can find local events around the world that are related to winter. Maybe not a lot of people knows about them outside your region. However, I think that sharing your local events through your photography is a great way to show a different and unique aspect of this season and to spread your local activities and traditions.

winter gastronomy

#4 Look for universal elements that we all associate with “cold”

In the last tip, I told you to go local. Another totally different strategy is to look for elements that everybody associates with winter. Photos of people with coats, wood hats, scarves billowing in the wind, cups with hot steamy beverages, burning fireplaces, all are associated with winter.

winter clothes

#5 Emphasize the wintery look of your photos in Lightroom

You can emphasize the wintery look of your photos using Lightroom or any other editing program. Color has a big association with the mood of your images. Increasing the blue colors by using the Temperature slider in Lightroom (Develop module) will give it a cooler look.

Cold temperature winter

You can check this article about Color and mood to learn in more detail how to modify the color of your photos.

nature in winter

Decreasing the saturation of your photos or using a matte effect might also help you to get a more wintery look. You can check the Masterclass about saturation to learn how the Saturation slide work. For winter look, the saturation should decrease (moving the saturation slider towards the left) because you want to lessen the colors instead of enhancing them. The matte effect is also a good resource for winter. I explained how to get this effect in Lightroom in my article about “Tips for post-processing forest images in Lightroom”. Scroll down to the “Add a dreamy look” for detailed explanations.

matte effect winter

Winter presets are also really helpful. Besides saving a lot of time in post-processing, presets provides you with a lot of new creative approaches.

winter presets

How to take cozy outdoor portraits in the winter

Warmth is often associated with gorgeous beaches, palm trees, and the sea; freezing weather is the epitome of winter and indoor coziness. Thus, it’s natural to presume that these two elements never go hand in hand. However, snow casts a spell on the outside world, providing us with flawless and picturesque landscapes. Challenging as the winter months might be, this winter spell is as perfect for nature as it is for photographers. Using nature and your subject’s enthusiasm will allow you to naturally add warmth to your snowy portraits. Here are tips on how to achieve such warmth (and how to stay toasty in the process).

Bring something warm (and include it in your photos)

Preparing for a shoot in the winter can be a fun and cozy experience for you and the people you’re working with. Make sure you have comfortable and photogenic clothes which won’t let your subject freeze. The drinks and snacks you prepare could serve as pleasant photo additions, so remember to include them in your shots. Fun props like sparklers could also add both warm colors and a cheerful feel to your images. Take photos of everyone in your team, even if they’re assistants (or pets!). A happy team which feels accepted will warm any type of coldness, and this will inevitably add a heartwarming touch to your photographs. Make sure to take advantage of bright colors and happy smiles to create a stark contrast between your subject and their snowy surroundings.

//

//

A spontaneous behind-the-scenes snap of your subject sipping a cup of warm tea might find its way into your portfolio; a group shot of your friends staying warm and having a fun time could do the same. When it comes to inner warmth and great chemistry between you and your subjects, the time of year doesn’t matter. Remember to interact with your team, enjoy your snacks, and keep your hands and feet comfortable!

Prepare a warm location (be it a tent or a café)

When you scout for locations, make sure there’s a place within walking distance which could serve as a warm temporary refuge for you and your subject. If you’re in a deserted area, acquire a tent to stay toasty in during breaks. (If a tent isn’t an affordable option, grab a few blankets!) This will ensure that you remain toasty no matter how cruel the weather gets. Photographing your subject next to a tent, or in a café, with a stunningly snowy background will create the coziest photo atmosphere. Again, make the most of the spontaneity; if you plan to relax in a tent for a while, photograph each other in it. A tent + snow = perfect atmosphere + perfect photos.

//

Take advantage of the sun

If possible, shoot during a time when the sun is present. If you live in a place which rarely sees the light of day in the winter then use artificial light (even a torch would be enough) to create the illusion of sunshine. Either method will create interesting photo opportunities that’ll open and challenge your creative mind. The combination of (artificial) sunshine and snow will give your photos a welcoming atmosphere, a feeling of acceptance during the coldest of times.

//

Let your subject blend in with nature

Regardless of the season, nature infinitely inspires those who pay attention to it. It’s particularly attractive in the winter due to its graceful way of holding snow. Nature, when adorned with snow, is a force to be reckoned with. Not only do branches heavy with snow and perfectly white trees serve as fantastic backgrounds, but they make ideal subjects, too. Ask your subject to enjoy their surroundings and discuss what they like most. Photographing them next to the things they find most appealing will result in breathtaking images. Even visiting a park with your subject and asking them to interact with their surroundings will lead to great photo opportunities the results of which you’ll love.

Embracing spontaneity, making sure everyone is comfortable, and staying warm are the most important parts of a successful outdoor shoot in the winter. Be open to new ideas, make the most of the weather, and know that achieving warmth is possible no matter how cold it gets.

//

//

Good luck!

How to Create Snow in Photoshop

If it’s summer time and you’re craving some cold or if you’re trying to get an image of your dog sticking its tongue out in the snow, Photoshop can help make an image a snowy image. Sometimes the weather doesn’t always cooperate with us and it’s not always possible to get the winter photography shot we’re looking for. But using Photoshop, we can make snow whenever and wherever we want.

Creating Your Brush

The first step in creating a winter setting in Photoshop is to create a snow brush. To do this, open a new image in Photoshop, any size or shape. Next, grab the elliptical tool and create two-three shapes on the blank canvas. Use the brush or the paint bucket to fill the circles in black.

To make these two dots into your snow brush, go to Edit, and click on Define Brush. Give your brush a name and it’s ready to be used in any of your images in Photoshop.

create-snow-photoshop-2

Once you’re in the photo you want to edit, there’s one more step to do before you start painting away. Under the Window tab, click on the Brush option. This will pull up a little dialogue window that you can use to edit the way your brush will look as you start to use it. You can change any of the settings that you want to create any kind of snowy effect that you want.

You’ll want to try and create a brush that isn’t too spread out or sporadic, something that is clumped together and defined so that your snow comes out looking realistic. The more chaos that’s in your brush, the more stormy and blizzard-like your final image will look.

create-snow-photoshop-3

Layers of Snow

After you’ve got your brush set up and ready to go, it’s time to start brushing, in layers. Create a few new layers, at least three. Each layer will represent a different size of the brush. You want to create different layers of snowfall to create the illusion that some of it is falling far away in the background, and some flakes are falling right in front of the camera.

It’s important to keep in mind where you’re placing which sized snowflakes. It wouldn’t make logical sense to have the smaller flakes falling on the ground or in front of a featured object. For example, in the example photo, there are three different layers. The top layer is the big flakes that fall in all sections of the scene. The second are smaller flakes that fall in between the subject and the trees. Then there’s a third layer of smaller flakes that appear in the very back. It would not be correct to have layer two or layer three painted over the cat.

Making the Snow Look Real

Now that the snowflakes are there, they probably look too round and defined. Snow doesn’t play that nice on camera. To create the illusion of snow falling, you need to use two blur tools. Under the Filter tab, hover over the Blur category. The two blurs you’ll be using are Gaussian Blur, to make the snow look fuzzy like it’s moving, and Motion Blur, to make the snow look like it’s falling in one specific direction.

create-snow-photoshop-4

You can choose whatever settings you want for these categories. The bigger the Gaussian Blur the harder it’ll look like the snow is falling. The more severe the distance of the Motion Blur, the more it’ll look like you’re taking a picture in a snow storm. A number of snowflakes you painted into your scene will also affect this. To create a blizzard, use more of the brush and keep the blur counts high. With settings like these, your picture will look more like a light snowfall.

Finishing Touches

If any of your snow looks out of place, removing it is simple. Just go to the layer where the discrepancy lies and use the Erase tool to remove some snow. If there’s a section of your picture that seems to be lacking, simply go to the layer needed and paint over it again. Your snow brush is simple and easy to manipulate to help you get the best image you could possibly get.

Adding snow to any picture can help create a sense of wonder and excitement. It can be used to express holiday cheer and childhood joy. Yet the weather is not always cooperative, and getting that perfect snowy picture may be impossible. By using simple Photoshop tools and techniques like these, you can take any photo you have and turn it into a winter wonderland.

Are you familiar with the rule of thirds versus the golden ratio in photoshop?

Winter Photography: Part Two – Photographing

Previously, we discussed how to take care of your gear during the winter, and how to prepare for winter shoots. In this article we will go in depth on shooting during the winter; specifically, we will address some common scenarios and how to tackle those, plus some tips and tricks.

One general thing to know about winter (especially if there is snow) is that it requires a bit more attention when photographing. Winters usually mean fog, mist, haze, and snow. All of those, if you aren’t careful, will ruin the shot. The snow itself won’t ruin the shot, but if you aren’t careful you can easily overexpose it and lose the definition of its texture.

Catch The Morning

If there is fresh powder stacked up during the night, catch the morning if possible. This is important since most likely the snow will be uniform and untouched. No footprints, no dirt, nothing. If you are lucky for the clouds to have cleared by the time you start shooting, it would be awesome. Getting the shot early in the morning will make sure that the tones are a combination of blue and orange, which is typical for sunrise, rather than being heavy on the orange during the sunset.

alps-1368034_1920

Overcast Weather And Snow

For landscape shots, it would be best if you’d avoid overcast weather since it is just gray. However, that kind of weather combined with snow can prove to be quite cool for portraiture, especially if it is still snowing. The snow on the ground will act as a reflector and bounce some fill light, making for nice soft and even lighting. Throw in some colored items/clothing to pop out of the whiteness, and you have a recipe for a great shot.

winter-1127201_1920

Footprints

The number one enemy of the snow. As mentioned in the “catch the morning” paragraph above, freshly layered snow is quite cool. So when you are walking up to a spot to photograph a vista, be completely aware of where you are passing through. If you layer up some footprints where you don’t want them to be, there is no going back. Yes, you might be able to fix that in the post, but why risk it?

snow-1273379_1920

On the other hand, you can get creative and intentionally place footprints to express an artistic idea. However, take the shot without them first.

With Or Without Snowflakes

Falling snow can be quite cool, but on the other hand, it can be a little bit distracting if the snowflakes are too big. You can remove them by being smart about it. You can either use long exposures and hope that they won’t leave any visible trails (which is usually the case), or you can use the old “remove tourists from photos” trick, and shoot several images, and then stack them up using median in Photoshop. Of course, a tripod is required for this ordeal.

Polarizing And Neutral Density Filters

Circular polarizer filters can be quite fun with snow. Since by definition they can remove reflections from nonmetallic surfaces (however, I’ve found that they work with metallic surfaces as well), it can remove some of the reflection in the snow, thus bringing out more definition in it, or it can increase the definition in the clouds and sky. Anyhow, in cases like this, CPL is quite handy.

Photo by Dzvonko Petrovski.

Graduated ND filters are usually used for making the sky darker. However, with snow, you can stack two, one from the bottom, and one from the top, thus effectively bringing out the horizon line or something that is in the middle of the frame. If the snow is too bright, you can use only the bottom ND filter to dim it down a bit. There are many fun combinations, so feel free to experiment.

Don’t Forget About Wildlife

If it is winter, it doesn’t mean that there is no wildlife in the forests. Always have that in mind, firstly for your own safety, and then for photographic opportunities. Wildlife can often leave unique trails in the snow as well, which can serve as a great photographic element.

pronghorn-antelope-1326939_1280

Summary

Winter – it can be quite fun, and it can be quite dull. But, for the creative photographer, there is no such thing as a bad day. Therefore, get your gear properly packed and taken care of, and go out and shoot. There are so many things you can do in the winter, from snow, fog, mist, wildlife, to landscapes and portraits, the combinations are practically limitless. The only thing you need to do is learn how to use them.

Winter Photography: Part One – Gear And Weather

Photographing during winter periods is quite challenging. Every aspect of the photography workflow gets slightly more difficult, and when you add everything up it ends up being significantly harder. However, if you are like me, harder equals better. Even if I produce the best pictures without much hassle, they don’t hold the same value to me as pictures for which I’d have to work for. Winter shots are almost always hard shots.

But first and foremost, before venturing into the sub zero degrees you should know some stuff about your gear. You don’t want to end up with damaged or broken gear due to the elements.

Taking Care Of Your Gear

Temperature

The working temperature of most electronics ranges from 0 to 40 degrees Celsius. This means that when you are above or below those values you risk damaging your gear. When you are above, there are risks, but they aren’t that big because the only issue is overheating. However, when you go below 0 degrees Celsius, you risk several things: freezing, condensation, materials becoming brittle and easily broken, and so forth. Thus, you’ll have to protect your gear from the temperature as much as you can.

Acclimatization

When going out from a warm room to the freezing winter, don’t bring out the camera straight out of the bag. Instead open the zipper slightly and give it some time to acclimate. Usually, 10-15 minutes should do it. The same goes for the reverse – when heading back into warm areas, don’t open the bag just yet. Allow for 10-15 minutes so the gear can acclimate. In case there is condensation visible (in the lens, viewfinder and so forth), remove the battery, dismount the lens, put the lens cap and lens mount cap on the camera, and hope for the best. Do not, under any circumstances, power the camera back on until it is completely dry. You don’t want to short anything out.

camera-550937_1920

Battery

The batteries don’t like cold weather. In fact, the colder they get, the more charge they lose. There is nothing you can do about this, except keep spare batteries warm. Keeping them in the inside pocket of your photographer vest, or in an insulated pouch of the bag should do. Also, avoid charging the batteries in rooms that are really cold.

Keep It Working

Cameras produce heat. That heat will keep the insides of the camera from freezing over. Therefore shoot more, in order to produce heat from the camera to keep it healthy. It is also good for the gears in your shutter mechanism: the friction they produce will keep them warm enough so they don’t become brittle and break.

Sweater Weather

There are many products on the market that will protect your camera from rain and snow. Some are better than others, but most of them do the job. Yes, the camera can be weather sealed, and the lens can be weather sealed, but there is no guarantee that it will be enough. Some lenses are partially sealed, others are completely sealed. You wouldn’t want to risk it now, would you?

photographer-562309_1920

Environment

If you are up in the mountains in the winter, snow and everything, I don’t have to stress the point that you should keep yourself safe first. Do your homework, research the area, ask around, and inform yourself if it is safe to venture there in the first place.

Length Of Day

The day during winter is significantly shorter. The Sun rises later in the day, and it sets quite earlier. Use tools like “The Photographer’s Ephemeris” or weather applications to know when the Sun rises and sets, in order to be able to plan your activities accordingly. Bear in mind that Golden and Blue Hours last quite shorter in the winter.

Eiswälder
Photo by Olli Henze, on Flickr.

Having that in mind, it is wise to scout beforehand and get familiar with your locations, and in doing so be more efficient – you will be able to take more shots during the shorter period of nice light available.

Weather

Winter weather can be quite dull, and it can change quite quickly. Thus, make sure that you avoid overcast weather during winter for most of the photography since it is just gray on gray, and it doesn’t provide contrast nor point of interest.

winter-1127201_1920

However, that weather is perfect for high-key portraiture. The snow will act as a reflective surface for fill light, and the light will be soft and envelop the subject quite nicely.

Snow

Snow

is basically water. It is funny that most of the time we perceive snow as a different matter – we don’t bring umbrellas when it starts snowing, because, well it is snow, it is fun! That is true, snow is almost always fun, except for your gear. Your gear hates snow. The snowflakes turn to water, and water and electronics are never a good combo. However, if your gear is protected while it is snowing, you can take some excellent shots. It will provide a great atmospheric and foreground element. Just make sure that the shutter speed is not too fast so you end up with dots, instead of nice soft streaks.

Summary

The biggest challenge during winter is predicting the weather and protecting the gear, and that is what was this article focused on. However, in the second part of this article, we will tackle the challenge of shooting in certain scenarios in winter, some tips and tricks for better shots and so forth. Remember, winter can be harsh on your gear – you can get it damaged quite faster than you expected, therefore it is imperative that you’re extremely careful with it. Stay safe, and stay tuned for the second part.

How to Achieve Awesome Winter Scenes with Lightroom

Hi All,

 As we are coming into that winter cold weather that many of us get around Christmas time, I thought I would go with a picture that suits the mood.

Today we’re going to turn our not so greatly exposed winter scene into an awesome one.

So, as you can see from this photo, I have dropped the exposure on it to simulate a photo taken on a dull day and not getting the exposure quite right.

The original photo was a gorgeous image from freebigpictures.com, so I’d like to give a shout out to them for the use of this photo. I’m going to try to recreate that or better using Lightroom. Maybe a guide to color management in Lightroom would help.

win1

 With winter scenes, you will find you will have challenges right off the bat with White Balance and Exposure.

The reason this happens is because of the amount of White reflecting light, causing you to end up with a very Grey tone to your image, looking very under Exposed.

We’ll start with exposure first.

You will find that in the Develop Module – Basic.

win2

If your shot is under exposed you will want to move the slider to the right. (Under Exposed images will appear dull)

If the image is over exposed, move your slider to the left. (Over Exposed images will appear very bright, so much so that you will lose details in objects with lighter colours such as white)

The Key to this is to make it bright, but not to the point where you start to lose details. Play with it back and forth, so your eyes become adjusted to the subtle changes and go with what you think is best.


White Balance is our next concern.

Click on the Eye Dropper shown below, or you can press (W) on your keyboard.

win3

Move your cursor over to the sky and find and area that has some light gray and click on it. You will see a significantly warmer shift in the colour.

win4win5

 To improve this image further, take a deeper look into our Effects panel.

Go to Post Crop Vignetting and slide the amount just a little to the left until you are happy with the effect.

win6

This will send the viewer’s focus more towards the center path and off into the vanishing point.

Now, click on your Basic Panel, where you were when you changed the Exposure.

Decrease your Highlights and increase your Shadows. You will have to use your own judgement with this, but that will be good training for your eye, so play around and find the right effect.

win7

Then move to your Whites and Blacks just below the Highlights and Shadows.

Now with these, hold Alt and then slide. You will see with the whites, the Screen will turn black and with the blacks, the Screen will turn white.

Sounds complicated and maybe even confusing, but it really isn’t and after the first go, you’ll have it down.

So, for example, with the whites you will see a screen that has a lot of little pixels, once you move the slider to the right.

You want to adjust it to the point where it has a full black screen, right on the edge. That way you will have the perfect balance in your image.

You do the exact same thing for the blacks, but you are allowed a little bit more margin for error with that.

win8 In the same panel at the bottom, below where you just worked to add a bit more life to your image you can adjust the clarity, vibrance and saturation until you are happy with the levels, don’t go too crazy with these, a rule of thumb I would use is, I’d think does that look like real life? if the colours are too strong then reduce.

win9

Last but not least, click on your HSL Panel.

 Increase Orange, Green and Yellow, as this will strengthen the colour in the Trees and Foliage. As an experiment you can also check out the other sliders to see if they make any positive changes also.

There are three options to pick from, Hue, Saturation and Luminance.

I did basically the same adjustments with all three, but you may not have to. Saturation may do the trick by it’s self, but no harm giving it a try.

win10

And that’s it, by now you should have an image that has been massively changed from the one you started with. I hope you got something out of this, to help with your Winter shots.:)

win11

But, what if you think that these adjustments are not enough to bring out the best of your images; is there another way to speed up this whole process? Fortunately for us, yes. With the help of Lightroom Presets and Brushes, read here. We can enhance our postproduction workflow by over 200%.

Imagine you want to capture a blizzard for your winter scene, but you have one of the following problems:

  1. Your camera is not weather sealed
  2. You don’t have as much skill as you wished you have
  3. You can’t get out of your house in the middle of a snowstorm

Lightroom can make our daily job as photographers an easier task, while having fun in the process. If you’ve ever heard of Photoshop overlays, those are layers with special effects applied on them to enhance your photographs by adding elements that didn’t take part in the original scene. Most commonly, overlays are the ones labeled as “season overlays”, and could be a snow/rain/tone-tint overlay – Lightroom has its own way of creating these overlays, which can be managed with a combination of presets and brushes.

Our latest bundle “A Winter’s Tale” has everything you could ever dream of and more for enhancing winter photography. Do you want to post produce a winter photograph in only a few steps? No problem, you can manage it in a one-click fashion with “A Winter’s Tale” Workflow and its wide variety of presets.

winter1

The ‘Let it snow’ presets are able to create amazing effects such as this snow blizzard, that truly looks like it was of the real shot.

winter2

Or you can work your way through the stackable presets available in this bundle, While combining them with a variety of 27 brushes for applying local adjustments to your presets.

winter3

Hope you found this guide to be useful and see you next time! To know more about lightroom, tick this.  You may also be interested in color management, see and know about it here.