Tag: post production

Most Important Lightroom Features to Explore

Lightroom is one of the most popular photo editing tools on the market. Thus, you have to install the Lightroom presets so you will know. It’s surpassed the competition not only because of its reliable Adobe branding, but because the software uses an intuitive system to deliver the latest creative tools to photographers. The post-production software addresses the most common photo edits with an eye for ease of use and final quality. It also allows incredible batch processing options. There are a number of amazing Lightroom features that will help you create the images you want.

It’s easy to feel overwhelmed when working with new software, especially software as advanced and nuanced as Lightroom. However, some features are more important to understand and master than others. These features are a great place for beginners to start, and a crucial part of any Lightroom presets pro’s skill set.

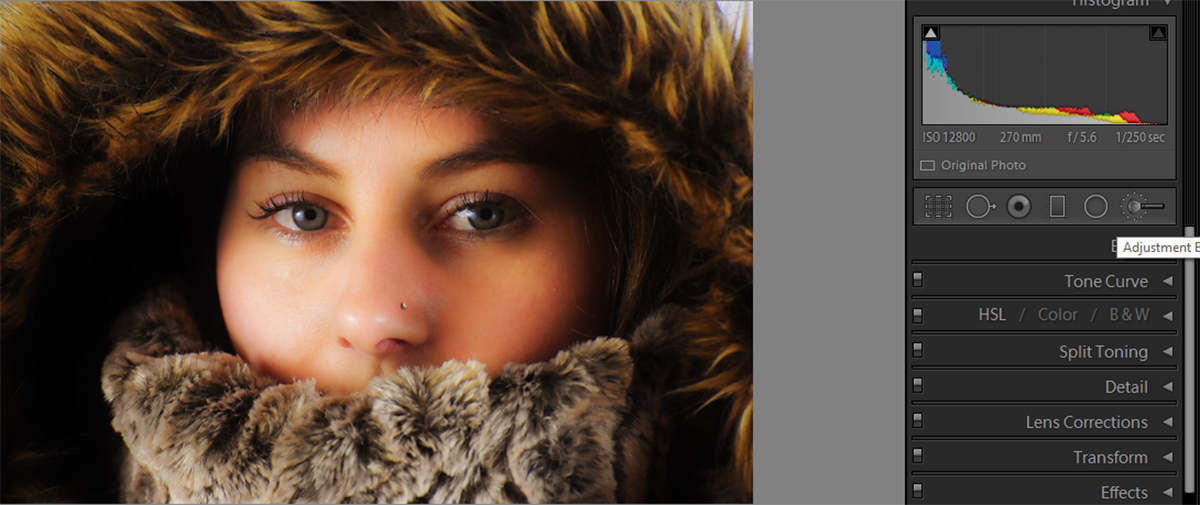
Creative Adjustment Tools

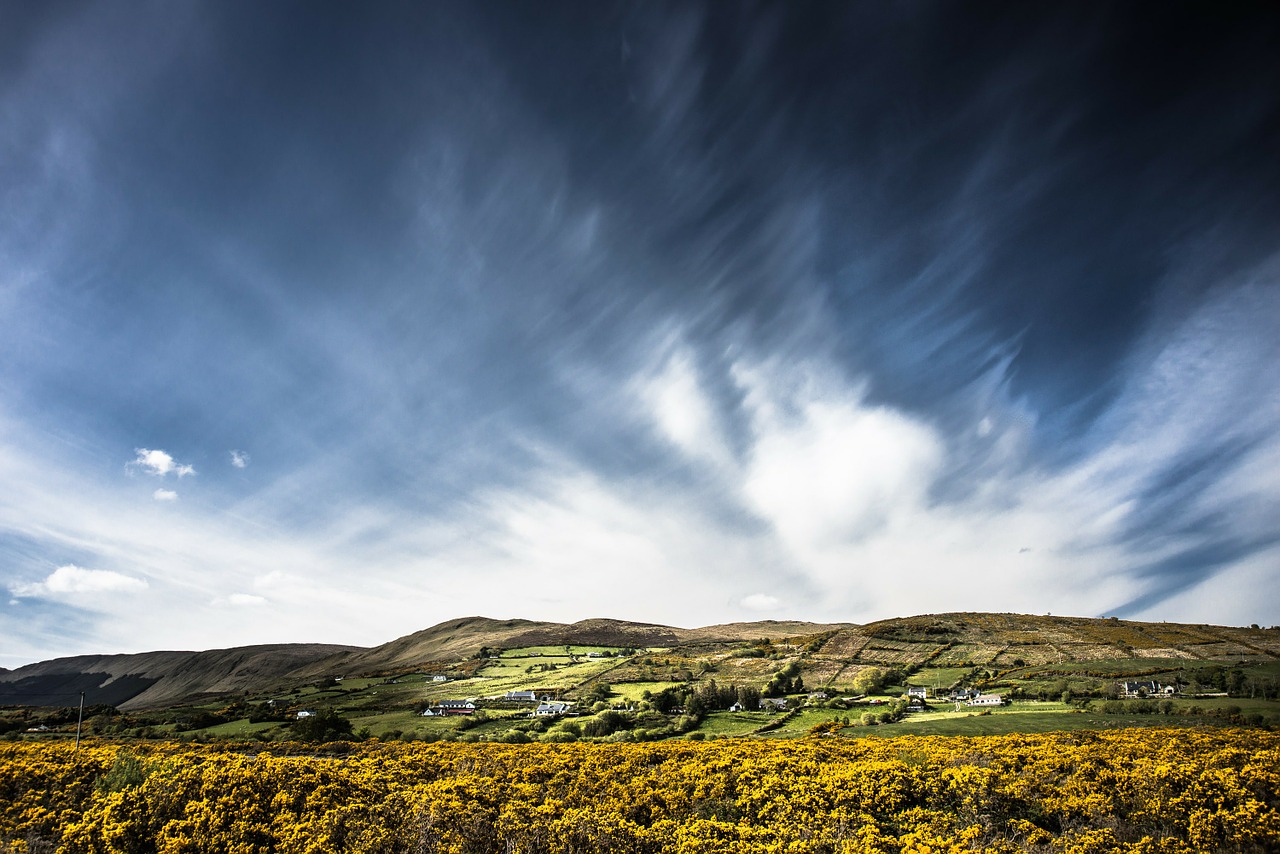
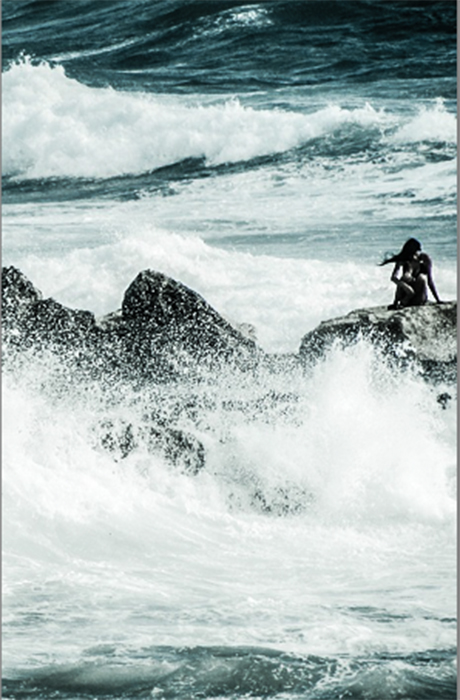
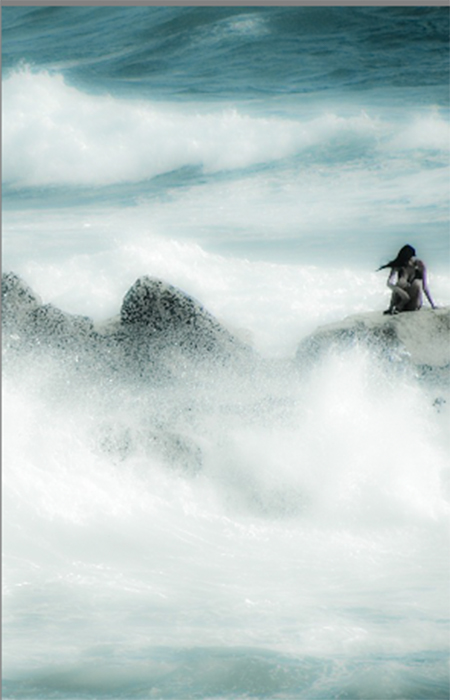
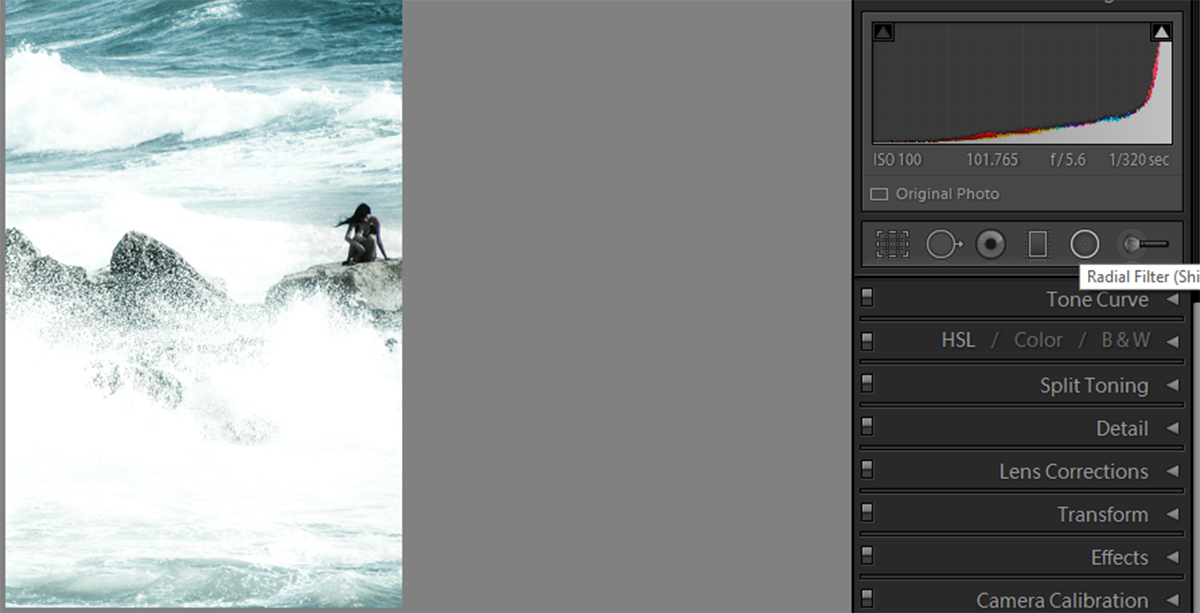
Of all the Lightroom features and creative tools, the gradient filter, adjustment brush, and post-crop vignettes are definitely at the top of the list. They’re simple to use, and they make detail work dramatically easier. Although these tools aren’t strikingly original, they allow users to handle delicate changes for select parts of an image like creating a dreamy portrait effect.

adjust selected color

For example, you can darken overexposed skies, or restore images white-washed by the flash in the foreground without compromising the parts of the picture you like. These Lightroom features combine to address the most common photo errors and enable users to make quick, creative changes that leave a huge impact on the final image.
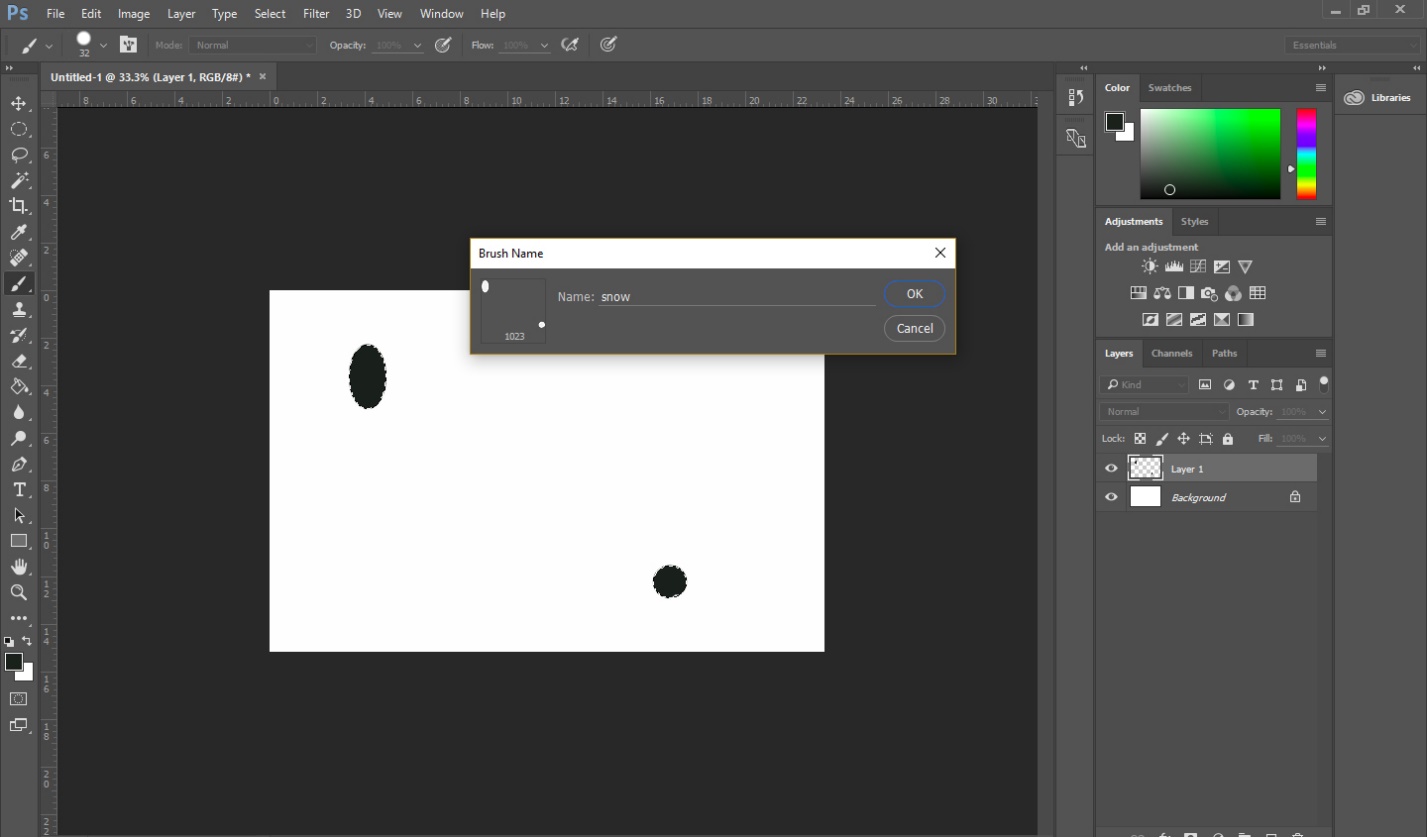
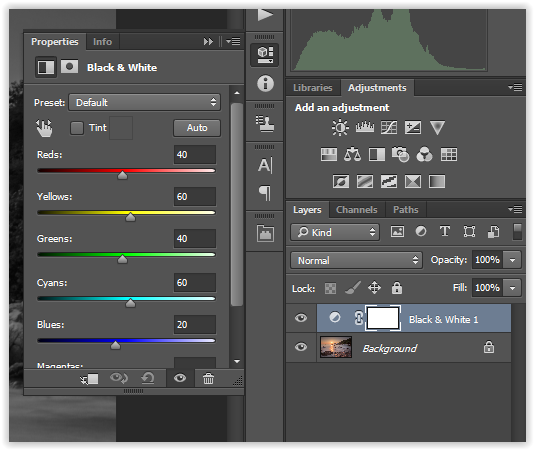
Presets

Although many photo editors offer auto-edit presets, Lightroom allows users to develop their own, original presets. Not only do these presets make editing faster and more efficient, but they help photographers develop independent, recognizable styles. Editing every photo from scratch allows for a lot of minor changes that diverge from a photographer’s overall canon of work. There’s nothing necessarily wrong with that, but every artist has a distinct style. Painters use certain colors and brush strokes. Photographers edit to bring out particular colors, alter light, and add contrast. Personal style is just as important for a photographer to develop as it is for a painter.

Quick Develop and Match Total Exposure

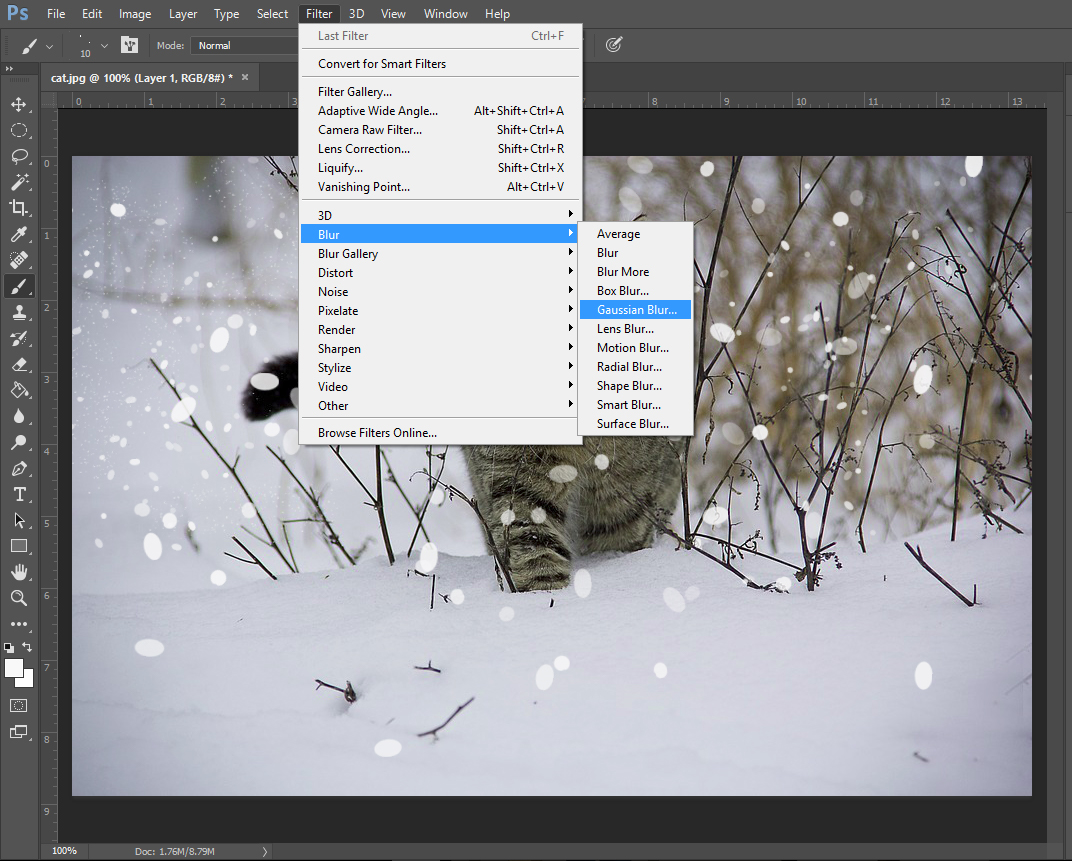
Every image needs a little individual tweaking, but if you edit a lot of images from the same shoot, you’ll be making a lot of the same adjustments over and over. Editing photos by the batch, however, through Lightroom’s quick develop tool, allows you to make basic fixes to a whole bunch of images at the same time. It takes the repetition out of editing and allows maximum efficiency for busy photographers.

lightroom batch editing

The batch editing feature becomes even more impressive when you pair it with Lightroom’s match total exposure feature. For instance, if you find after editing the first photo in a series that your lighting was a little brighter than you’d intended, you can use the corrections you made on the first photo to correct the rest in the batch. This not only saves time but also ensures uniformity across images from the same shoot. That way, your portrait collection doesn’t look like your subject’s hair color changes between each image, and your landscape series doesn’t go from forest green to lime between shots. You’ll never have to worry about maintaining white balance across the board ever again.
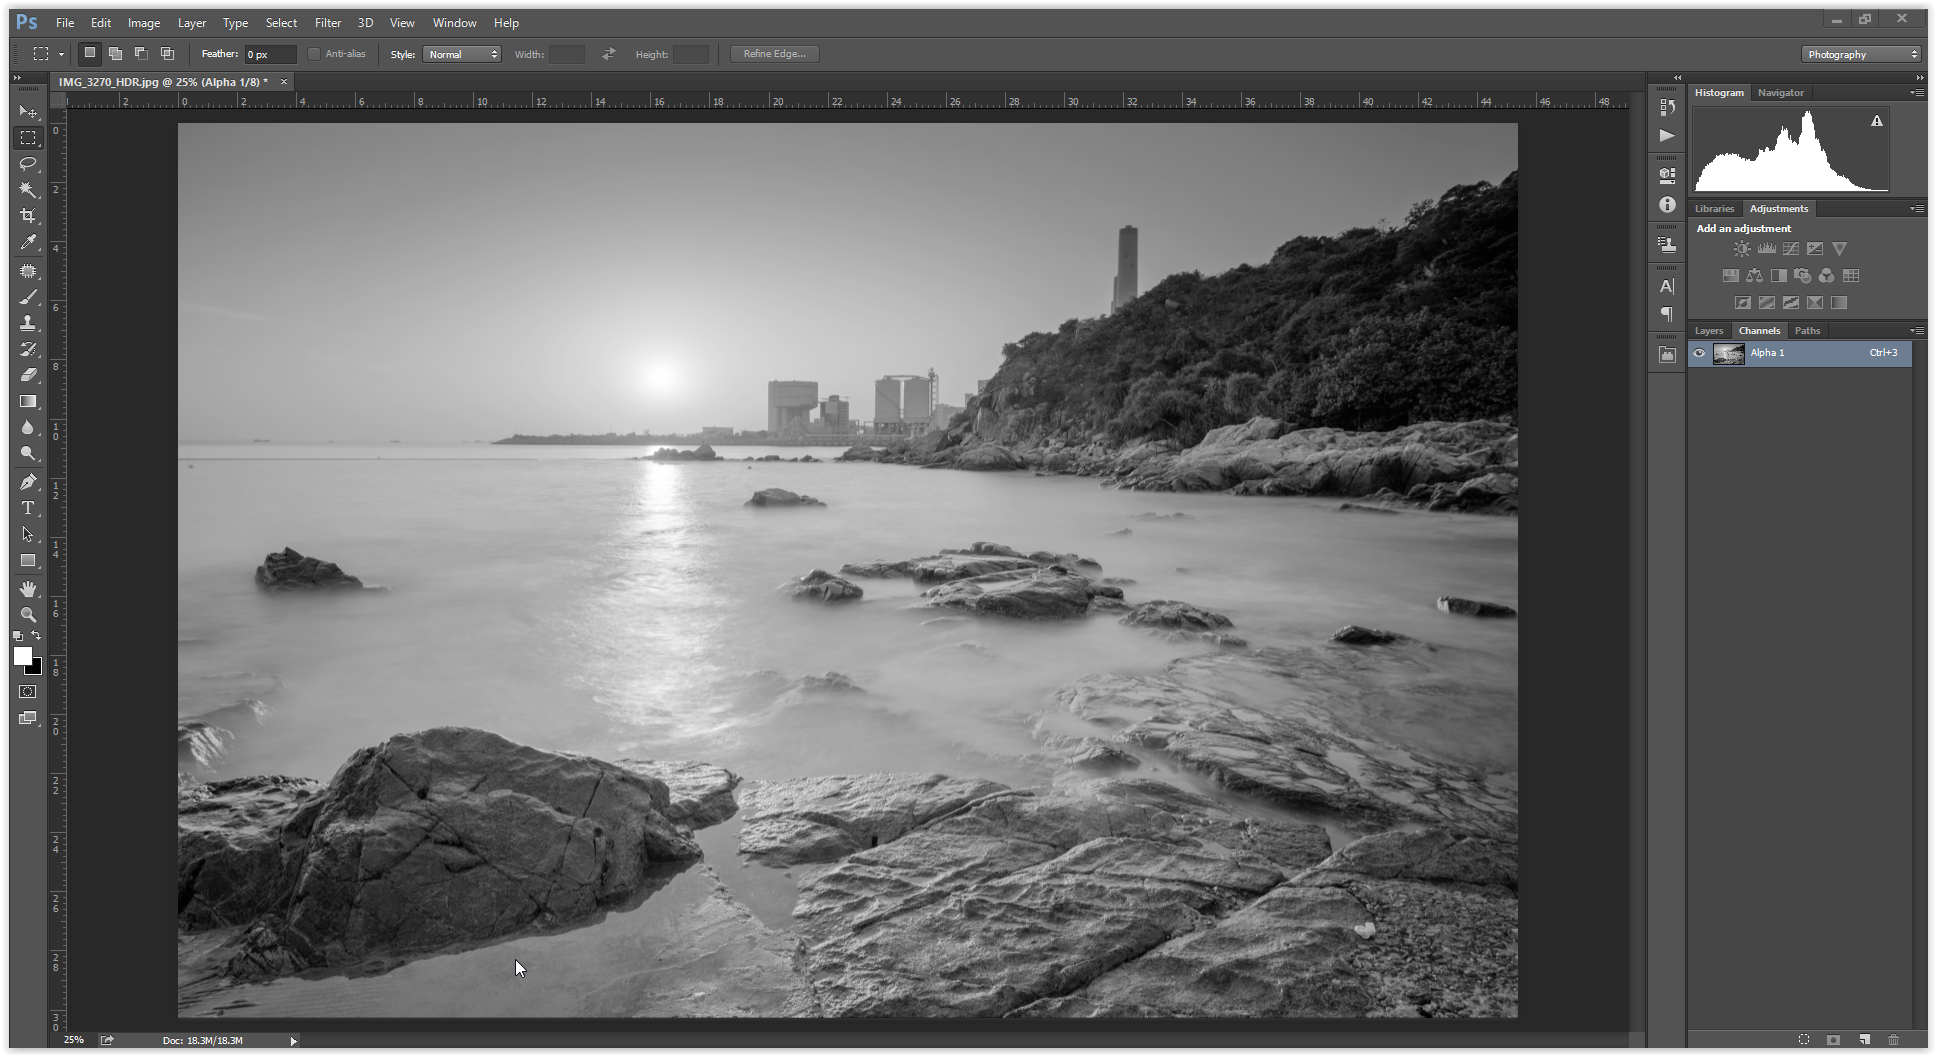
RAW

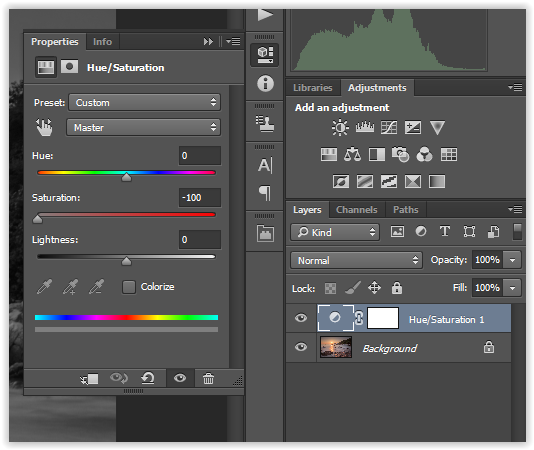
Since photography has entered the DSLR age, photographers are no longer restricted by JPEG files in post production. DSLR cameras can record RAW photos, which are dramatically more detailed than other digital images. Since one of the greatest arguments against digital cameras revolves around image quality, this is a massive improvement. A key Lightroom feature allows users to edit and save RAW files.

Lightroom is able to handle and manipulates RAW files. While Lightroom allows you to edit images from many different file types, RAW files face the least distortion and loss of quality during editing. A JPEG file loses quality whenever you edit it. Whether you’re adjusting white balance and exposure or turning a color image into black and white, you’ll ultimately lose some definition and quality. Lightroom does protect the original of any image to ensure users don’t damage the raw material during editing. However, the final edited image won’t quite have the original’s clarity. This is a problem with the file, however, and not Lightroom.

lightroom raw files

By giving users the chance to edit RAW files, Lightroom has surpassed the majority of the competition. While DSLR cameras can capture these intensely detailed images, editing options are often limited, and sometimes cause quality loss similar to JPEG files. Lightroom has bridged the gap between RAW files and full-service editing tools.

Lightroom relies on a core set of features, and the list above includes the most important to understand. They provide the fastest, most thorough, and nuanced photo editing opportunities. The software is able to support RAW files and process entire batches of photos at the same time. These awesome Lightroom features can help you edit not only well, but quickly.

Lightroom Masterclass: What is Clarity?

Clarity is simply a part of contrast. Just like how contrast can sharpen your image, so can clarity. But what is it that makes it not contrast? When you adjust the contrast on an image, you’re adjusting the whole image. Clarity can be used to adjust specific parts of an image in Lightroom presets. However, you don’t get to choose those parts. Clarity takes the mid-tones of an image and enhances them, bringing sharpness to a photo and increasing the texture found there. It is great to use as a spot tool and can be the perfect way to enhance your images in Lightroom. To do this, we have to import the Lightroom preset.

Texture Enhancing

Clarity is most often used to enhance texture. Because it only brings out the mid-tones, it helps sharpen the image and show off the natural textures which is also important when doing panorama in Lightroom. Changing it is very simple. When in Development, you can increase or decrease the clarity of a whole picture. Under the Basics tab you’ll find a Clarity slider. (You’ll also see the Contrast slider that can be used with the in conjunction to further enhance images). Below is the image we’ll be working with.

lightroom clarity setting

Next is the image with the slider all the way up (to the right). By bringing out the mid-tones, not only do the waves become sharper, but the texture of the rocks is featured more heavily.

sharpen image midtones

Notice how this also gives the image a bit of a grainy feel, but fully brings out the mid-tones. For a softer look, raise the slider just a bit to give it a more natural feel.

Soften Texture

Increasing clarity isn’t the only way to edit an image. You can also lower the clarity of an image to make it appear softer and a little hazy. Here’s our example image taken to the other extreme, with the slider all the way down (to the left).

soften texture

You can see how, with the mid-tones toned down, the water and rocks become hazy and blurry. This can actually be used to your advantage if you’re a water photographer. Sometimes, having water with a hazy effect is just what you want. You can’t always photograph water with a steady camera at a low shutter speed. So, in Lightroom, you can simply photograph the water as needed and use the clarity slider to give it that motioned/hazy look.

Spot Enhancing

When adjusting clarity in Lightroom, you don’t have to fix the whole image. You can use the radial filter and adjustment brush to further enhance your image. Let’s look at the low clarity example one more time. That’s the effect we want for the water, we want to show off its hazy confusion. But the model in the picture doesn’t stand out enough for us. Now what do we do? We can use the radial filter to select the model, and then increase the clarity to enhance her mid-tones.

spot enhancing

When she becomes sharper and has more texture, she’ll draw the eye and all attention to her, the subject of the image.

Playing with Portraits

Clarity is a very important tool if you want to quickly touch-up a portrait photograph. Let’s look at how we can influence portraits by using this image as an example.

adjusting portrait clarity

This image already looks pretty stellar, but we can make it even more fantastic. Let’s start by softening texture. We can use the adjustment brush to single out the model’s skin, focusing particularly on the cheeks, where a bit of rough skin shows itself. Then, just as the low clarity softened the water, we can decrease the slider to soften the skin. Already the image looks a bit better.

softening portrait texture

Next thing we’d want to do is increase the clarity around the eyes. Eyes draw the attention and the clearer they are, the more interested the viewer is in the image. Here’s the photograph with the eyes on high clarity to show off the difference. In reality, you might want to tone it down so it isn’t as bright and in-your-face.

high clarity eyes

With just two simple steps we’ve turned a great photo into an amazing one. Clarity is one of the most useful, easy-to-use settings for images. It brings out the mid-tones in a picture and helps show off natural textures. Of course, lowering the setting can also help soften images. And using the radial filter or adjustment brush can help you merge the two extremes to create eye-popping, and catching, pictures.

Why is Photography Post-Production Important?

Post-production is the defining factor that separates professional quality images from casual snapshots. Just as writers need editing, photographers need post-production. You don’t have to be a professional, though, to benefit from editing tools. Even if you don’t plan on selling or showcasing your photos, you still want your photos to represent what you meant to capture. Although photography techniques and equipment continue to improve, its methods are still primitive compared to the mechanics of the human eye. Post-production gives photographers the opportunity to fix errors and enhance an image’s features so the image lives up to the photographer’s vision.

Post-production is half of the art behind photography. It’s the photographer’s chance to engage with their photos in a hands-on fashion, making improvements and alterations to the RAW image. The photographer’s artistic vision is not complete until after the finishing touches they add using photo editing software like Photoshop or Lightroom.

Flaws

Reality isn’t perfect. Your camera isn’t perfect, either. Sometimes the weather doesn’t cooperate and you’re left with images that appear too dull, too dark, or even overexposed. Accidents happen, too, and you may discover your perfect shot was actually taken with the wrong settings. Portraits may need retouching, and you may discover your photos are off-center or in need of cropping. No photographer, and no camera is perfect.

Photos Aren’t Always True to Life

No matter how advanced your equipment may be, it can’t capture the exact same shades and lighting you perceive with your naked eye. Every photographer is familiar with the frustration of trying to capture a beautiful sky without turning the foreground into a black mass. On the other hand, if you have a clear, well-illuminated foreground, the sky will almost inevitably become a blank, gray or white field. The secret to linking illuminated foreground with fascinating clouds and blue skies is post-production.

editing foreground

Light is essential for photography, but it can still cause problems. Although you can control your light sources very well in an indoor studio, you may still have issues with color. Light causes more problems when you shoot on location, however. You will deal with backlit subjects, side lighting, and frustrating shadows. Your eyes compensate for various light levels, but your camera records all of those levels at the same time, which means even slightly brighter areas will appear overexposed in your image. Post-production allows you to adjust the image the camera captured to match what you saw with your eyes.

Your Vision May Not Be True to Life

Photography is an art form. In order to bring your vision to life, however, you will often have to manipulate the contents of your photo. Post-production allows you to bend reality to suit fantastical shots or to add various effects to your work. It’s common for photographers to blend black and white techniques with color features, or for light sources included in an image to be exaggerated for dramatic effect.

bring photo to life

Post-production also gives you tools to manage the quality and focus of light and color. This is essential for composites and single images alike since these qualities set the tone and mood of your photo. The same qualities also determine the focus of an image. Many of today’s most popular photographers use regular post-production techniques to transform simple images into fantastic glimpses into the photographer’s imagination.

Benjamin Von Wong takes incredible underwater photography, for instance, and relies on post-production to translate flat, gray shots into images full of bright contrasts and dazzling colors. Von Wong routinely overexposes his images in order to have the most range for post-production. While it’s easy to enhance shadows, it’s harder to recover details buried in darkness. Without the edits he makes in post, his images wouldn’t quite be the breathtaking masterpieces that have gone viral.

Even Good Photos Could Be Better

Even a little time in post can turn an average photo into something worth sharing. The second look gives photographers the chance to see their image as a viewer rather than as the photographer. They can assess angles, light, and subject. Cropping, one of the easiest and most common post-production tools, can dramatically change the entire focus and balance of an image.

photo composition

More advanced techniques can reveal details lost to overexposure and restore a realistic color balance to the image. Whether you are improving professional portraits or trying to recapture the memories in your vacation pictures, post-production can make the difference between giving your image a frame or sending it on a trip to the trash can.

Everything you do in post is just as important as the initial shoot. Collecting RAW images is probably more fun than editing them, but a RAW image is an unfinished product. Photographers often display some of their greatest artistic talents in post-production, and photography is one of today’s most popular art forms. It doesn’t matter if you take photographs for yourself or others. You owe it to your craft to spend at least a little time in post-production.

How to Create Snow in Photoshop

If it’s summer time and you’re craving some cold or if you’re trying to get an image of your dog sticking its tongue out in the snow, Photoshop can help make an image a snowy image. Sometimes the weather doesn’t always cooperate with us and it’s not always possible to get the winter photography shot we’re looking for. But using Photoshop, we can make snow whenever and wherever we want.

Creating Your Brush

The first step in creating a winter setting in Photoshop is to create a snow brush. To do this, open a new image in Photoshop, any size or shape. Next, grab the elliptical tool and create two-three shapes on the blank canvas. Use the brush or the paint bucket to fill the circles in black.

To make these two dots into your snow brush, go to Edit, and click on Define Brush. Give your brush a name and it’s ready to be used in any of your images in Photoshop.

create-snow-photoshop-2

Once you’re in the photo you want to edit, there’s one more step to do before you start painting away. Under the Window tab, click on the Brush option. This will pull up a little dialogue window that you can use to edit the way your brush will look as you start to use it. You can change any of the settings that you want to create any kind of snowy effect that you want.

You’ll want to try and create a brush that isn’t too spread out or sporadic, something that is clumped together and defined so that your snow comes out looking realistic. The more chaos that’s in your brush, the more stormy and blizzard-like your final image will look.

create-snow-photoshop-3

Layers of Snow

After you’ve got your brush set up and ready to go, it’s time to start brushing, in layers. Create a few new layers, at least three. Each layer will represent a different size of the brush. You want to create different layers of snowfall to create the illusion that some of it is falling far away in the background, and some flakes are falling right in front of the camera.

It’s important to keep in mind where you’re placing which sized snowflakes. It wouldn’t make logical sense to have the smaller flakes falling on the ground or in front of a featured object. For example, in the example photo, there are three different layers. The top layer is the big flakes that fall in all sections of the scene. The second are smaller flakes that fall in between the subject and the trees. Then there’s a third layer of smaller flakes that appear in the very back. It would not be correct to have layer two or layer three painted over the cat.

Making the Snow Look Real

Now that the snowflakes are there, they probably look too round and defined. Snow doesn’t play that nice on camera. To create the illusion of snow falling, you need to use two blur tools. Under the Filter tab, hover over the Blur category. The two blurs you’ll be using are Gaussian Blur, to make the snow look fuzzy like it’s moving, and Motion Blur, to make the snow look like it’s falling in one specific direction.

create-snow-photoshop-4

You can choose whatever settings you want for these categories. The bigger the Gaussian Blur the harder it’ll look like the snow is falling. The more severe the distance of the Motion Blur, the more it’ll look like you’re taking a picture in a snow storm. A number of snowflakes you painted into your scene will also affect this. To create a blizzard, use more of the brush and keep the blur counts high. With settings like these, your picture will look more like a light snowfall.

Finishing Touches

If any of your snow looks out of place, removing it is simple. Just go to the layer where the discrepancy lies and use the Erase tool to remove some snow. If there’s a section of your picture that seems to be lacking, simply go to the layer needed and paint over it again. Your snow brush is simple and easy to manipulate to help you get the best image you could possibly get.

Adding snow to any picture can help create a sense of wonder and excitement. It can be used to express holiday cheer and childhood joy. Yet the weather is not always cooperative, and getting that perfect snowy picture may be impossible. By using simple Photoshop tools and techniques like these, you can take any photo you have and turn it into a winter wonderland.

Are you familiar with the rule of thirds versus the golden ratio in photoshop?

Knacks of Shooting in Black and White and Conversion of Black and White Images

In the early days, there was only black and white photography due to technical limitations. We could say black and white photography is the most original form of photography. Although color photography is now a mainstream, there are still numerous photographers who are passionate about black and white. I used to believe it was the dullest style I could think of until I truly understood the spirit of it. Black and white photography are, in my opinion, the purest yet the most challenging form of photography. The purity of it captivates my heart. Since then, I have become a big fan of black and white photography. Sometimes, colors can be a distraction for the viewers. Without the disturbance of colors, viewers could focus on the beauty of the composition, lighting, and shape of the subject.

But, black and white photography is not as simple as the majority think. It is not a simple conversion of a color image into grayscale image. As some of the scenes are not suitable to be presented in black and white, we will have to consider whether a photo should be shot in black and white or color beforehand. In this article, I would like to offer some tips on shooting black and white images. In addition, I will include a brief introduction to the methods of black and white image conversion.

How to Take Good Black and White Photos?

First, you can search for a scene where strong contrast in lighting or rich gradient exists. It is essential to capture the spectacular light while shooting in black and white as there are no colors in the photograph. It becomes the stage of lighting. The following two photos are some examples of black and white photos with notable brightness contrasts. In the first photo, I waited for the man to walk into the ‘bright triangle’ before clicking the shutter. This composition highlights the subject in the photograph. Imagine if I pressed the shutter before the pedestrian entered the ‘triangle’, viewers could hardly see the subject.

Secondly, you can seek the points, lines, and planes in the surroundings. These are the basic elements that construct a picture. You have to figure out the relationships between them in a scene and a suitable composition to capture what you see. This is also applicable to architectural photography as planes and lines are commonly found in modern buildings. The photo below demonstrates how we can apply during a photo shoot. The triangle is the dominant shape, which is a ‘plane’ element, in this image. In addition, there is also an invisible guiding line which starts from the bottom right-hand corner extending to the upper left-hand corner.

Thirdly, you can consider shooting black and white photos with long exposure. If it is done appropriately, it will add a fine-art feel to your photo. The moving objects in a long-exposure photo will be blurred. Such blurring effect could make your work looks more abstract. The following image is an example of long-exposure photography in black and white.

How to Make Photos Black and White in Photoshop

In this section, we would go through different skills and methods of the conversion of black and white images. Undoubtedly, each method has its own pros and cons. You may choose the most suitable one according to the circumstances.

1. Desaturation

This is the quickest and easiest method. You simply suppress the saturation value of your color photo to -100 and you will have a black and white photo. But, desaturation is not an optimal way out. It has the least flexibility during the conversion process. You have no control on how it desaturates the image. The photo usually turns out with undesired results.

2. Black and White Adjustment

I usually convert my photos into black and white with this method. It gives you tons of control over the conversion process. You may adjust the lightness of each color separately until it fulfills your expectation. For instance, if you move the slider of Red to the left, the parts of the photo with red color will turn into dark gray or even black or vice versa.

3. Lab Color

Lab color, which is pronounced as ‘L-a-b’, is a color space. It has nothing to do with the abbreviation of Laboratory. This color space is named after the channels it includes, which are namely Lightness, a and b. It is a good choice for conversion of the black and white image as it separates the lightness value from the color of the photo.

First, you need to go to Image> Mode> Lab Color to convert the photo into the Lab color space.

bw3

You can notice that the channels are changed into Lightness, a and b which were originally Red, Green, and Blue if your photo was in RGB color space.

You may proceed to delete the a and b channel and keep the lightness channel untouched. Then you will get a black and white image.

After that, convert it into Grayscale so as to ensure all the remaining color information is completely eliminated. That’s all.

bw6

Hope this guide was helpful for you guys and see you in the next guide!