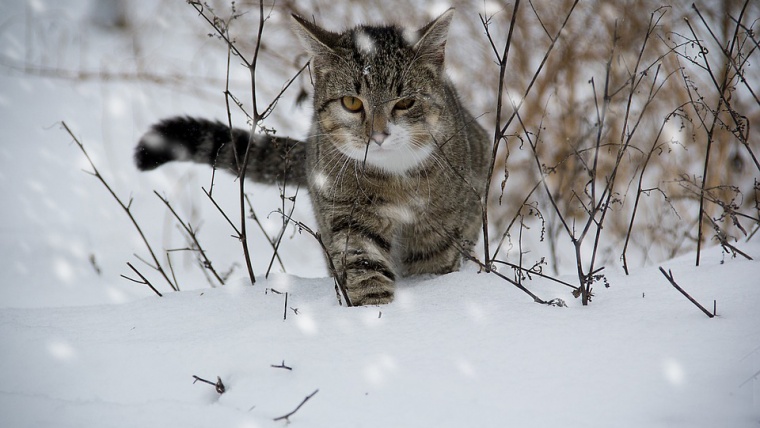
If it’s summer time and you’re craving some cold or if you’re trying to get an image of your dog sticking its tongue out in the snow, Photoshop can help make an image a snowy image. Sometimes the weather doesn’t always cooperate with us and it’s not always possible to get the winter photography shot we’re looking for. But using Photoshop, we can make snow whenever and wherever we want.
Table of Contents
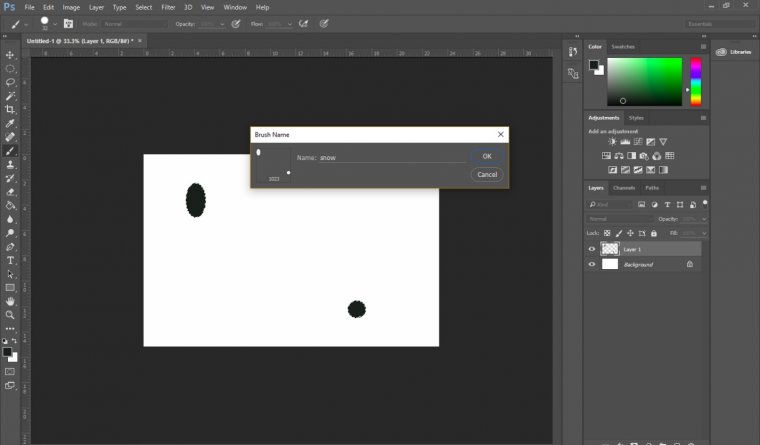
The first step in creating a winter setting in Photoshop is to create a snow brush. To do this, open a new image in Photoshop, any size or shape. Next, grab the elliptical tool and create two-three shapes on the blank canvas. Use the brush or the paint bucket to fill the circles in black.
To make these two dots into your snow brush, go to Edit, and click on Define Brush. Give your brush a name and it’s ready to be used in any of your images in Photoshop.
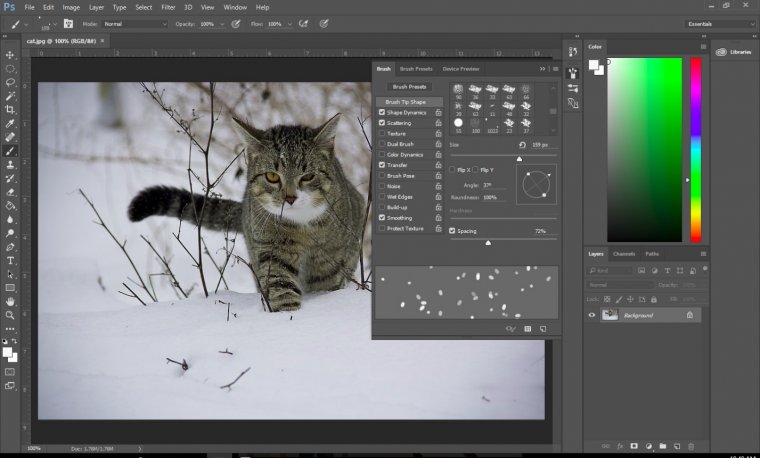
Once you’re in the photo you want to edit, there’s one more step to do before you start painting away. Under the Window tab, click on the Brush option. This will pull up a little dialogue window that you can use to edit the way your brush will look as you start to use it. You can change any of the settings that you want to create any kind of snowy effect that you want.
You’ll want to try and create a brush that isn’t too spread out or sporadic, something that is clumped together and defined so that your snow comes out looking realistic. The more chaos that’s in your brush, the more stormy and blizzard-like your final image will look.
After you’ve got your brush set up and ready to go, it’s time to start brushing, in layers. Create a few new layers, at least three. Each layer will represent a different size of the brush. You want to create different layers of snowfall to create the illusion that some of it is falling far away in the background, and some flakes are falling right in front of the camera.
It’s important to keep in mind where you’re placing which sized snowflakes. It wouldn’t make logical sense to have the smaller flakes falling on the ground or in front of a featured object. For example, in the example photo, there are three different layers. The top layer is the big flakes that fall in all sections of the scene. The second are smaller flakes that fall in between the subject and the trees. Then there’s a third layer of smaller flakes that appear in the very back. It would not be correct to have layer two or layer three painted over the cat.
Now that the snowflakes are there, they probably look too round and defined. Snow doesn’t play that nice on camera. To create the illusion of snow falling, you need to use two blur tools. Under the Filter tab, hover over the Blur category. The two blurs you’ll be using are Gaussian Blur, to make the snow look fuzzy like it’s moving, and Motion Blur, to make the snow look like it’s falling in one specific direction.
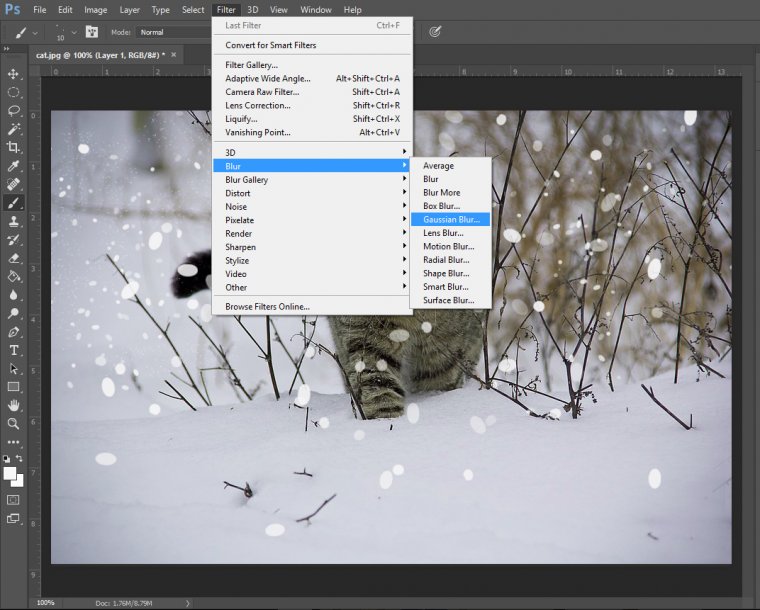
You can choose whatever settings you want for these categories. The bigger the Gaussian Blur the harder it’ll look like the snow is falling. The more severe the distance of the Motion Blur, the more it’ll look like you’re taking a picture in a snow storm. A number of snowflakes you painted into your scene will also affect this. To create a blizzard, use more of the brush and keep the blur counts high. With settings like these, your picture will look more like a light snowfall.
If any of your snow looks out of place, removing it is simple. Just go to the layer where the discrepancy lies and use the Erase tool to remove some snow. If there’s a section of your picture that seems to be lacking, simply go to the layer needed and paint over it again. Your snow brush is simple and easy to manipulate to help you get the best image you could possibly get.
Adding snow to any picture can help create a sense of wonder and excitement. It can be used to express holiday cheer and childhood joy. Yet the weather is not always cooperative, and getting that perfect snowy picture may be impossible. By using simple Photoshop tools and techniques like these, you can take any photo you have and turn it into a winter wonderland.
Are you familiar with the rule of thirds versus the golden ratio in photoshop?


Please verify your software version before proceeding.
 I’ve verified my software version


 Facebook
 Google +
Comments (0)
There are no comments yet.