Converting your Images into Great Black and White Edits in Lightroomwww.sleeklens.com
Hello again,
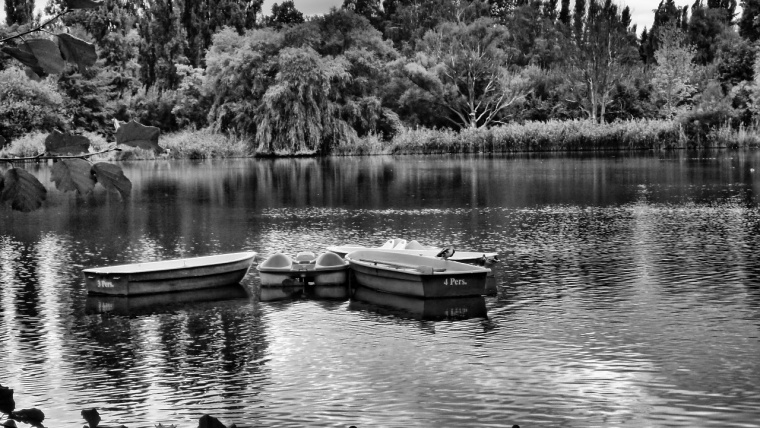
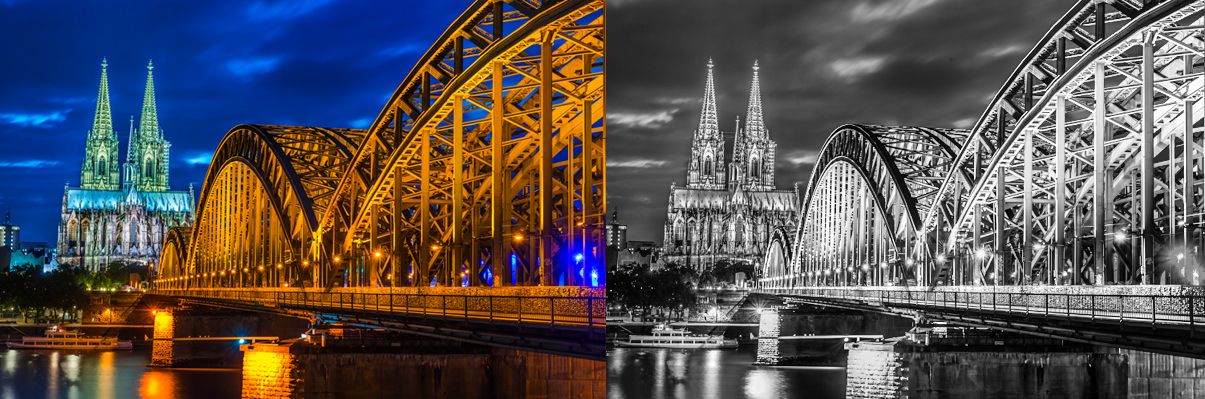
In this tutorial, I am going to show you how to create some really great Black and White edits for your images and give them that Artistic, Professional feel that you get in Fine Art Photography.
This will give your images that classy feel and will look great anywhere from your wall at home to your social media profiles.
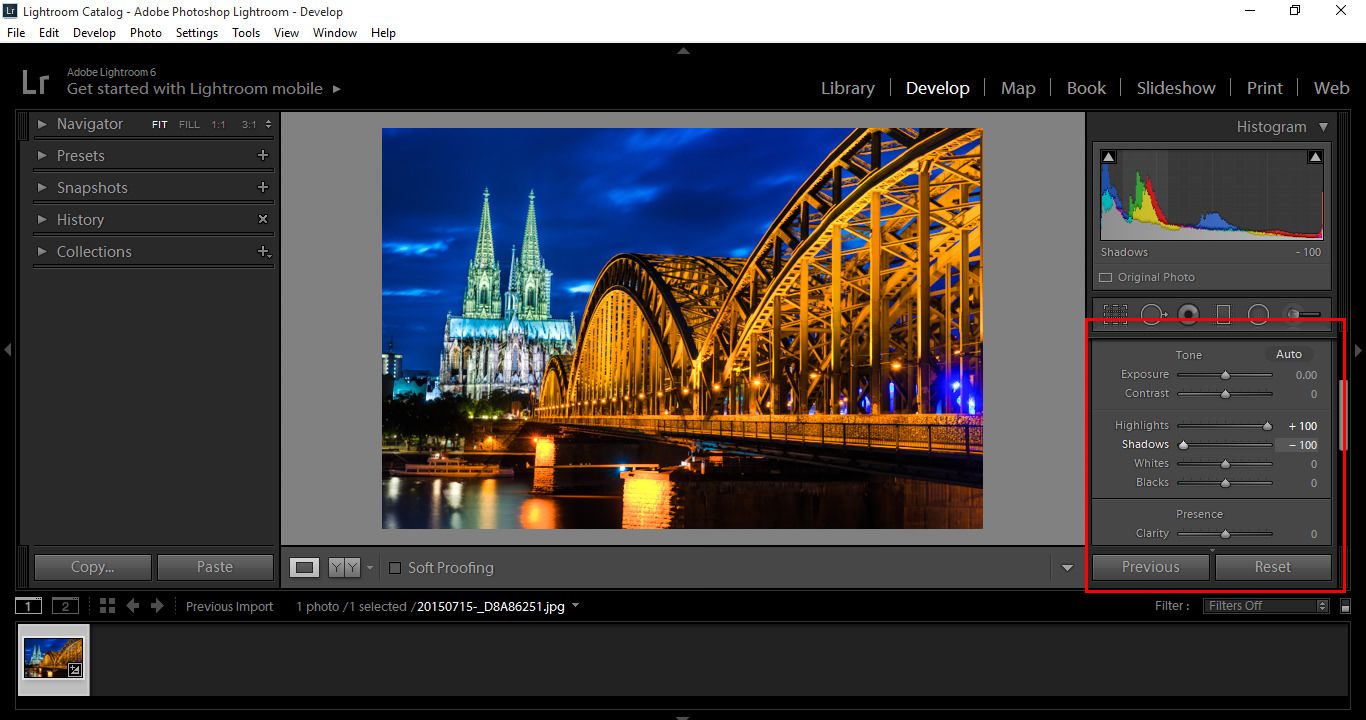
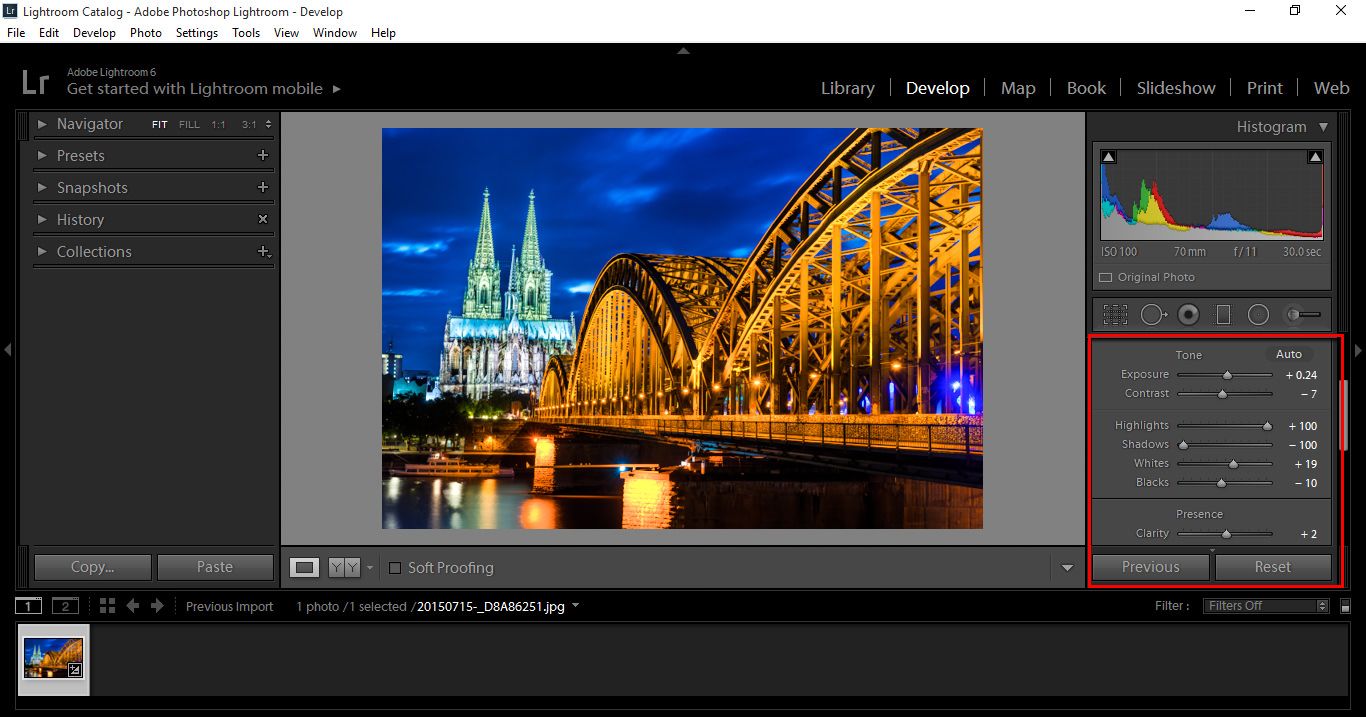
The first step I take, is to move the Highlights up full to +100 to further brighten my image and the Shadows down to -100 to Darken and really bring those out. That is my preference for this particular image, but I suggest playing around with the settings a little yourself and see what you like best.
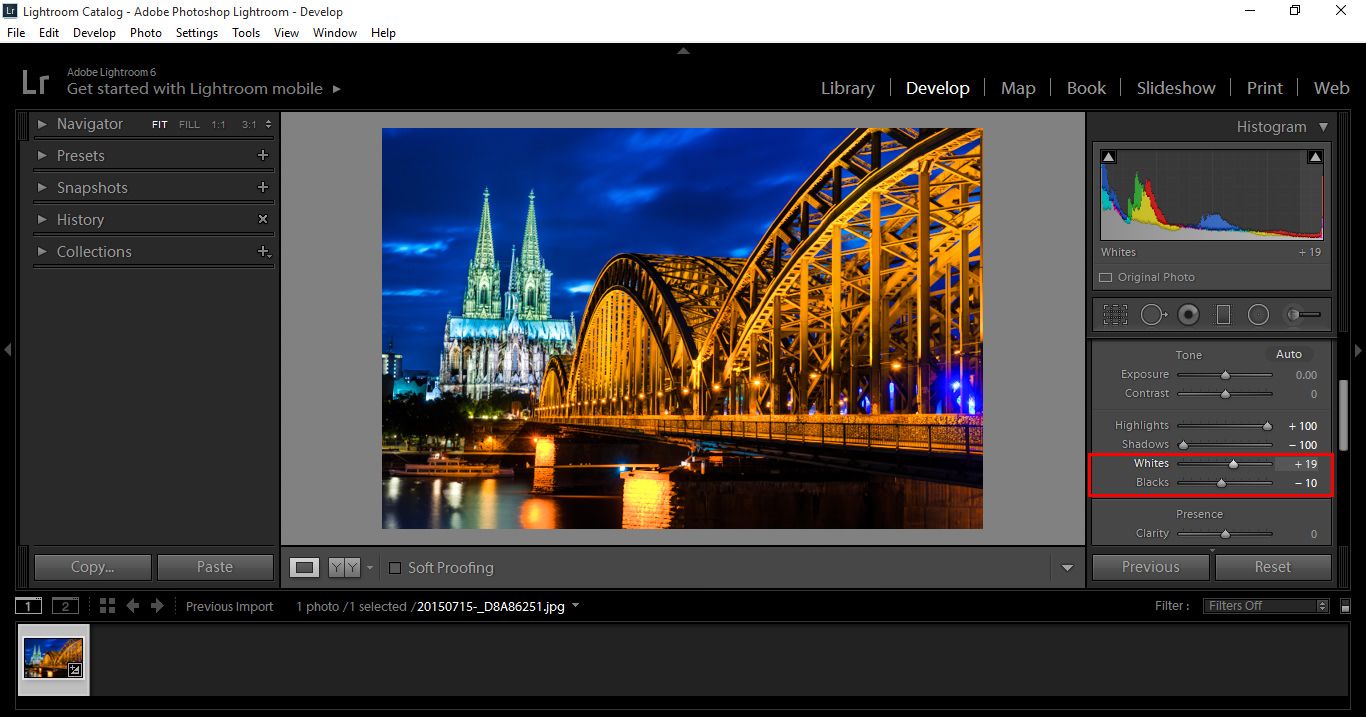
Next, I bring the Whites up a little and Blacks down a little just like in the previous step, just giving these a little nudge as they are very sensitive. They aren’t really all that necessary, but I want to just get a little bit more range out of my image.
You can also play around with Exposure, Contrast and Clarity. I don’t have to do too much with this image as my Presets have done a great job, but with Raw images you will have to work a little more on them. We will leave that for another tutorial.
Here I haven’t needed to use Exposure much, but I did Sharpen a little with Contrast and Clarity, again feel free to play around and if you think you’re getting lost, you can simply move your sliders back to zero.
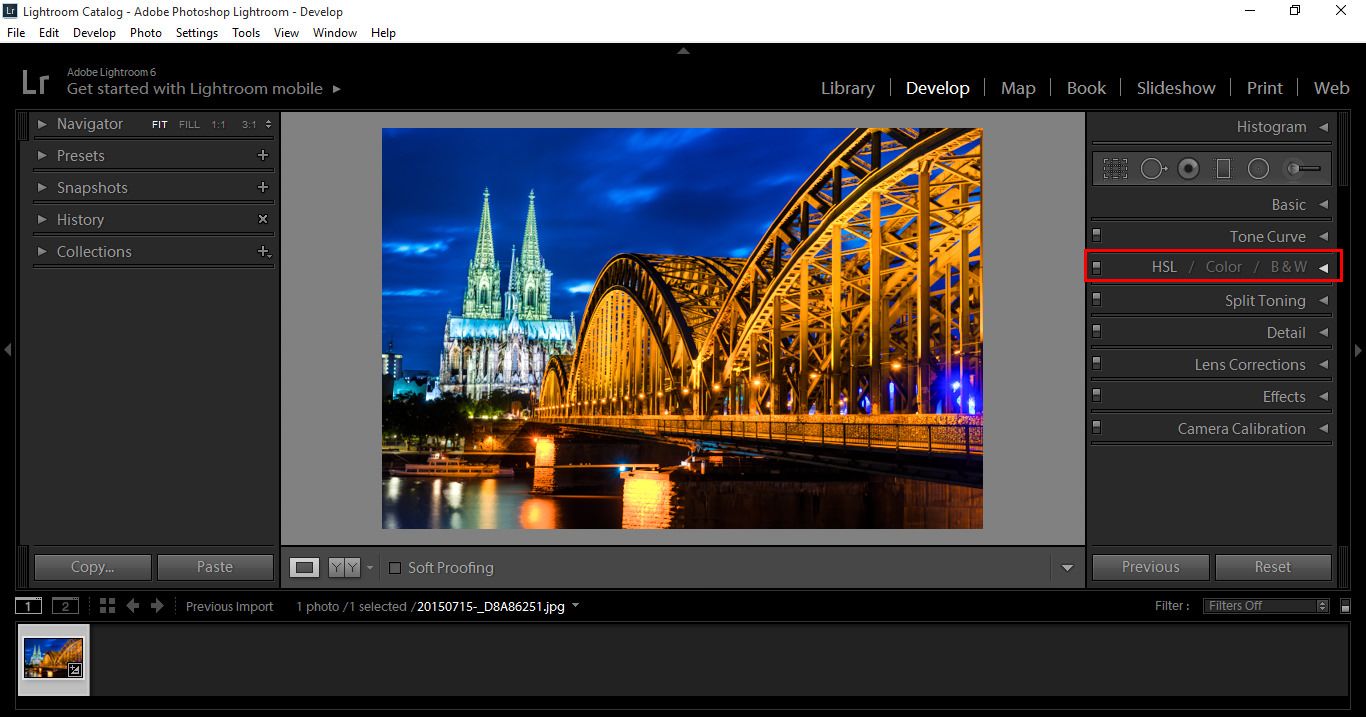
Now go to the HSL panel and click on Black and White.
You will now see that the image has been converted to Black and White.
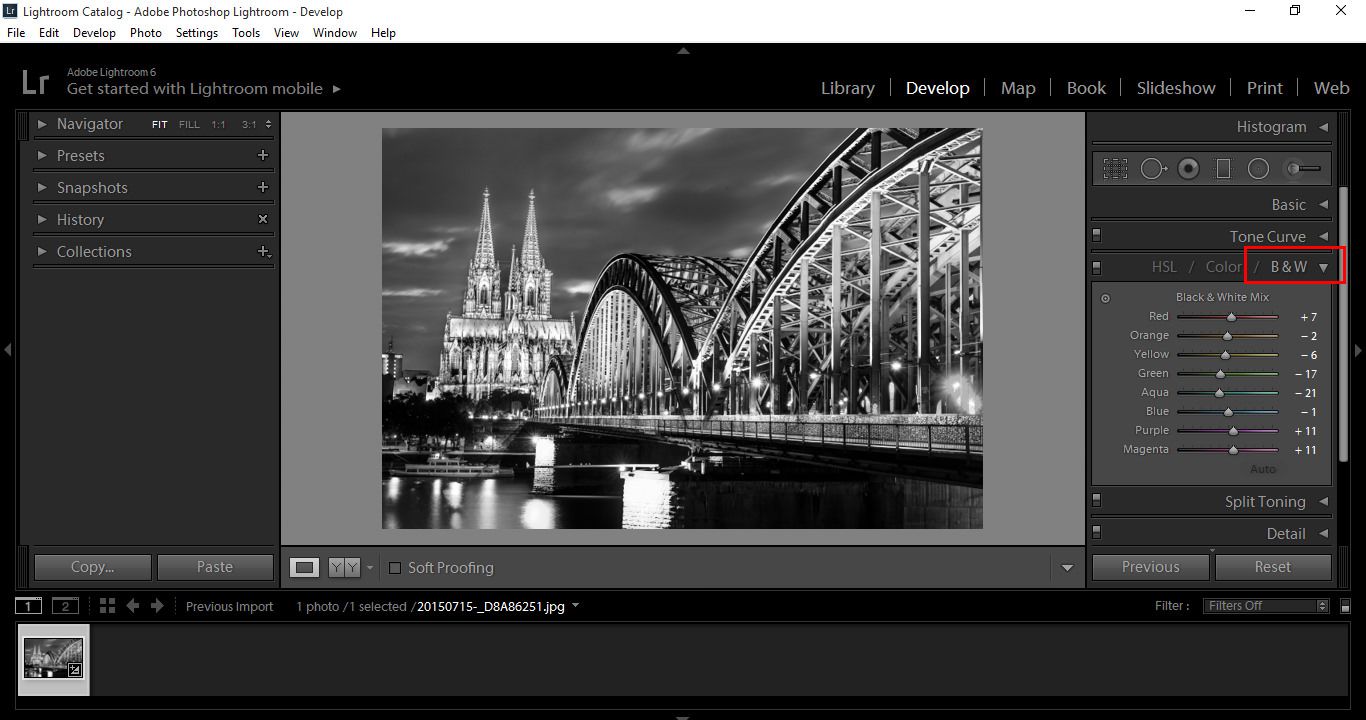
On the left you will see colour sliders just under the B & W tab.
This will allow you to pick out individual colours that are in your original image and strengthen or weaken them, by sliding back and forth as in the previous paragraphs.
Quick note, double clicking on the slider will set that back to zero.
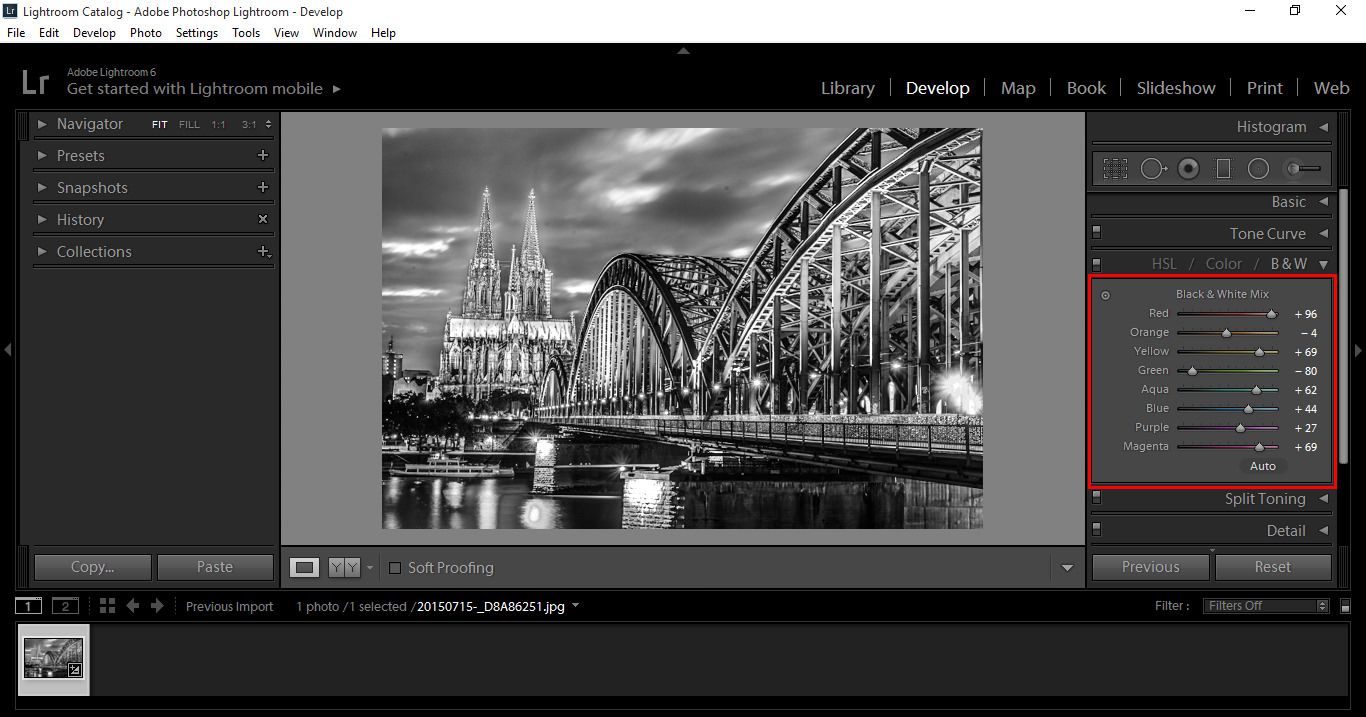
In the next image below, you will see that my image is a lot sharper, while playing around with the Black and White Mix I decided to go back to my original settings and play around a little more. I wanted to go for a real HDR feel, so I pretty much set everything else back to zero and upped my Clarity 100.
This left my image with an almost illustrated appearance that I really liked, combined with the Black and White Mixer.
This shows that you can play around, go back and forth and do pretty much what feels good to you.
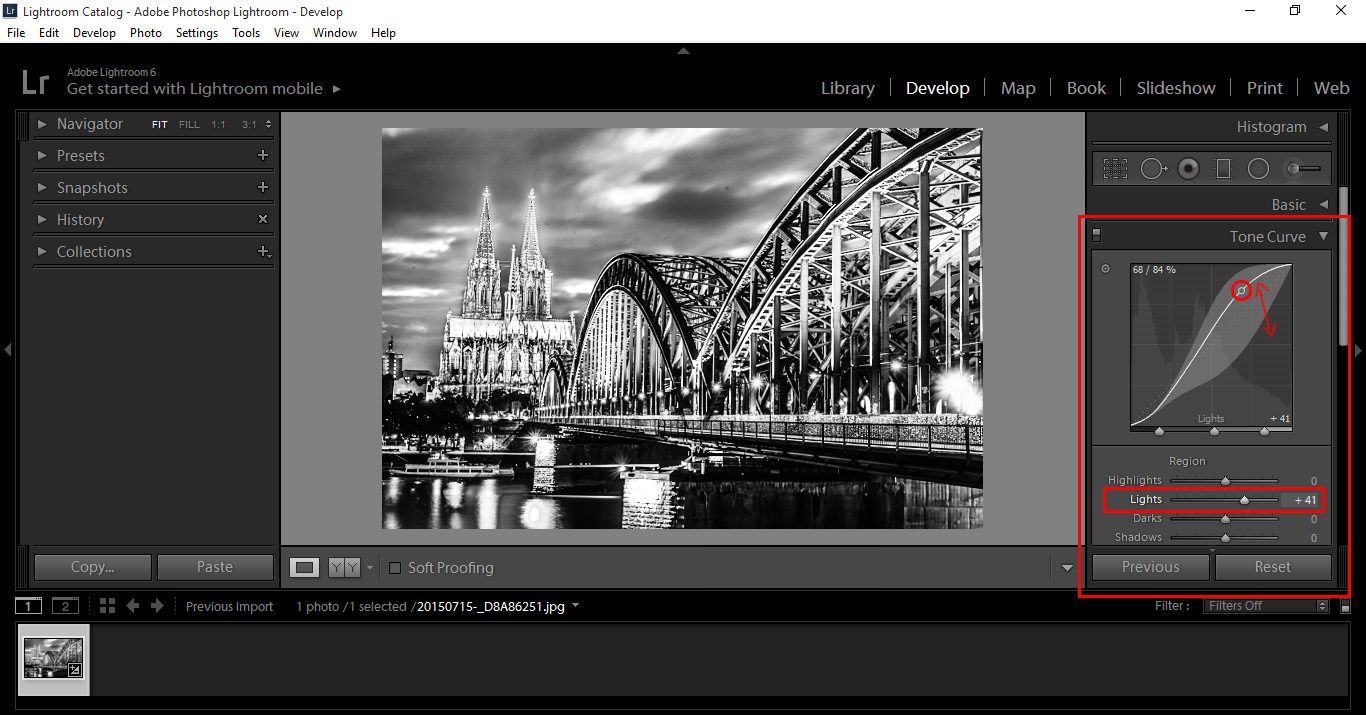
Another setting you can apply is the use of Tone Curve located just about the HSL panel.
If you are familiar with Photoshop and the Curve tools, then this will not be new for you as it is very similar, if not, it doesn’t matter as it’s very easy to use.
Click the point indicated with a red circle and move it up or down to change the effects, this will then move in correspondence to the Region Panel below. You can also move the sliders, whichever you like best.
Using this, you will see dramatic changes in the lighting effects from neutral, to light and to dark.
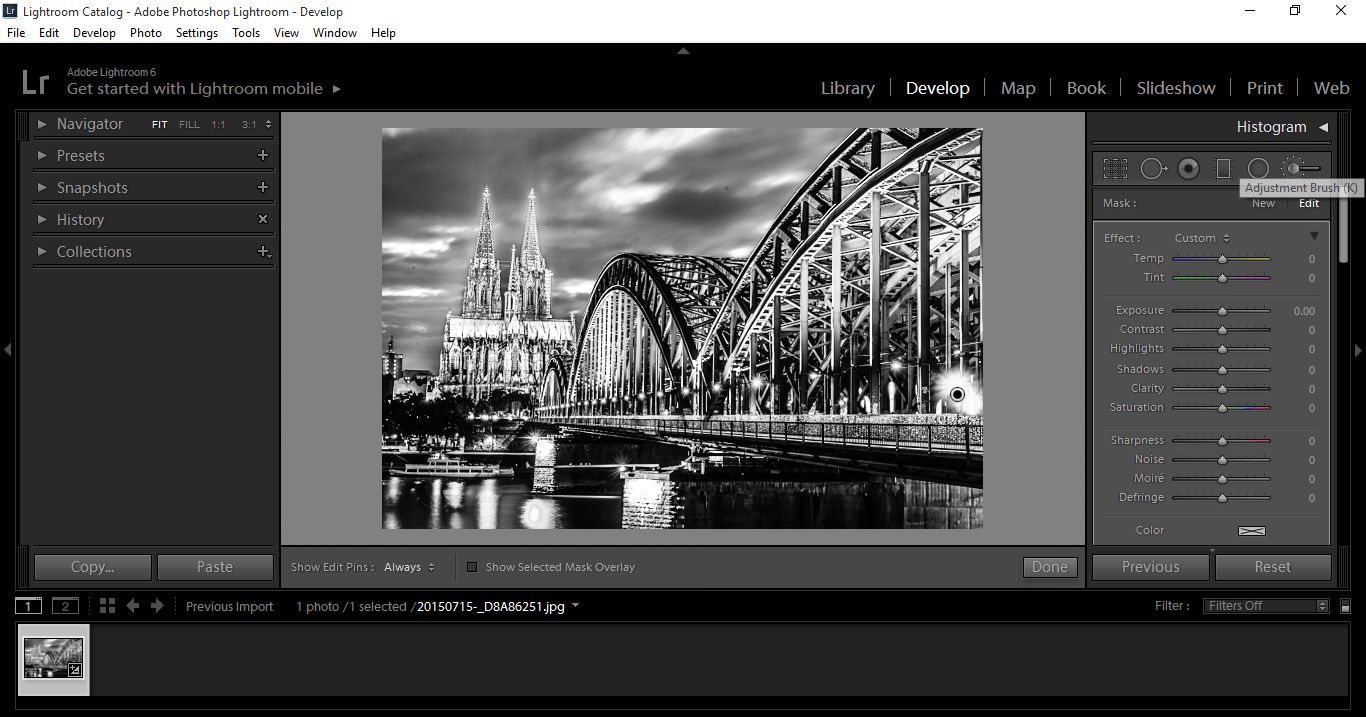
So now that we’re this far, I want to show you the Brush Tool.
Sometimes in your image you would like some areas to be more clear than others, or darker or lighter.
That’s when the Brush Tool comes in super handy.
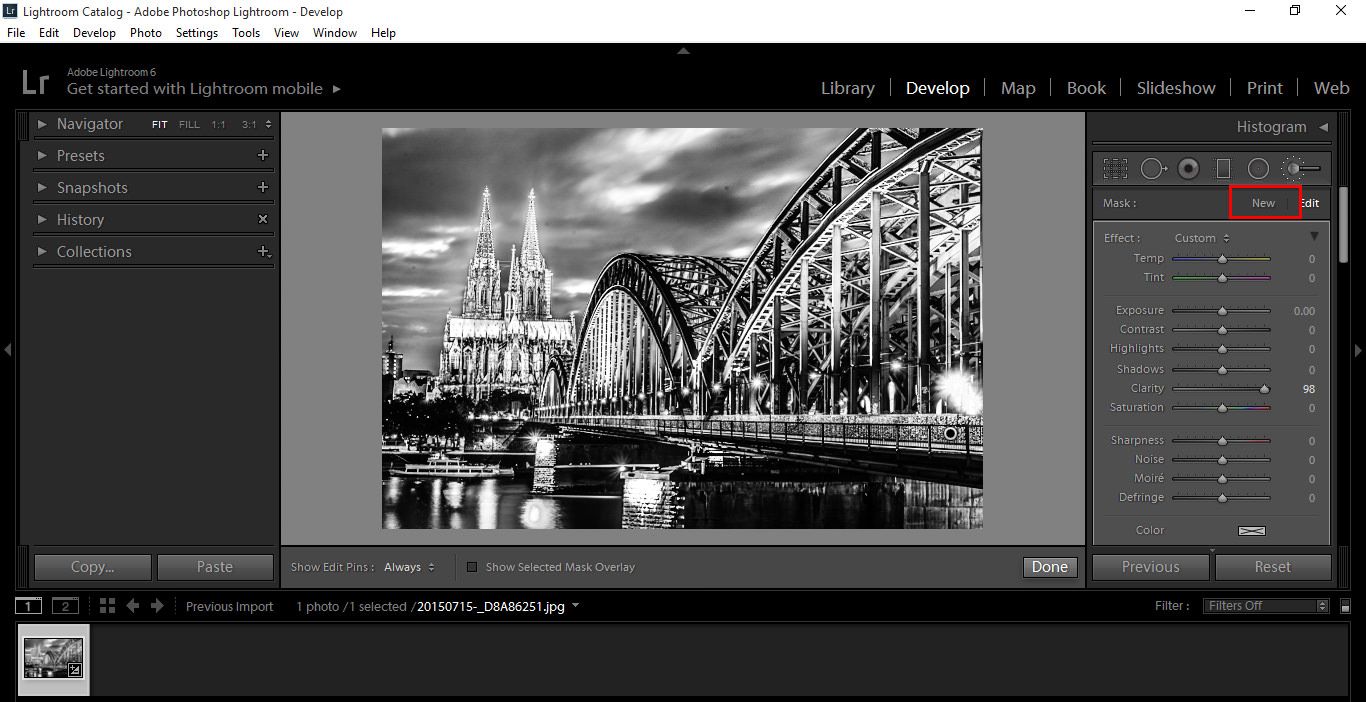
So, press (K) and you will see a Panel open up with lots of little settings.
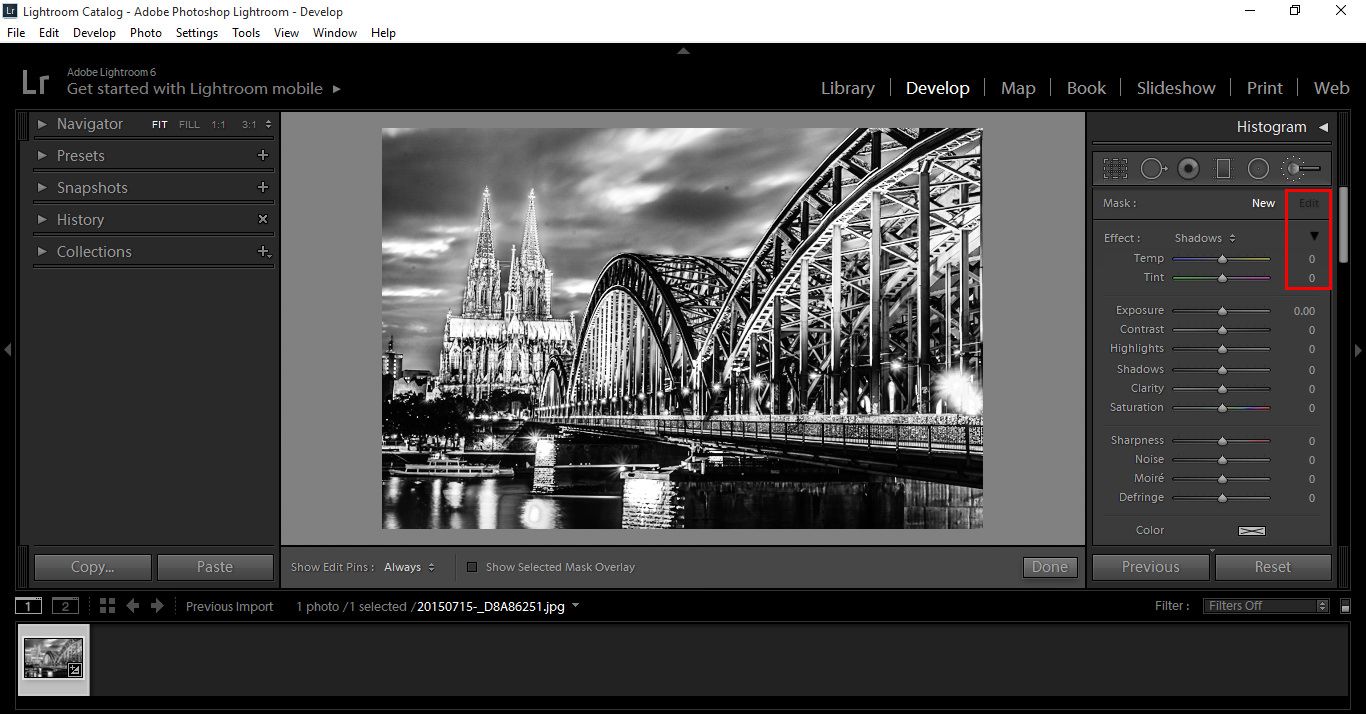
Quick note: if you ever want to reset the settings, hover over Effect, which has been highlighted with a small red box, press Alt and Effect will change to Reset, click on that and everything will be back to default.
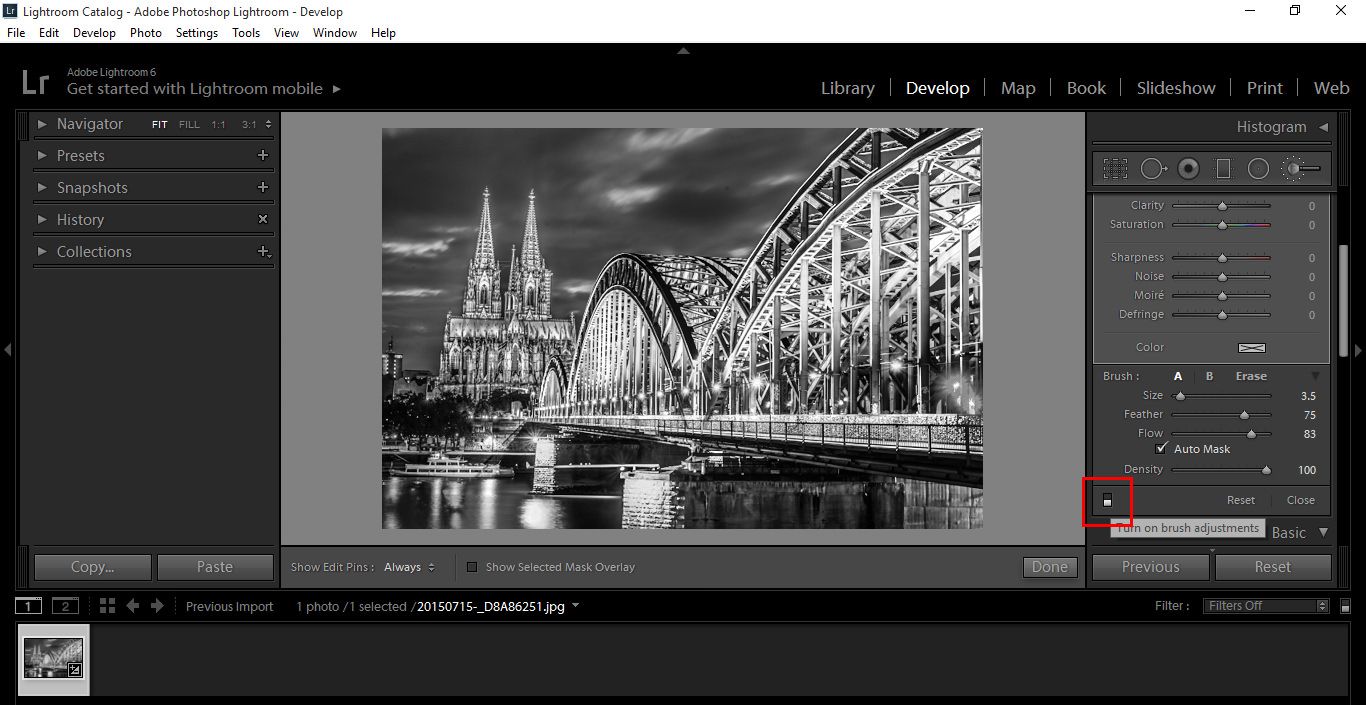
In my brush settings, I click on the Triangle below edit as indicated in the below image and your settings will appear.
I want to Feather my brush for this image, so I put that to 1oo and I have Auto mask on, so it doesn’t bleed as much into other parts of the image.
At any stage I can hit [ or ] to quickly increase or decrease the size of my brush.
While using the Brush if you want to erase something that you did just and are unhappy with, you can hold down the Alt key and paint back to erase.
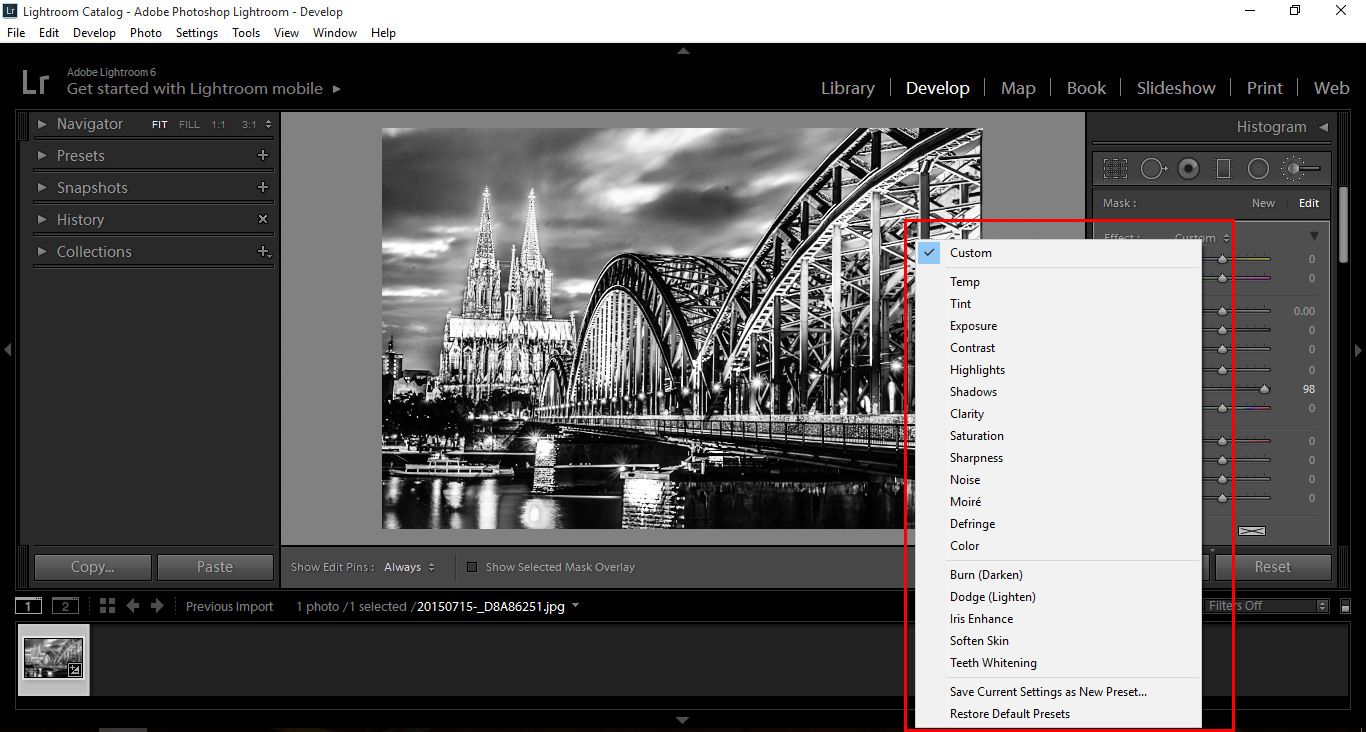
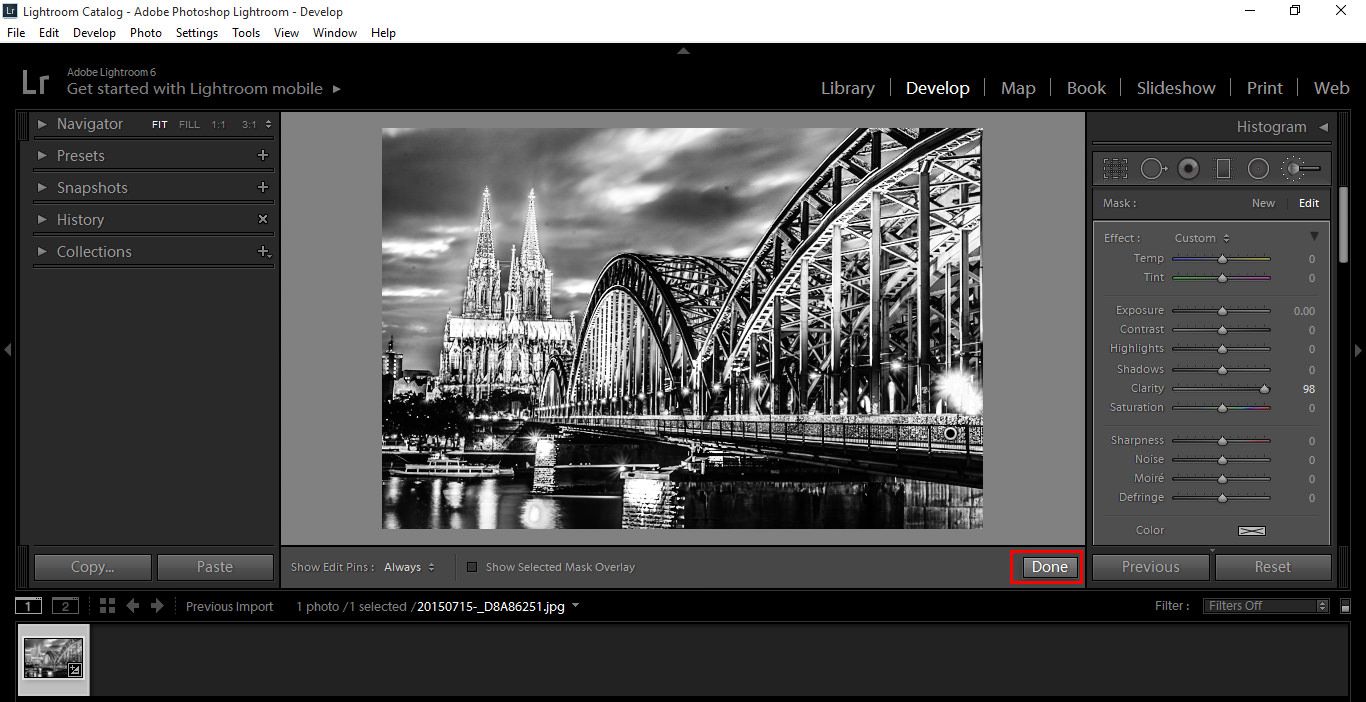
Clicking on Custom will bring you to your different settings, again I would suggest playing around and getting Familiar here as there are a lot of settings to go through. I used a lot of Contrast and Clarity in my image to pick out Shadows and more Details. When you are done with one edit, click New to start another and follow the process just described.
You can turn your progress on and off by clicking on the highlighted area shown below.
Another good way to check your progress and edit, is to use the Show Selected Mask Overlay option. This way you can go back in and edit more finer details, erasing the mask.
Graduated from college in 2002 with a degree in Art & Design, I started exploring my way in Graphic Design and Professional Post Production. Full-time freelancer since 2011.


 Facebook
 Google +
Comments (0)
There are no comments yet.