Tag: creative technique

Top Shooting Techniques and Methodology in ICM Photography

Are you currently finding yourself staring at your image portfolio and feeling underwhelmed or lacking creativity? Truth is that it can happen to the best of us. Why not tap Into ICM To broaden your creativity and get your creative juices flowing.

What is ICM?

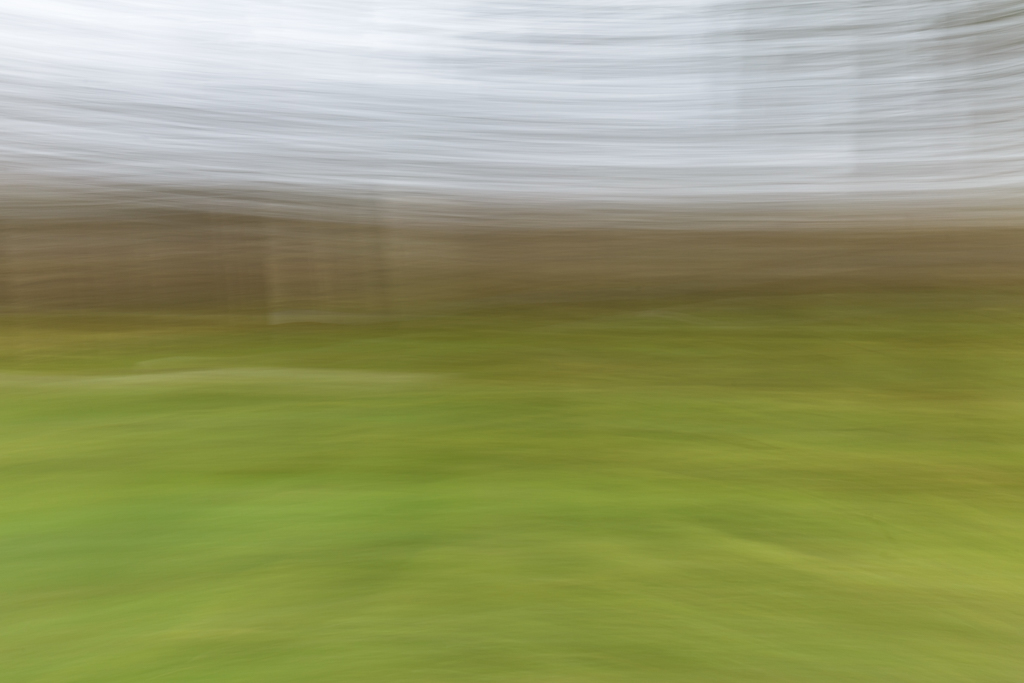
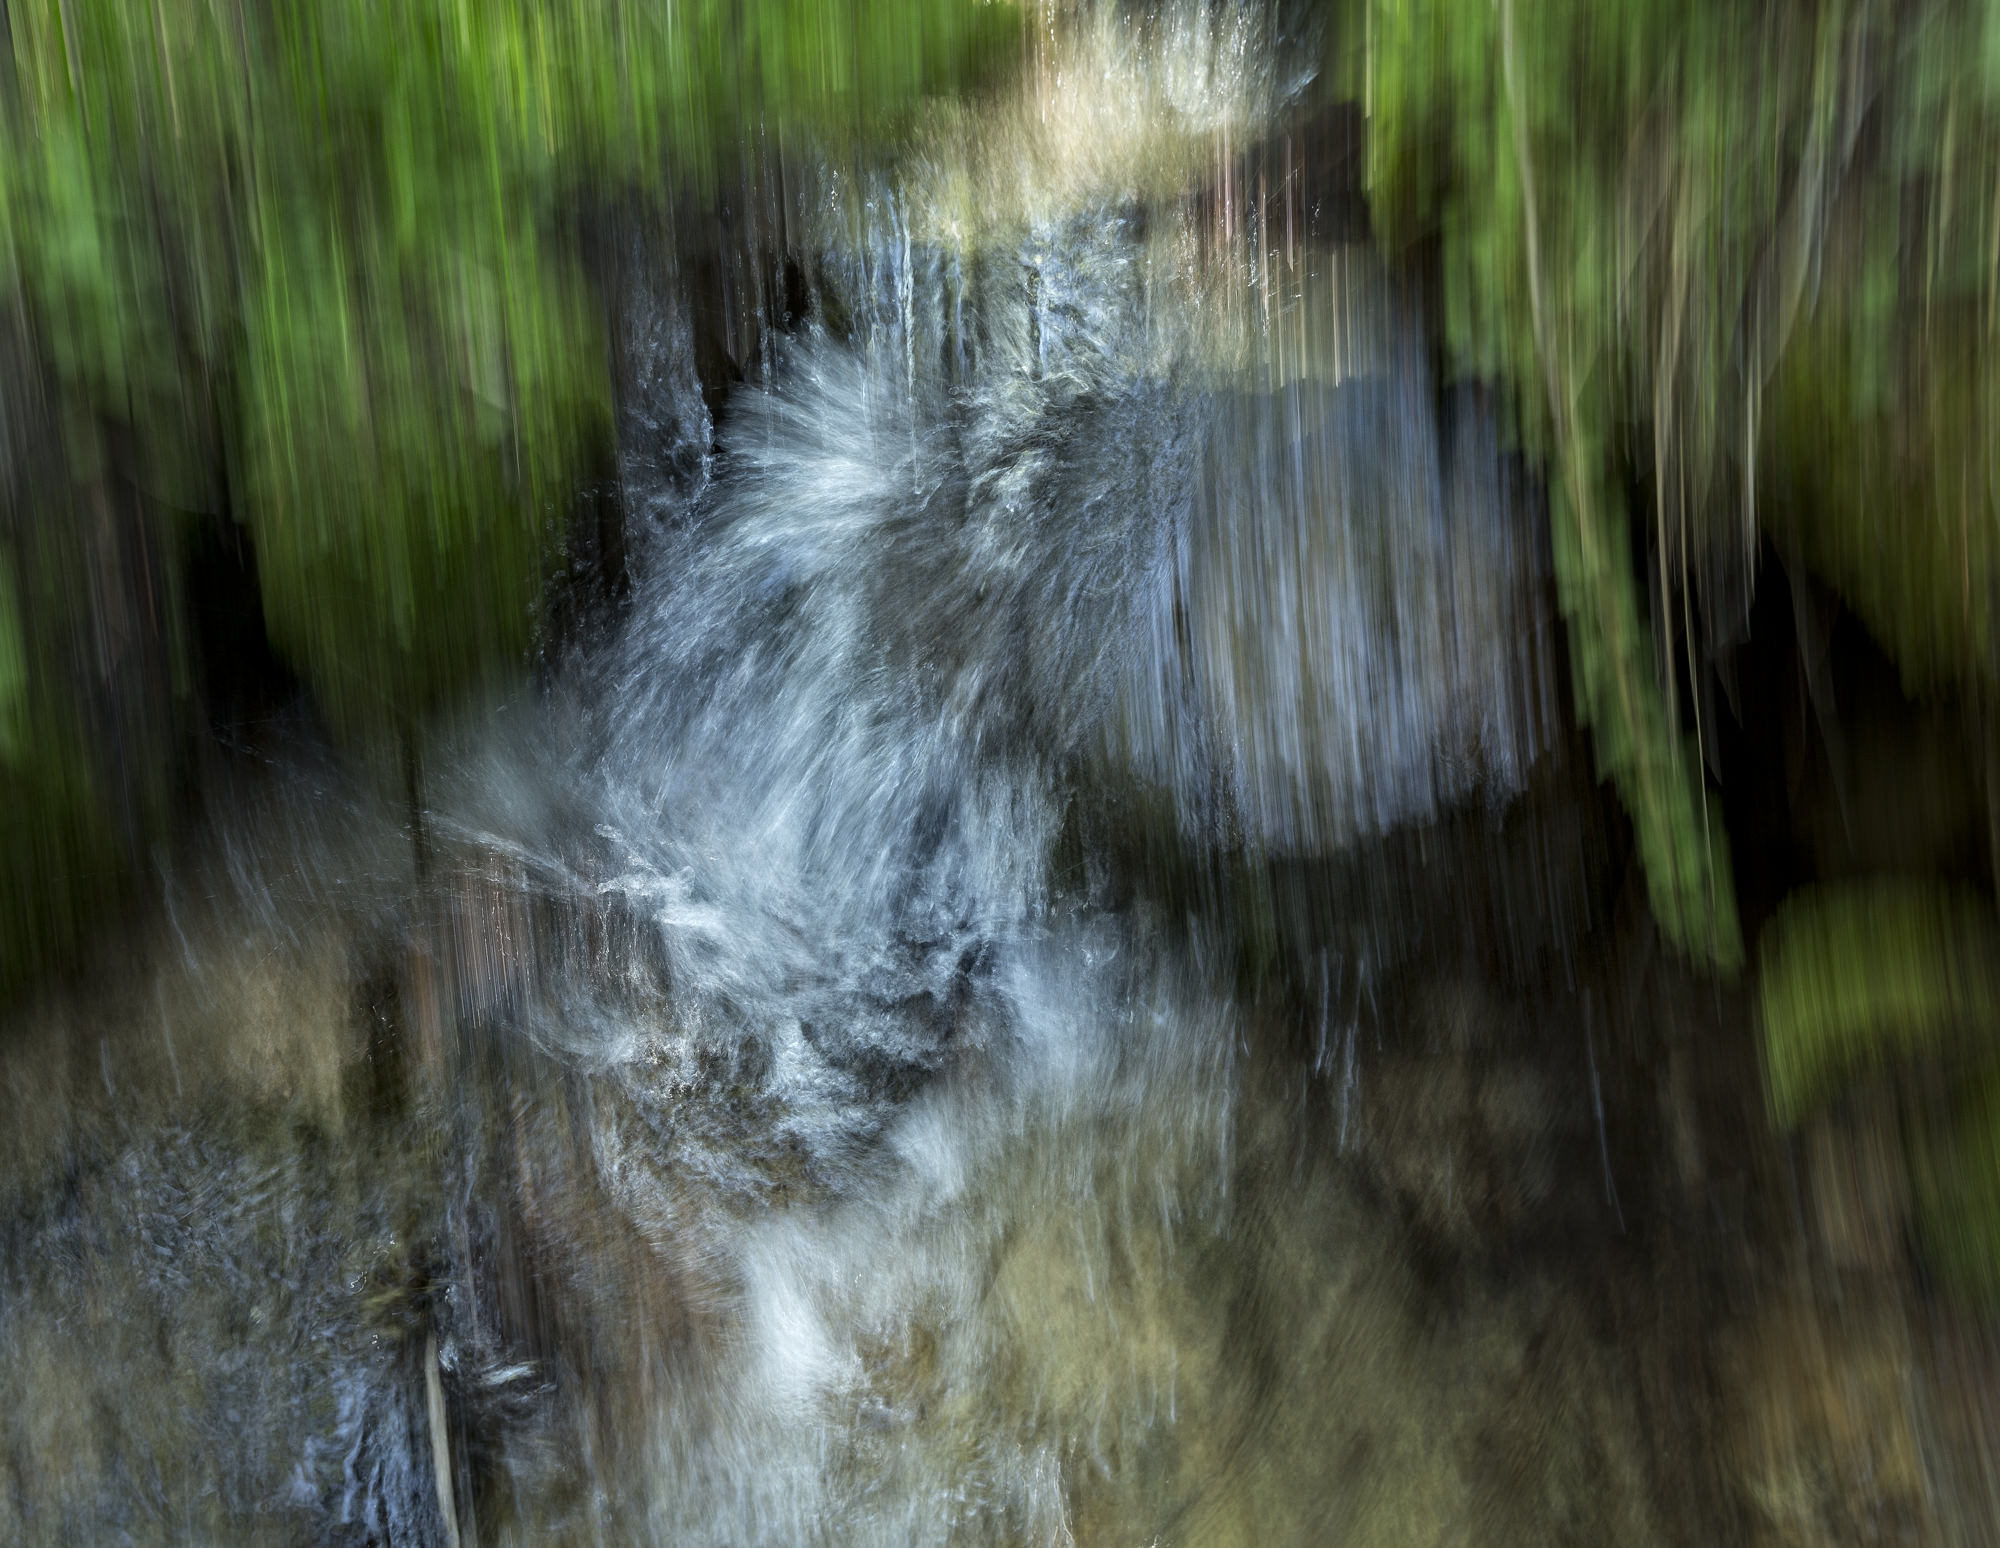
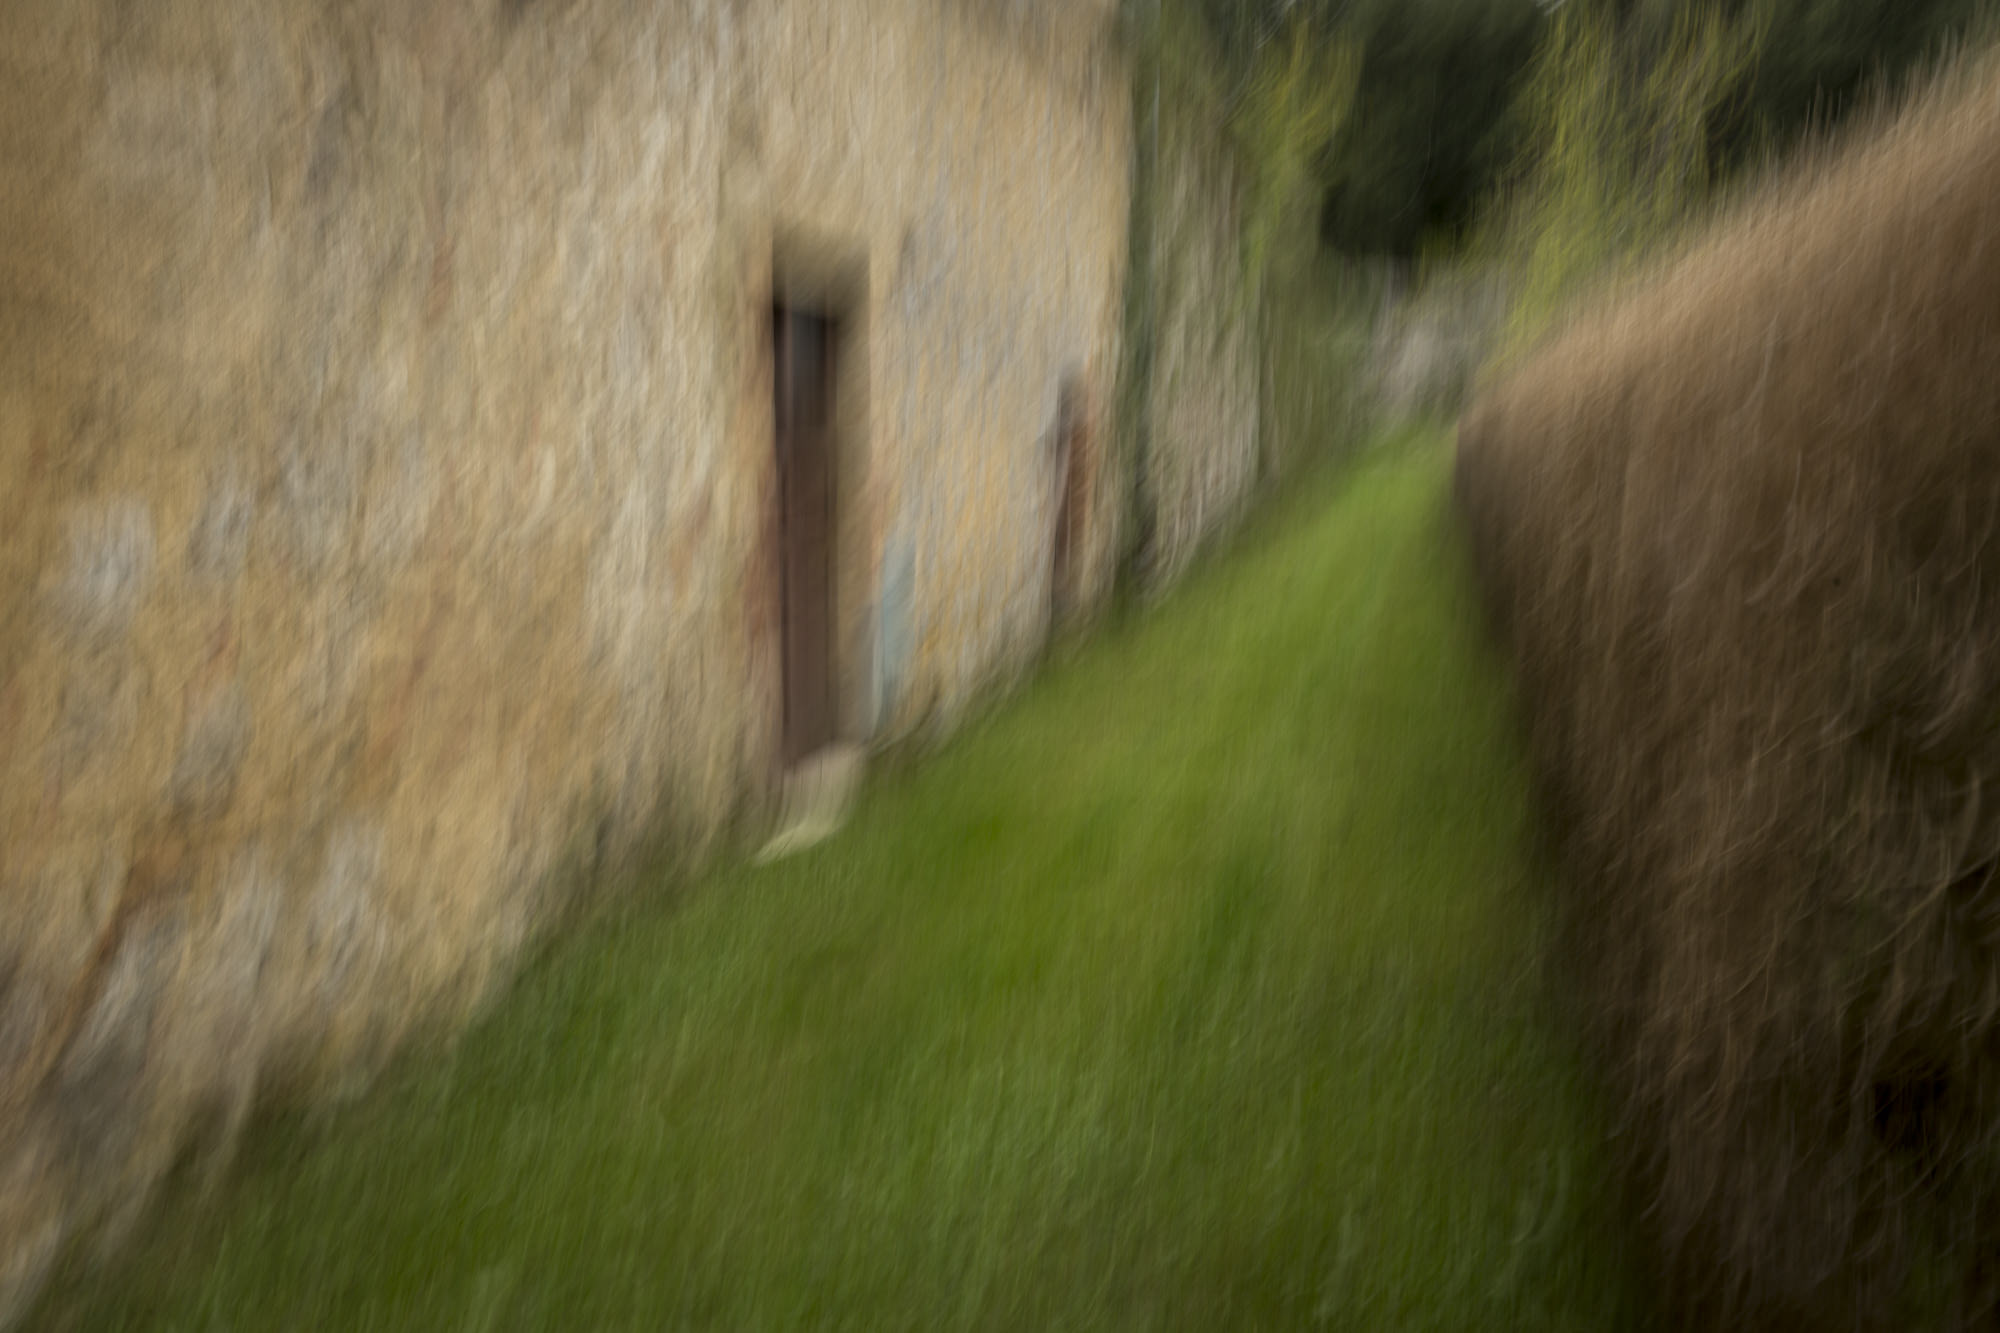
ICM or “Intentional Camera Movement” is an image making technique whereby one intentionally moves their camera during exposure. Movement is recorded while the shutter is open and can produce some very interesting and abstract results.

The ICM technique is a great way to force yourself outside of the normal and conventional Landscape Photography restraints. Obeying the Rule of Thirds and other composition aides will help you to produce greater images. However, sometimes you just need to break outside of the box and step outside of your comfort zone.

Adding the Intentional Camera Movement technique to your photographic toolkit, will definitely get those creative juices flowing. After some experimentation and refinement of your ICM technique, your portfolio will also be refreshed with some new and exciting images.

ICM Image by Graham Daly Photography

ICM Image by Graham Daly Photography

What gear do I need for ICM?

Unlike most photography genres, this technique requires nothing outside of a camera and a lens. A tripod can certainly be useful for certain images but it is not essential. In fact, a lot of the time you will probably leave the tripod in the car or at home.

Apart from a camera and a single lens, all you really need is some decent light and interesting subject. One important thing to note though is that best results will be achieved when using a camera with manual controls. A manual camera will allow you to change the aperture, shutter speed and ISO, which will help to create different types of ICM images.

ICM Image by Graham Daly Photography

What type of lens you use does not really matter. It can be an old manual lens or the latest and greatest autofocus lens. The lens can be a prime lens or a zoom lens. Zoom lenses with varying focal length range can be useful. The tried and trusted 24-70 zoom lenses can be a great lens to have in the bag for ICM. The flexibility to switch between 24mm, 50mm, or 70mm can be liberating. Zoom lenses also provide the ability to interesting ICM images by zooming or “rolling” the lens during the exposure.

Outside of the gear, all you need is a willingness to head out with the camera and put the technique into practice.

ICM Image by Graham Daly Photography

How can I tell if my ICM image making efforts have been successful?

A lot of photography is subjective. Beauty is in the eye of the beholder as they say. ICM images are probably the most subjective. Some viewers might love it and some might hate it. For me, the most important thing is whether the image satisfies me or not. I consider it a success if the image evokes some thoughts or moods within me.

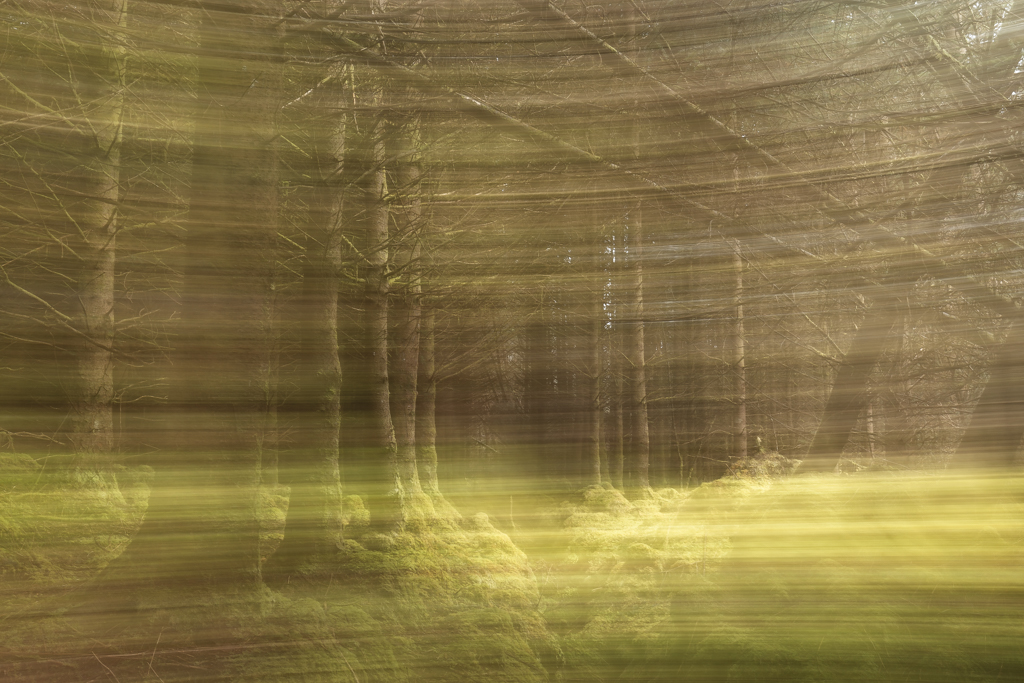
Certain aspects play a stronger part in how our brain interprets and appreciates what it is seeing. For example, when color is absent from an image our brains look for strong structures and shapes instead. Which is why strong composition is so important for black and white photography. I think the opposite is true for Intentional Camera Movement images. The absent of strong structures places a stronger emphasis on color within the image. Of course, you can produce monochromatic ICM images and they might work. But in my experience, ICM images with strong color tones are more interesting than those without. But again, remember that beauty is the eye of the beholder. If you like monochromatic ICM images, then who am I to argue against it.

ICM Image by Graham Daly Photography

ICM Image by Graham Daly Photography

Top tips for ICM

Below are some of my top tips for producing interesting ICM images. This list is neither exhaustive nor exclusive. These are just the aspects that I have adopted into my ICM shooting technique and methodology. There are other photographers all over the planet who can add more to this list. Each will have their own routine, their own style and will have their own desired ICM results.  But this list is what works for me.

  • Try different focal lengths
  • Look for interesting color tones
  • Play around with different shutter speeds – start with 1 second and then increase from there and measure the results
  • Experiment by changing the focal length on your zoom lens during the exposure (a.k.a zooming/barrel rolling)
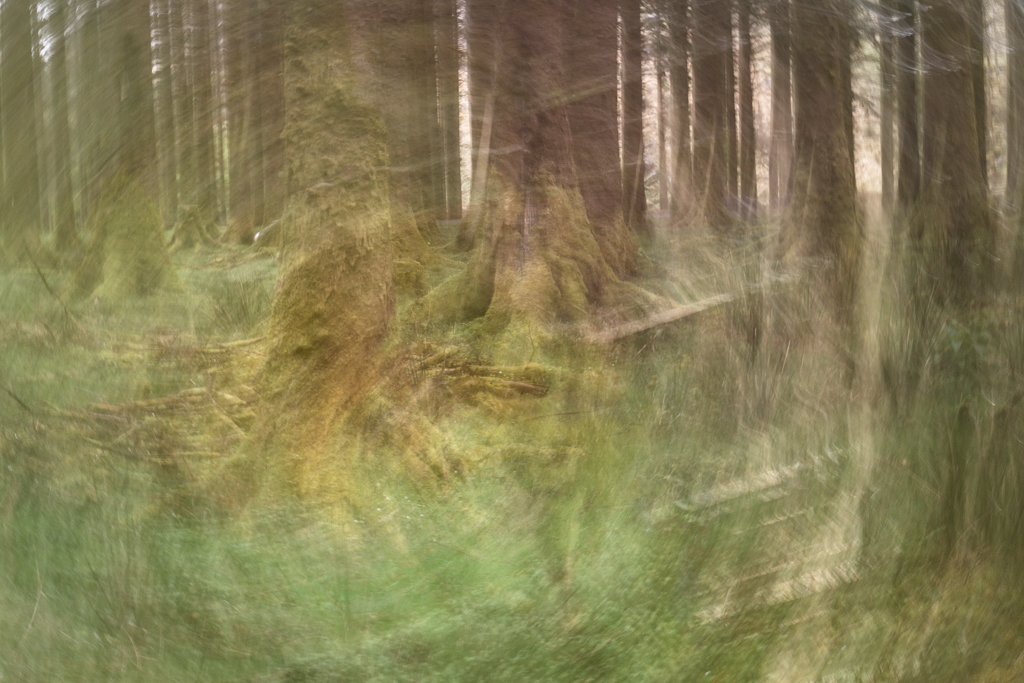
  • Try twisting the camera around in a circular motion during the exposure
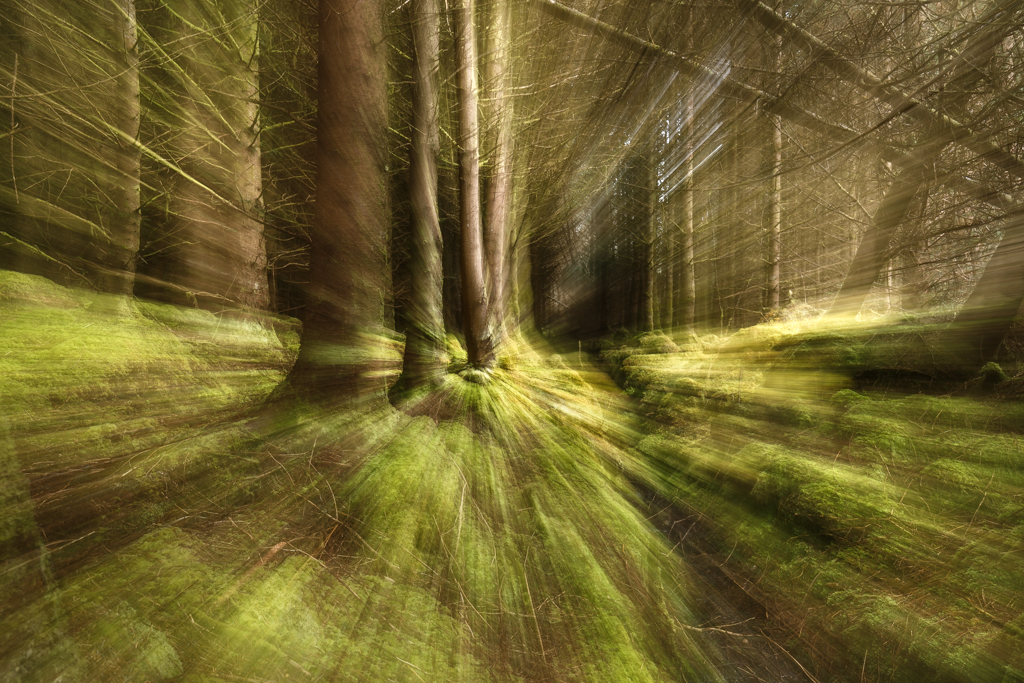
  • Head into the woodlands – some great ICM potential all around the woods
  • Use a tripod at the coast if you want to keep the horizon level during your ICM images
  • Look for interesting shapes and patterns within the scene
  • Try panning left to right or right to left during the exposure
  • Tilt the camera up or down while the shutter is open
  • Carry larger capacity memory cards as you will end up clicking the shutter a lot in order to capture that one interesting result!

Best use of foreground in your images: Enhancing your photos today

An important factor to photography is not only our background but also our foreground. Foreground can be used in many different ways in your photography by framing your subject, adding texture, and design to an image, which can all lead your eye to your main subject. Foreground can also tell more of the story in your image and pull you into the image.
To some of us photographers, foregrounds can become a little daunting and intimidating because we worry about distractions within an image. This is one factor that I think we can all grow and experiment with in our photographs. Making a foreground work in an image can really create a more artistic photograph altogether and also tell more of a story. Here are a few tips on how to create photographs with a great use of foreground.

Since photography is a two-dimensional art form you will want to add some depth into your image to let your viewer feel as though they can step into the image. Using a foreground will add some depth and dimension to your image. One of the simplest and also important ways to make a foreground work is your knowledge of the depth of field. You can use a shallow or deep depth of field depending on the subject you are trying to photograph. If you are photographing a landscape you will want to keep a deep depth of field if it is a wide-angle shot. What if it’s a telephoto photograph and your image is compressed, such as wildlife photography? In this case, a deeper depth of field could add a little bit of distraction. In this case using a shallow depth of field could frame your image and add some environment without causing distractions.

Foreground

Foreground

There are different ways to work with a foreground based on your subject. When you are photographing a landscape it can be as the reflection in a pond or body of water from your landscape or image. This is a great way to show mood in your photography. Getting lower in your image will help improve your vanishing point and bring some drama into your image. A popular landscape photography image is a road using the leading lines into your vanishing point and a simple way to show depth in your image.

Foreground

The foreground is most commonly used to frame your subject and works for people and landscapes.For example, if you set your subject behind a bush or tree you can use the leaves or greenery in the foreground to frame your subject’s face. This shows a sense of the environment that you are in, showing not only what is behind of your subject but also in the front. If you use a shallow depth of field this will show the environment without becoming distracting. One popular portrait idea that works with creative foregrounds is to have your subject hold an item out in front of them as a focus point.

Foreground

Foreground

Foreground

Foreground

Now that we have talked about foreground and background in our images we want to work all of these factors into one image. The easiest way to think of working with a foreground, middle ground, and background is if you can find three layers in an image. Your foreground doesn’t have to be far away from your subject either, it can be as simple as people walking in the foreground or a glowing sign in front of a building.

Foreground

Foreground

Some ways that your foreground could be distracting is if it’s sharper than your subject. You want to make sure that your focus is still the main point of your image and you have to remember the rules of backgrounds and incorporate that into foregrounds.When we talk about focus we are not only talking about the sharpness but what’s bringing the subject into focus. Make sure your focus point is the sharpest and also the brightest object in your subject. If you have a light background and foreground you can contrast that with a darker color. Objects that are brighter, lighter, or more saturated than your subject tend to become a distraction.

Foreground

Foreground

The foreground is not only a good technical skill to have in your photography but also a great way to boost your creativity and bring more oomph into an image.

Blurred Lines: Shake Your Camera For A Different Perspective

On a recent backpacking trip in the Sierra Mountains, the weather one morning was in a tediously sunny state. Fine for hiking, but blah for photography. You know what I mean—an unattractive, contrasty combination of deep shadows and bright highlights where the landscapes just had a dusty, baked look about them. As is so often the case when I’m backpacking, I started to lament how I was passing scenes that had great photographic potential if the light was a little gentler. (These were fairly remote places I would probably never return to, making it even more frustrating.)

Then, while my friend, Allen, and I were resting near a shady stream surrounded by wildflowers covered in blotchy sunlight, I remembered how some photographers have experimented with shaking their cameras to blur a scene into a lusciously soft, impressionistic rendering. The effect, when done well, could reduce the scene to its basic colors, shapes and even textures giving the viewer a different way to see the world (which also happens to be my favorite reason for taking pictures).

I slowly moved the camera up and down. Canon 5DMIII set to ISO 100, f/16, 1/4 sec., 24-70mm lens set at 70mm.

A New Way to Overcome Bad Light

So given how I felt like my inner artist wasn’t being served by the current conditions, I decided that perhaps a blurry version of the scene—in particular, the flowers—might overcome the otherwise tragic lighting. Somewhat randomly, I chose an exposure of ¼ second, ISO 100, and let the camera select the f-stop which turned out to be f/8. (Under the circumstances, I figured depth of field wasn’t an issue.) With the drive mode on my Canon 5DMIII set for high-speed continuous (six frames a second), I then held down the shutter release and gently tilted the camera up and down over and over until I had taken, oh, 15 shots or so.

I was absolutely stunned by some of the images. Those splotchy highlights turned creamy. Distracting details became broad brush strokes of color. Ordinary objects felt magical. Even on my LCD, the images were so compelling, I just wanted to stare at them. There was something about the pictures that was both kinetic and soothing at the same time. I excitedly jumped from spot to spot as if I had just discovered the next best thing in the world. Allen, an engineer at Jet Propulsion Laboratory, was slightly amused that anyone could get so enthusiastic overtaking blur effects with expensive, ultra-sharp lenses.

I tried to move in one direction, downstream. Canon 5DMIII set at ISO 100, f/9.5, 1/8 sec, 24-70mm lens set to 35mm.

I spent the rest of the five days on the trail exercising this new creative muscle, especially when the light would have otherwise kept me from even looking at my camera.

Experiment, Experiment, Experience

I’ve since played with different scenes, settings and lenses. And I have a few suggestions based on what I’ve learned so far.

Slow but not too slow—Getting the right shutter speed is key. I found ¼ to 1/8 works best, but see if something else works better for you. Going too long, however, just turns the image into pixel soup, which might just want you want, but I think I lose too much of the scene’s basic flavor that way.

Manually set the exposure—One thing I discovered with those first shots was the wild variation in exposure depending on what the camera was pointed at. If the lens was aimed toward shadows, the overall exposure was lighter than if I started out aiming toward the brighter parts of the scene. So to be consistent, I just pick an average exposure, manually plug it into the camera and stick with that throughout the picture-taking.

Compriano estate, Tuscany region, Italy. Canon 5DMIII set at ISO 100, f/16, 1/6 sec. 24-70mm lens set to 35mm.

Handhold the camera—No need for a tripod here. You want the freedom to move the camera in various ways.

Keep the camera moving—Instead of taking one picture at a time, I hold down the shutter while continually waving the camera up and down, side to side or in circles. Each renders the scene differently and one might work better for the subject than another.

Be prepared to waste a lot of pixels—Take hundreds of pictures because only a few will ever make the cut. What criteria you use for editing is up to you. I like something that strongly hints at what was there while having an impressionistic aesthetic all its own. You might want something more or less defined.

Compriano estate, Tuscany region, Italy. Canon 5DMIII set at ISO 100, f/16, 1/4 sec. 24-70mm lens set to 35mm.

Restrict your framing—I’ve had some success with broad landscapes, but overall, I find this works best if I stick to concentrating on just a few trees or rocks or whatever happens to be there rather going wide.

Play with depth of field—I was wrong when I first thought this isn’t a factor. Wide-open apertures definitely render a scene differently than stopped-down ones. Try both.

Play with focus—Definitely set the lens for manual focus but experiment with focusing on a single object and then try the same shot with something else in focus. I’ve even tried shooting with the entire scene out of focus, which worked a few times but isn’t quite as magical as focusing on one thing before I start to move the camera.

In some ways, blur effects require as much skill and persistence as taking pictures with a steady hand. It’s also highly personal—as is most photography—where the images you show the rest of us are picked based on what you like and what you want to say about the subject. Plus, the amount of creative experimentation that goes into deliberately on blurred photos can renew your excitement and enthusiasm for the art of photography.