Tag: landscapes

Six Dolomitic Destinations a Landscaper Couldn’t (And Shouldn’t) Miss

For who don’t know, Dolomites are a group of many mountains located in Italy, between the regions of Veneto and Trentino-Alto Adige.These peaks are known for their bizarre shapes, formed millions of years ago because of many erosions.Over the years The Dolomites became among the most visited mountains in the World and many tourists from different countries go for miles on foot to admire the magnitude of that peaks or enjoy atomic sunsets.As that places are so peculiar and full of drama, many landscapes photographers search inspiration there and the business of photo workshops is greatly fruitful.  seceda dolomitesThis is why, as I explored The Dolomites for years, many foreign photographers asked me a lot of information about spots and places to visit there.Of course, every angle of this area should be explored, and there are wonderful locations are not included in this article cause I should write a book about all the places to visit in the Dolomites… this is why I’ve chosen the six most powerful locations where I tried the strongest feelings as a photographer and as human.
1. Mount Seceda 

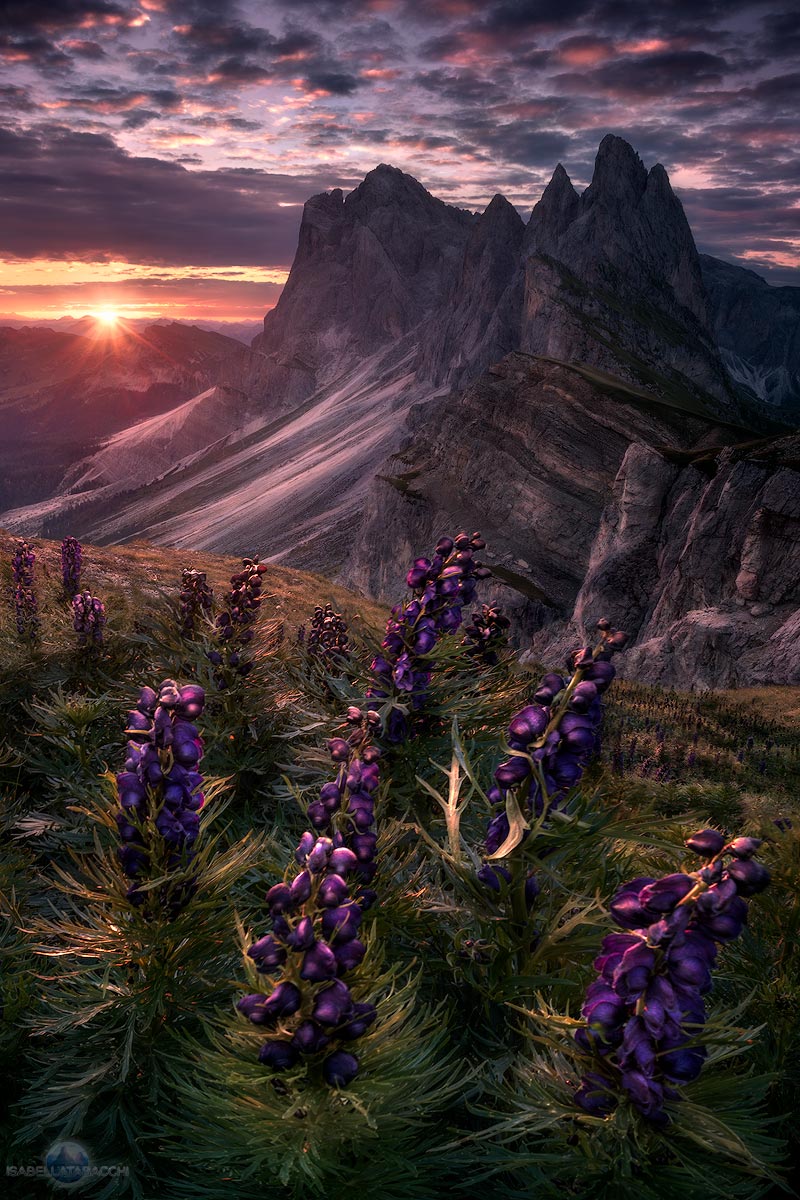
Seceda is part of the Odle group, in Val Gardena, in the province of Bozen. You can reach the summit of the mountain with a cable car from Ortisei and be at about 2500 min 15 minutes. There you can admire the imperiousness of the inclined Seceda peak turned towards the valleys and other mountains of South Tyrol, until the Austrian peaks like mount Großglockner. Behind your sight, you will recognize some of the most famous mountains and massifs in the Dolomites, like Langkofel, Plattkofel, and Sella group. As a photographer you can use many different kinds of lenses there; I think the best focal length to immortalize Seceda is 24mm even if telephoto lenses are necessary to create images of the far peaks, that are very fascinating, especially in a misty nightfall.  According to my photographic tastes, I think that the best time to take great shots of Seceda is in the foggy days, especially when fast clouds, lower than the summit of the mountain, move against this one; this kind of weather can be present in every season, particularly in Autumn and Spring.

 2. Seiser Alm

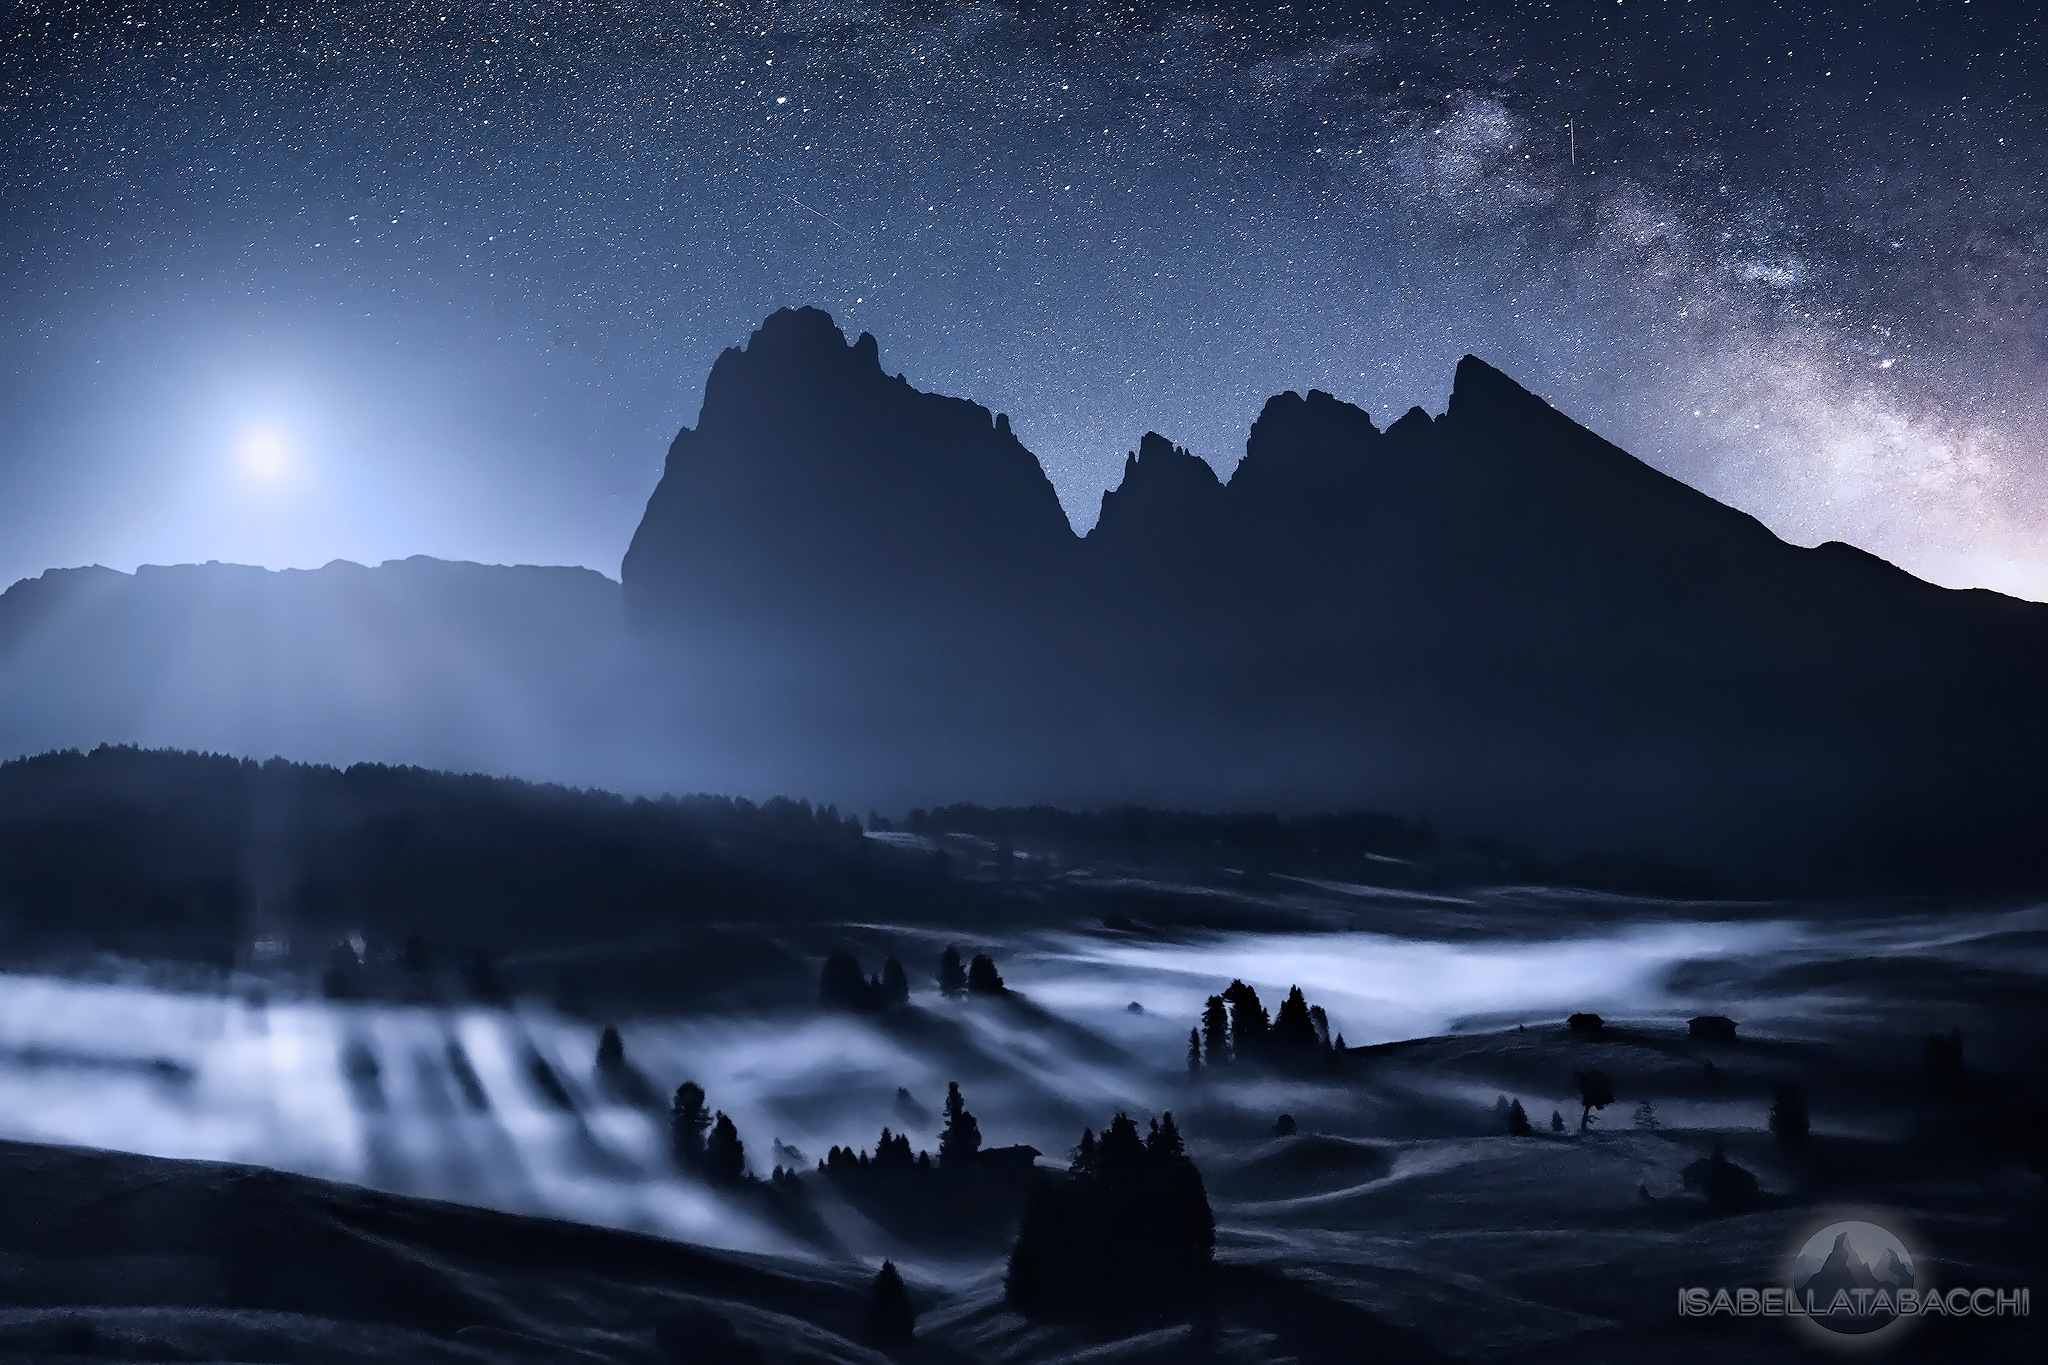
Coming up by car from Kastelruth you will arrive in a little town of hotels named Compatsch. If you park and proceed by a walk on a restricted traffic route, you’ll discover a little and pacific rural environment at the foot of the majestic Langkofel and Plattkofel mounts.During your shooting time you can play with the curves of hills, and little details of them, like trees and little alpine lodges. I recommend focal lengths from 24mm to 70mm even if also telephoto lenses could be used to capture details of the valley and far mountains.A foggy weather is perfect to take pictures in Seiser Alm; I really love when the light of the sun or the moon creates visible oblique rays that illuminate the fog and are contrasted by the shadows of the elements in the valley. My award-winning picture “The magic of the night” is an example of the disarming beauty of Seiser Alm bounded by the mist at the moonlight.The best months of the year to visit this fairy location are May, June, July, during the flowering of the meadows, October, November and in the wintertime (but only if the hills are covered by the snow).seiser alm dolomites
3. Lagazuoi hut   

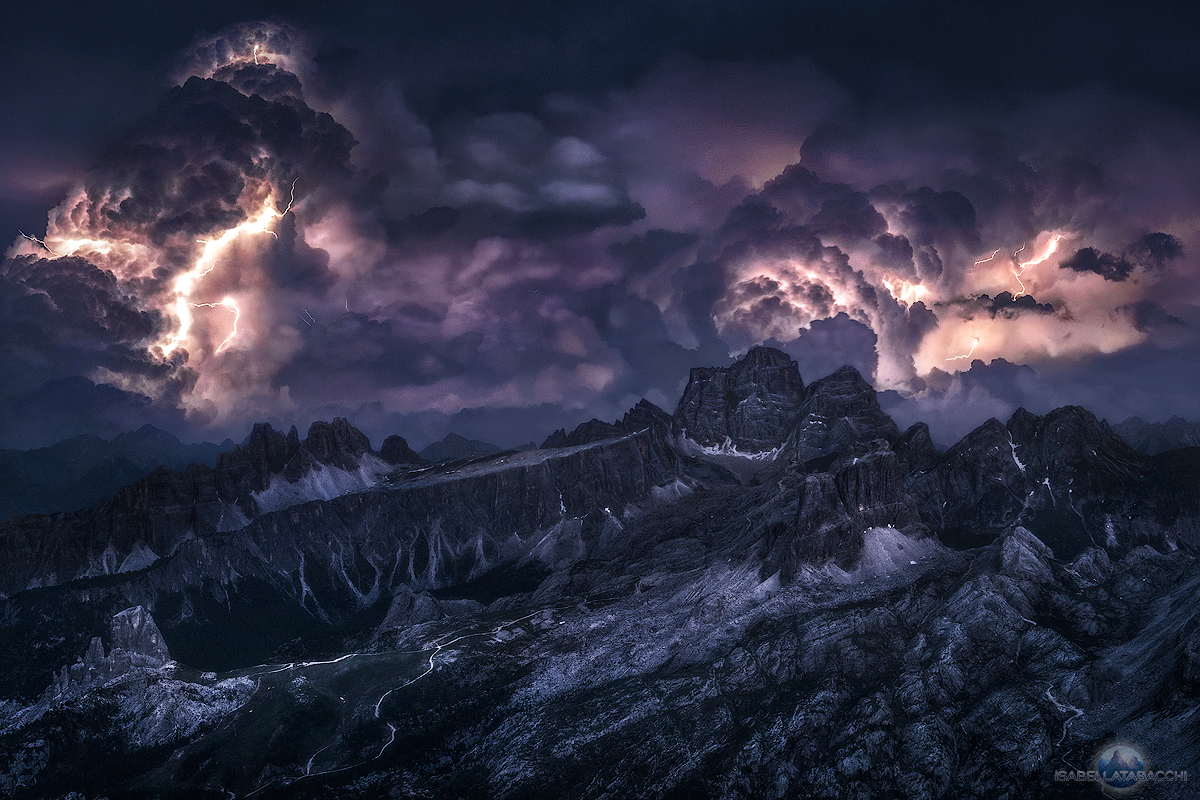
Lagazuoi is a mount located in the Dolomites near Cortina D’Ampezzo, lying at an altitude of 2835 m. It contains a mountain hut, accessible by cable car in few minutes, which has one of the best panoramic views in the Dolomites.   This is why I consider it a landscaper friendly location: every kind of lens, especially from a focal length of 24mm to higher, is addicted thanks to a view rich of peaks, valleys, trees and every kind of detail.Every month of the year is great to visit Lagazuoi hut, above all, when low clouds form a kind of “sea” and only the highest peaks come out from them. The funniest thing is that, at that altitude, the weather changes very fastly! This is why you can take shots of a red sunset and immediately after of some lightning.lagazuoi pelmo croda da lago cortina sorapiss sorapis
4. Lake Sorapiss

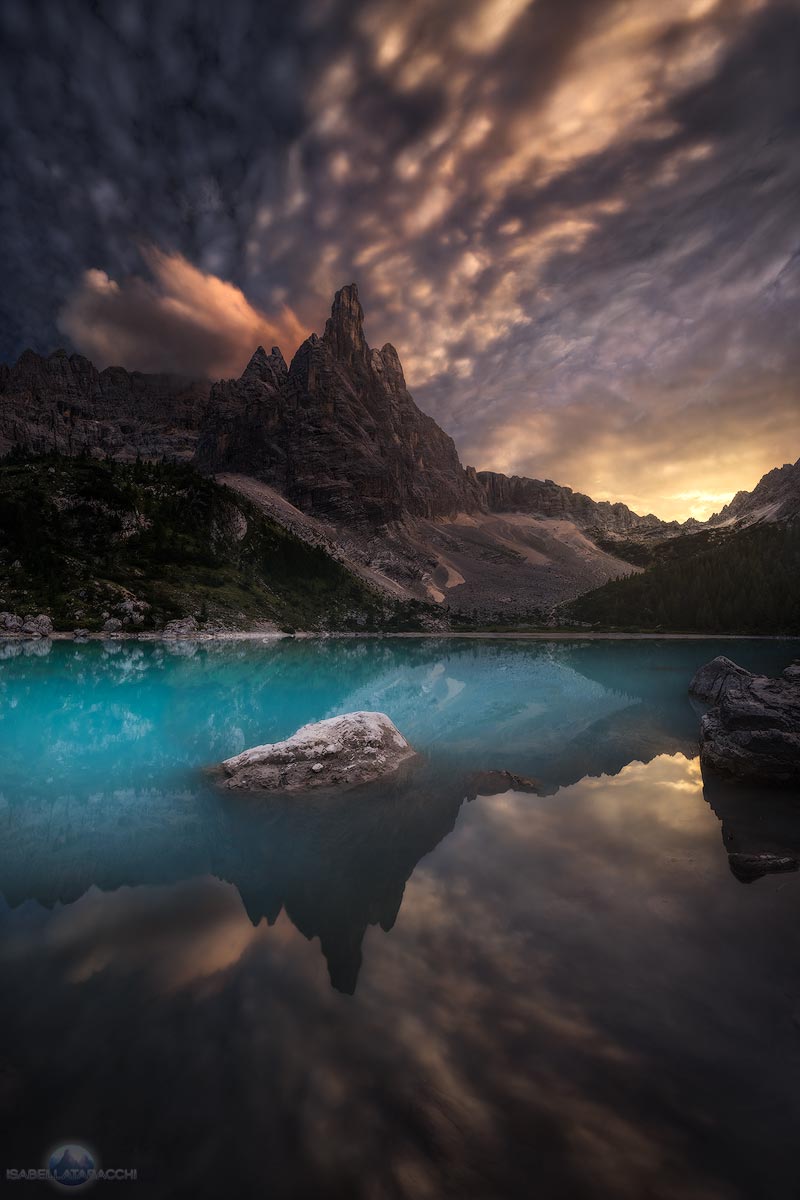
At the foot of the Dito di Dio (God Finger) peak is located the most colorful body of water in the Alps. Sorapiss is characterized by an intense turquoise water, given by the rocks at the bottom of the lake.You can arrive at this fairy place from Passo Tre Croci, near Misurina (district of Auronzo di Cadore), in about two hours and it’s possible to book at the Vandelli hut, near the lake.A colored sunset or a shiny sunrise can help you to take a memorable capture of this location, even if the totality of the lake makes the most of the “wow effect”.I recommend a wide-angle lens to get a large visual of the mountains and the water, with some rocks in the foreground.You can visit Sorapiss lake from the thaw in May until the first ices at the beginning of November.

  5. Vajolet Towers

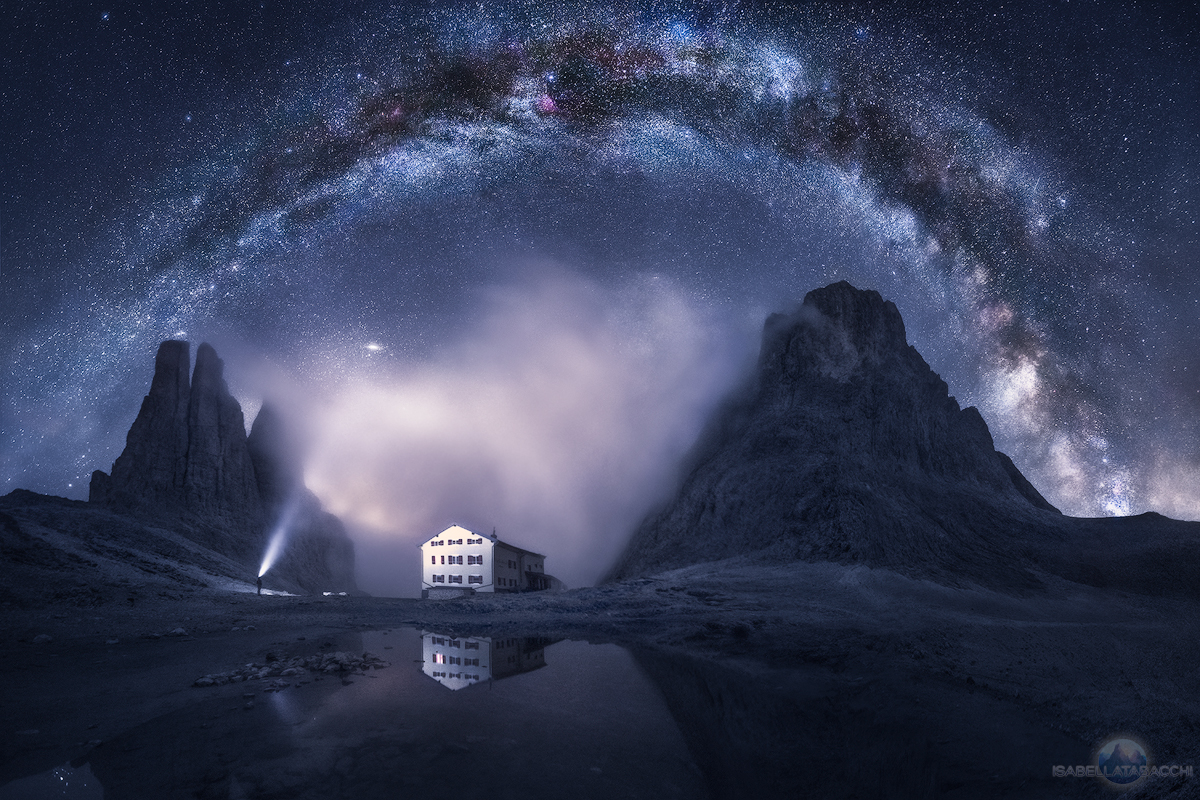
When you reach the “Gartl” hollow after a sloping rocky trail, you may think to be in another lonely world; and on your right, there are three majestic bastions called Vajolet Towers. On your left, there is a yellow house which is the Re Alberto I hut and in front of it is placed a little pluvial lake. The rocky garden of the “Gartl” hollow is located at 2621 m between the Fassa valley and the municipality of Tires, in South Tyrol. Photographers can take shots from many points of view like the lake and use some rocks as foreground.The best lens for this location is a wide angle, that’s especially addicted to the nightscapes lovers, cause the sky at that altitude is very clear and deep.The way to reach Re Alberto I hut from Pera di Fassa is long but you can get really warm hospitality and discover the taste of Italian and Tyrolean food at the hut; I will never forget the polenta with cheese before my shooting time.Re Alberto I hut is open from the end of June to the end of September and the best weather is, of course, a red cloudy sunset but if a dark night follows it.stars vajolet towers milky way
6. Tre Cime di Lavaredo

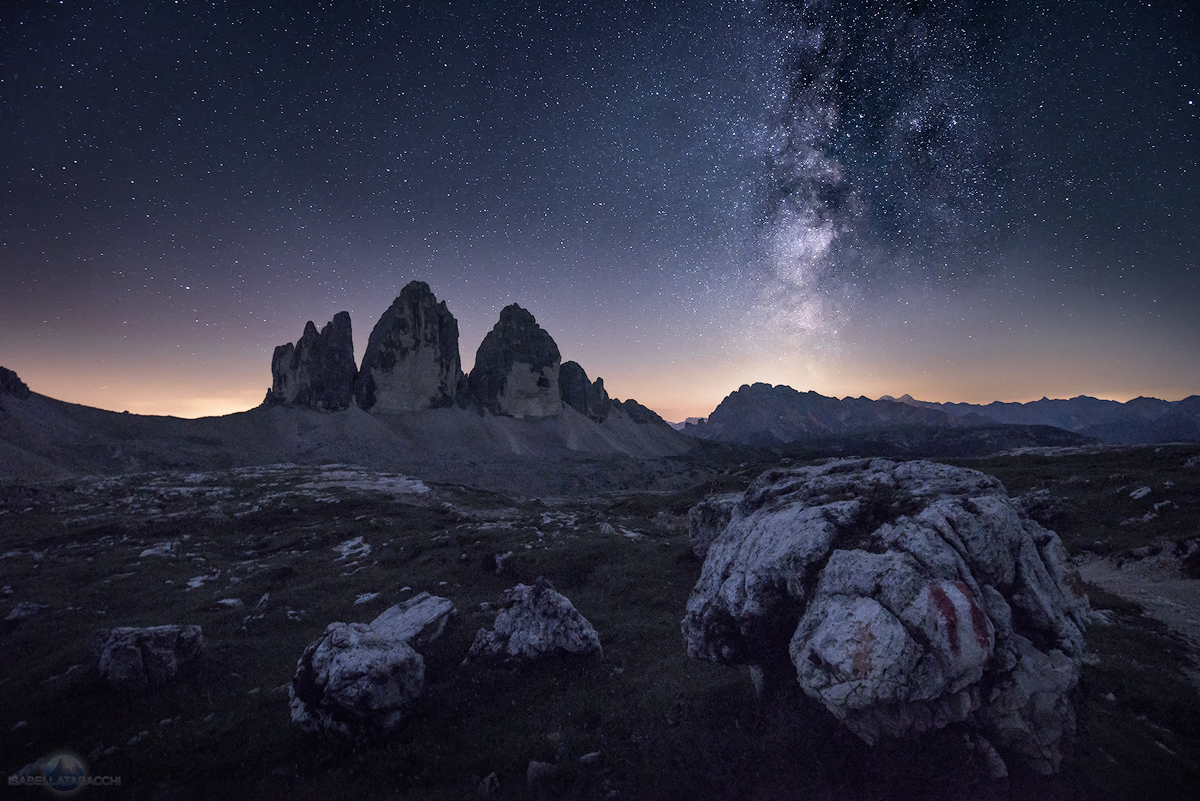
I couldn’t avoid writing about Tre Cime (Three Peaks), a place that every tourist knows, a classic postcard of the Italian Alps. You can reach the Locatelli hut from Auronzo hut by a more than one hour walk. The trail is boring, but when you are in front of the Three Peaks can’t stop to admire their majesty.I suggest you take a look also at lakes of Piani, two bodies of water behind the Locatelli hut.I recommend you to use a wide angle lens and a telephoto lens only to take shots at far peaks like Cadini di Misurina or Dreischusterspitze. Tre Cime di Lavaredo are fascinating in every period of the year, with every weather (even if I personally prefer a partially cloudy sky in the daytime and a clear night). Be sure that in Winter the trail is walkable and there isn’t ice on it.tre cime
Wait For It: Improving Your Photos With a Little Patience

Along with being an art, photography can also be a matter of patience.

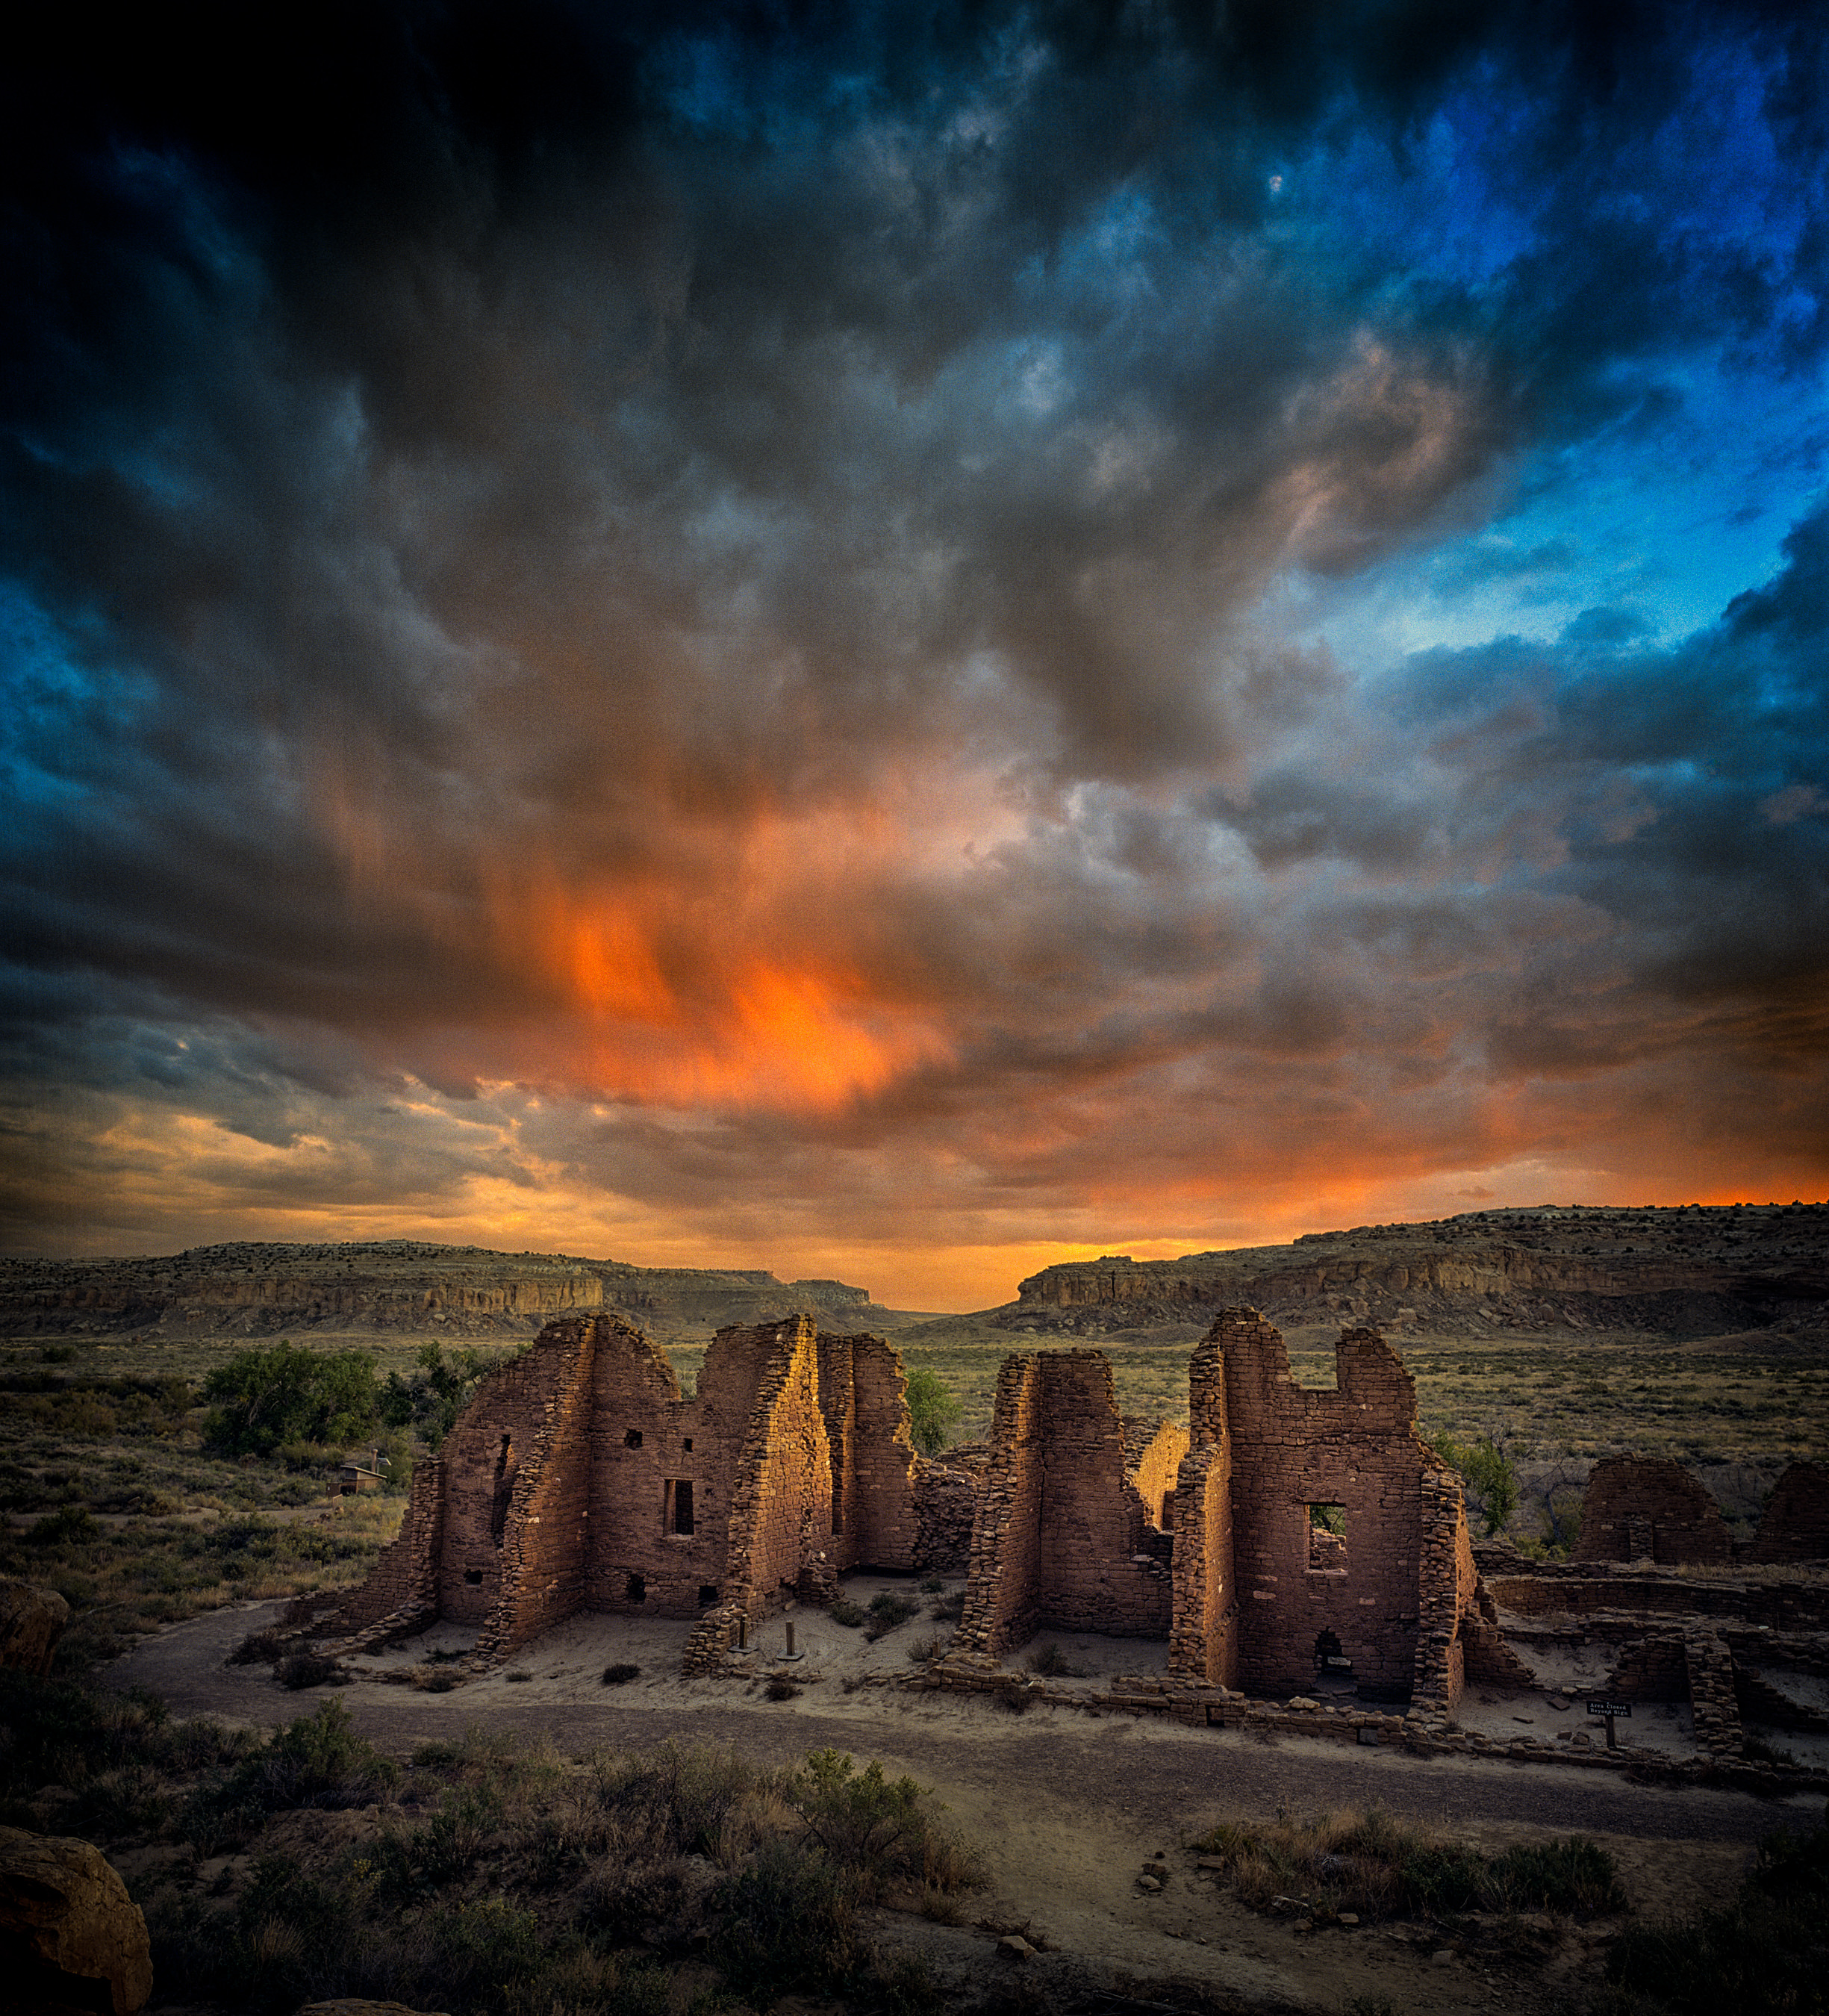
So there I was, sitting on a rock ledge above a cluster of ancient buildings in Chaco Canyon, New Mexico, waiting for the sun to set. The stormy clouds started to burst with color. Click. If nothing else, I thought, I’ve got a decent shot. And then the sunset kicked in with more drama in the clouds. Click. Okay, forget that first photo. This is one is the winner. The light started to fade a bit and I thought, well, maybe it’s time to pack up. After all, the park rules were pretty clear about exiting at sunset.

But then you can never trust the light at the end of the day to be a linear event. It doesn’t always just fade into nighttime. Some unseen cloud could blow one way or the other and suddenly there’s a burst of sunlight more spectacular than anything that happened a minute before. There’s also alpenlight, that somewhat mysterious (at least to me) post-sunset light that magically appears usually just as you toss your gear into the car.

sunset-chaco-canyon_mini

So I waited. Let the rangers yell at me for being a little late. I was going to give the scene a chance to be absolutely amazing. I sat for another few minutes and then boom! there was an explosion of light and color that added incredible dimension to the clouds. Click. Best shot of the bunch.

Never Turn Your Back on a Great Scene

Sometimes good images are sneaky things. They first tiptoe in front of you with hardly inspiring light, and then just as you decide your time could be better spent doing something else—and you’ve put away your camera—they spring out as if to say, Ha! Fooled you again!

So invest a little more time and patience at sunset and just wait a few more minutes. Those photons bouncing around in the sky and reflecting off the ground might just do something wonderful you couldn’t predict. At the very worst, you’ll be packing up in the twilight with a flashlight to guide you to your car or camp. But there’s often a good chance you’ll also record magic.

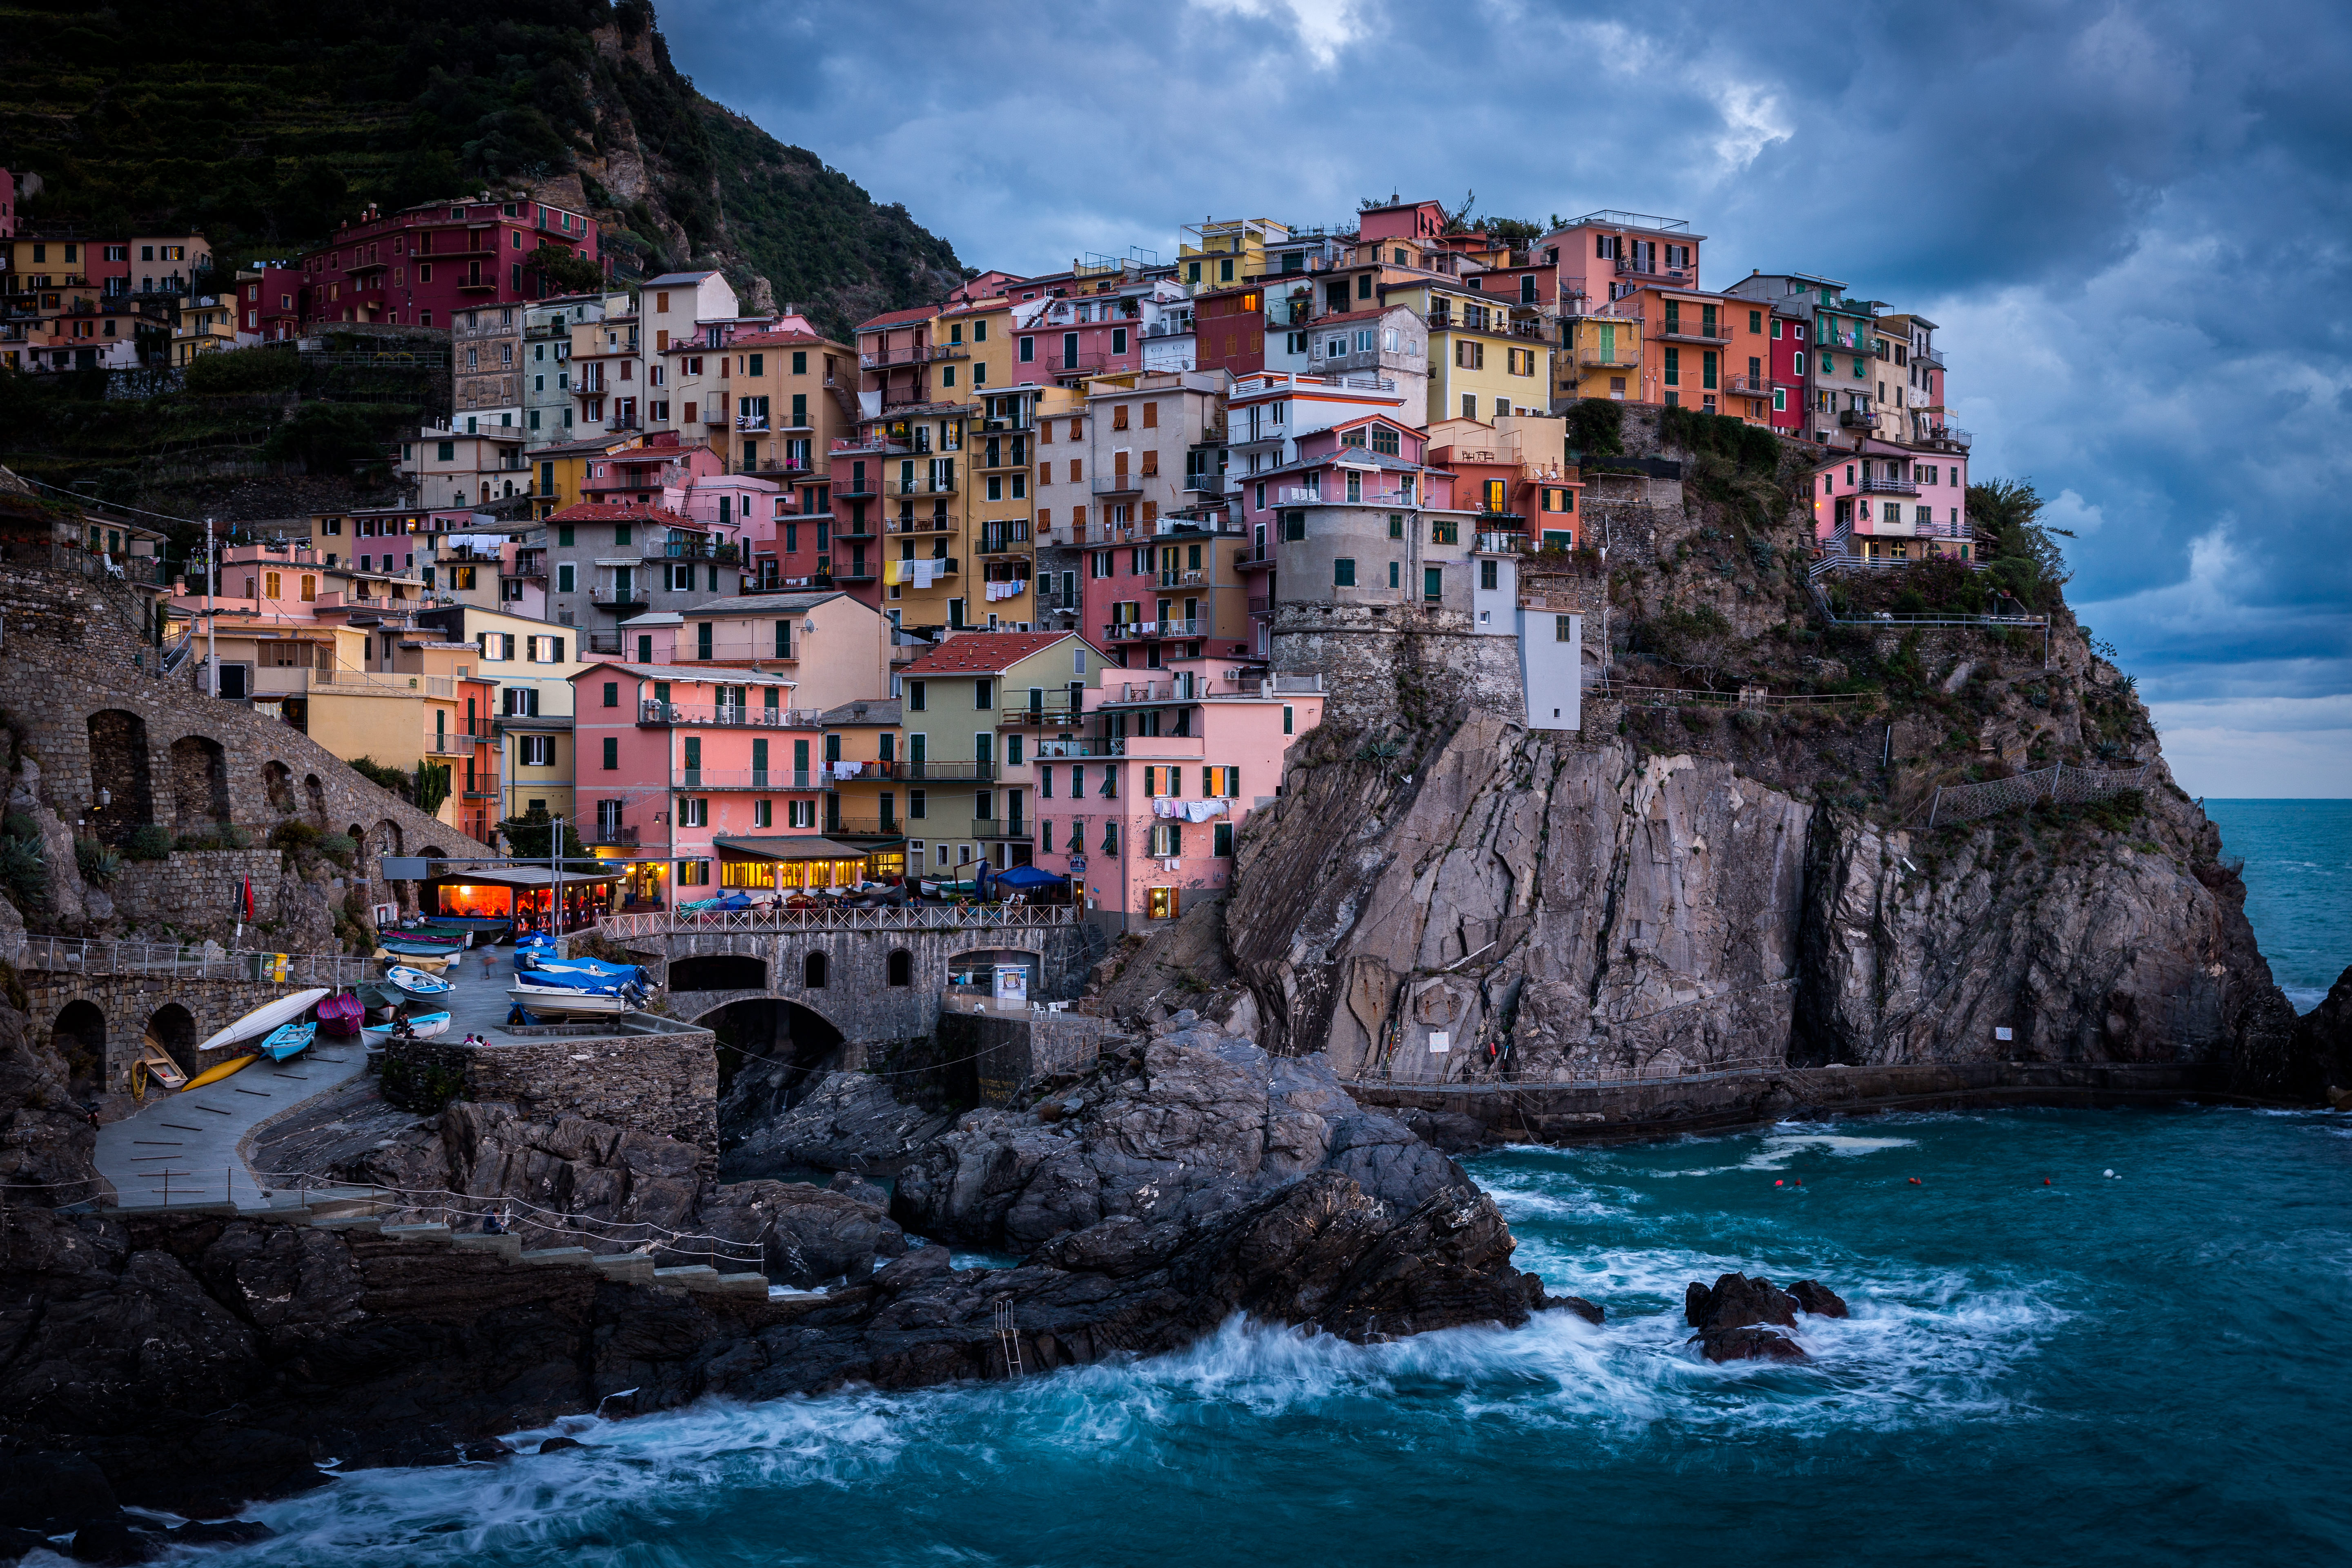
Monarola, Italy. This was taken after the sun had set and I waited a few minutes more while all the other photographers started packing up. Suddenly, a wonderful soft alpenlight bathed the buildings and made for a wonderful scene.
Monarola, Italy, part of Cinque Terre, a national park. This was taken after the sun had set and I waited a few minutes more while all the other photographers started packing up. Suddenly, a wonderful soft alpenlight bathed the buildings and made for a wonderful scene.

The Wonders of Alpenlight

There’s this kind of lingering light following sunset called alpenlight that every landscape photographer should wait for. You can’t predict it. Sometimes it’s about 15 minutes following sunset, sometimes it doesn’t happen at all. Sometimes it lasts 10 seconds, sometimes a few minutes. The effect is special, a soft glow bouncing off the sky, clouds and land that’s dreamlike and truly mystical. Just stand there and look all around you because the alpenlight can scatter across the sky.

Bring a tripod for alpenlight. You’re going to need it. Exposures will be long, in the seconds or even minutes. And bracket like crazy just to make sure you get a good exposure for both sky and foreground. And, oh, yeah, be sure you have a headlamp or flashlight with you, because once the alpenlight fades, so does any other light and you’ll be stuck in the dark trying to find your way out.

The Dull Light Gamble

I’m probably one of the most guilty people when it comes to walking away from a scene if the sky is overcast making the overall photography pretty blah. But it behooves one to sit tight for awhile and see what happens. Just like alpenlight, the sun—especially just after sunrise—has a way of sneaking into the landscape in magical ways, but you have take the gamble you’ll be wasting your time. And I admit it’s usually a longshot that anything photographically wonderful will happen. Mostly, that bald sky will stay bald. Then again . . .

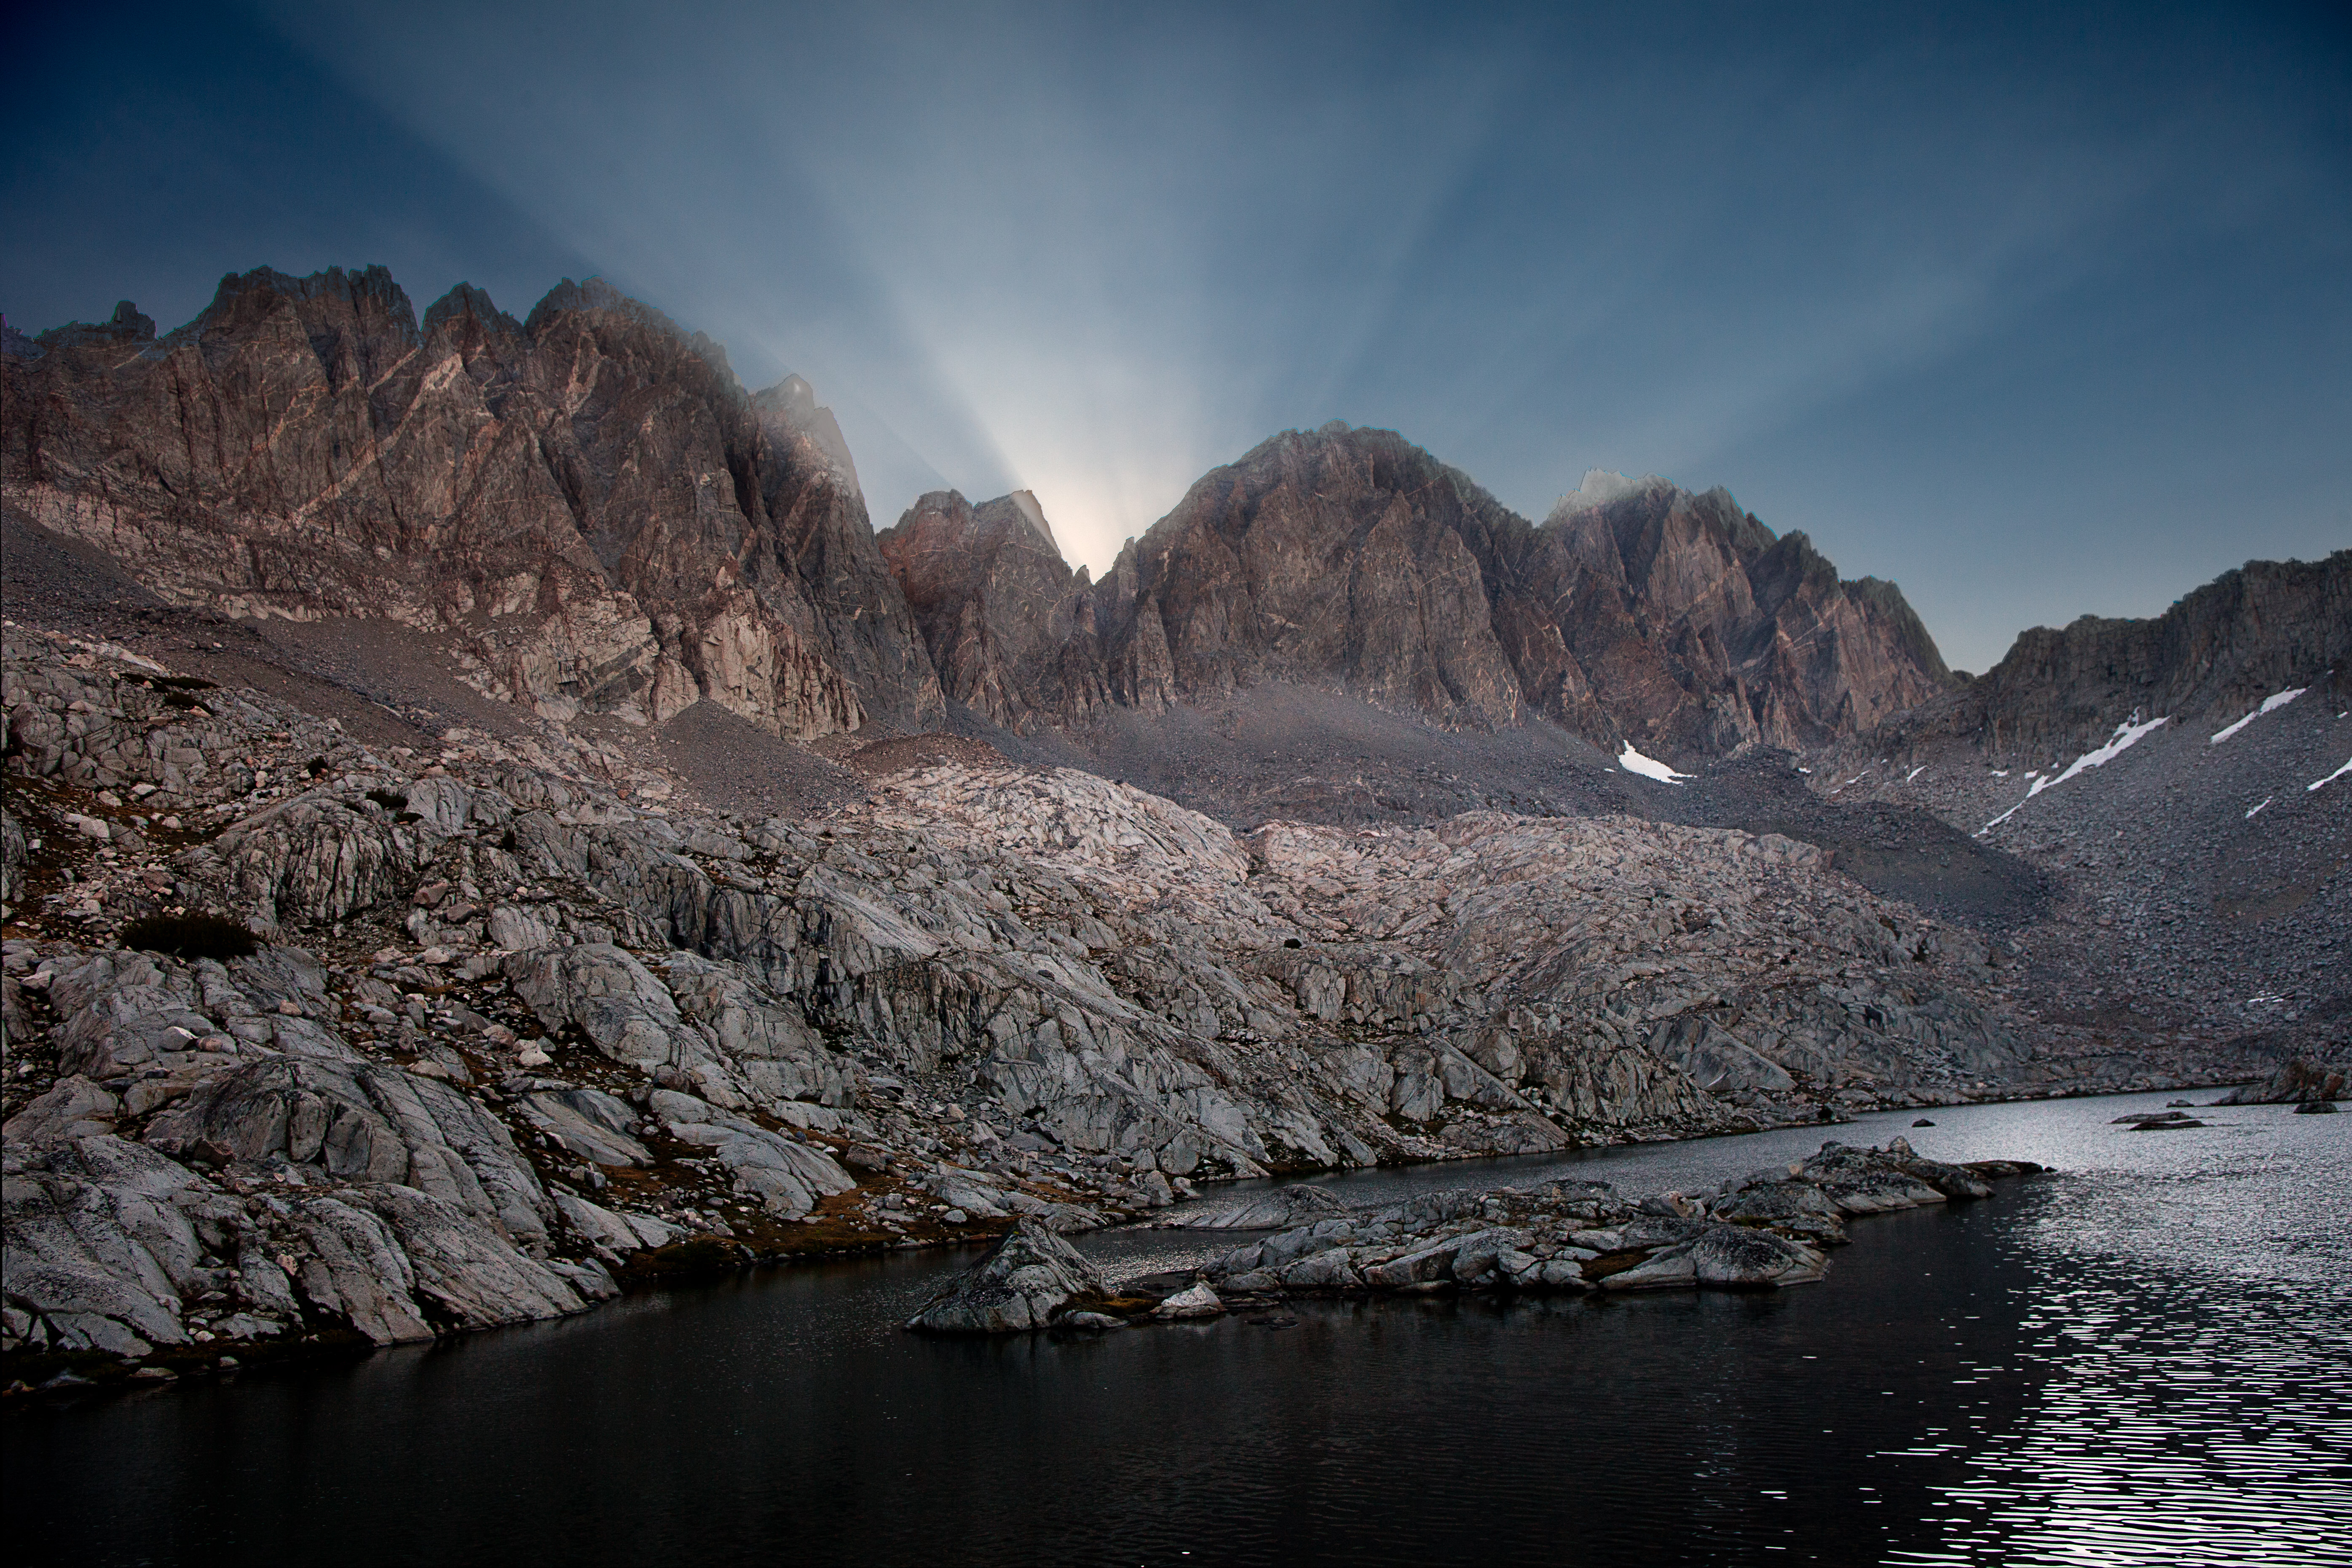
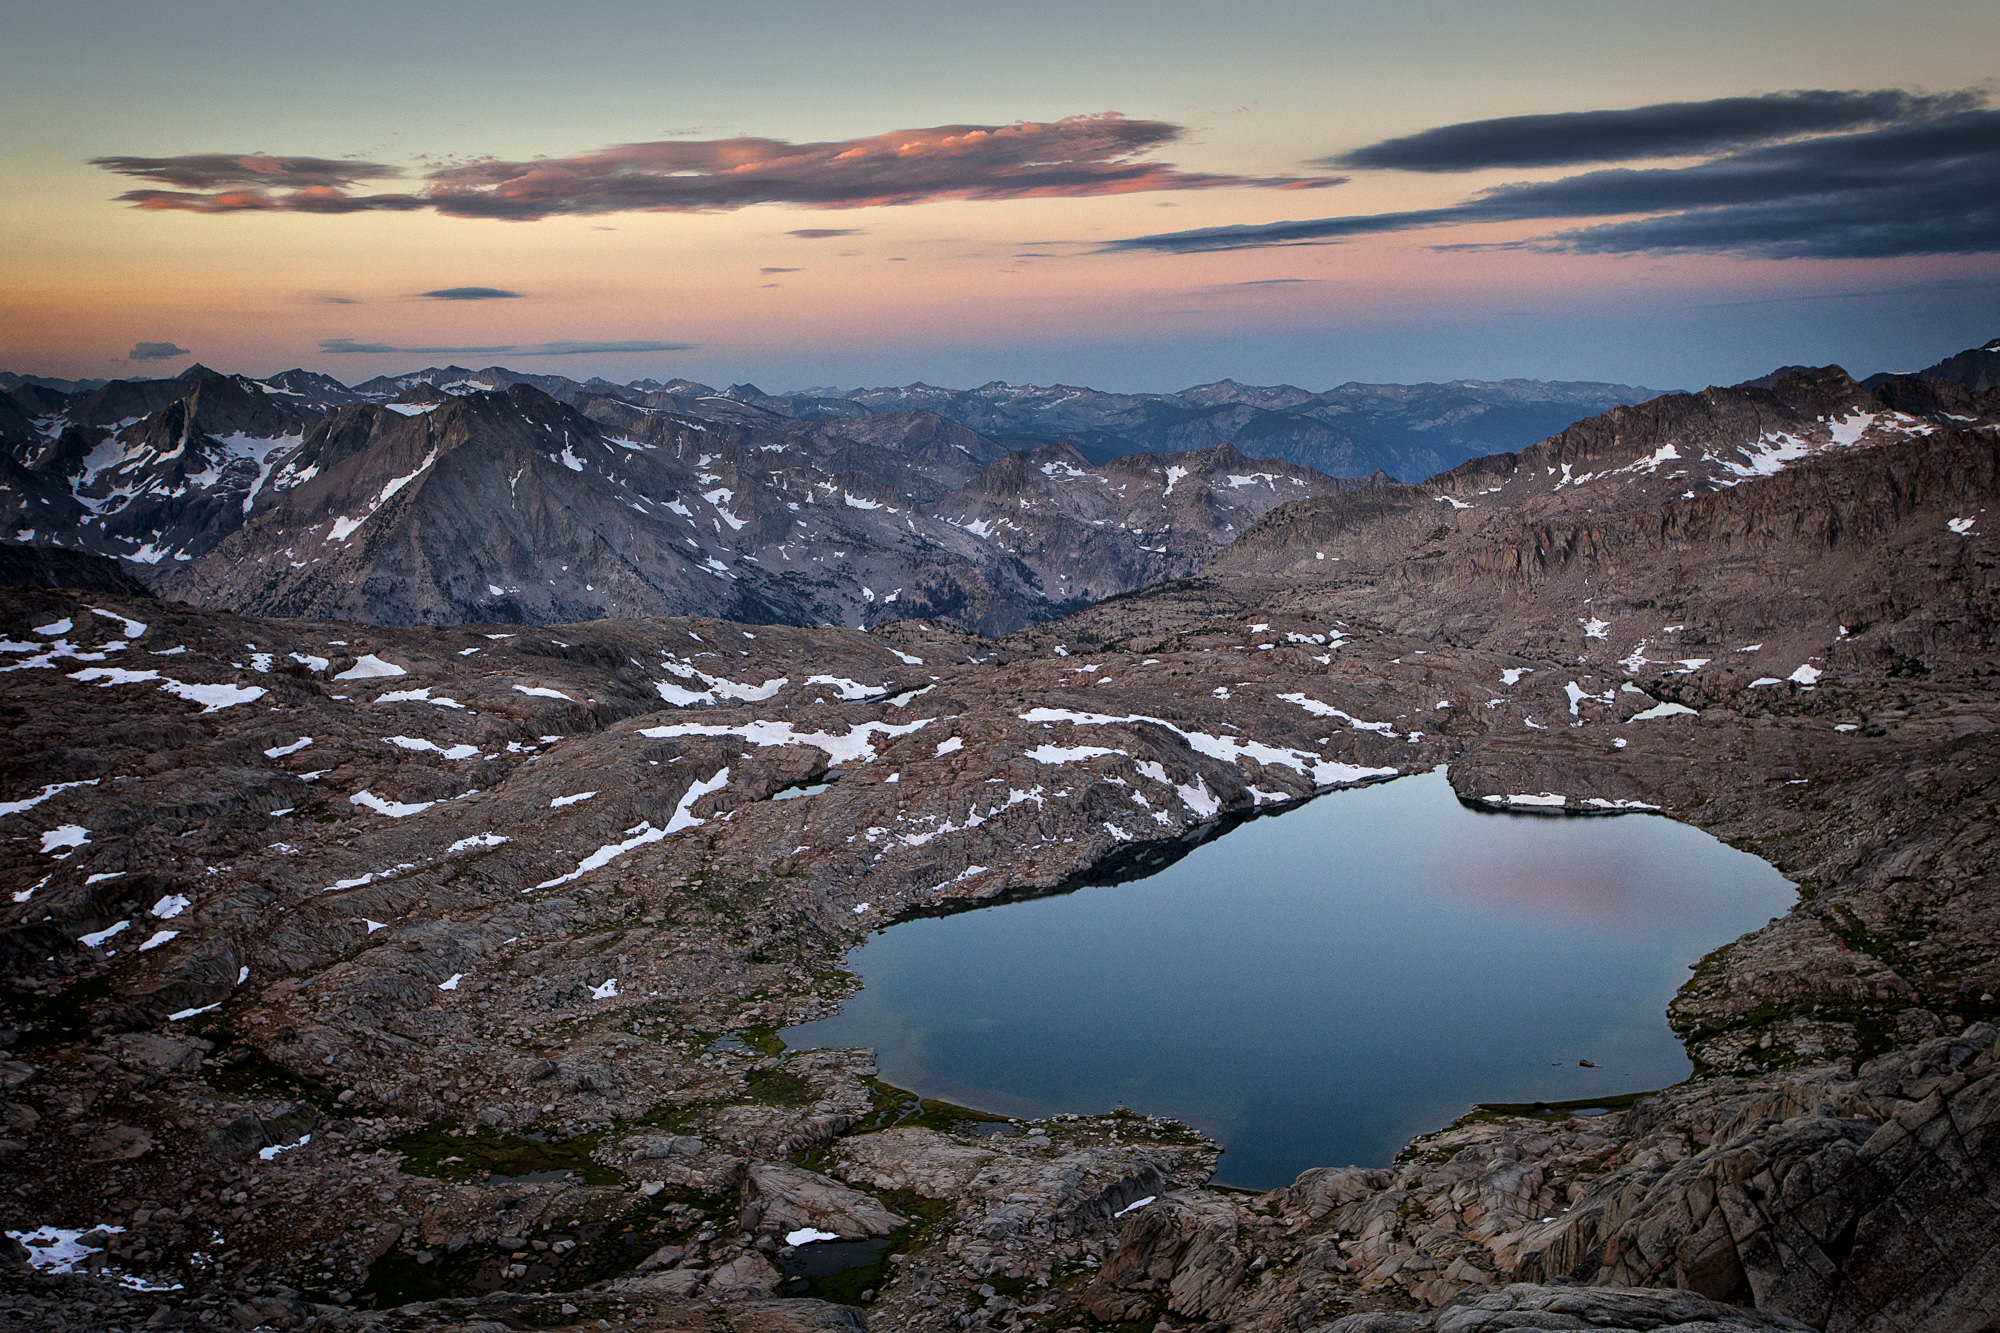
Dusy Basin sunrise.
Dusy Basin sunrise.

Take the above shot from Dusy Basin in Kings Canyon National Park. The sky at sunrise was clear and uninteresting leaving me with a dull light over what is often an incredible landscape of rugged rocks and scattered lakes. I kept my camera on the tripod and decided to simply drink in the solitude for a moment. Sometimes, you have to do that, by the way. Not everything is about getting a great picture!

Suddenly, some clouds above the 12,000’ ridgeline slid into place right where the sun was rising. And then a few seconds later, sun rays poured through. This lasted just long enough for me to set up a decent composition and knock out a few bracketed exposures before it disappeared again. If I had turned my back to start packing, I would have missed it.

My point is simple: The patient photographer gets the magical image.

[The opening photograph was taken of the Alaska Range from the Denali Highway in central Alaska, about a half hour after sunset with alpenlight transforming the scene.]

Death Valley: Photographing the Desert in Winter

Ah, fall is the season when I start thinking about the desert. Temperatures are beginning to cool and I can go to some of my favorite places without worrying I’ll get baked to a crisp in the typical 110-degree summer heat. Not only that, but the weather shifts to sometimes stormier conditions which are far more photogenic than the usual searing, clear skies.

So my opening advice is consider planning a winter trip to a desert near you.

My next advice is to put Death Valley National Park on the top of your list of desert locations. Don’t let the name fool you. I know it sounds like some notorious hellhole that only brave or demented people visit. Instead, the 3.4 million acre park has an overwhelming number of photo ops to choose from, most of them landscapes. Unfortunately, when you drive into the park for the first time, the place is so huge, it’s hard to pinpoint where those photo ops are.

That’s why you’ve got me! In this post, I’ll take you to a few of the best, image-rich locations that are easily accessible by paved road. In the next post, we’ll get away to the backcountry where things get really spectacular.

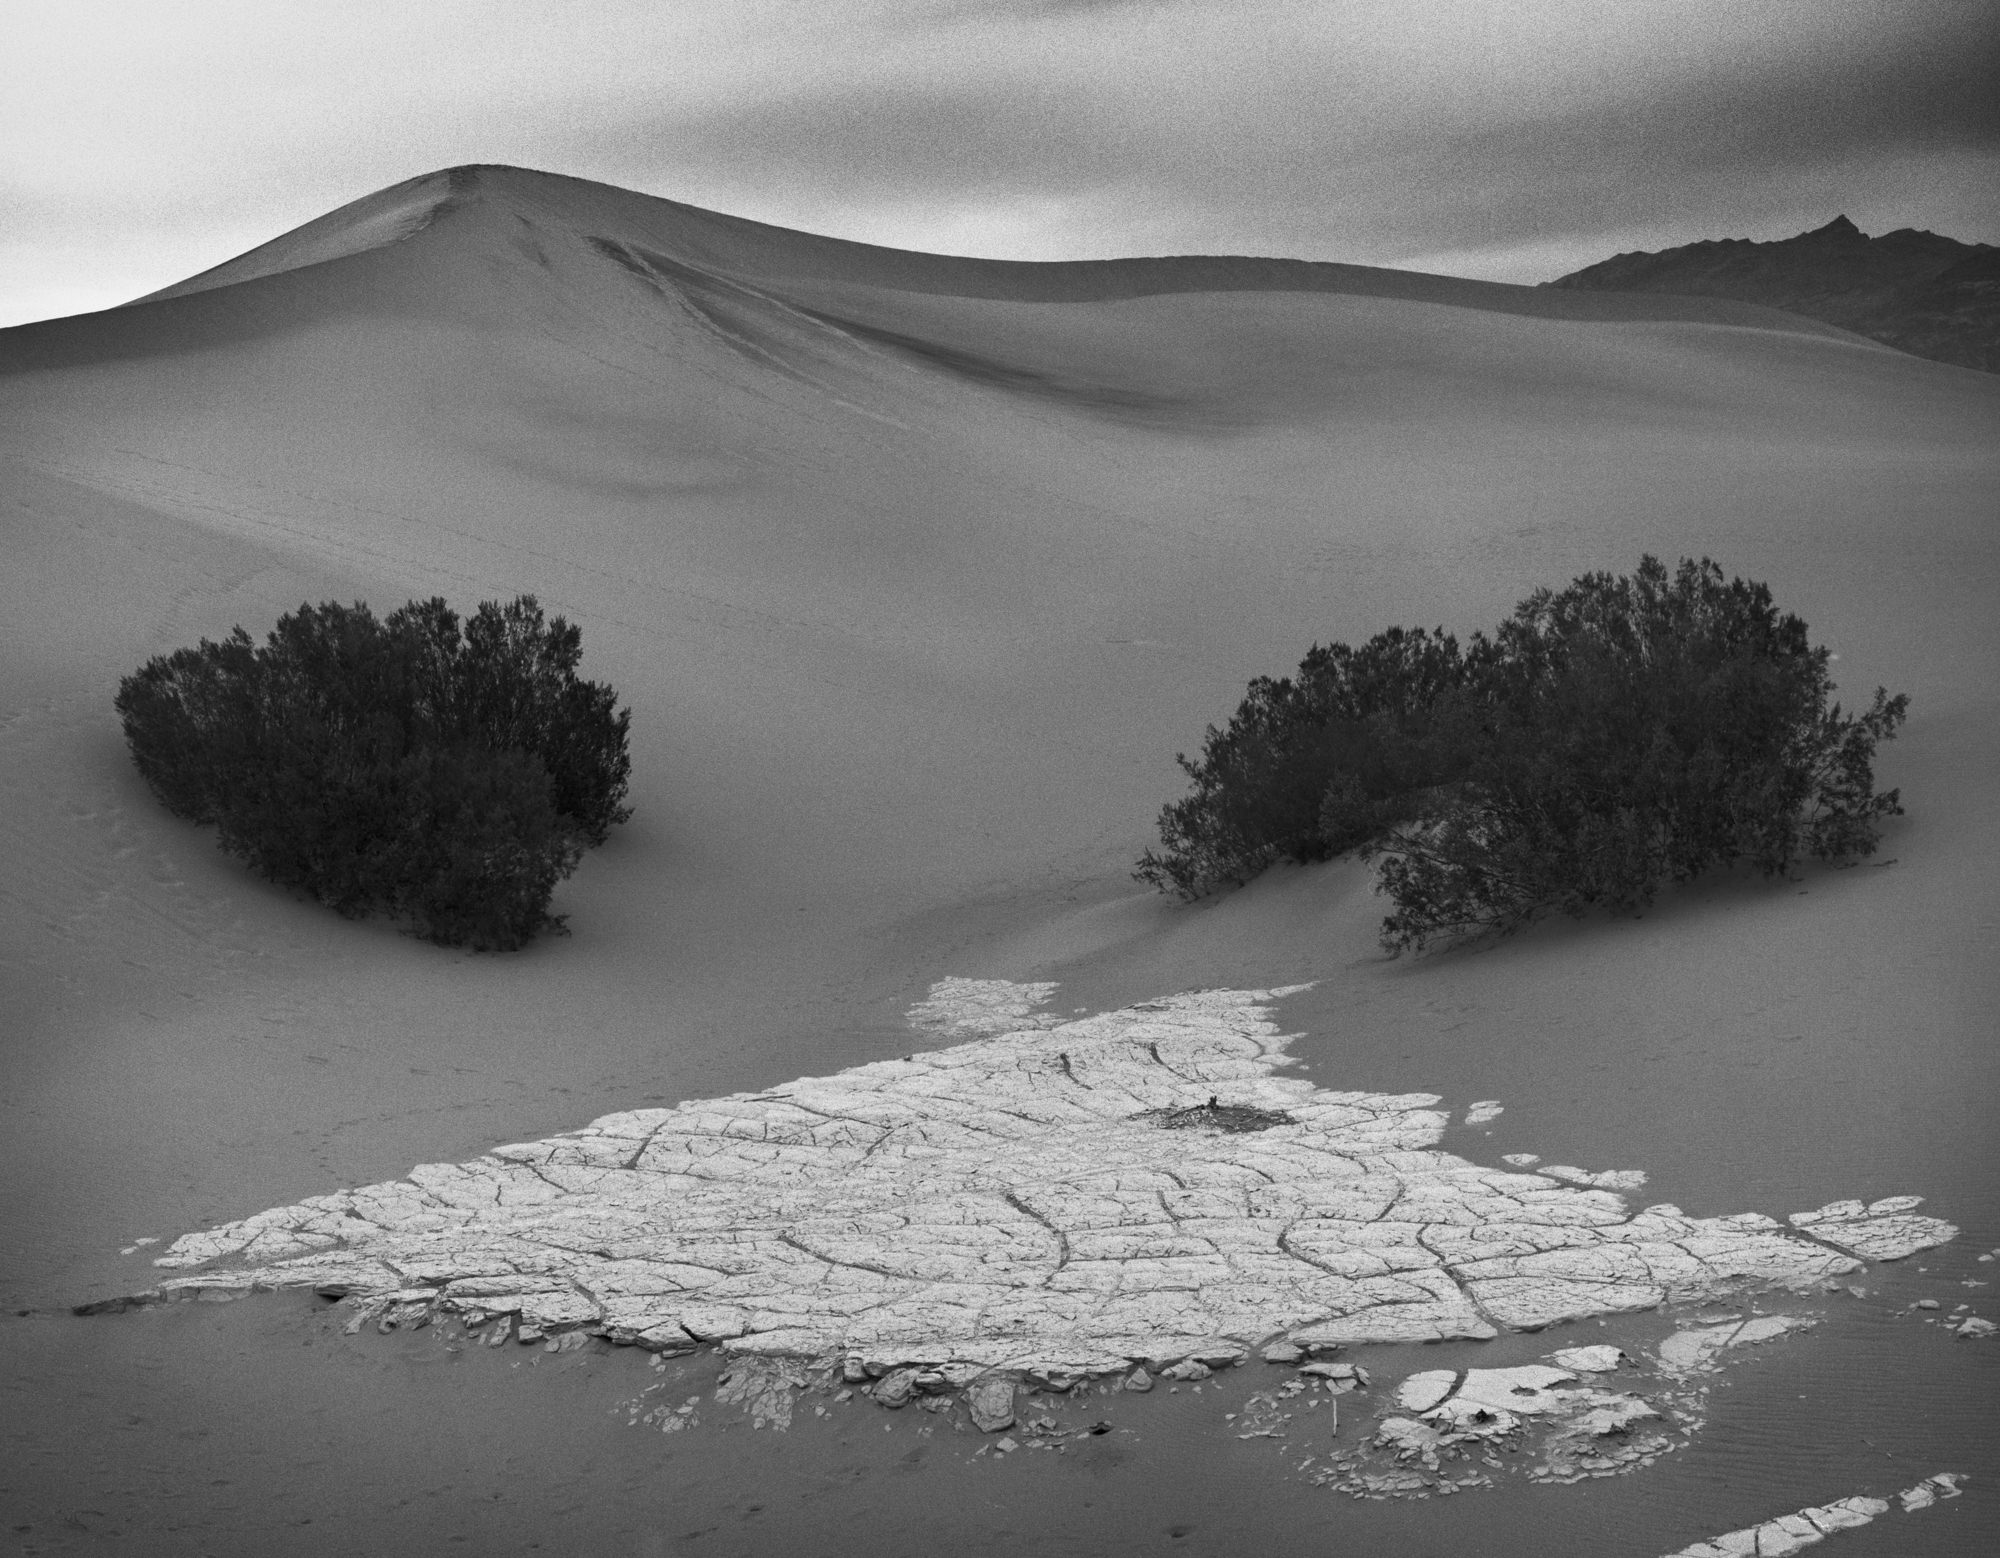
Dried mud at the edge of the sand dunes.
Dried mud at the edge of the sand dunes. Bronica SQ-A/80mm lens, Tri-X film (yeah, that’s right, film).

Mesquite Flat Sand Dunes

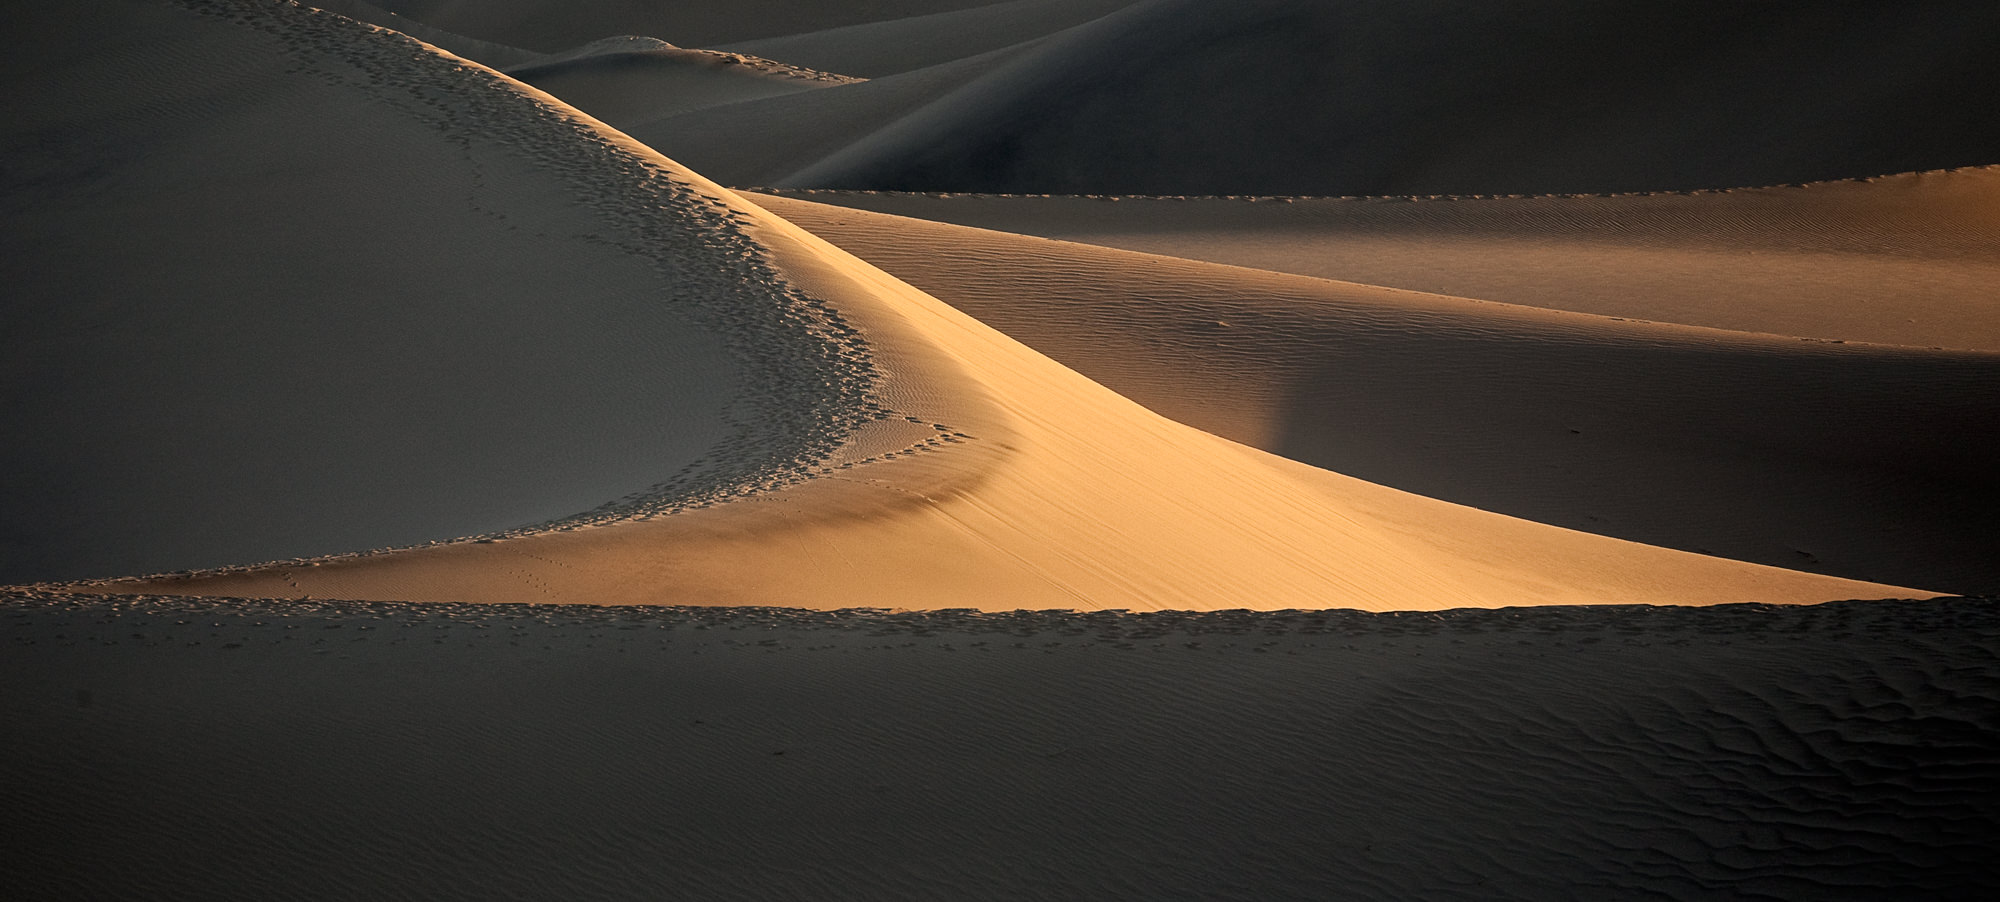
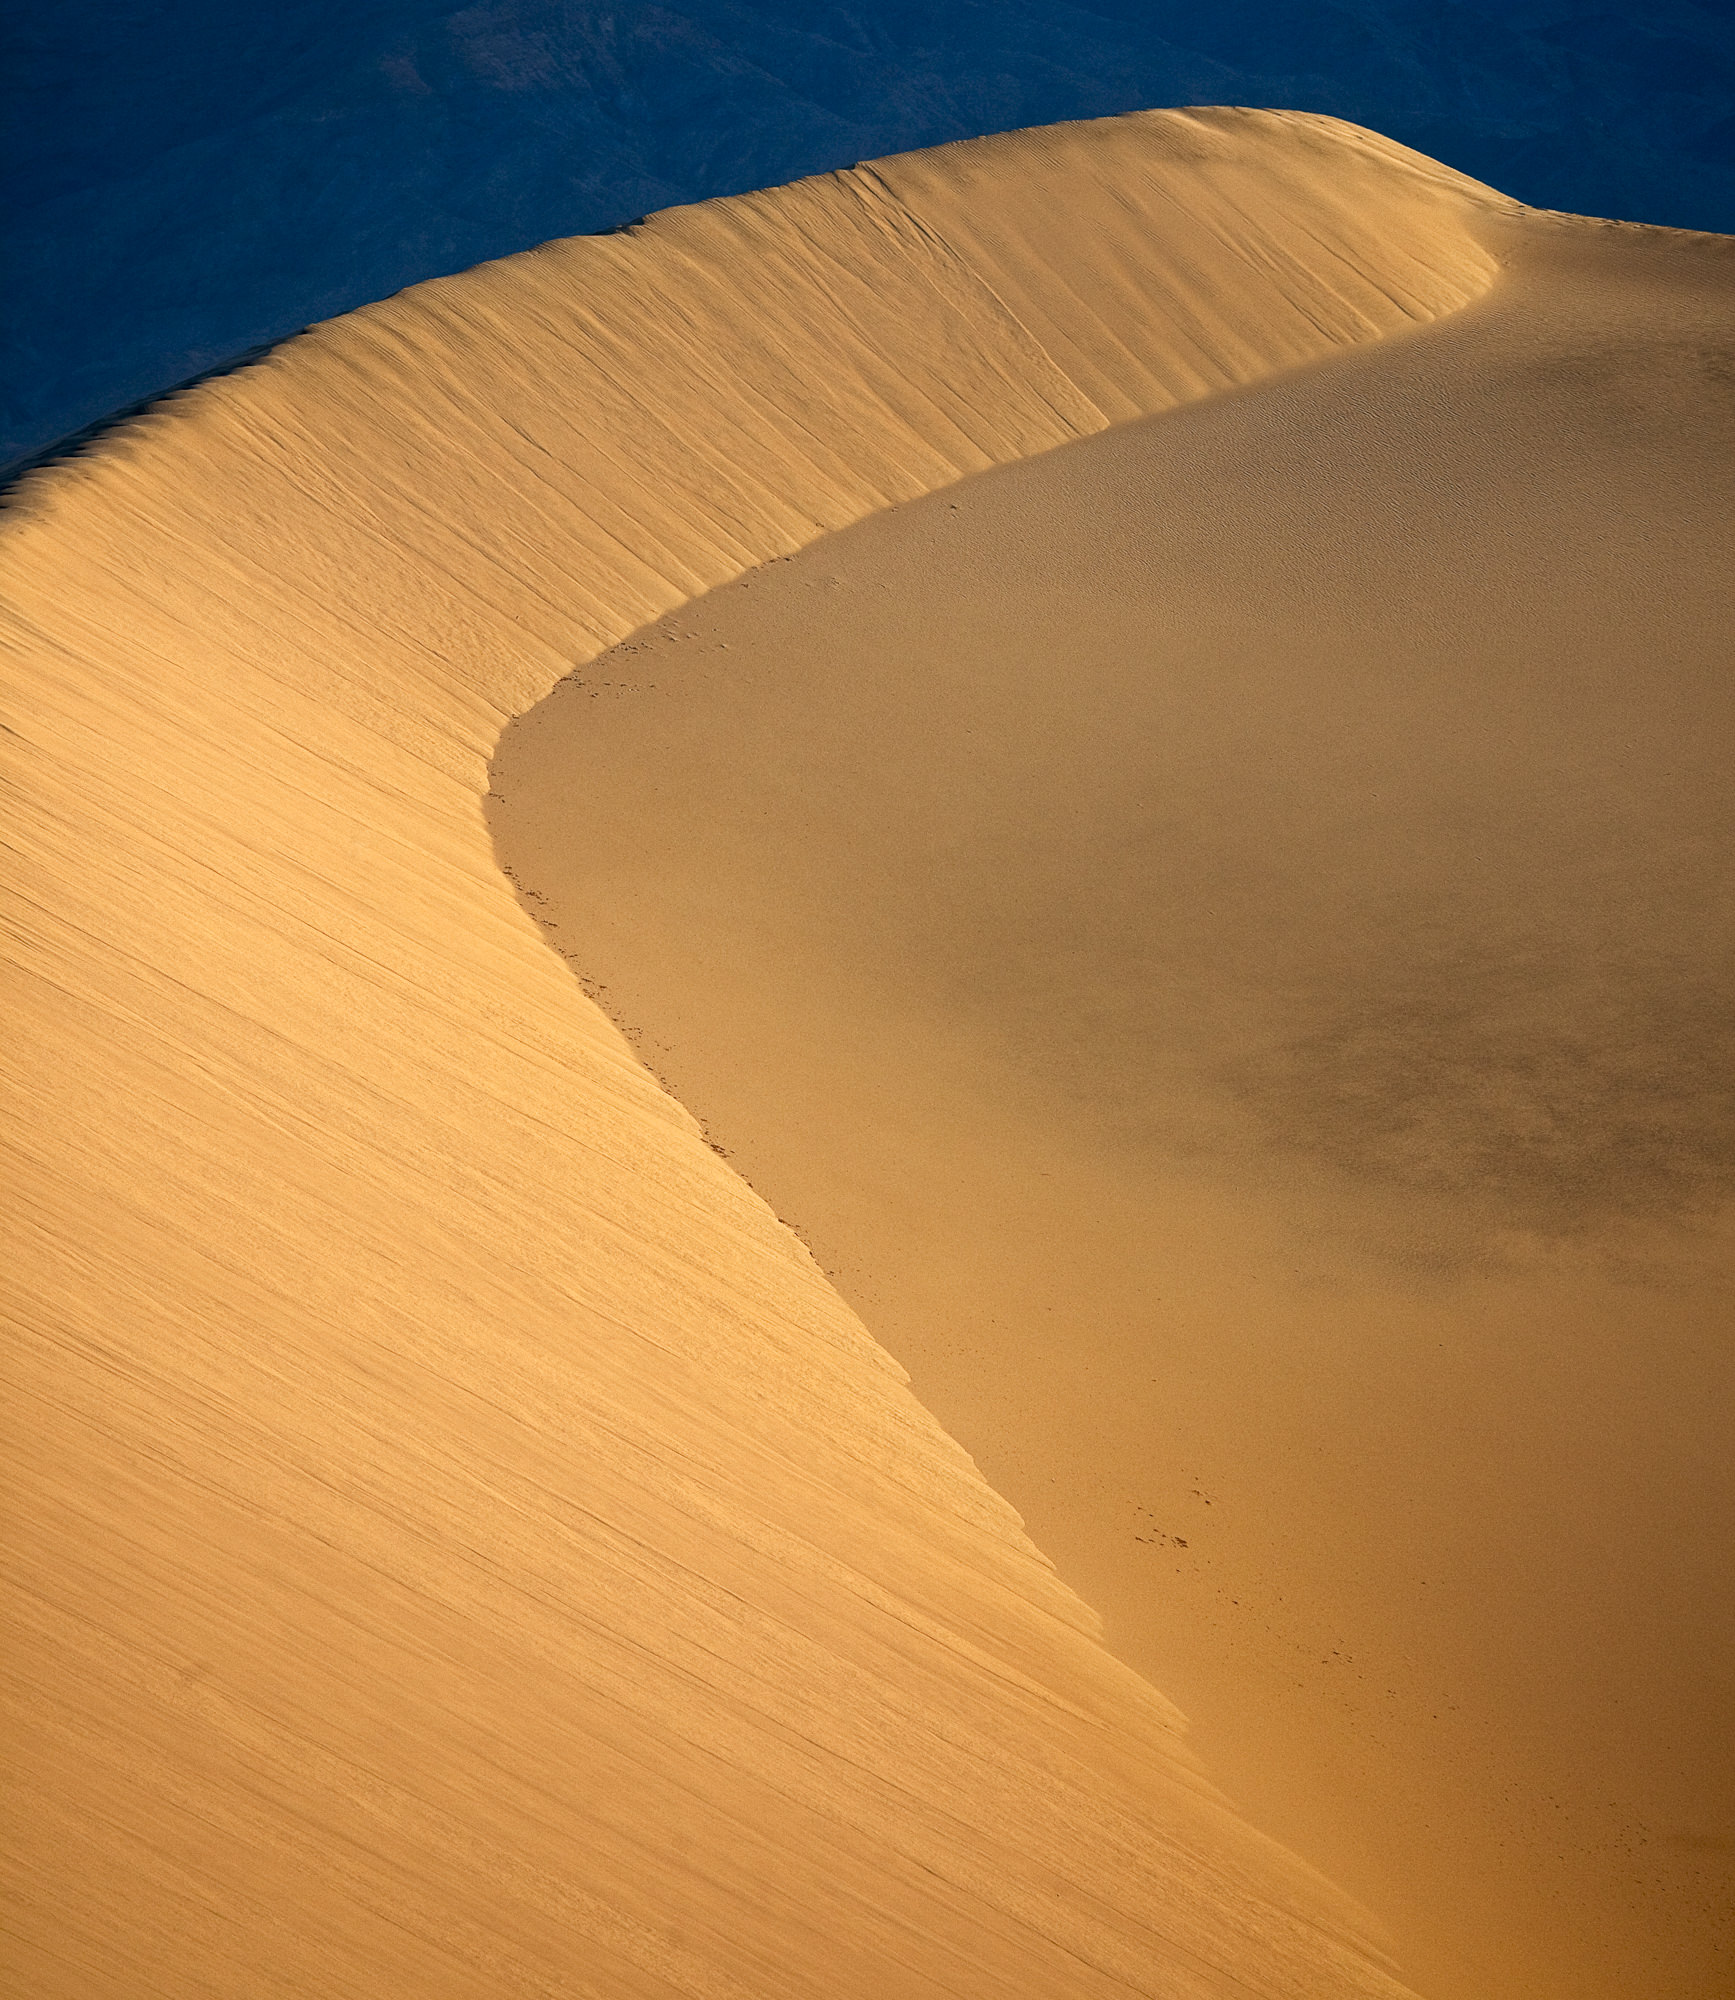
Located just east of Stovepipe Wells Village along Highway 190, the sand dunes are easy to access from either a parking lot or if you like, you can park on the road’s wide dirt shoulder and simply hike a short distance into the thick of them. (Do yourself a favor and as you leave your car, look behind you for landmarks so you can steer your way back.) The dunes shift in form throughout the year but there’s always one over-achieving pile that reaches higher than the rest and if you’re feeling energetic, you can head for that. Or, just wander around. Closer to the road, there are patches of dried, cracked earth that make for great foregrounds or abstracts. As for the dunes, the curving lines where one sandy ridge curls around into another are great for various compositions. In all directions, you’re surrounded by mountains which create great backgrounds, or there are multiple opportunities for abstracts by framing nothing but curves, shadows, and sand. I recommend taking several lenses. Use wide angles to accentuate the sensuous lines and telephotos to compress the landscapes into abstracts or to bring the background mountains into the shot. A tripod is a good idea, too, because you’ll probably want to use small apertures for more depth of field and that brings with it, of course, longer exposures which require more than a steady hand.

Early morning light brings out the curving lines in the dunes.
Early morning light brings out the curving lines in the dunes. Canon 5DMII, 70-300mm set at 300mm, f/8, 1/180, ISO 400.

Shot with a telephoto lens to compress the scene into something slightly abstract. Canon 5DMII, 70-300mm set at 250mm, f/8, 1/350, ISO 400.

Shot with a telephoto lens to compress the scene into something slightly abstract.

The best time to arrive is about 30-45 minutes before dawn but there’s enough light wander out to a suitable location and wait for the sunrise to magically transform the dunes. Granted, for all the effort, this magic will only last a few minutes before the sun stops delineating the dunes’ shapes and it all becomes rather bland. Sunrise is another good time, but be careful because once it gets dark, it’s really dark and you might have a hard time finding your way back. Bring a flashlight or, better, a headlamp. Lastly, in the winter, the dunes are pretty popular and can be trampled with footprints, marring otherwise good photos, so you may have to hike about a bit to find an unspoiled shot.

Manley Beacon at sunrise_mini
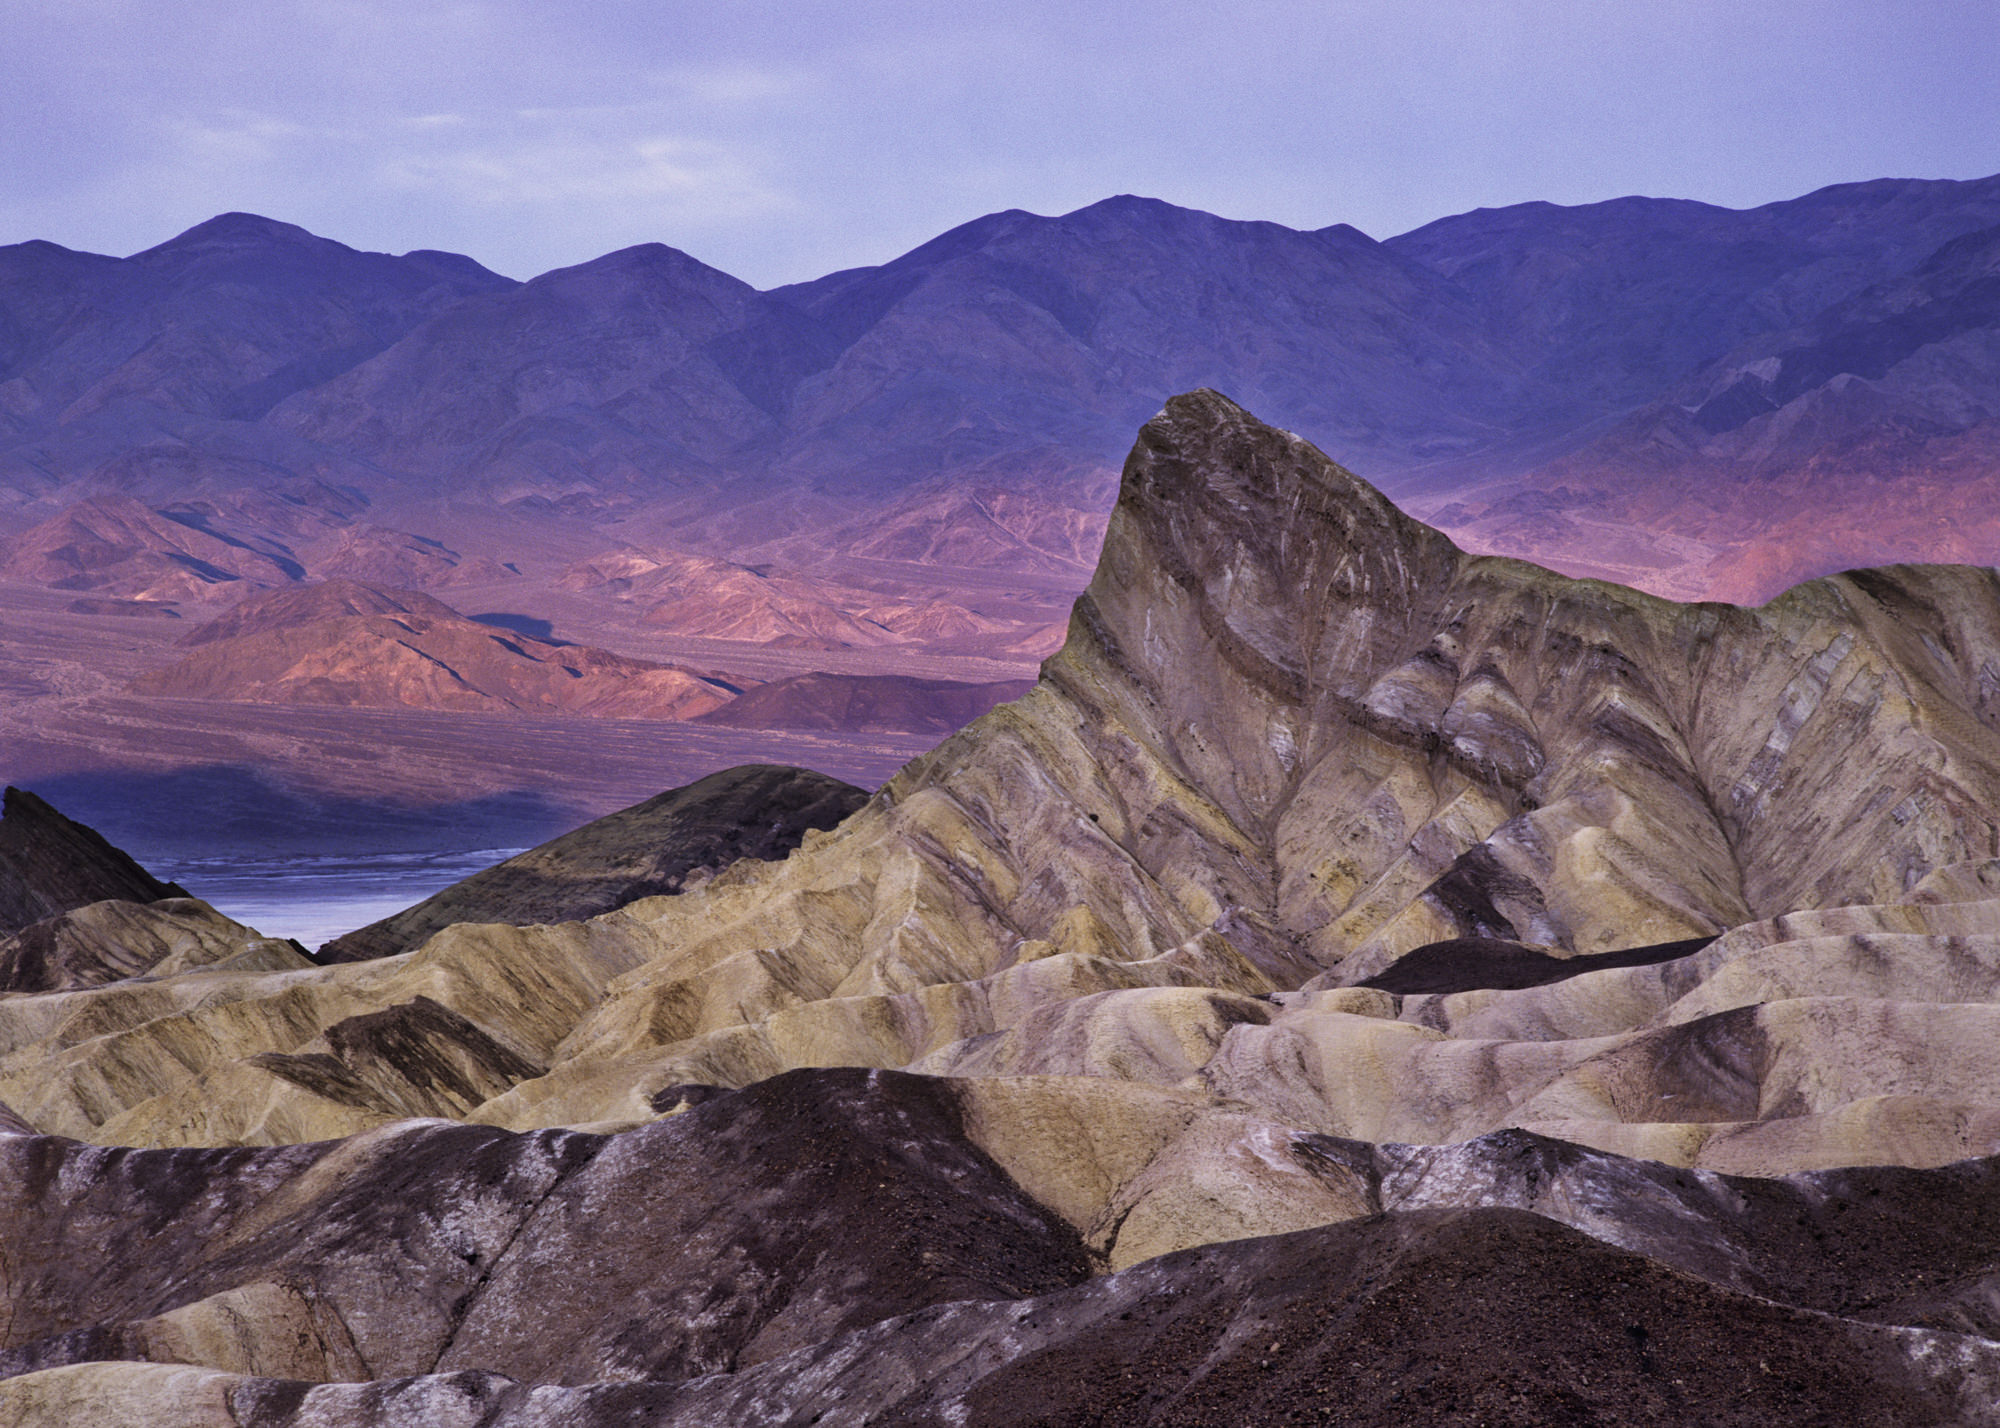
Manley Beacon at sunrise with the Panamint Mountains in the background. Bronica SQ-A, 80mm lens, Ektachrome film.

Zabriskie Point

This is just outside of Furnace Creek, again on Highway 190. There are a large parking lot and a short, somewhat steep paved path to a high point where you look down on a pretty tortured landscape of twisting canyons that lead out to Death Valley’s main playa and then in the distance the Panamint Mountains. The main attraction for most photographers’ memory cards is Manley Beacon, a pointy outcrop the shape of a shark’s tooth. In the right light—sunrise is best—Manley Beacon gets hit by a brief blast of warm sunlight while the rest of the foreground is still in shadow. Get here early, before sunrise, to get a spot on the overlook among a usual crowd of other photographers. If there are clouds, sunset can also provide great images. Again, bring a tripod and be prepared to bracket for the extremes in light.

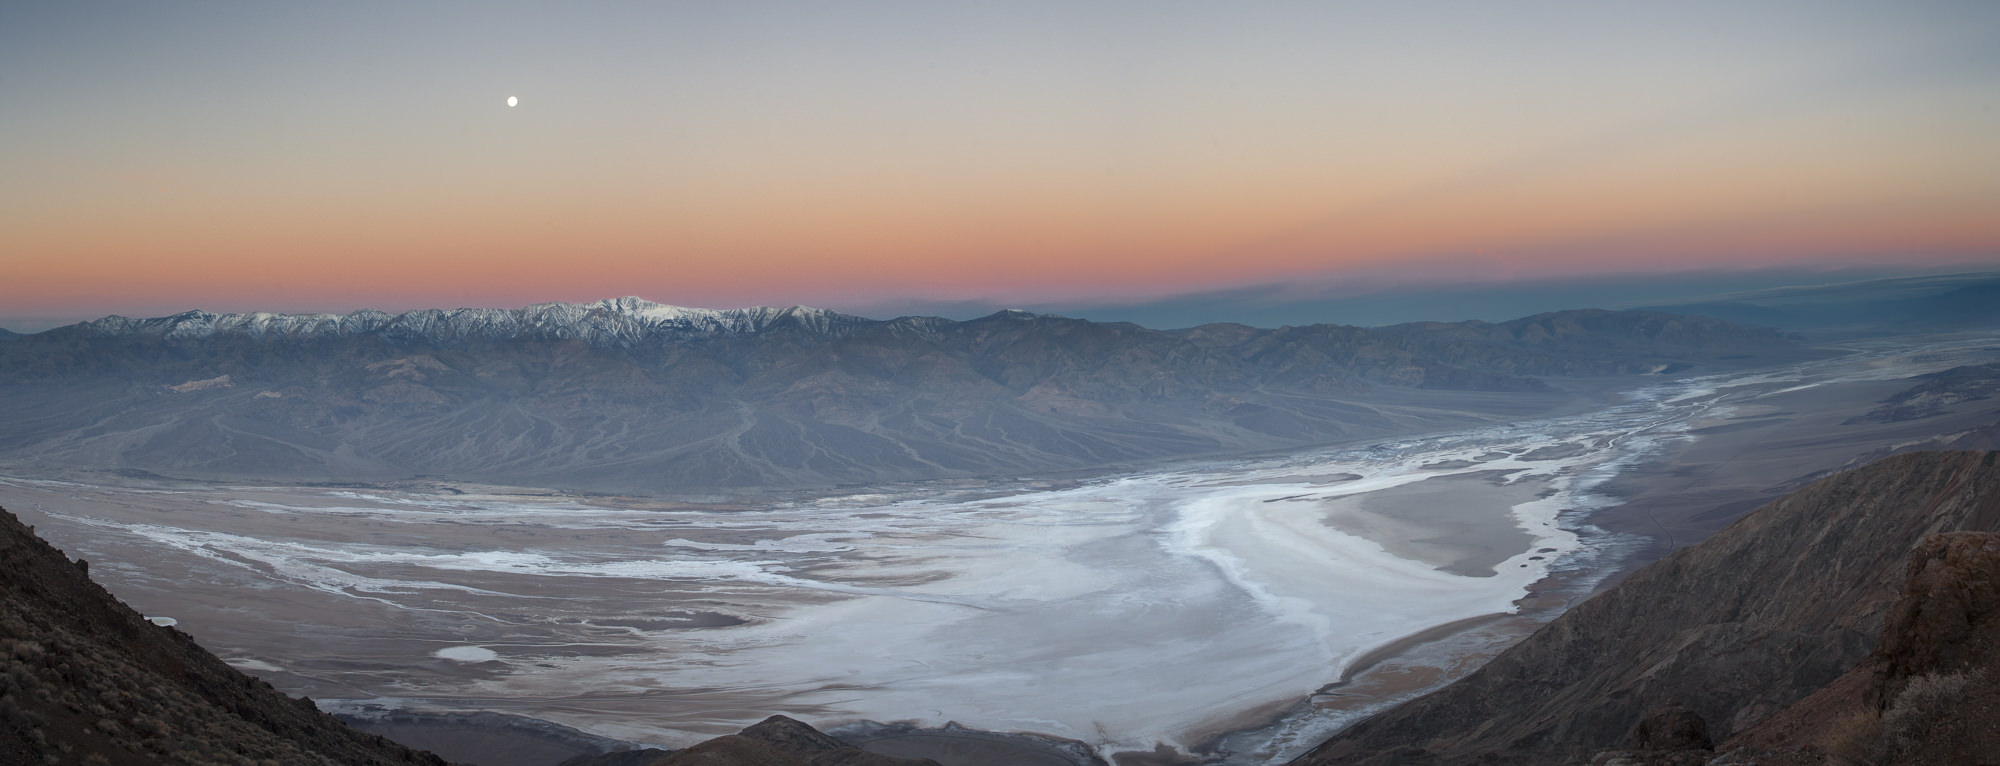
Death Valley's playa as seen from Dantes View. Eleven frames stitched into a panorama.
Death Valley’s playa as seen from Dantes View. Eleven frames stitched into a panorama. Note the snow in the Panamint Mountains, which you’ll see in the winter. The high point below and a little to the right of the moon is Telescope Peak. Canon 5D, 28-70mm set to 36mm, f/8, 1/30, ISO 400.

Dantes View

For another spectacular view without so many tripods, Dantes View at an elevation of 5475′, gets you a plunging, straight-down shot of Death Valley’s below-sea-level playa running through the middle of the park with the Panamint Mountains shining in the background. The time it right for a sunrise with the moon setting at the same time near the Panamints’ 12,000′ Telescope Peak. The drive there will take about 45 minutes from Furnace Creek and involves a 14-mile climb up a winding road off Highway 190. So if you spend the night at one of the hotel rooms in Furnace Creek, you’ll need to get up horribly early to reach the viewpoint before sunrise. Well worth it. One note of caution. It gets really windy on the top of Dantes View and in the winter, adds to that bone-rattling cold. Dress for the Arctic and you’ll be fine. There’s also a trail that leads off from the right side of the parking lot to more great views of both Death Valley and to the east into Nevada. You’ll need a tripod just to hold your camera steady in the howling wind.

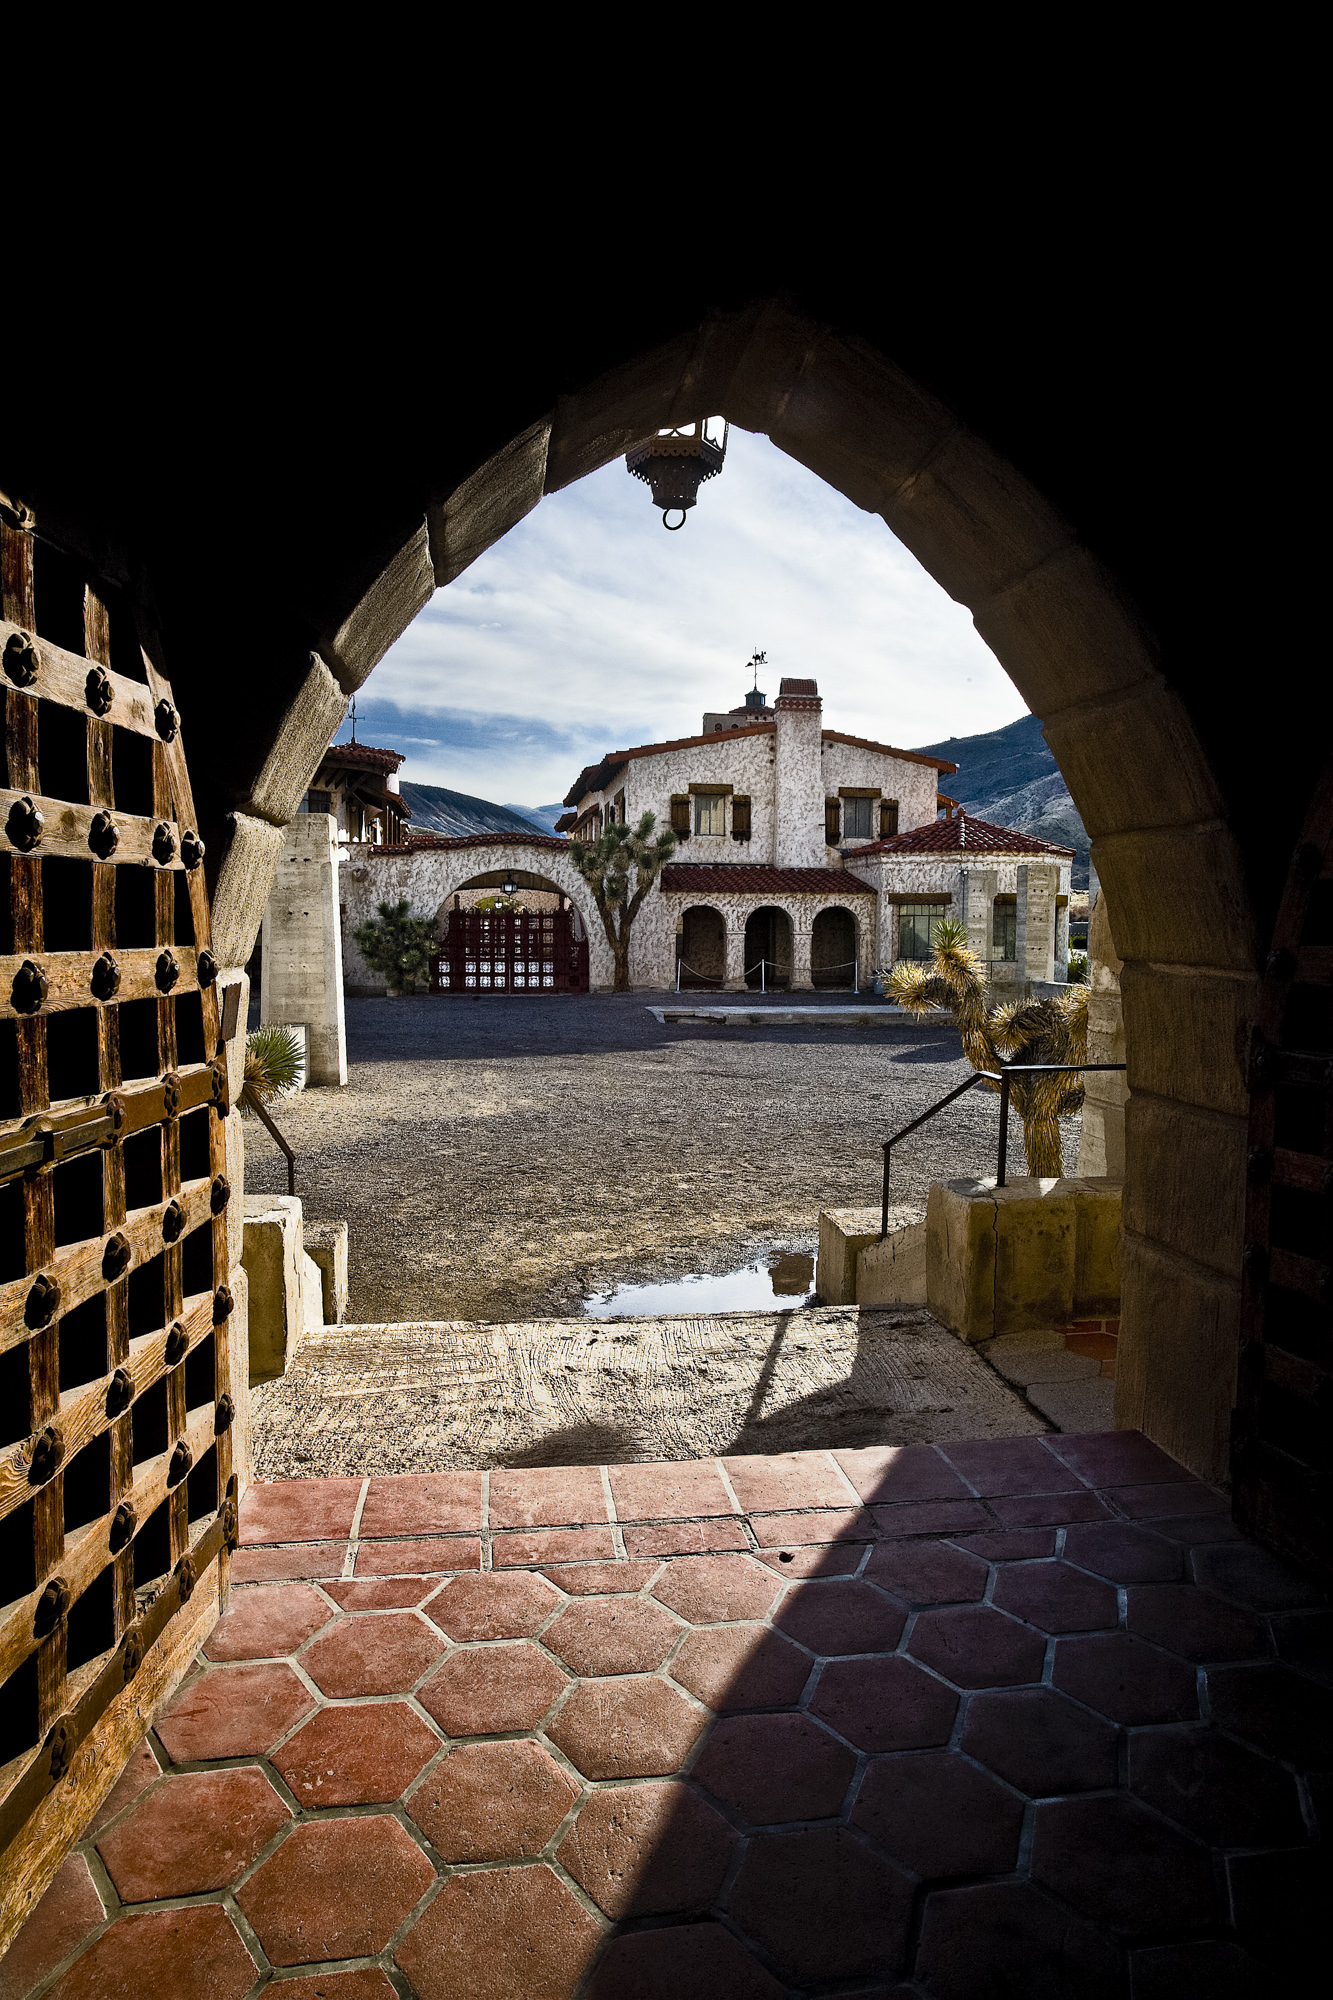
Scotty's Castle: There are many archways that make great framing elements.
Scotty’s Castle: There are many archways that make great framing elements. Canon 5D, 16-35mm set at 22mm, f/22, 1/30, ISO 400.

Scotty’s Castle

On the opposite side of the park, way north of Dantes View (about 80 miles away, which says something about how big Death Valley is), you’ll find the one manmade attraction inside the park that should be photographed. I won’t get into the entire history of this colossal home built in the middle of nowhere by a wealthy man who wasn’t, by the way, named Scotty, but the architecture alone is worth an hour of your time. There’s a tour of the grounds and buildings, but photography inside the house is prohibited. However, if you get there early in the morning, you can wander about the grounds unfettered and have wonderful shadows and light, and no people.

Sadly, flood damage to the surrounding roads has meant Scotty’s Castle is currently closed and perhaps won’t be reopened until 2019, but keep it in the back of your mind because it is well worth a visit.

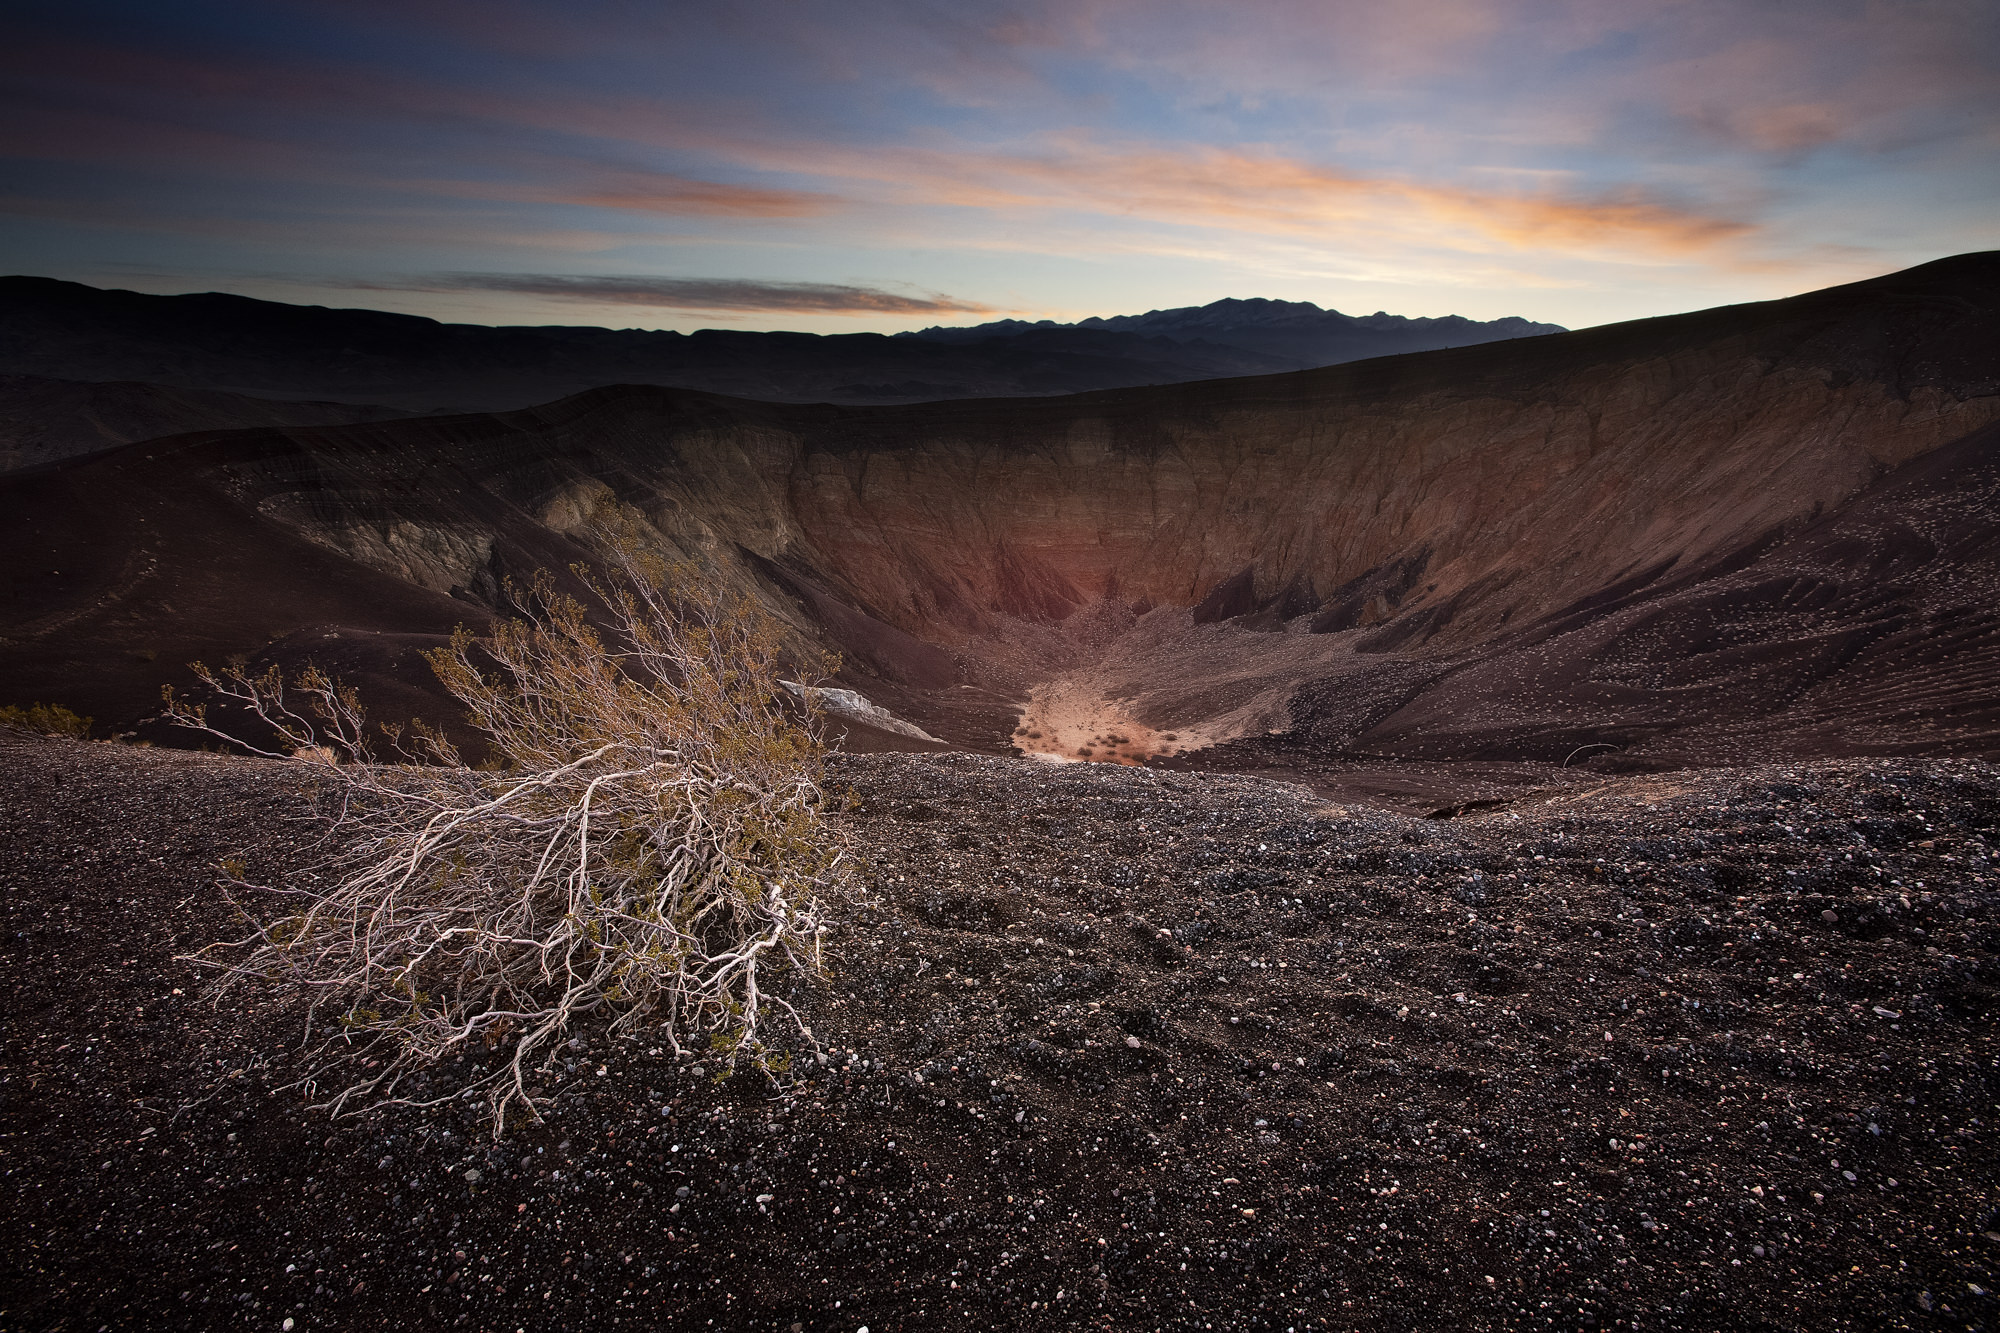
Ubehebe Crater at sunrise, shot not far from the parking lot. How easy was that?
Ubehebe Crater at sunrise shot not far from the parking lot. How easy was that? Canon 5D, 16-35mm set 16mm, f/16, 1/40, ISO 400.

Ubehebe Crater

That’s pronounced U-be-hee-bee. Just so you know. This is around the corner from Scotty’s Castle and is available for photography. Best in the morning or evening. The volcanic crater, some 600 feet deep, was formed a mere 300 years ago when rising magma hit ground water and the resulting trapped steam exploded. There is a soft, steep trail to the bottom of the crater but photographically, not really worth the difficult climb back out. Besides setting up near the parking lot for sunrise shots, try wandering around the crater rim for other angles, especially in the late afternoon. Consider doing panoramas here to get it all in.

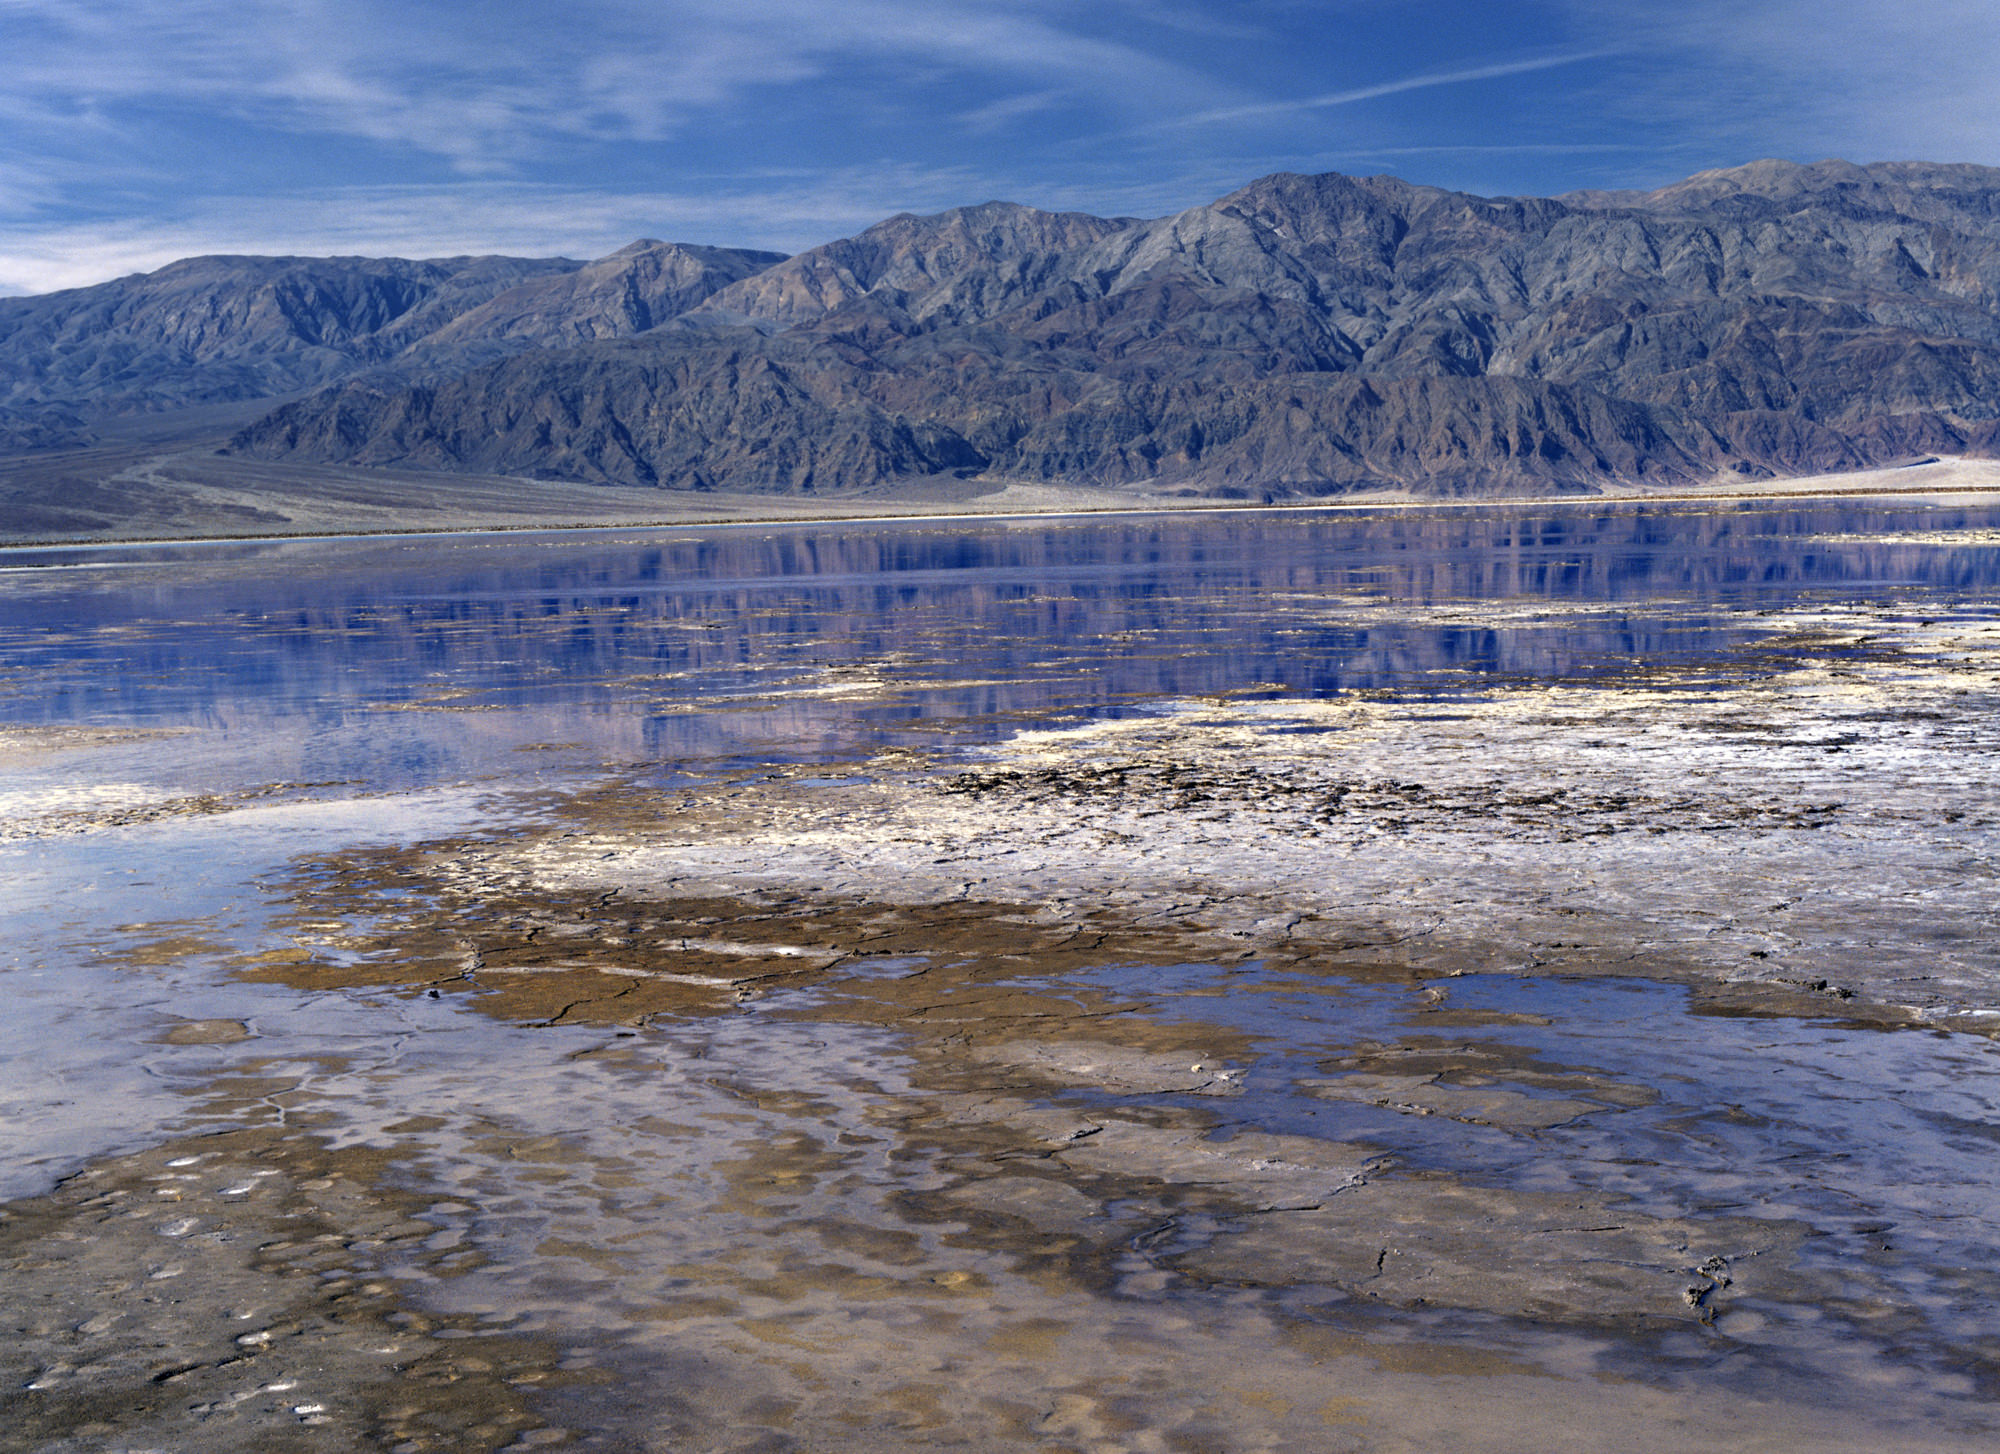
The water-logged playa near Badwater shot in the winter. A rare sight.
The water-logged playa near Badwater shot in the winter. A rare sight. Bronica SQ-A, 80mm, Ektachrome film.

Badwater Basin

There is something entirely weird about driving along Highway 178, south of Furnace Creek, and seeing a sign saying “Sea Level,” while you continue descending. That descent ends at Badwater, the lowest elevation in North America at minus 282 feet. The best light here is either sunrise or sunset. You can take a path from the parking lot out into the playa, which, during the winter, is often a shallow lake, making for nice photos. If you luck out, you’ll get the Panamint Mountains reflecting in the water. A rare sight.

Travel Guide Stuff

For more information, go to the Death Valley National Park website, Keep in mind, that winter is a popular time and you’ll have to book the few in-park hotel rooms several months in advance. You can also camp at several, somewhat dreary campgrounds but they don’t take reservations. If you don’t mind a half-hour drive out of the park, try getting a hotel in Beatty, Nevada. It’s at least cheaper but farther from the good stuff.

[The opening image was shot from Zabriskie Point looking down into the canyons during a winter sunset.]

Blurred Lines: Shake Your Camera For A Different Perspective

On a recent backpacking trip in the Sierra Mountains, the weather one morning was in a tediously sunny state. Fine for hiking, but blah for photography. You know what I mean—an unattractive, contrasty combination of deep shadows and bright highlights where the landscapes just had a dusty, baked look about them. As is so often the case when I’m backpacking, I started to lament how I was passing scenes that had great photographic potential if the light was a little gentler. (These were fairly remote places I would probably never return to, making it even more frustrating.)

Then, while my friend, Allen, and I were resting near a shady stream surrounded by wildflowers covered in blotchy sunlight, I remembered how some photographers have experimented with shaking their cameras to blur a scene into a lusciously soft, impressionistic rendering. The effect, when done well, could reduce the scene to its basic colors, shapes and even textures giving the viewer a different way to see the world (which also happens to be my favorite reason for taking pictures).

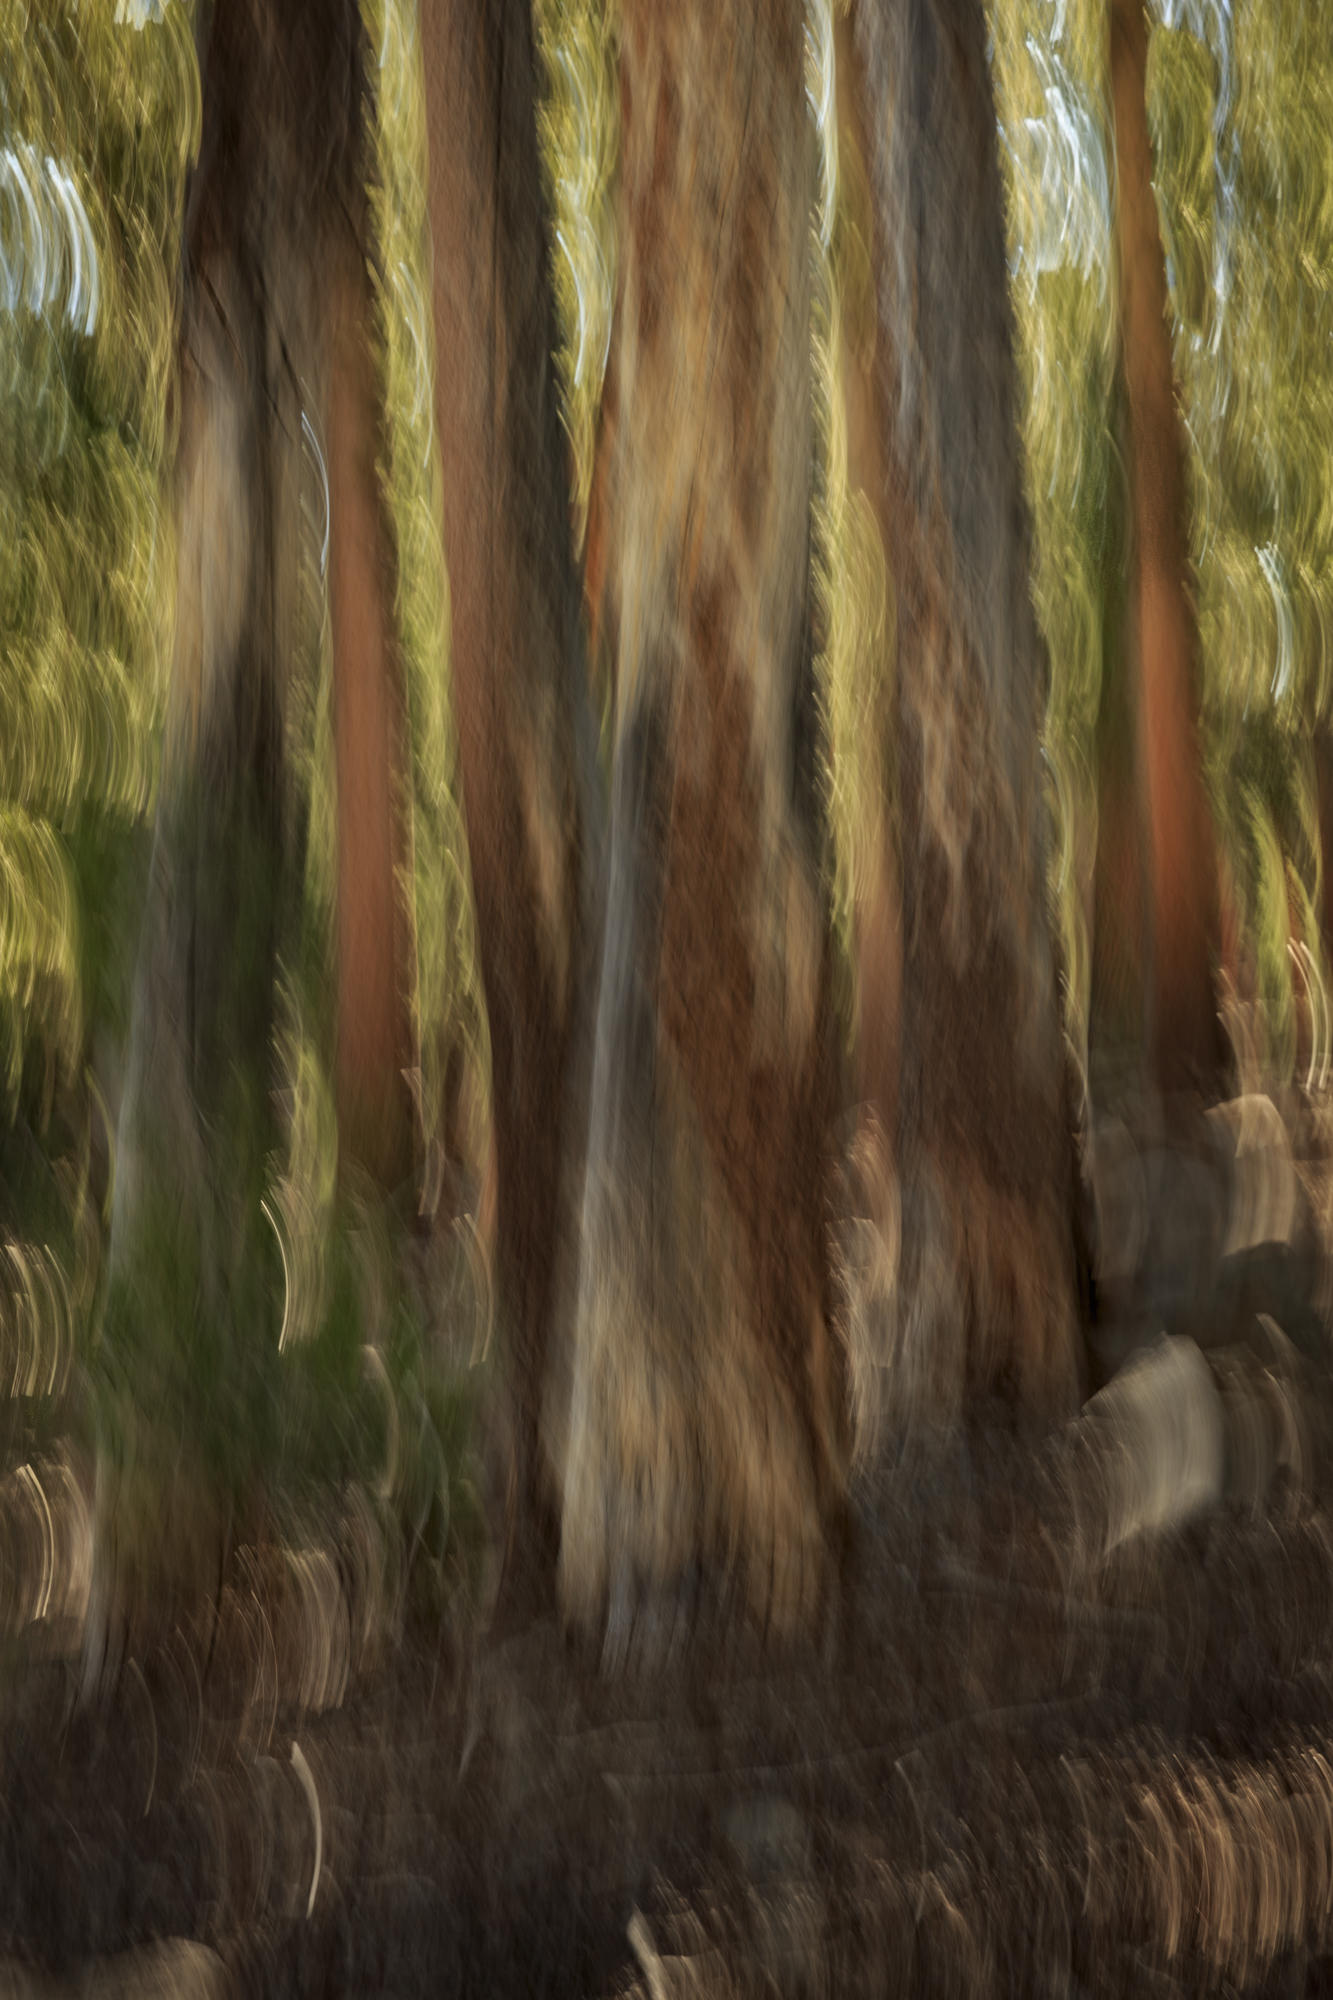
I slowly moved the camera up and down. Canon 5DMIII set to ISO 100, f/16, 1/4 sec., 24-70mm lens set at 70mm.

A New Way to Overcome Bad Light

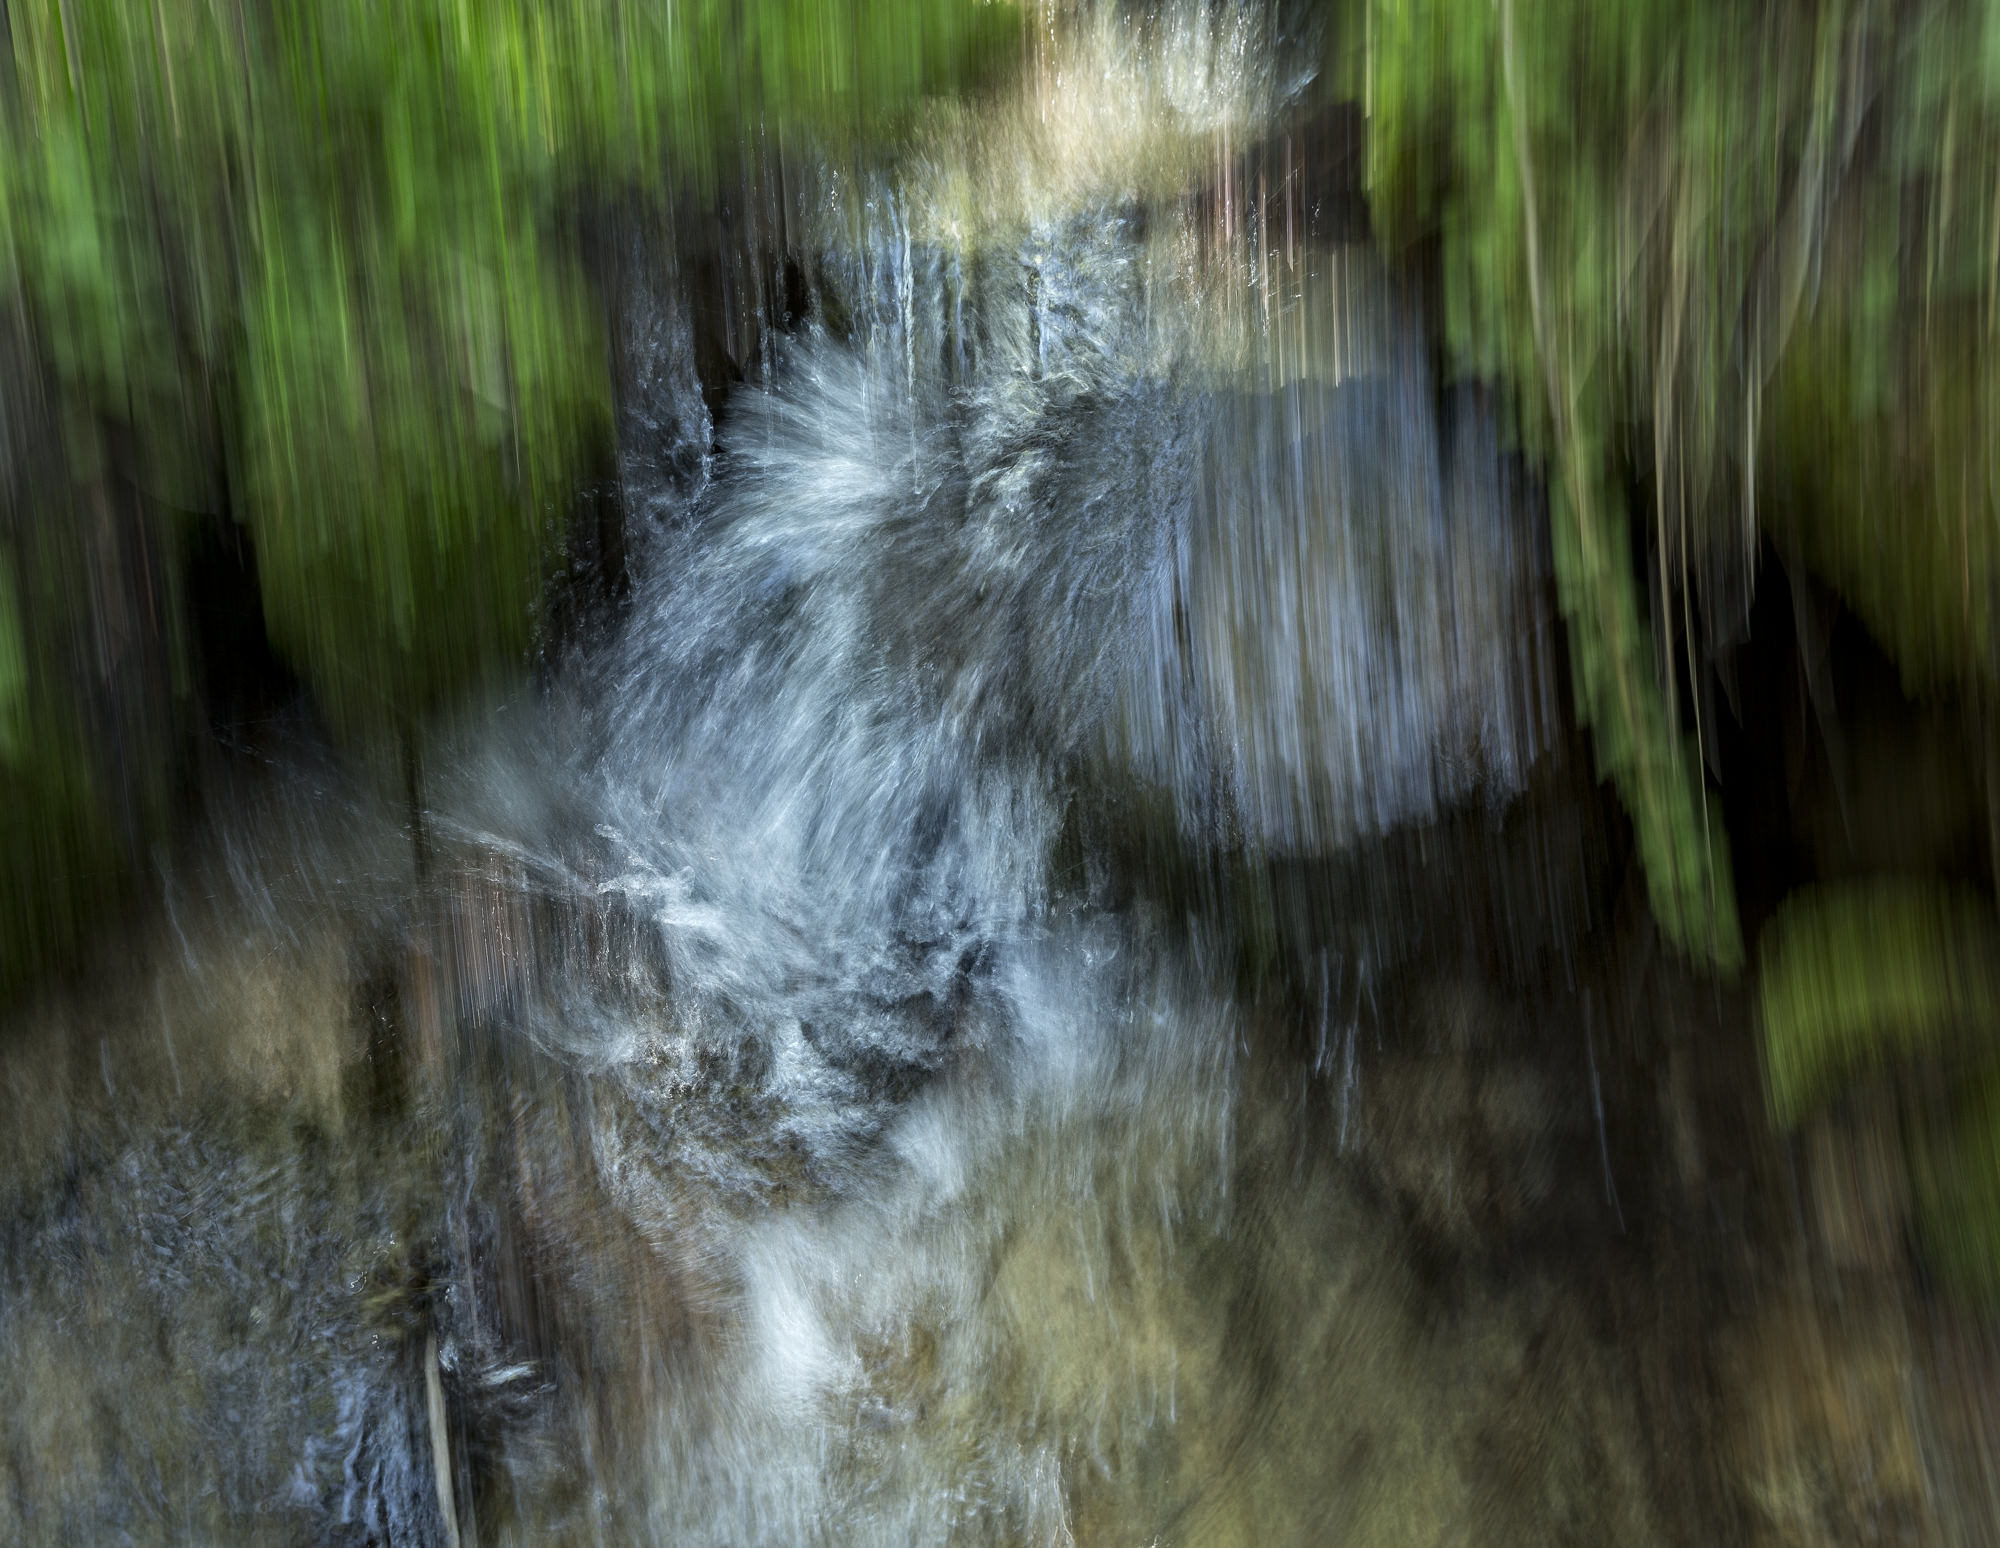
So given how I felt like my inner artist wasn’t being served by the current conditions, I decided that perhaps a blurry version of the scene—in particular, the flowers—might overcome the otherwise tragic lighting. Somewhat randomly, I chose an exposure of ¼ second, ISO 100, and let the camera select the f-stop which turned out to be f/8. (Under the circumstances, I figured depth of field wasn’t an issue.) With the drive mode on my Canon 5DMIII set for high-speed continuous (six frames a second), I then held down the shutter release and gently tilted the camera up and down over and over until I had taken, oh, 15 shots or so.

I was absolutely stunned by some of the images. Those splotchy highlights turned creamy. Distracting details became broad brush strokes of color. Ordinary objects felt magical. Even on my LCD, the images were so compelling, I just wanted to stare at them. There was something about the pictures that was both kinetic and soothing at the same time. I excitedly jumped from spot to spot as if I had just discovered the next best thing in the world. Allen, an engineer at Jet Propulsion Laboratory, was slightly amused that anyone could get so enthusiastic overtaking blur effects with expensive, ultra-sharp lenses.

I tried to move in one direction, downstream. Canon 5DMIII set at ISO 100, f/9.5, 1/8 sec, 24-70mm lens set to 35mm.

I spent the rest of the five days on the trail exercising this new creative muscle, especially when the light would have otherwise kept me from even looking at my camera.

Experiment, Experiment, Experience

I’ve since played with different scenes, settings and lenses. And I have a few suggestions based on what I’ve learned so far.

Slow but not too slow—Getting the right shutter speed is key. I found ¼ to 1/8 works best, but see if something else works better for you. Going too long, however, just turns the image into pixel soup, which might just want you want, but I think I lose too much of the scene’s basic flavor that way.

Manually set the exposure—One thing I discovered with those first shots was the wild variation in exposure depending on what the camera was pointed at. If the lens was aimed toward shadows, the overall exposure was lighter than if I started out aiming toward the brighter parts of the scene. So to be consistent, I just pick an average exposure, manually plug it into the camera and stick with that throughout the picture-taking.

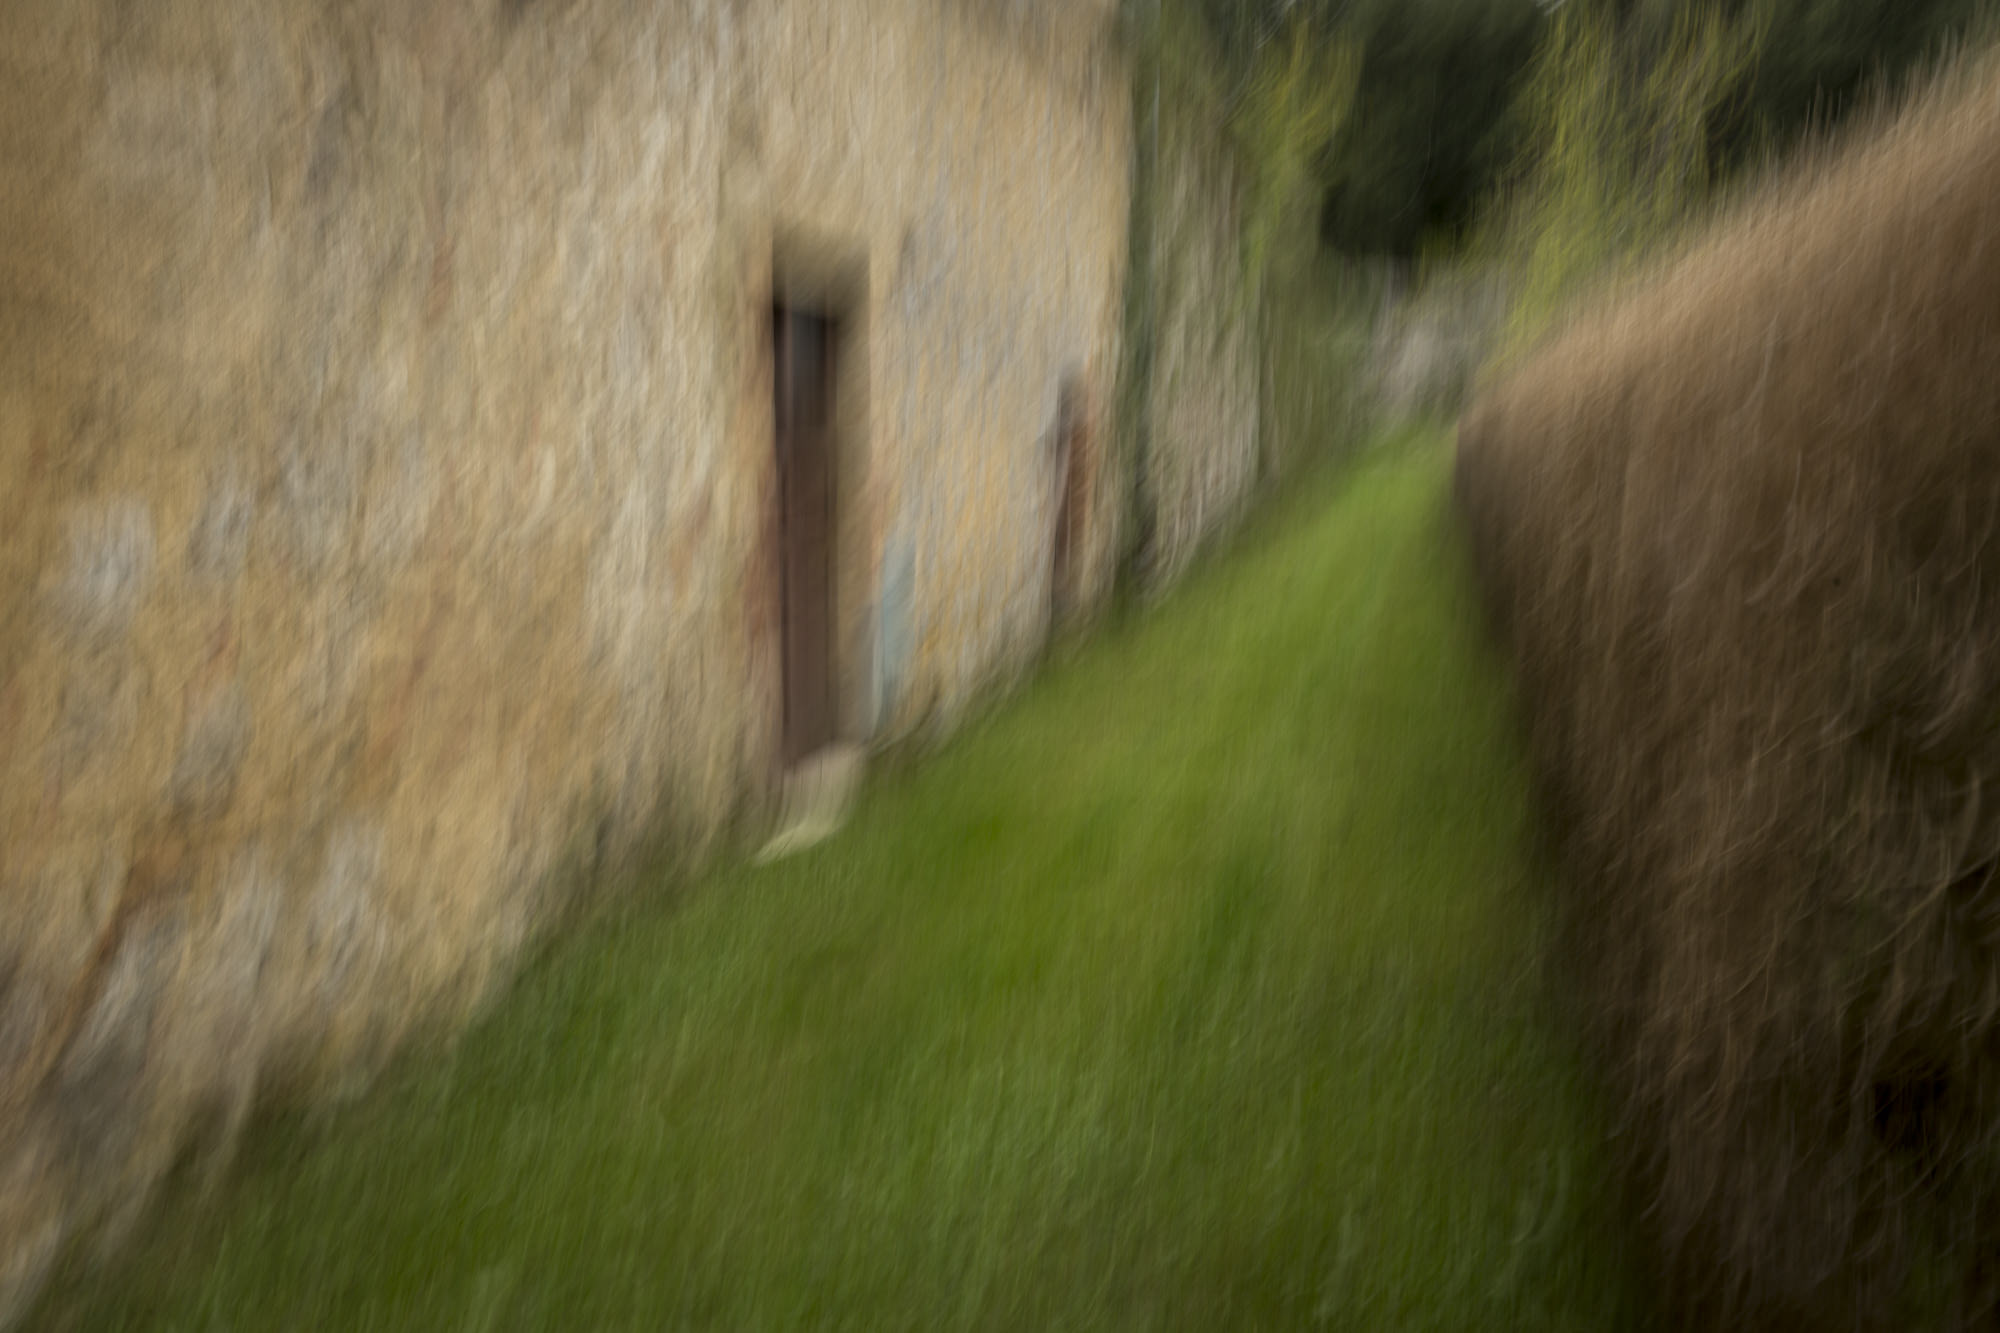
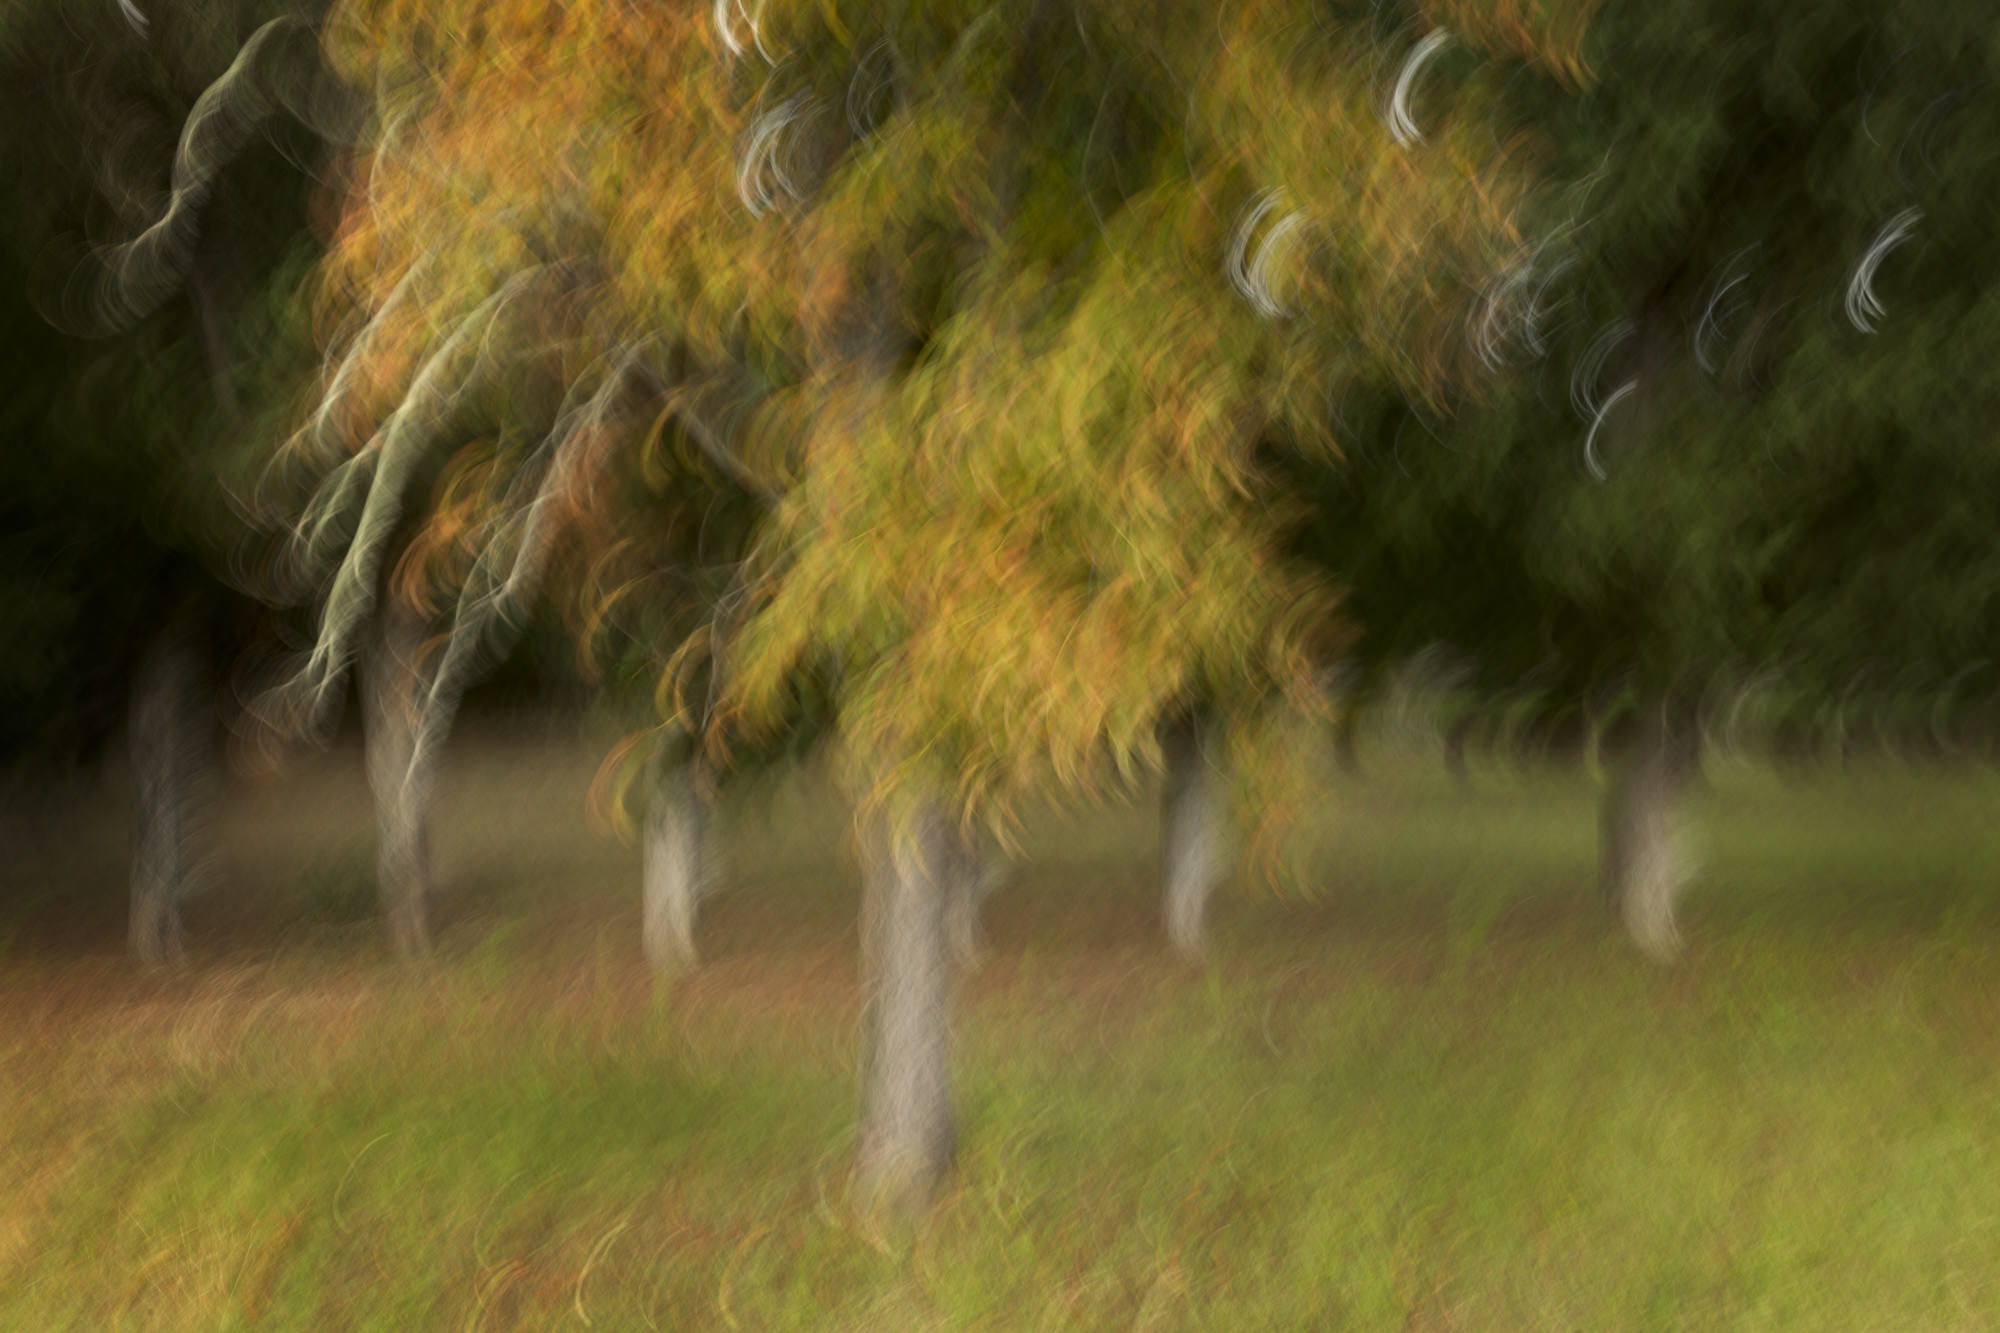
Compriano estate, Tuscany region, Italy. Canon 5DMIII set at ISO 100, f/16, 1/6 sec. 24-70mm lens set to 35mm.

Handhold the camera—No need for a tripod here. You want the freedom to move the camera in various ways.

Keep the camera moving—Instead of taking one picture at a time, I hold down the shutter while continually waving the camera up and down, side to side or in circles. Each renders the scene differently and one might work better for the subject than another.

Be prepared to waste a lot of pixels—Take hundreds of pictures because only a few will ever make the cut. What criteria you use for editing is up to you. I like something that strongly hints at what was there while having an impressionistic aesthetic all its own. You might want something more or less defined.

Compriano estate, Tuscany region, Italy. Canon 5DMIII set at ISO 100, f/16, 1/4 sec. 24-70mm lens set to 35mm.

Restrict your framing—I’ve had some success with broad landscapes, but overall, I find this works best if I stick to concentrating on just a few trees or rocks or whatever happens to be there rather going wide.

Play with depth of field—I was wrong when I first thought this isn’t a factor. Wide-open apertures definitely render a scene differently than stopped-down ones. Try both.

Play with focus—Definitely set the lens for manual focus but experiment with focusing on a single object and then try the same shot with something else in focus. I’ve even tried shooting with the entire scene out of focus, which worked a few times but isn’t quite as magical as focusing on one thing before I start to move the camera.

In some ways, blur effects require as much skill and persistence as taking pictures with a steady hand. It’s also highly personal—as is most photography—where the images you show the rest of us are picked based on what you like and what you want to say about the subject. Plus, the amount of creative experimentation that goes into deliberately on blurred photos can renew your excitement and enthusiasm for the art of photography.

Repeat Performance: When You Don’t Get the Shot the First Time, Go Back!

I’m a firm believer that life is full of second, third, fourth chances. I freely admit I’ve screwed up a whole bunch of times, picked myself up and then screwed up again. I’m probably lucky to be alive. Finally, along with the way, I’ve gained a bit of wisdom—at least I think so—and figured out how to do some things right.

This equally applies to photography, although I doubt having the wrong f-stop could have killed me. There are so many places that I visit and photograph that is worth returning to. Sometimes, it’s because I was there at the wrong time of day or wrong season, and I optimistically figure the most amazing image of my life will be waiting if I just hit the right moment on the next trip. Other times, I’ll go back because I simply blew it the first time—wrong compositions, wrong lenses, wrong angles, etc. Lastly, as in the case of a national park, I’ll keep coming back because there’s so much more to photograph. I’ve lost count how many times I’ve been to Death Valley National Park and each time, I get something different.

The Art of Persistence

Let me cite one example. I spent years driving out to the desert to photograph landscapes by moonlight and one of my favorite locations was California’s Joshua Tree National Park. This place is a wonderland of photographic possibilities, and working under the full moon meant I wasn’t restricted to just a few minutes of perfect light in the morning or night, but hours. (But that’s another blog.)

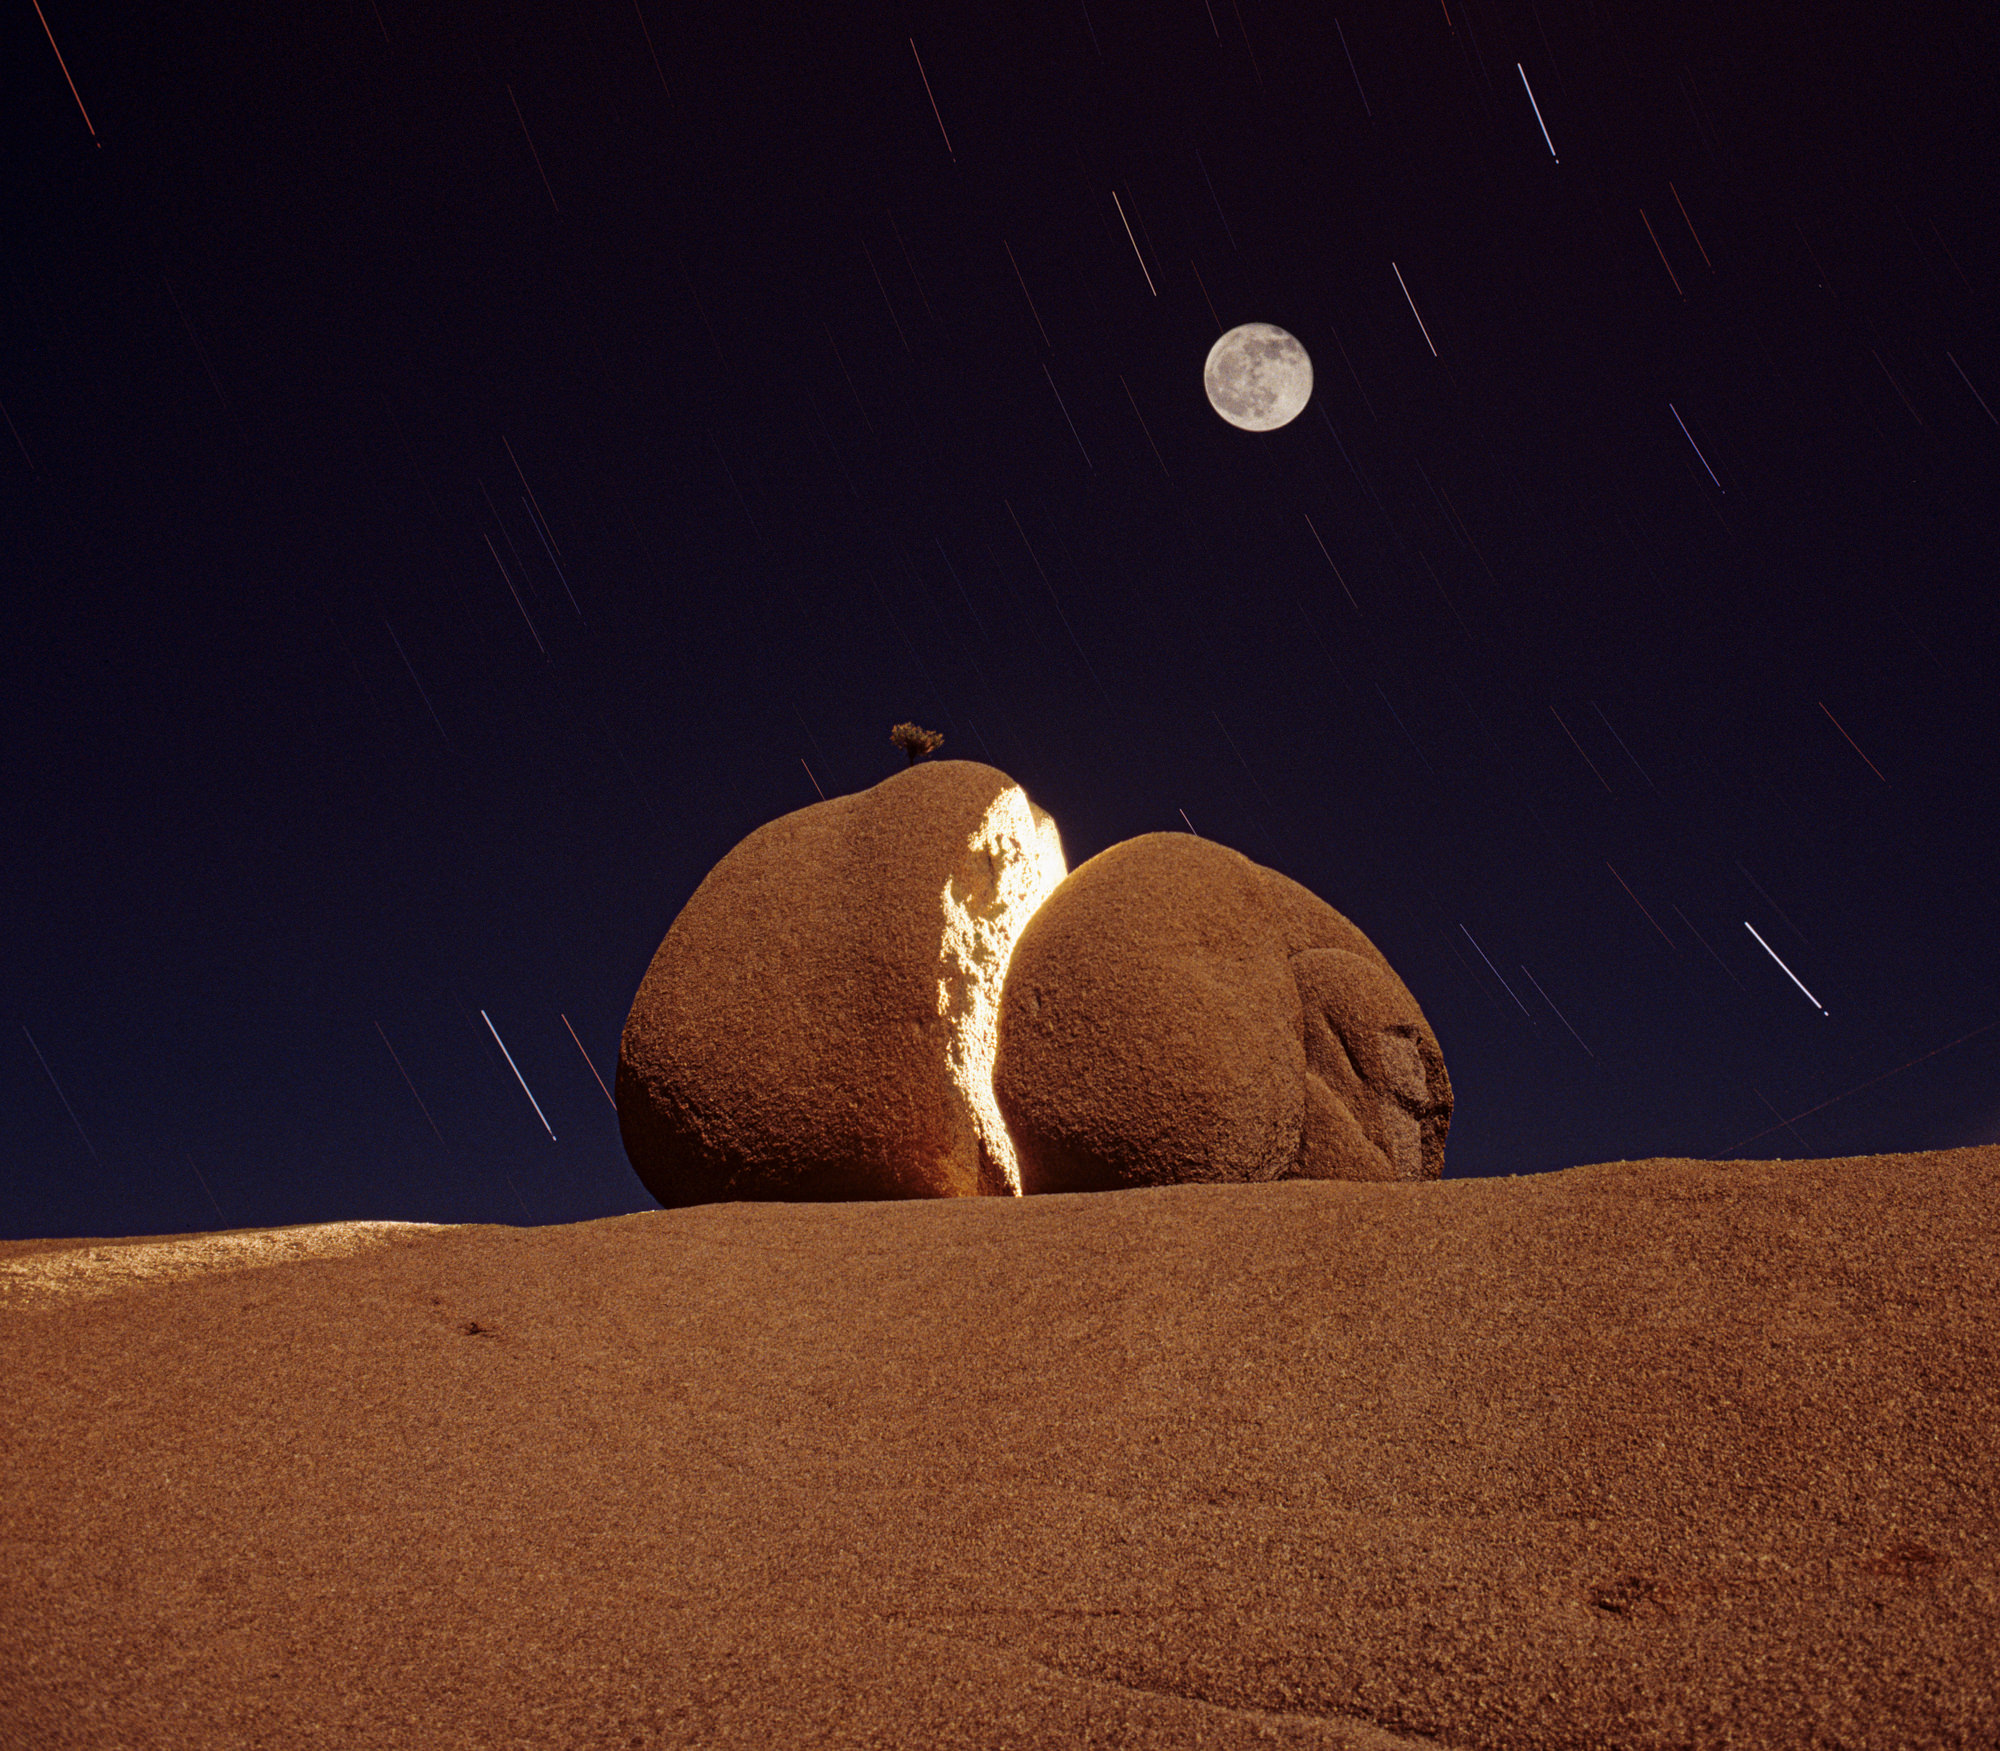
One spot I mined for images month after month was Jumbo Rocks, a labyrinth of boulders and other rock formations all easily accessible from the road. In there, atop a slab of gritty granodiorite sat a boulder that had split apart and out of the top grew a small, weathered juniper. I immediately visualized how I wanted to photograph it: I would squeeze into the crack from behind, pop off a flash to make it look like a light was shining through. That light, of course, had to be “moonlight,” so I would double-expose the full moon above the rock. While this looked pretty good in my mind, I just had to get it down on film.

That’s correct. In those days, I was using a film which required 20-minute exposures and no ability to check if I had gotten the picture as I envisioned until it was developed back in town a day later.

It took me four months to get that shot. Each time I went out, I would improve upon the last one. Once, I placed the moon in the wrong place above the crack. Or, I didn’t put enough light in the crack. Given certain ground limitations, I had to shoot up from below the boulder and the angle wasn’t right. So I rented the tallest tripod I could get, which raised the camera to the correct pitch. And then finally on a cold December night, I nailed it. The picture, titled, “Jumbo Rocks, 7 p.m.”, has been a big seller for me ever since.

Jumbo Rocks, 7 a.m. I saw this shot in my mind long before I was able to get it on film Persistence was the key.

Digital Deja Vu

Does this mean if I had a digital camera I could have gotten it right the first time? Maybe yes, maybe no. Even under more usual circumstances, that is, during the day as opposed to the night, you may not realize what you have done correctly—or not—with a subject until after you see the images in Lightroom’s grid and, then, oops: If I had done this instead of that, this picture would be amazing. So often that’s the routine with photography—you need some mental space between the time of exposure and when you see it on a monitor to fully appreciate what you’ve done.

However, if the pictures didn’t work out, it’s not a total loss. Go back if you can. Shoot again with another lens, aperture setting, angle or different ideas. Here are a few factors I consider:

Do I like my compositions? Unfortunately, ideas for how to shoot something don’t always immediately hit me. No matter how much I think I’ve milked a scene, if I go back, I’ll see new ways to tackle it photographically.

The unpredictable things, such as weather or light. Perhaps the weather was really awful or too good, that is, clear skies. There are so many places where the weather is different from day-to-day or even hour-to-hour. Photography is always a bit of a crapshoot when it comes to light. Go back for another roll!

Would a different season make a difference? I might find myself hiking through a grove of quaking aspens in the summer when the leaves are green. If I went back in the fall, perhaps those trees would be aflame in color. Worth a shot.

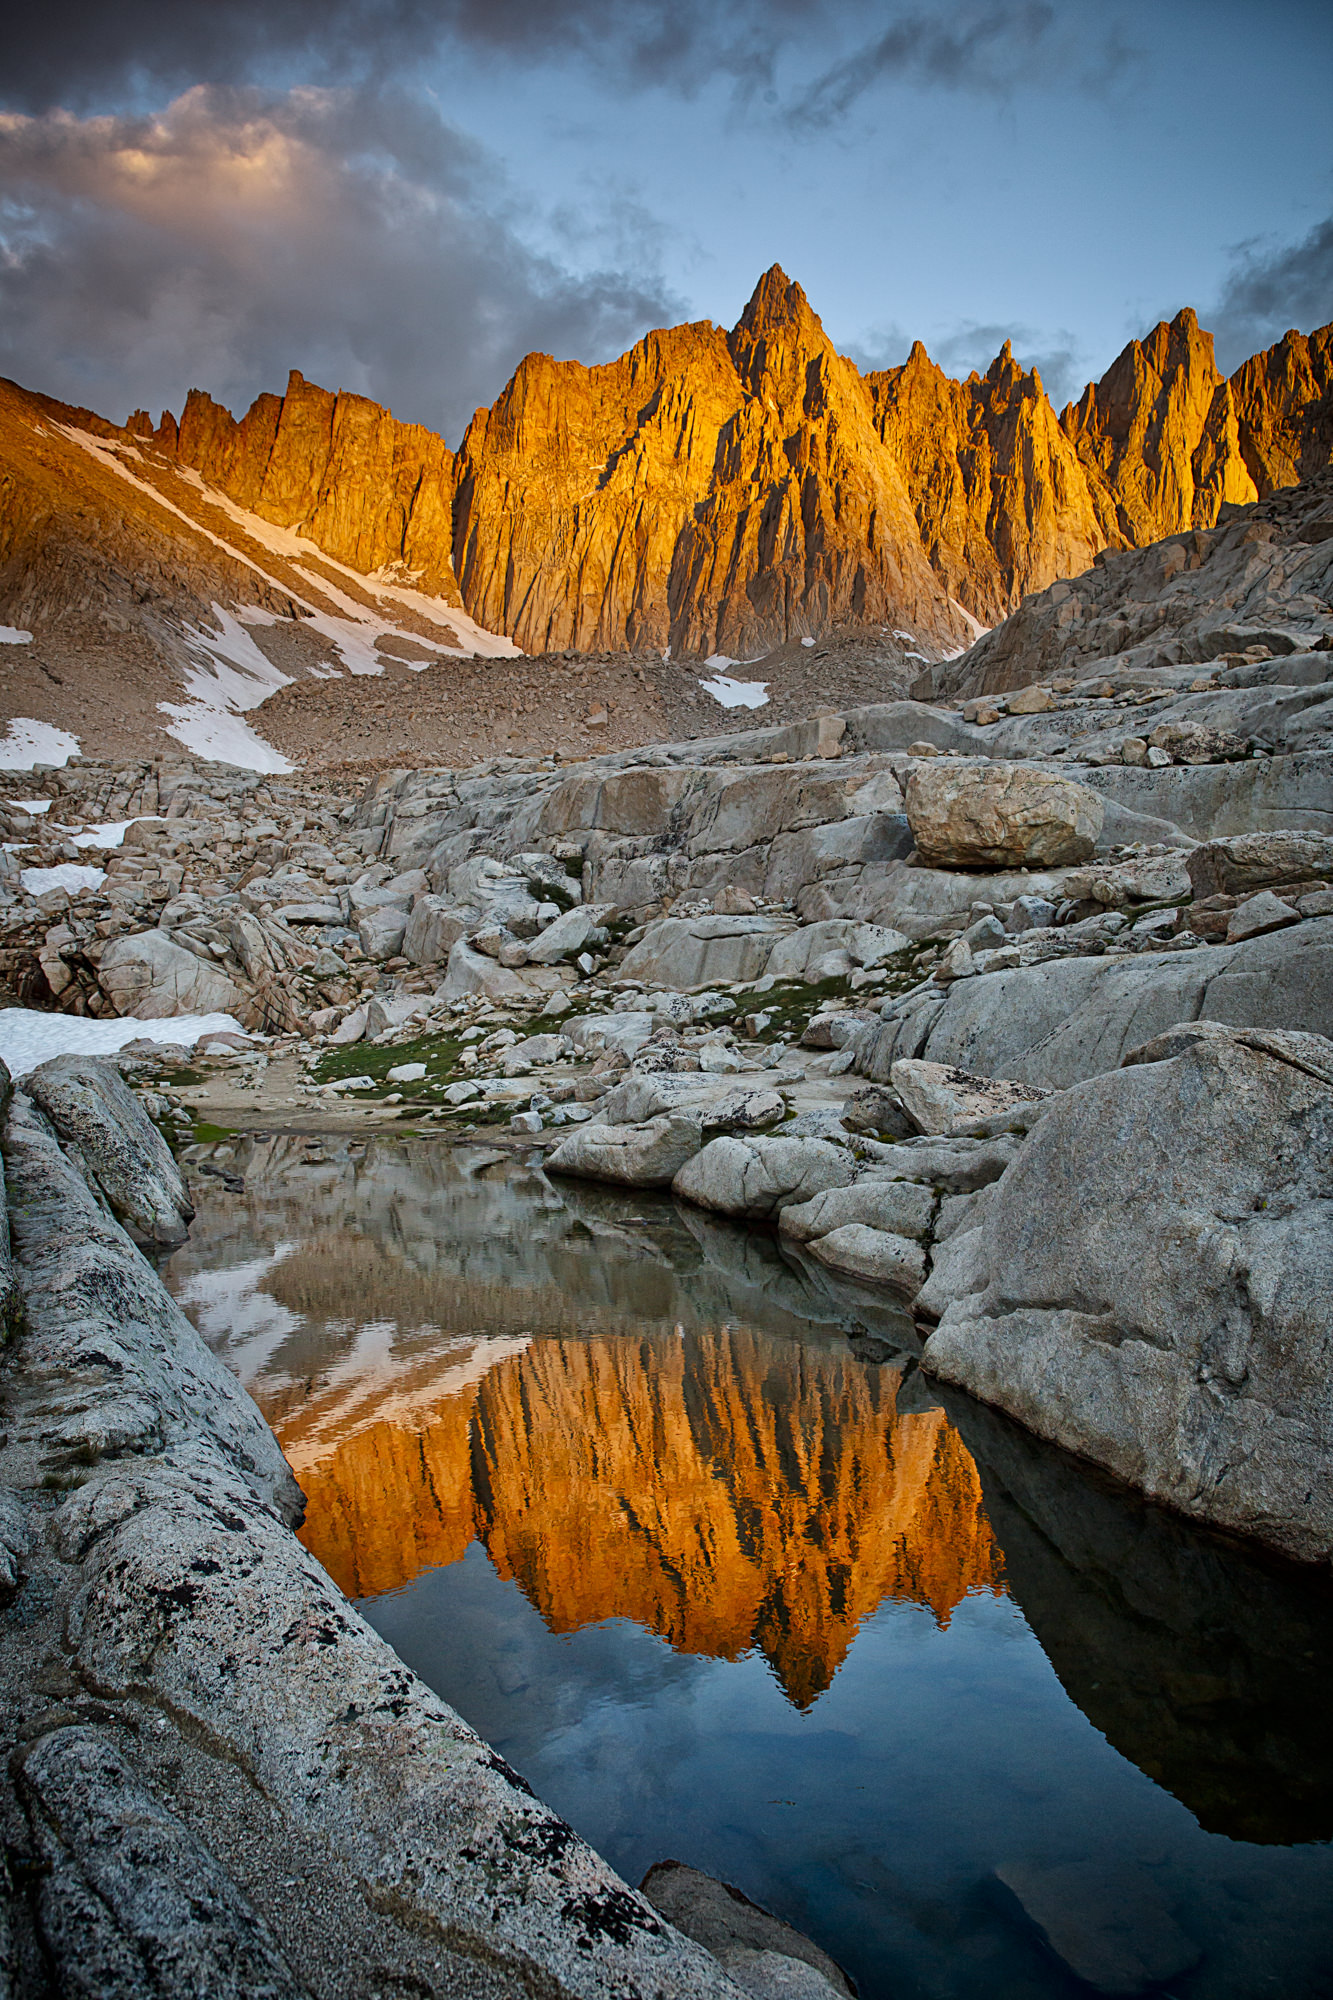
Mt. Muir, Sunrise I've passed this spot many, many times on the Mt. Whitney trail in the Sierra Mountains, but on this morning, I purposely left the trailhead extremely early to get to this spot at sunrise.
Mt. Muir, Sunrise I’ve passed this spot many, many times on the Mt. Whitney trail in the Sierra Mountains, but on this morning, I purposely left the trailhead extremely early to get to this spot at sunrise.

Time of day. Not every excursion puts you in a place at the golden hour. I figure if something looks good at noon, it’ll be spectacular at sunset or sunrise. So I make a mental note to return in the future and time it so I’m there at the right hour. I’ve even backpacked into a location and camped there just to be around for better light after passing it by on another trip.

More explorations. There are people who have invested most of their lives photographing one grand location. One of my favorite photographers, Michael Frye, lives near Yosemite National Park and has gone there over and over for years. He still manages to surprise me with his fresh perspective on the park. Not only that but repeatedly going back to the same place is a learning experience. You get to know its rhythms, its variations through the seasons. You can then draw on that to up your odds of being at the right place at the right time.

Palisades Basin, Kings Canyon National Park. This is a huge place to explore and it takes many, many trips to even scratch the surface of what's possible. This was taken in a remote location while on a climbing trip to North Palisade Peak.
Palisades Basin, Kings Canyon National Park. This is a huge place to explore and it takes many, many trips to even scratch the surface of what’s possible. This was taken in a remote location while on a climbing trip to North Palisade Peak.

Lastly, even if you can’t go back, learn from the experience. Why were your images just so-so instead of great? Not only go through your photographs to choose the good ones but deeply analyze the horrible ones and figure out what you did wrong so you can apply that lesson in the future.

One of my canyoneering friends once said she couldn’t understand why I bring my camera gear with me on canyons I’ve done before. The reason is pretty simple. I see something different every time I go back. I also have a chance to build on mediocre pictures and even good pictures, and that gets me—occasionally— to great pictures.

A note about the opening image: This was Mono Creek, a spot on the Pacific Crest Trail I’ve passed at least three times, knowing each visit I had to go back just to take pictures. I finally got a chance to camp here and devote an evening to photography.