On a recent backpacking trip in the Sierra Mountains, the weather one morning was in a tediously sunny state. Fine for hiking, but blah for photography. You know what I mean—an unattractive, contrasty combination of deep shadows and bright highlights where the landscapes just had a dusty, baked look about them. As is so often the case when I’m backpacking, I started to lament how I was passing scenes that had great photographic potential if the light was a little gentler. (These were fairly remote places I would probably never return to, making it even more frustrating.)
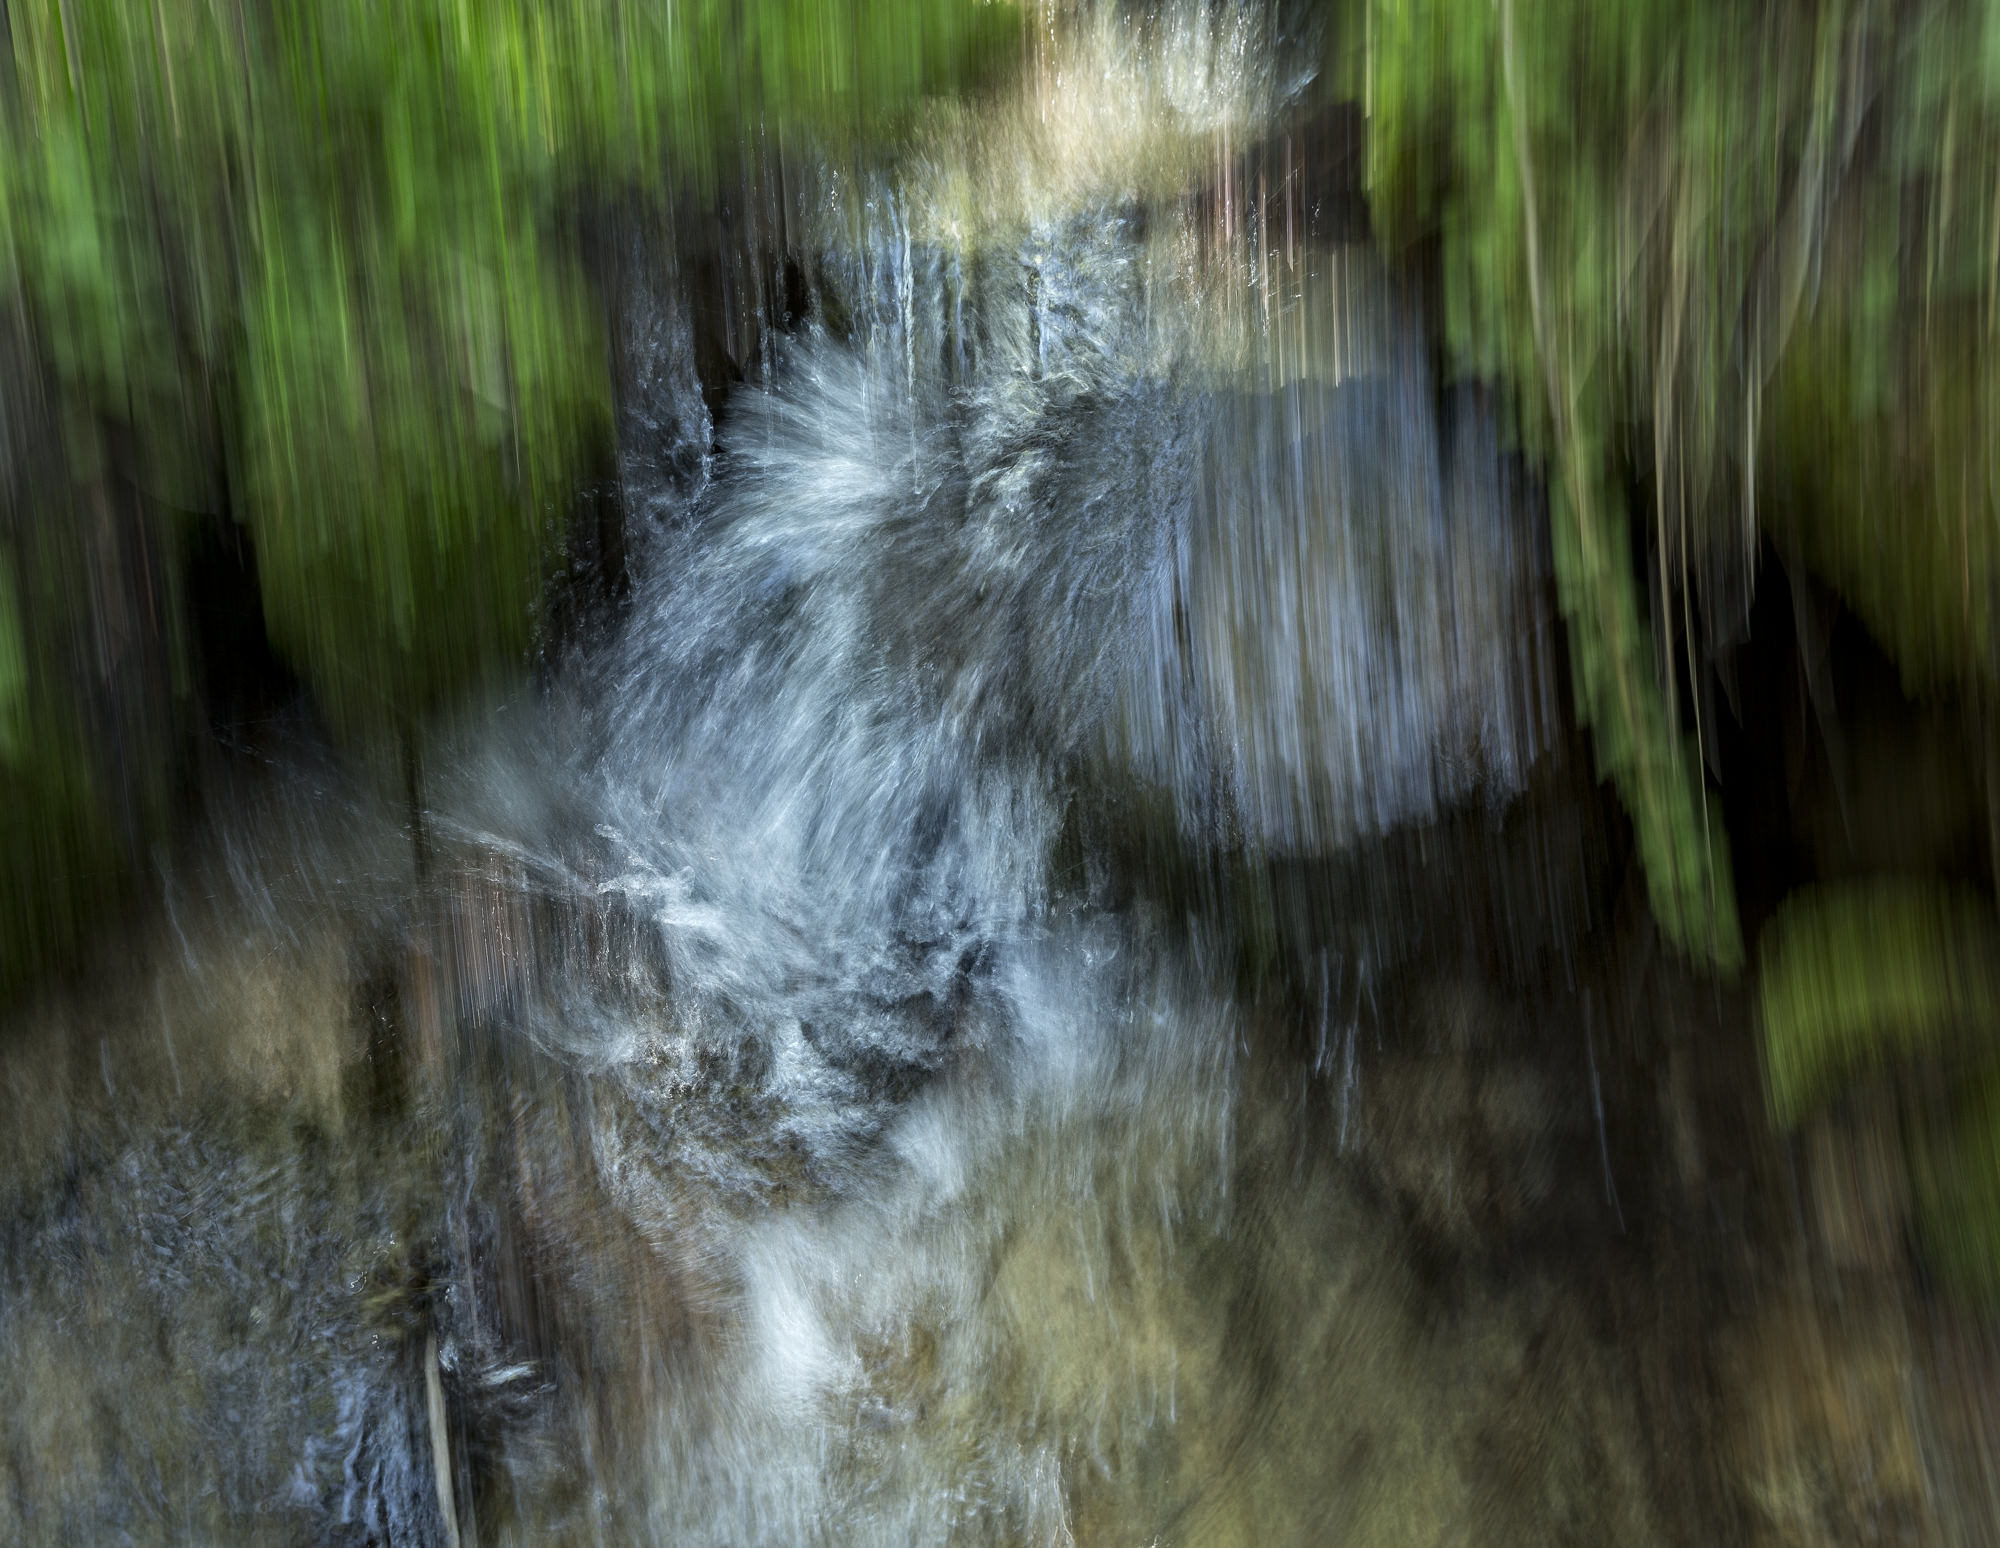
Then, while my friend, Allen, and I were resting near a shady stream surrounded by wildflowers covered in blotchy sunlight, I remembered how some photographers have experimented with shaking their cameras to blur a scene into a lusciously soft, impressionistic rendering. The effect, when done well, could reduce the scene to its basic colors, shapes and even textures giving the viewer a different way to see the world (which also happens to be my favorite reason for taking pictures).
A New Way to Overcome Bad Light
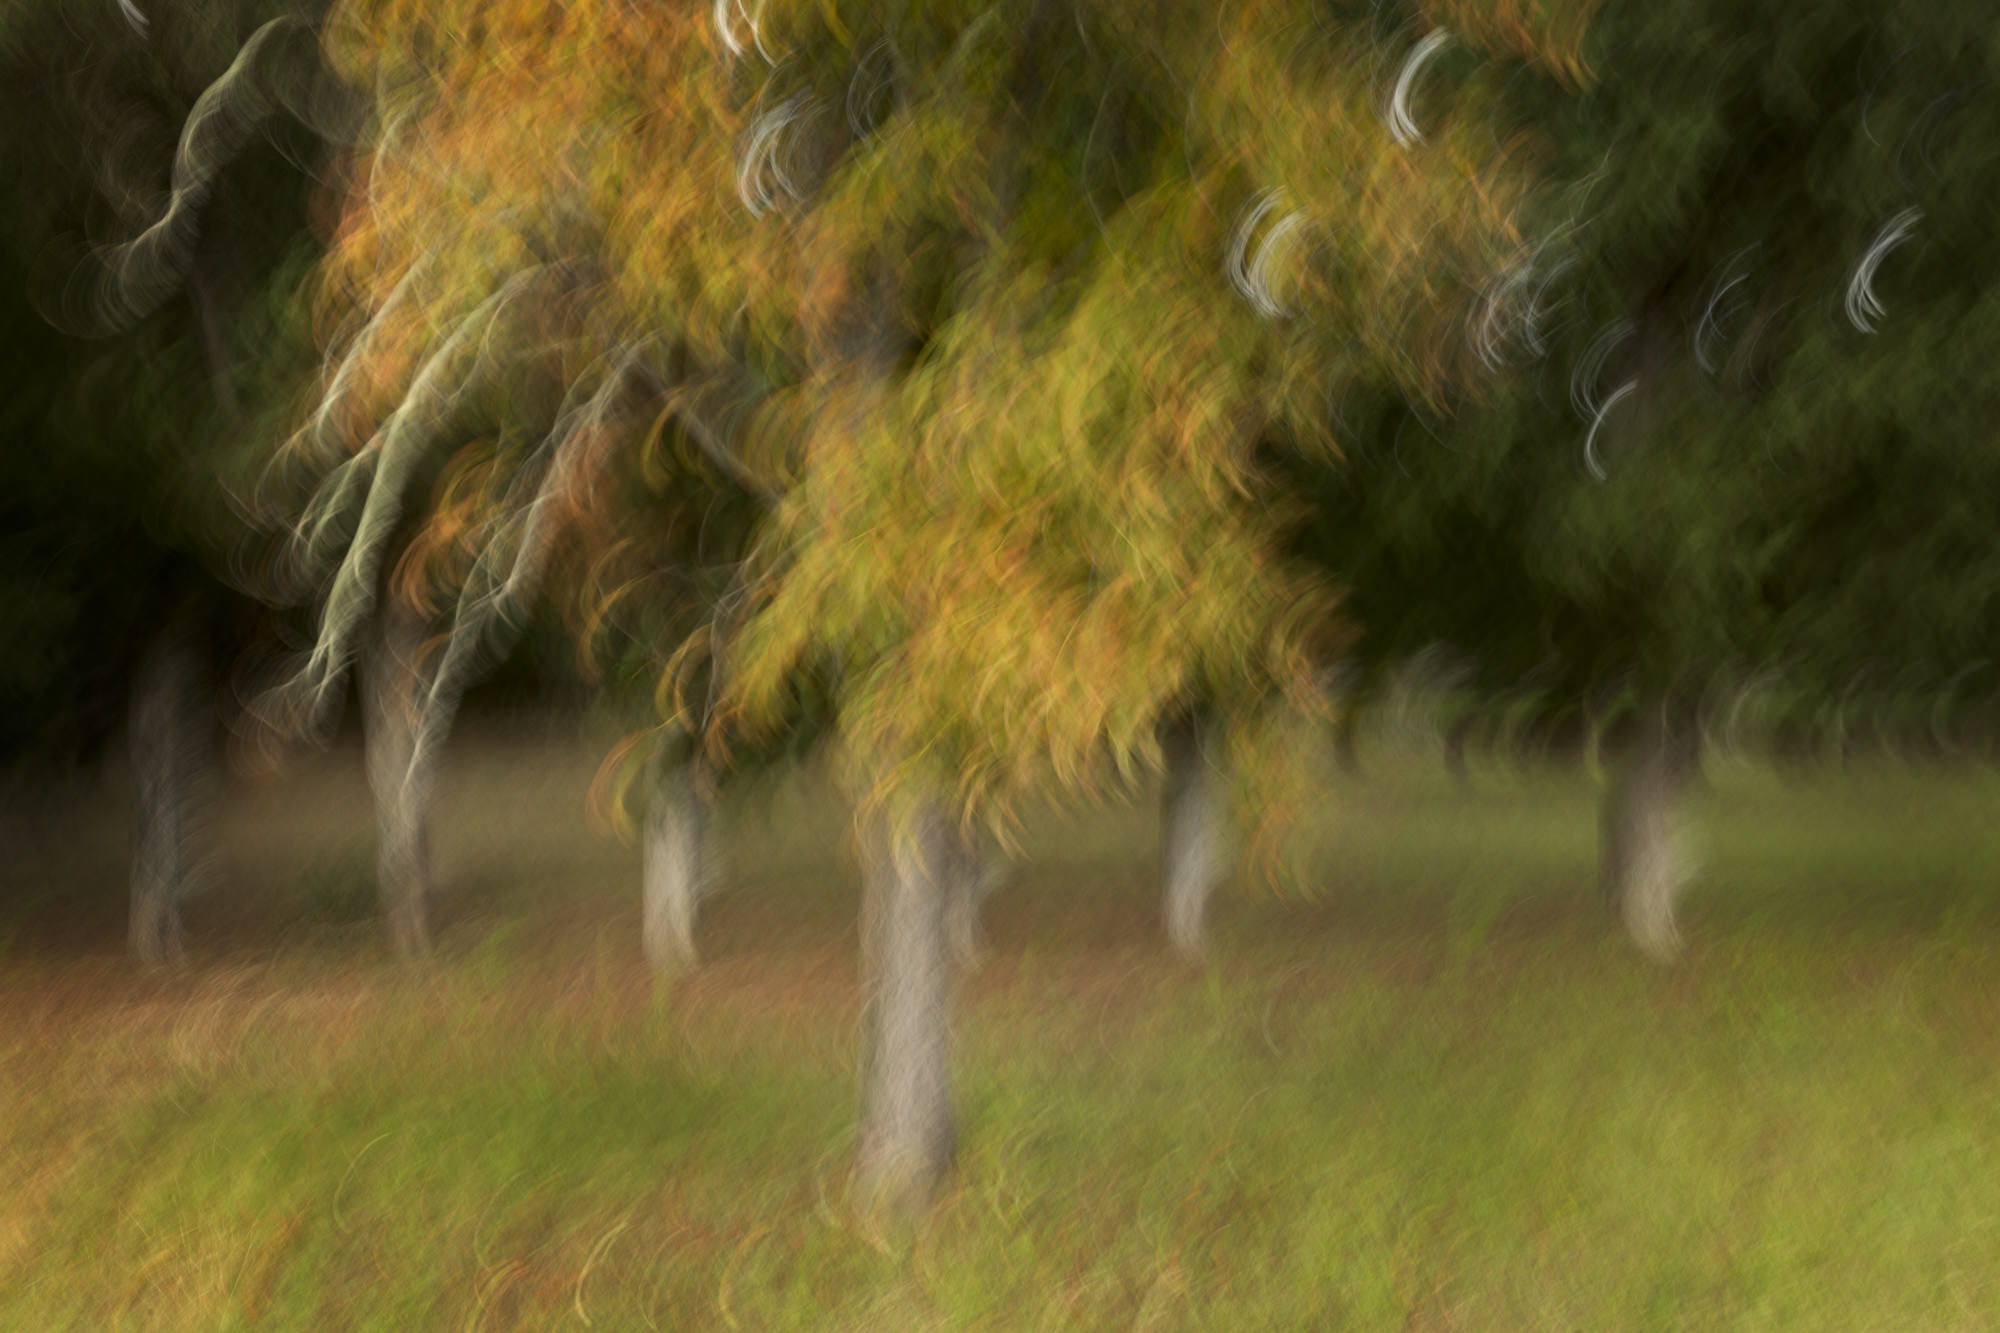
So given how I felt like my inner artist wasn’t being served by the current conditions, I decided that perhaps a blurry version of the scene—in particular, the flowers—might overcome the otherwise tragic lighting. Somewhat randomly, I chose an exposure of ¼ second, ISO 100, and let the camera select the f-stop which turned out to be f/8. (Under the circumstances, I figured depth of field wasn’t an issue.) With the drive mode on my Canon 5DMIII set for high-speed continuous (six frames a second), I then held down the shutter release and gently tilted the camera up and down over and over until I had taken, oh, 15 shots or so.
I was absolutely stunned by some of the images. Those splotchy highlights turned creamy. Distracting details became broad brush strokes of color. Ordinary objects felt magical. Even on my LCD, the images were so compelling, I just wanted to stare at them. There was something about the pictures that was both kinetic and soothing at the same time. I excitedly jumped from spot to spot as if I had just discovered the next best thing in the world. Allen, an engineer at Jet Propulsion Laboratory, was slightly amused that anyone could get so enthusiastic overtaking blur effects with expensive, ultra-sharp lenses.
I spent the rest of the five days on the trail exercising this new creative muscle, especially when the light would have otherwise kept me from even looking at my camera.
Experiment, Experiment, Experience
I’ve since played with different scenes, settings and lenses. And I have a few suggestions based on what I’ve learned so far.
Slow but not too slow—Getting the right shutter speed is key. I found ¼ to 1/8 works best, but see if something else works better for you. Going too long, however, just turns the image into pixel soup, which might just want you want, but I think I lose too much of the scene’s basic flavor that way.
Manually set the exposure—One thing I discovered with those first shots was the wild variation in exposure depending on what the camera was pointed at. If the lens was aimed toward shadows, the overall exposure was lighter than if I started out aiming toward the brighter parts of the scene. So to be consistent, I just pick an average exposure, manually plug it into the camera and stick with that throughout the picture-taking.
Handhold the camera—No need for a tripod here. You want the freedom to move the camera in various ways.
Keep the camera moving—Instead of taking one picture at a time, I hold down the shutter while continually waving the camera up and down, side to side or in circles. Each renders the scene differently and one might work better for the subject than another.
Be prepared to waste a lot of pixels—Take hundreds of pictures because only a few will ever make the cut. What criteria you use for editing is up to you. I like something that strongly hints at what was there while having an impressionistic aesthetic all its own. You might want something more or less defined.
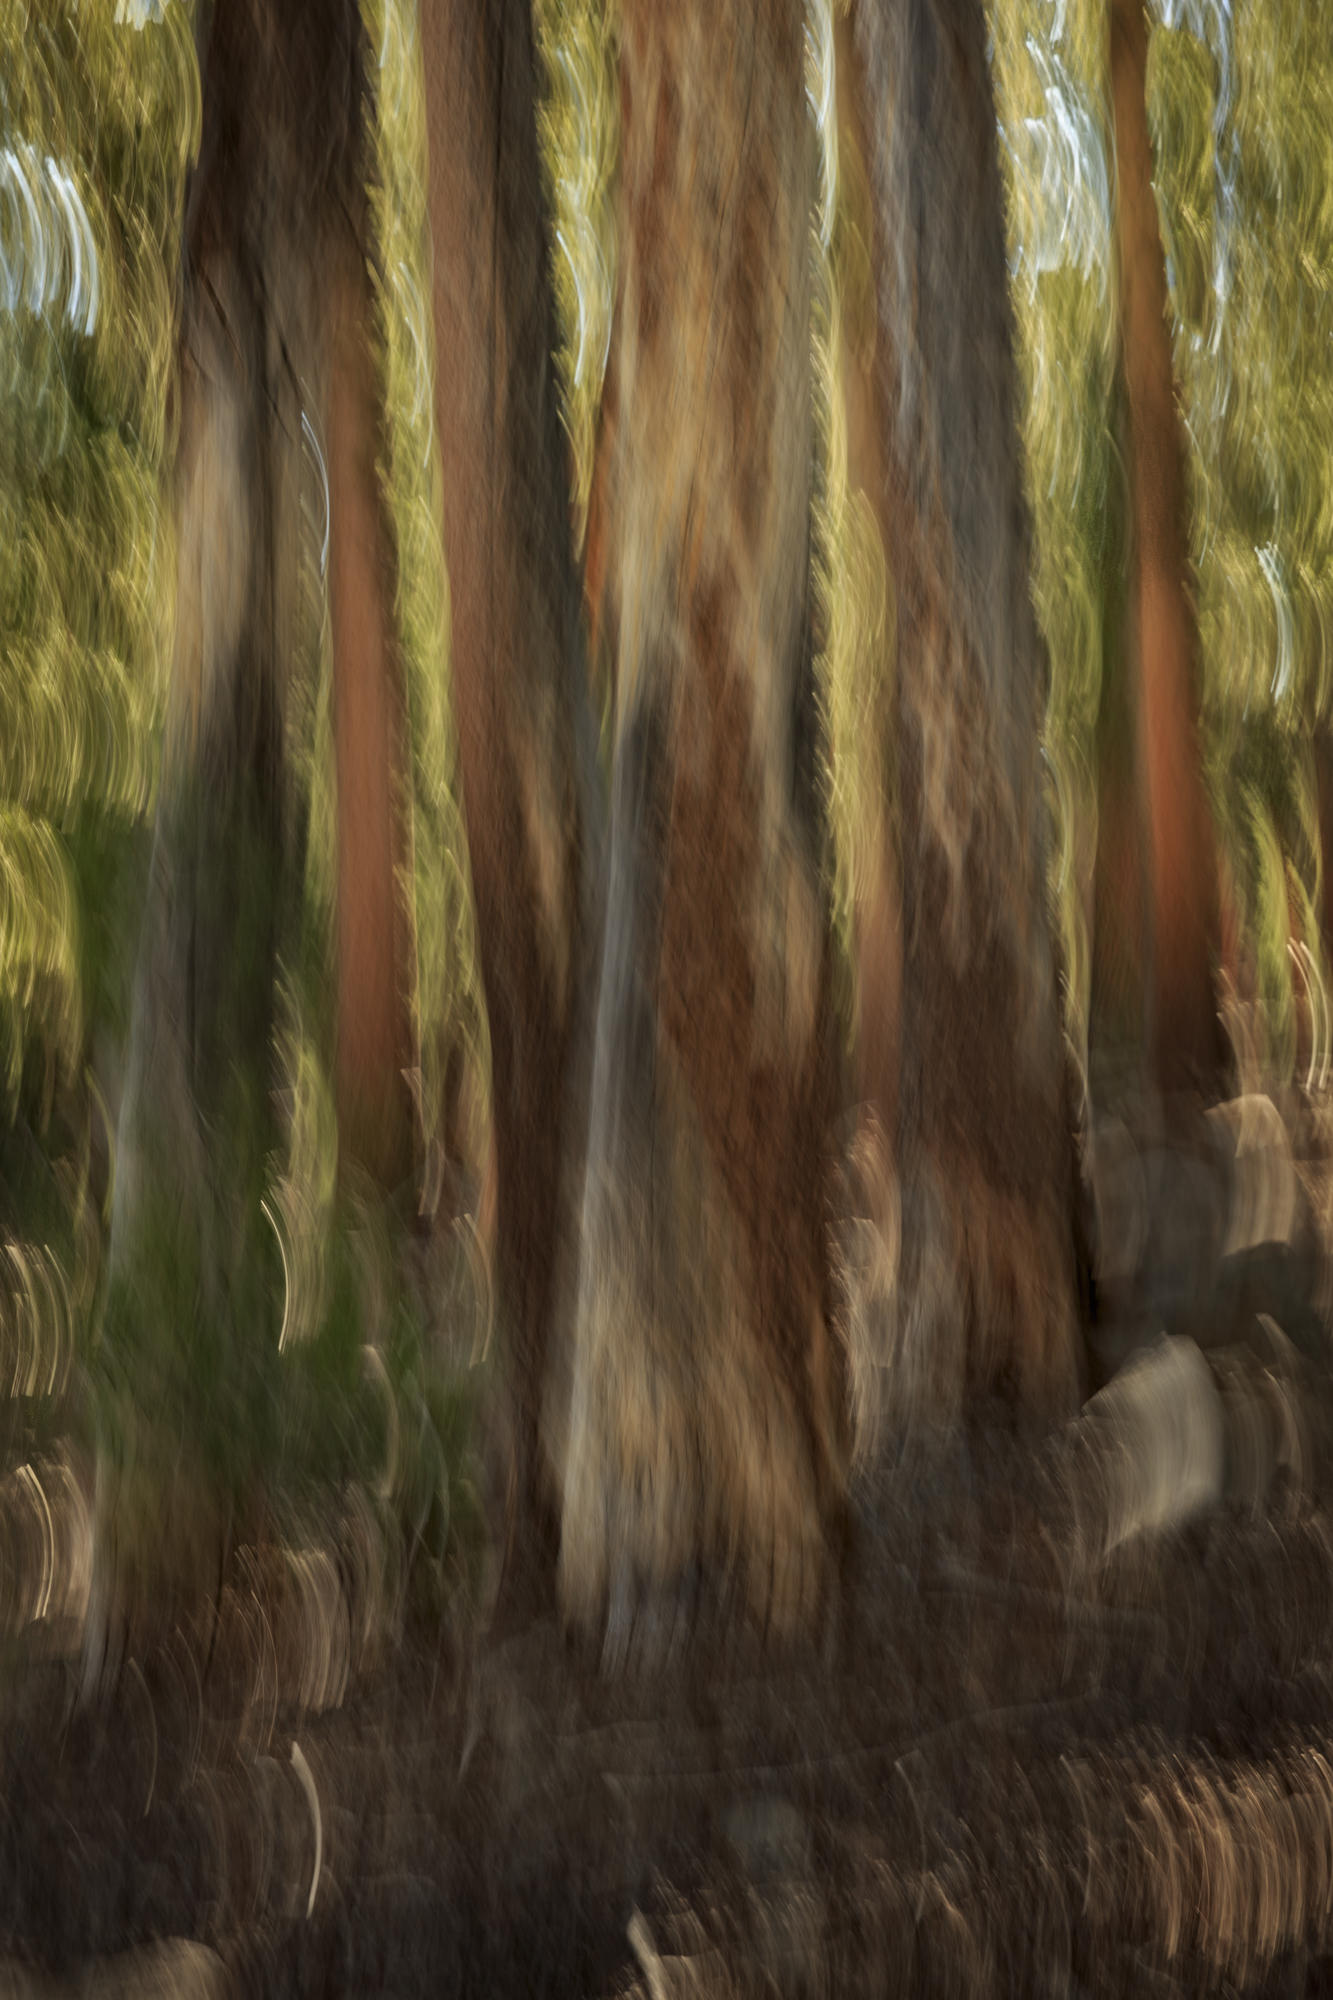
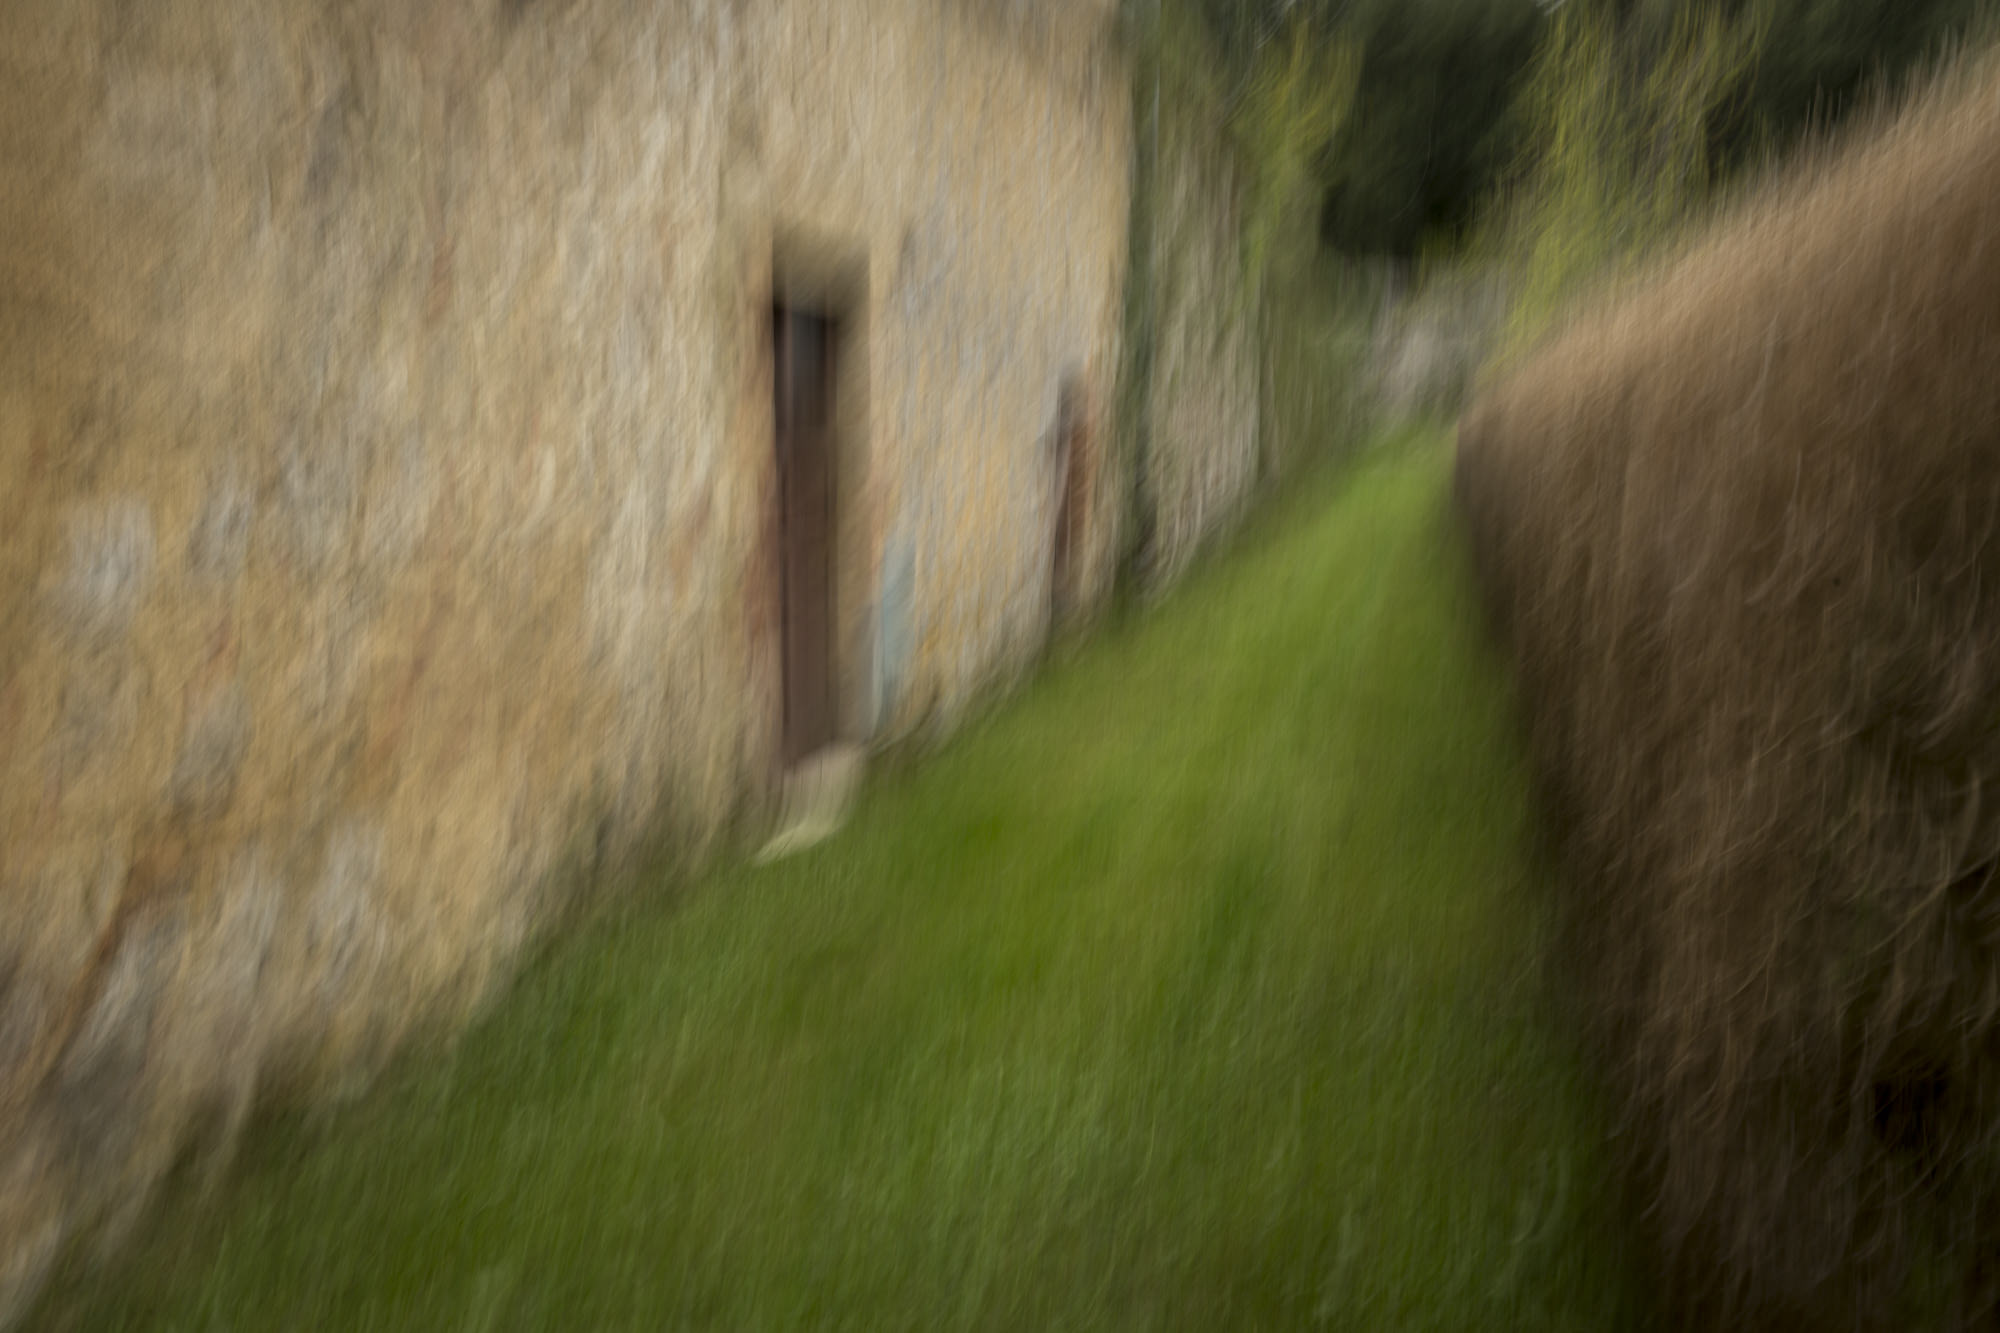
Restrict your framing—I’ve had some success with broad landscapes, but overall, I find this works best if I stick to concentrating on just a few trees or rocks or whatever happens to be there rather going wide.
Play with depth of field—I was wrong when I first thought this isn’t a factor. Wide-open apertures definitely render a scene differently than stopped-down ones. Try both.
Play with focus—Definitely set the lens for manual focus but experiment with focusing on a single object and then try the same shot with something else in focus. I’ve even tried shooting with the entire scene out of focus, which worked a few times but isn’t quite as magical as focusing on one thing before I start to move the camera.
In some ways, blur effects require as much skill and persistence as taking pictures with a steady hand. It’s also highly personal—as is most photography—where the images you show the rest of us are picked based on what you like and what you want to say about the subject. Plus, the amount of creative experimentation that goes into deliberately on blurred photos can renew your excitement and enthusiasm for the art of photography.


 Facebook
 Google +